


popeye the sailor
-
Posts
16,007 -
Joined
-
Last visited
Content Type
Profiles
Forums
Gallery
Events
Everything posted by popeye the sailor
-
 thanks........now if I can paint it without goofing up
 -
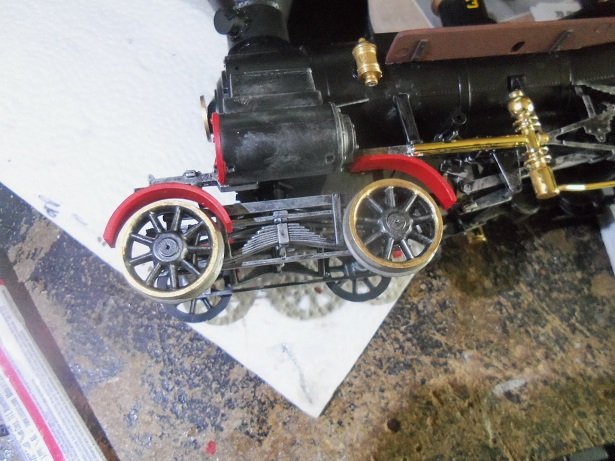
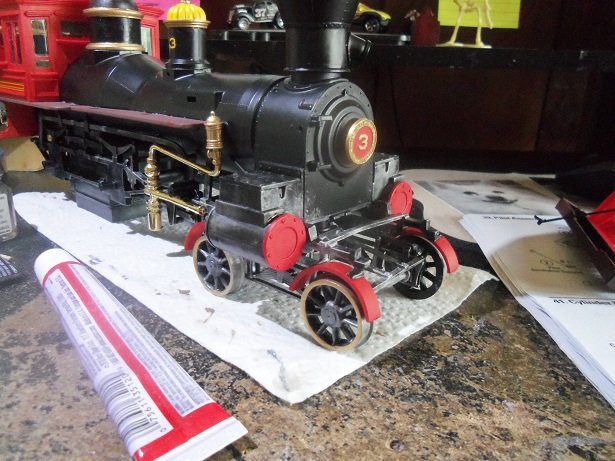
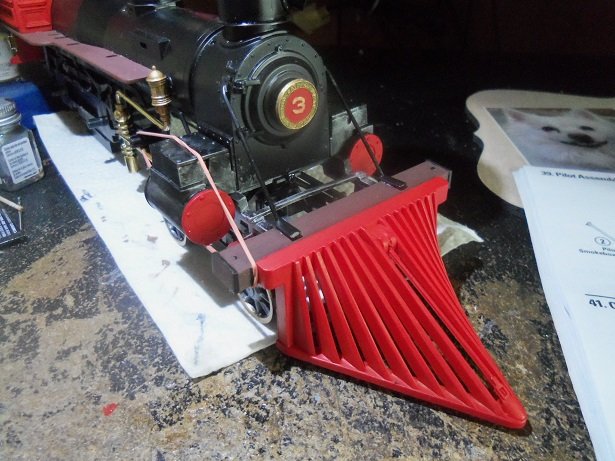
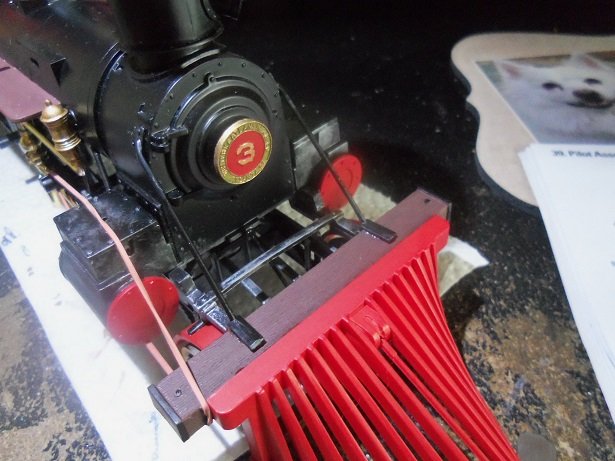
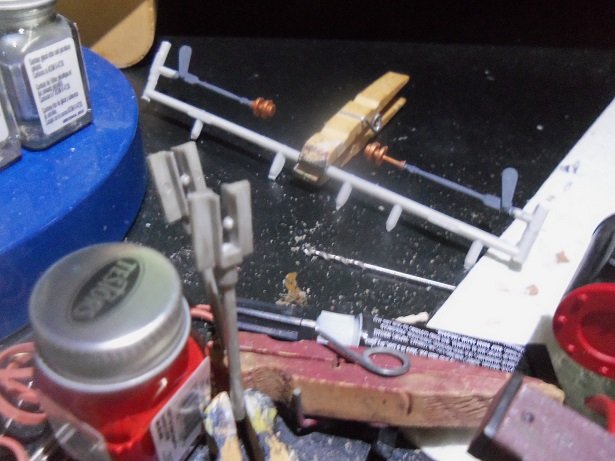
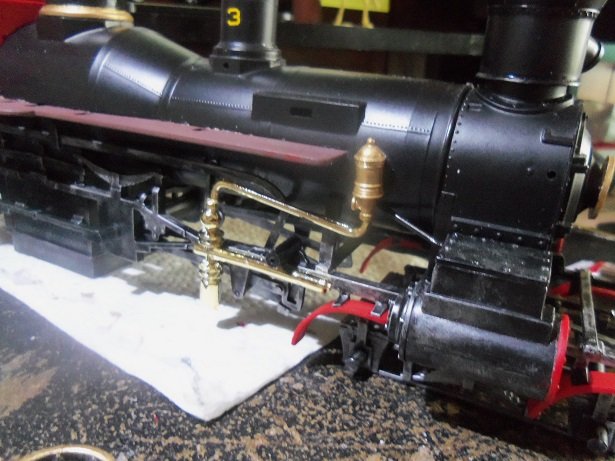
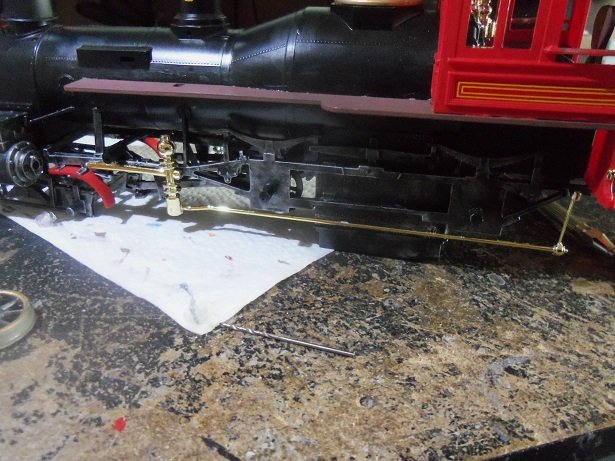
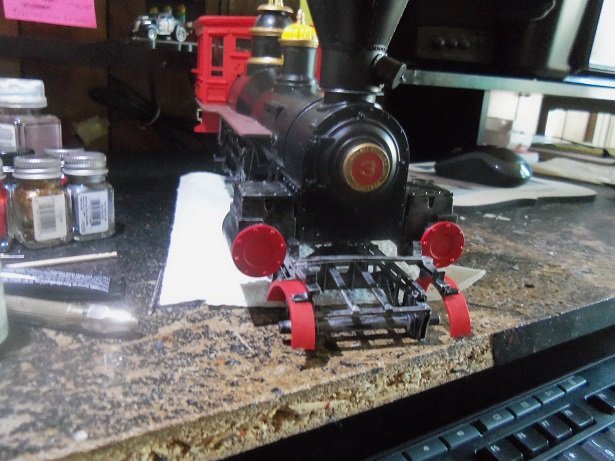
I went a bit further on Friday........the pony wheels were added to the model. I panted the parts for the pilot........or the 'ole west slang 'cow catcher' assembled....... ....and added to the model. still have the rubber band on it...for some reason, it wanted to go crooked. the fit wasn't too good either. I added some more plumbing on the left side. the rods that connect to the valve chest.........the beginnings of the drive assembly are being painted at this time - cross head assemblies and valve rods more on these in the next session

-
only celebrity I saw was the army recruiter. my older brother was in the army, so I got a lot of his hand me down. I was wearing my 'army duds' when I met Sargent Steel. we chatted for a while....he was impressed that I was in full army dress. I had the boots, belt........all that.....even the fold able hat {had it in my back pocket. he kinda frowned when I told him I actually wanted to go in the Air Force......had plans to go on to be a commercial pilot. then he remarked how I looked about his size.........said he had something in his closet, that I might like a week later,, I was called to the office. Mrs. Merrill, the ast. principal pointed to the coat rack and told me Sargent Steel left it for me...........a full dress uniform! it was complete......hat and all! all the brass buttons and everything! I wore it to Mr. McCaffery's class one day.......we were learning about the war in world history. you could tell he was an old army man........he saluted me when I came in!!! Just call me Klinger but I wore army, not dresses
-
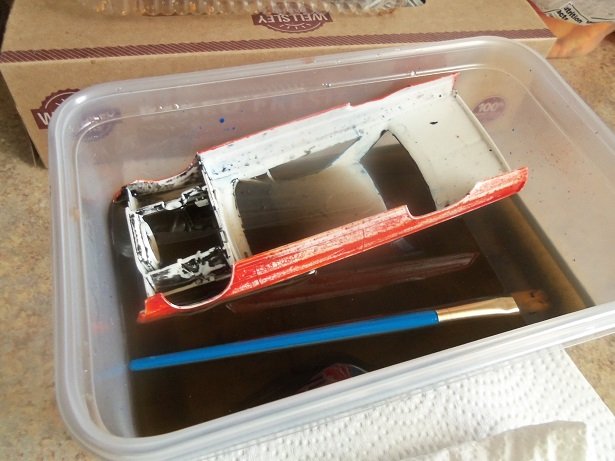
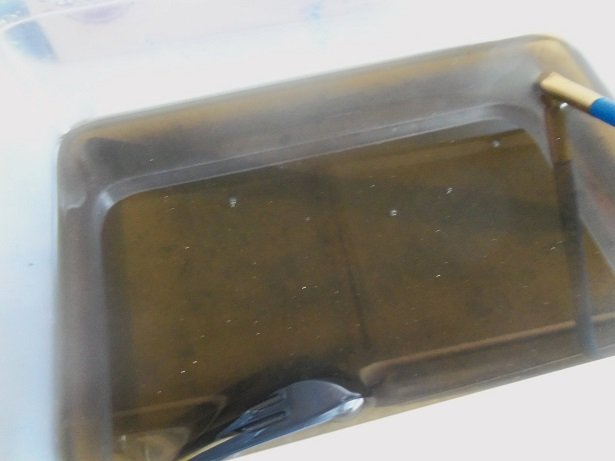
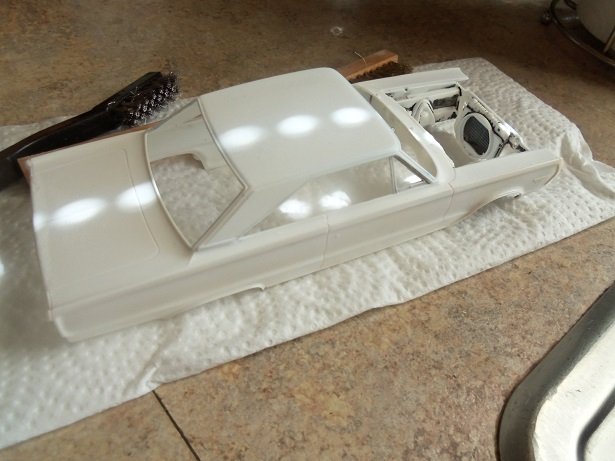
oh my god! I forgot to post the update! am I nutzo or what?!?!?! here it is...... hey there everyone! 'bout time for the update. the dip went into the following day. the body would have come out of this with hardly a scratch, except that I used a steel {I think that what the bristles are made up of}. I changed over to a brass bristled brush. bit too late though...it did scratch up the roof some. here it is by the afternoon on Saturday. the lacquer clear coat made it tough to remove........the brake fluid didn't dissolve it too good. I had used the steel bristle brush on it and it broke it up, but it scratched the plastic finish a bit. it will need to be sanded with some fine paper to get it back. out of the dip! this is some really goofy stuff.......dumped it in my oil bucket on the garage. the body then went into the wash......strong emulsion in Dawn dish washing liquid..........took the grease out of the way what I was left with..........was an almost squeaky clean body! that is the Humbrol flat black.......it didn't get any of the clear coat on it. the brake fluid didn't remove all of it. now it will be sanded with the fine sandpaper. I'll do my best not to sand off the smaller details. I didn't dip the hood........I'll see what I can do with it later. most of the paint I got from Lou are flat paints........what there was of the Monogram and Humbrol paints was a mixed bag of gloss and flats. the White Ensign paints are all flats, and had to be separated by countries....... German Navy, US navy.......etc. there are some really nice colors indeed at least now I can deal with them. I found a color chart for the Humbrol paints......but so far haven't found one for the White ensign paints.....I'm still looking. I have done some sanding on the body.......it looks much better now. I'll go over it with some finer stuff before I begin painting. I'll likely sand the hood and repaint it then. again.......sorry for the delay.......I must have gotten distracted.


-
fantastic additions Patrick I knew it!.........the yacht must be owned by the Knights of Ni
-
superb progress Rob.......glad your feeling better fine looking vessel!
- 1,208 replies
-
- 1
-

-
- great republic
- clipper
- (and 1 more)
-
I know what you mean.......I stopped modeling for a number of years...we owned our own home and I got too busy. glad that the bug never left we are a patient lot.......
-
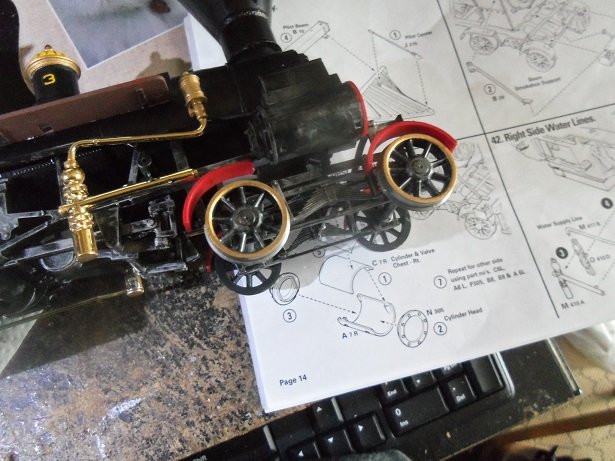
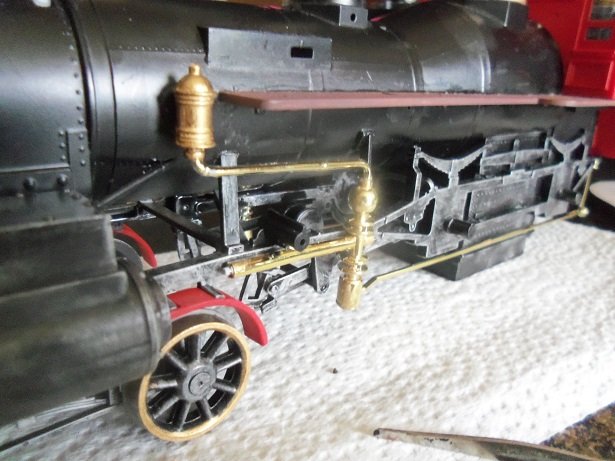
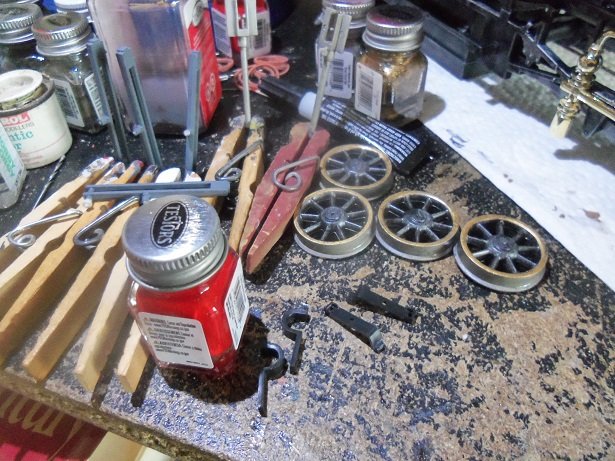
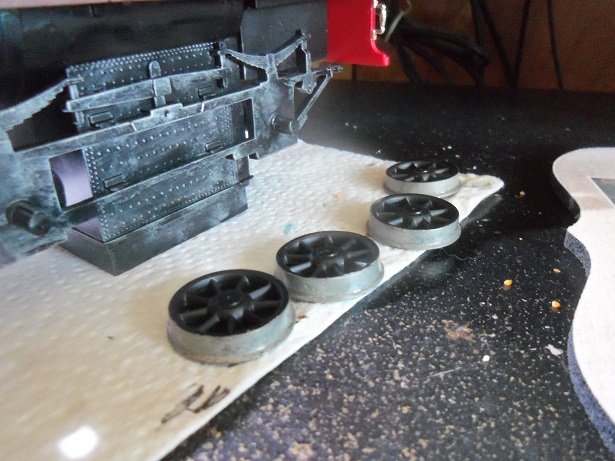
I put my plumber's hat on today.........setting up the water supply lines with the associated valves. the left side is a bit different....... more painting done on some of the drive line parts, along with the rest of the paint work for the wheels. I wanted to do a red ring on the pony wheels, but the drive wheels are molded in red plastic......... should have more for ya in a bit
- 245 replies
-
- 10
-
-
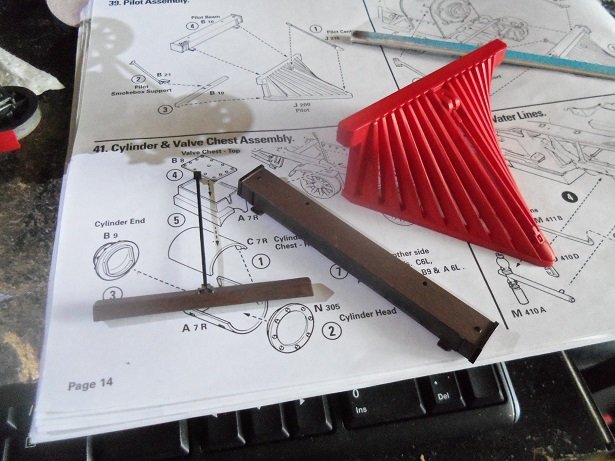
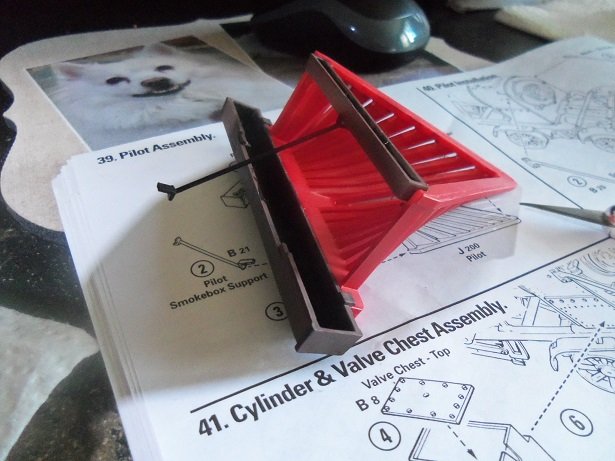
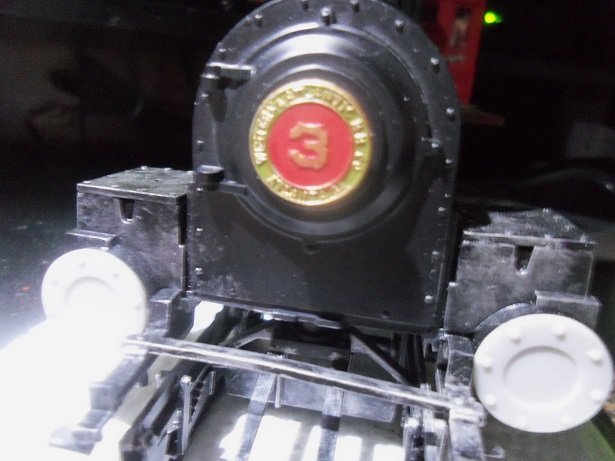
I'd better post this update before I die laughing........wish I could remember the name of the one about the Indian tribe. as I mentioned, kits with the different colored plastics made it easier for a model to be assembled unpainted. the gray parts on this model was left unpainted on many of the finished kits I've seen. I wish I had done this earlier...it looks so much better now with the cylinder chest caps painted. before: after: I didn't want to put the pony truck wheels on just yet....but I'm going past this step now, so I had better. I don't want to find myself in a bind if I don't. ........getting the wheel painted. at this point, the pony truck fenders were added to the model. I continued with the General this morning


- 245 replies
-
- 10
-
-
I was rummaging around this morning in the middle of painting, and I found this good to see my 'ole friend Dudley again enjoy!
-
the paint we use today have come a long way. now we can buy bottles of rust, grime, and dirt. I bought some recently for an upcoming project. back in the day, I wouldn't paint over a same color plastic. it's all part of the allure buying these large scale models. now, even smaller scale kit are coming this way........all with the aim that a person with lesser painting skills will buy the kit. I'm still not an expert at painting, but I have evolved with a different way of thinking. it's not so much the color, as it is the sheen of the bare plastic...I use flats quite a bit I've painted everything...even the black......although I've yet to find anything that will match chrome, so it is unnoticeable. I'm also finding that the hue of the colored part doesn't look right...for ships it's worse. what they envision teak should look right, we can correct with paint. the cab was a shinier red.......painting it dulled it out and turned it flat, as I still wonder if gloss paint was around during this time period. as I mentioned earlier, I've seen finished models with all those gray parts unpainted.........it just doesn't look right to me. I'm trying my best that this doesn't look like a toy when I'm finished......I hope I'm succeeding. didn't get to do much yesterday........cripes, I did more this morning, than I've done my whole time off not to mention I floated to different projects and did snippets of work. I finally got storage for all those paints I needed to separate. update coming up!
-
I think the admiral has used the cloud........it's hard for some of us 'older dogs' to embrace technology. I keep all my stuff on memory sticks thanks Patrick I guess you could say that I'm making up for my forties. for a time there I did no modeling....just too busy with family and home. the first model I picked up when I started back up again, was the Cutty Sark, my second attempt at the Revell kit. it's been a blur ever since I'm glad I got back into it though......I've met so many fine folk. joining this site was the icing on the cake! the weather is getting better........I have so many projects that I held off on because of major sanding and painting tasks. I'm able to use the garage again, so the itch is becoming too hard to scratch.
-
I book marked the site..........found it straight away that's a different box than the one I had. I'll have to see if the budget director will allow me to get it.........still under the thumb after the stagecoach 💸
-
then you were lucky J........I couldn't find anyone who could replicate the Revell Cutty Sark decals. everyone had an excuse........can't do gold......can't do white. I found one guy, but he gave me the run around. that's when I found the decal program.......I still ended up paint penning the depth markers though. what a time I had with that model......even the sheet I got from Revell was old and had micro cracked. I should explore other avenues. I've done that with some of the decals that had white in the image. yea...it's a pain. I'll have to pull out the manual for the printer........either that, or I need to upgrade mine scans and copies........don't think I need a cloud feature......I do that pretty much on my own
-
I recently was asked about a page I had posted in a member's build log, concerning planking. when I first began building wooden ships, the fellow that got me started gave me a huge stack of 'ships in scale and scale ship modeler magazines dating way back. included was a few other books and booklets pertaining to ship modeling, by Richard Mansir. one in particular seems to stand out....a planking booklet by Richard. I forget the member, but he was in a bind with his planking, and I posted the page to help him out.......the booklet was published in 1982. recently, I was PM'd by Tom G asking where he could get a copy. as I told him, I'm sure that the book is long out of print.......I gave him the address and the ISBN number of the book. he found a site that it can be down loaded for free: LINK DELETED BY MODERATORS. The link was to a web site that posted books for free download - this book is still under copyright and there is no documentation that the copyright holder has provided permission for it to be posted. The web site's statement - "assumption that whoever posts has checked for permission" is not adequate to allow links to this web site here on MSW. I found this to be a very useful booklet. in 16 pages, it covers simple planking and scale planking, although I sorta disagree about his scale planking rule. I think it all depends on how small a scale the modeler wants to build his ship........the old adage: where there's a will, there's a way it also has a small glossary in the back outlining planking and hull terms. it's a great booklet for the beginner modeler.
- 1 reply
-
- 8
-
-
well, I'm glad you didn't take offense........I in no means meant anything negative. if you did this good with this project......I can imagine what you will achieve with the S.T. you have a 'weather worn eye' ......I in a million years would never be able to do what you've done here BTW....I don't see any mistakes in the construction either
-
that's really your only recourse........the line would pass by the gaff, by the boom {as you have already done}, and terminated as you have them. hate to say it........I'm sure you've already remedied the problem
-
checking in OC........she's com'in along nicely sorry to hear the hand is bugg'in you again..........hope it gets better soon.
-
I only put the like on that one 'cuz you included progress. how old are those tires anyway? change the others if they are over ten years old. ....bad sidewall, it looks like glad your OK. superb progress on your vessel.....she's look'in sweet!
-
I must say....your weathering is impeccable.......but these vessels were known for being clean and pristine. there would be a lot of upkeep done on these vessels. I love what you did.......but if you were going for the 'ghost ship appearance'......you nailed it! sorry......I have to be honest here. don't change it on my account........you have quite a work of art here
- 54 replies
-
- 2
-
-
- robert e lee
- amati
- (and 1 more)
-
really sweet idea will it interfere with the rigging?
- 337 replies
-
- 2
-
-
- finished
- mountfleet models
- (and 1 more)
-
can't argue with that job Greg..........looks great! is the outer hull the same color as the lower decks? plug the openings perhaps? common Carl....that doesn't look so bad....look at all the nice detail you got there
- 345 replies
-
- 4
-
-
- graf zeppelin
- trumpeter
- (and 2 more)
-
very nice job on the tubes.........looks like the only thing you left out is their ability to fire