


popeye the sailor
-
Posts
16,007 -
Joined
-
Last visited
Content Type
Profiles
Forums
Gallery
Events
Everything posted by popeye the sailor
-
 you can use a thinner white or black thread. the same color can also be used.
 -
that looks much better Mike.......wrap thread {thin diameter} around the shrouds to seize them. I've seen folks use different thread {rope}...don't be concerned. sorry to make you do all this extra stuff
-
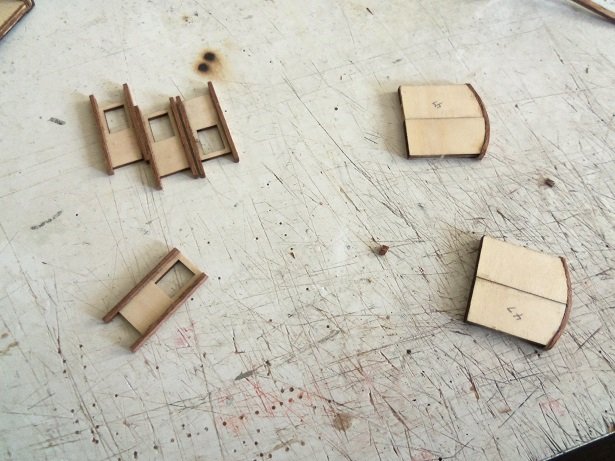
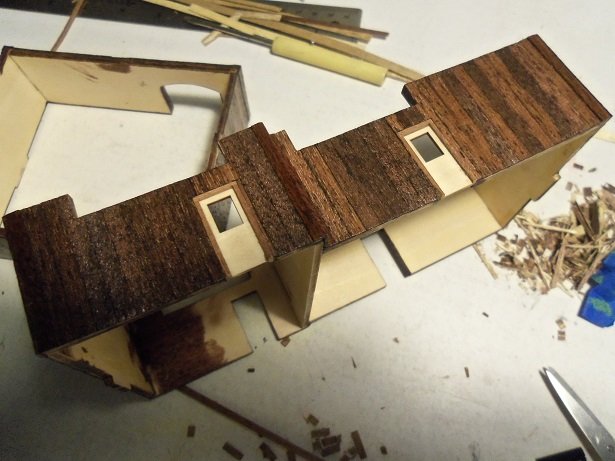
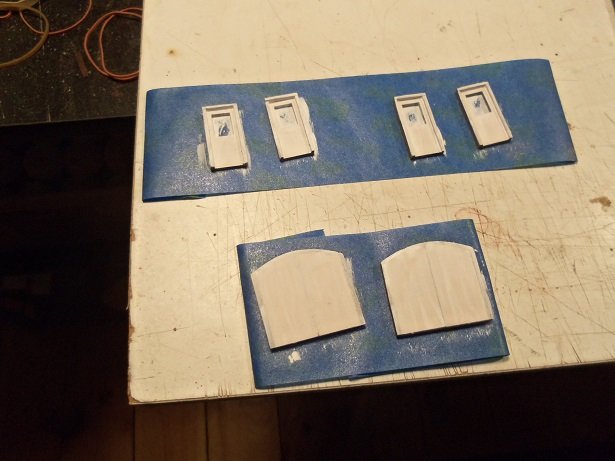
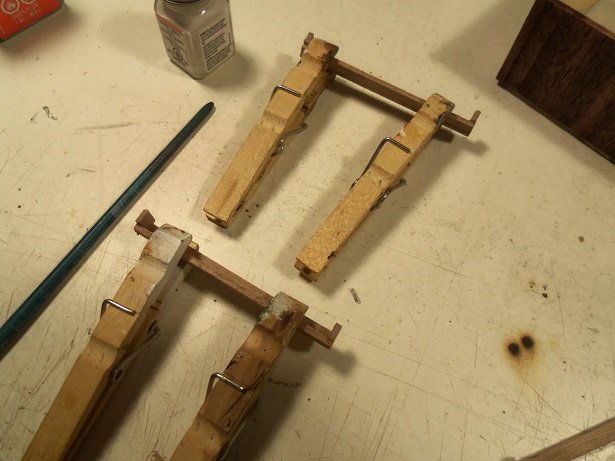
I could have sworn I took more pictures of the progress I've made these last couple of days. I guess not just as well since it's been a lot of cutting and sanding. since the doors are too small...except for the forward structure, I won't be doing the movable aspect. the first thing done was to line the doors with walnut, to create the door jams. once they were lined, they were trimmed and fitted into the door openings. since I'm changing it up a notch, it will continue with the doors, which will be painted flat white. the two feed troughs were assembled. they need to be sanded now. next were the vents that go to the aft structure. the frames were cut, and are beginning to be assembled. I know I sound rushed........the admiral just called the supper is ready. I'll be back if more progress is made
-
thanks Keith......what your describing though would pertain more to the Mary Ann. that model was set up that way. this must be a smaller size vessel, since the boom stops short of the pilot house, and only having a goose neck with limited mobility. it is fixed lower on the mast and would not rest level on the roof. I really wish they would have based this model to a relative scale, comparable to the Mary Ann or even the cux (they both are 1:33 scale}. I didn't bother to do a proper topping lift rigging.....it should have a block near the top of the mast. for the sails, they did supply a block for the main sail, but not for the aft {mizzen} sail. I will add one there, so the sail can be quickly raised and lowered. there are a few fine details that were left out........I'm trying to add some of them, along with a few of my own {icky mae}. I'm gonna put this on my to do list..........larger scale Norden {I still have the parts panels for the Mary Ann....I think}. thanks for the good word and the suggestions, but this boat is more a coaster than a seiner....not sure if it makes any difference. I'm following the instructions, which is pretty rare that I follow them close to the letter
- 378 replies
-
- 6
-

-
- t78 norden
- billing boats
- (and 1 more)
-
that's the sad truth about plastic kits.......they leave out so much juicy detail. what they do add sometimes is incorrect. there was no such thing as P.E. back when I was heavy into them. your doing a great job, putting in that extra pa-zazz
- 378 replies
-
- 6
-
-
- java
- pacific crossroads
- (and 2 more)
-
that looks pretty neat! nice bit of scratch building there!
-
I said the same thing Yves......I wouldn't wait for them I'm thinking you have the basics down.......go for it! looks really good!
-
you nailed it! they look great some of the dead eyes aren't turned the right way......but if your happy with it, that's fine. if not....like Brian demonstrated, the channel dead eye center hole should be pointed down and the shroud dead eye center hole should be pointed up. the center lanyard rope is the longest. just browse any number of sailing ship logs and you'll see what we mean. I was going to tell you about the term 'leeboard', but I figured some one would. there are a couple of other names for them, but that is the most common. it also depends how they are installed.
-
I see.........well, just think........doing it like that, you'll be done before ya know it
- 1,306 replies
-
- 7
-
-
- syren
- model shipways
- (and 1 more)
-
what angle did you draw your lines? I'm thinking of doing it a bit differently......it will aide in my decision looking good!
-
coming along nicely Per
-
you could have gotten the GATO sub kit.......it has a clear outer shell that shows all the internals. from what I've seen, there are a few other kit like this out there. looks really good .....I wonder if there is a detail kit out there for this one?
-
thanks Pat.....she'll look even more the part when I post the next update
- 378 replies
-
- 5
-
-
- t78 norden
- billing boats
- (and 1 more)
-
nice work on the shrouds....considering the time from your last posting, you didn't take you that long I made a jig for the spacing.....first one I ever made. I like your idea of making a pair.
- 1,306 replies
-
- 8
-
-
- syren
- model shipways
- (and 1 more)
-
I think you did a great job with the lower planking. you comparison with it though won't look the same, as the lower planking gaps may be filled in with varnish. it still looks good. I don't use a varnish...I find the finish too soft. I use a lacquer......I use a semi gloss for my decks. it seeps into the wood......two coats will give a good finish, and the sheen will disappear as it cures {there isn't much of a sheen anyway}. your doing some nice work here
-
yea, they say about 1 1/2 times the size of the dead eyes, but that rule is pretty flexible. as long as you don't make them like an inch long, you should be in the ball park. you could do like Shihawk suggests and still be alright they do get adjusted when needed, so if your off a little, it's no biggie. folks do them all the same height as more of an aspective appearance...they look neater if all even. folks achieve this by joining two wires together and bend the ends, so they will fit in the outermost holes of the dead eye. the middle hole is always center - bottom dead eye facing downwards, upper dead eye facing upwards.
-
thanks John..I should have added those parts earlier, when I did the cap rails. had a bit of a hiccup today, taking the admiral to her doctor's appointment. good thing they had some up to date copies of fake news I've done a few more bit for the Norden......and I've even done a little on the T.D. should have a couple of updated soon thanks to all for the likes.
- 378 replies
-
- 5
-
-
- t78 norden
- billing boats
- (and 1 more)
-
I thought of the perfect next project for you.........a cruise ship! that'll keep you busy for a while you certainly have the knack for it! amazing when you lat it out like that.......a very well detailed model
-
I have a tool that cut circles.......it's first problem, is that it's made of plastic. I haven't been able to cut a decent circle with it yet! count m in to watch your project grow
-
nice progress BTW she's looking superb!
-
the rule of thumb is, depending on how many shroud lines there are: starting with the starboard side, they are done in pairs.....two to starboard, then two to port. they are tied together at the mast and run down to the dead eye along the rail or channel. the leading shroud lines are usually a bit thicker than the rest, due to main sail chances of rubbing on it. if you have an odd number of shroud lines, save that one for last.
-
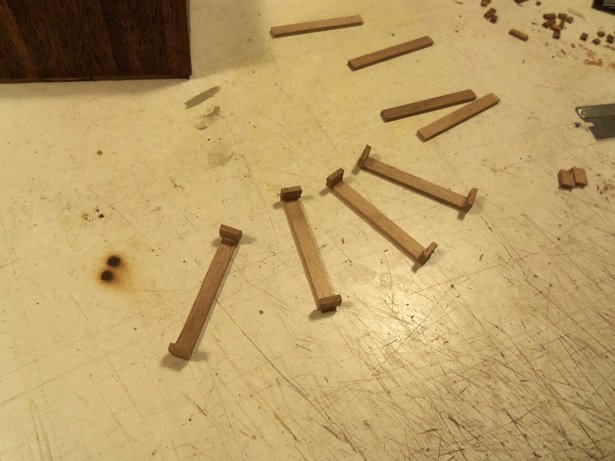
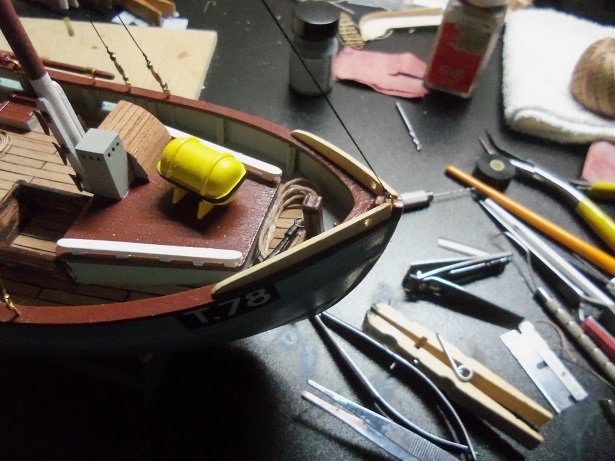
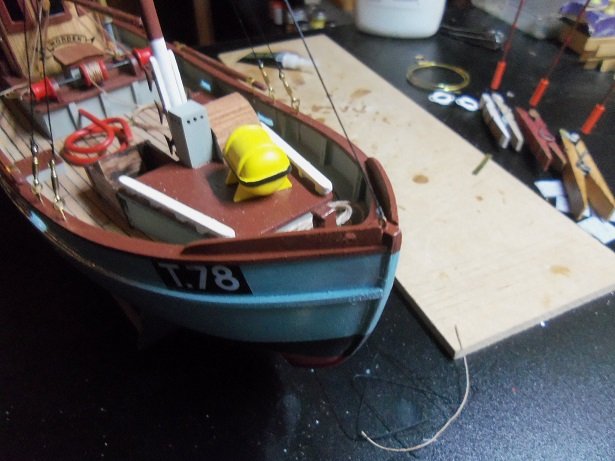
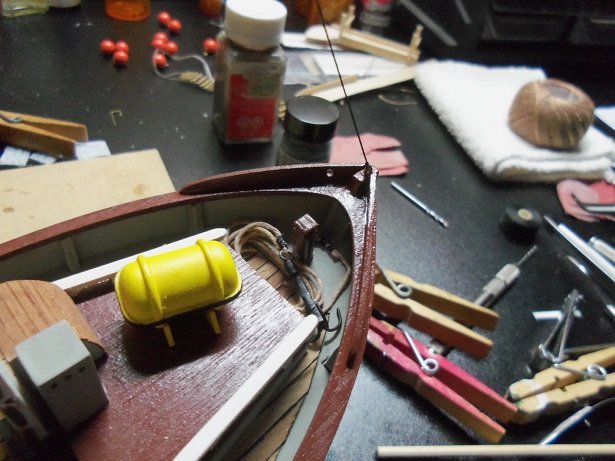
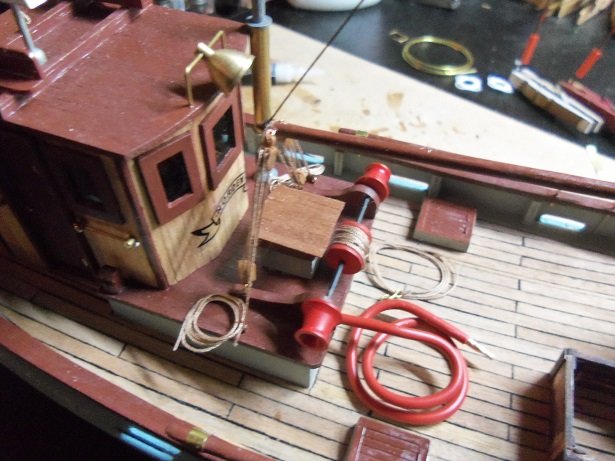
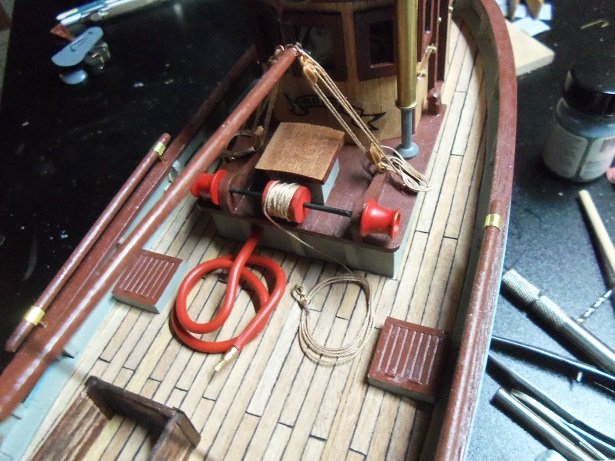
thanks John.......yea, got a few more ideas to throw at her as mentioned, I finally added the break water fenders to the bow. a bit out of character for Billing's....usually they supply these as laser cut parts......these you make from scratch. I had a pair from another model.......likely from the Mary Ann, since I used the pair that they showed in the diagrams. how this other pair got into the kit, I'll never know, but have a good idea of it. I've built other models before that supplied parts that were intended for another version of the model. then I worked on rigging up the main mast boom. I added a stay for the boom......actually, I should have rigged it to be a haul line, but the gooseneck of the boom is a stationary fixture, and only allows the boom to swing port or starboard. the stay will aide in making the down haul pulleys taught. I also worked on the winch, adding what would be considered the power wires. once done, I can add it to the model. more on her soon. sad thing to note, that my work schedule has changed.......I've gone from the 3 / 12 hour work week, to a 4 / 10 hour work week...so I will be losing a day at play. might be good...... ..might be bad.....I really don't know how all this will play out. I have one more week of my old schedule, and then I'm on the new one. this might be short lived though......on Thursday, I have to go take a test.......if I pass, I'll be well on the road to a new job.

- 378 replies
-
- 14
-
-
- t78 norden
- billing boats
- (and 1 more)