
HOLIDAY DONATION DRIVE - SUPPORT MSW - DO YOUR PART TO KEEP THIS GREAT FORUM GOING! (Only 13 donations so far - C'mon guys!)
×


popeye the sailor
-
Posts
16,007 -
Joined
-
Last visited
Content Type
Profiles
Forums
Gallery
Events
Everything posted by popeye the sailor
-
 very nice progress Steve the lettering would be good......a lot better than a decal. as far as the block of wood......I'd do it too as long as your comfortable with the size of the boat, you should get it.....but look around first. Cornwall deals with fitting from a number of places.....one of them might have a better fit. I order from them too. I had to chuckle with the lettering picture.....where it says "others bought this" they list the 5 mm belaying pins {I ordered some for the Thermopylae}.
- 291 replies
-
- 3
-

-
- bounty
- billing boats
- (and 1 more)
-
your moving right along Sjors
-
it would depend on how you plan to attach it. if your going with a wrap-around, #3 would be your best choice.
-
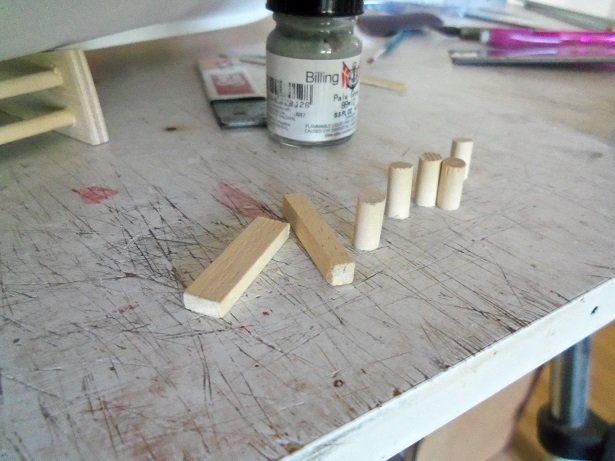
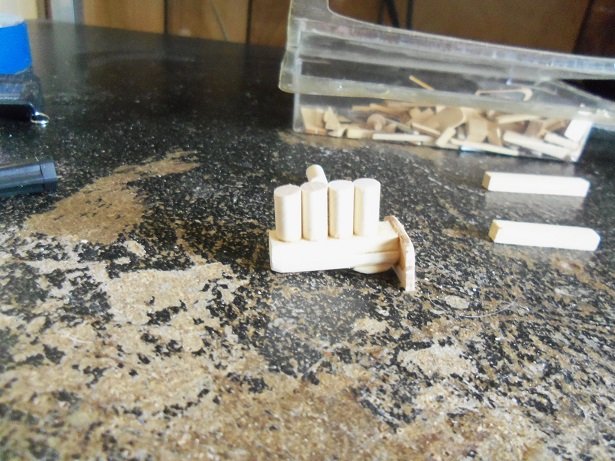
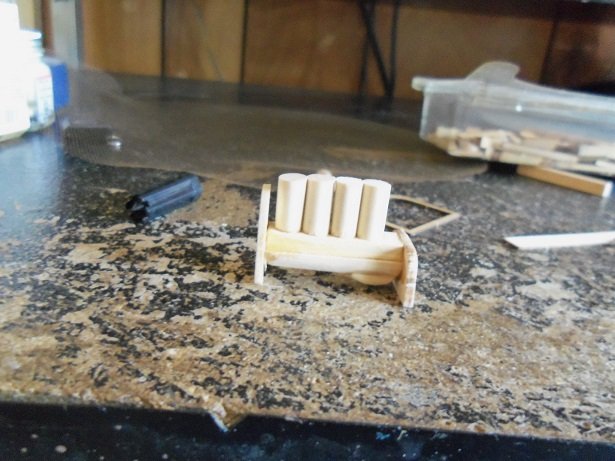
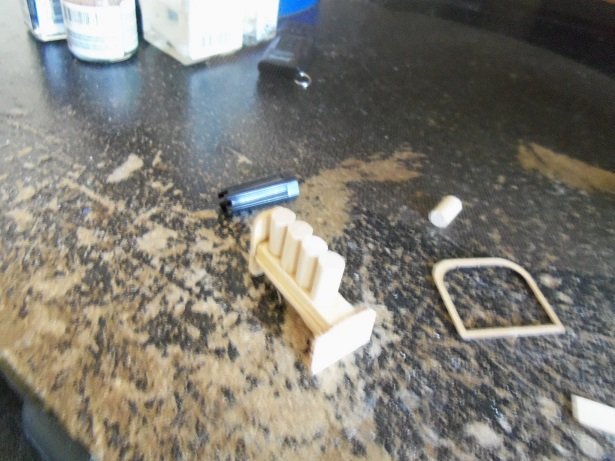
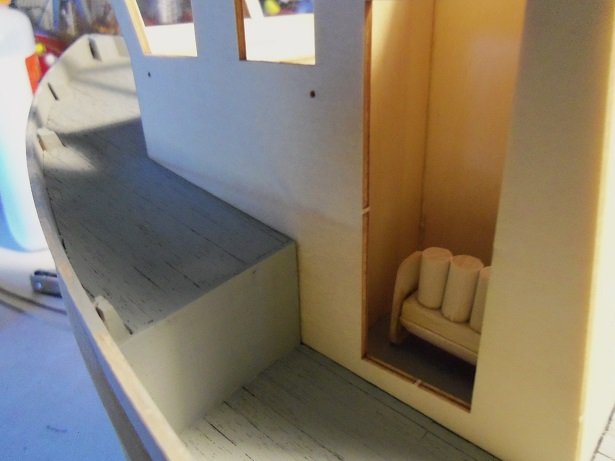
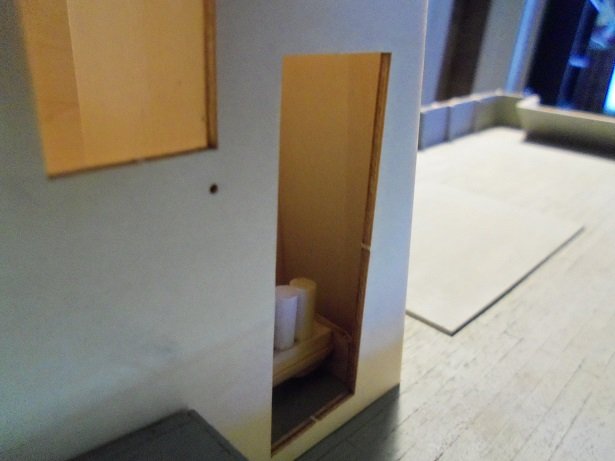
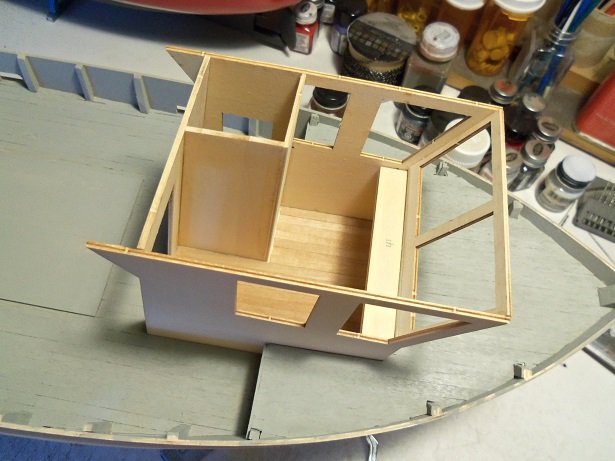
since it's called the winch room {it's what I called it}, then there must be something in there that powers it. I decided on a simple four cylinder engine. going into my junk box, where I keep all the punch outs and odd stuff, these parts were fashioned from them. the crankcase is a larger dowel, cut in half. it was cut flat in what will be the back section, and another squared piece was added. sanded and rounded up, it looks like the sump well. assembled, a rear mount was added. added at this point, was a piece that will serve a dual purpose, as a front face {timing cover} and the front mount. the part to the right.......which is a punch out for a sailing ship top {from the Gothenborg, I think. shows you how long I've had this junk}, will serve well for a radiator / shroud combo. you may notice the tulle laying around here too. radiator grating.......can ya dig it inside the winch room, it looks a bit low......I may add a platform to raise it up a little. it's a doable size......not bad for tinkering on the fly. there plenty of room in the front, for the radiator........ .....and plenty of room in the back for the gearbox. add a battery and control box......and I think it will look pretty good now to come up with the intake, exhaust, spark distribution, and the rest of the engine gobbl-de-gook

-
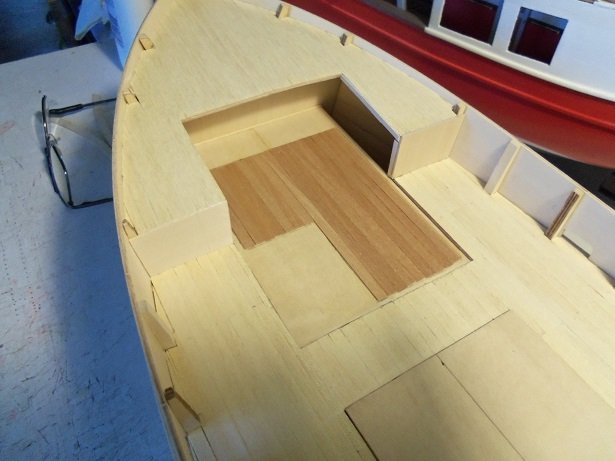
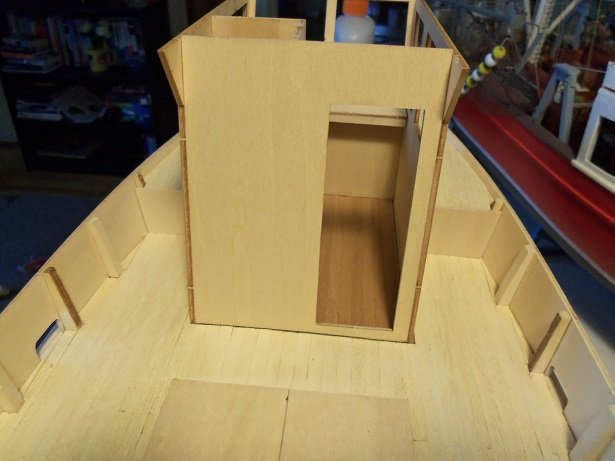
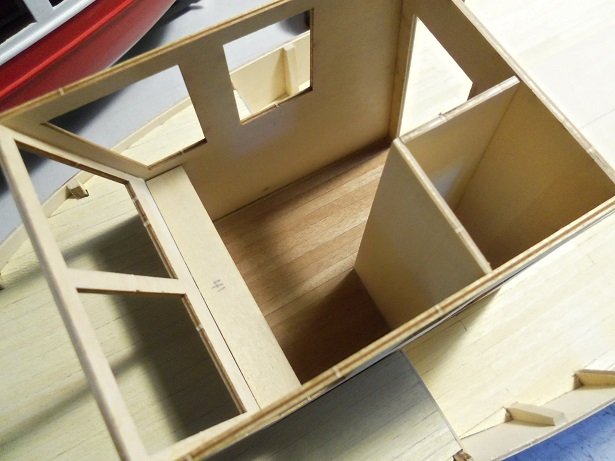
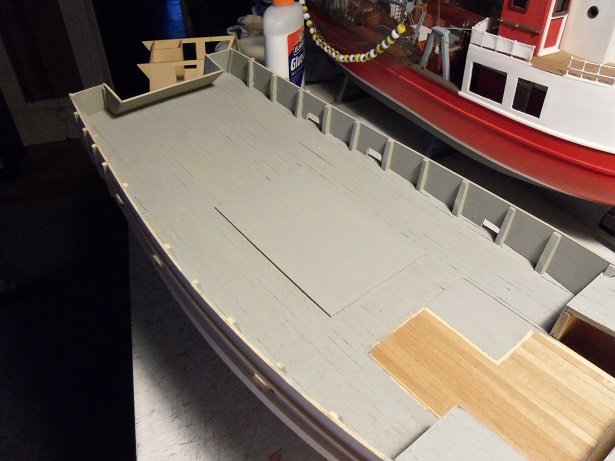
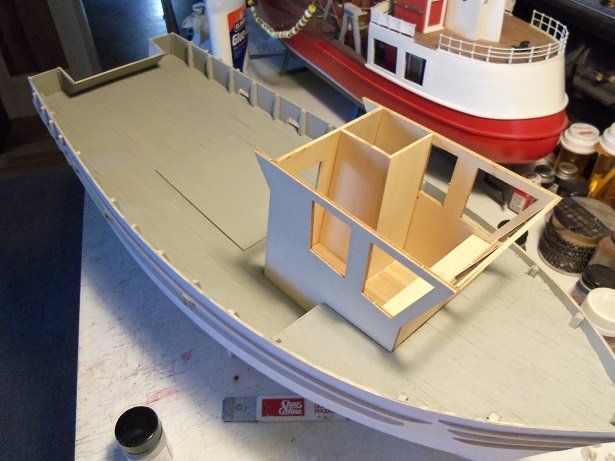
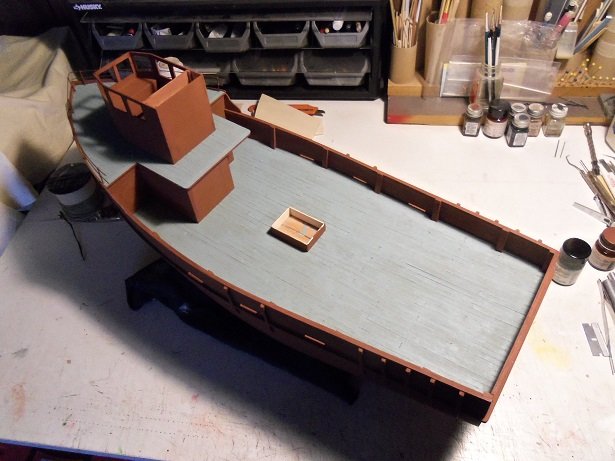
the sanding process is done.........it went very well. the sawdust filled in some of the gaps and the deck has a nice feel to it. before the big moment, I took the time to lay the floor of the pilot house. only the main part of the floor was done......not the winch room. the pilot house was put in place to insure I stayed within the structure. the floor was then masked up. I used Billing's pale gray for the deck paint........not the advent gray that I used on the other fishing boat. I also opened up the garage......unblocking the other window......I close them up for the winter. I gotta face it.......the paint may be too old.......I couldn't spray it with my airbrush. I ended up using a brush. it still came out alright. there's a touch of ghosting.....adds to the weather look, as far as I see it. it's a flat...another plus......and the plank lines, butt staggers and grain still shows through. putting the pilot house in place is spawning ideas about some details I might add......one in particular. an idea I have pertains to something not shown here........wait a moment........I've been working on it since I began putting this post together. it didn't take me long to come up with something workable
-
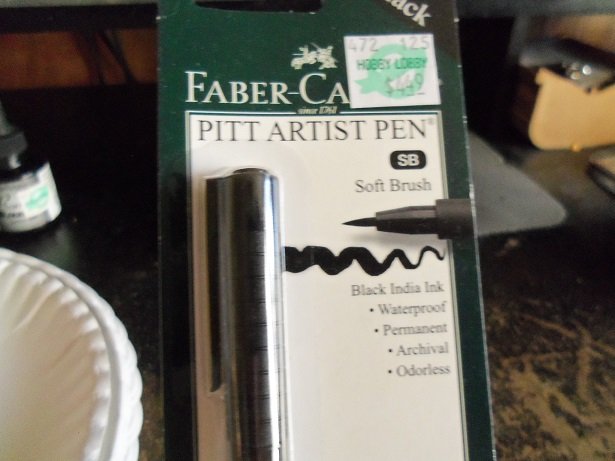
if that's the same one I use, I just rejuvenate it with some India ink. the top comes off and I squirt some in. I just looked at my bottle of ink......but it doesn't list the active ingredient grasping at straws.......perhaps alcohol?
- 193 replies
-
- 5
-
-
- cerberus
- paper shipwright
- (and 1 more)
-
hello Larry.......welcome to the log. if that's the case, you'll need to build whole new list. I have an extensive list of watched logs myself.....with all the new talent coming to the table here, it's impossible not to increase the 'watchload' yours is no exception........beautiful! thanks for the good word.....hope to have more on her soon.
- 453 replies
-
- 7
-
-
- thermopylae
- sergal
- (and 1 more)
-
really nice job Larry.......you need to do the other side too, I take it coming along splendidly!
-
thanks Tom.......appreciate the good word
-
both comments are valid......but it boils down to the simple fact that most kits are generic. they are cost effective to sell. whatever date, refit, theater, or era, the subject is to be, is up to the modeler to decide. pretty much every kit I've gotten, I've spent extra for wood or fittings. it comes with the territory.
-
I love older models.......sort of a nostalgia nut. I visit oldmodelkits.com and walk down memory lane Revell, AMT, MPC, Monogram.......so many different cars I built in my younger days. even planes........way back before they started to add the panel lines and rivets. I used to say that I kept my stash at the 606 store {the local hobby shop}. god knows how much money I spent.
- 151 replies
-
- 8
-
-
- duke of york
- tamiya
- (and 2 more)
-
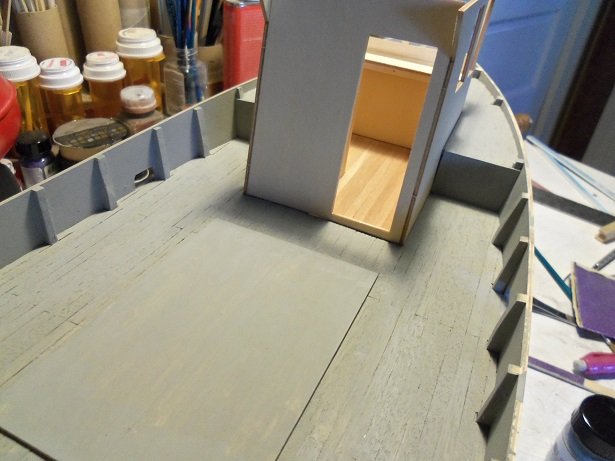
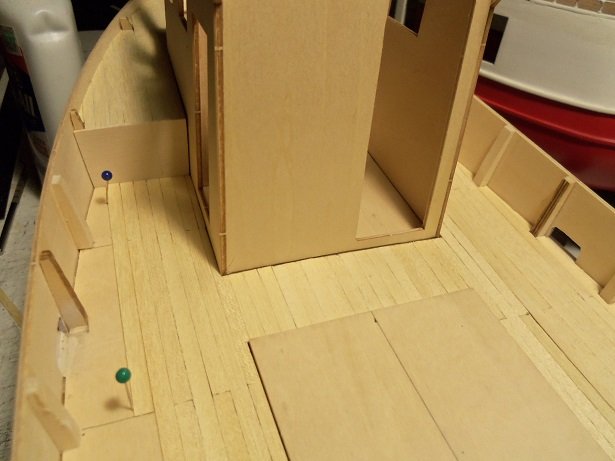
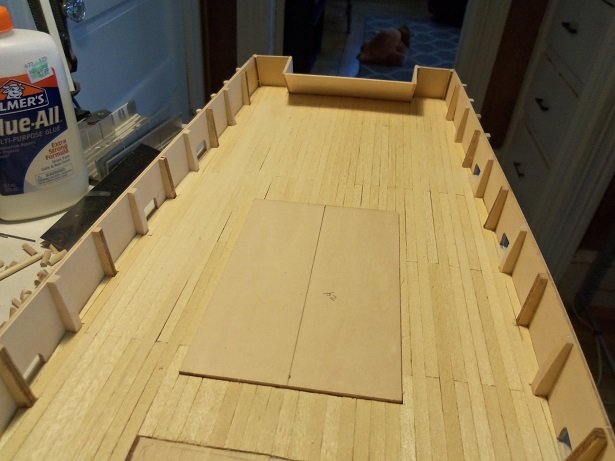
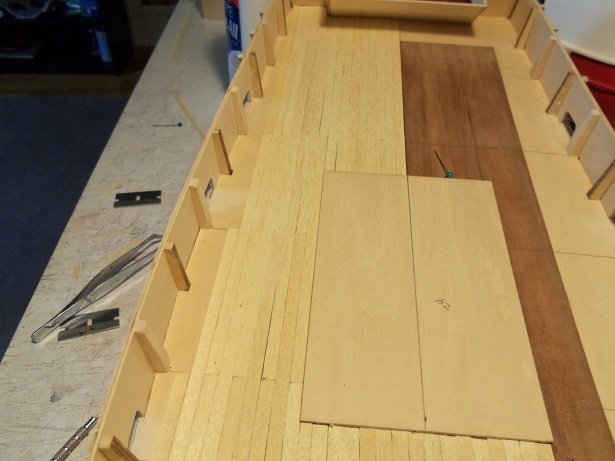
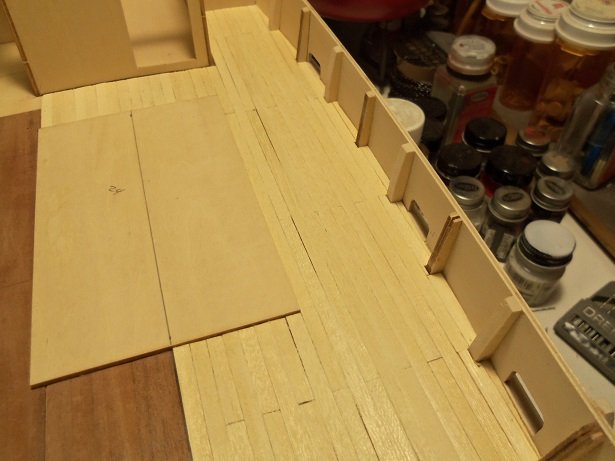
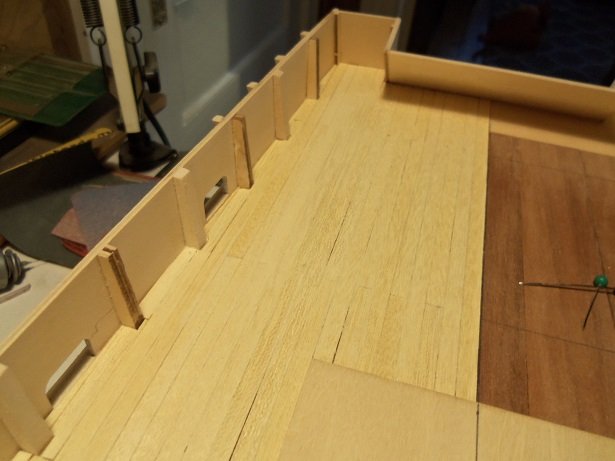
....now for the other half........I finished it off this morning it's so good to see the mahogany patch ......GONE!!!!! I was going to cement the aft platform in place, but since it sits in front of the trawl rig, I figured I'd leave it at the same level. closing in on the bulwarks... you'll see that lone strip of mahogany on the starboard side......the strip was perfect to box in the pilot house on that side. since it will be painted anyway, it won't matter. on the port side, I was able to use some blonde strip I have on hand. I have about three or four different widths of Annegre, but that too is a decorative wood {at least for me}, and I chose not to waste it. the pilot house fits nicely......I may use the Annegre to do the decking in there. I do have to be careful though.......I have a nasty habit of killing subjects, in this way. I have a hair appointment around noon {the admiral thinks I'm a bum}.......so I had to scramble......but the deck is done. when I get home, I'll work on painting the deck. a few of the minor gaps will be filled with wood filler....but I won't be too picky. a good sand now should complete the process.......I like the way it came out so much better than the eyesore it used to be.
-
fantastic project! when I built ships like these, there was no such thing as P.E. ........or this scale for that matter. seeing an increase in the logs on these vessels.......I'm tempted to get one. but I think the admiral would kill me. truly superior work
- 151 replies
-
- 8
-
-
- duke of york
- tamiya
- (and 2 more)
-
WOW!!! awesome build........kin I watch? very nice recovery work going on..........planking is looking super!
-
hello John! .......just finishing up on the port side. slowly but surely cleaning her up....and making progress at the same time just think.......five more fishing vessels, and I can have my own calendar thanks for the good word......glad to see your back! heard you were out gallivanting again
-
your making progress Sam........they look good
-
super how the P.E. details the structures.....above and below deck. cripe.....I remember when they didn't even do the panel lines on planes. modeling evolution at it's finest!
-
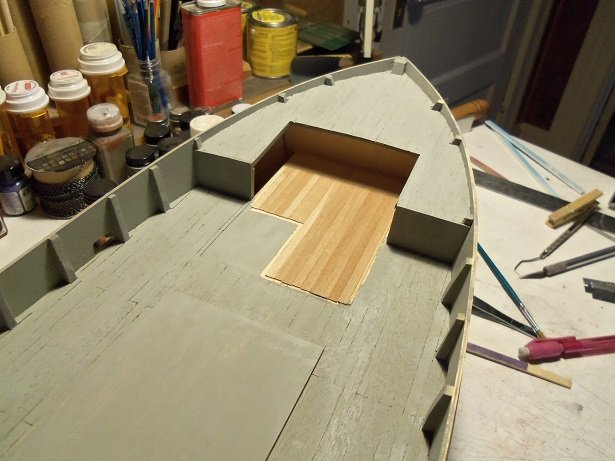
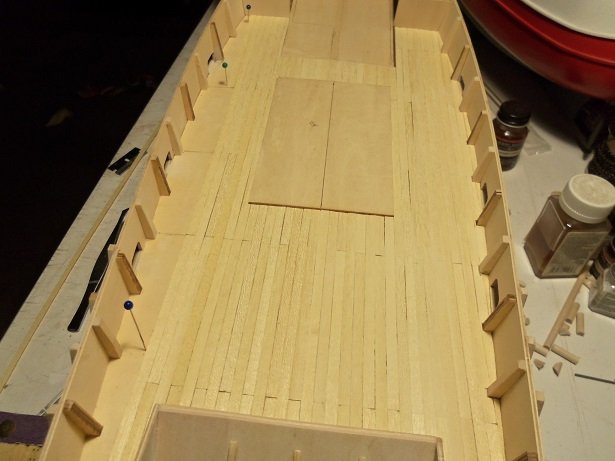
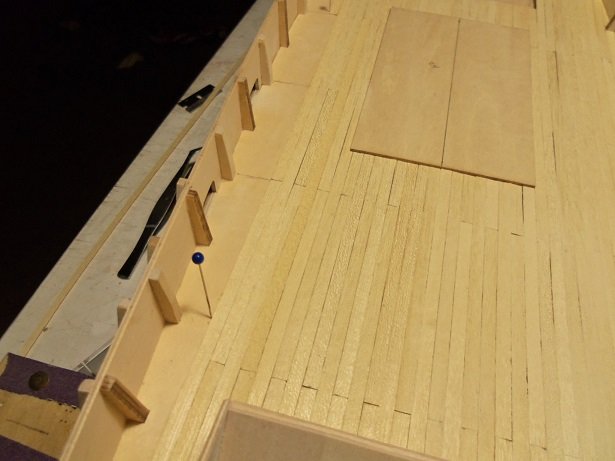
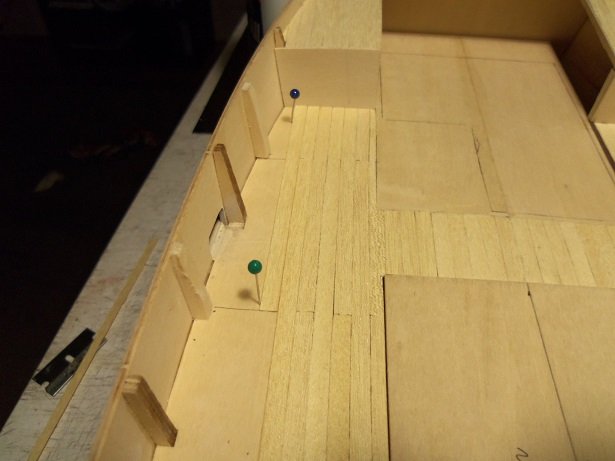
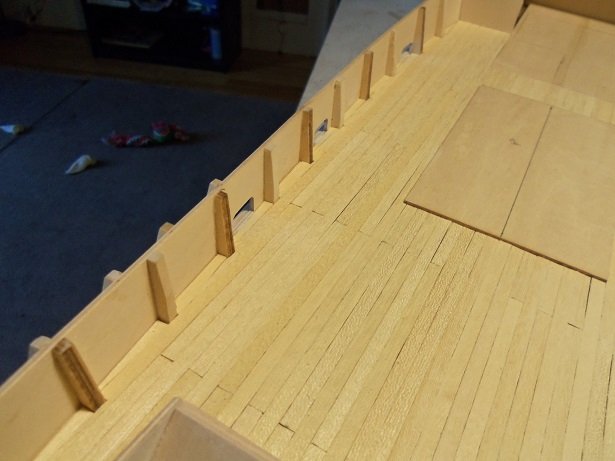
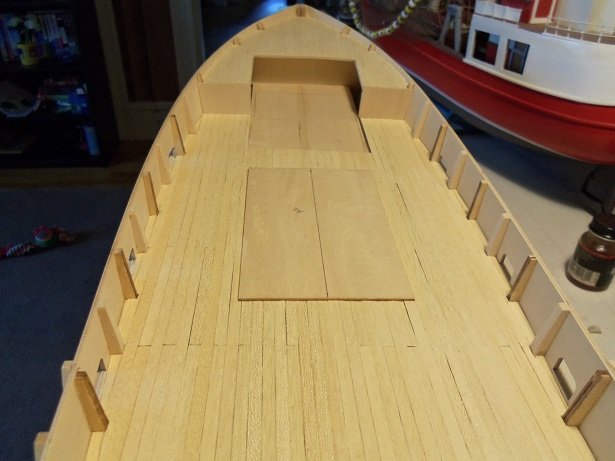
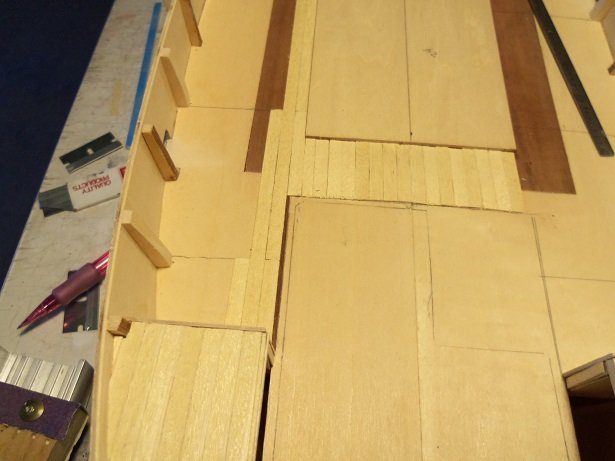
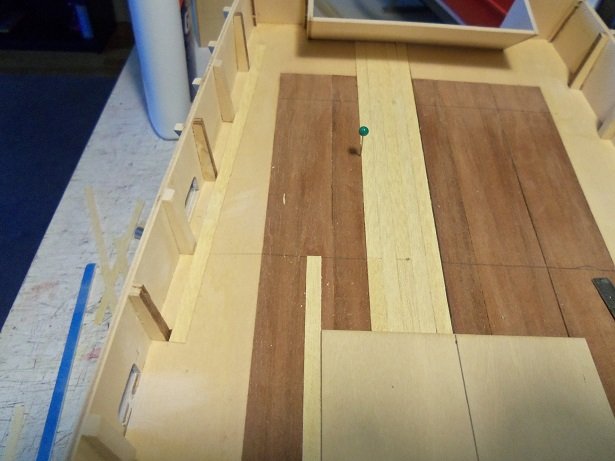
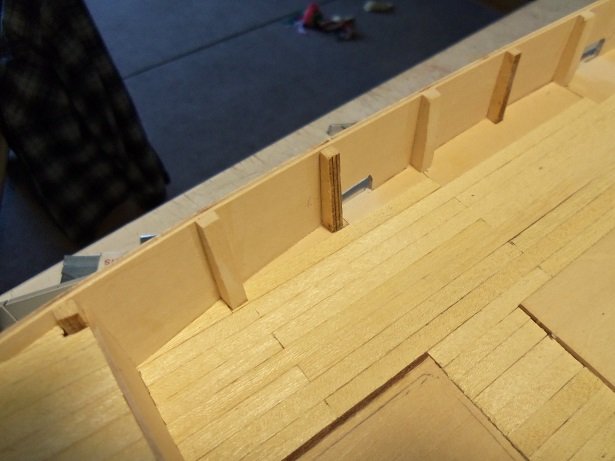
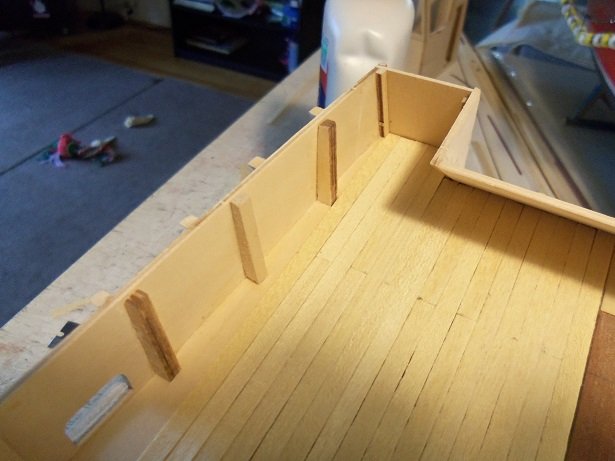
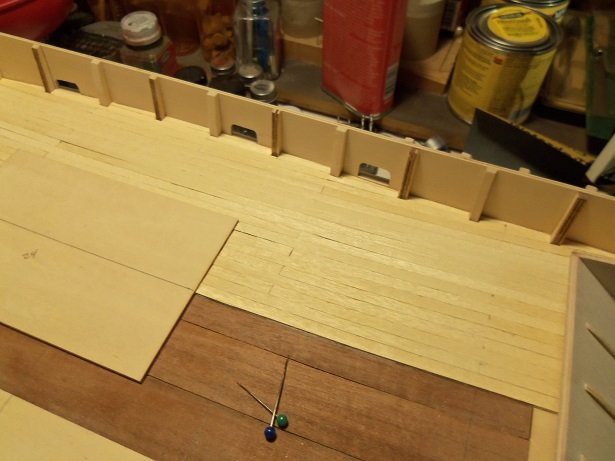
I took a tiny break from the Thermopylae......I have a vendetta I'm going to fix the main deck.......once and for all! no more will we see that mahogany patch in the middle of it. As mentioned, I have some 0.5 x 5 mm blonde strips {Obetchi, I think}, and I plan to plank the deck with it. the planking starts in the center of the main deck, just behind the pilot house........seemed like a good place. I'm going to do some butt staggering, which will add detail when I paint over it. yep!.........gonna paint right over it anyway. anyone who has visited the Holiday Harbor log, saw what painting the deck looks like.......it's an interesting take on the work boat deck. this fishing boat has no name yet.......when I continue on her, I'll start a log. there is much more to go yet...I'm a long way from being done. as you can tell, the boulogne Etaples is it's mother...it's one of the hulls that I had cloned from her parts panels. another one of the hulls went off to become the Andrea Gail. sadly, I chose the wrong boat, to base a Christmas theme on. Anyway...the planking on the Boulogne has begun! from the halfway line, I went starboard first. I didn't mark off too many stagger lines...probably going to be my downfall, but we'll see. it progressed further......... ....from the front of the platform, to the aft end of the platform. it will fill the area and meet up with the strip along the platform. getting closer to the bulwarks.......there's going to be some fancy cutting to do. I know it's hard to see.......>help....I'm Blonde blind!< as I cols up between the posts, they are filled in with odd cut pieces. this half is done.......now to get the other side done. thanks for look'in in.
-
very nice work on the anchors Chuck.......they look really sweet!
- 1,051 replies
-
- 3
-
-
- cheerful
- Syren Ship Model Company
- (and 1 more)
-
super job on the life boats.......they look awesome!
- 2,625 replies
-
- 2
-
-
- kaiser wilhelm der grosse
- passenger steamer
- (and 1 more)
-
you've made a lot of progress since I last looked in. kind of a silly question, but why are they called ceiling planks......you walk on it.....it's a floor, in reality. very nicely done....looks great glad to hear your admiral is doing better.