MORE HANDBOOKS ARE ON THEIR WAY! We will let you know when they get here.
×


popeye the sailor
-
Posts
16,007 -
Joined
-
Last visited
Content Type
Profiles
Forums
Gallery
Events
Everything posted by popeye the sailor
-
 your moving right along!
 -
compromise..........bring it to the 'idiot box' when you go. I know what you mean.......at least I have the day to play if I want. Gibbs like to get me in there to watch TV at night. it's funny....he will sit near me and give me 'lip service' .......I ask him what does he want to do, and he runs into the living room!
-
interesting project this is the first car kit made of wood that I've seen
-
reminds me of an amusing story...{true story}. I was a young lad on a farm.....my older brother and I were in charge of the barn duties. one day, my brother decided to show me how to milk the cow. any age would have been good for him to show me......he hated to do chores with the cow properly prepped { feed and all}, my initial tries were less than good..........I couldn't milk worth a damn! my brother saw where I was mess'in up........and taped up my fourth and pinkie fingers together. with the adjustment, I could milk the cow just fine. learning this was good for my brother, he got more free time to be a stupid teenager {ended up in the army, for being so 'wild'}. as for me......I'd got to the barn, prep the cow.......tape up my fingers and get 'er done. one evening, we got home late from a family gathering. in the barn, we could hear the cow bellowing out like mad! my father told me to get right to it, and milk her.....she was very stressed! I didn't have the time.......never taped up my fingers..........threw a half a bucket of grain in her trough and commenced to milking! I was doing it!!!........even without the tape, I was milking her with no trouble at all! no particular reason why I told you the story........just that we all run into moments where things look impossible. I'm sure we've all been there at one point in time.......we all know how discouraging it is too. there is a solution here somewhere....sad thing is, you haven't found it yet you will.......I'm sure of it. if your like me......and you put too much thought into it, you may get less than desirable results. it never works for me.......if I think too much on something, it never comes out right. I don't dwell on things long.......I simply...do it. 9 out of 10 times, it will come out just fine I'll run my first plank at the top of the bulwarks, and then work my way down, fitting the plank as I go. if I lay the plank and it wants to ride onto the preceding plank, I'll trim it till it fits. if it creates a gap.......fine......looks like a stealer or a plank jogging is in order. I remember what my friend Tom said to me when I first got into this hobby. I had gotten a kit of the Nordkap from a friend......the frame was partially assembled and it had been in his attic for about 30 years. he was concerned that the kit might be in such poor shape, that I would get discouraged with it, and give up on it. but I assured him that I intended on building it.........my enthusiasm level was at an all time high, and wild horses couldn't have stopped me. I probably should have mentioned something about sanding........Obetchi is a very soft wood and sand easily. an average plank is only 1.8 mm thick.....I get nervous when supplied planking is less than 1 mm. it doesn't take long before the thickness sanded away........when I sand, this is always in the back of my mind. the best way to repair something like this, is to cut back to the nearest bulkhead and patch a new one in.......of course, sanding will be needed to bring the new plank down to blend in. I also notice that there is a squarish edge where the chines are..........where the hull sides and bottom meets.........that should be rounded, following the bulkhead contour. plank tapering is important here.......taper the bow end of the plank, so it lays flat on the bulkhead. this will give you a more rounded chine {turn of the bilge} and the hull contour will look more conformed. I can suggest two options for you.......you can get some 0.5 or 1 mm planking and plank over it, or you can remove all the planking and start over. I know it sounds drastic, but making all the repairs you say your having to make, might not give you a good looking hull. planking over it, you can fill the voids with any junk wood, as long as it's the thickness of the planking you have in place already, and you won't get any dips or off contours. if you choose to remove the planking and start over, sand all the bulkheads, so they are all flush and prep the bow stem and keel. I'm sorry to be the bearer of bad news, but these are the options. I'm not a critic........I want to see you have a good experience and a bit sad that it's not coming out the way you'd like. I wish I was close to help you more.......I know you can do it my friend chin up........let me know what you plan to do
-
it's a lot of tiny stuff, but considering that on most models, all this added detail is usually molded on.......it was worth any trimming and modifications you needed to do you've done a splendid job!
-
really nice rigging E.J. looks like the crows feet need to be adjusted at the stay. lots of food for thought there.......I'll be doing some soon enough
- 608 replies
-
- 2
-

-
- la couronne
- corel
- (and 1 more)
-
interesting looking figurehead you shouldn't point all those guns at people........it's not nice but they look good though! wonderful progress!
-
Thanks Ron......they're my favorite as well work week is done now........ gotta go get my car inspected this morning........once that's done, it's play time! thanks all for the likes as well !
-
splendid looking ship Hennie........very nice display
- 214 replies
-
- 2
-
-
- agamemnon
- caldercraft
- (and 1 more)
-
a very happy birthday to you Sherry
") looks like a great day to spend on your ship >hint< >hint< enjoy and have a great day!
looks like a great day to spend on your ship >hint< >hint< enjoy and have a great day!
-
/oh Bill......I'm sure you'll get 'er fixed up paint hides a multitude of sin. chin up and keep at it
-
super! so glad to see an update Sam looking good. ain't much of a time line....you may need to step on it
-
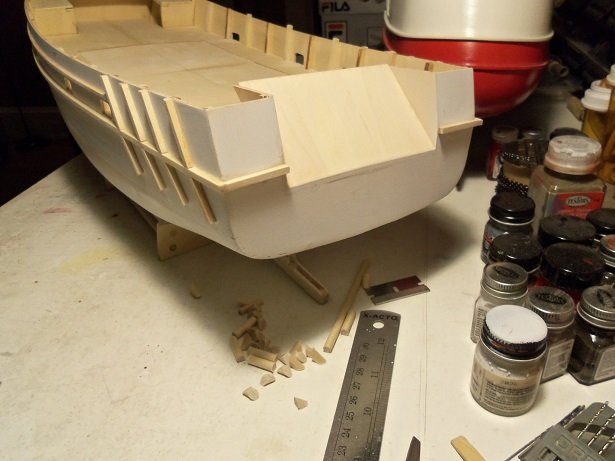
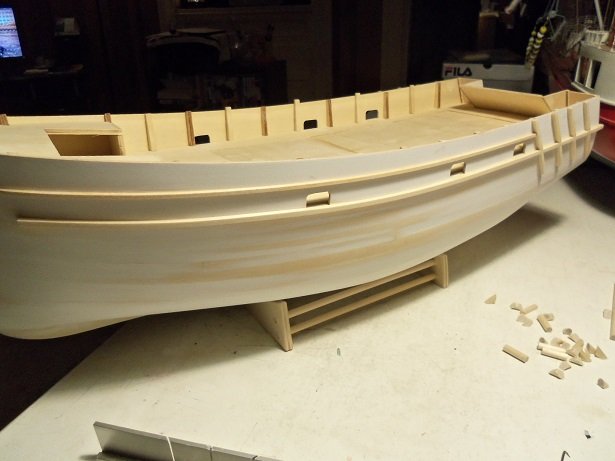
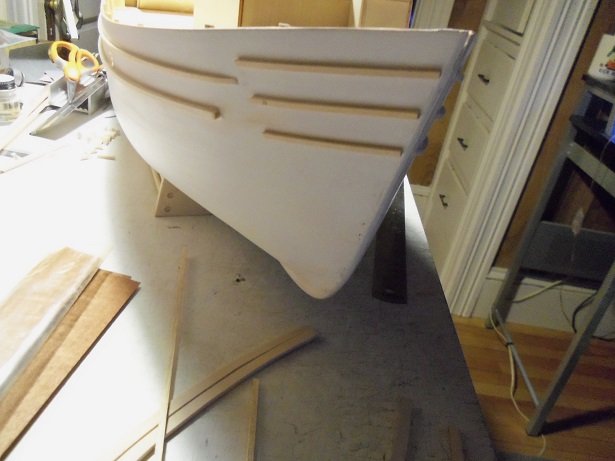
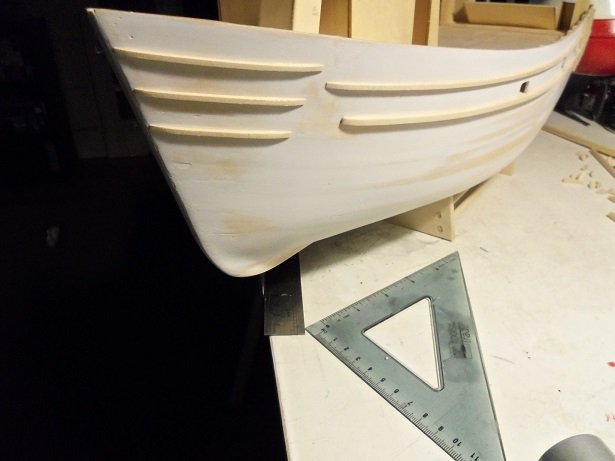
I wanted to sand and round off all the ends........but that didn't happen. another day the bow rub rails are in place. I showed earlier, that I had done a little ad-lib to the stern transom. I was looking through the assembly plans, and there are some rub rails, that are to go there too. I will need to think of a different way to arrange them, since I added those two pieces of 1/8. here is how the bow looks. I did get to round off the port side rails at the bow........this is how they will look. I still have some of that half round.......perhaps I can dress up that bow stem we'll see.... the new additions really change the look of the boat.
-
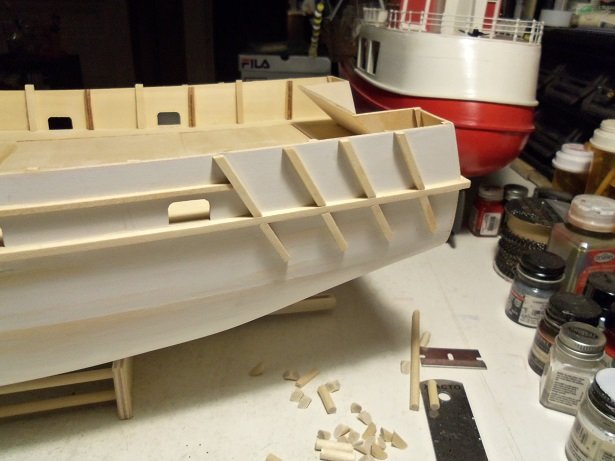
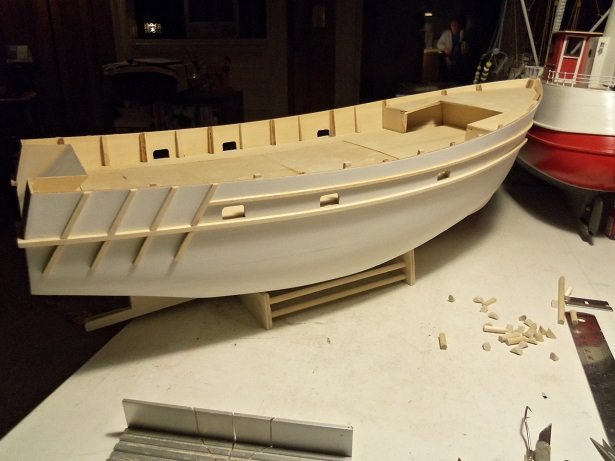
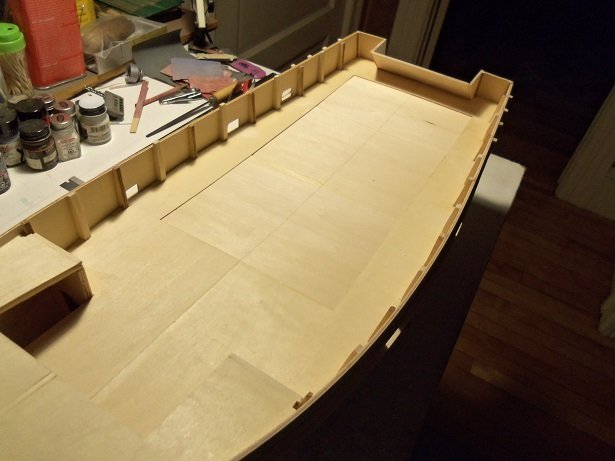
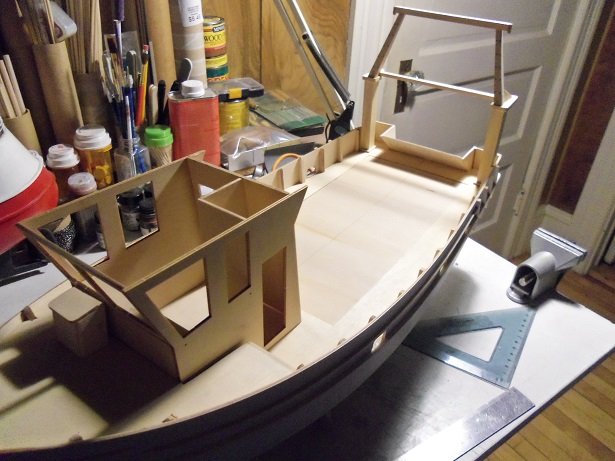
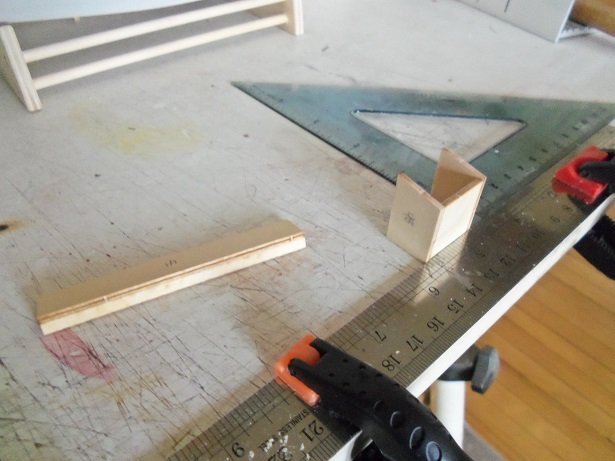
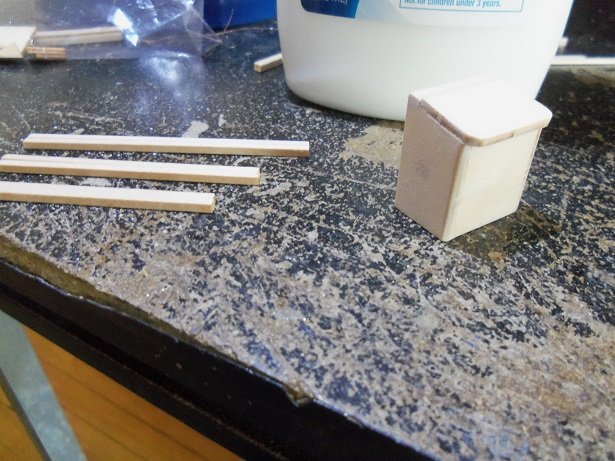
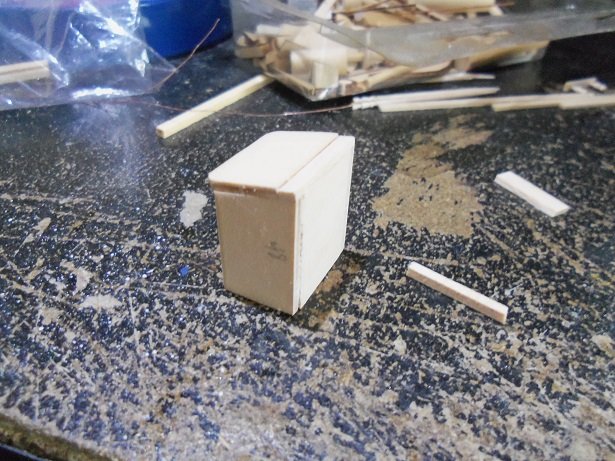
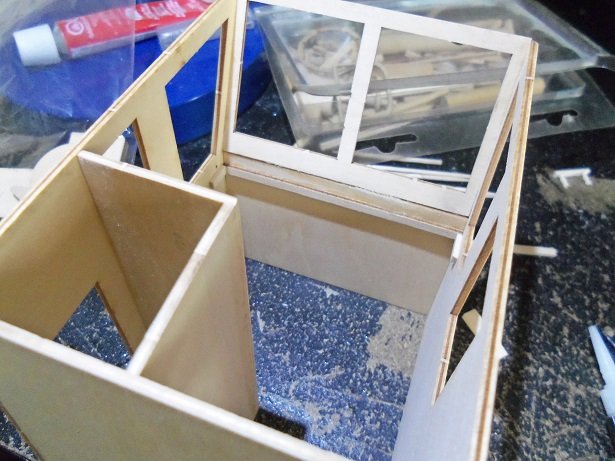
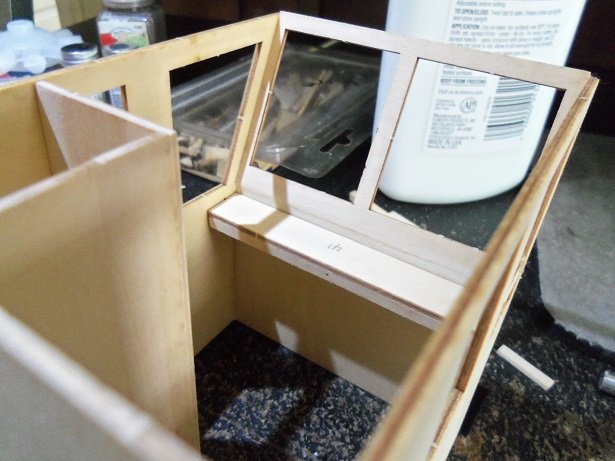
after that debacle.......and allow it to dry, I thought I'd do stuff that was a little less tedious. the bow rub rails were measured and cut........the dash for the pilot house was assembled, and this small locker, that locates on the bow deck was assembled. the 'square 'o matic' was set up on the main table to make the locker. the lid for the locker seems too small........so I gave it a bit of a filler board. I'll create some form of hinges and a handle for the lid. doing a dry fit on the deck, in front of the pilot house, I noticed it doesn't sit flush up to it. I gave it a back.......the plans don't show one.....none supplied. those three sets of 3/16 square pieces, pictured above, are the rub rails.......I started to put them on. while I was doing that, I created a sill for the pilot house dash to sit on. the separation along the windshield was also filled and sanded........it's a nasty looking gap. you can see I already tried to sand it down.......filling and sanding was a better alternative. in the end, the dash was cemented in place. painted........this will look OK. I'm also looking at the box that the pilot house fits in......for some reason, the opening is wider. I'll need to address this
-
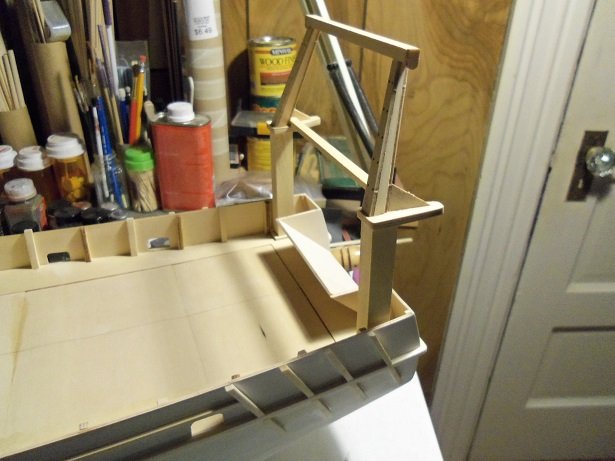
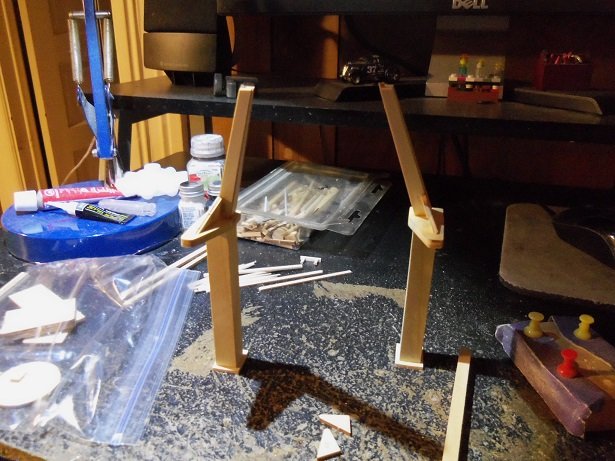
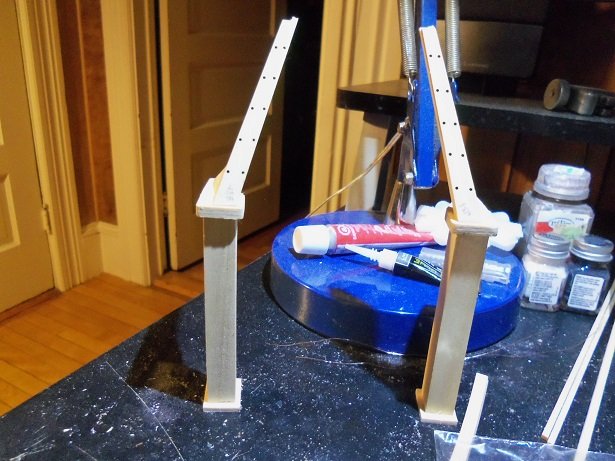
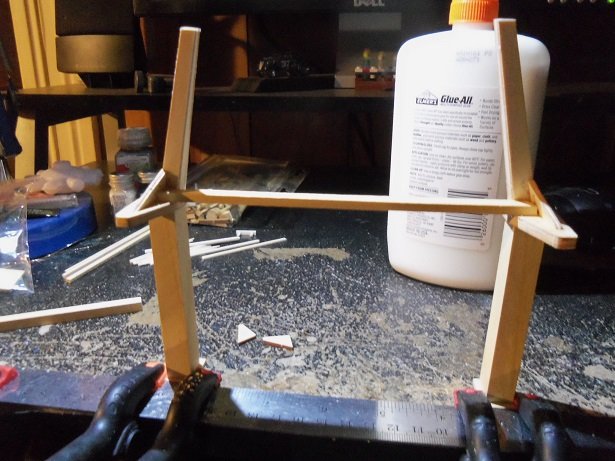
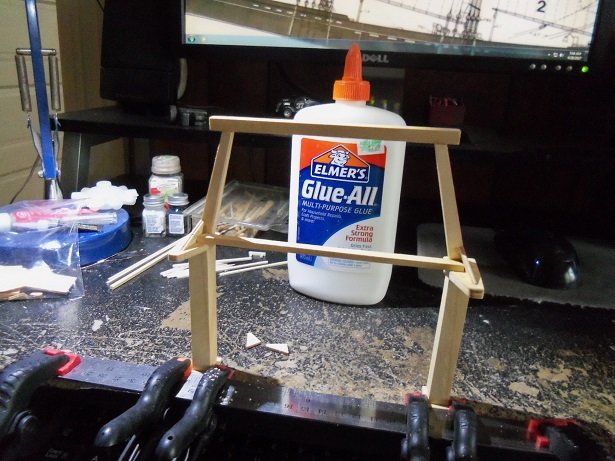
of course, things had to rain on my parade! Thursday was a nice day.......so I did all the stuff I needed to do on the car. I also got to spruce up the garage, so I can do some painting in there. Friday morning was good........but it got too busy in the afternoon, so modeling was hard to come by. I did a bit more on the Boulogne between all that went on. the frame of the trawl rig is assembled now. it wasn't easy assembling it either......centering the upper parts with the bottom parts. they kept wanting to fall over....but I managed to get them to stay put. there are two cross bars that connect them together......the lower one and the upper one. the lower one was first......making sure they were both even with one another was hard to gauge. setting up my ruler made it a lot easier......and to make sure they were perpendicular on my desk, the bases were clamped down as well. things took a turn here, 'cuz when I went to fit the top cross bar, I found that the tops of the uprights were off. I ended up removing one side and changing the angle of the beveled end, that connects them together {the top and bottom uprights}. after putting it back together and trying again to fit the top cross bar......it looked much better. sanding will be required to smooth edges and such.......but this is the basic frame of the trawl rig. this is the stern view.
-
finally I got to catch up on your log! I tried to do it yesterday, but the darn revolving door kicked in, and we were in and out for the rest of the afternoon. wonderful progress on the coach......love the interior really nice! yours looks good to Mike!
-
browsing around, I saw your project here........looks mighty nice!
-
hey there E.J.......sweet look'in ship you've got here! been mean'in to pop in here to see her
- 608 replies
-
- 3
-
-
- la couronne
- corel
- (and 1 more)
-
glad to see the back problem is getting better....best of all....glad to see you back! good your making progress.
-
gotta say Greg.......you really have good hand on this build.........you've done it so methodically. very well planned. good thing the stanchions have little holes......I can just see you winding the thread around each one {talk about Chinese water torture}. I've been doing it with thin wire.......what a pain! rigging and such is awesome......and the added armament looks great!
-
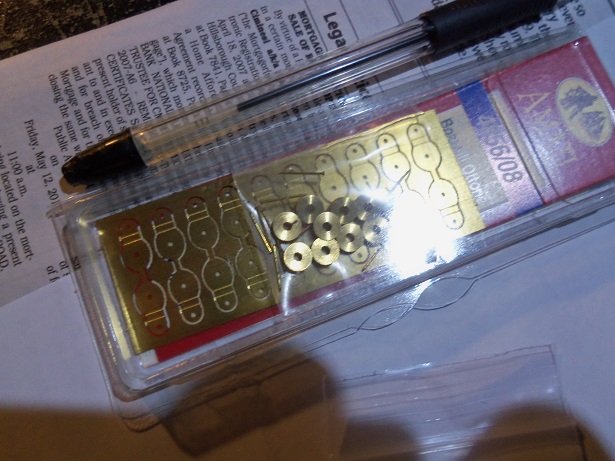
WHOAAAA! clean up the cobwebs and dust! at least all the pictures are still here.......I thumbed through the log. it's been a while since I last worked on the project. I was gonna pull out the other fishing boat....but that needs paint. I'll wait till I can set up in the garage...late spring and it's a wet one so far. this one is not far behind in that respect.......add a few things and she'll be good to go. I thought........rub rails.......but first, I gave the hull a good going over with the sandpaper. the split in the bow stem was fixed......the plywood had separated. there's also an area that I'm going to fix. I pulled out the diagram of the side profile and laid out the main part of the rub rails. I still have to round off the ends, as I've done with other vessels. I recalled using the metal pulley blocks, when I did the Andrea Gail. Billing's was out of stock, so I did try my hand at making them from scratch for another project. it worked out well....but, in ordering the belaying pins for the Thermopylae, I saw them......so, I got a package of them. they come ten to the pack, and they do require assembly. the rub rails for this boat was fun to do......there are some at the bow I still need to add. next update. I need to see what I have for the cap rails........I have the pair for the bow. now.......perhaps with time that has past.....I can arrive at a solid solution to solve my 'pain in the deck'. it doesn't look bad, but it has some buckles in it. with what I learned with the U.S.S. United States deck work, I should have run a pair of 1/8 strips parallel underneath.....it would have thwarted it from happening. we'll see what I come up with as always.......thanks for looking in.