


glbarlow
-
Posts
4,015 -
Joined
-
Last visited
Content Type
Profiles
Forums
Gallery
Events
Posts posted by glbarlow
-
-
Looking good. Your attention to detail at this stage is impressive and will pay off further down the line.
- Ronald-V, Mr Whippy, FrankWouts and 1 other
-
 4
4
-
Yes, thank you Rusty! I don’t know why I can’t locate that download page from the top Group Projects menu. Clearly I’m doing something wrong.
Back to beaming and kneeing it.
-
With these I just cut off a tiny portion of the tip when that happens, which wouldn’t as long as I remember to store them tip up and gently squeeze the tip clear every day.
It takes very little CA to hold, hard to convince myself of that sometimes.
-
Chapter 7 references a diagram for knee and beam locations but I don’t see it at the end of the chapter. Where might I find that😁?
-
Sorry, missed seeing this. I use Bob Smith Industries CA products including their applicators. Here is the standard tip, there is also a fine tip version Here, I use both depending on the job. They go bad after a while (weeks) so I toss them and load another, keeping the tip clear and storing upright prolongs their use by a lot, I made a little stand.
- CiscoH and FrankWouts
-
2
-
-
-
On 8/4/2023 at 8:43 AM, michael.brandt91 said:
Trying to learn Chick Passaro's Planking method.
This is the best way to plank, I converted to it several models ago and never looked back. Learning it for your first model will serve you well going forward. Remember if you don’t like it, take it off and do it again. My joke is my Cheerful model was replanted enough to have three sides,
- AJohnson and Thukydides
-
2
-
So well done, congratulations for a superb model!
- FrankWouts and Ryland Craze
-
2
-
3 hours ago, Blue Ensign said:
char cleaning,
I know the feeling well. So much char…
- mtaylor and Blue Ensign
-
2
-
-
That’s just amazing work, wow, just wow!
- billocrates, Peanut6 and mtaylor
-
3
-
-
Beautifully done, it looks great. Congratulations on reaching the end of a wonderful voyage!
- FrankWouts and CaptMorgan
-
2
-
Why cover nice planking with ugly copper. In my admittedly limited knowledge admiralty models were never coppered, so to stay consistent with your admiralty approach….
- hollowneck, Blue Ensign and Mr Whippy
-
2
-
 1
1
-
Well done Matt, this really great work! It all looks ver crisp.
- Matt D, FrankWouts and Nirvana
-
3
-
Congratulations on reaching a great and significant milestone. So well done! It feels so good to be done with this major step I’m sure.
-
I’d stick with the medium CA, the thin stuff makes a bigger mess and gives zero time to adjust. The CA applicators with the super thin nozzle and spatula I use makes it much easier to control. I’d never be able to plank any other way, Frank is doing a great job with PVA and I did ok with medium CA, obviously both work. Don’t be reluctant to remove and replace, it’s worth the extra time an effort in the long run
- FrankWouts and scrubbyj427
-
2
-
I’ll wait to be surprised by Surprise 😊 I used to check the Jotika website frequently to check for progress on their Surprise until it became clear it had been abandoned, both the website and the model in progress.
- thibaultron, Canute, chris watton and 3 others
-
6
-
17 hours ago, michael.brandt91 said:
a peen hammer,
Put that away! Pre-drill the holes and any number of tools, small ones can push them in. I’ve never found the need for a pin pusher, I have several and none work very well.
To check the bulkhead fairing you need a batten, a long, narrow very very thin plank you lay along the bulkheads to see if runs smooth touching each one. Check out some of the more advanced models like my Cheerful and Winchelsea to see how it’s done. The Nelson is small, but learning these techniques will pay off later.
As to are you doing it right, maybe, maybe not. Who cares, what you do wrong you can fix, how someone else does it serves as a guide to develop your own way. Credit people when you can, but adapt and modify to make it fit and work for you. Before you know it people will be crediting you, -
Nikon’s Focus Shift Shooting (with mirrorless electronic shutters) and LightRoom /Photoshop functions have improved and are now quicker and easier to do since this thread started. Still a bit of work to get a single image, but short of complex lab equipment it’s the best way to get that one image. That one being one, I can’t image taking the time to create a gallery of them.
-
Don’t use oil based or enamel based paints, go with acrylic. Only need water and not all that other stuff. Don’t need India Ink, buy black rope. Syren Ship Models is the best source Here Look through (at the photos) the build logs you mentioned for tools, your wood working tools won’t be much help. Most of those videos are dated and not especially helpful. The build logs will be better guides. The Nelson instructions are sparse, I would have recommended one of Chris’ Vanguard Models Here (a sponsor and active member of this site) with its much much more detailed instructions including photos. Still Lady Nelson is basic and a good starter model. Don’t get frustrated, the best thing about wood is not much you can’t fix, and solving problems is half the fun.
You’ll do fine. Be sure to like and comment on other logs, that’s how you build your community. I’ll be following along.
-
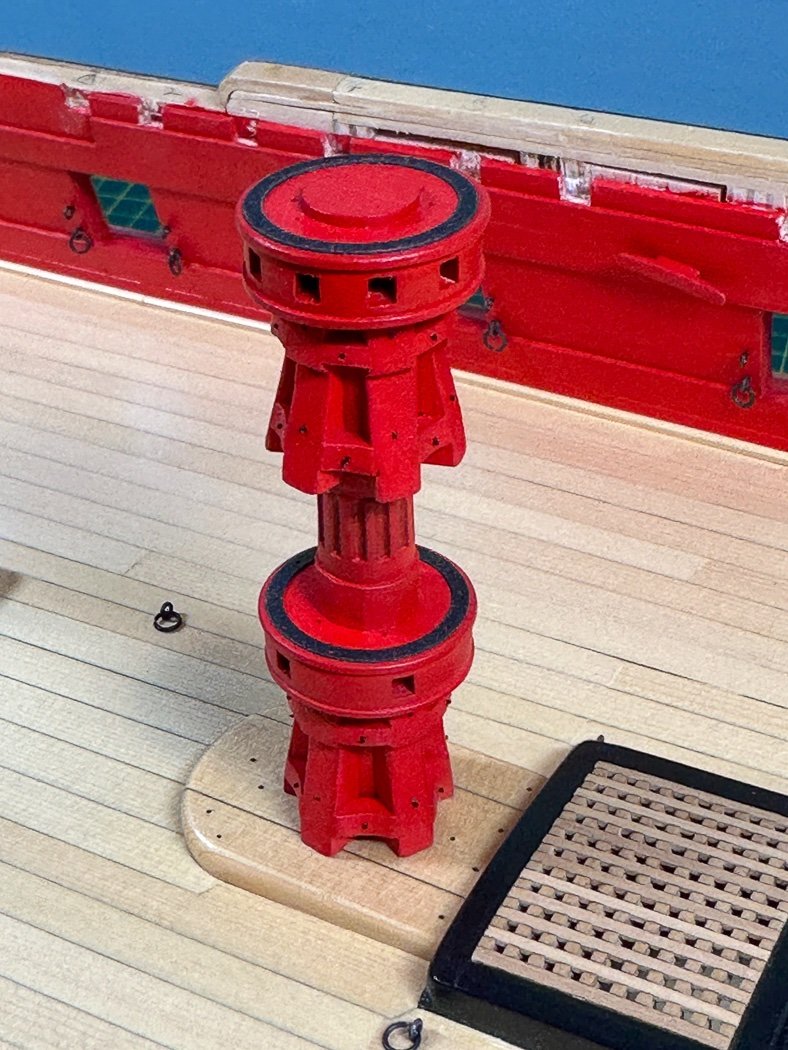
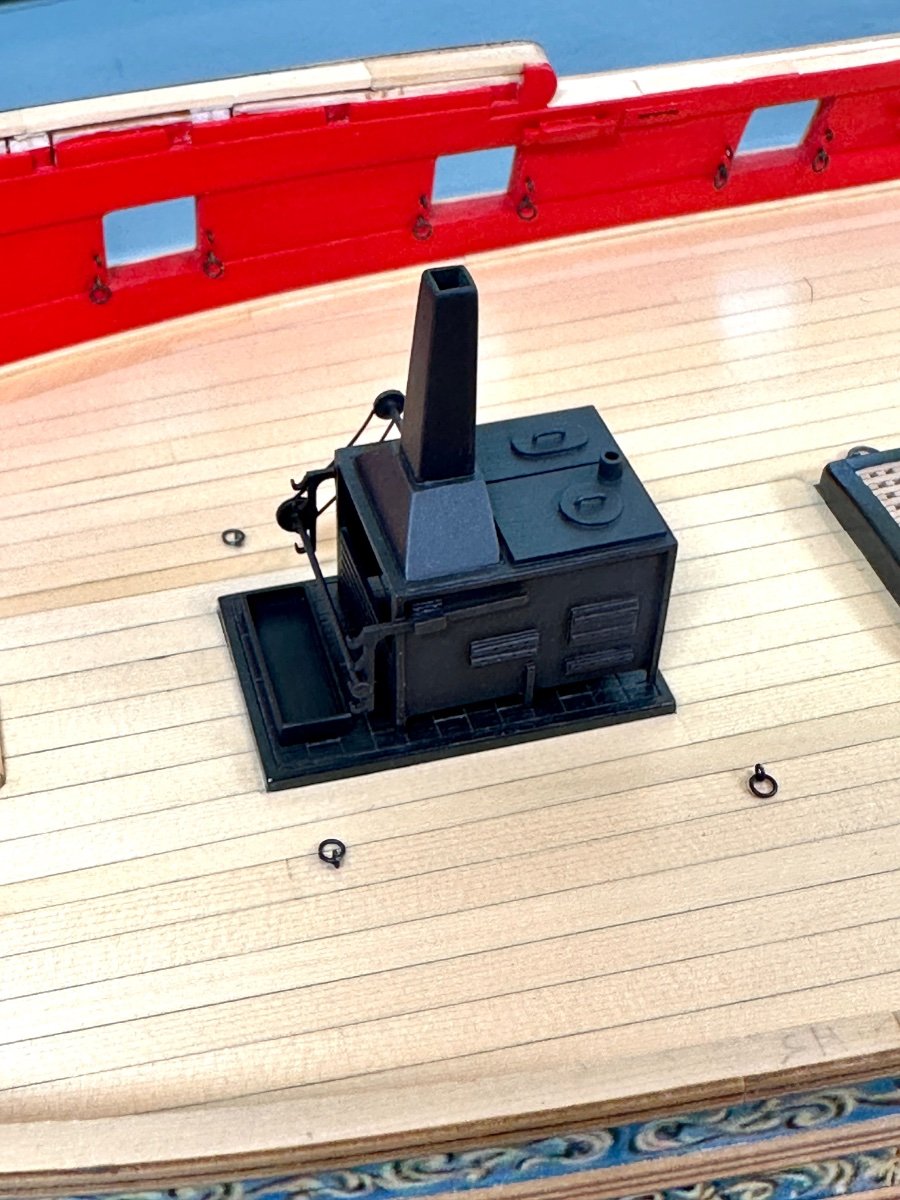
Still here. Not much workshop time, I have completed the stove and now the capstan. The instructions are clear and the mini-kit is, as always with Chuck, well designed and detailed.

I did add Dullcoat to the stove. I like the look but rattle cans scare me, uncontrolled volume, I had to practice a little, first time I’ve used it.
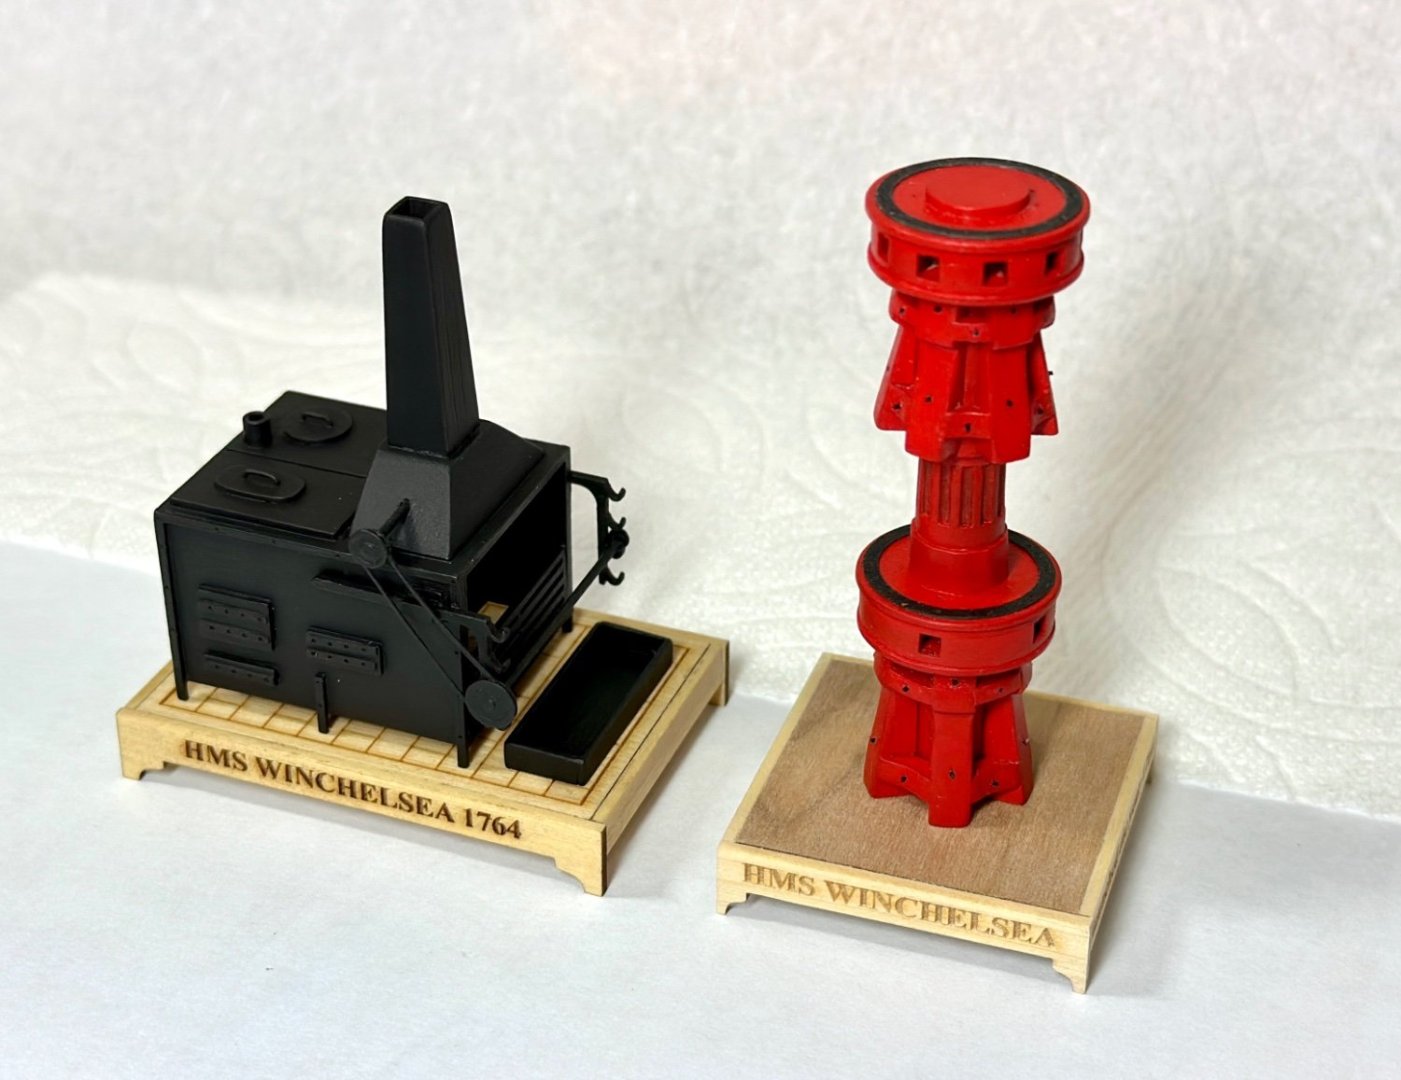
So I have nothing to add other than it was a wonderful opportunity for practicing char removal on many small parts. Good stuff.
Now on to chapter 7. Hope everyone is enjoying your summer.
-
Very ambitious and very well done. This will look great on a completed Winchelsea. Impressive!


HMS Indefatigable 1794 by Kevin - FINISHED - Vanguard Models - 1:64 - Feb 2023 to June 2025
in - Kit build logs for subjects built from 1751 - 1800
Posted
Nice looking work. It will be a sight to see fullymasted later on, good call not to have them fixed at this stage.