
HOLIDAY DONATION DRIVE - SUPPORT MSW - DO YOUR PART TO KEEP THIS GREAT FORUM GOING! (Only 20 donations so far - C'mon guys!)
×


druxey
-
Posts
13,302 -
Joined
-
Last visited
Content Type
Profiles
Forums
Gallery
Events
Everything posted by druxey
-
 I find that the work does not 'catch' if the feed rate is kept down, the oscillating rate not too slow, and one exerts a downward pressure (with the hold-down removed). A new blade from time to time also helps!
 -
The model that appeals to you the most!
-
Just found this thread. The quantity and quality of carved work on the gondola is amazing. Congratulations, Merchen. Wunderbar! Perhaps you would get more responses if you posted the pictures under the subject 'scratch built models' rather than 'organization of wood'.
-
Just found this thread. The quantity and quality of carved work on the gondola is amazing. Congratulations, Merchen. Wunderbar!
-
Kieth: by the time you are done with all those frames, you will be an expert in scroll-sawing!
-
Just 'whipped up a couple more' vents? You make it sound as easy as sharpening a pencil, Michael!
-
HMCSS Victoria 1855 by BANYAN - 1:72
druxey replied to BANYAN's topic in - Build logs for subjects built 1851 - 1900
Very neatly done, Pat!- 1,005 replies
-
- 5
-

-
- gun dispatch vessel
- victoria
- (and 2 more)
-
Your research and notes are very impressive, Woodeater. The detail photographs are excellent as well.
-
With that range of humidity, you would need both humidifier and dehumidifier, I'm afraid. It's a difficult situation you have in your cellar.
-
Wood will move with humidity change, whether you try to stop it with glue, nails or screws. If the variation is large, then you need, as Y.T. suggests, try to lessen this by either humidifying or dehumidifying to even things out. Traditional cabinetmakers allowed for this by using 'floating' panels and joints that move with seasonal change. Even at model sizes wood will move, particularly across the grain, so use wood that had sat long enough to acclimatize in your local environment as well as control conditions.
-
Admiralty model query
druxey replied to iMack's topic in Building, Framing, Planking and plating a ships hull and deck
Don't be too daunted by the idea of drafting and lofting, Bob. Broken down into a series of steps, it is quite do-able. While it's a lovely luxury to have all the equipment illustrated by Bob C, you can manage perfectly well with a set of compasses, a few inexpensive French curves and an 18" flexible curve. That's all I had when I first learned to draft and loft ships' lines. -
Unfortunately, the flag is not the correct era for the ship! The model represents a ship from no earlier than the 1830's or '40's.
-
Truly impressive, Doris. How long does one of those take to construct?
- 1,035 replies
-
- 7
-
-
- royal katherine
- ship of the line
- (and 1 more)
-
Congrats, Dan! Looks very convincing. So, what can we expect next?
-
And from Niagara!
-
Another miniature masterpiece. Well done, Javier!
-
Putting a loop on block ends
druxey replied to Antonio Vasquez's topic in Masting, rigging and sails
I agree with Frankie: wire is easier to handle. -
Just found your thread here, Jens: a nice project you have there!
- 39 replies
-
- 3
-
-
- kdy 15 juniorbad
- yacht
- (and 2 more)
-
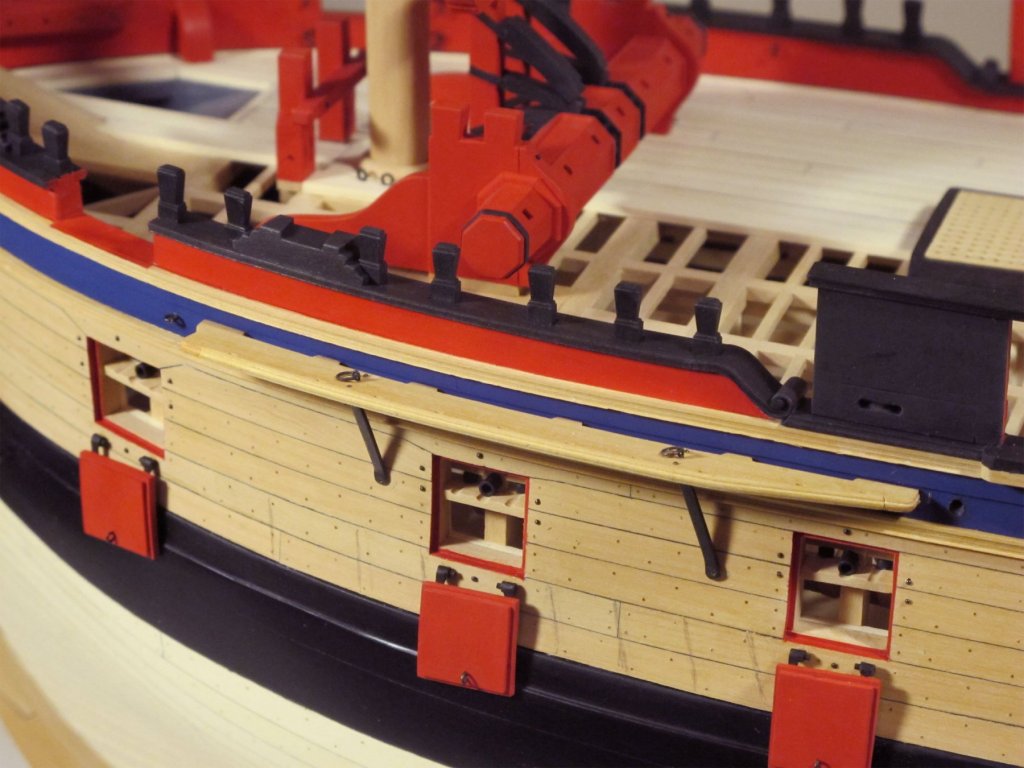
Mark: what you are looking in that photo are the lower-edge hinged port lids, inboard of which are the various 'infernal devices' of a fireship. Close to the ports are chambers. These blow the lids open. On each side of the chamber are grenadoes that also explode. There are many other nasty contents to a fireship, but we digress....
- 607 replies
-
- 7
-
-
- winchelsea
- Syren Ship Model Company
- (and 1 more)
-
Yes, but it's a bit fussy. A little dilute white glue helps retain the worm in the groove as one moves along the line. One only really needs to do this on large lines.
-
Actually, it is possible to get a clean edge on a outside corner. This is how: Use a flat brush and do not overload it. Brush in strokes at right angles to the edge from inside to out, over the edge. If you use a light touch, the edge will be perfect. Should a little paint get over the edge, let it dry completely. Then lightly scrape it off. (This works even more easily if the wood has been sealed before painting.)
- 607 replies
-
- 20
-
-
- winchelsea
- Syren Ship Model Company
- (and 1 more)
