Old Collingwood
-
Posts
12,106 -
Joined
-
Last visited
Content Type
Profiles
Forums
Gallery
Events
Everything posted by Old Collingwood
-
 Great work Bob - Really First Class. OC.
 -
Amazing work - Top Notch craftsmanship. OC.
-
Thank you kindly Edward. OC.
-
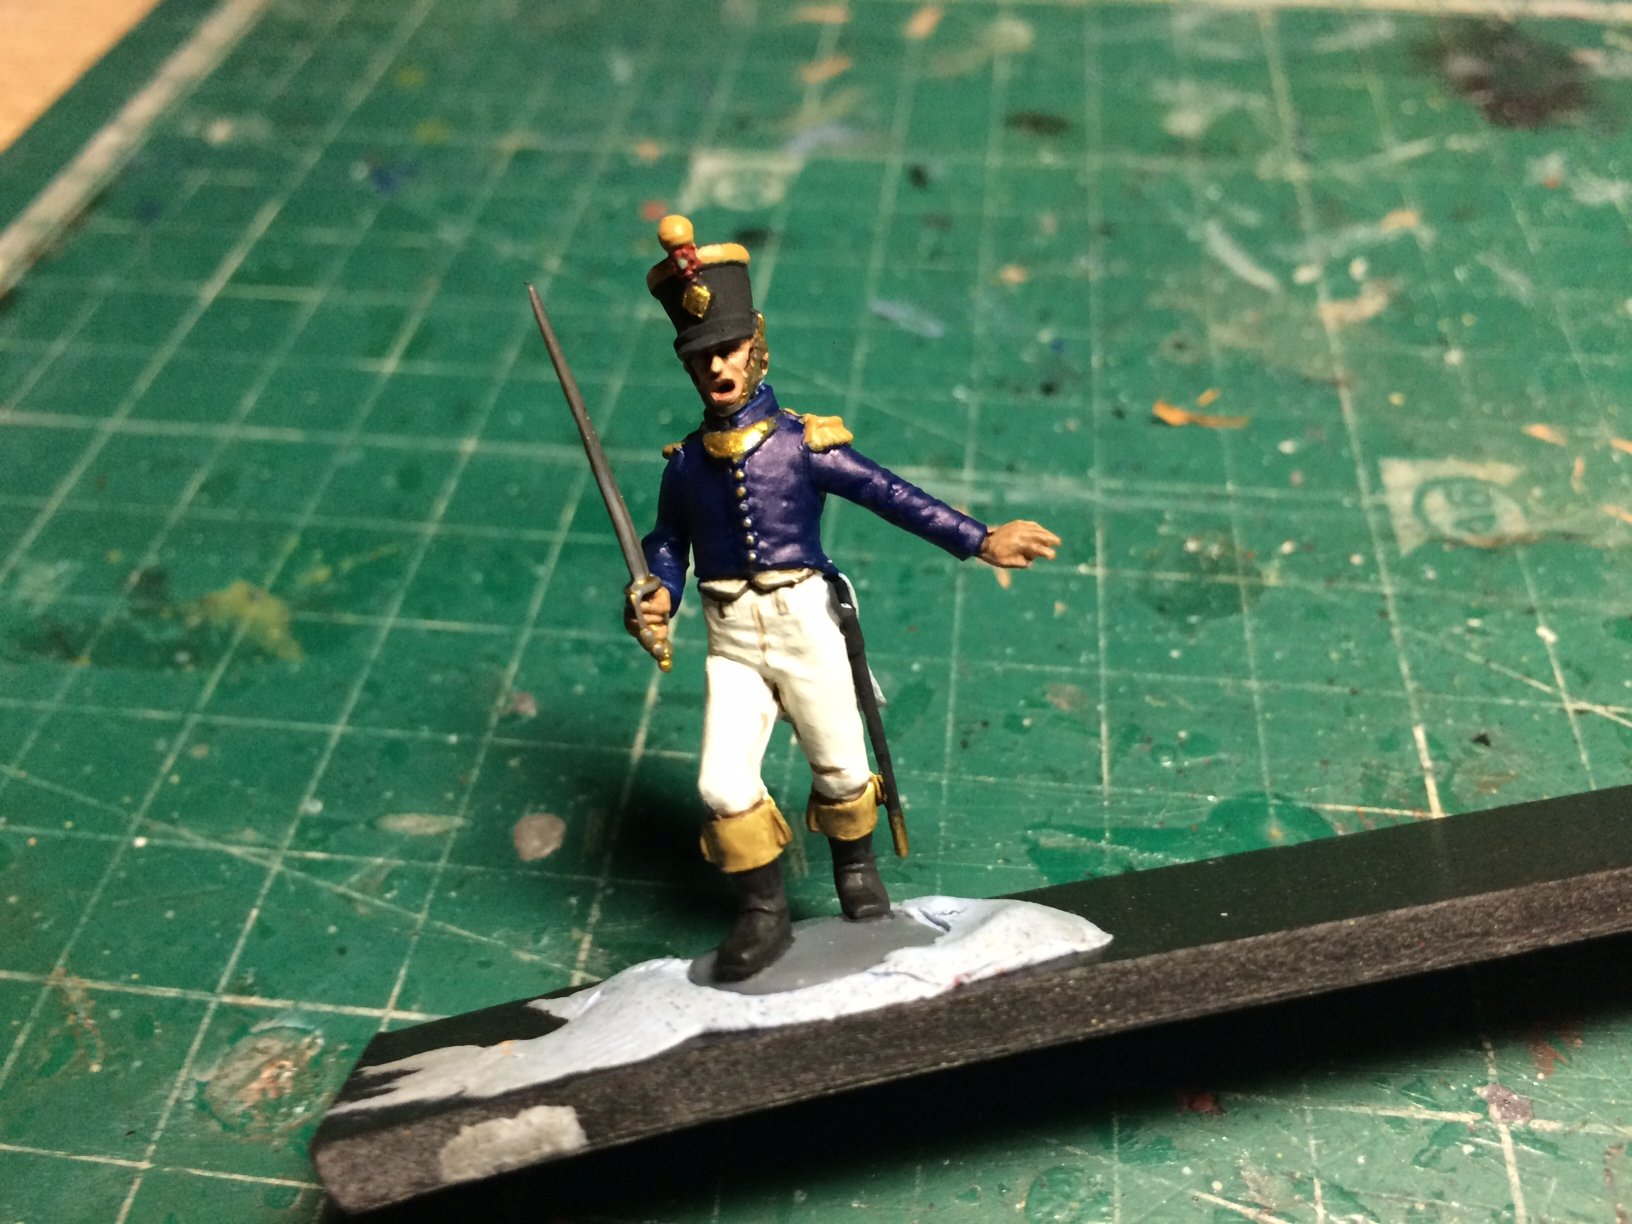
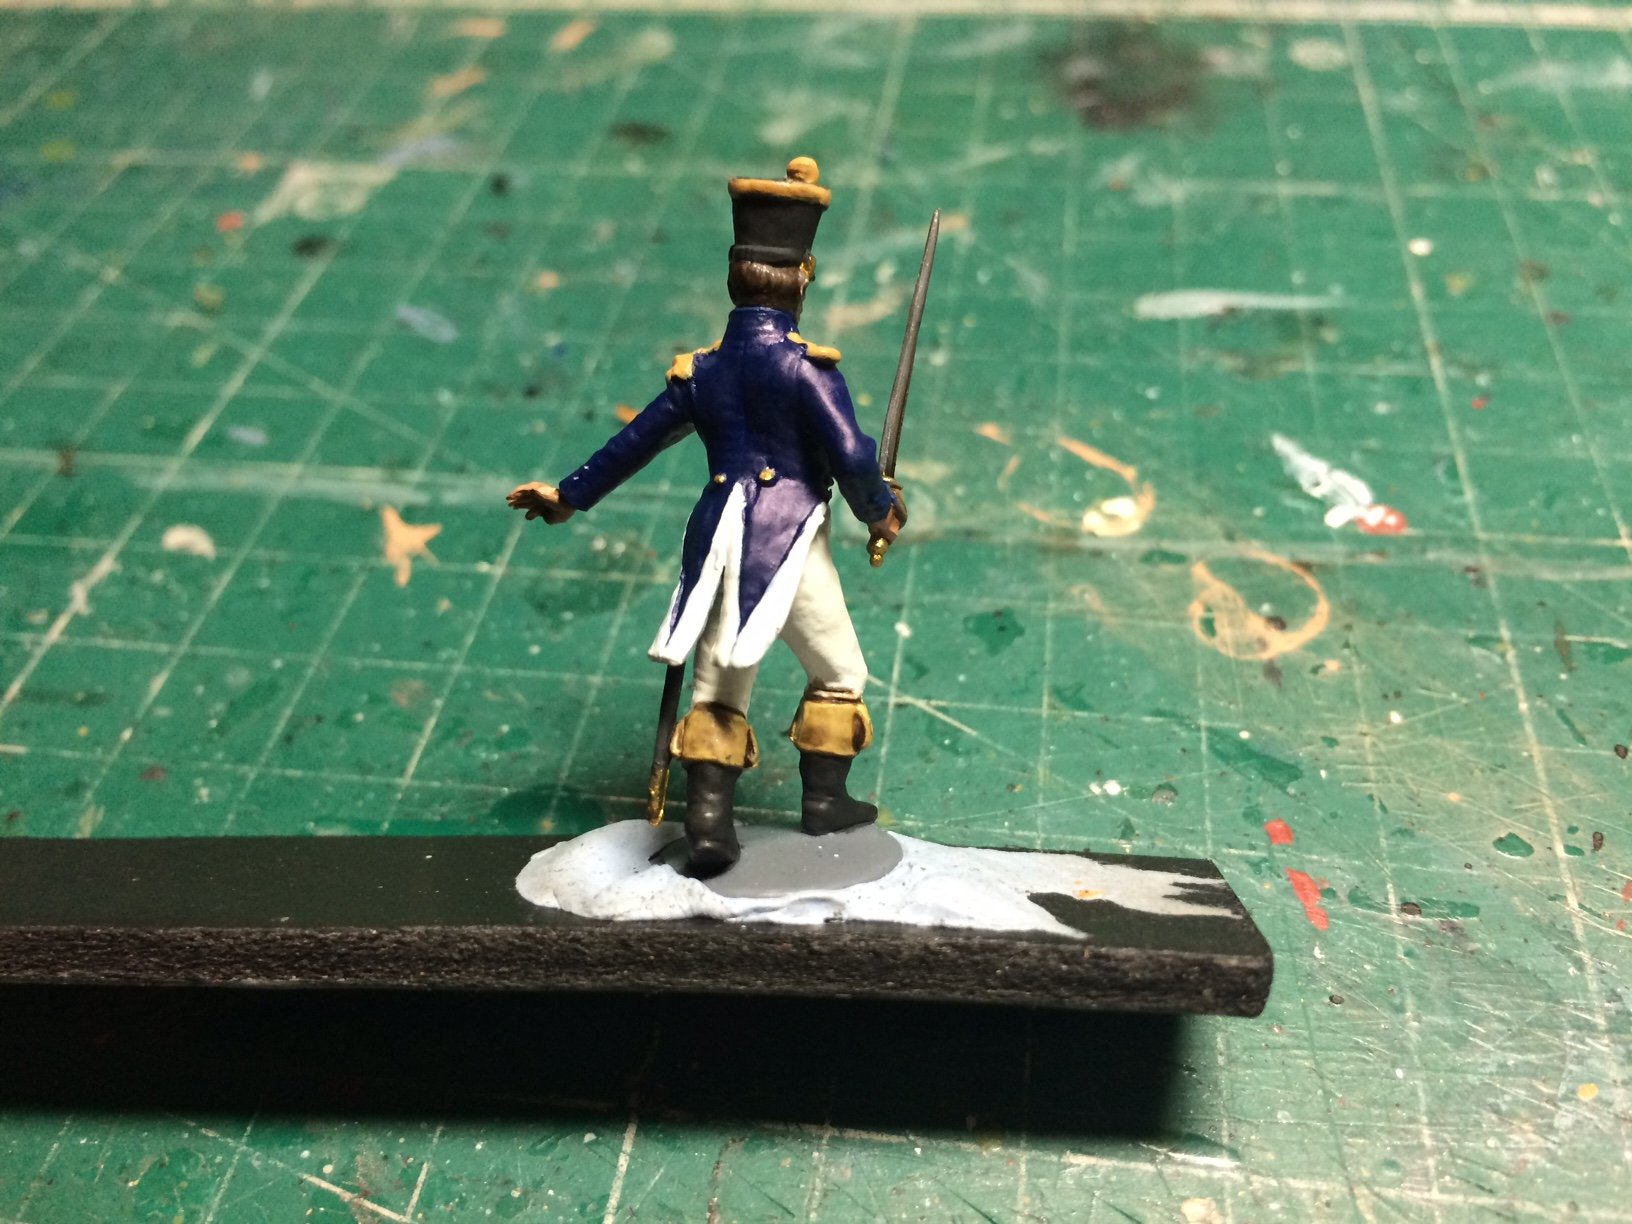
Evening all on this very wet day, so more progress and the result - I have finished the 55th Ligne Officer, still needs flat top coat - but I am waiting for dryer weather. OC.


-
Always a tricky area getting the line of planks right - practice I guess, you will do it mate. OC.
- 740 replies
-
- 2
-

-
- Tudor
- restoration
- (and 4 more)
-
We will have to sing some Sea Shanties while we are waiting - who's gonna start? OC.
-
That is some complex work going on there mate, I think the additon of lower constructions and how you fit them - is down to how you feel about the level of difficulty - some times we can battle against the impossible. Just do what you feel ok with. OC.
- 322 replies
-
- 2
-
-
- enterprise
- caf
- (and 1 more)
-
Gorgeous work - well done. OC.
-
Yep, I see it now Lou - thanks. OC.
-
Picture is missing Lou. OC.
-
Very nice work Mate. OC.
-
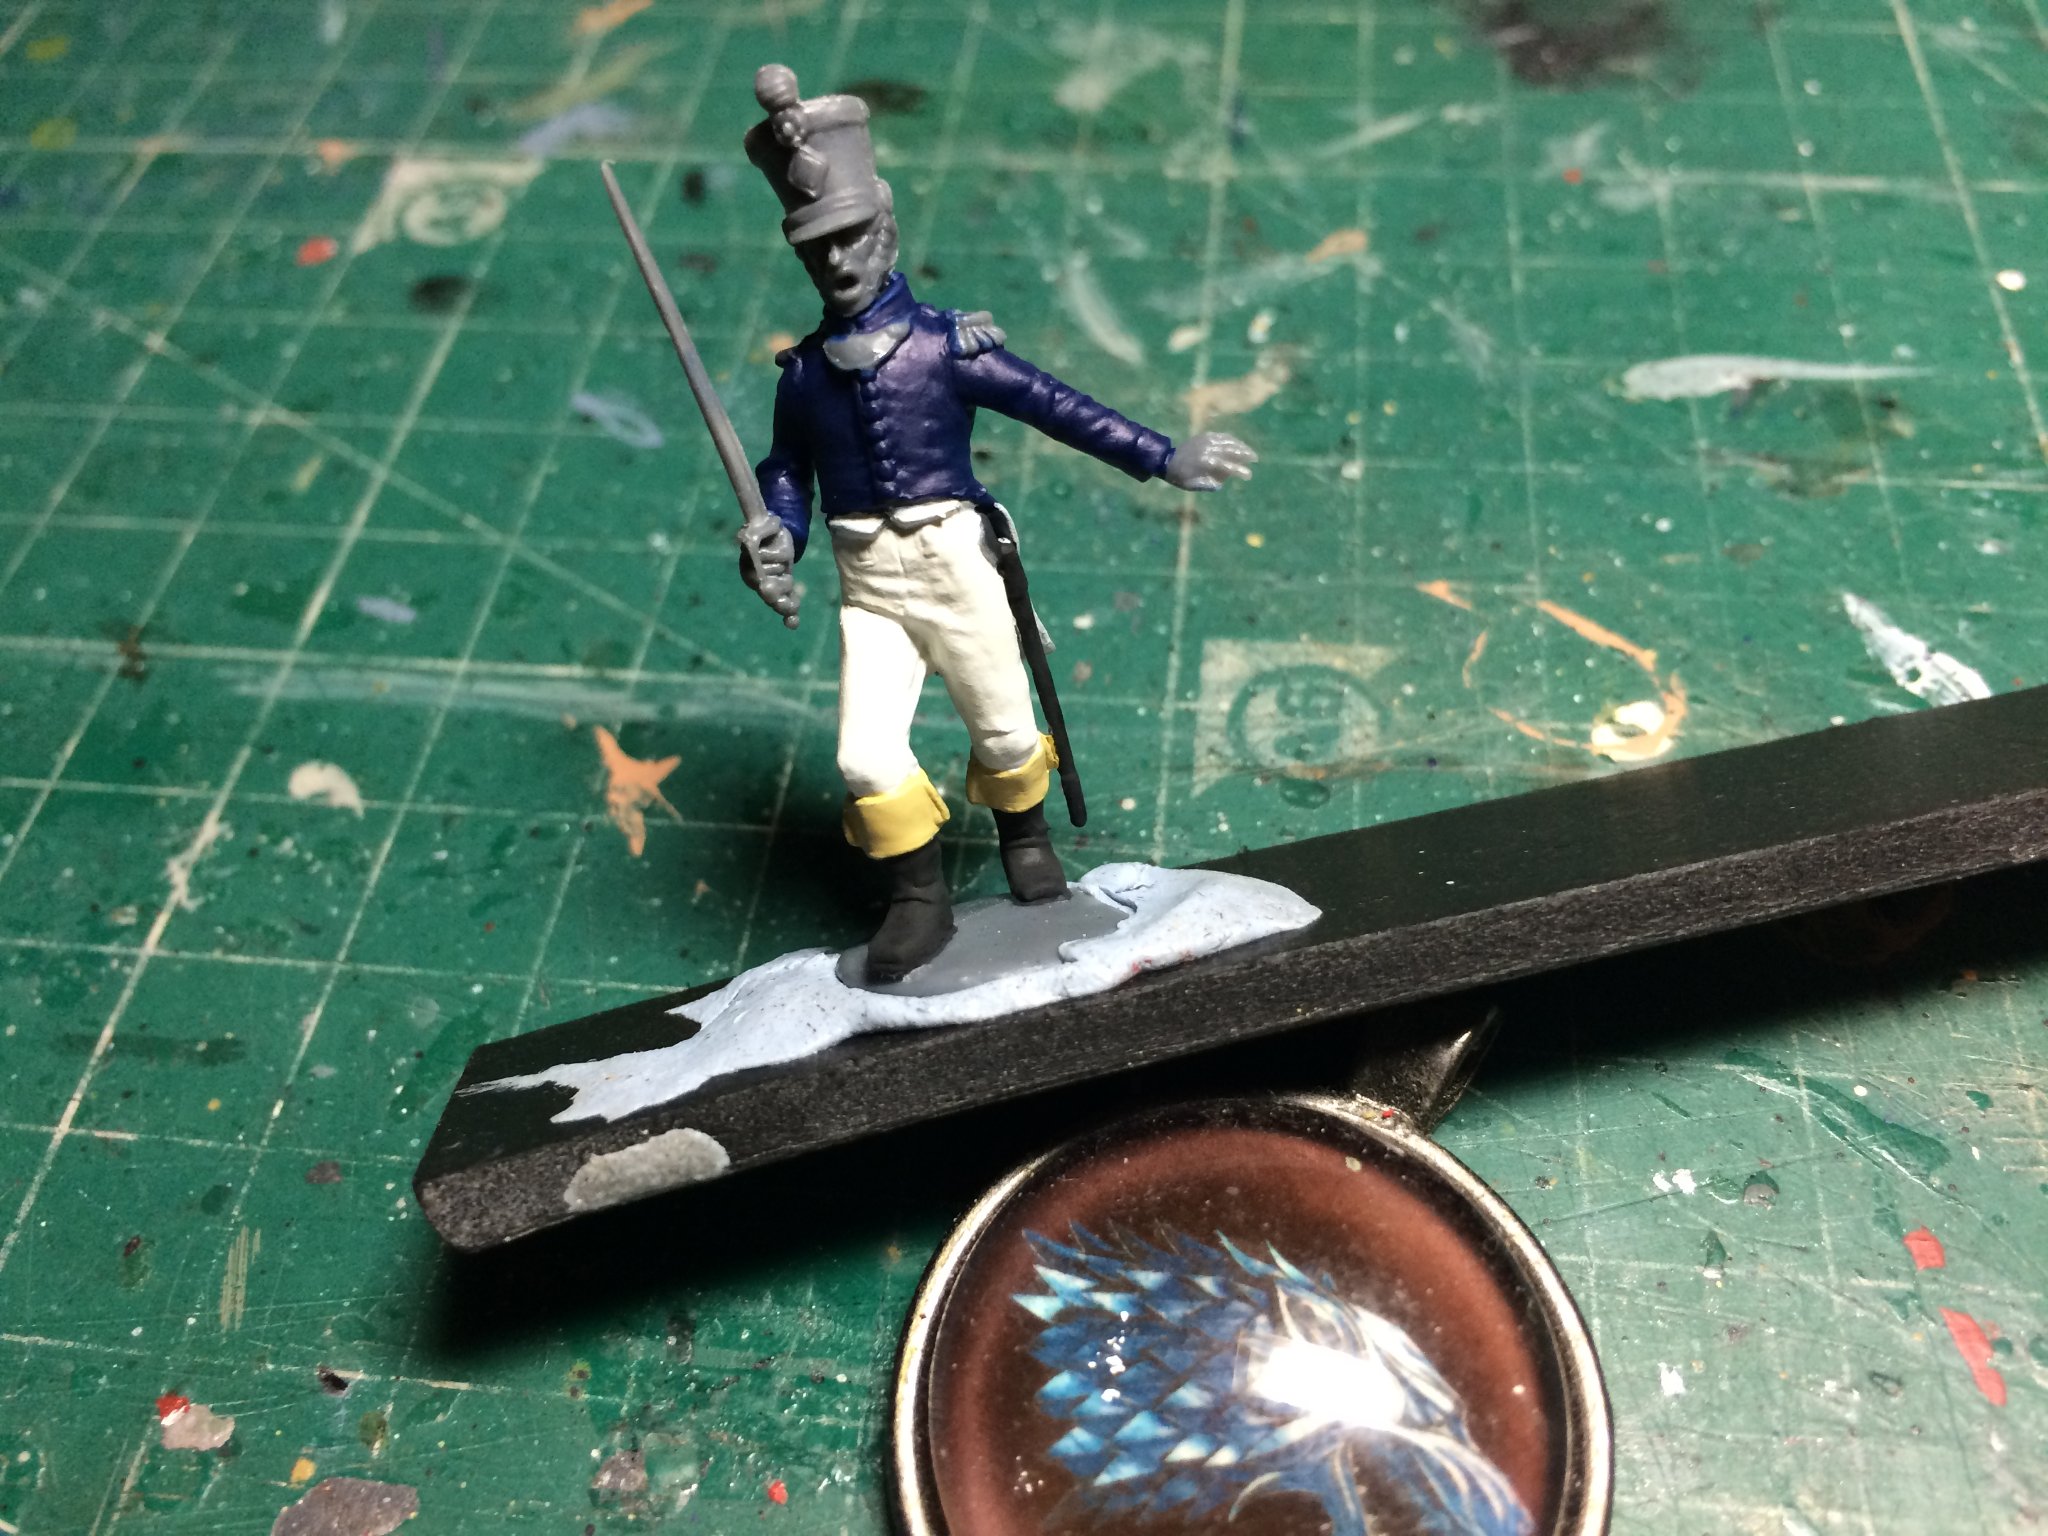
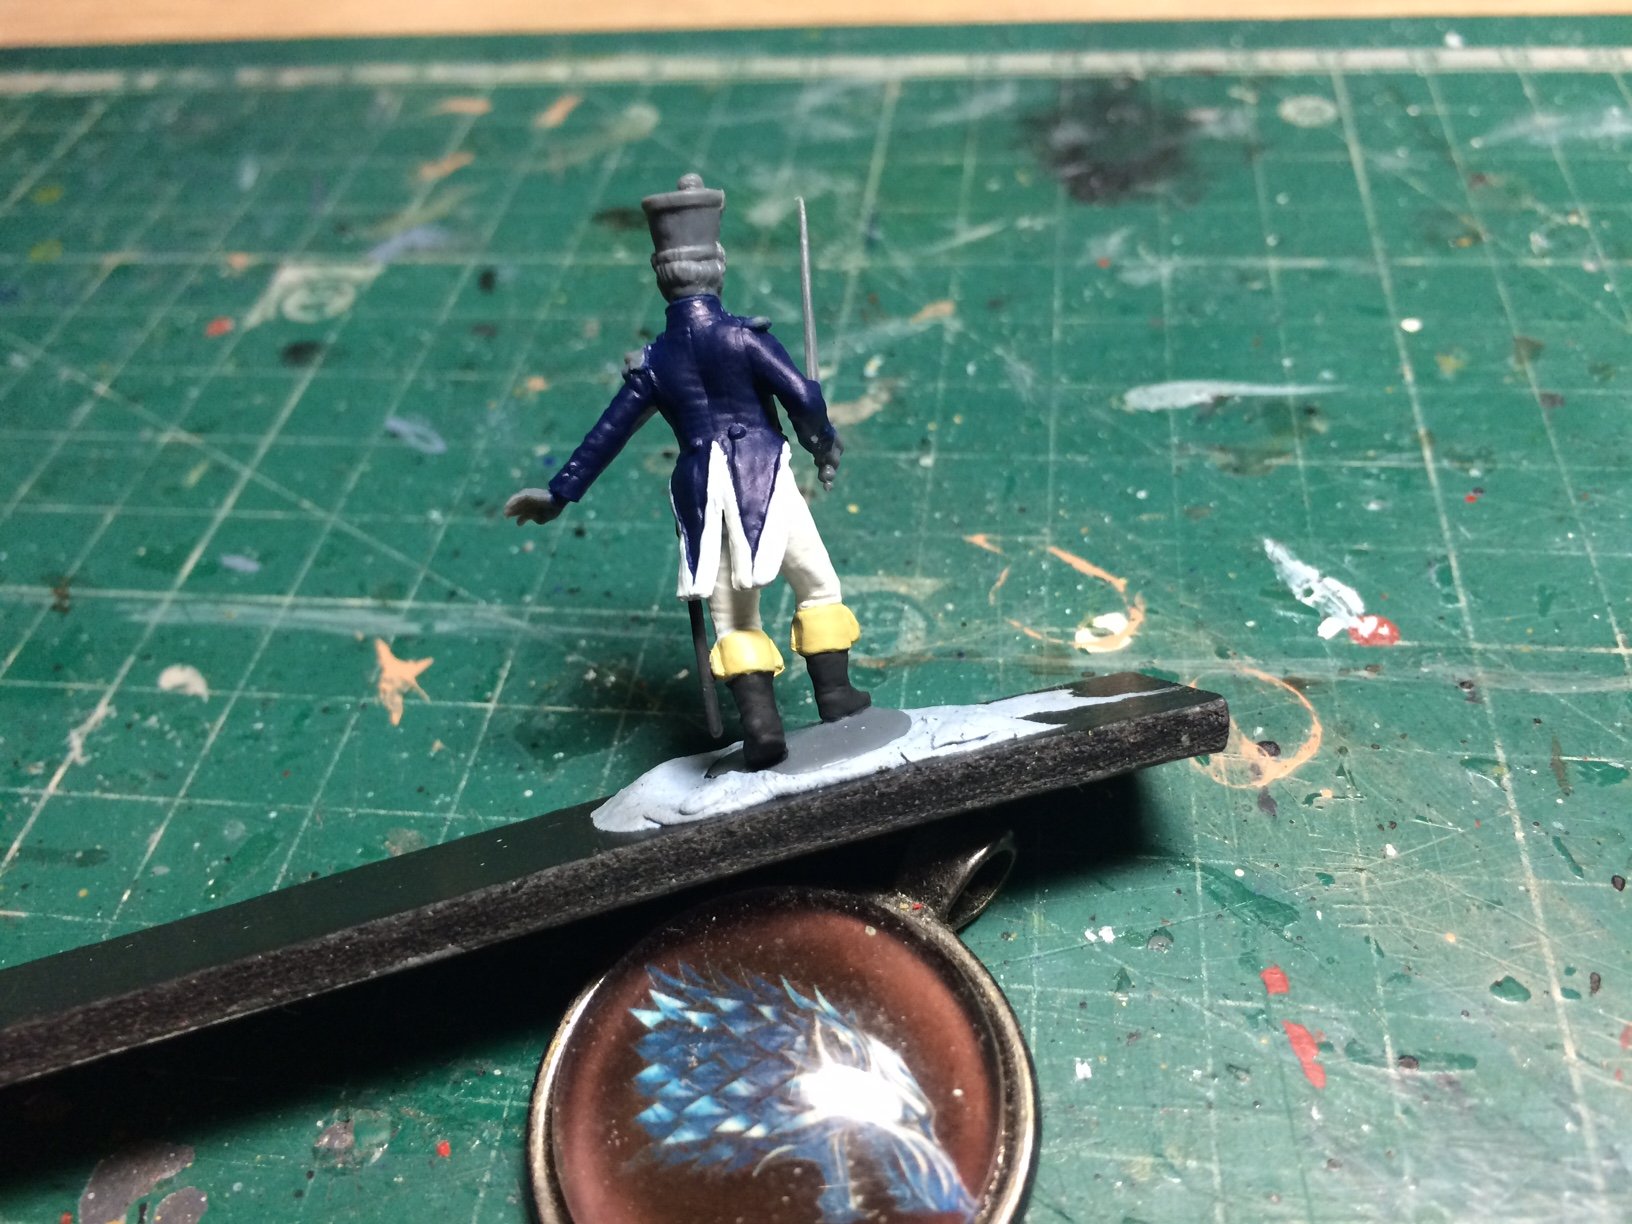
Evening all, so the painting begins - did about Two hours on an Officer from the 55th Ligne Fusiliers. OC.


-
I was going to say a similar things - each stage you move through - the more impressive it becomes - changing from a model into a scale scene. OC.
-
Thank you kindly for looking in Lou it really doesn't matter that you are not commenting on every word I write, your interest above is enough mate. Yep reinacting is something I have so wanted to do - but lifestyle makes it just a lounge chair interest, my interest in the English Civil War from the 1600's even includes my late Grans cottage that dated from that period and had Royalist troops in the house (there was an inscription carved into one of the Oak beams in the cottage) my father used to talk to me about it. I know Waterloo is different - but again it re-lites my passion for toy soldiers from being a kid with all those Airfix OO scale Waterloo sets, just now slightly larger (not mutch) and a bit more patience from getting older (just a bit) OC.
-
Yep - they are decals on my Chinook panel looks Ok with a few coats of clear over the top. OC.
-
Hey! thats looking impressive - love that deck mate. OC.
-
Tell you what I have seen some do with the instruments/dials - drill them out and use a paper template drawn or painted and a piece of clear perspex to simulate dials - or the raised details molded on being hand painted vs pe ones that are pre-painted, preaty much varied what you can do. OC.
-
Looking good mate. OC.
-
Thank you Denis, still needs dulling down with my spray a bit - like I did the rest, but need to wait for a dry spell - its been way to wet last few days. OC.
-
Great work you are doing there Mike, with the circular engine part - would it just be called the "Engine Bulkhead" and colour wise, perhaps same colour as the inside of the engine bay - if not perhaps a flat alum colour? OC.
-
Well said Lou, its a hard kit to make look realistic and needs work to get there, but as I found out also a thoroughly enjoyable kit to work on - and good quality also. OC.
- 28 replies
-
- 3
-
-
- Black Pearl
- Zvezda
- (and 2 more)
-
Hello from Gloucestershire, UK
Old Collingwood replied to MarkSH01's topic in New member Introductions
Welcome Mark - I'm sure you will get bags of help to start you in the direction. OC. -
Hello from Gloucestershire, UK
Old Collingwood replied to MarkSH01's topic in New member Introductions
Show off Jeff (love it)😉 OC.