Old Collingwood
-
Posts
11,579 -
Joined
-
Last visited
Content Type
Profiles
Forums
Gallery
Events
Everything posted by Old Collingwood
-
 Lovely work as usual jason - very high standard, such an inspirational place to visit is Vic, you can almost feel the spirits of Nelsons crew. OC.
 -
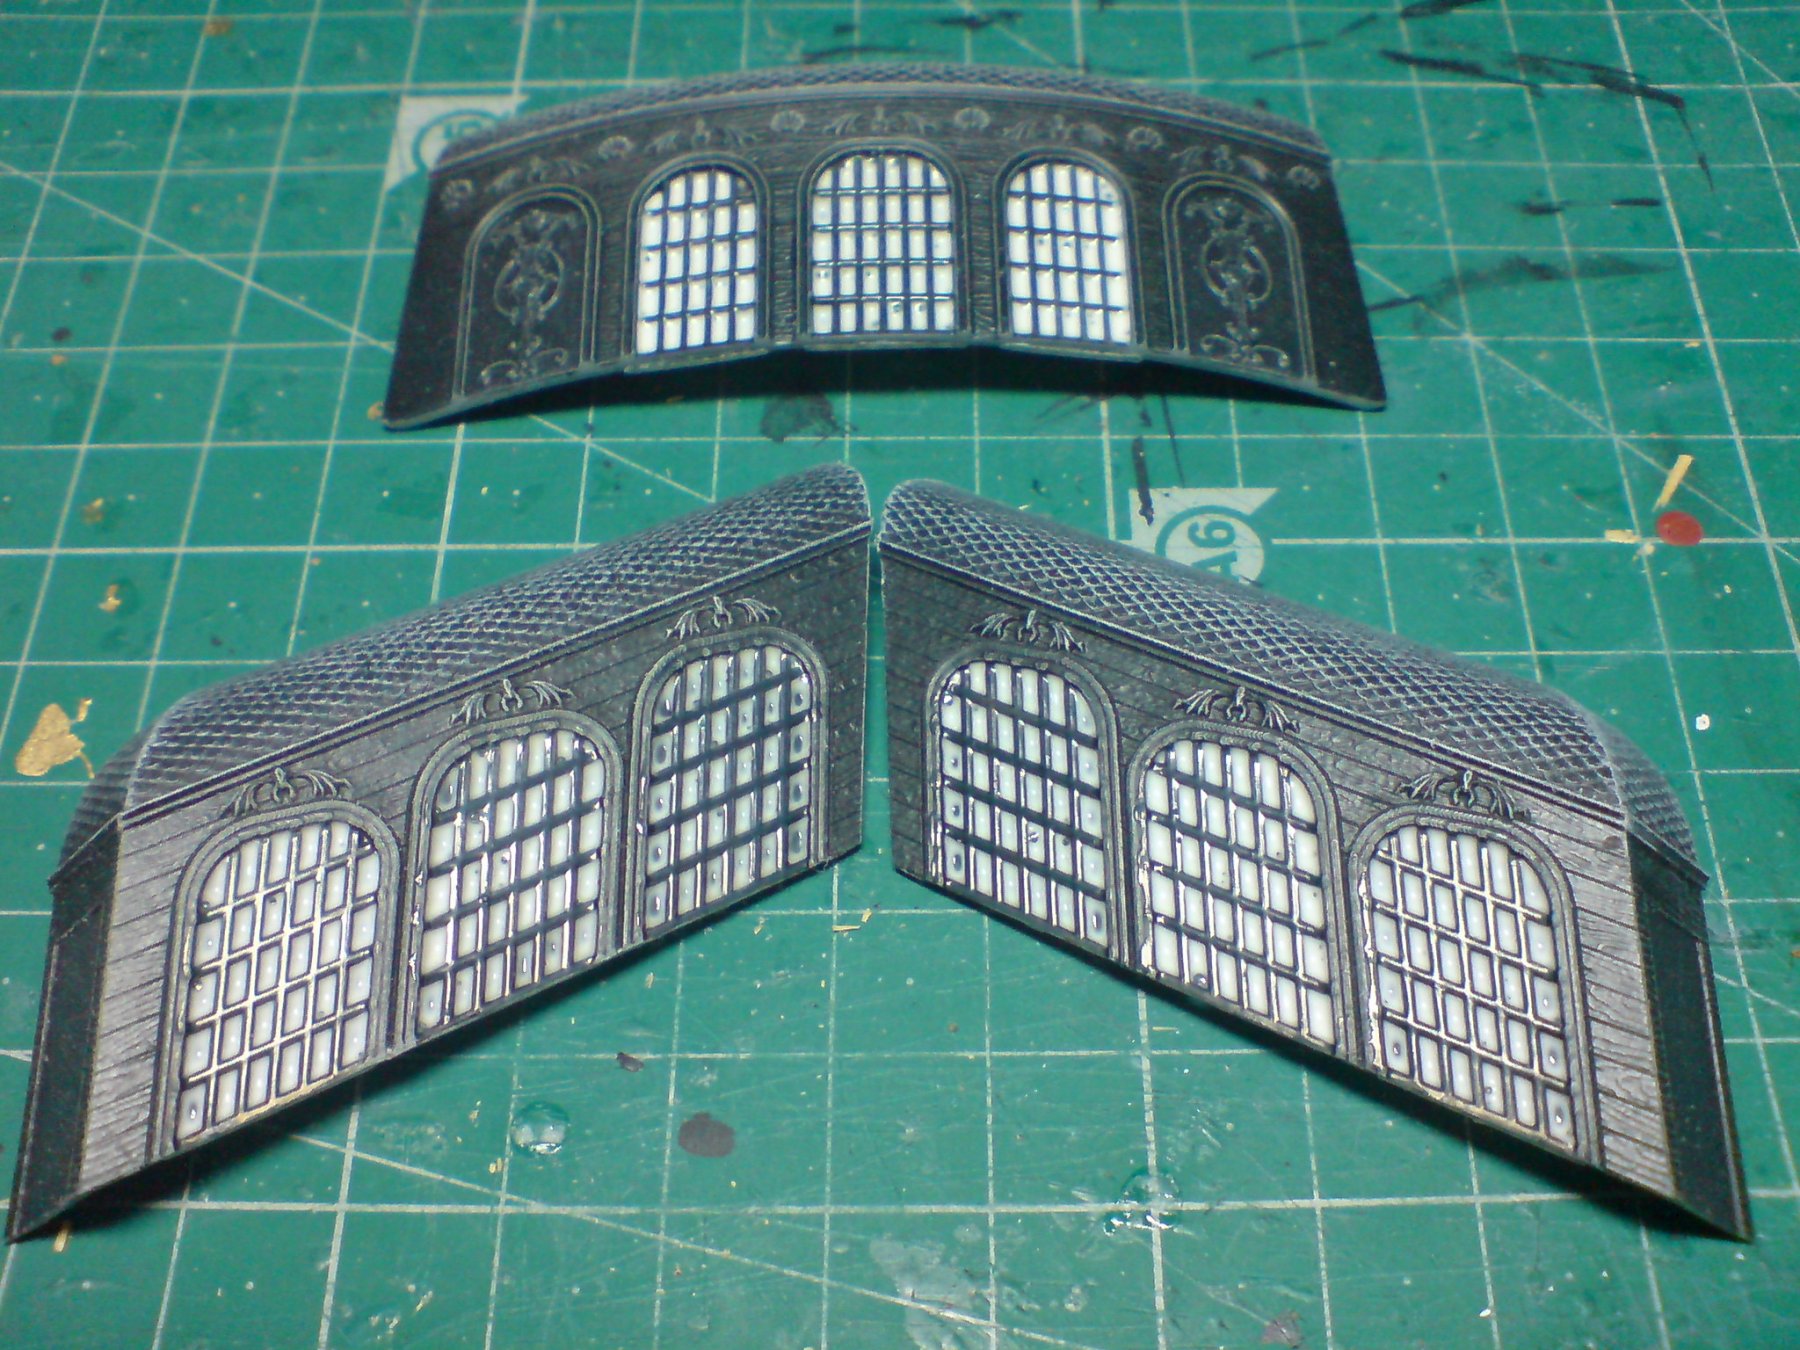
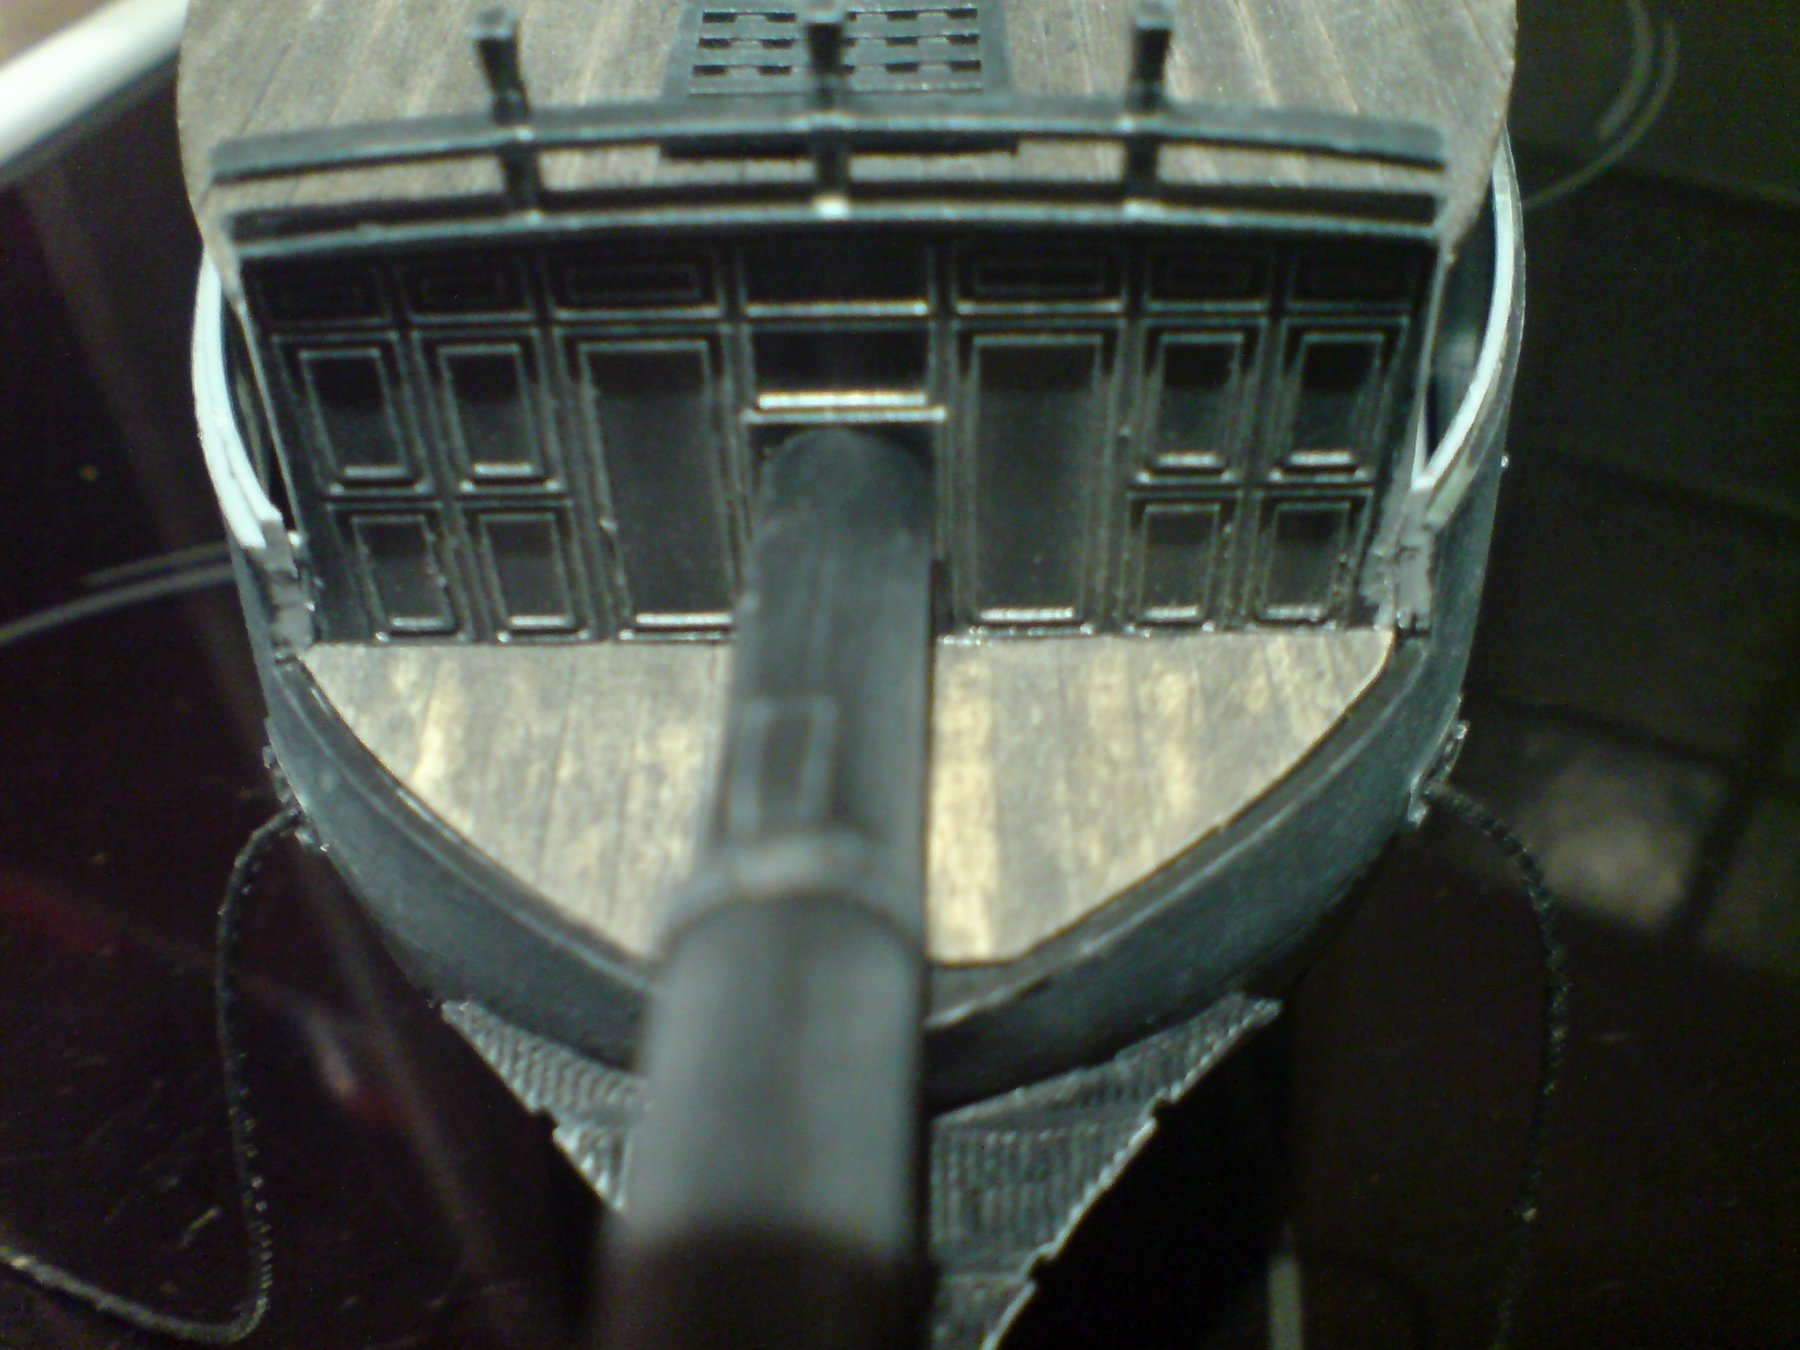
You wont see it through those windows, even the table will just be a murky shadow, Im leaving it at a table and two chairs. To give an idea how much can be seen through the windows - in the pic of the windows above, the table I built is just behind it - its shadow is just visible. The admiral (who'm I am building the pearl for) wants me to build her a dolls house - I will have to do a build on that also when I finish the pearl. OC.
-
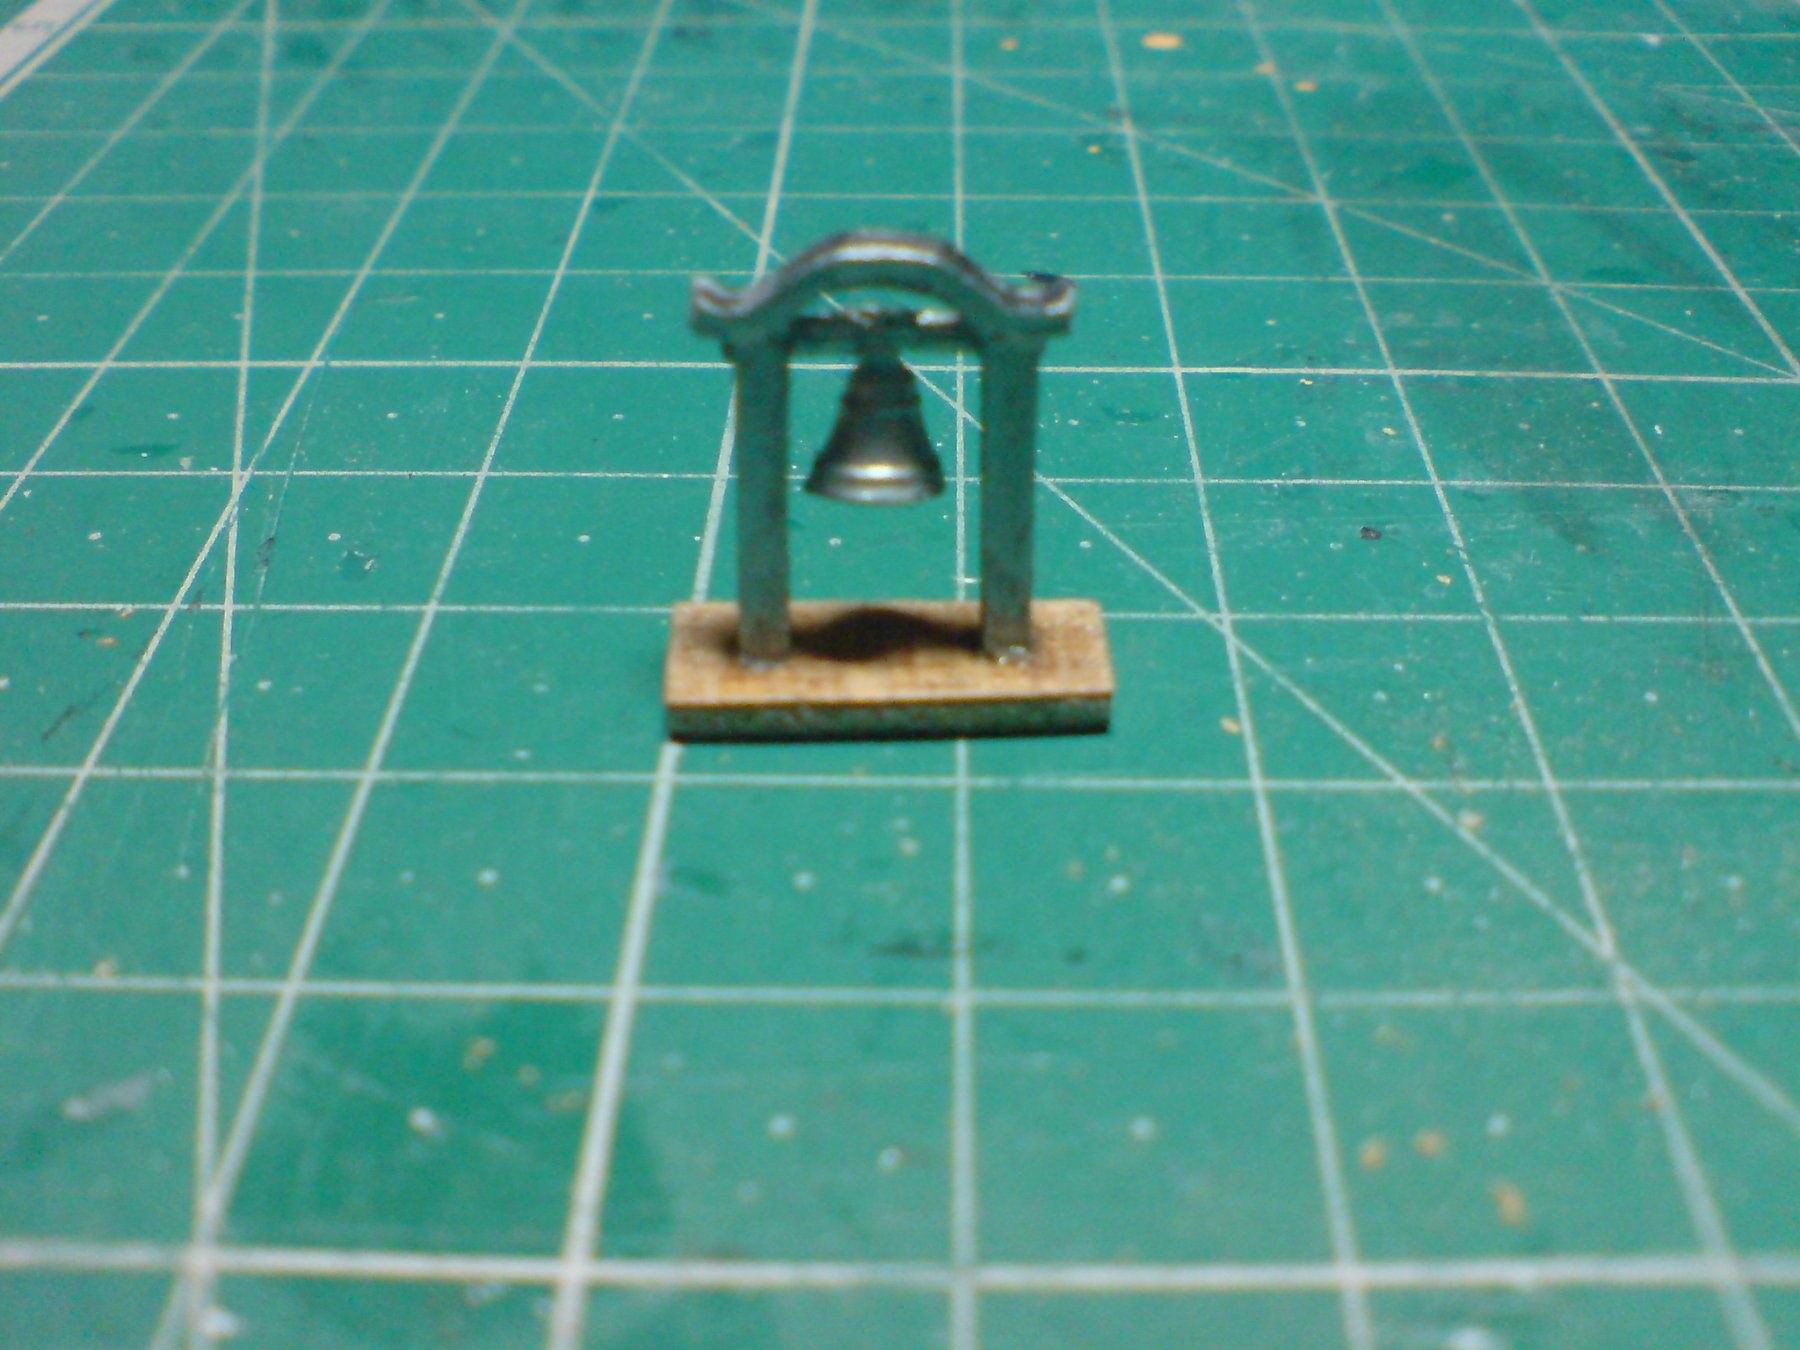
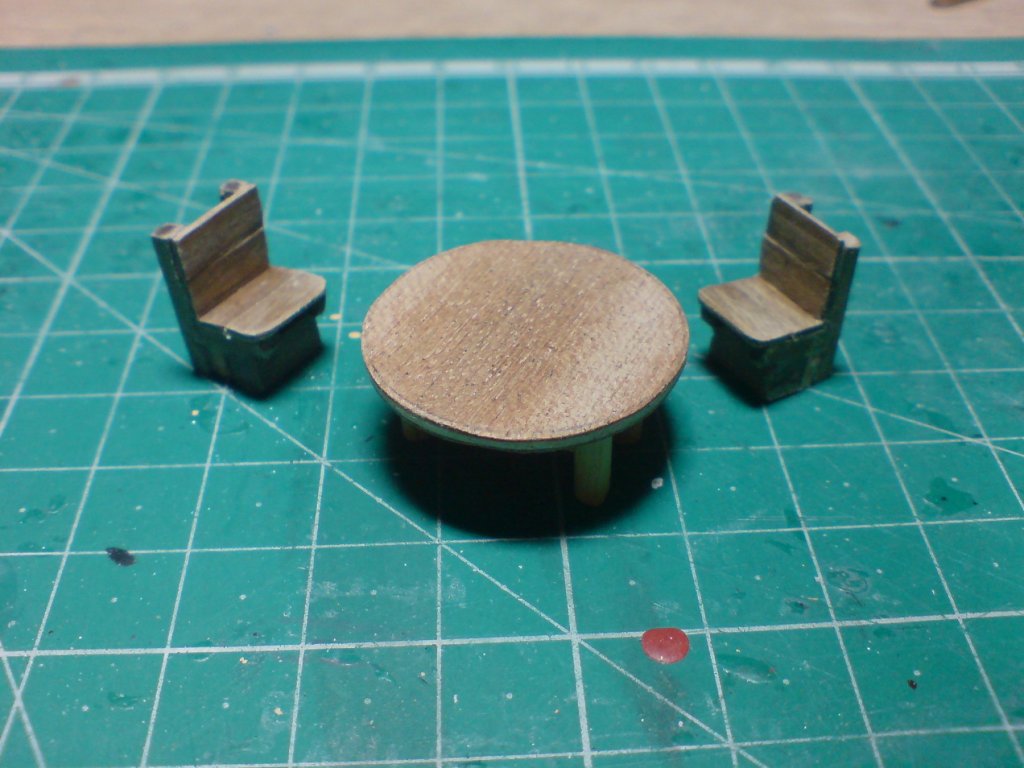
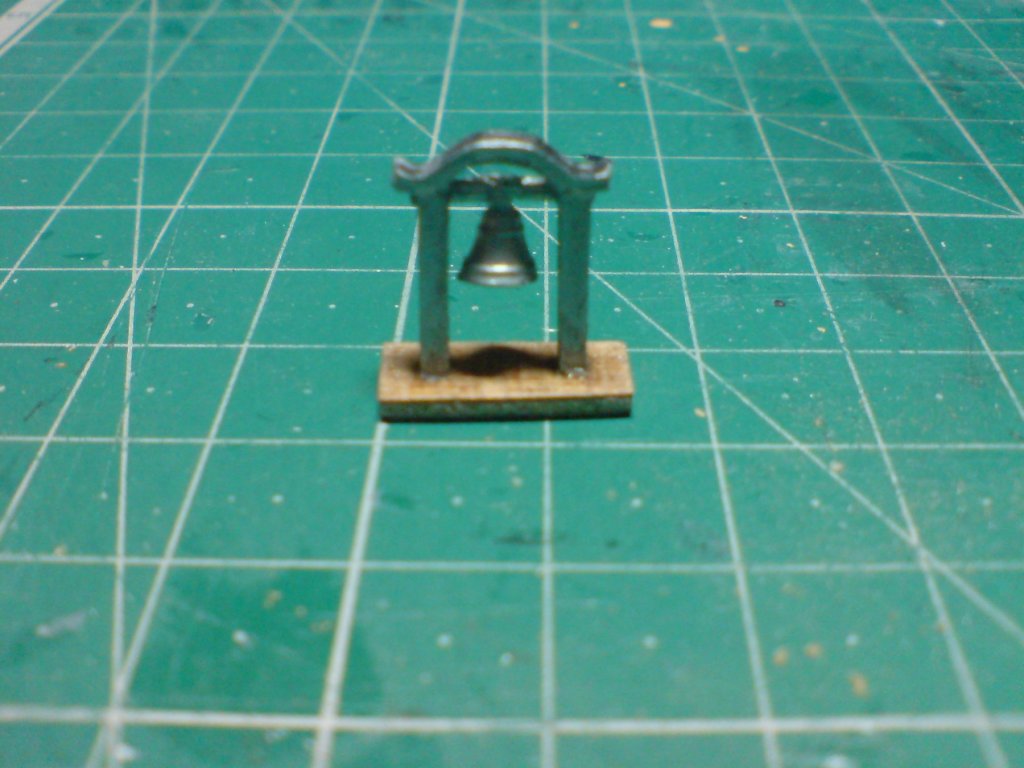
Hi there all, remember I filled in the windows with PVA - it set well and gives a nice impresion of period glass, I also decided to construct two high back chairs form bits of scrap, they will look ok as shadows through the cabin windows, I have also been working on the ships bell and bellfry. Lots more to do but loving all the bits and pieces. OC.

-
Loving the sails mate makes her really stand out. OC.
- 171 replies
-
- 3
-

-
- krabbenkutter
- authentic models
- (and 1 more)
-
Yes mate its gorillas wood glue, I find it very strong at glueing most things aslong as they inlcude part wood being attached. OC.
-
Great work mate - very tidy planking. OC.
-
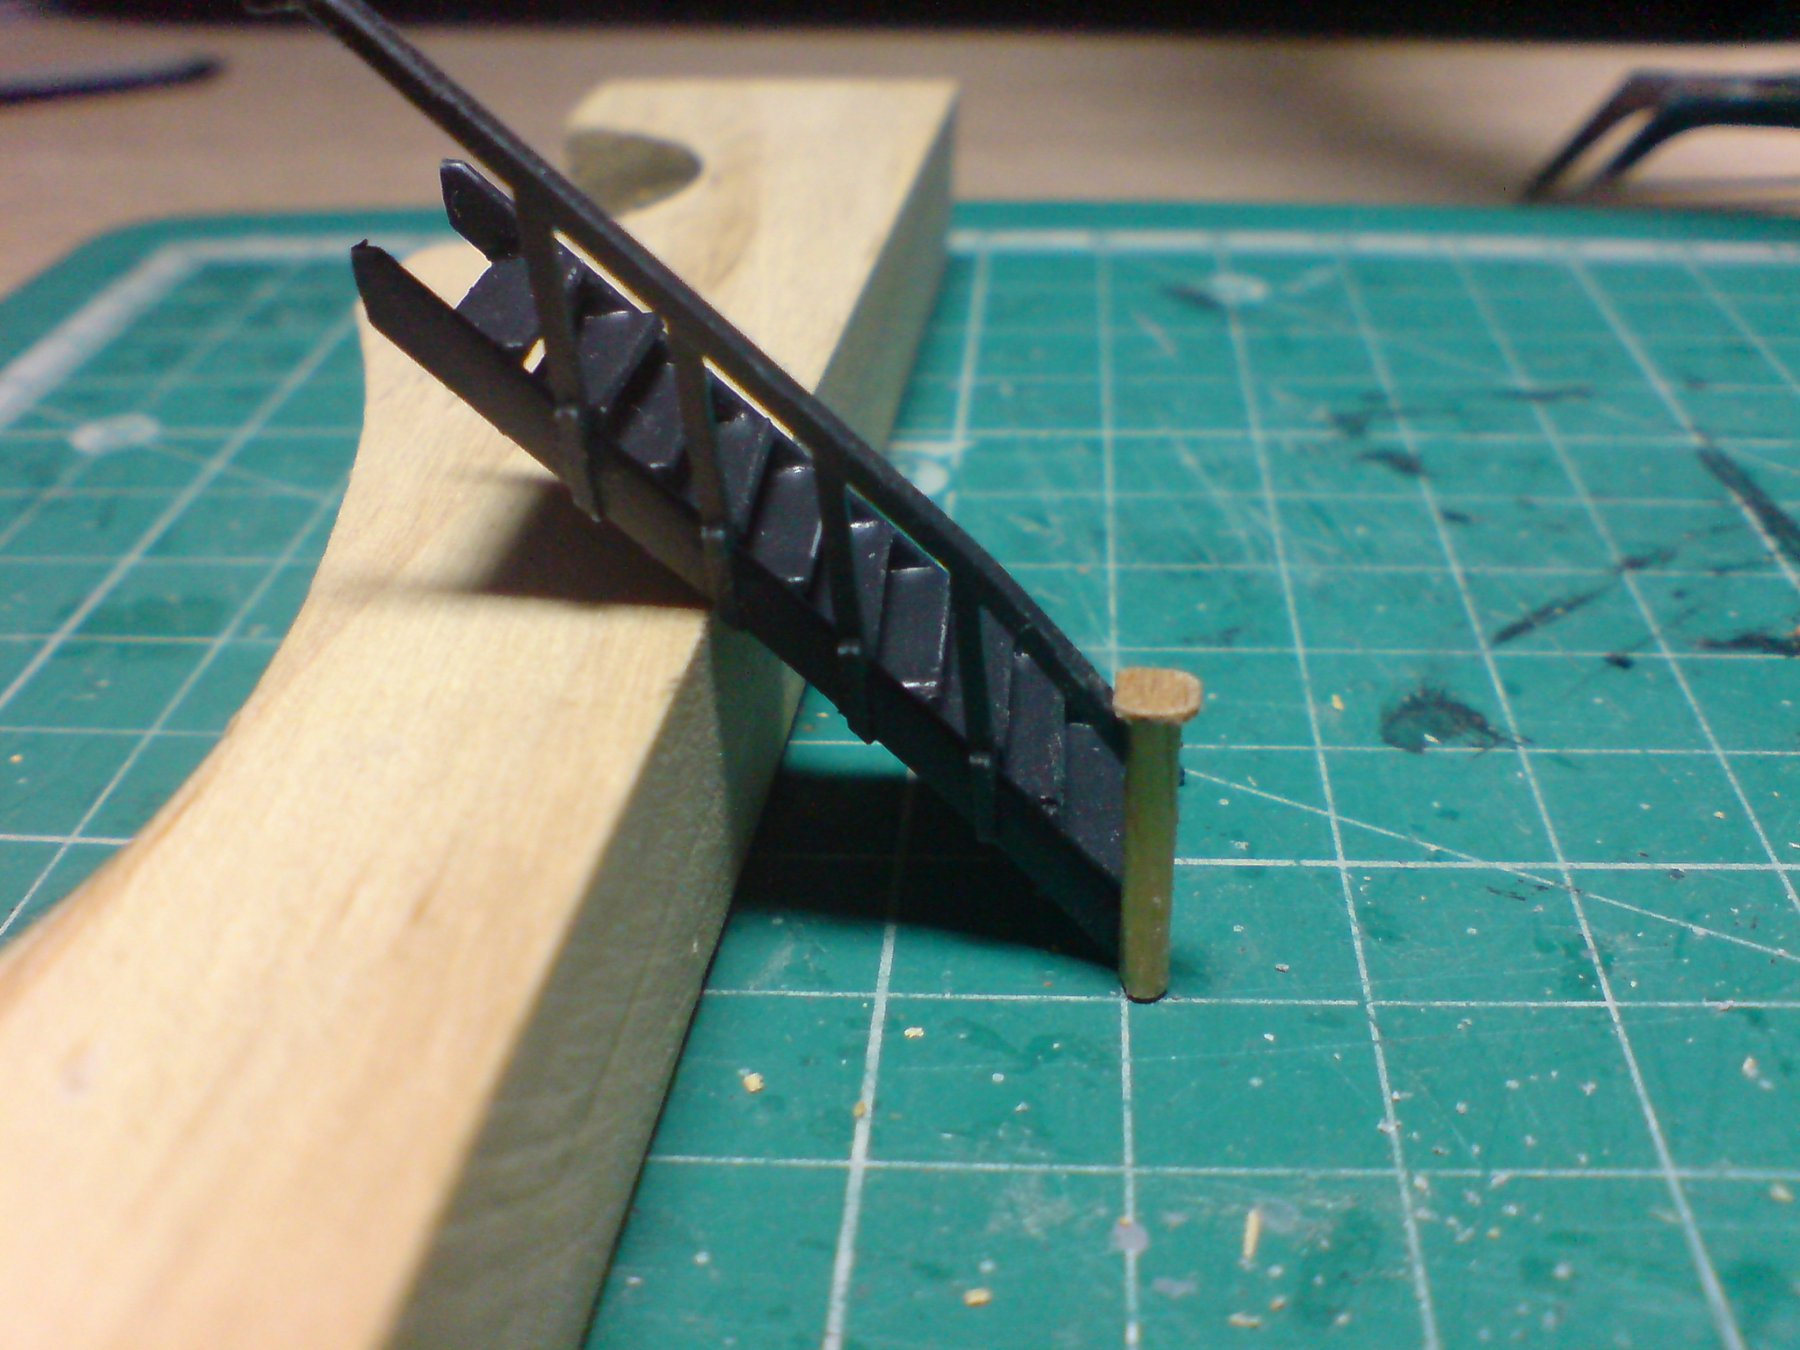
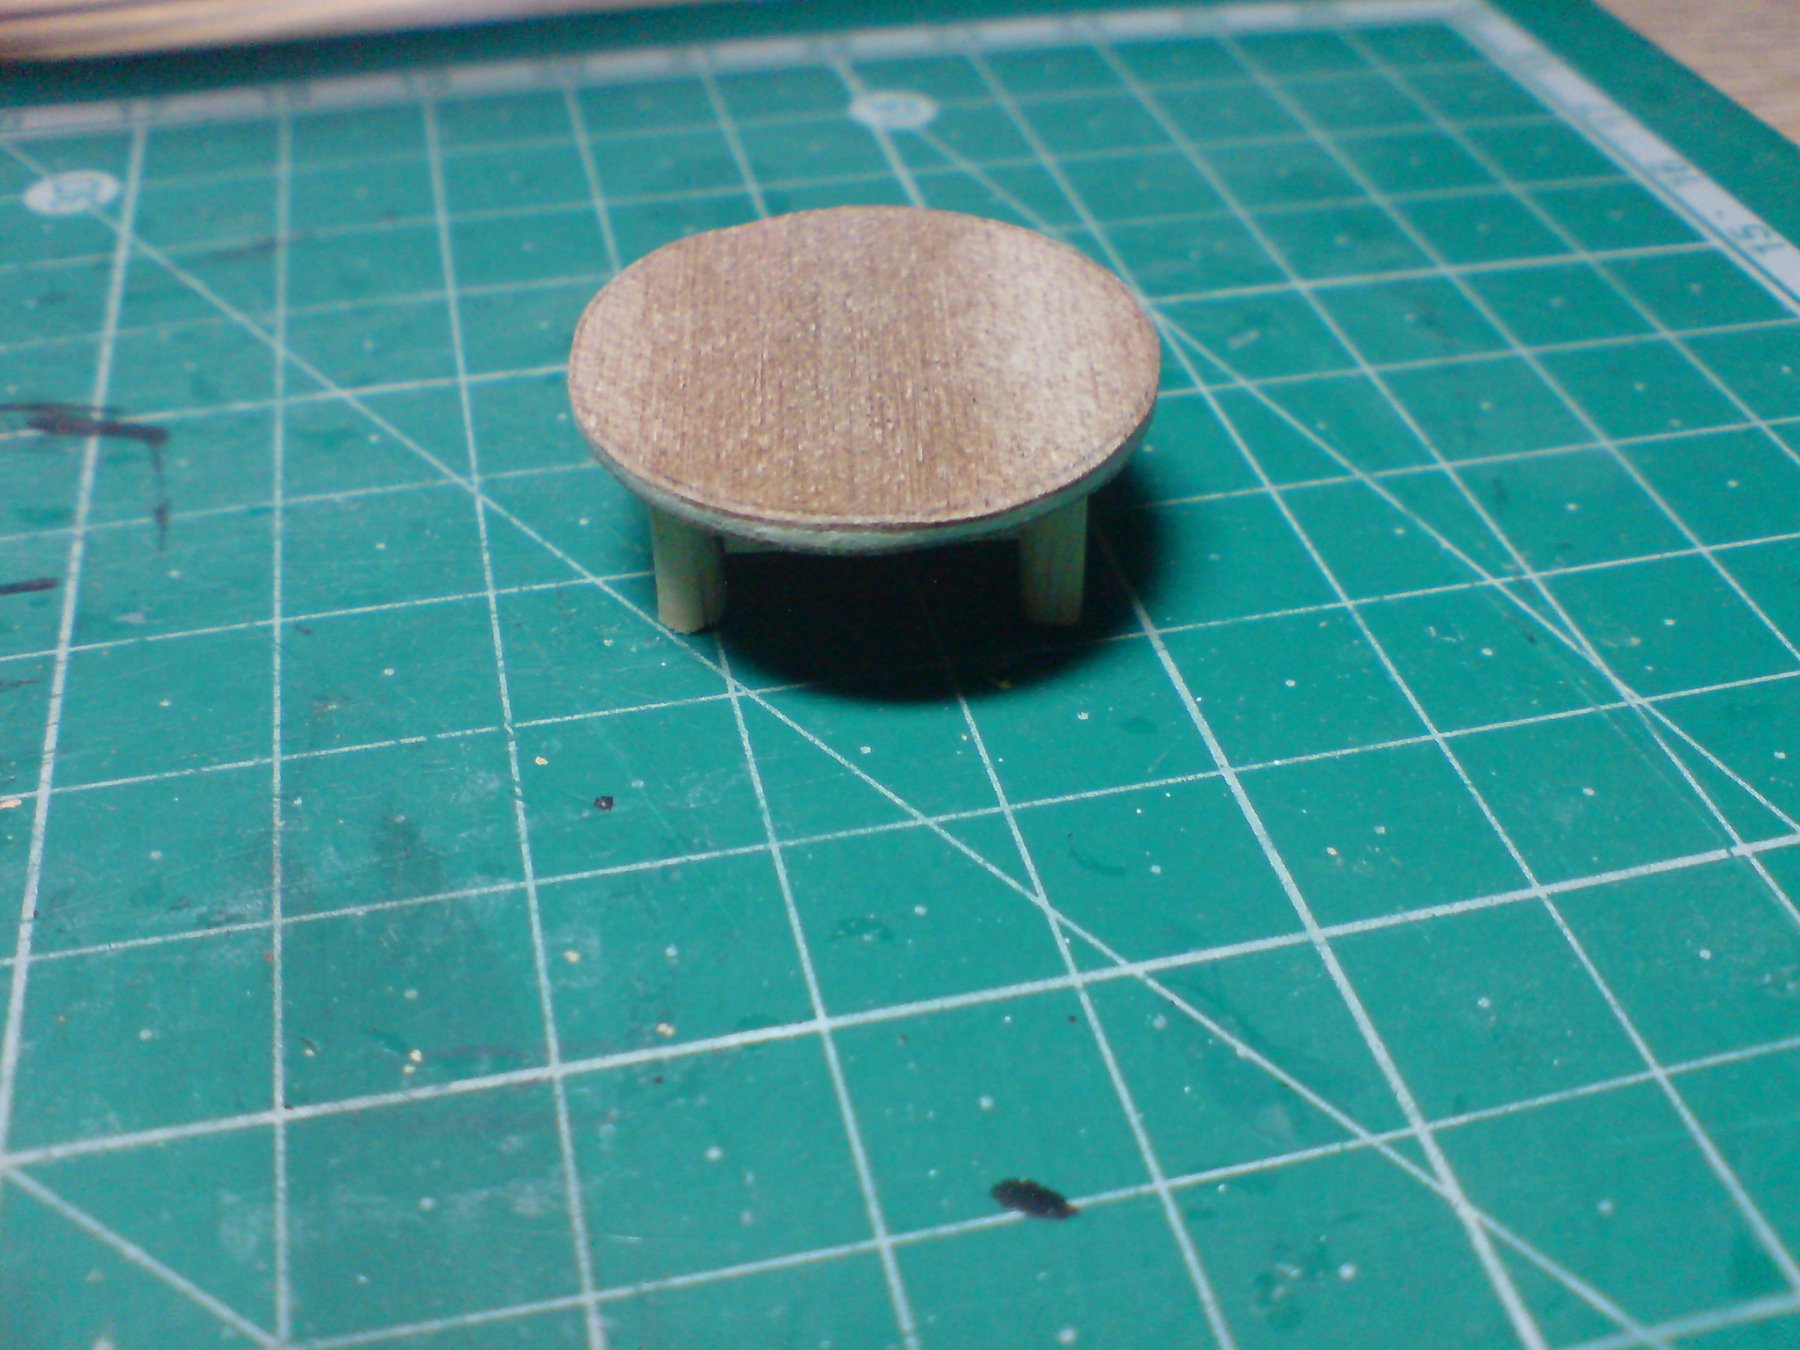
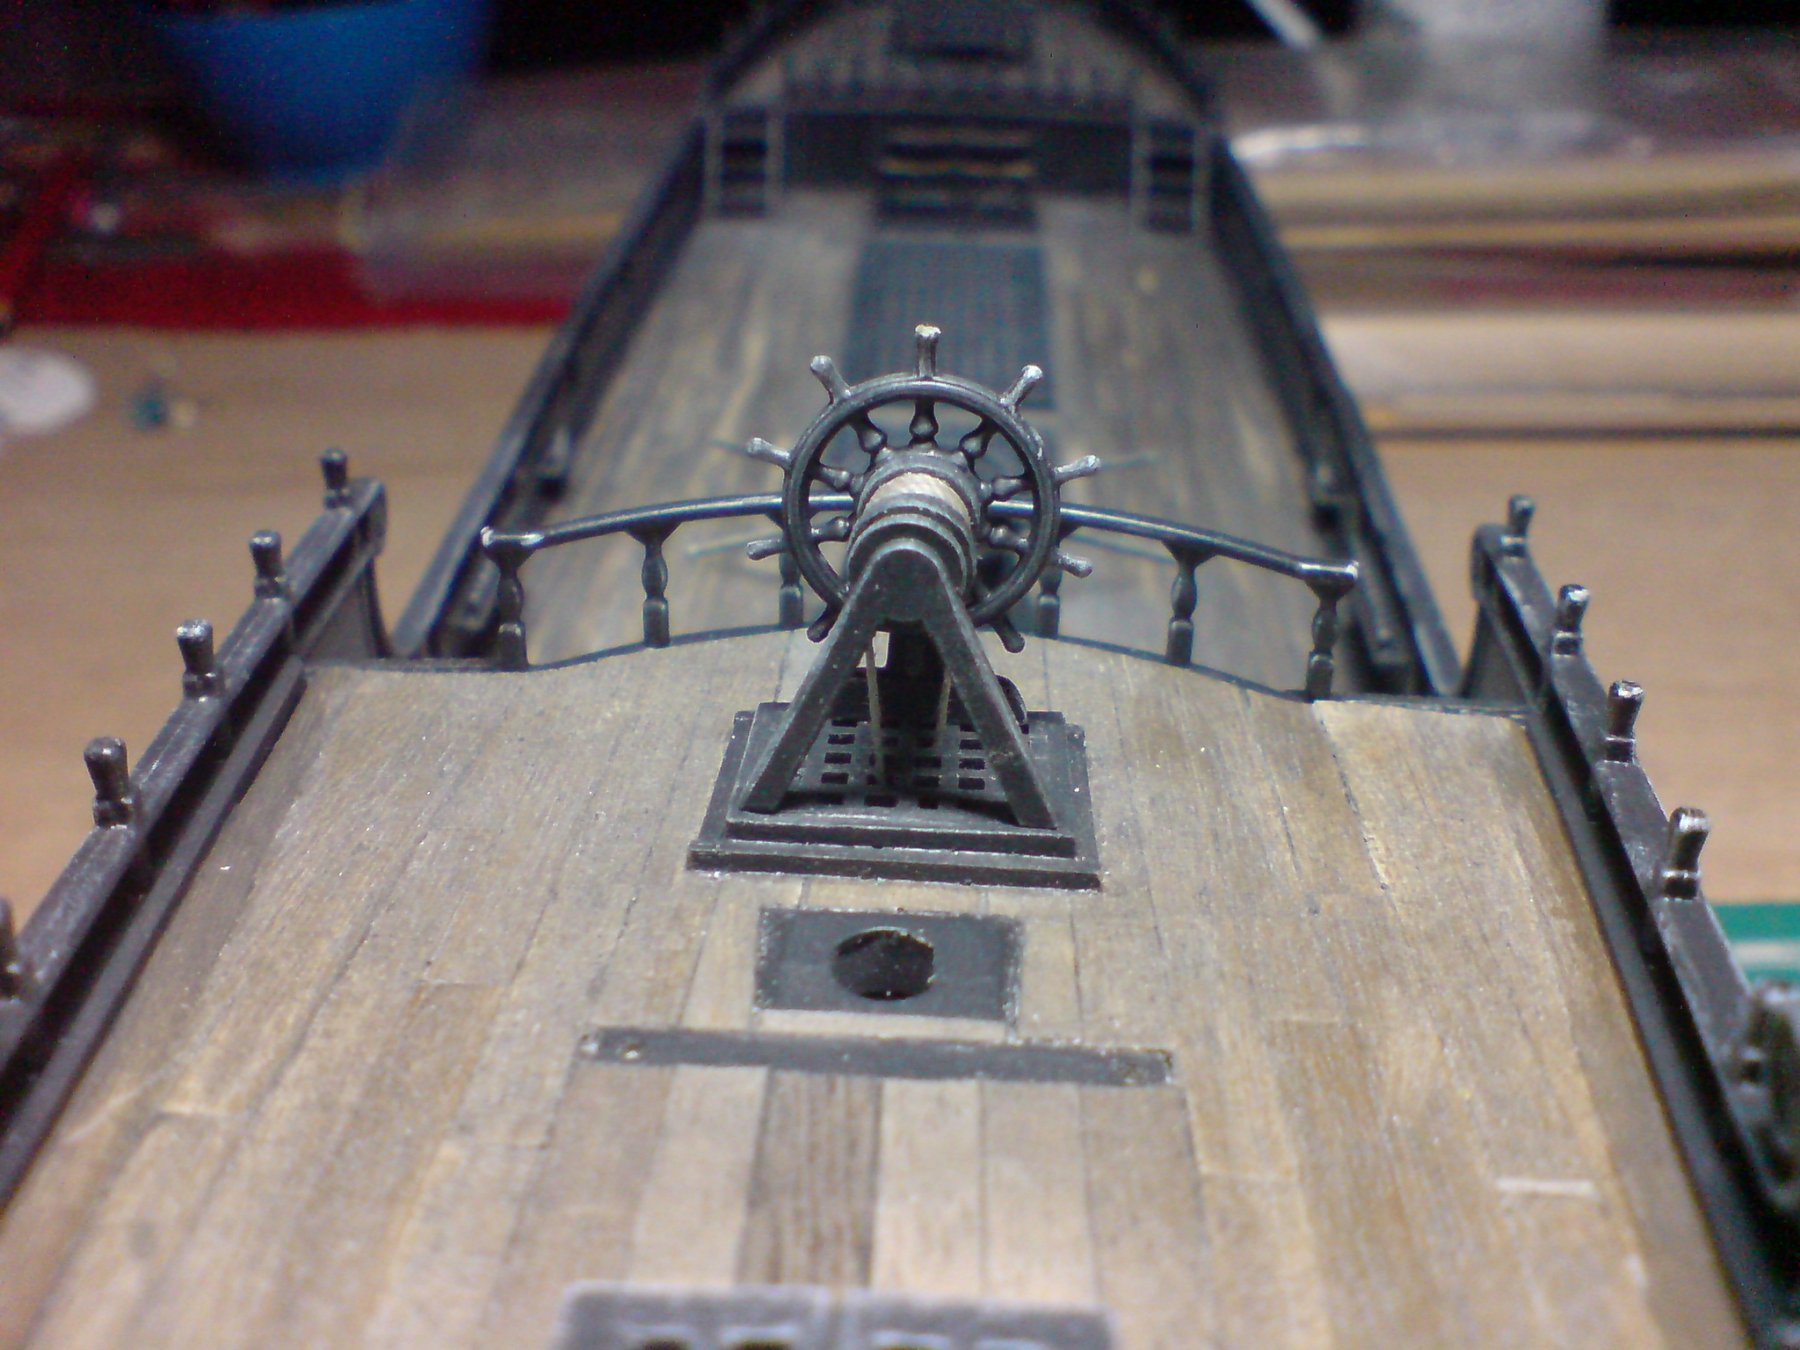
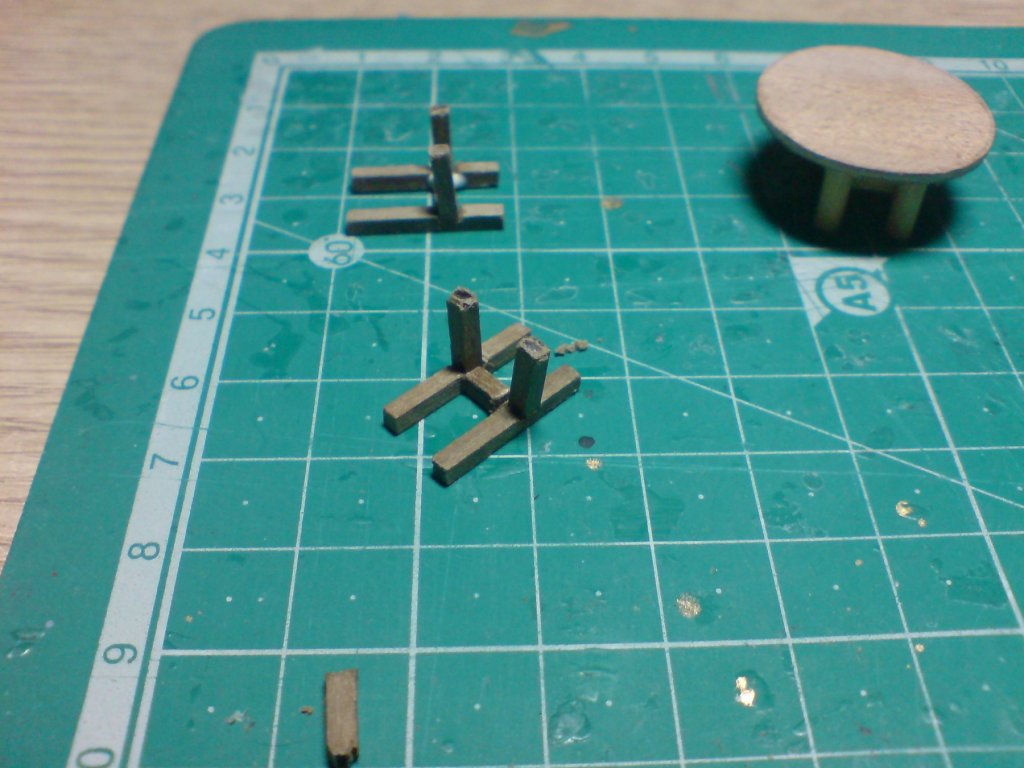
Evening all, another good day, I started off by putting in the rear glazing in the form of clear plastic sections, then I filled in the windows with pva to create an old windows look, then I have re worked the staircase bottom post, I made it from wood dowel it was attached to the staircase side and rail, then I have put top caps on the posts. As I said I have decided to put some furniture inside the cabin as it may be seen (shadowy) through the windows - so I have made a 6ft round table. A few pics today. OC.


-
Evening all, not much of an update (not in the photo sense anyway as I dont have any new ones at this stage) but what I have done is - added the remaining sections of water channel strips all the way along both sides from bow to stern, and painted them the same color as the bulwarks, I have also re shaped the bottom post at the bottom of both staircases as they were too long and needed thicker posts. I have also started constructing the rear frame for the rear and side cabin windows, I have decided to have a bash at creating a small amount of cabin furniture - just a table and couple of chairs, the idea is even through stained windows (PVA) I should still be able to see some shadows of furniture. Well thats where I am at the moment. OC.
-
Did I read that right ...........cough cough cough, we couldget fifty lashes for doing that, not off Mr Sparrow (as long as we gave hin rum -ofcourse) OC.
-
Yep Im closing up the lids on the main g deck, but having the canons on the weather deck - still debating on rigging the canons, as they come with plastic tackle in both short and long to represent the canons in the two positions, but im not sure what to do about breach ropes as I do not have and hooks/eyes to attach breach ropes to and making them is not really in my league. OC.
-
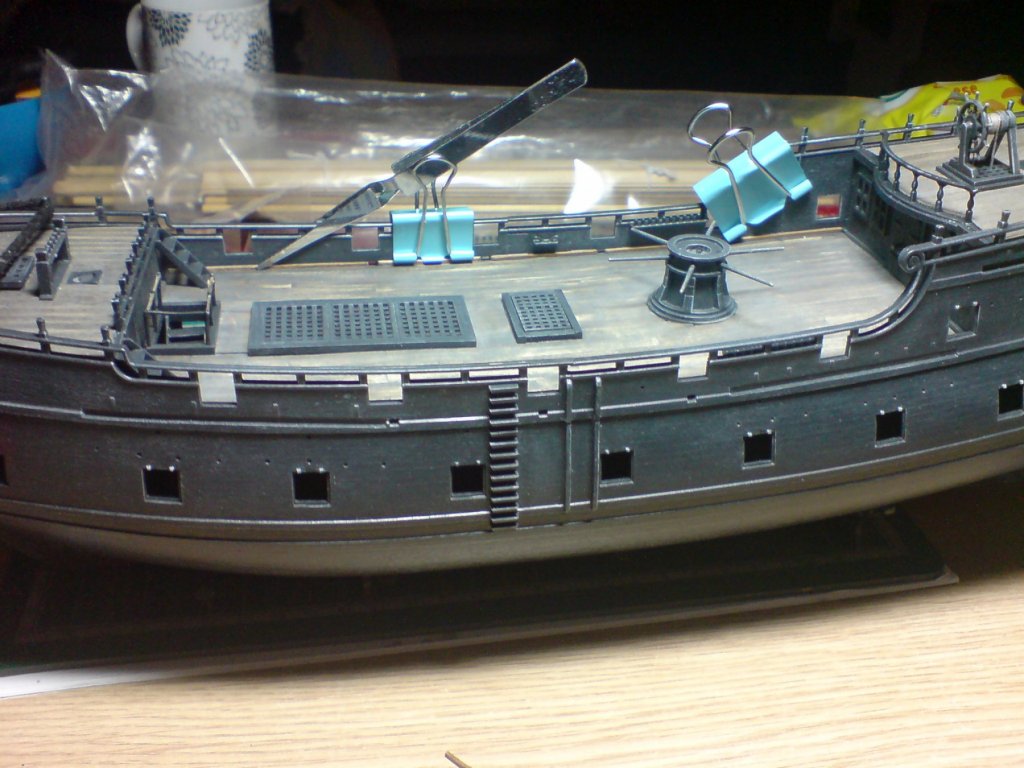
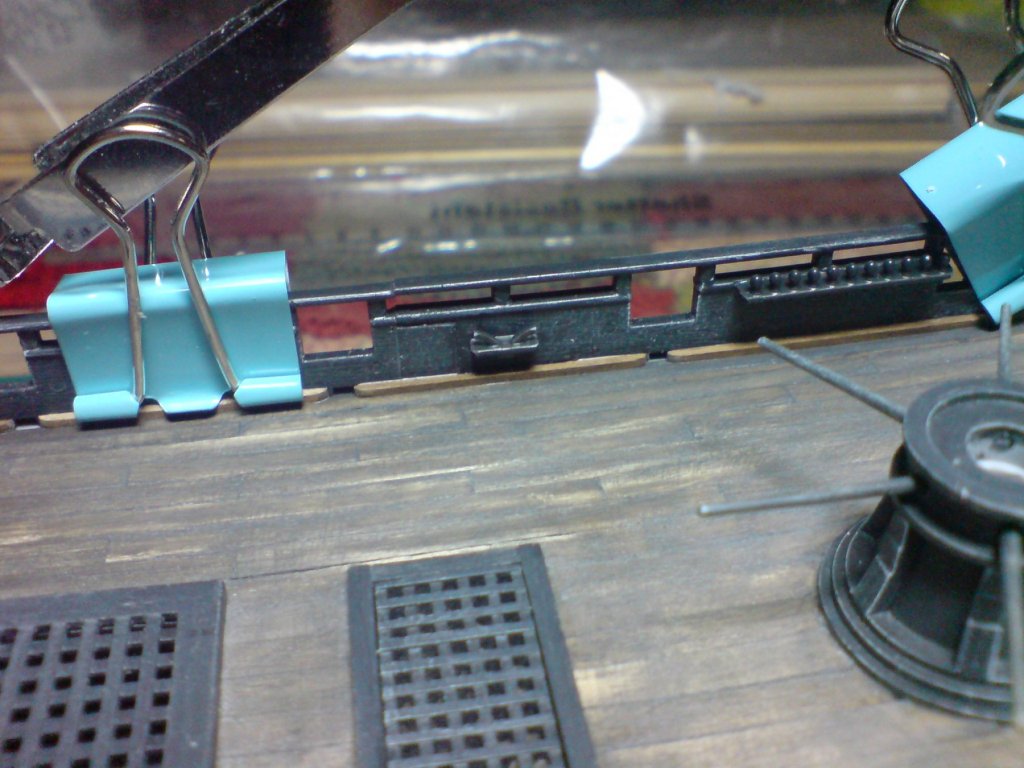
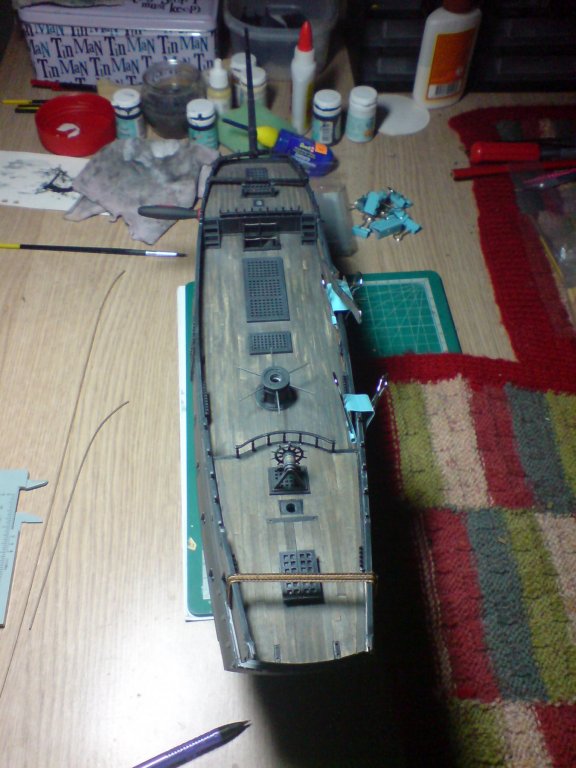
Evening all, more work on the pearl today - I attached both upper hull parts, these needed to lock into lugs with careful positioning and gluing, after being held in place with bands, I fitted both port and larboards sections then fitted the poop deck, I have also started to fit some edging strips agains the deck/bulwarks - these were cut and fitted in sections allowing for the water outlets on the deck, I am doing the same to the poop and forecastle decks. A few pics that also show my shipyard mess on the table. OC.

-
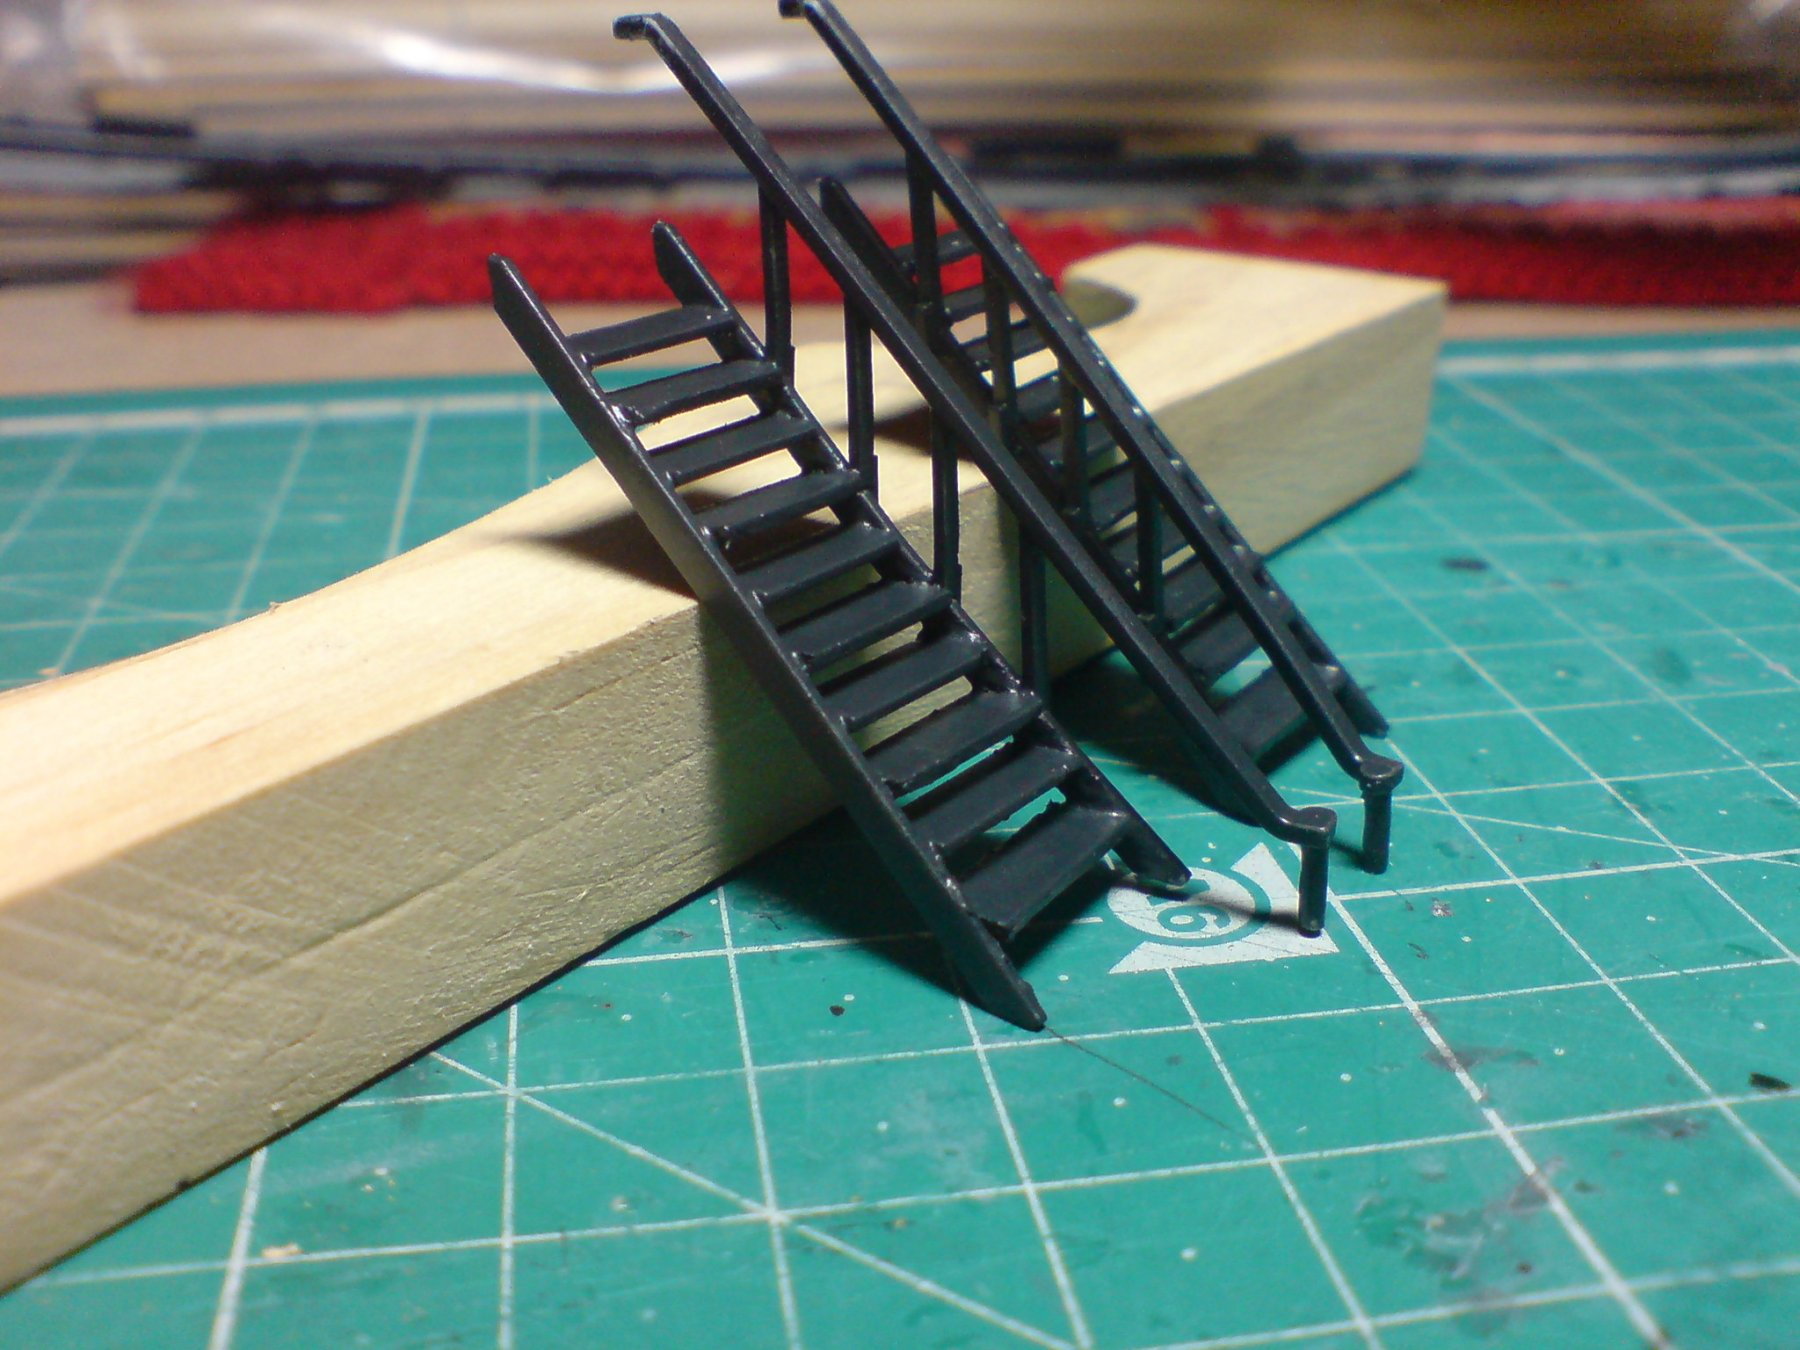
Thank you sincerely, it is another kit modification that I knew needed doing, and it took a little working out how to widen the bottom part of the staircase. OC.
-
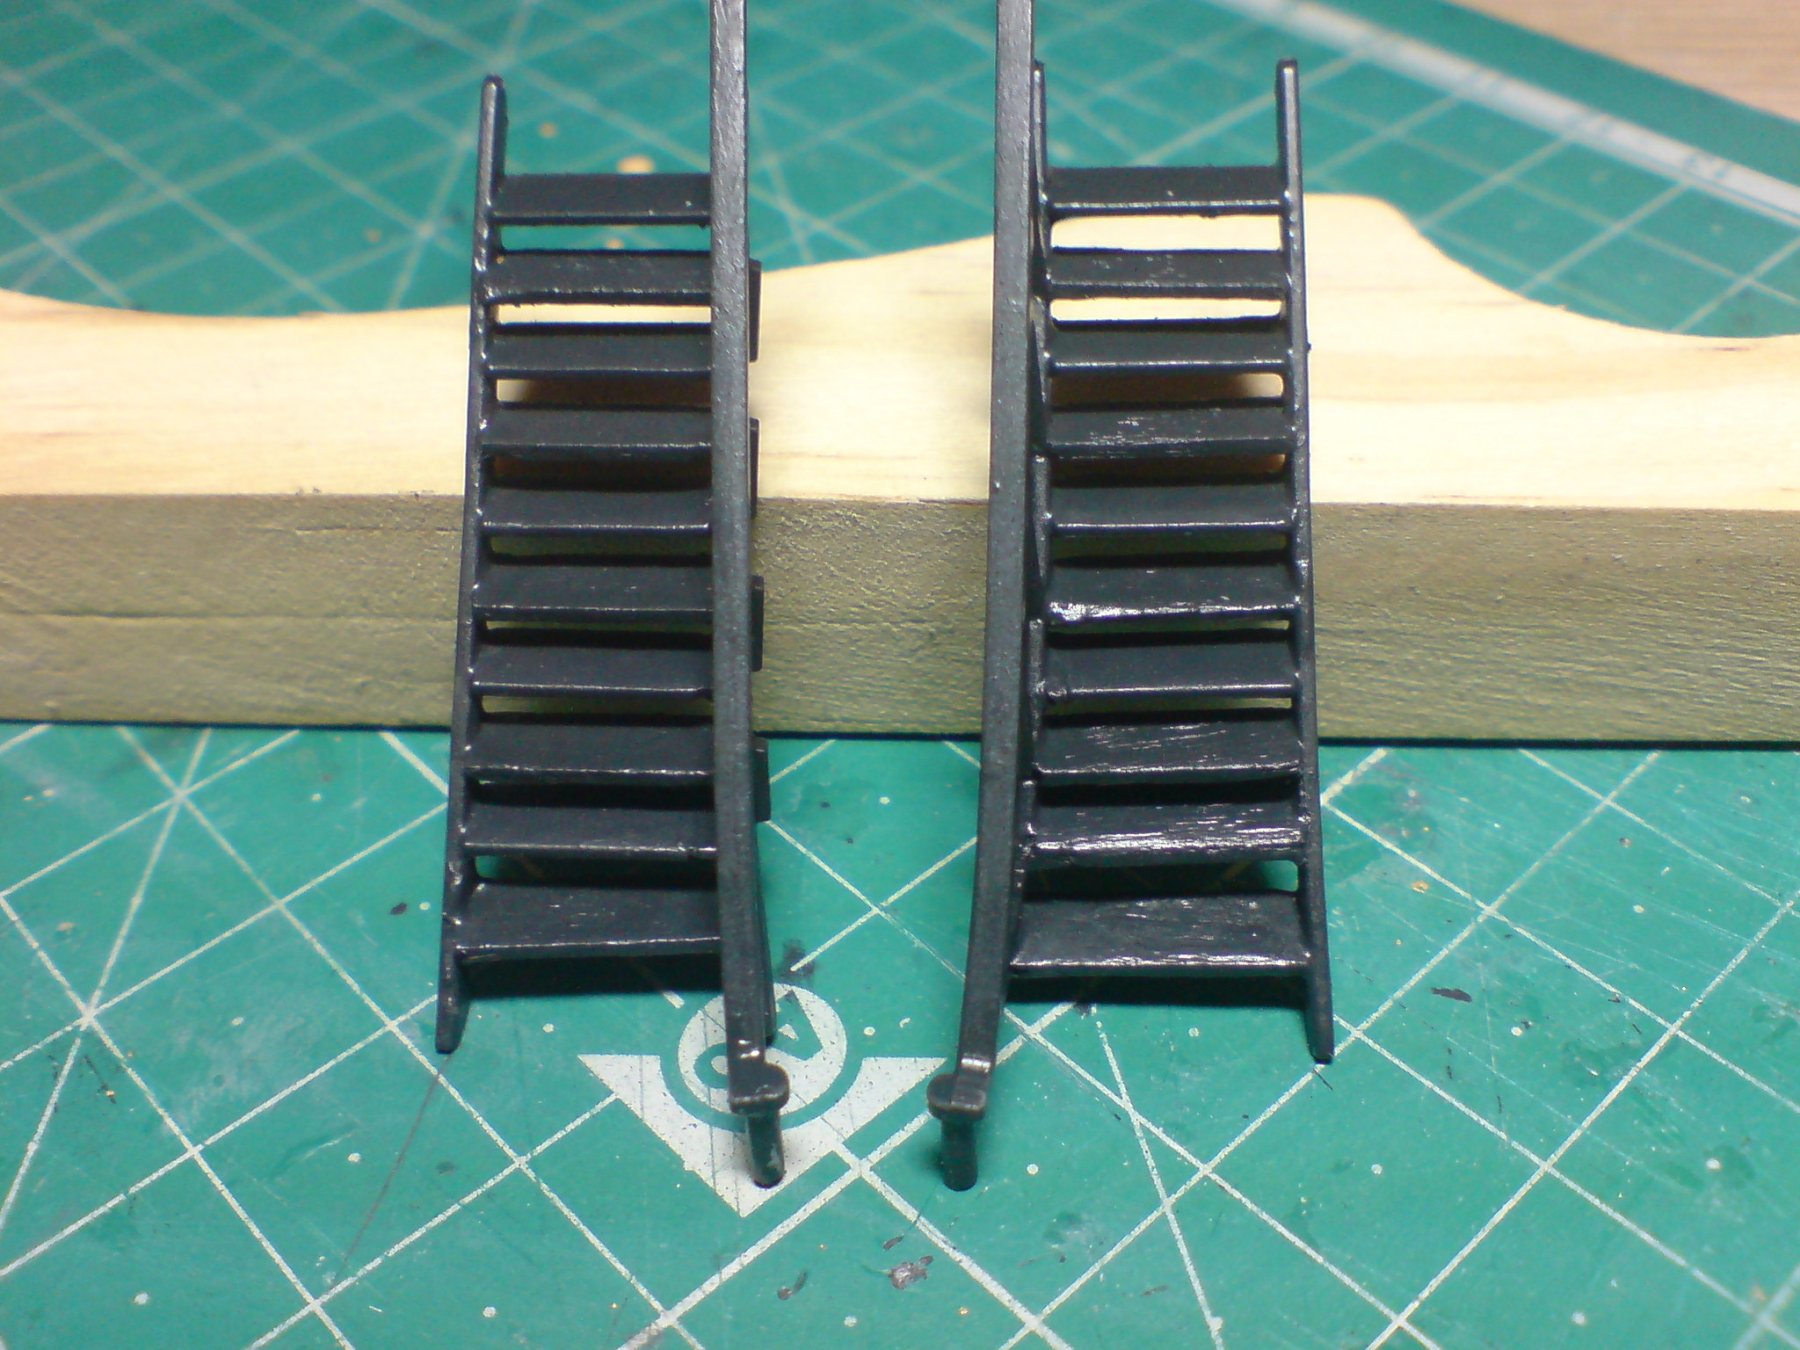
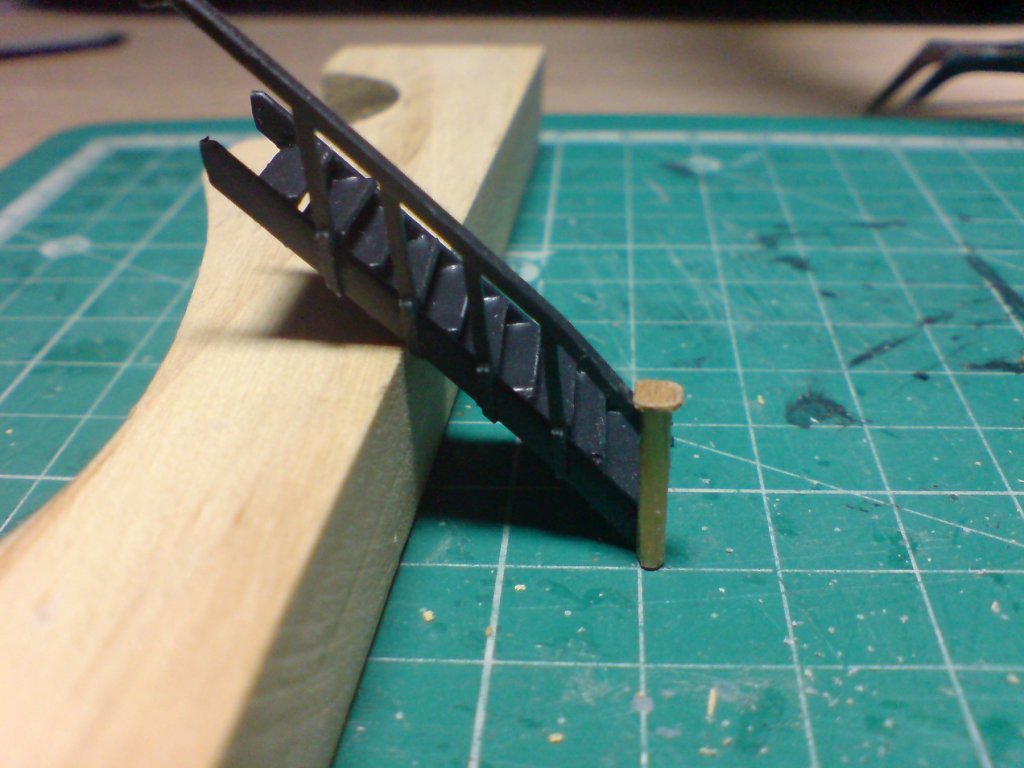
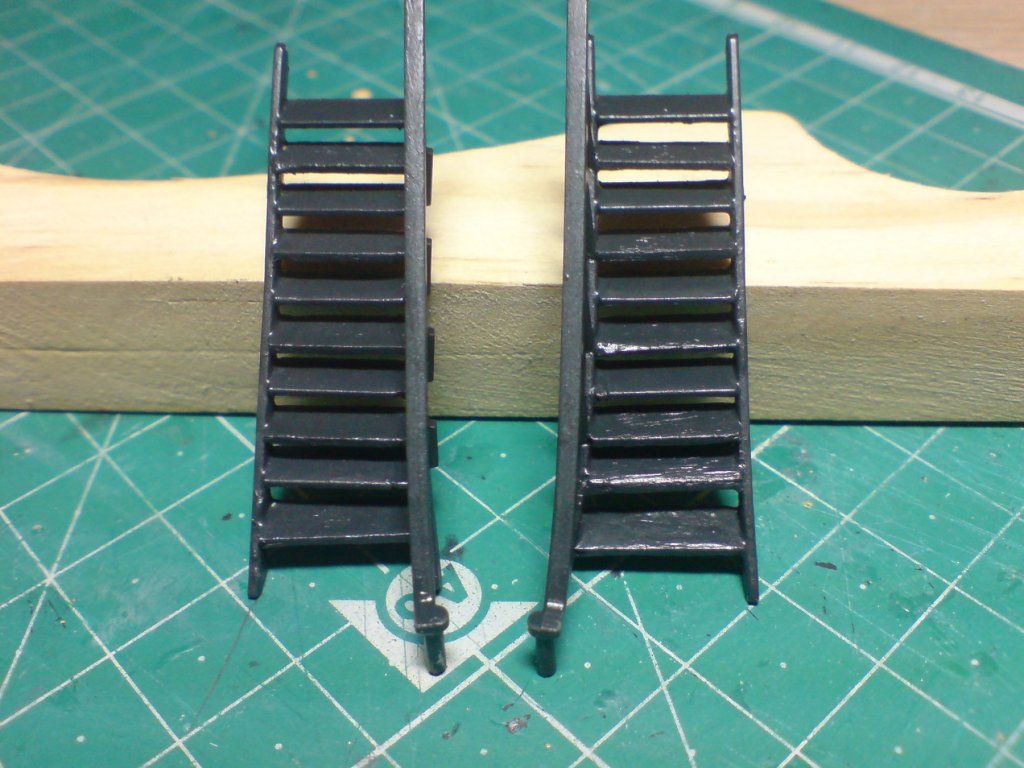
Stage two - attached the hand rail and added a slight bend at the bottom, then slapped a bit of paint on. OC.

-
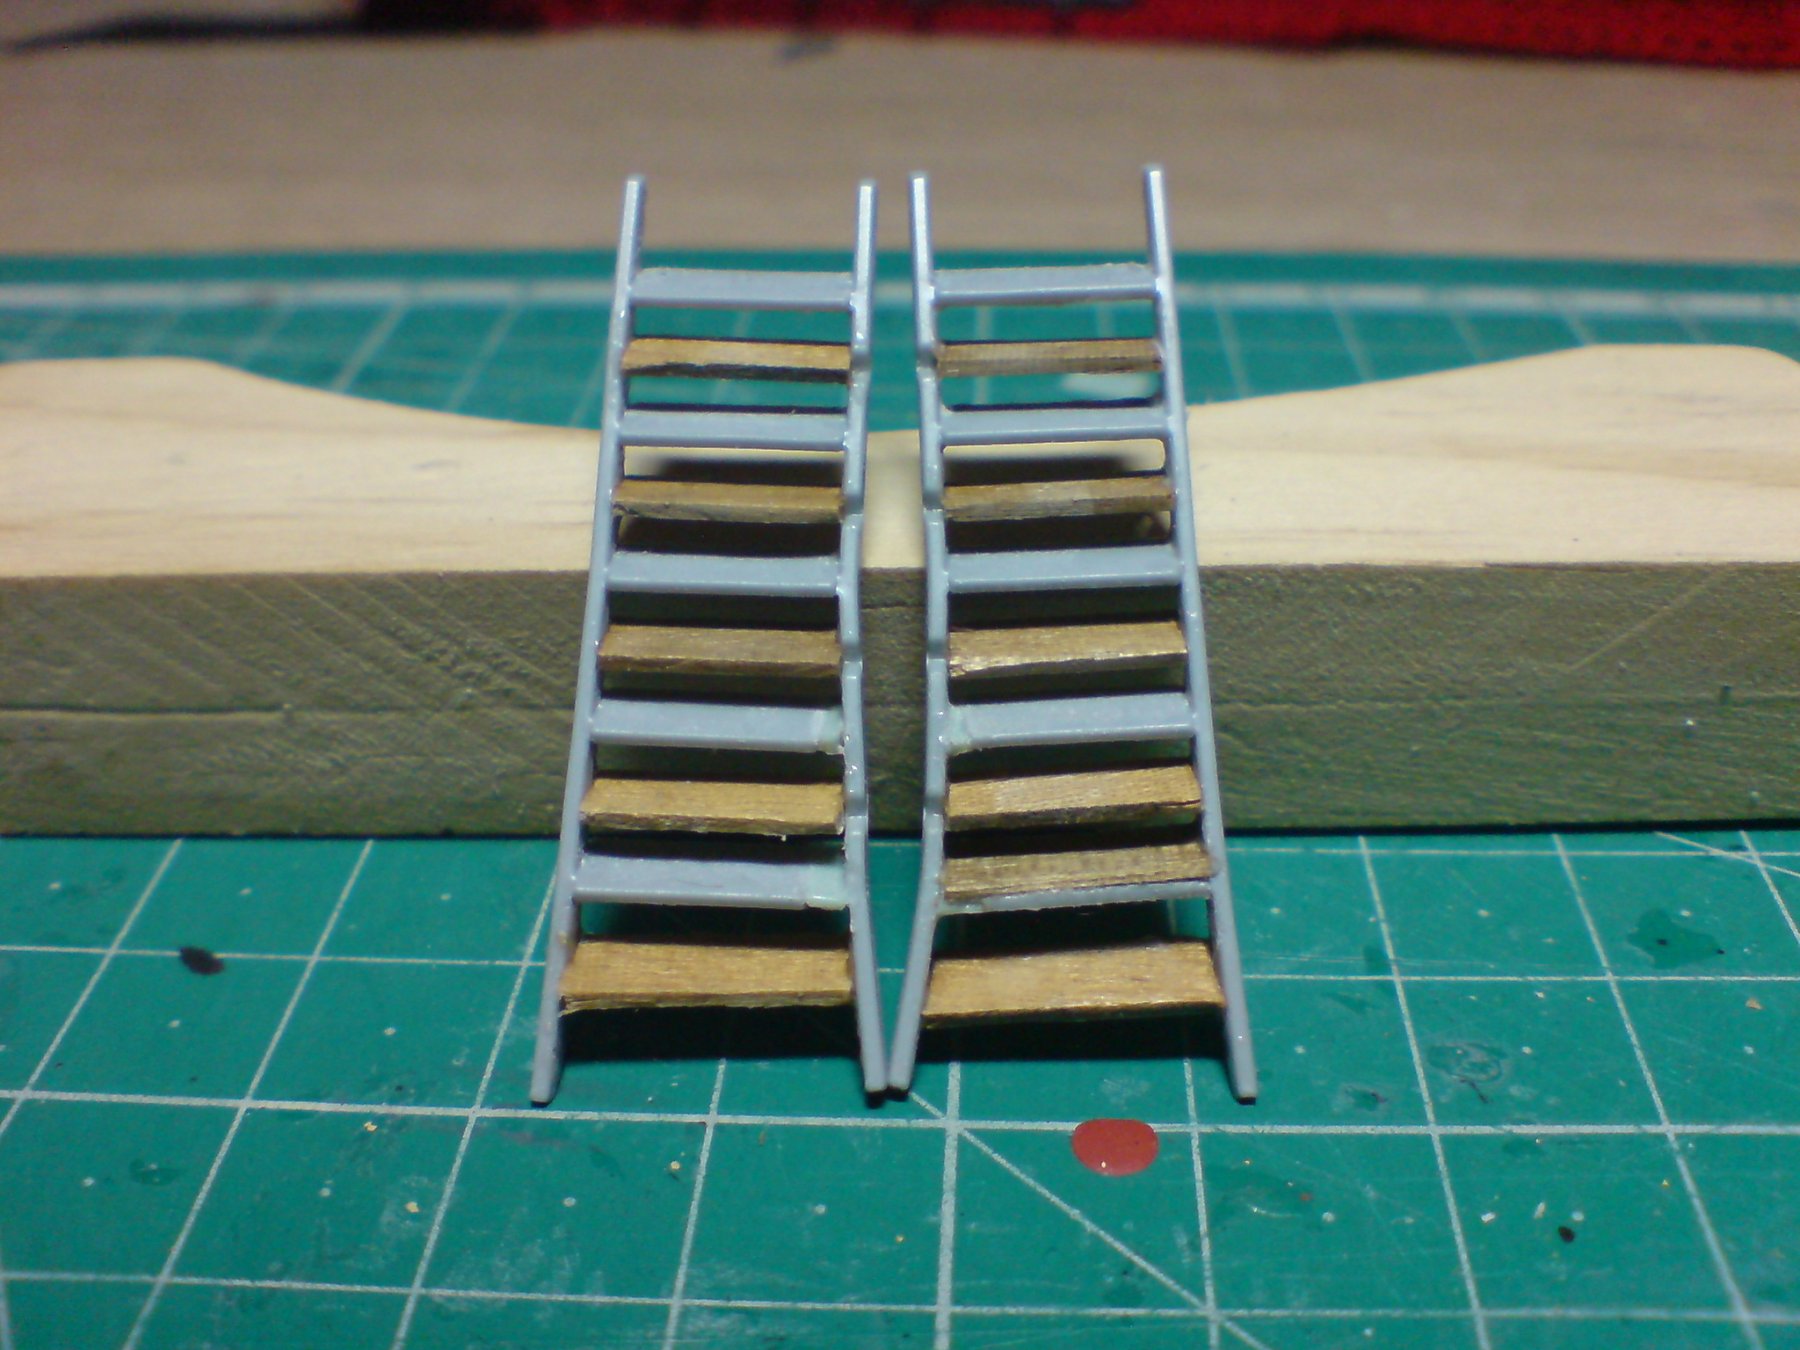
Hi all sincere thanks for all the likes and comments - oh and newcomers to the party "me hearties" More work today on the main staircases - I had to makeup somemore treads and fit them between the molded ones, this gives me ten treads the same as on the real ship, next stage will be to give them a slight sanding/filing then the hand rails will be added and painted. OC.

-
Lovely work bob, very very tidy all the colors compliment each other - shaping up into a beauty. OC.
- 359 replies
-
- 4
-
-
- prince de neufchatel
- model shipways
- (and 1 more)
-
Thank you EJ welcome to the party - popcorn requirment but also rum if you so wish. OC.
-
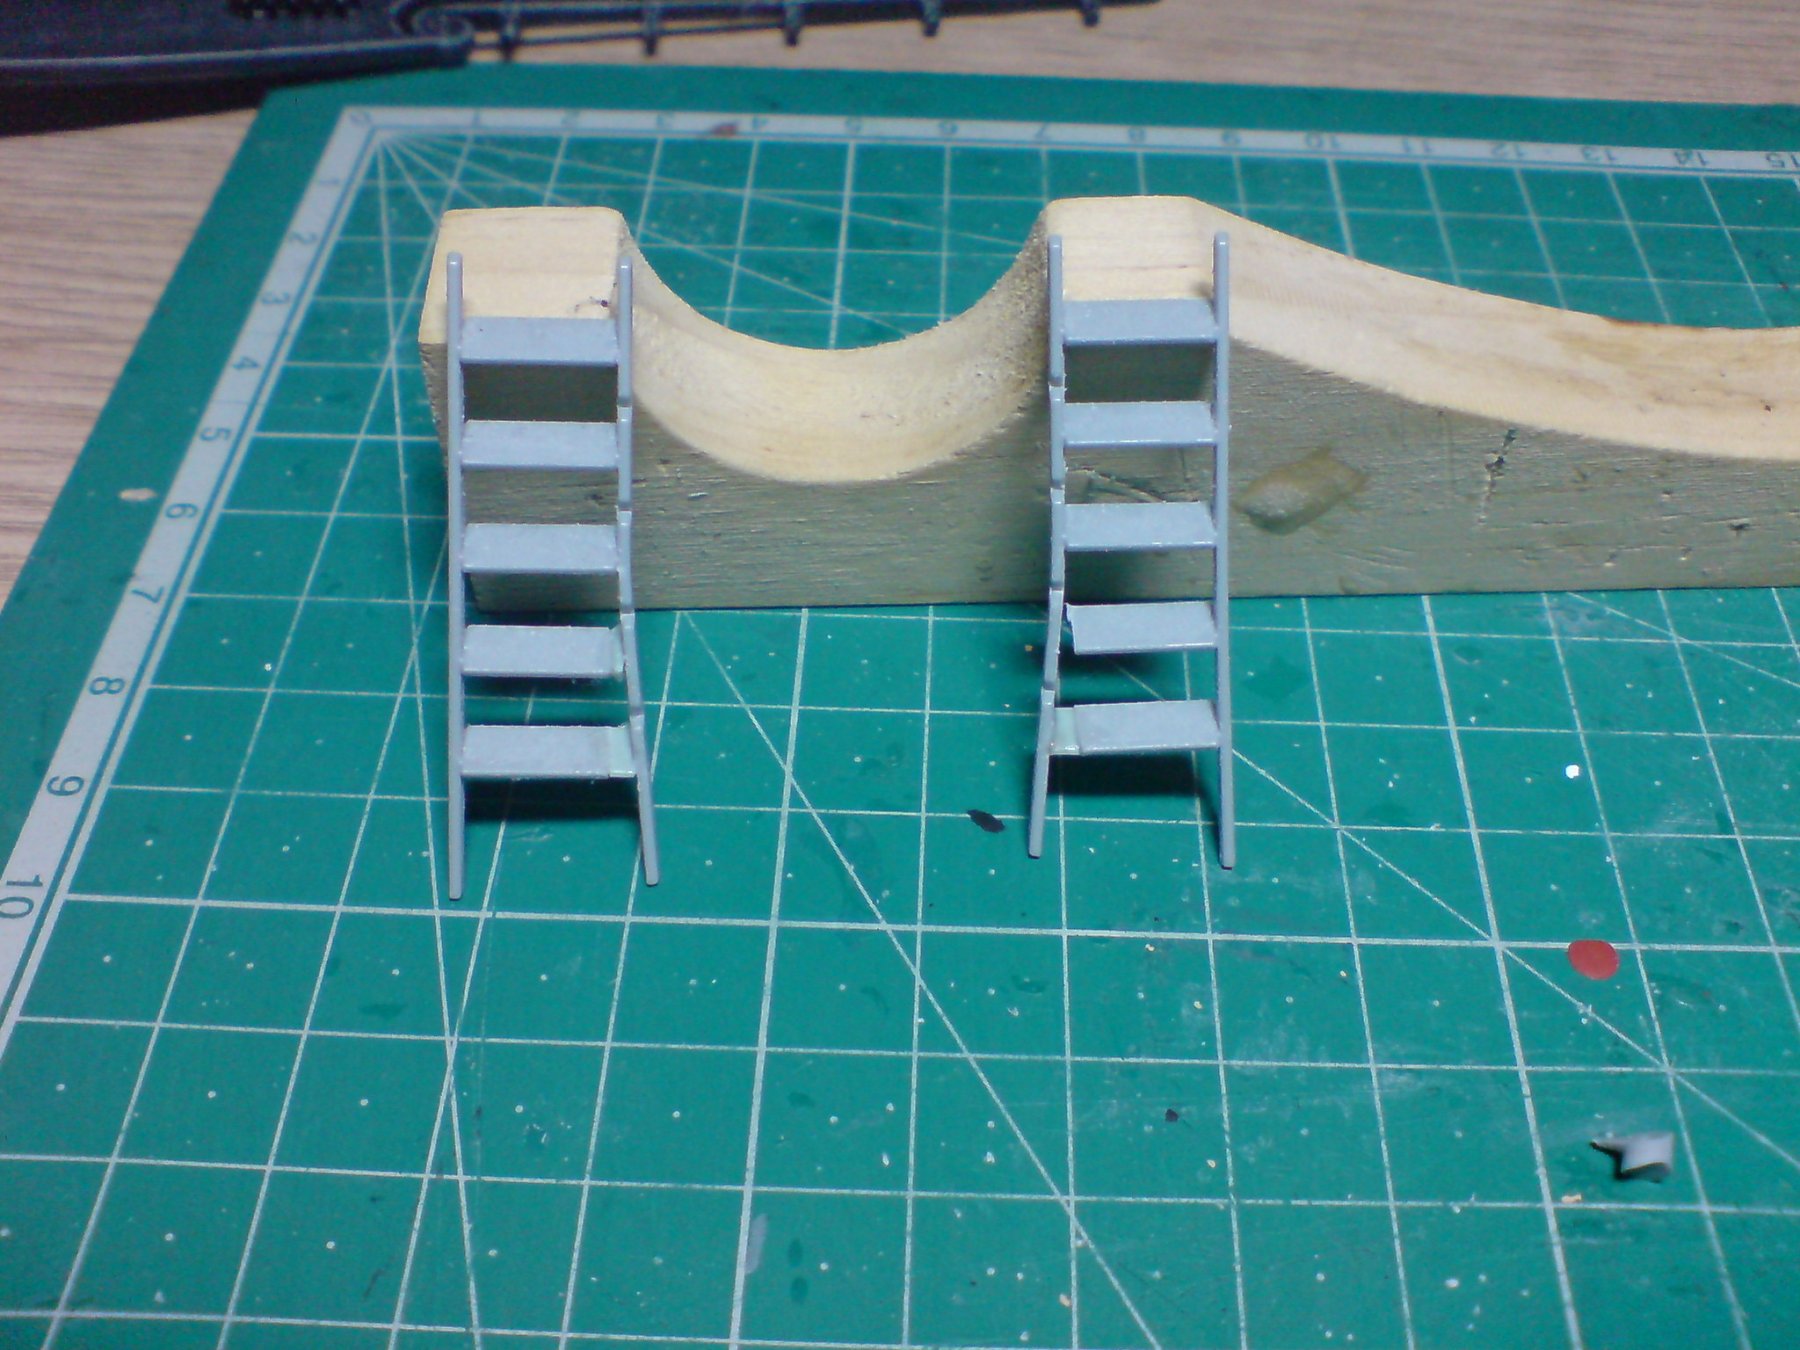
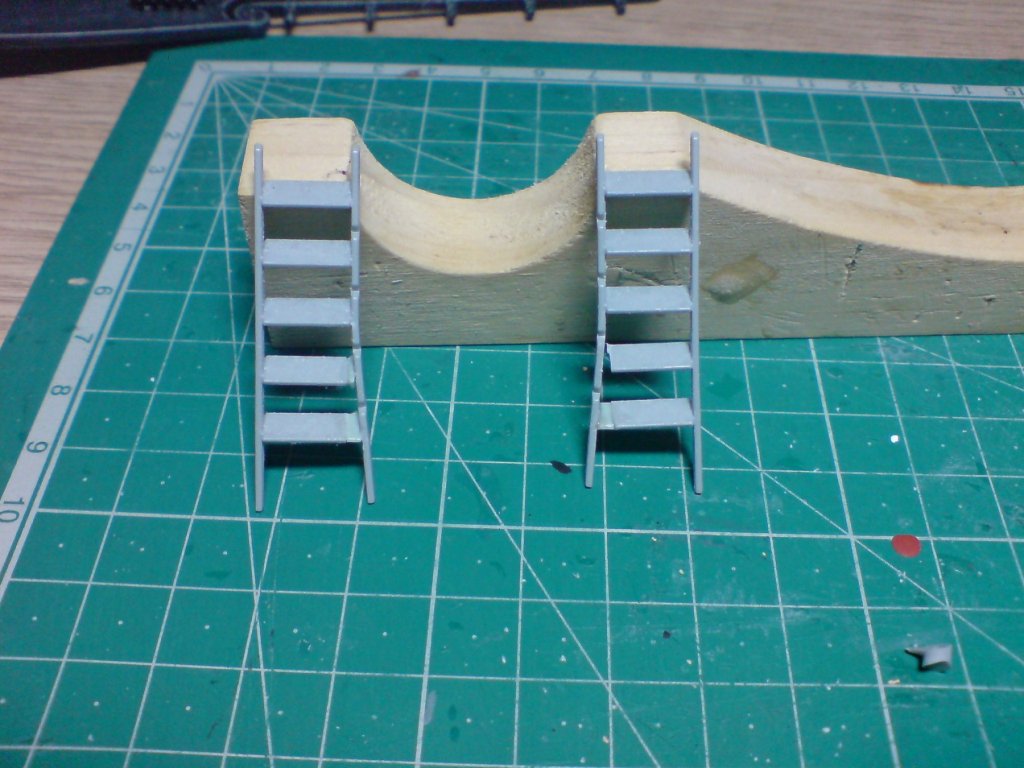
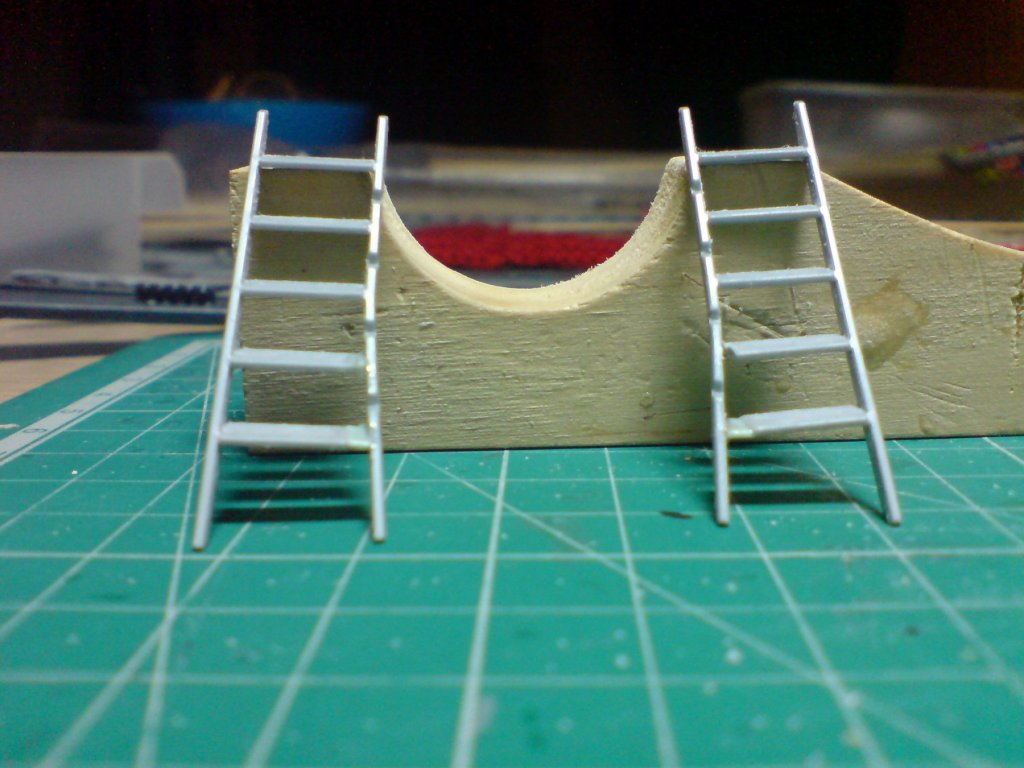
Evening all, today I fitted the beakhead deck that was already planked and weathered, then I turned my attention to the two poop deck - quarter deck ladders, the kit parts are pre molded and straight with just five treads - there needs to be nine or ten, also on the real ship the lower part that meets the q deck is wider with a curve, so to simulate this I first cut the inner edge of two of the lowest treads, then I made up some plastic strip the same thickness as the treads and created a small piece to extend the width of the treads. Tomorrow I will add somemore treads inbetween the molded ones. A few pics folks.


-
Very well said joe. OC.
-
I totally blame this site for showcasing such amazing work from everyone - your all to blame in such an amazing wonderful way. OC.
-
This is going to be awsome - are you starting your own navy OC.
-
That doesn't look too bad - its basically giving you three color change back drops, three brollies/tripods/bulbs, a good way of changing the light field - a good dslr and wide to tele zoom would be great say a 24 - 100mm would be good. OC.
- 467 replies
-
- 4
-
-
- mikasa
- wave models
- (and 1 more)