-
Posts
1,728 -
Joined
-
Last visited
Content Type
Profiles
Forums
Gallery
Events
Everything posted by scrubbyj427
-
I think the trumpeter 1/200 is probably the best on the market currently, yet still requires modifications if you want to be really accurate. But out of the box it appears to build into a nice Titanic. Olympic and Britannic are also possible with modifications.
-

Kit review 1:48 La Renommée section - CAF Model
scrubbyj427 replied to James H's topic in REVIEWS: Model kits
Very cool little kit! It looks like a very well designed project. Thanks for sharing! -
Looking very nice Glenn. Your railings look very good, tricky to install, no doubt. Well done. I didn’t even glue my QG roofs/rails on until the end of ch 11 I think! I knew they were doomed had i not.
- 840 replies
-
- winchelsea
- Syren Ship Model Company
-
(and 1 more)
Tagged with:
-
Incredible work! Congratulations on completing a beautiful model! It’s been a pleasure watching this build as well as a great learning experience. What’s next? JJ
- 589 replies
-
- le gros ventre
- cargo
-
(and 1 more)
Tagged with:
-
Hi Alan, haha I hear what you’re saying. I was more referring to SE FL, I just moved out of Boynton and had to drive and deal with Miami and FTL traffic daily… that’s certainly nothing like what you describe! I always liked the west side much more. Miami/Lauderdale area is definitely a zoo, I lived in green acres at one point and traffic was backed up all the way up there. JJ
-
Well Done Steve! She looks great! Chapter 12 really is the icing on the cake. Congratulations on completing your Winnie (well almost). Are you going to drive her down there or attempt to fly?
- 99 replies
-
- winchelsea
- Syren Ship Model Company
-
(and 1 more)
Tagged with:
-

Roter Löwe 1597 by Ondras71
scrubbyj427 replied to Ondras71's topic in - Build logs for subjects built 1501 - 1750
Very nice work Ondras! Excellent metal work! -
Looking good Gary, you’re moving right along, the end is in sight!
- 389 replies
-
- winchelsea
- Syren Ship Model Company
-
(and 1 more)
Tagged with:
-
I broke every speed limit in the state of Florida, driving out of it as fast as I could with my air conditioning set to “meat locker”.
-
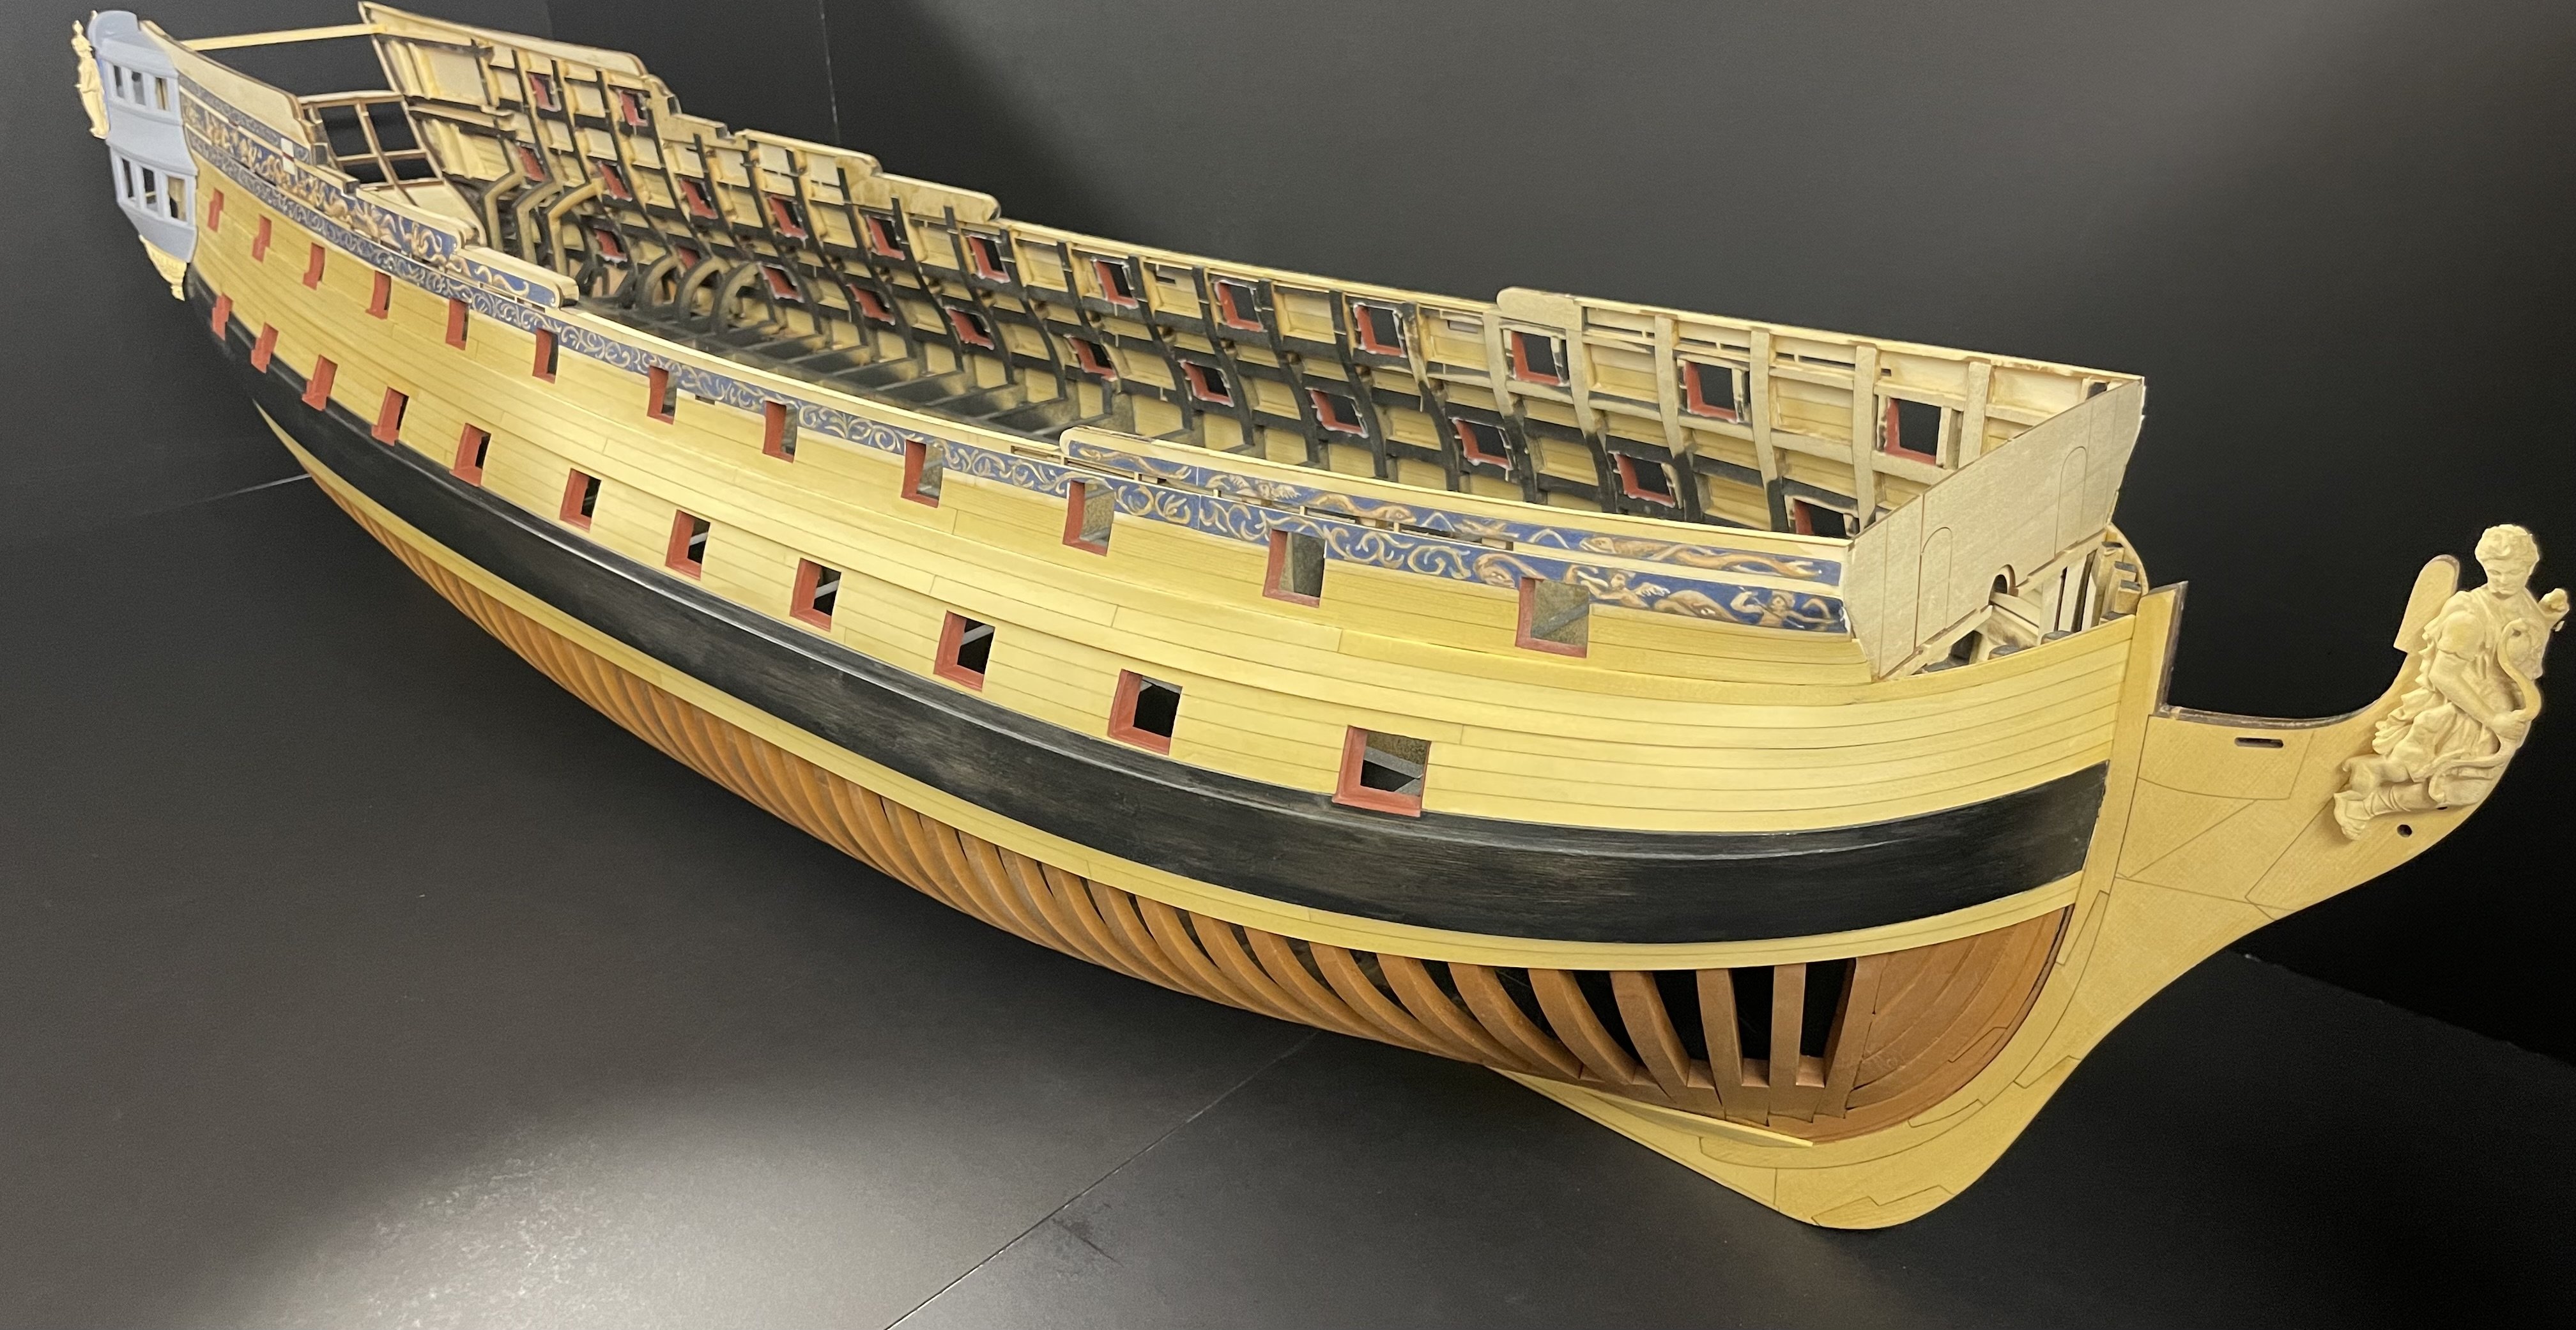
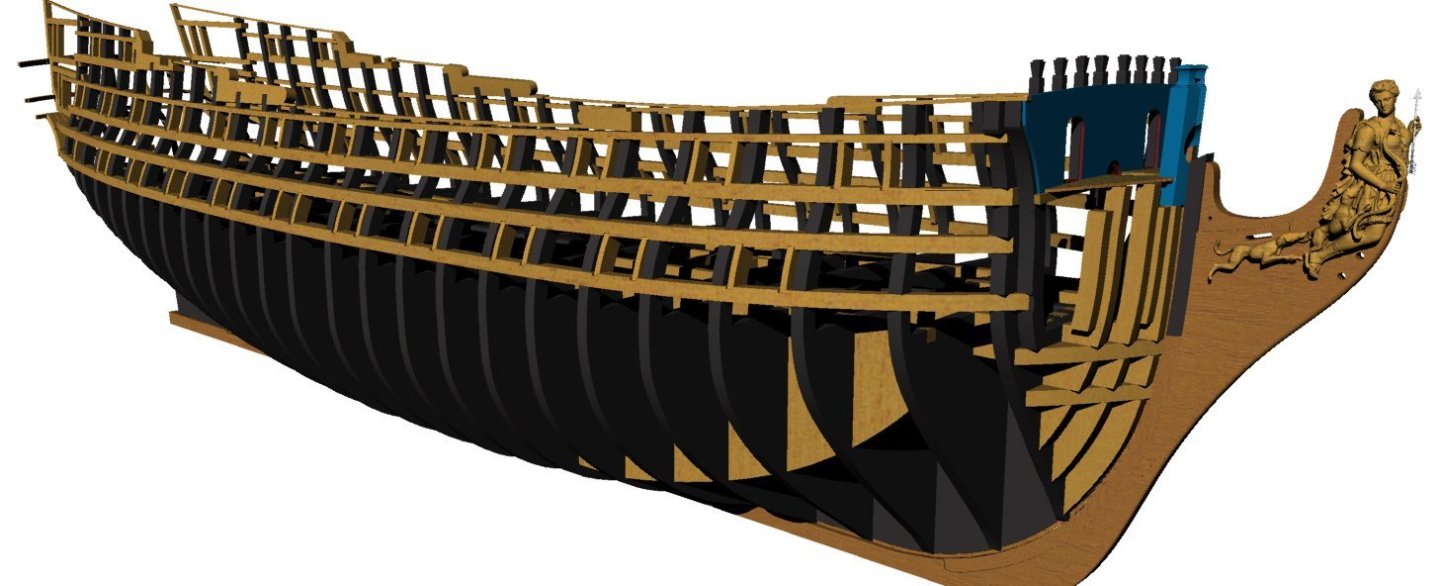
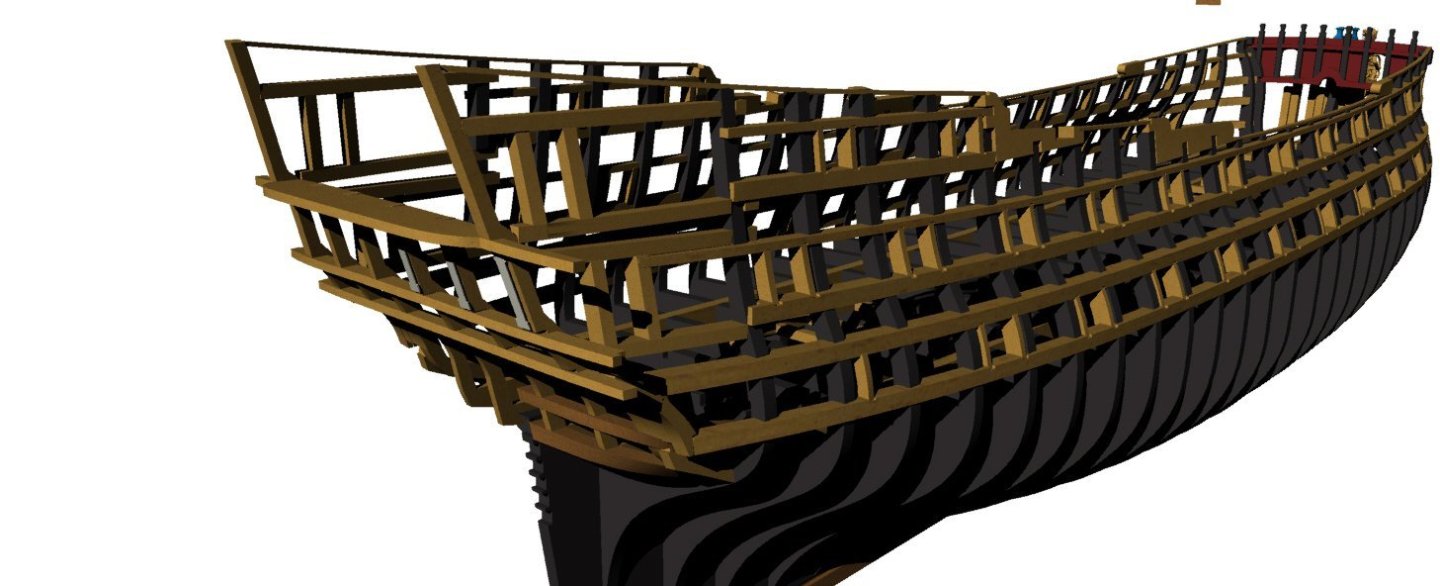
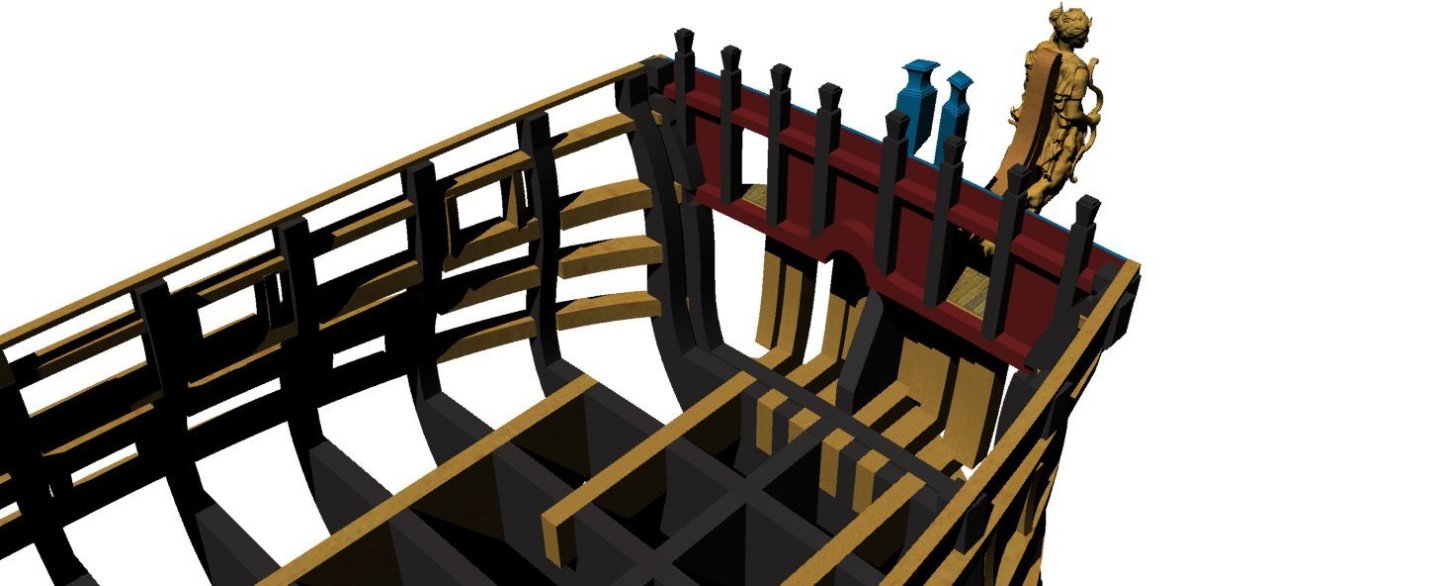
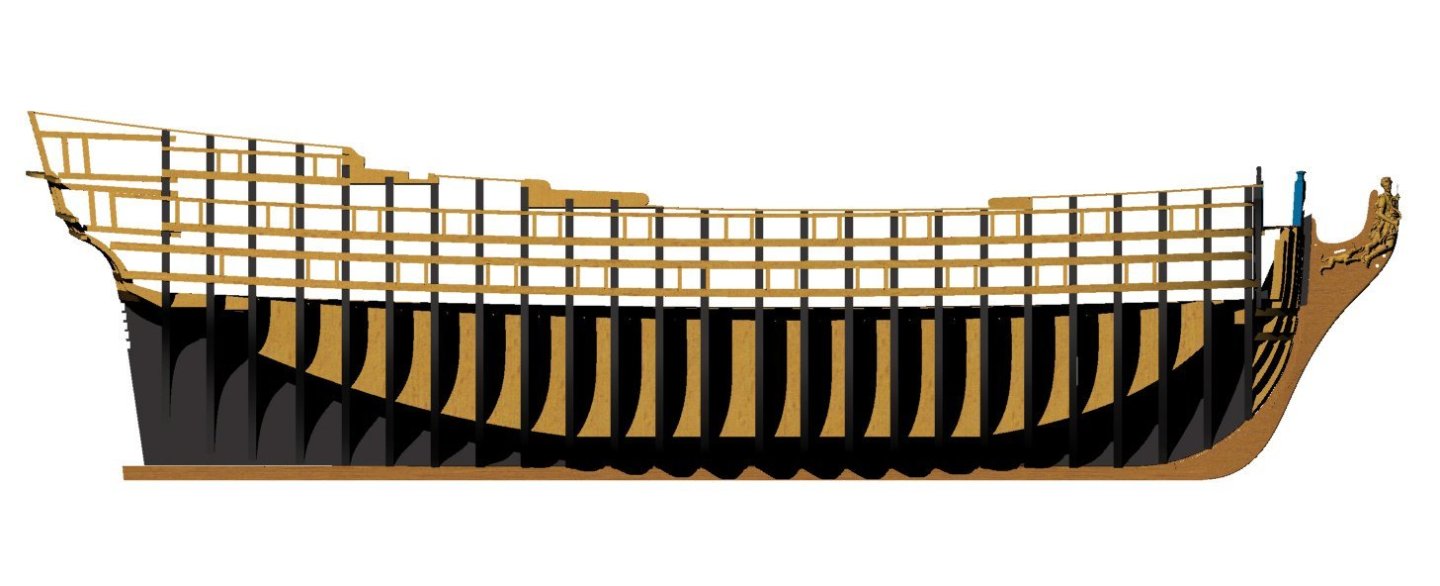
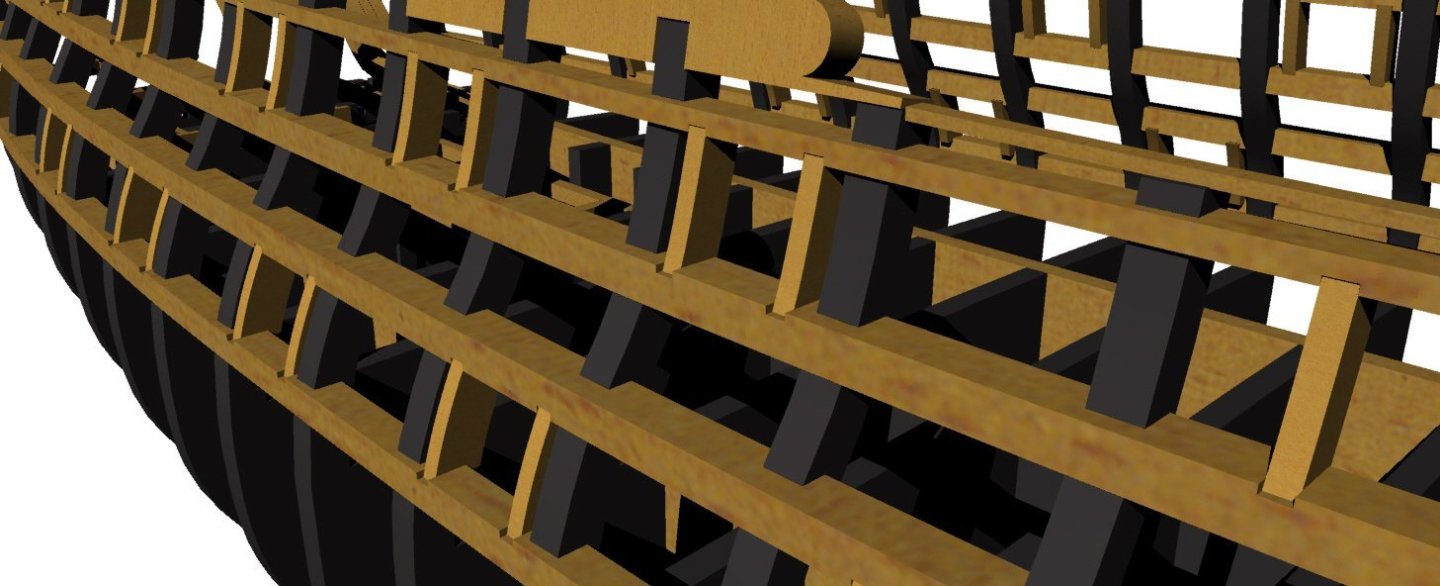
I have a few updates to the design of the structural assembly for the first part of the model, it is almost complete, I need to add a few things like the stern chaser port framing, some sheaves and tie in some of the structure in the stern. Otherwise this is pretty close to what I will begin assembling in September, this will lead into Planking and Q gallery assembly, I am well ahead in that aspect of the design and will probably begin test building that separately alongside the prototype build. Comments and questions are welcome. JJ
About us
Modelshipworld - Advancing Ship Modeling through Research
SSL Secured
Your security is important for us so this Website is SSL-Secured
NRG Mailing Address
Nautical Research Guild
237 South Lincoln Street
Westmont IL, 60559-1917
Model Ship World ® and the MSW logo are Registered Trademarks, and belong to the Nautical Research Guild (United States Patent and Trademark Office: No. 6,929,264 & No. 6,929,274, registered Dec. 20, 2022)
Helpful Links
About the NRG
If you enjoy building ship models that are historically accurate as well as beautiful, then The Nautical Research Guild (NRG) is just right for you.
The Guild is a non-profit educational organization whose mission is to “Advance Ship Modeling Through Research”. We provide support to our members in their efforts to raise the quality of their model ships.
The Nautical Research Guild has published our world-renowned quarterly magazine, The Nautical Research Journal, since 1955. The pages of the Journal are full of articles by accomplished ship modelers who show you how they create those exquisite details on their models, and by maritime historians who show you the correct details to build. The Journal is available in both print and digital editions. Go to the NRG web site (www.thenrg.org) to download a complimentary digital copy of the Journal. The NRG also publishes plan sets, books and compilations of back issues of the Journal and the former Ships in Scale and Model Ship Builder magazines.

