


Kevin
-
Posts
6,612 -
Joined
-
Last visited
Content Type
Profiles
Forums
Gallery
Events
Posts posted by Kevin
-
-
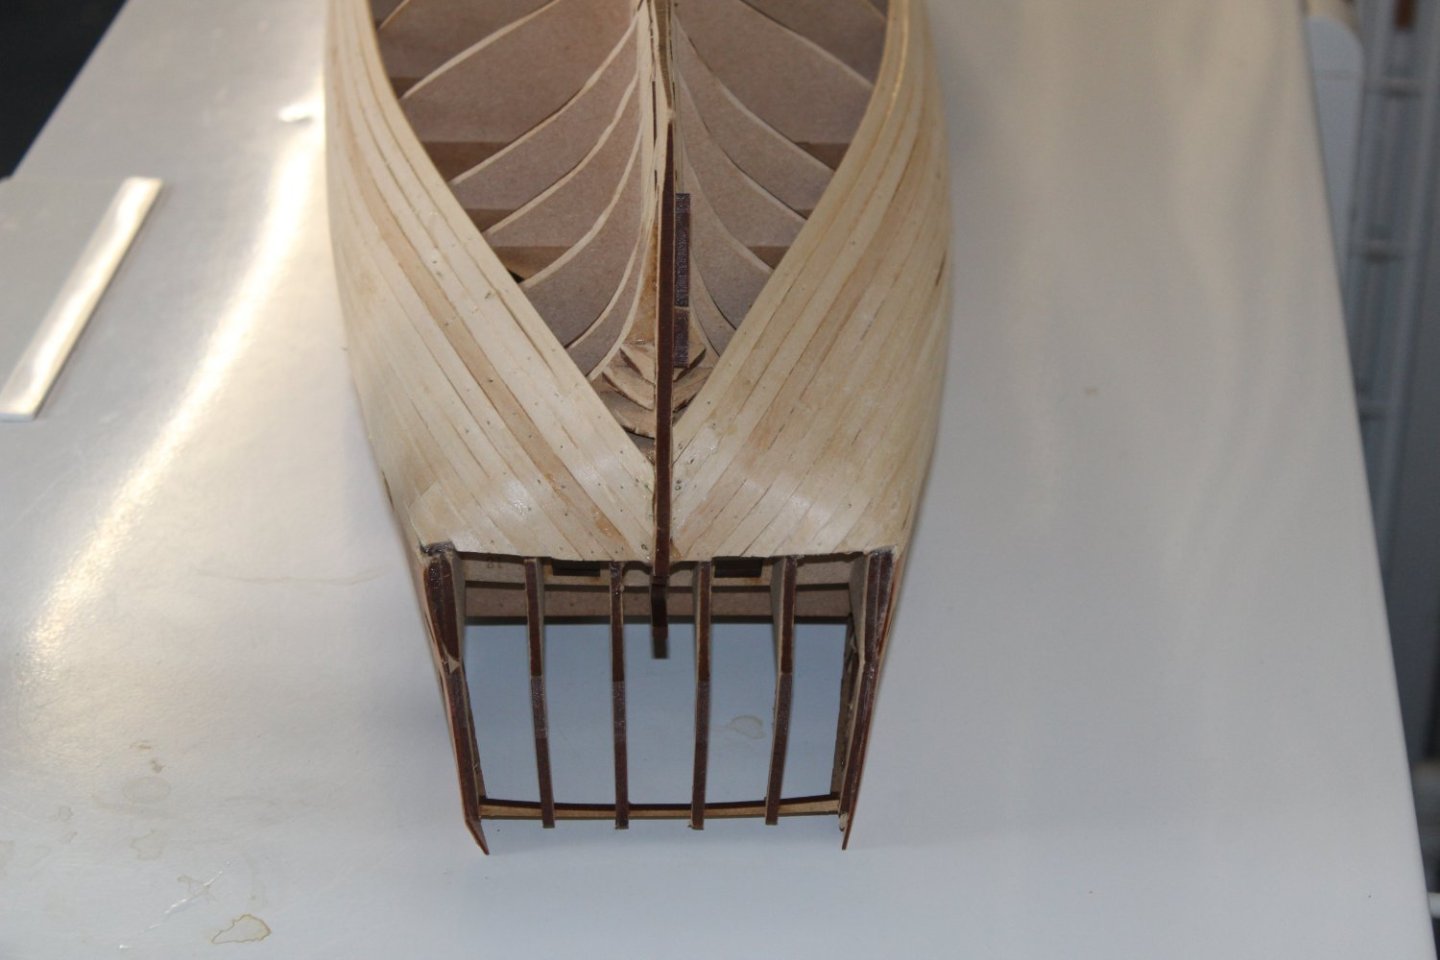
good evening everyone
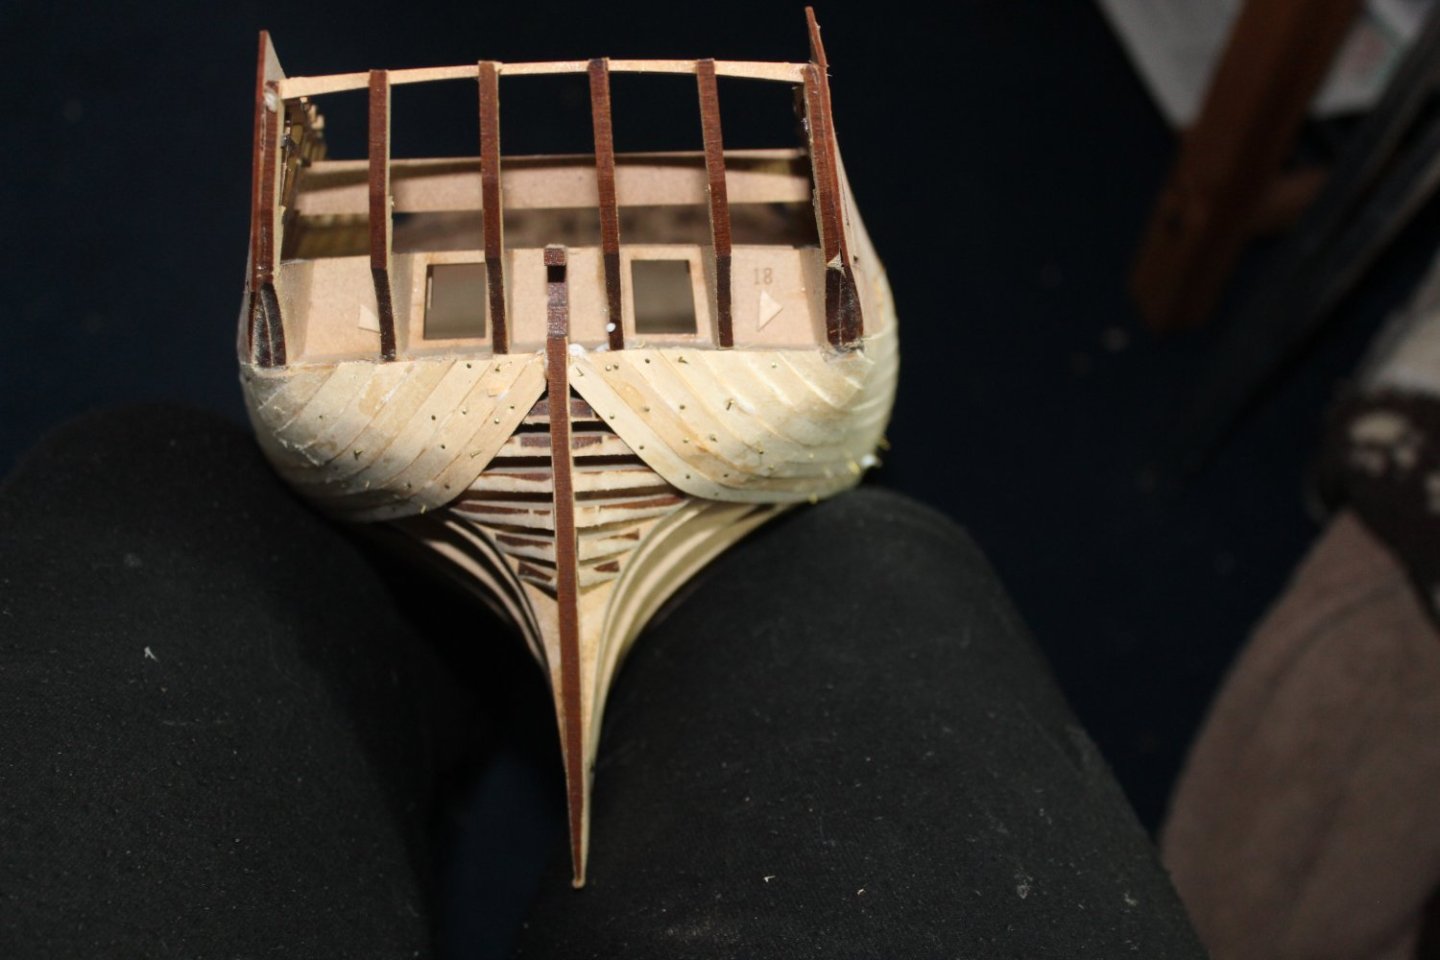
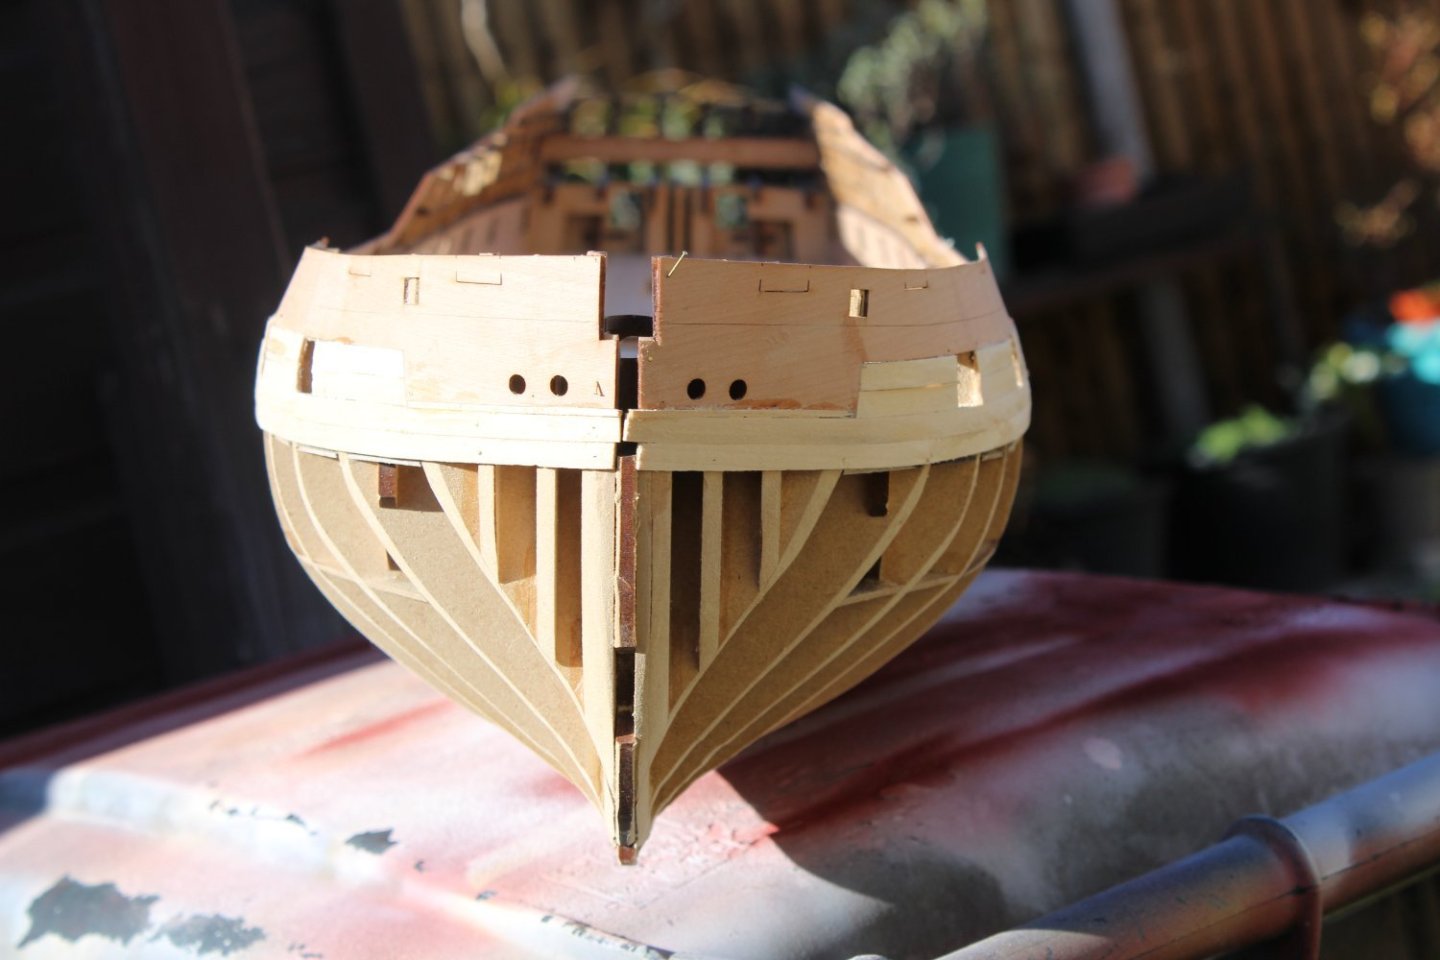
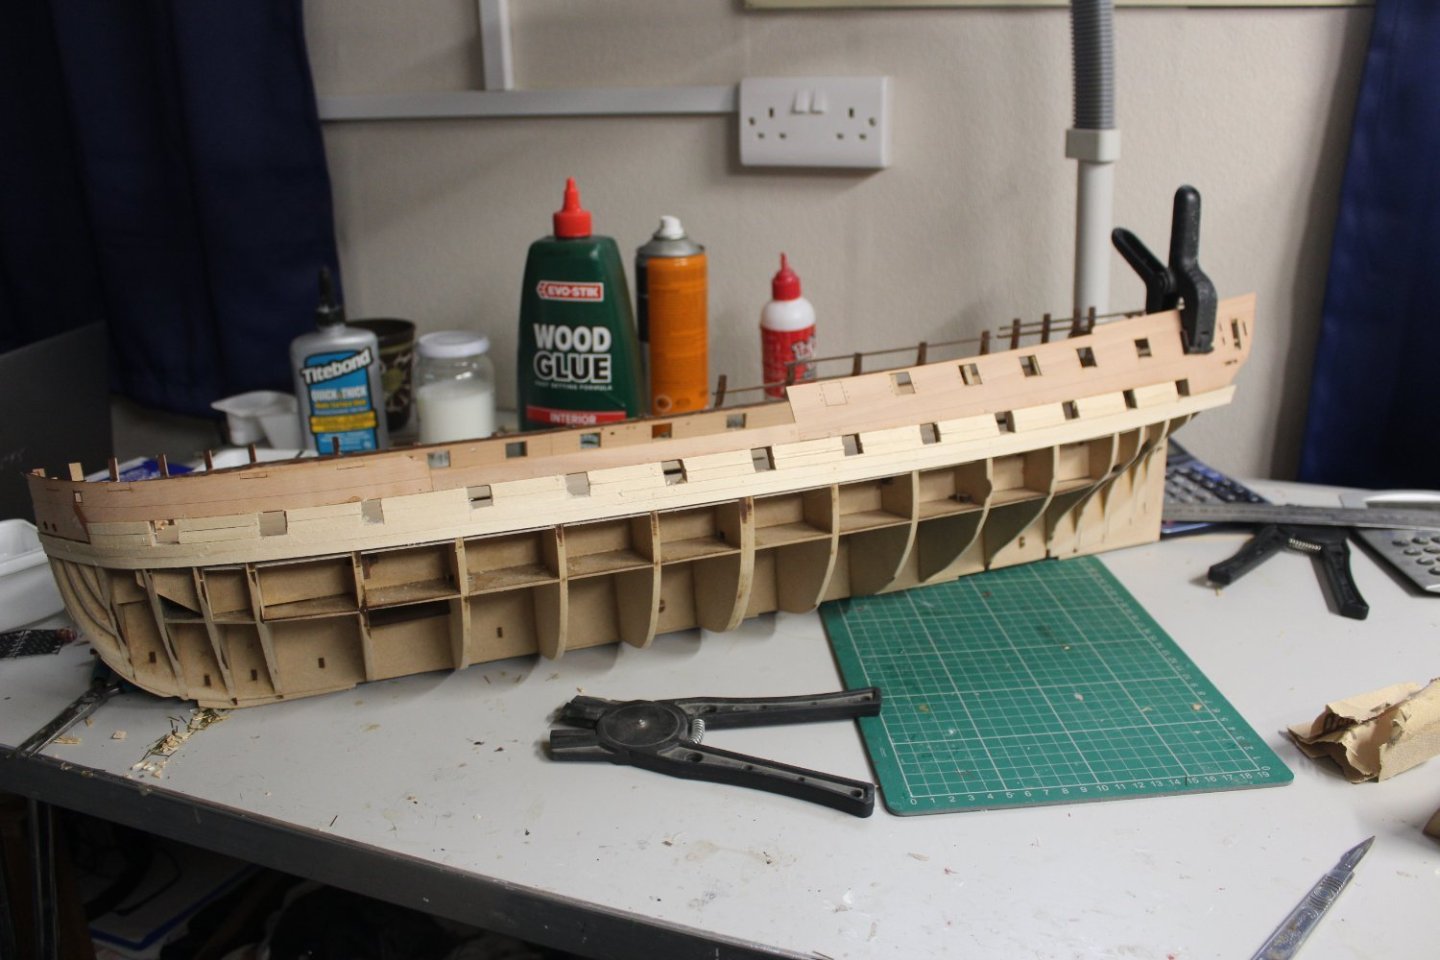
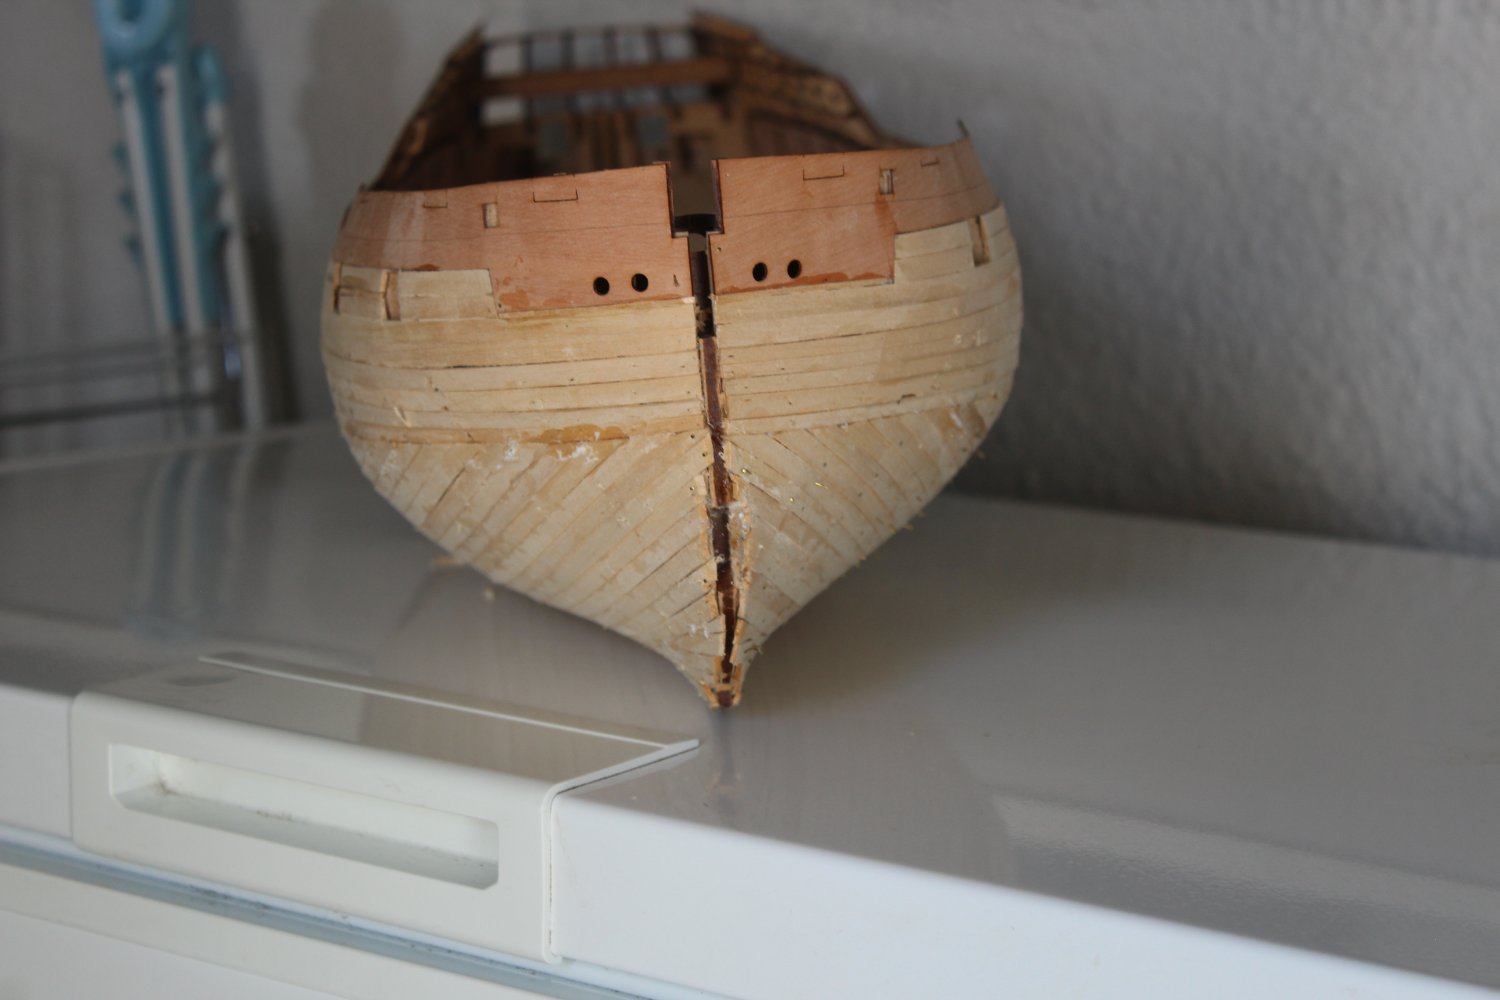
day 20 1st planking
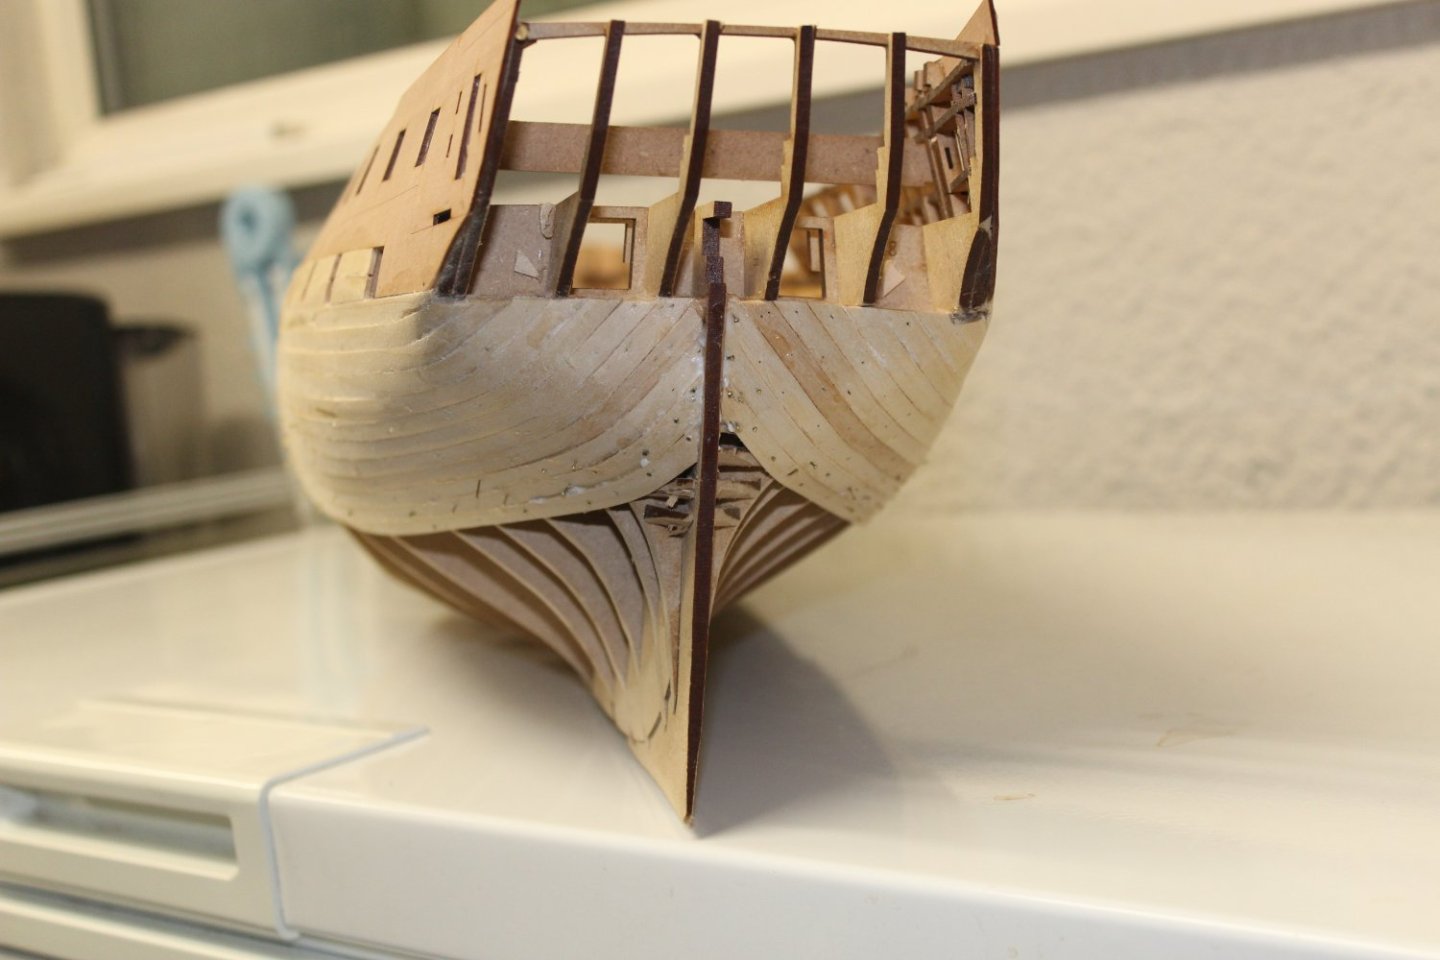
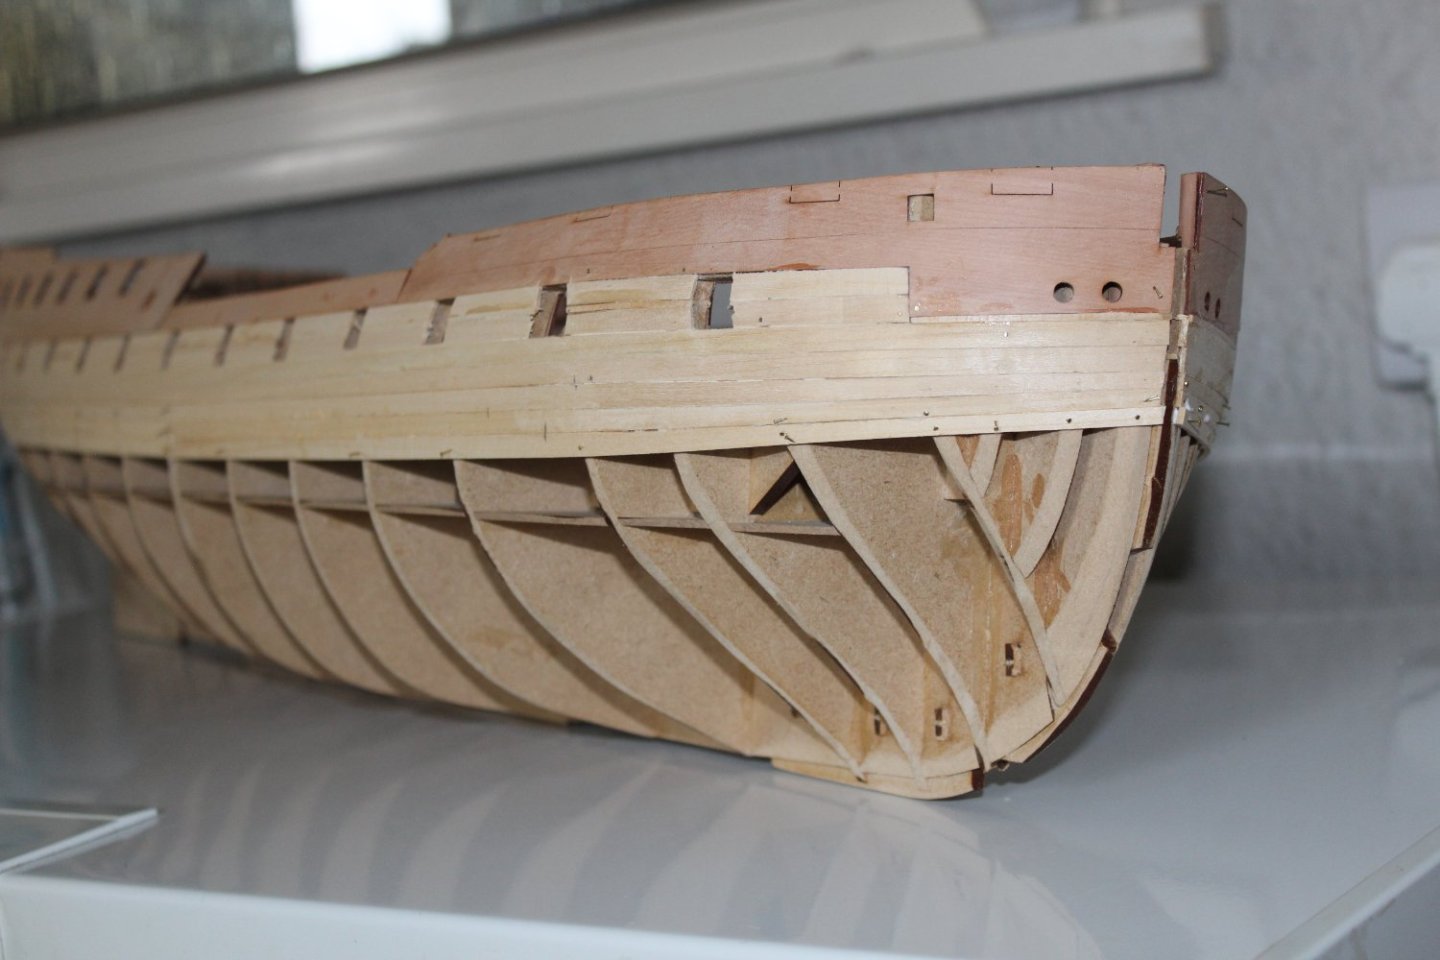
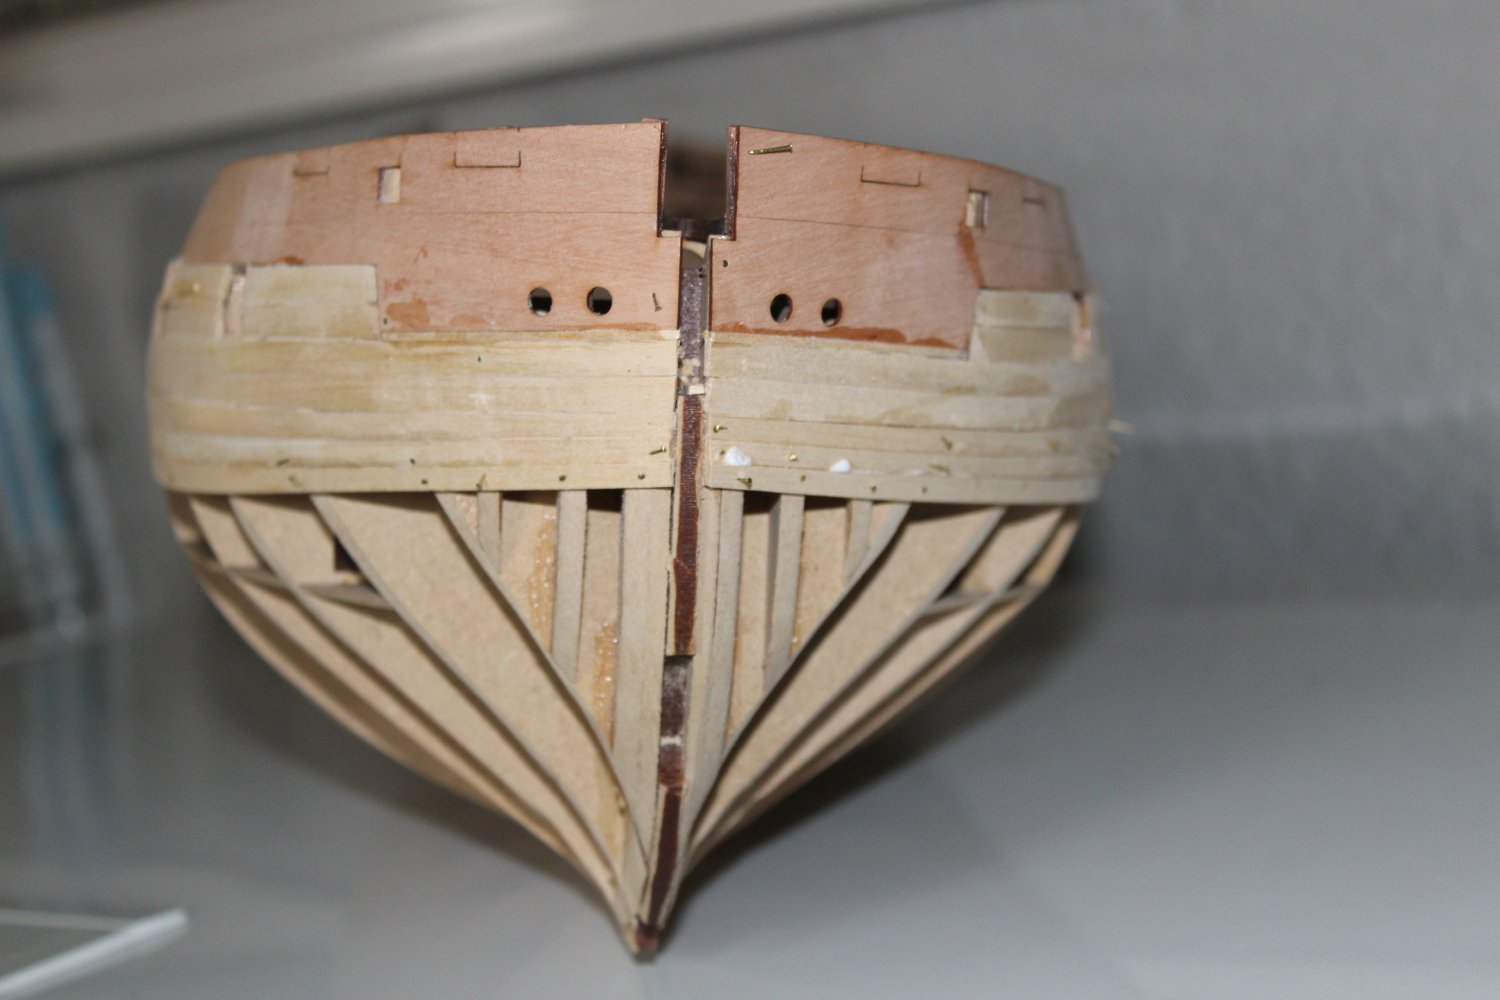
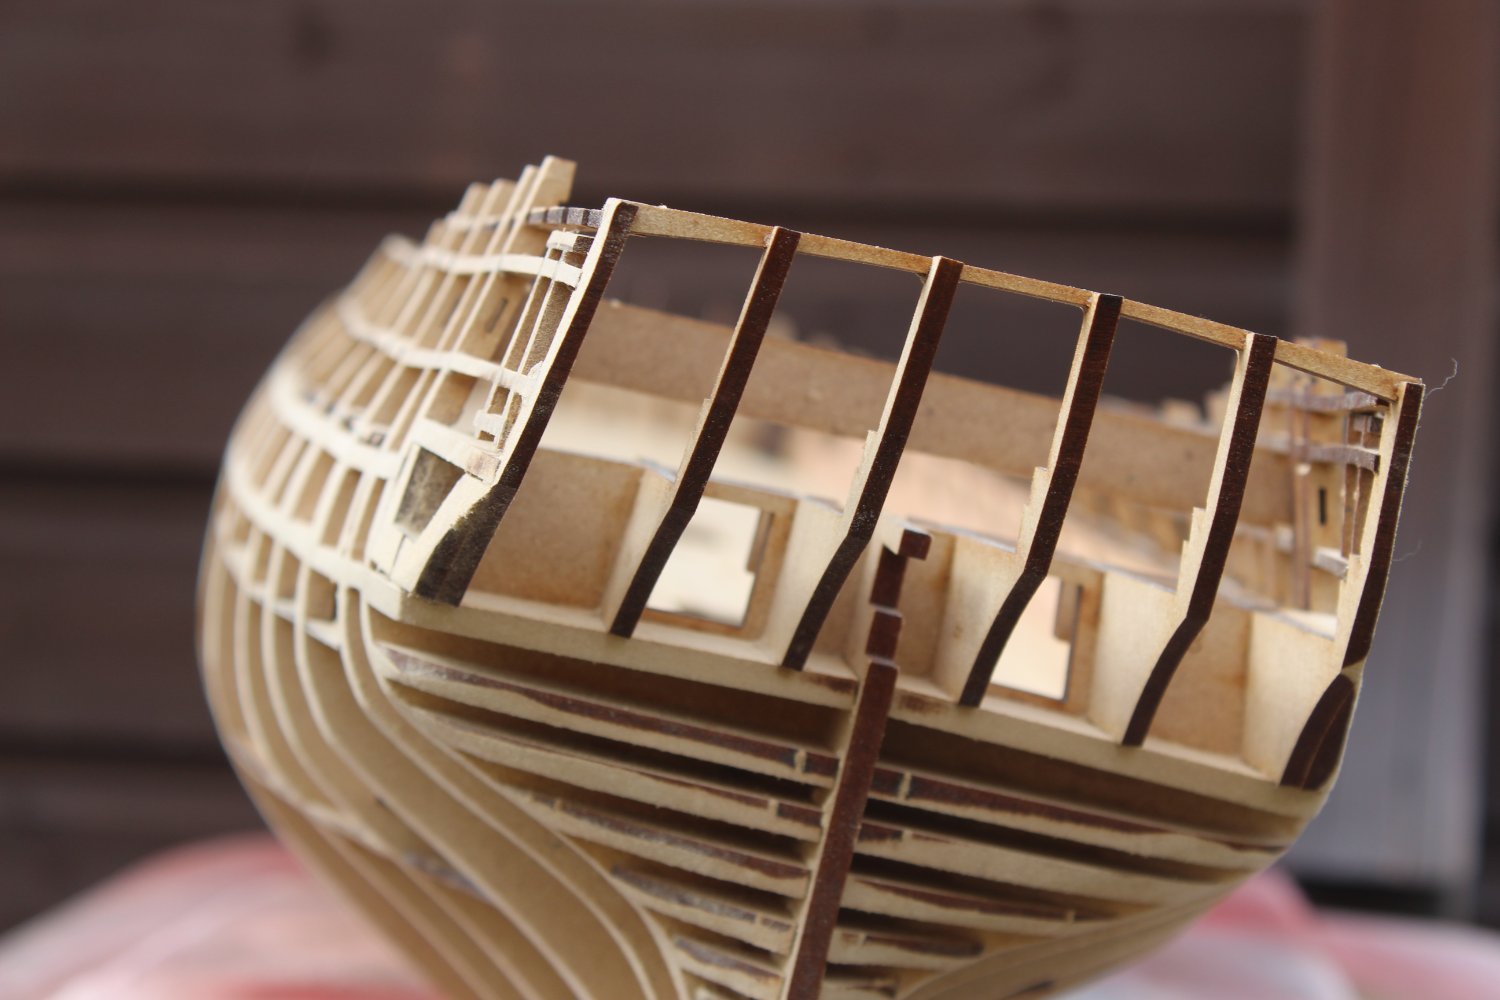
the bow is 1st planked, - absolutely nothing special, but will serve as a good foundation for the 2nd layer, i look forward to many hours of sanding before that happens
the stern will be completed in the next day or so

-
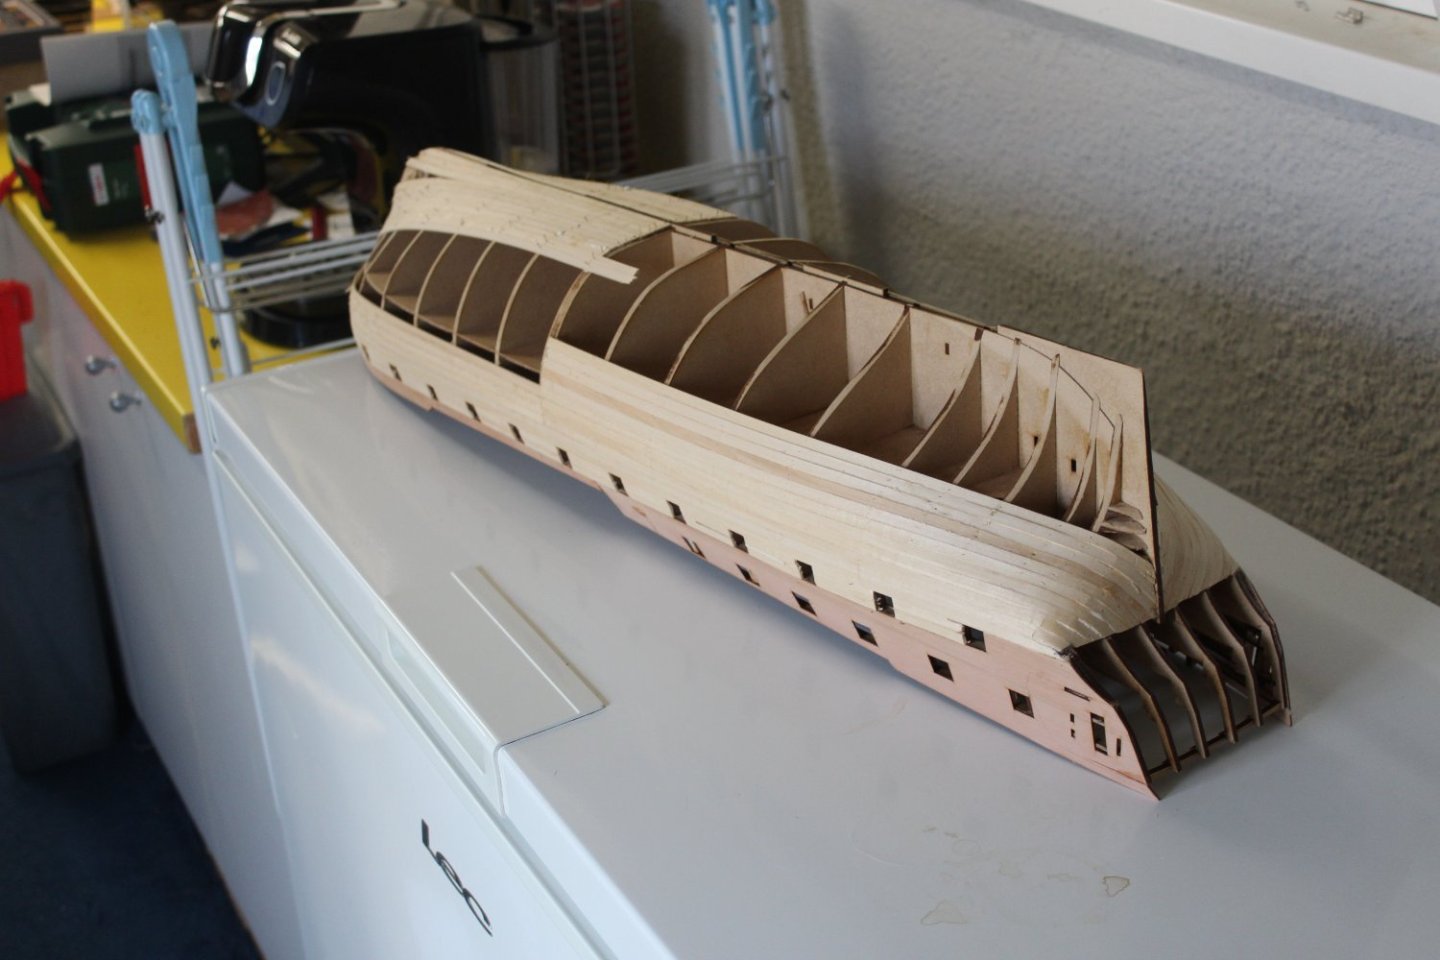
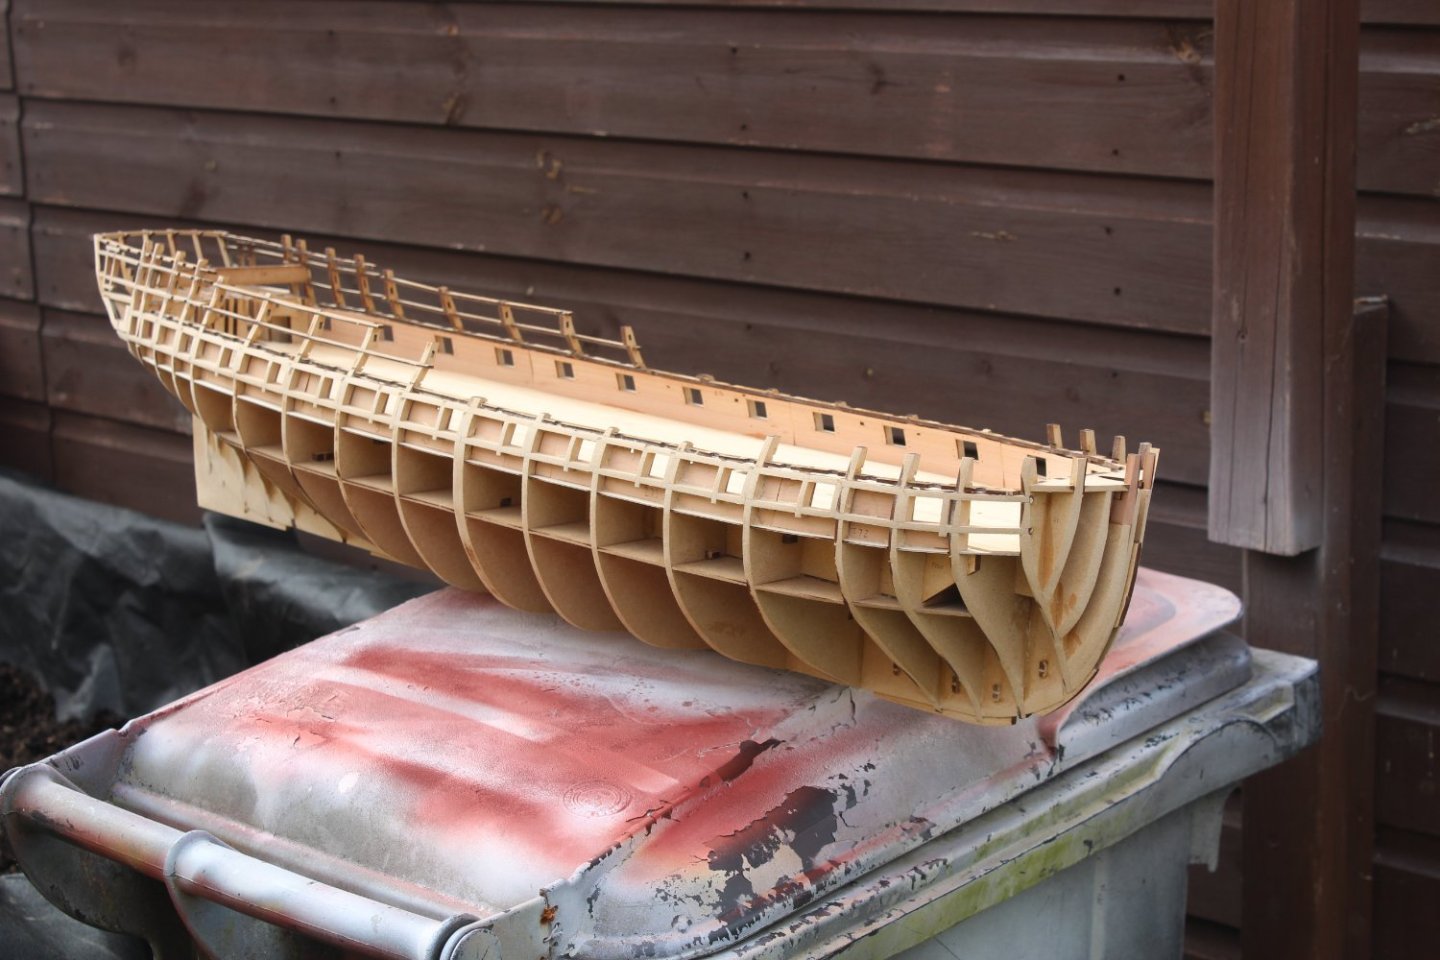
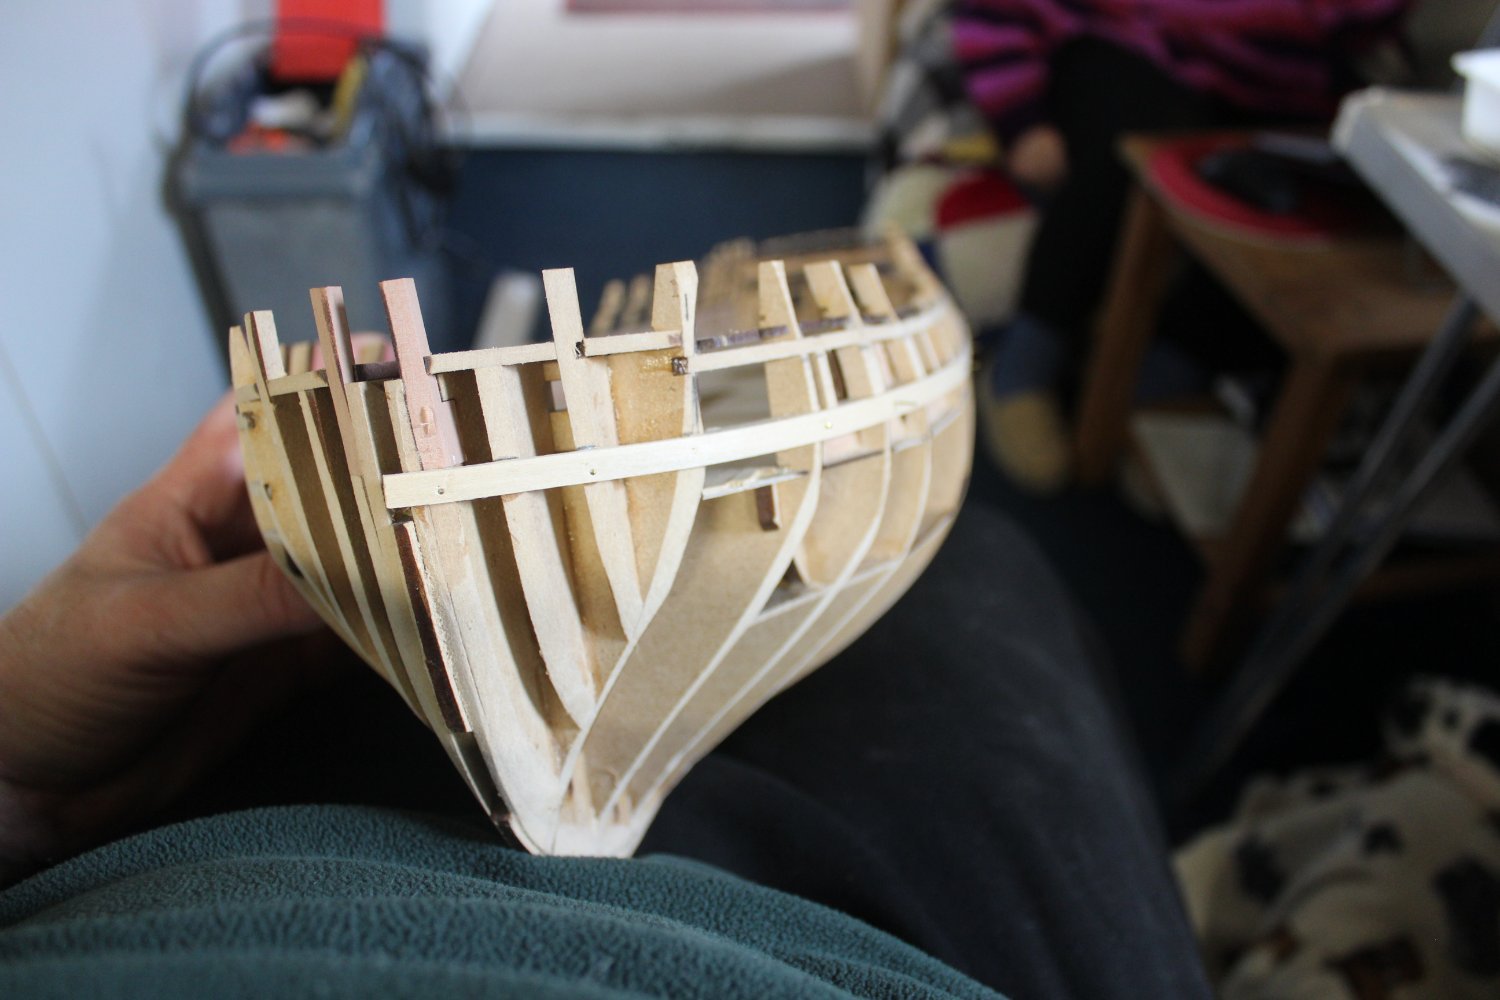
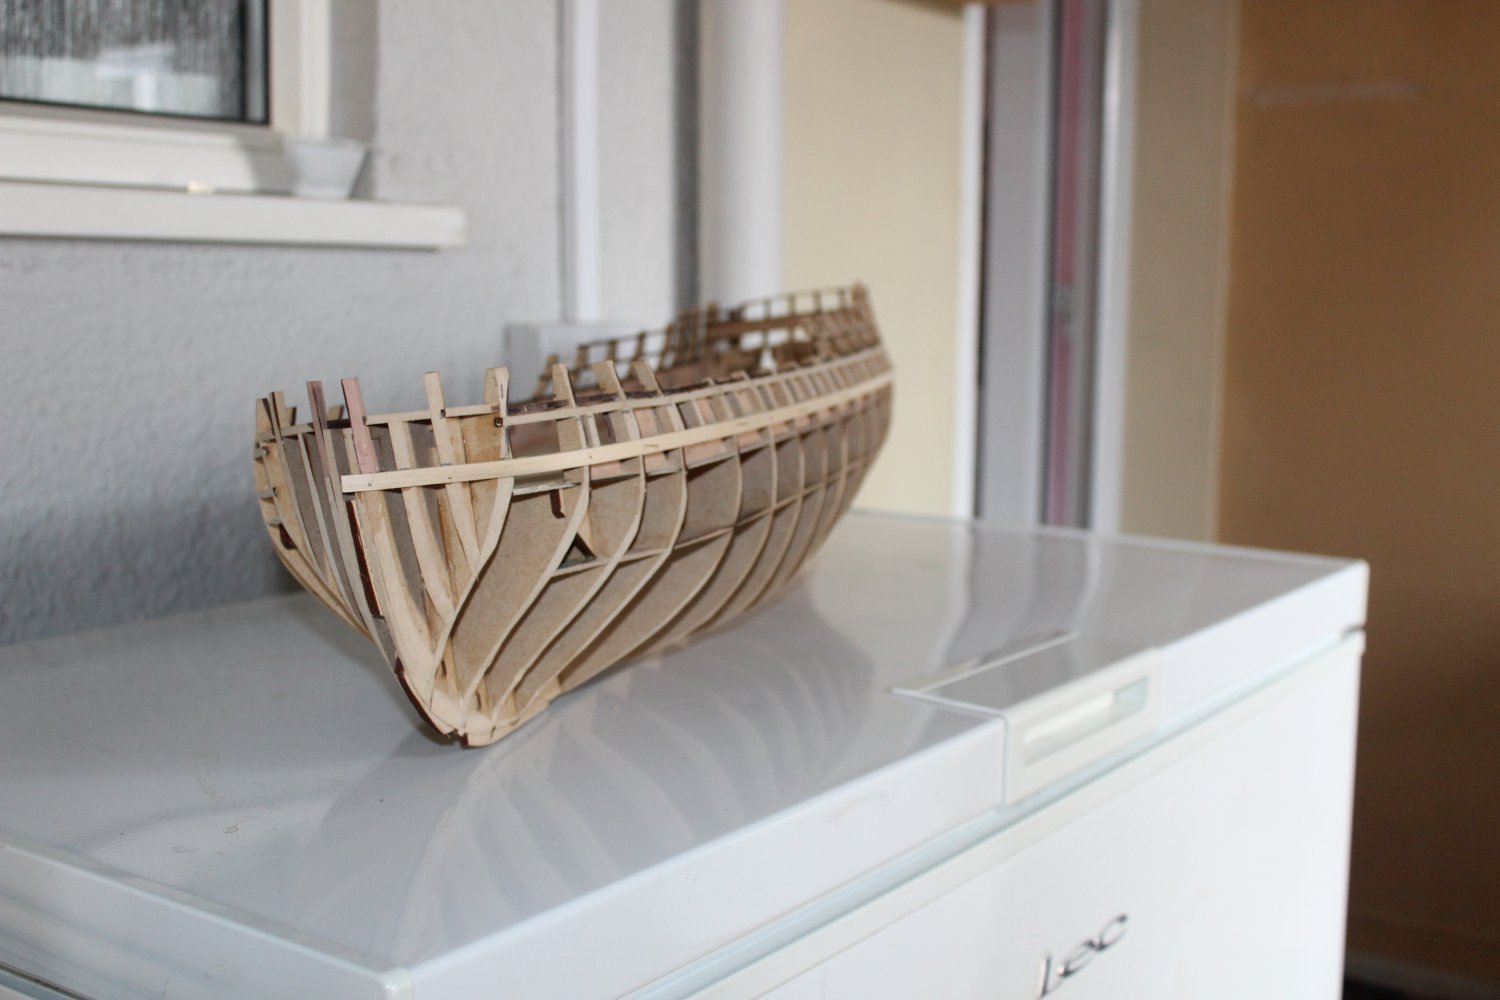
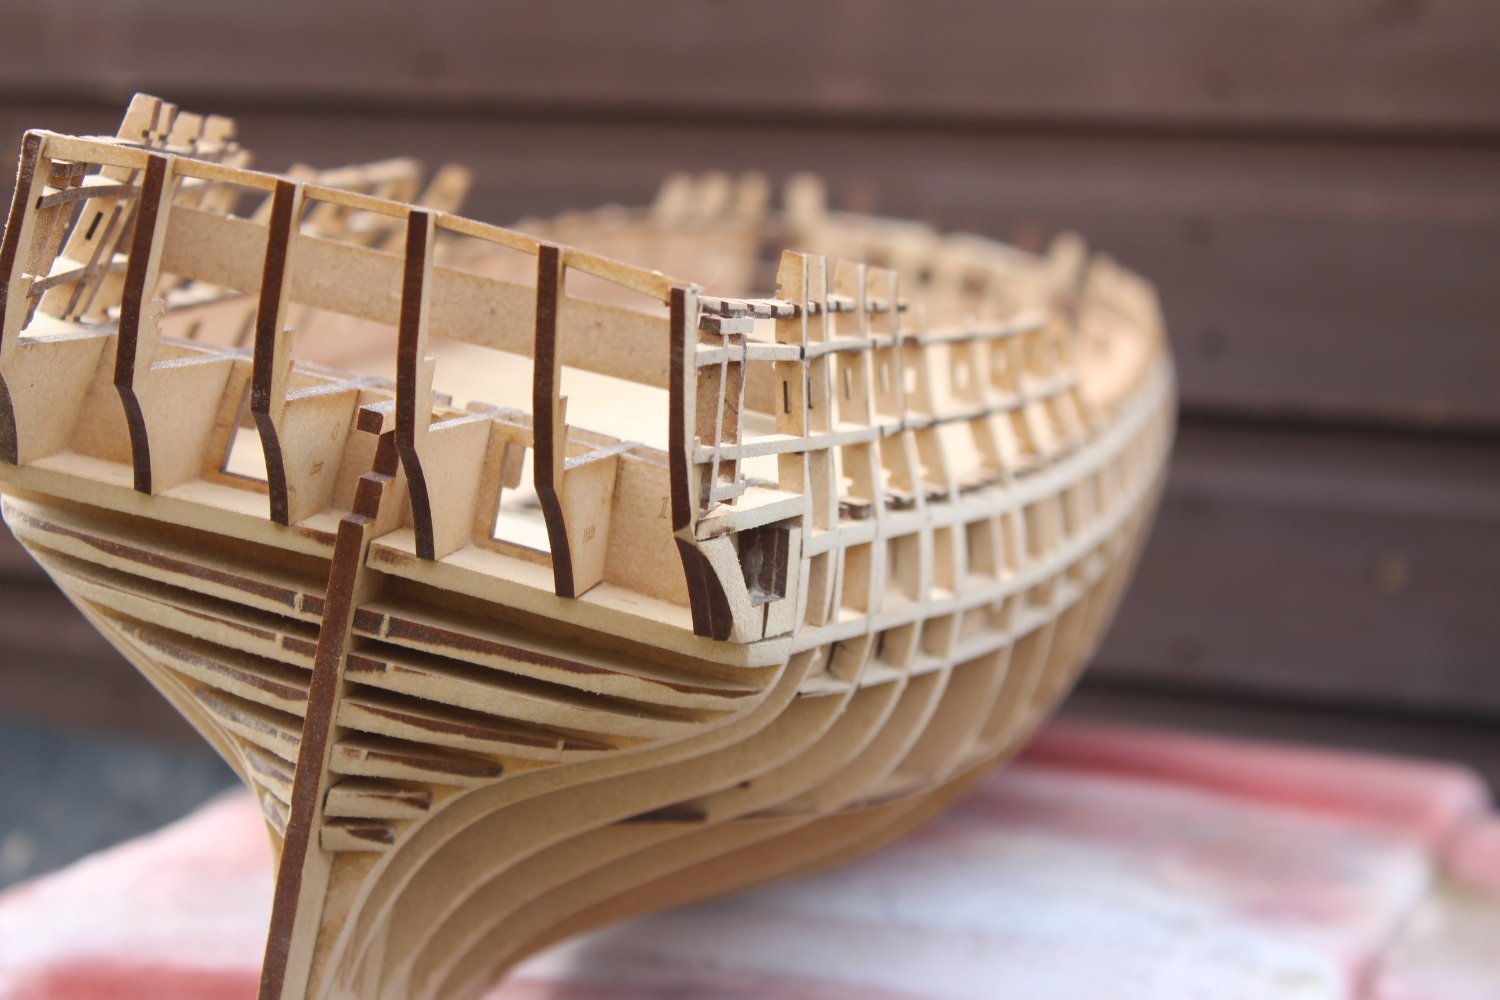
good evening everyone
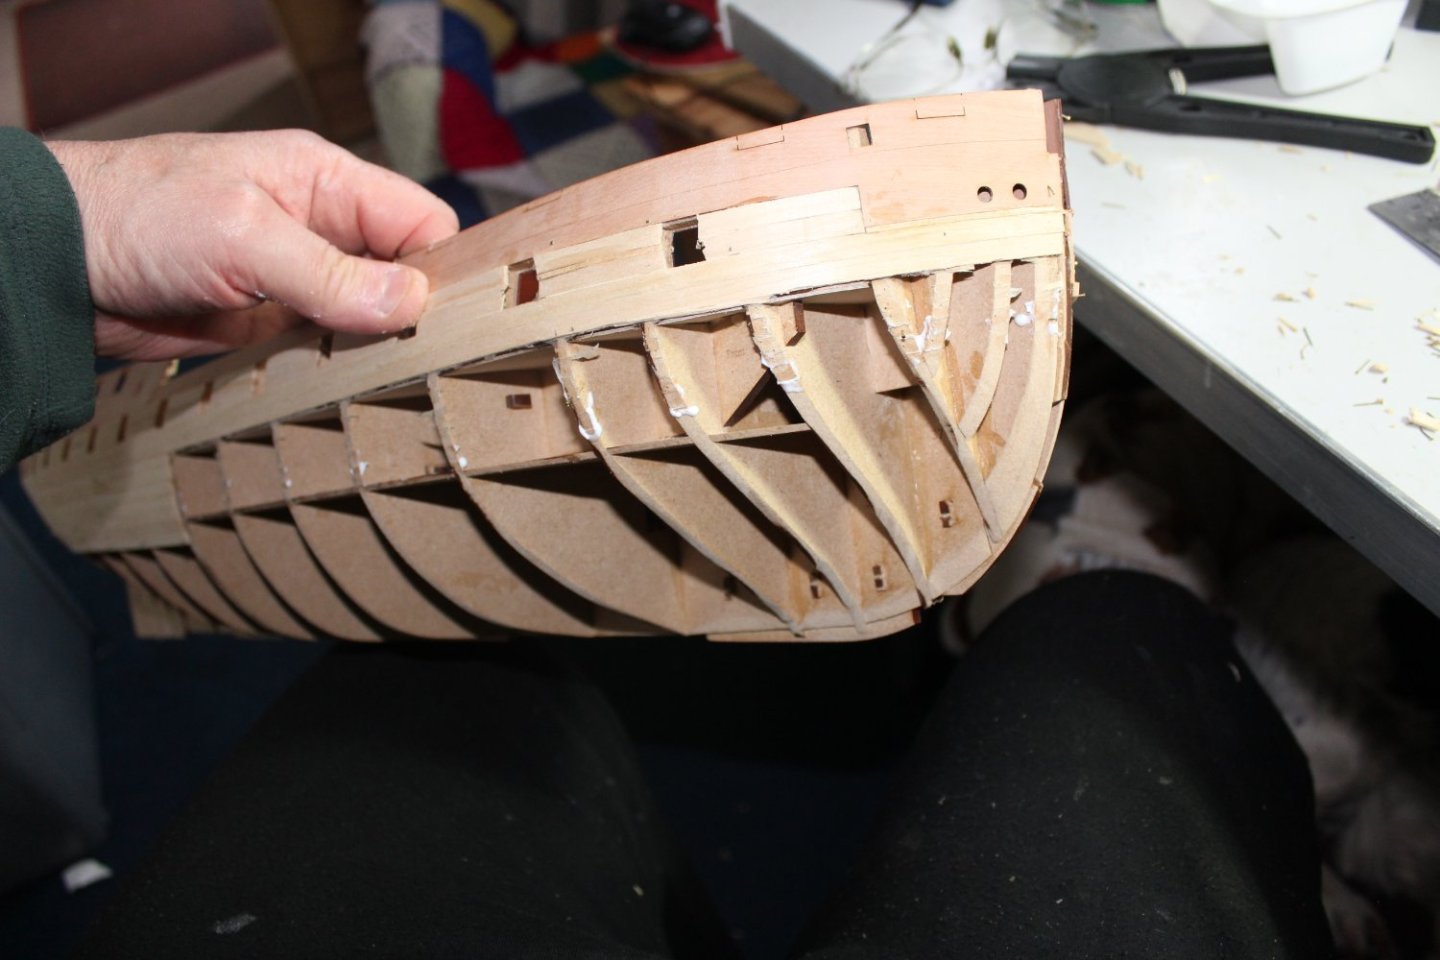
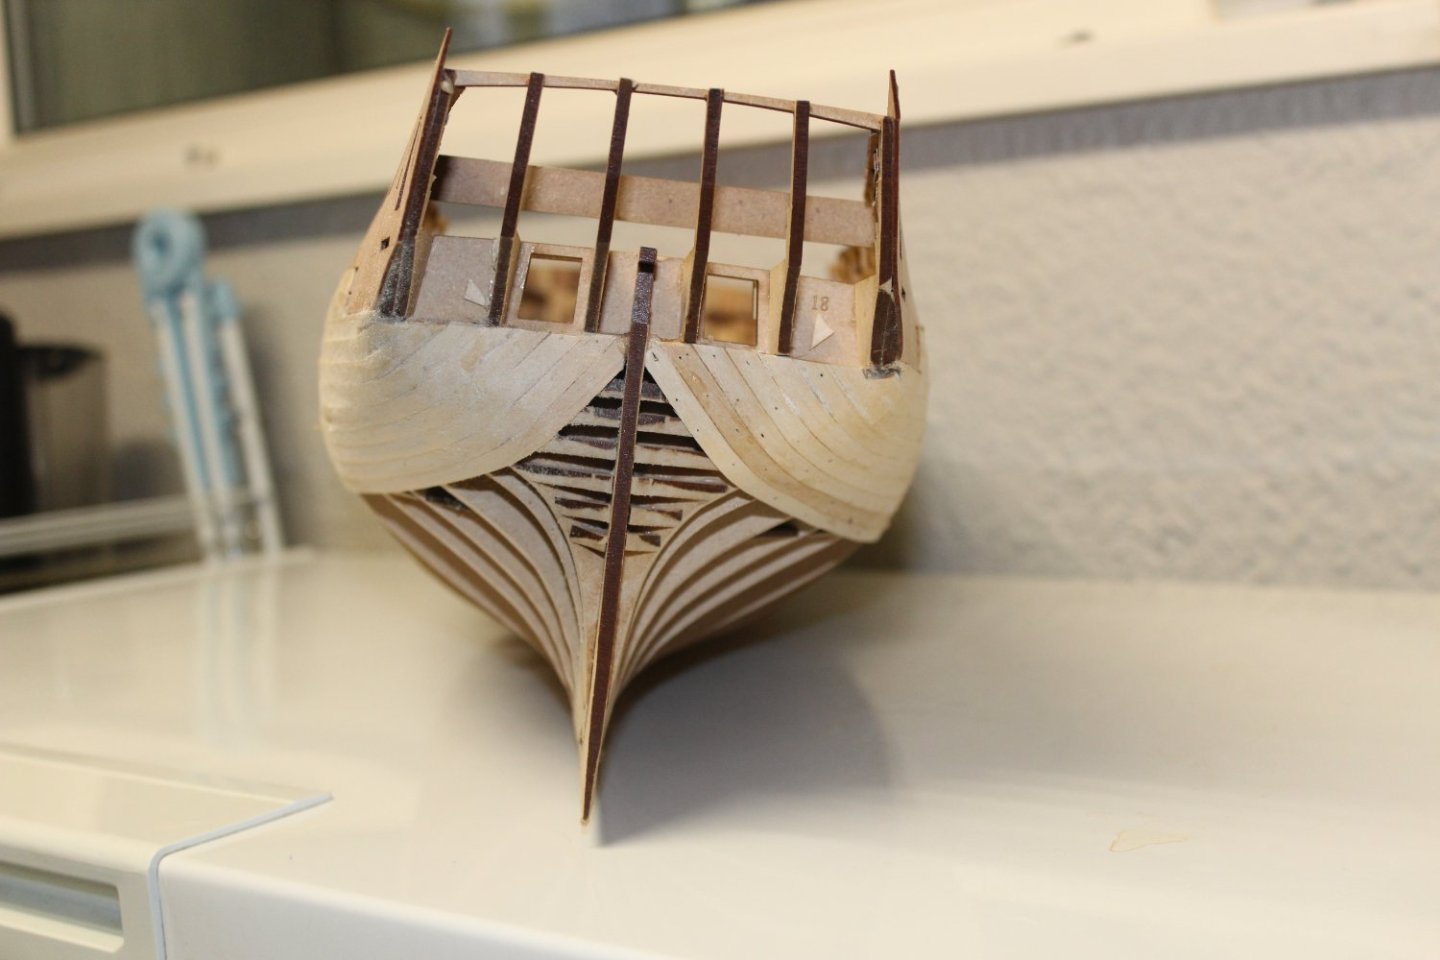
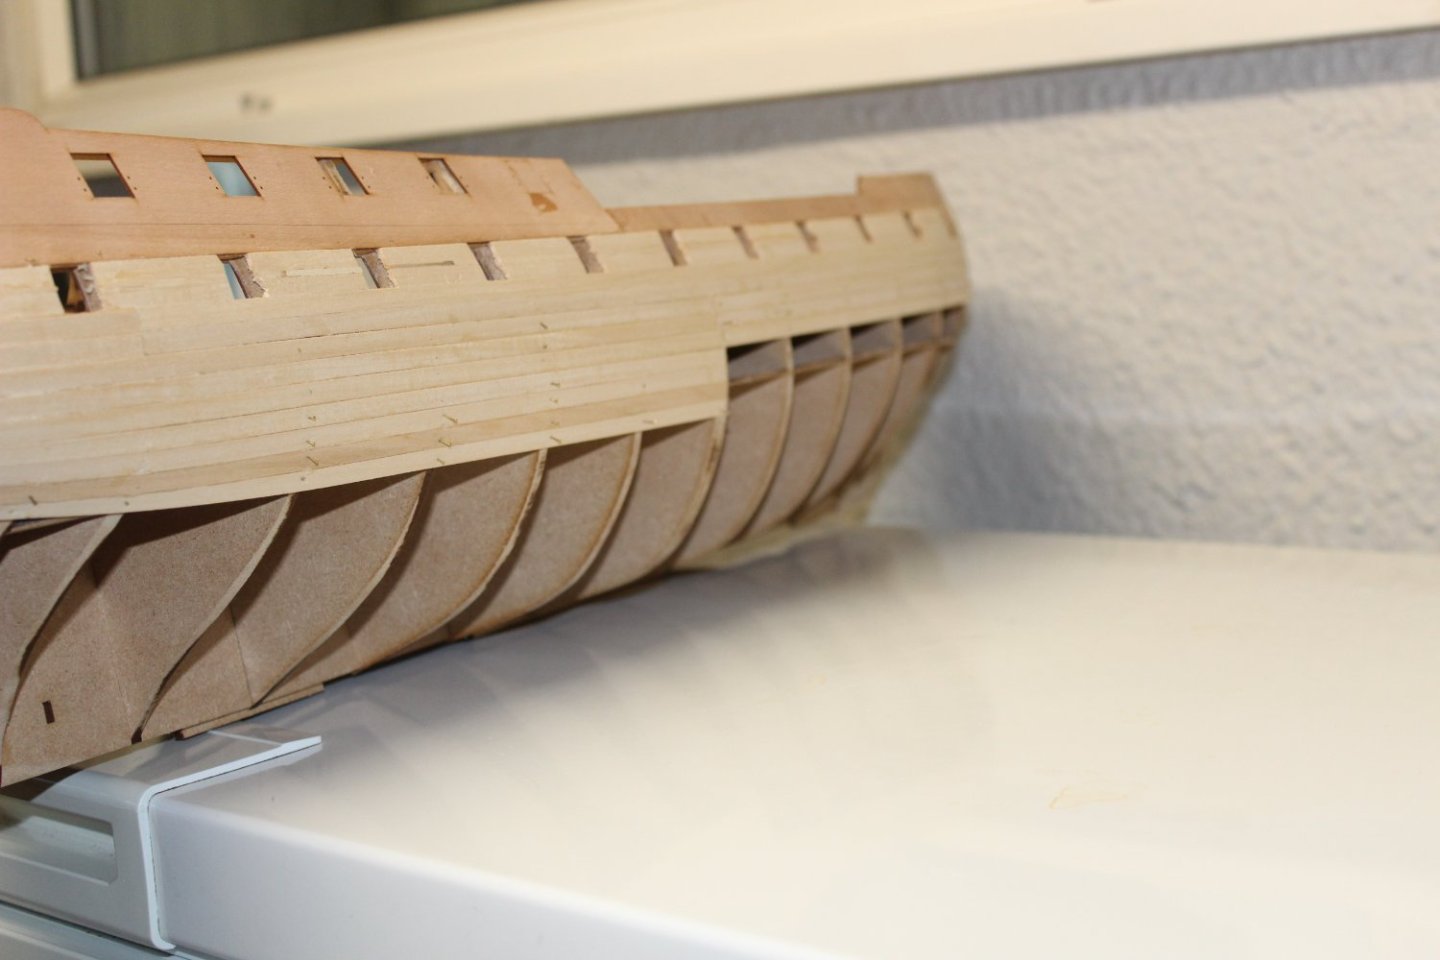
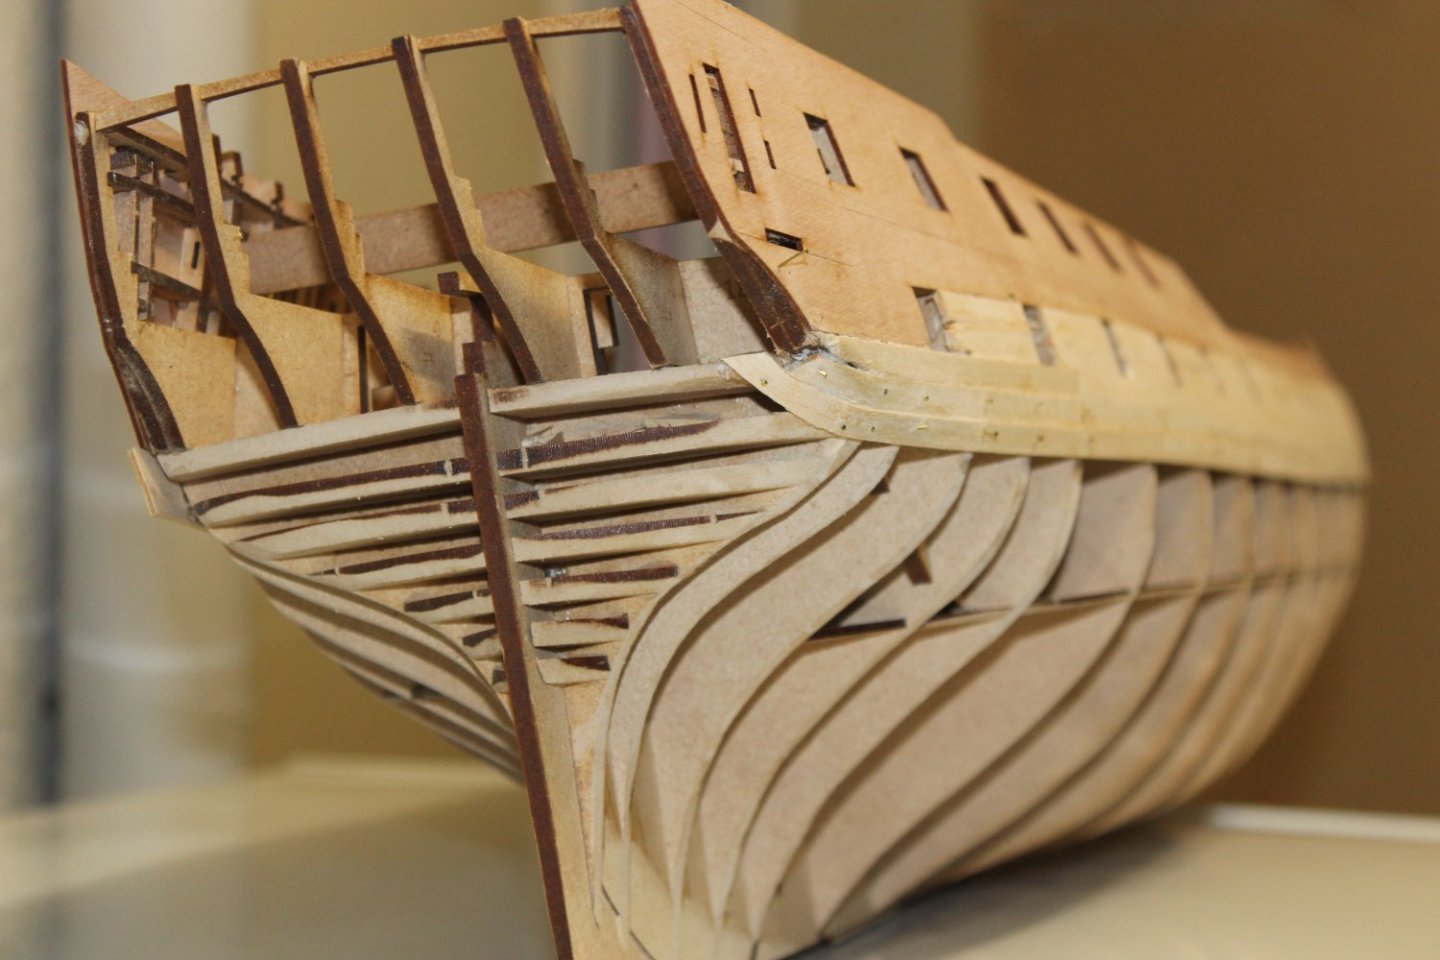
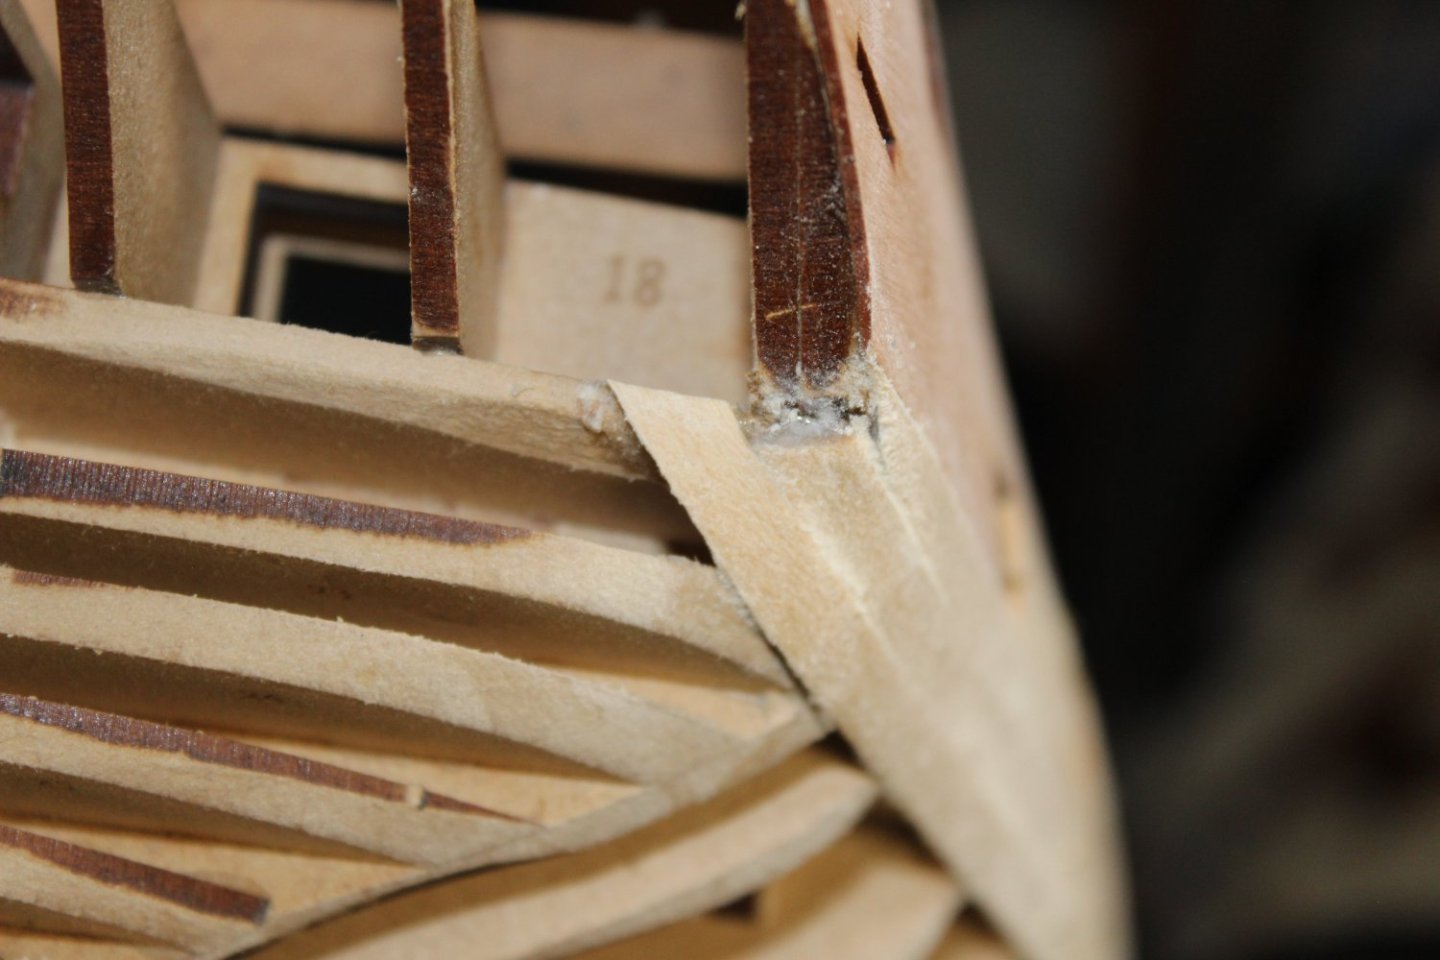
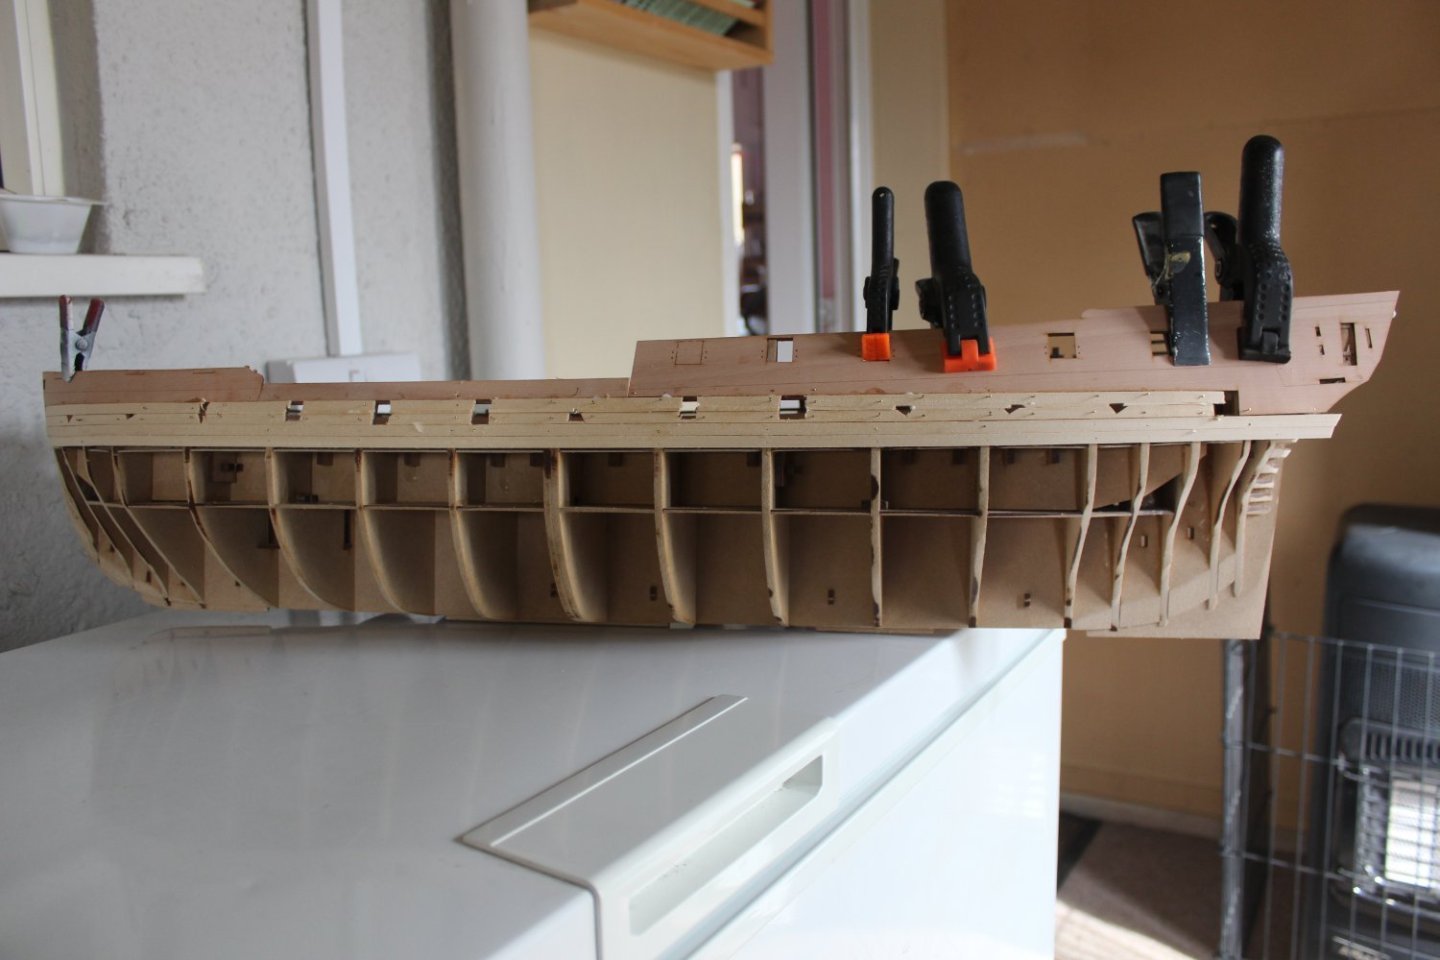
Day 18 1st planking
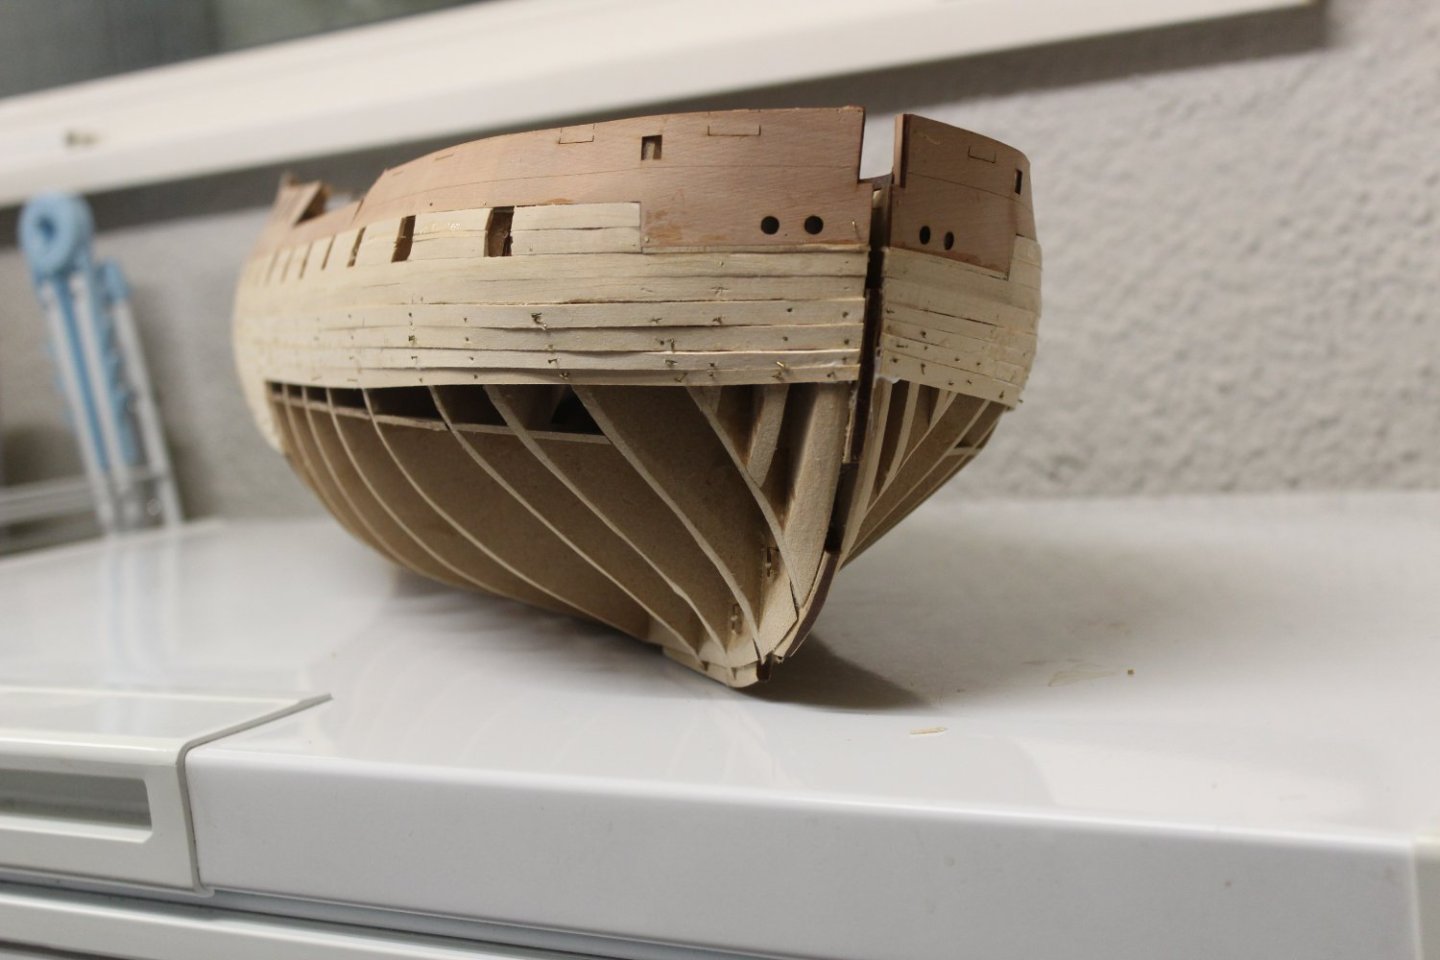
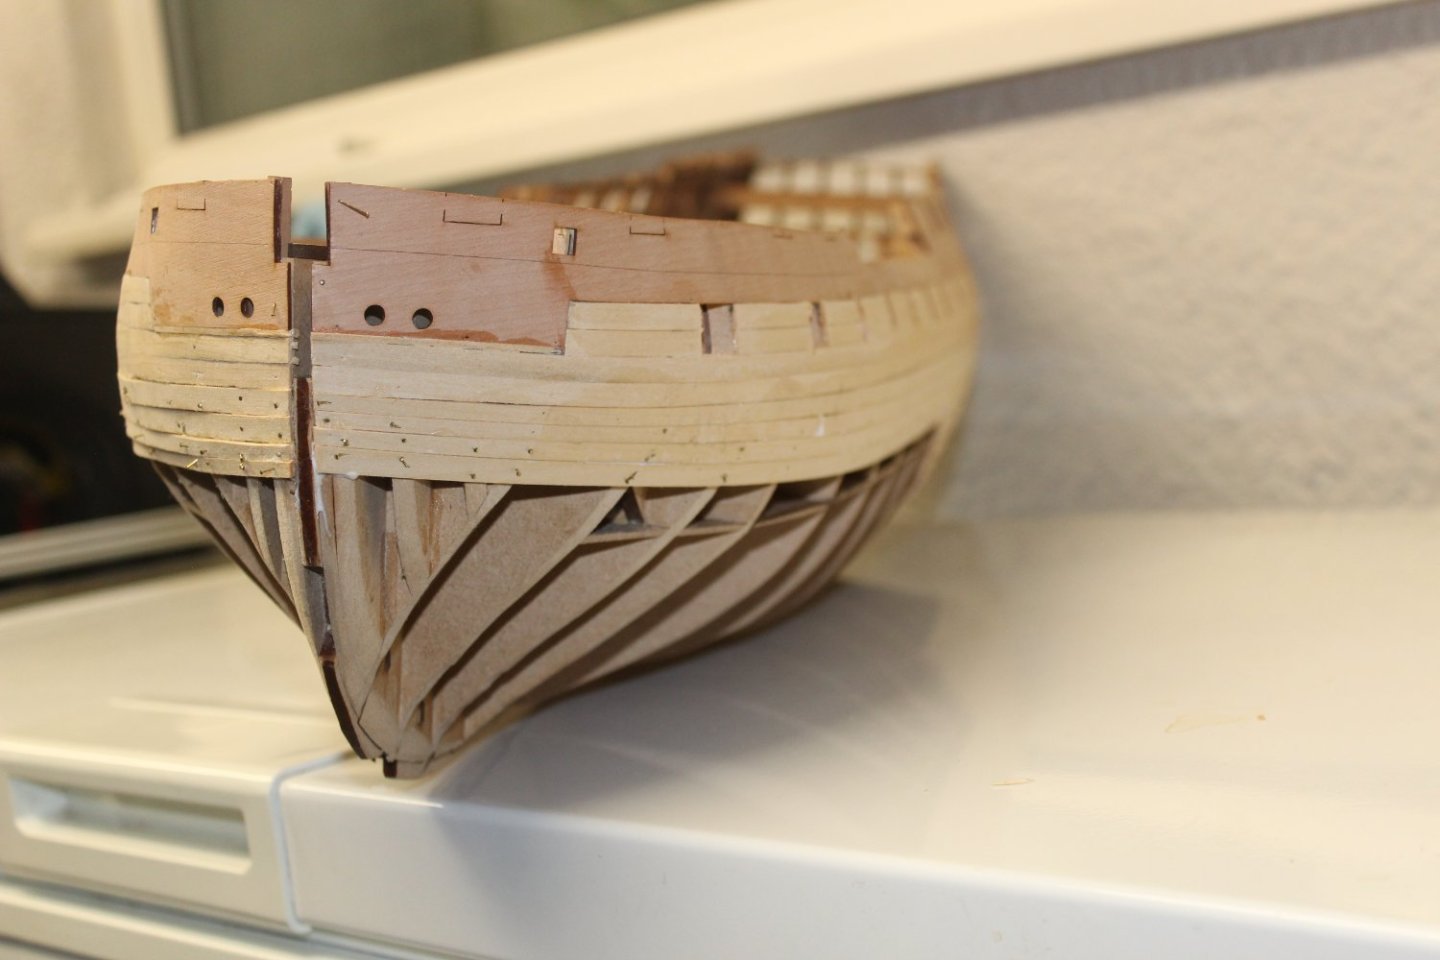
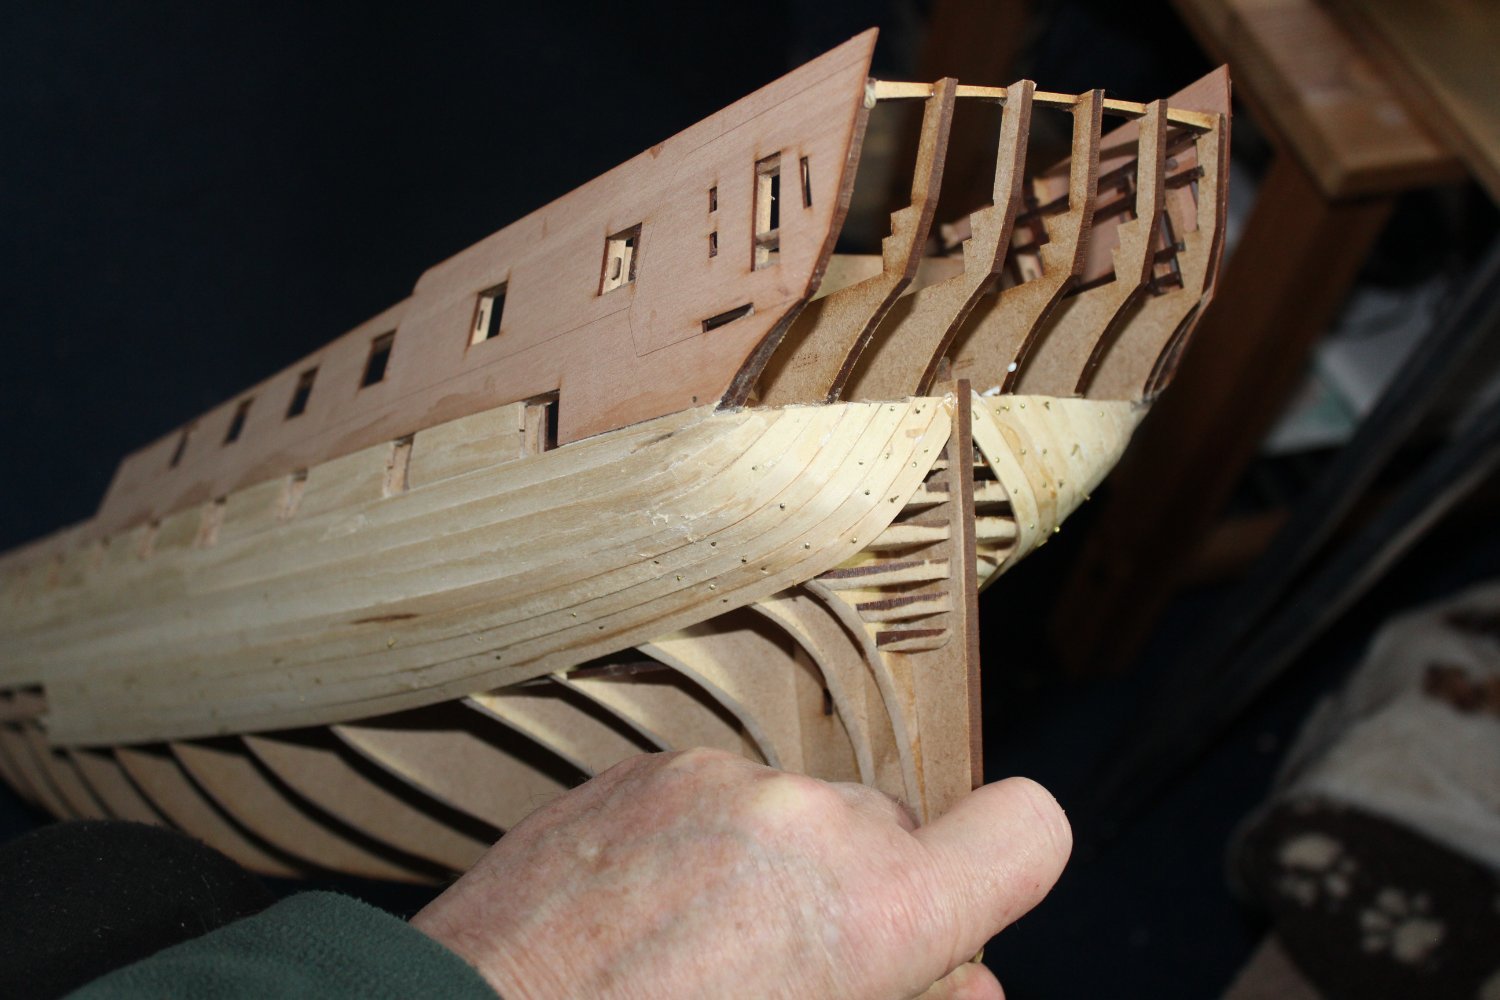
as soon as i left the make up of the hull, i have had to start thinking about things, and this has resulted in some redo's, lol no matter how much fairing you do, there is always more
anyway the hull is is about 50% done and although bit messy in places, i have a sound basis to work on
and yes i am still missing one part number 29 stern post filler, and the one fitted need working on


-
-
7 hours ago, Malcolm Greig said:
Kevin
Excellent build log, thanks for posting, very interested and I'll will be great to tag along and follow your progress.
regards
Malcolm
everyone is welcome to follow my trials and tribulations of wooden ship building
- Obormotov, mtaylor and Old Collingwood
-
 2
2
-
 1
1
-
well im glad you sorted the deck issue out
- hollowneck, Blue Ensign, Knocklouder and 1 other
-
3
-
 1
1
-
41 minutes ago, HardeeHarHar said:
Are you using nails only when you need them? Also, did you leave all the char on and remove it once the keel and its parts were complete? I have the Sphinx on my table and am watching your build with great interest 😃
i use nails all the time and then remove them after the glue has set, the only char removed so far has been for fairing of the hull
- Old Collingwood, Oldsalt1950, mtaylor and 2 others
-
4
-
1
-
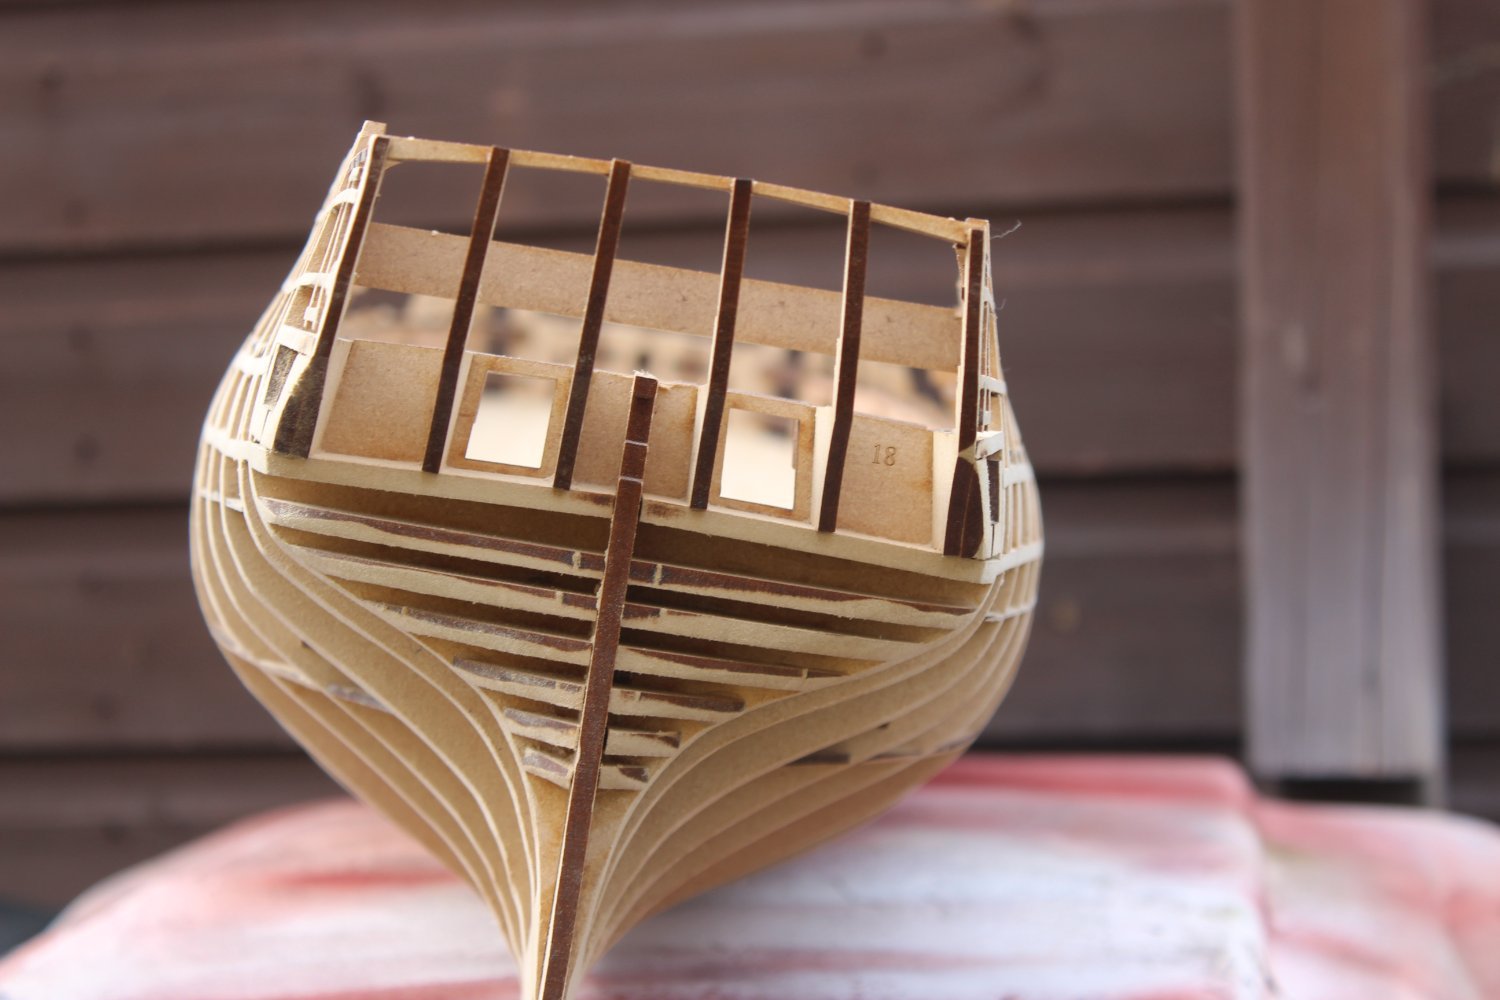
18 minutes ago, Glenn-UK said:
Hello Kevin
I have just noticed, when looking at your build log, that you do not seem to have added the two stern filler parts 29 to either side of the keel under bulkhead 18, as per build steps 82 and 83.
Glenn-UK
they are in now, about an hour ago, thank you for keeping me in check
-
stunning build, love it, may i ask what colour red are you using,
- Guyuti, chris watton, billocrates and 1 other
-
4
-
26 minutes ago, James H said:
Those planks look great as they go under the tuck.
Thank you James
- mtaylor and Old Collingwood
-
2
-
57 minutes ago, Glenn-UK said:
The planking is looking great.
ty glenn, it did take me a good few hours to get them right, and only then after cutting back the first two under the template and re faing the stern
-
good evening everyonr
thank you for comments and likes
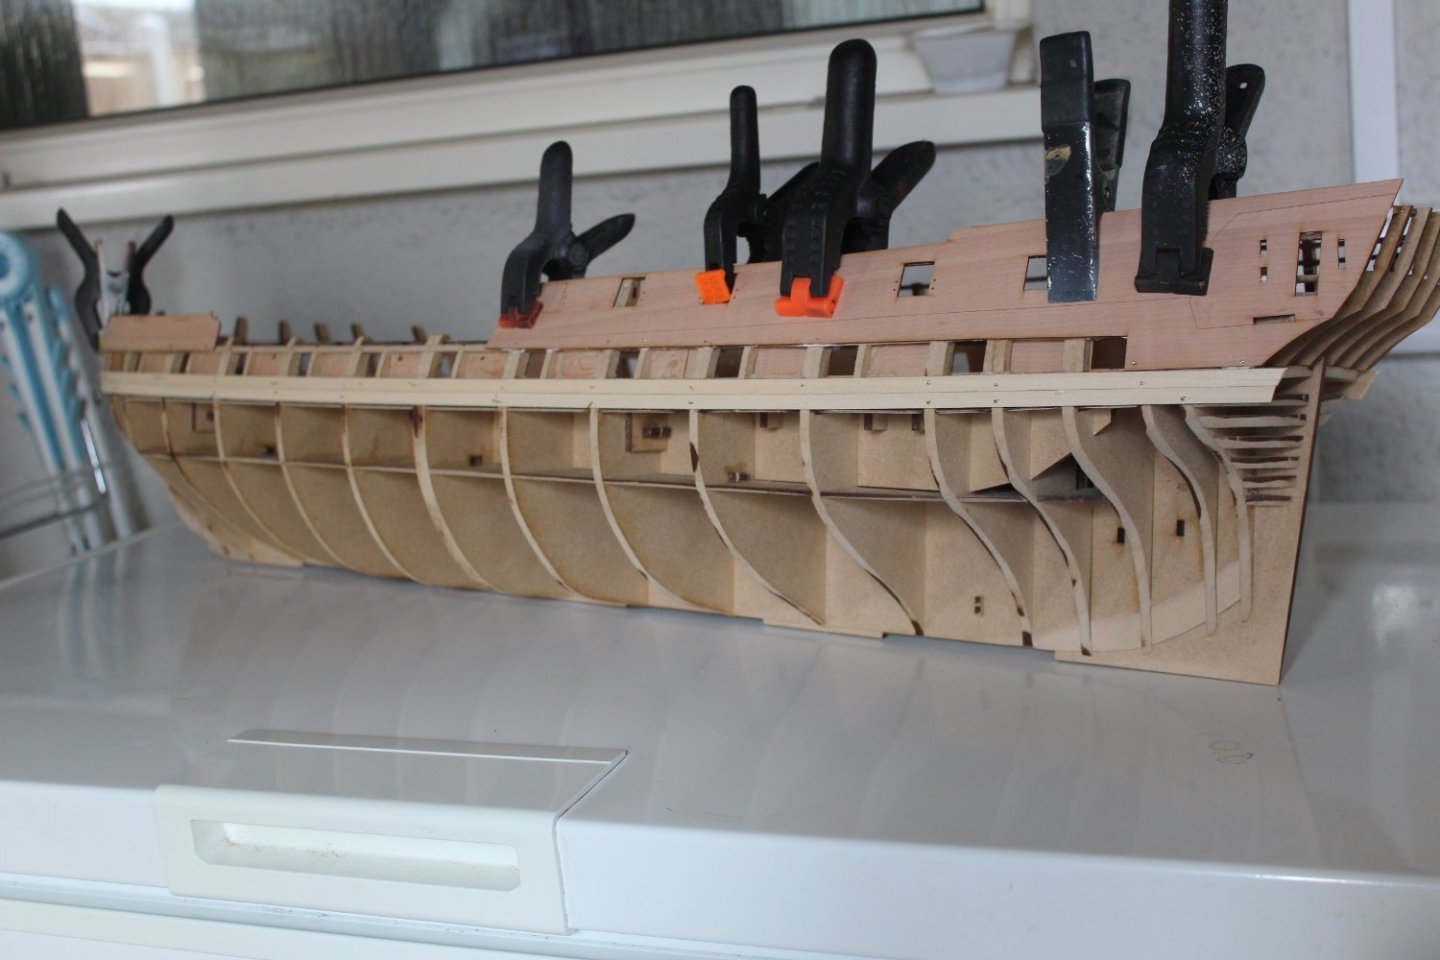
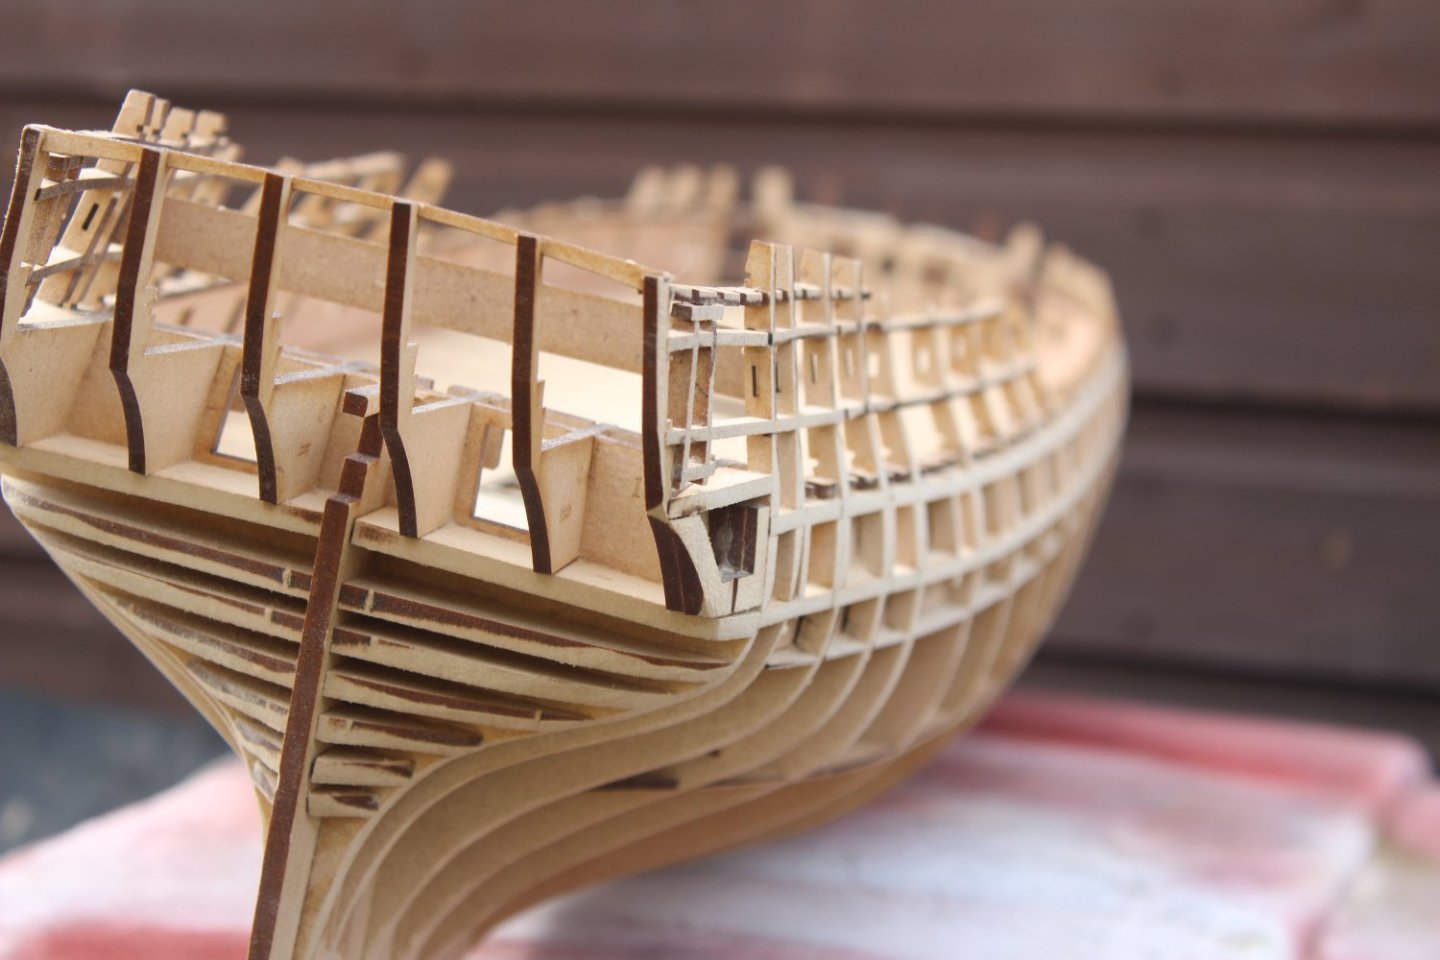
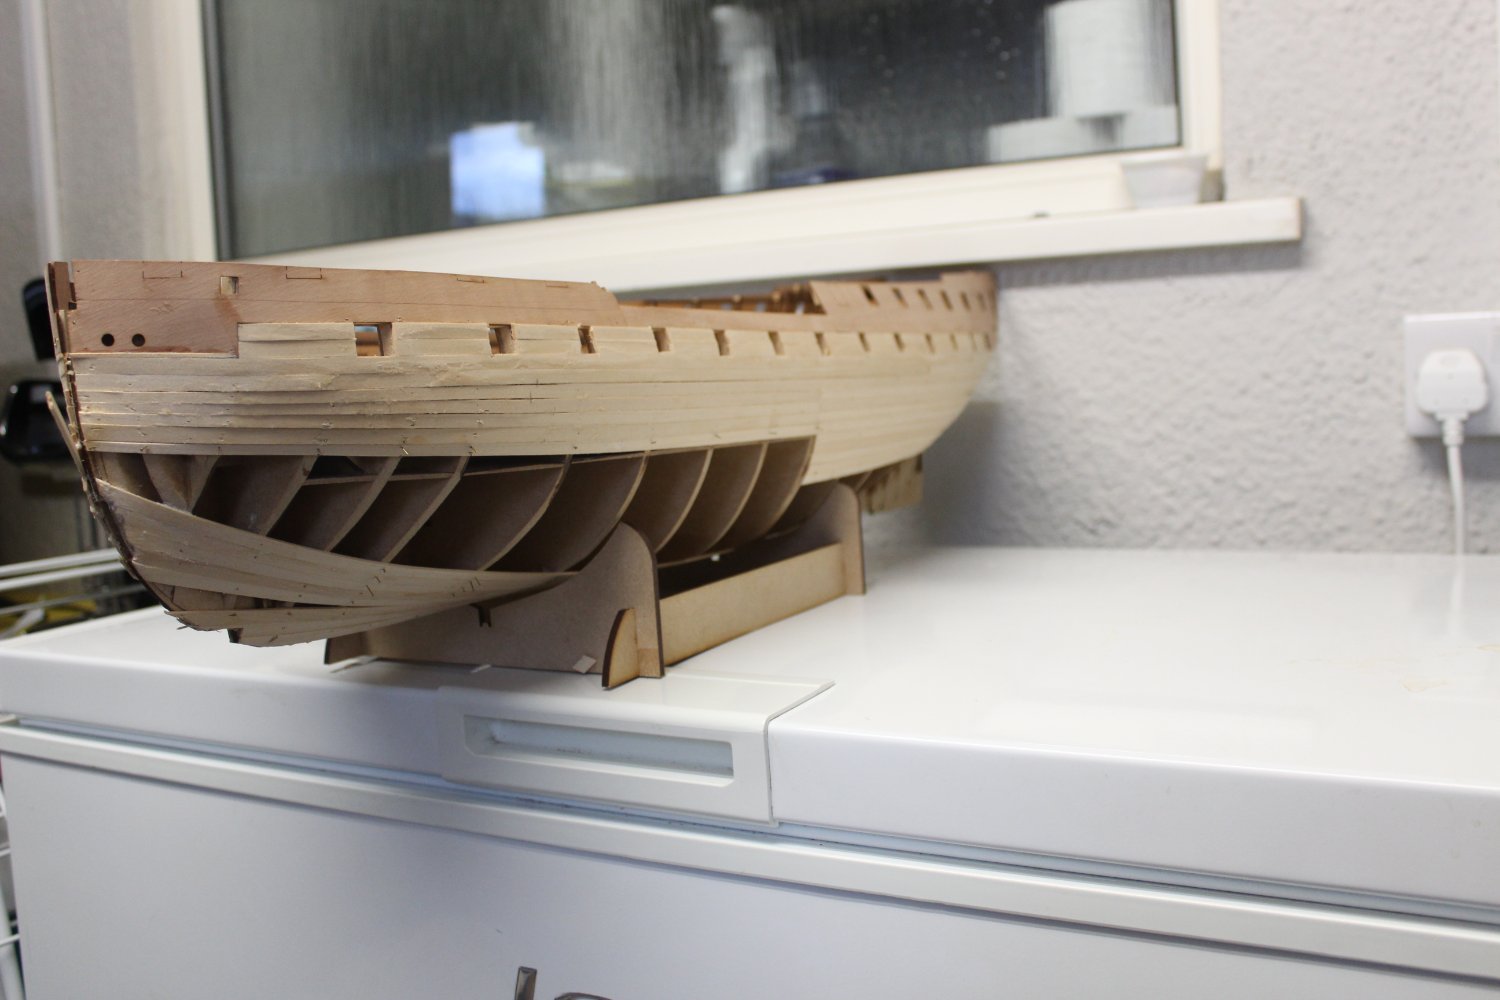
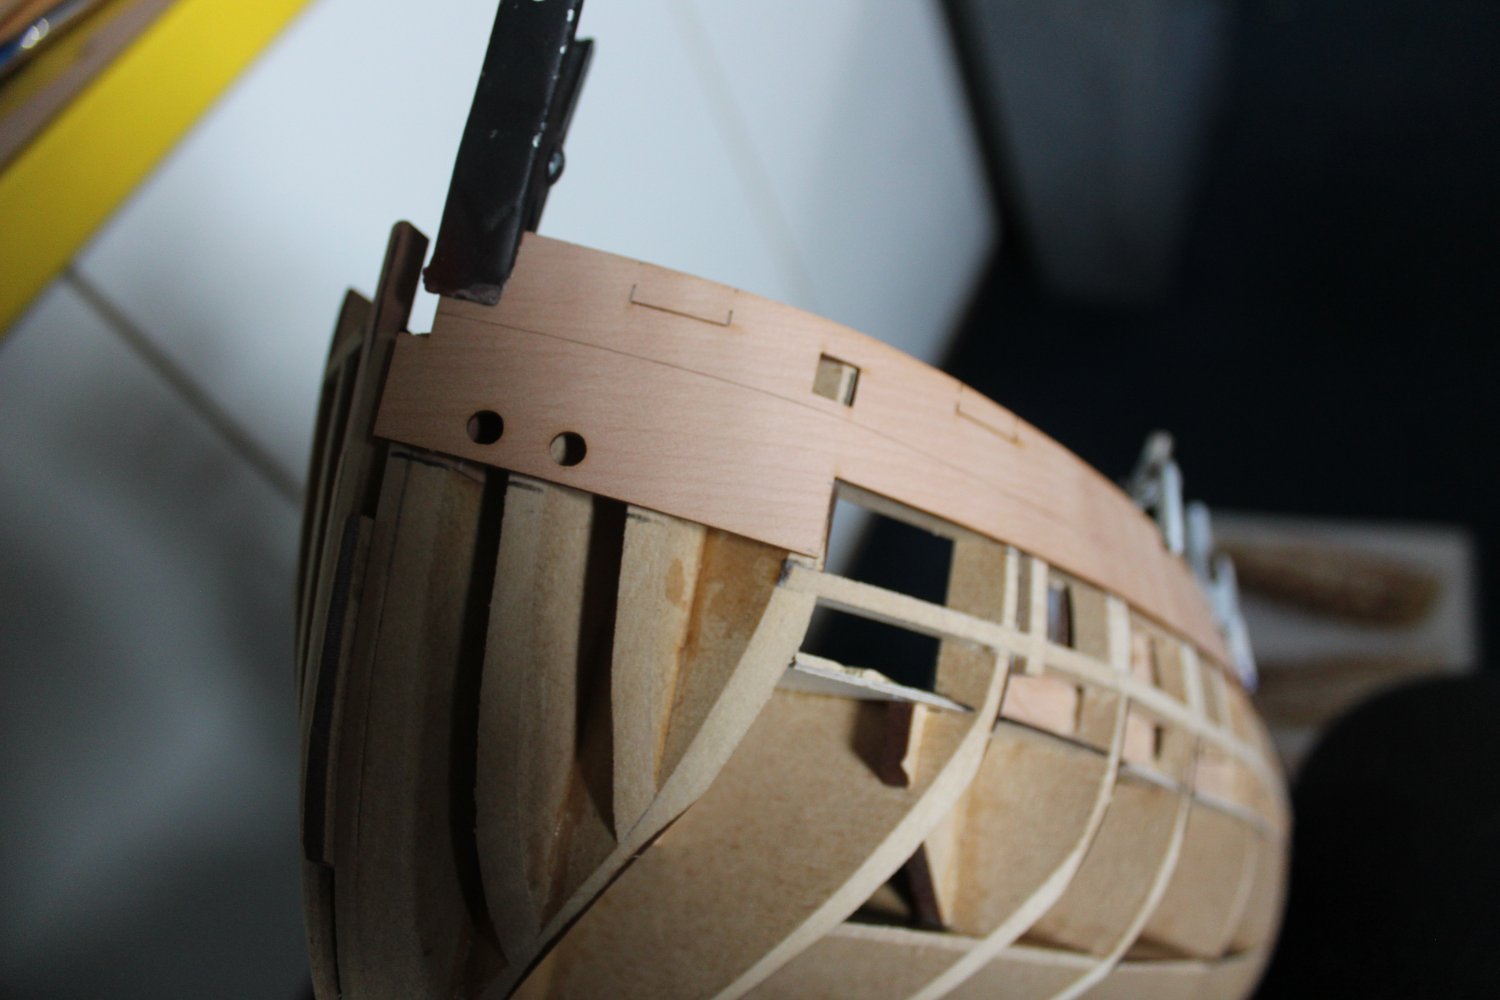
day 16 1st planking
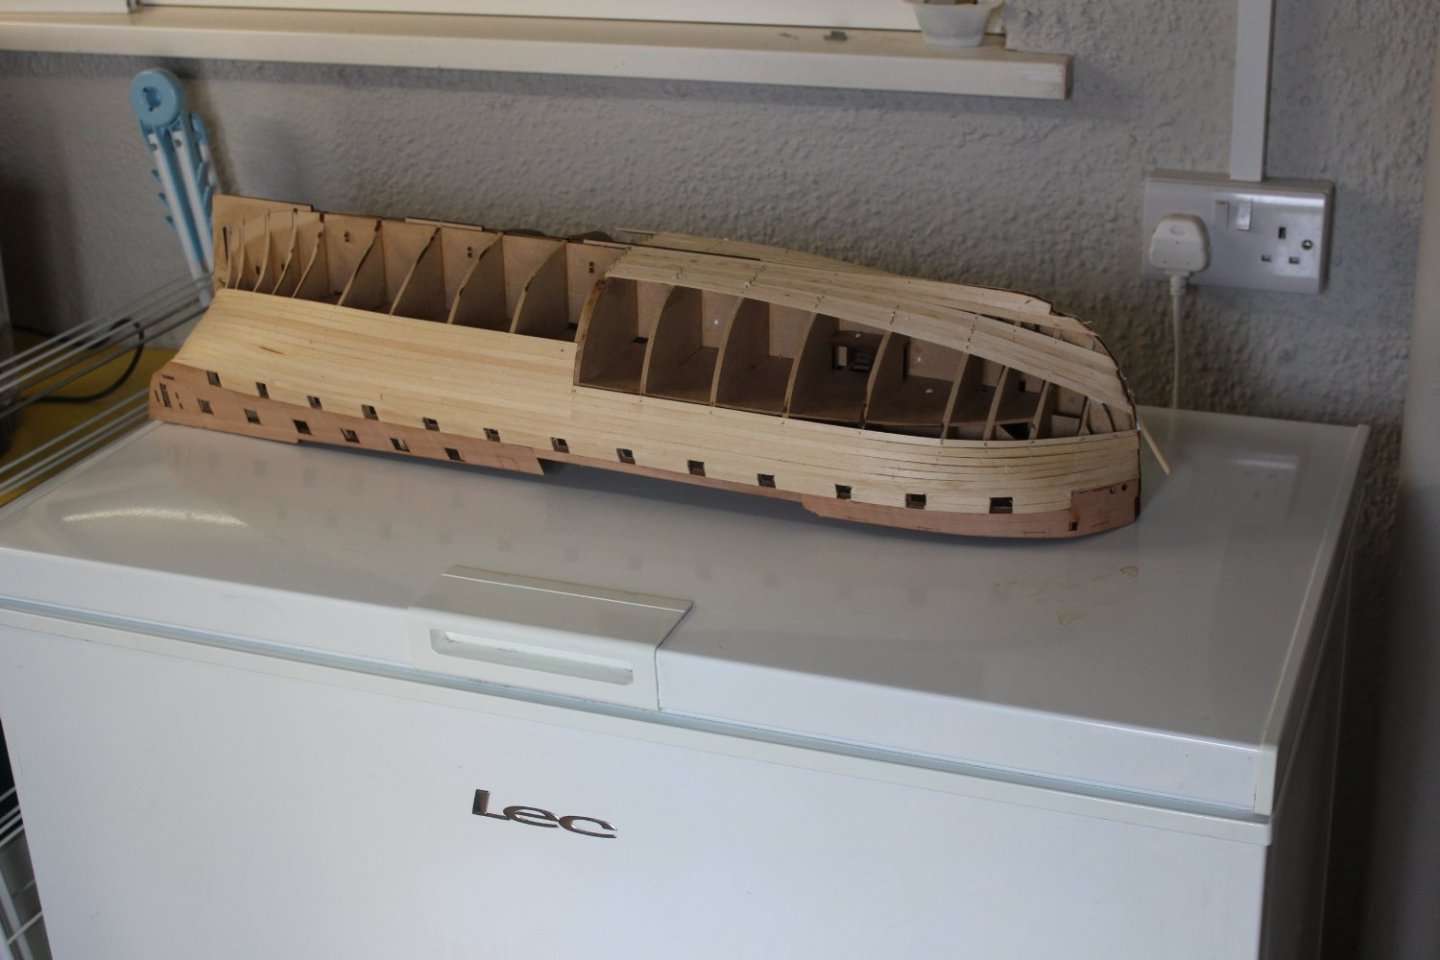
port and stbd side templates fitted

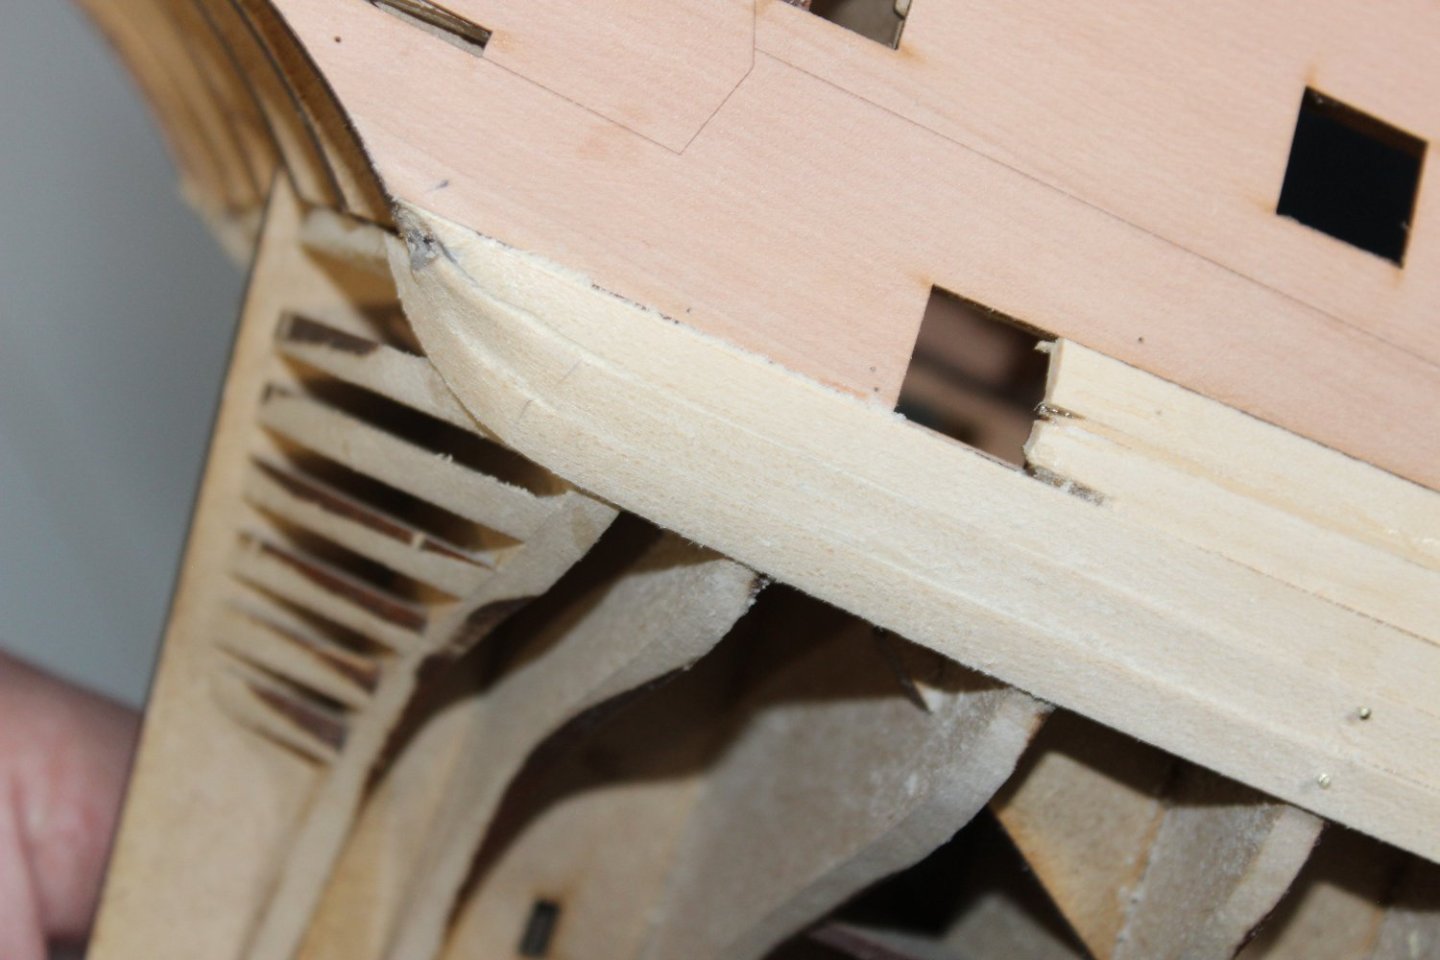
stern tuck, caused me some aggro fot a couple of hours, so the fixed planks were cut back and the stern was re faired allowing the 3rd plank to twist and turn


-
lovely to catch up on your log, stunning work
- Hubac's Historian, mtaylor and FriedClams
-
2
-
1
-
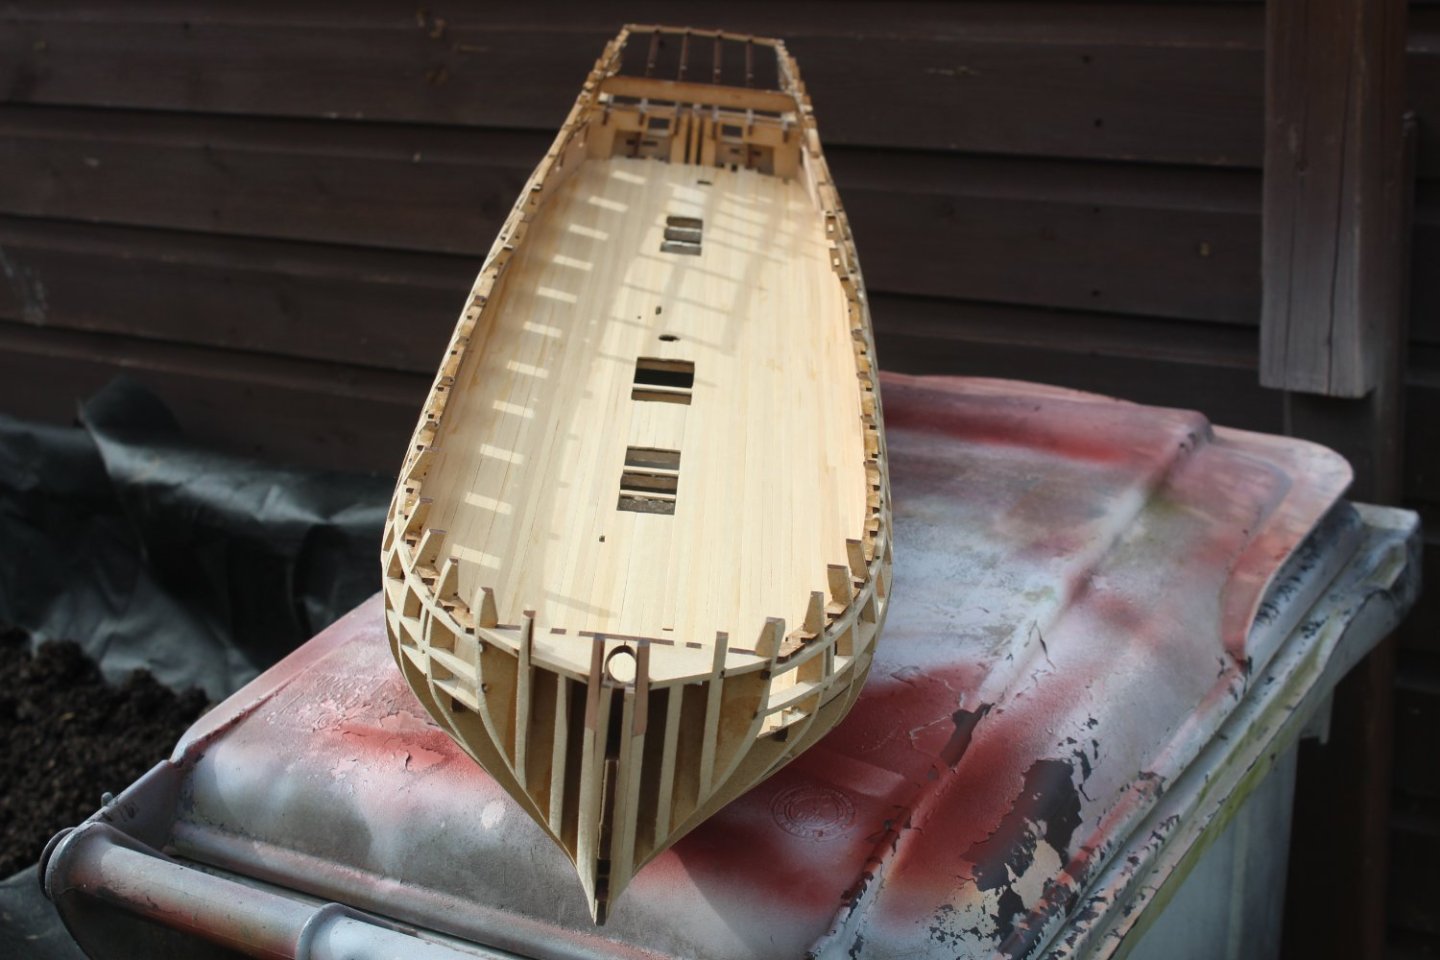
Good evening everyone
thank you for comments and likes
Day 14 port side Gun port templates fitted
well i never expected to be at this stage after 2 weeks, but here i am, and loving it, and i have not had any issues to criticize the build, or instructions,
after the hull fairing i test fitted the gun port templets, no other sanding was required
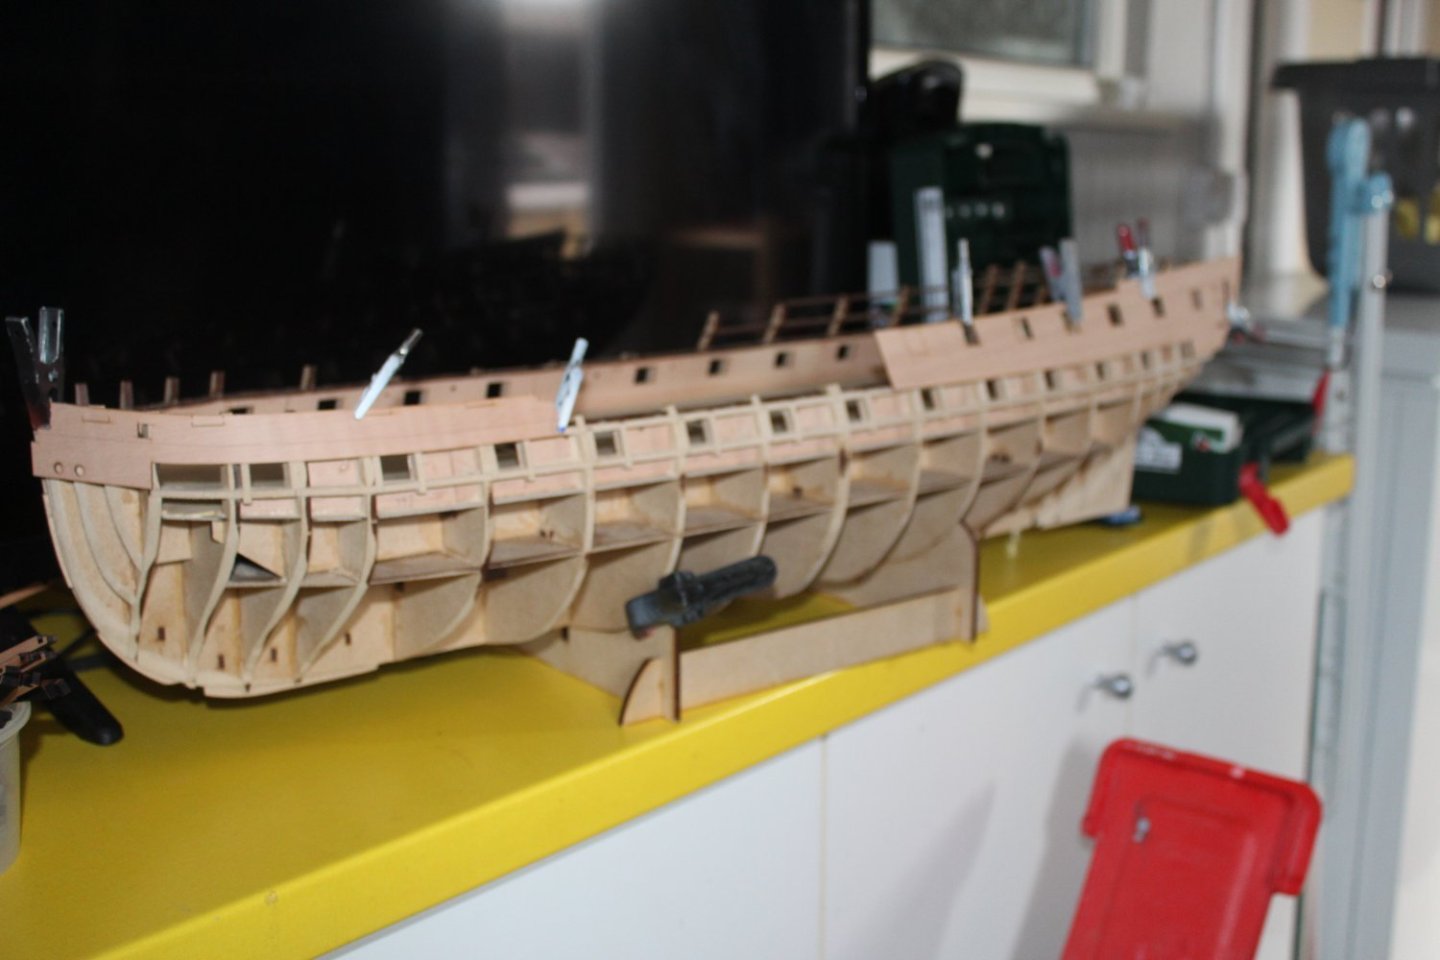
the bottom of fwd template forms where the first run of planking under it goes, so a pencil line is drawn, the rest of the plank aligns along the top of the port sill , at this point the template can be removed


first plank


2nd plank


the after template fits on the top of the 1st plank and lined up with the top right corner of the last gunport, instructions need to be read to be aware of where the glue is applied, as a section of the framework has to be removed at a later date
a templete fits between and the area over the ports is covered, using limewood

rough opening of the gun ports when the glue has dried

-
-
1 hour ago, Glenn-UK said:
I need a new palm sander also.
I have noticed that you have not removed the upper and lower gunport strips from the quarterdeck doorway. Is there any reason for this?
The fairing looks good, so the planking should not be a problem for you.
ooops on the door way, im sure a couple others things are still needing attention, and when i got back in i found that i had forgotten to put the bracing beams inn thats how strong this build is
-
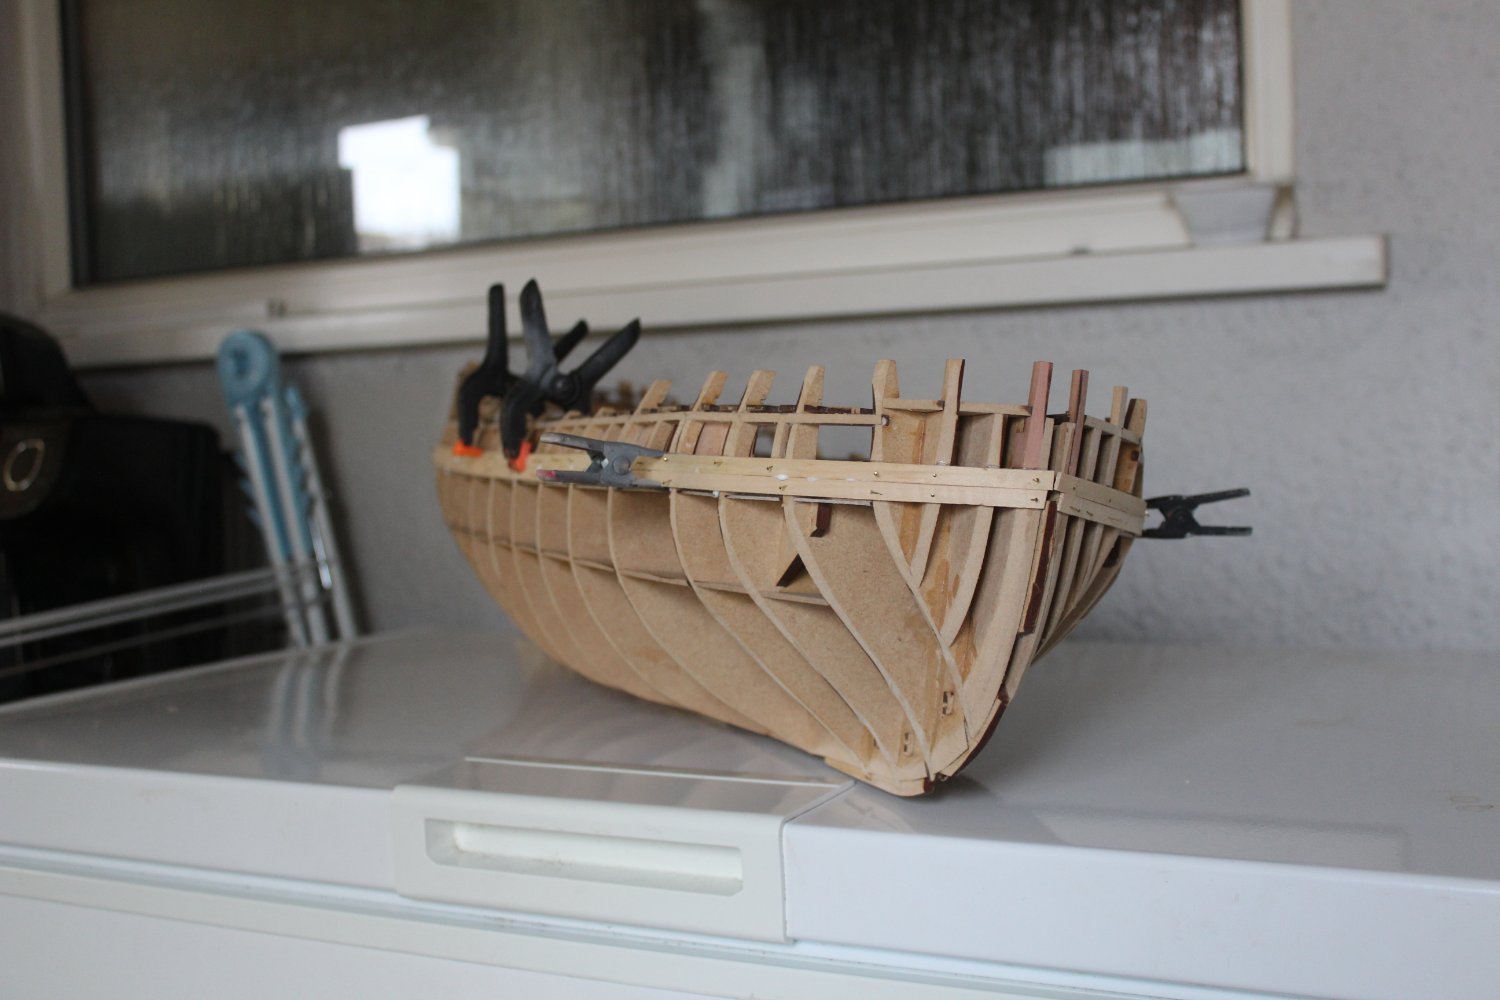
good evening every one
thank you for comments and likes
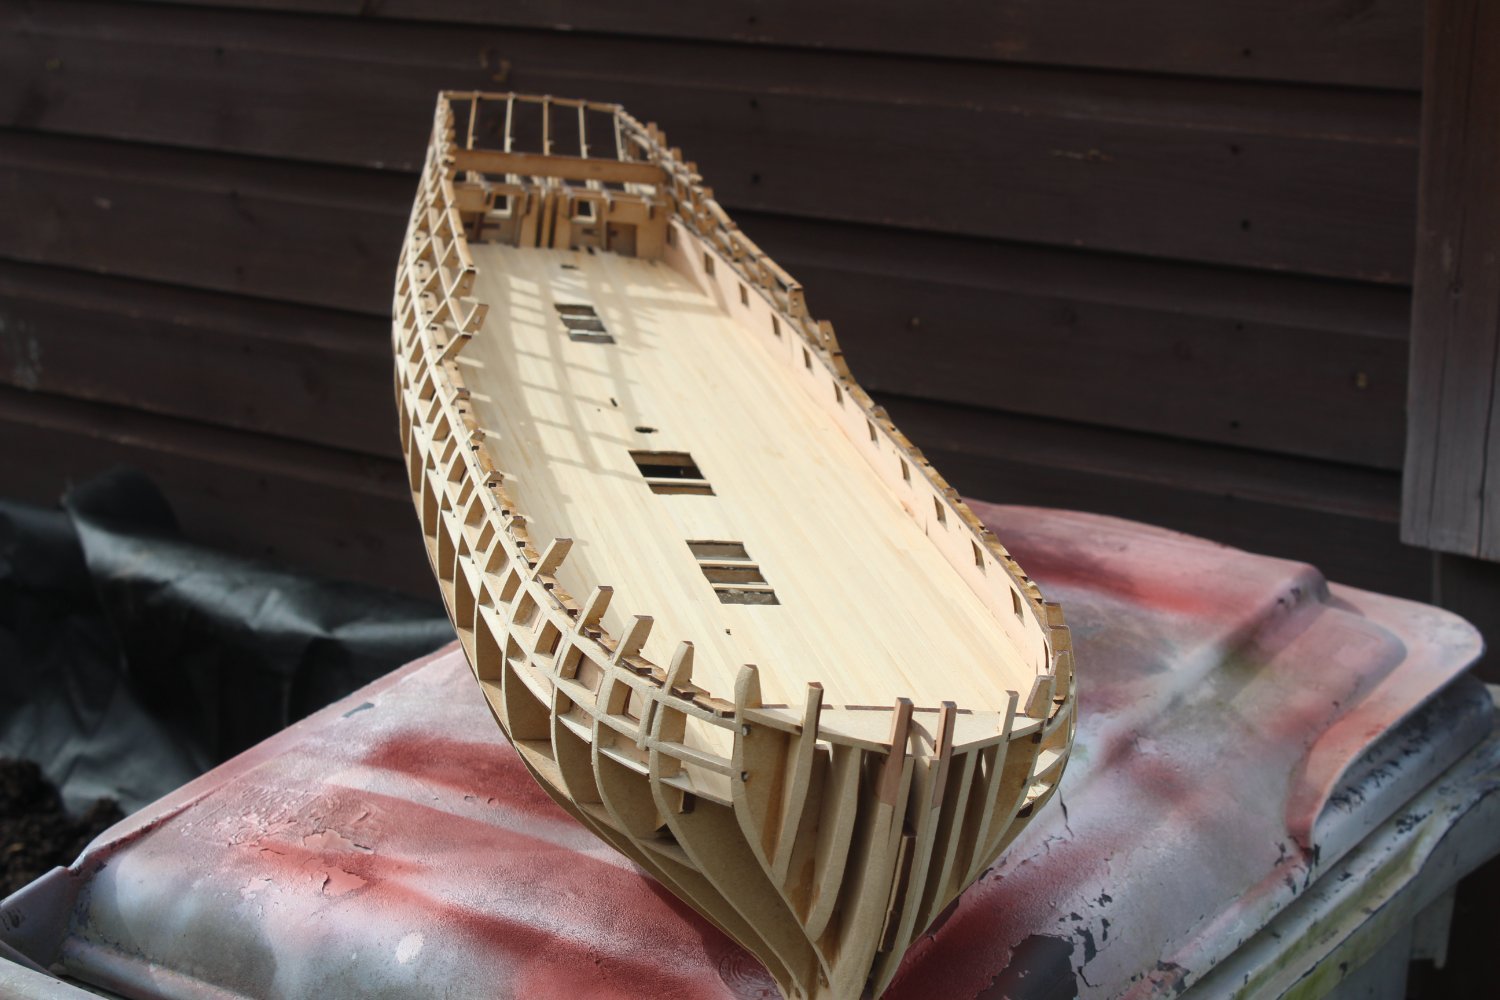
day 13 hull faired
the weather here has been pants recently, with snow and rain, so i have been doing some smaller projects on the build, but i will post photos later on in the build as I would like to keep this log in some sort of order, (never achieved that before)
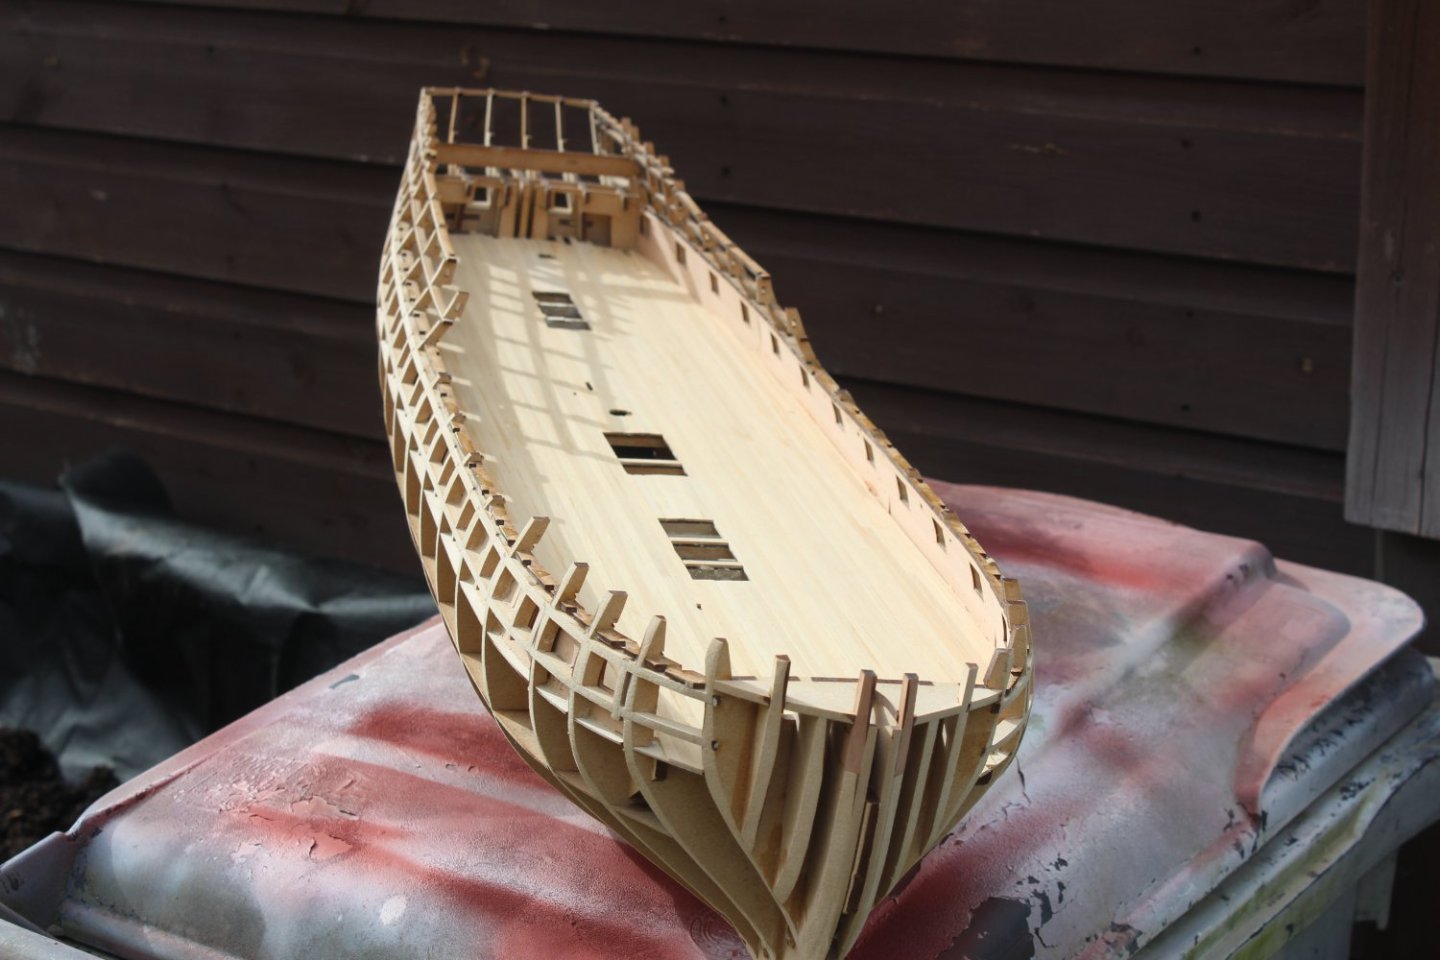
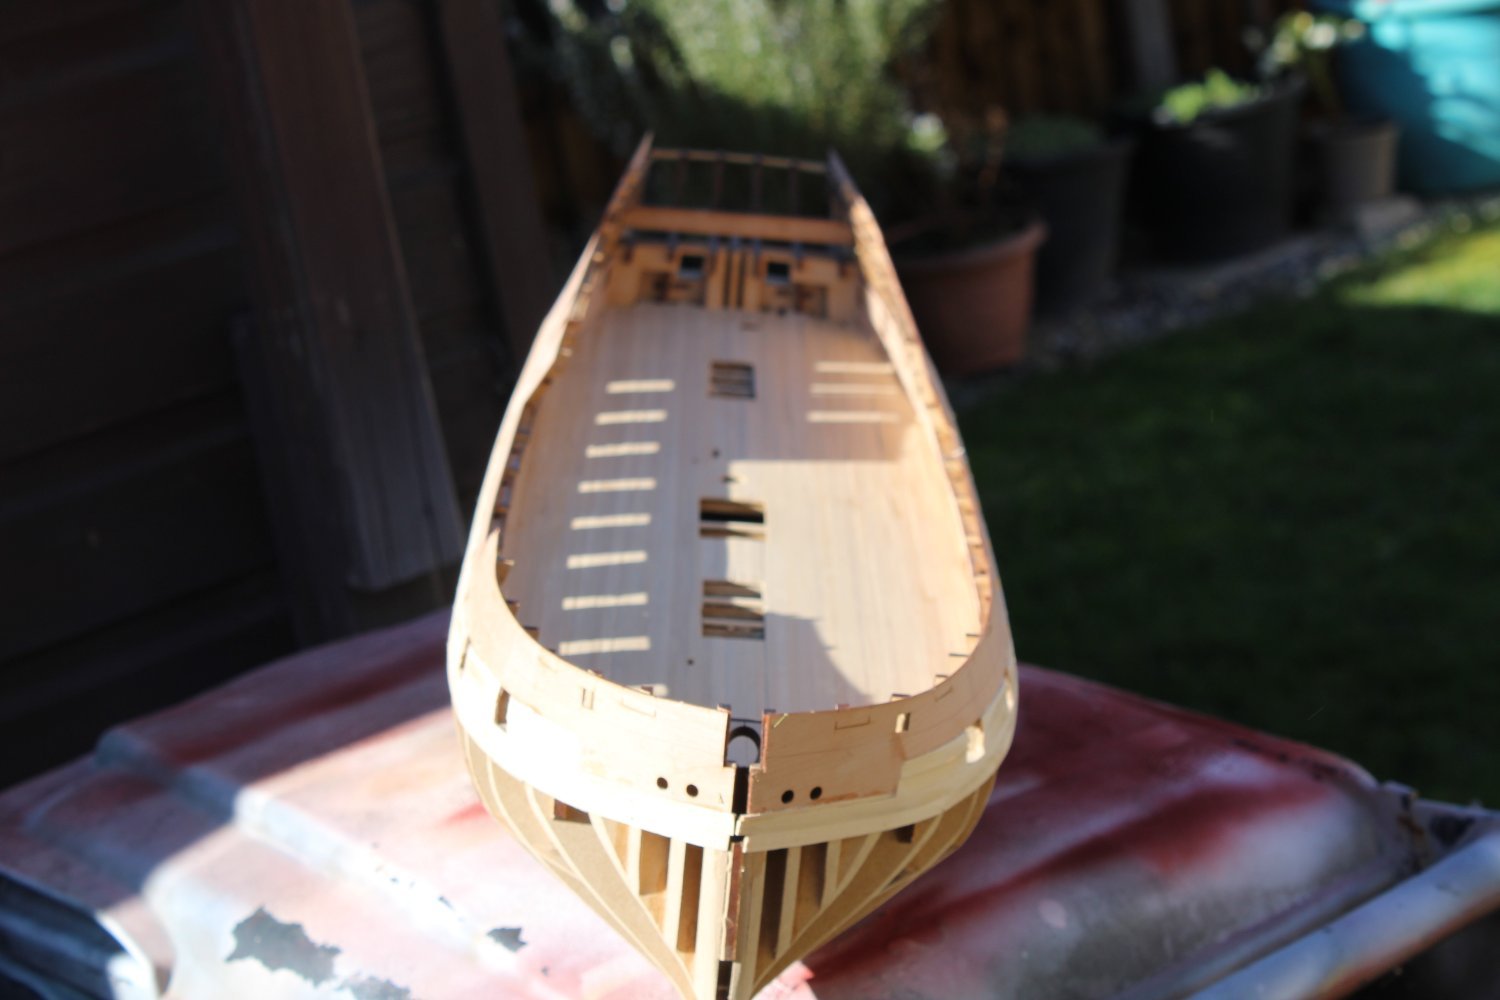
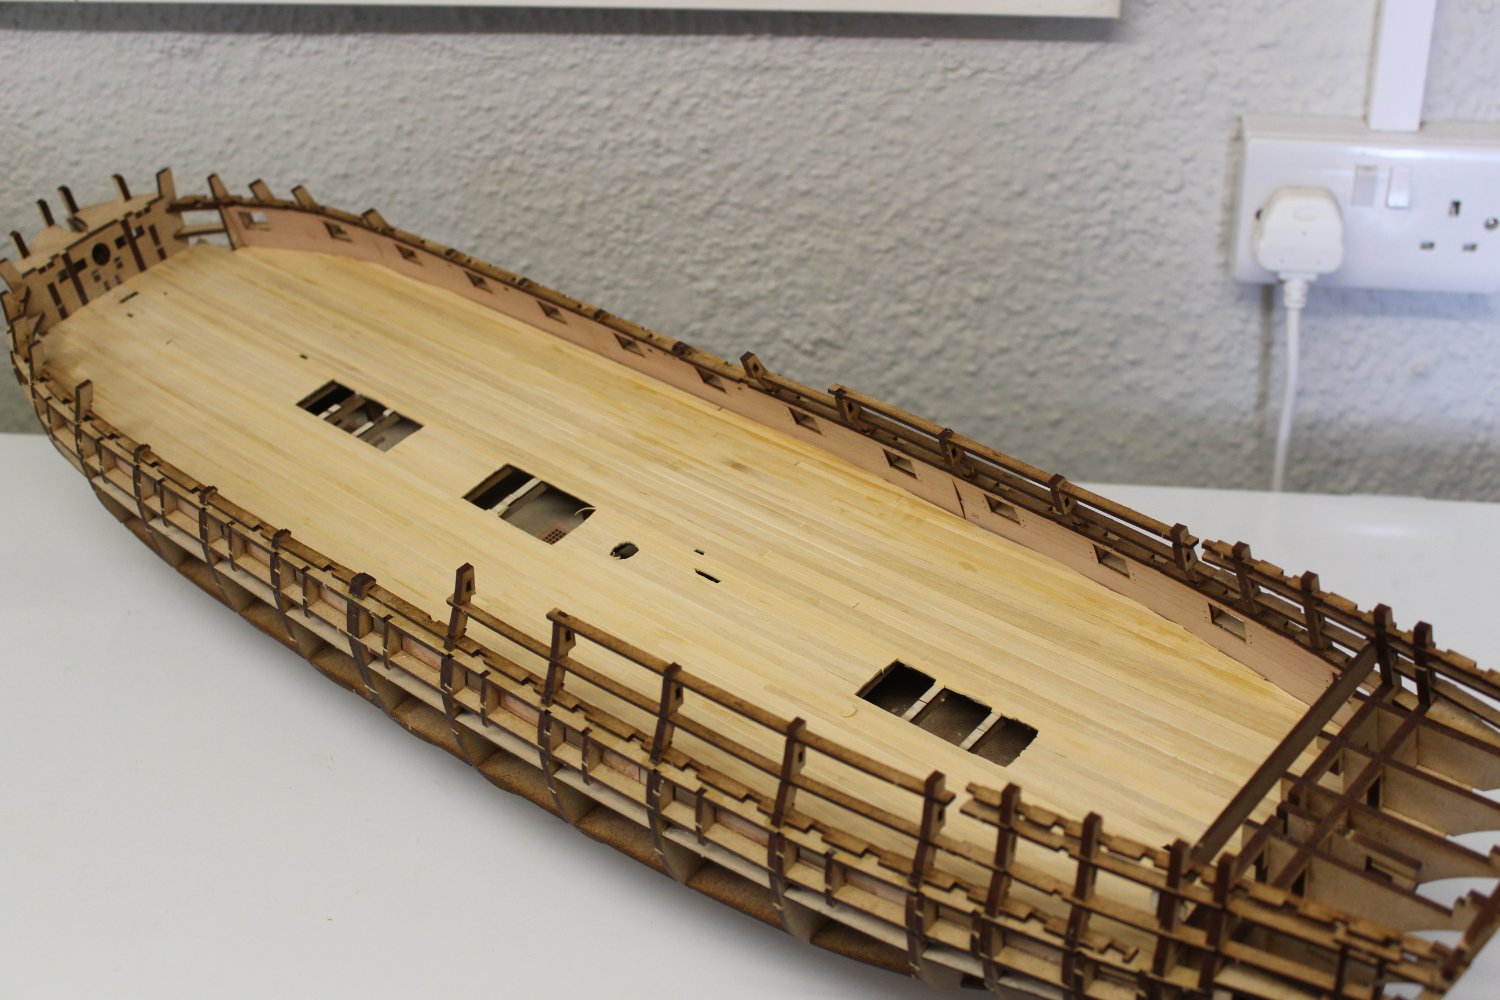
the deck has been sanded and varnished with a water based varnish @50/50
to day a few days delay the hull went outside to be sanded, brilliant, oh thats getting hot fizzle bang me mouse blew up
anyway an trip to Wickes (other palm sanding tool outlets are available0
this is what i have now


-
-
-
-
-
8 hours ago, Nearshore said:
Very nice work! Look forward to seeing the progress.
i tend to post quite often
10 hours ago, Morten said:I really Love this build log. My Indefatigable is in My hobby rom. Have to finnish the rigging of HMS Speedy first
looking forward to yours along with others, will be nice to see more indy's than Victory's in build
- mtaylor, Old Collingwood and Obormotov
-
3
-
9 hours ago, James H said:
The deck looks real nice. I do like that material. Nice clean job too.
thank you James, much appreciated
- Old Collingwood, mtaylor and Obormotov
-
3
-
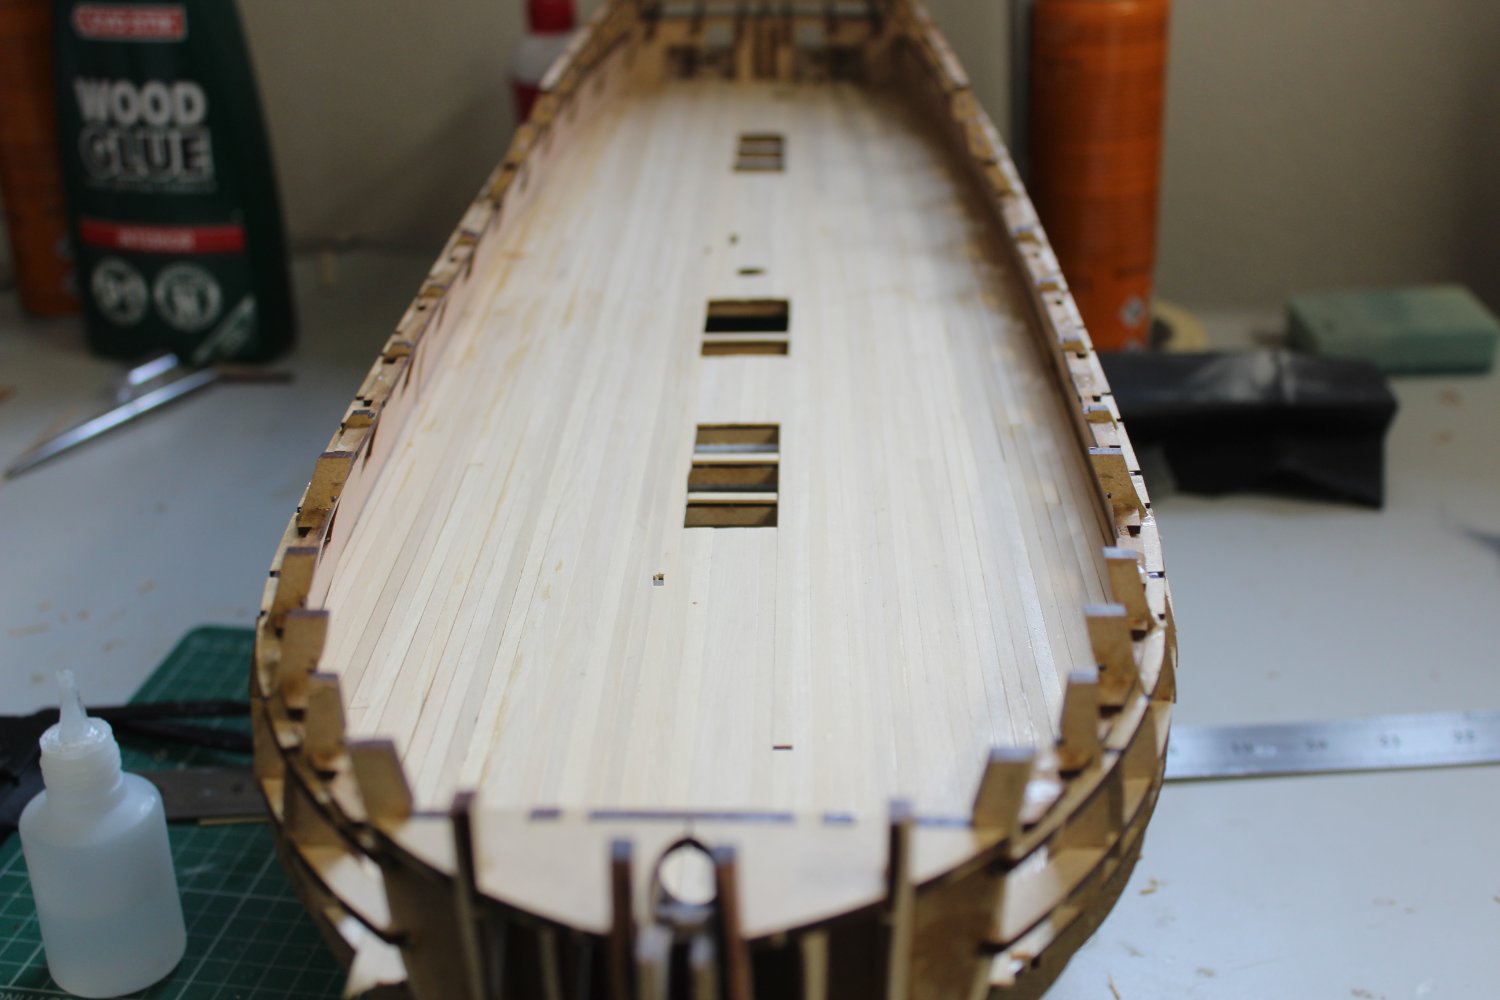
5 minutes ago, Blue Ensign said:
Always good to finish the deck planking, nice job Kevin.👍
Did you find the strip planking followed the printed layout, or did it start to run off the further you got across the deck?
Did you find the printed pattern a help or hindrance?
Cheers,
B.E.
the pattern was a great help, for the placement of the butts, i never tapered the planks, so it did run off, im happy with the result however
- Blue Ensign, yvesvidal, mtaylor and 4 others
-
7
-


HMS Indefatigable 1794 by Kevin - Vanguard Models - 1:64 - Feb 2023
in - Kit build logs for subjects built from 1751 - 1800
Posted
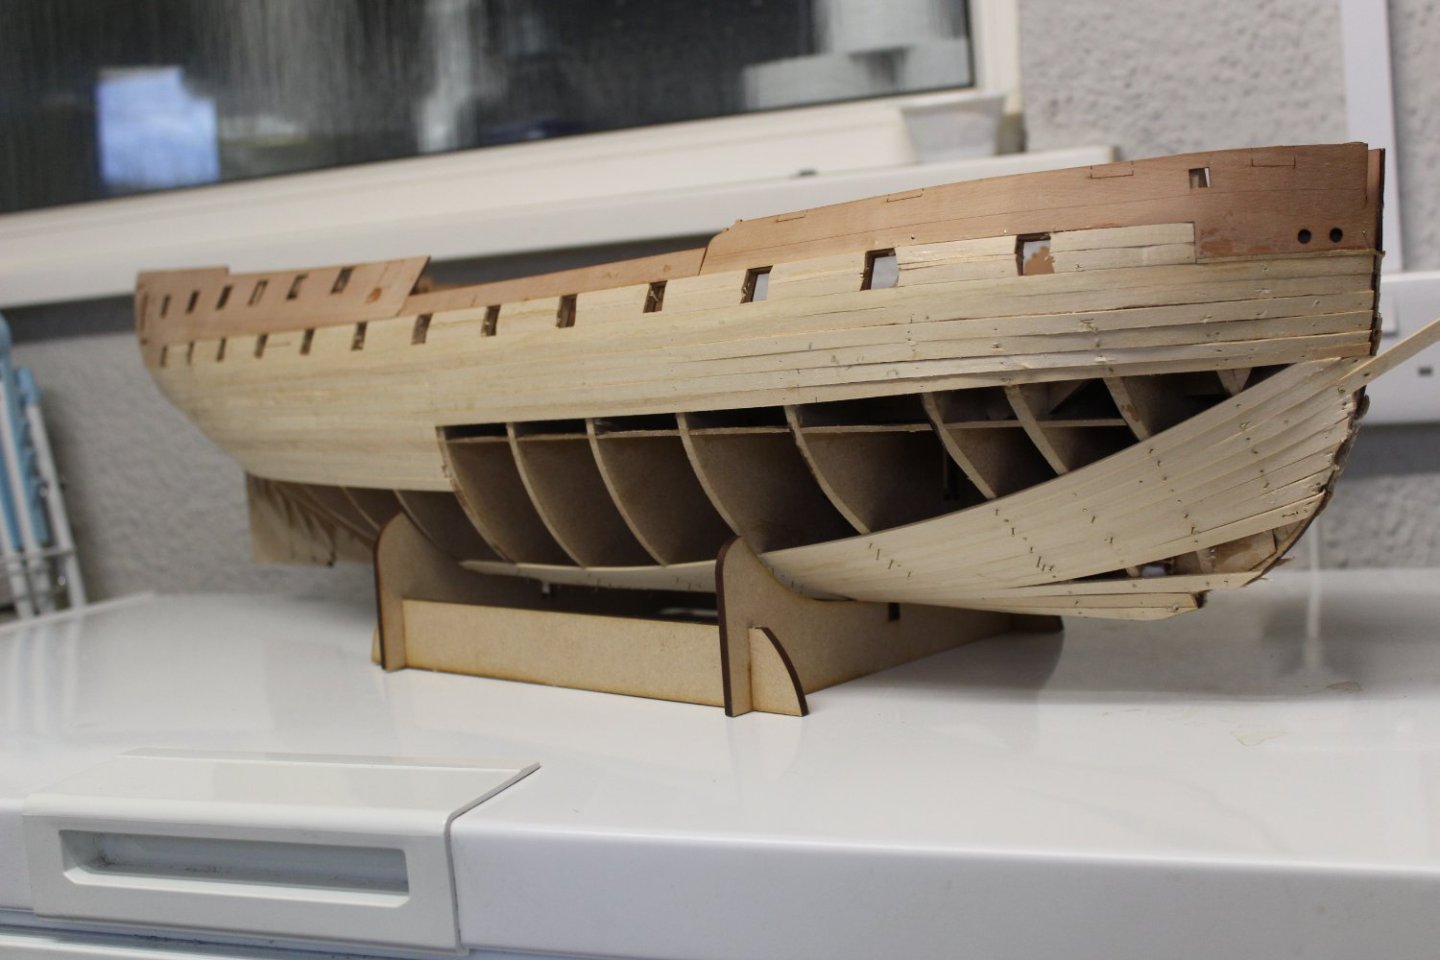
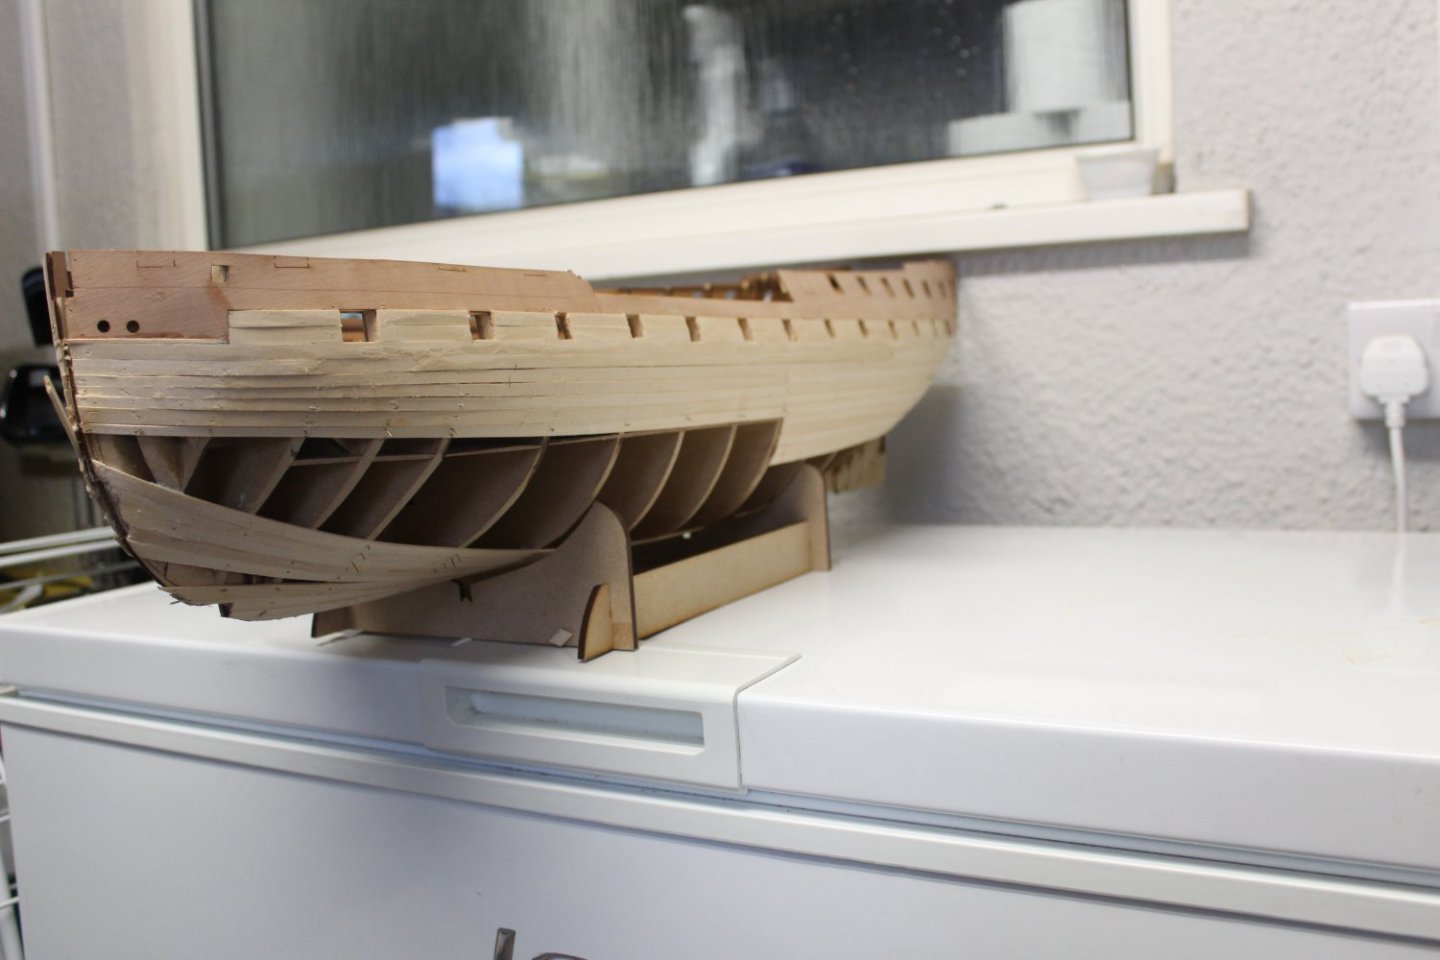
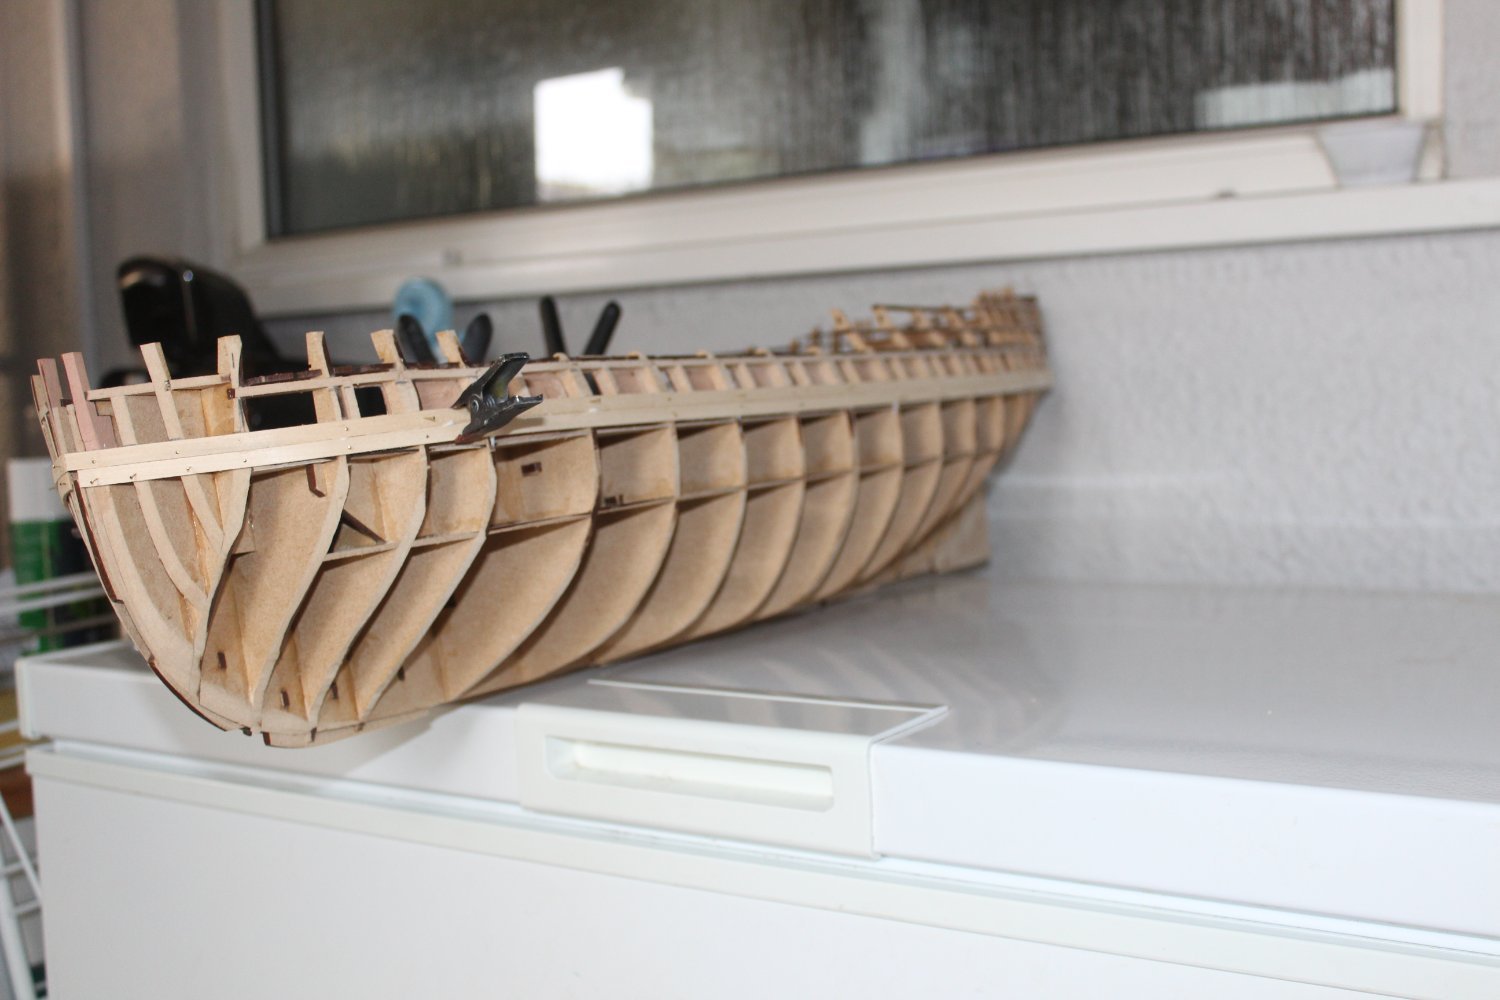
good evening everyone,
thank you for comments and likes
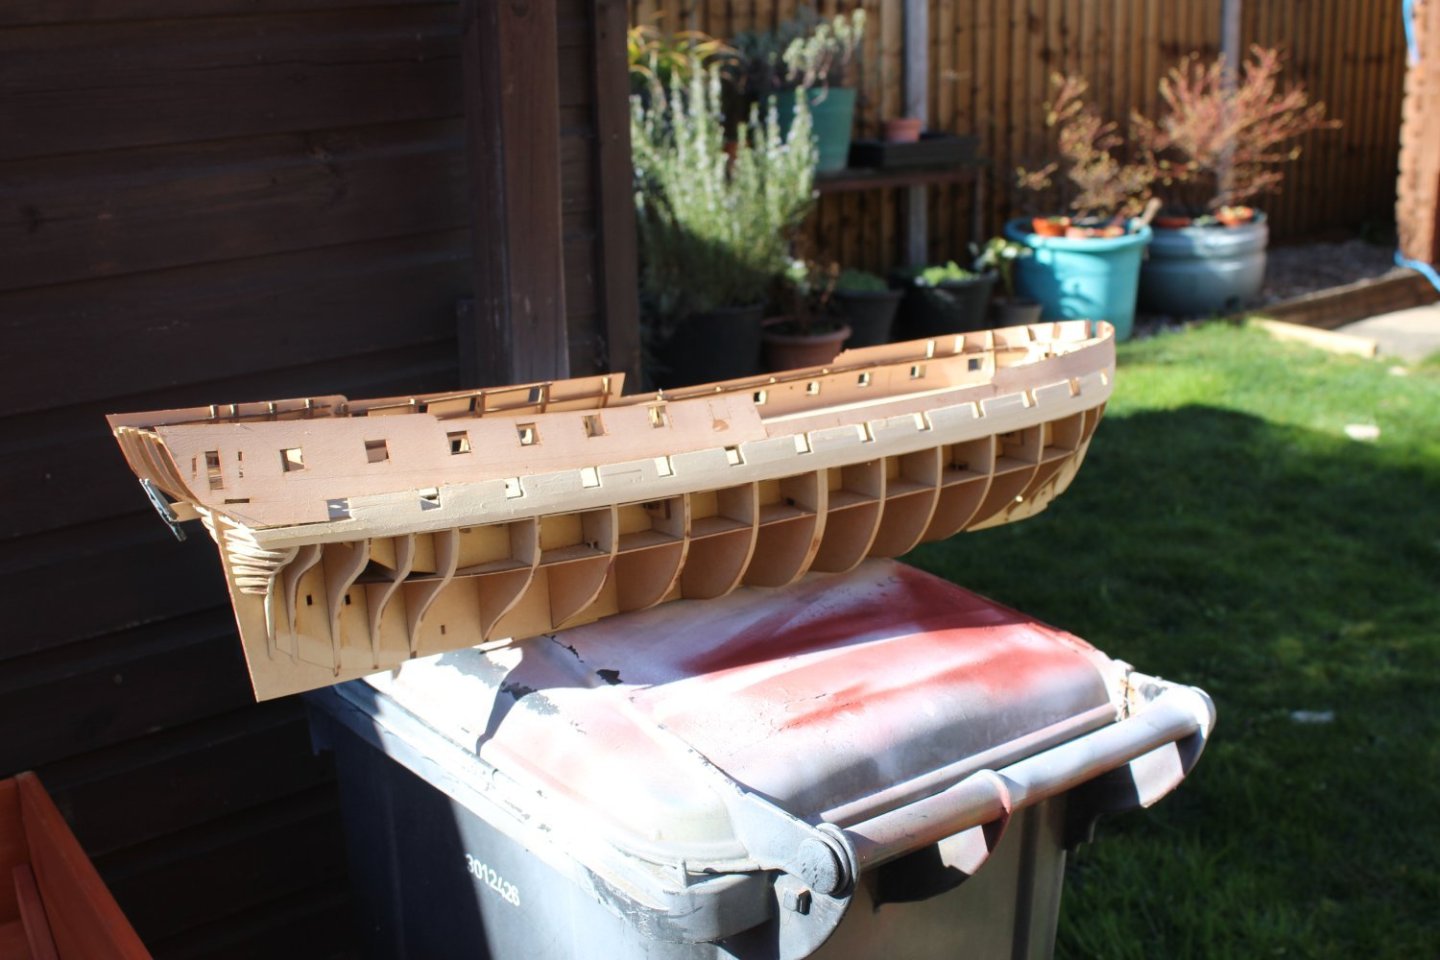
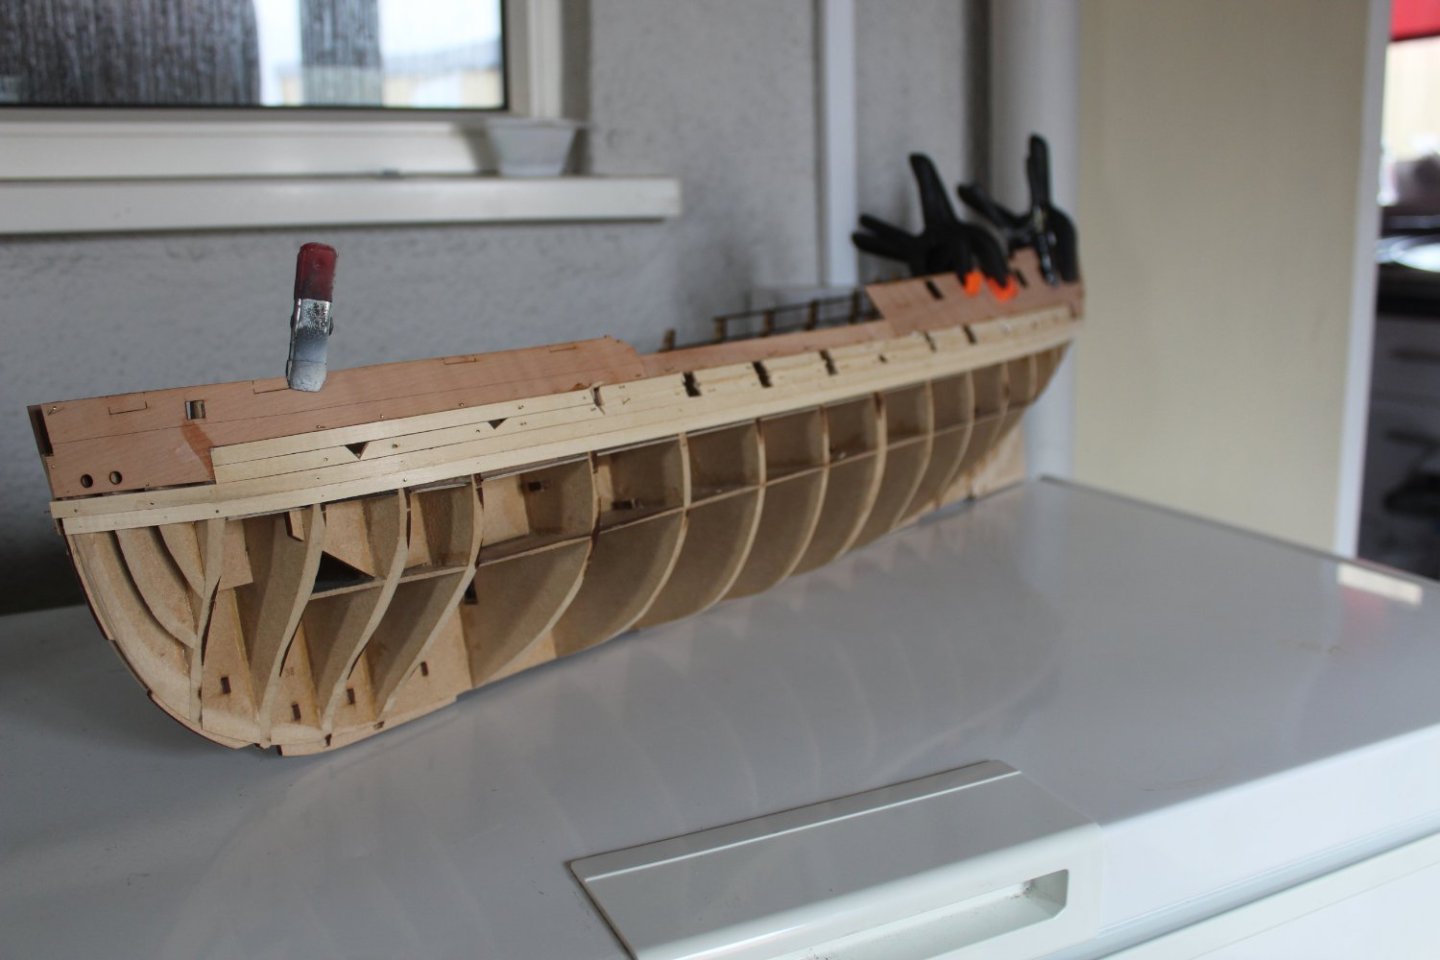
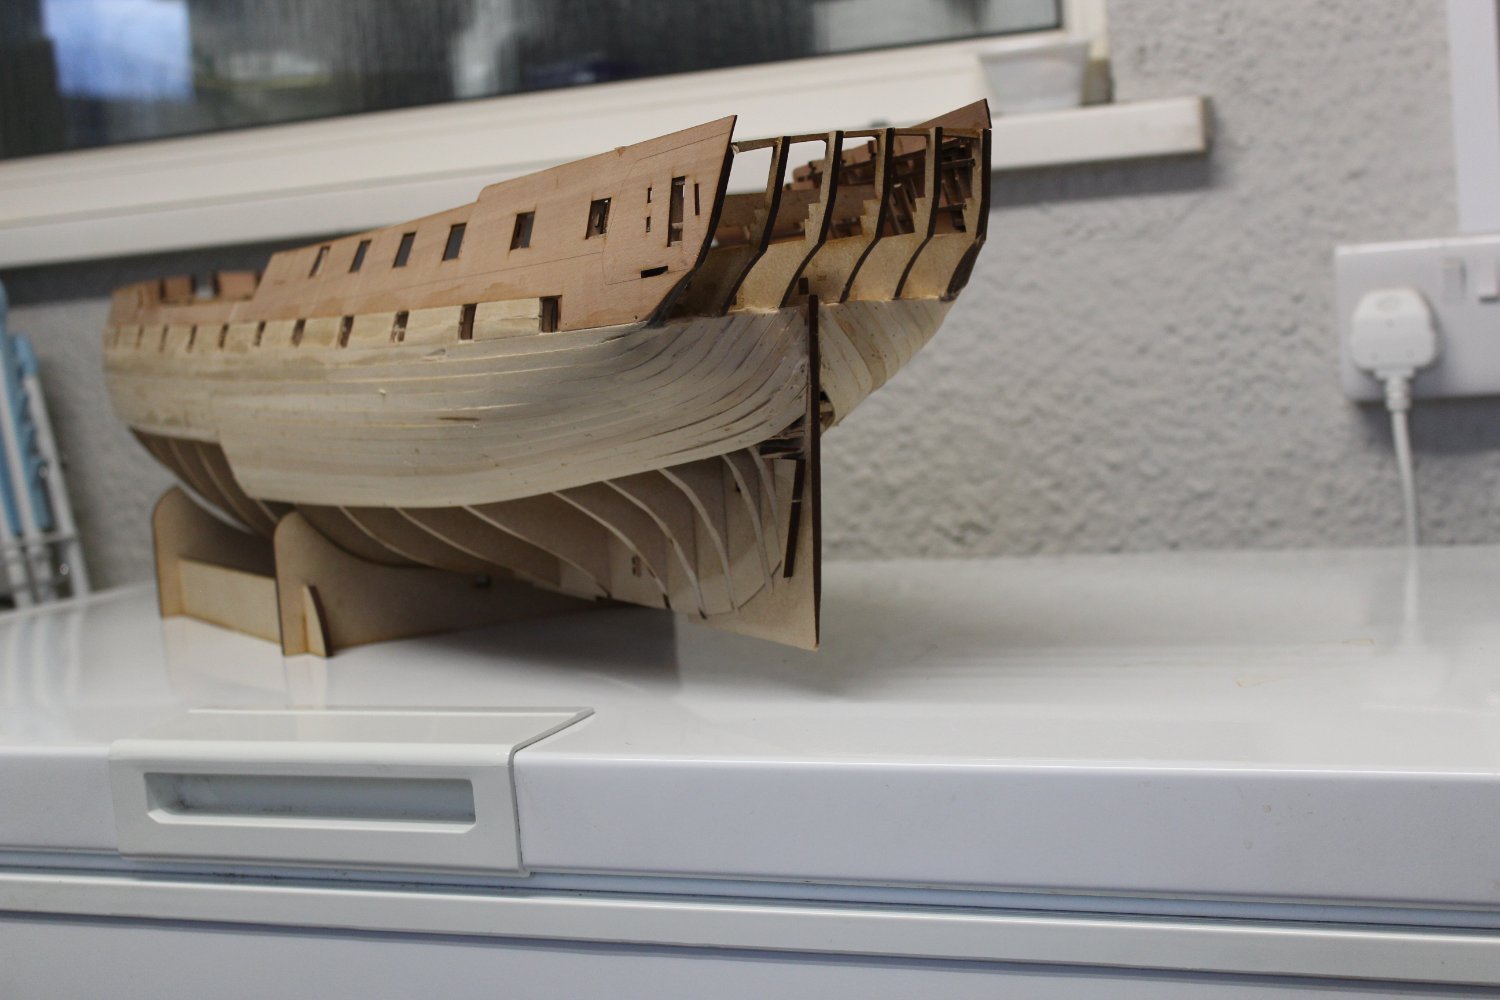
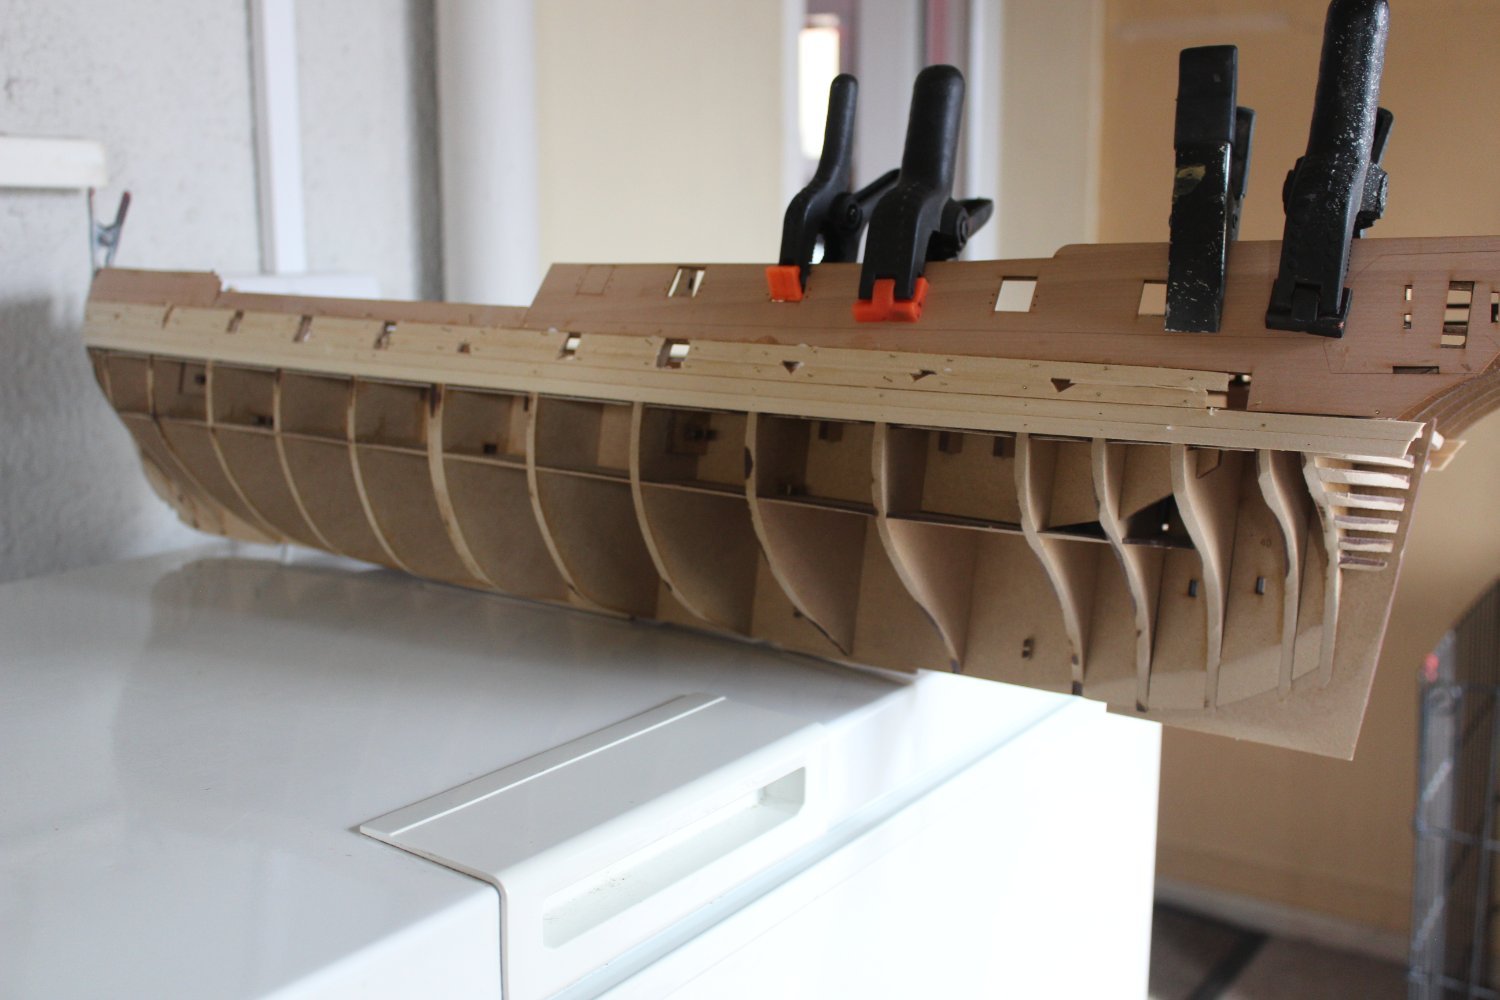
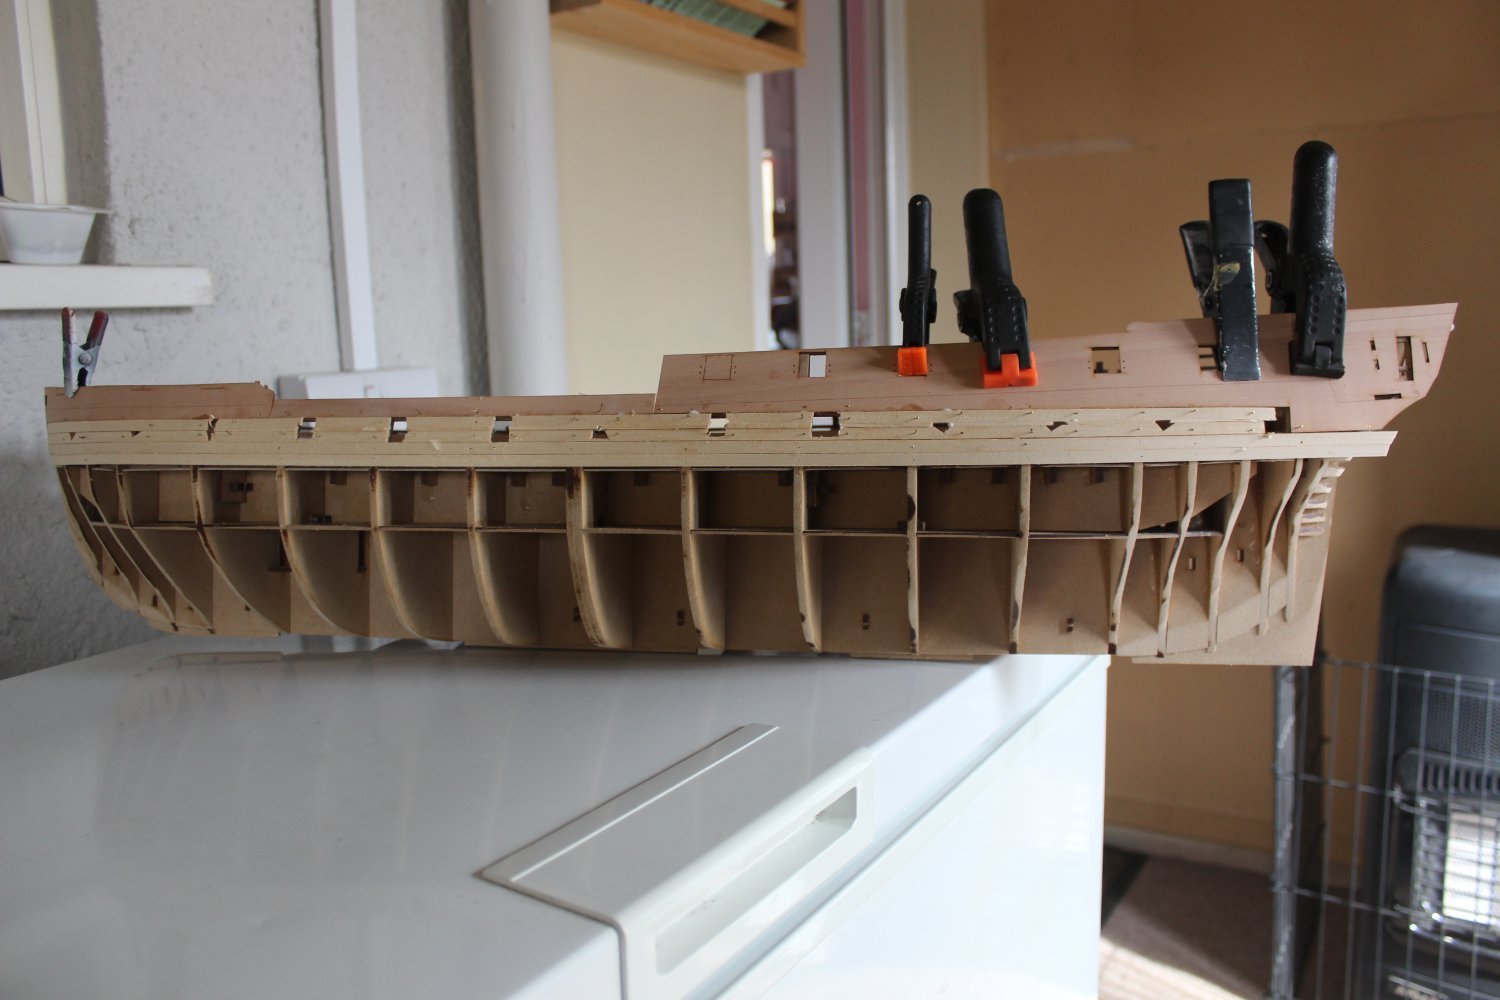
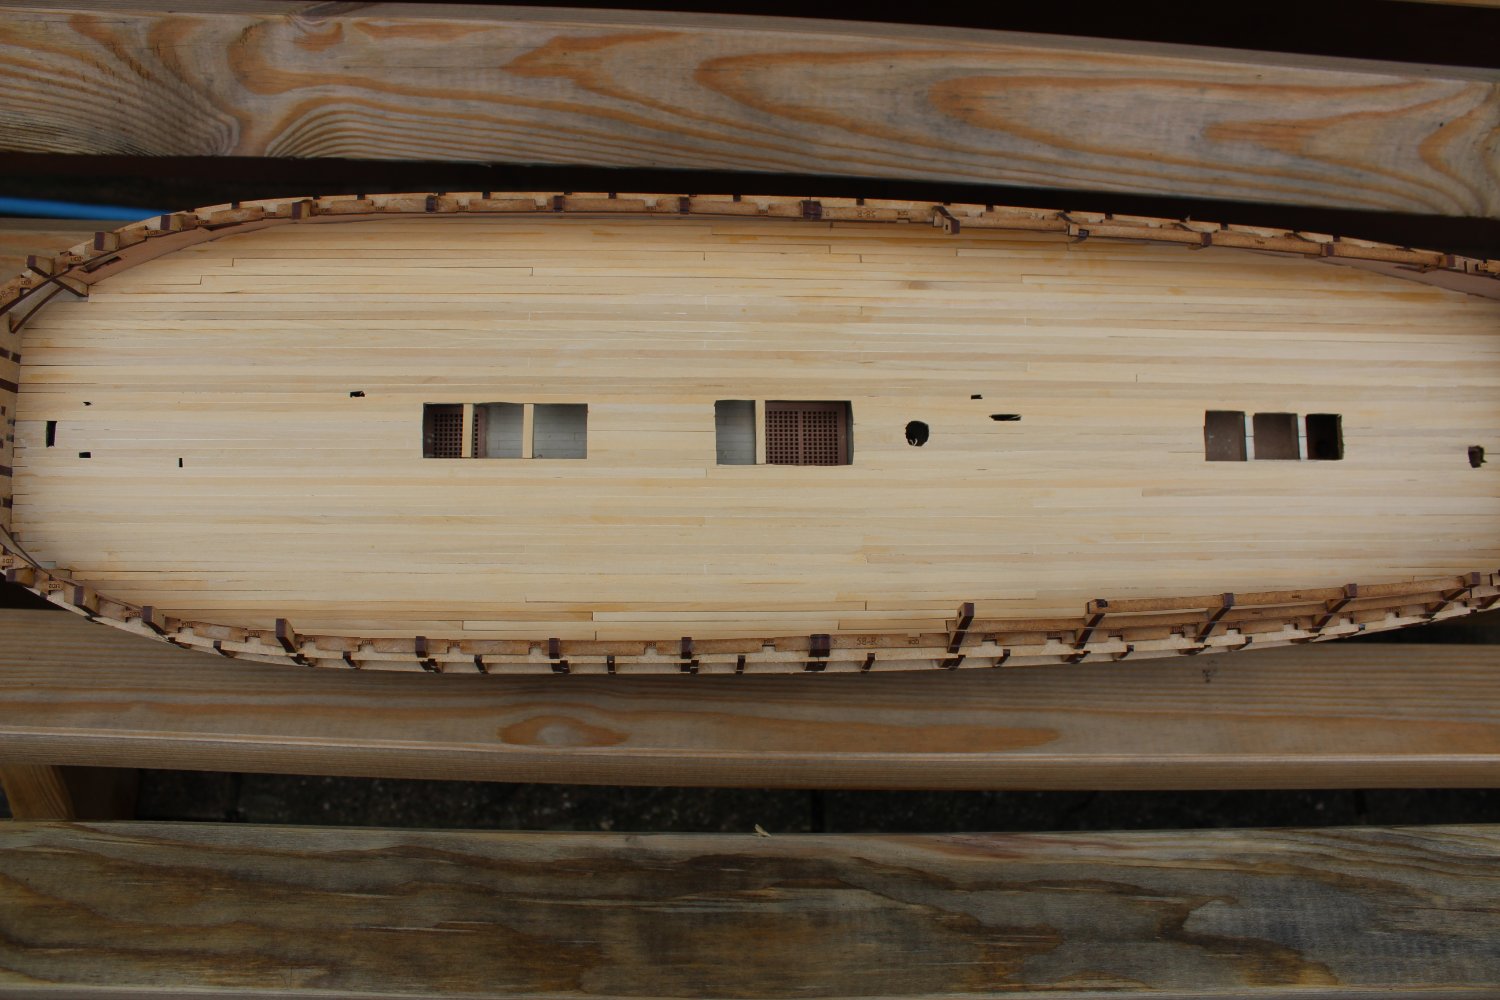
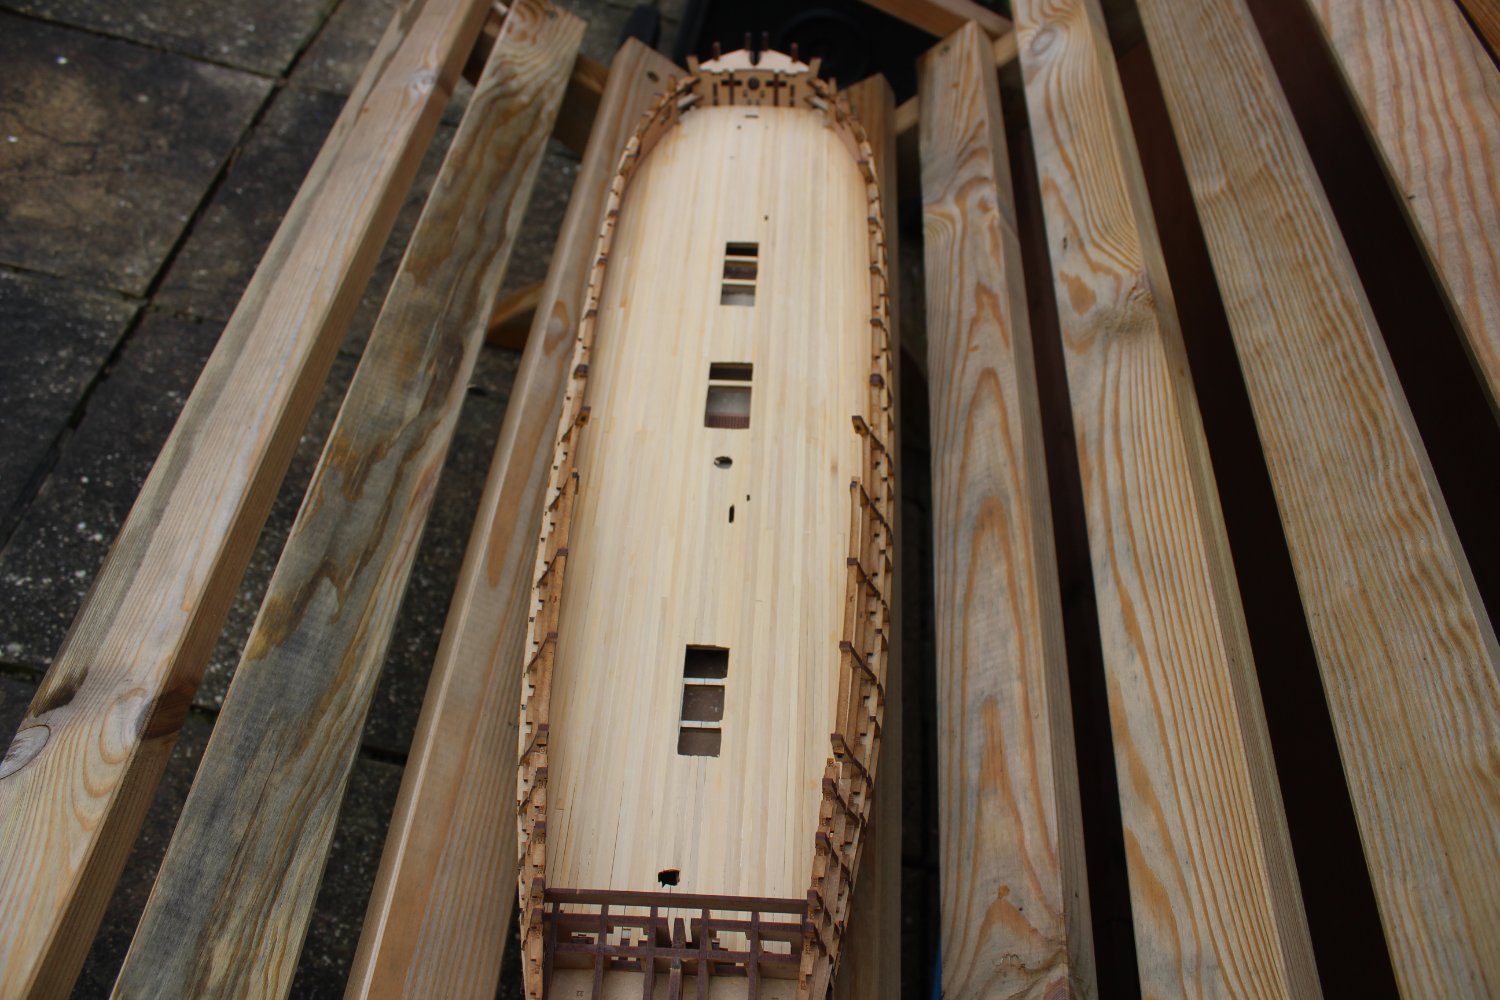
day 21 1st planking port side complete
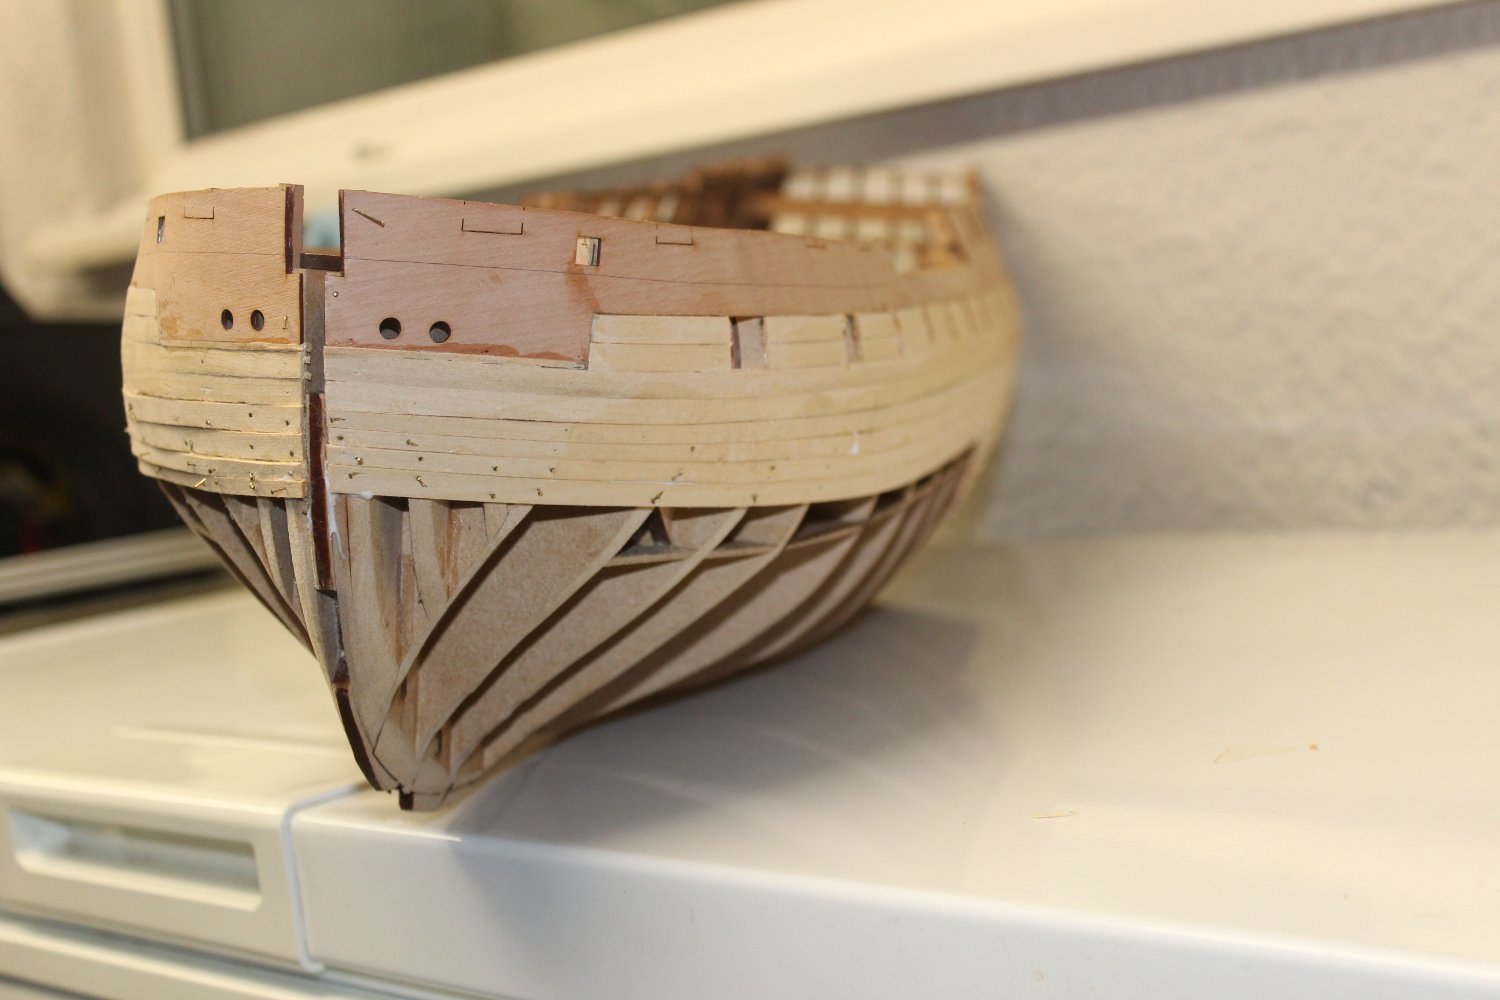
i needed to fair the parts 29 on the stern post, so i then continued with a rough grit sanding pad and gave the hull a once over, i was real happy with how it turned out, no where ready for the top coat though
i am about an hours work from completing the stbd side, will try and finish that tomorrow, but the boi is in for an operation at the vets, so i might be to stressy for that