


Kevin
-
Posts
6,532 -
Joined
-
Last visited
Content Type
Profiles
Forums
Gallery
Events
Posts posted by Kevin
-
-
Jason that is absolutely stunning work
- Beef Wellington, AJohnson and JesseLee
-
 3
3
-
19 minutes ago, Blue Ensign said:
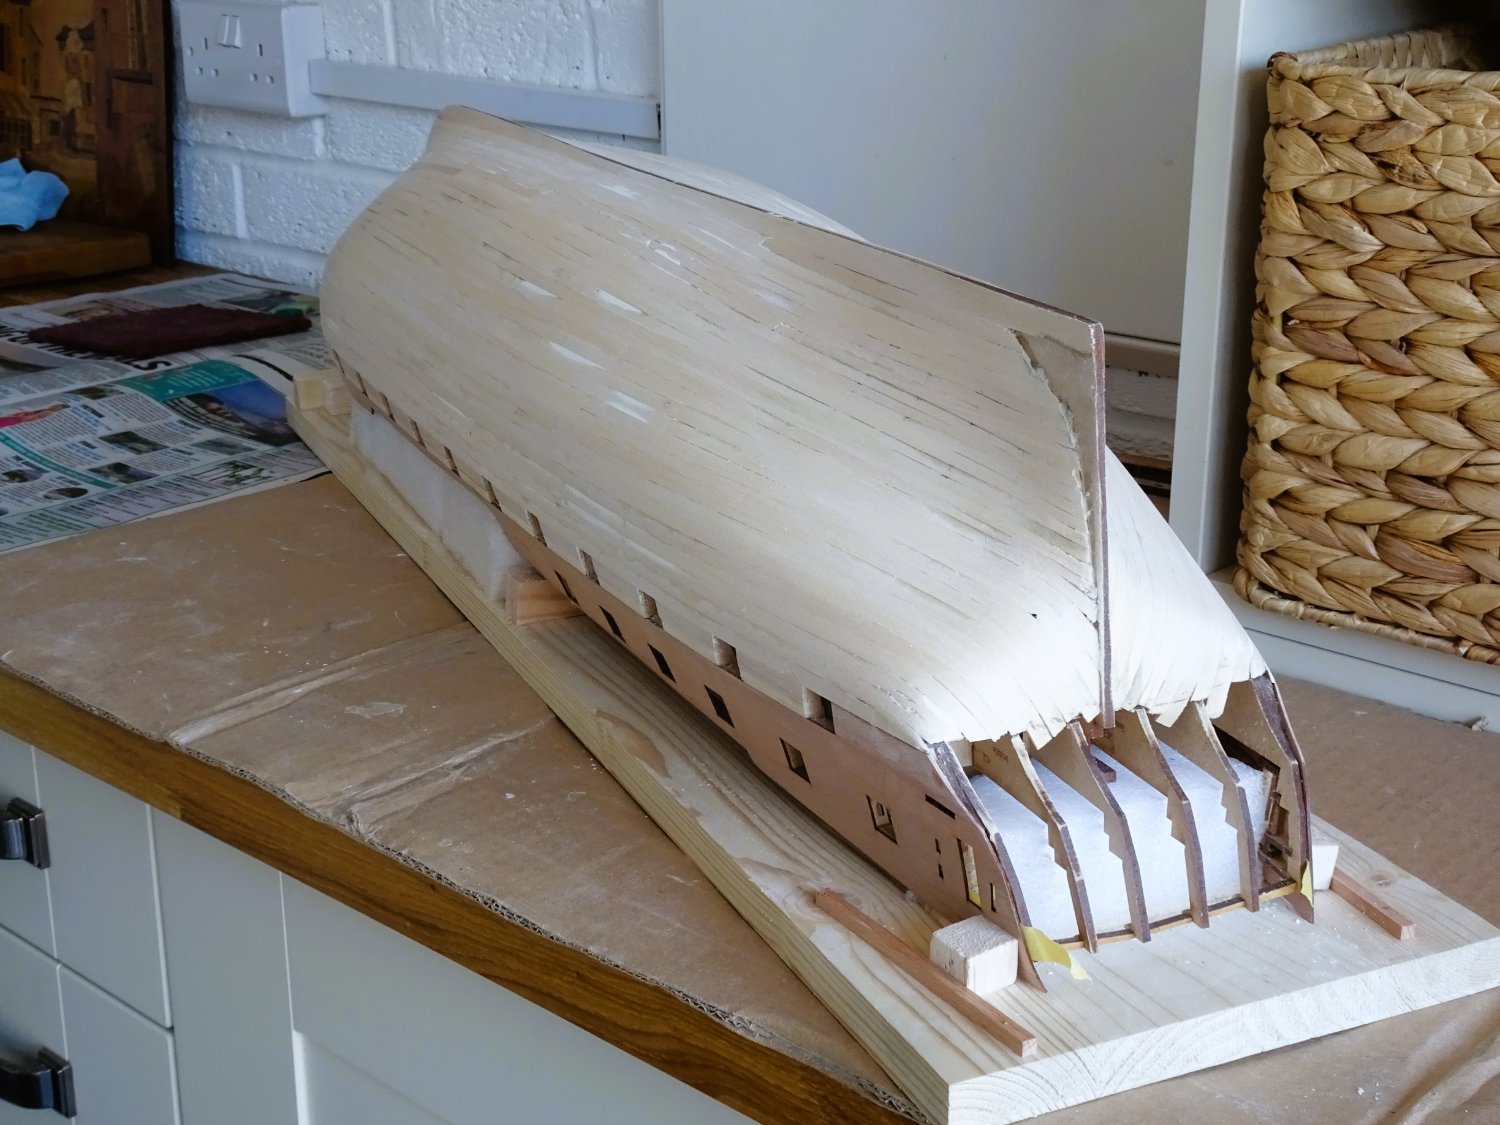
Post Twenty-three
The Sanding business
0811
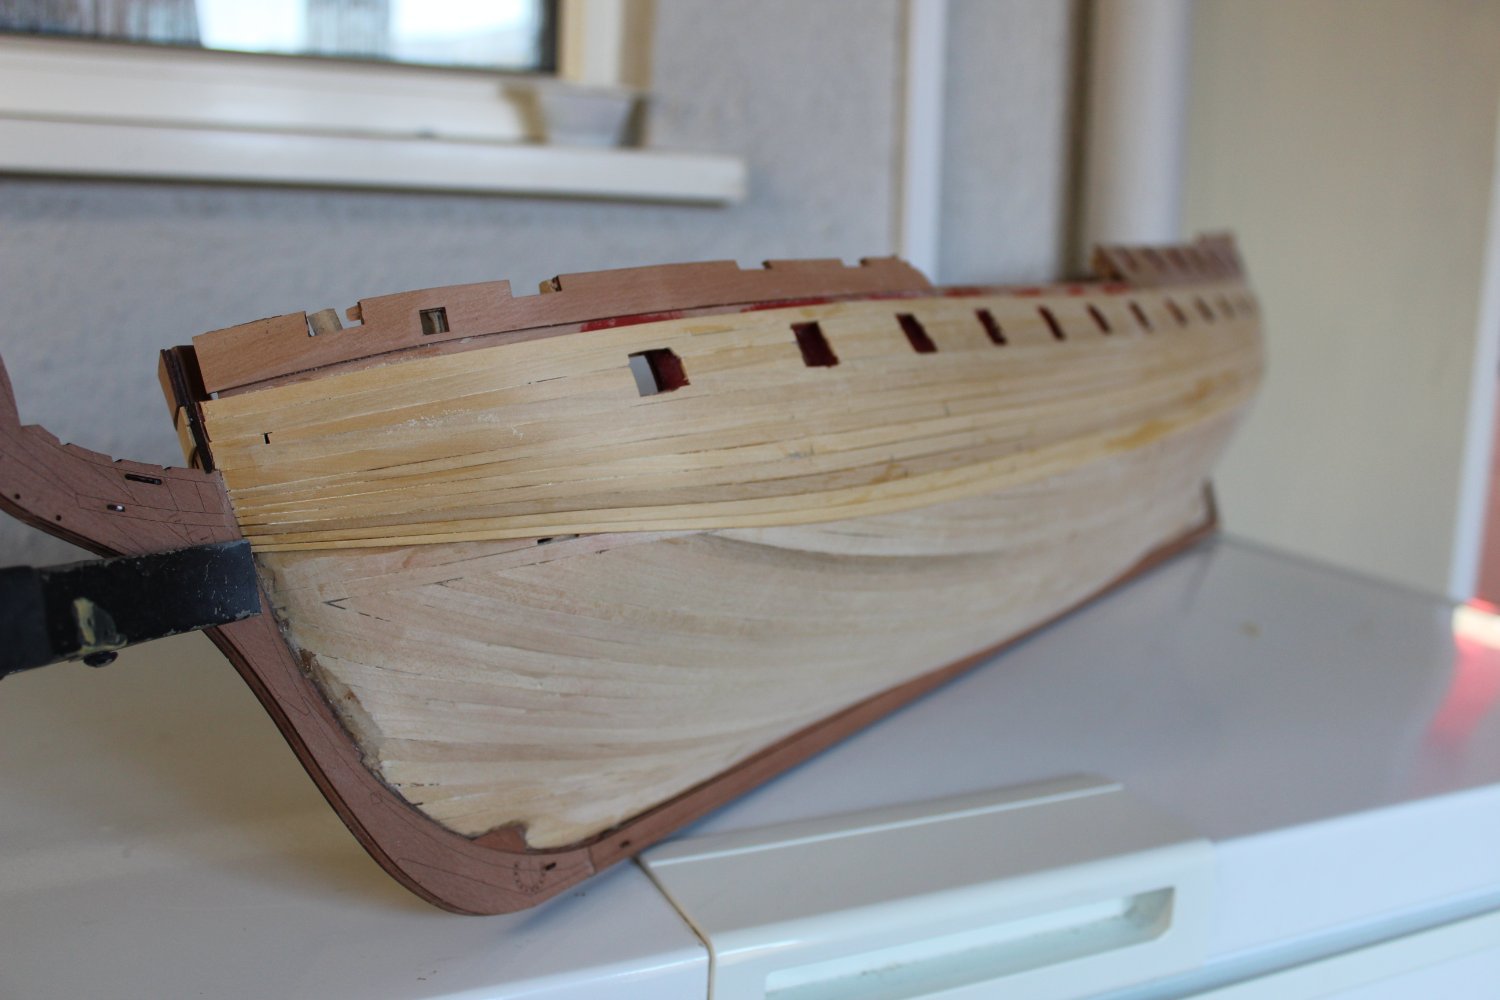
This is a lovely hull to sand, large enough to sweep along it with flexible sanding sheets and blocks.

0812
At the stern the planks are feathered into the false keel to receive the top layer.
0815
There were a few low spots that I filled and sanded and once I was satisfied with a blind feel test I deemed the job complete.

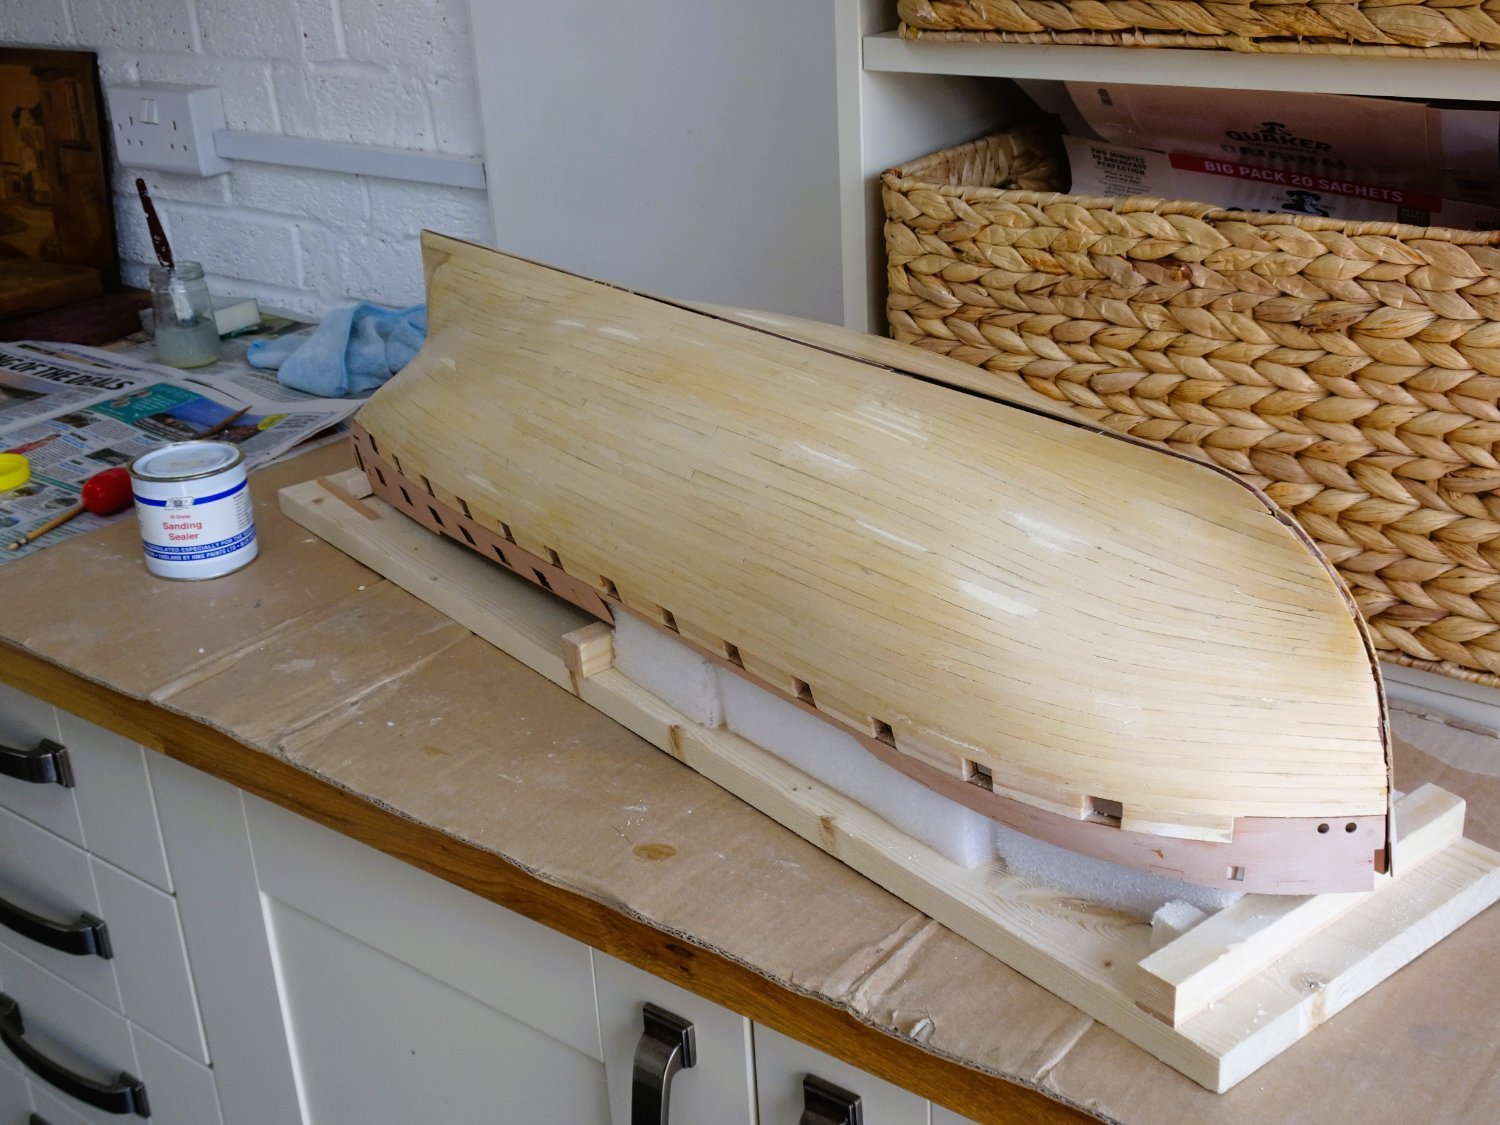
0819
The whole process was completed over two days, and the hull was finally given a coat of sanding sealer.
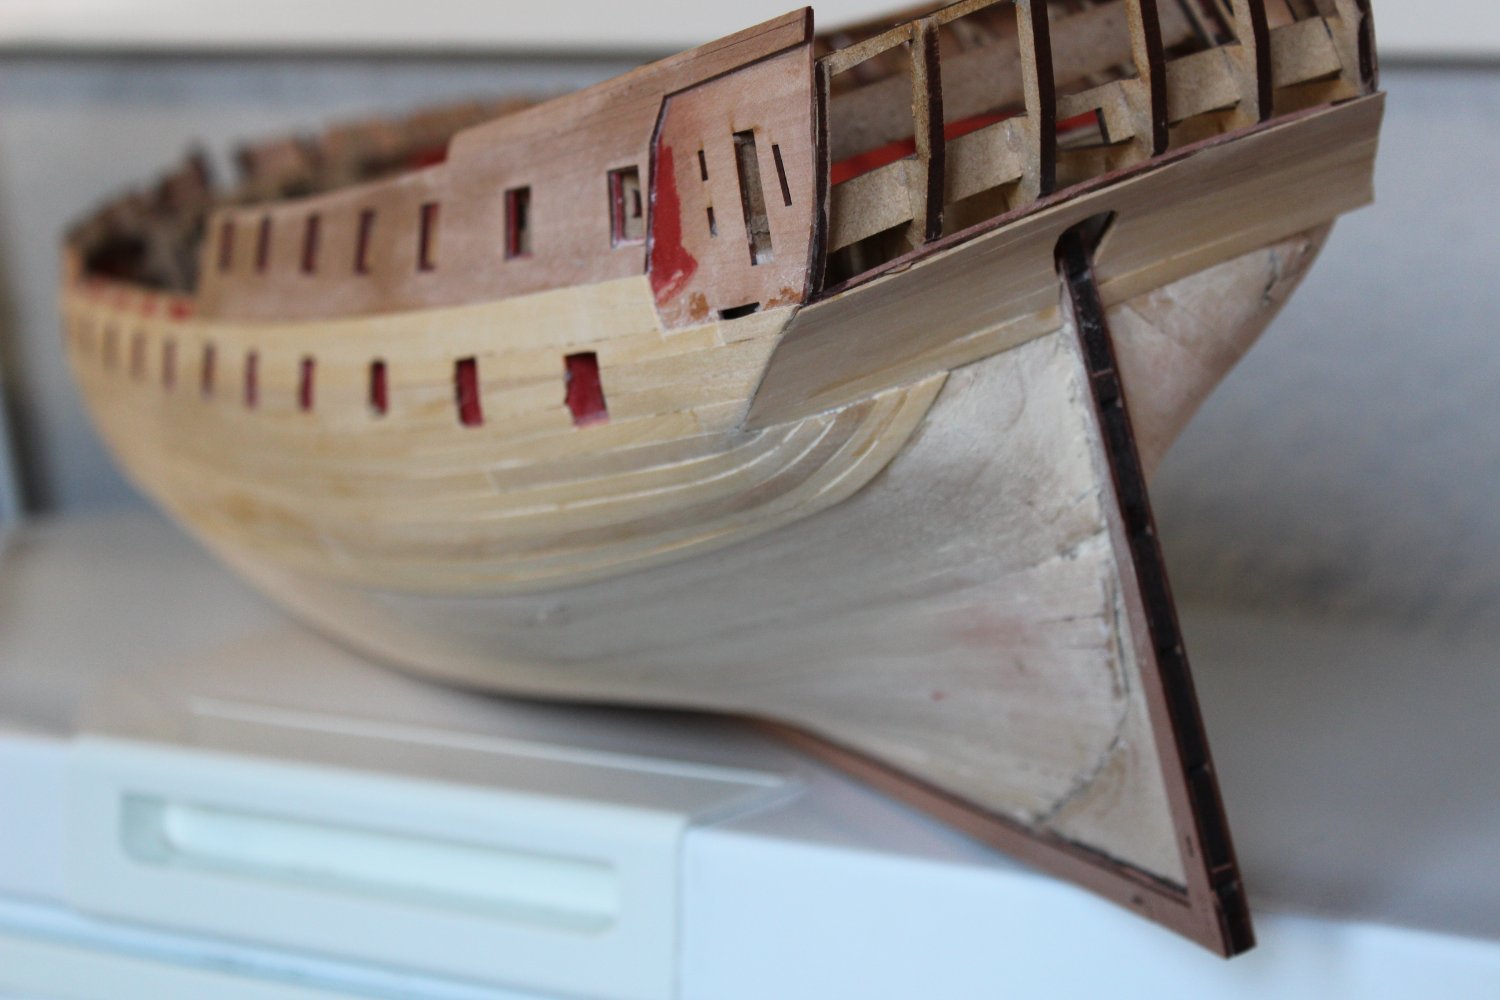
0821
Sanding sealer contains Xylenes, and is nasty stuff, best done in the open air and wearing a mask and gloves.
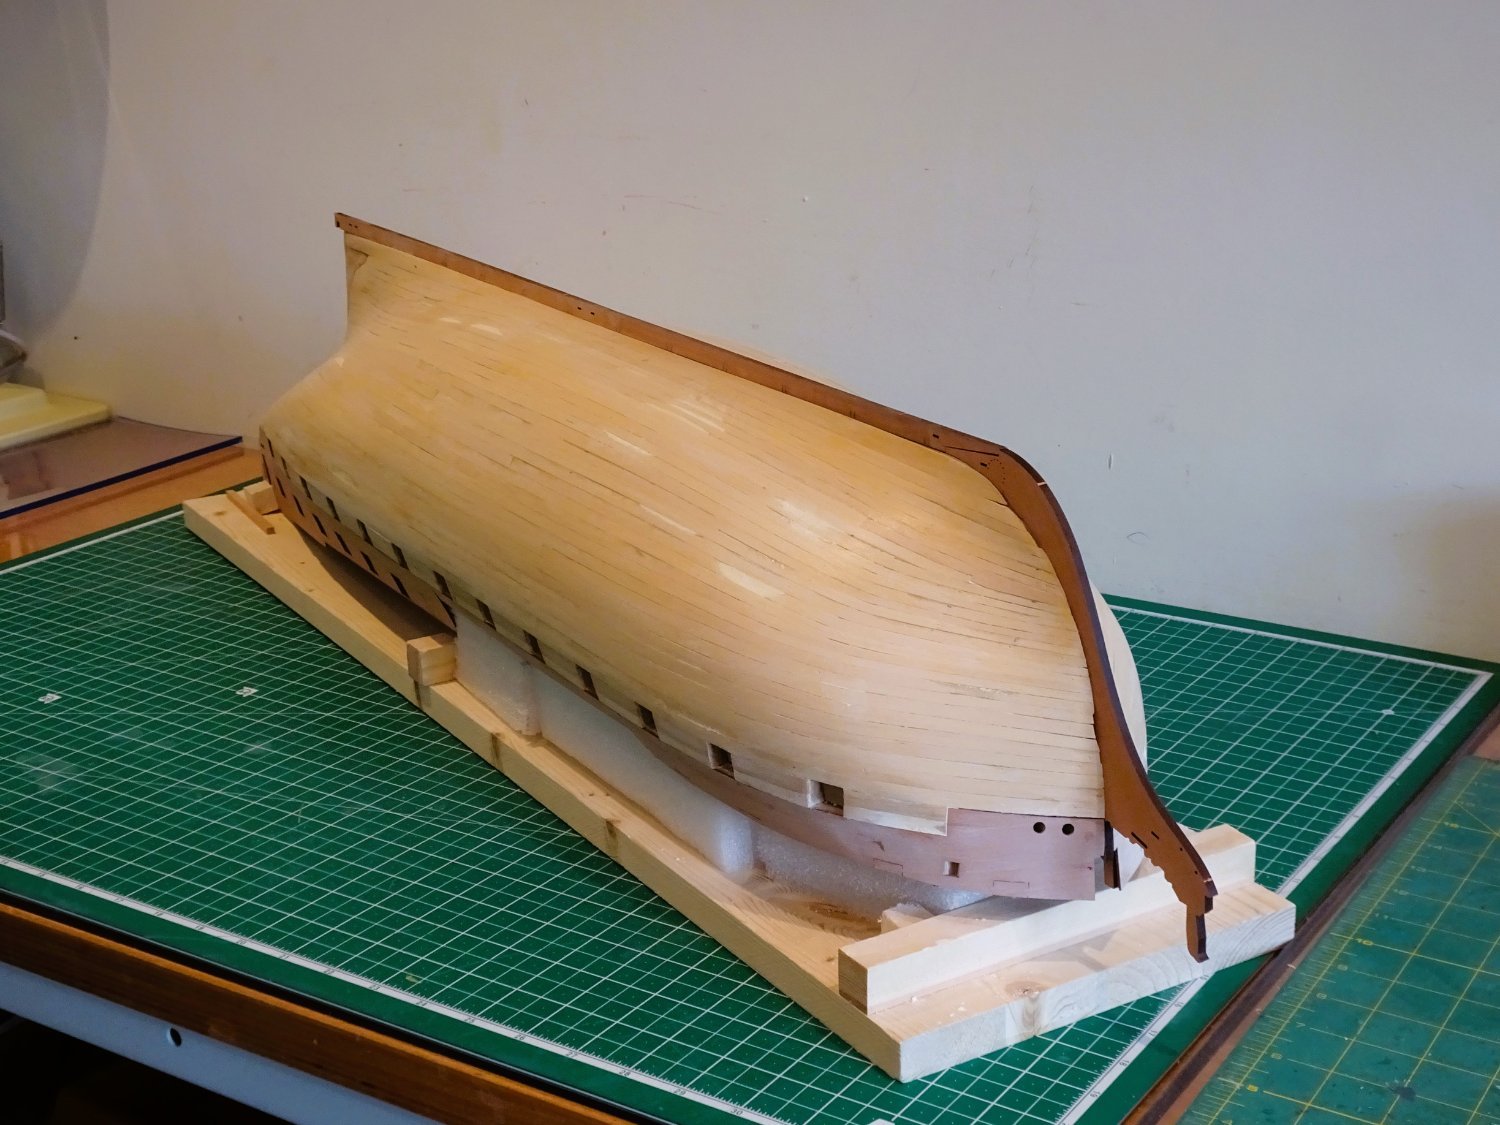
0822
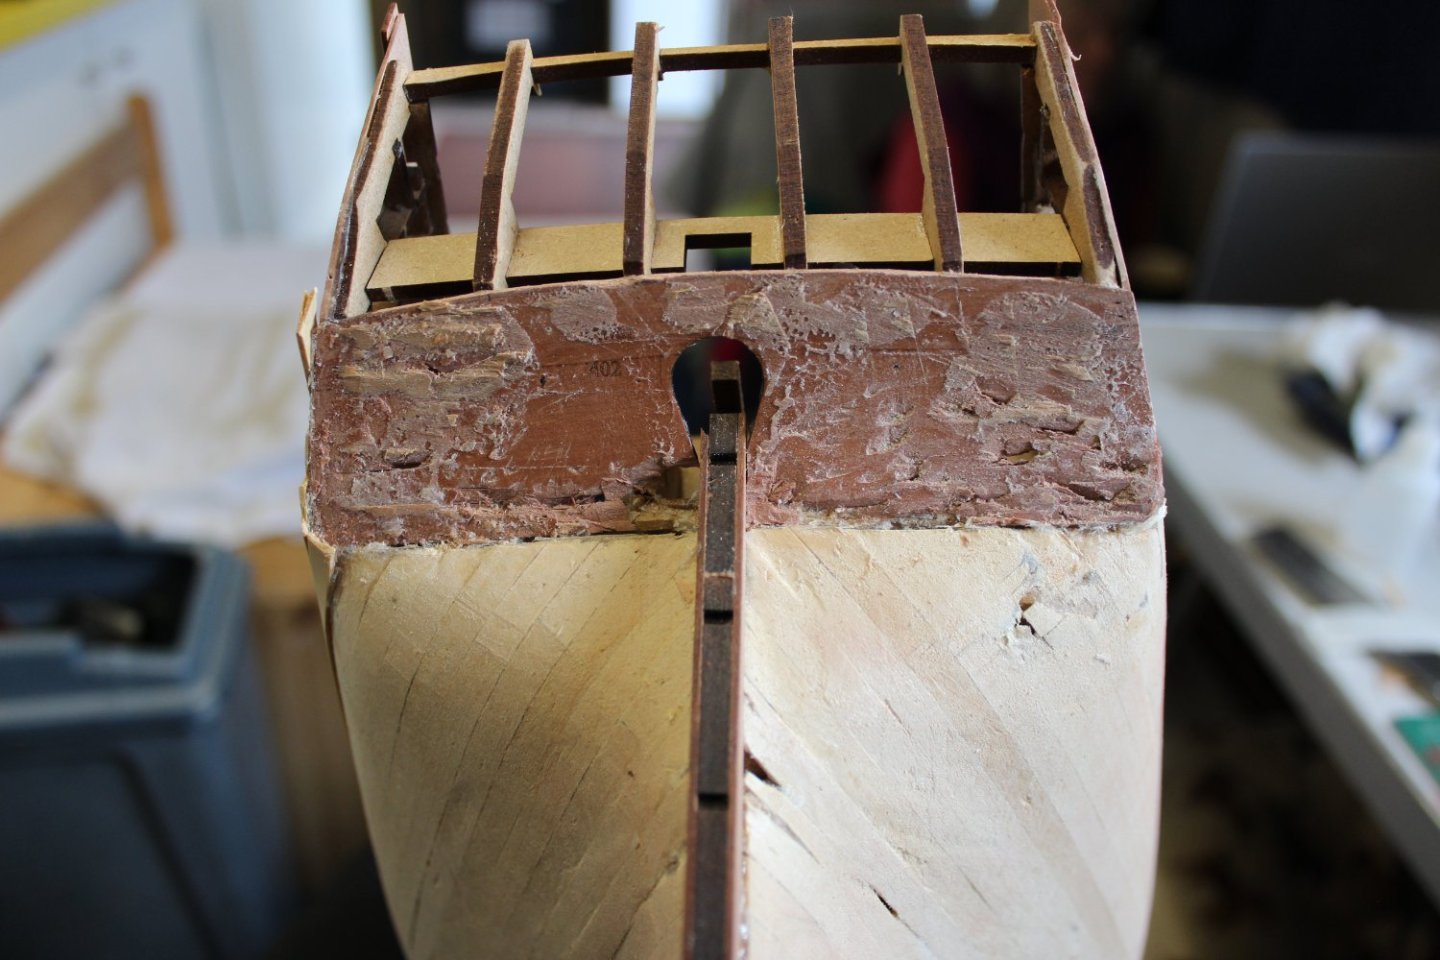
At this point I dry fitted the stem, keel, and sternpost parts.
The stem fitted neatly into place with a light tap of the hammer, but before final fitting I was interested to see how the facings related to the curve of the bow planking.

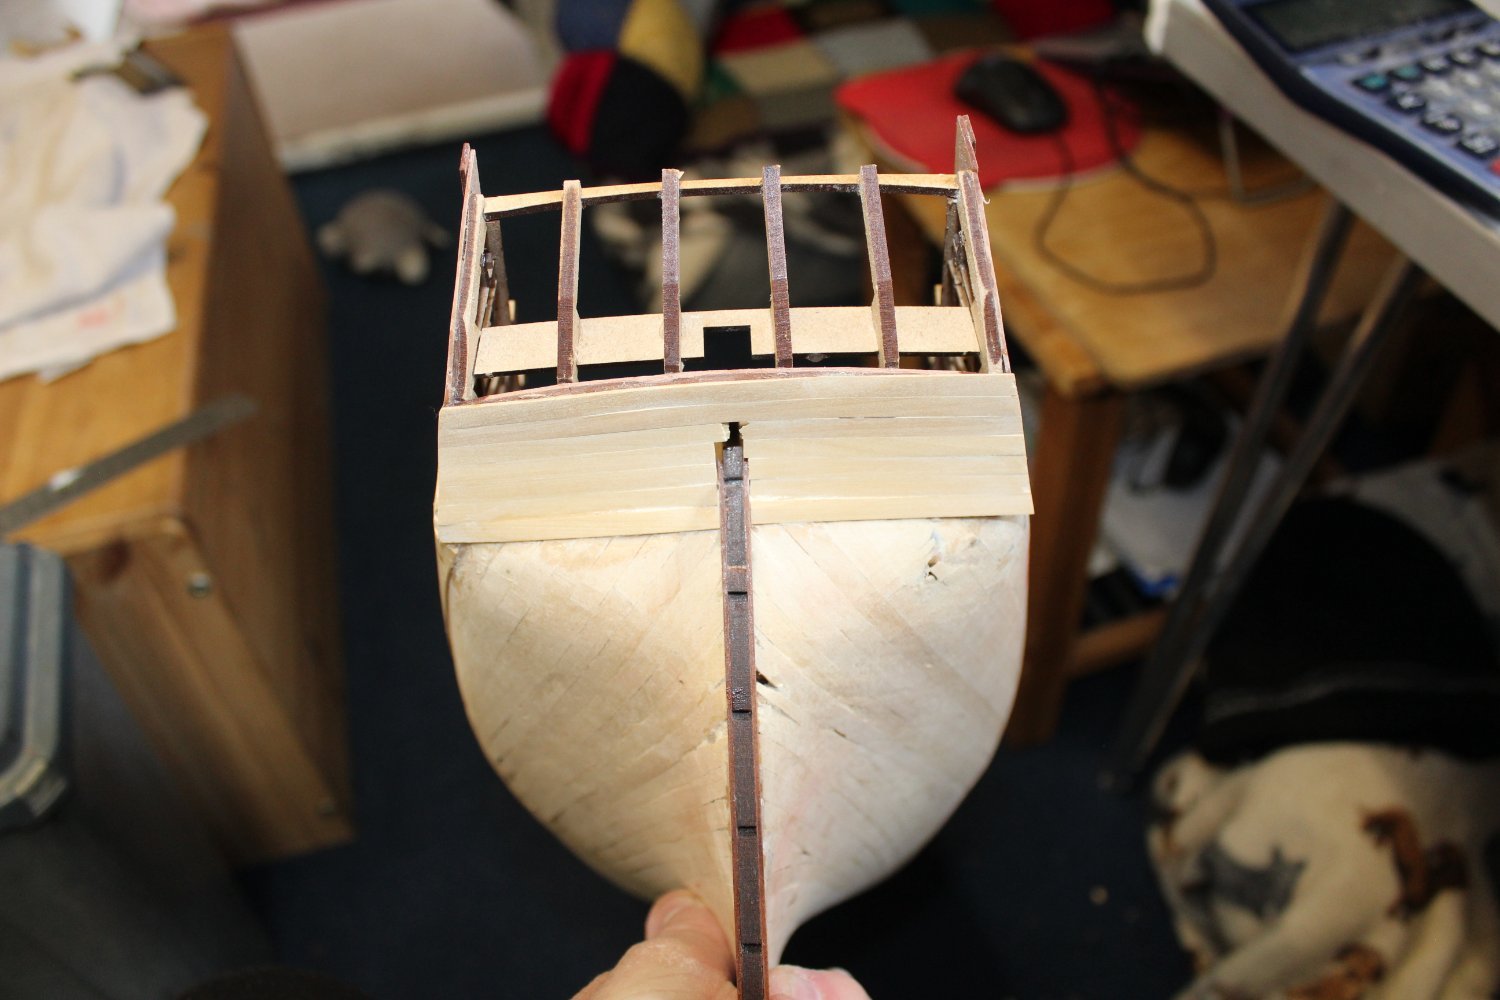
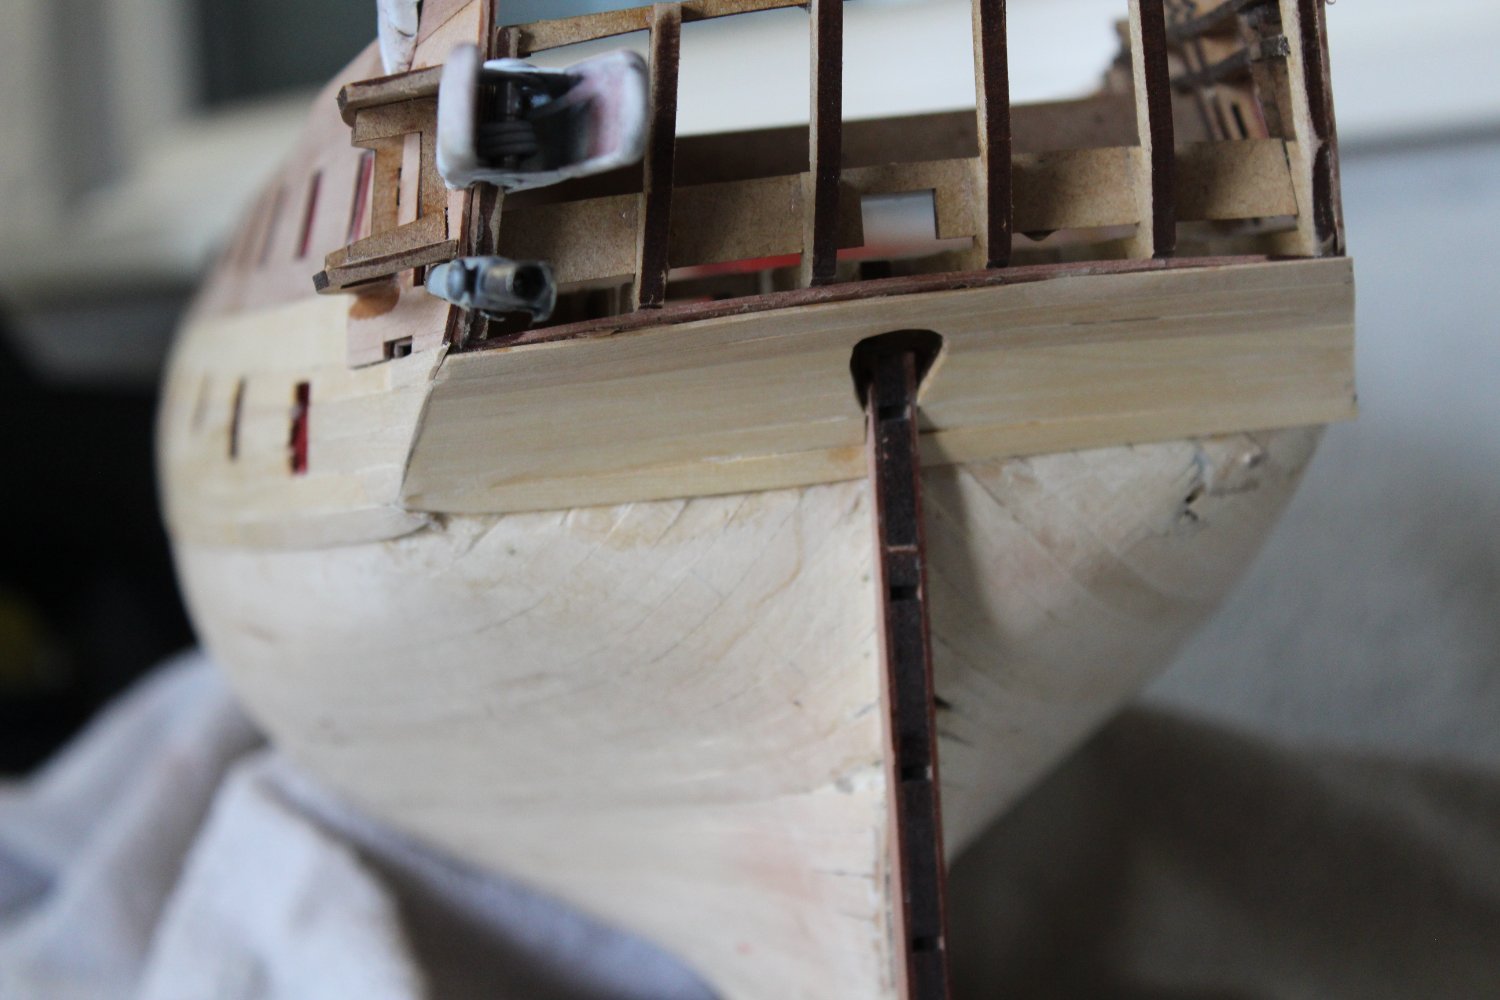
0810
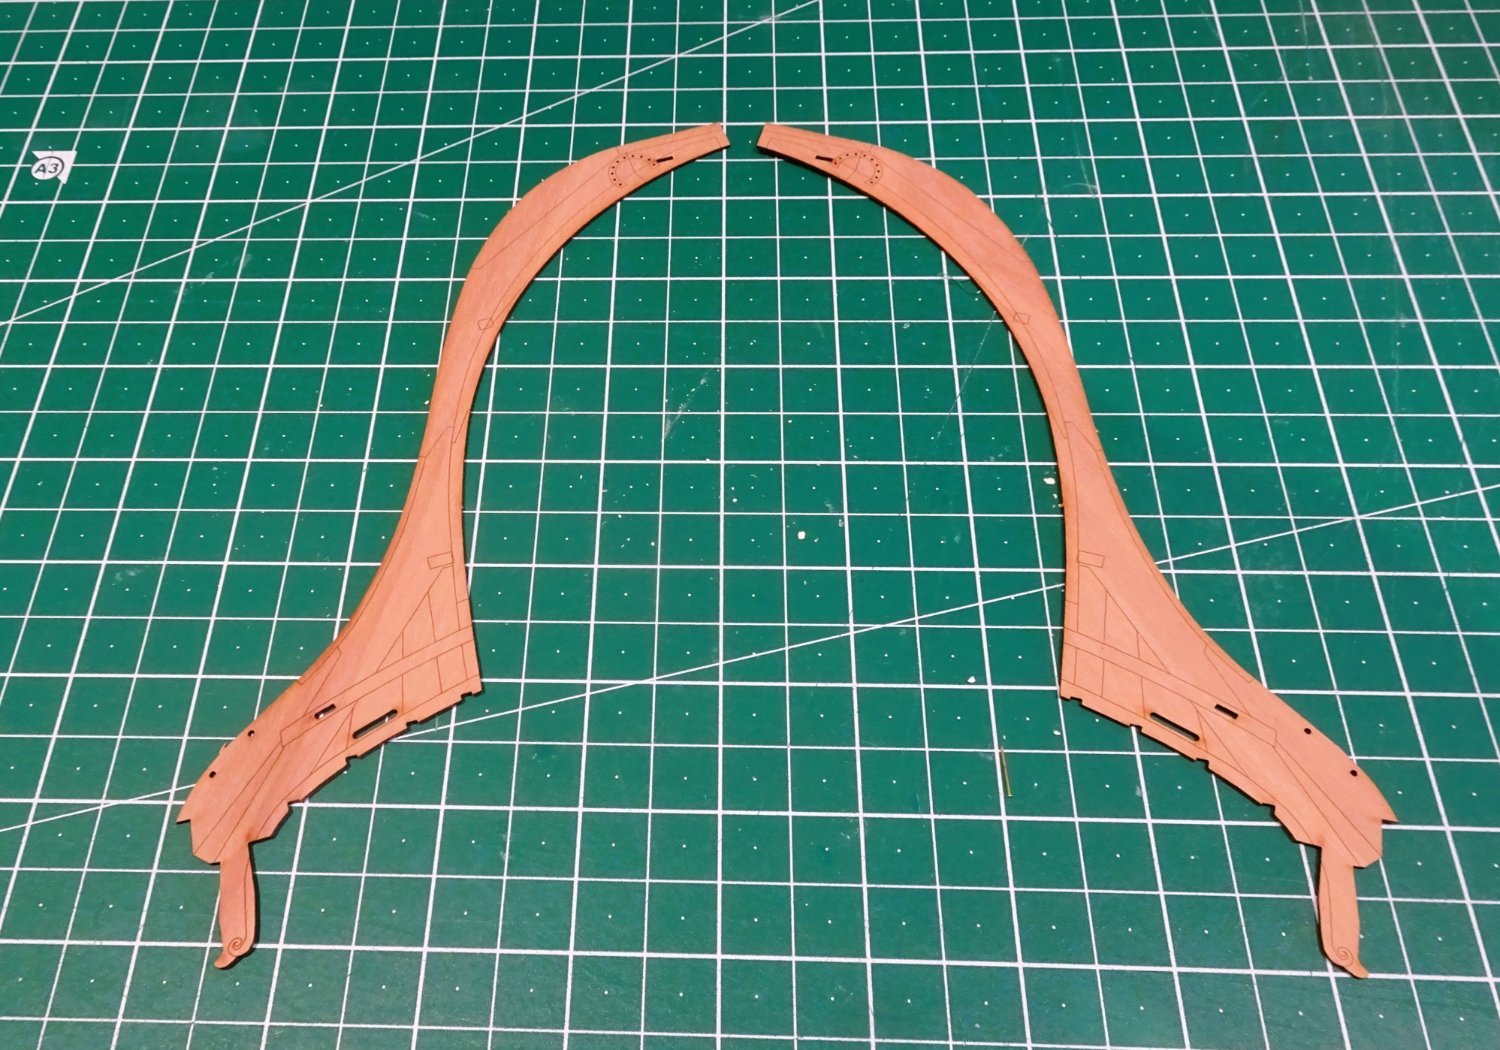
These facings of 1mm stuff are engraved with the lines that denote the various parts of the head and provide a rabbet for the second planking.
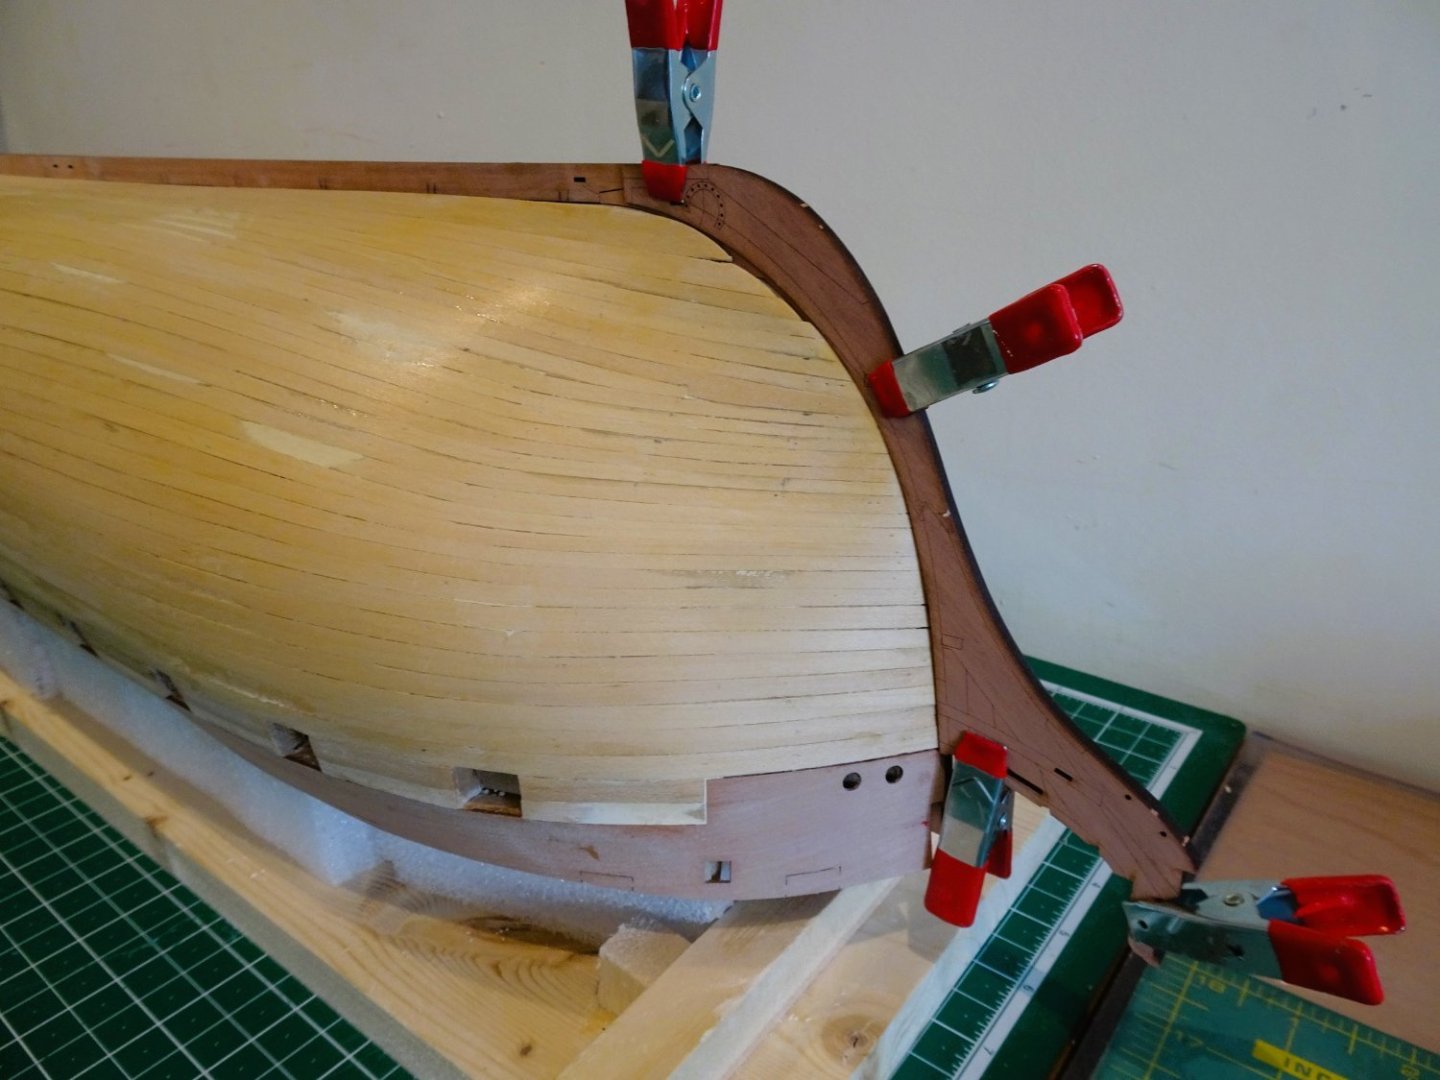
0830
I fined down the plank ends a little to provide more leeway in the rabbet.
I find it always pays to constantly look a few steps ahead in a build, and check what’s coming up.
B.E
18/03/2023
great job, and now to do it all again
-
-
-
-
good evening everyone
thank you for comments and likes
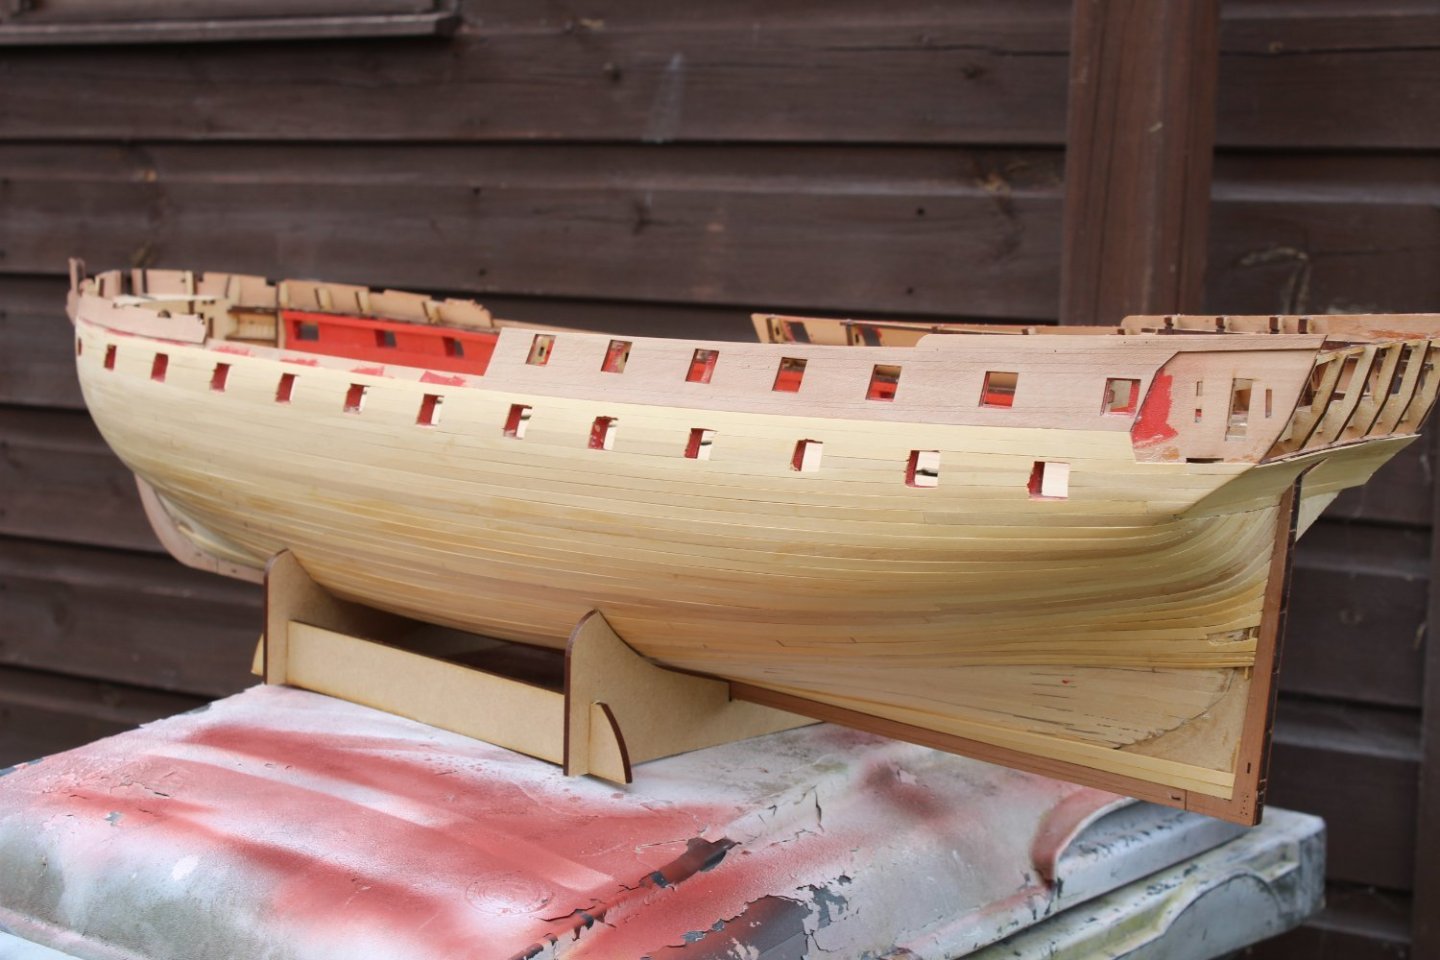
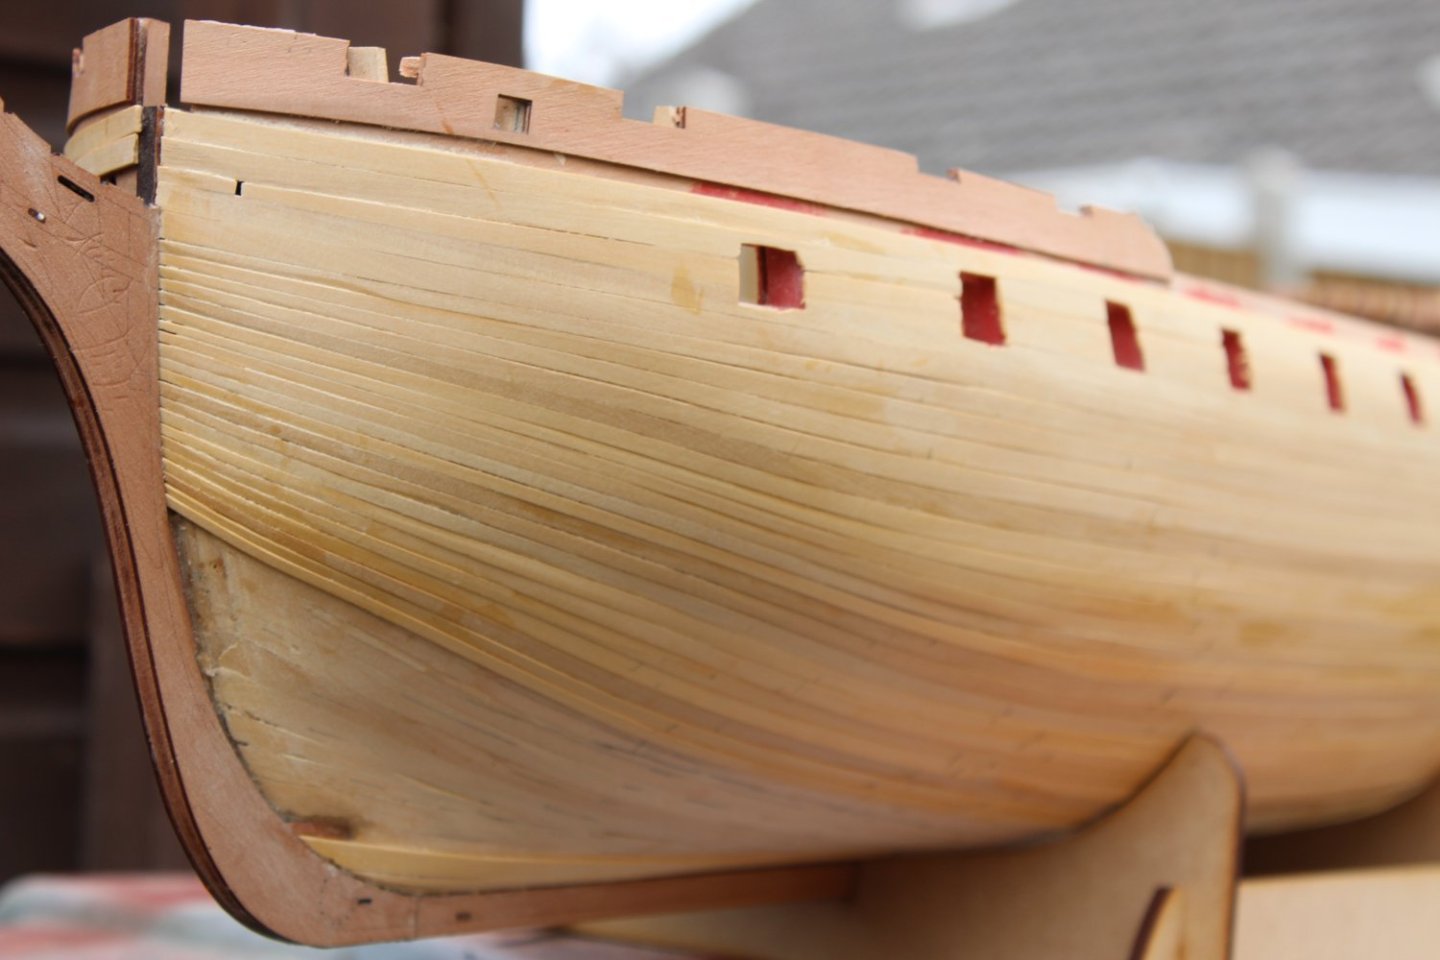
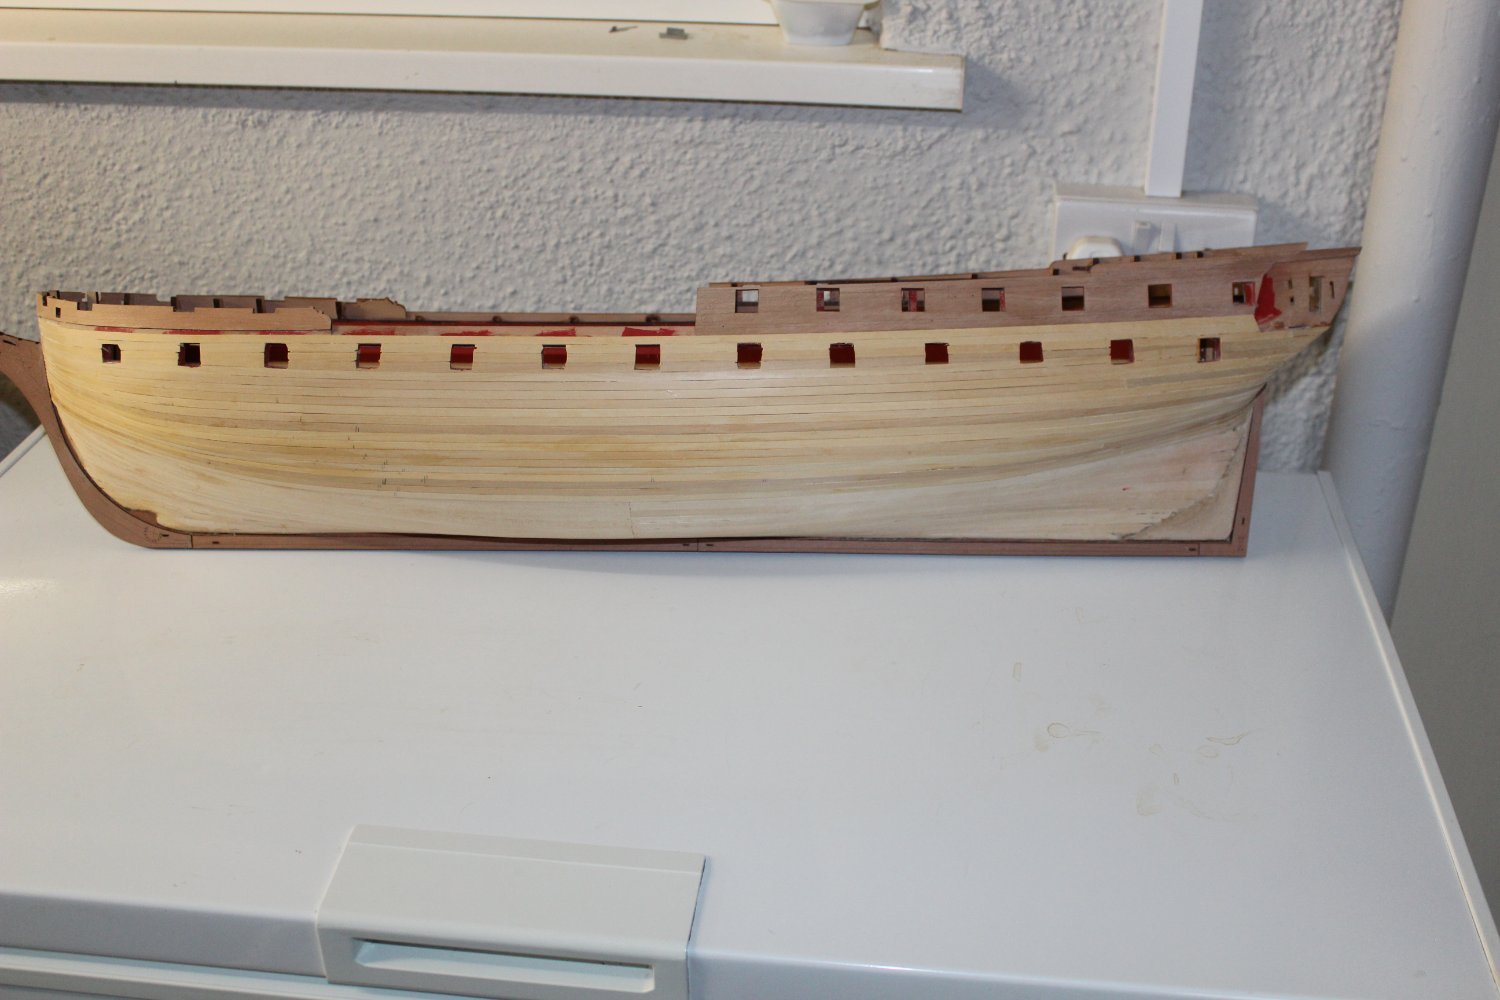
day 47 2nd planking of the Starboard side
not been well recently, Not Covid like my mum has in ospickle, just flu, very tired and my gwet up and go, was got up and gone
however i try to do a bit on the build daily
my planking is improving, maybe to late to make this a good looking hull, the tapering is beetter, a lot less of it, so i decided to attempt a 4 plank butt system to push myself a little, it does take a little longer, the biggest issue is finding planks that are the same width, to avoid any gaps


-
lovel 1st planking, far better than my 2nd
- Blue Ensign, mtaylor and hollowneck
-
3
-
1 hour ago, Kelp said:
Hi Tom,
What is your opinion regarding the KA upgrade set? I see it costs about the same as the model and was wondering if it is worth getting. Are the photo etch sheets an improvement over the kit photo-etch sheets? I see having the wood deck and brass masts are a definite improvement. How about the resin parts, do you need to look closely to see the improvements over the kit plastic parts, or are the improvements obvious?
Thanks,
Don
i loved the KA mk1 set, lots of it, but yet again, the instructions are pants as to where it all goes but i need more of it to convert mine to Britannic yes the resin bits are much more detailed than the overscale plastic
-
-
16 hours ago, glbarlow said:
It’s a tough question about being symmetrical or going for an improved look, one not easy to answer. On display only one side shows obviously but we as the builder know there is a difference. I’d recommend trying “bending the wrong way” method, once you learn it you’ll love the result. That’s second part of the process, the first are the tick strips, making it easier to understand where to start the taper and how much to cut from the plank for the taper and you’ll not need stealers. It takes longer, but it looks so much better. Perhaps blending the two methods so your other side is an improvement but still somewhat mirrors the first side. Also good call on the CA and how you applied it. I use CA medium for planking, edge gluing is never needed. You could even just spot glue about the distance between bulkheads and still be fine.
One other suggestion is to consider a butt shift pattern, doesn’t matter how long or how spaced they are, just a consistent repeating pattern on where horizontal planks meet on your run bow to stern.
That said, your planking is well done, boxwood is such a nice wood. Once sanded and finish applied you’ll have a very fine looking model. I’ll enjoy watching your progress on this excellent Vanguard model.
thank you for the reply, although im nearly finished the port side, just lots of filling and sanding now, the filling is coming from the sawdust collected from the sanding tool
i think i will do this side different, using a combination of all the above, i ruled out the butt system as the planks are not consistent widths, and i thought against just cutting one board attaching and then on to the next, as you wont see the joints, the alternative is to try match enough boards to mix them about then attach
im open to suggestions,
-
2 hours ago, Glenn-UK said:
Hello Kevin
Great work on your boxwood planking. I am about to start mine today and I have a couple of questions.
Did you use ca or wood glue for the second planking?
I noted in the build manual that Jim used Titebond wood glue for all second planking on the prototype. I am not how to get the second layer of planks to stay in contact with the hull as the glue starts to cure and grip without using pins. My current thinking, once I am happy the plank is ready to be added, is to apply some ca to the hull and to spray the planks with an activator before fitting.
Did you use any lateral plank bends when adding the planks around the bow area?
I noted you thought you started to taper to early. My initial thought will be to plank downward until I need to start to taper and then to divide the hull into bands for the the rest of the planking. I did find adding Chuck's lateral bending method to the planks on my first planking paid dividends around the bow area.
Keep up the good work and informative build log.
Thanks
Glenn (UK)
morning Glenn
i used CA throughout 2nd planking, only through the middle of the plank, i never deliberately did the edges, i didnt need to use activator this time as the runs were quite smooth, its nice to have had a decent 1st planking done
no i didnt do any lateral bending, i wish i had though, thats why i i had to taper so early, oh hum ,
of course i have now created another monster in deciding how to do the other side better, copy the port side for the symmetrical aspect of looking at her from the bow or try and improve
-
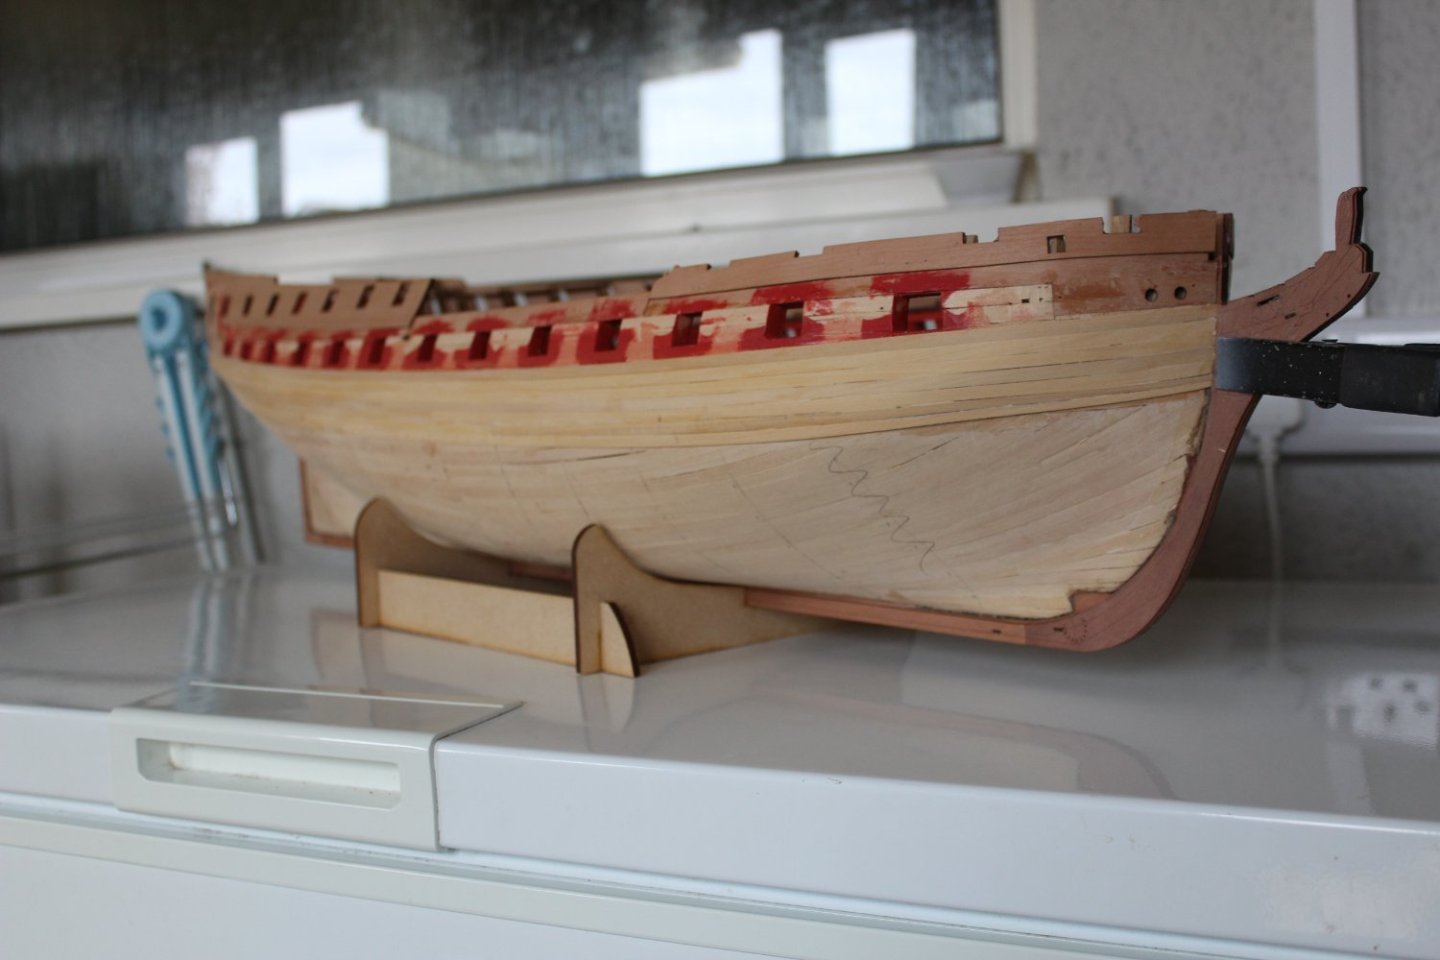
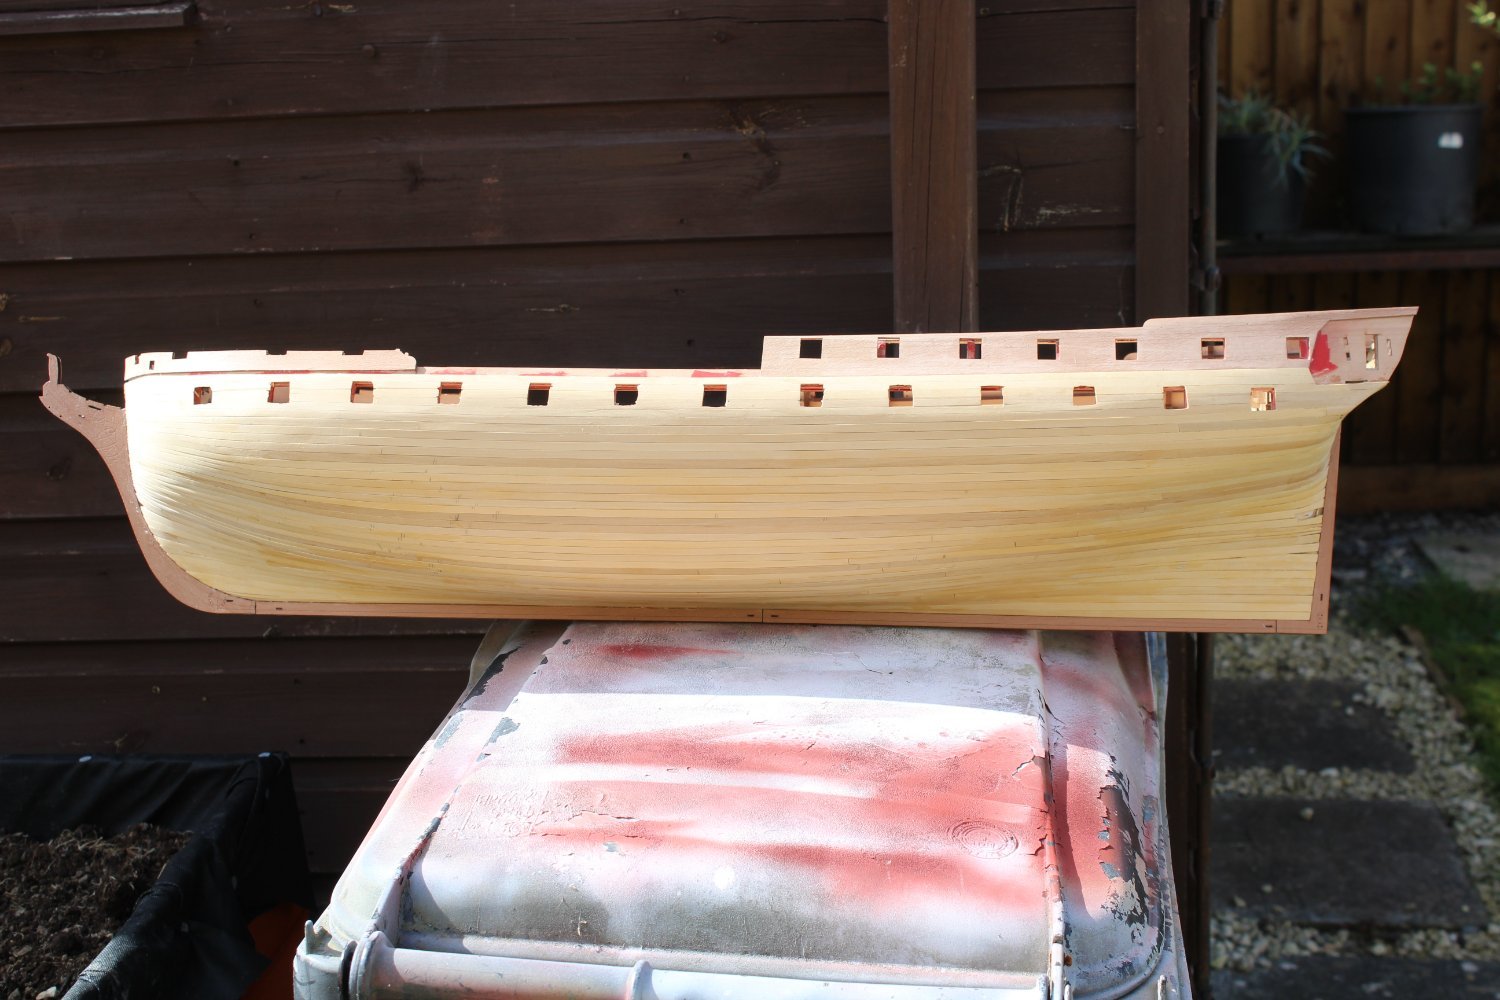
good morning everyone
thank you for comments and likes especially for my mum, she is coping in Hospital, but quite weak from the effects of Covid, the shock of what has happened. Was meant to be transferred to the BRI in Bristol today to have a stint inserted, but will be delayed as she tested positive again on Sunday, but needs two concentrative negative results for this procedure
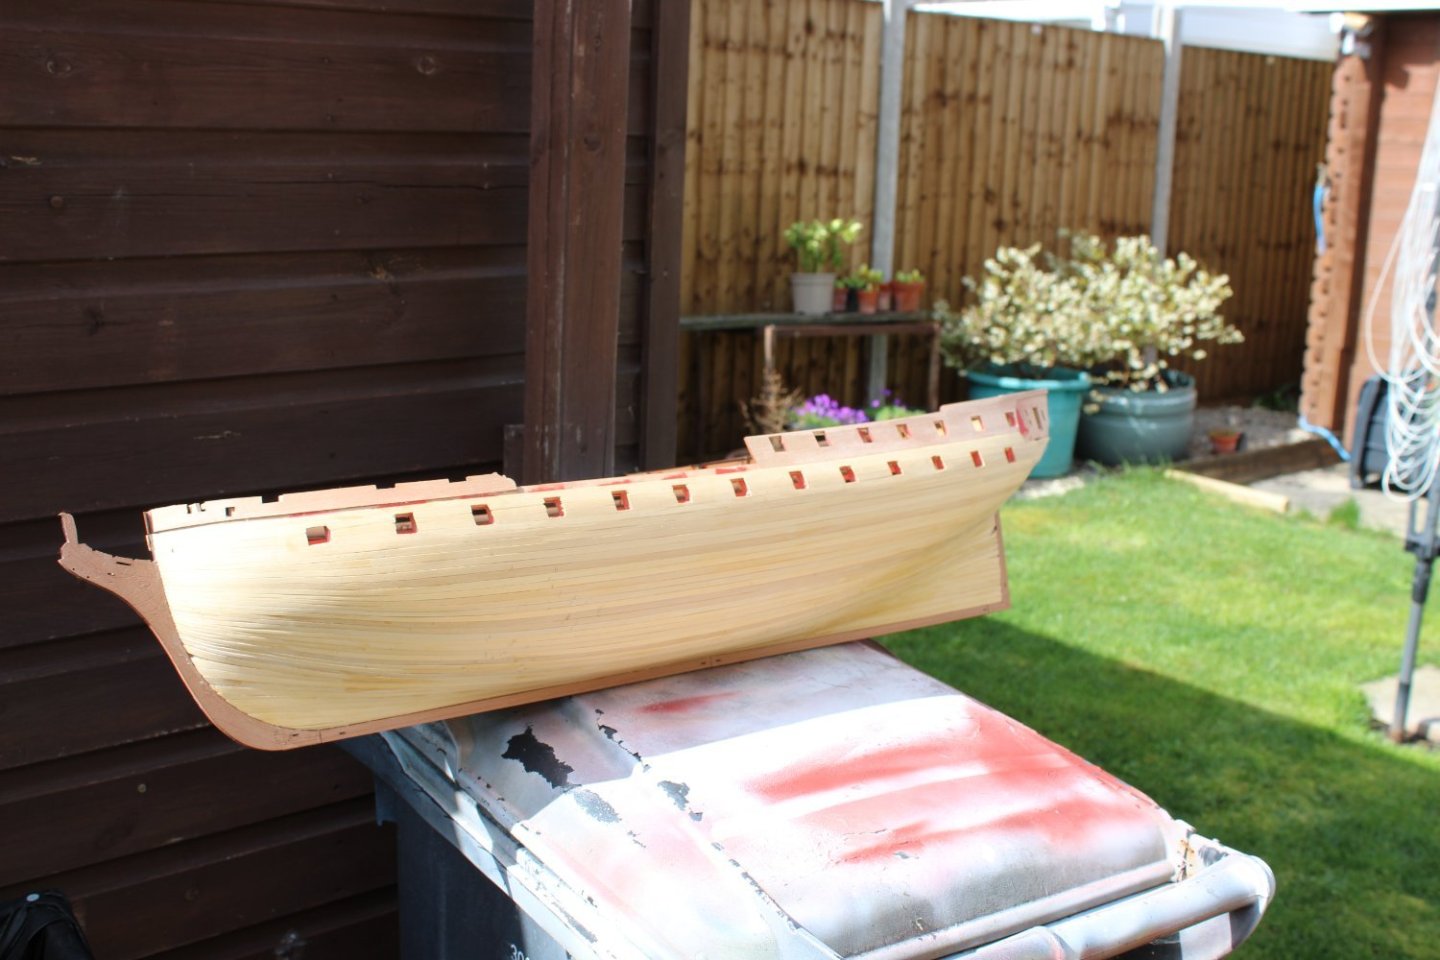
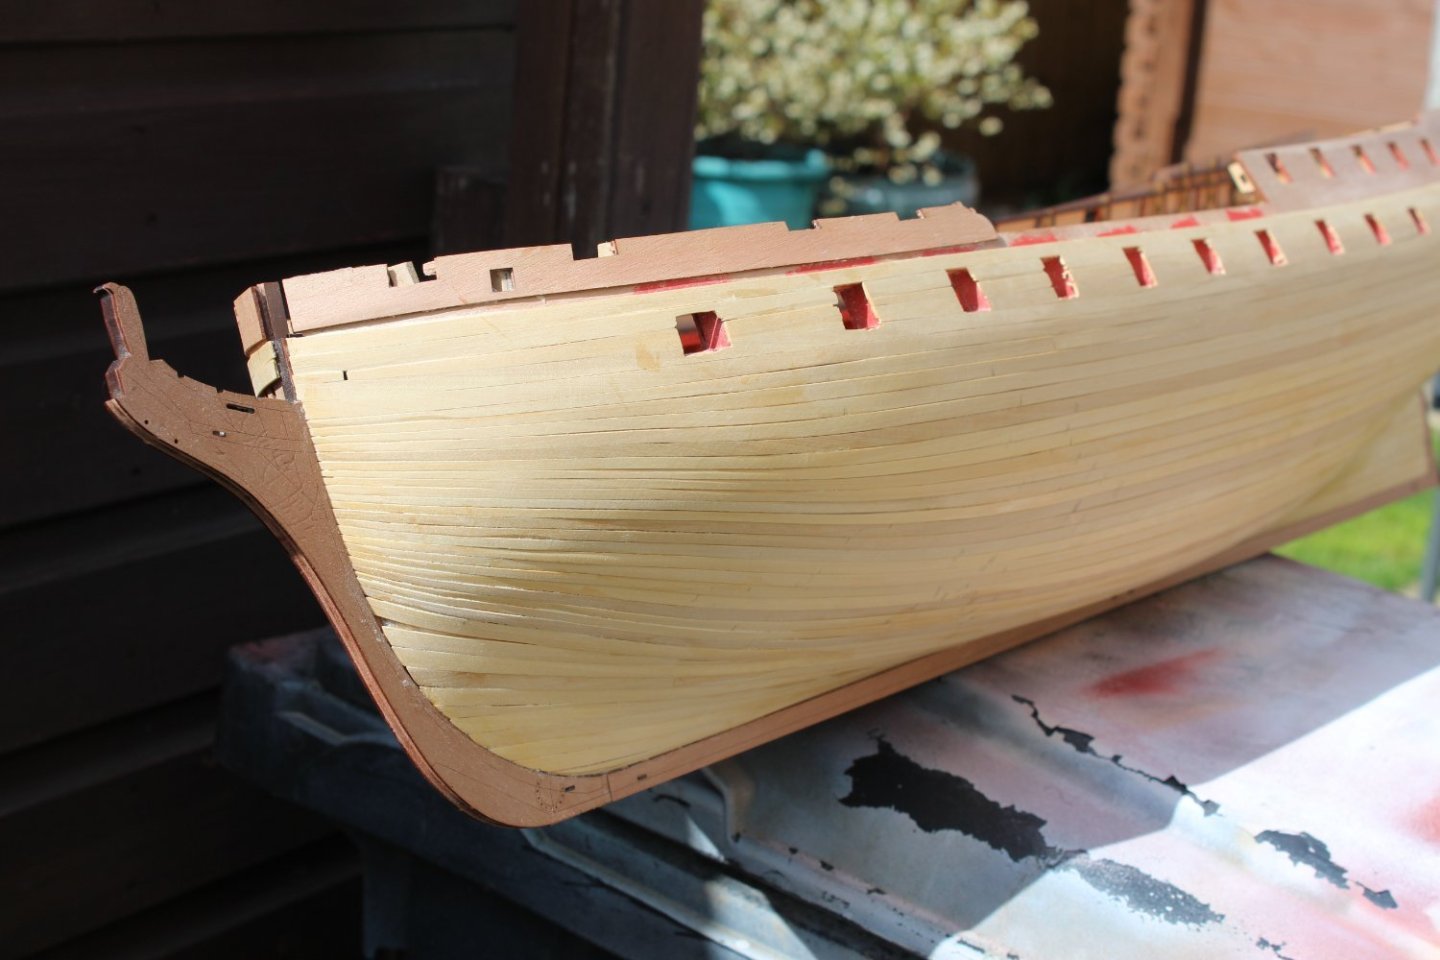
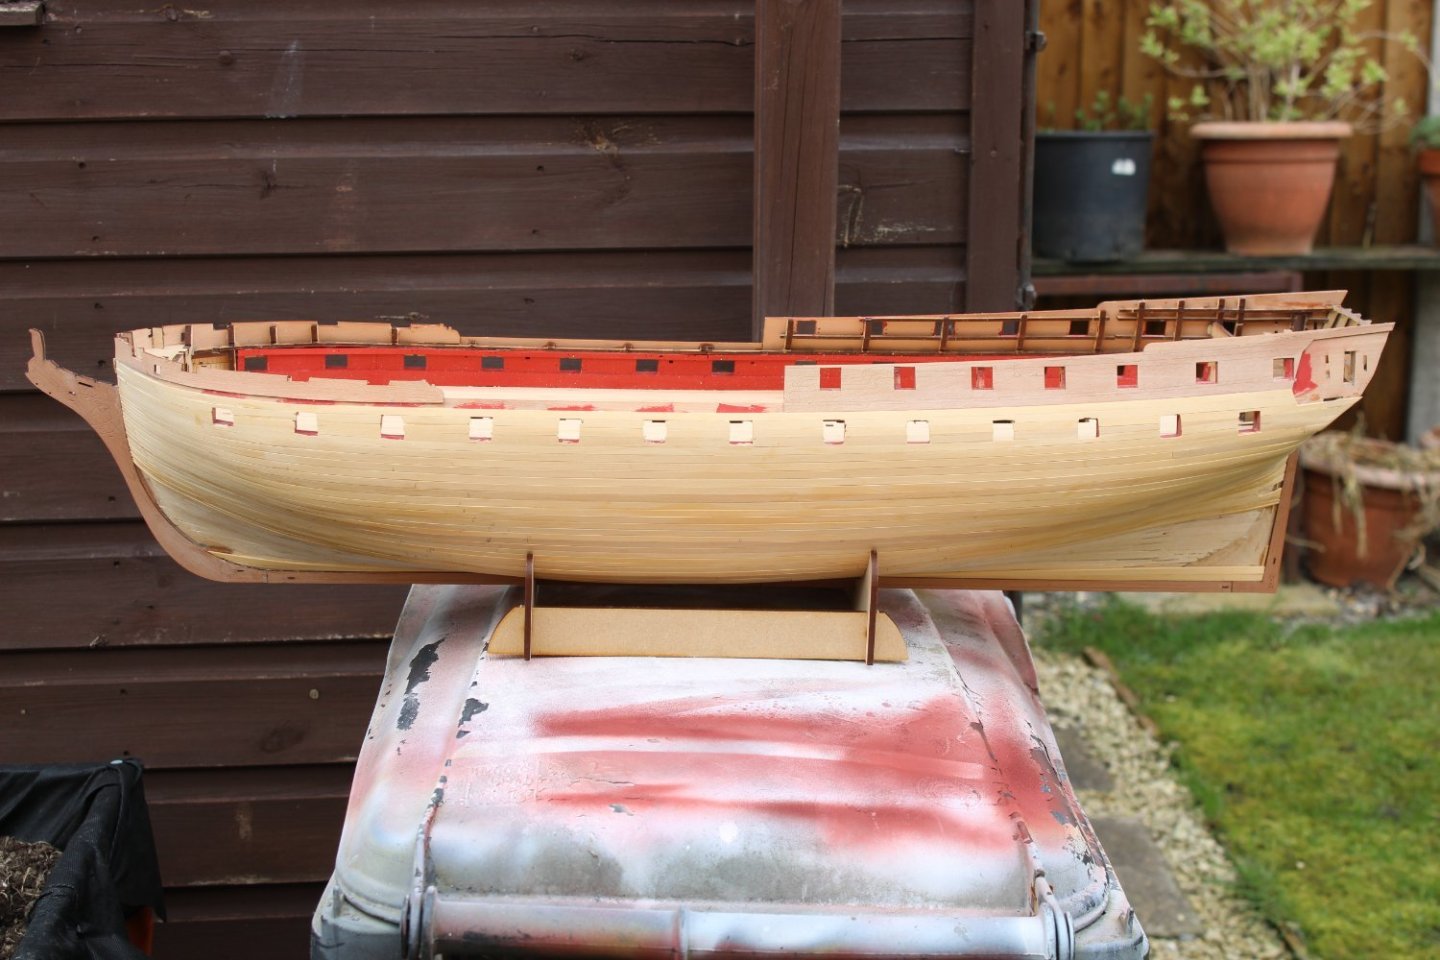
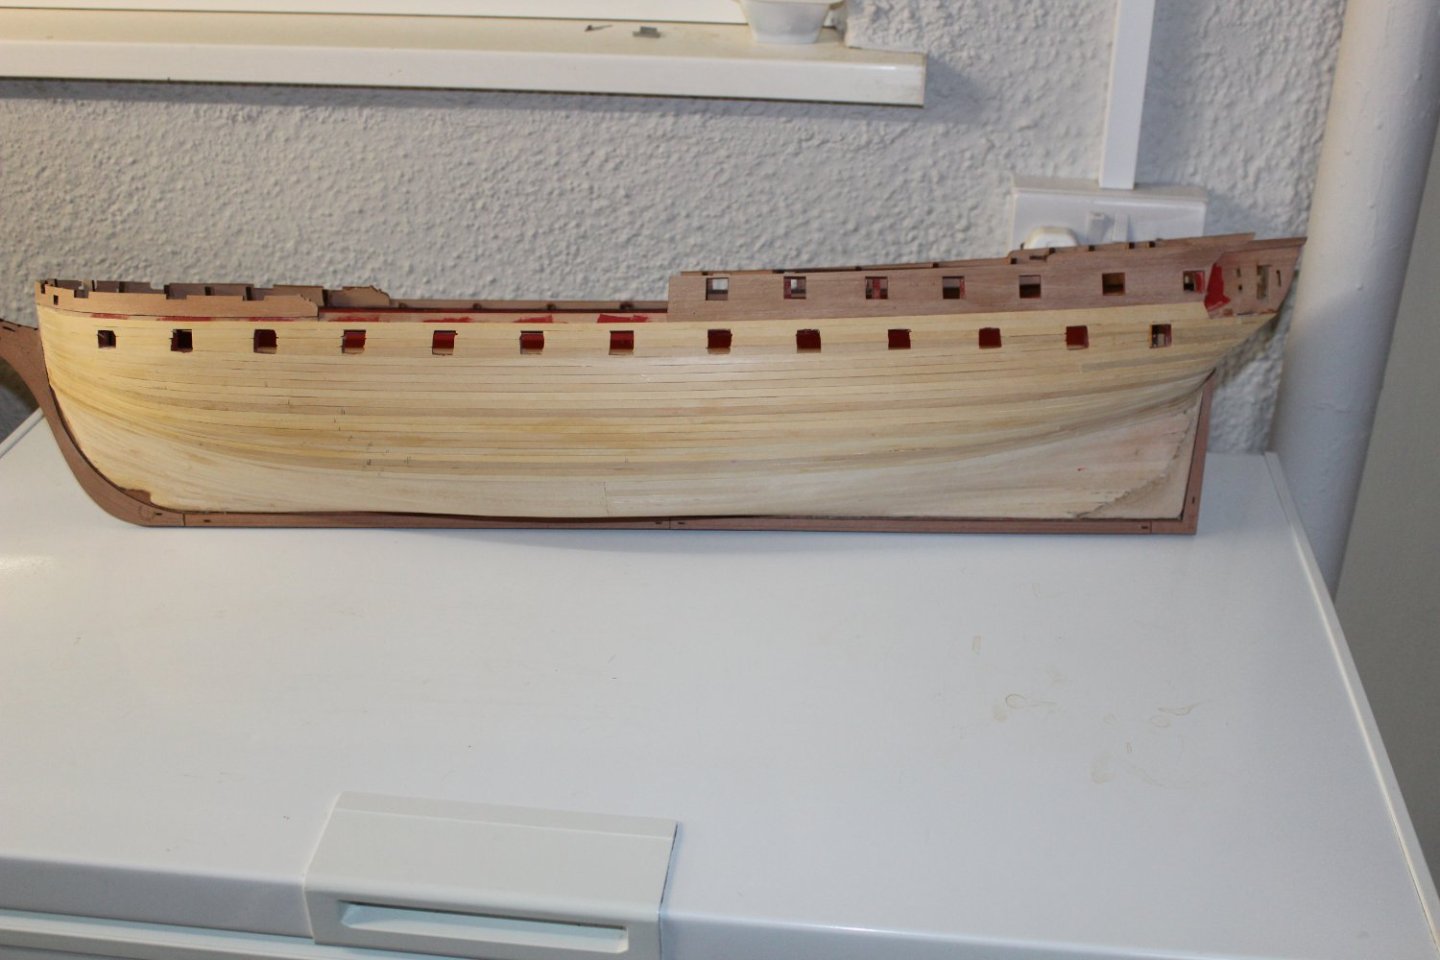
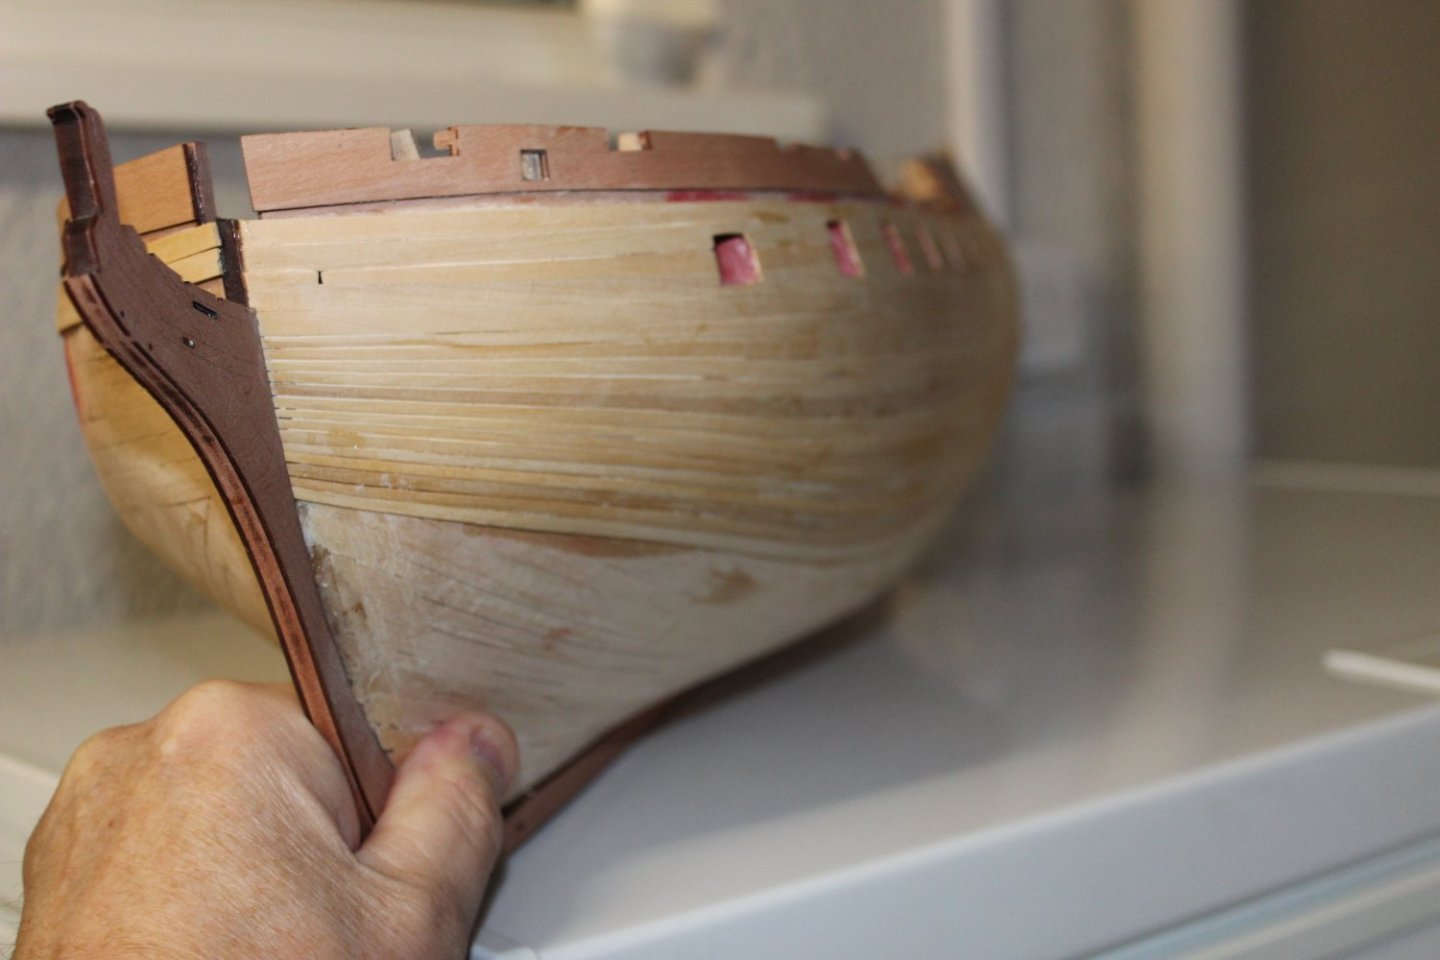
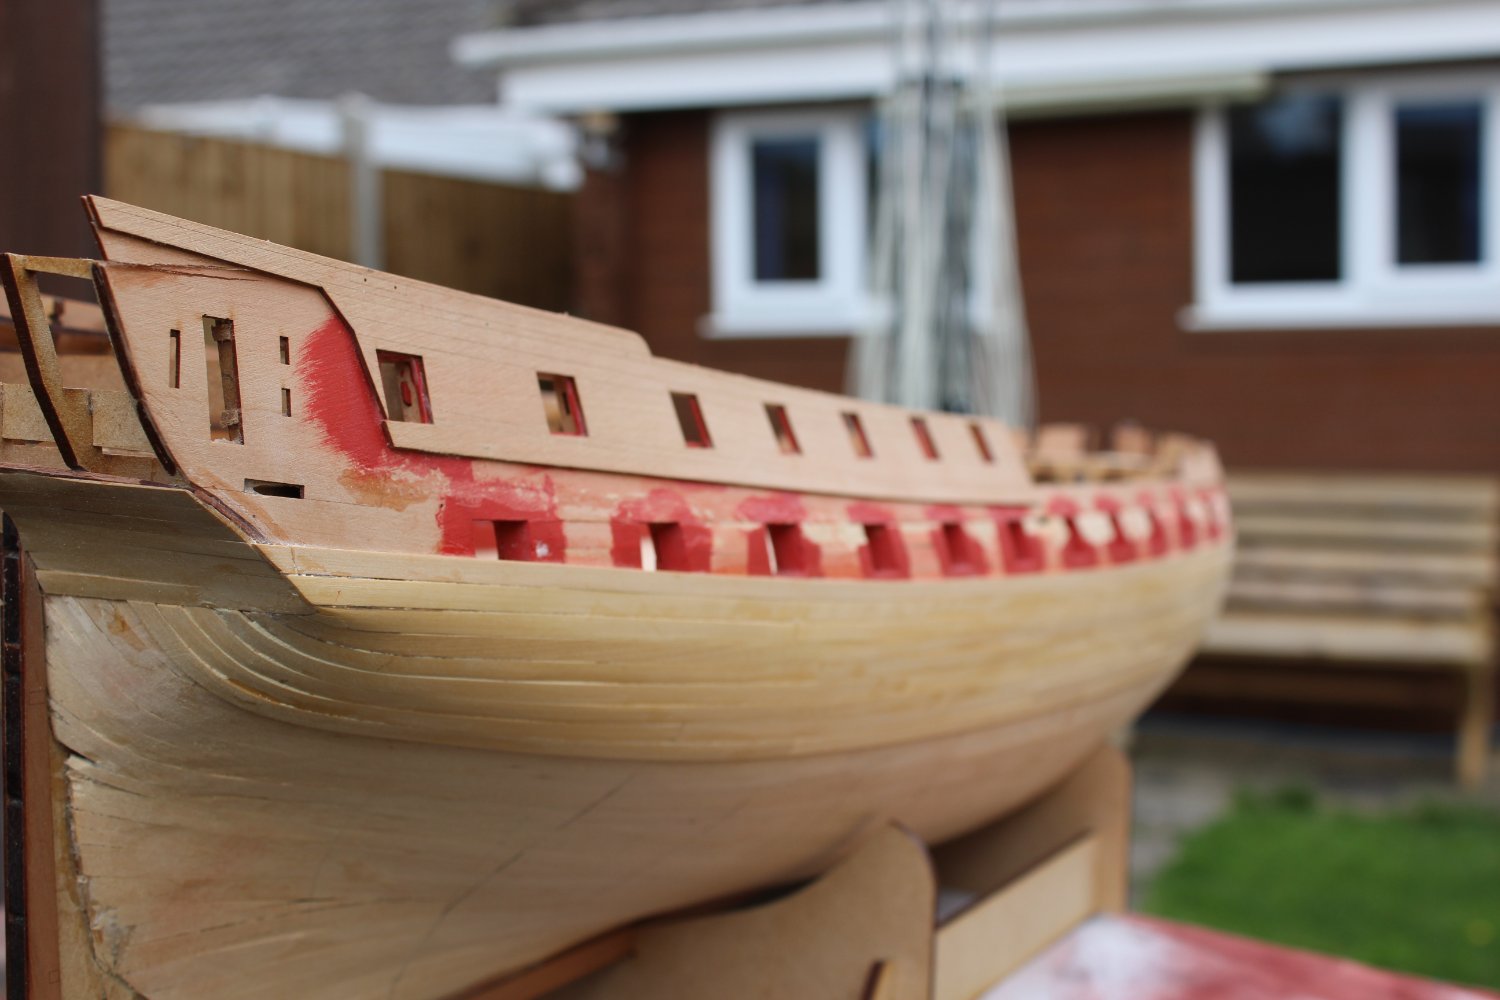
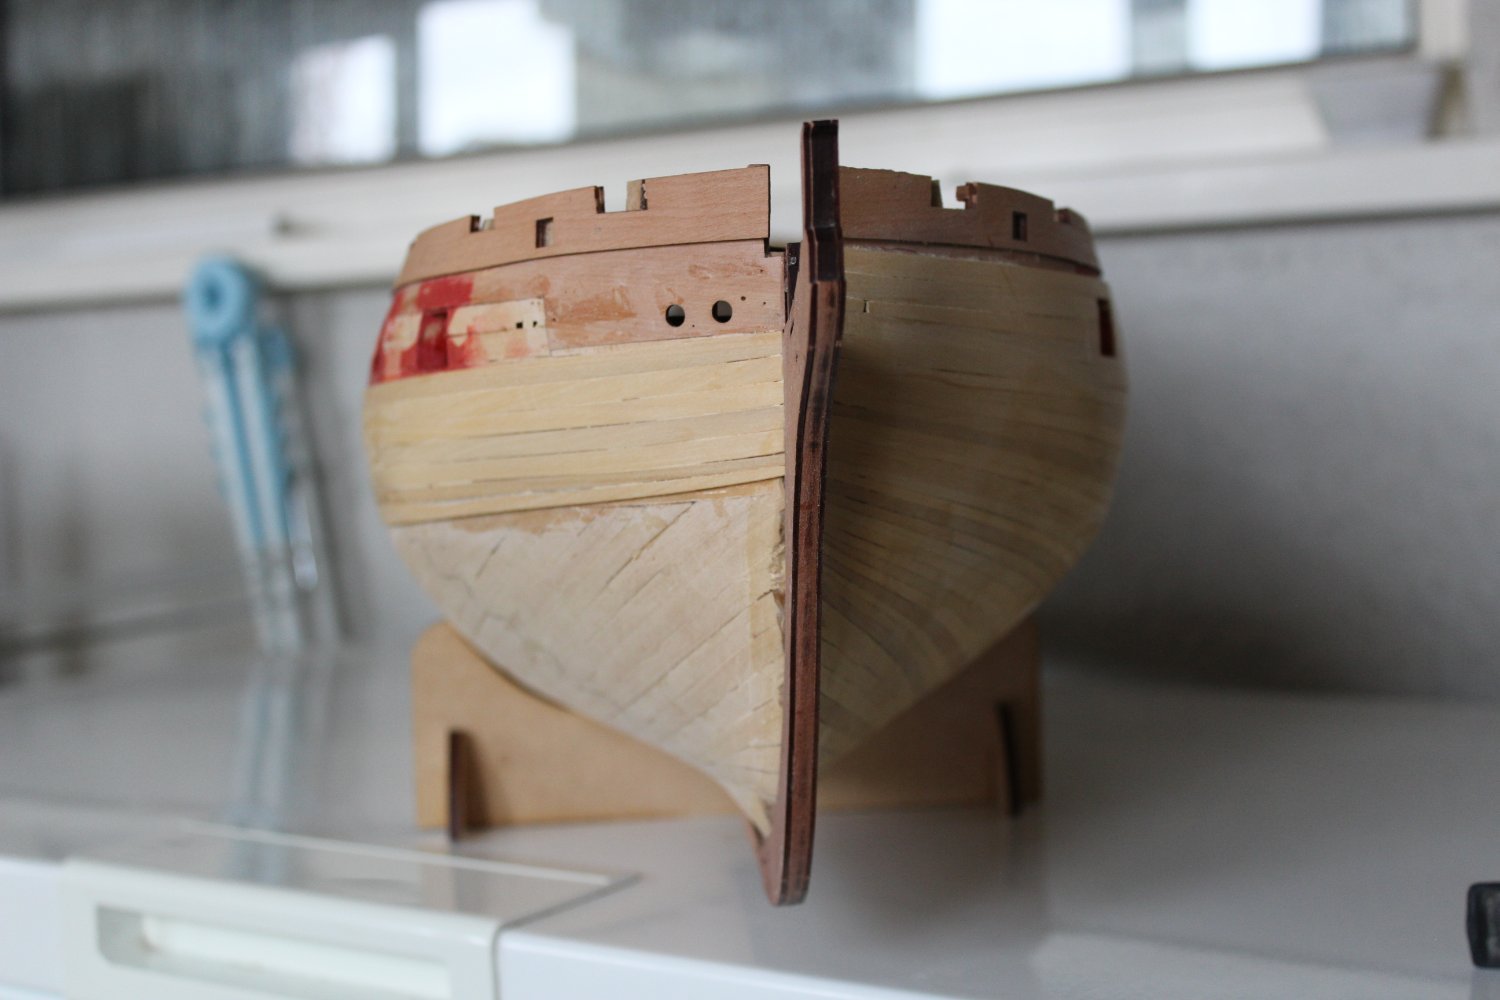
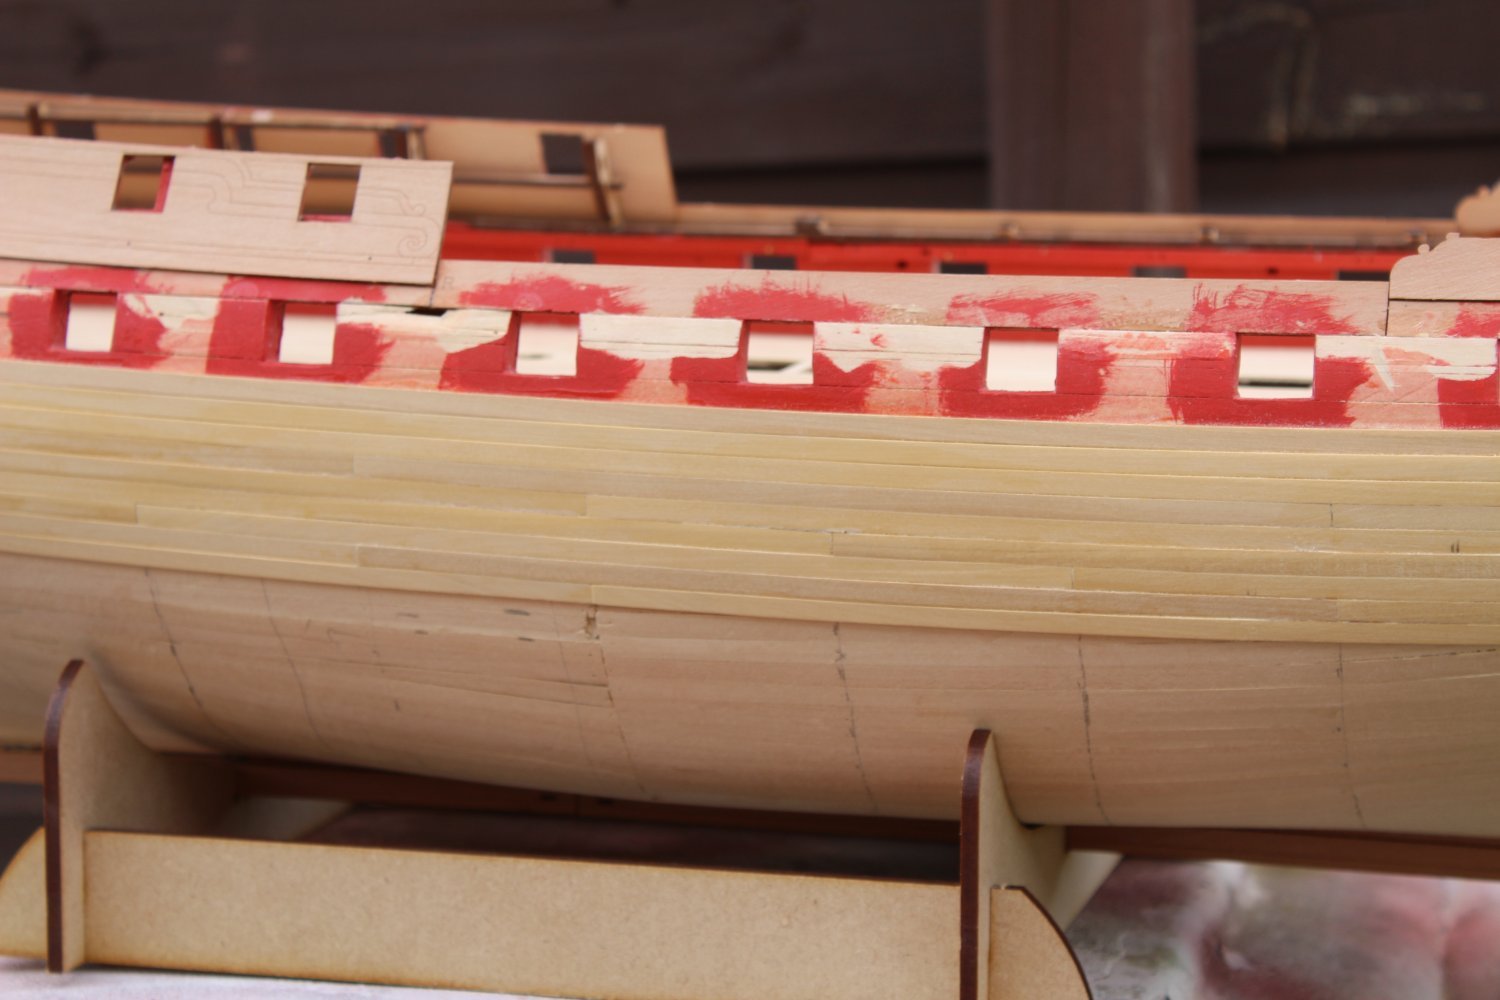
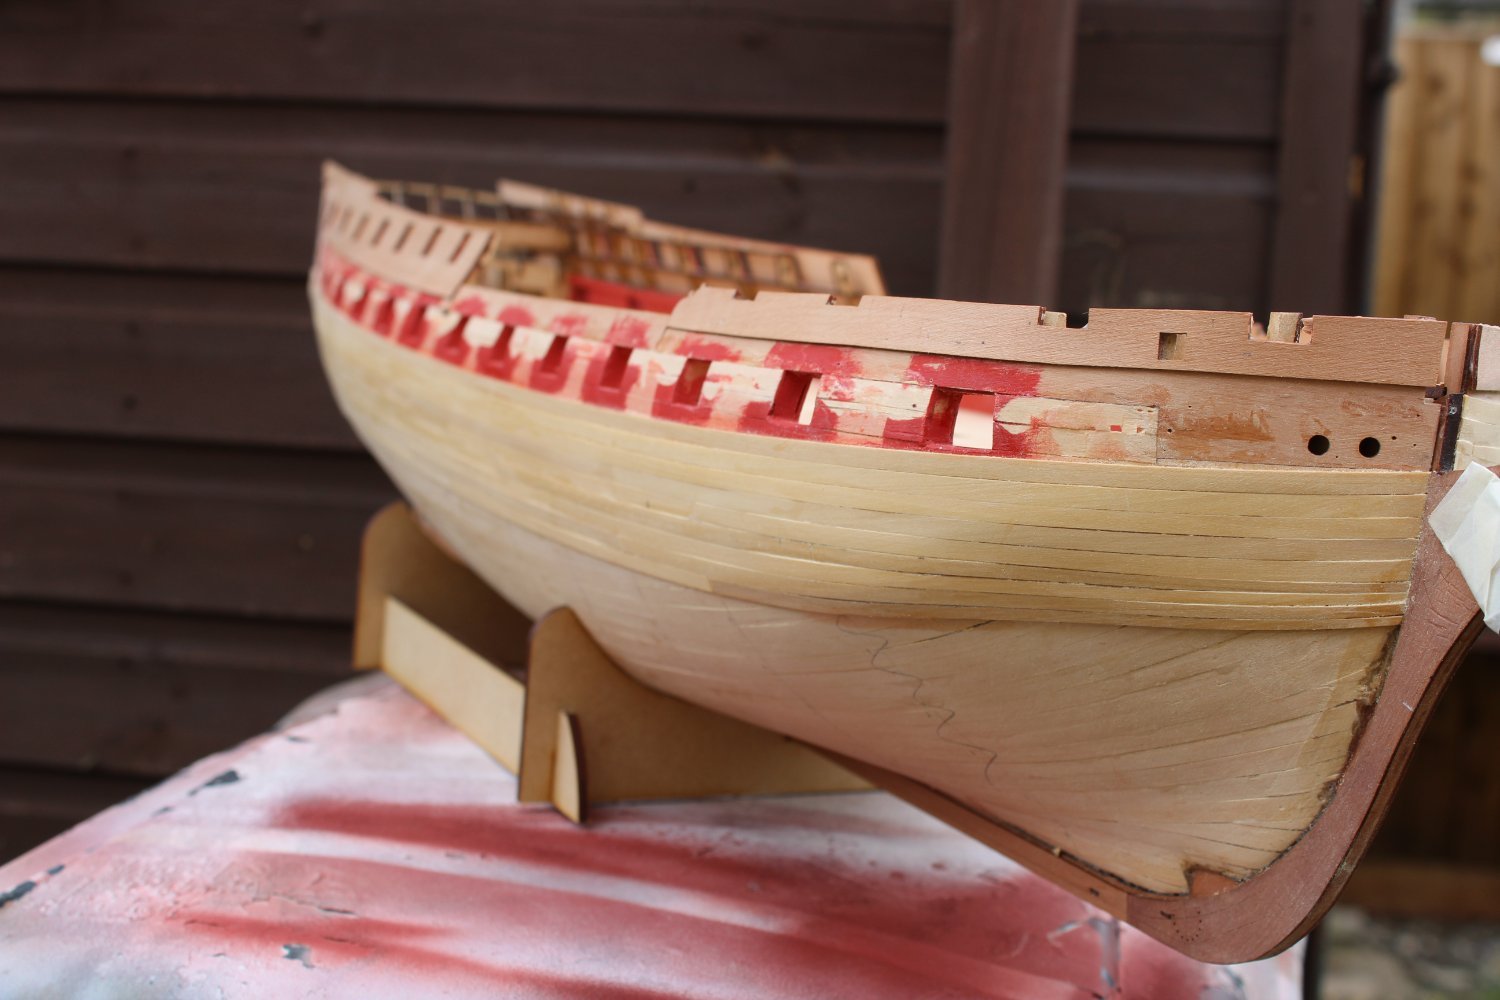
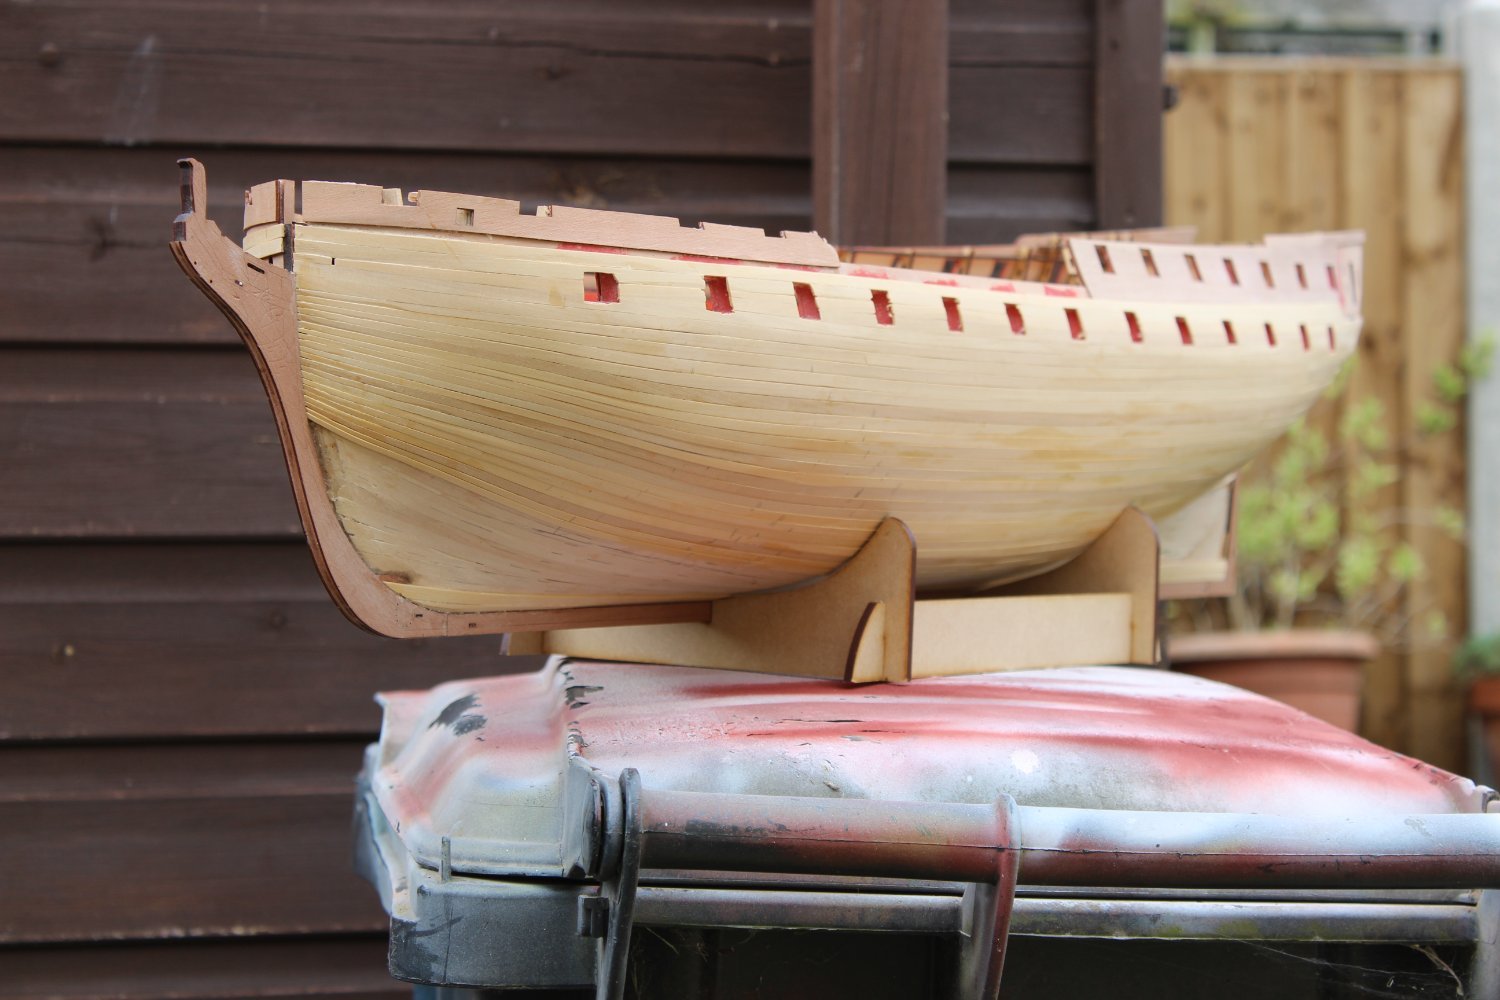
as for the build, im quite happy with the results on the port side a couple of sealers to still be put in. As its my first ever hull to be left unpainted, i have made some mistakes, the obvious one is that i started tapering far to early and did far to much, the result is that i had some silly planks to insert under the hull, we all live and learn, it would be a shame to paint it now, i just hope i can make it look far more presentable to allow her to be in just varnish


- dunnock, Knocklouder, Glenn-UK and 15 others
-
18
-
-
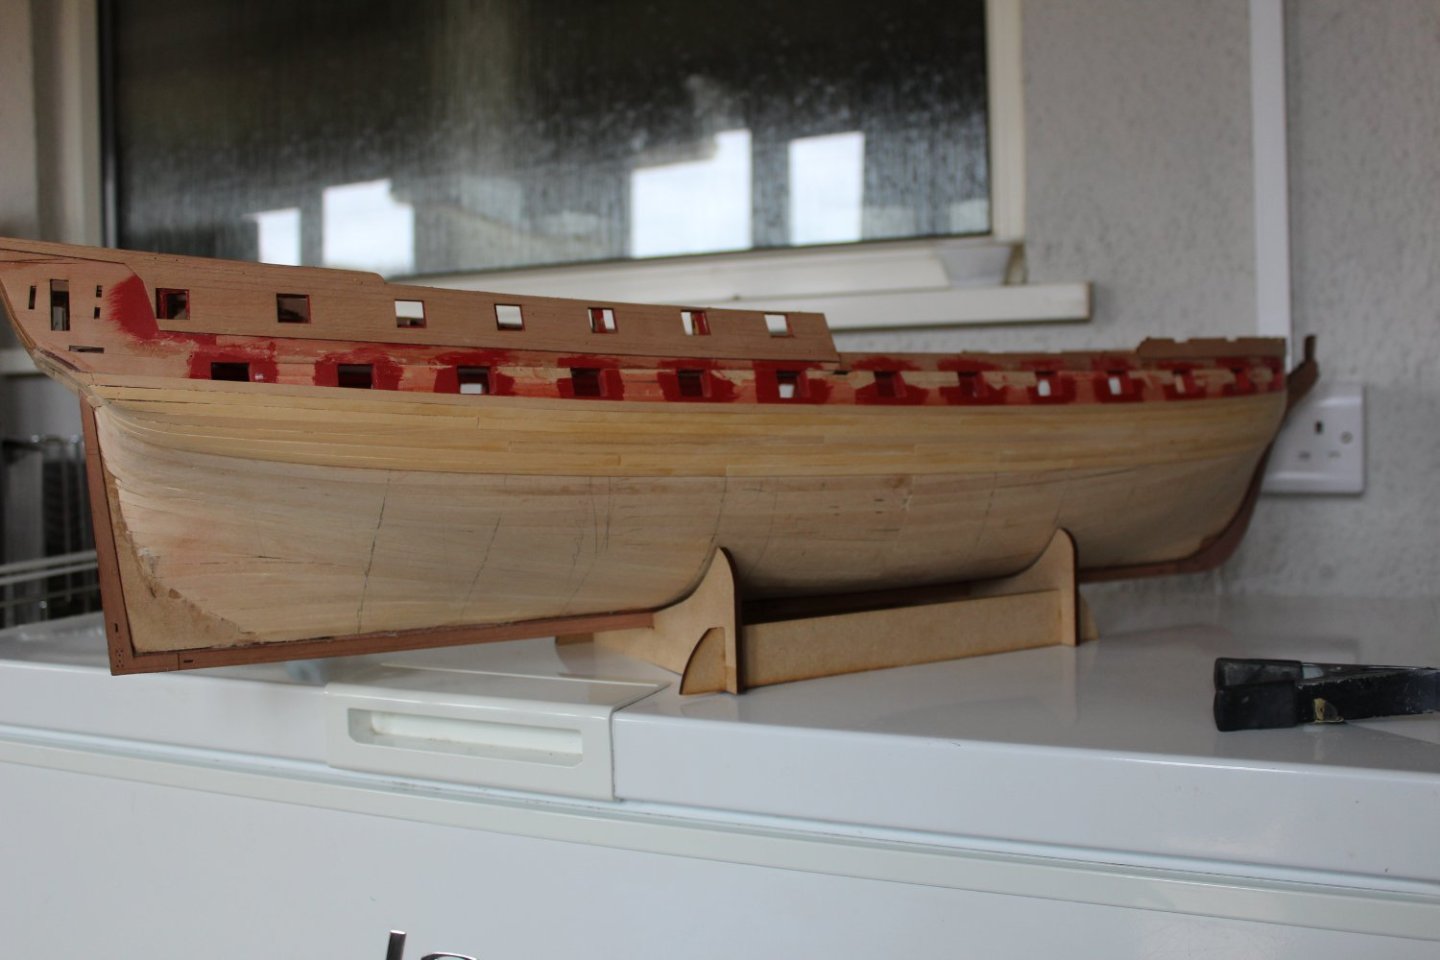
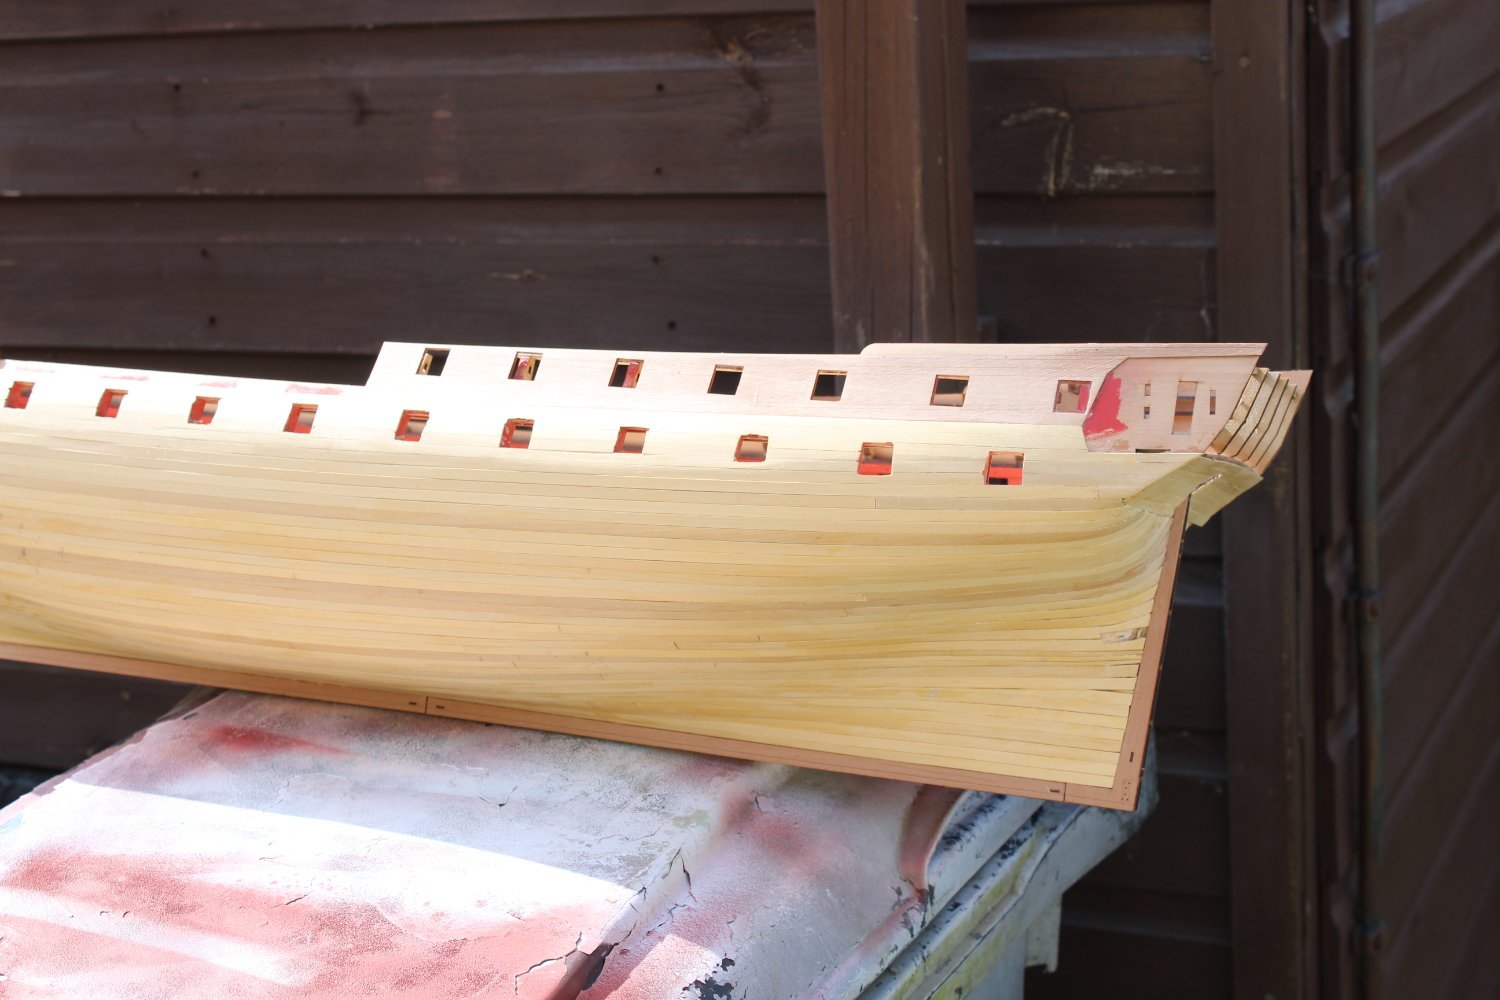
good evening everyone
thank you for comments and likes
day 40 port side 2nd planking in Boxwood
things have calmed down in the household, mum is still in ospickle but she has now been given covid, after avoiding it for three years, so she is only allowed one visitor, we have my sister visiting so as she dont live local she is seeing her and not me
the planking continues, yes most can do it better, but i am happy with what i have produced so far, i think it will be acceptable, she will never make a show though


-
stunning build, im taking more notice of this builds now, on how a kit should go together
- scrubbyj427, glbarlow, Dave_E and 1 other
-
4
-
-
42 minutes ago, Glenn-UK said:
Thank you, I will have to excercise greater care and be prepared to take much more time when I start to add the boxwood planking. I will keep an eye on @Kevin 2nd planking progress as he is the current pathfinder for this model.
lol i am certainly no pathfinder, just someone doing something a bit different and well out of my comfort zone, had i not been using boxwood, 2nd planking would have been finished by now
-
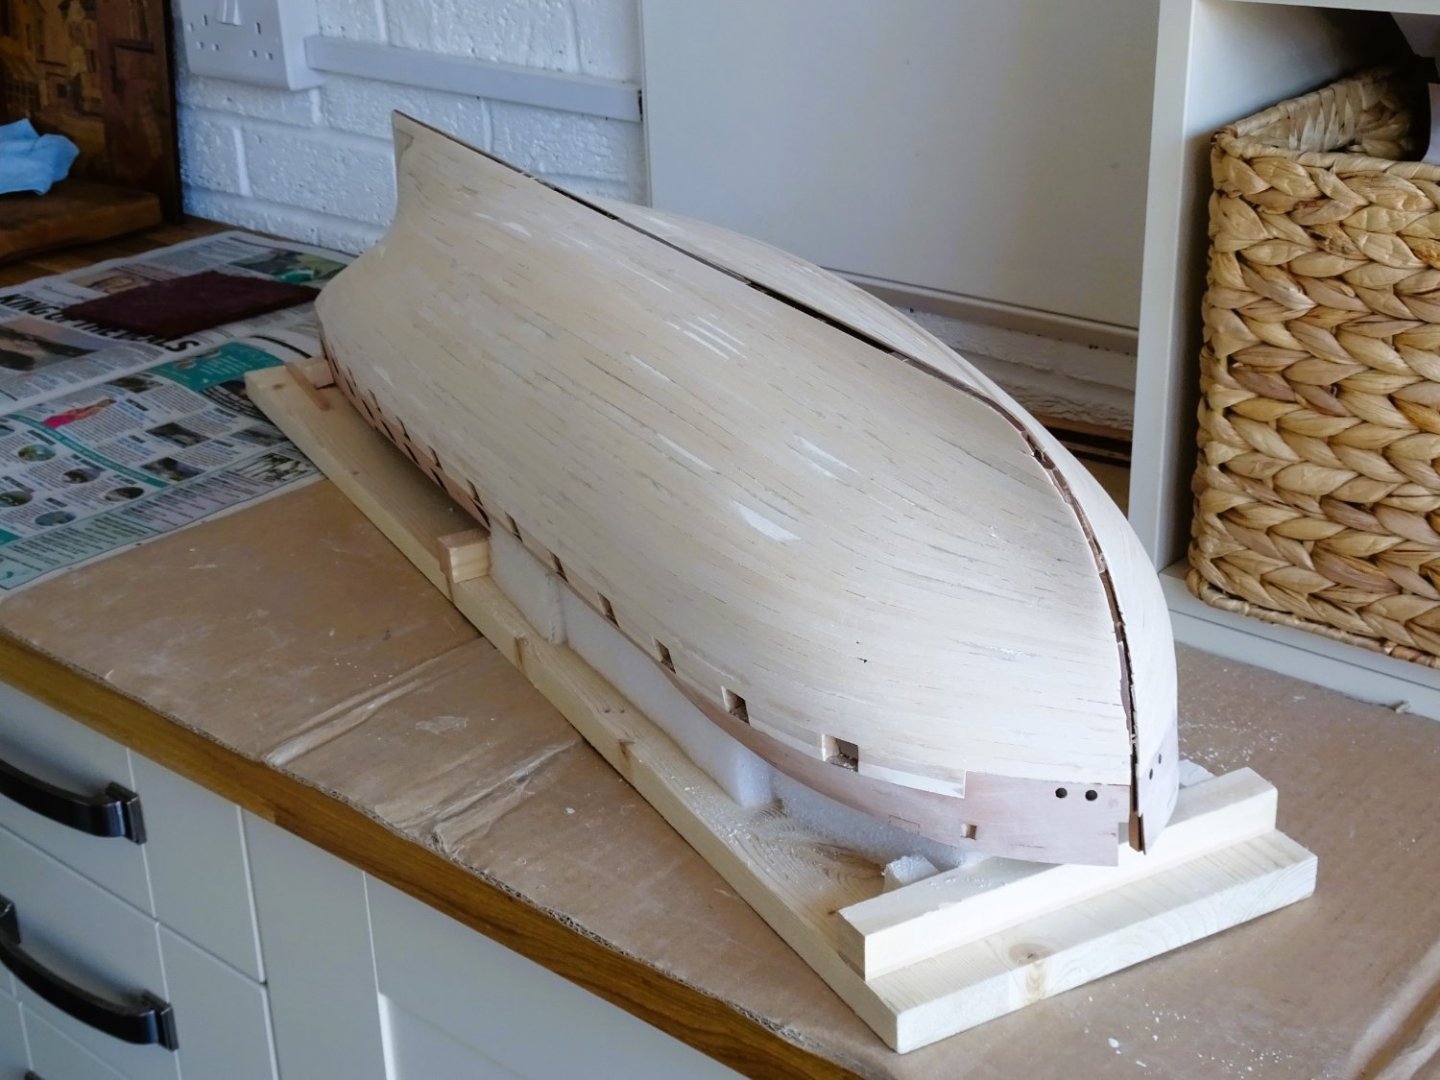
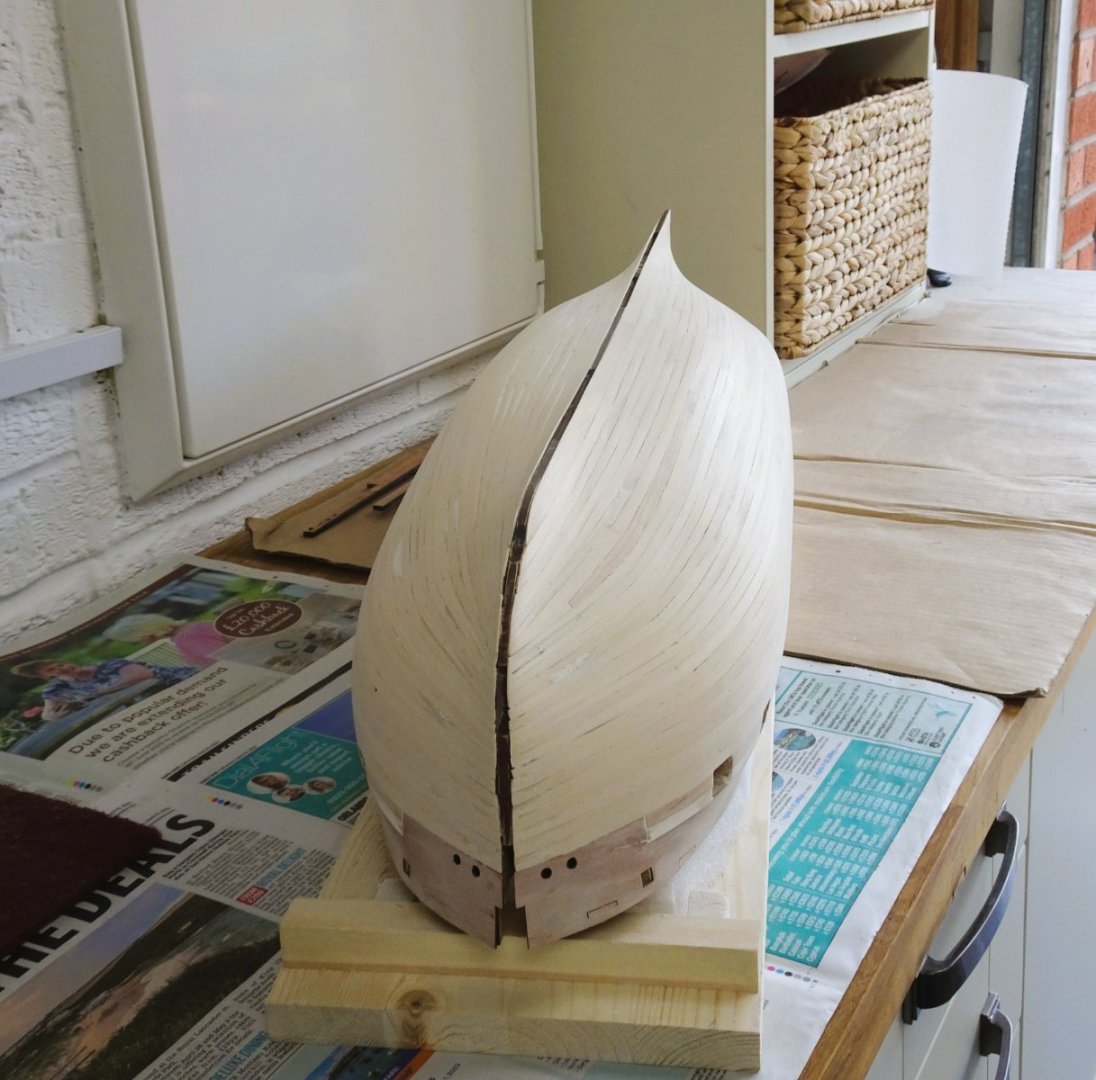
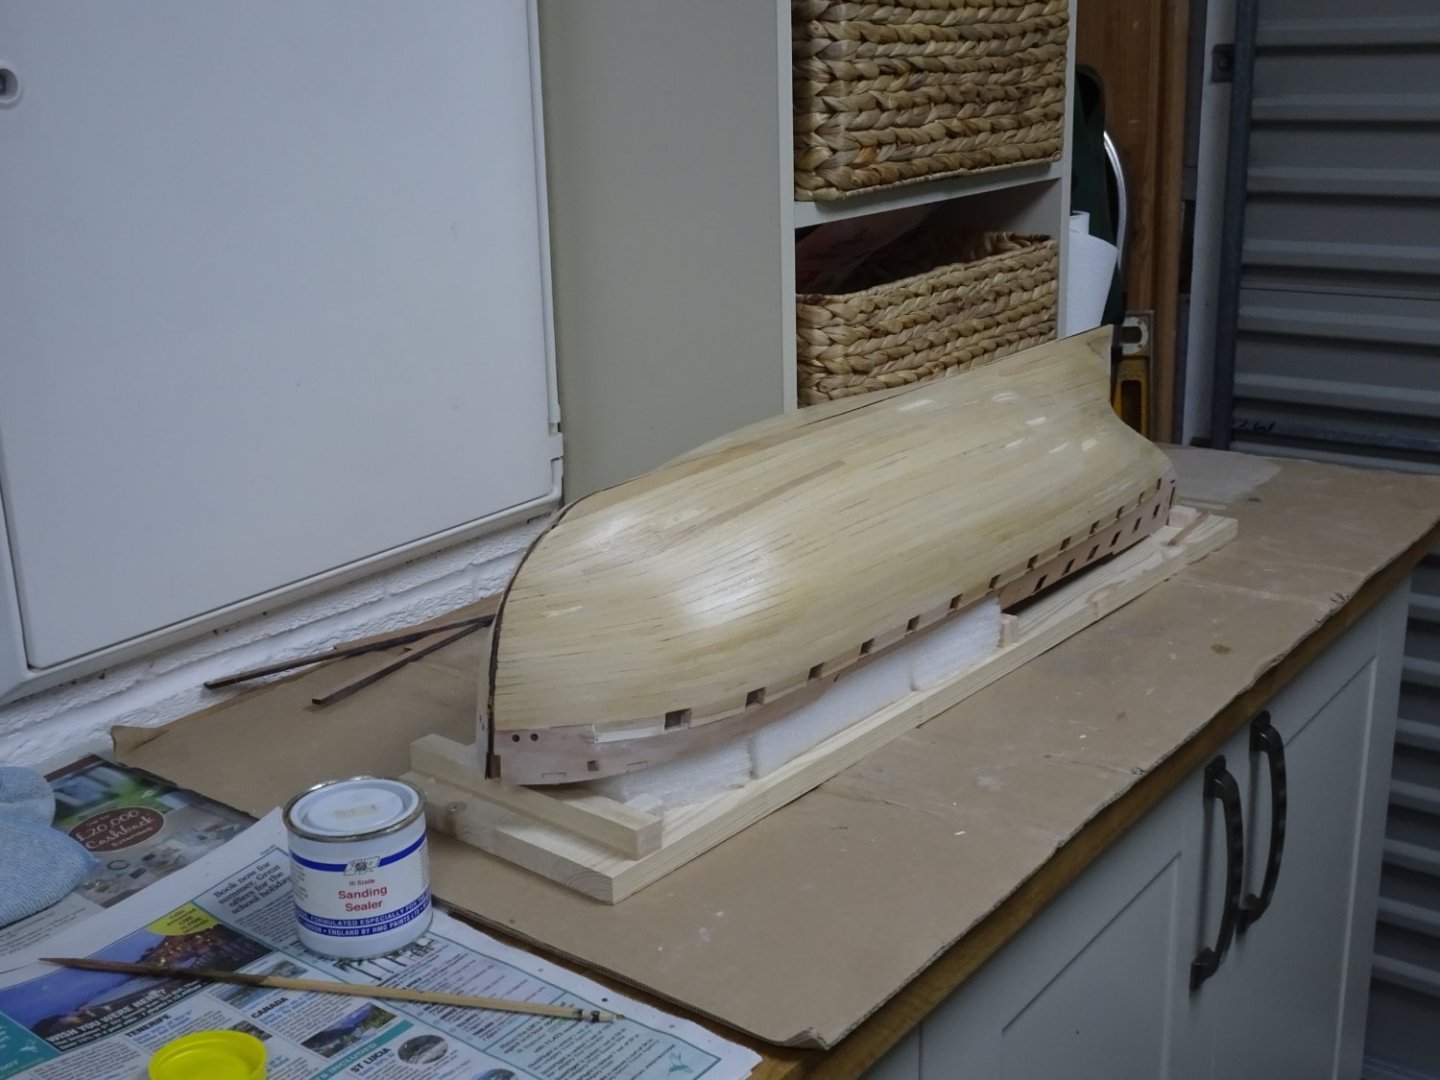
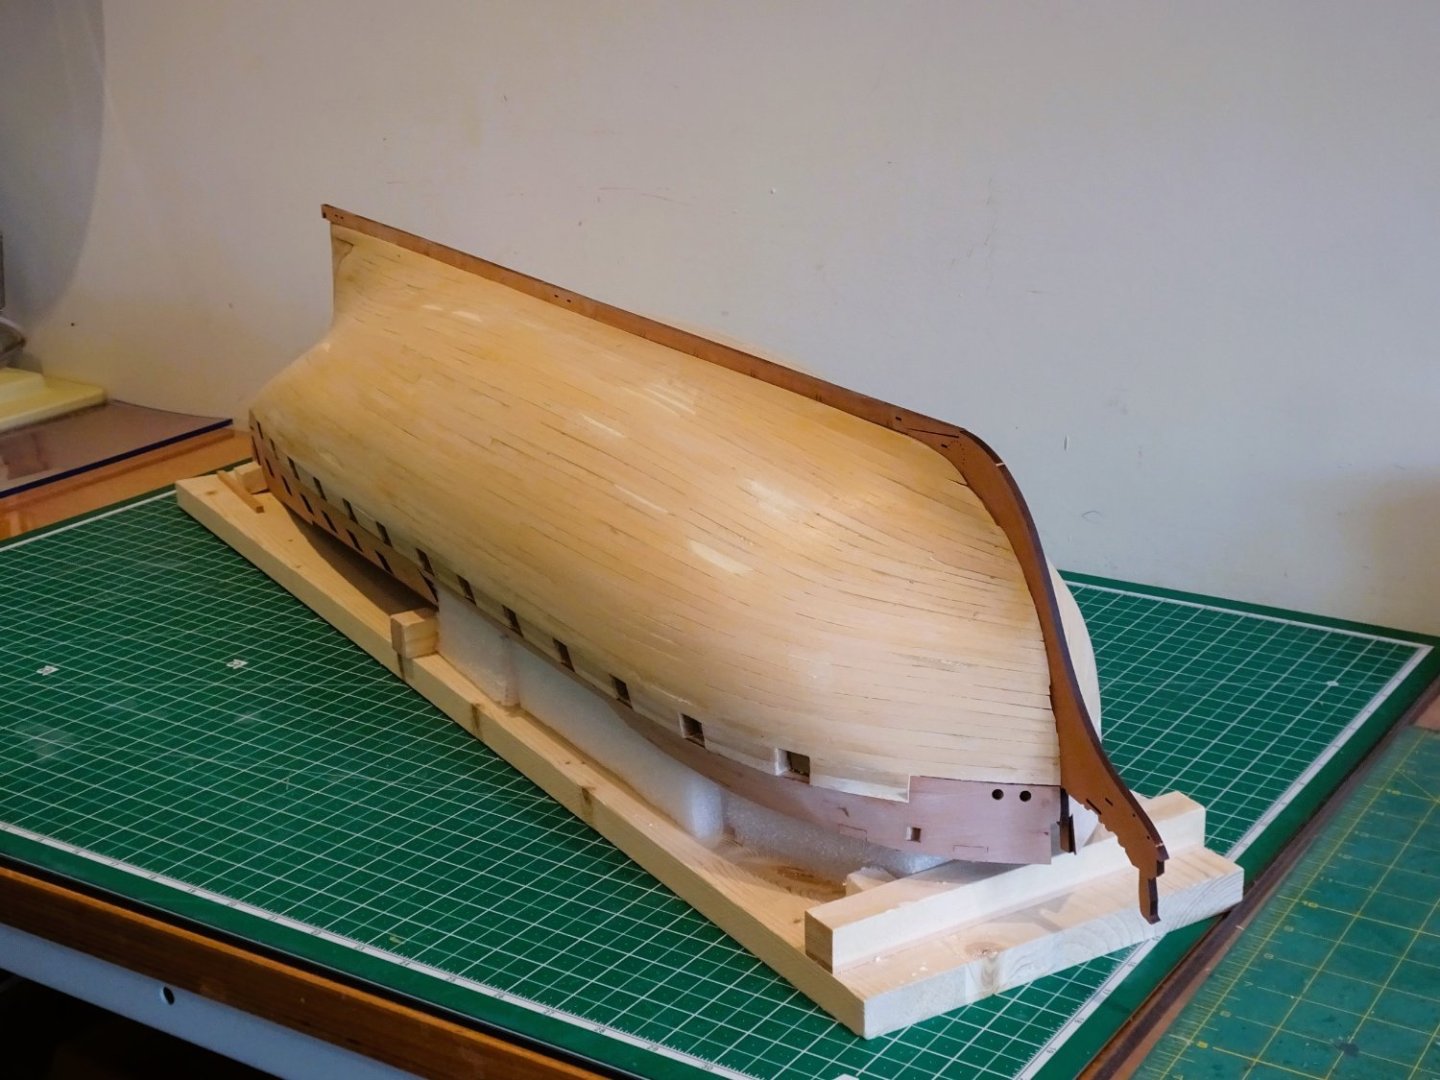
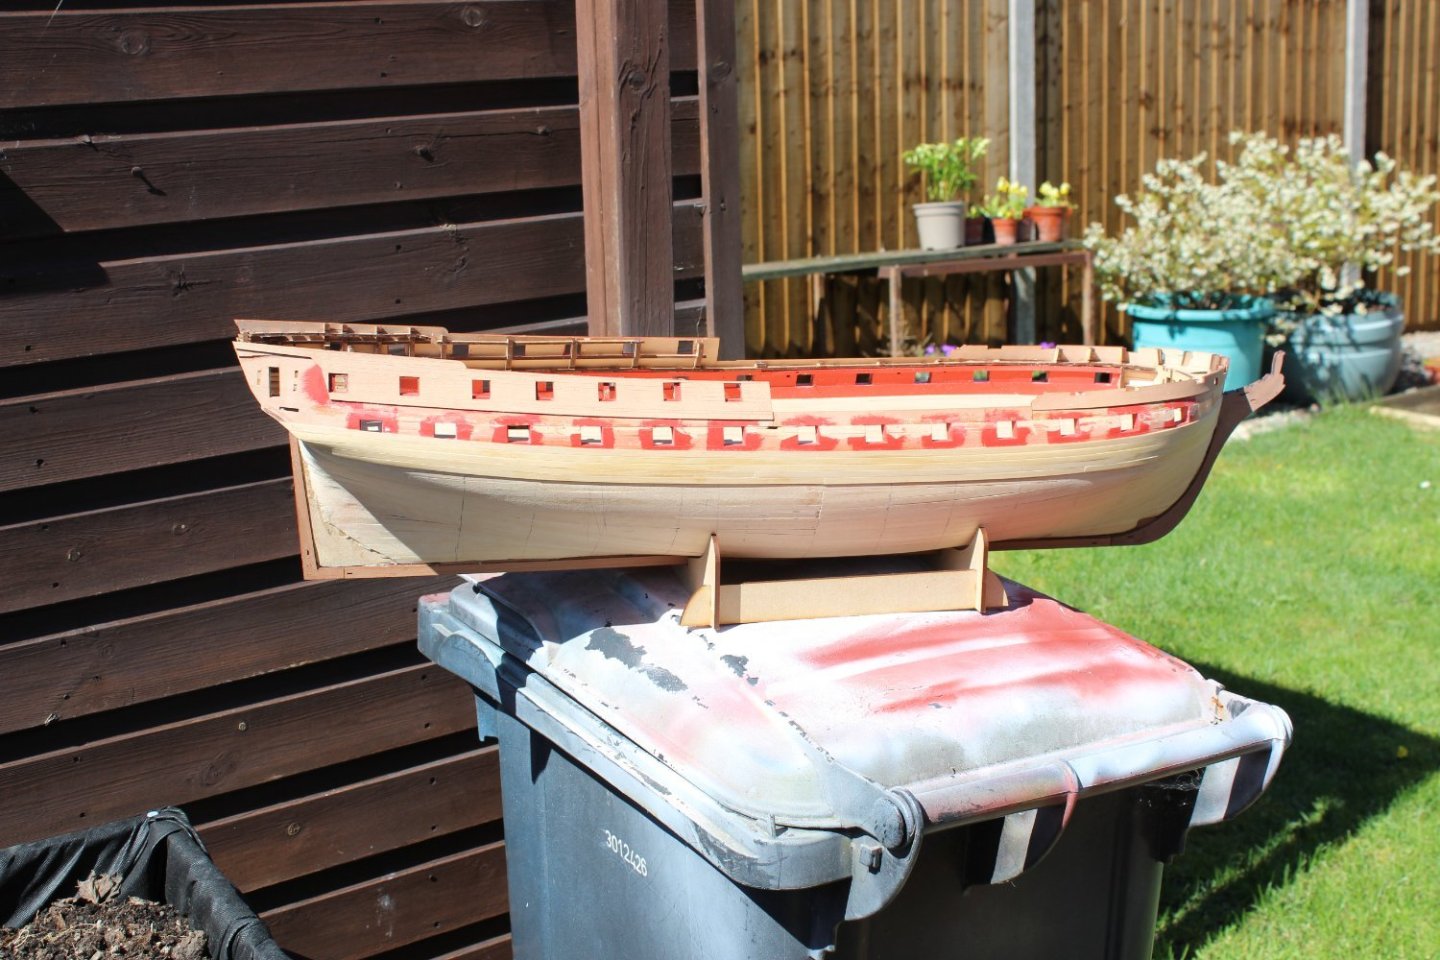
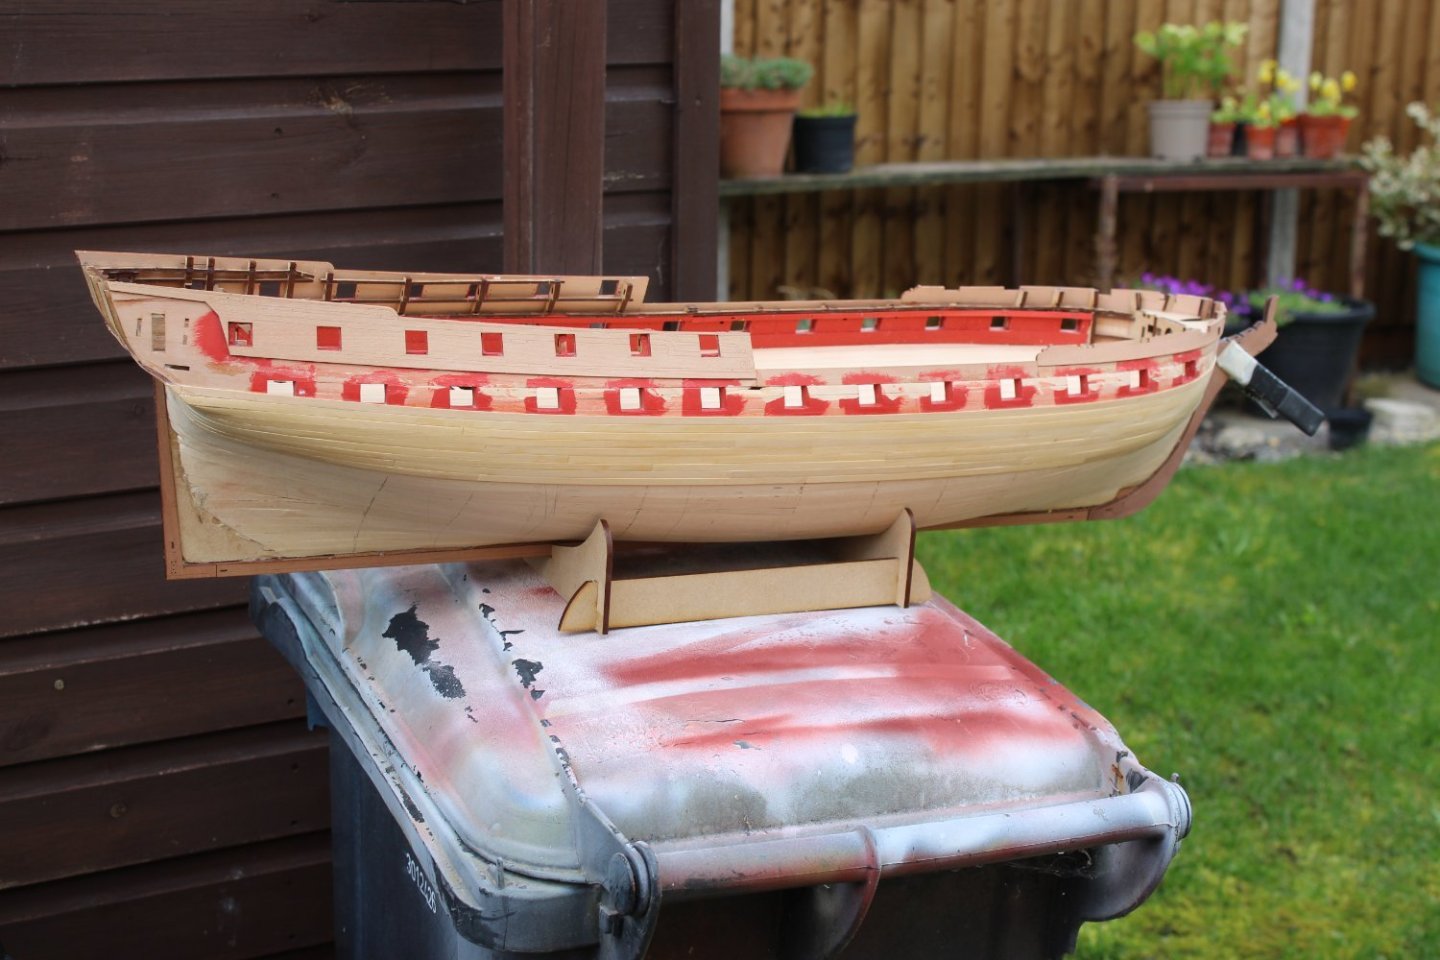
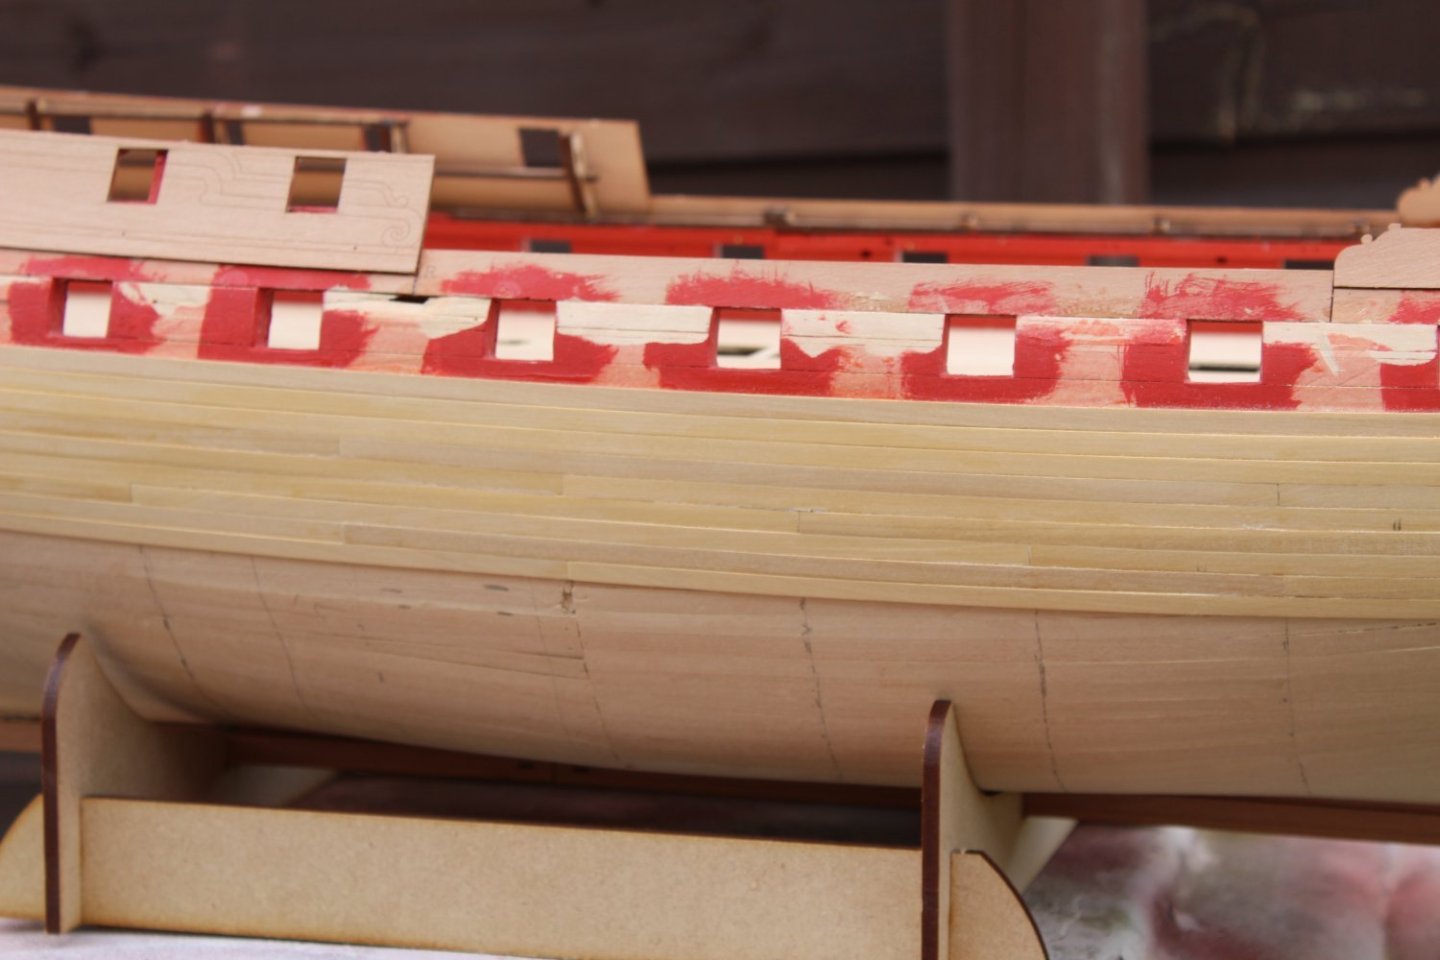
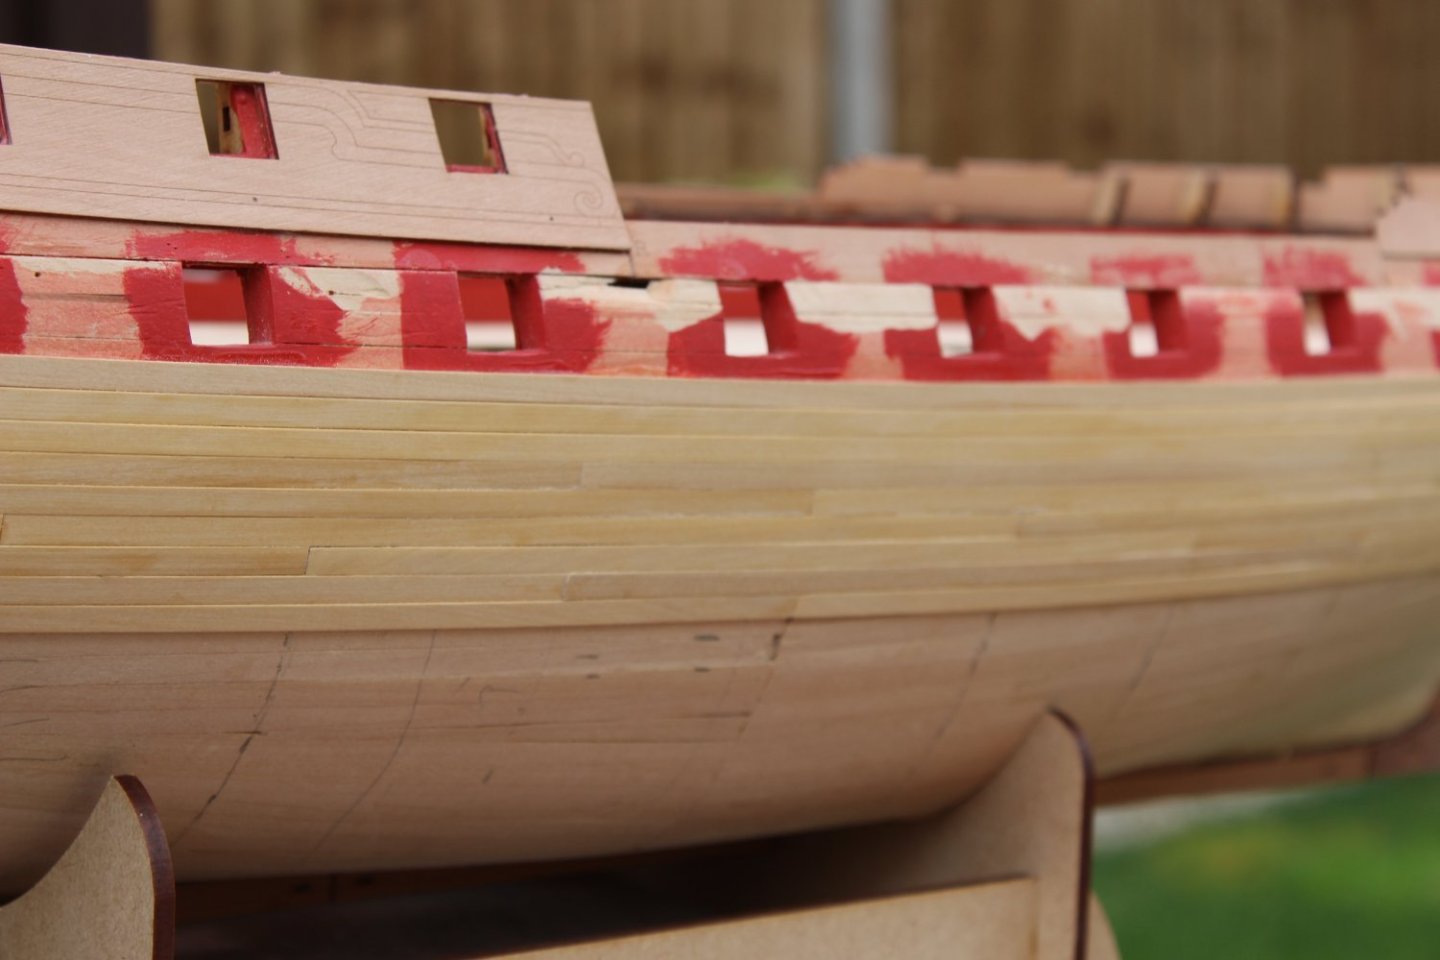
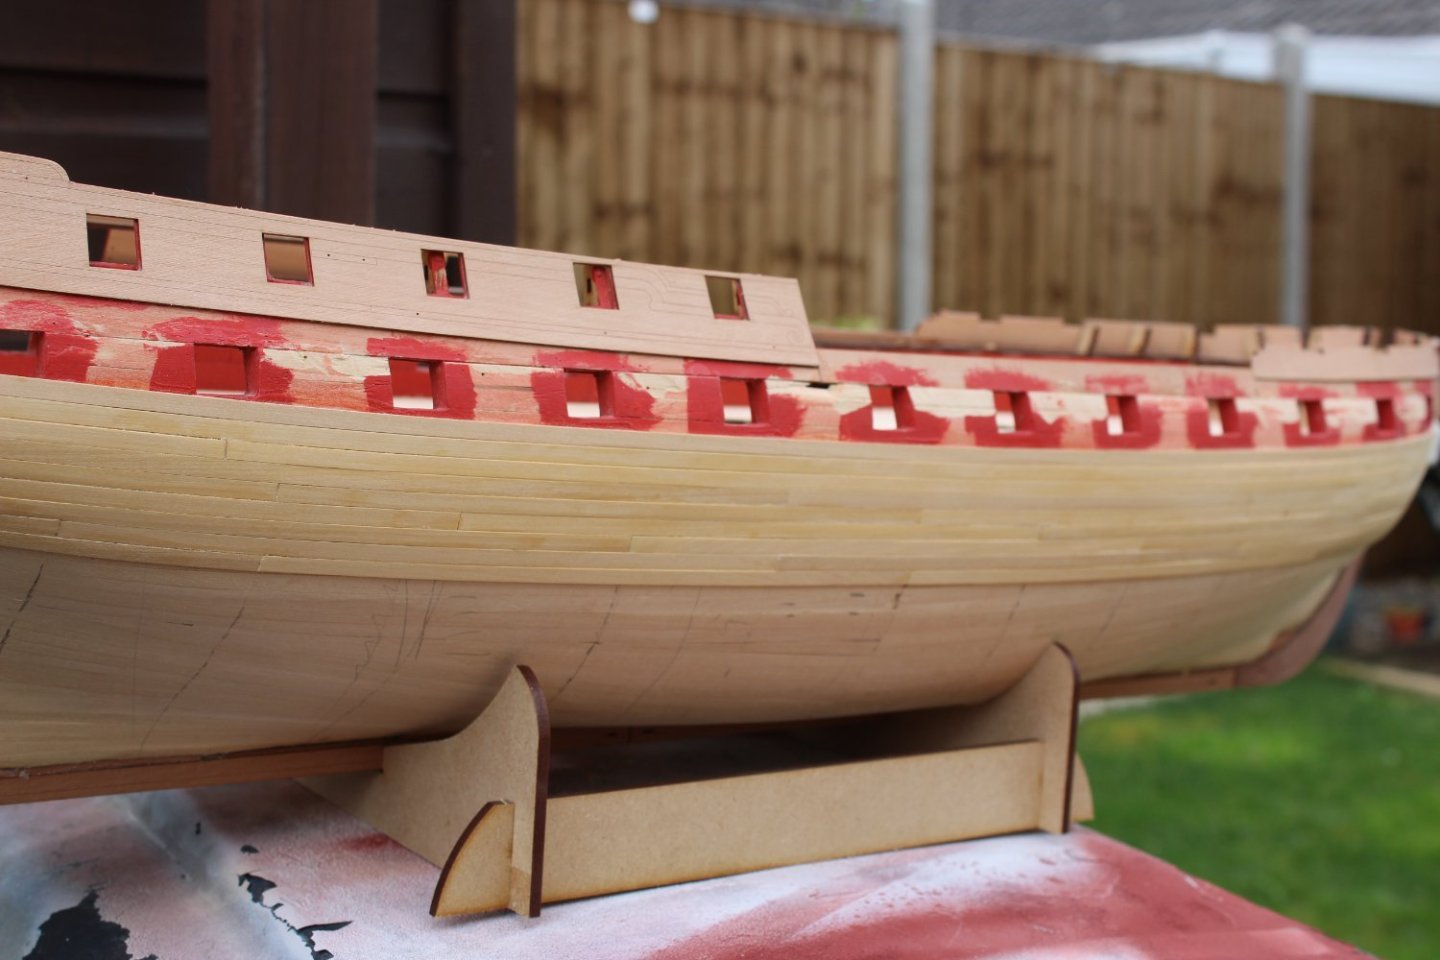
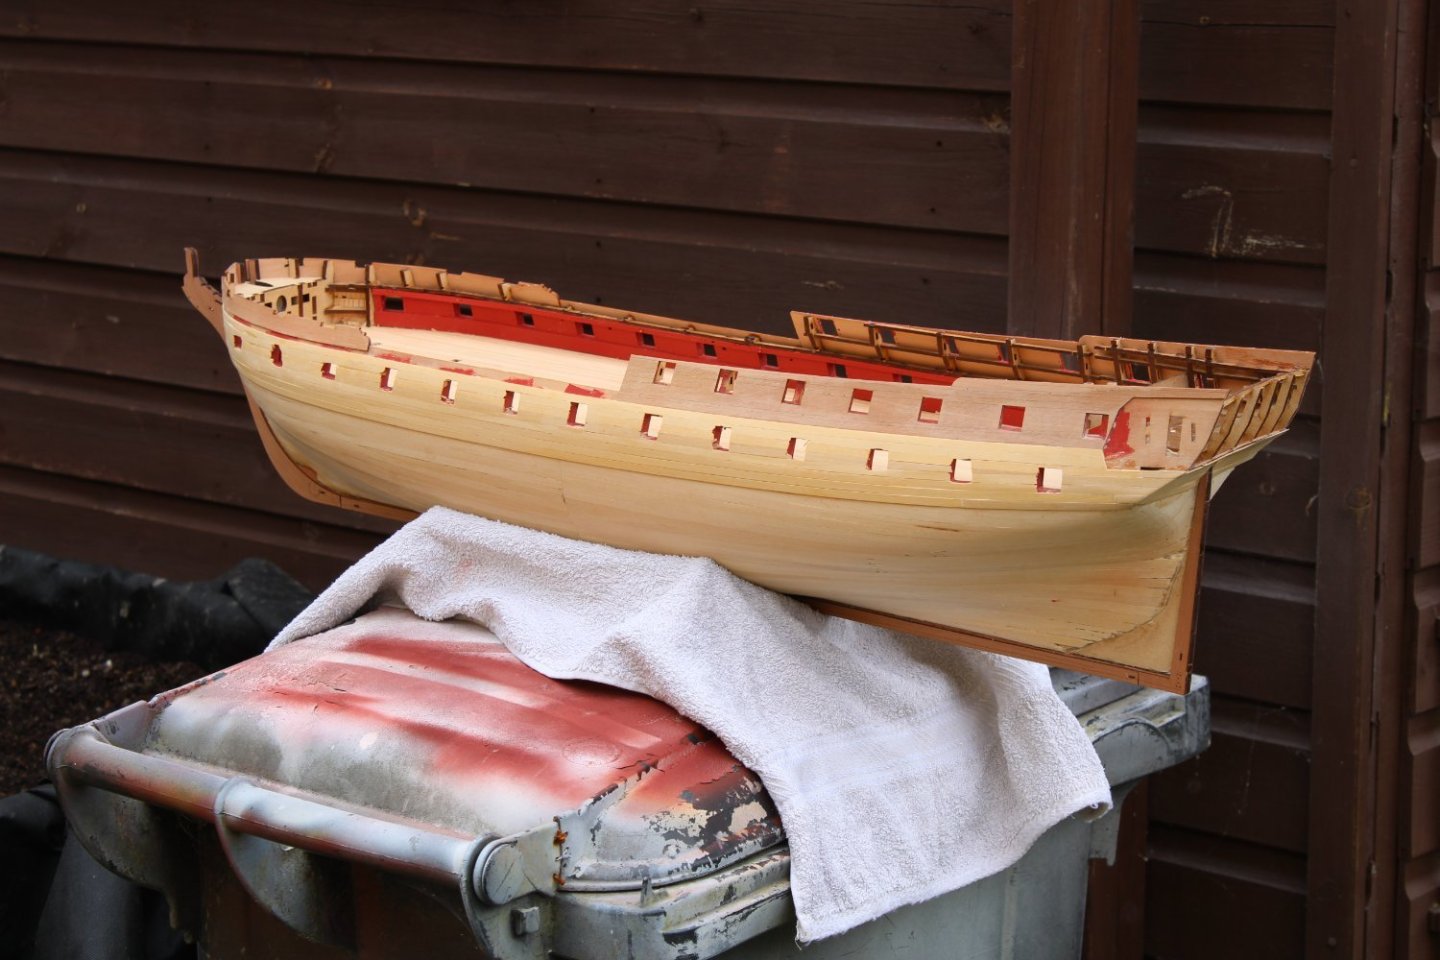
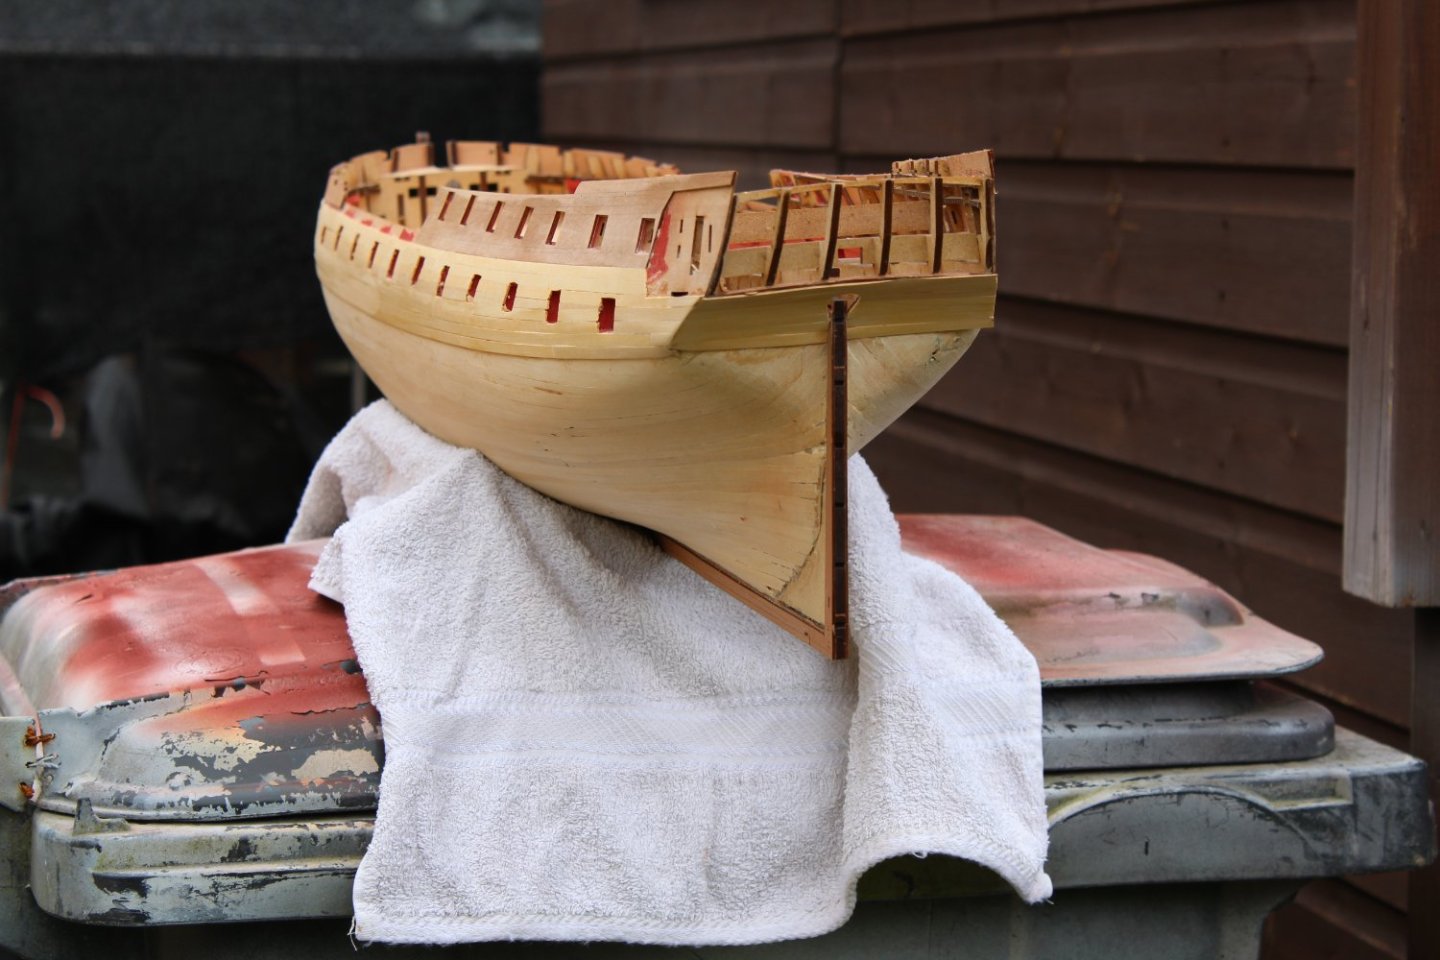
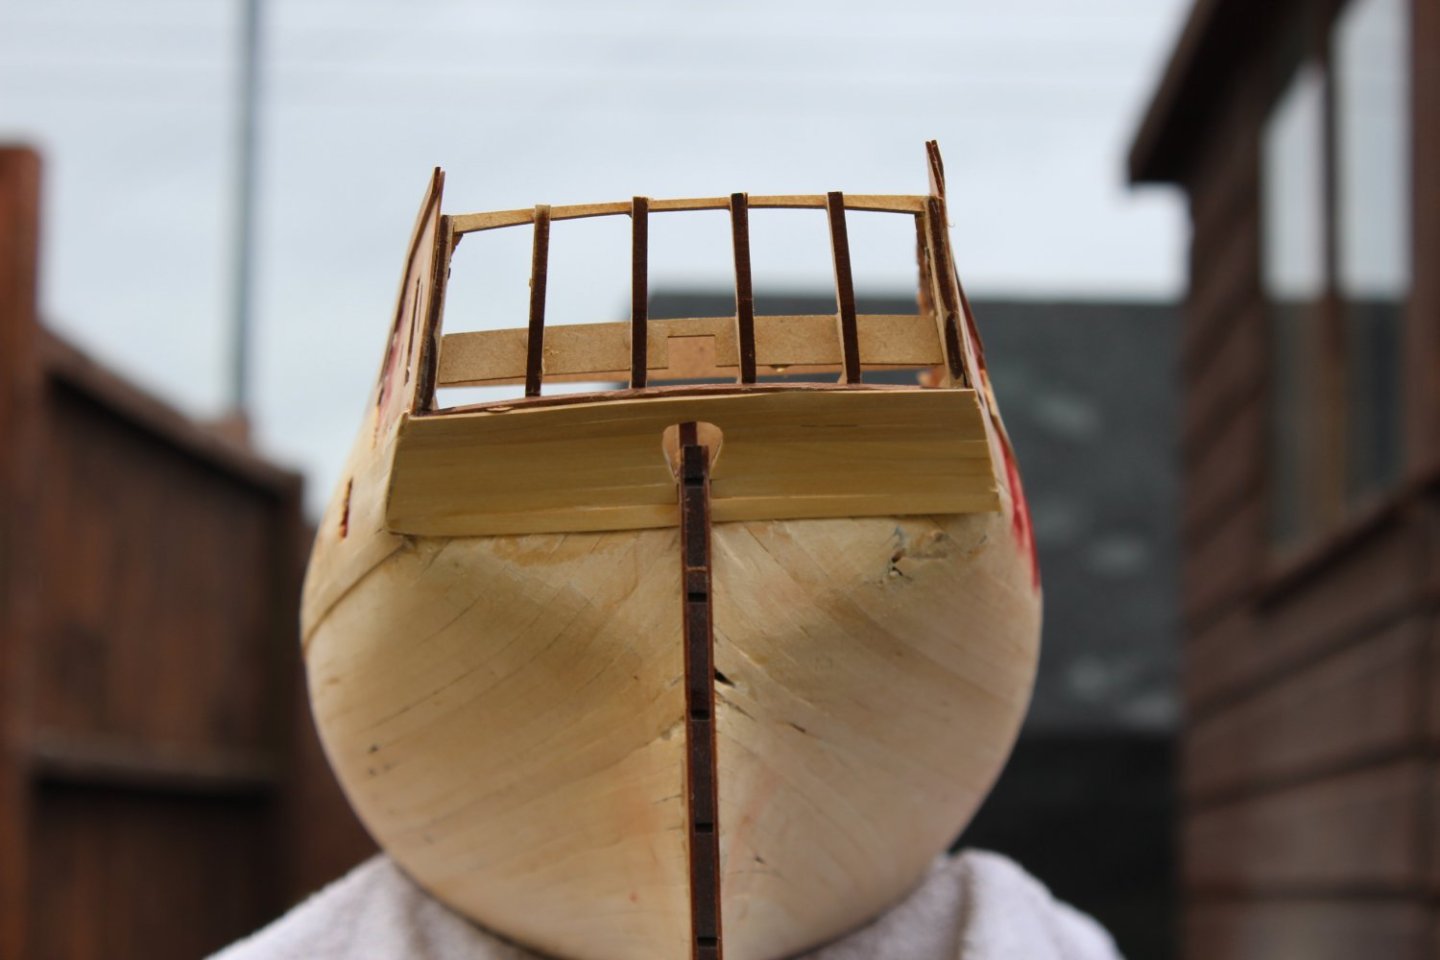
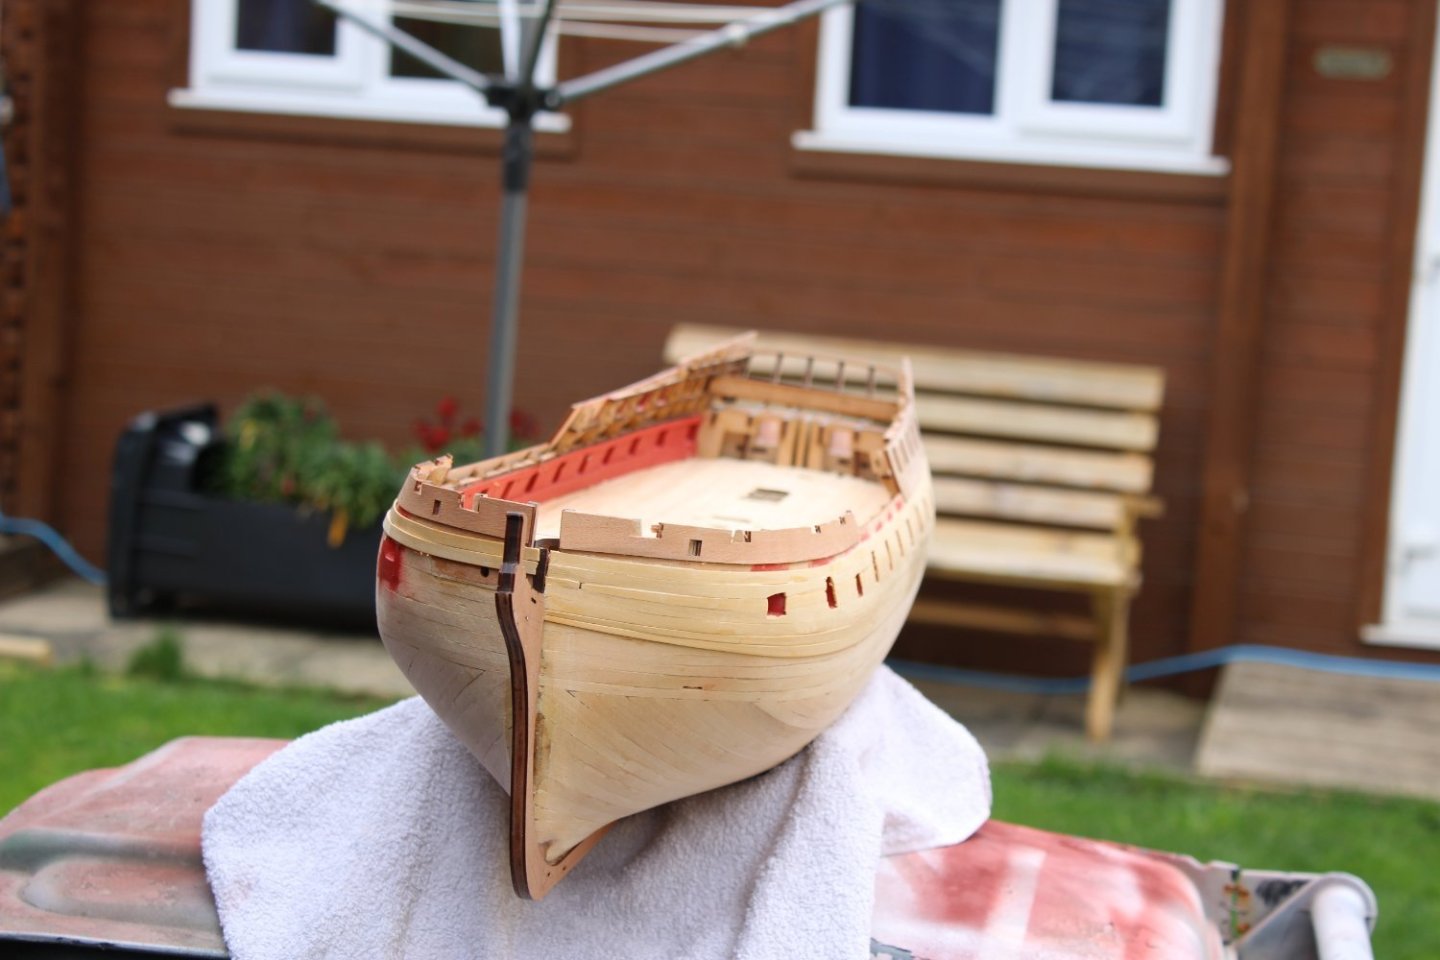
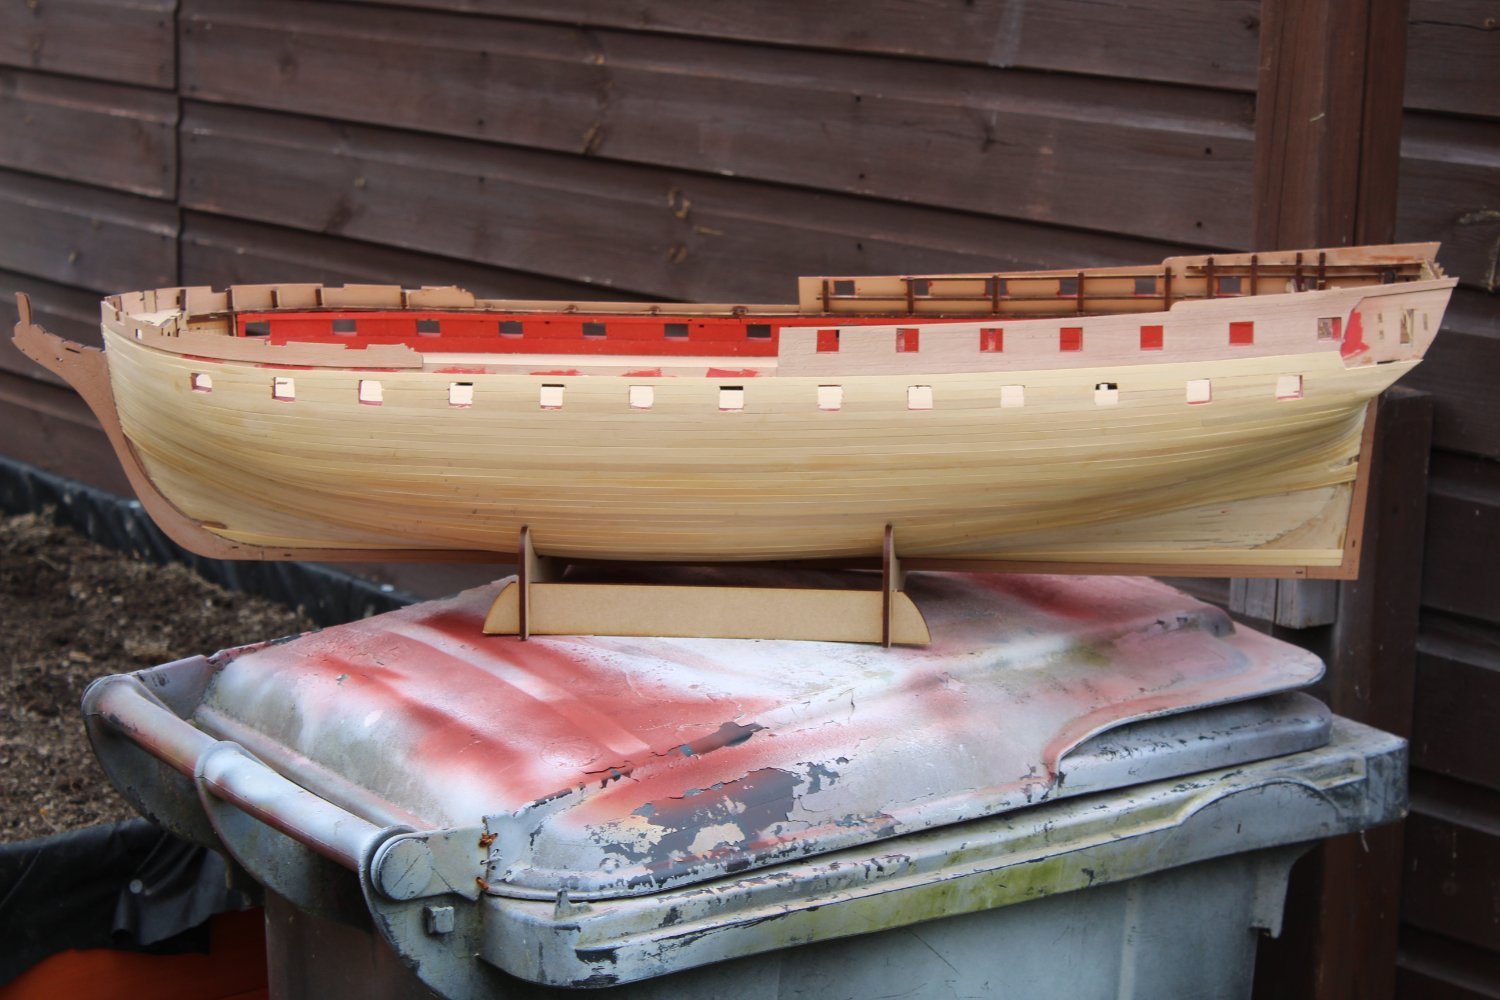
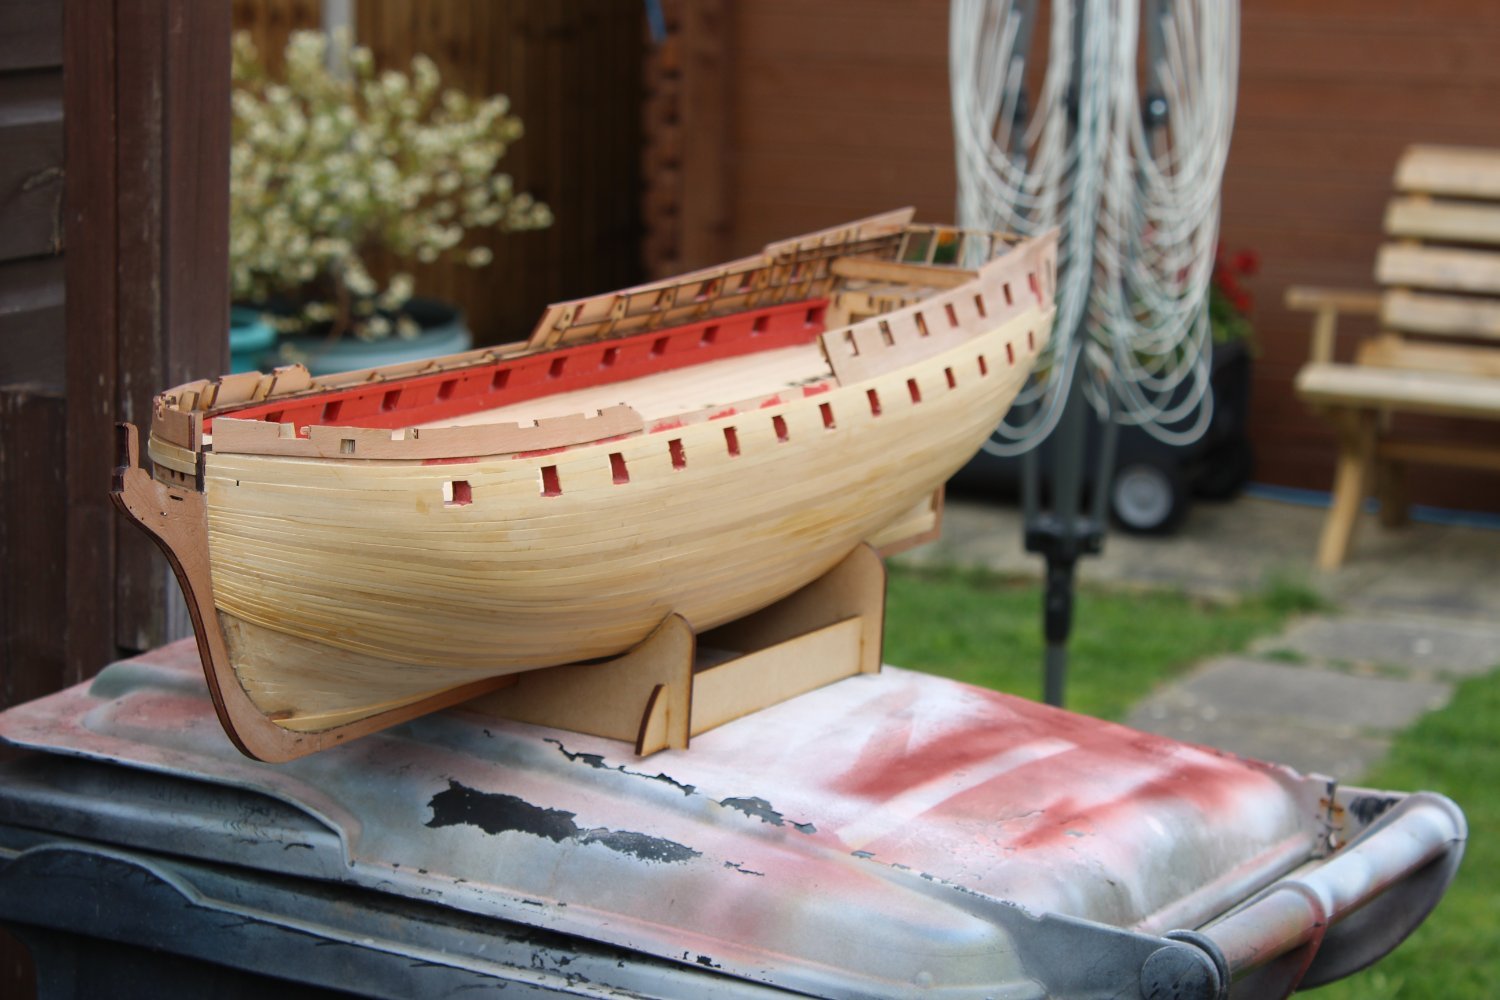
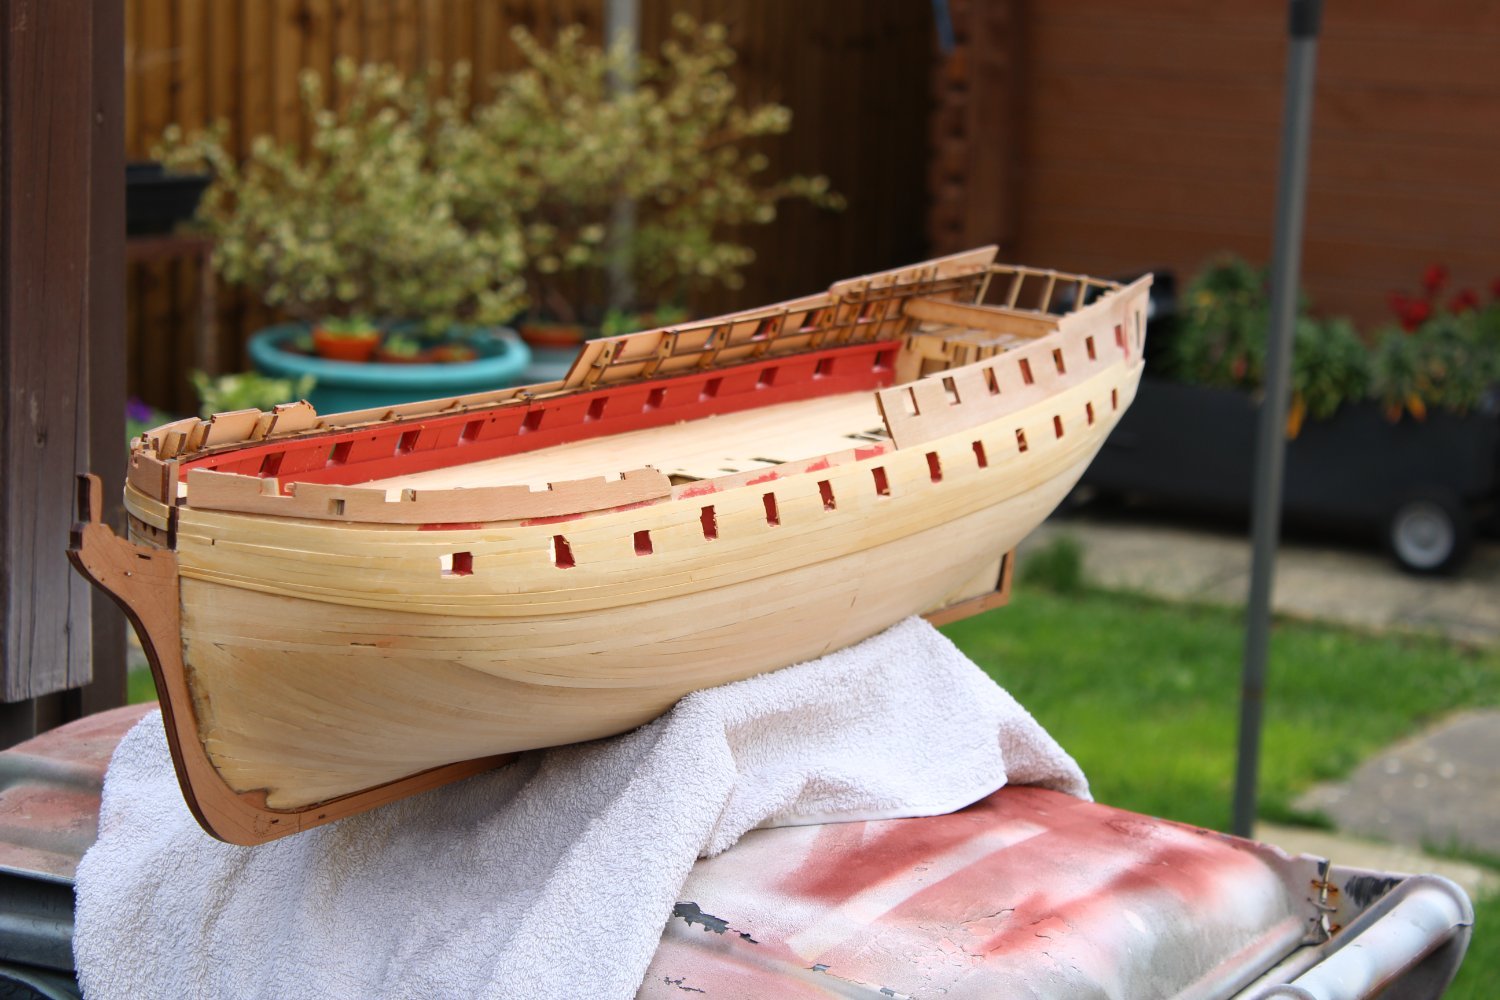
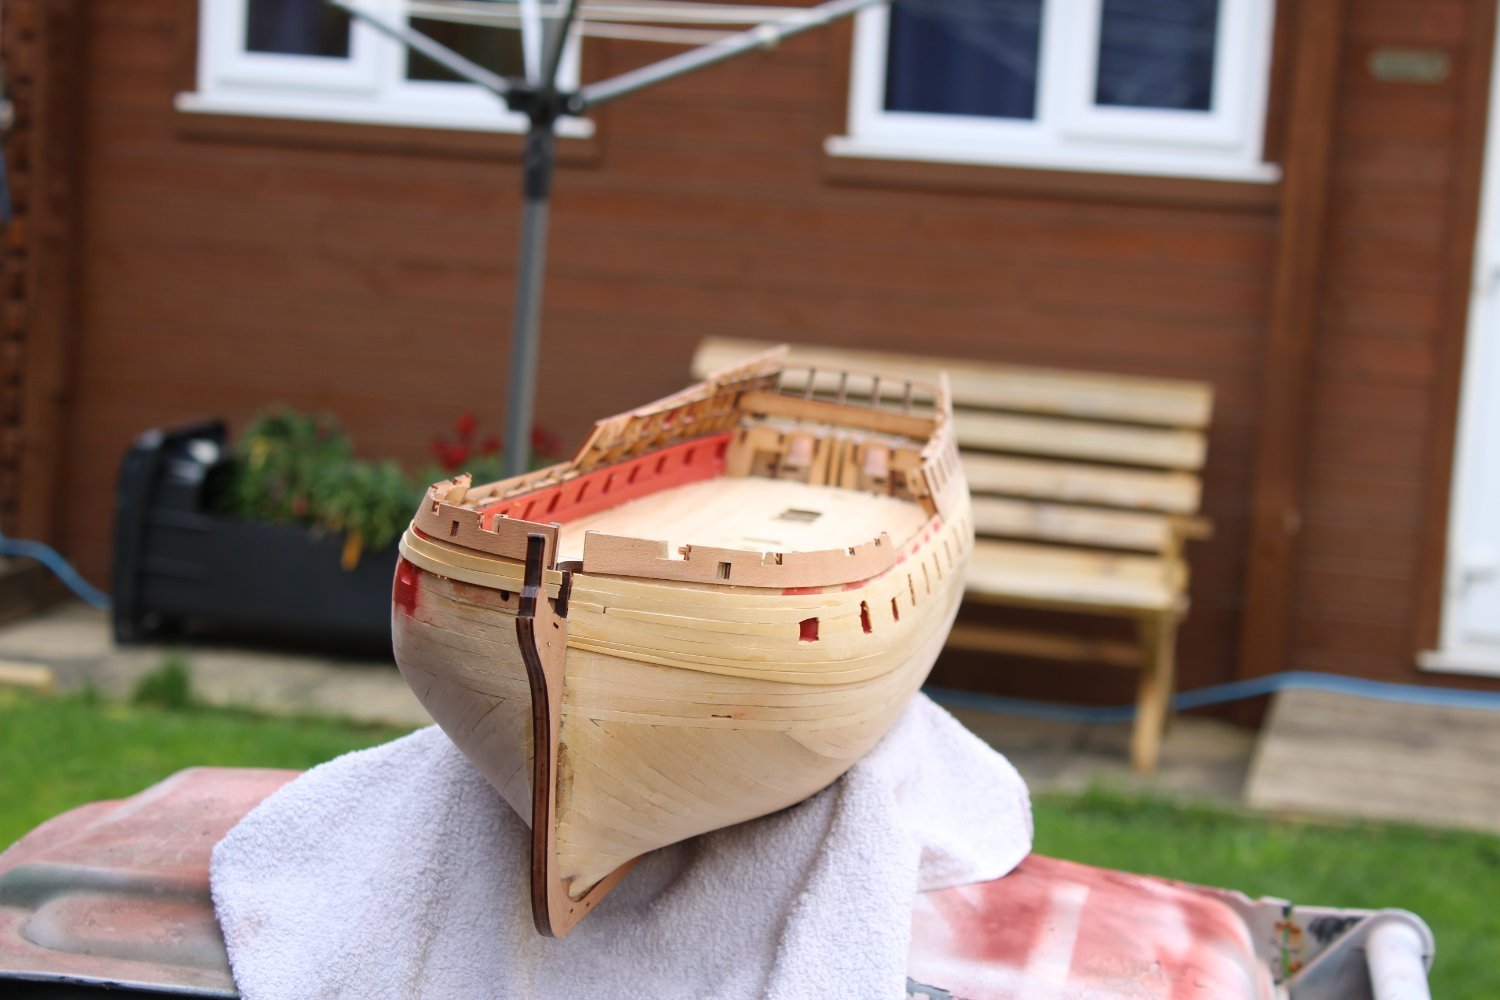
good afternoon everyone
my build has somewhat ground to a halt for a while, my mum has been admitted into hospital having had a mild heart attack, and now has failed a Covid 19 test,
here are the latest photo's taken
- JpR62, ccoyle, Edwardkenway and 13 others
-
16
-
great progress, and looks fantastic
-
-
-
-
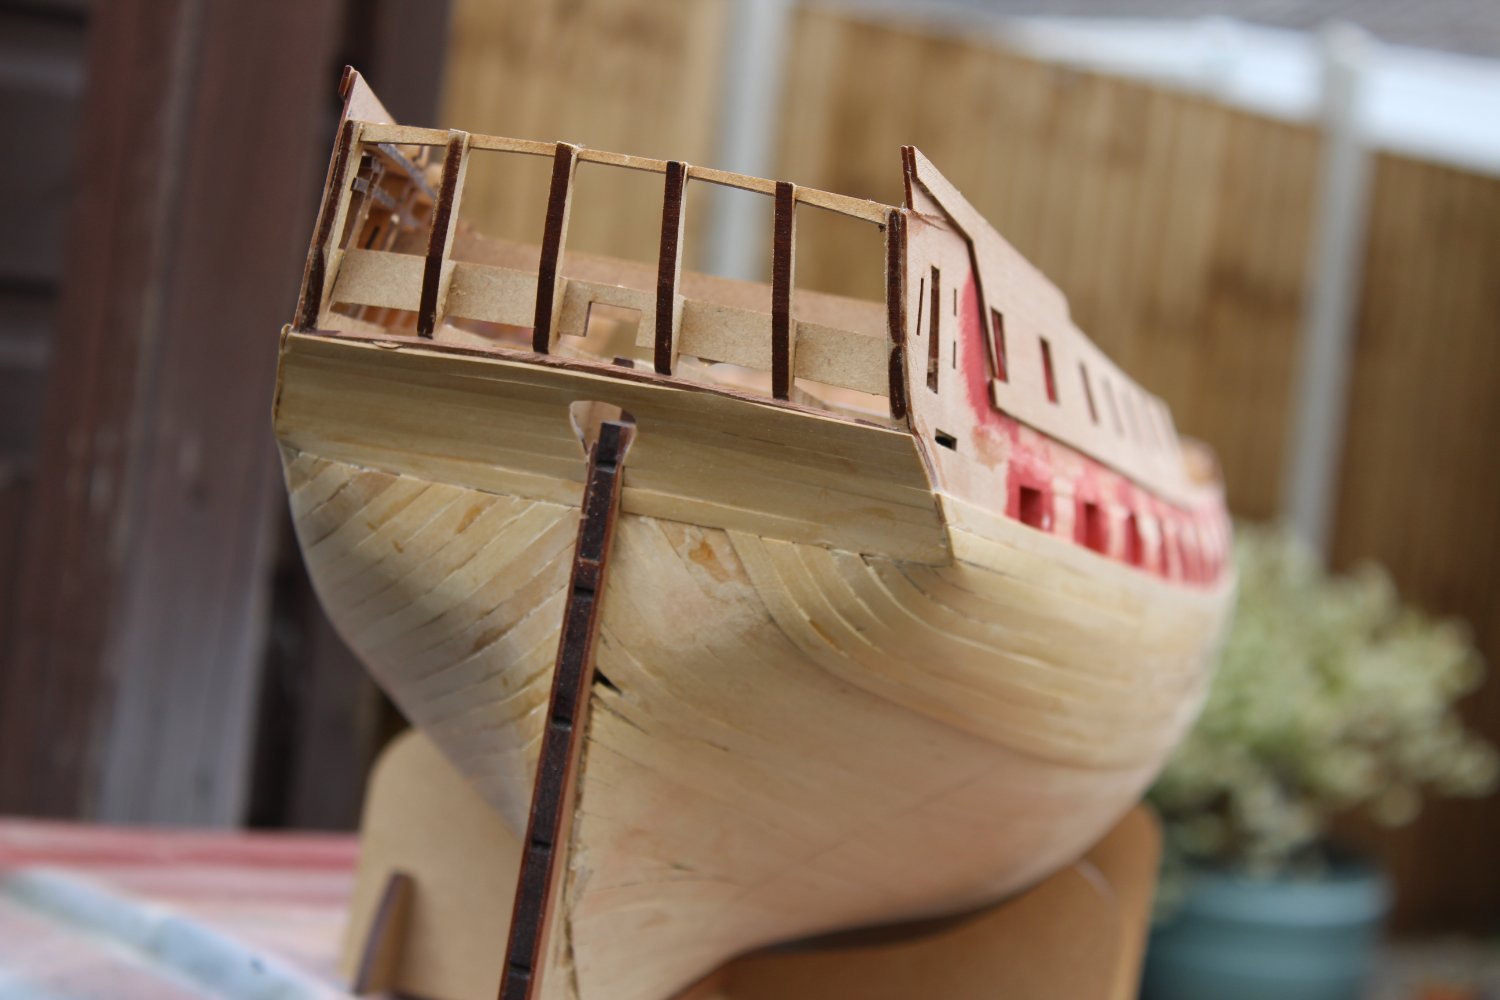
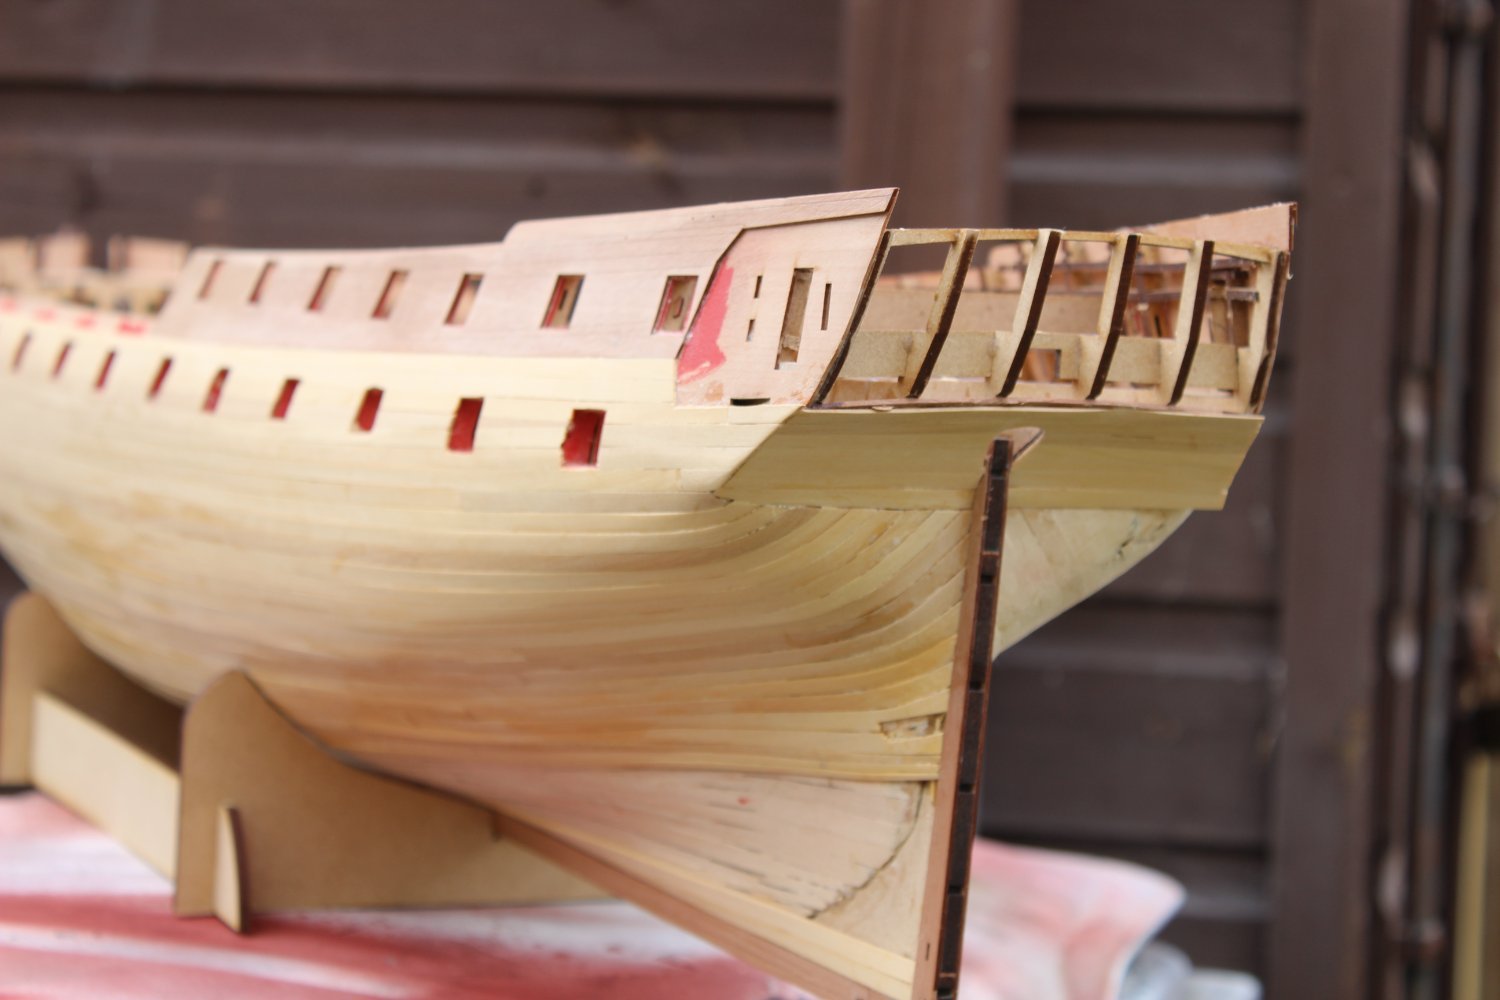
good evening everyone
day 34
been a few days since my last post
2nd planking is going on, its never as good as i envisage it to be, but considering im not painting it, its is better than i normally present my work
the transom is in pear and i decided to remove it as i think it would look better in Boxwood,


-
Brilliant news @James H and and more publicity for the fantastic kit
- mtaylor, Blue Ensign, thibaultron and 1 other
-
4


HMS Indefatigable 1794 by Blue Ensign - FINISHED - Vanguard Models - 1:64 scale
in - Kit build logs for subjects built from 1751 - 1800
Posted
SIMPLE HULL PLANKING TECHNIQUES FOR BEGINNERS (modelshipworldforum.com)