


Kevin
-
Posts
6,919 -
Joined
-
Last visited
Content Type
Profiles
Forums
Gallery
Events
Posts posted by Kevin
-
-
good evening everyone
i have been reminded its a build log and not a cocker Spaniel Facebook page, so on with the build
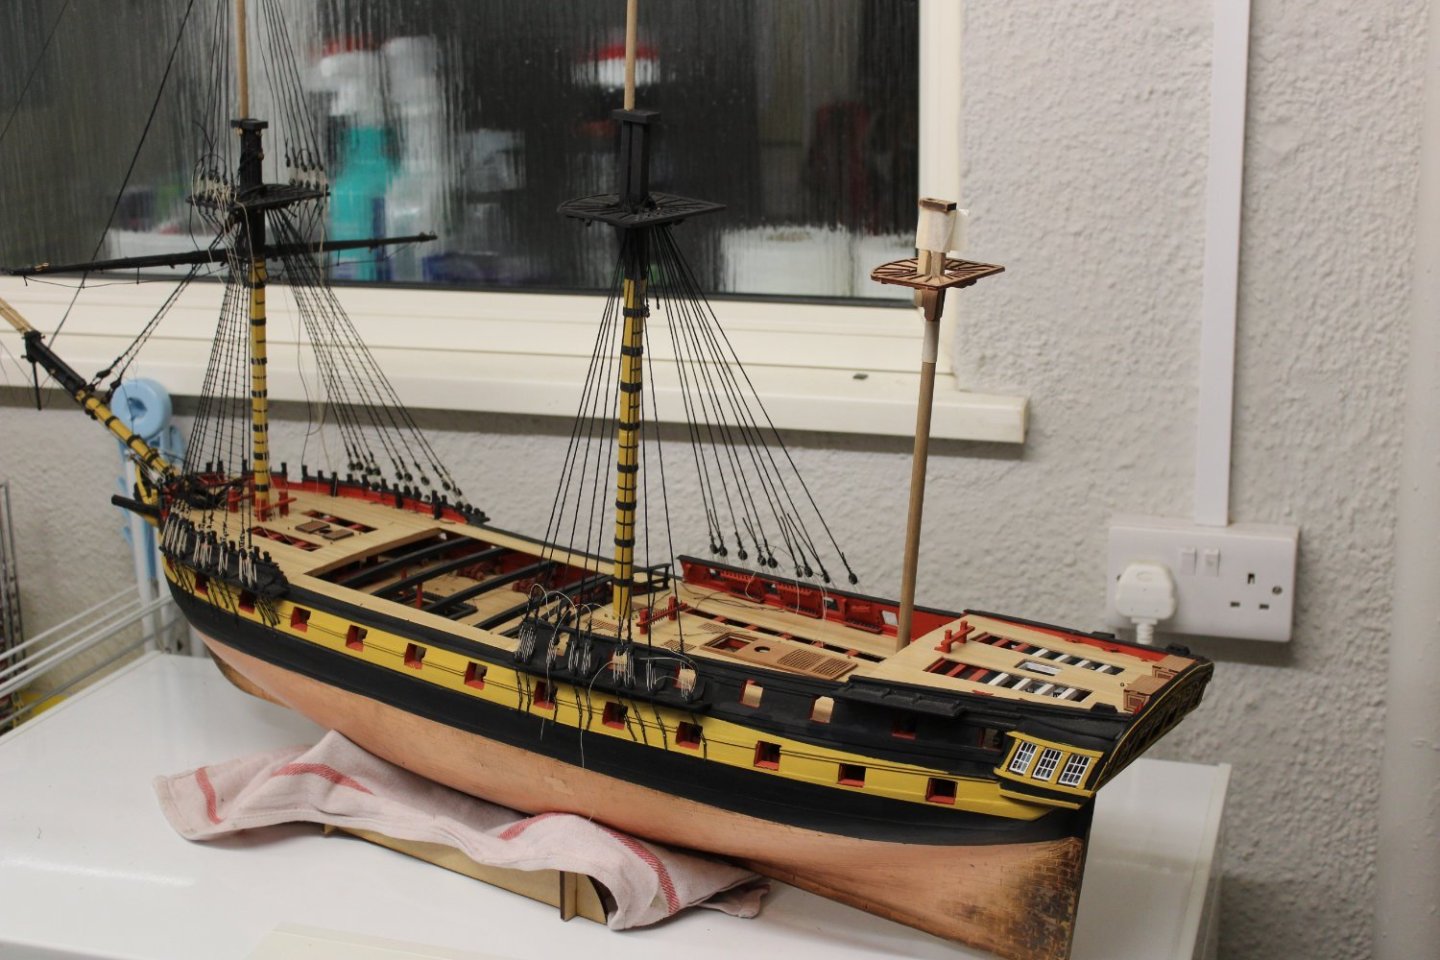
build log day 235-14 main lower shrouds
i put in some deck fittings and hand rails and started the main shrouds yesterday, hoping to get the deadeyes all laced up tidy in the next couple days

-
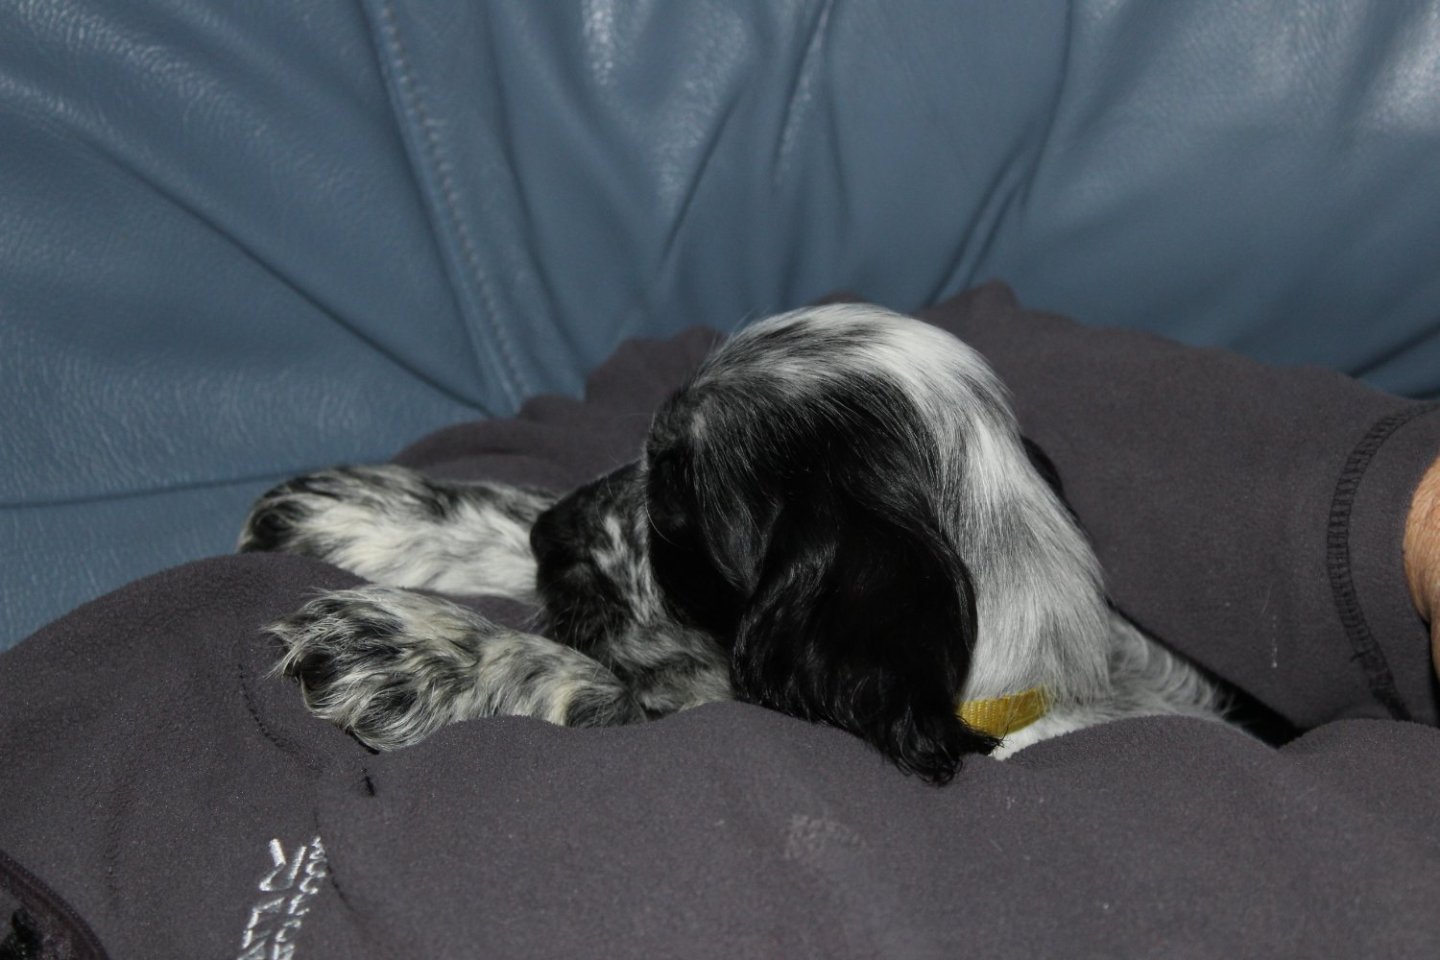
good afternoon everyone
sorry not been on the forum much recently, LOL two dogs is quite a handful, anyway here is a few photo's
Taken 8th October

taken today 10weeks 3 days


- realworkingsailor, No Idea, rcweir and 8 others
-
 11
11
-
-
and well worth the time spent, looks great, the new puppy is restricting my time at present, and getting very little done
- mtaylor and Blue Ensign
-
2
-
-
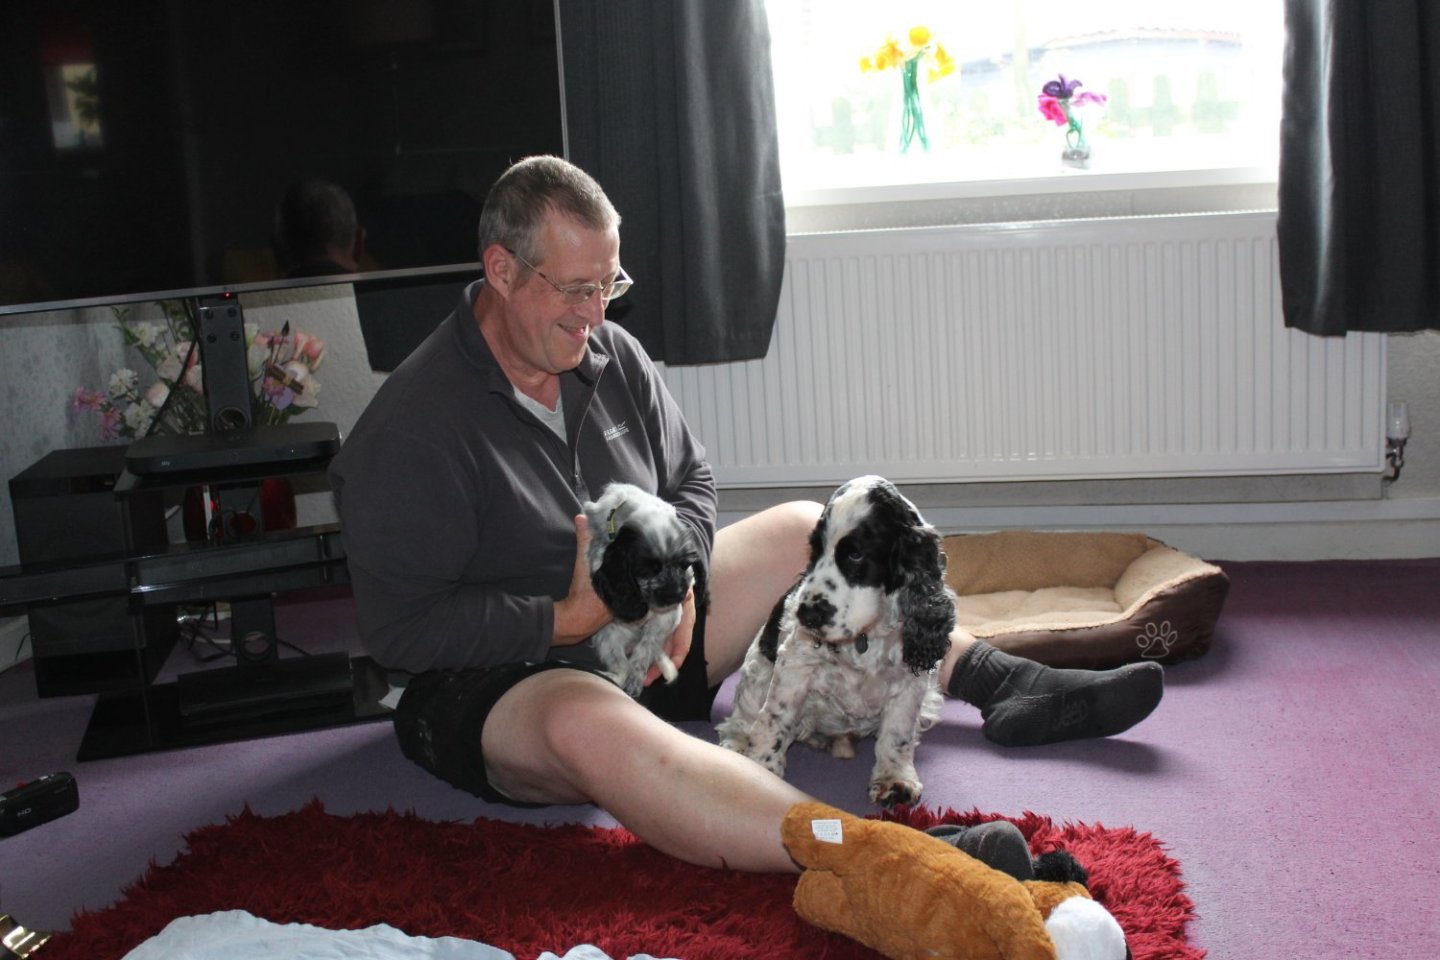
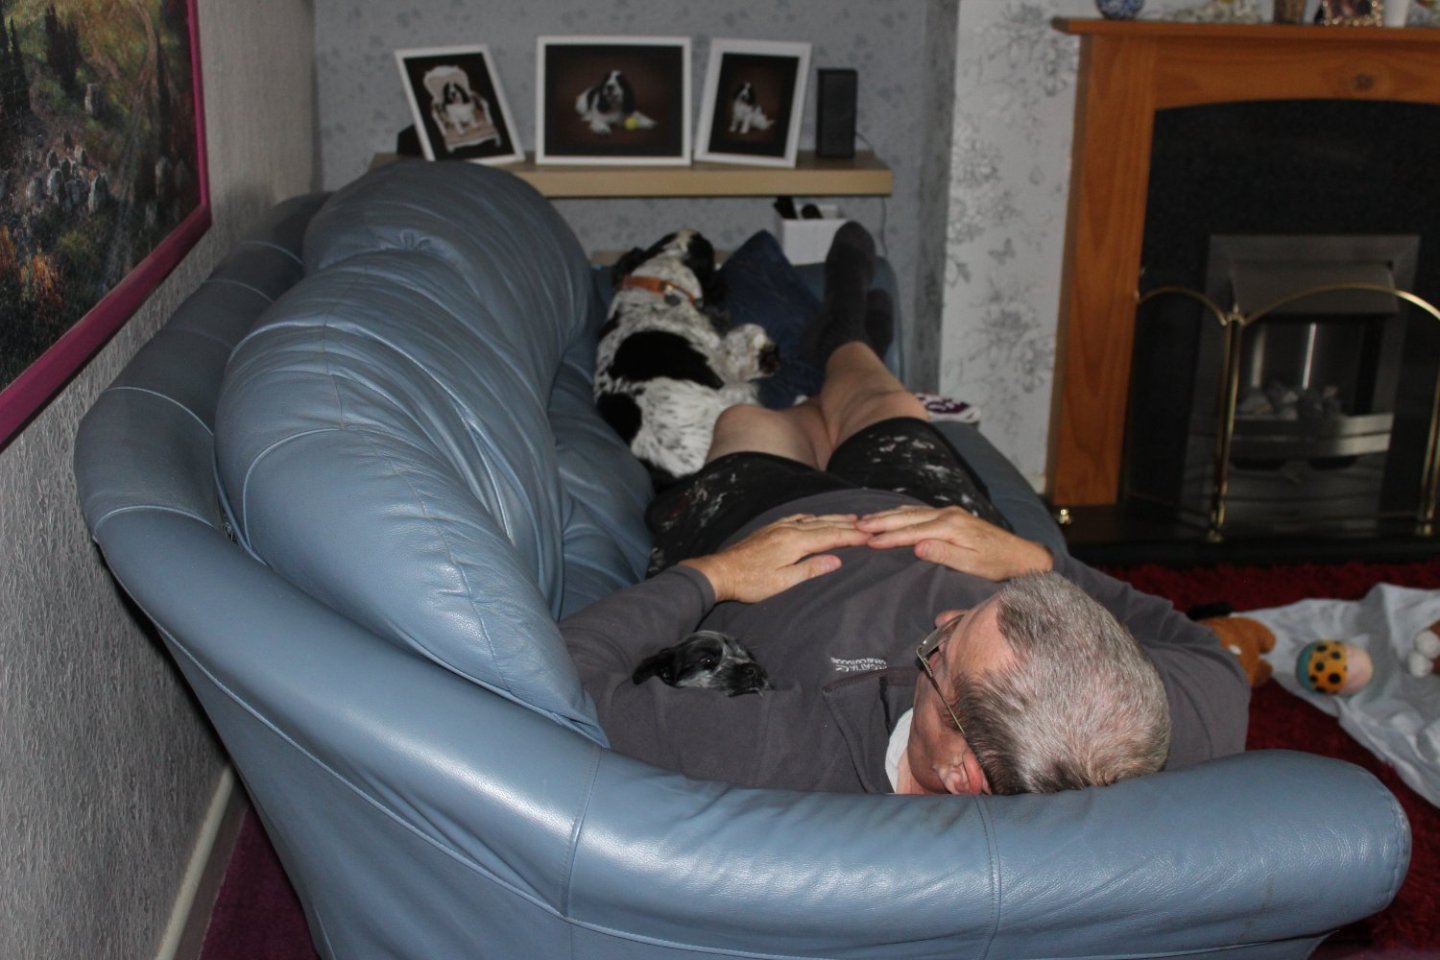
good morning everyone
boat builds has come to a bit of a stop, here is the reason why
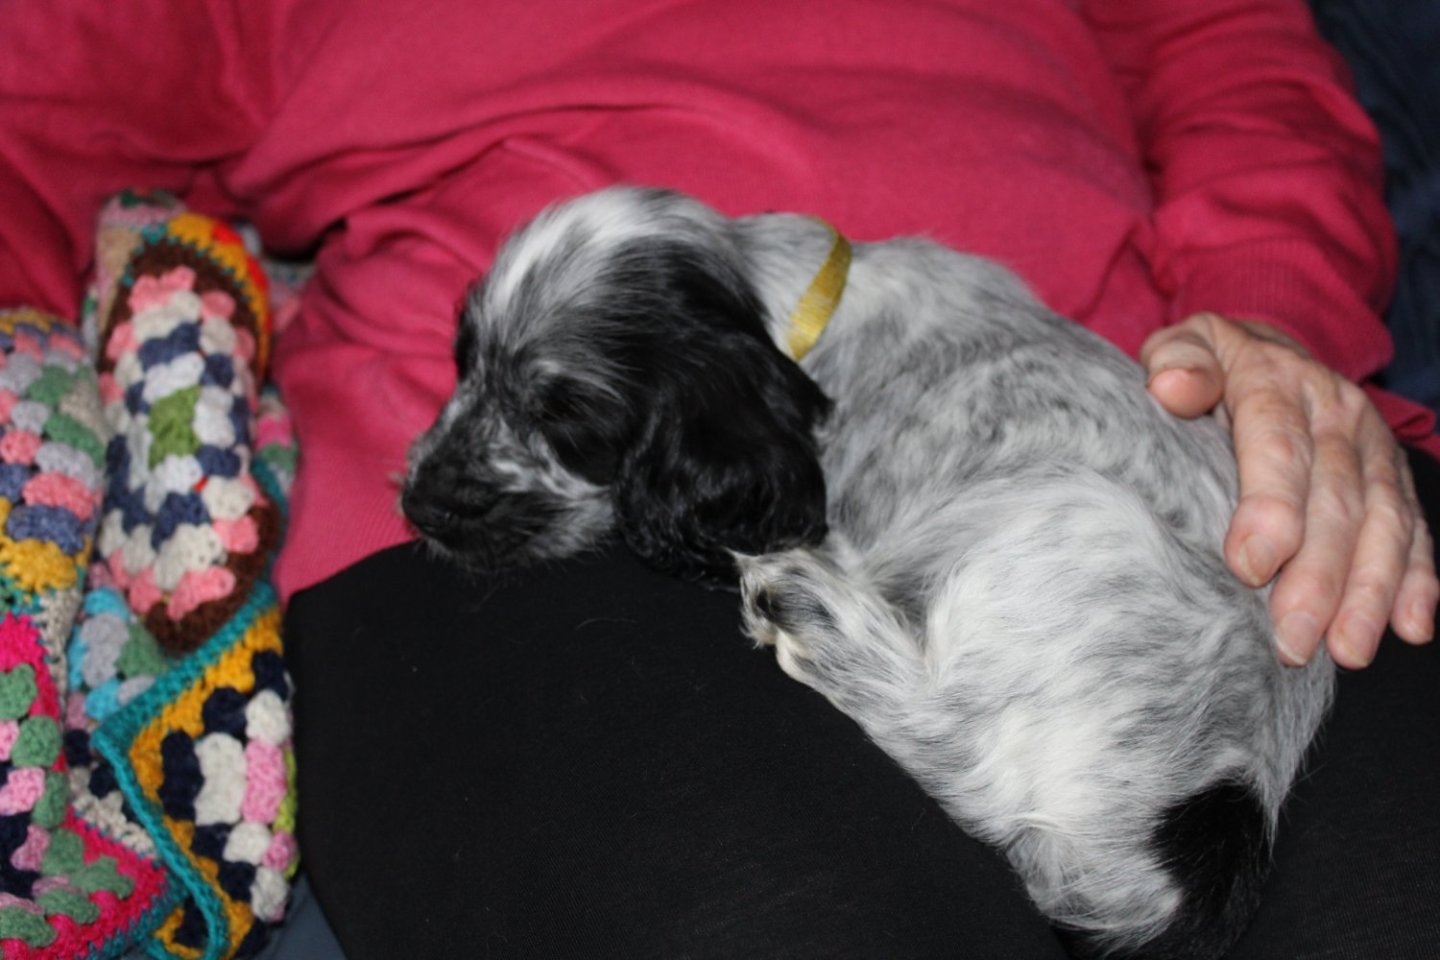
Apollo aged 8 weeks 3 days
or from a hosting site
-
no boating today, we have a new English Show Cocker Spaniel puppy his name is Apollo (kennel name Albertean Apollo) and was 8 weeks old today, i wont fill my log up with Doggie Photos but wish i could the Older Boi you may know as Dobbie aged 8, i think they will be very good friends, but he is avoiding the little boi like the plague when awake


- rcweir, Old Collingwood, CiscoH and 14 others
-
17
-
1 hour ago, allanyed said:
Nice looking boat!
Maybe something you would like for your files, ,boat scantlings PDF is attached below. These are circa 1800 and there were small variations over time so the dimensions are not cast in stone.
From W.E. May
Allan
Boat Scantlings 1-28-14.pdf 271.94 kB · 4 downloads
thank you
as for the boat, i hope to do better on the next one,
- mtaylor and Old Collingwood
-
2
-
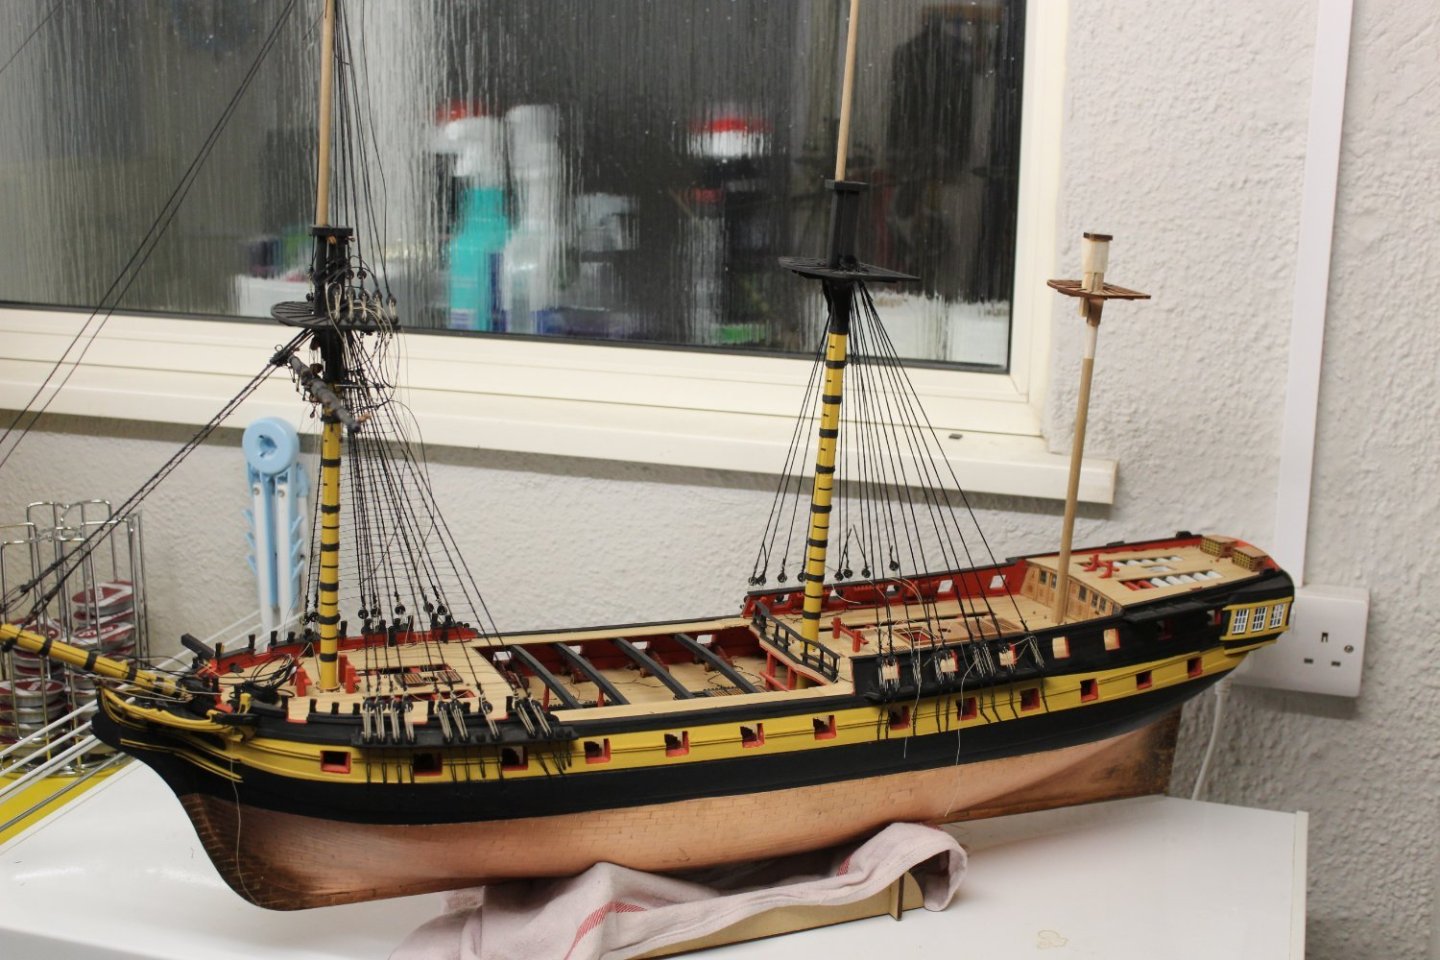
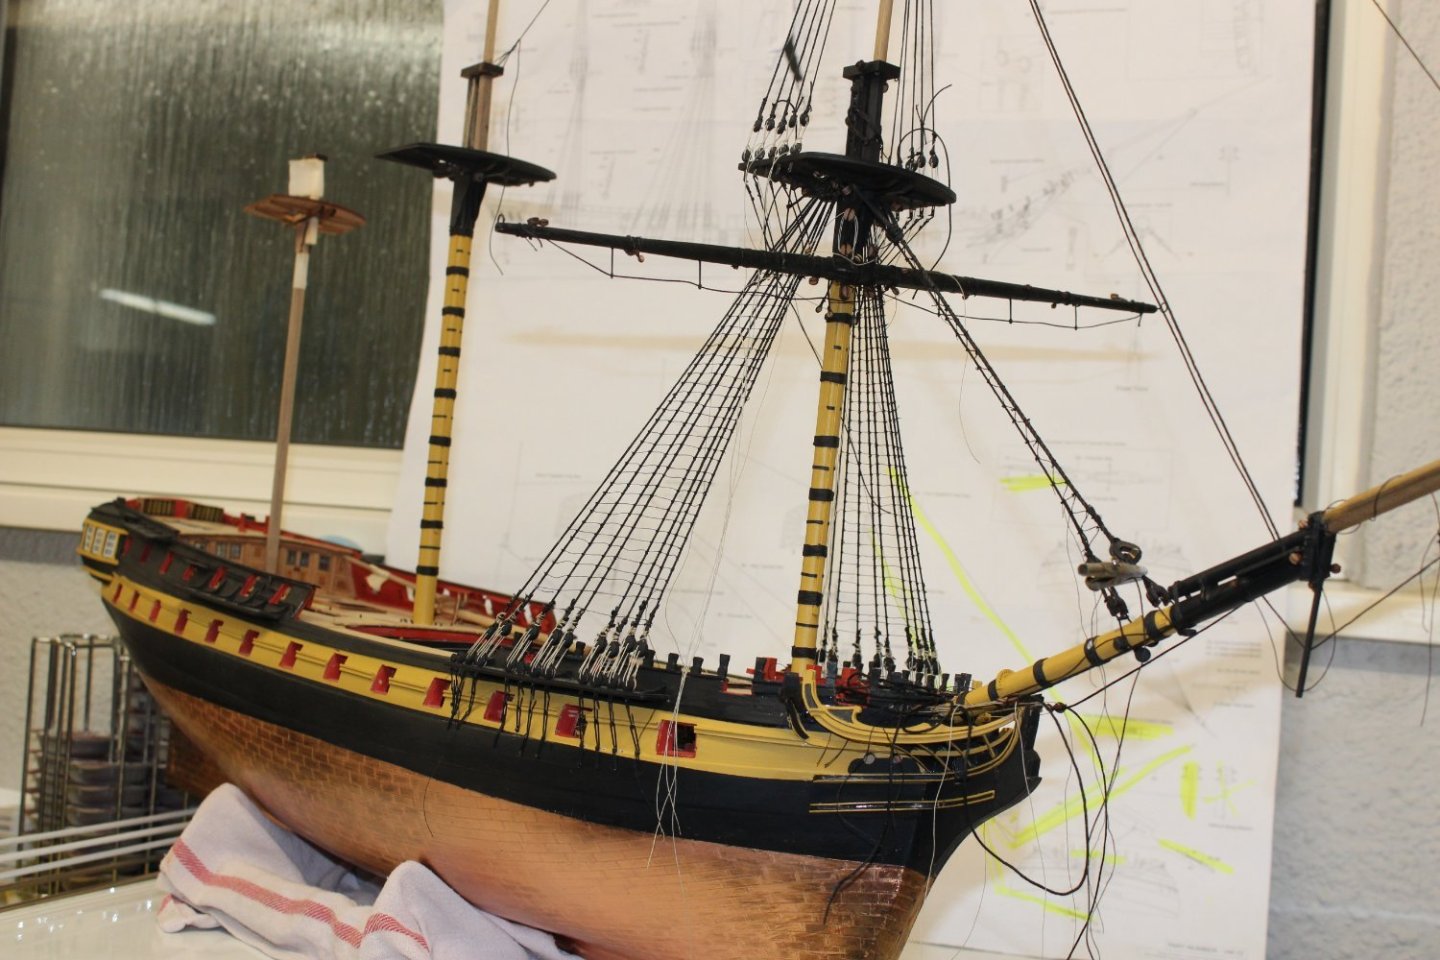
good evening everyone
thank you for comments and likes
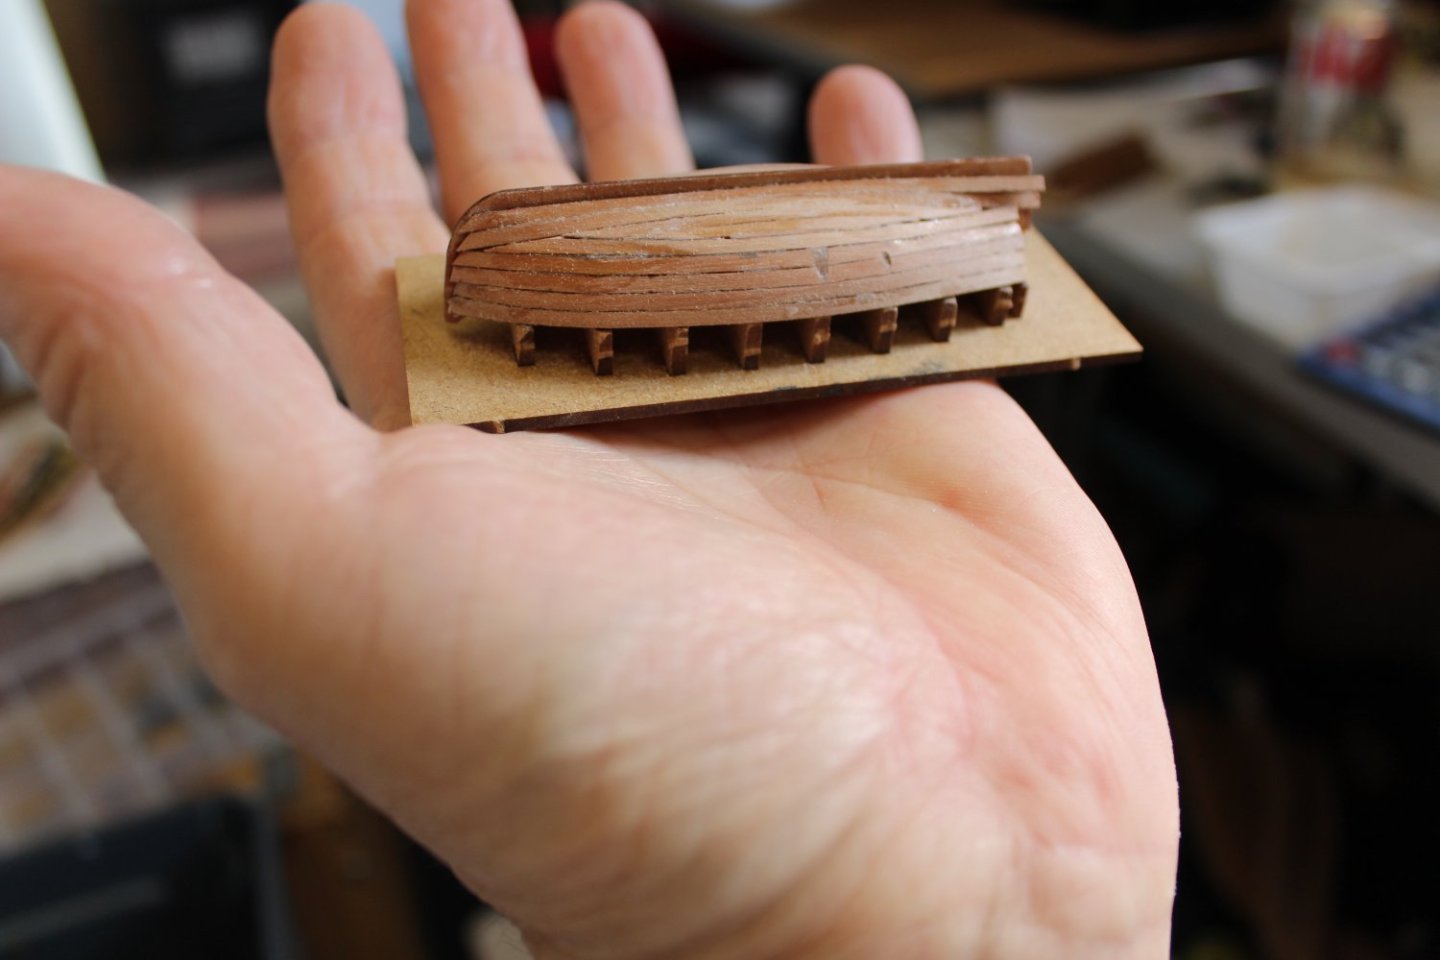
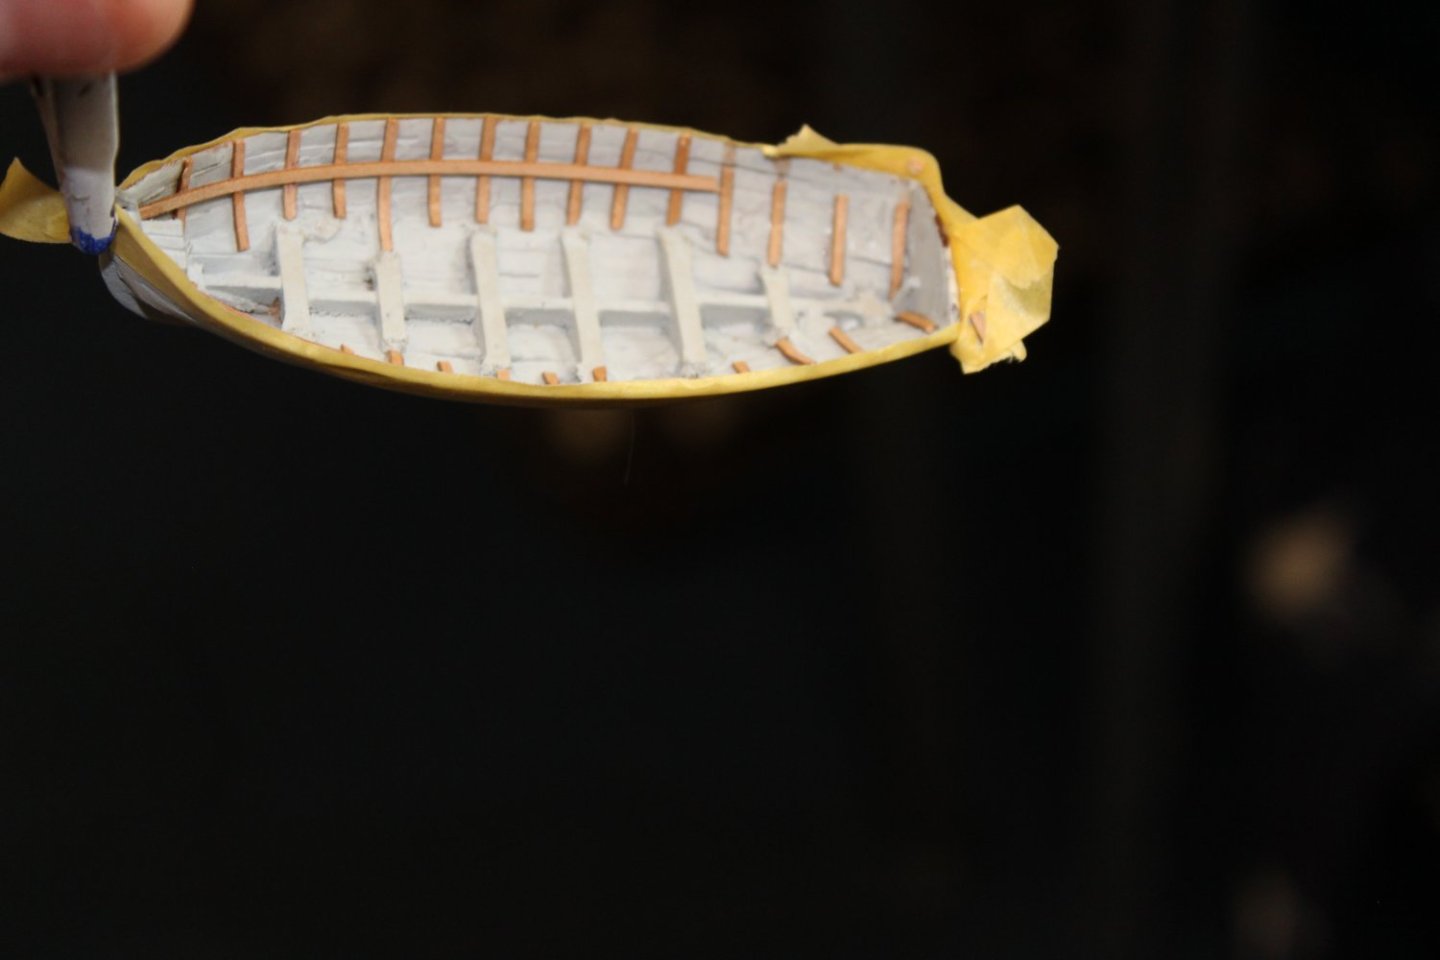
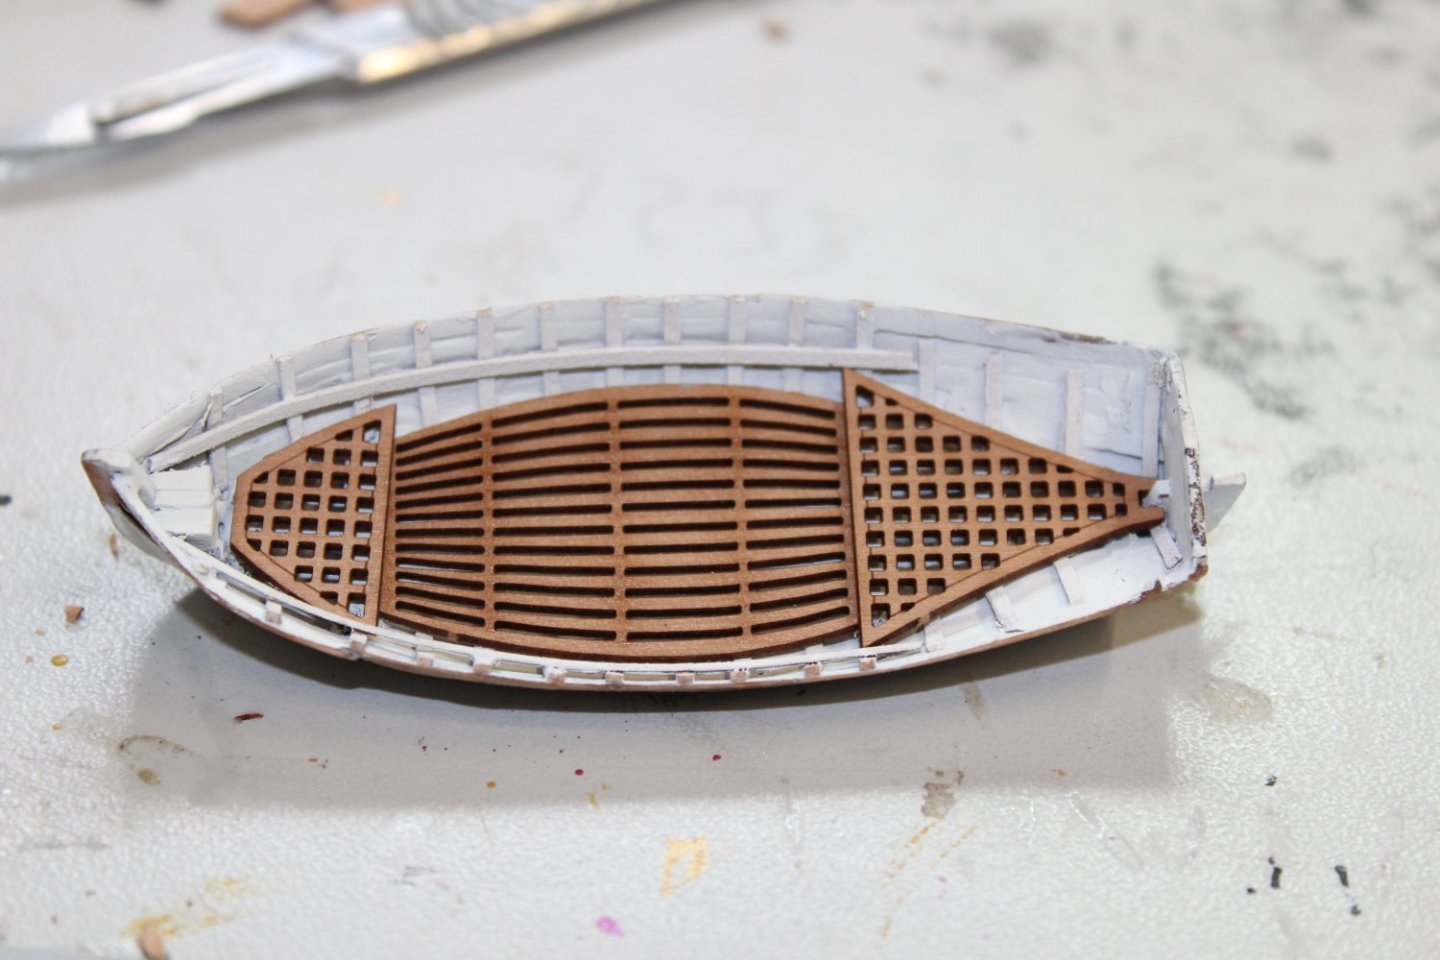
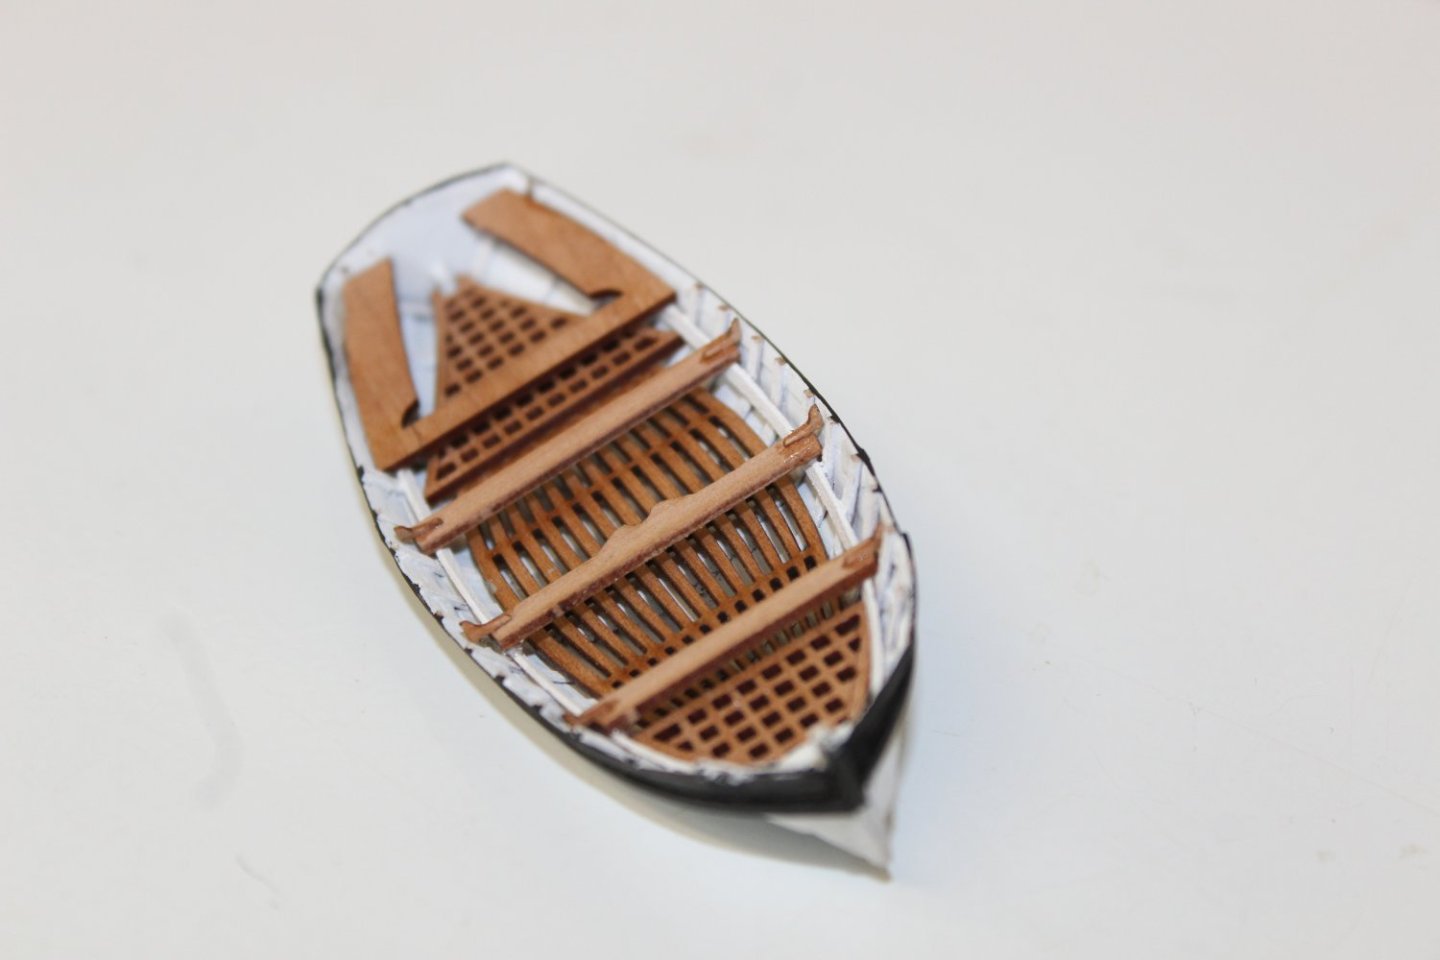
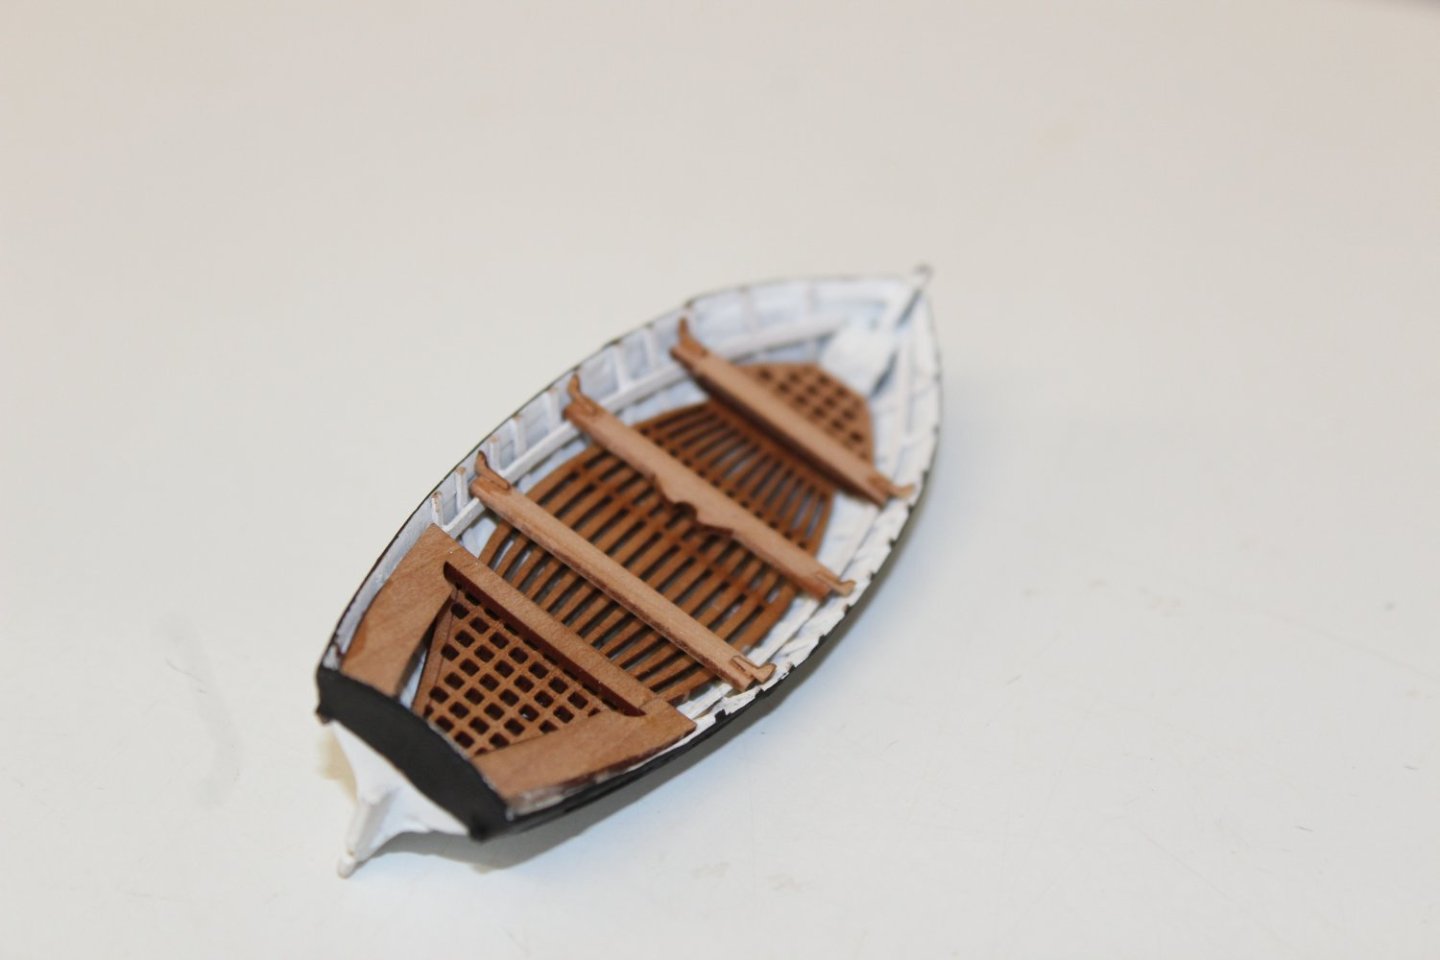
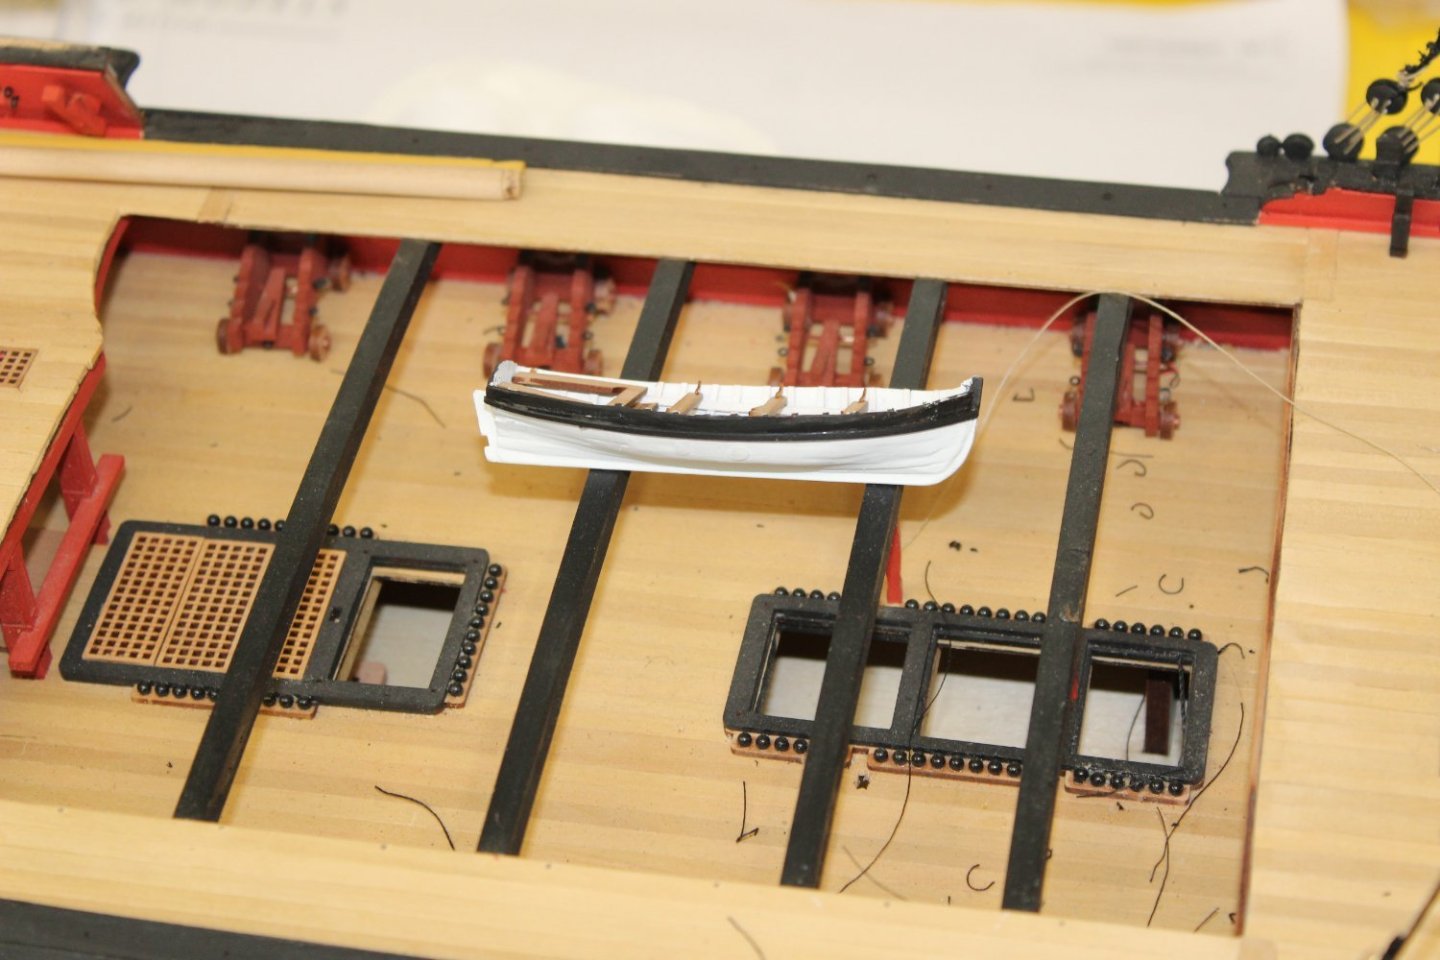
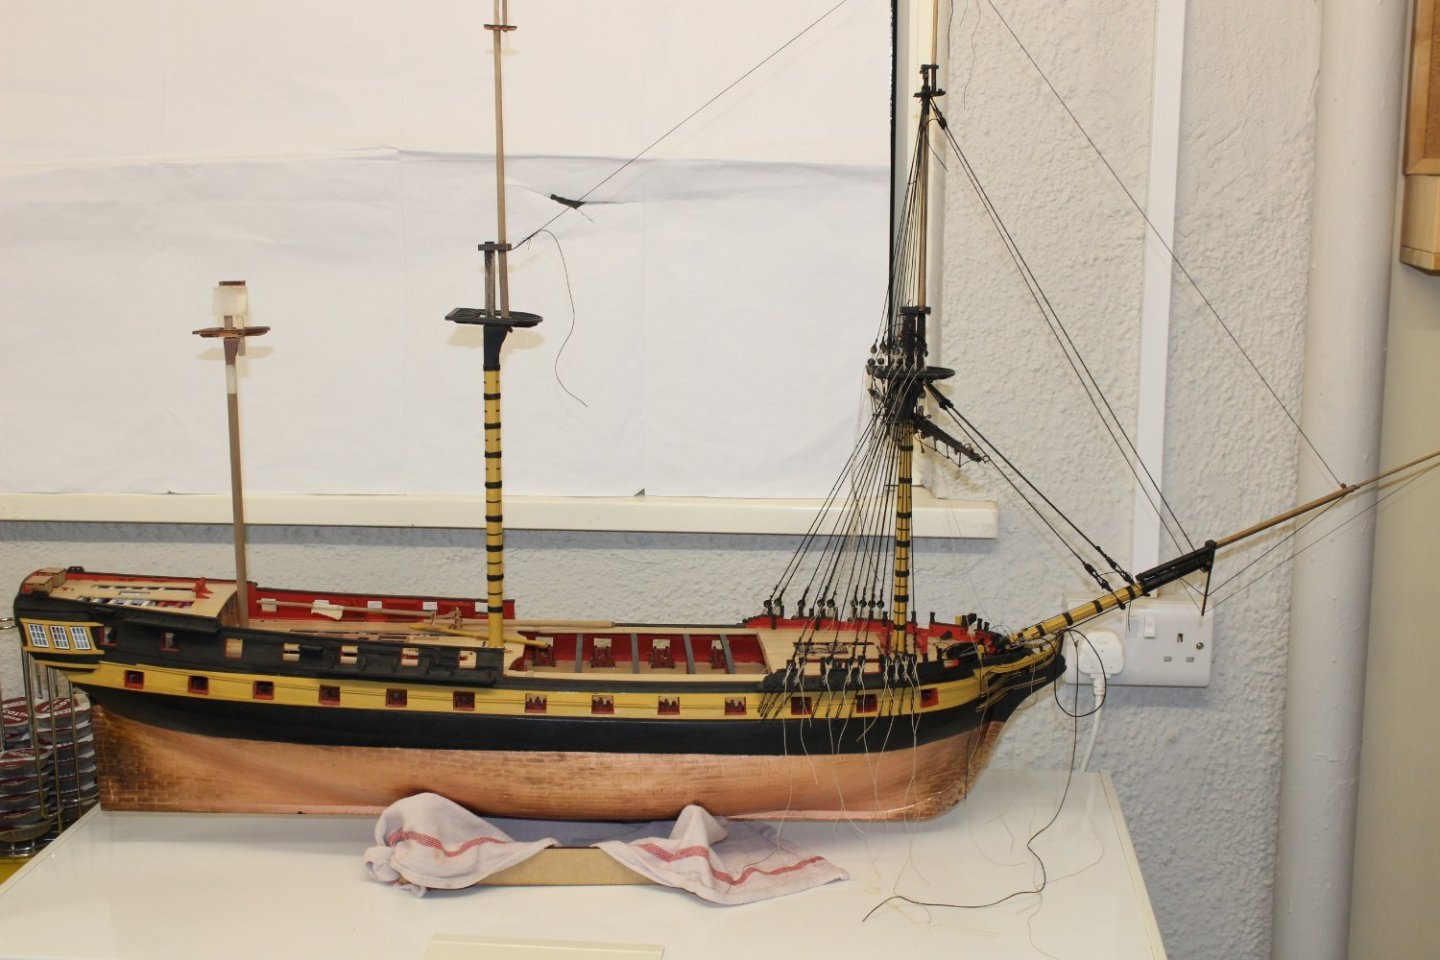
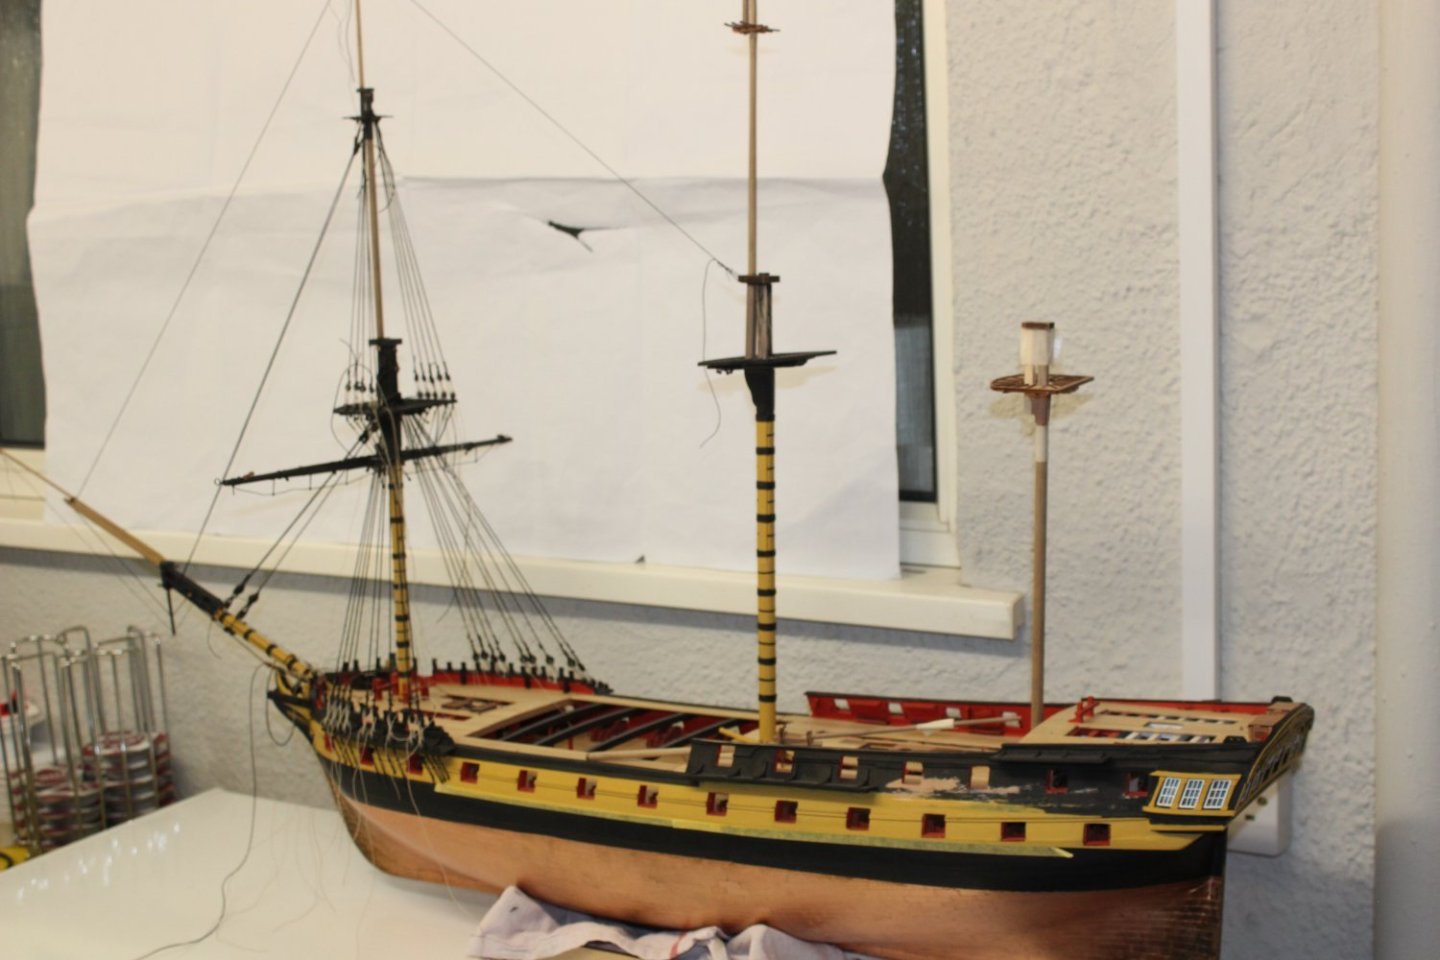
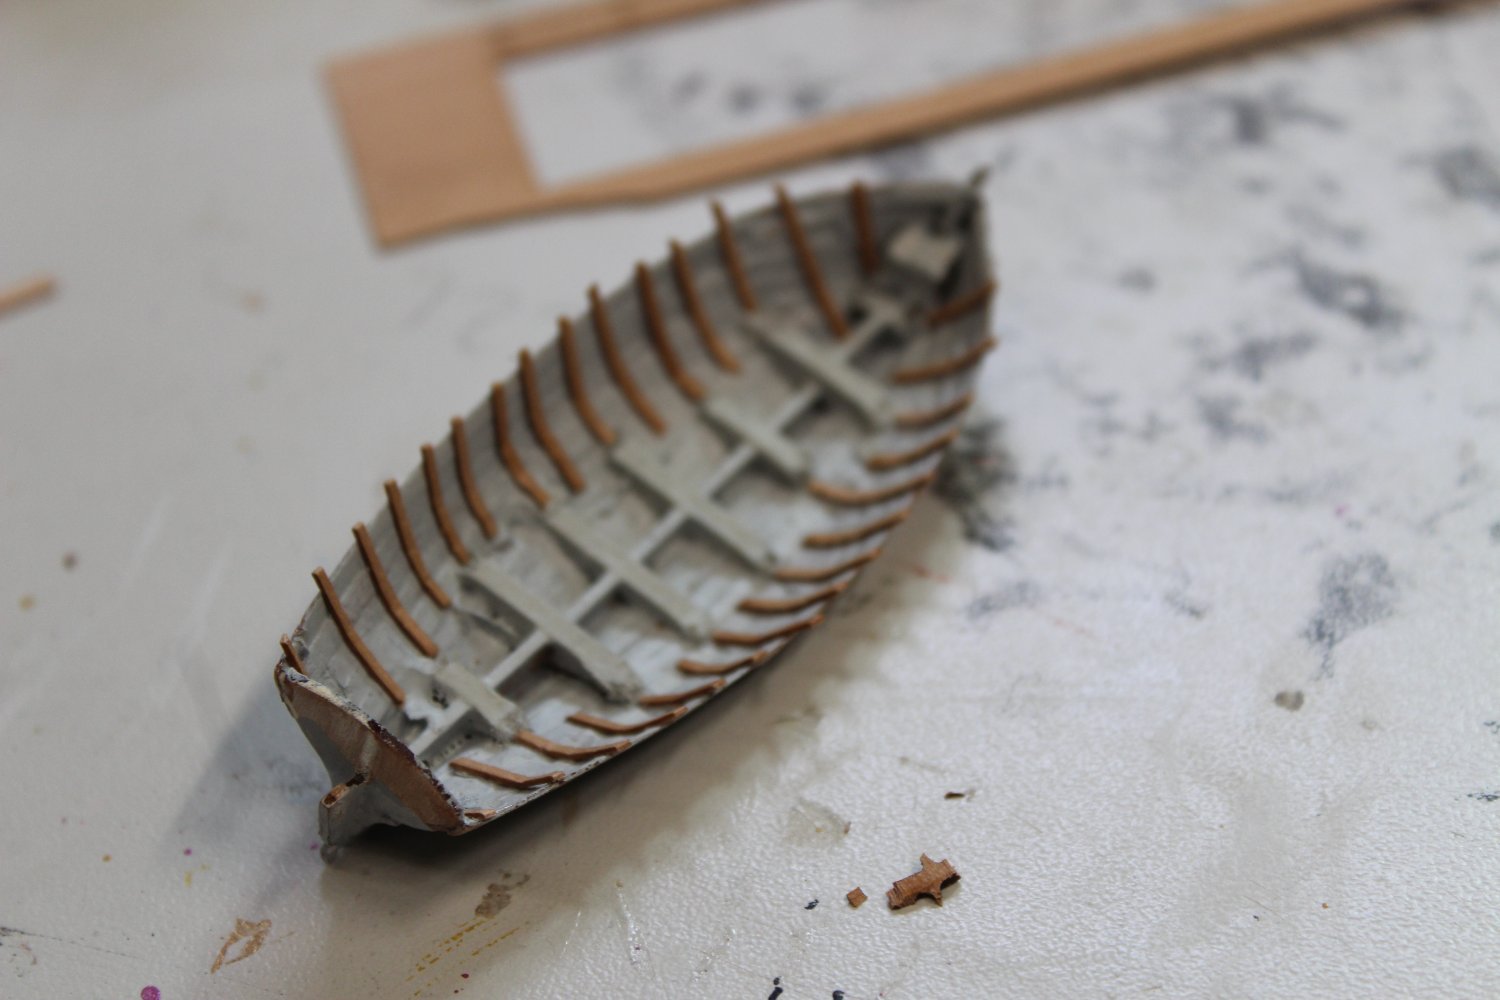
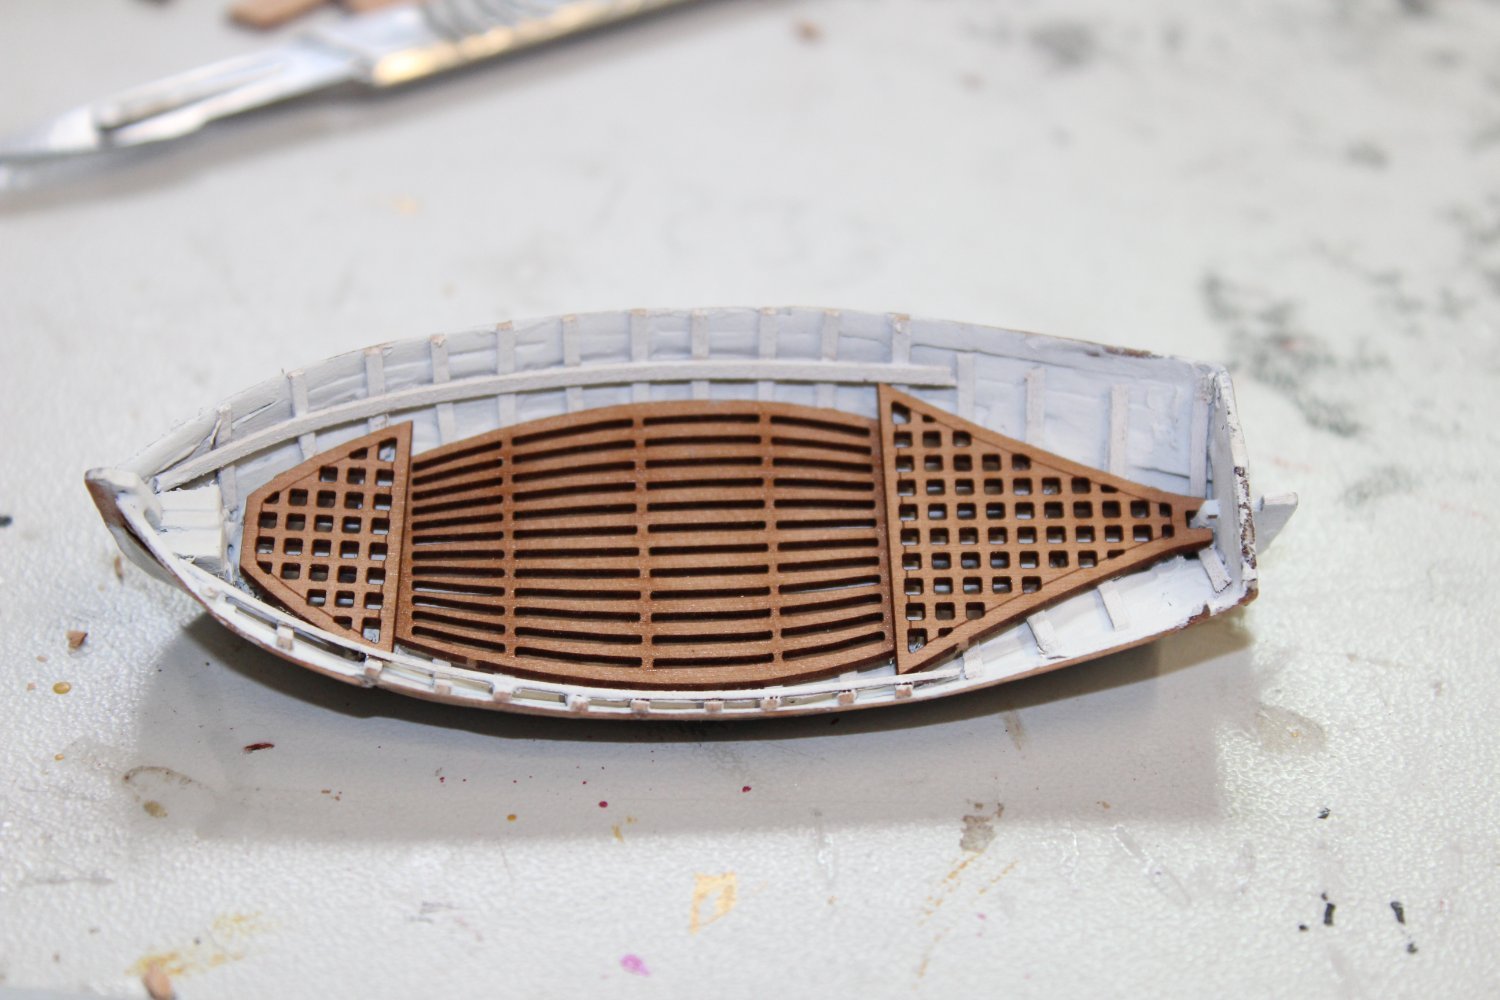
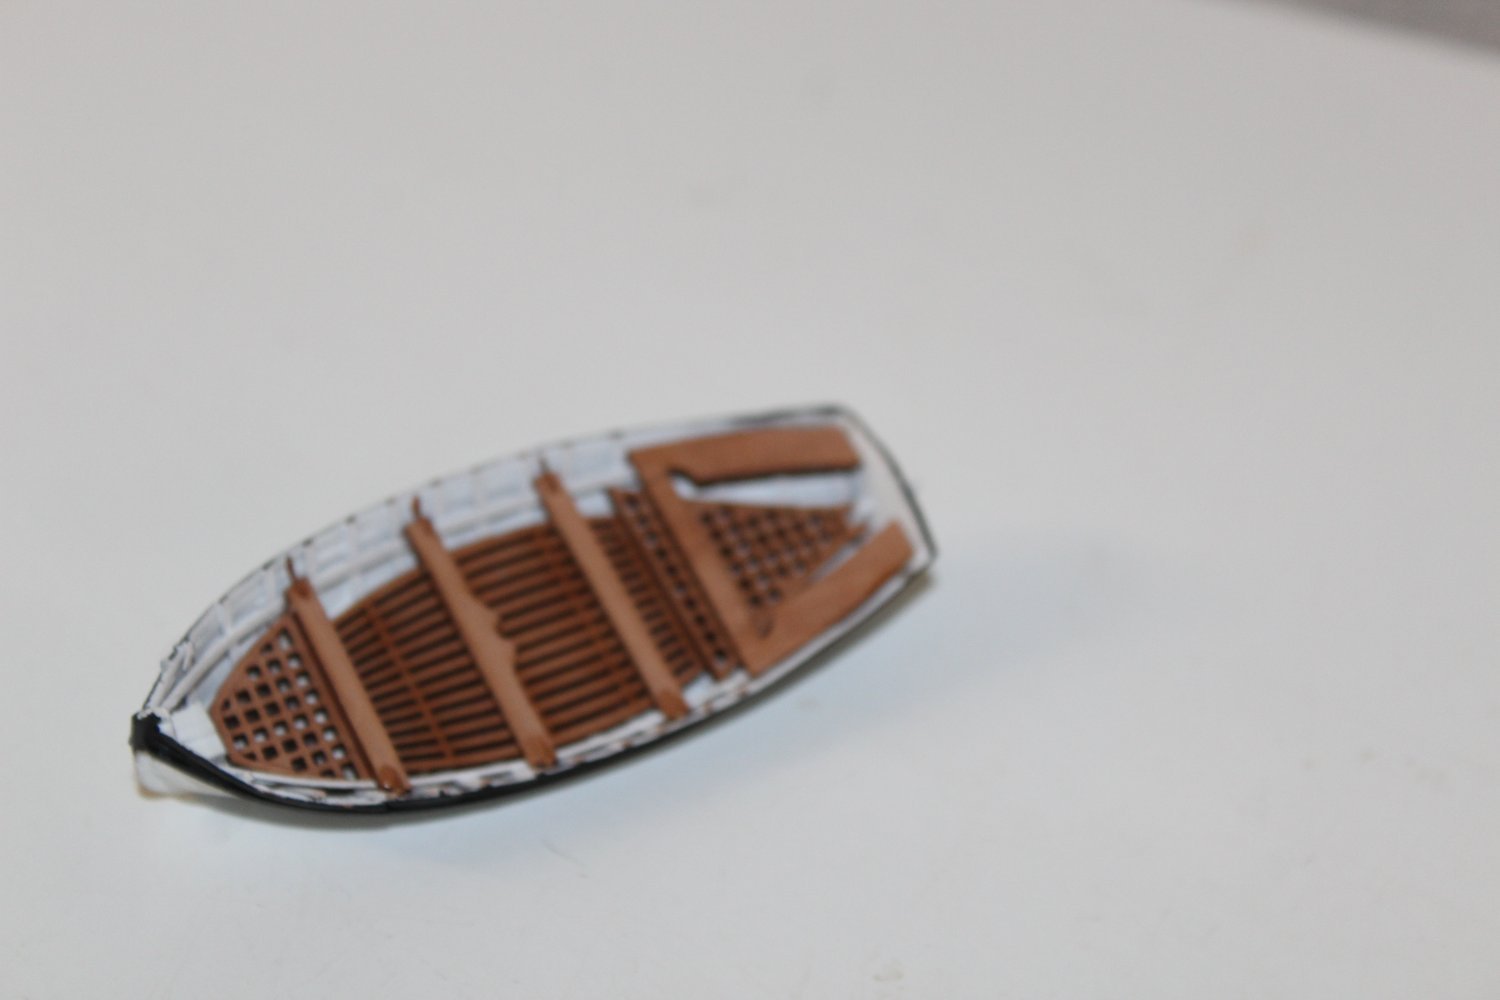
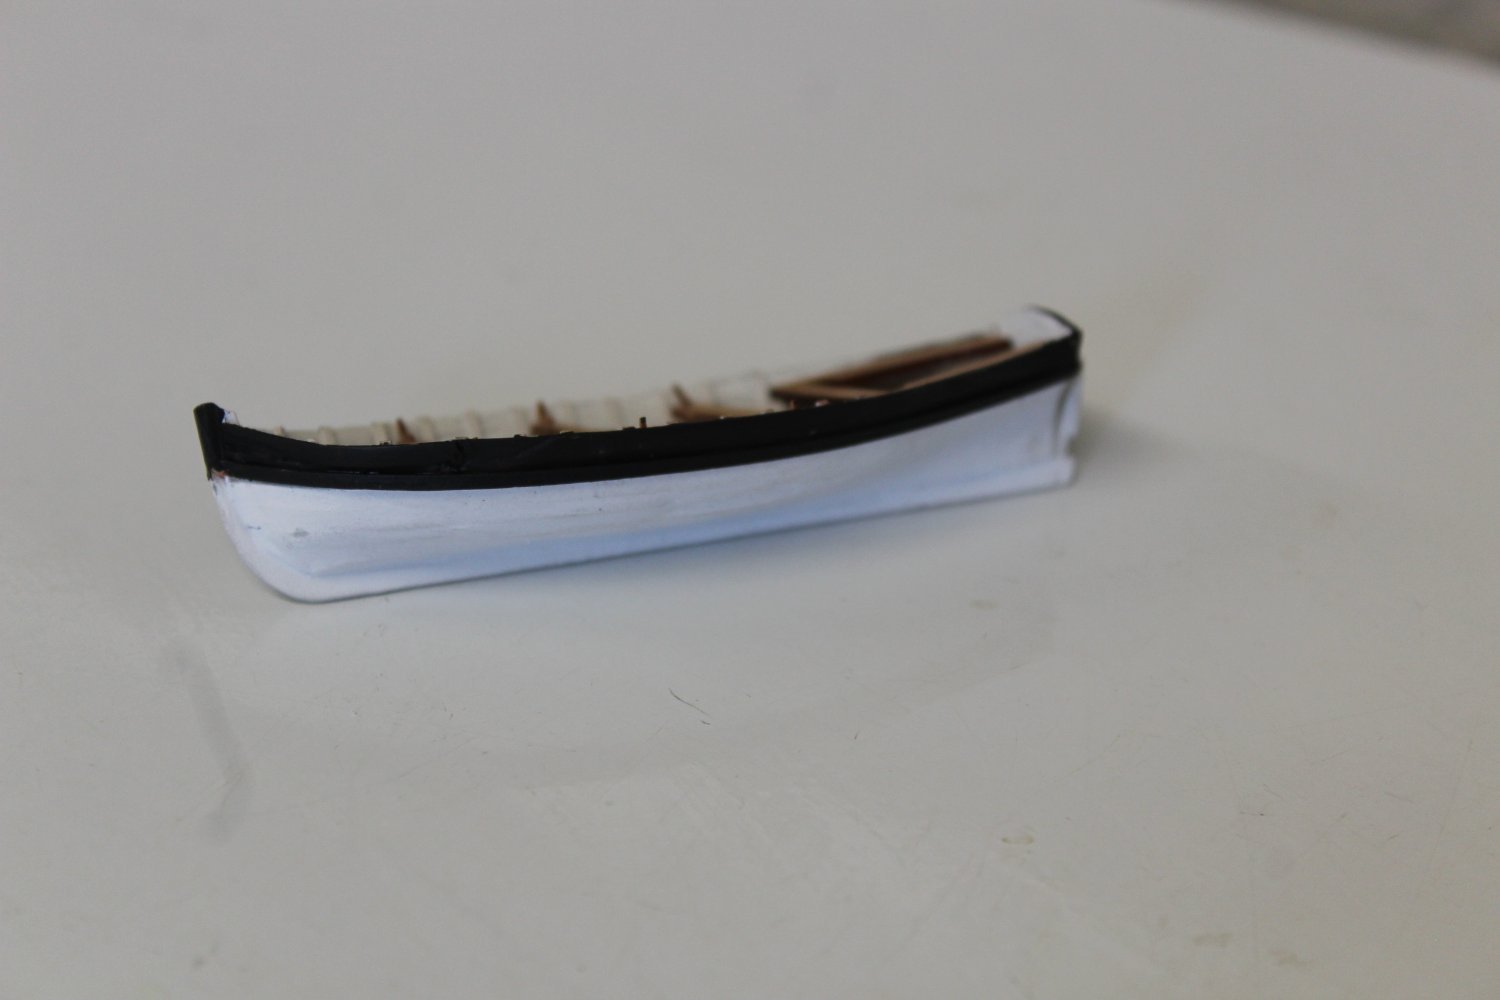
day 215-8 18ft cutter
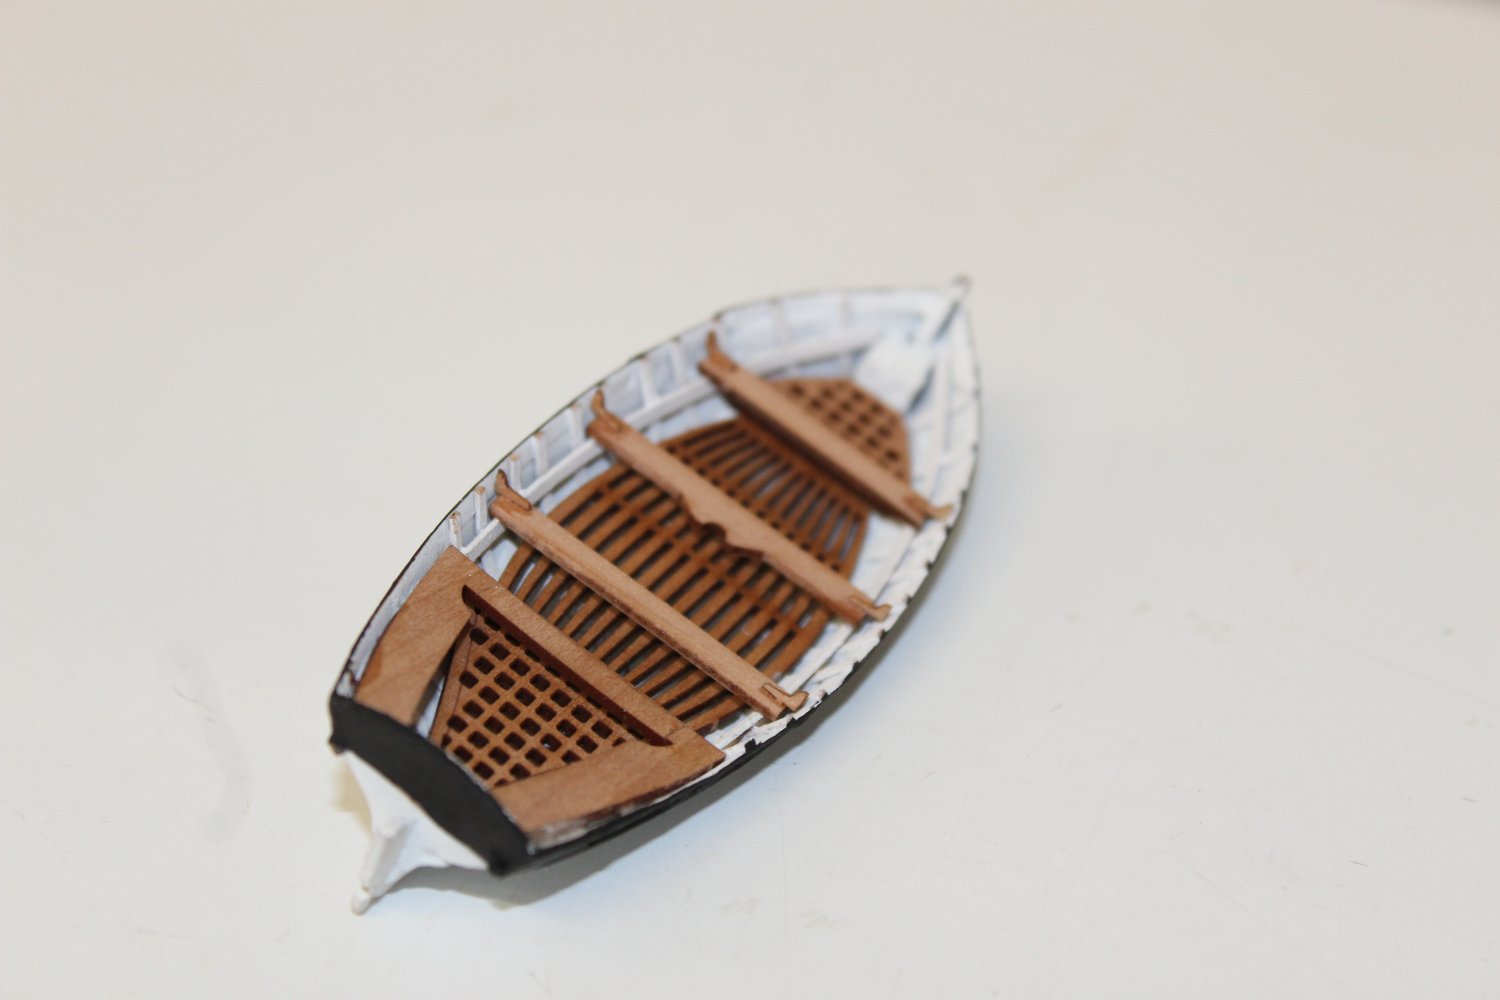
taking a break from rigging i have a fear of ships boats to overcome, i have never successfully built one, so i started with the smallest of the Indys boat set the 18ft cutter


- BobG, Haliburton, James H and 19 others
-
22
-
1 hour ago, ASAT said:
Your rigging is looking great Kevin! I really dislike the rigging but my wife loves the look of a fully rigged ship so guess what? 🤣 Keep going!
my fav bit, i hate building the ships boats up, and painting, guess what, im painting the ships boats at present, well one of the then 18ft cutter
- Old Collingwood, ECK and mtaylor
-
3
-
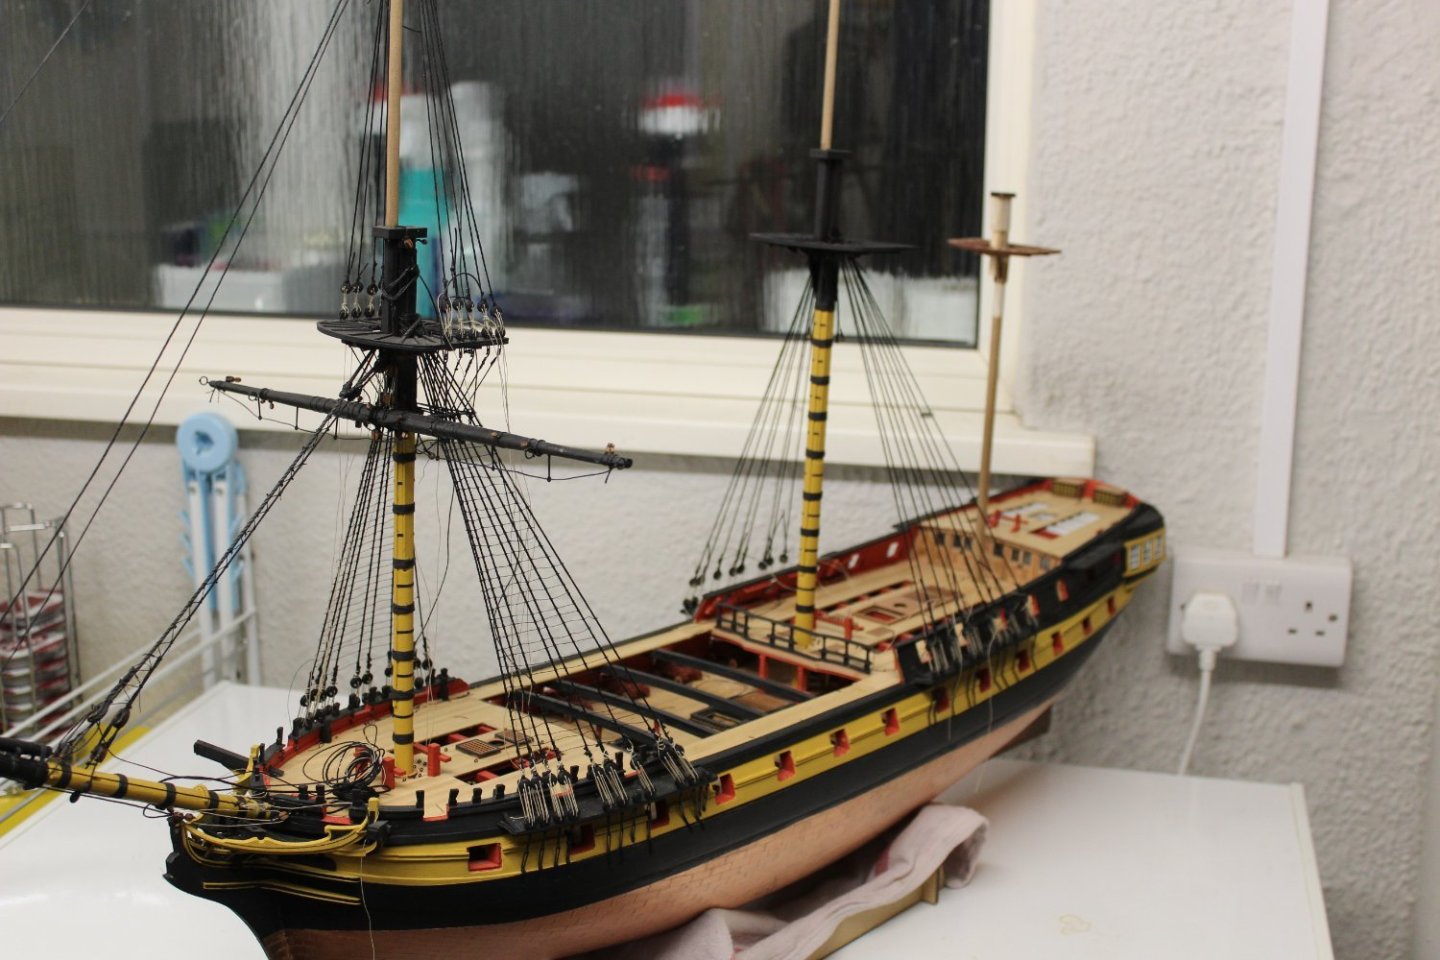
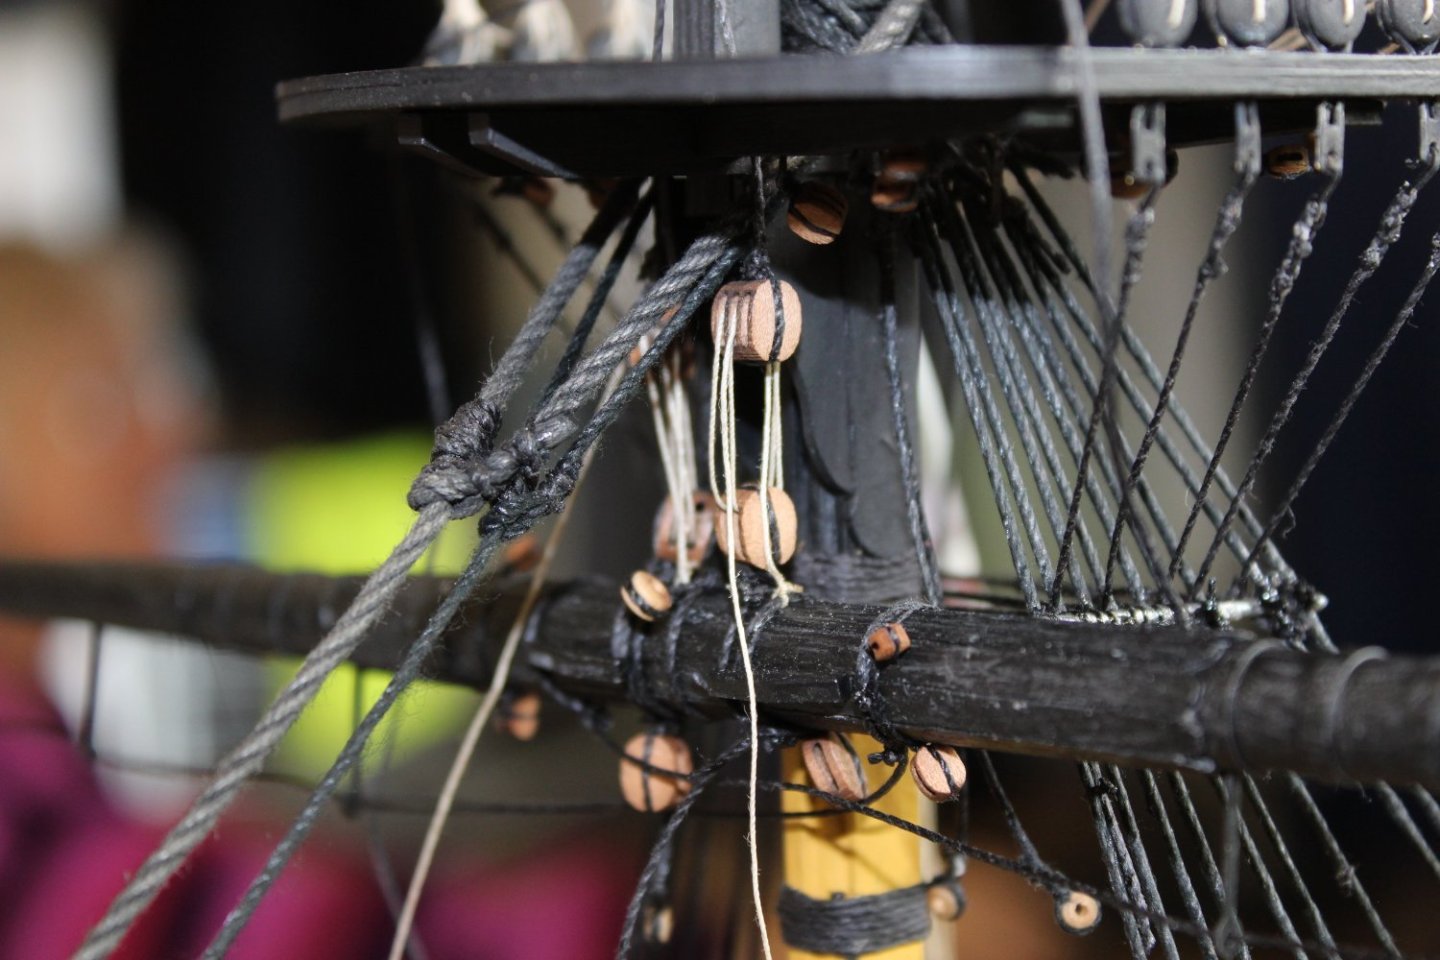
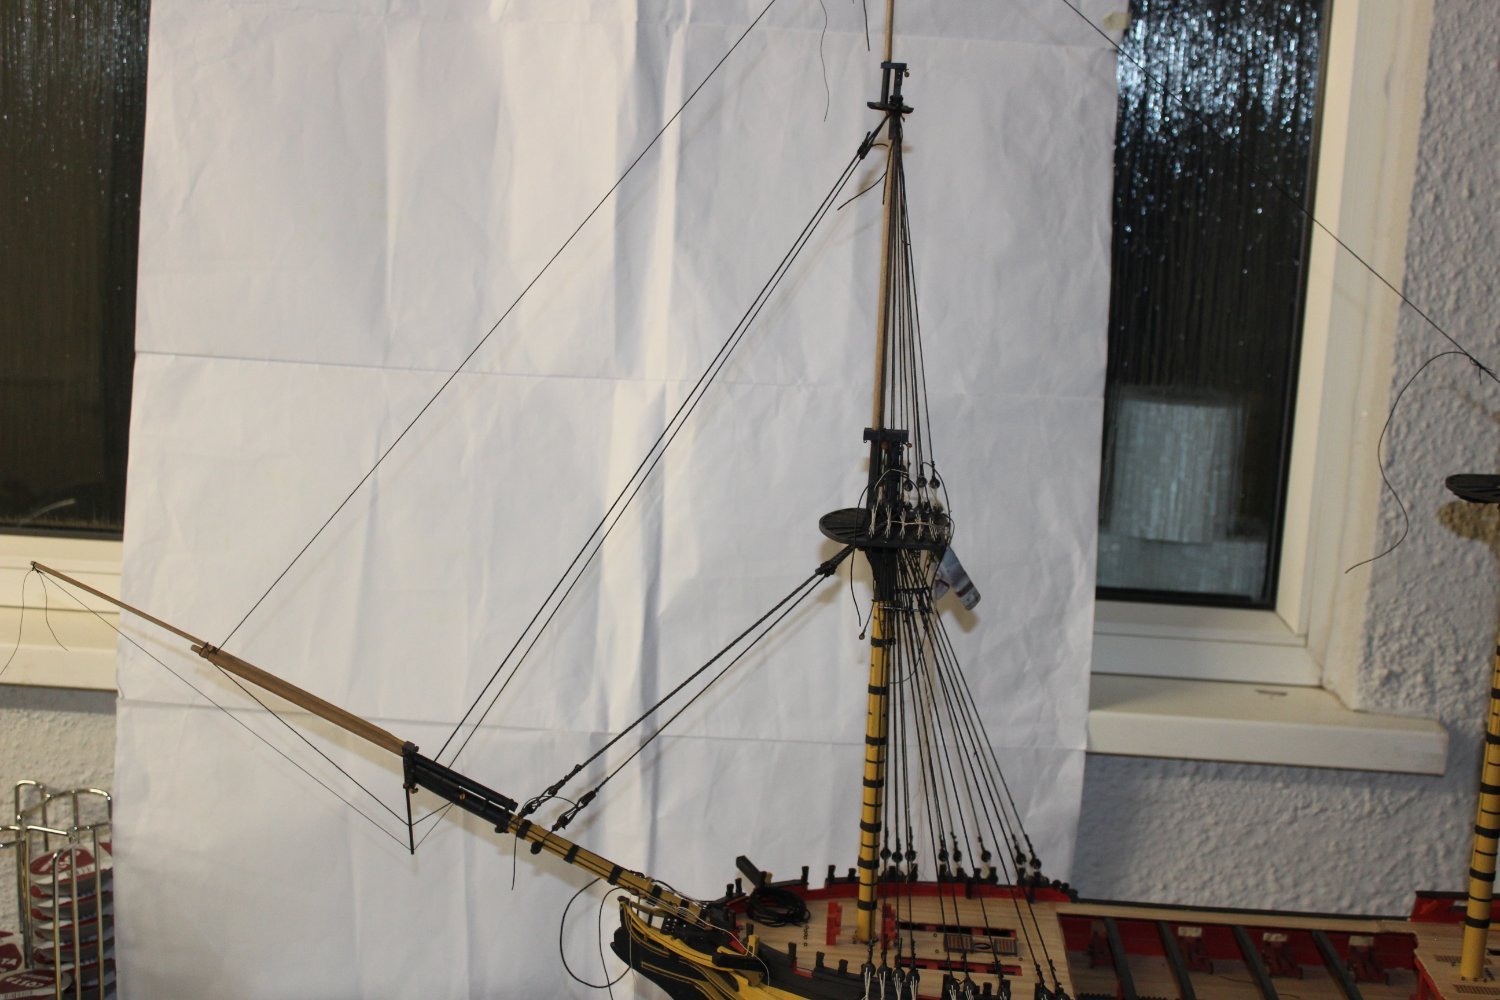
good evening everyone
thank you for all comments and likes
day 213 -8 forestay snaking - possible subject to a redo
having completed both sides of the lower forestay shrouds and rats i moved forward to put the forestay and preventer snaking in,
having now done them twice now they still dont look right, i have adequate tightness on the stays and the snaking thread is not pulling them in, but at a distance they look like they are being pulled together

-
very clean and tidy, but then i have never seen any of your work that wasn't
- mtaylor, thibaultron, Jack12477 and 4 others
-
7
-
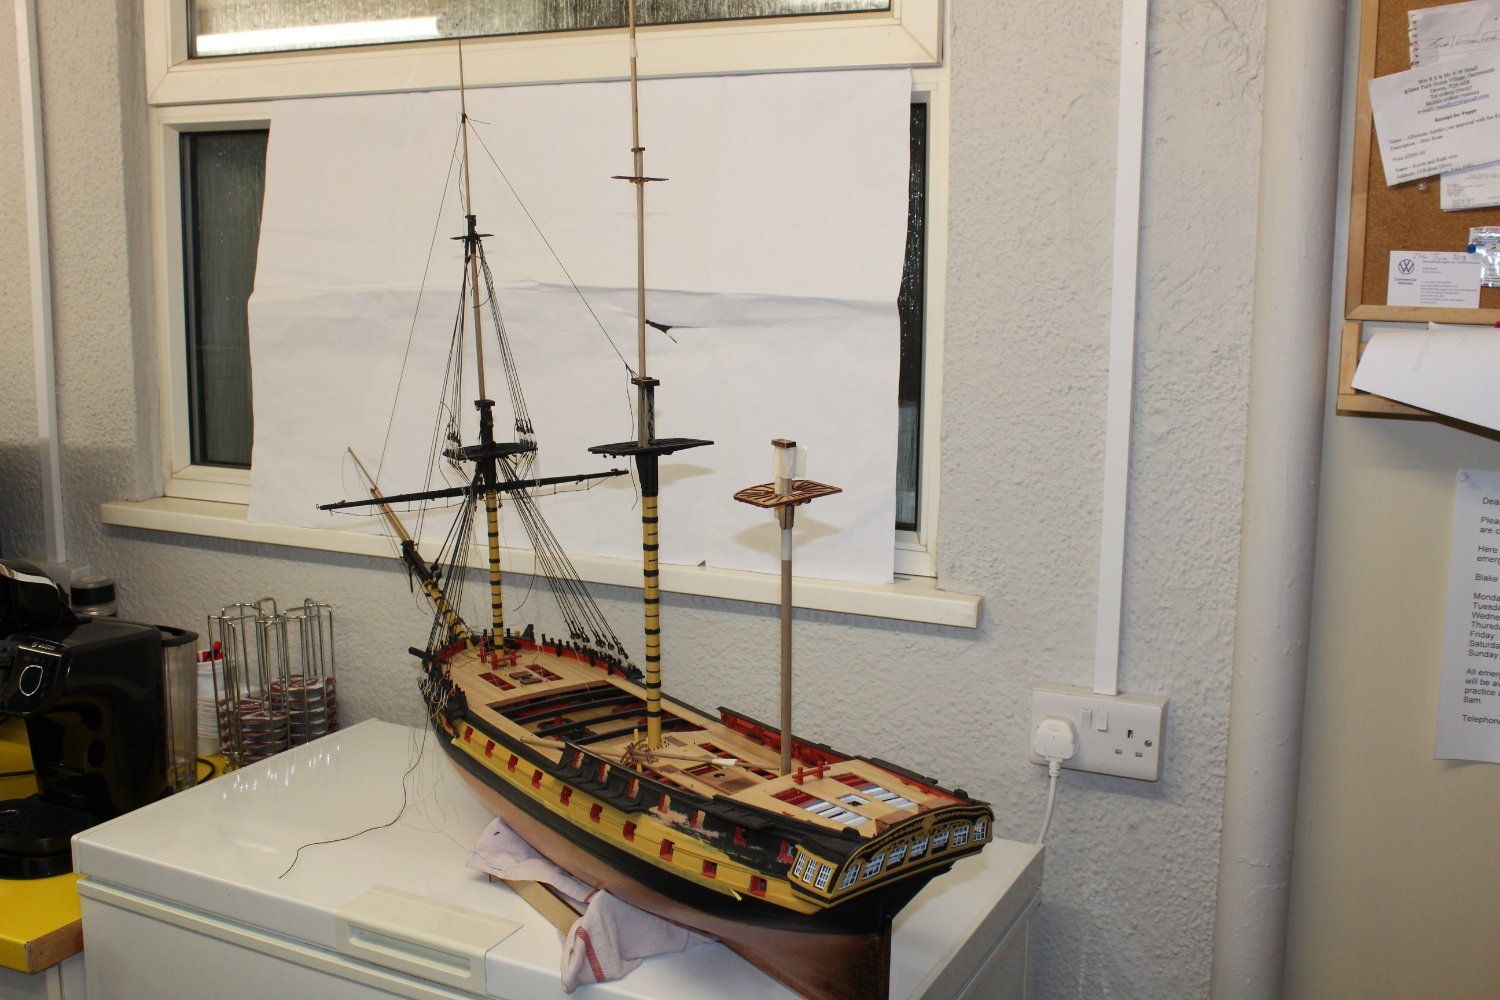
good evening everyone
thank you for comments and likes
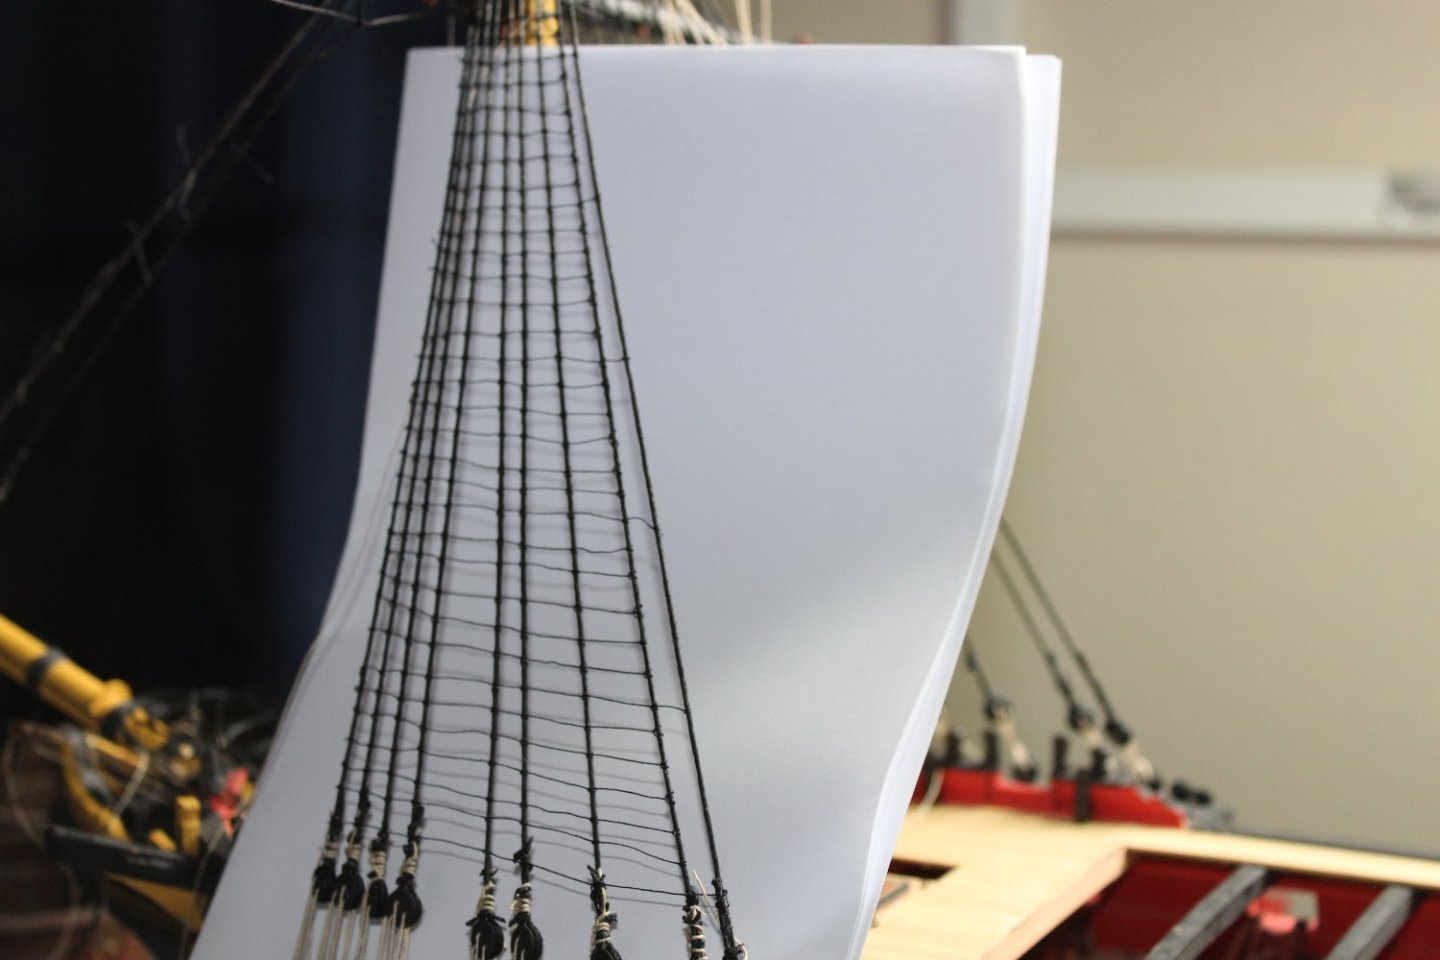
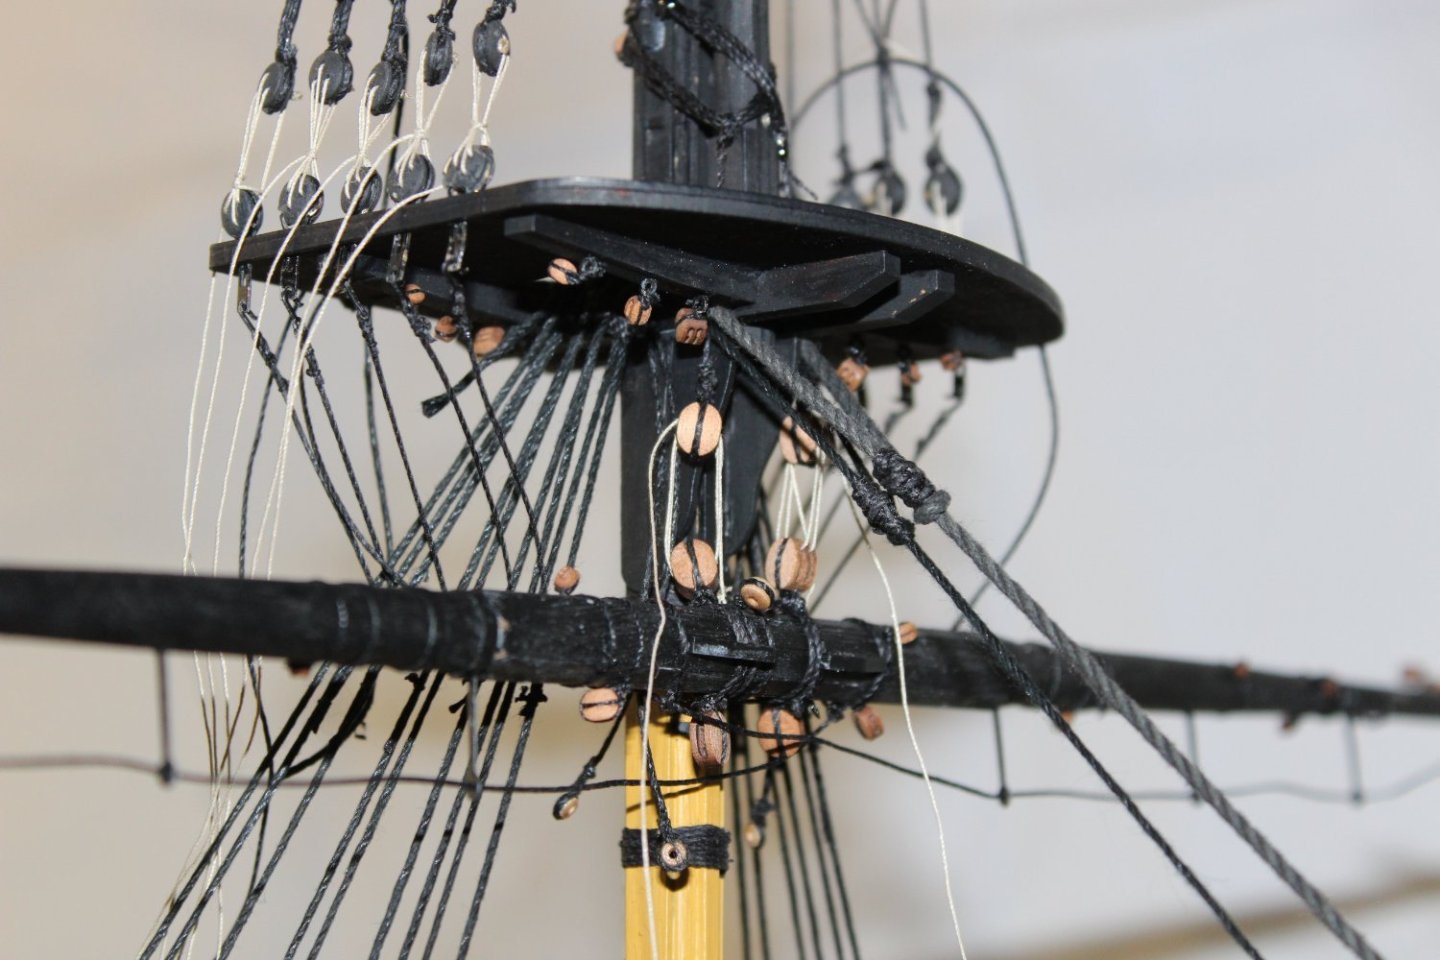
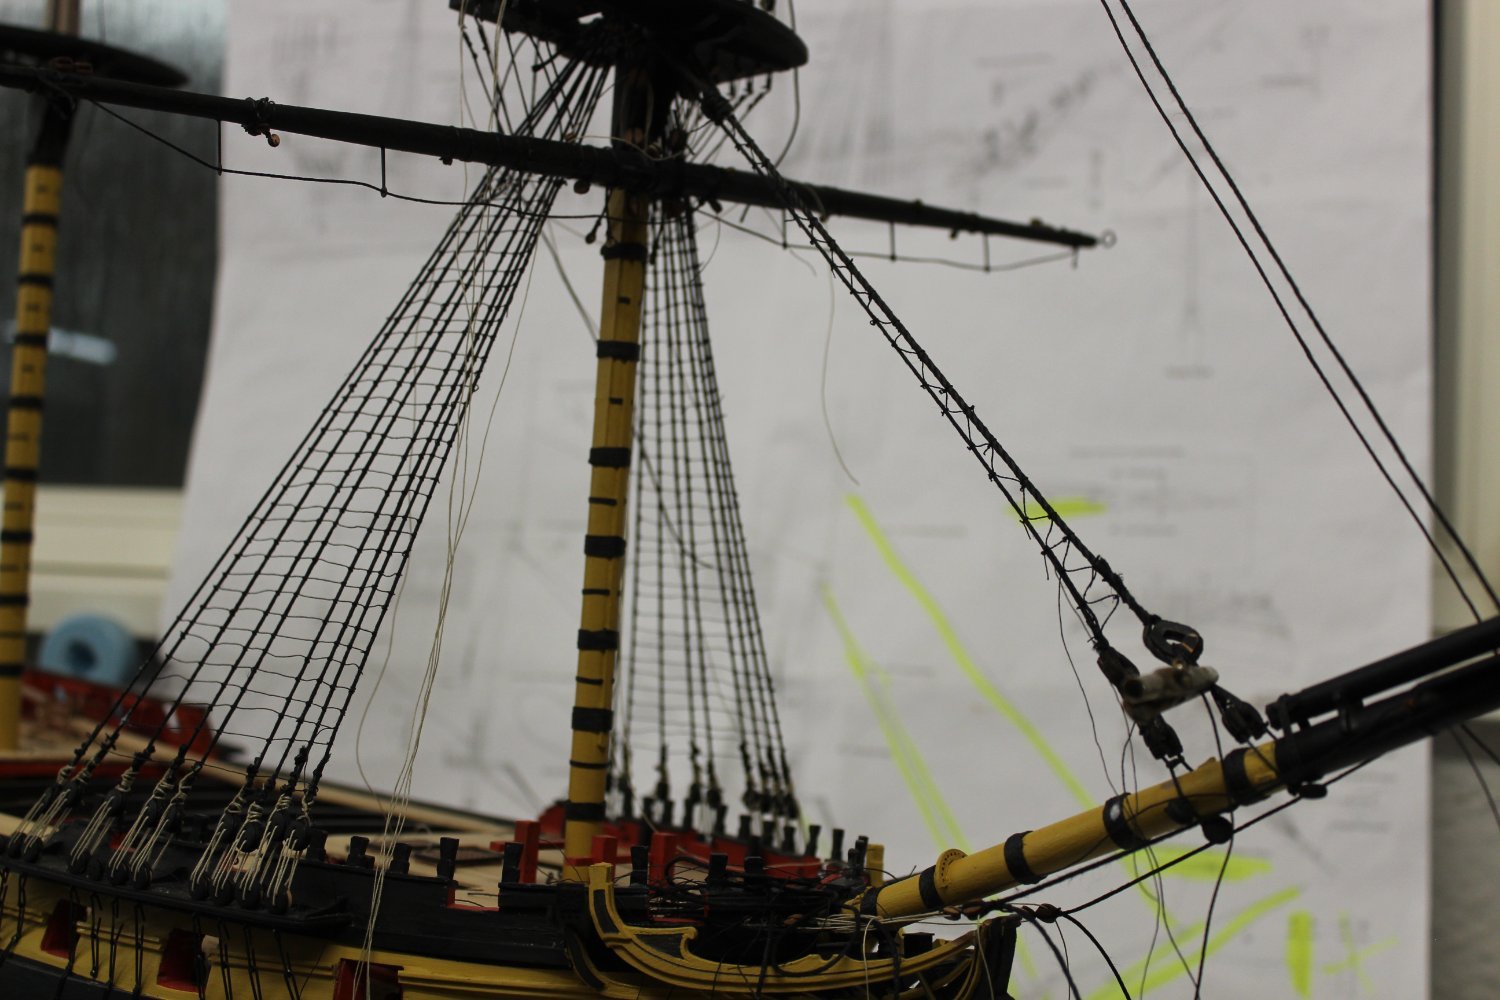
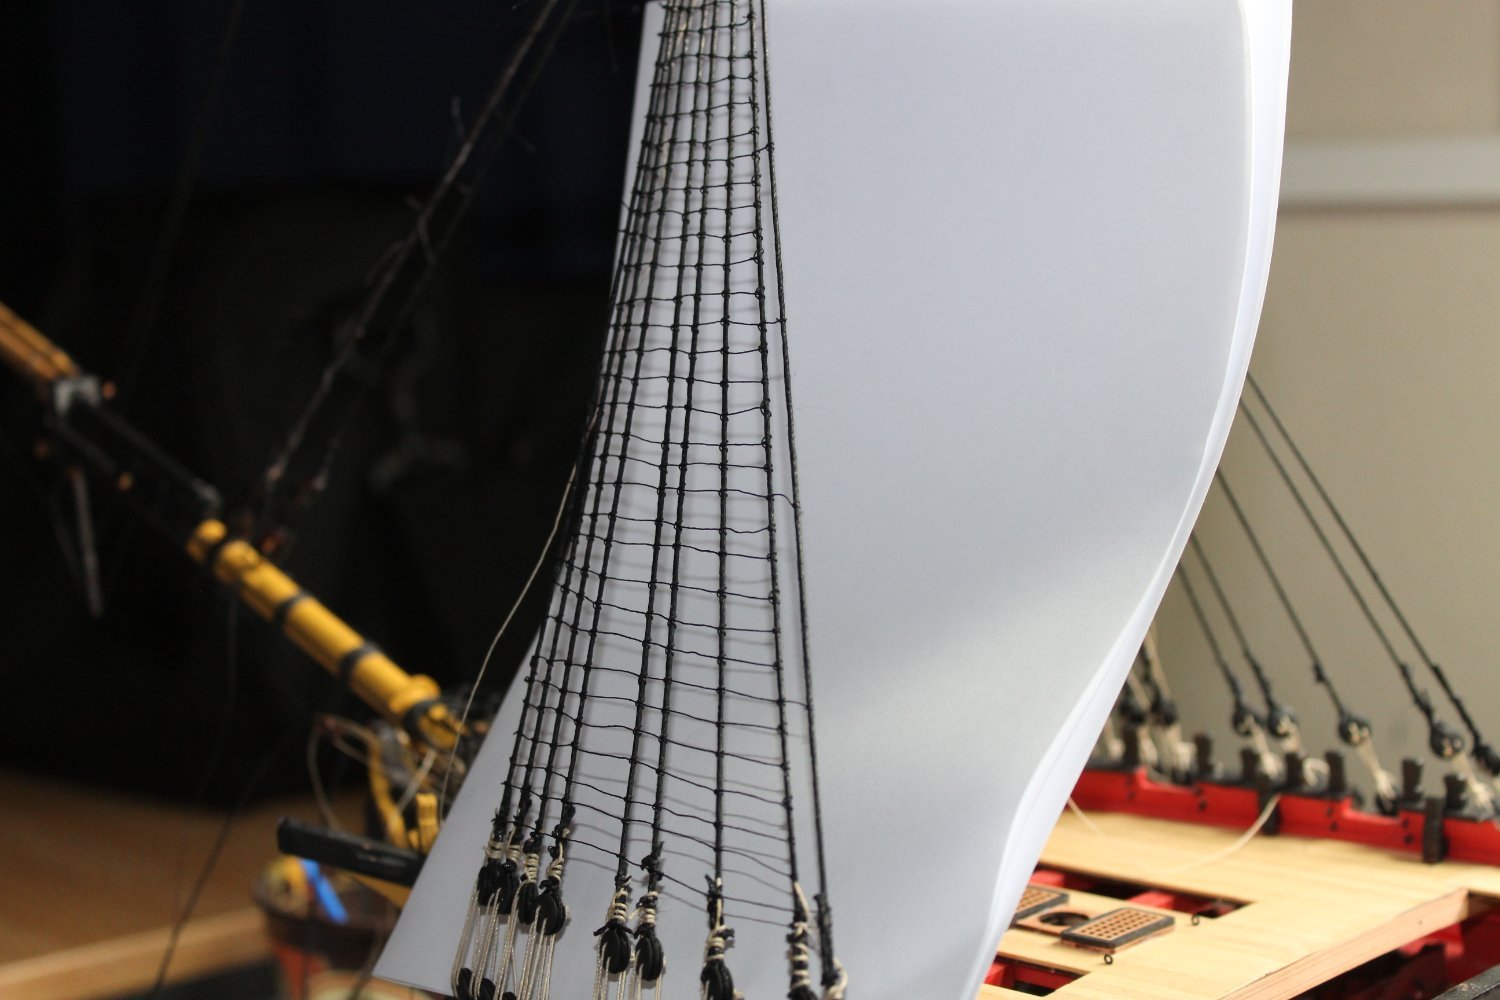
day 209- Port side fore mast lower ratlines
im finally happy with something


- mgatrost, Ryland Craze, Kingspoke and 15 others
-
18
-
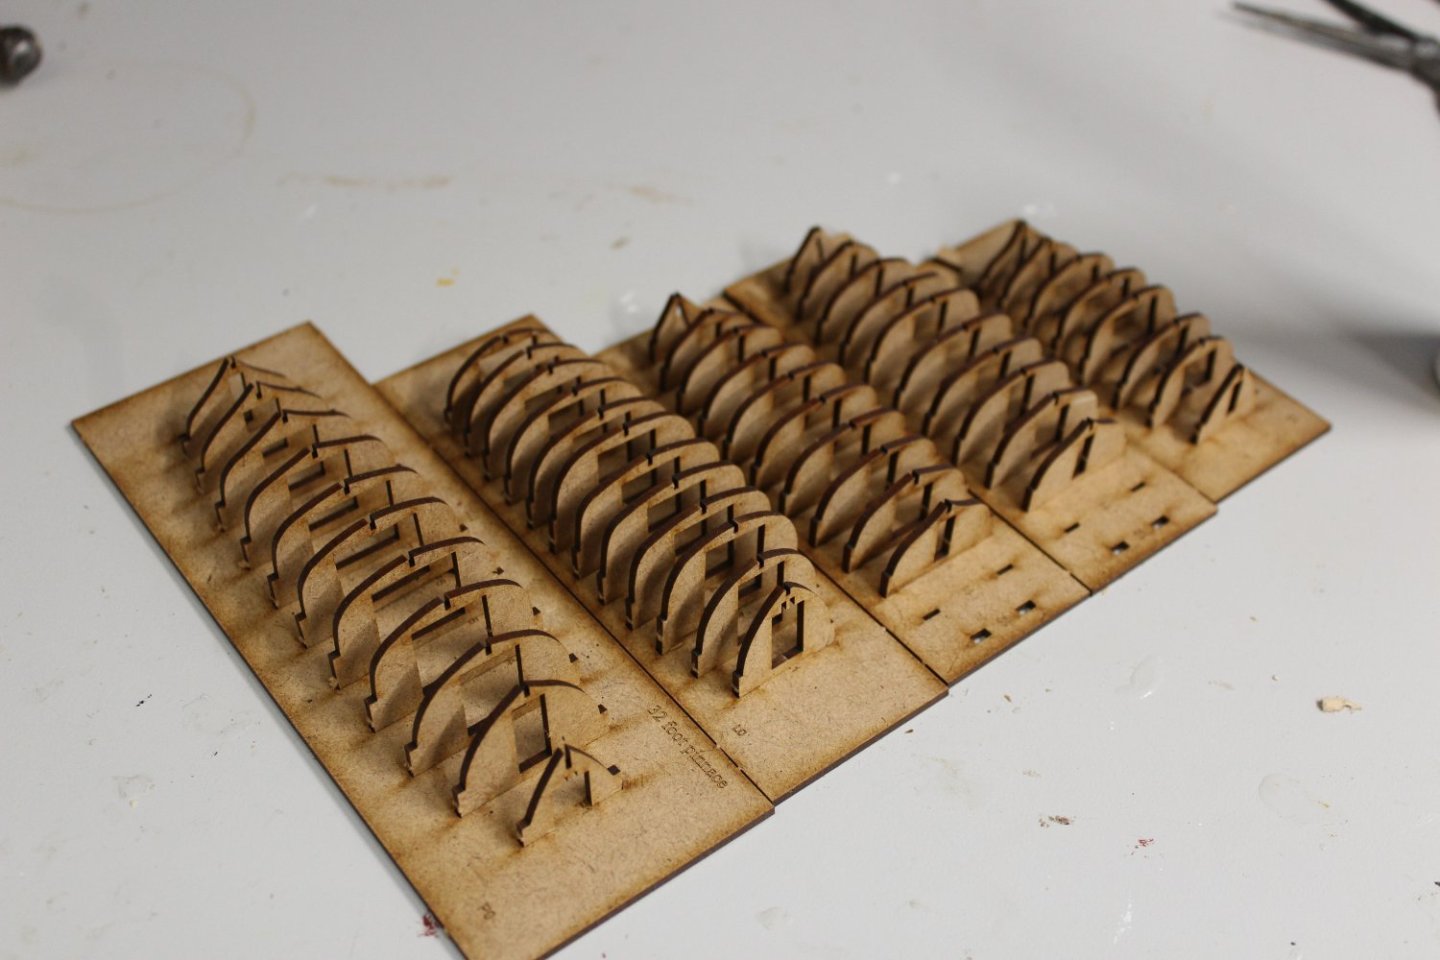
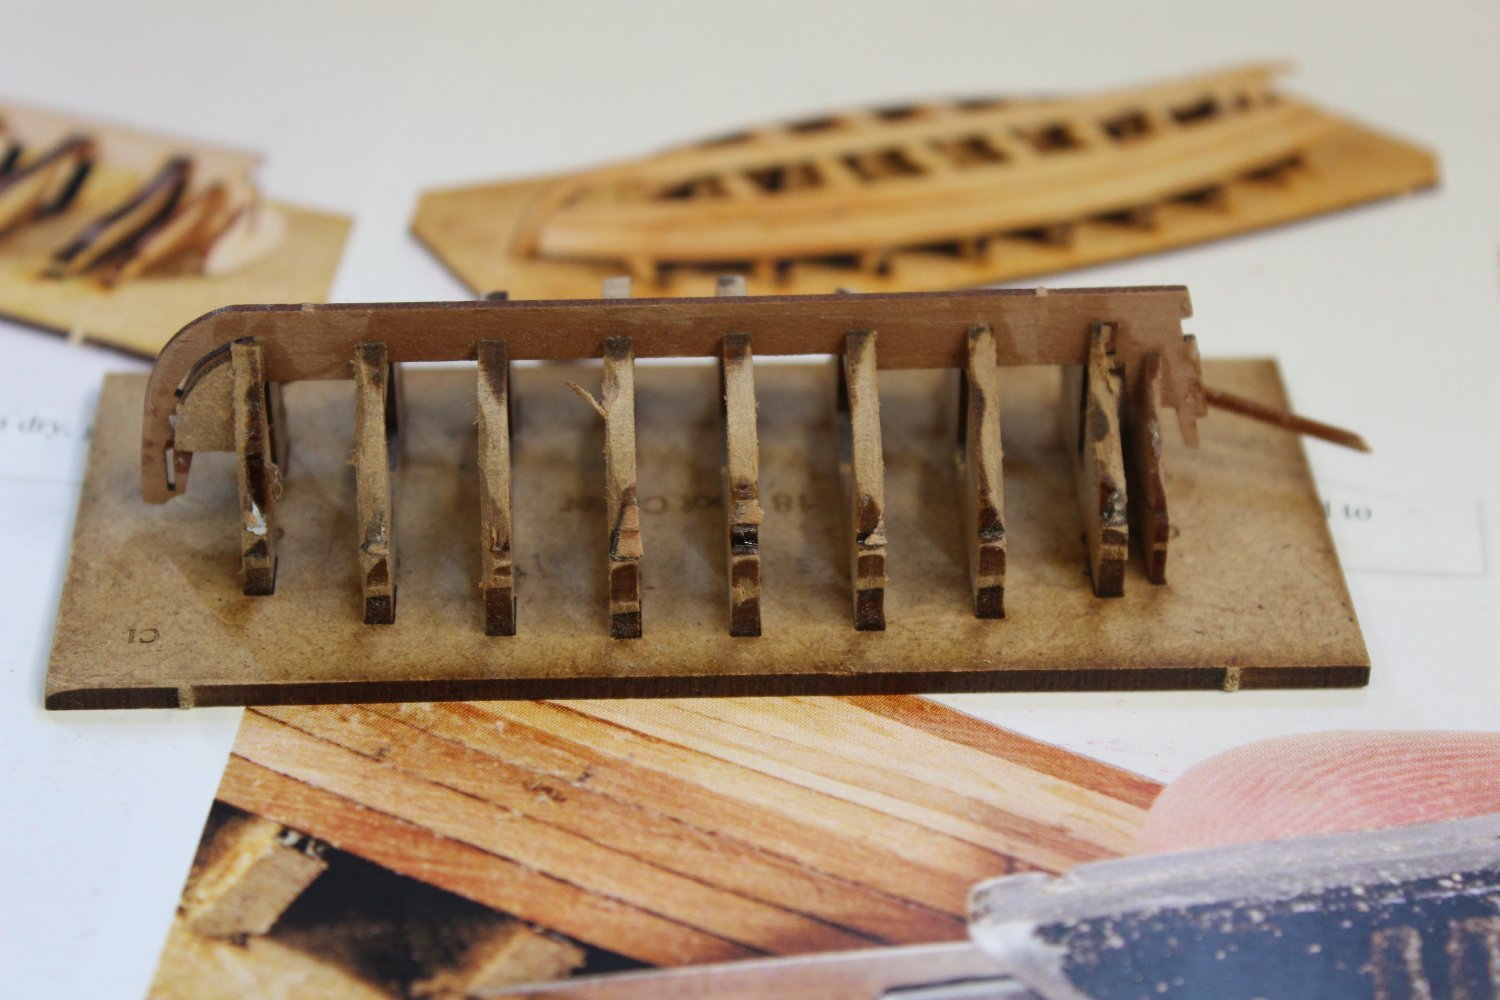
that looks a brilliant base for ist planking
- Ronald-V, mtaylor and FrankWouts
-
2
-
 1
1
-
8 minutes ago, ASAT said:
Looking great Kevin! Your best effort to date I think? Rigging is awesome, this is going to look so impressive fully rigged, definitely needs a spot of high honor in the house!
it will go in the garage with all the other builds, no one will ever see it when complete
- Ryland Craze, Knocklouder, mtaylor and 1 other
-
 2
2
-
 2
2
-
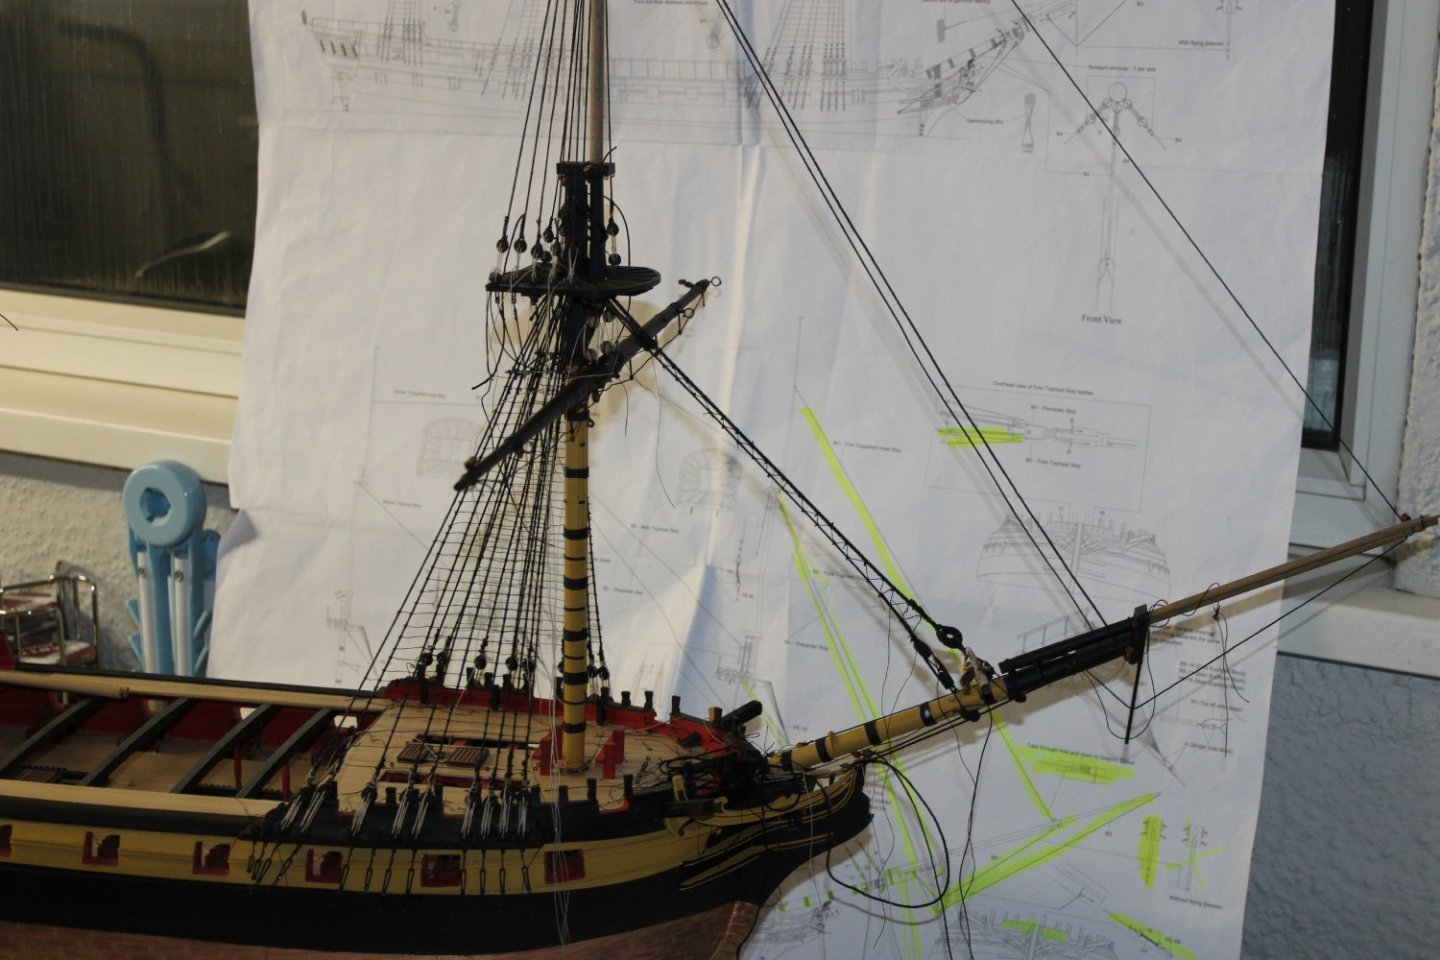
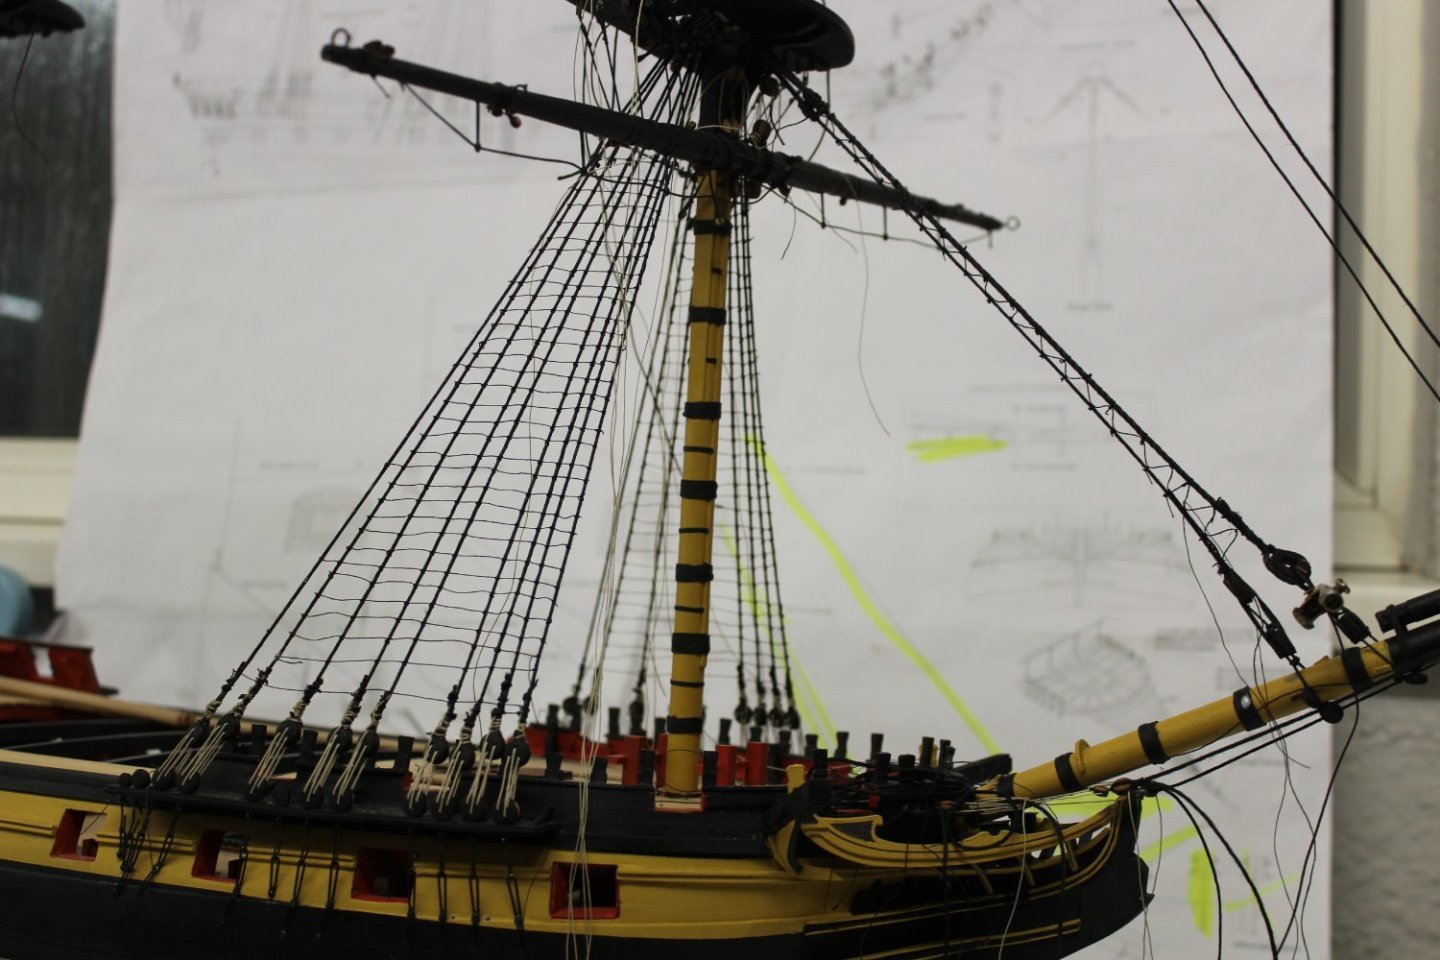
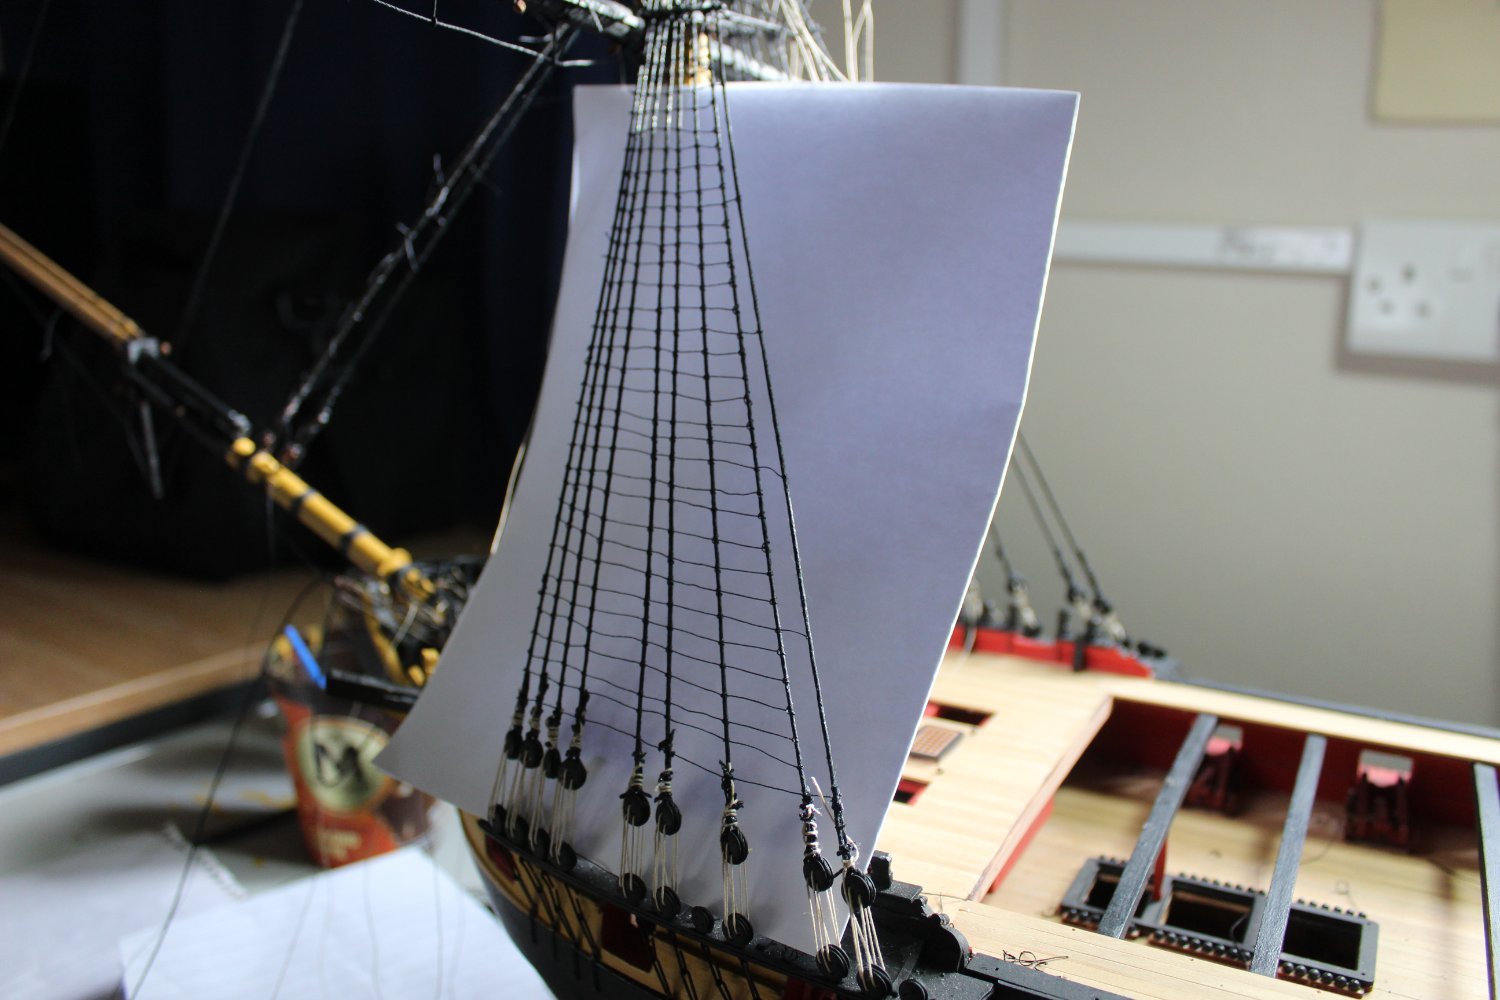
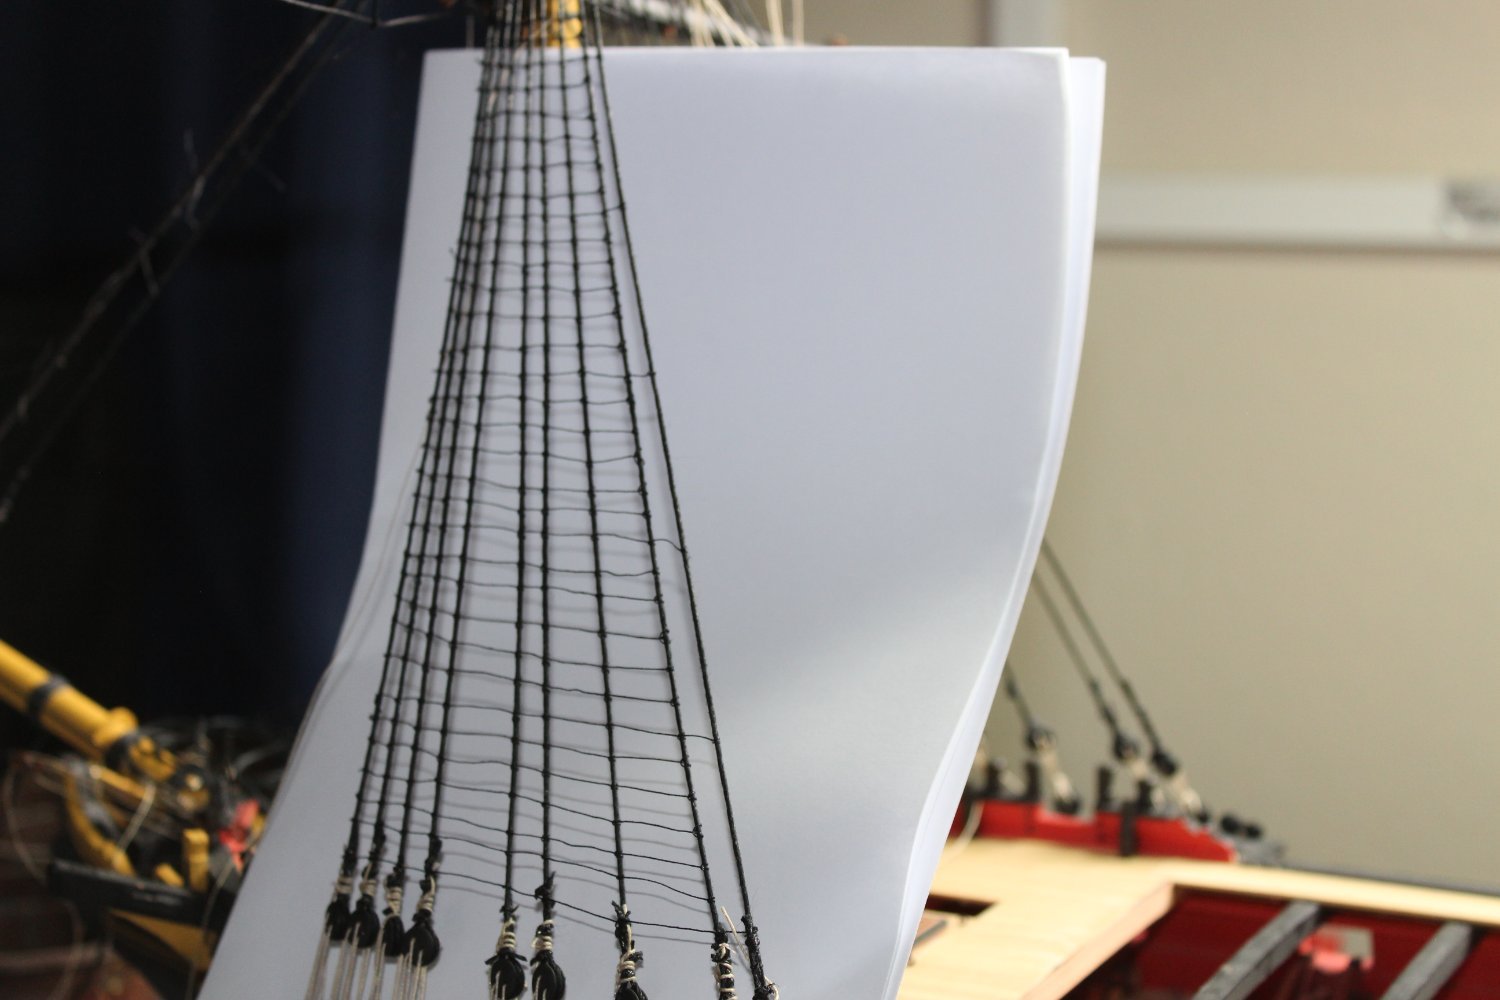
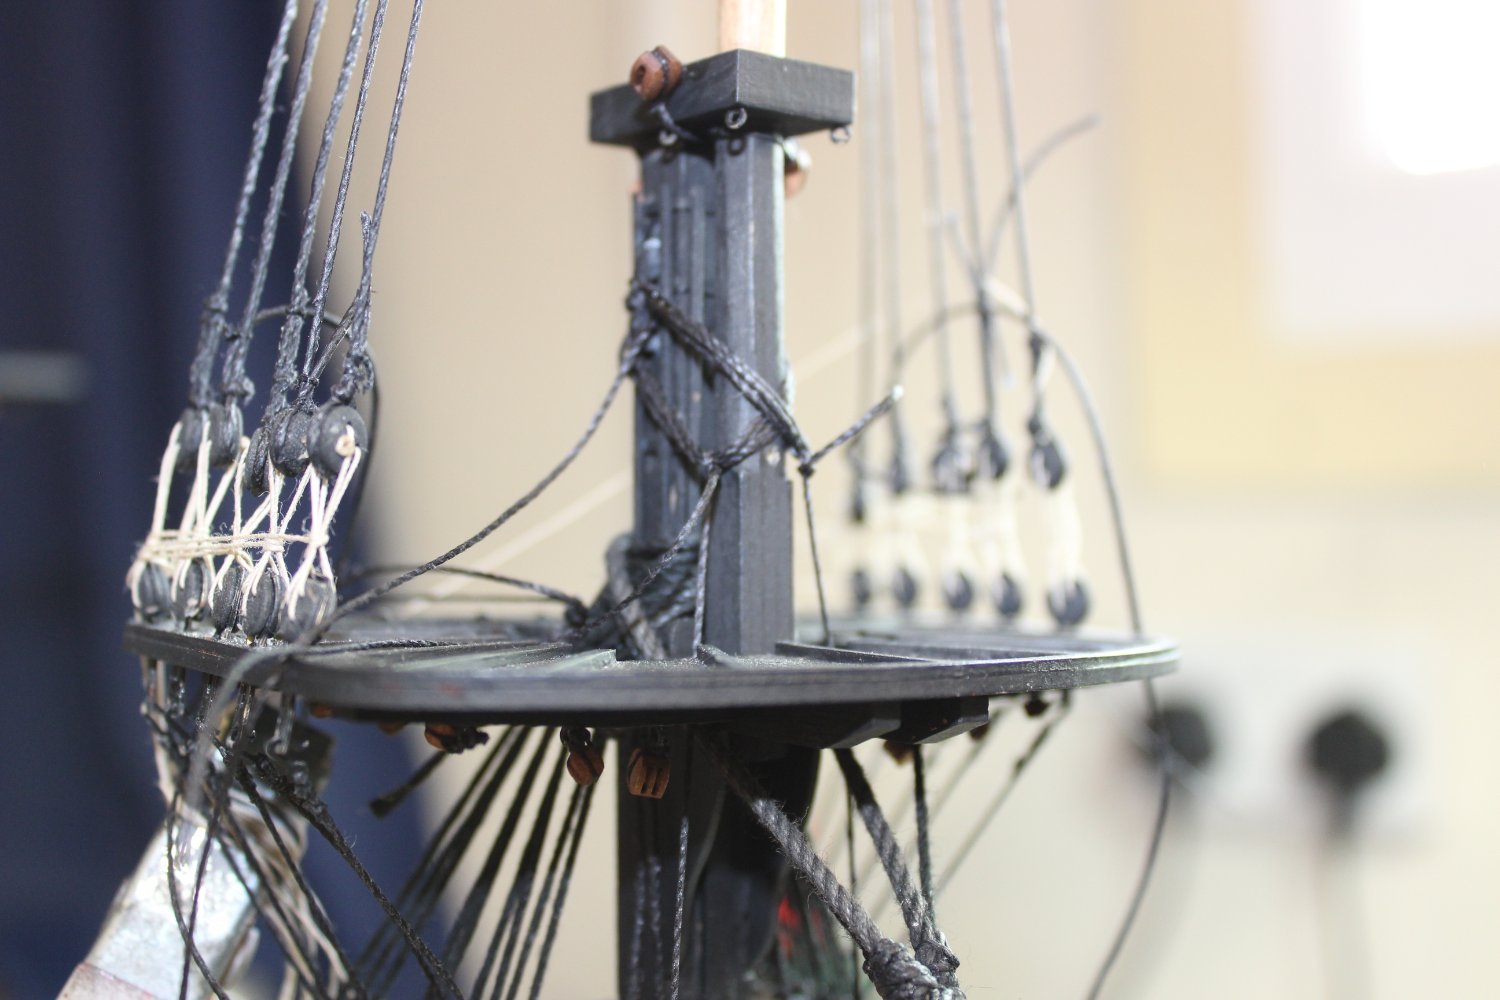
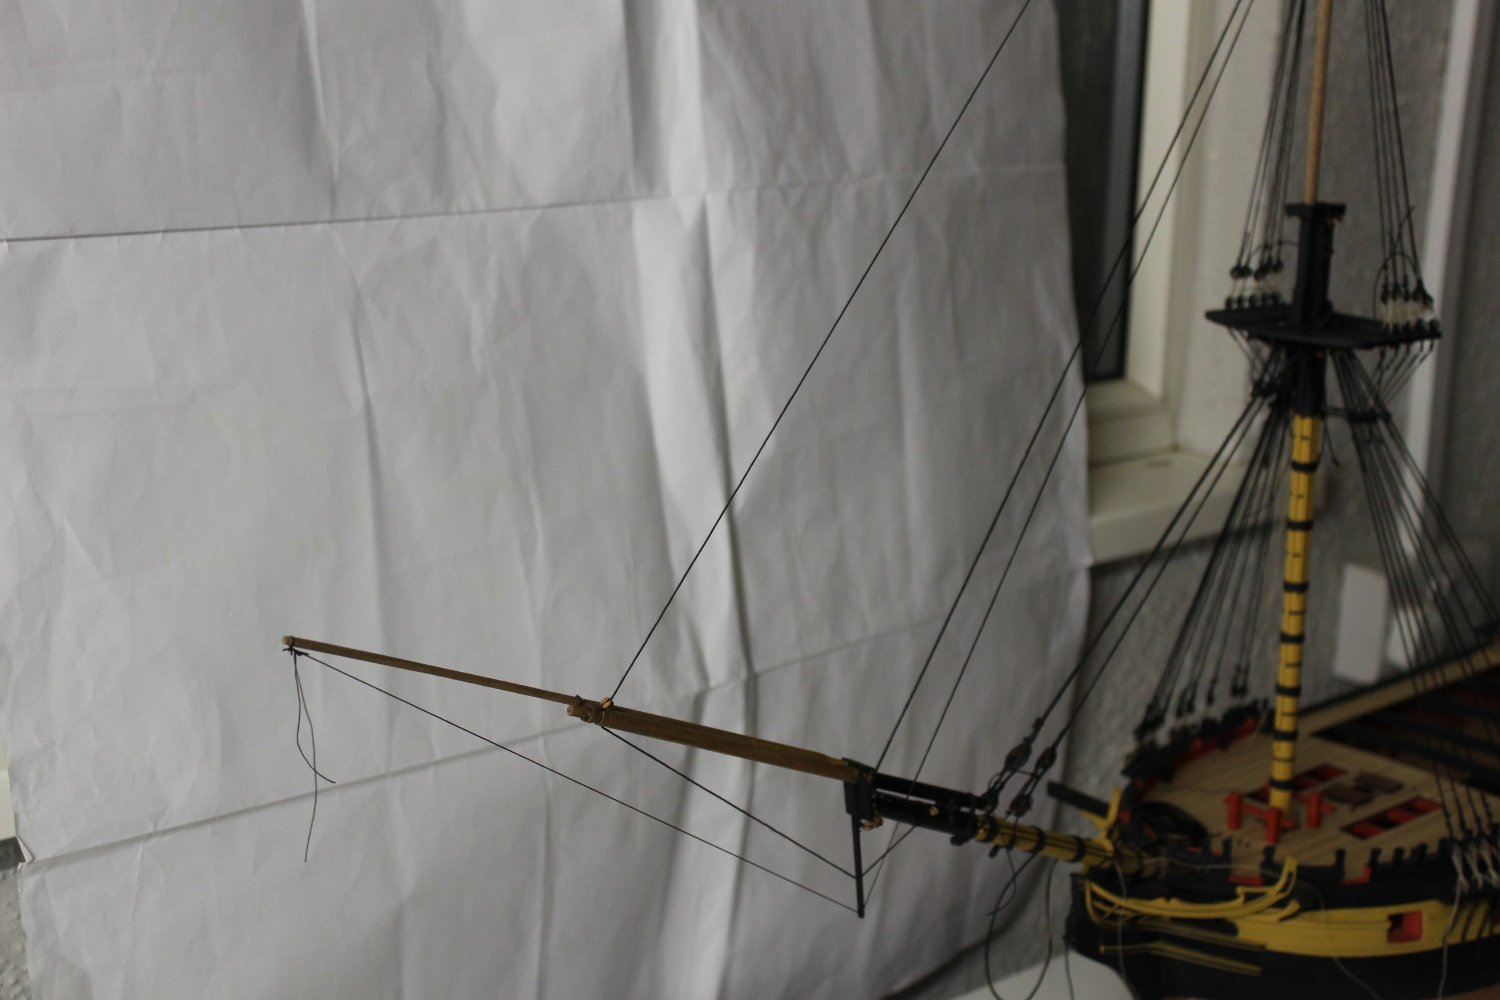
17 minutes ago, Blue Ensign said:
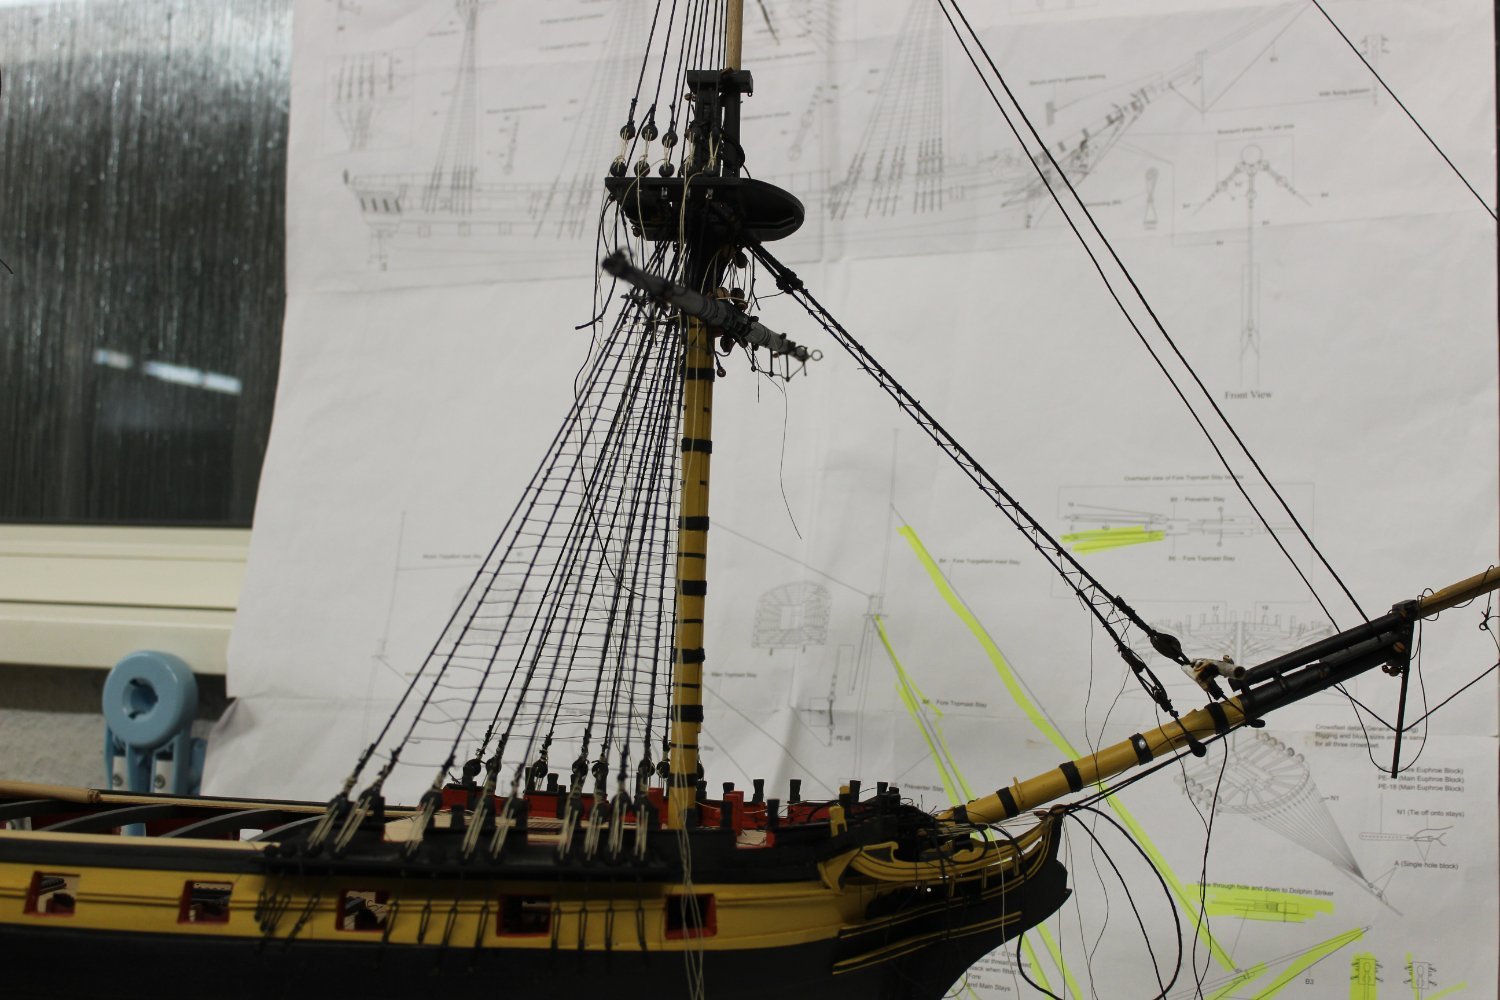
Is that a temporary line running from the the Fore T’gallant to the Main mast head.
I can’t place it.
B.E.
yes it is, as i have no back stays in place
-
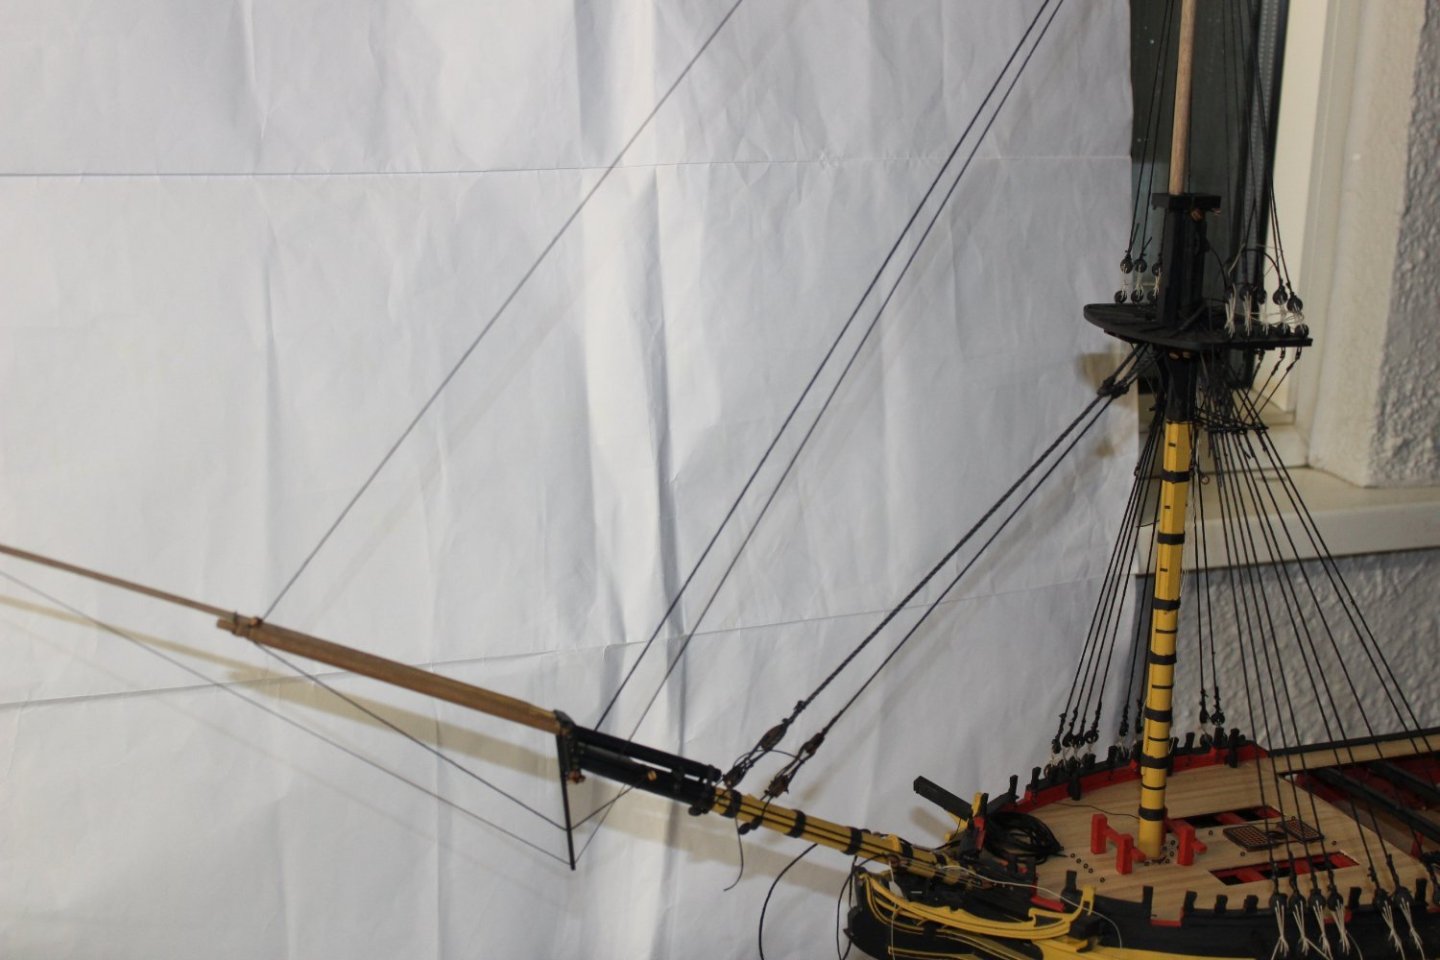
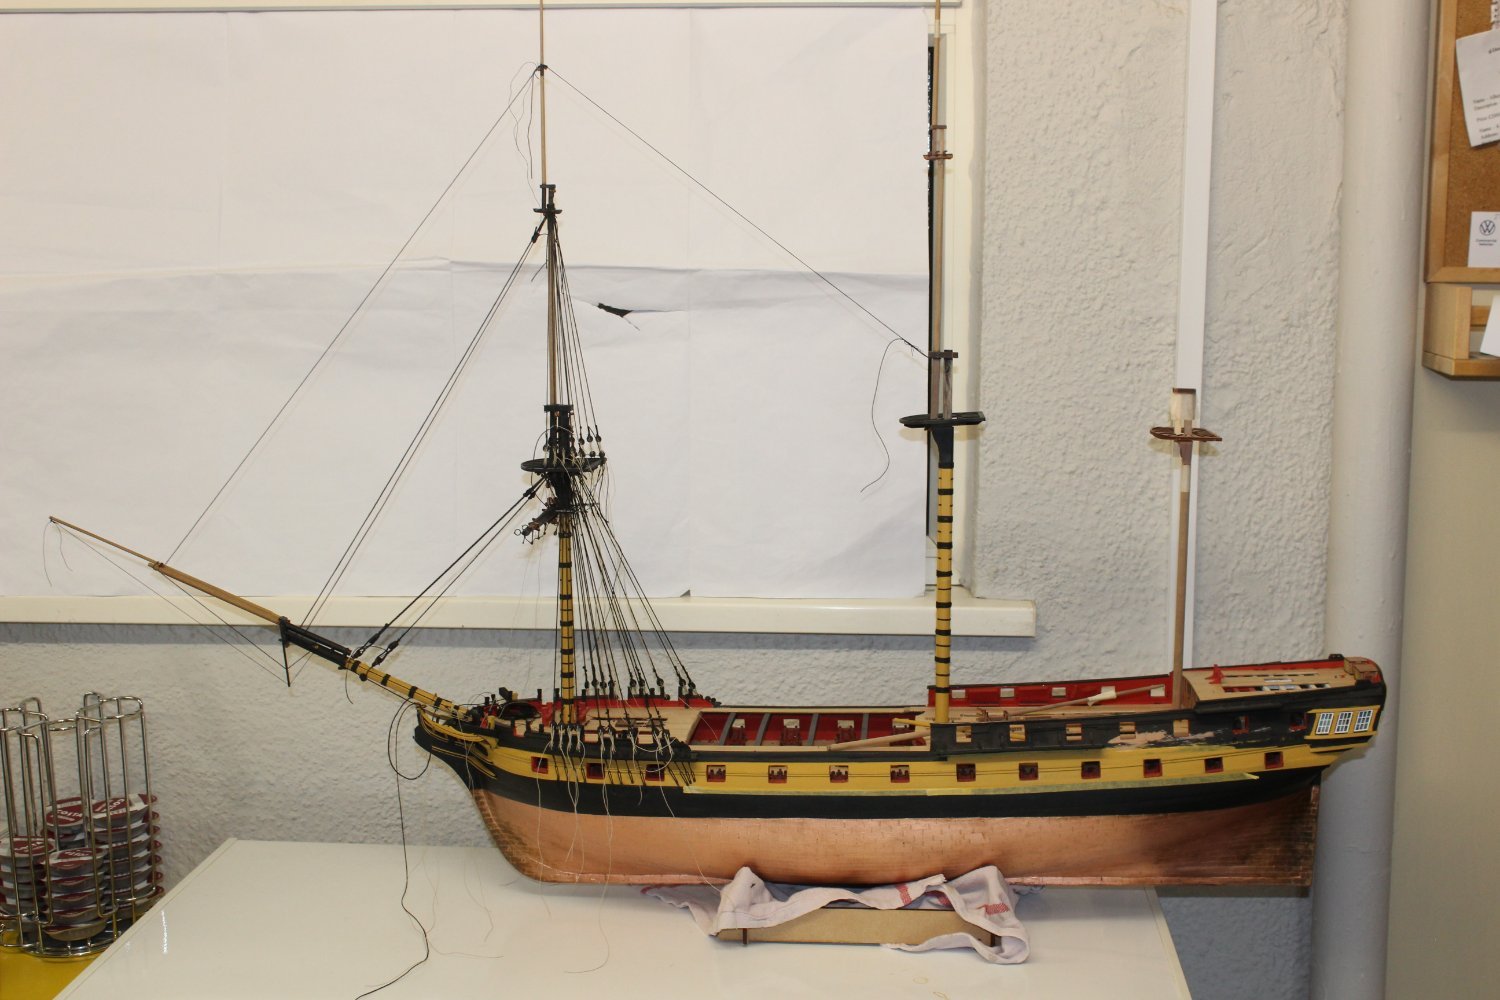
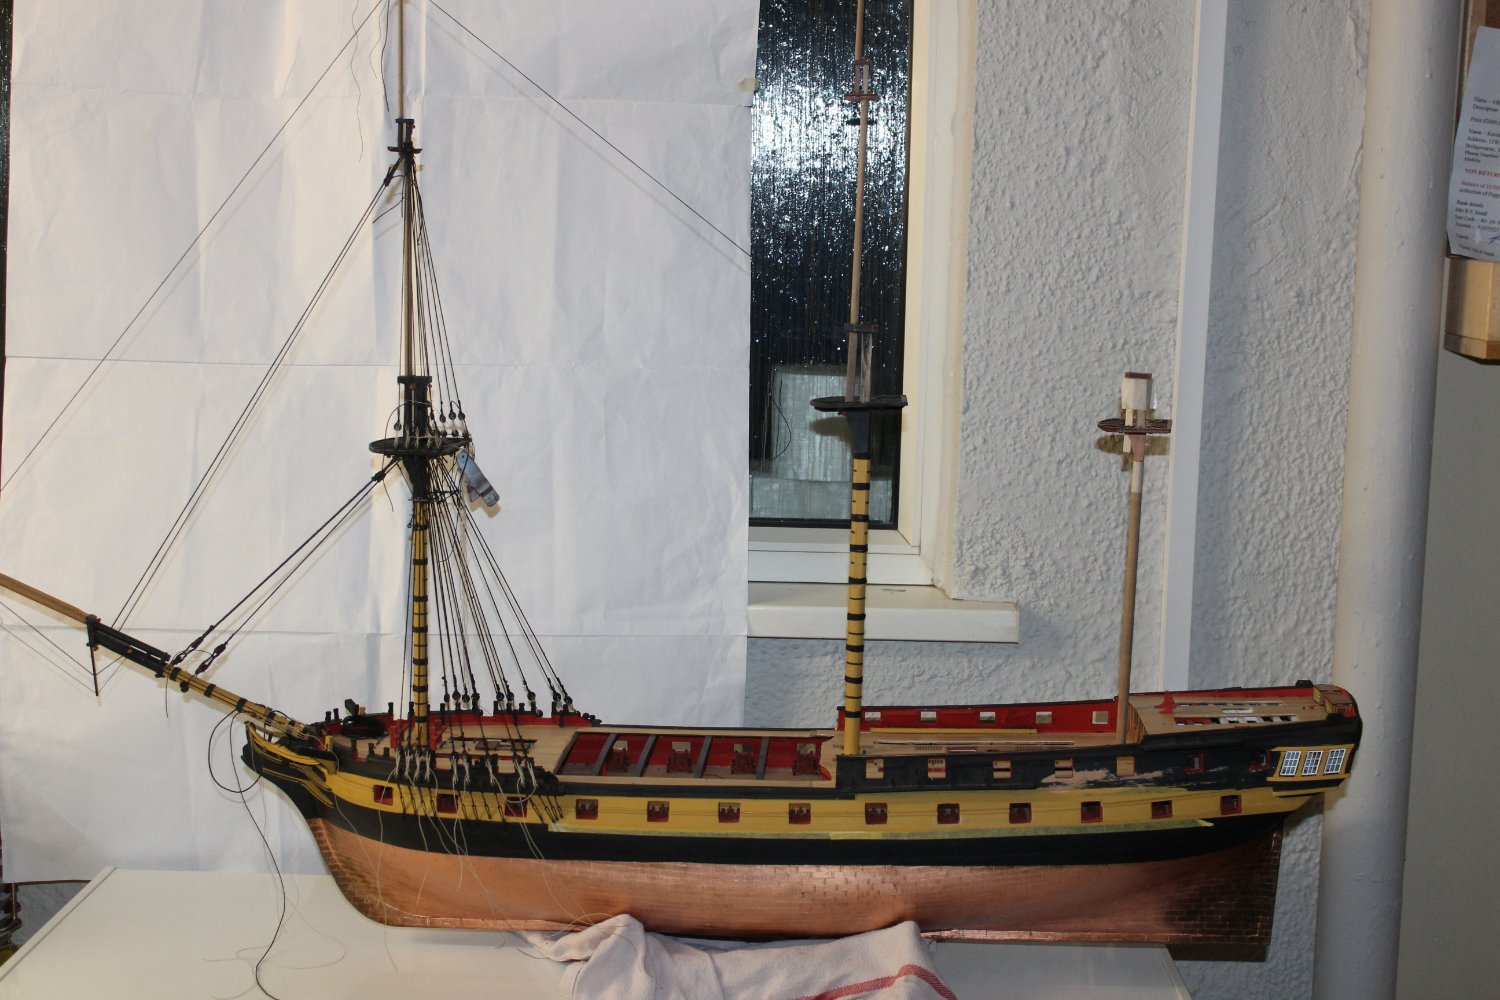
good morning everyone
thank you for comments and likes
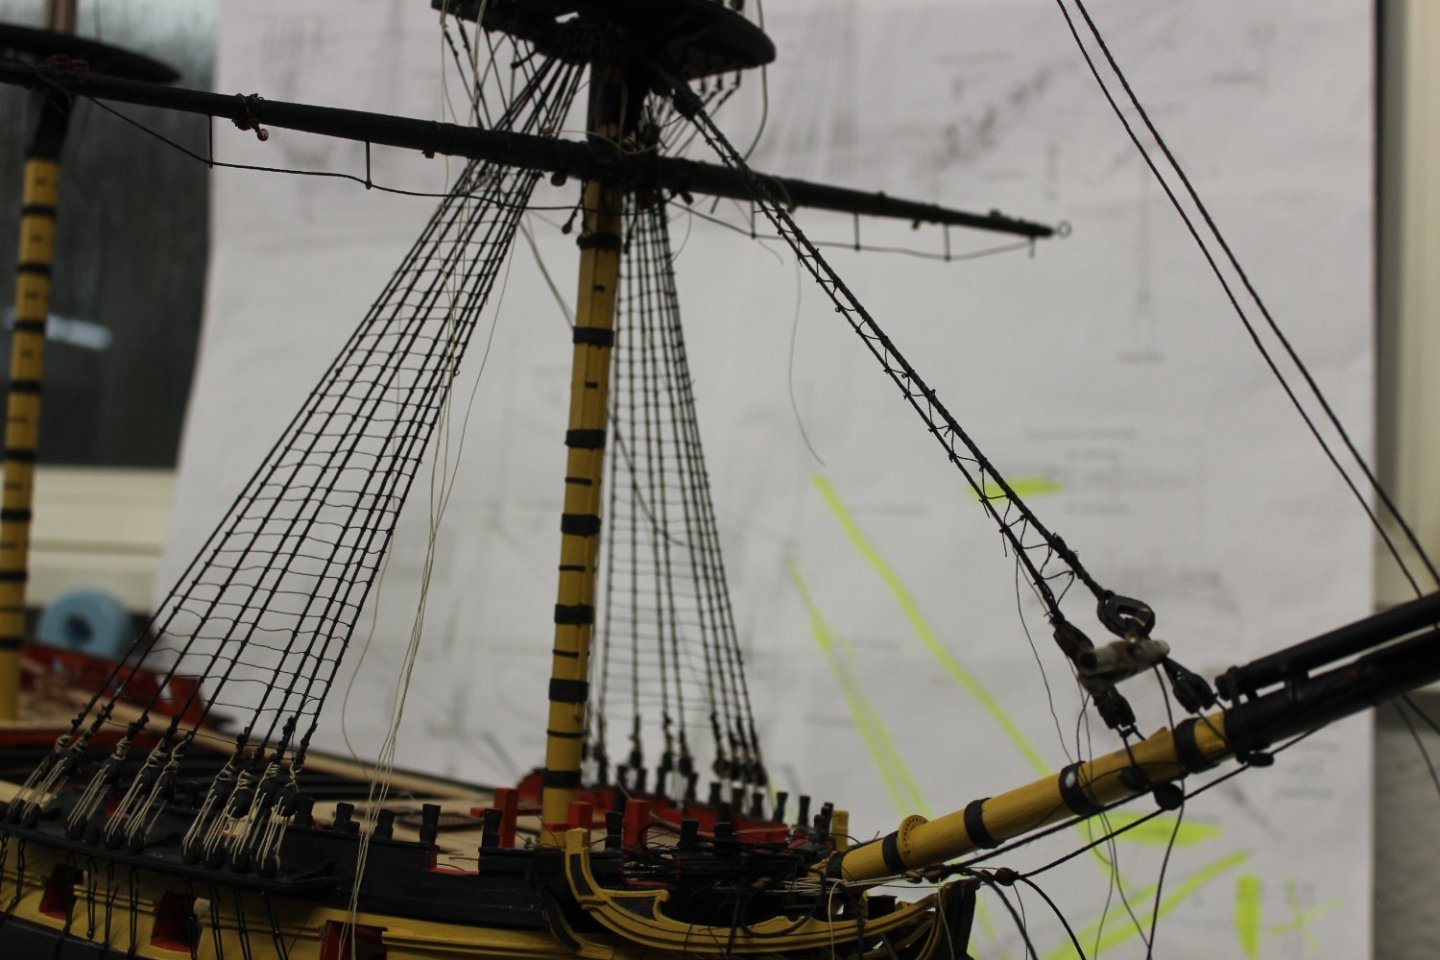
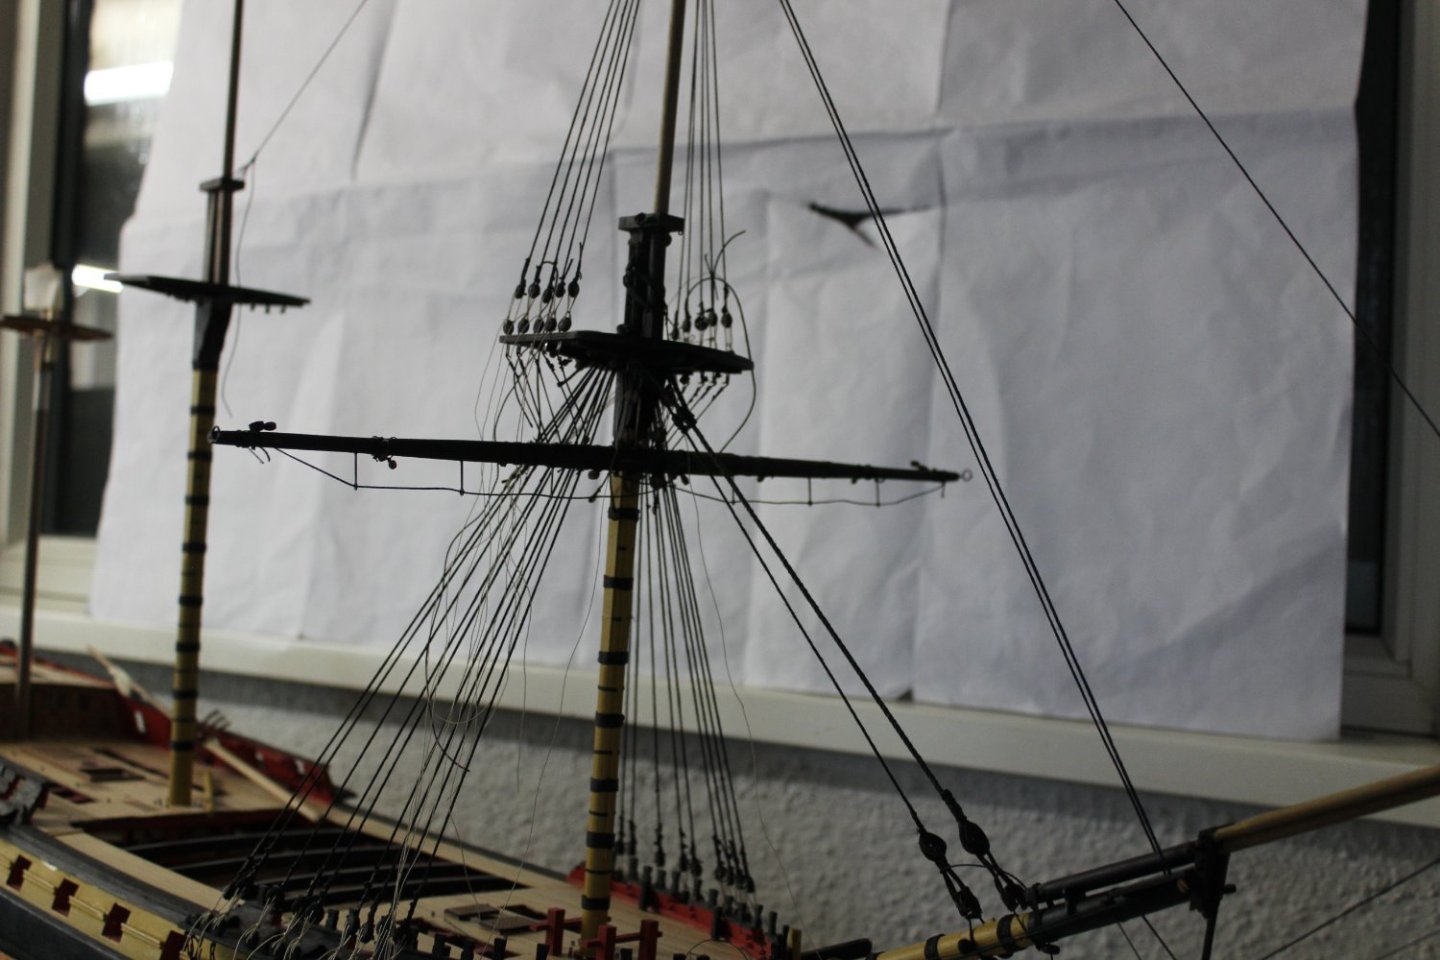
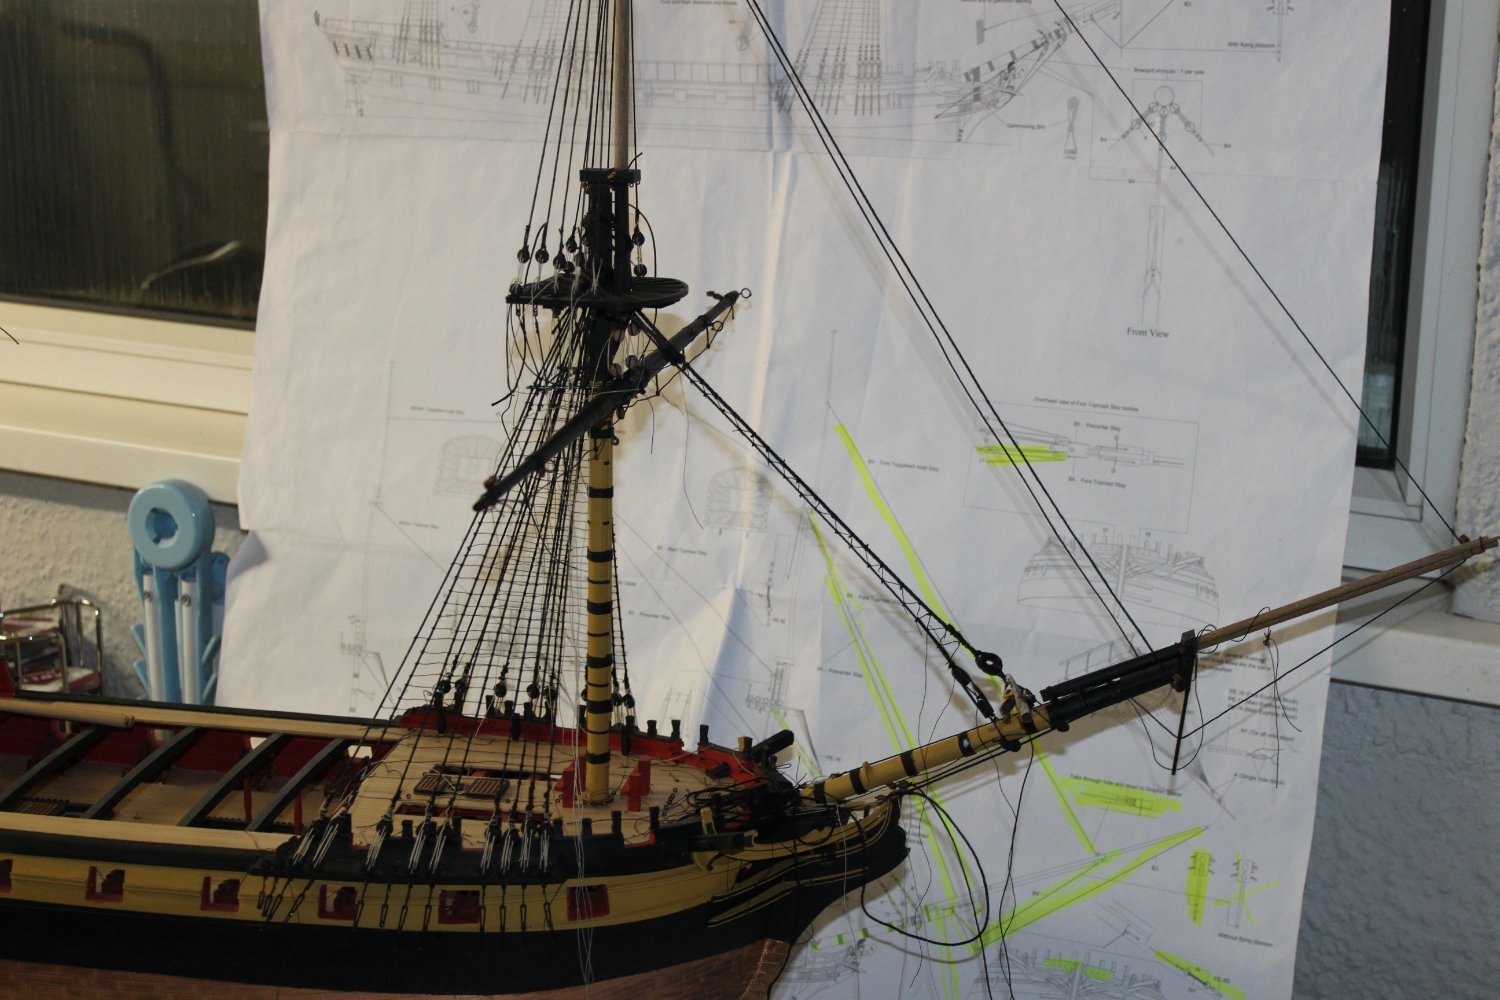
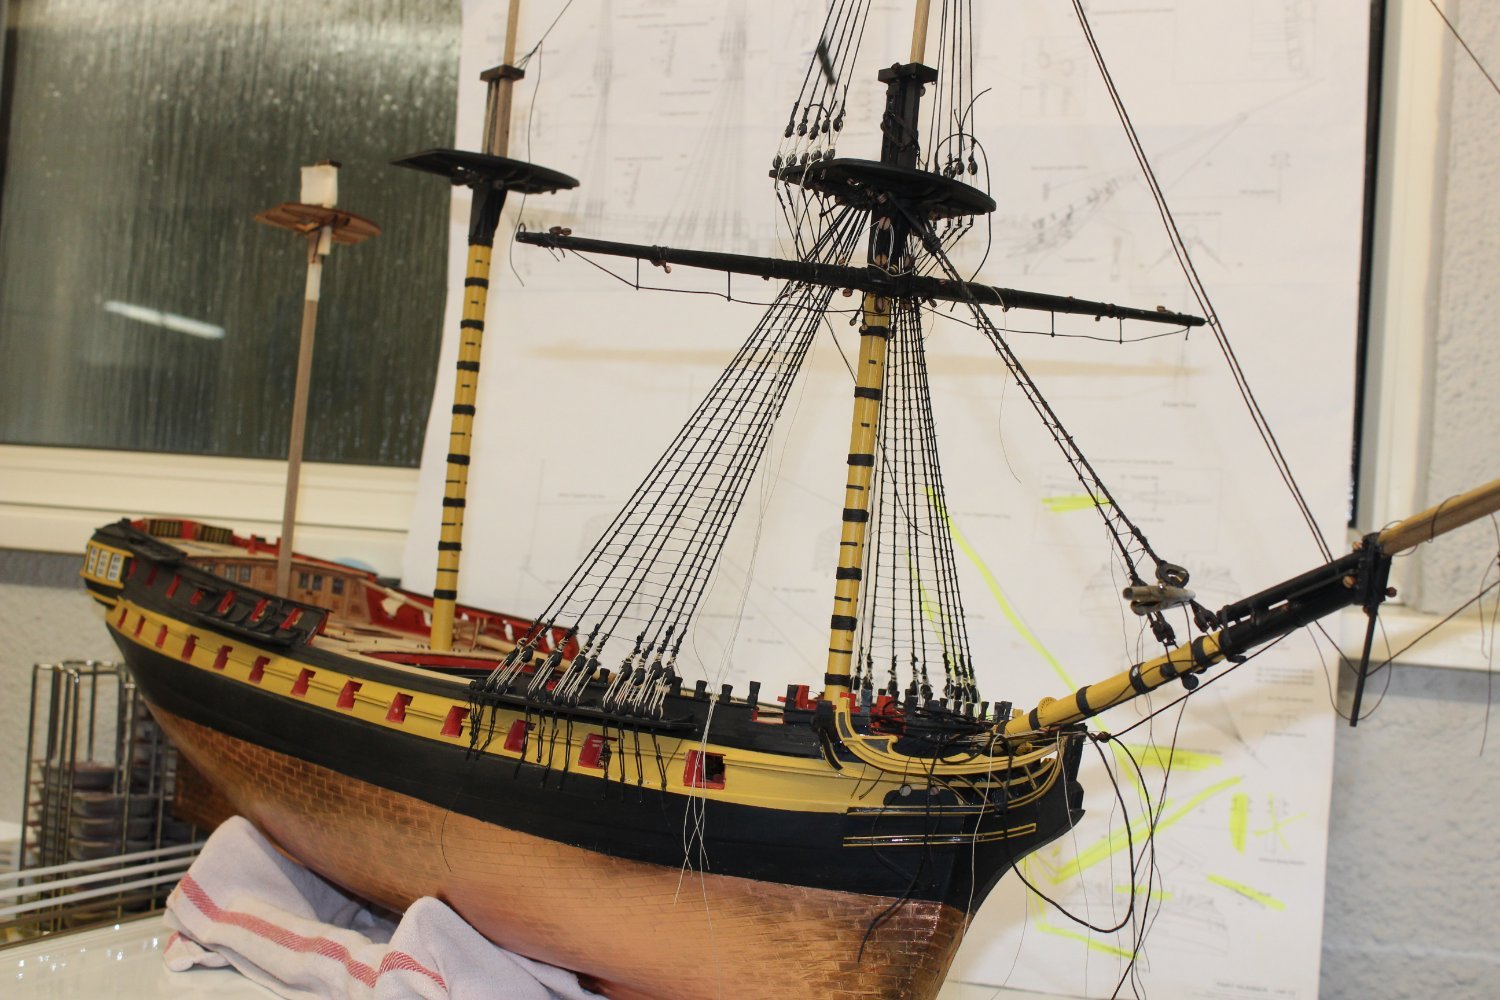
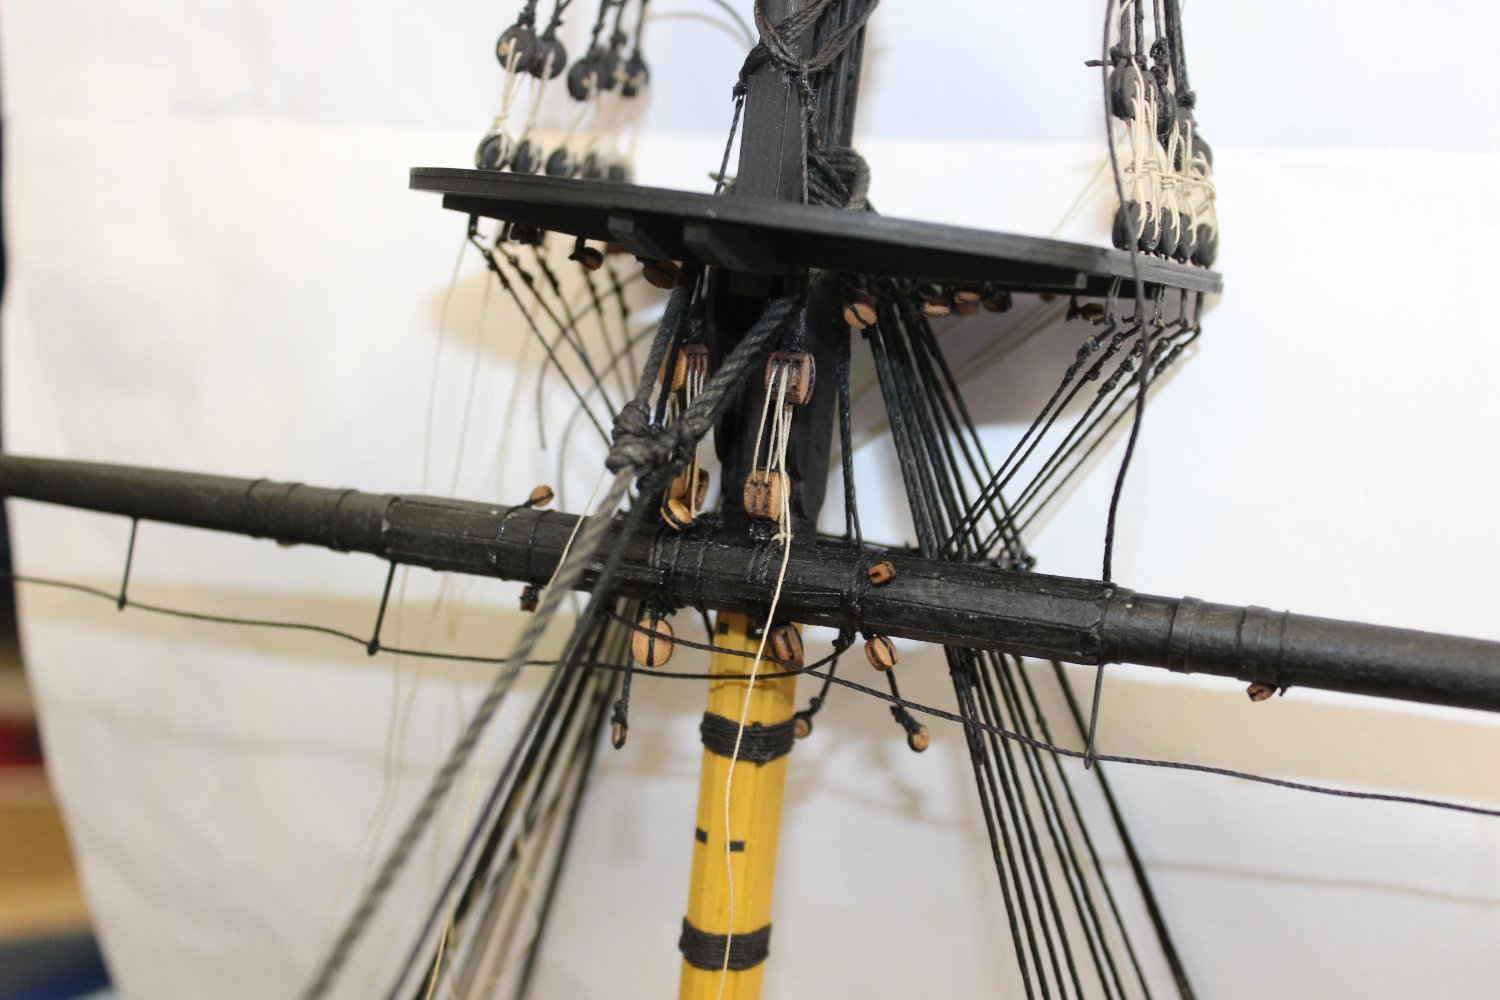
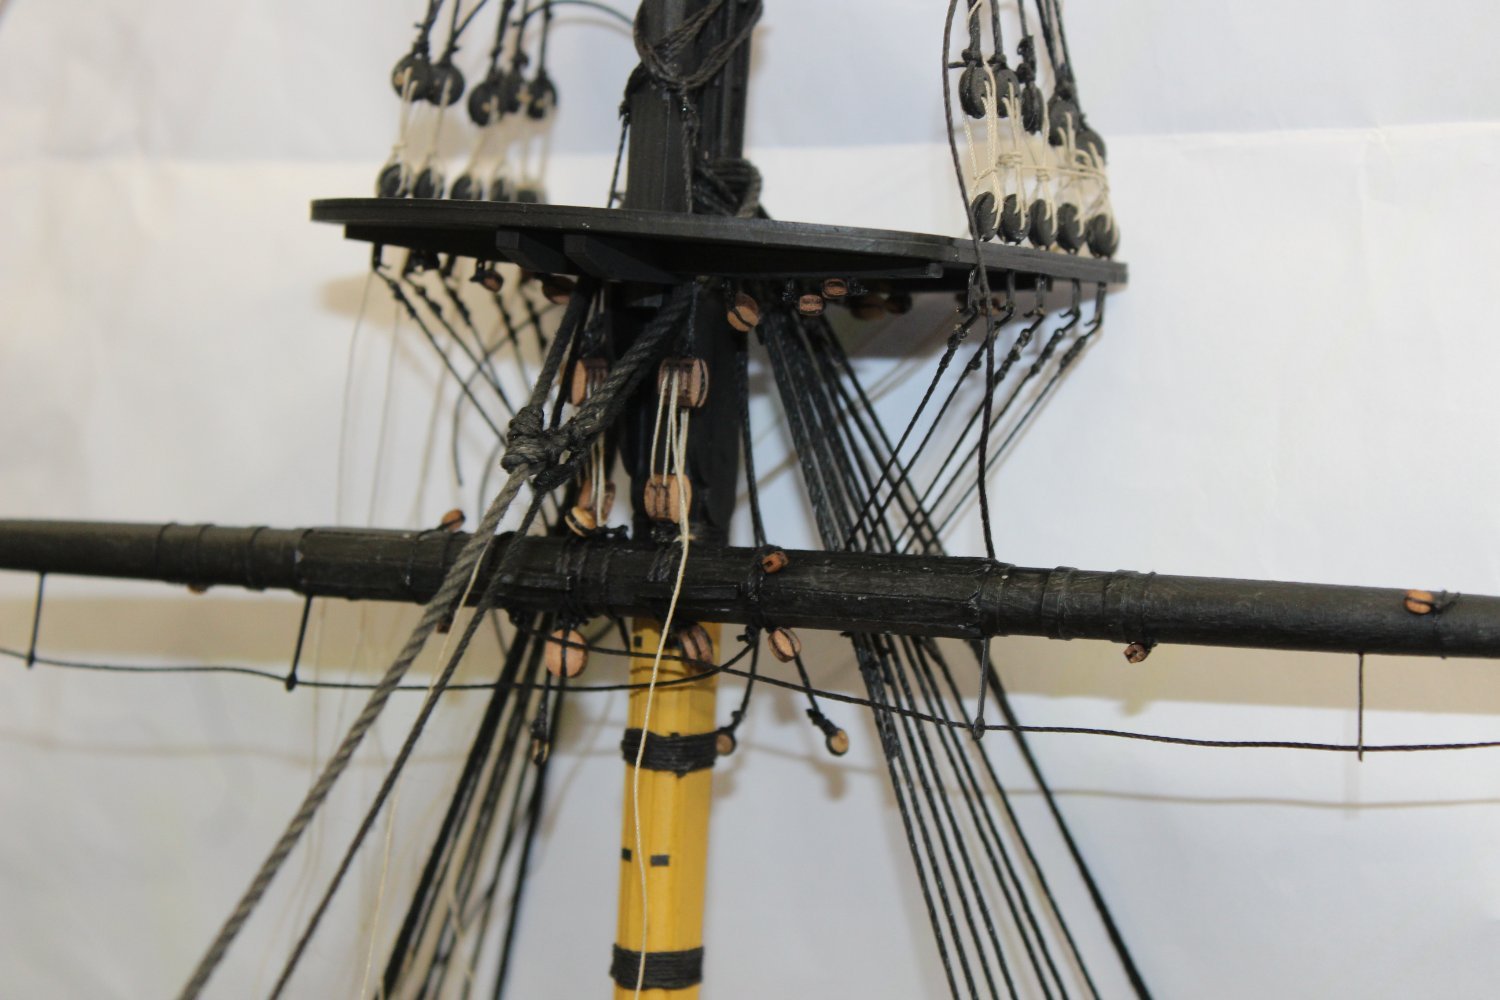
days 207-7 fore mast yard
i am aware i am doing this all the wrong way around, and that certain things need to be done first, however i wanted to know to myself that i was still able to do certain tasks, having now proved those tasks i can go to the conventional way of rigging my build,
i will still continue to work forward to aft, but concentrate on getting the Ratlines done before the yards
fore yard made made

slings being fitted

Jeers


-
now that is very nice indeed
- Egilman, thibaultron, ASAT and 3 others
-
6
-
1 hour ago, Old Collingwood said:
Impressive work mat - she looks so tidy ship shape etc.
OC.
ty OC
-
3 hours ago, allanyed said:
Your build is fun to watch, your work is lovely! Gonna be fun not breaking the sprit or knocking over the model while maneuvering with the rigging.
Hope you do not get bitten 😀
thank you, that's a real compliment
- Old Collingwood and mtaylor
-
2
-
-
-
-
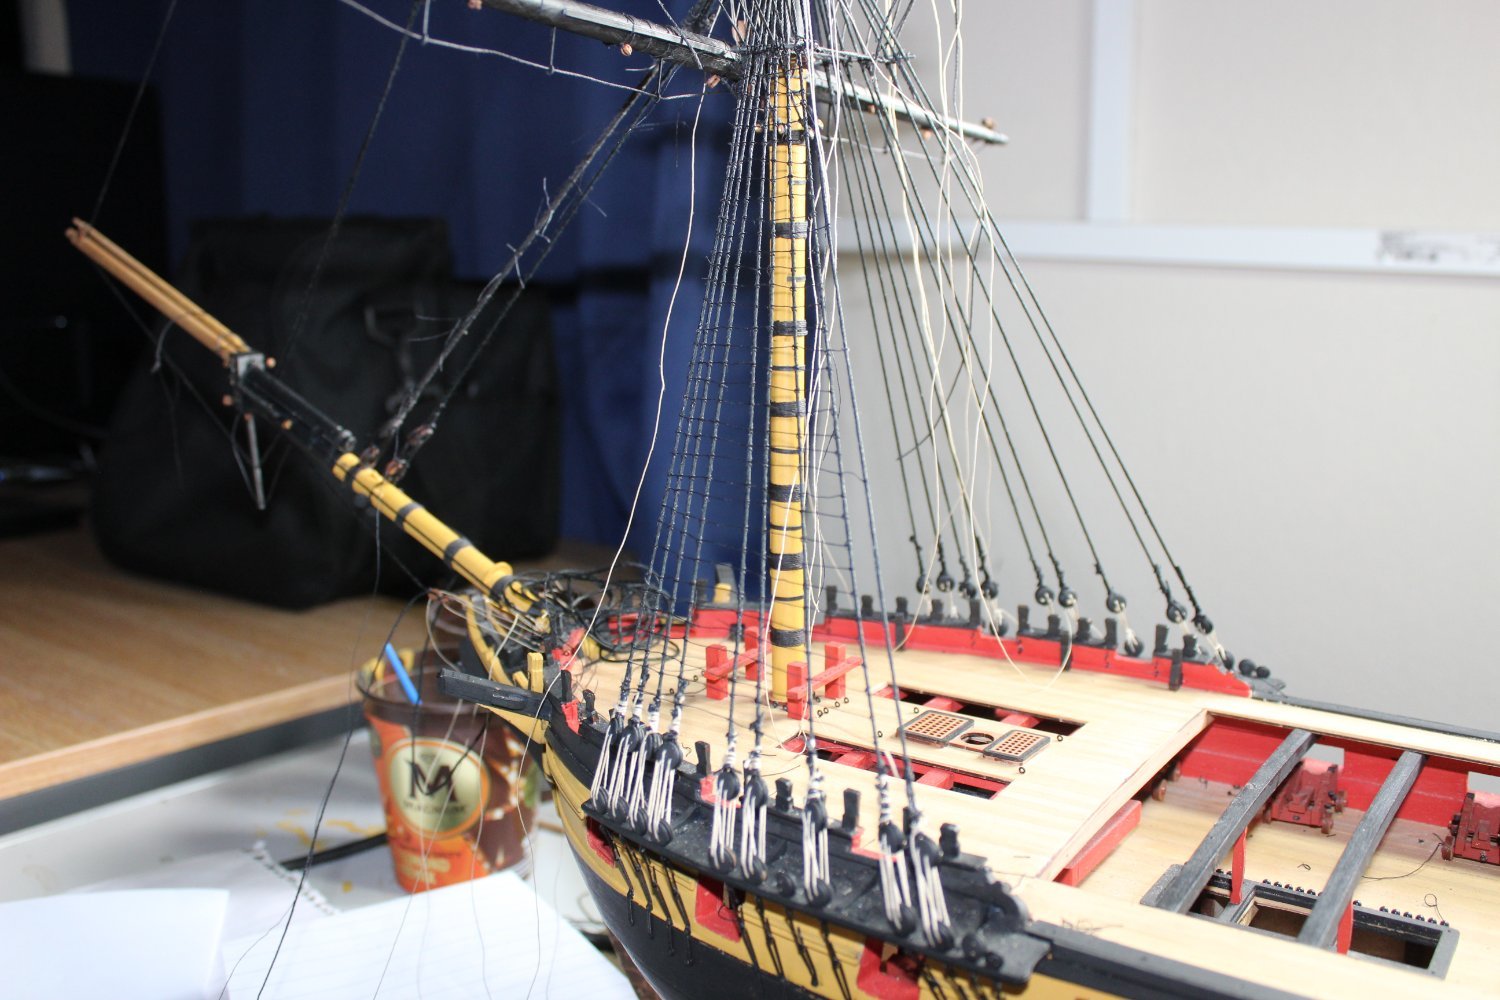
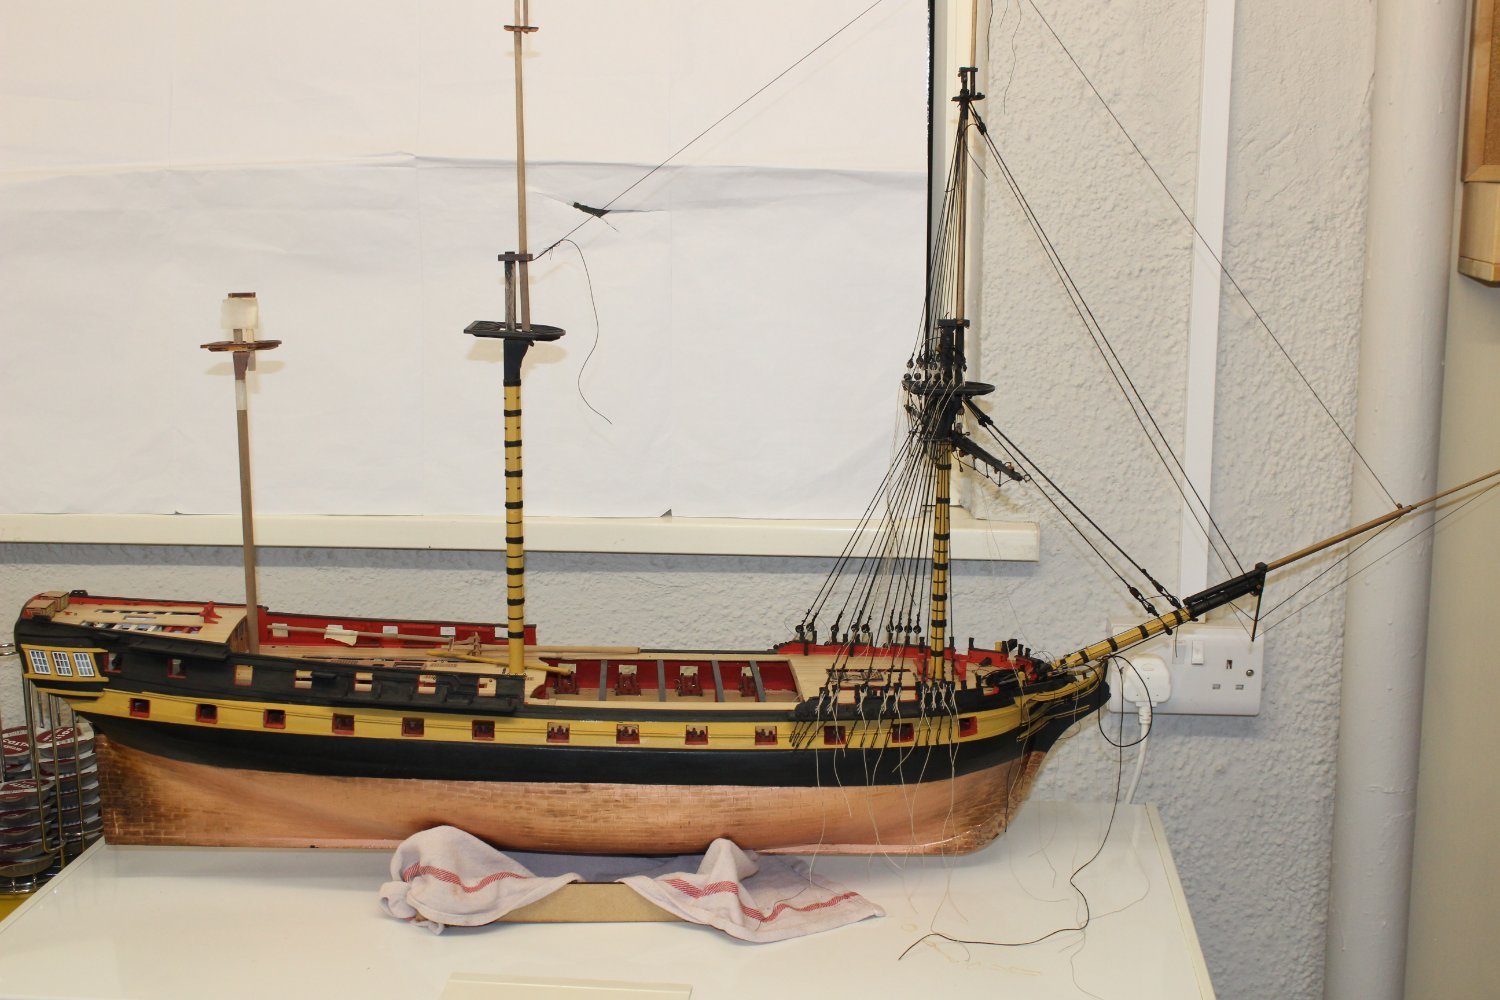
good morning everyone
thank you for comments and likes
day 204-7
apologies for not interacting with the forum much recently, lots going on in the background, nothing at all bad, just busy
before you all laugh at me about my way of rigging this build, i vowed i would start at the front and work aft, most lines are still just temp and still to be fixed into position, today the foemast mast yard will be mad up, then hopefully get the ratlines done
it might all just bite me on the bum
the line between the fore and main is a temp backstay as non are fitted
.thumb.JPG.3bac64cf6f4eff81a51ffbb61a1db59d.JPG)


.JPG.0ef6c32fd19f8ed39b10f0ebe25af1d4.JPG)


HMS Indefatigable by ECK - FINISHED - Vanguard Models - 1:64
in - Kit build logs for subjects built from 1751 - 1800
Posted
she looks fantastic