


Kevin
-
Posts
6,564 -
Joined
-
Last visited
Content Type
Profiles
Forums
Gallery
Events
Posts posted by Kevin
-
-
good evening every one
thank you for comments and likes
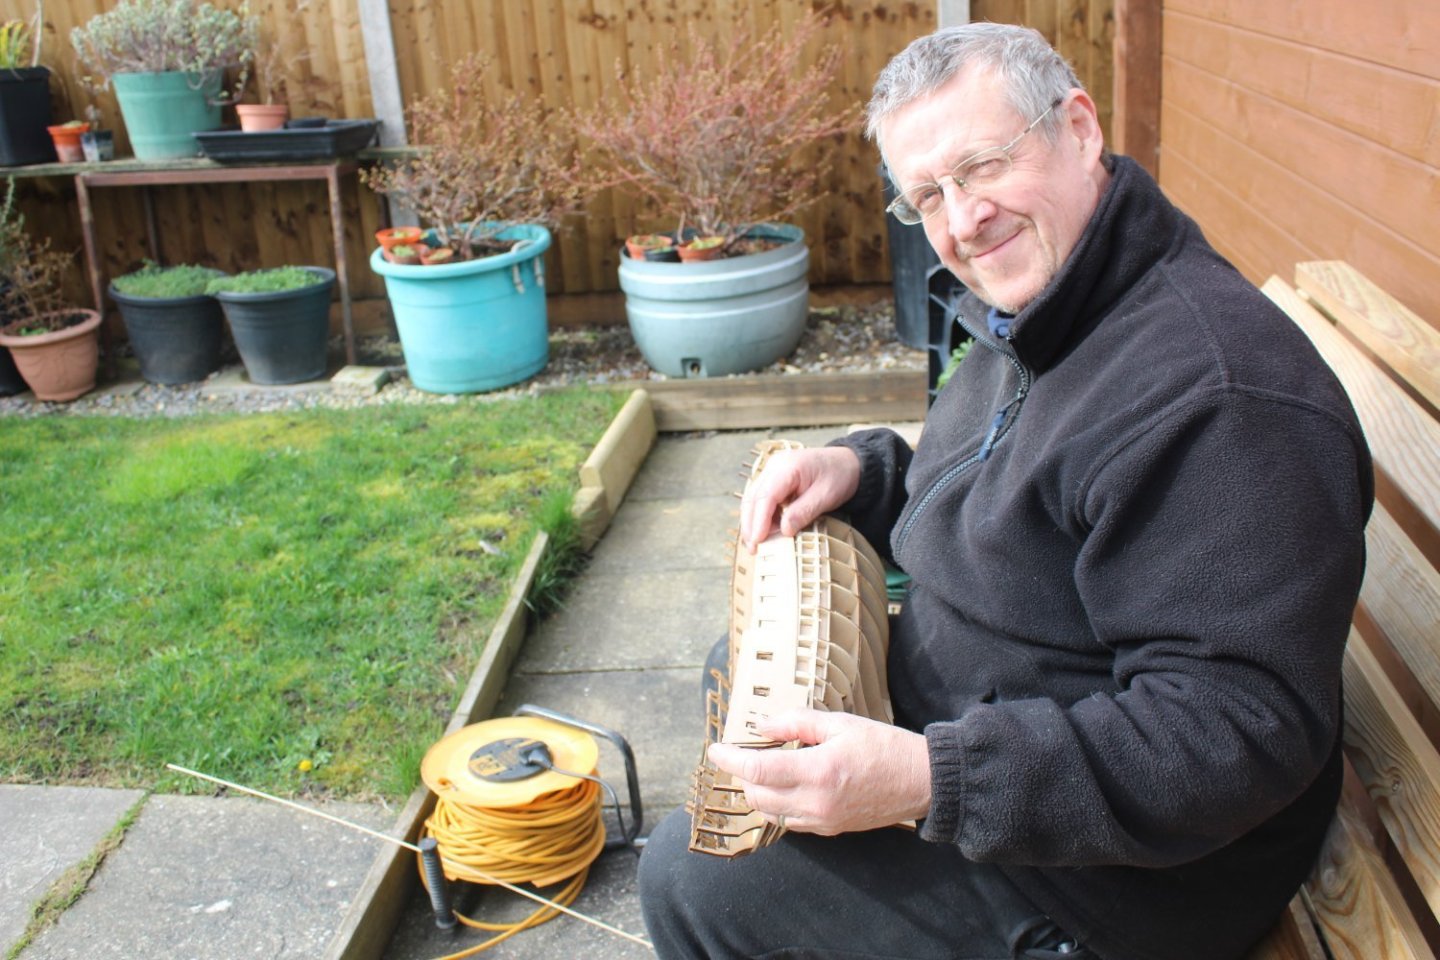
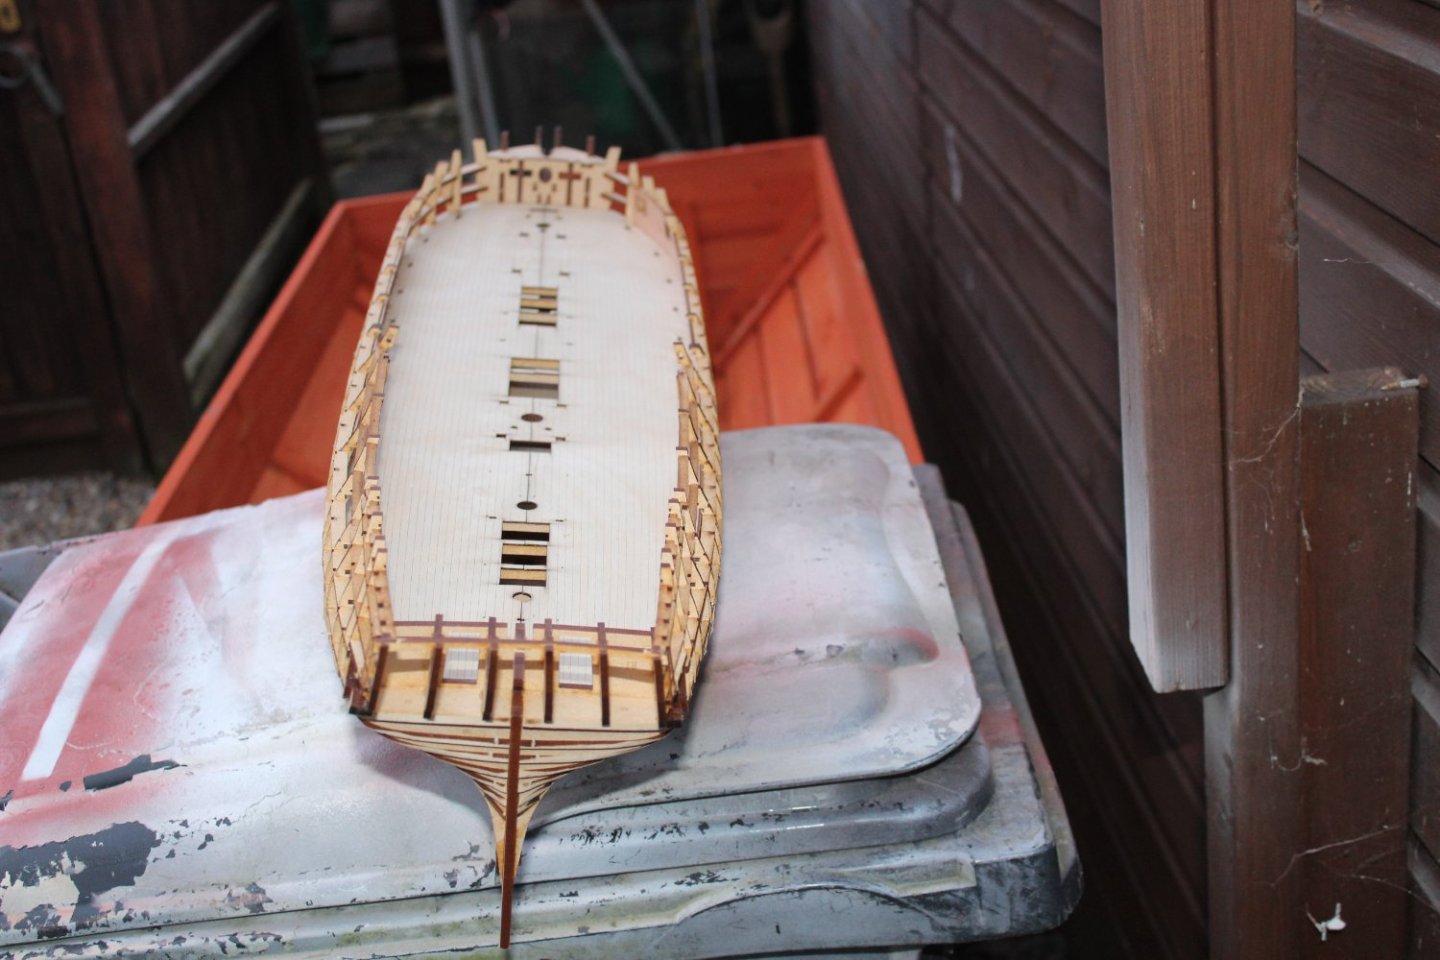
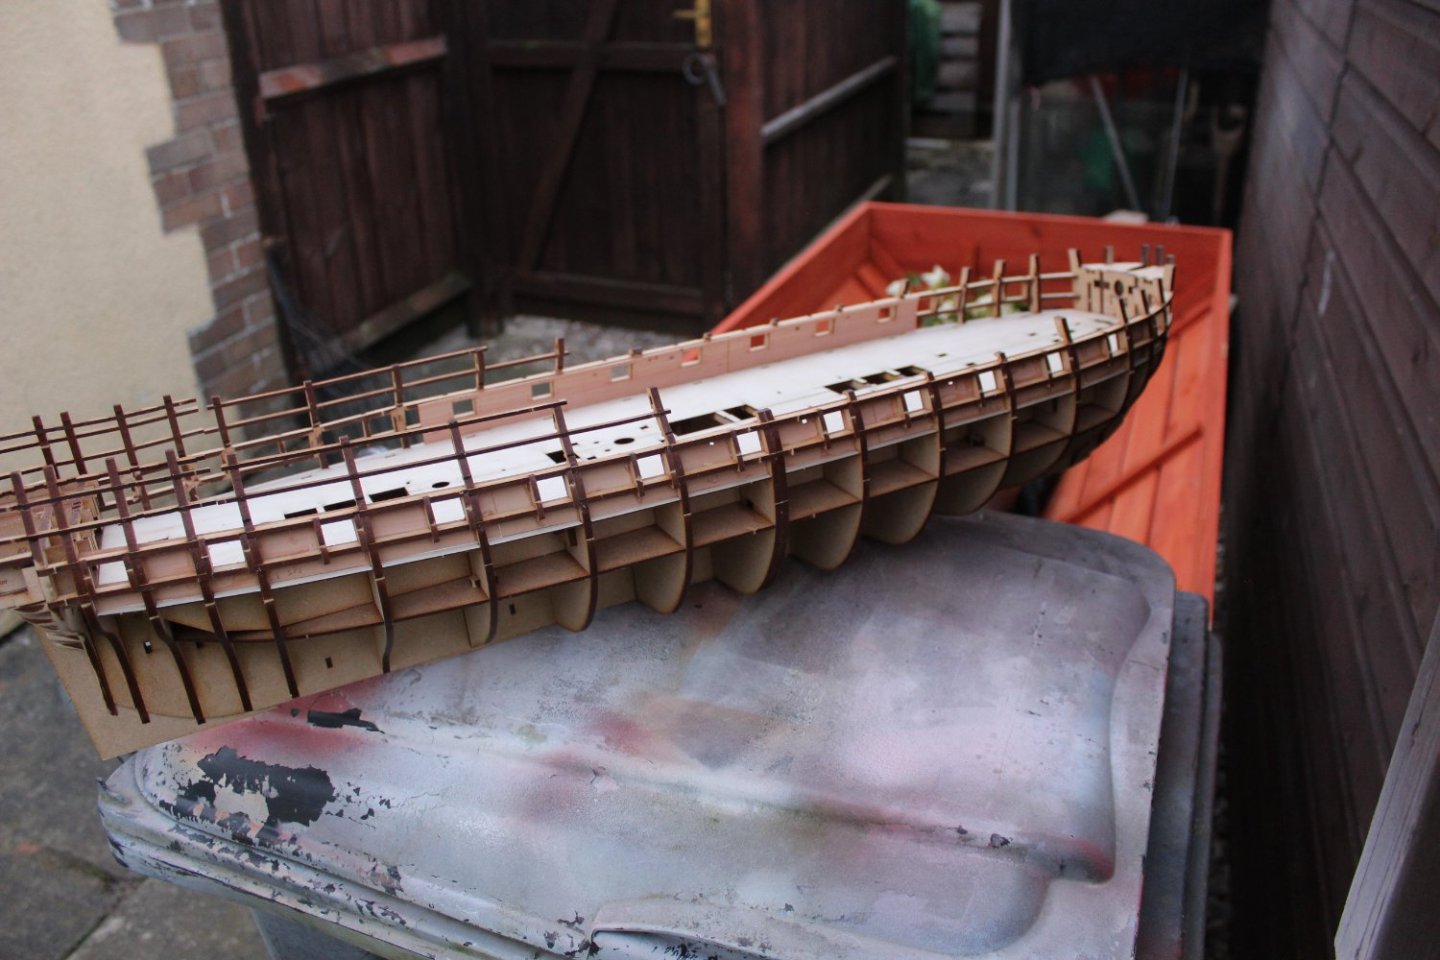
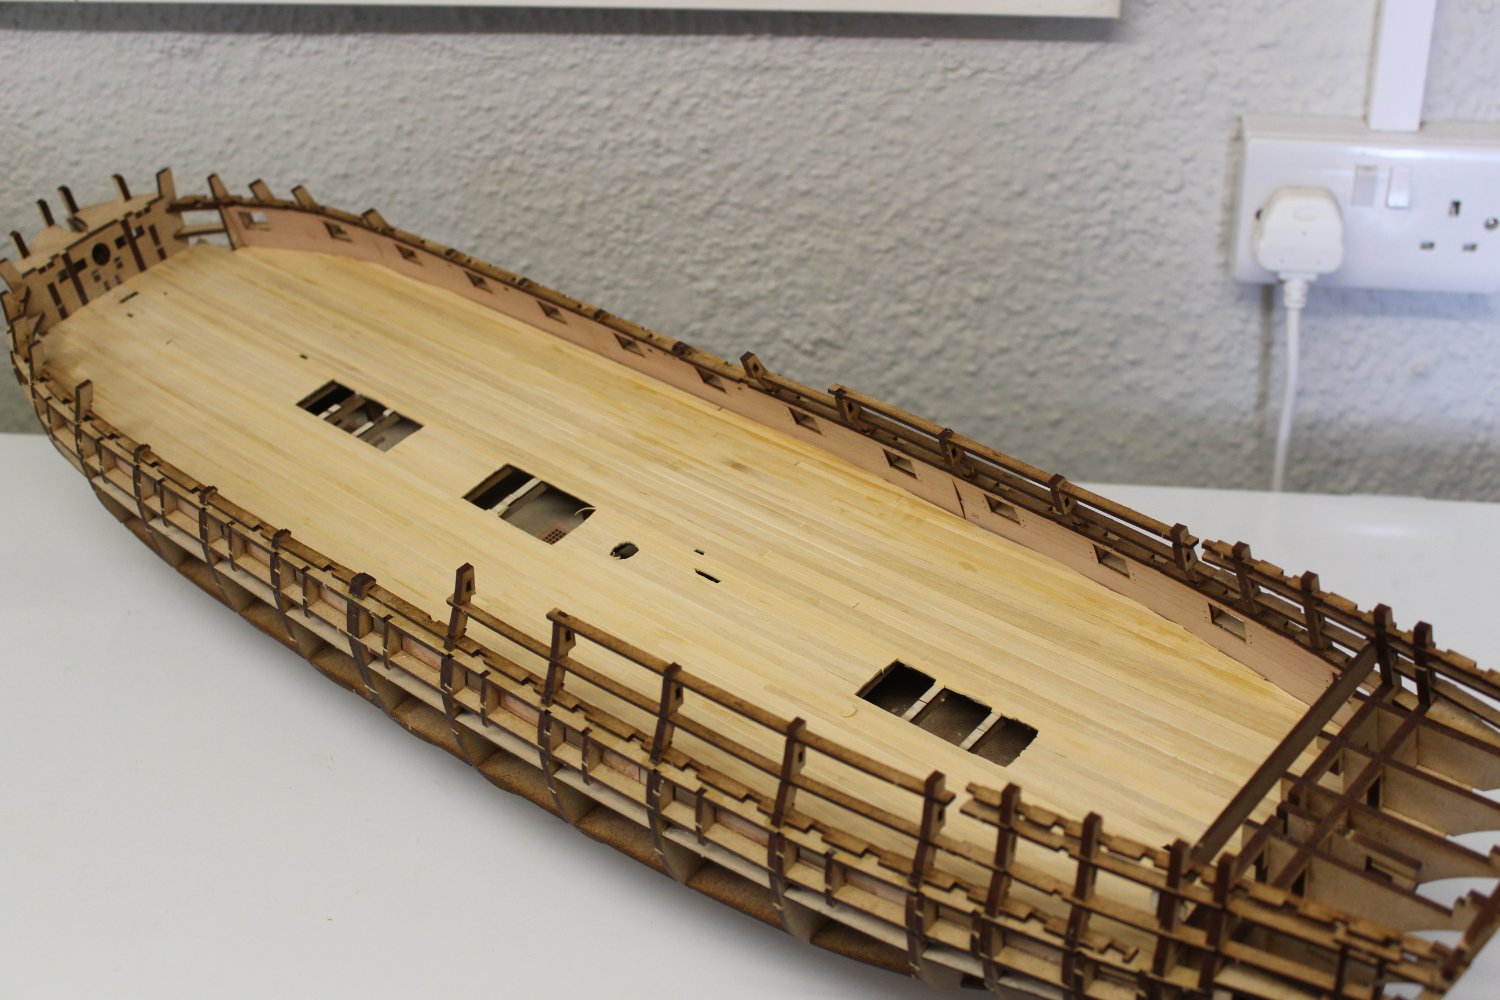
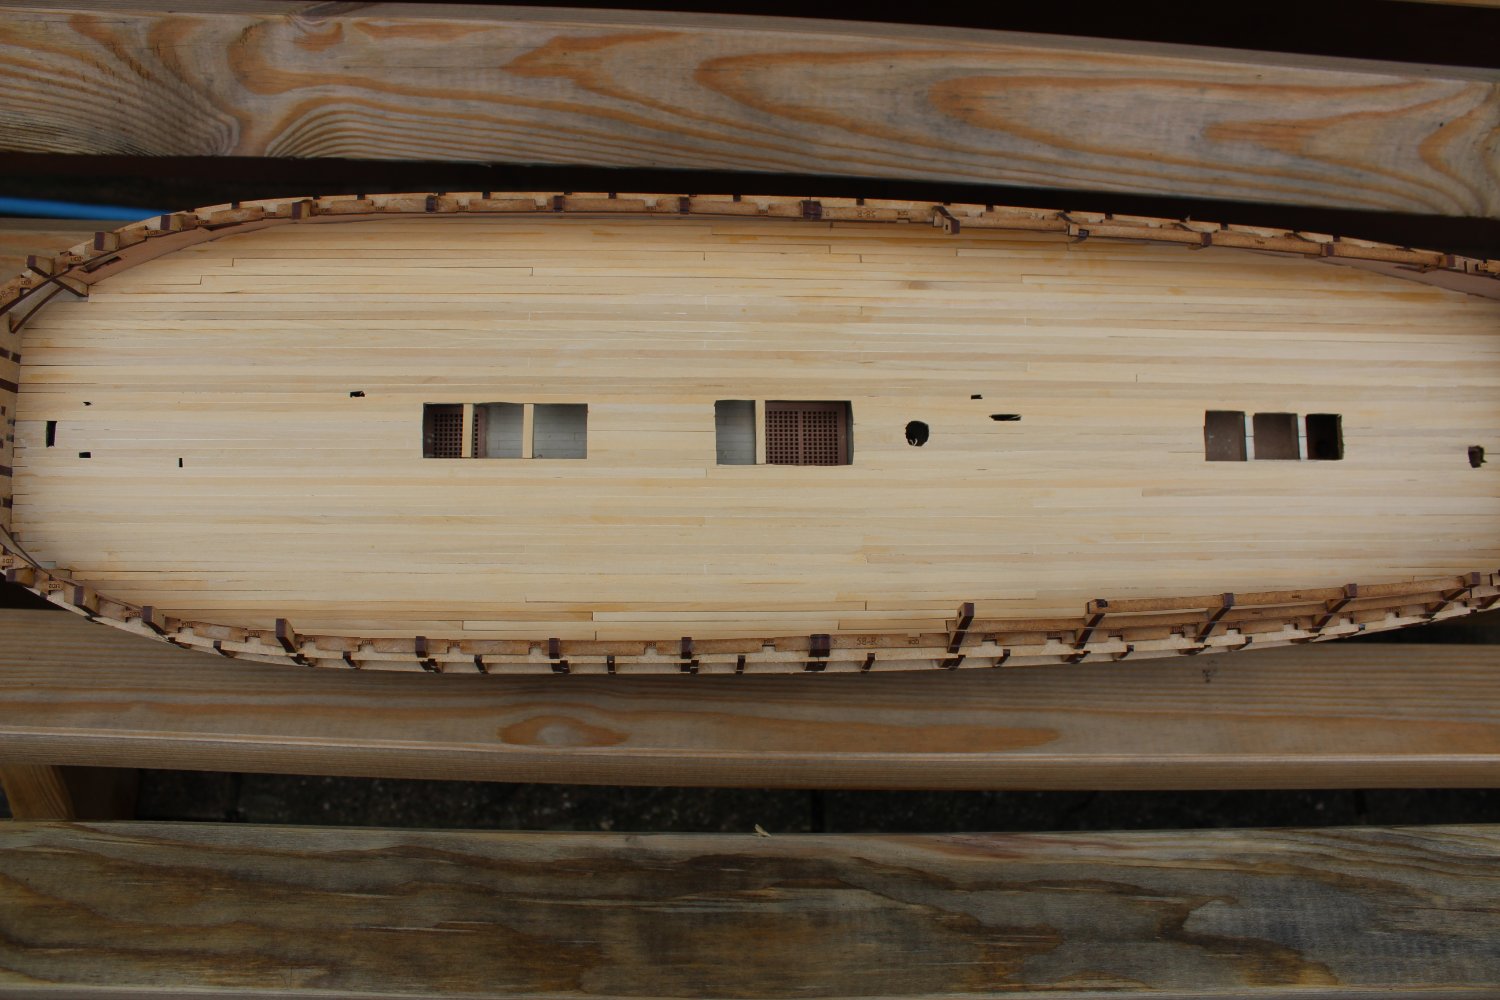
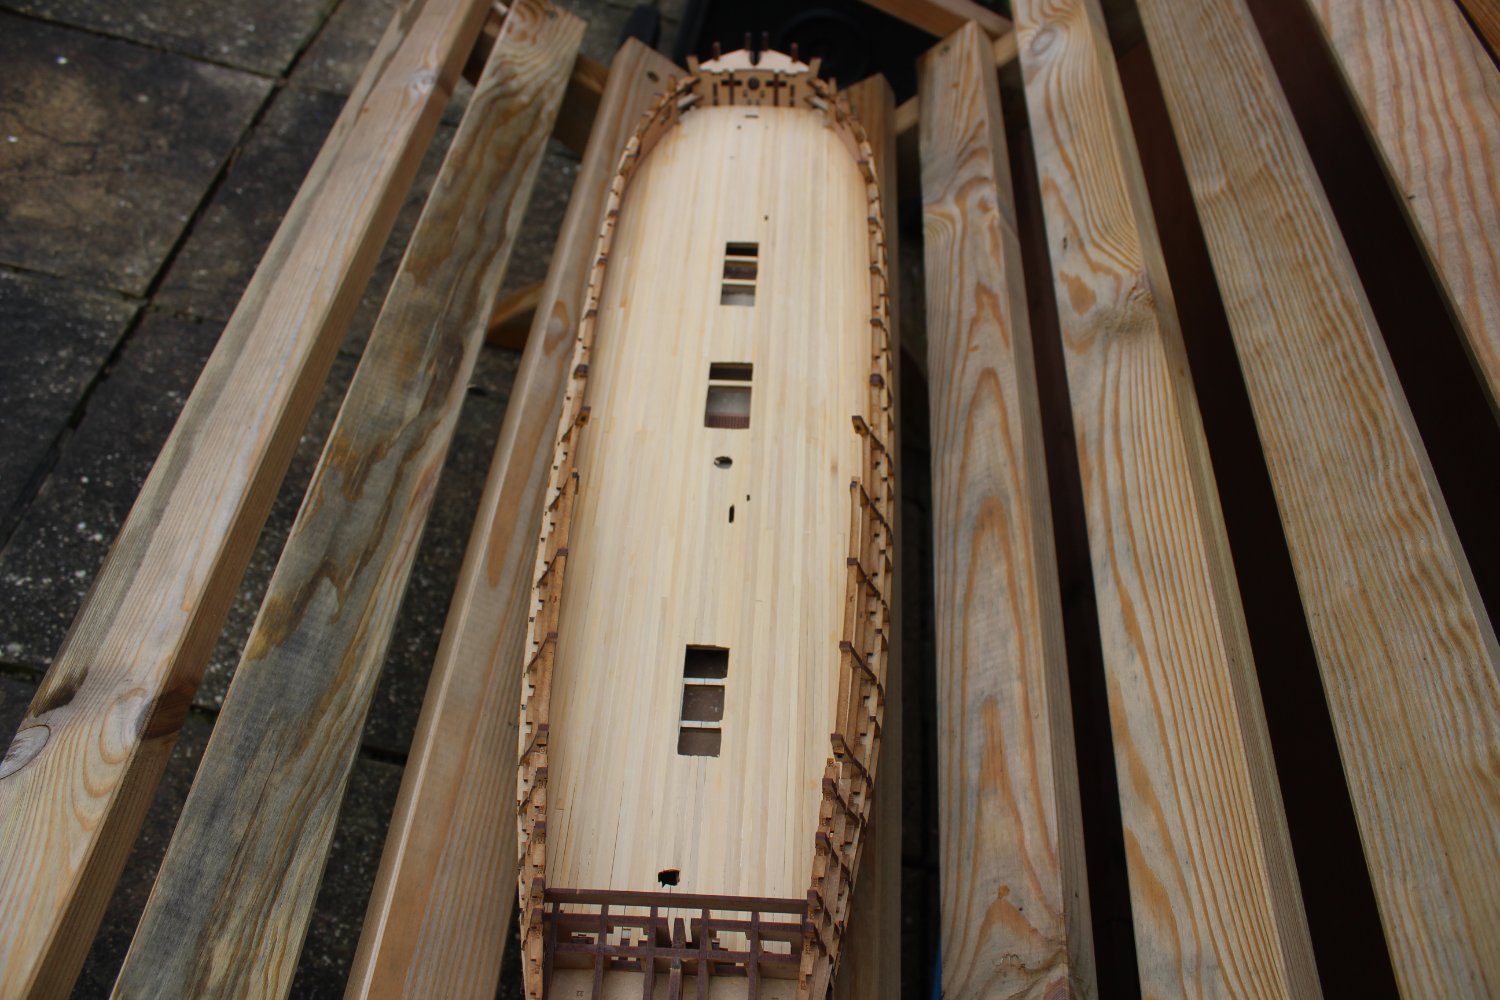
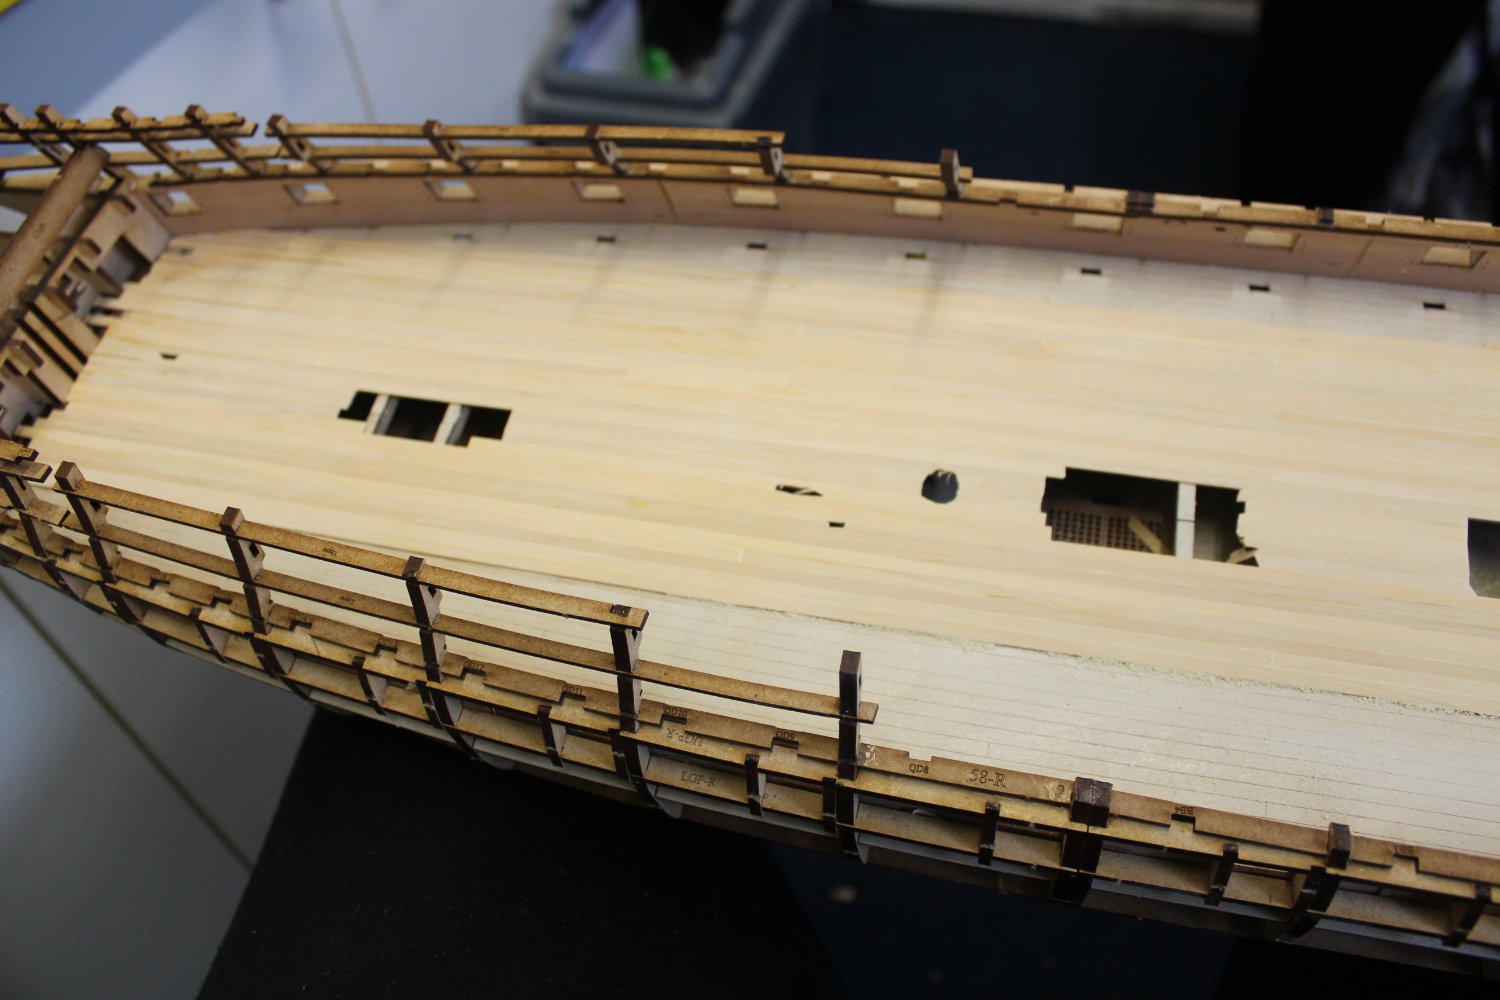
day 13 hull faired
the weather here has been pants recently, with snow and rain, so i have been doing some smaller projects on the build, but i will post photos later on in the build as I would like to keep this log in some sort of order, (never achieved that before)
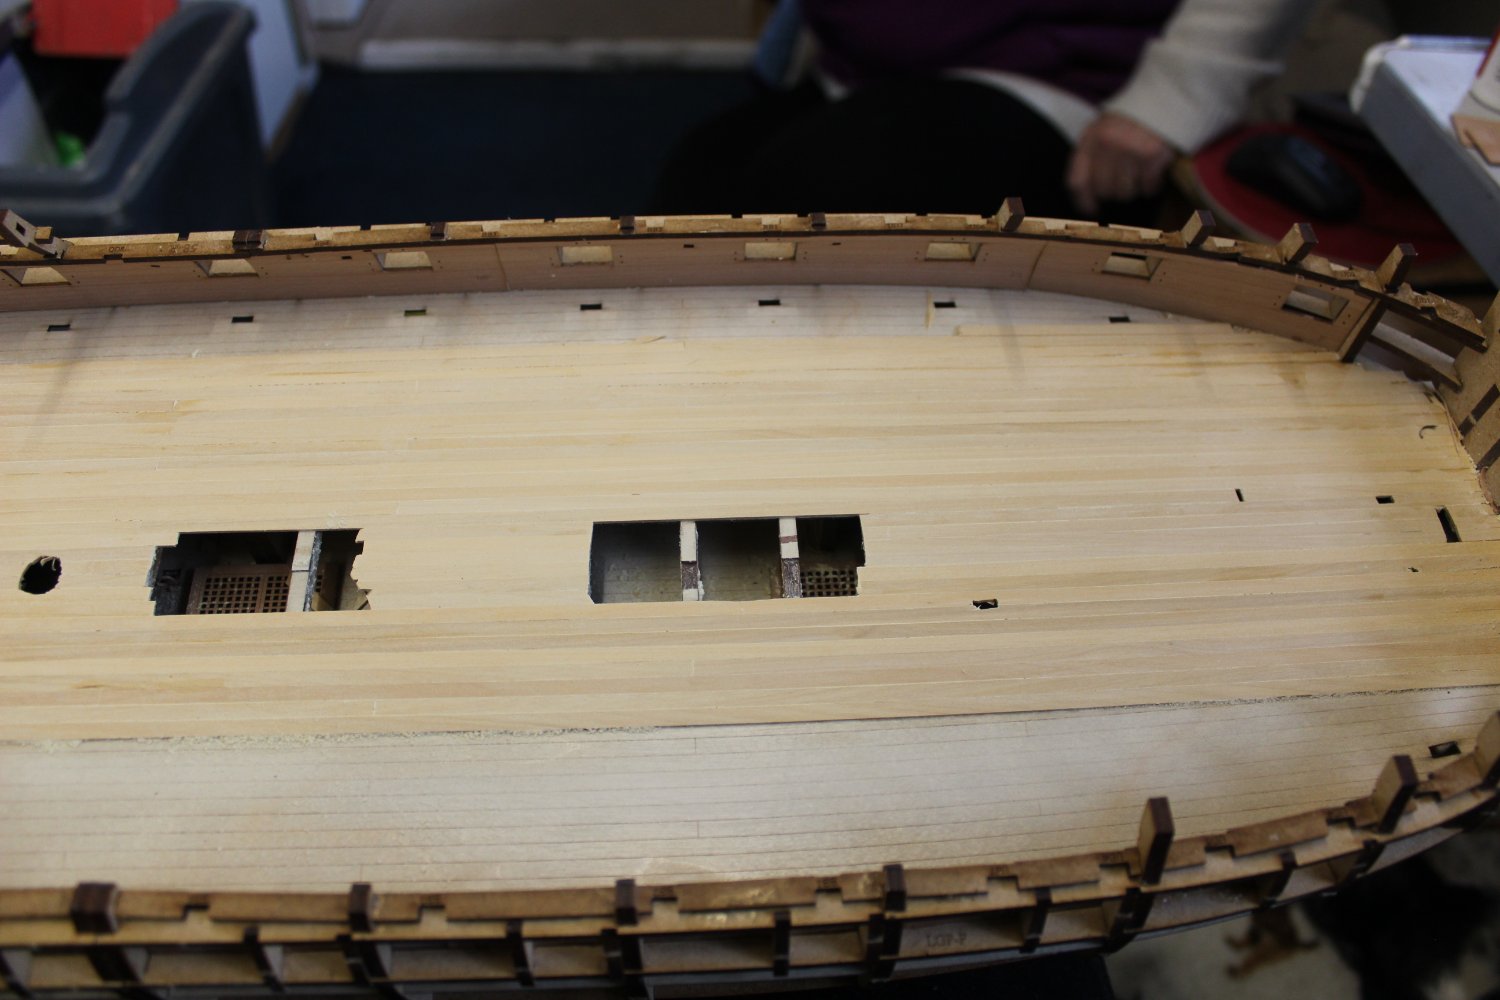
the deck has been sanded and varnished with a water based varnish @50/50
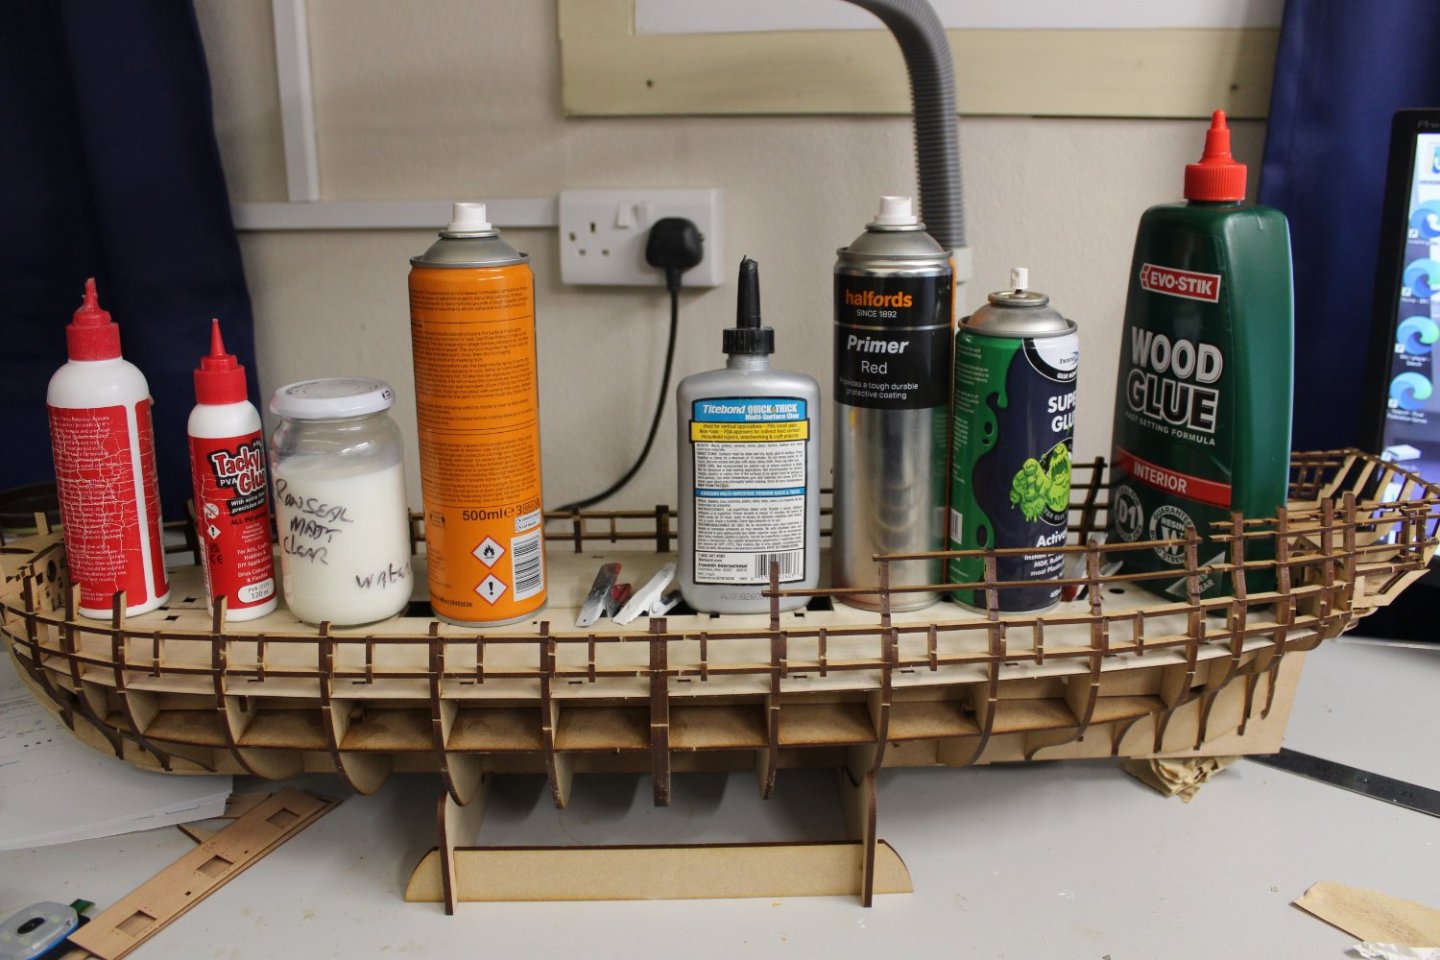
to day a few days delay the hull went outside to be sanded, brilliant, oh thats getting hot fizzle bang me mouse blew up
anyway an trip to Wickes (other palm sanding tool outlets are available0
this is what i have now


-
-
-
-
-
8 hours ago, Nearshore said:
Very nice work! Look forward to seeing the progress.
i tend to post quite often
10 hours ago, Morten said:I really Love this build log. My Indefatigable is in My hobby rom. Have to finnish the rigging of HMS Speedy first
looking forward to yours along with others, will be nice to see more indy's than Victory's in build
- Old Collingwood, mtaylor and Obormotov
-
 3
3
-
9 hours ago, James H said:
The deck looks real nice. I do like that material. Nice clean job too.
thank you James, much appreciated
- Obormotov, mtaylor and Old Collingwood
-
3
-
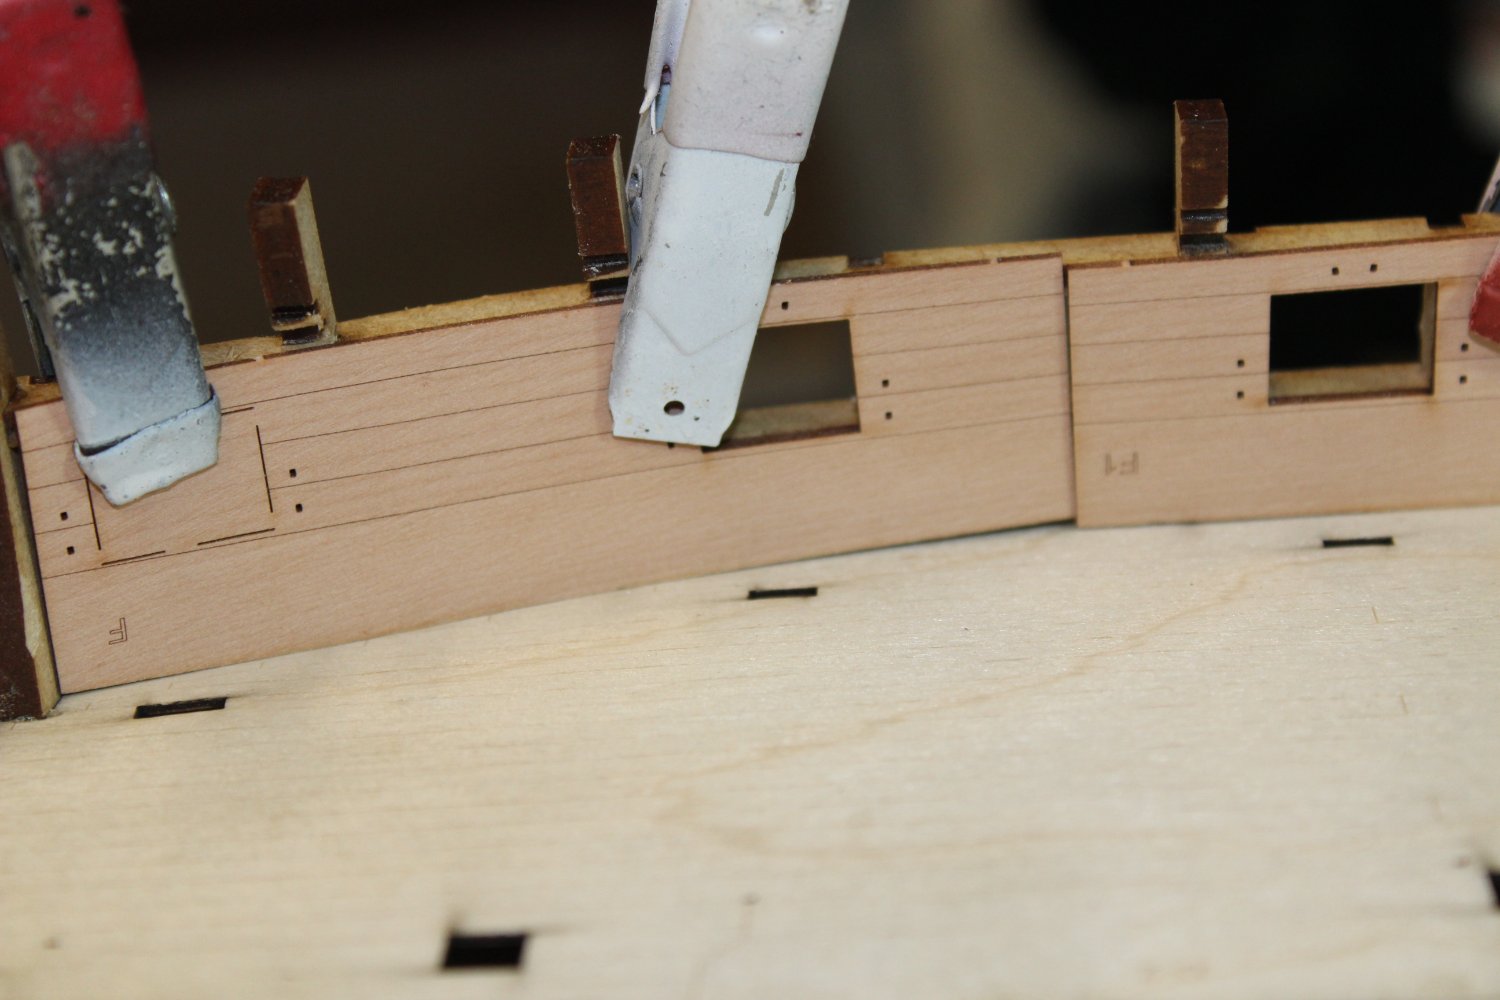
5 minutes ago, Blue Ensign said:
Always good to finish the deck planking, nice job Kevin.👍
Did you find the strip planking followed the printed layout, or did it start to run off the further you got across the deck?
Did you find the printed pattern a help or hindrance?
Cheers,
B.E.
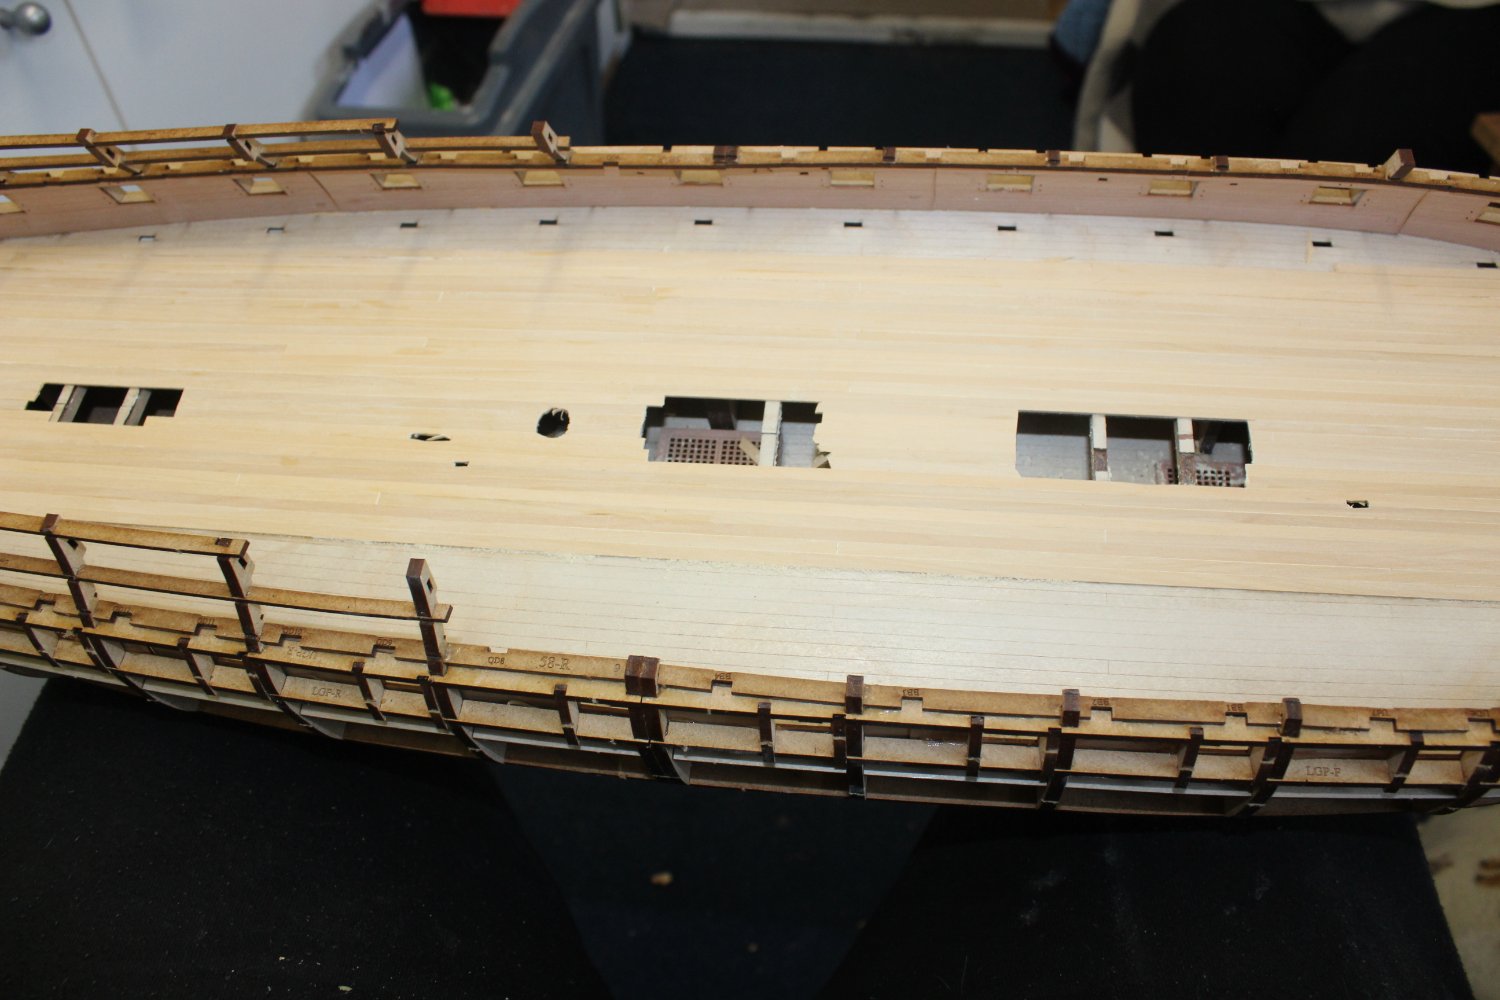
the pattern was a great help, for the placement of the butts, i never tapered the planks, so it did run off, im happy with the result however
- Oldsalt1950, yvesvidal, Blue Ensign and 4 others
-
7
-
-
4 minutes ago, Blue Ensign said:
I don't need luck Kevin - I've got you to follow😜
Cheers,
B.E.
dont follow me, im useless
- mtaylor, CaptnBirdseye, Ryland Craze and 2 others
-
2
-
 3
3
-
-
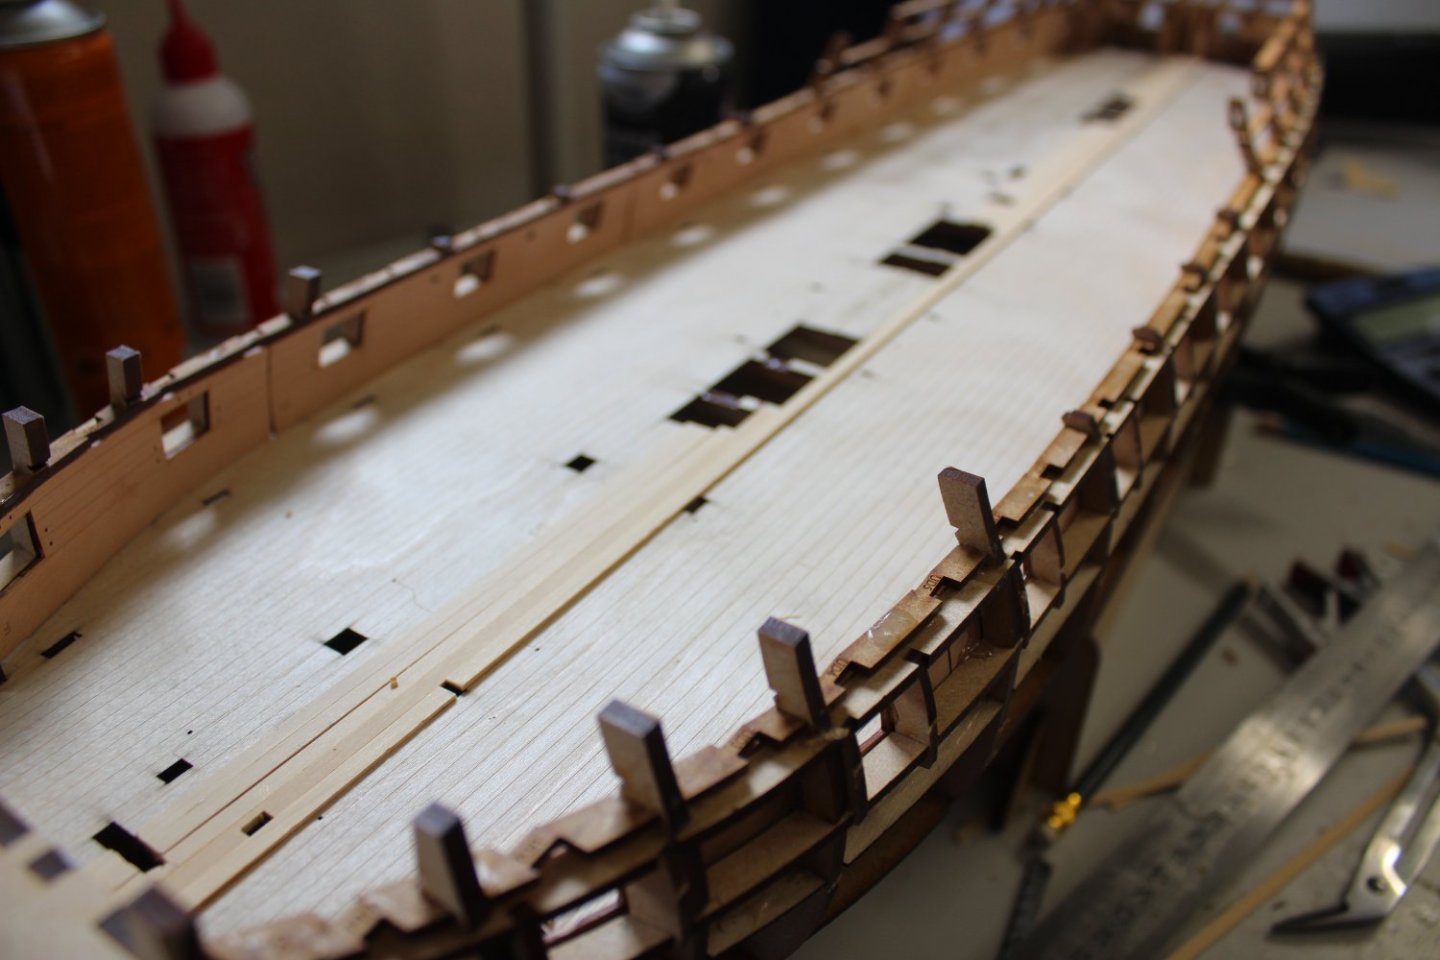
Good evening everyone
thank you for comments and likes
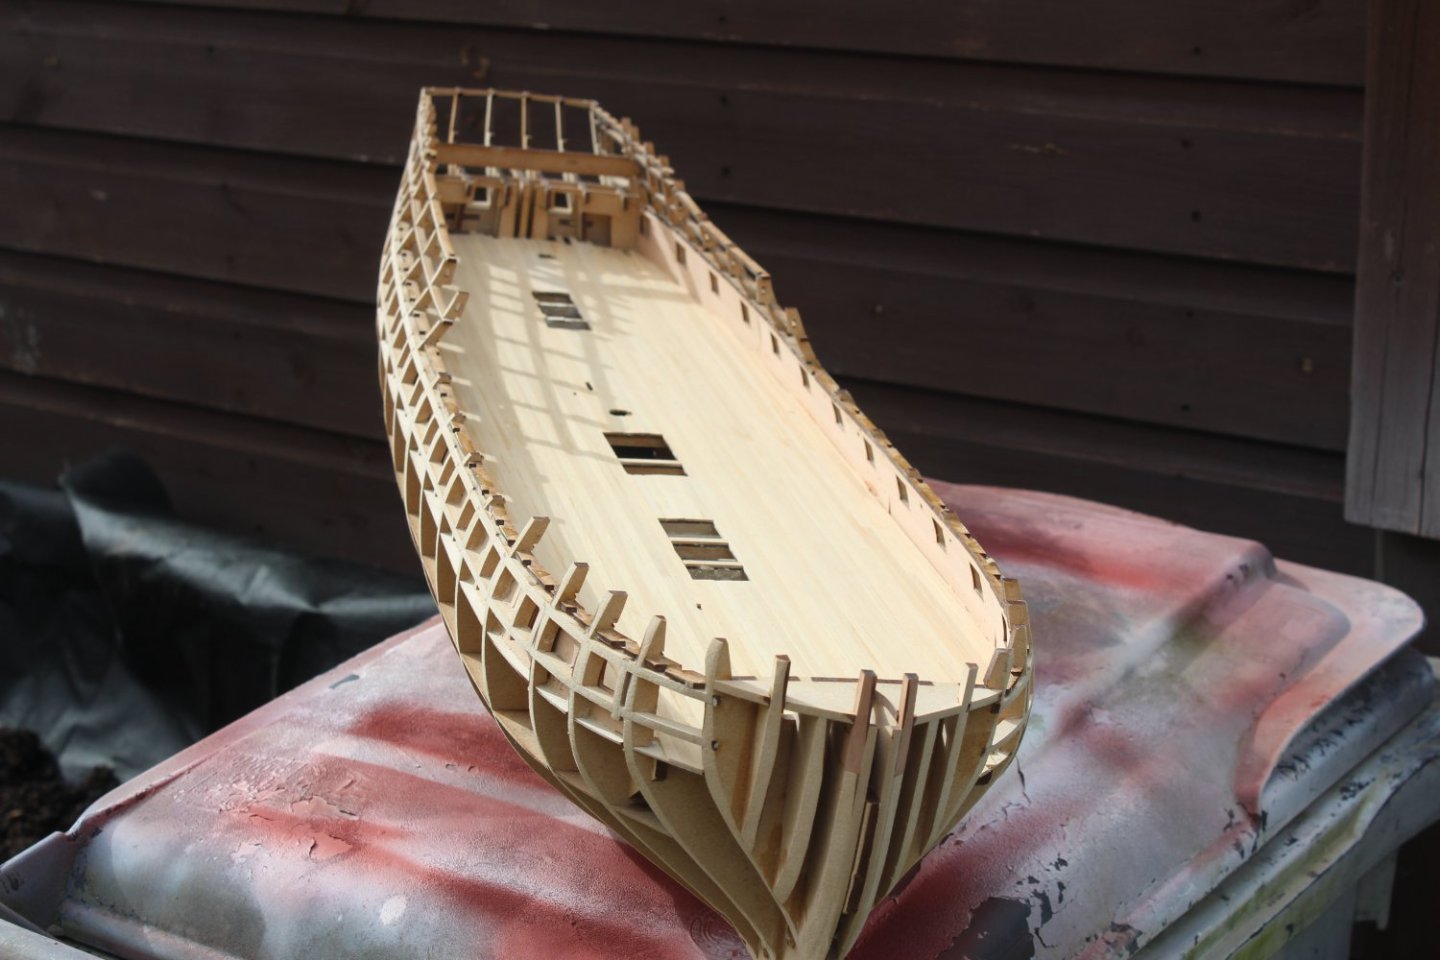
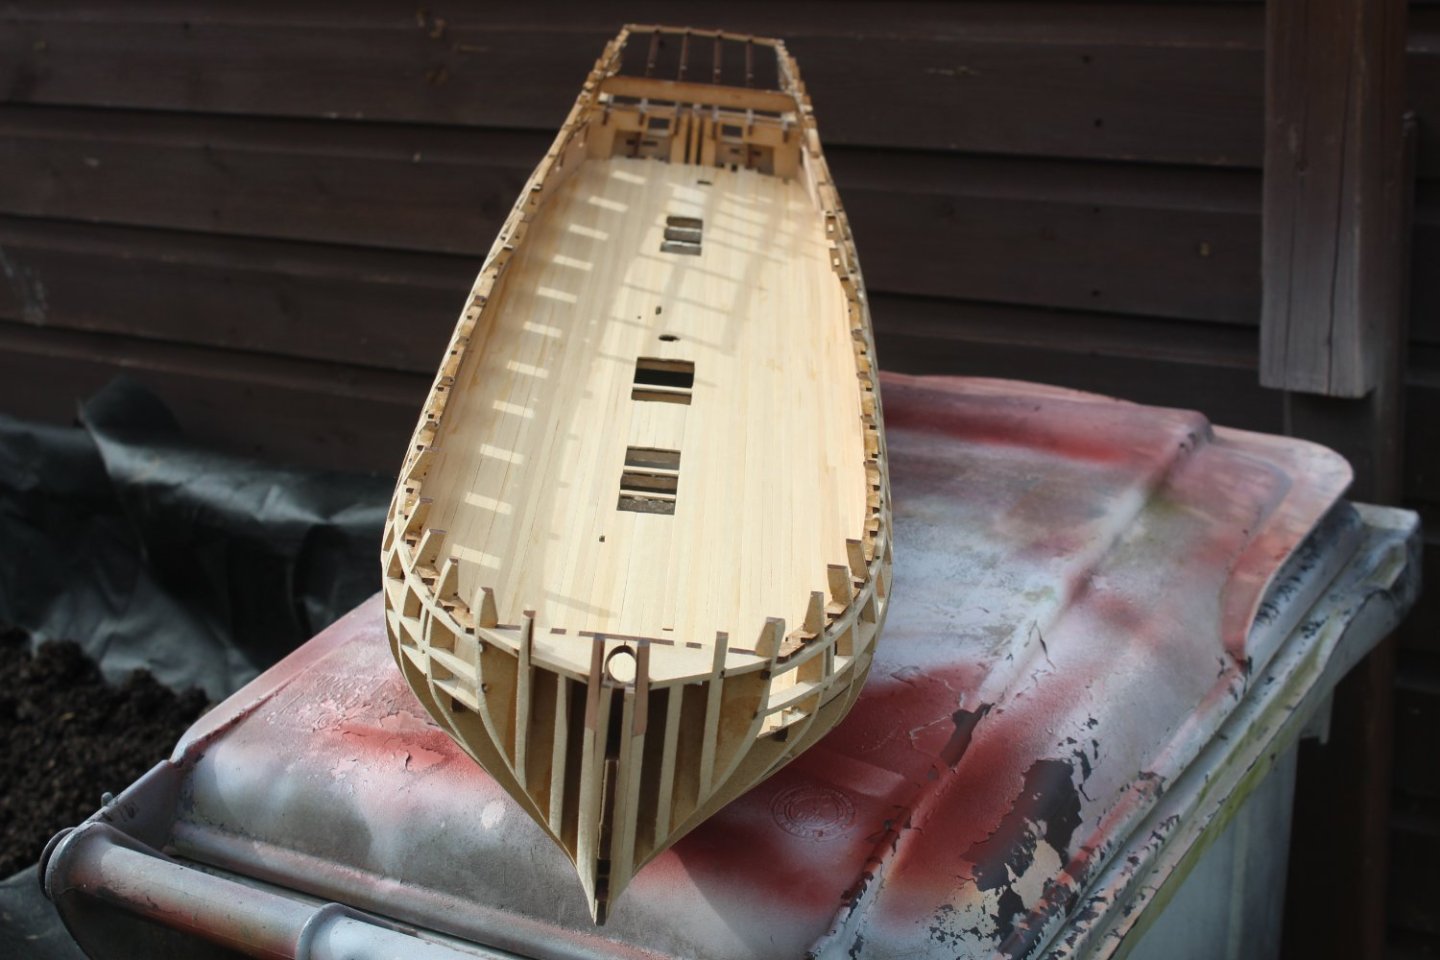
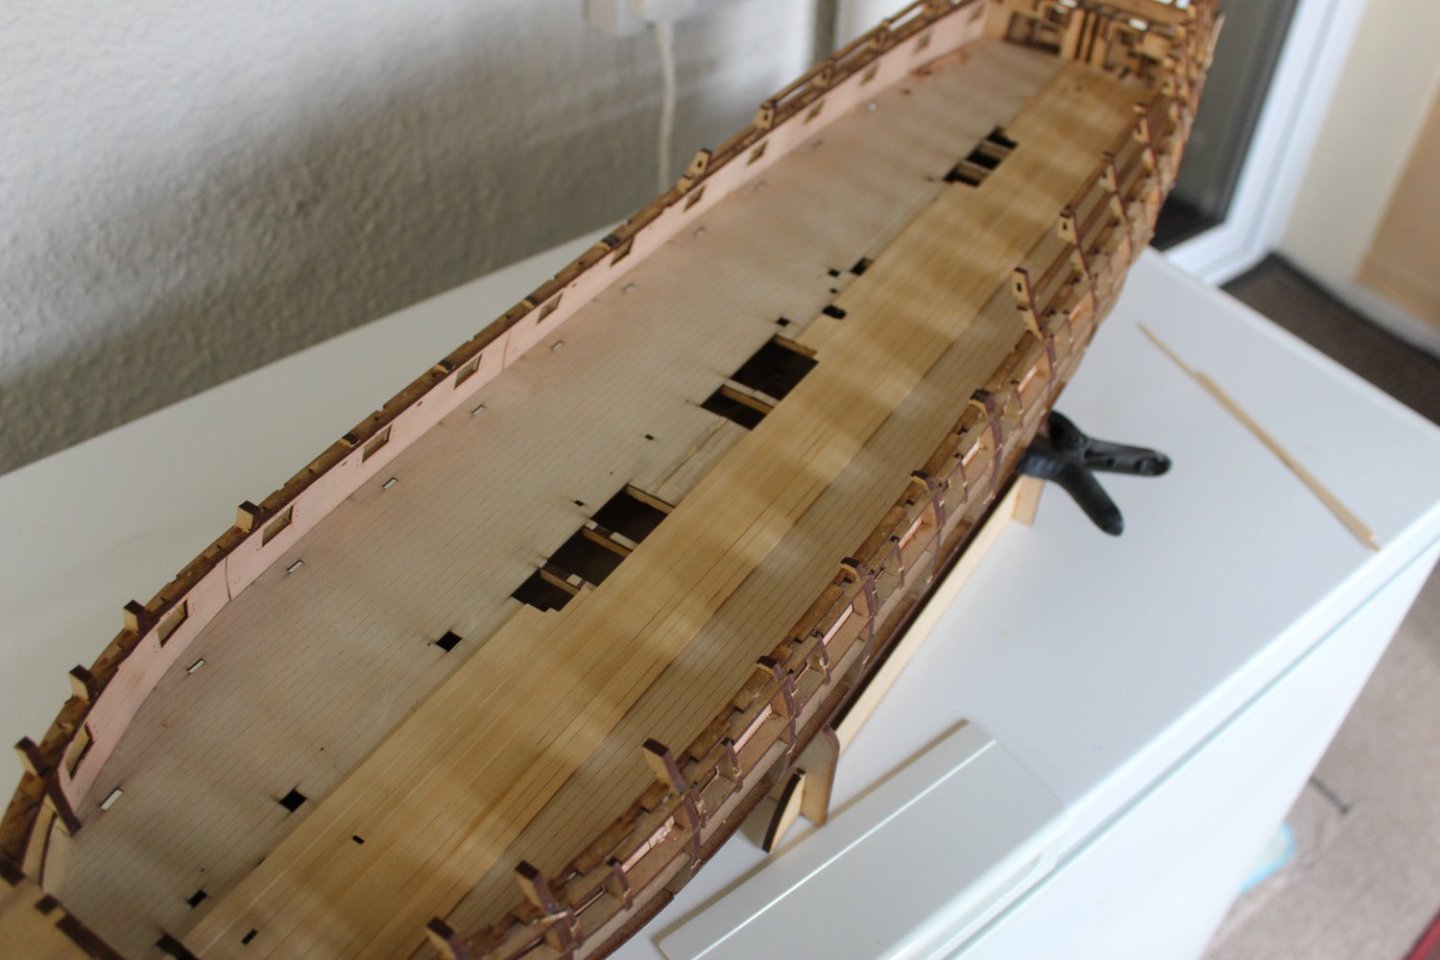
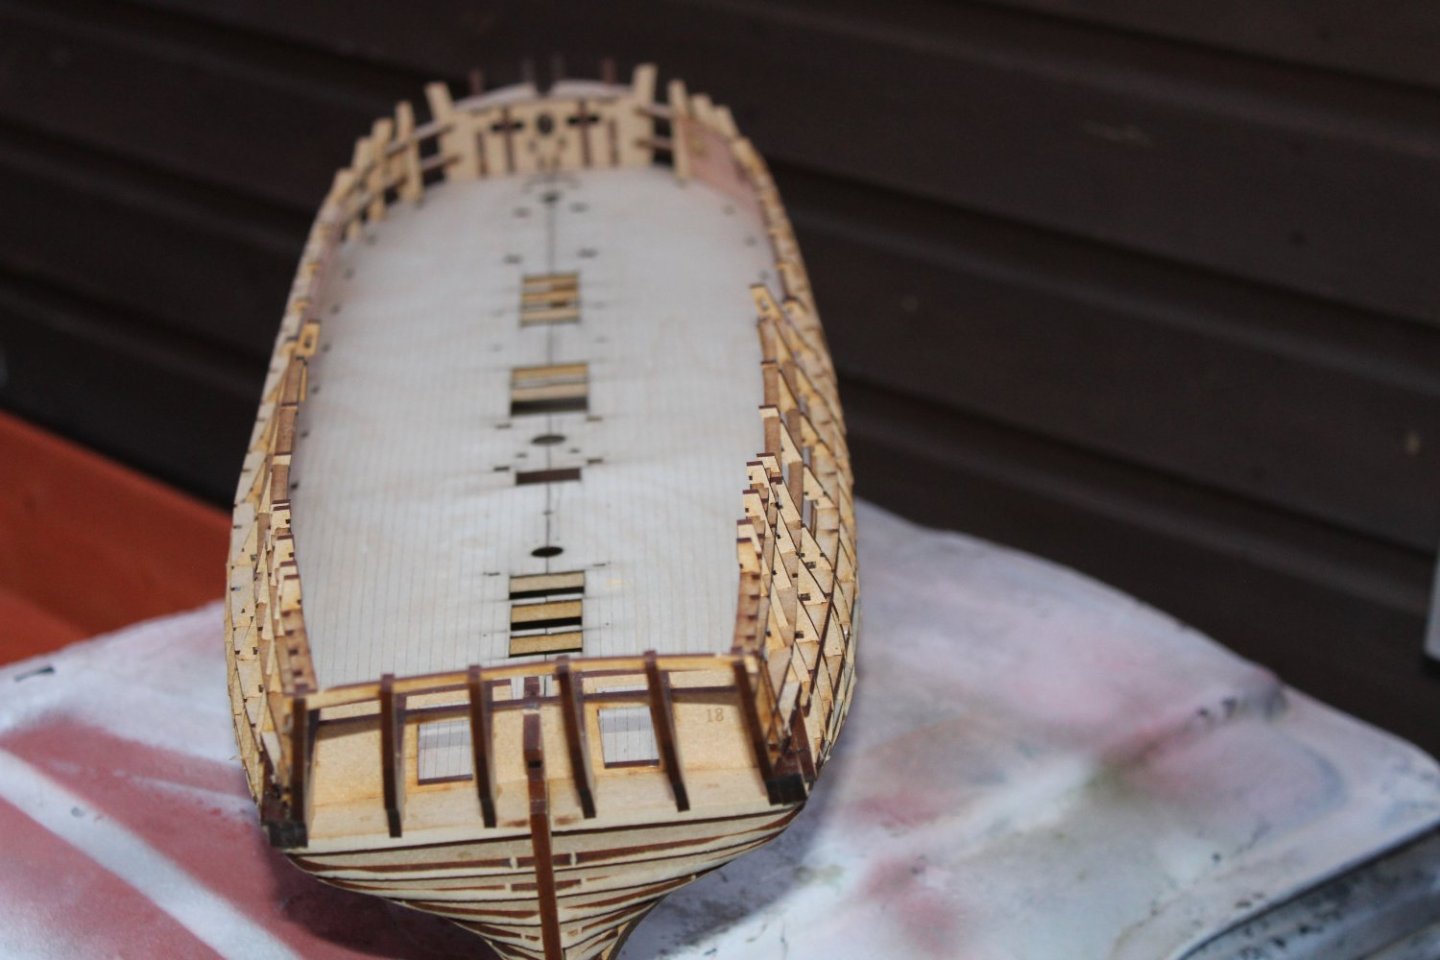
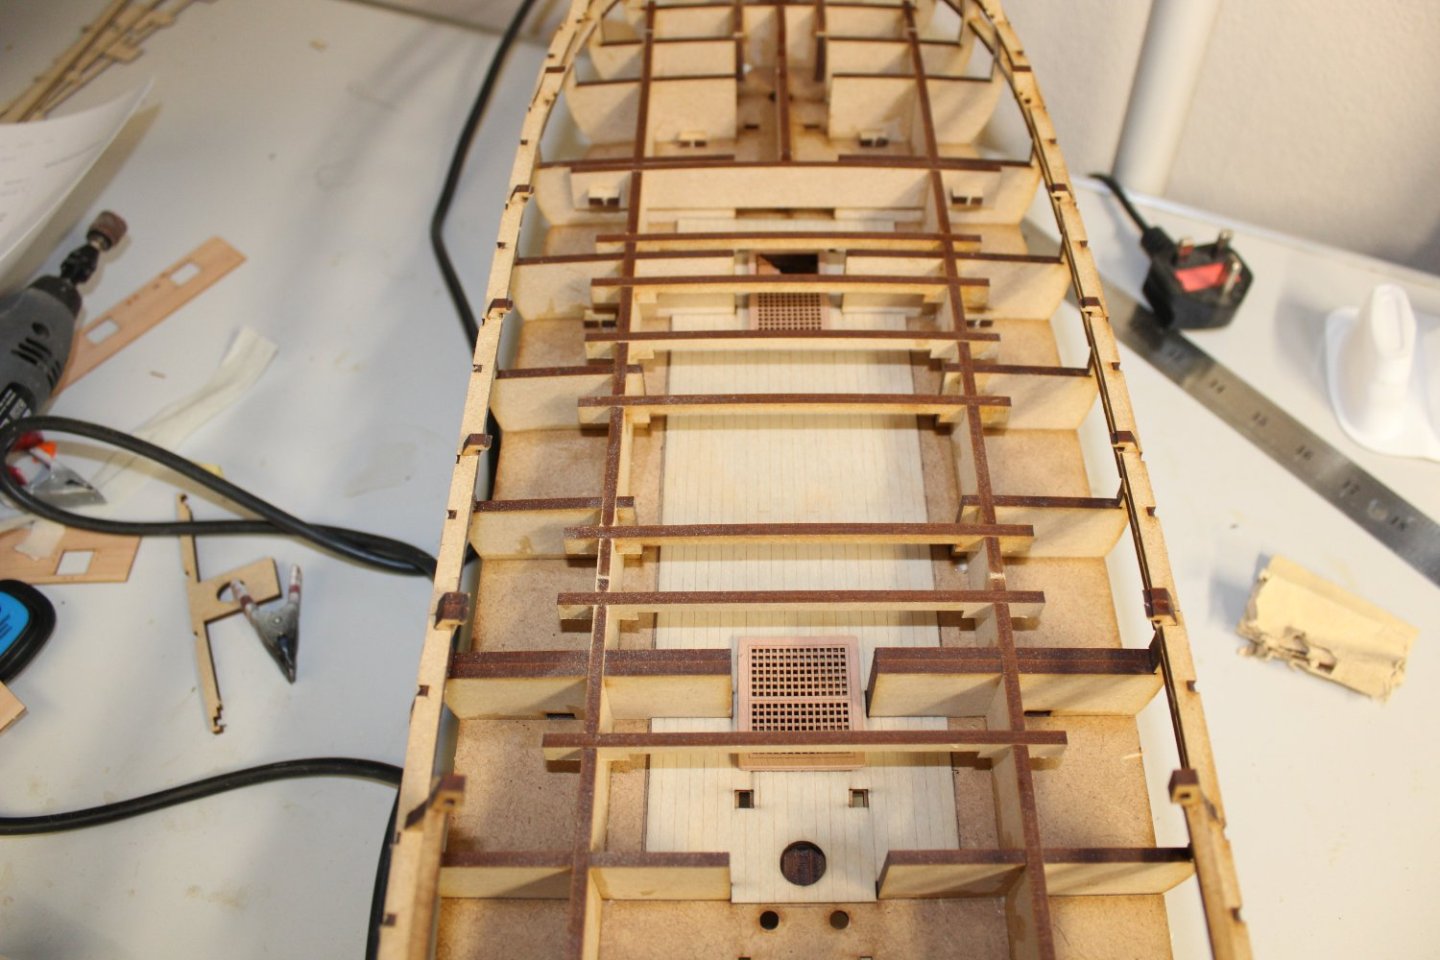
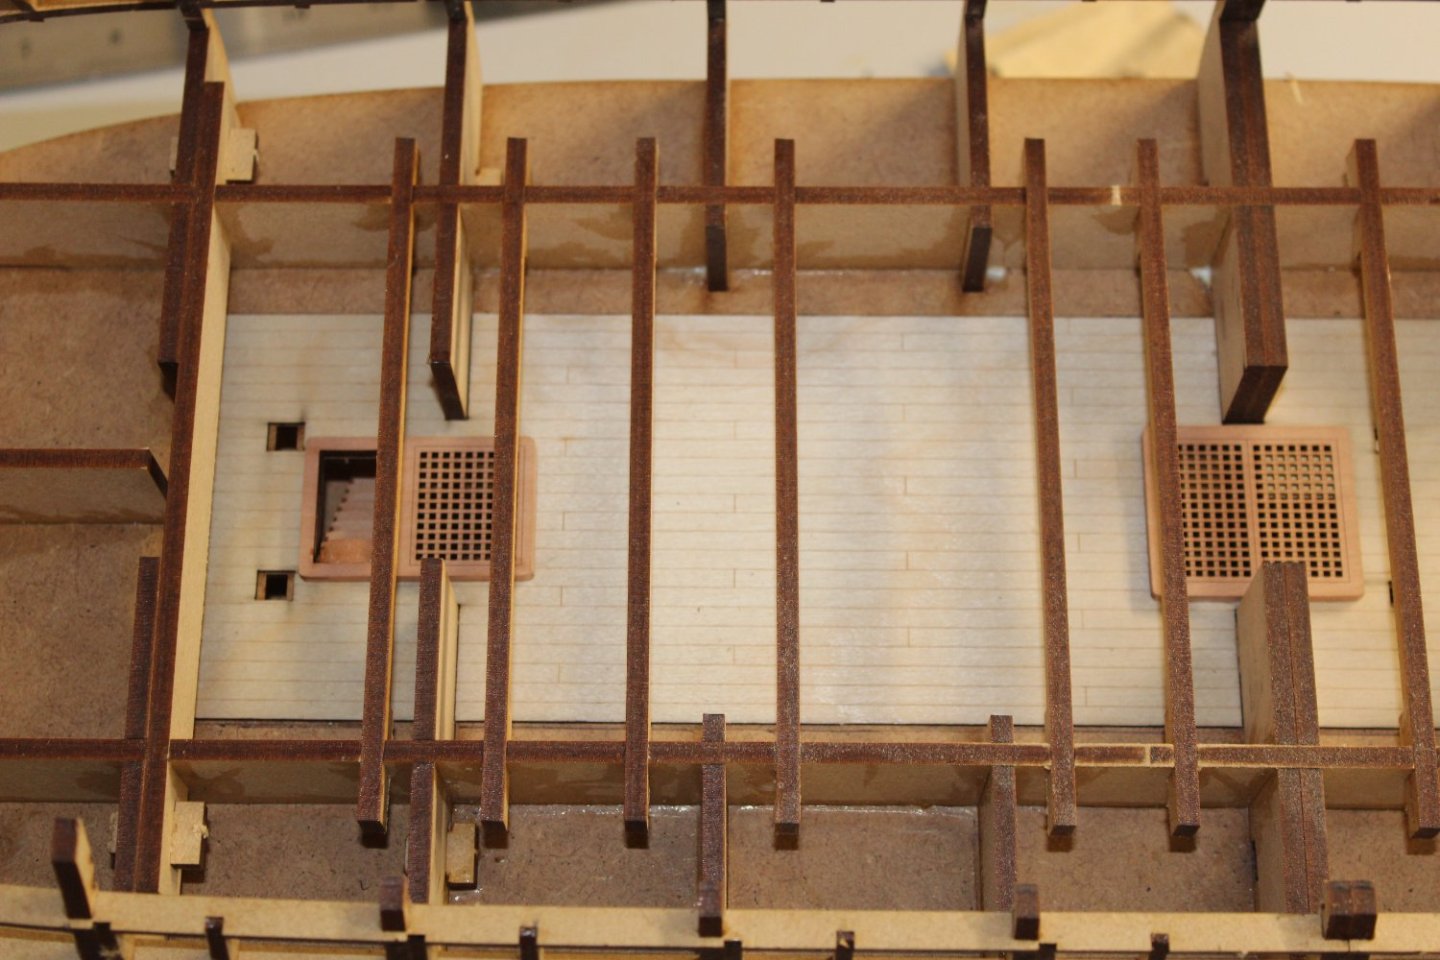
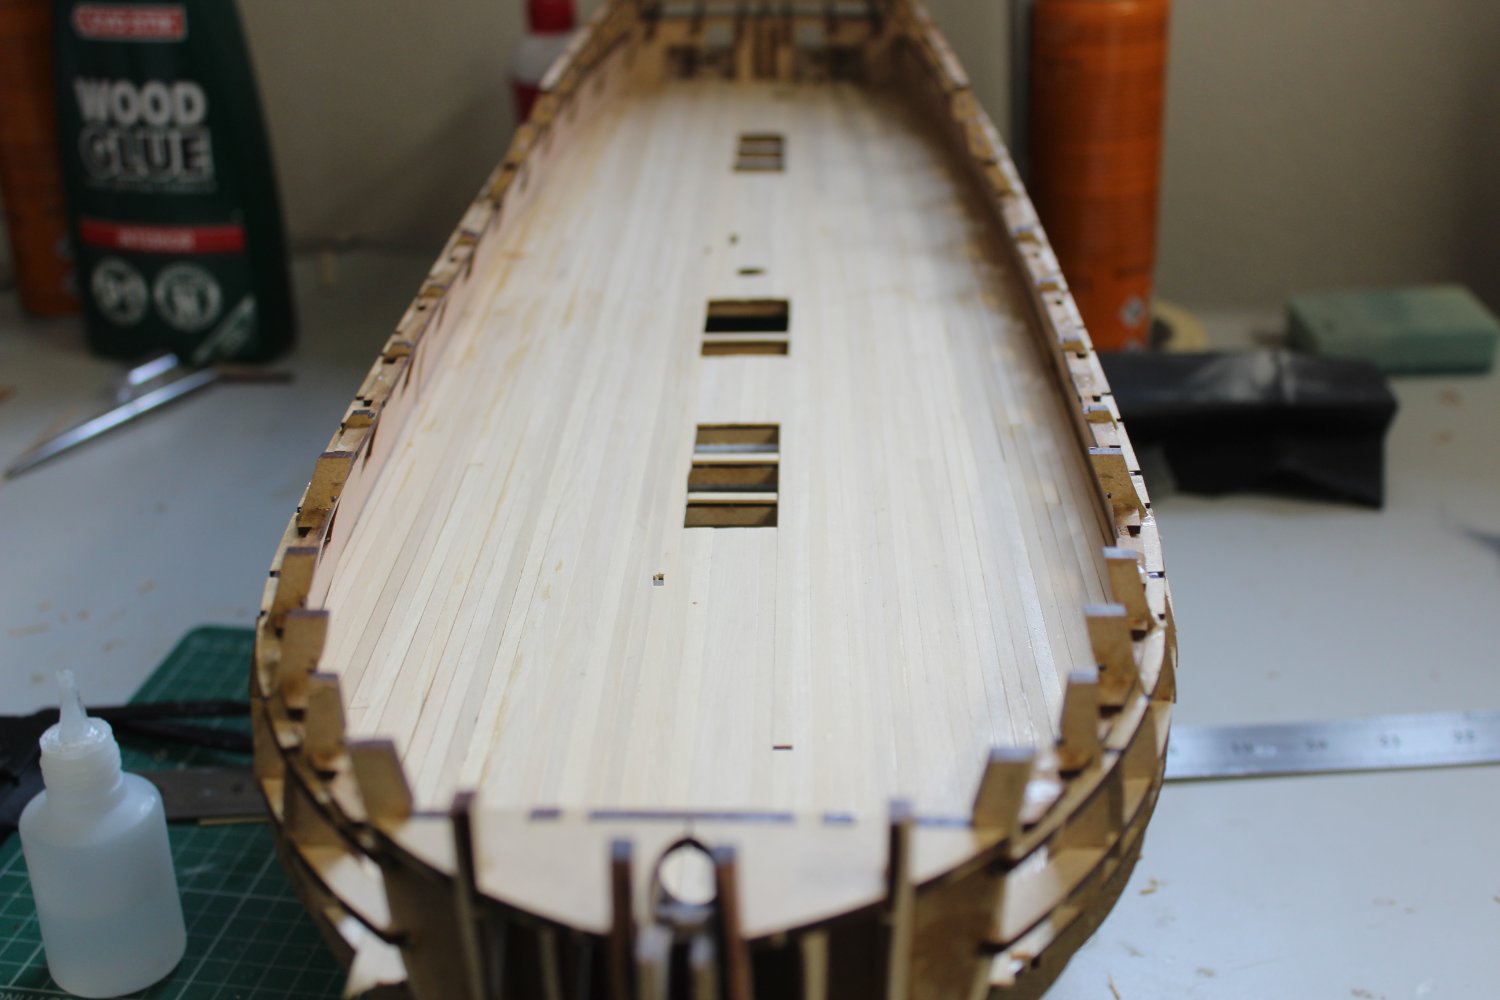
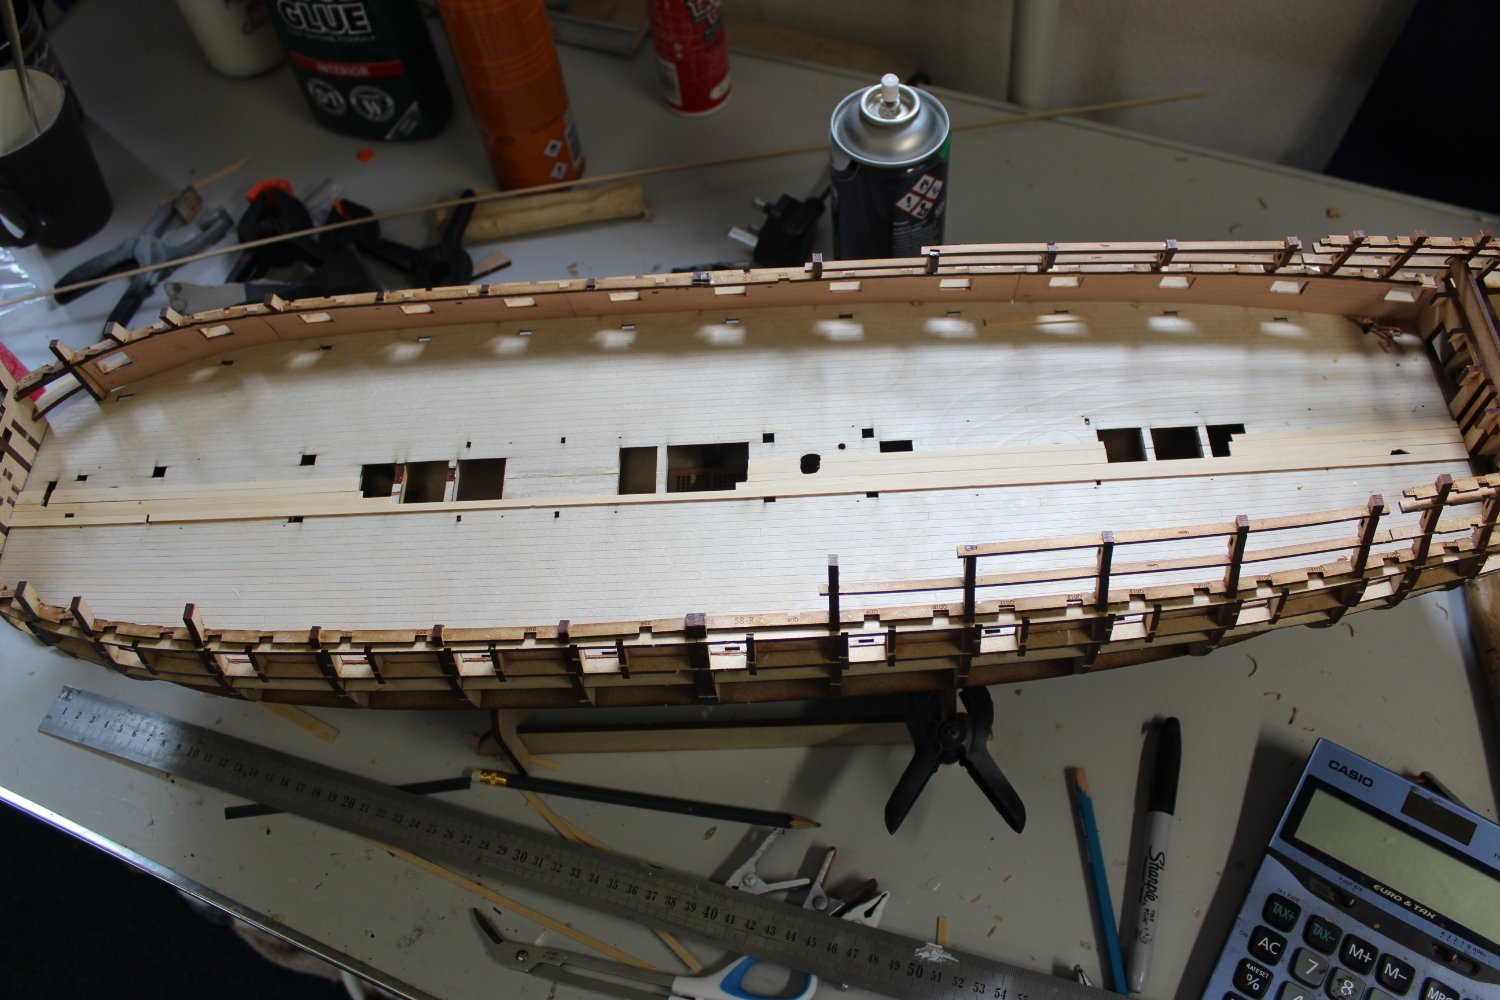
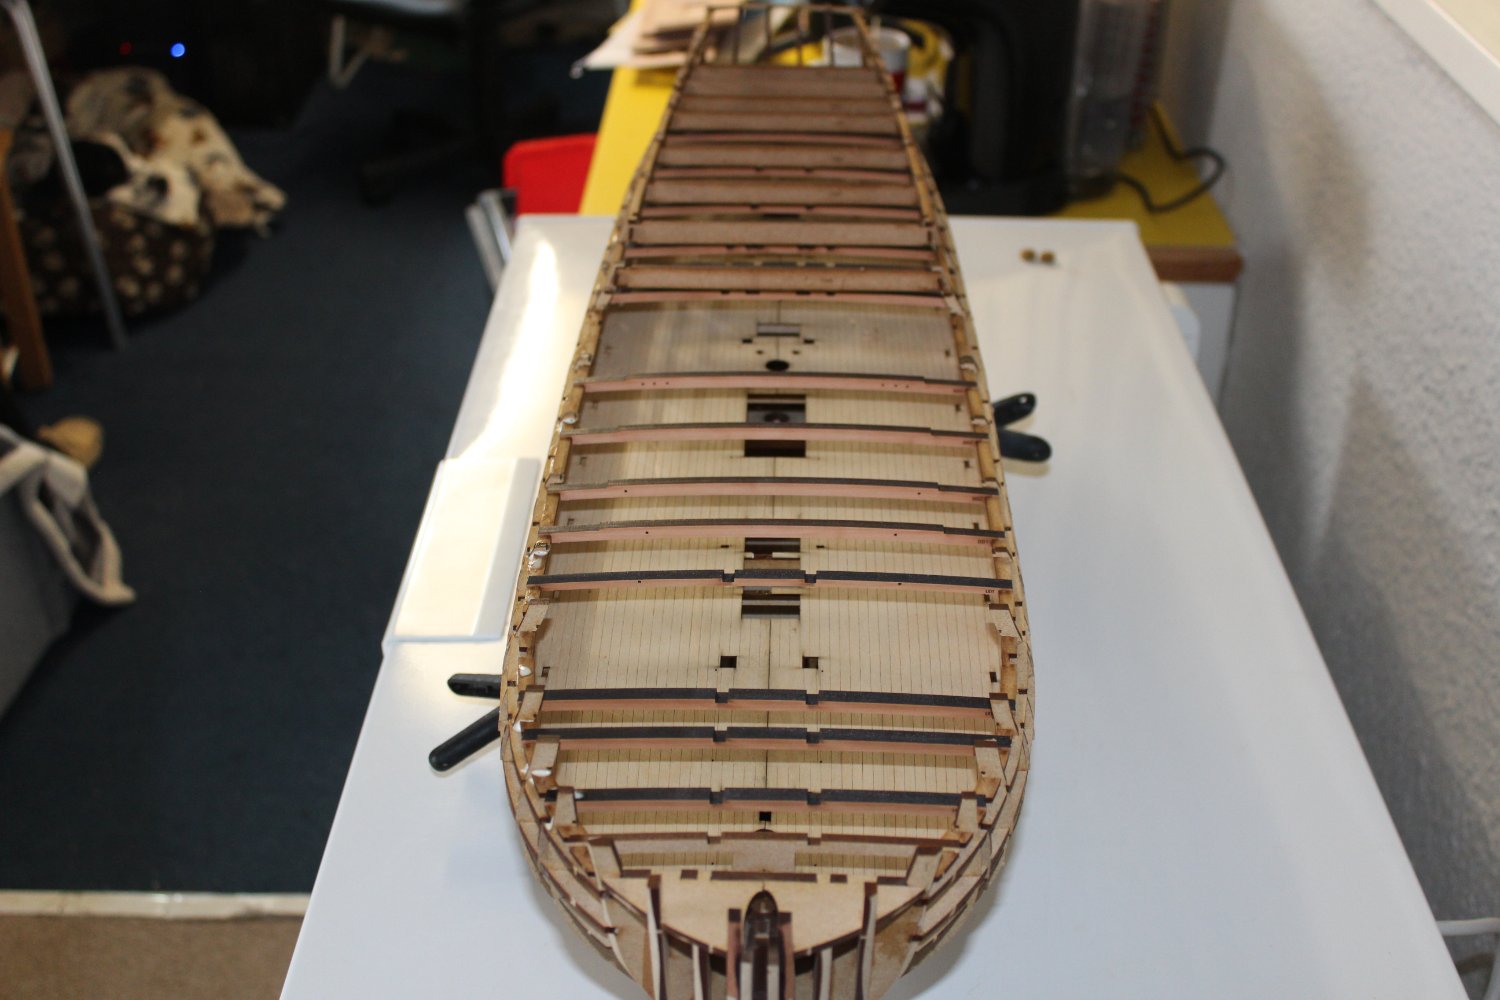
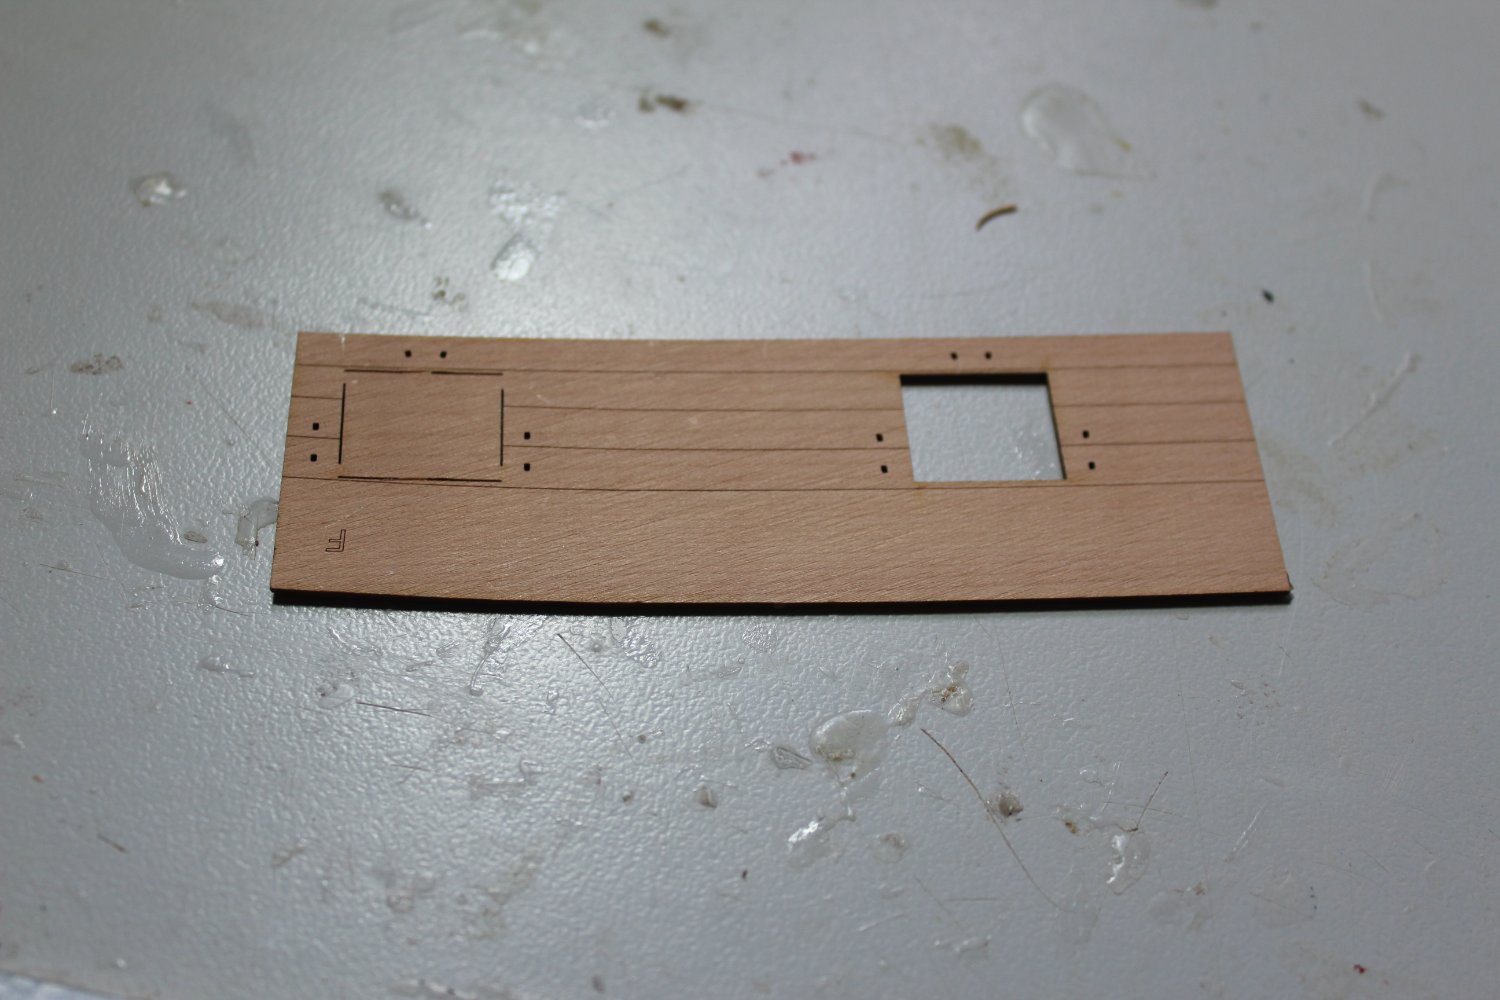
day 9 lower deck planking
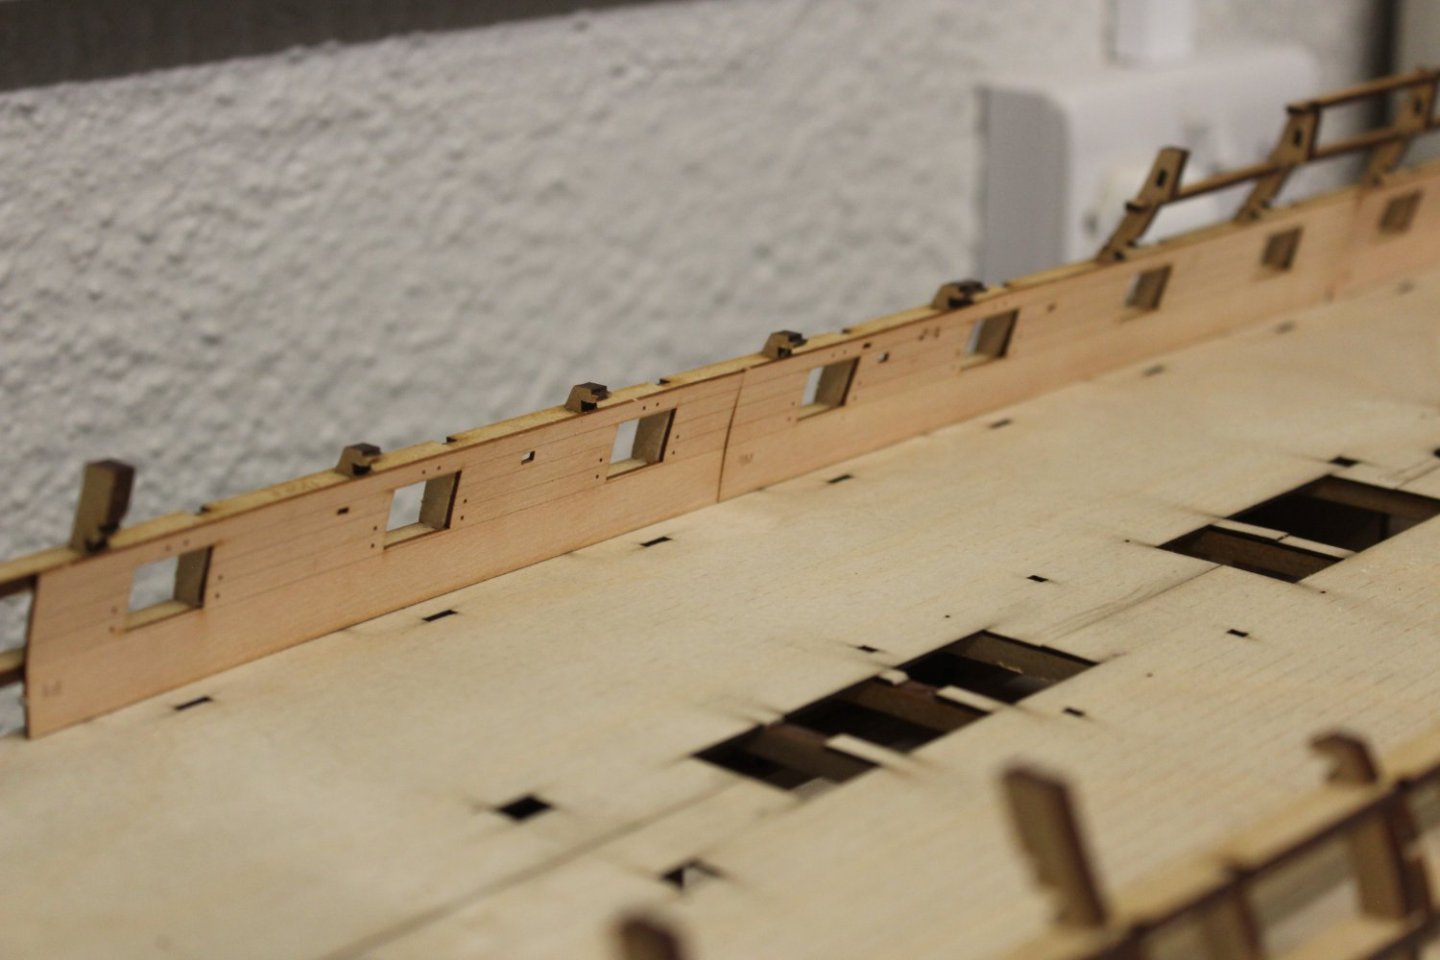
the weather outside has restricted me taking her out to start sanding the outer hull, so using the boxwood i have started the lower gundeck,
sorry the photos are not brilliant,
very little of this will ever bee seen, all the slots down the port and stbd side are for the cannons, i made the decision to cover these for now and either find them later on, or find an alternative method for fixing them
just loving this build


-
-
1 hour ago, hollowneck said:
Kevin,
You’re the Max Verstappen of MSW. First Past The Build Log Post! Zooming along nicely…
id perfer to be the Lewis, but im not in a race lol, however this does go together so very well, it will of course slow down soon, with planking
-
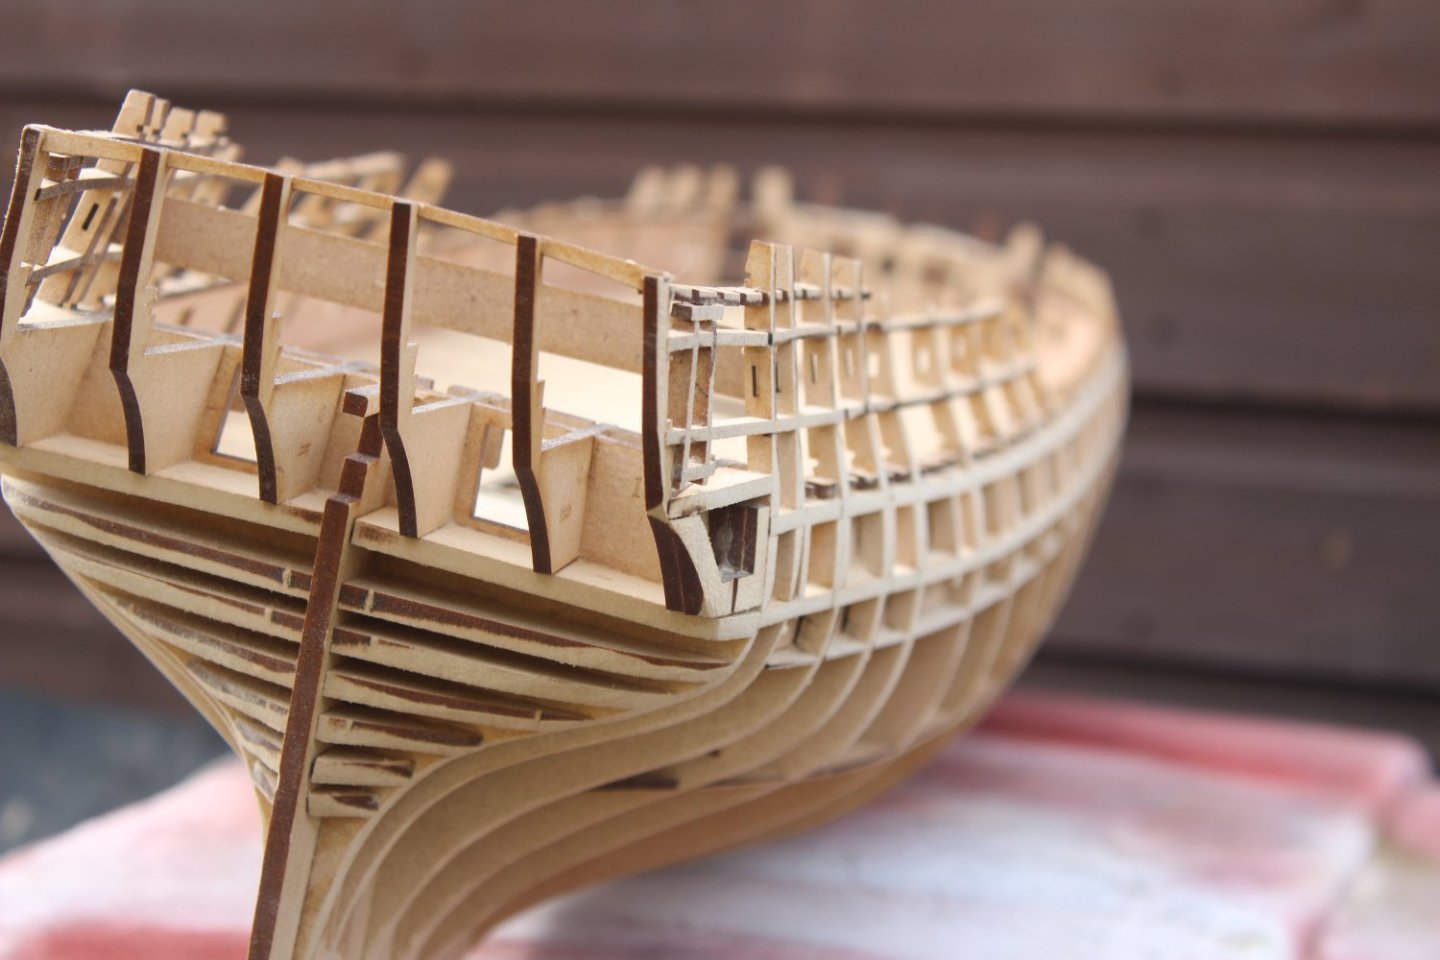
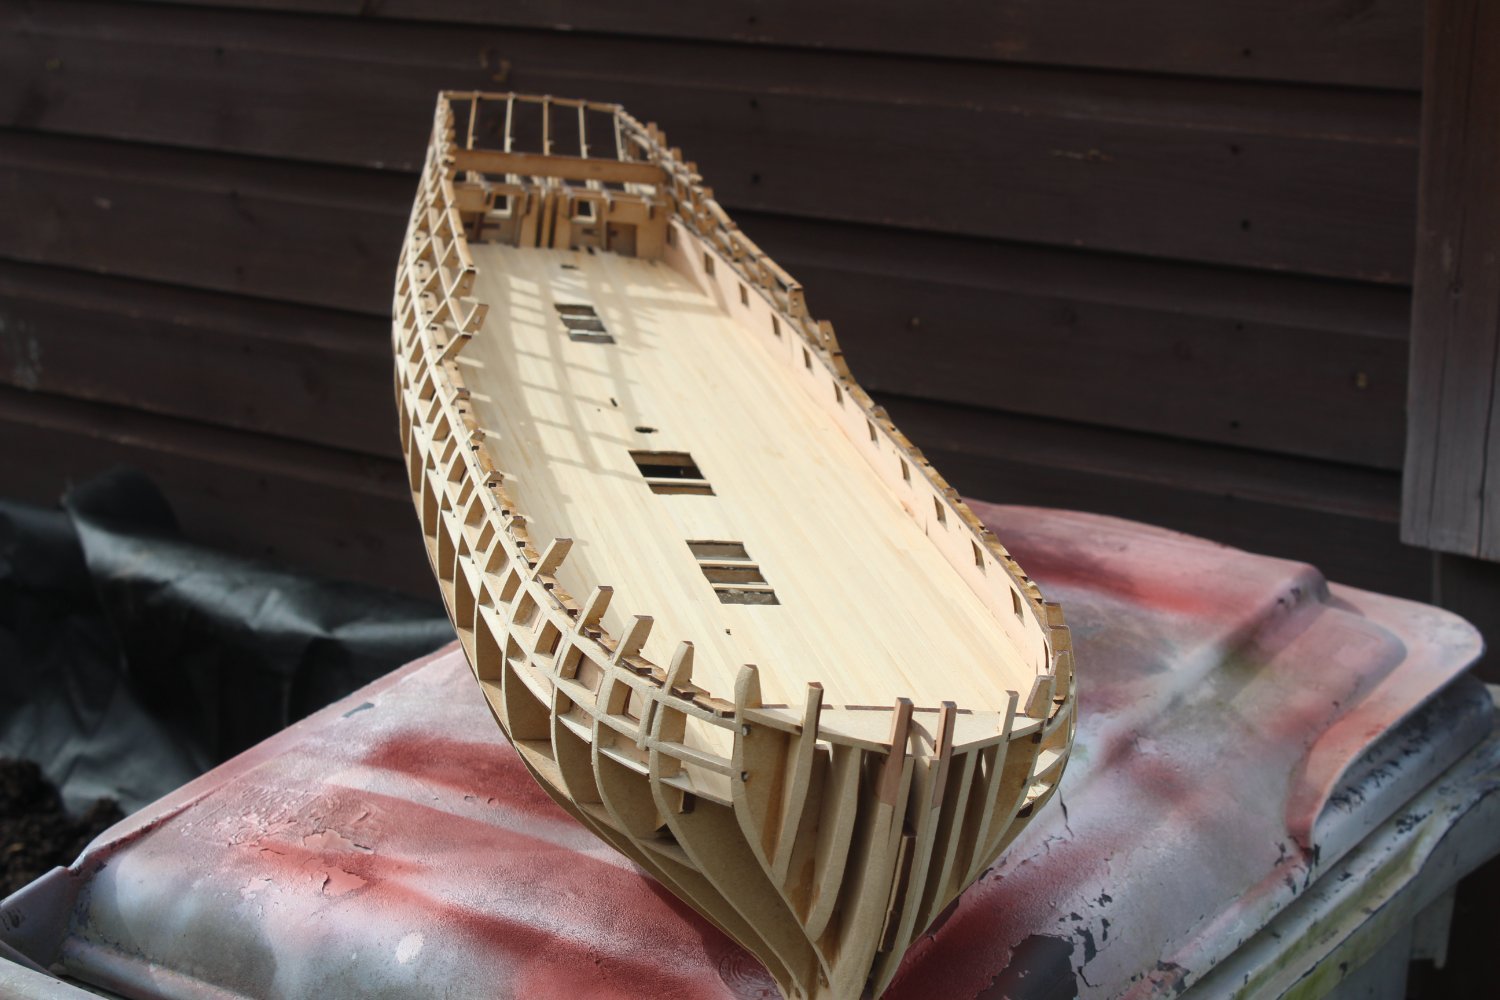
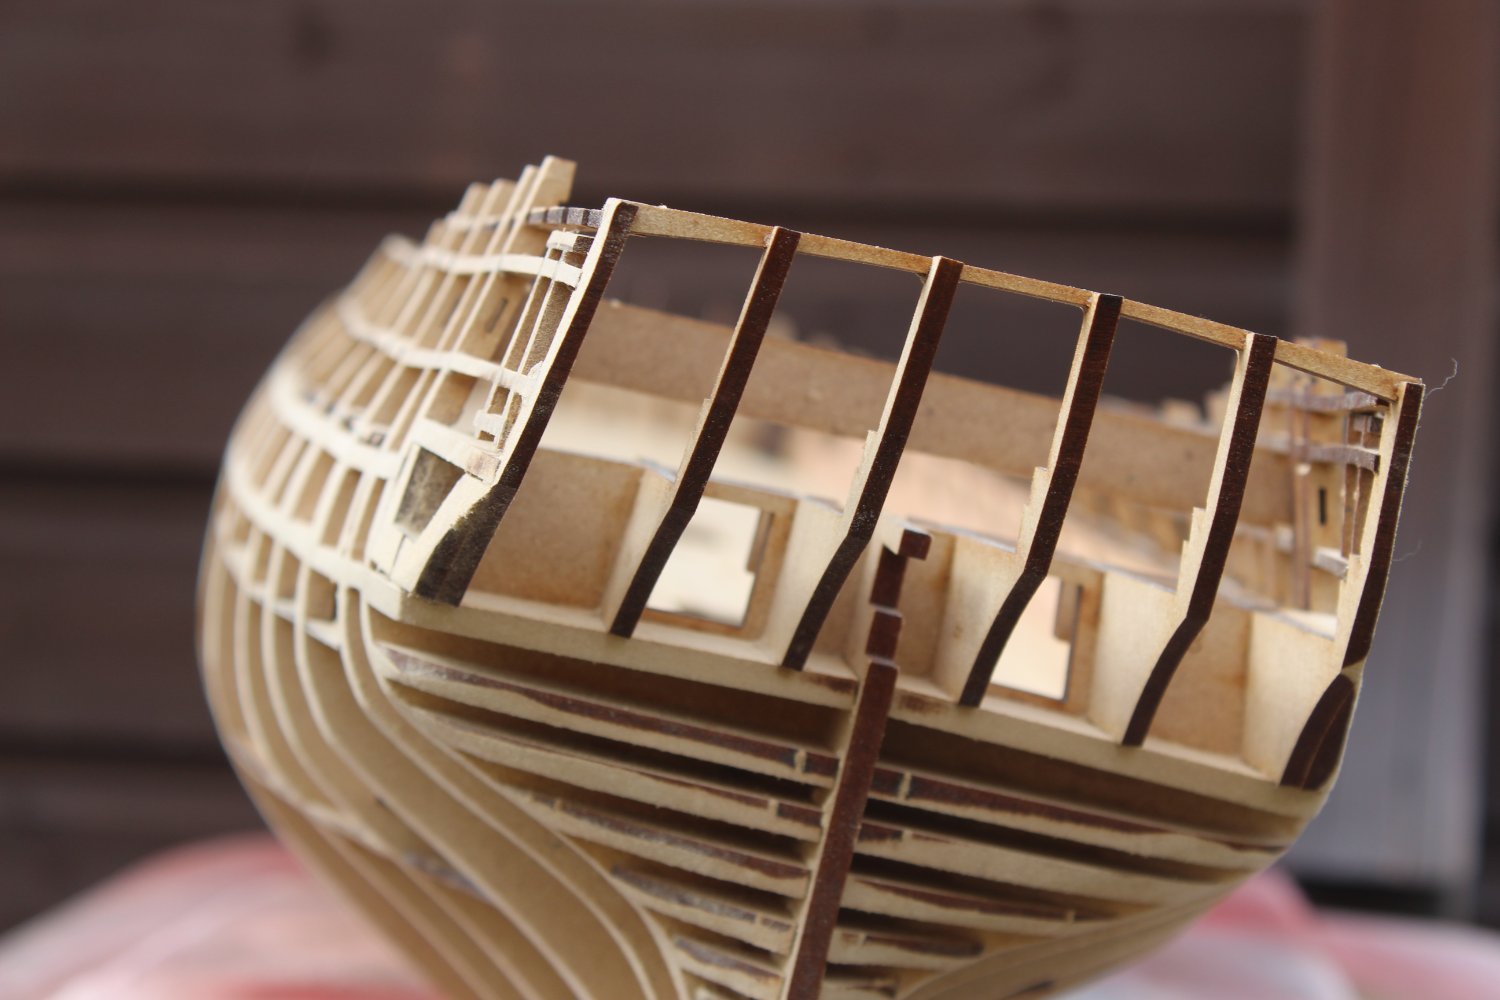
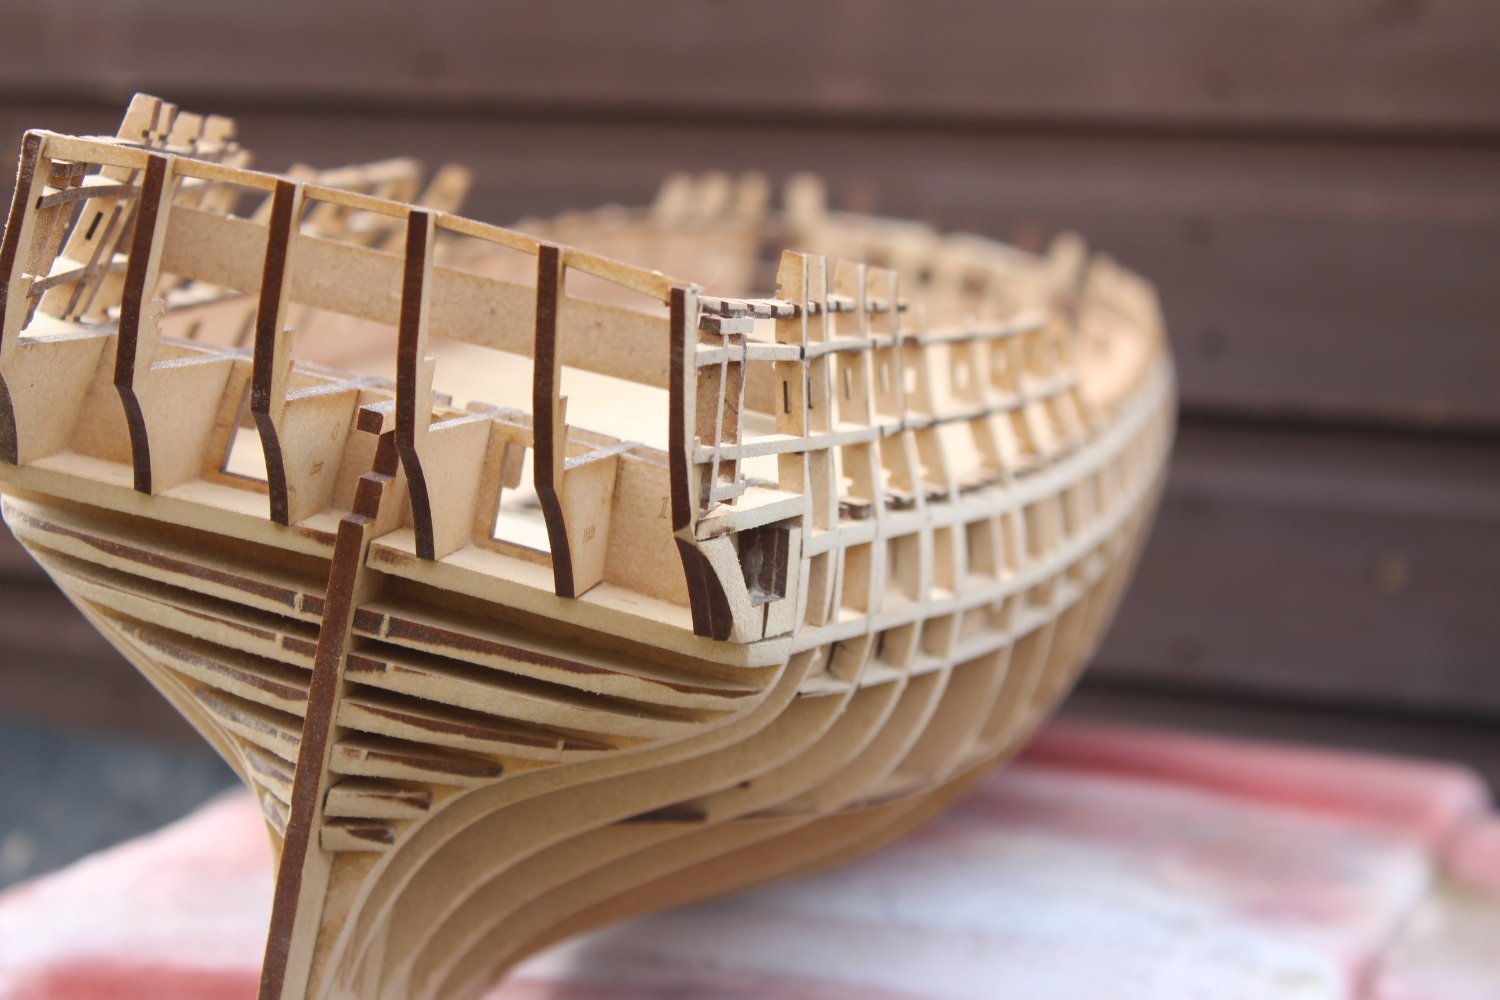
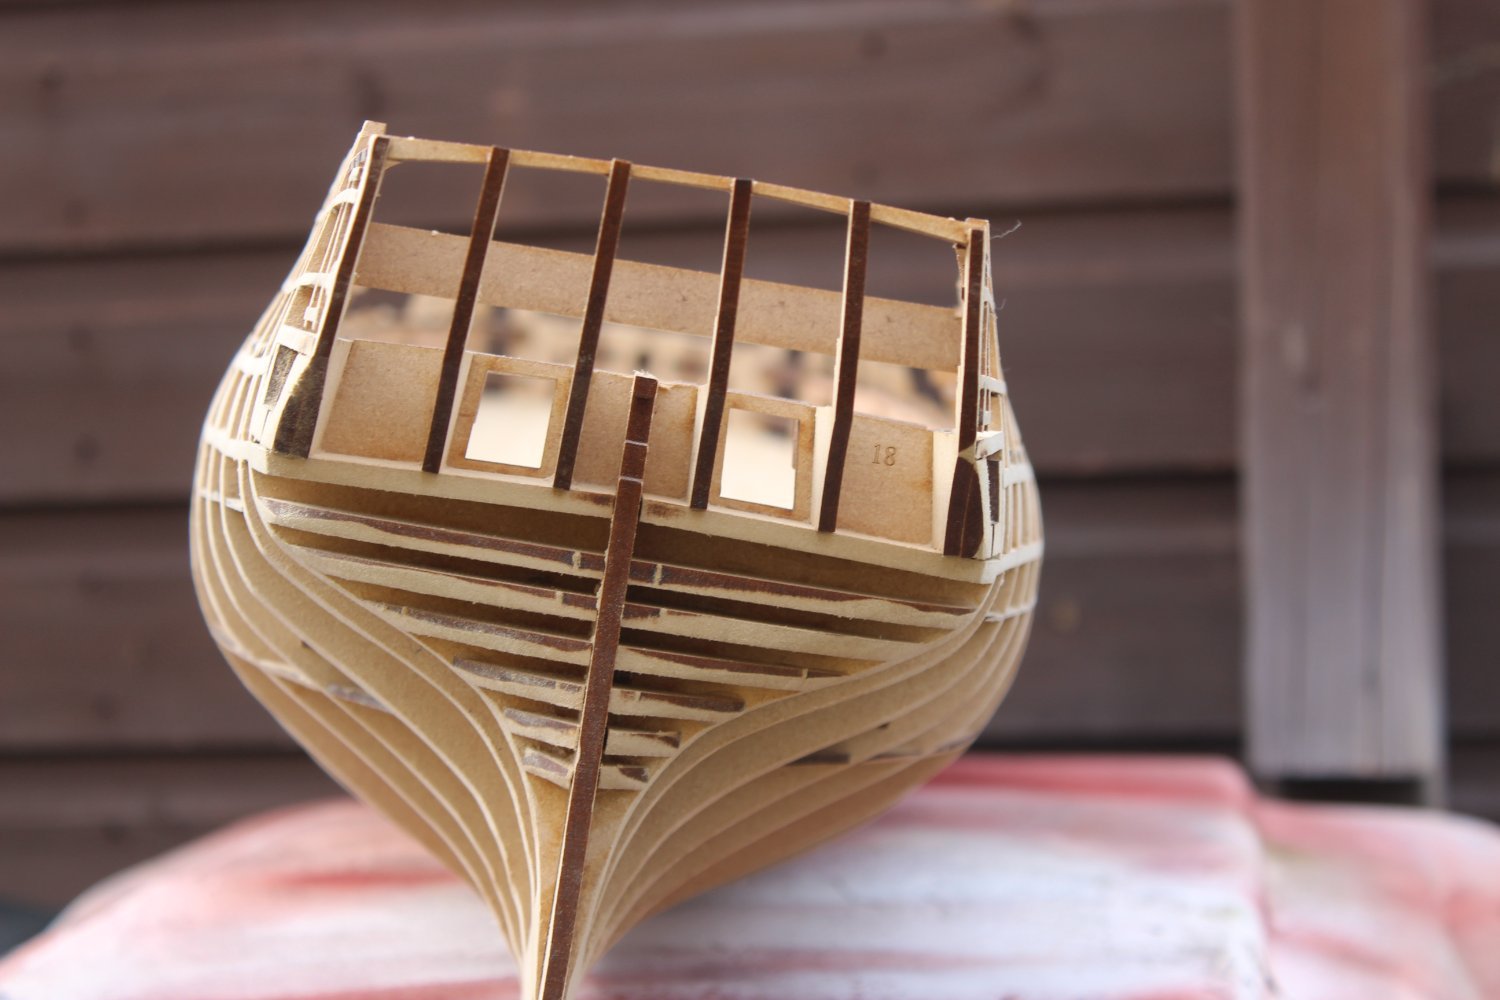
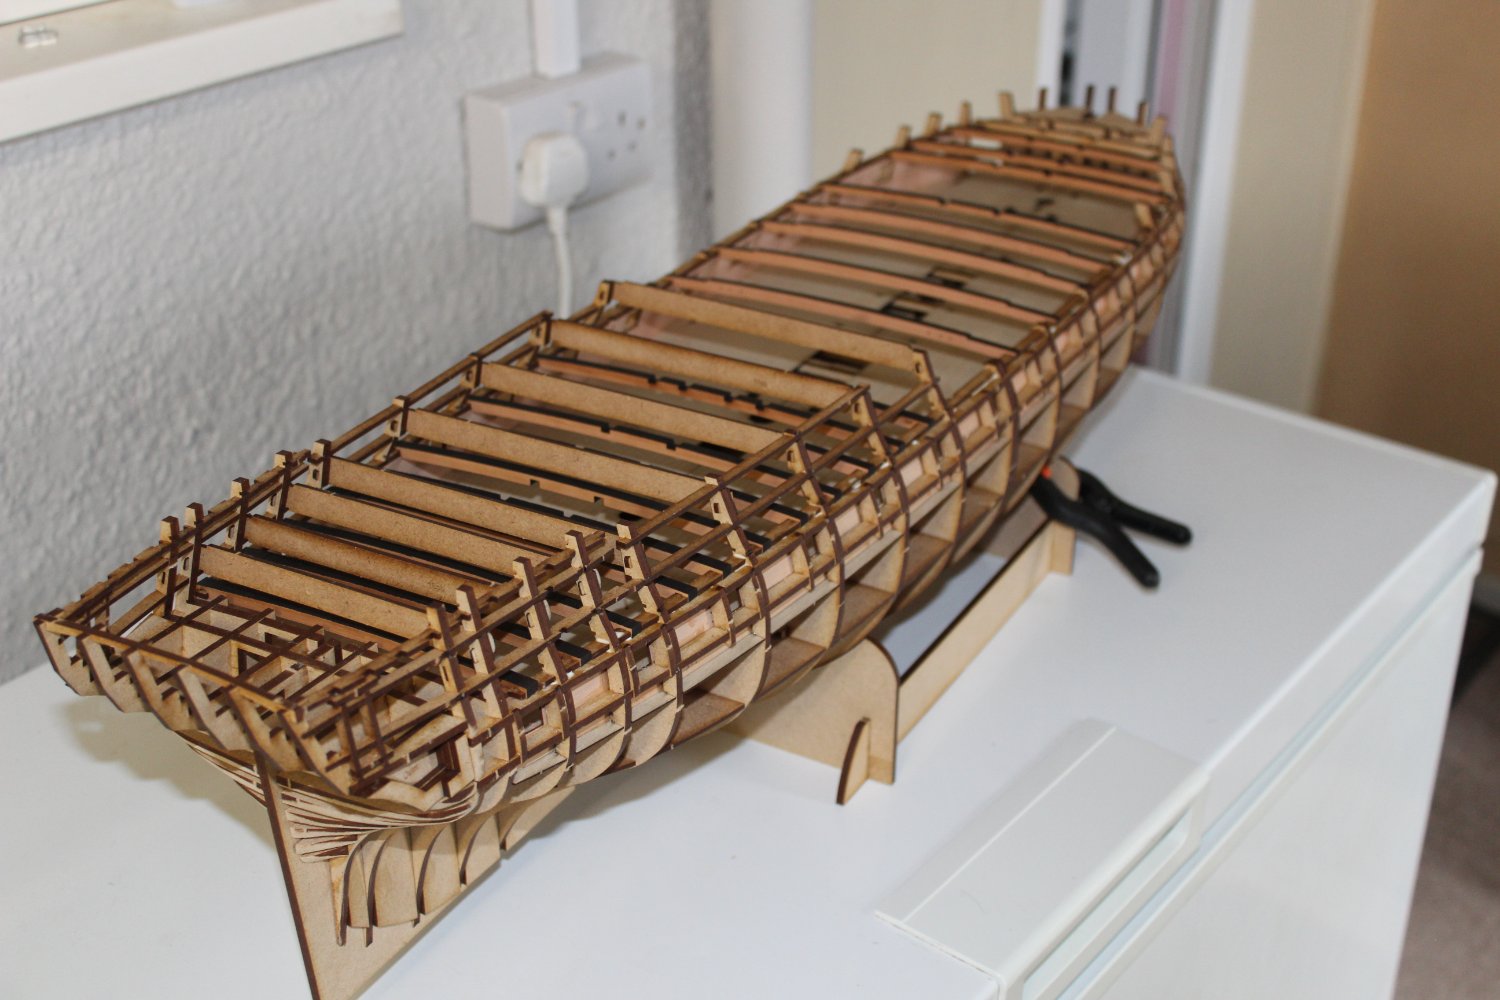
good evening everyone
thank you for comments and likes, very much appreciated
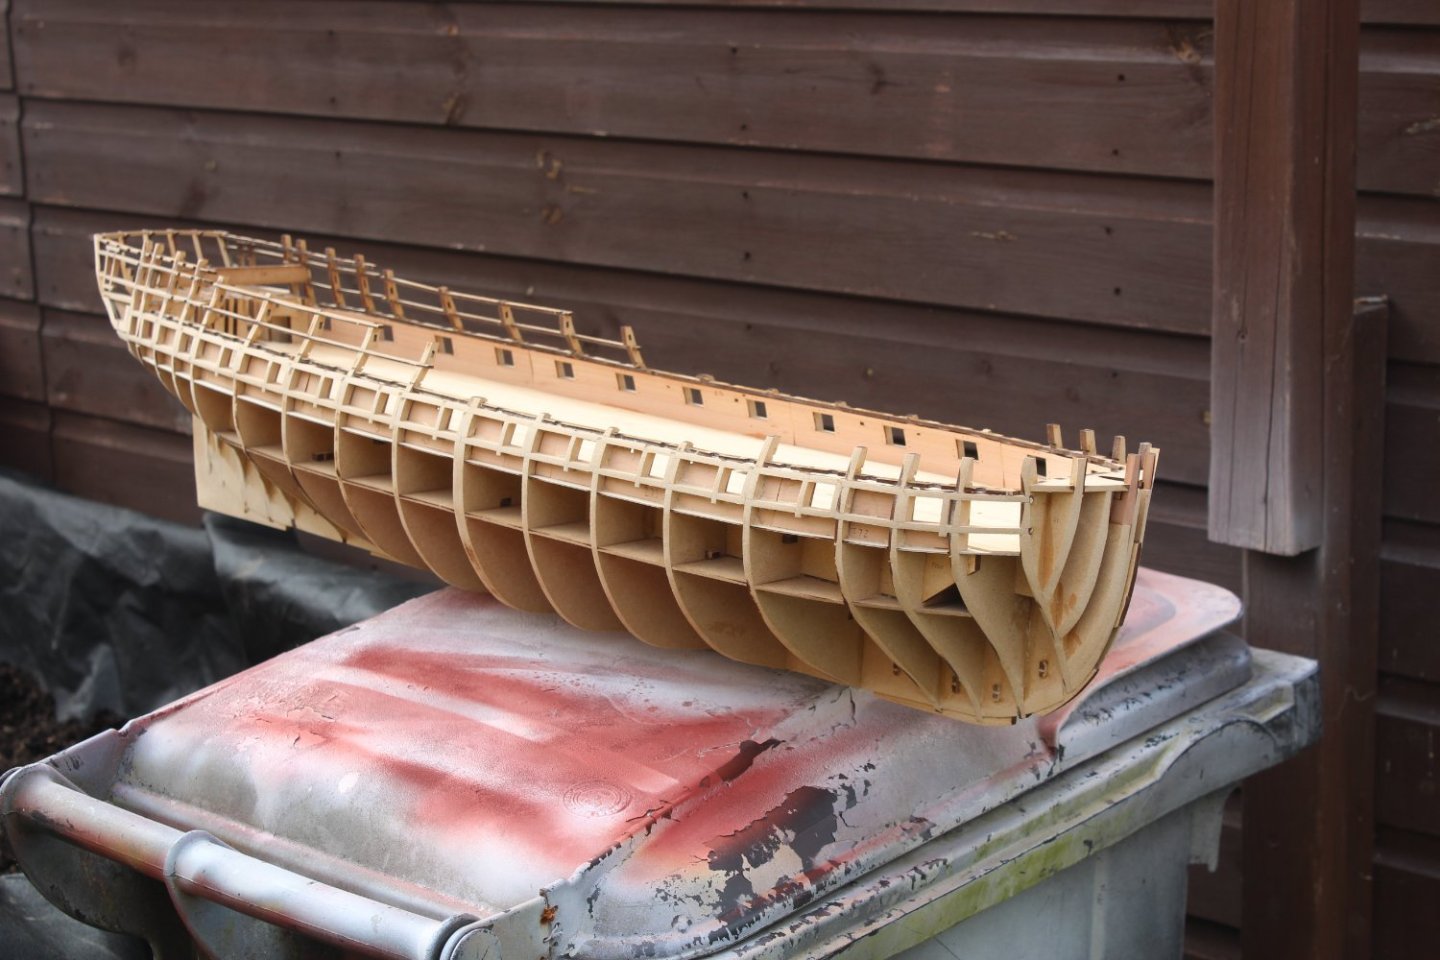
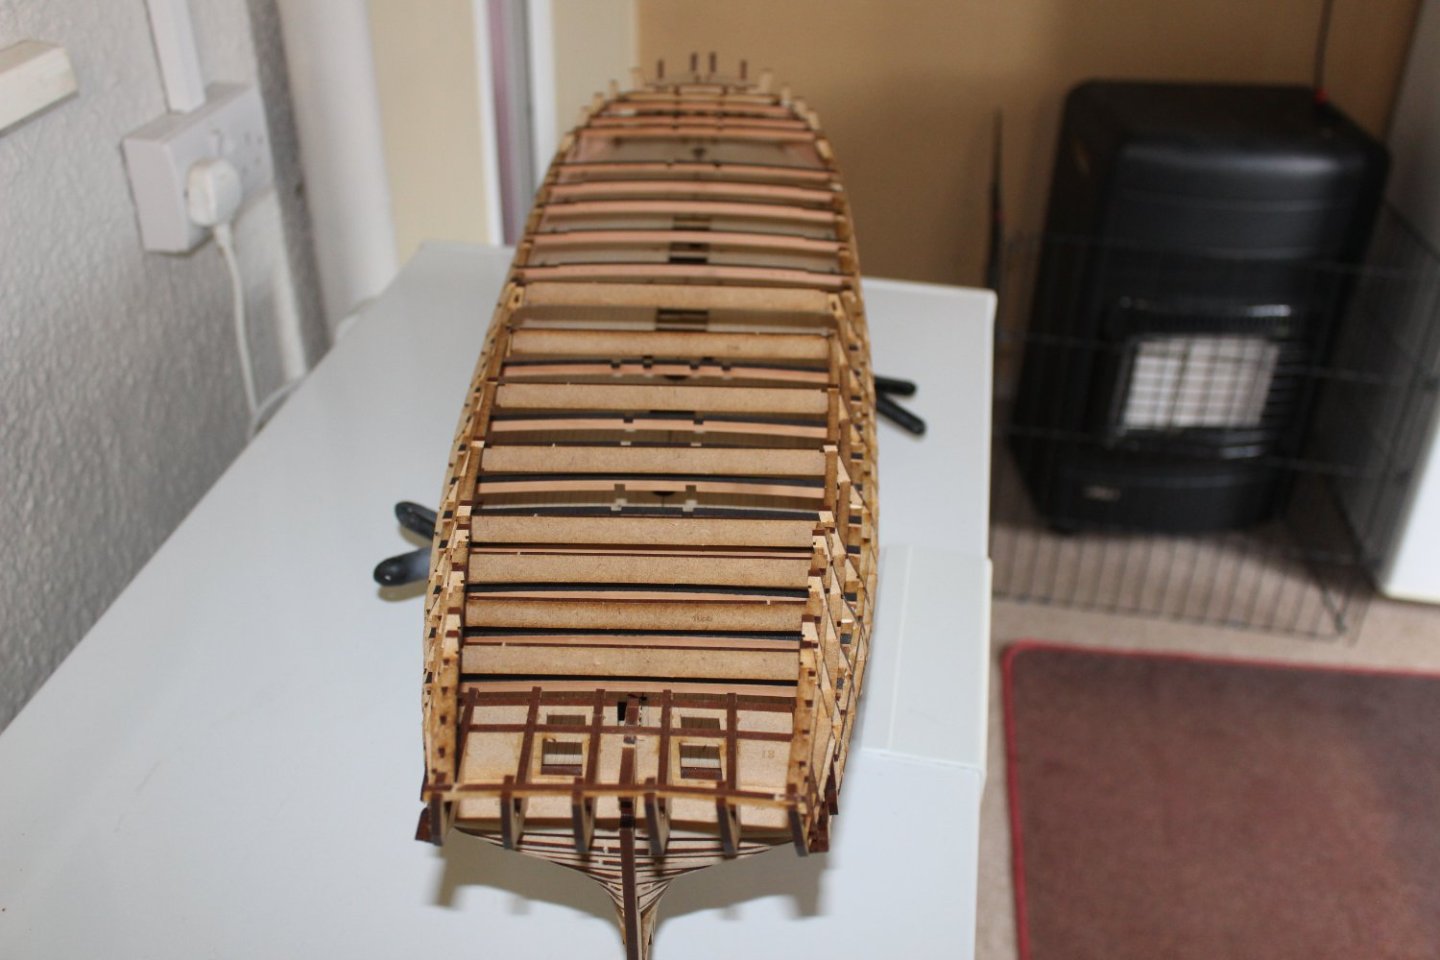
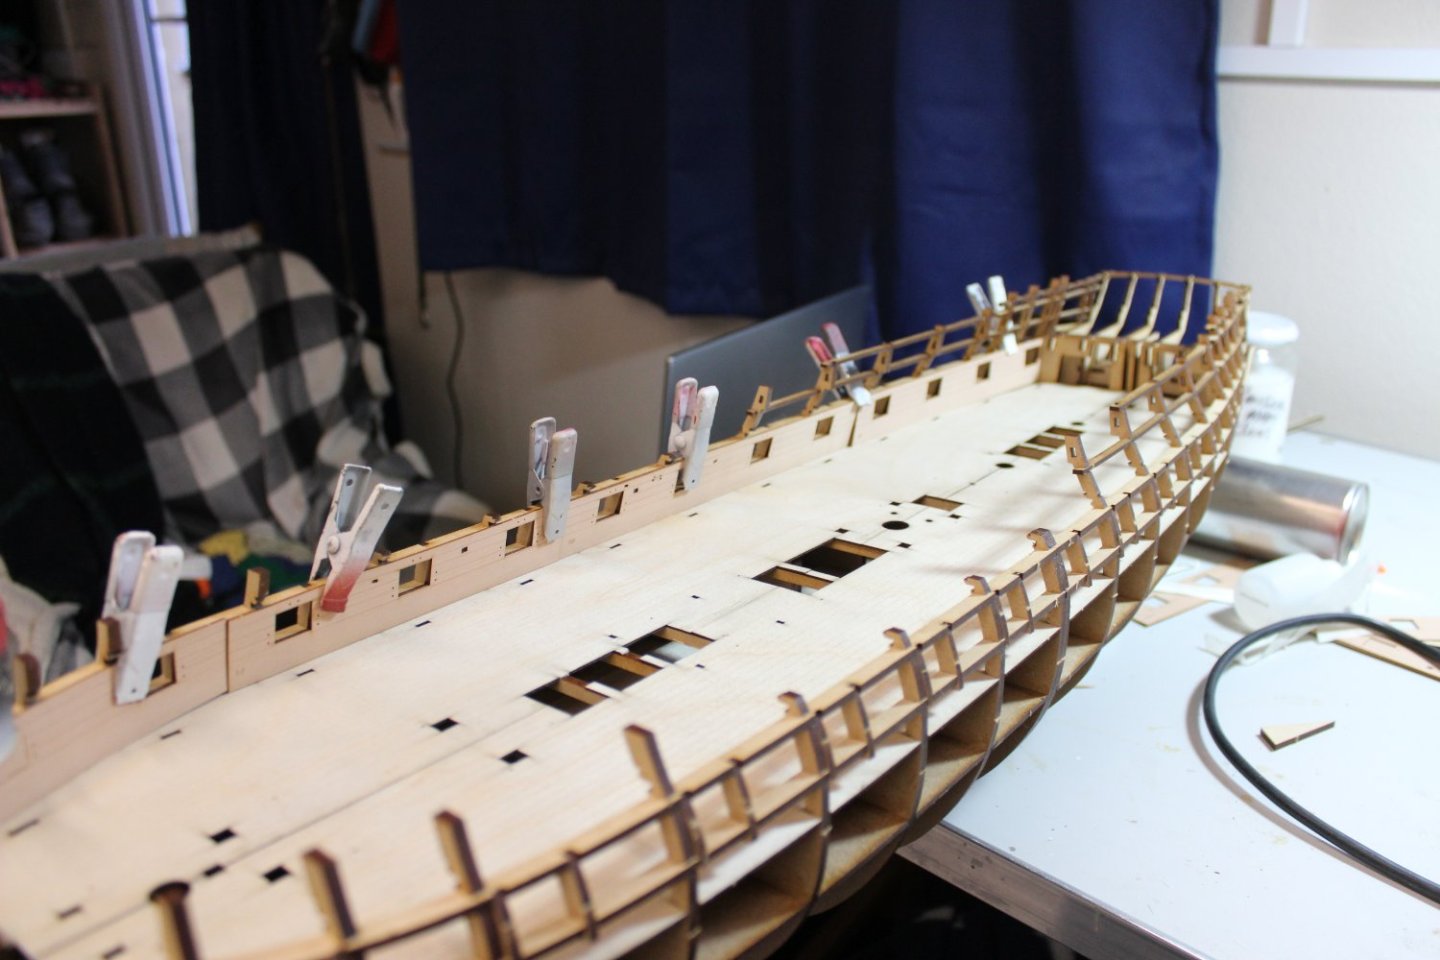
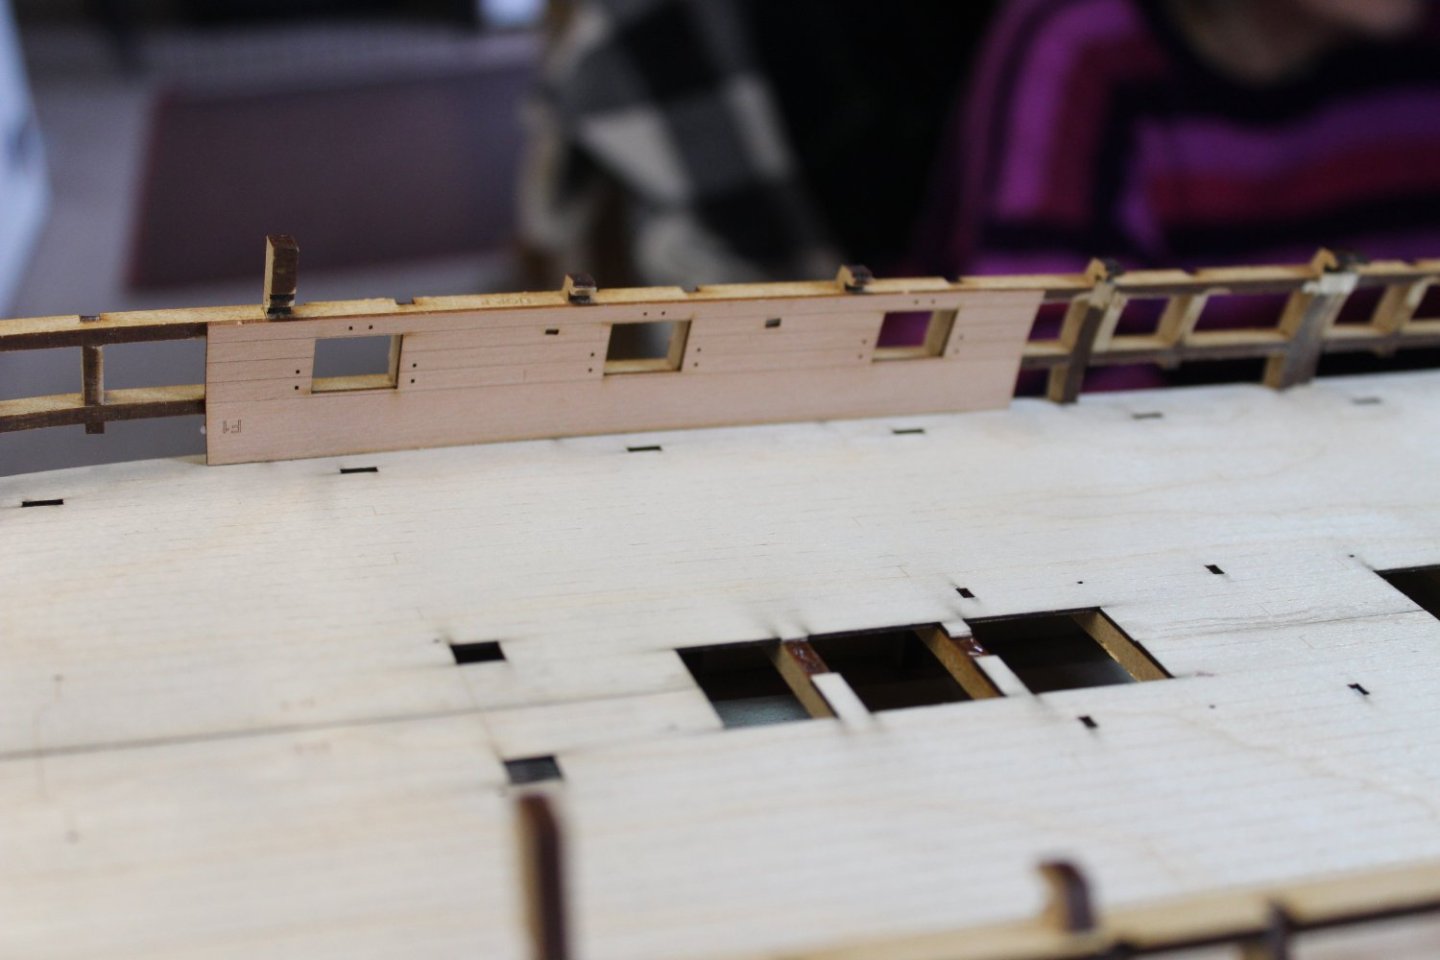
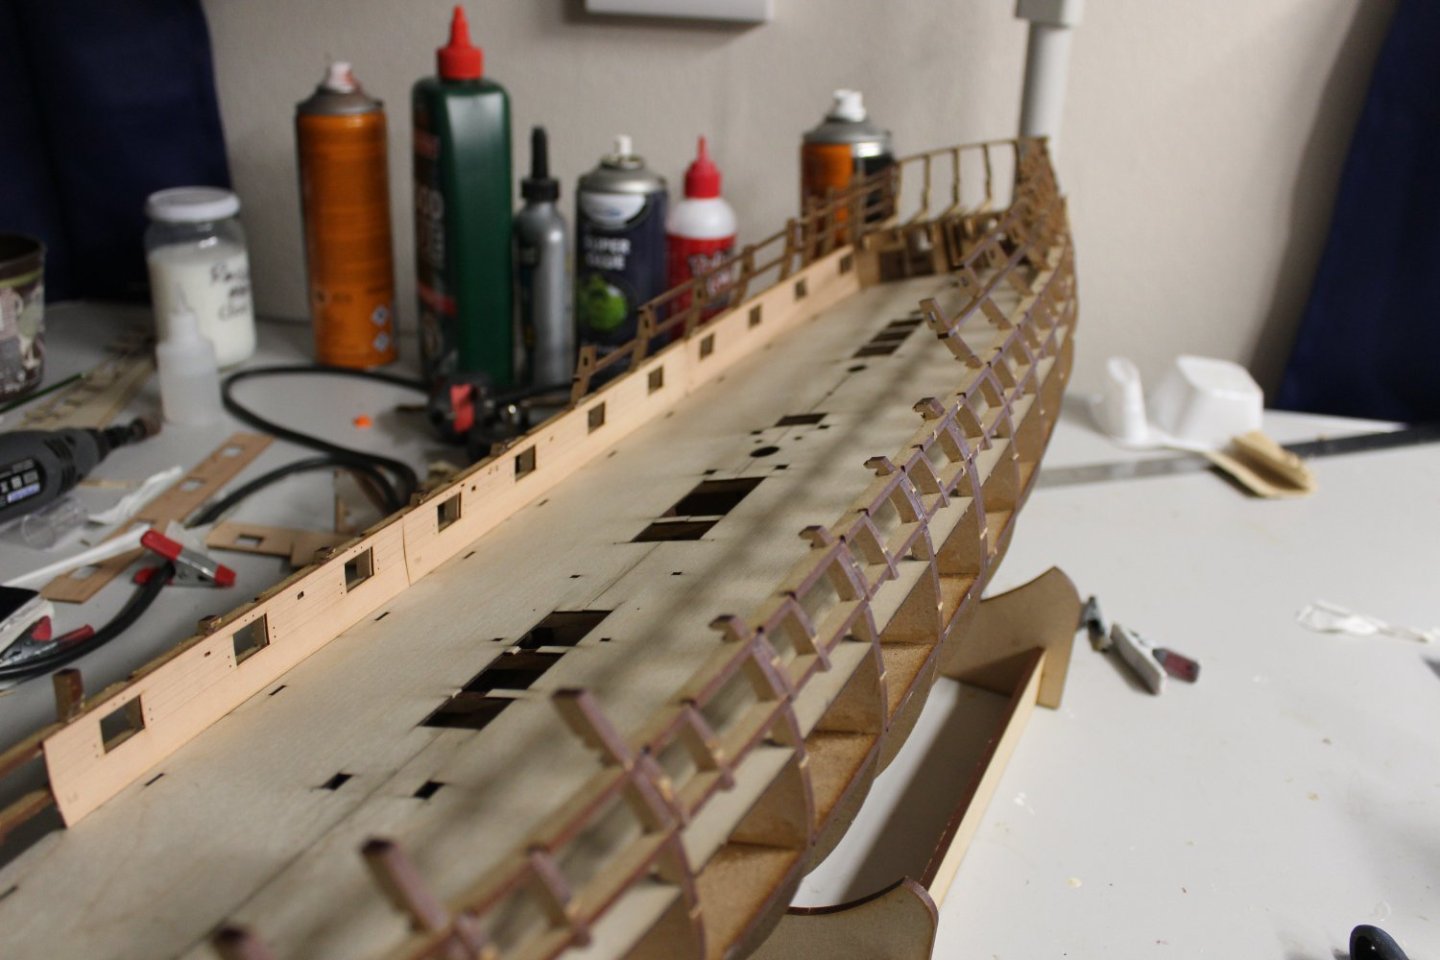
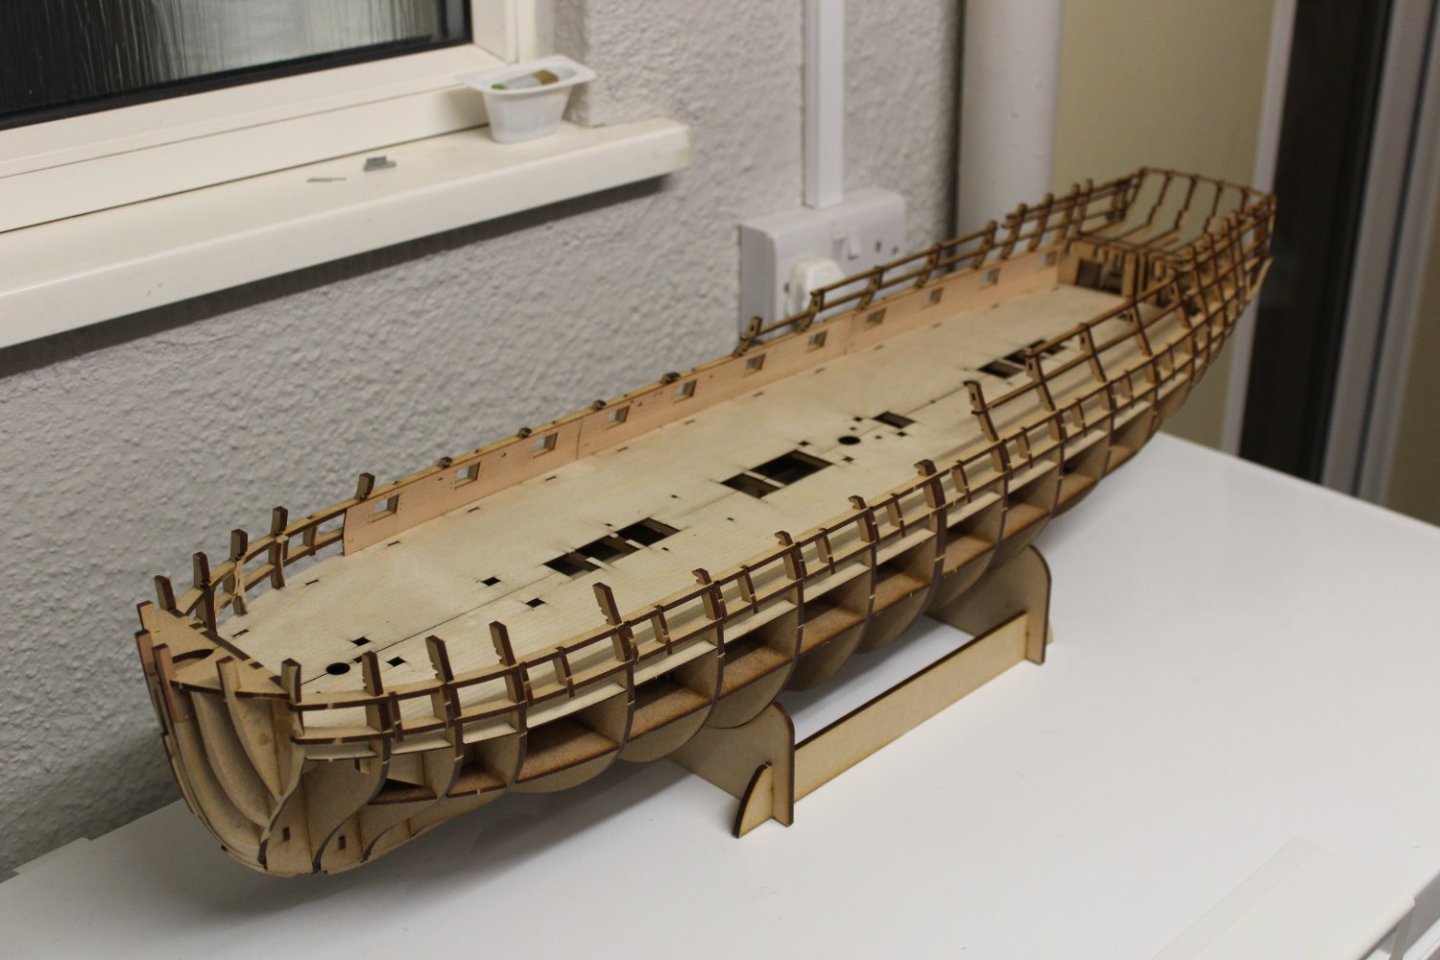
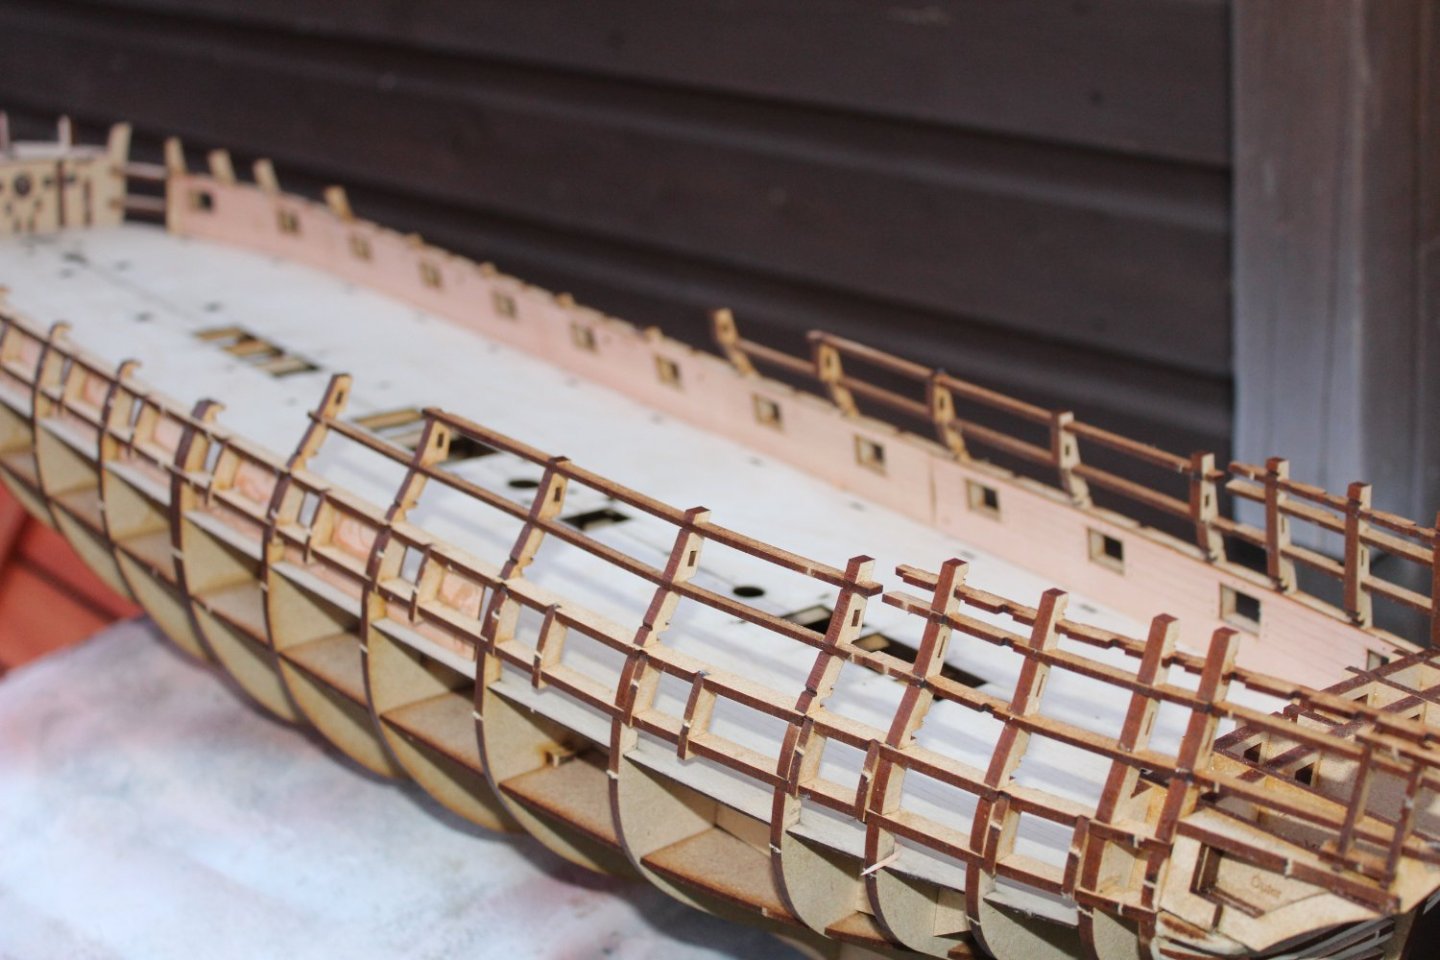
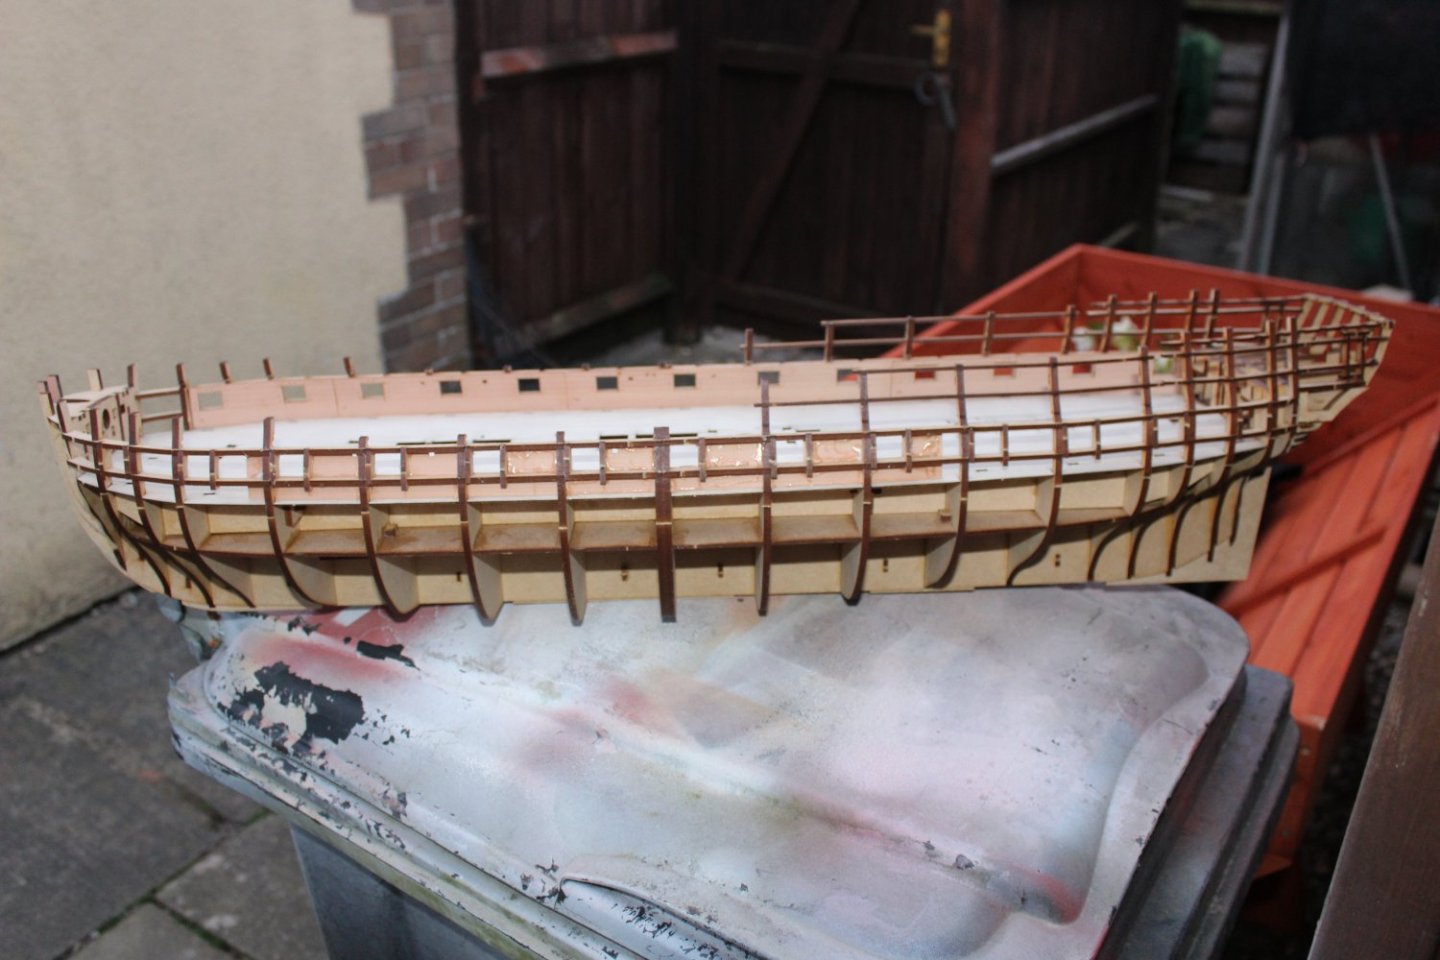
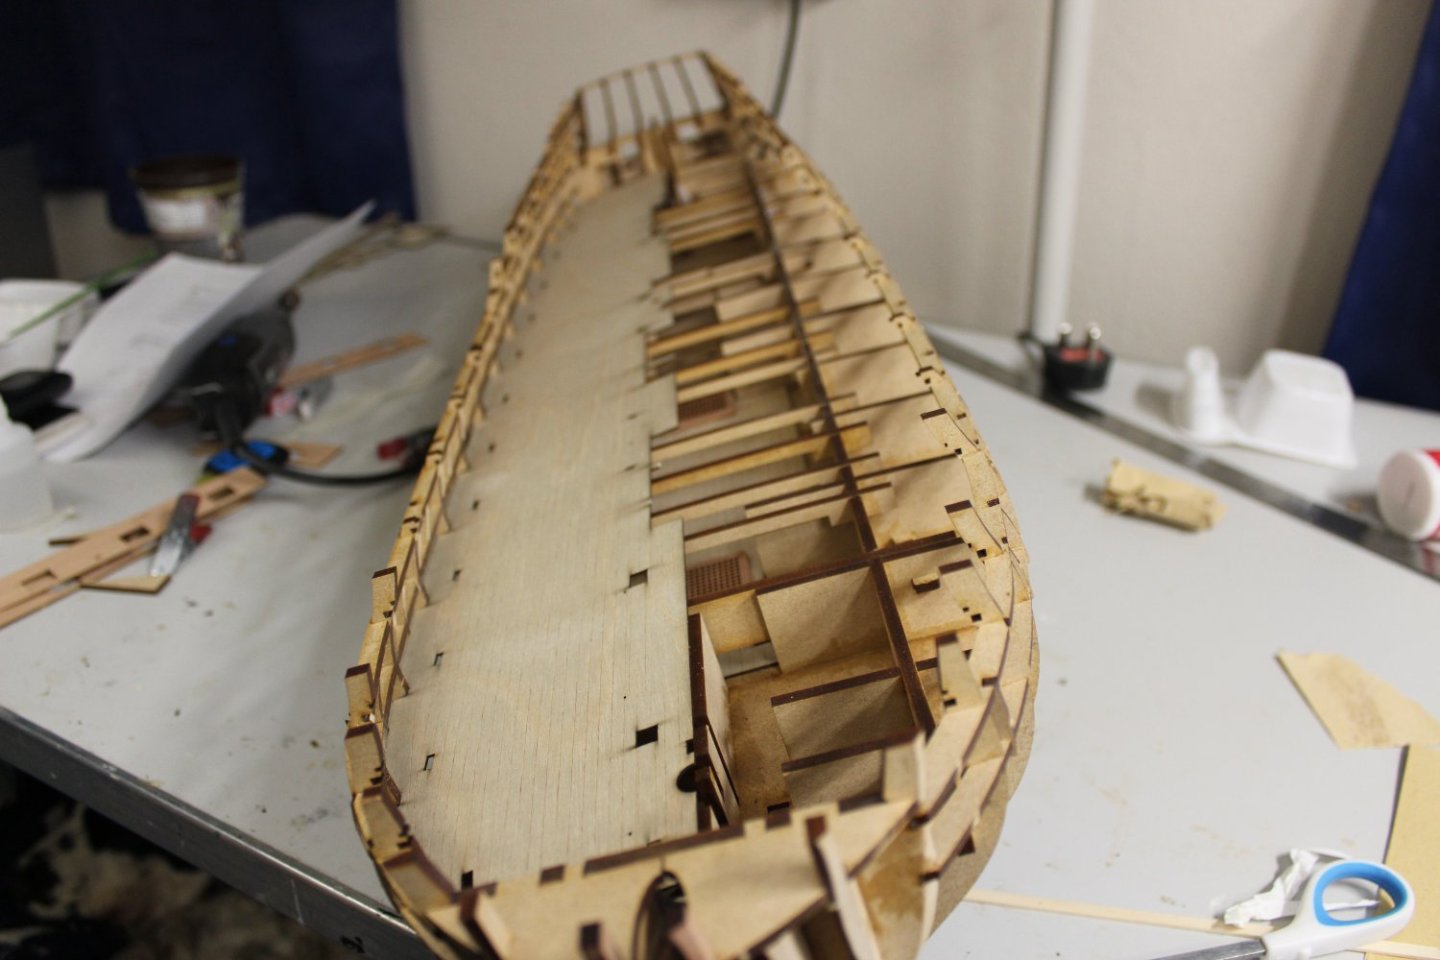
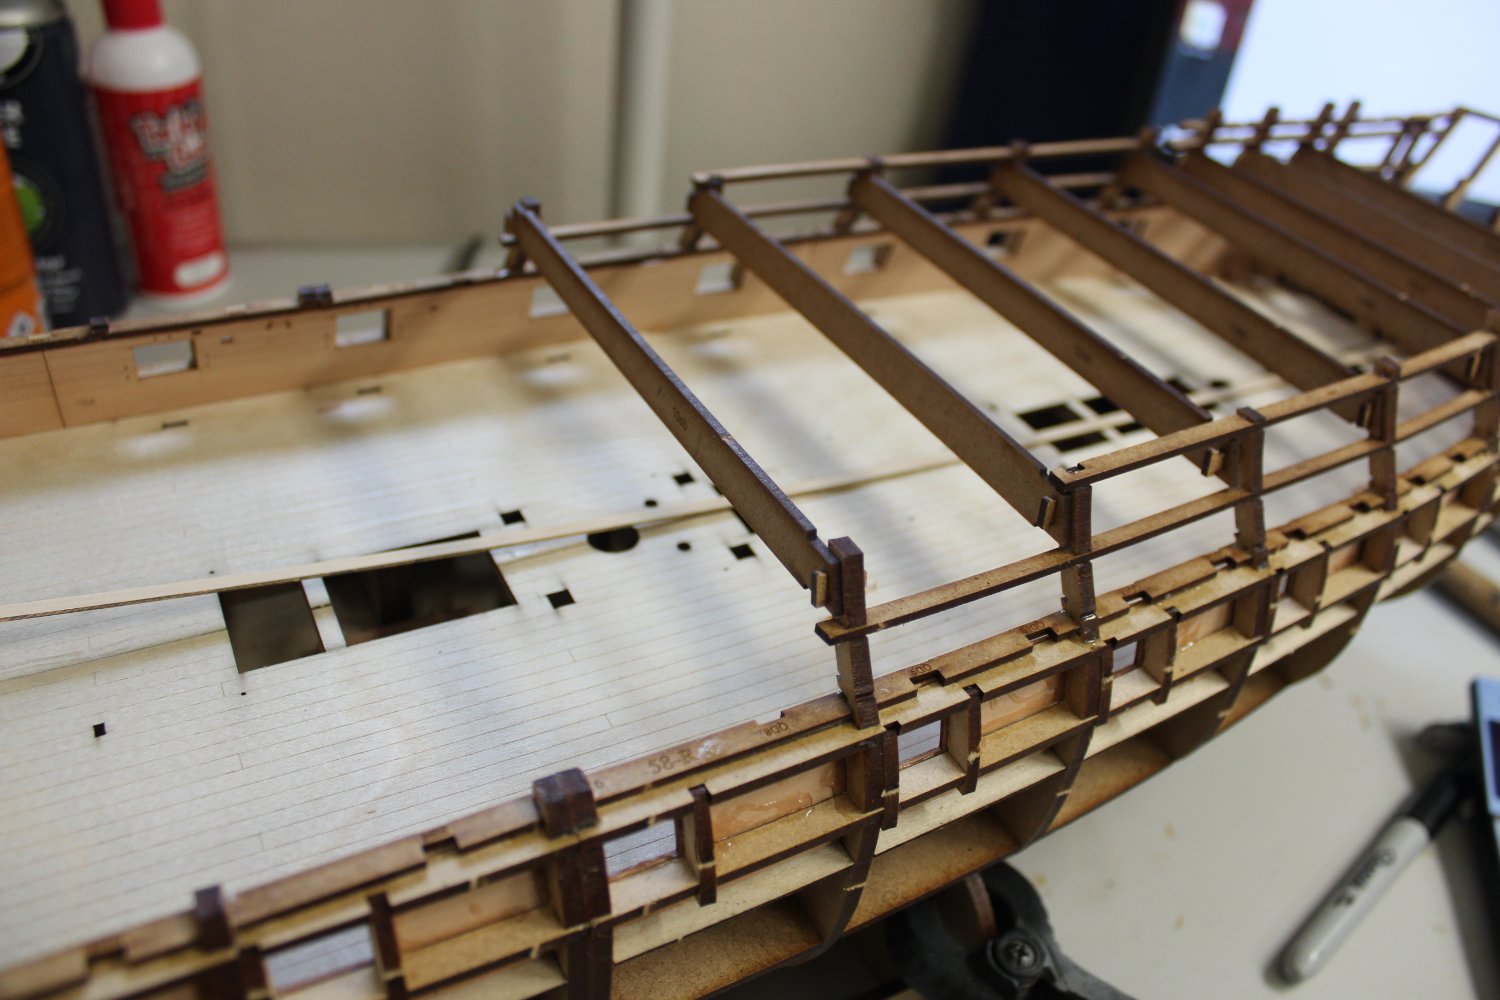
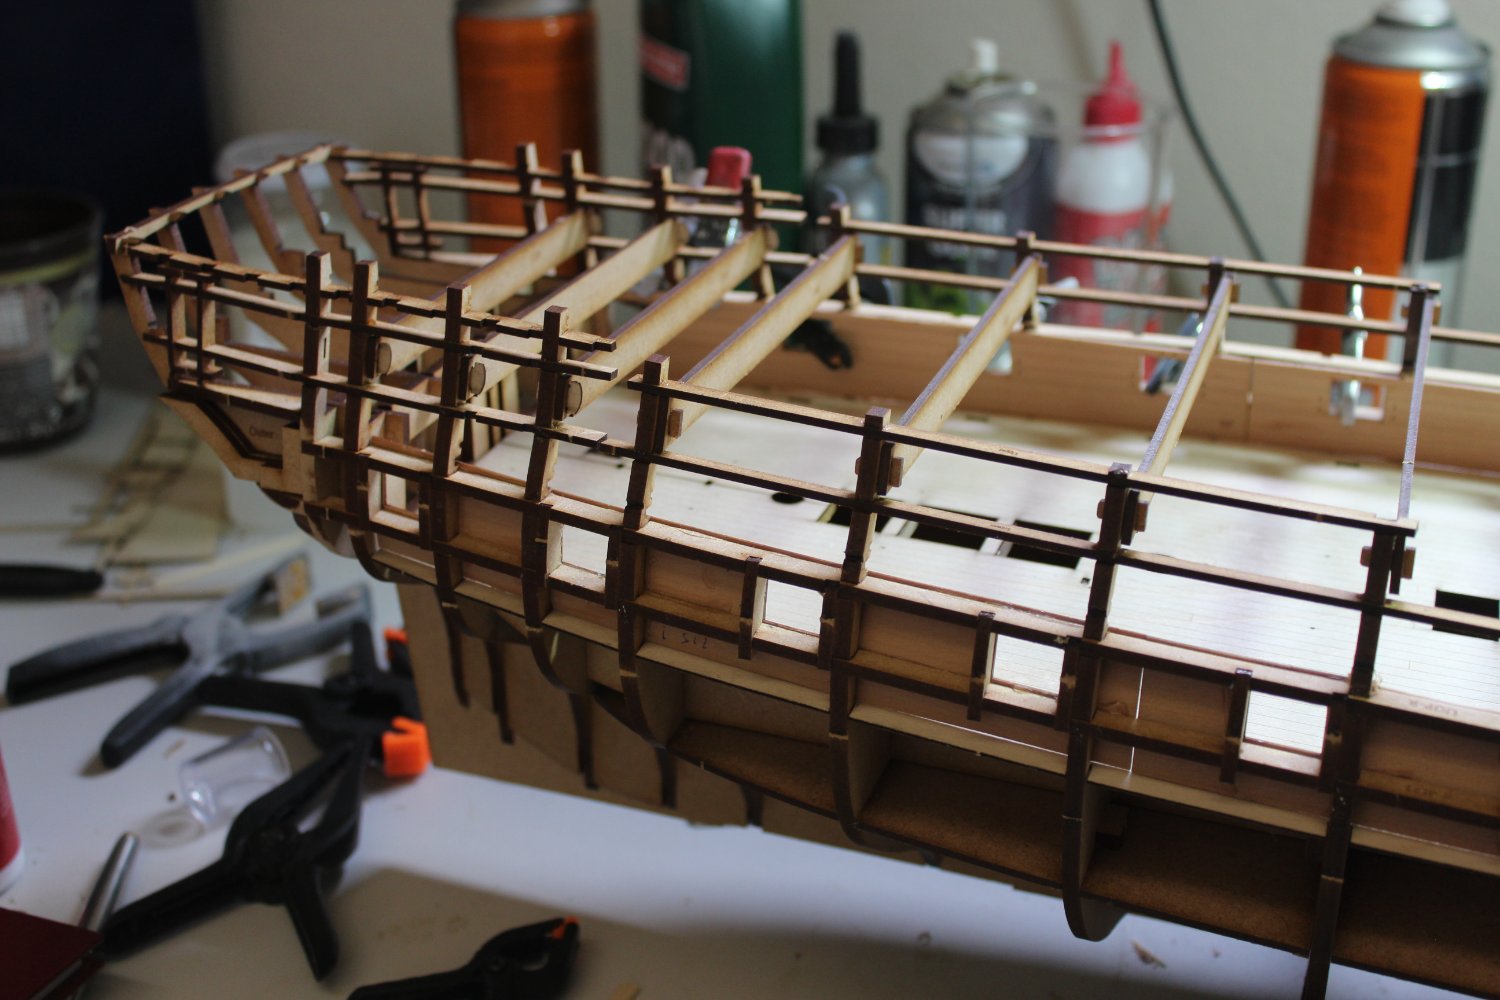
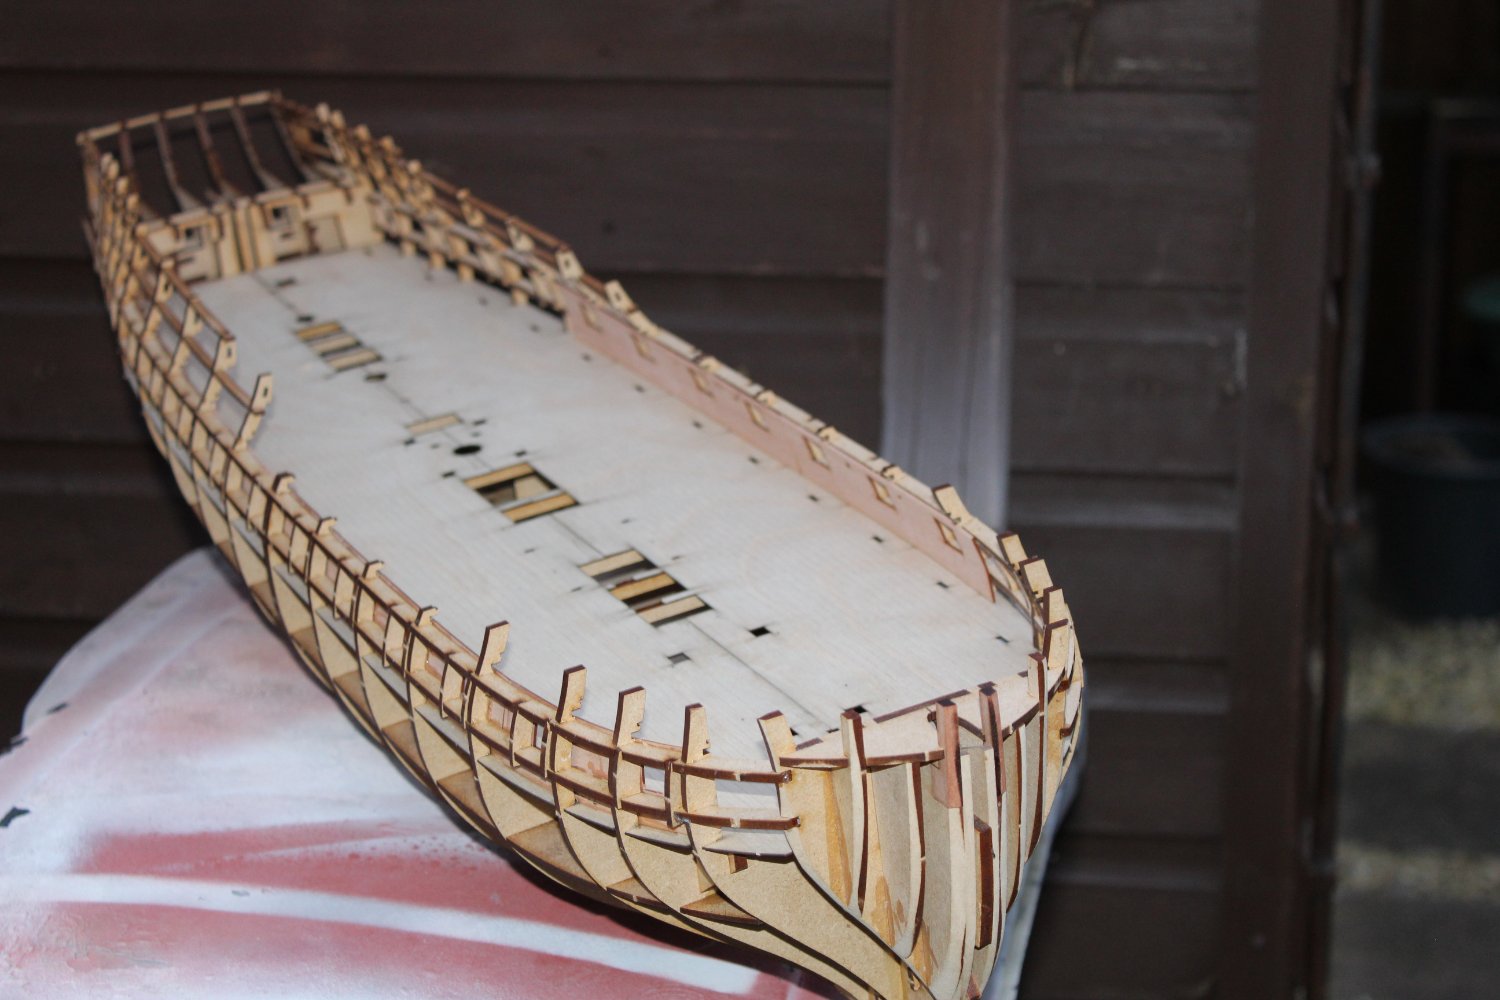
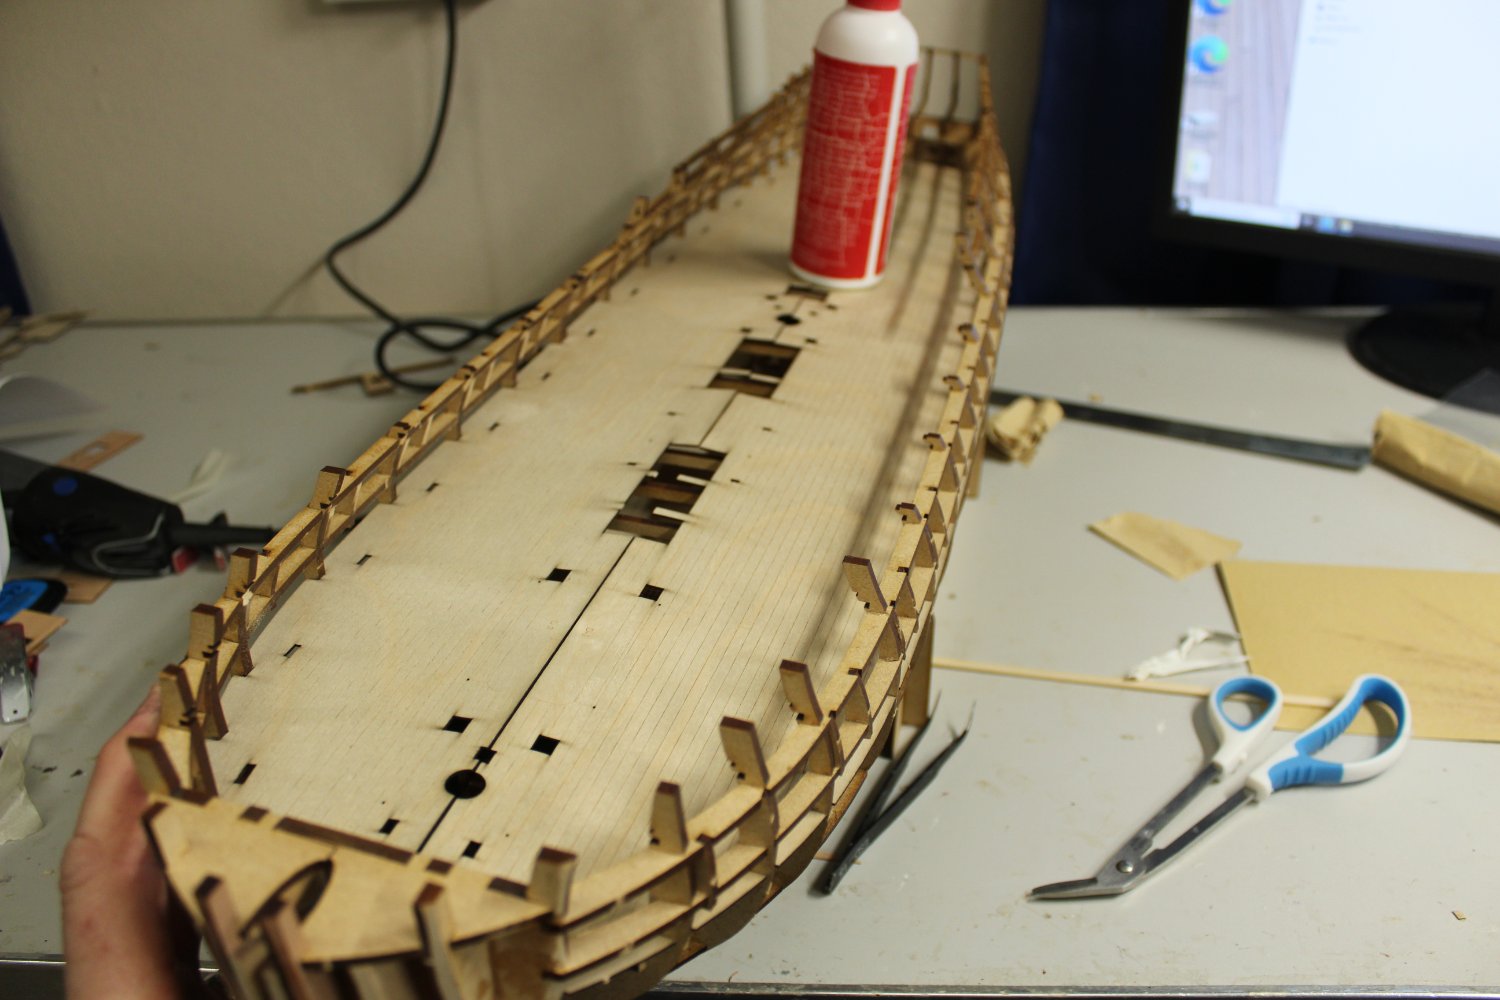
the inner bulkhead liners are now fitted, there are another two, to fill a blank space, if i get the chance i will put them on tonight, otherwise they will remain off until completion of sanding the outer hull
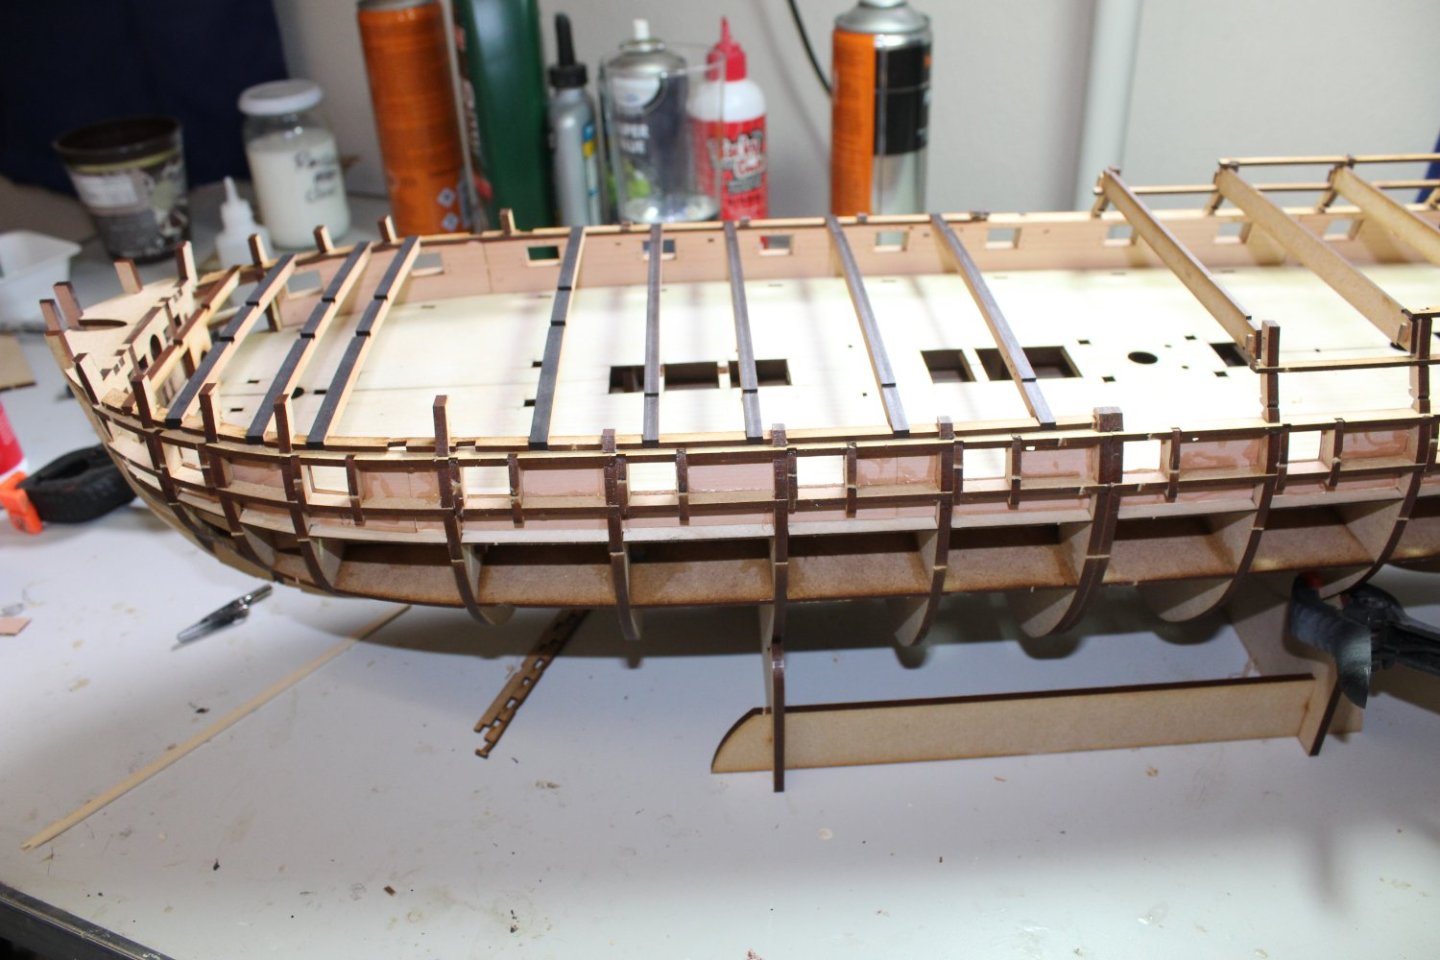
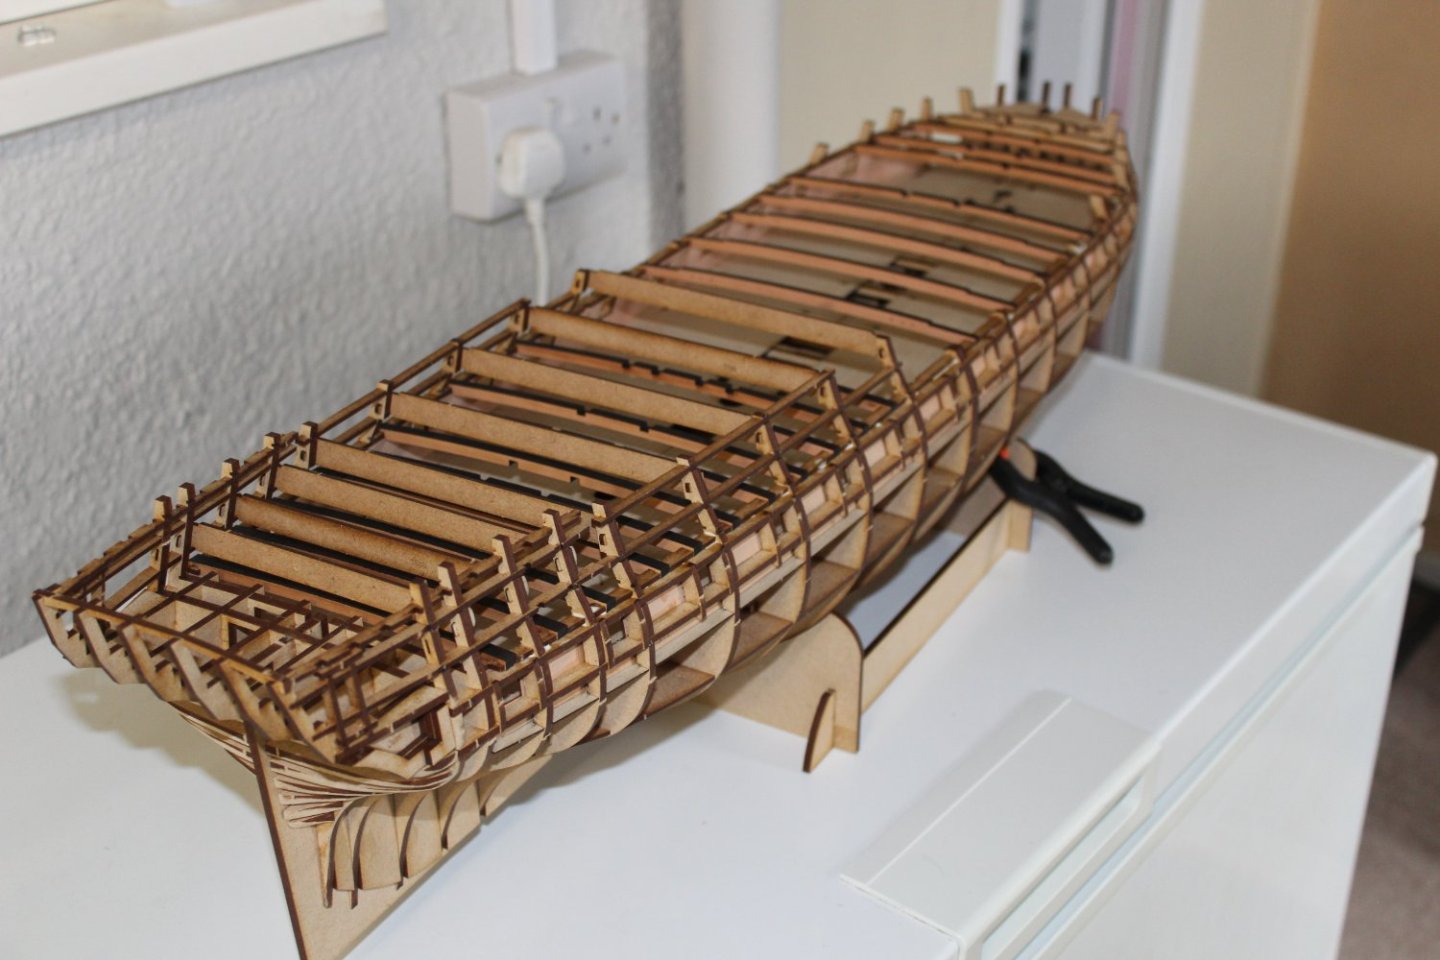
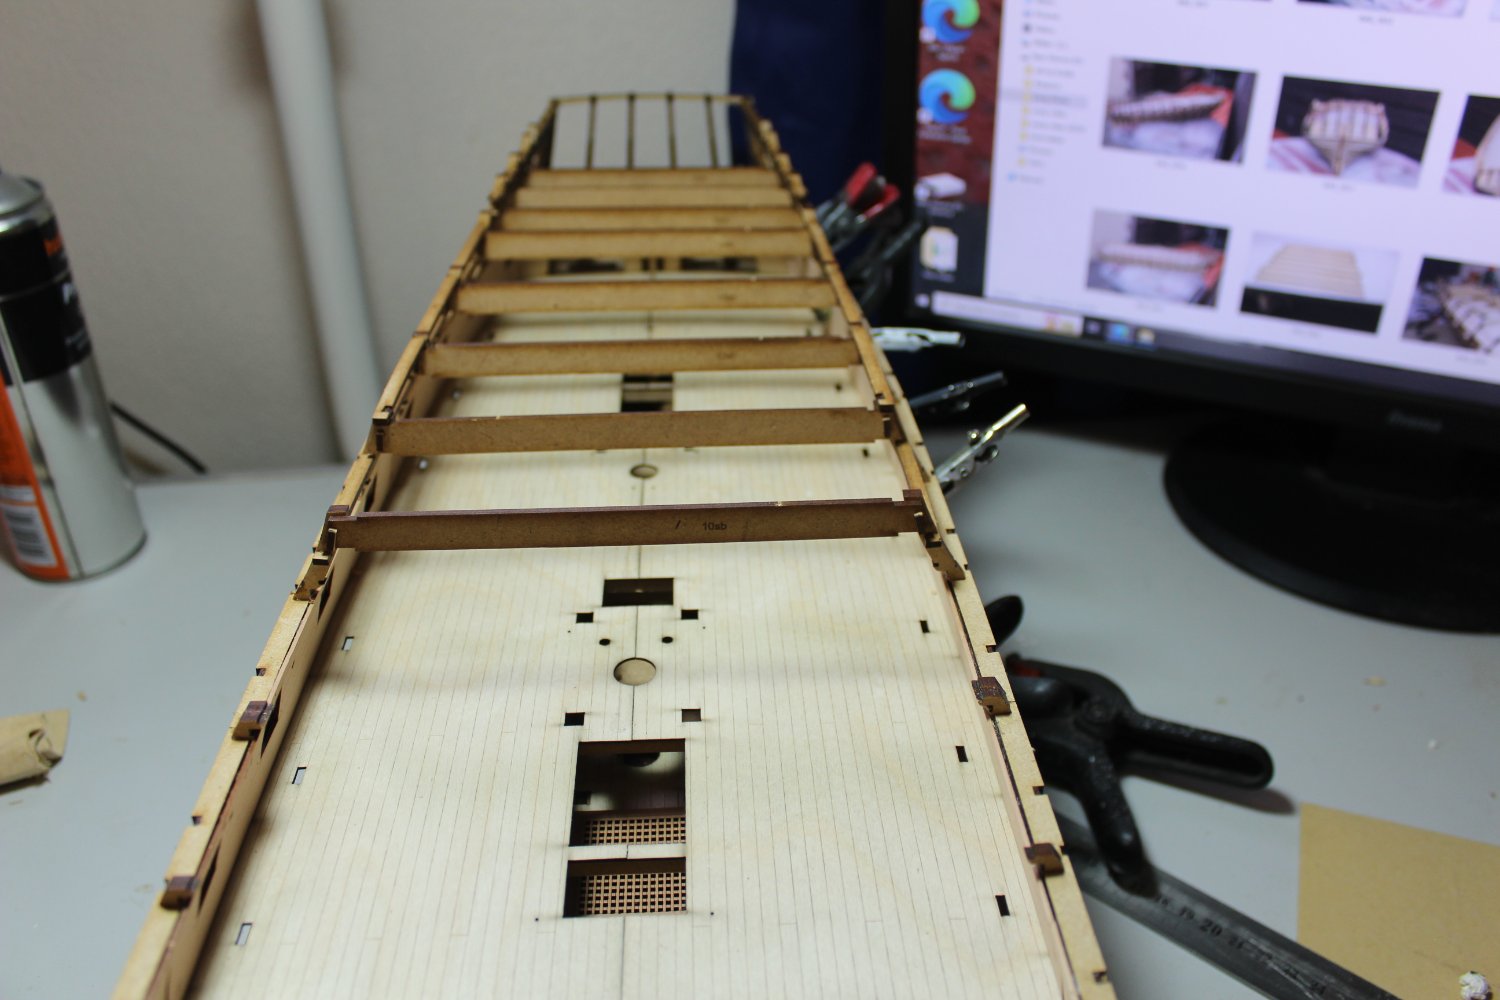
8 temporary beams are inserted to ensure the everything stays in place whilst sand in the hull, i think they are discarded at a later date

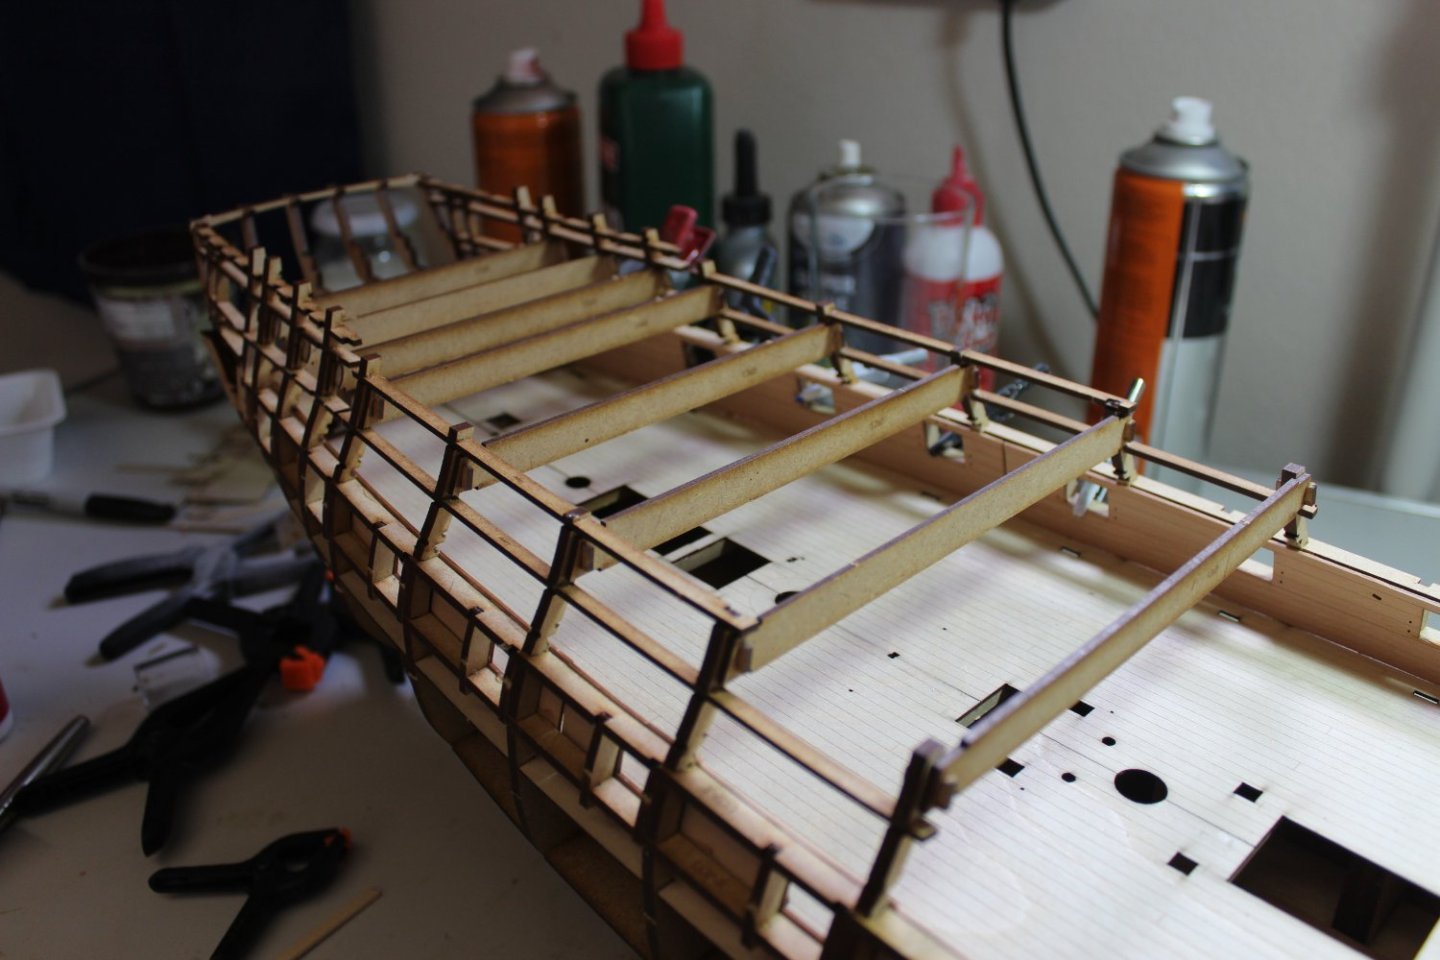


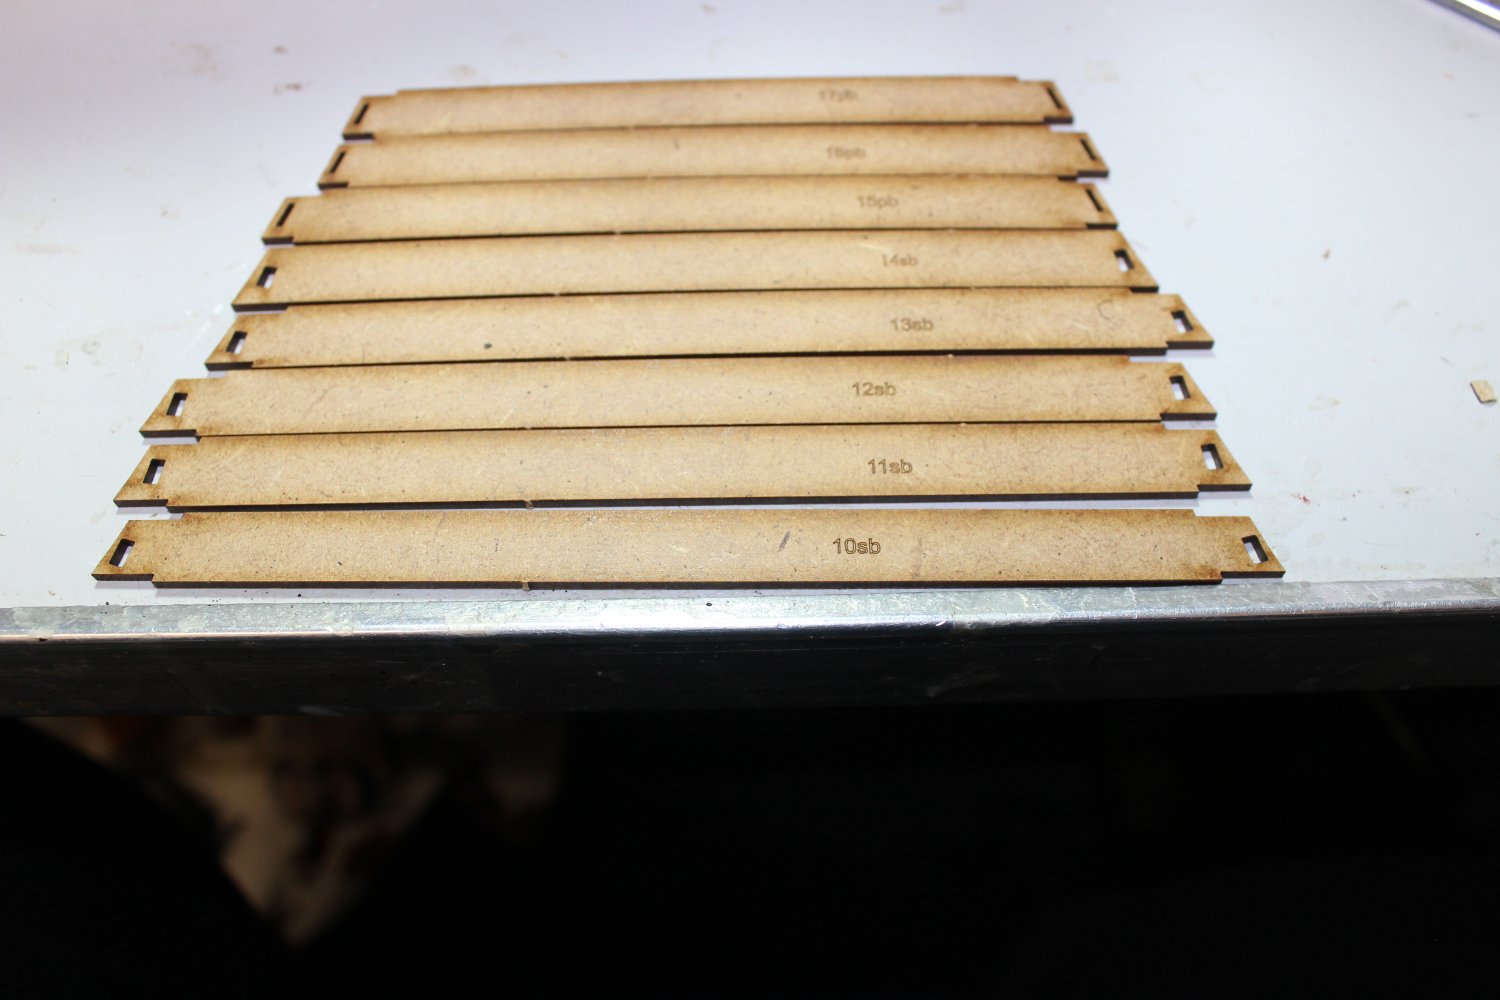
today was also spent putting on 4 profiles that accurately space the upper deck beams, another clever idea, apart from skimming the tops of the inner bulkhead liners to stop any fouling, this never caused any concerns at all
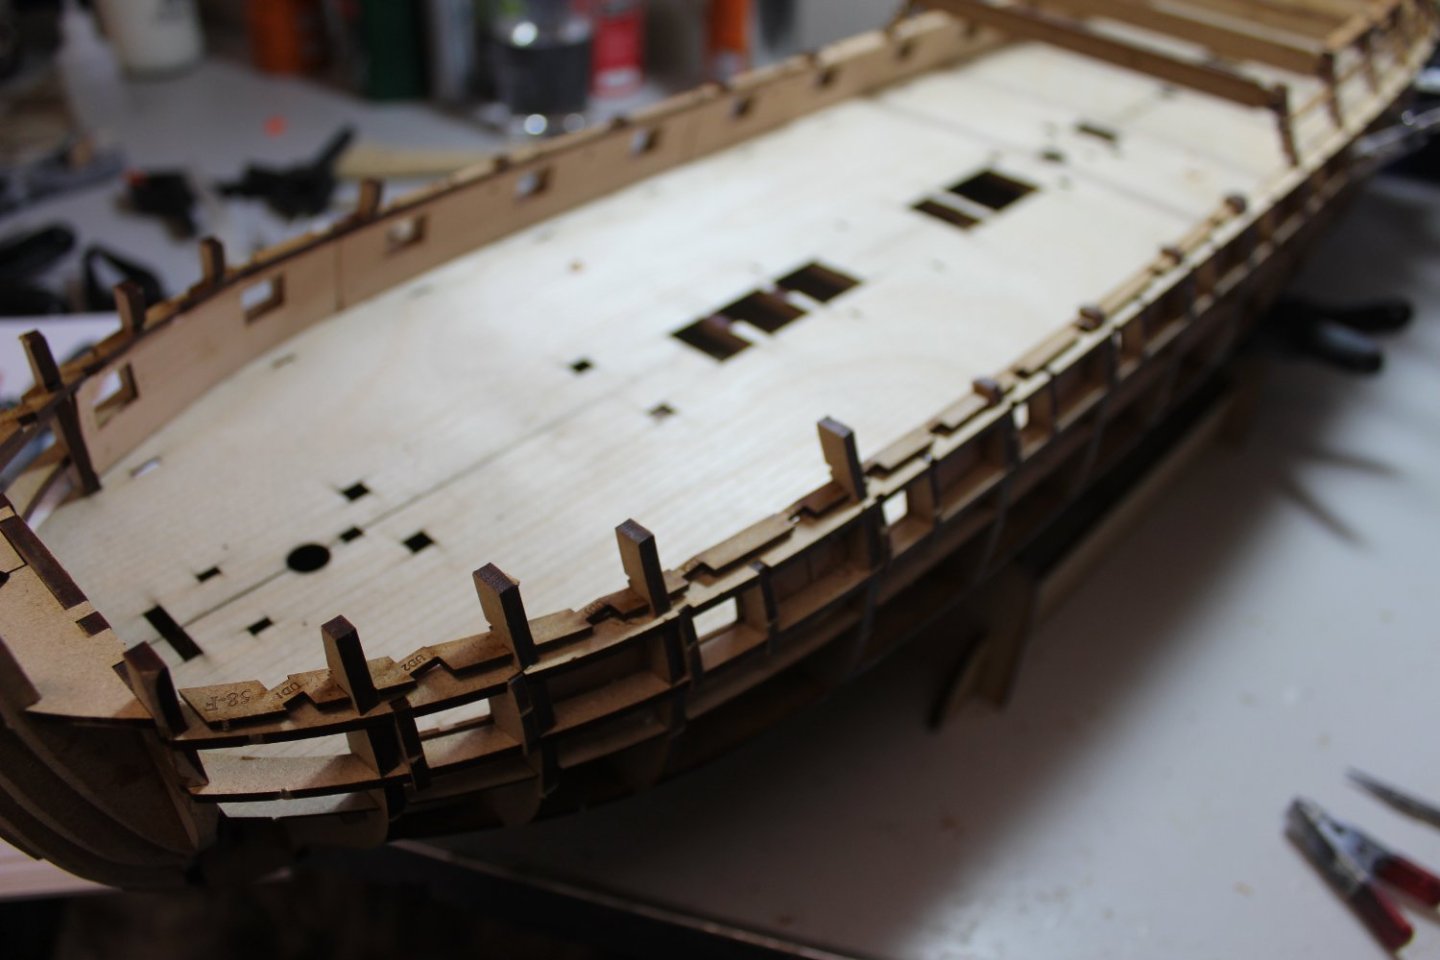
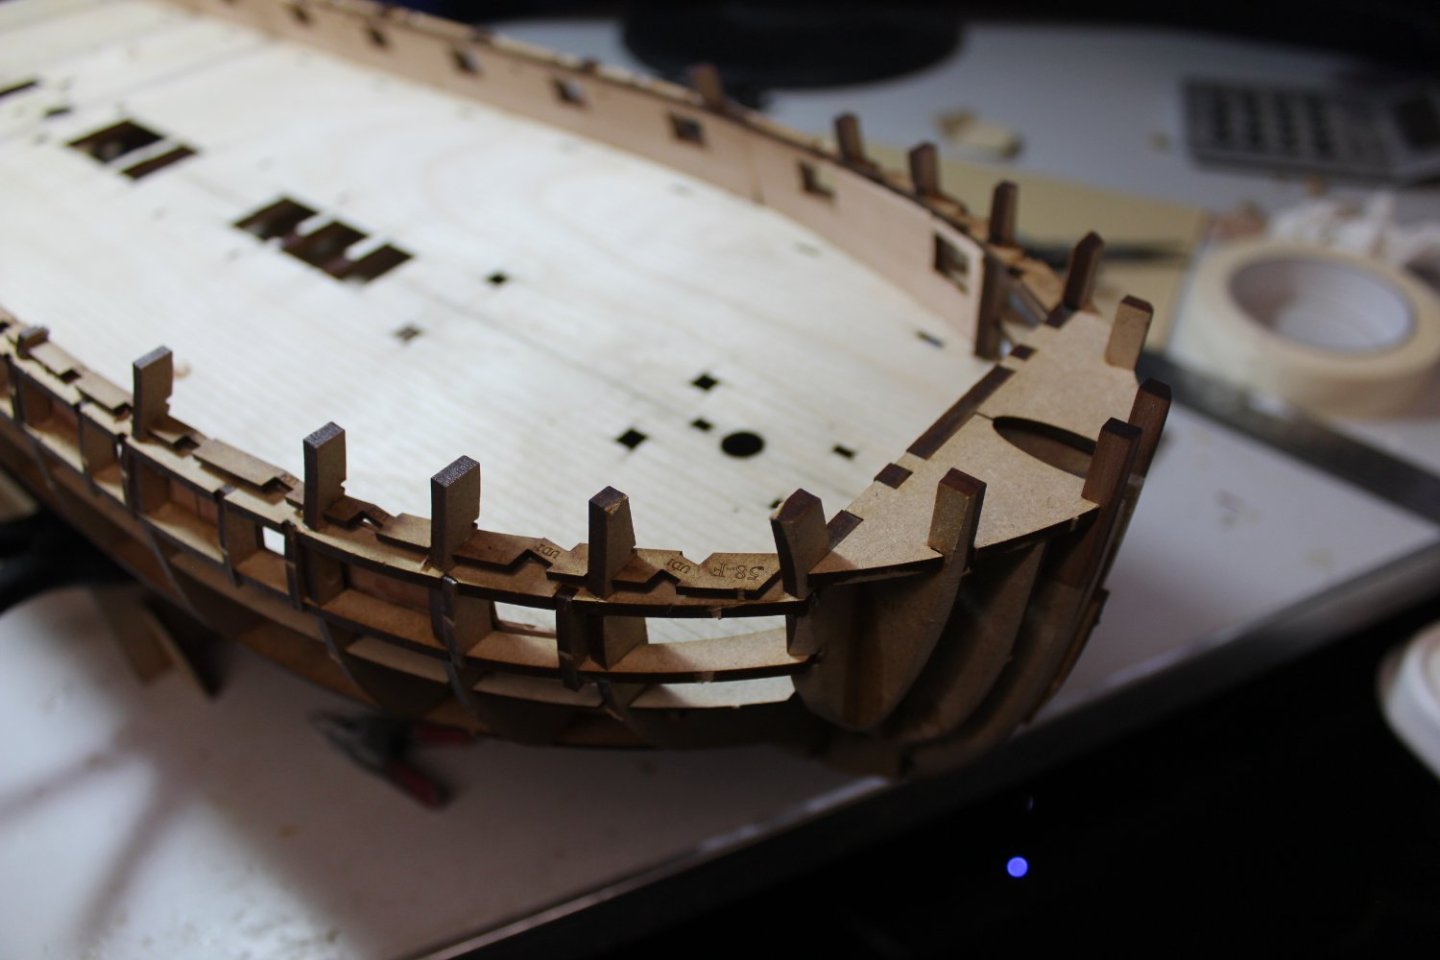
prior to gluing the profiles in place i removed the beams to check the alignment once this has dried the beams will be removed to safe place and put on again later on after deck planking


-
19 minutes ago, Blue Ensign said:
Cheers Guys, thanks for your support. 👍
@ Kevin - I was rather thinking of following you, and crib off your progress.😉

I have informed my shipyard assistant of the impending project, and he's of the opinion that he'd rather be sniffing around the woods and meadows, than spend long hours in the workshop, listening to me muttering to myself.
B.E.
from another Cocker Spaniel owner, im sure you will overtake me within a few days

- Ryland Craze, mtaylor, AJohnson and 6 others
-
9
-
9 minutes ago, Rustyj said:
I just caught up on your wonderful work Kevin. Well done! I'm trying to figure out how to work her into my modeling schedule.
You are not making the wait easy!
")
lol you know you want to, come show me how it should be done with @Blue Ensign
- mtaylor, Old Collingwood, hollowneck and 3 others
-
5
-
1
-
21 minutes ago, Gus M said:
This is oustanding
enjoy the ride
- Gus M, Old Collingwood, chris watton and 2 others
-
4
-
 1
1
-
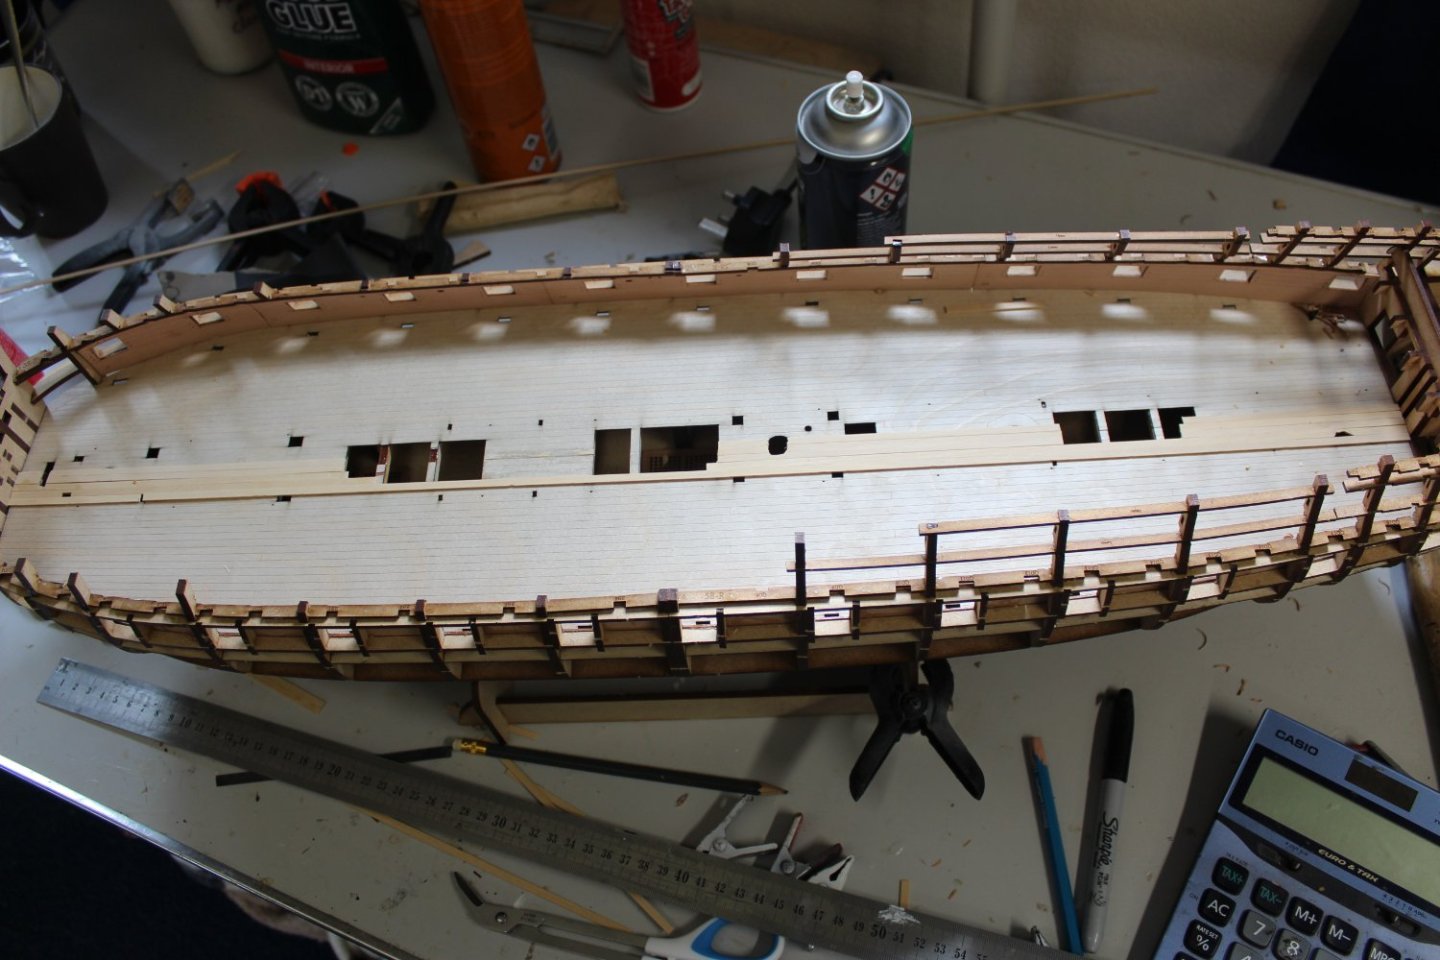
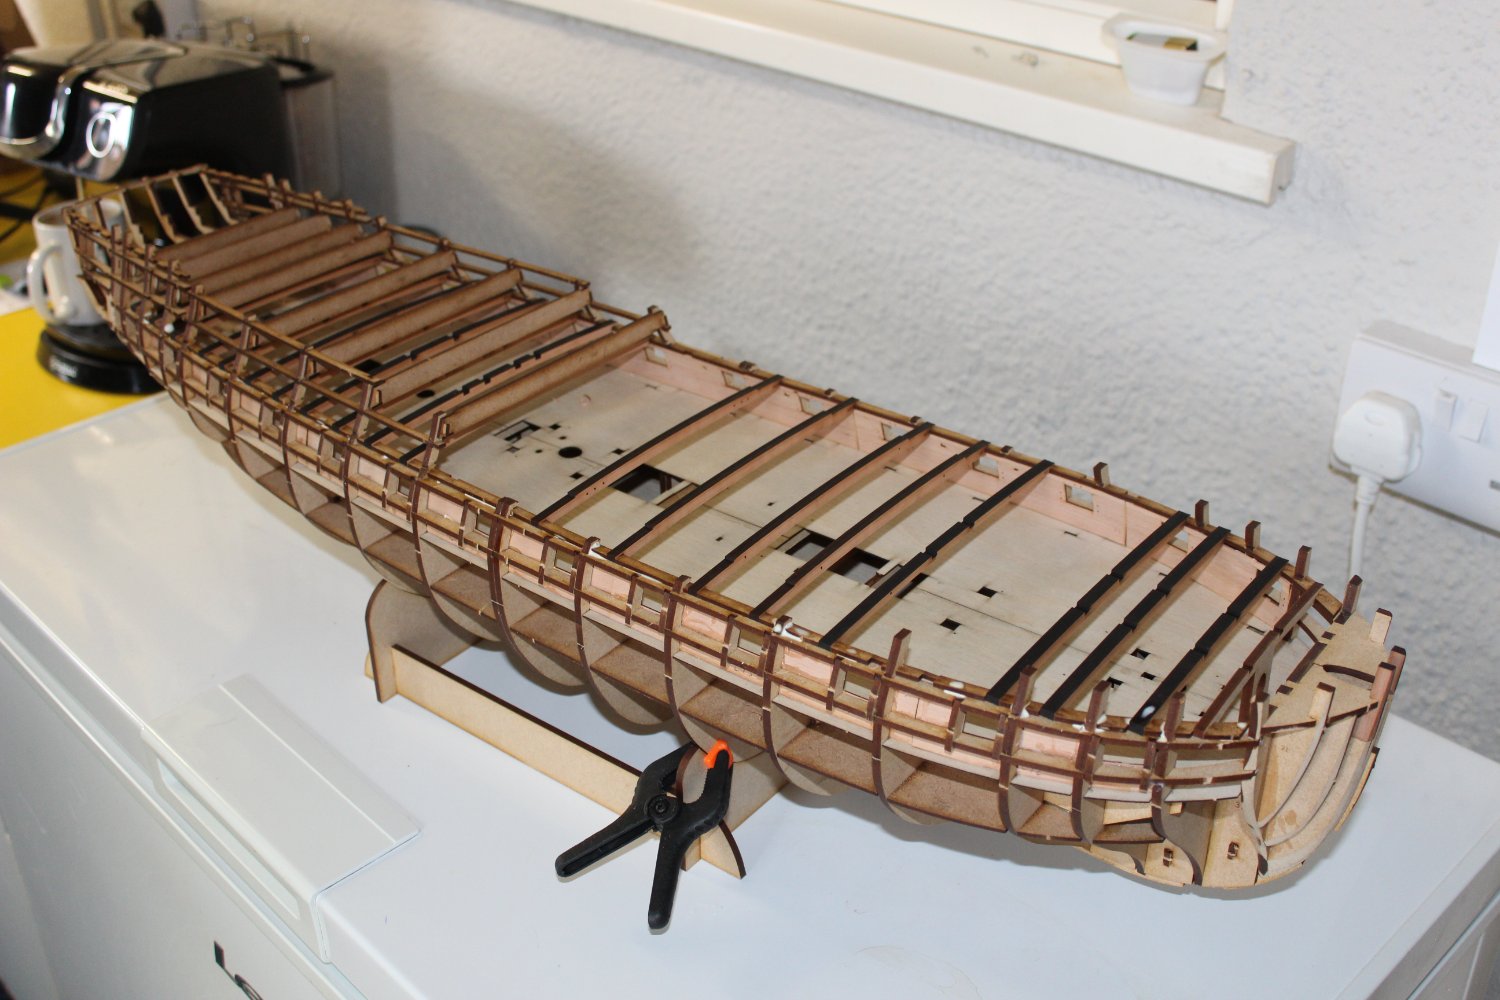
good evening everyone
thank you for comments and likes
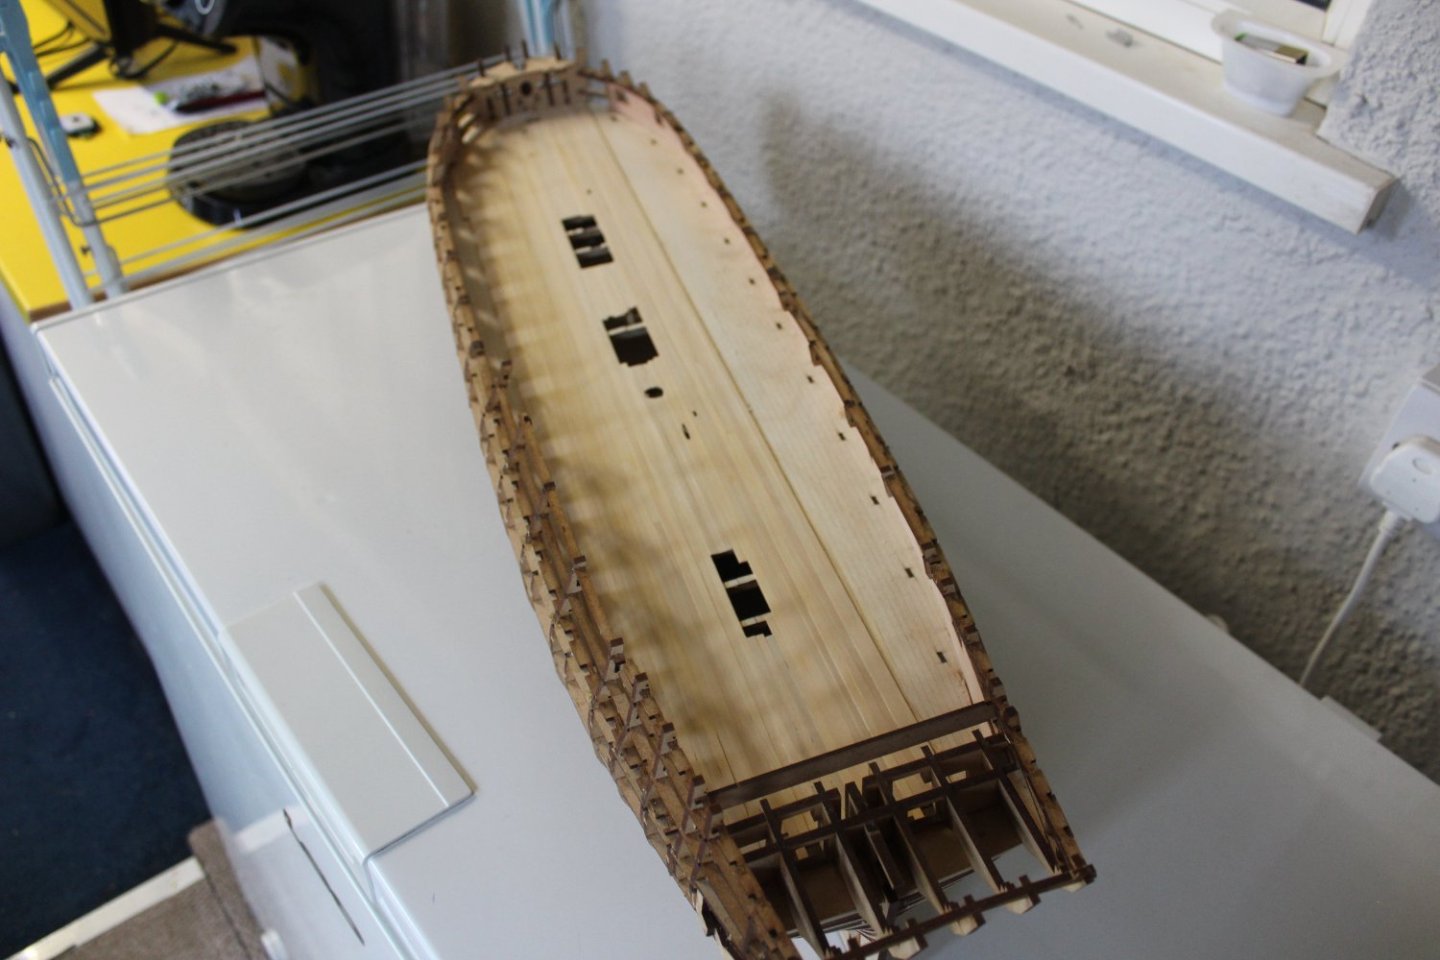
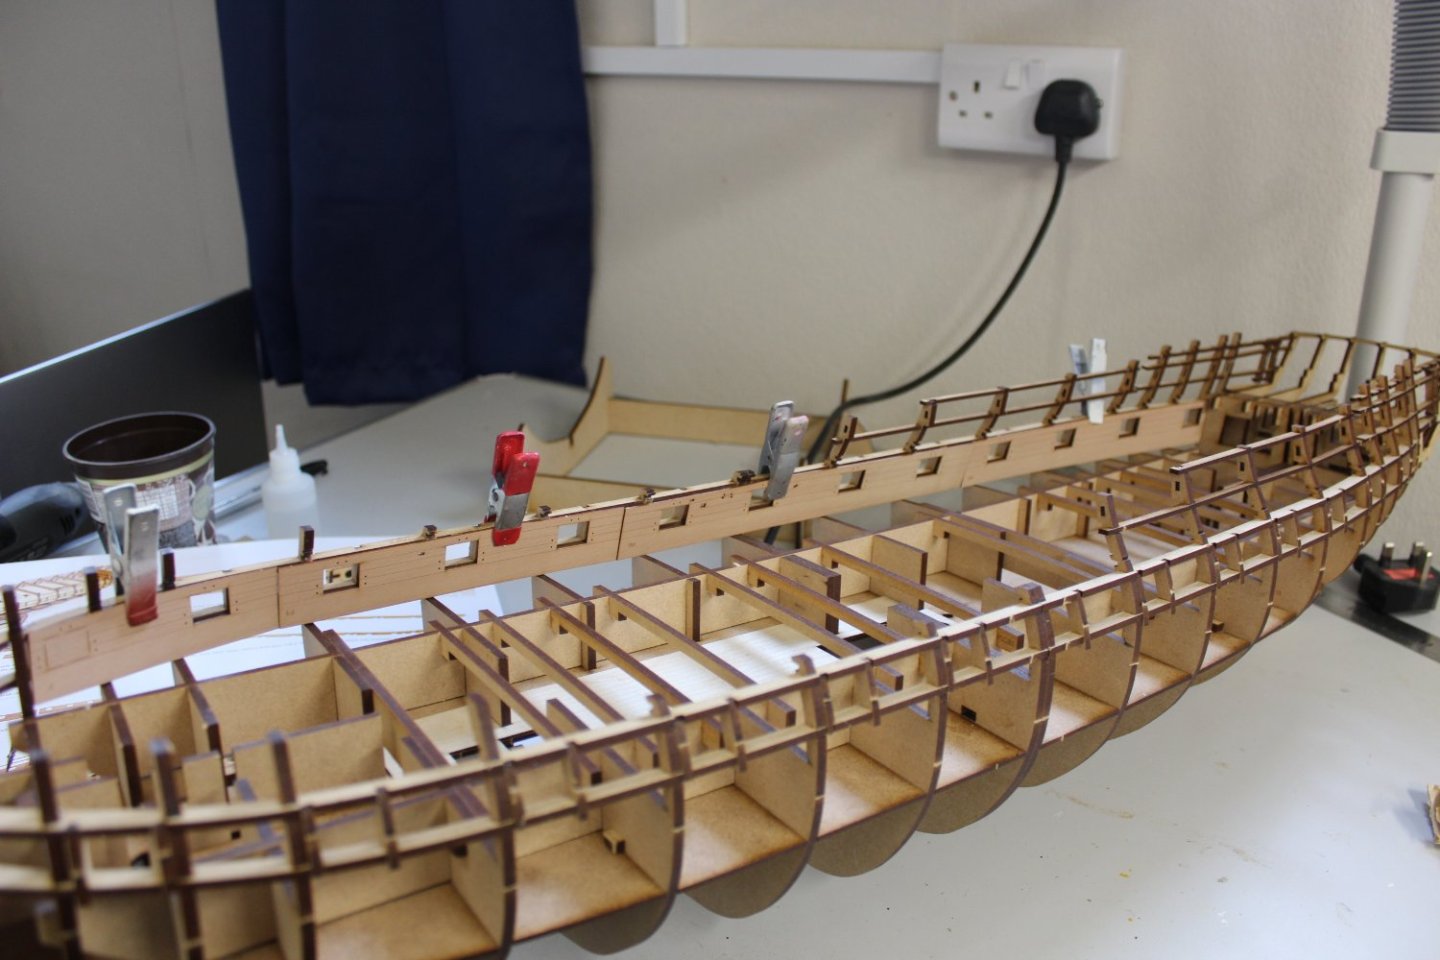
day 5 and 6
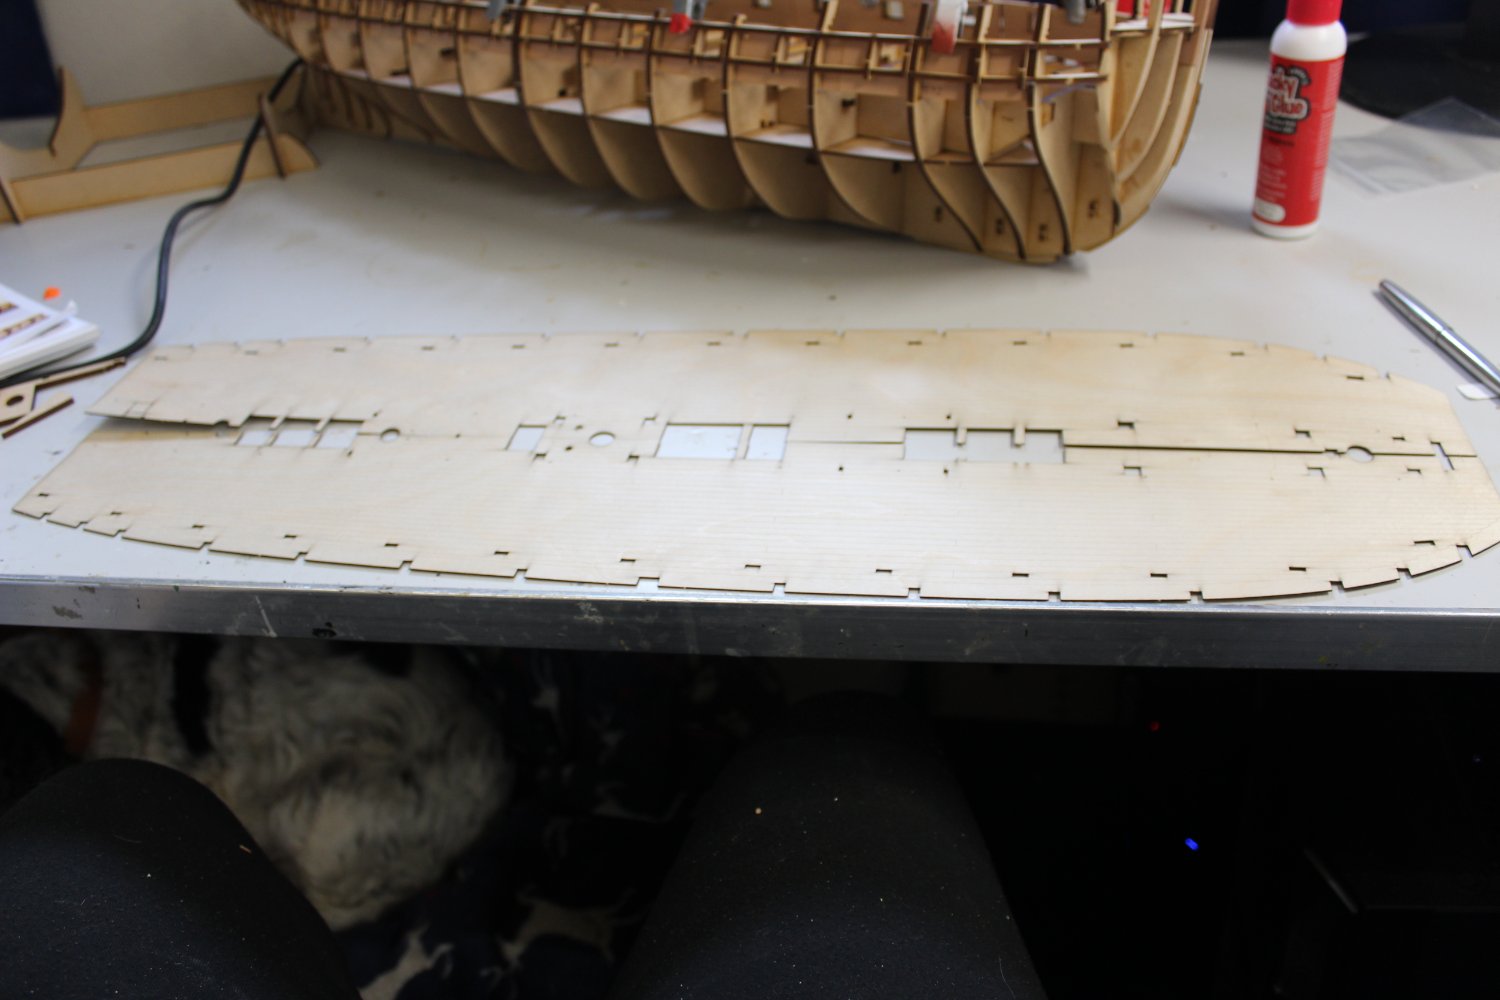
the main deck went down without any issues
next is the 8 in number inner bulkhead pieces, the frames needed a bit of sanding to allow them to sit flush against the max amount of wood, again there was no issues with this and i did not need to soak them, an overnight under clamps and they are sitting quite nice, i dont believe much of these will be seen later on, hope to finish them tomorrow,
lots of test fitting


-
me too, looking foward to someone building alongside me
-
-
beautiful work, and been a pleasure following
- Knocklouder, mtaylor, chris watton and 2 others
-
5
-
1 hour ago, BobG said:
Coming along nicely, Kevin. I noticed that you have some Titebond Thick & Quick glue. I really like that glue as well.
in my last photo there are two red bottles Anita's Tacky pva Glue i bought that for the SD14 card kit and is brilliant
6 hours ago, glennard2523 said:Looking good, great progress
thank you glen, im sure there will be more of us building this before long on this forum
6 hours ago, yvesvidal said:I am amazed how fast you are moving forward with this kit. The creativity and engineering that has been developed for this kit is absolutely incredible.
It seems almost easier to put together, than a LEGO kit ... 😁
Yves
the design has ben well thought out, and yes she is building up fast, but im sure there is plenty for me to think about as we progress forward,
5 hours ago, Beef Wellington said:Will be following this one closely, you are a lucky man!
yes i am
- Old Collingwood, hollowneck, BobG and 6 others
-
9
-
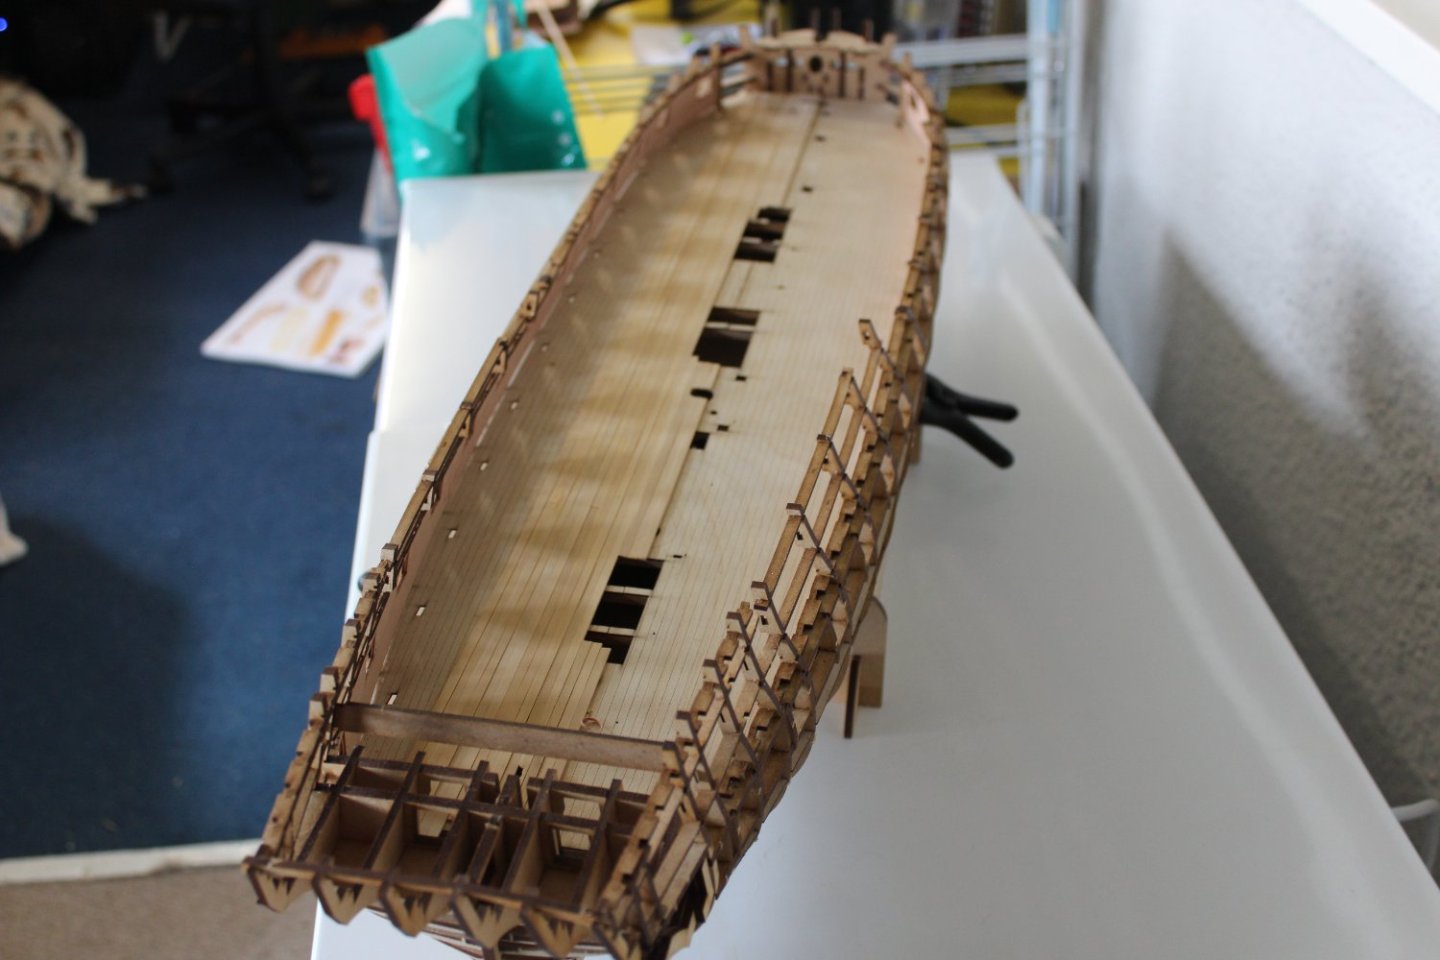
good evening everyone
thank you for comments and likes
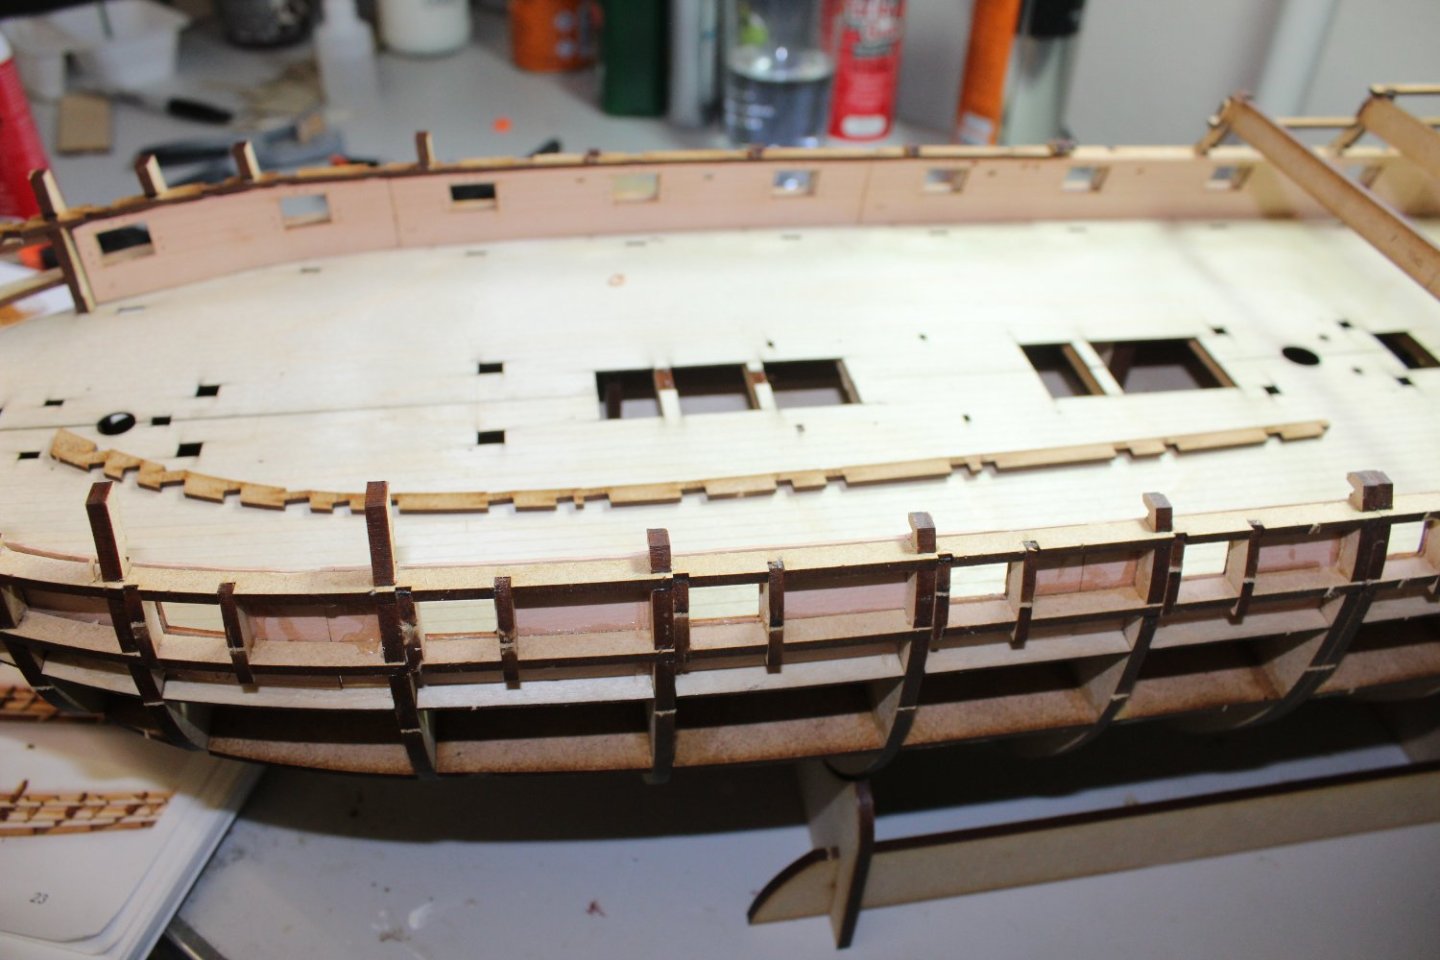
day 4, build nearly finished (well not quite)
the orlop deck was finished off with a couple of hatches and a ladder
the inner bulkheads were sanded down to make putting the inner bulkheads on, more work required on this
the main deck was test fitted and tonight half has been glued on


HMS Indefatigable 1794 by Kevin - Vanguard Models - 1:64 - Feb 2023
in - Kit build logs for subjects built from 1751 - 1800
Posted
ooops on the door way, im sure a couple others things are still needing attention, and when i got back in i found that i had forgotten to put the bracing beams inn thats how strong this build is