


Kevin
-
Posts
6,925 -
Joined
-
Last visited
Content Type
Profiles
Forums
Gallery
Events
Posts posted by Kevin
-
-
that would look great on my deck, but bit pricey for me
- Canute, thibaultron, Egilman and 2 others
-
 5
5
-
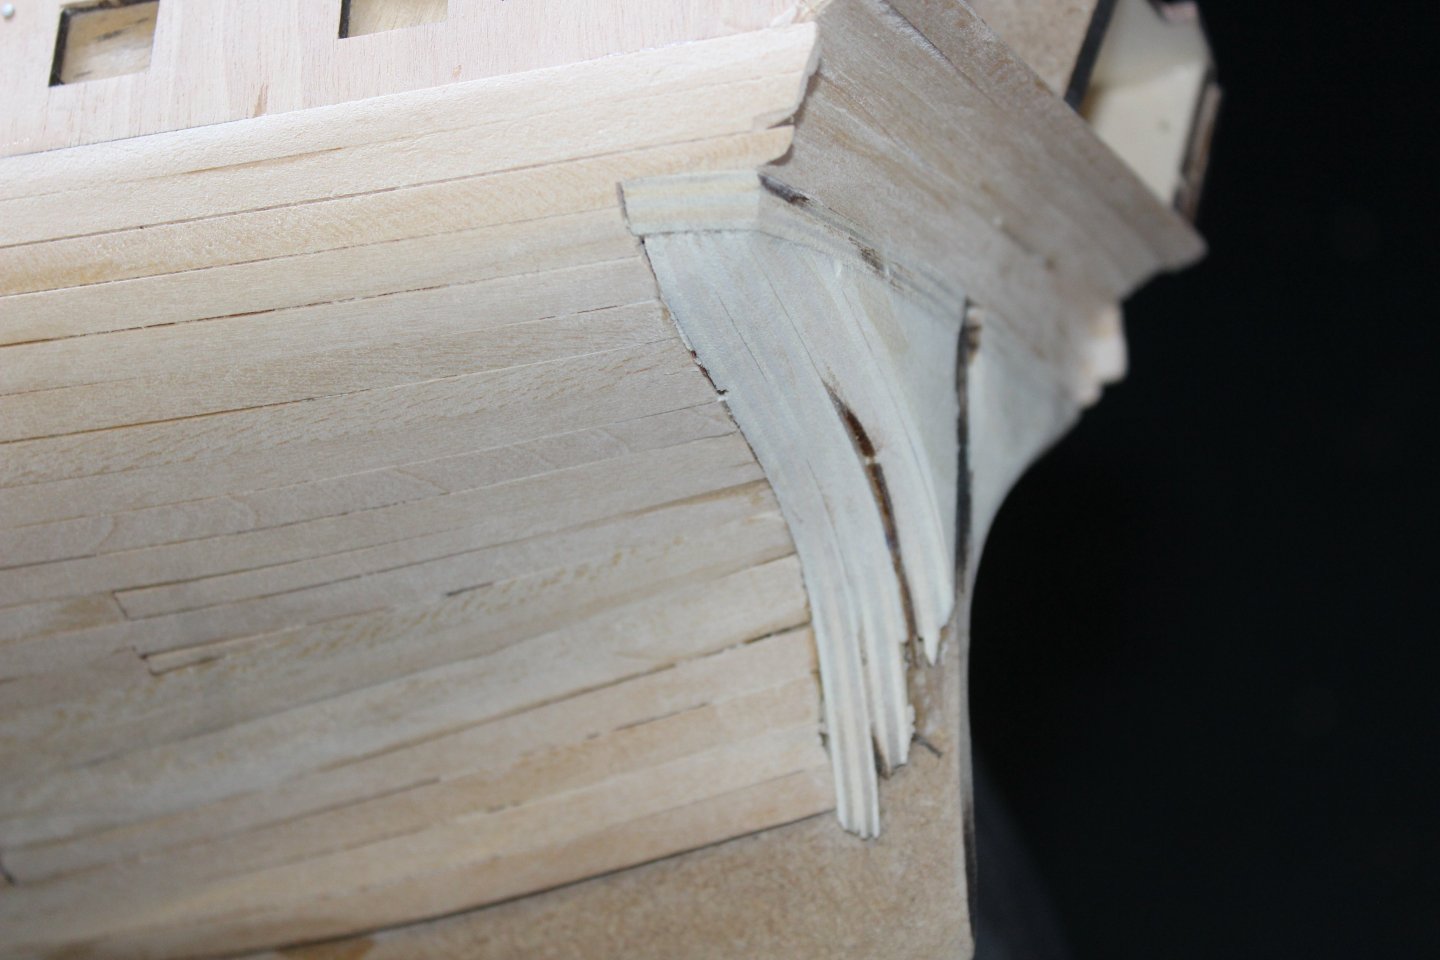
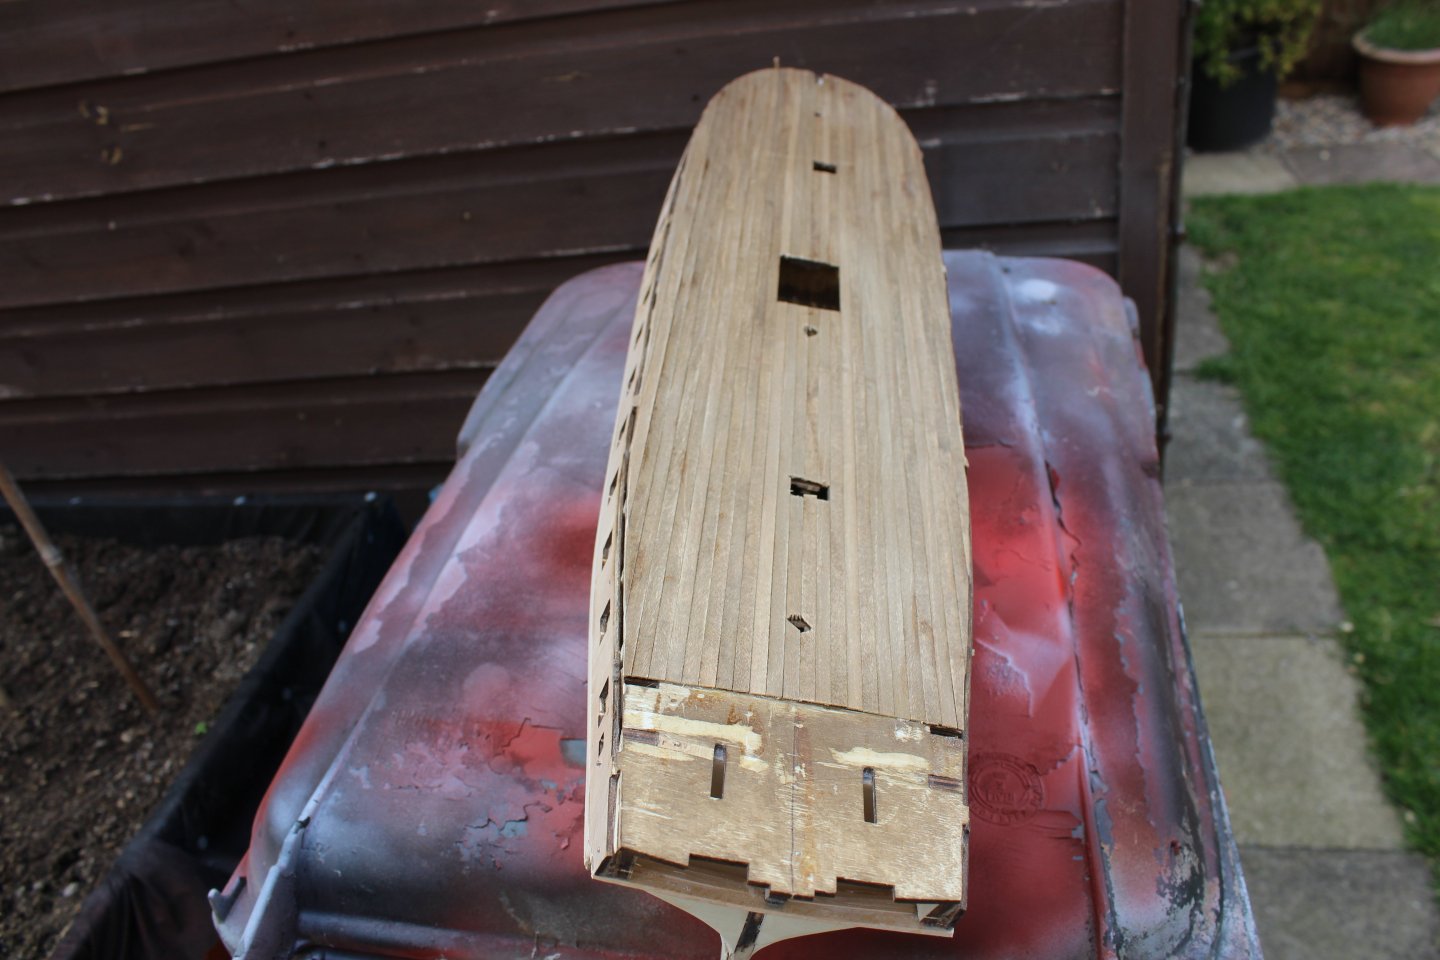
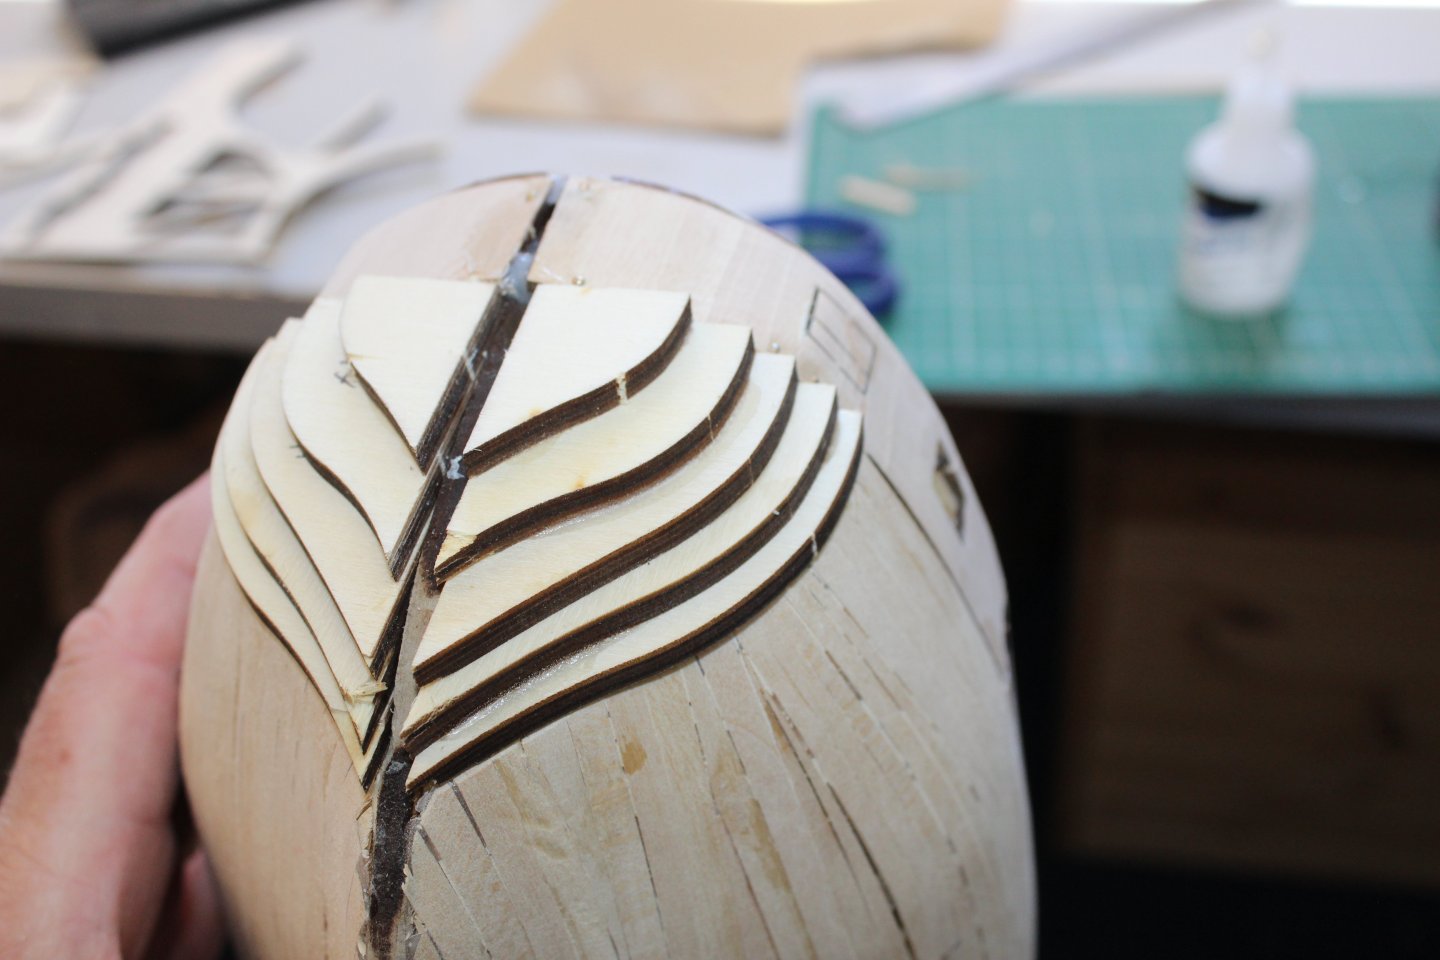
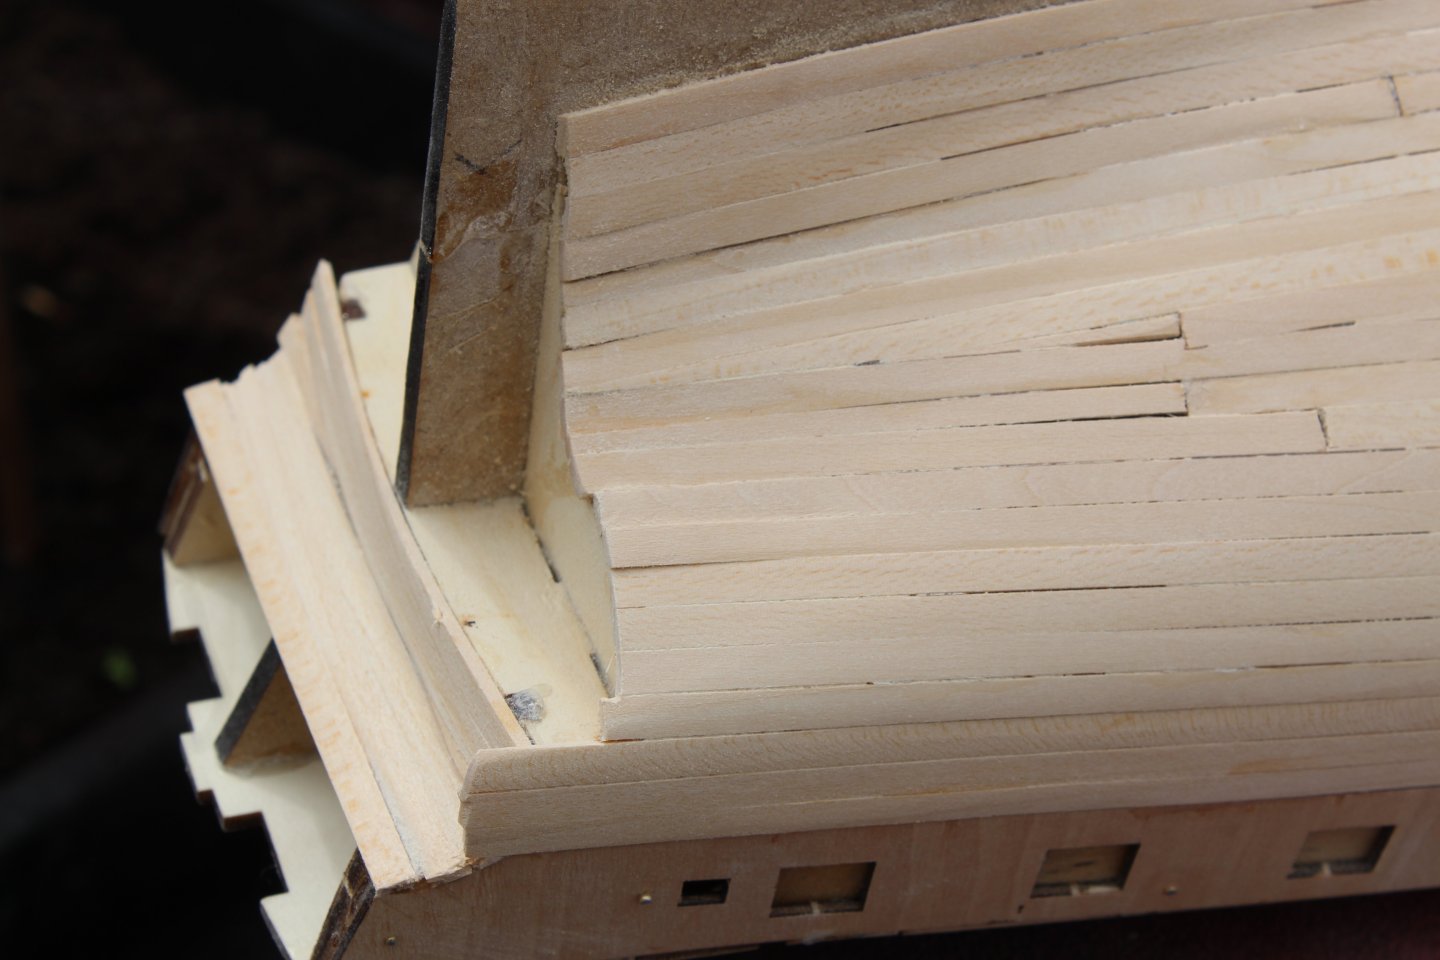
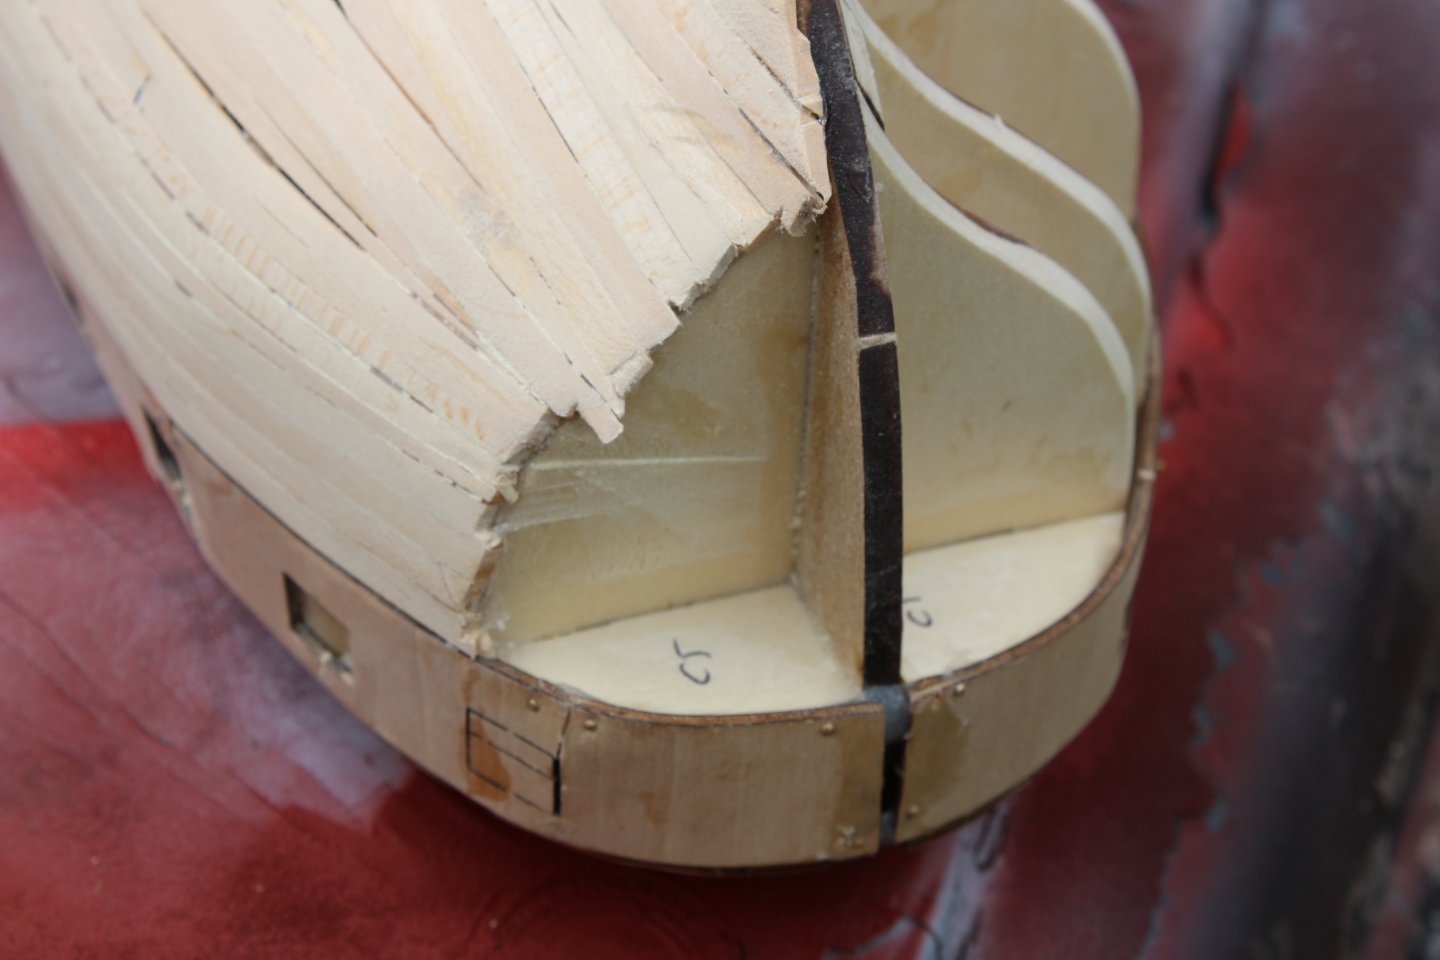
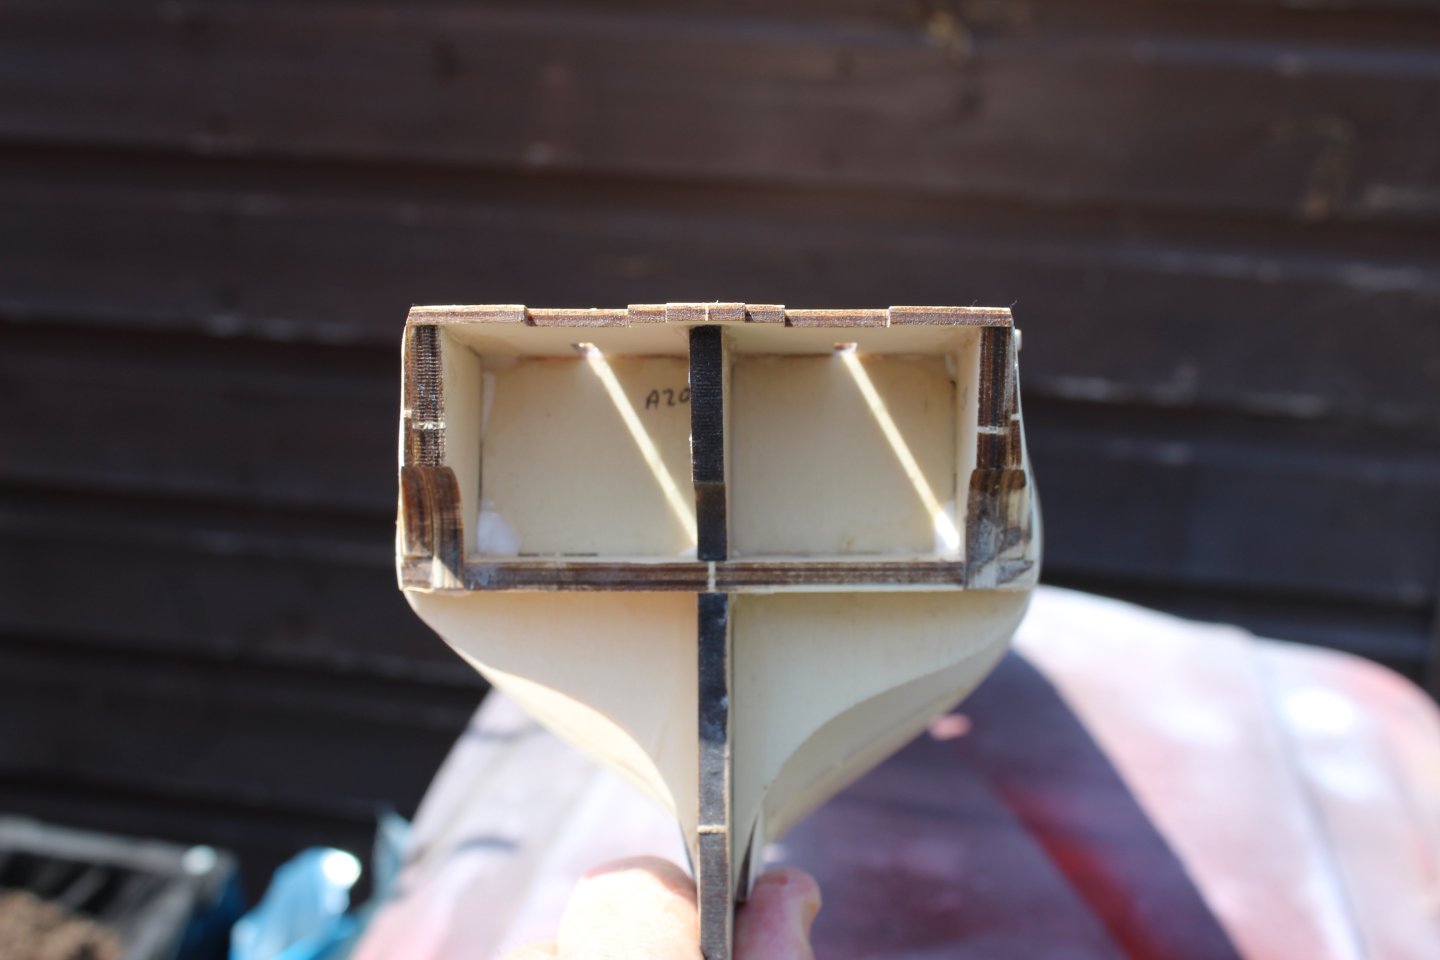
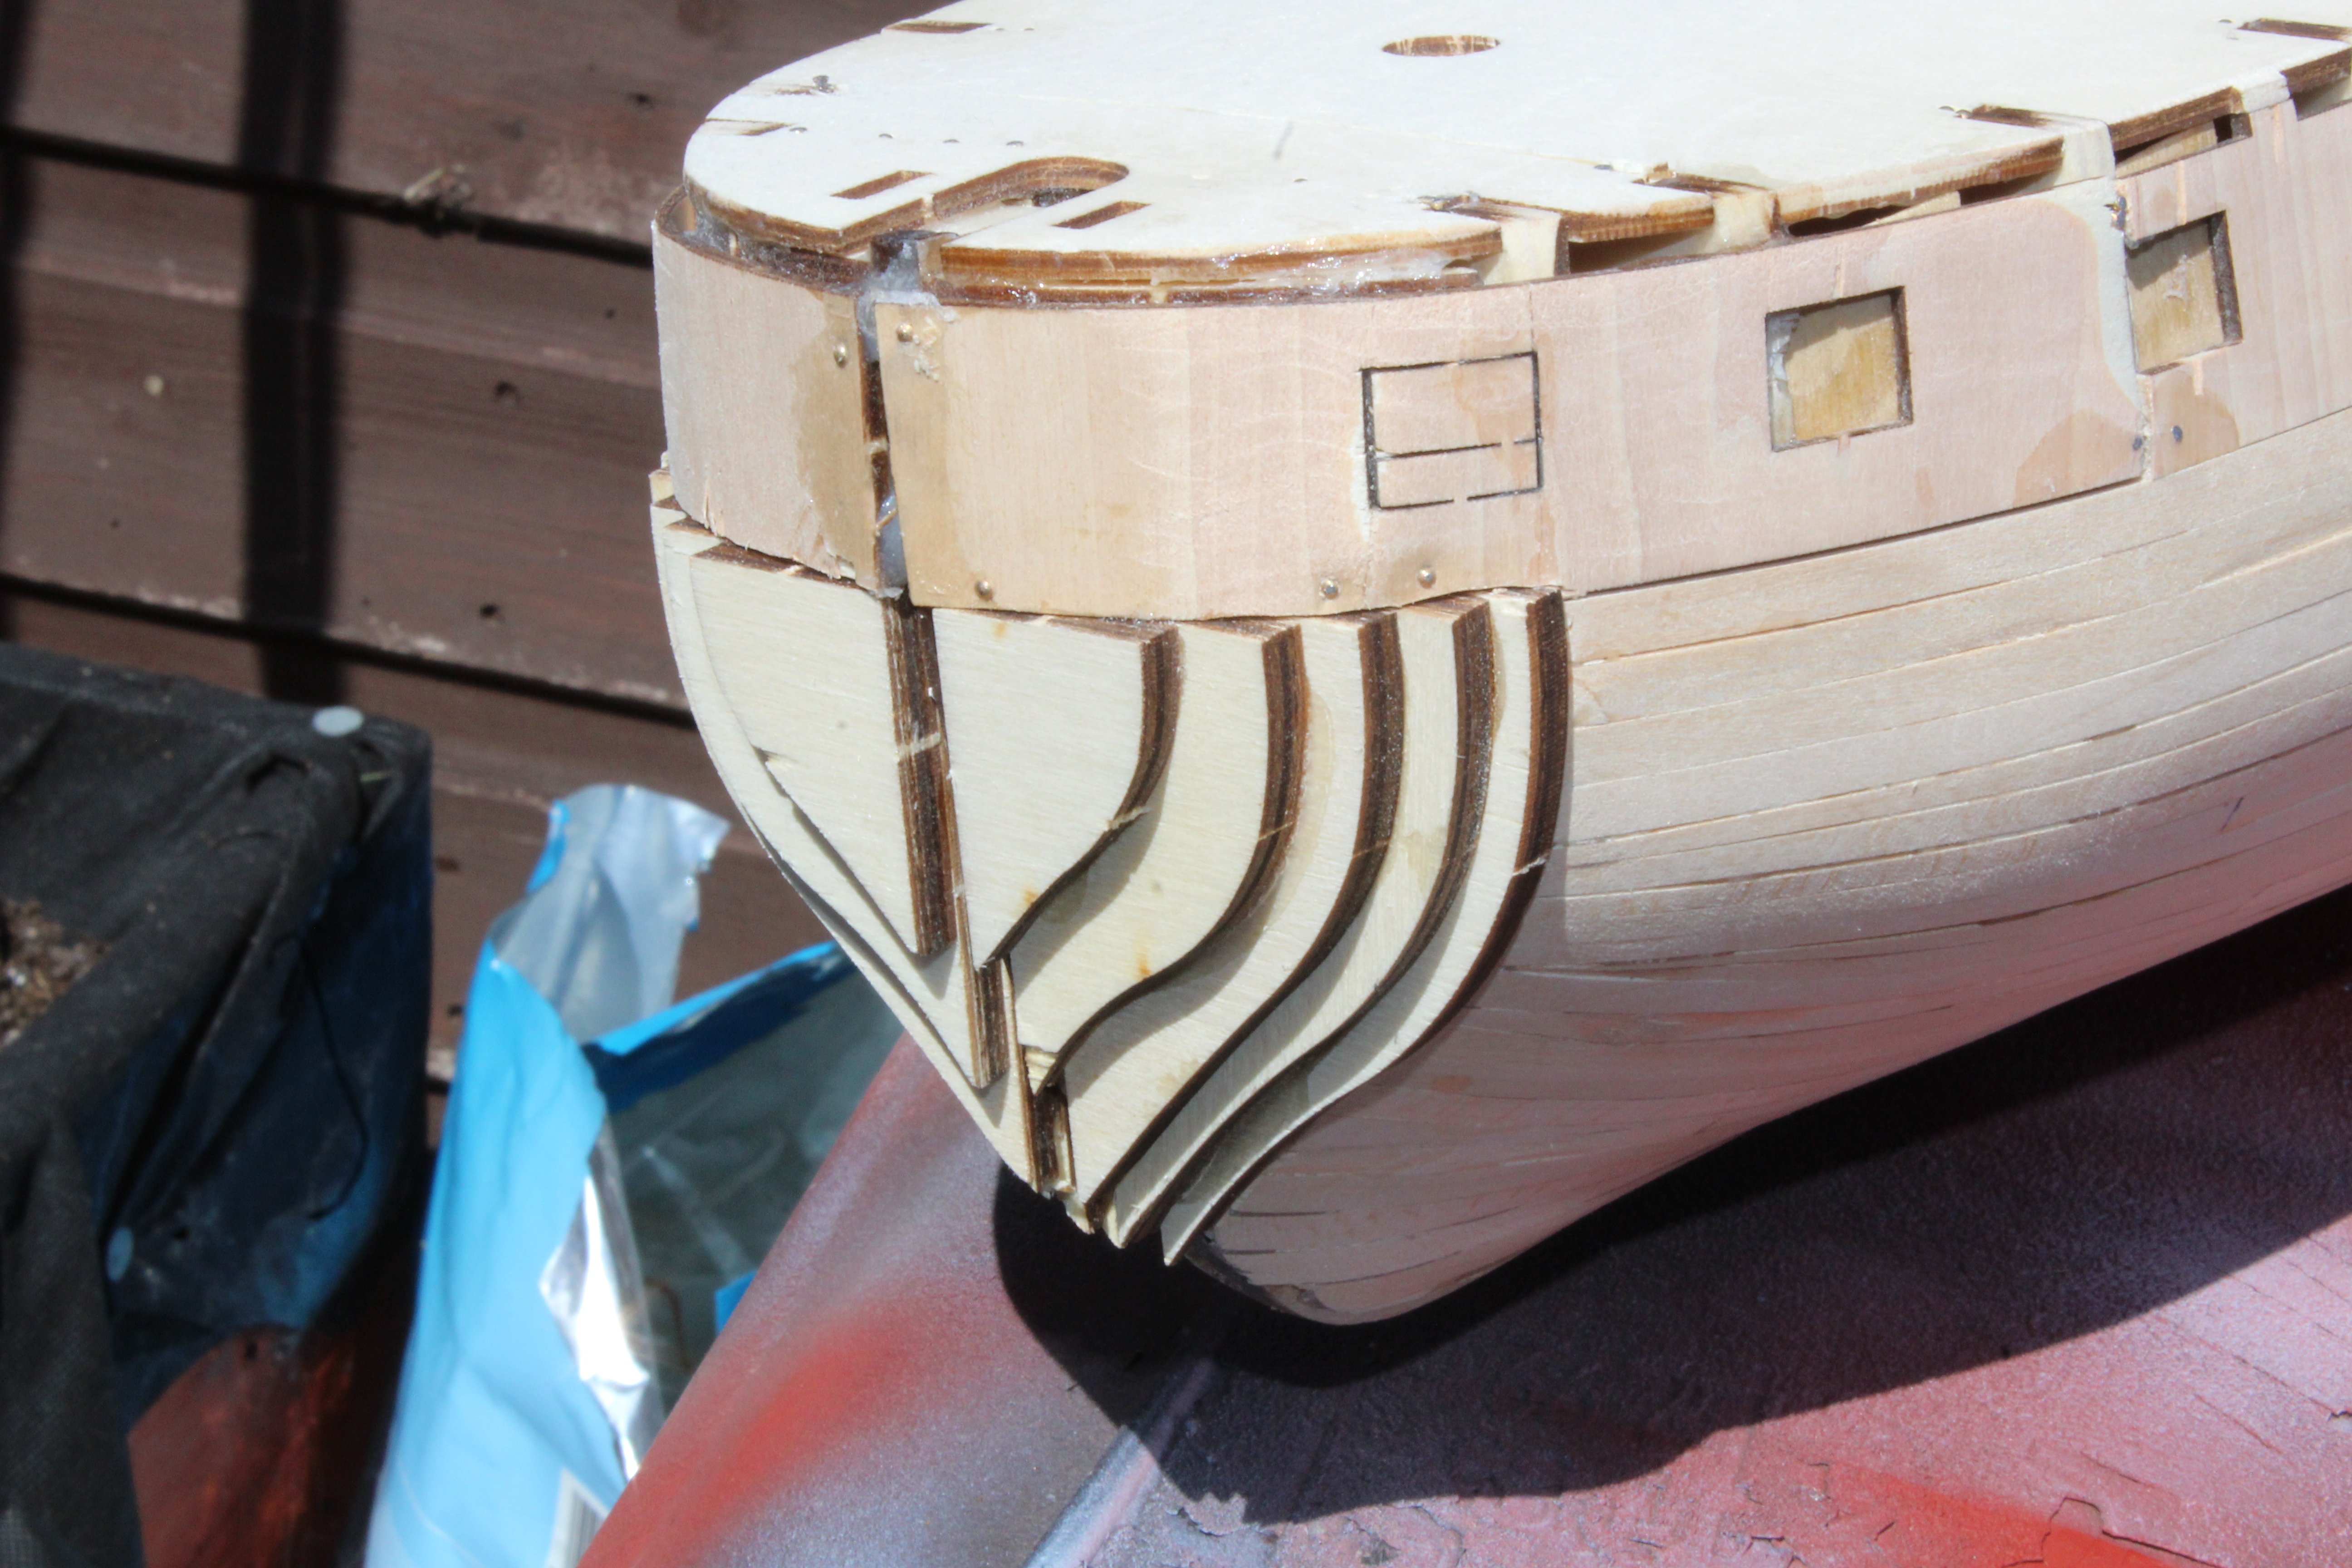
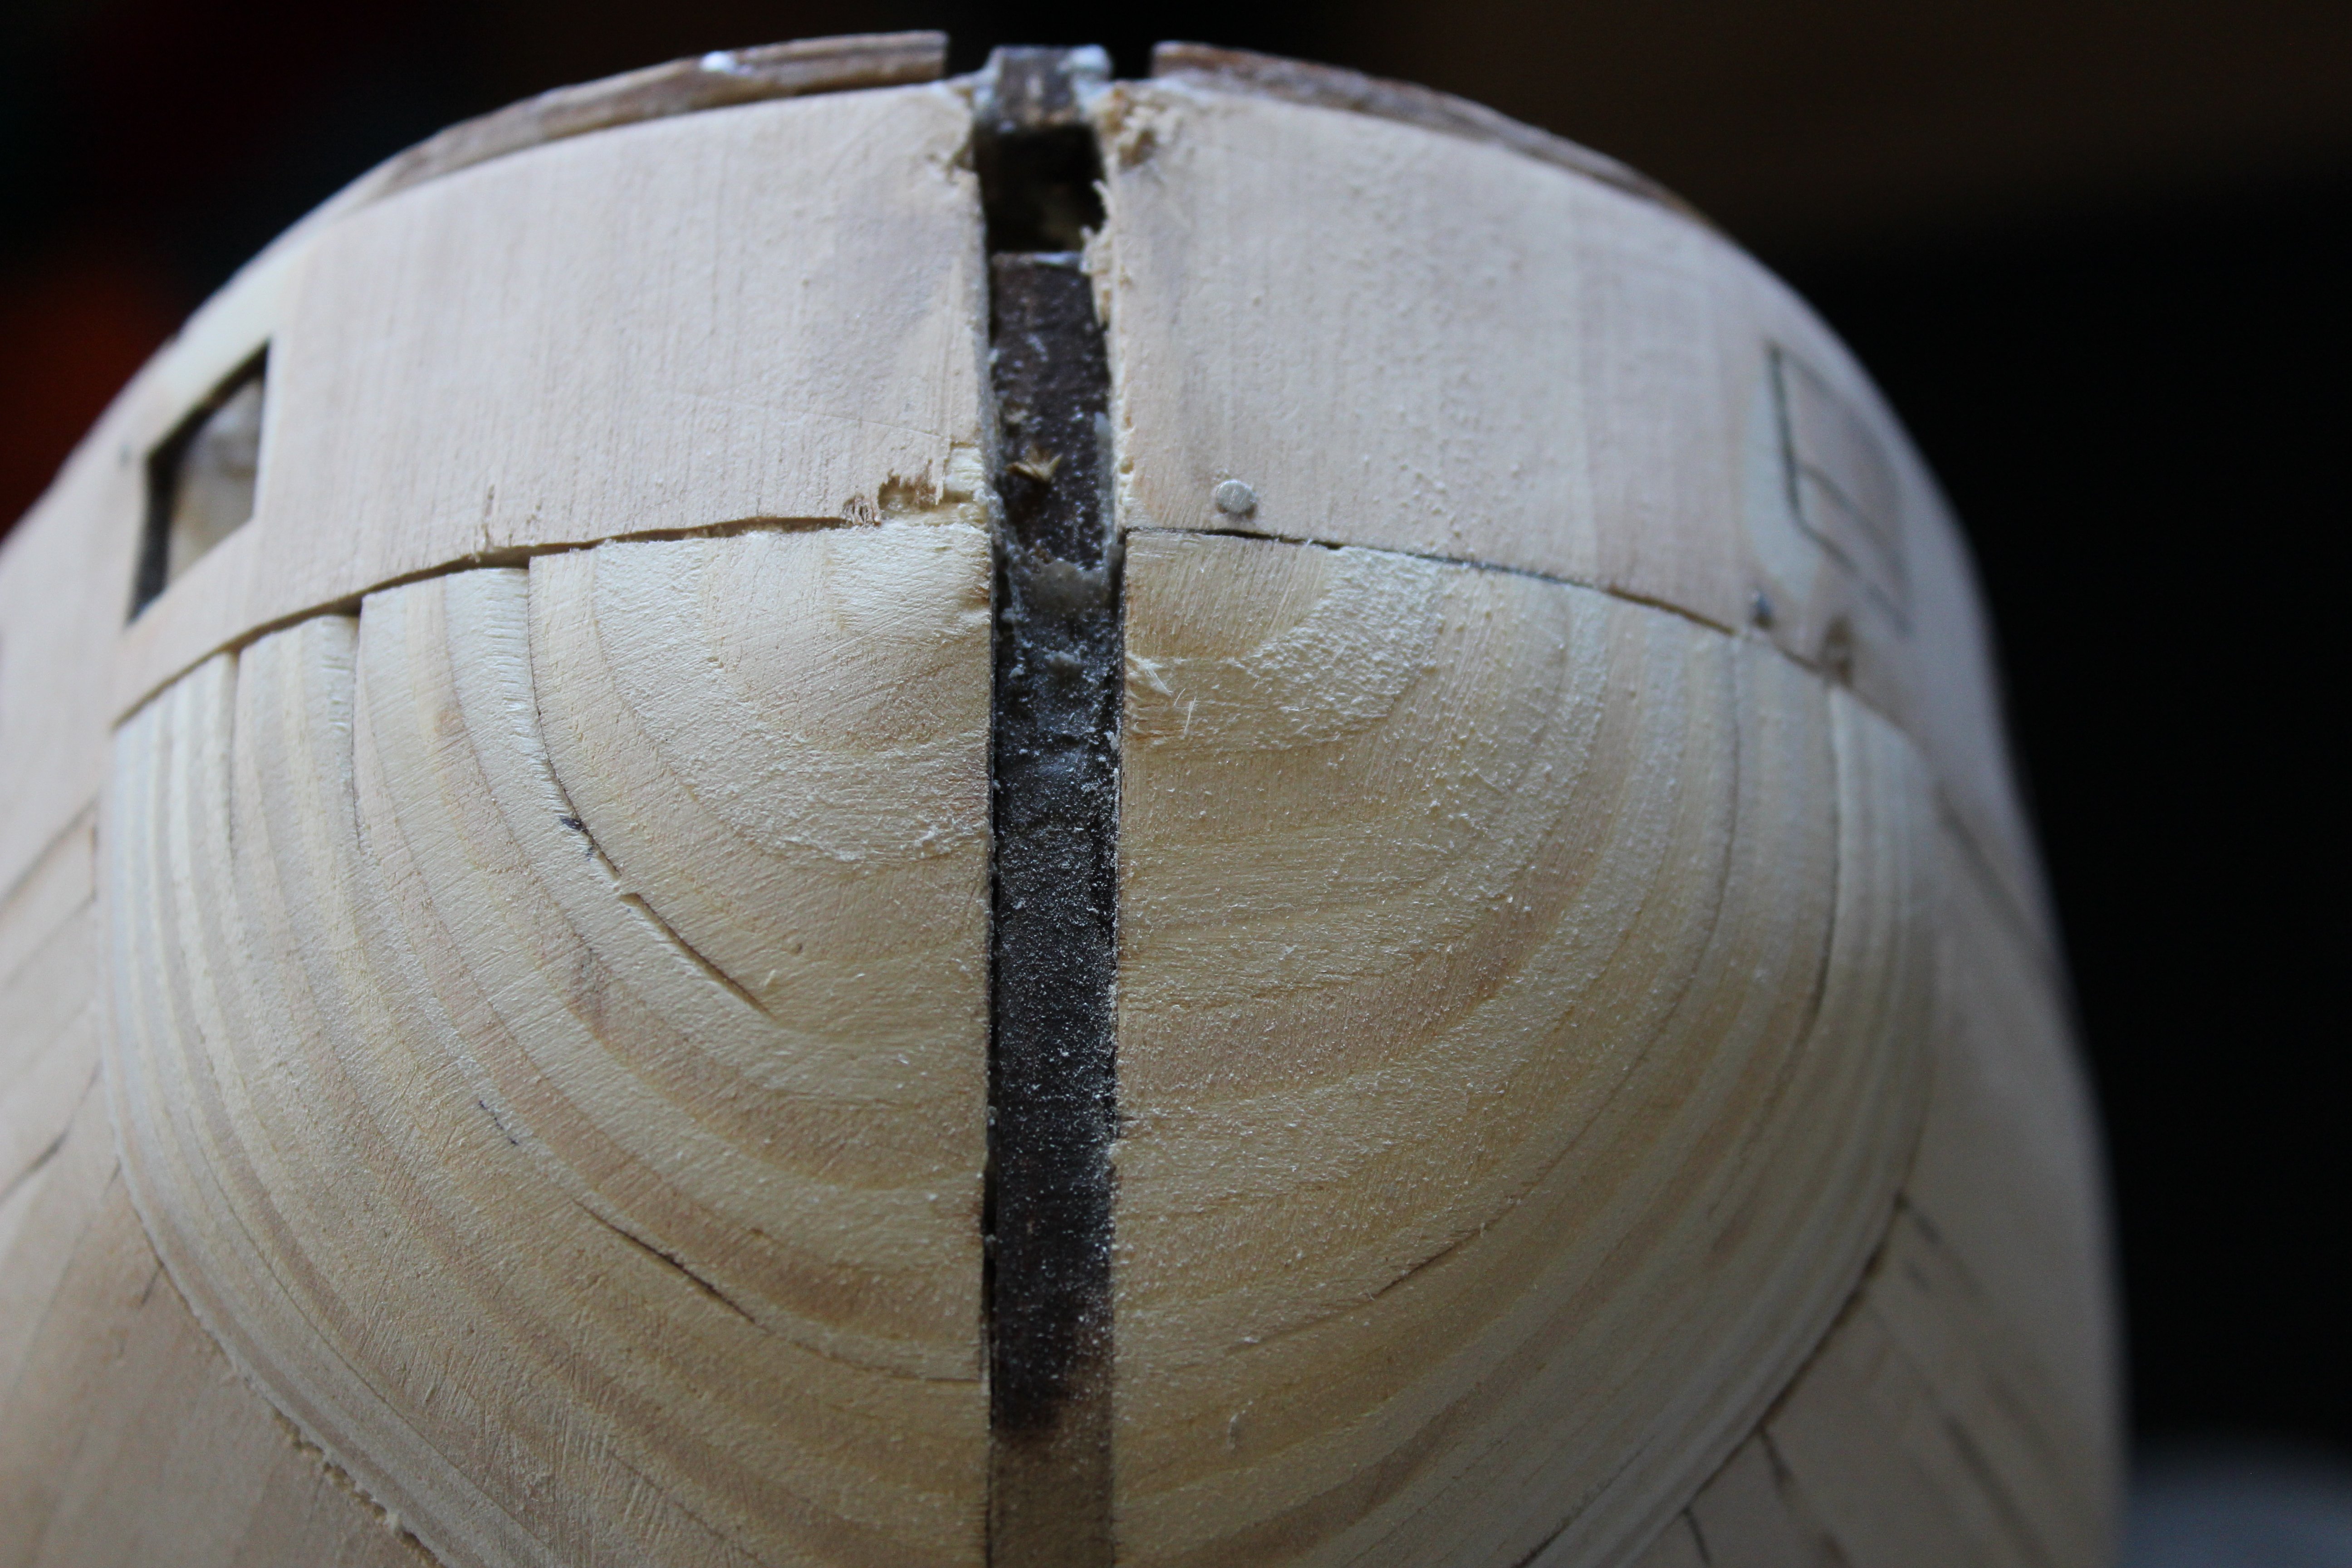
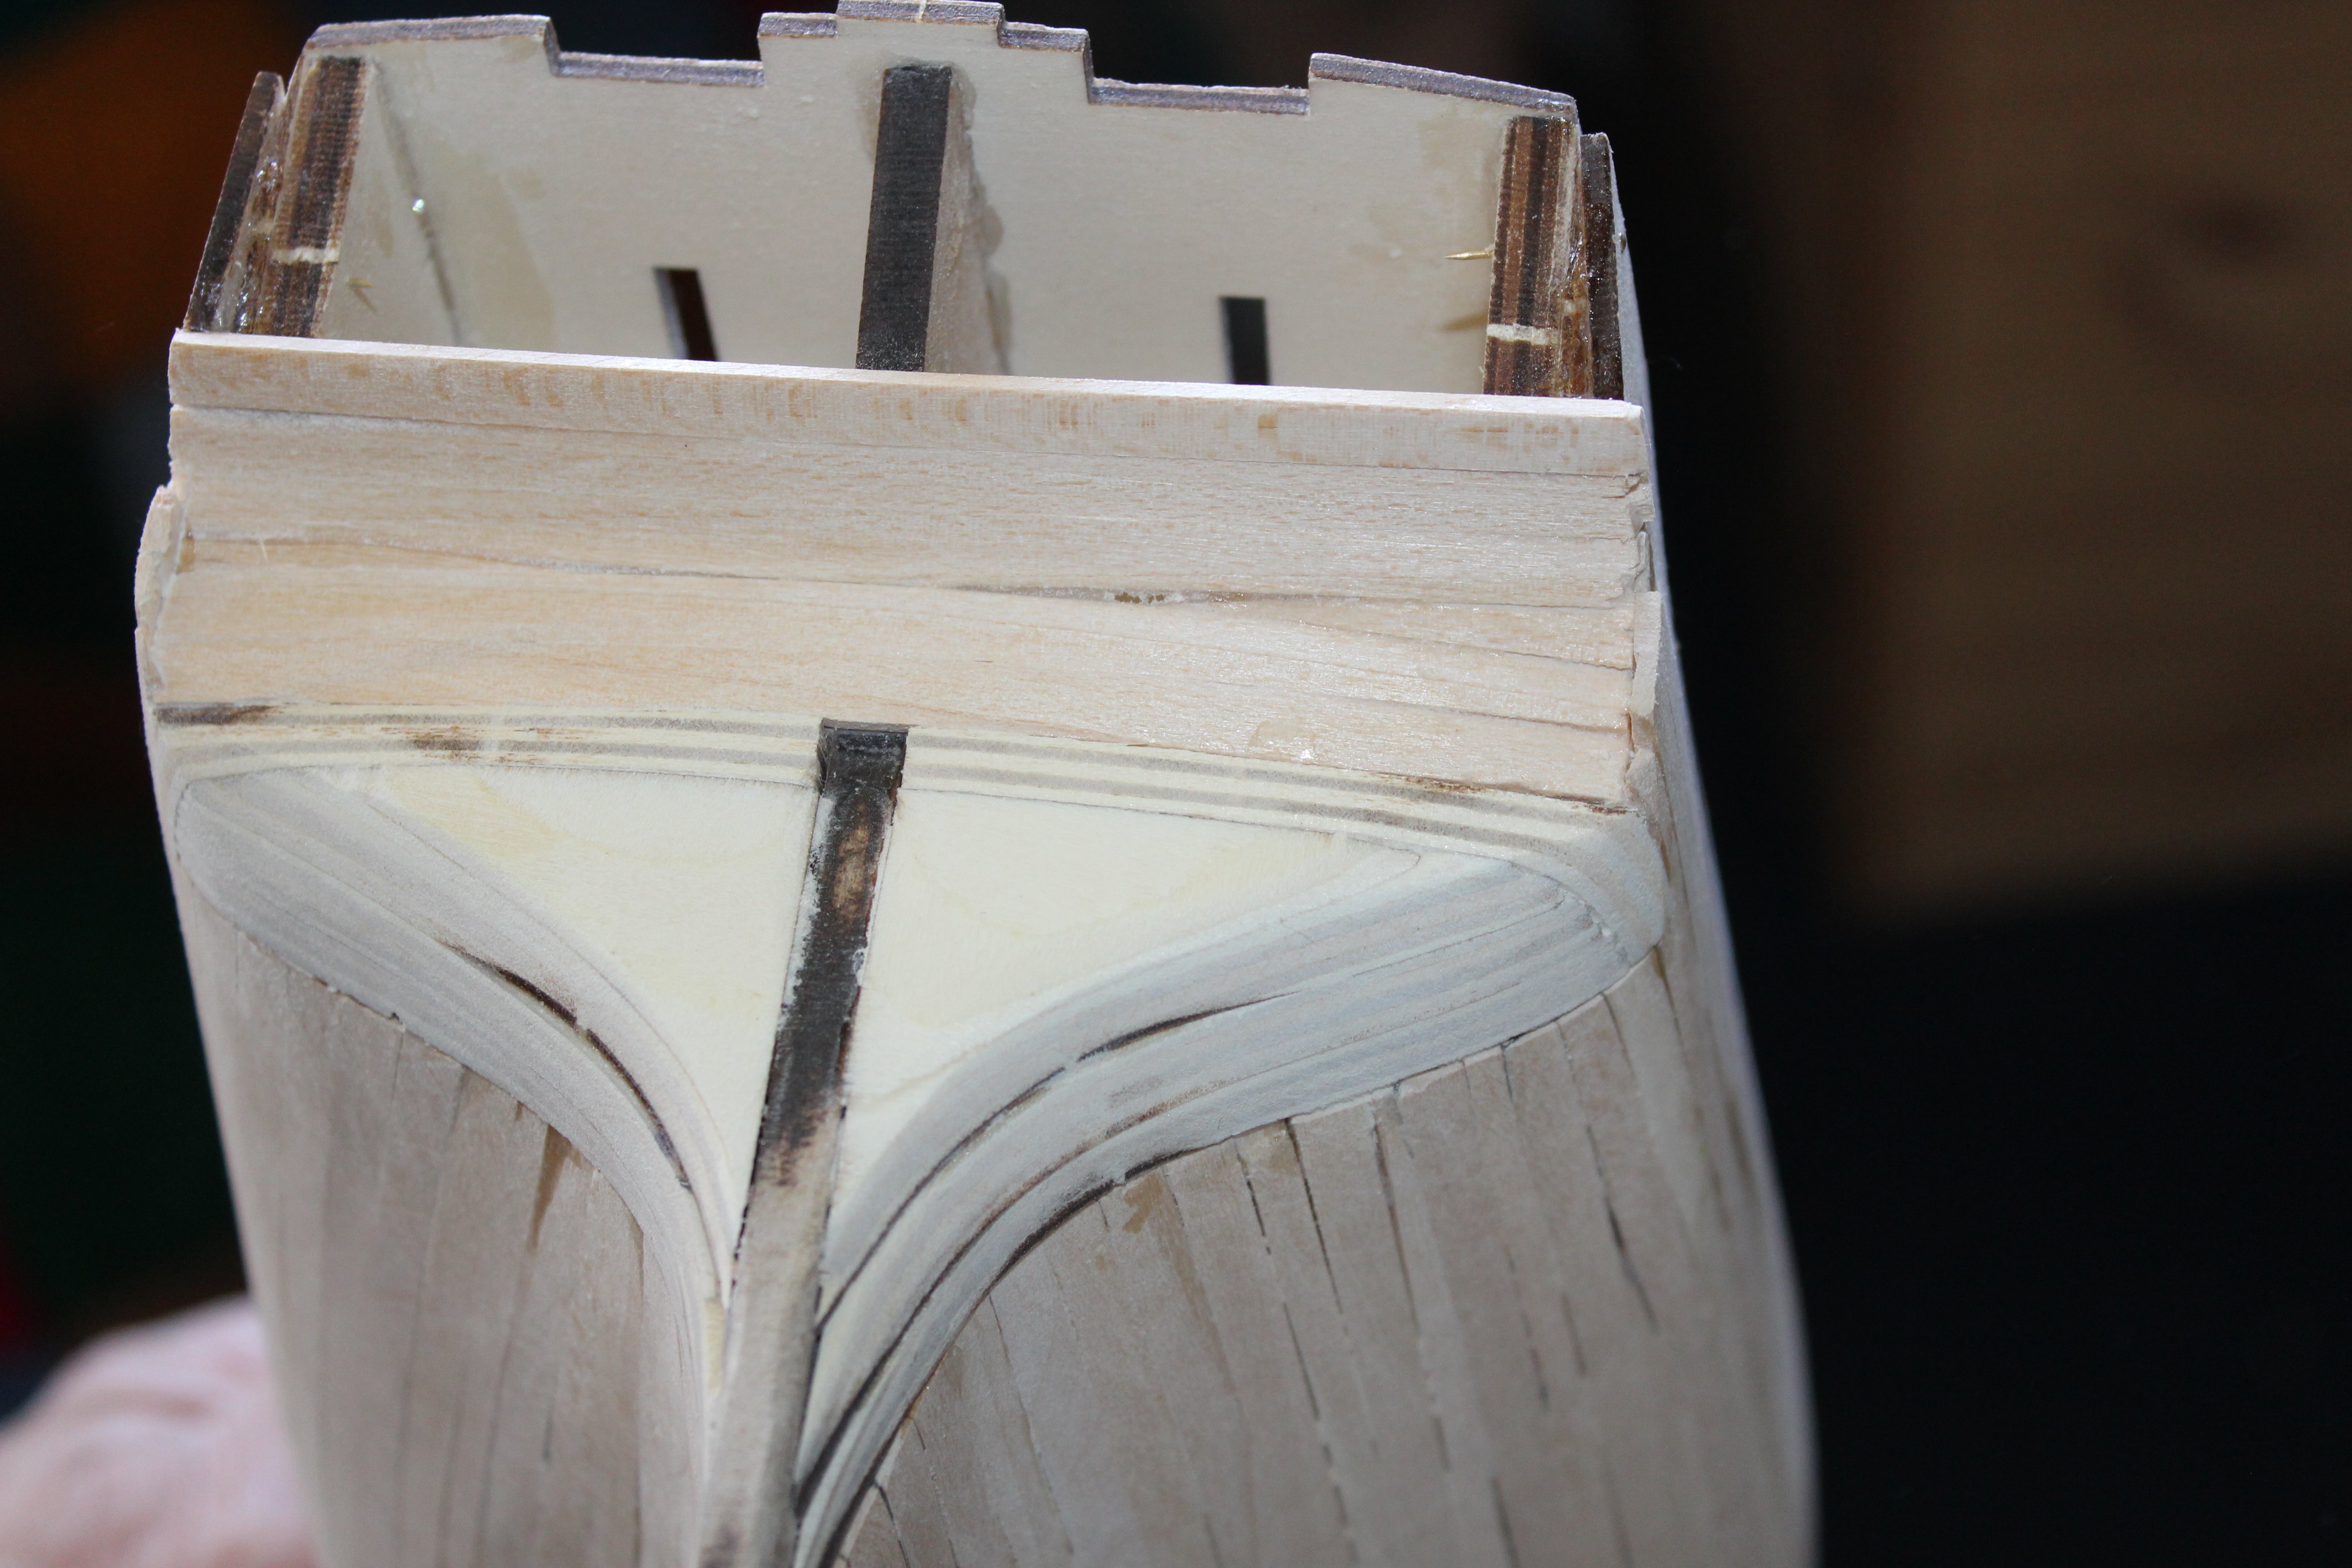
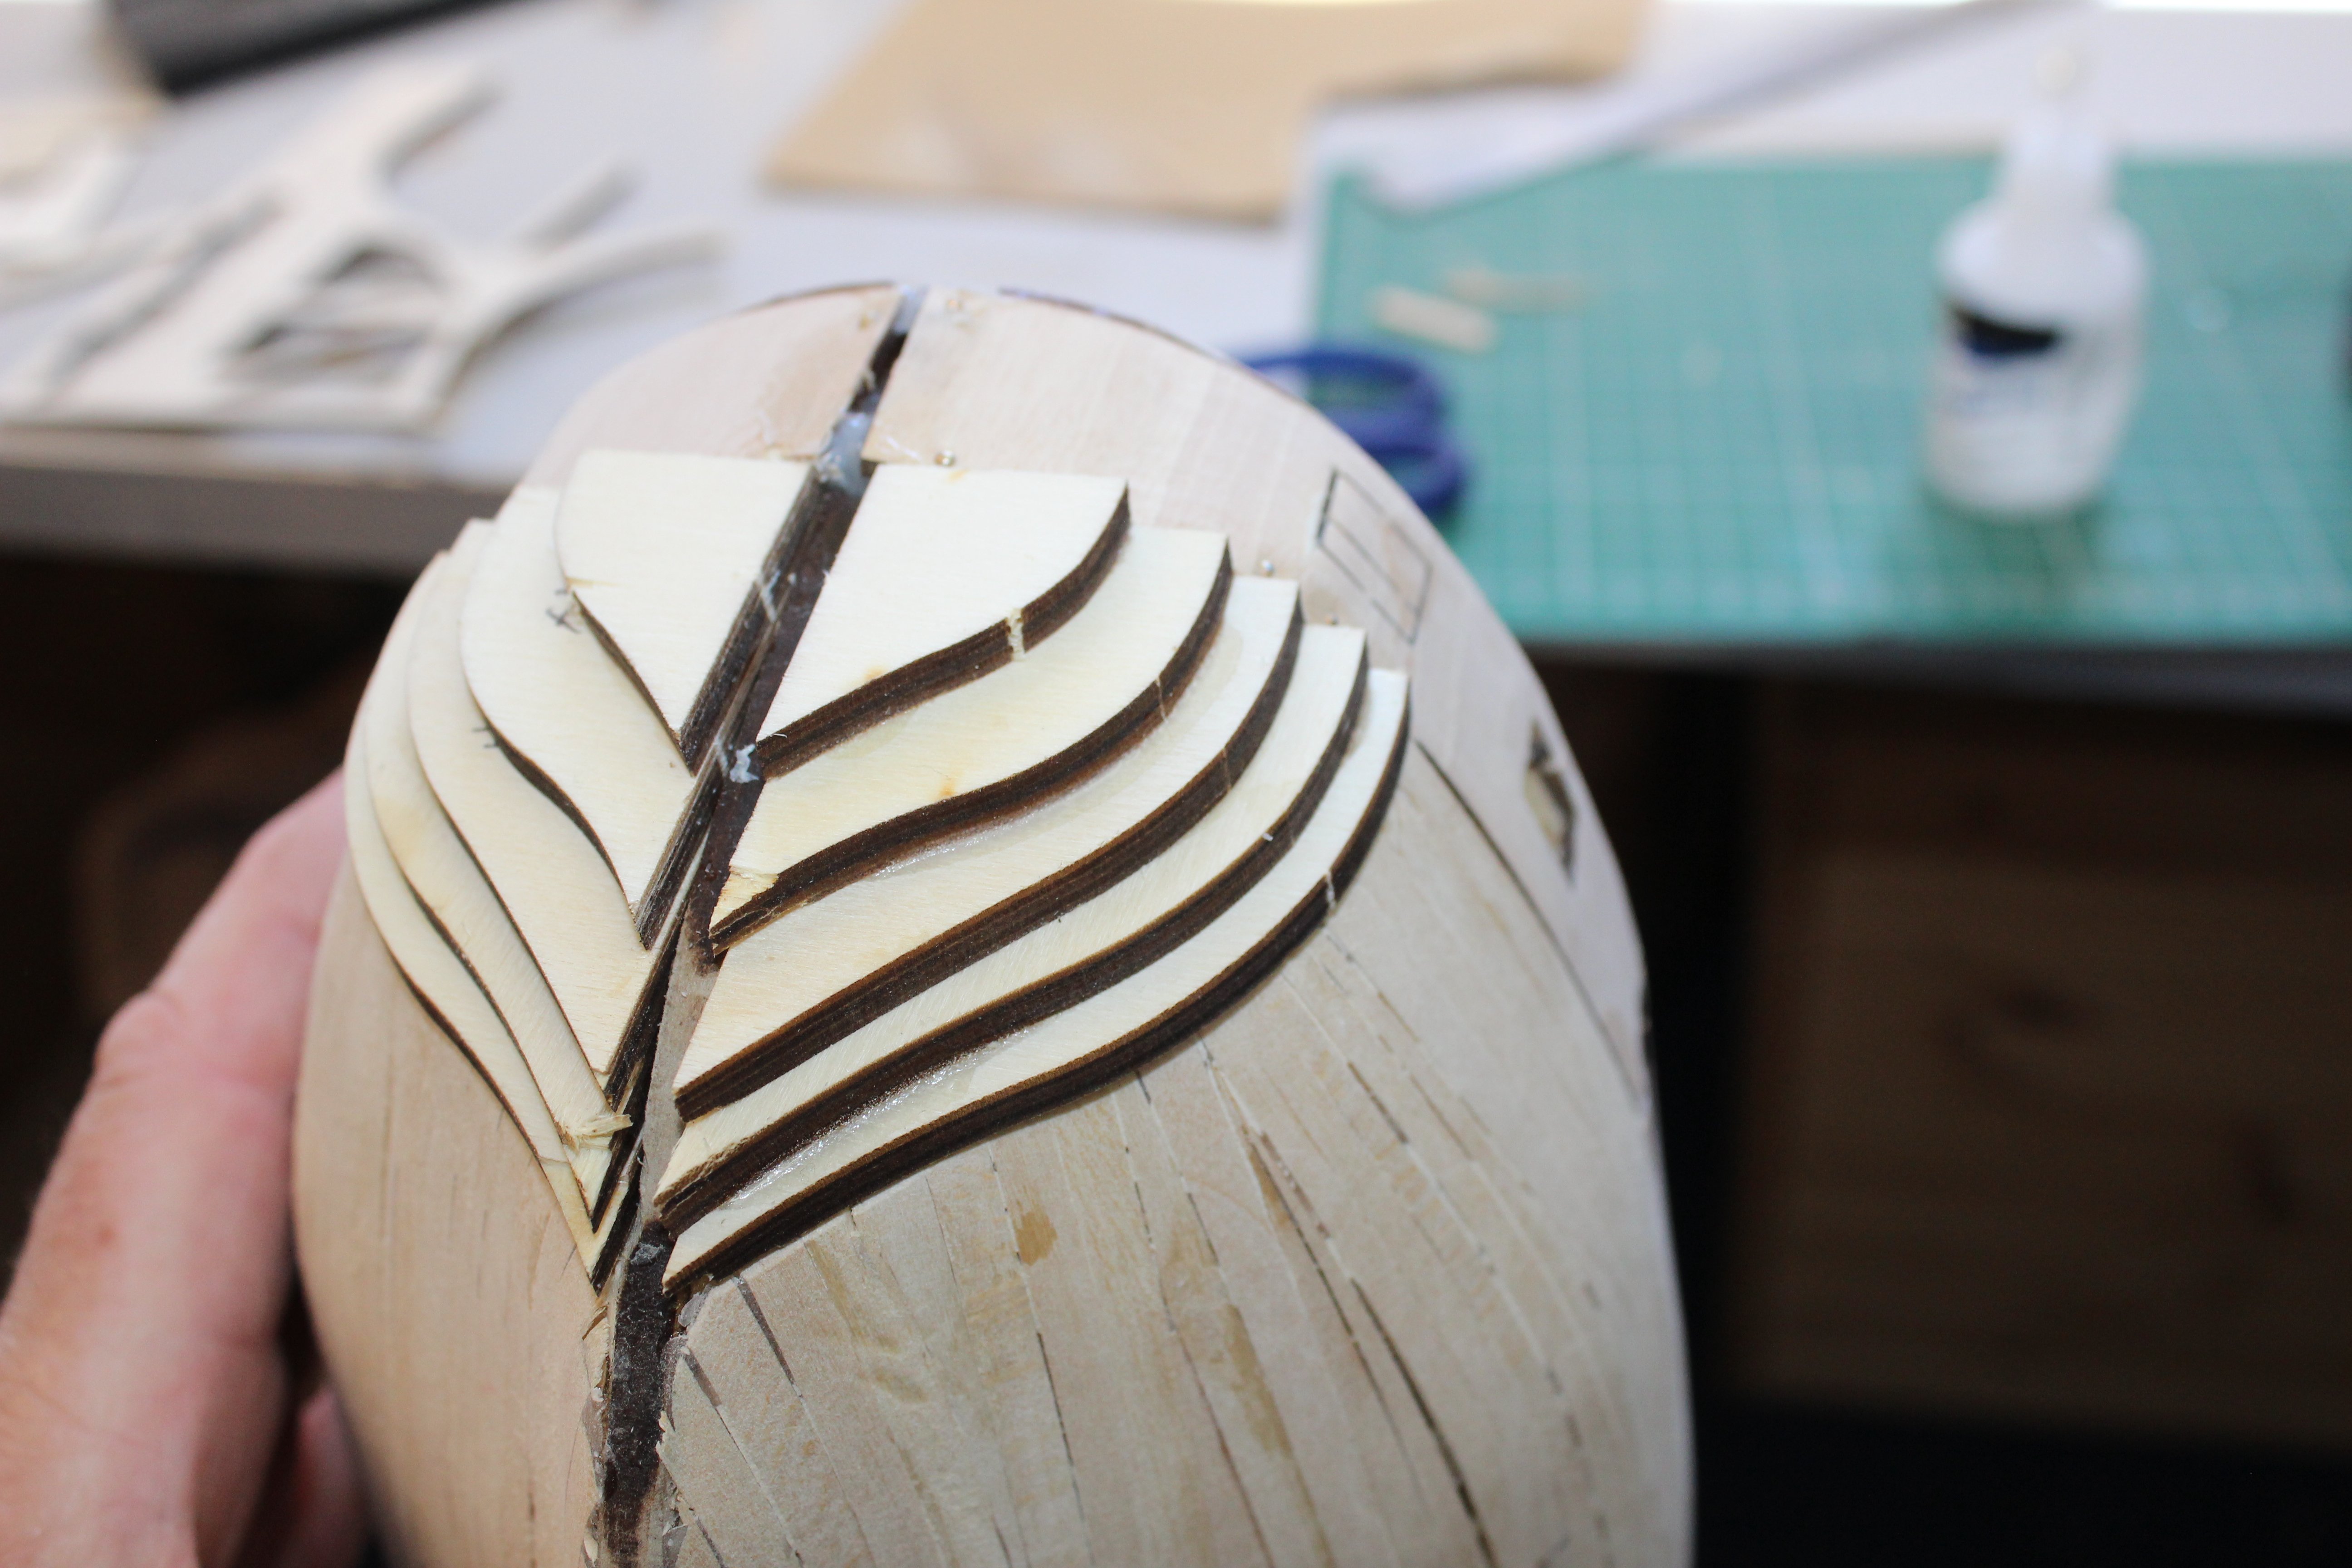
day 5 bow and stern blanks
the bow and stern blanks were put on and allowed to dry
But your on yr own from there on, a couple of photos in the instruction only show which way to fair from, no guides no templates, its totally up to your self how you wanrt to mess it up
so another request would be to provide a simple template in wood or card for bow and stern to be used as a guide


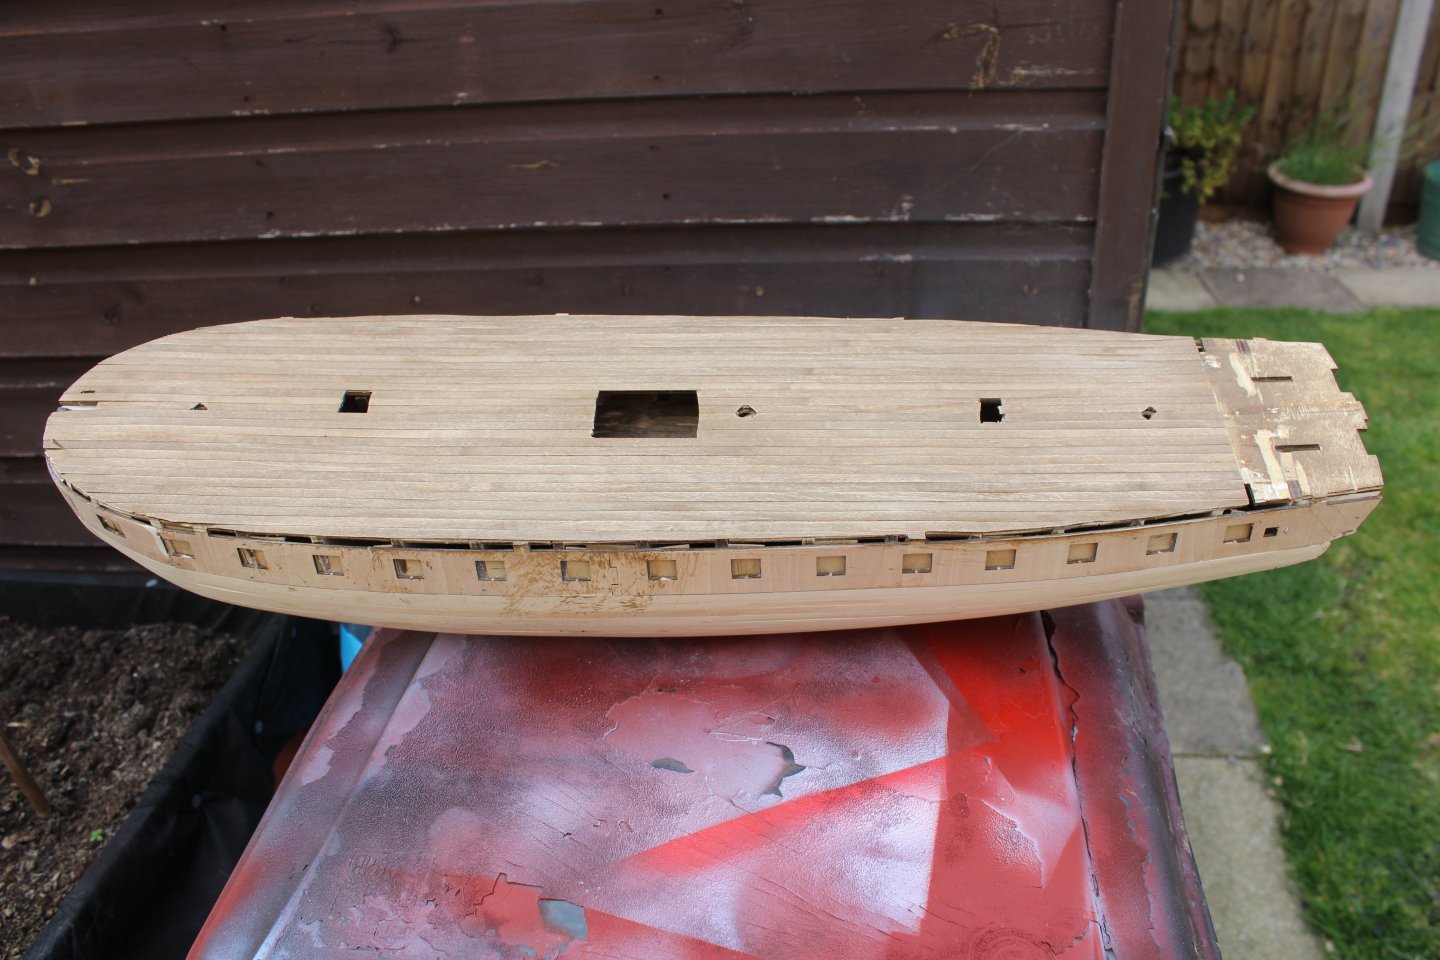
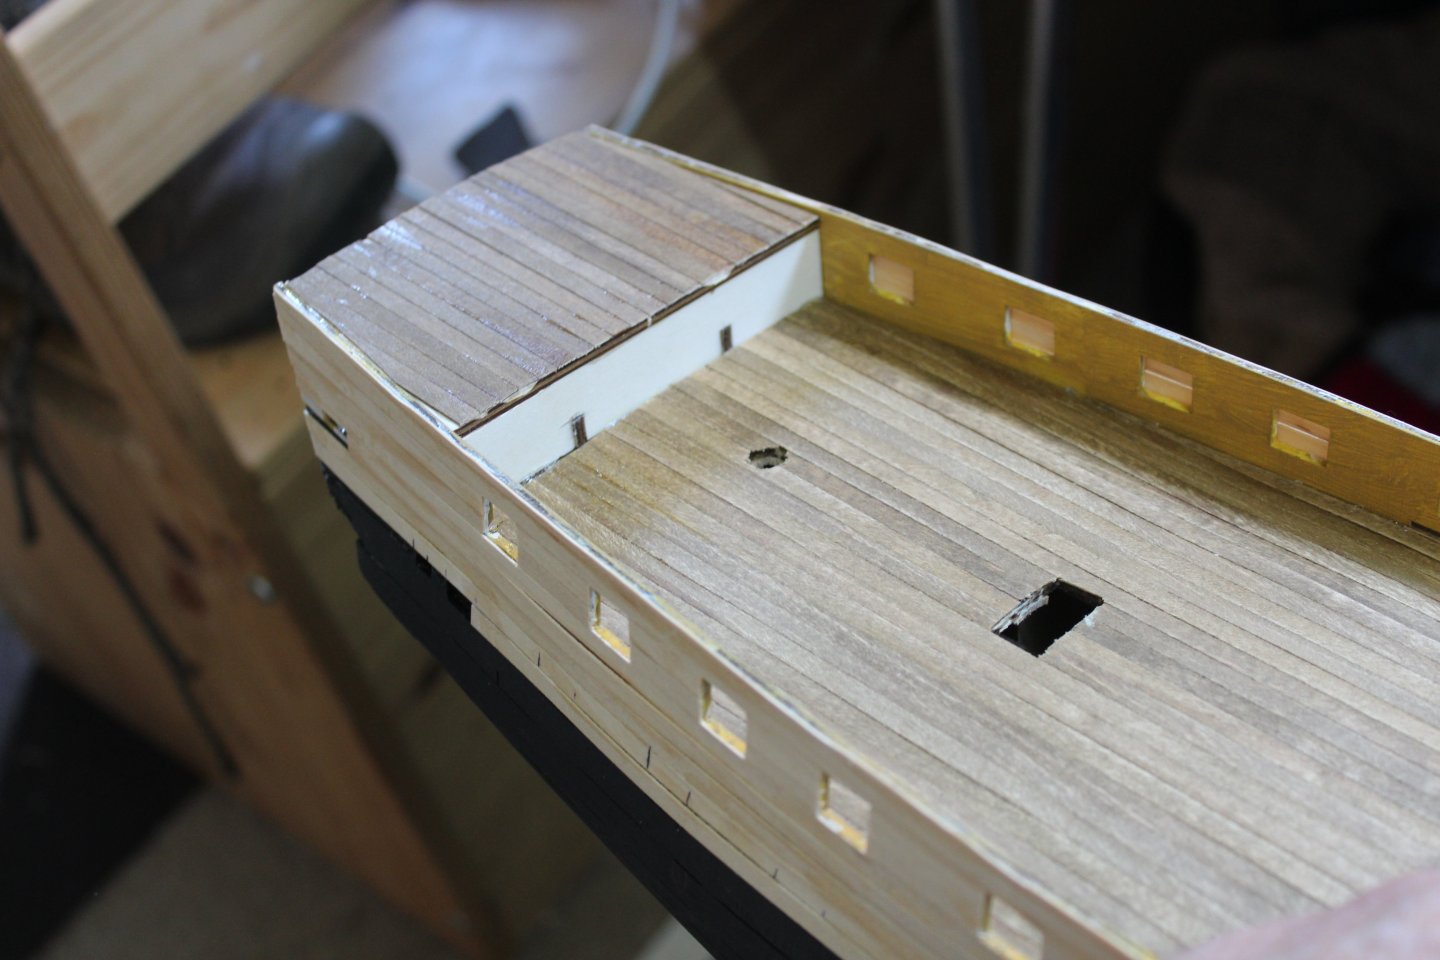
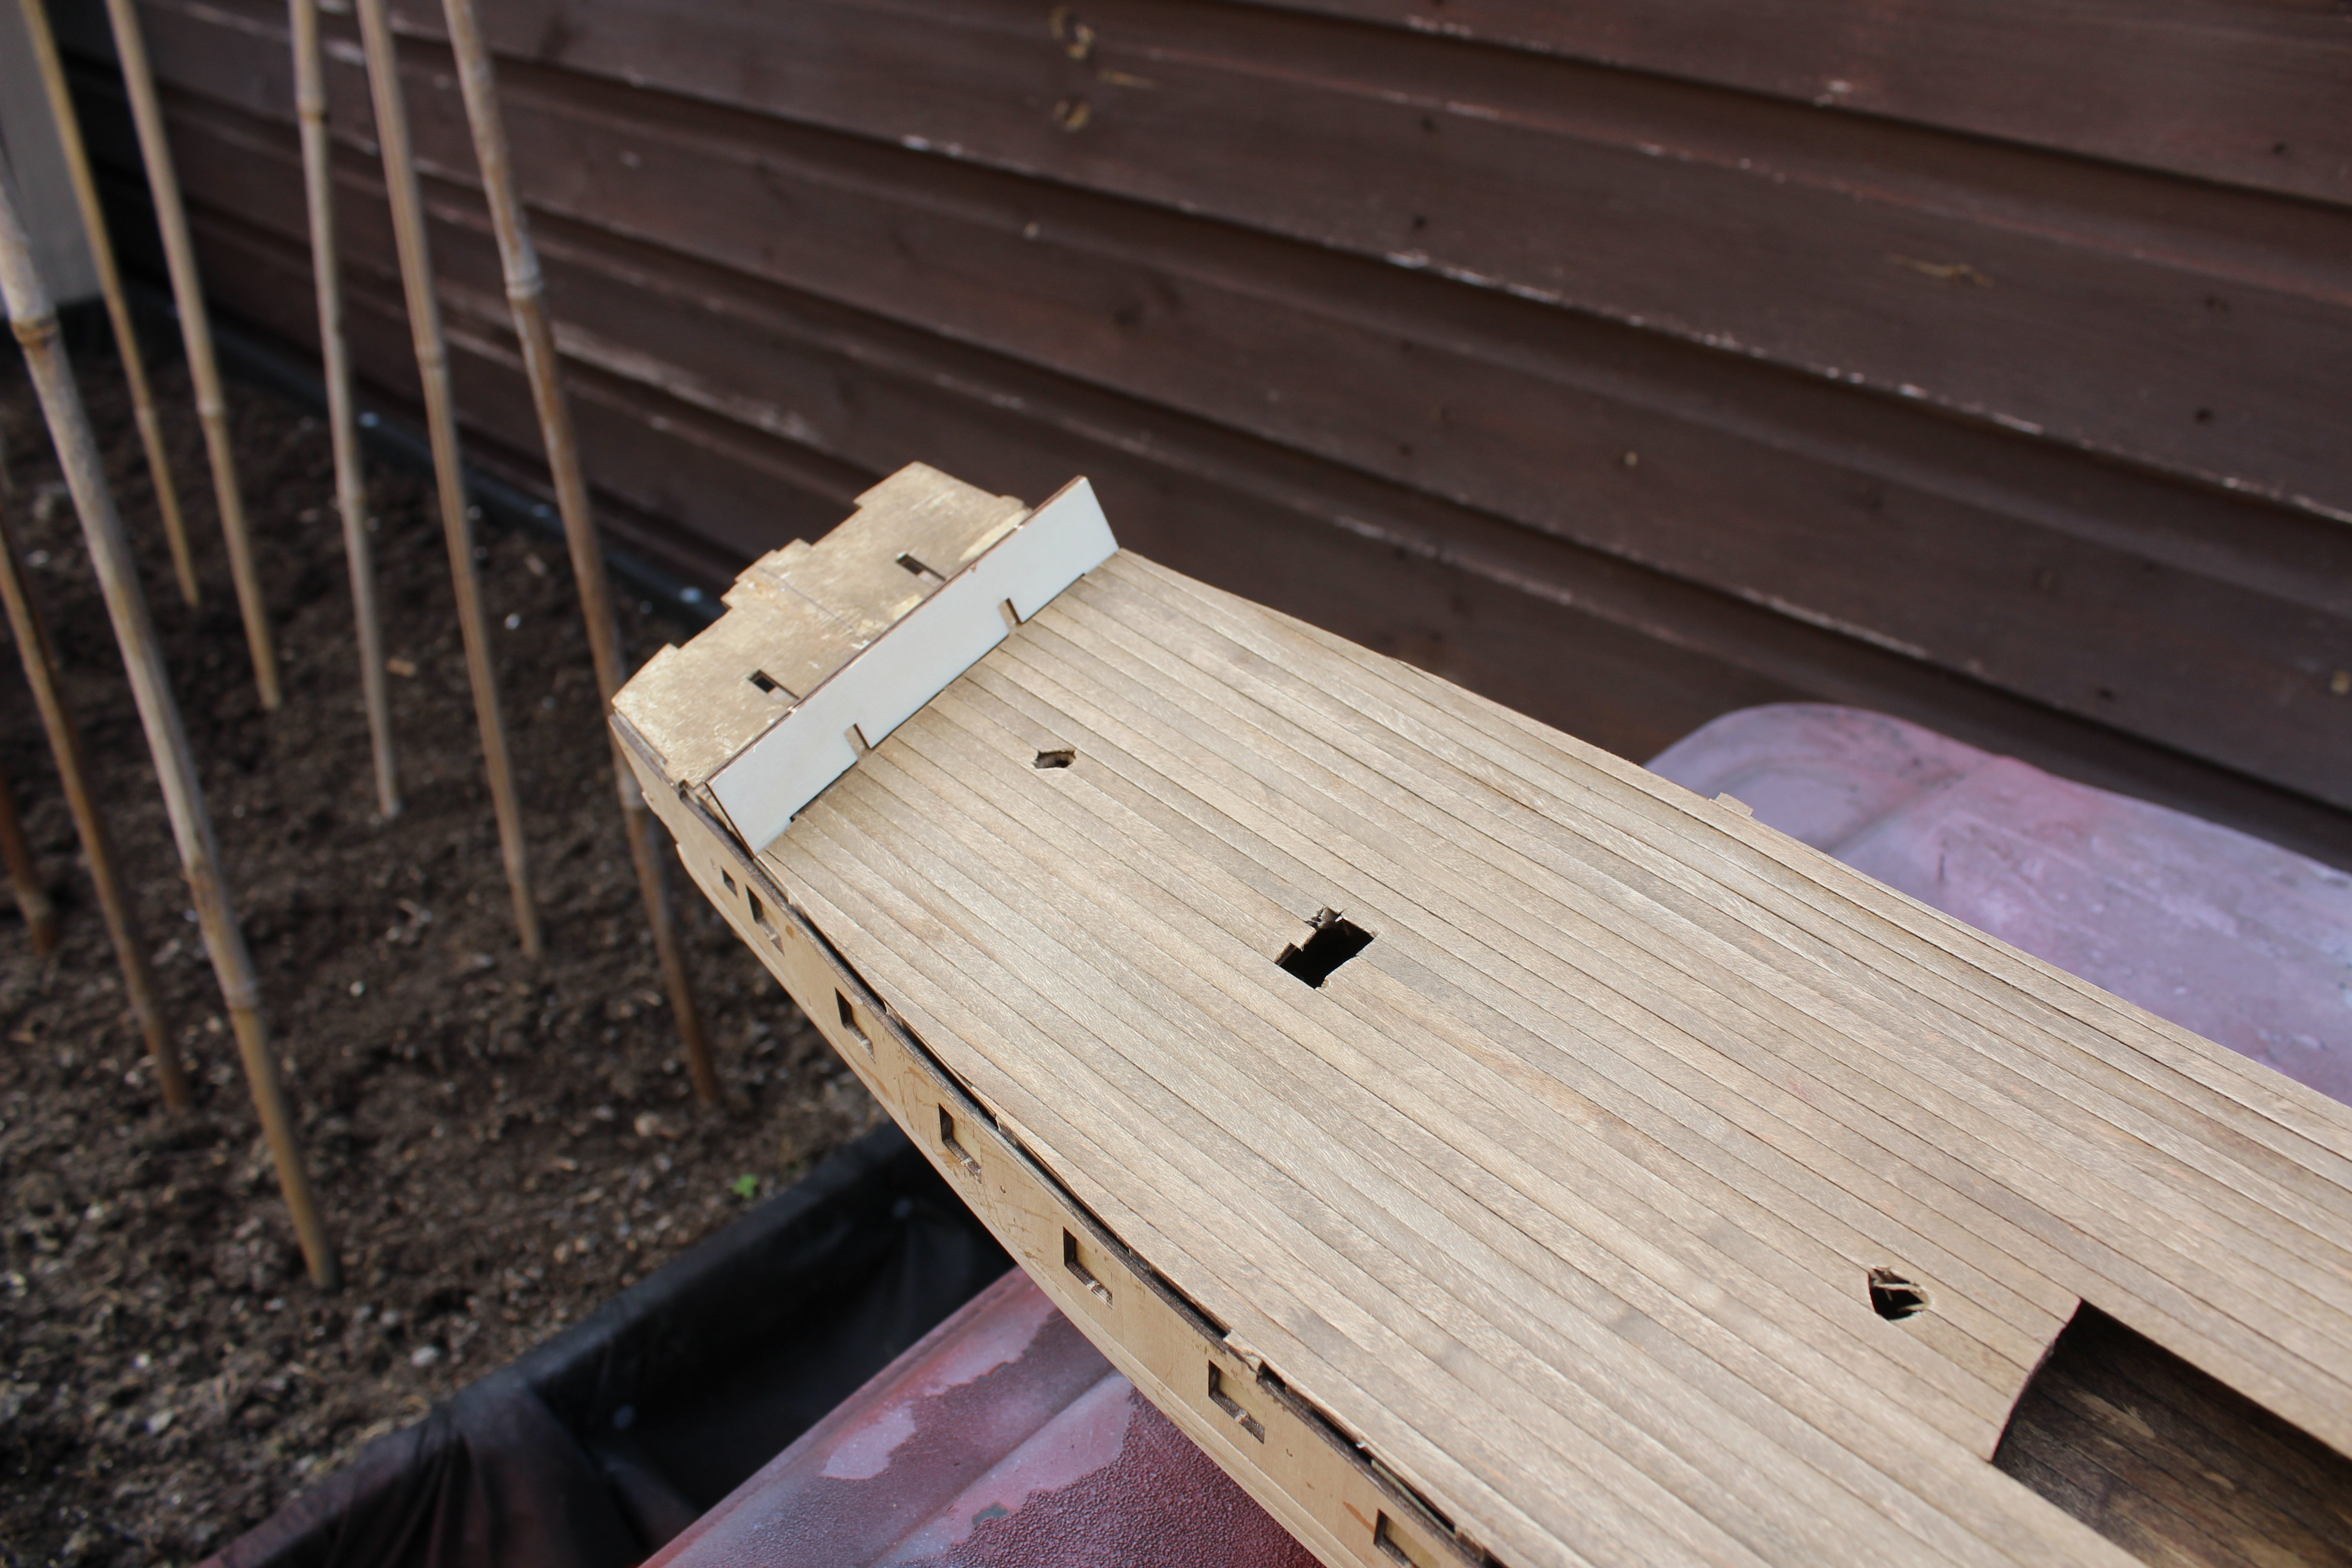
 day 6 main deck planking
at this scale i decided against simulating deck joints and nails, and went for straight runs, the .6*5mm sycamore is ok to use and went down ok, i stained it with a medium oak spirit based stain


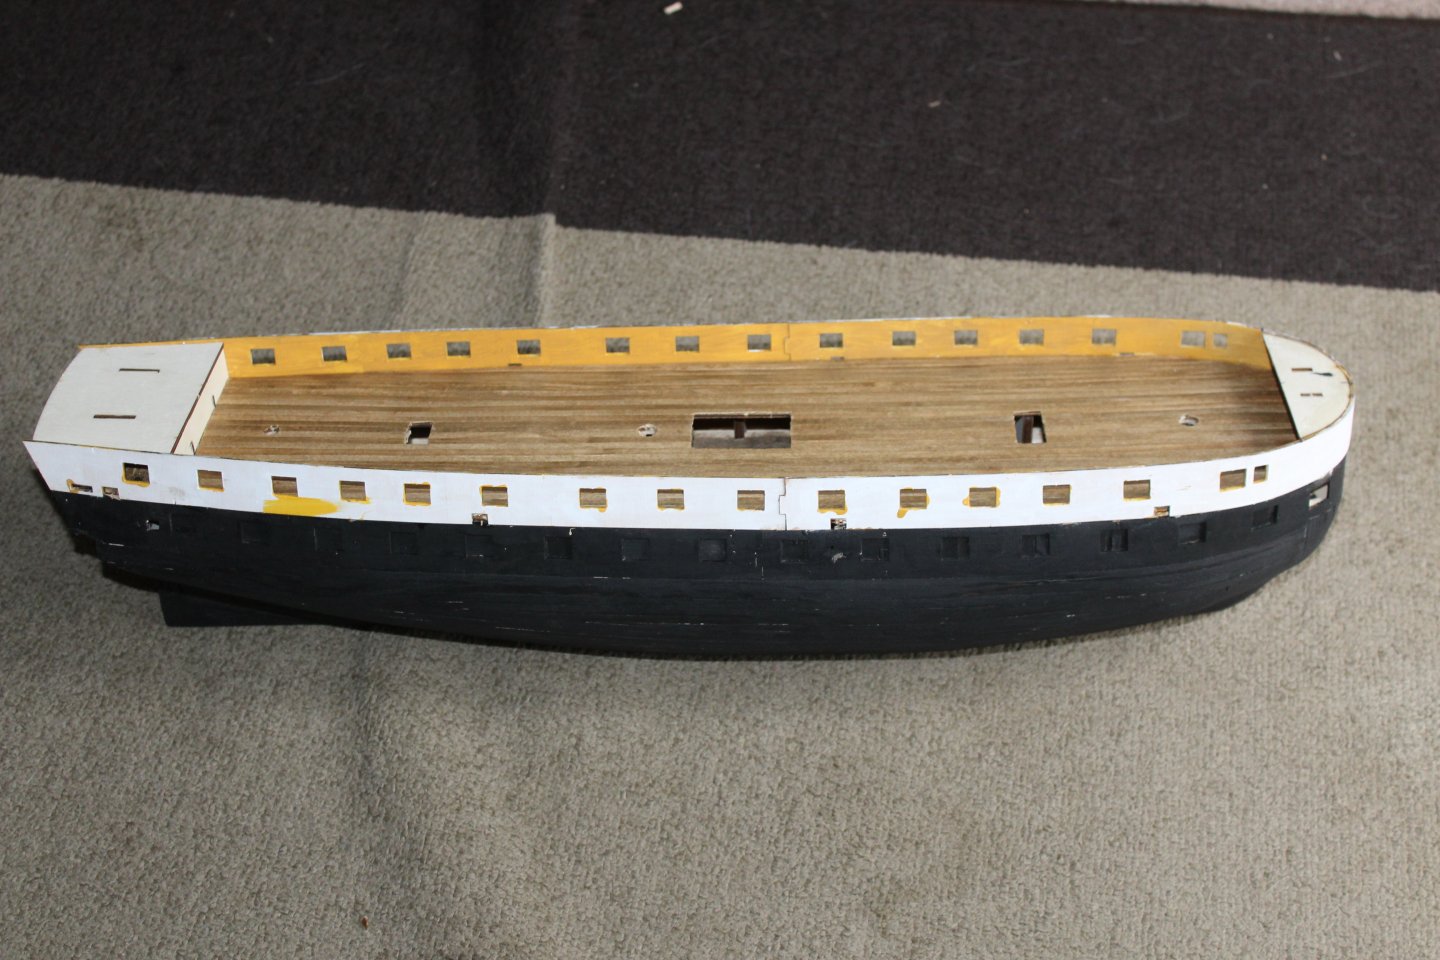
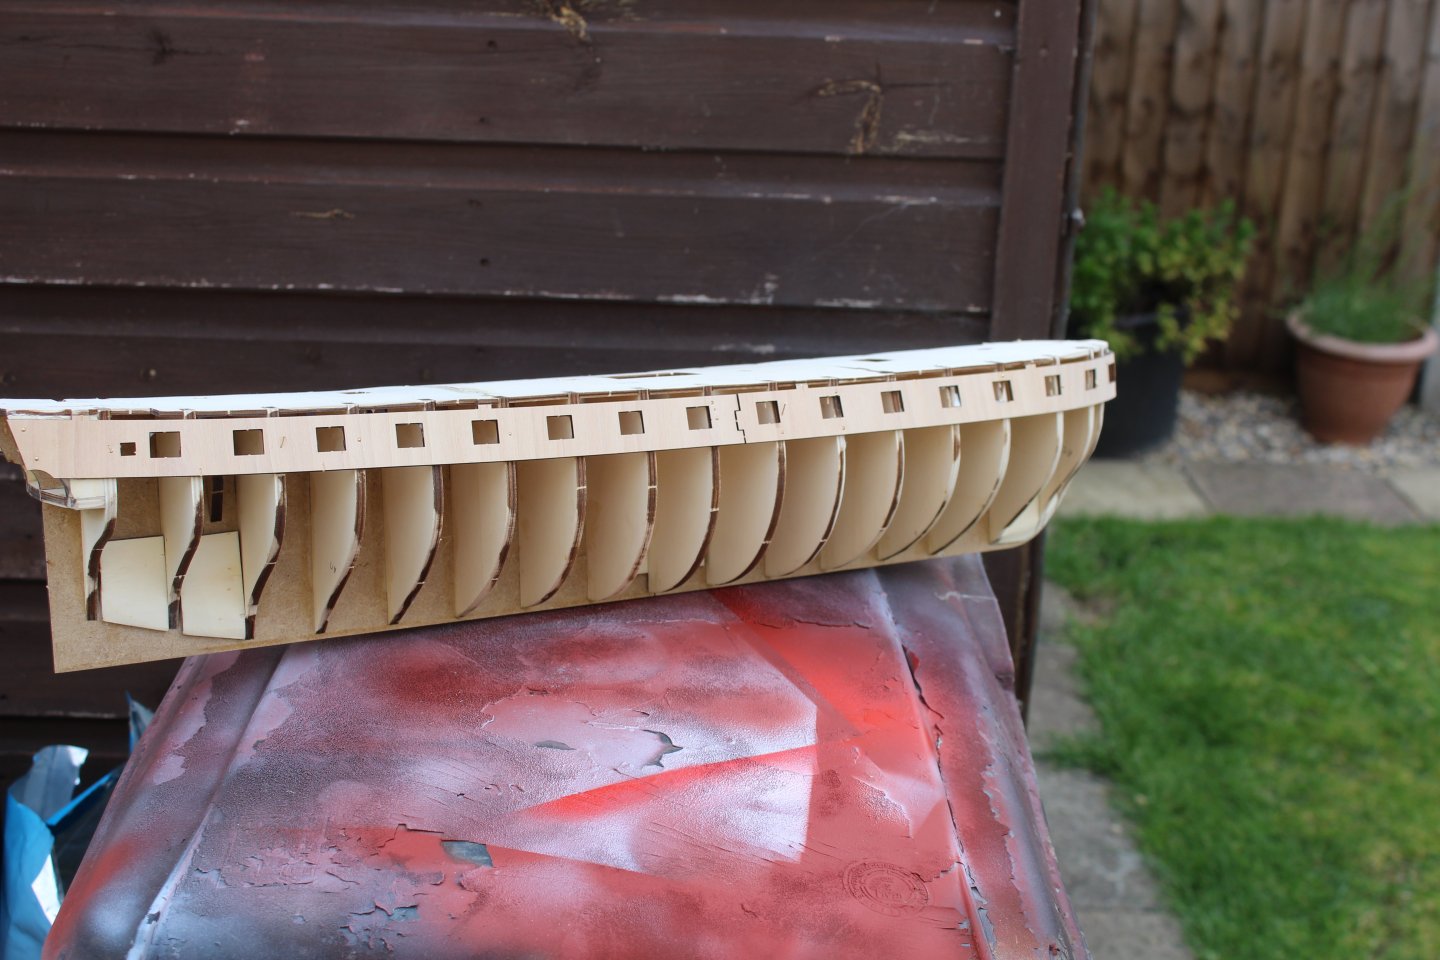
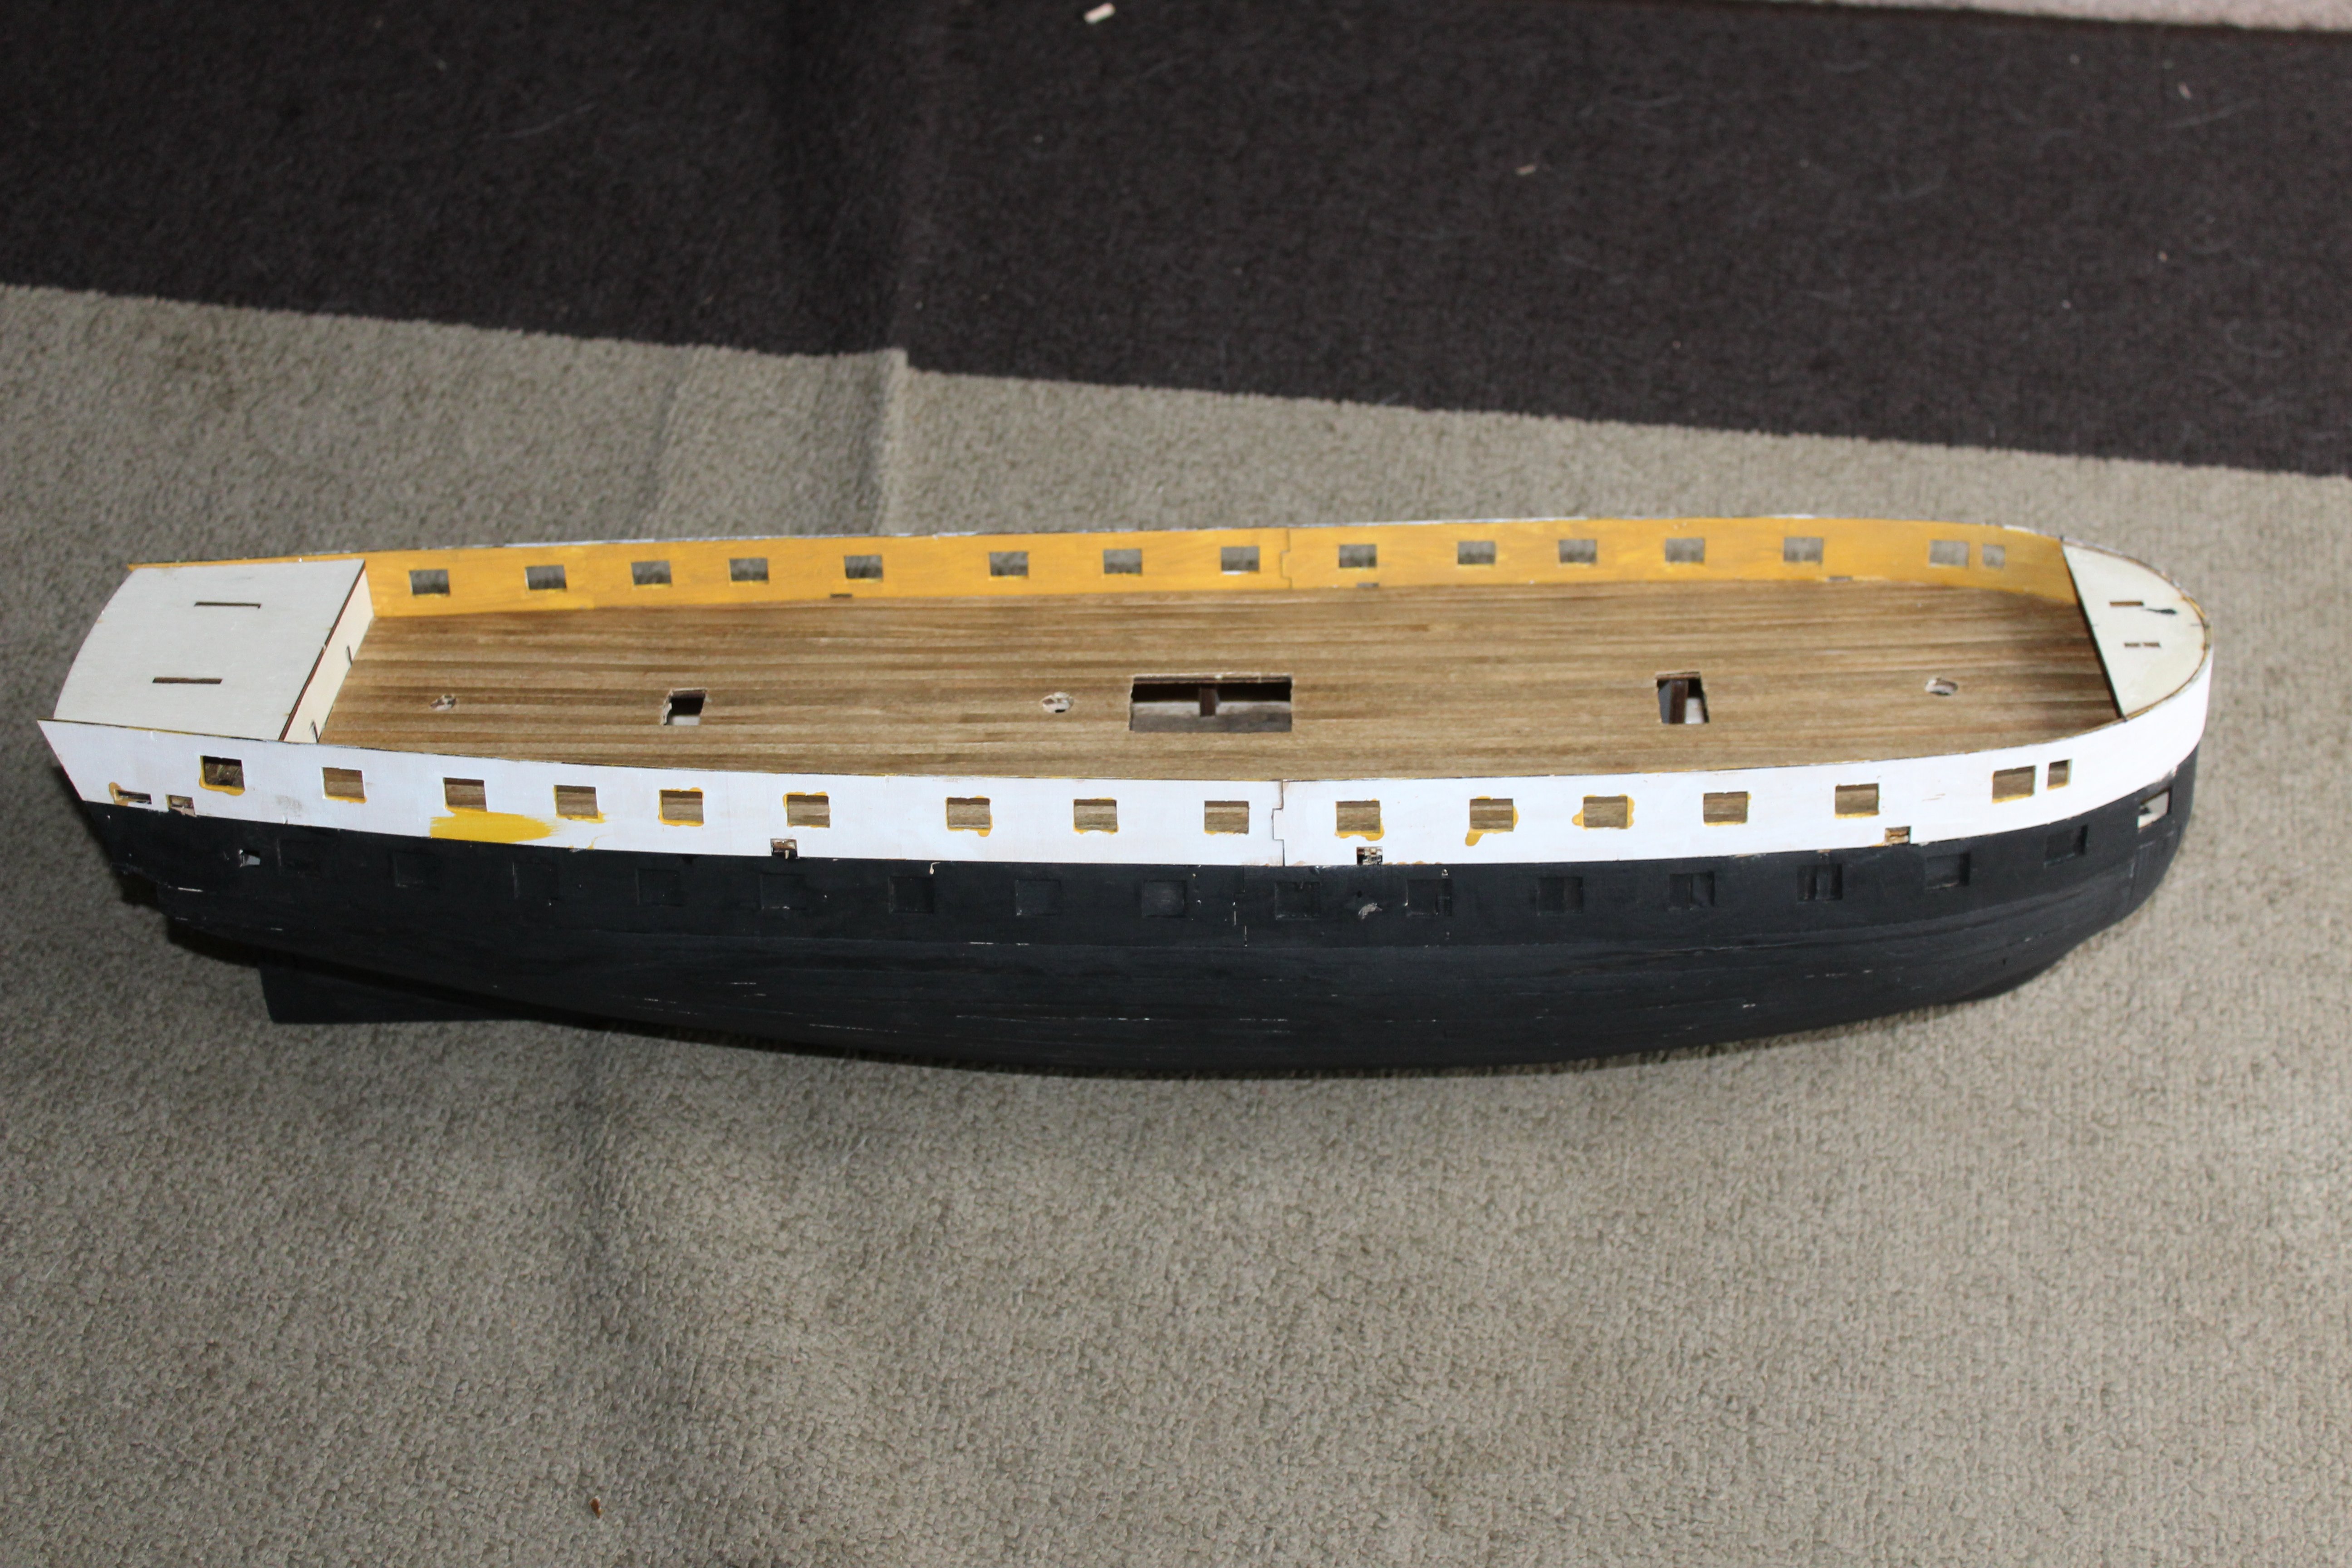
day 8 bulwarks
the gun port lids are removed , and kept to one side, i was very short of Yellow occre paint from the indy build, and tried several colours, the yellow desert at time of fitting don't seam right
moan time, the forward laser cut bulkheads need soaking, but why do they make them so the grain is vertical, yep i snapped one and then became a pain to sort out, the other side went on ok with 5 mins in hot water
also when fitting the after template they line up with the deck tabs, where as the forward ones do not and also to long by about 5mm which means the bowsprit opening is overlapped,, easy to sort though

-
i need one under my backside to get some projects moving, great review @James H
- Roger Pellett, Canute, GrandpaPhil and 3 others
-
4
-
 2
2
-
-
-
-
would make a nice diorama setting on its own
- Nirvana, Craigie65, chris watton and 4 others
-
7
-
-
morning, everyone
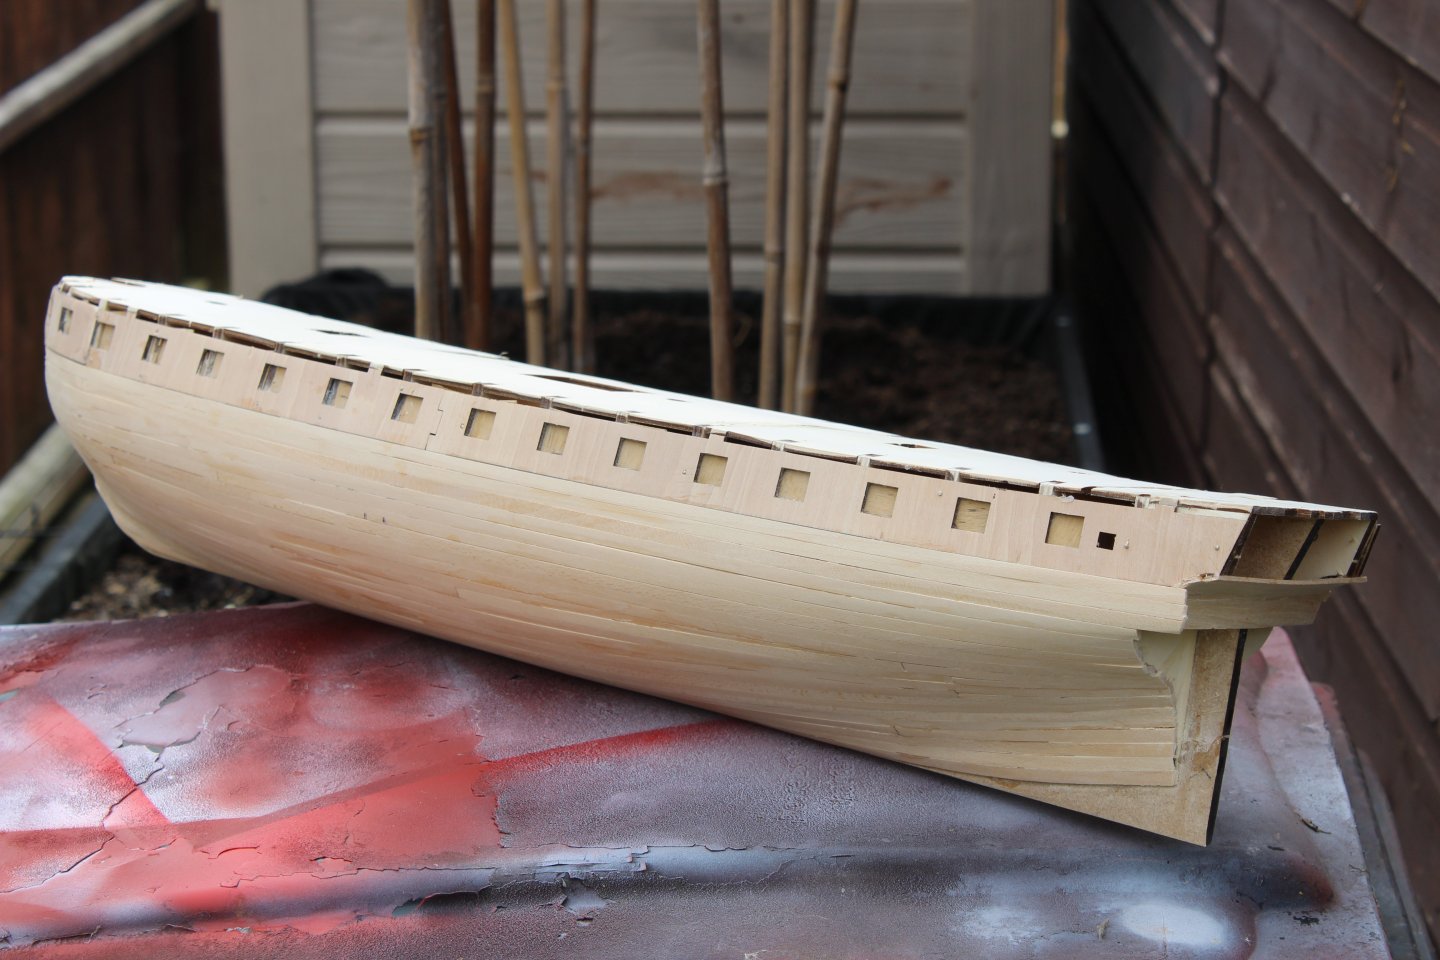
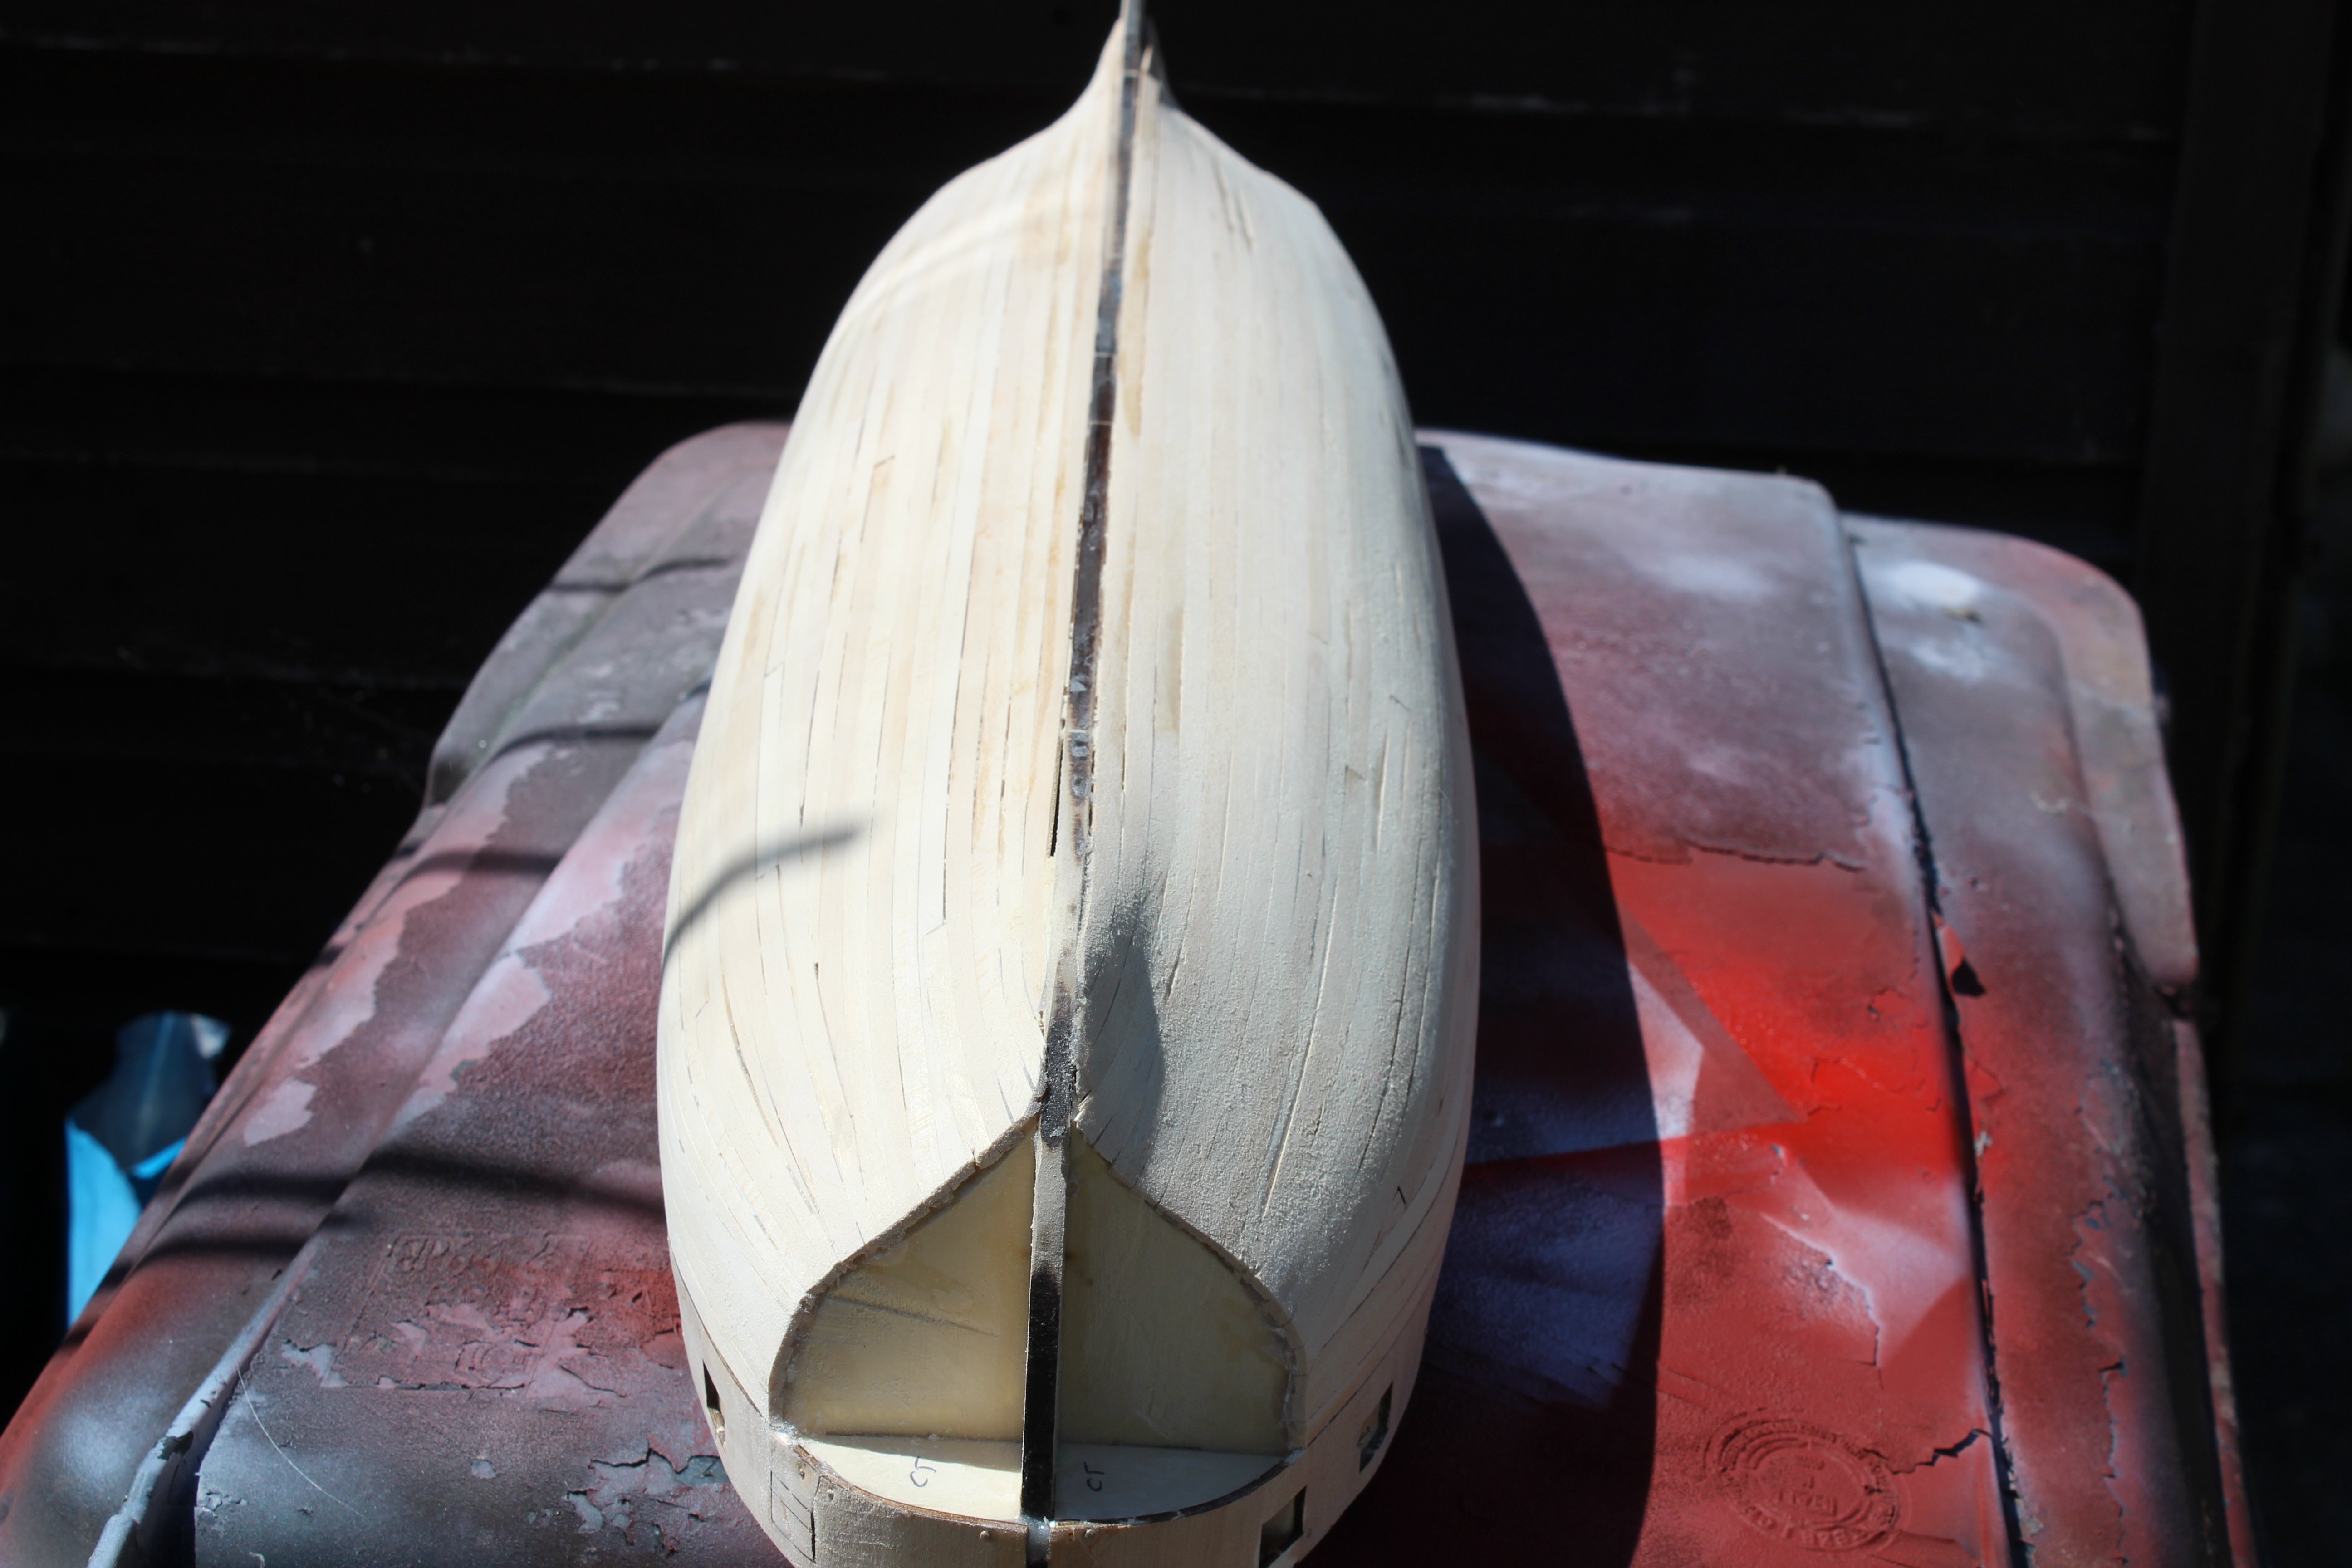
day 4
finished the hull planking, absolutely nothing special, but having learnt to fair the frames better the hull is solid, bow filler blocks setting overnight, i will def be putting tiles on her, so ordered some 4mm copper tape,

- mtaylor, Blue Ensign, yvesvidal and 5 others
-
8
-
Welcome to the best forum, everyone here knows me as the one that never finishes anything
- mtaylor, Keith Black, Scottish Guy and 1 other
-
1
-
3
-
On 6/5/2024 at 10:09 AM, PvG Aussie said:
Has anyone built the Wolfpack 1/72 PBY-3 Catalina Flying Boat? I'm not familiar with Wolfpack. Any issues as I am thinking of making it my next build?
- Old Collingwood, PvG Aussie, Canute and 2 others
-
4
-
 1
1
-
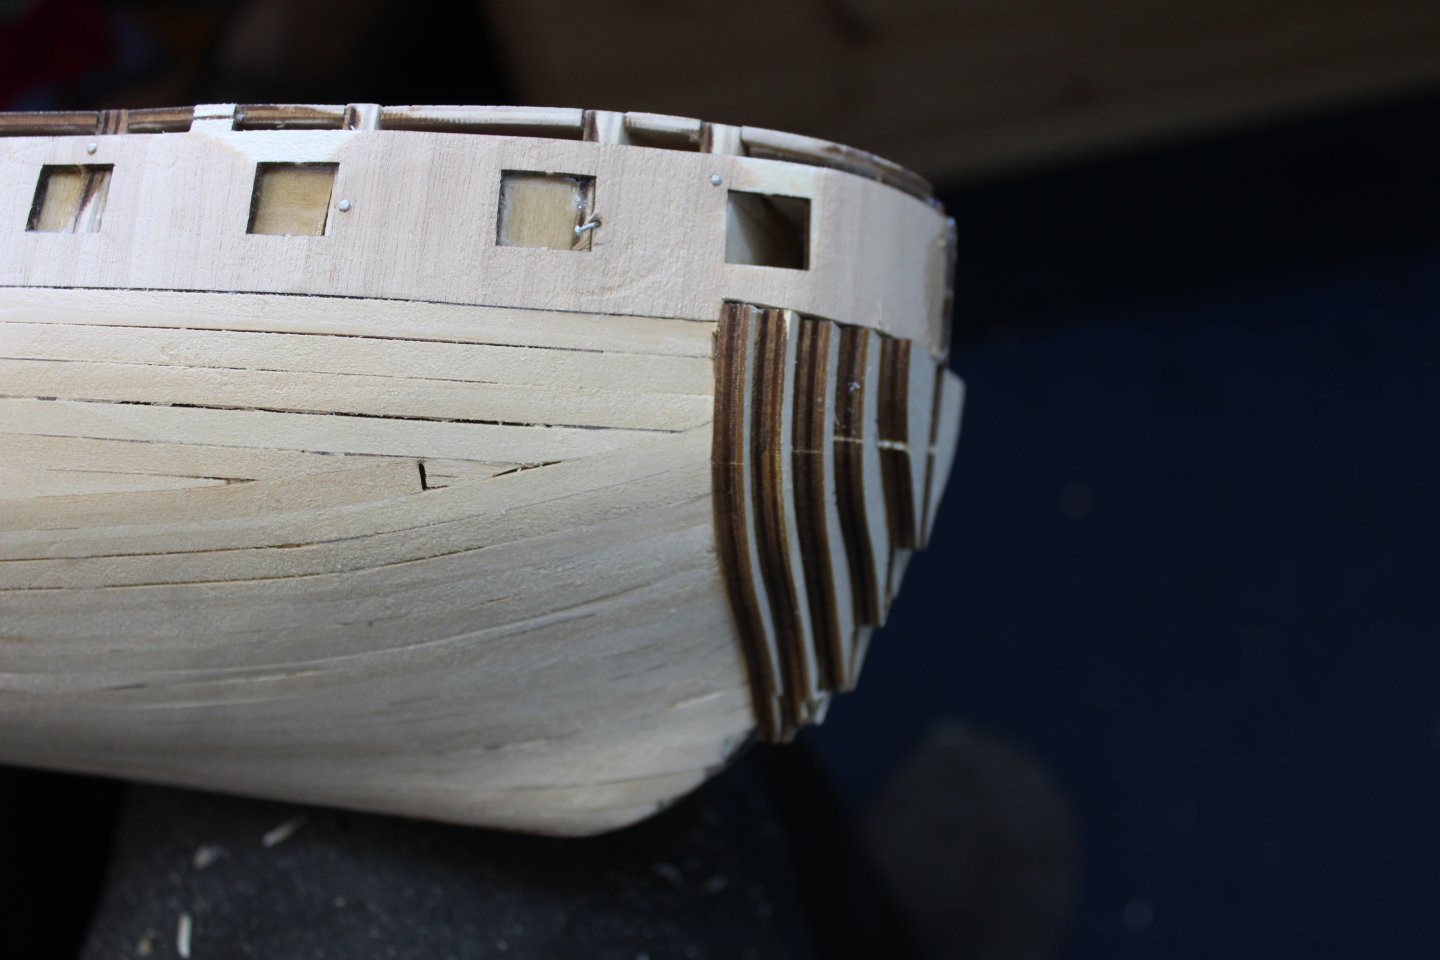
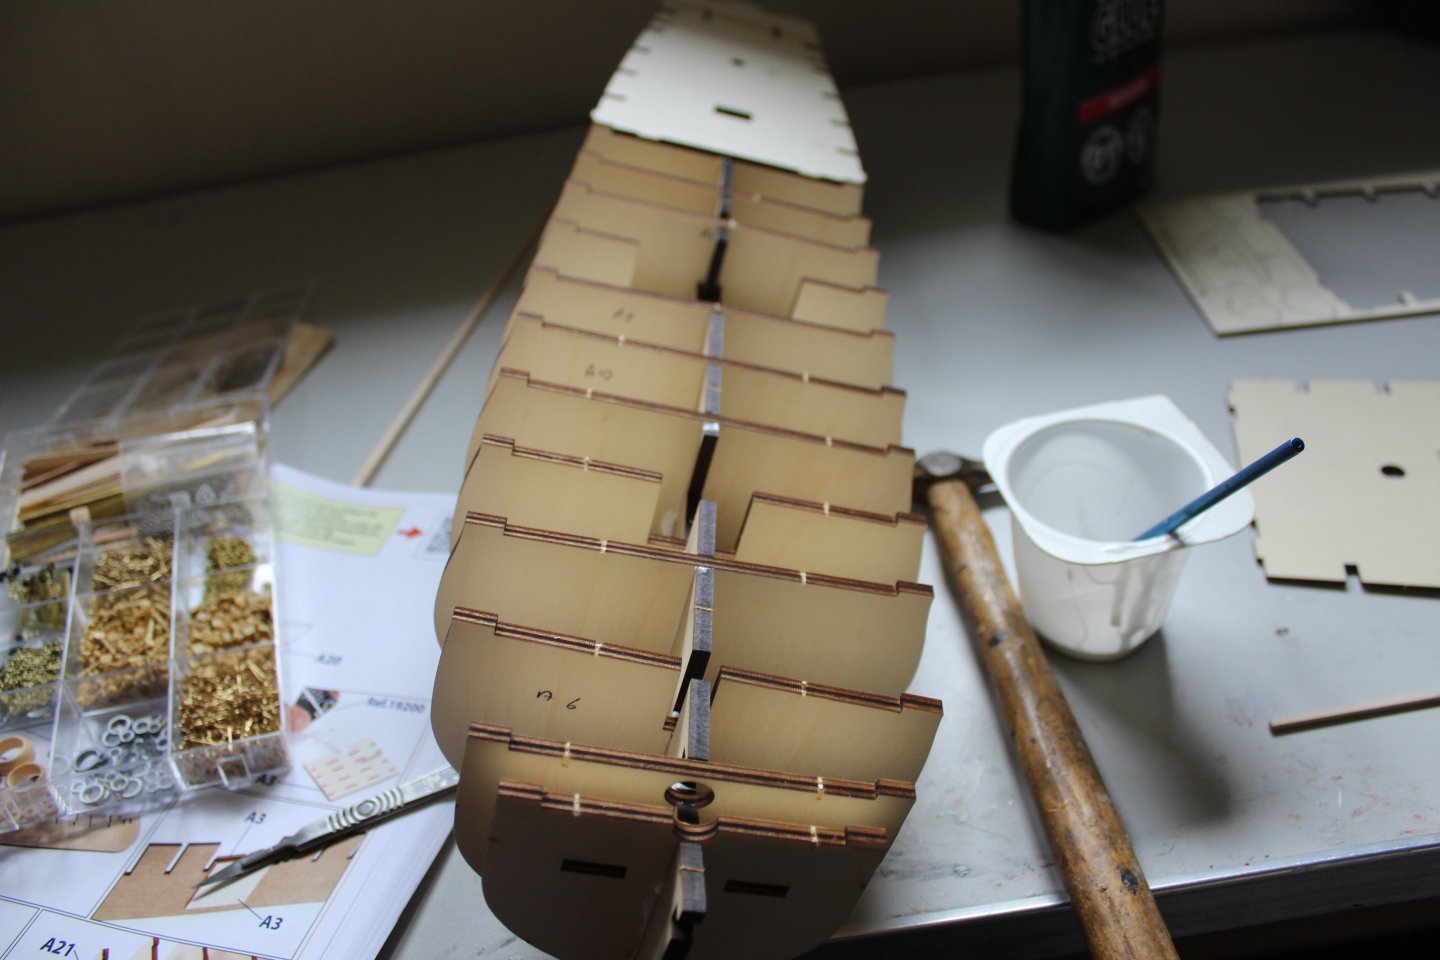
thank you for comments and likes
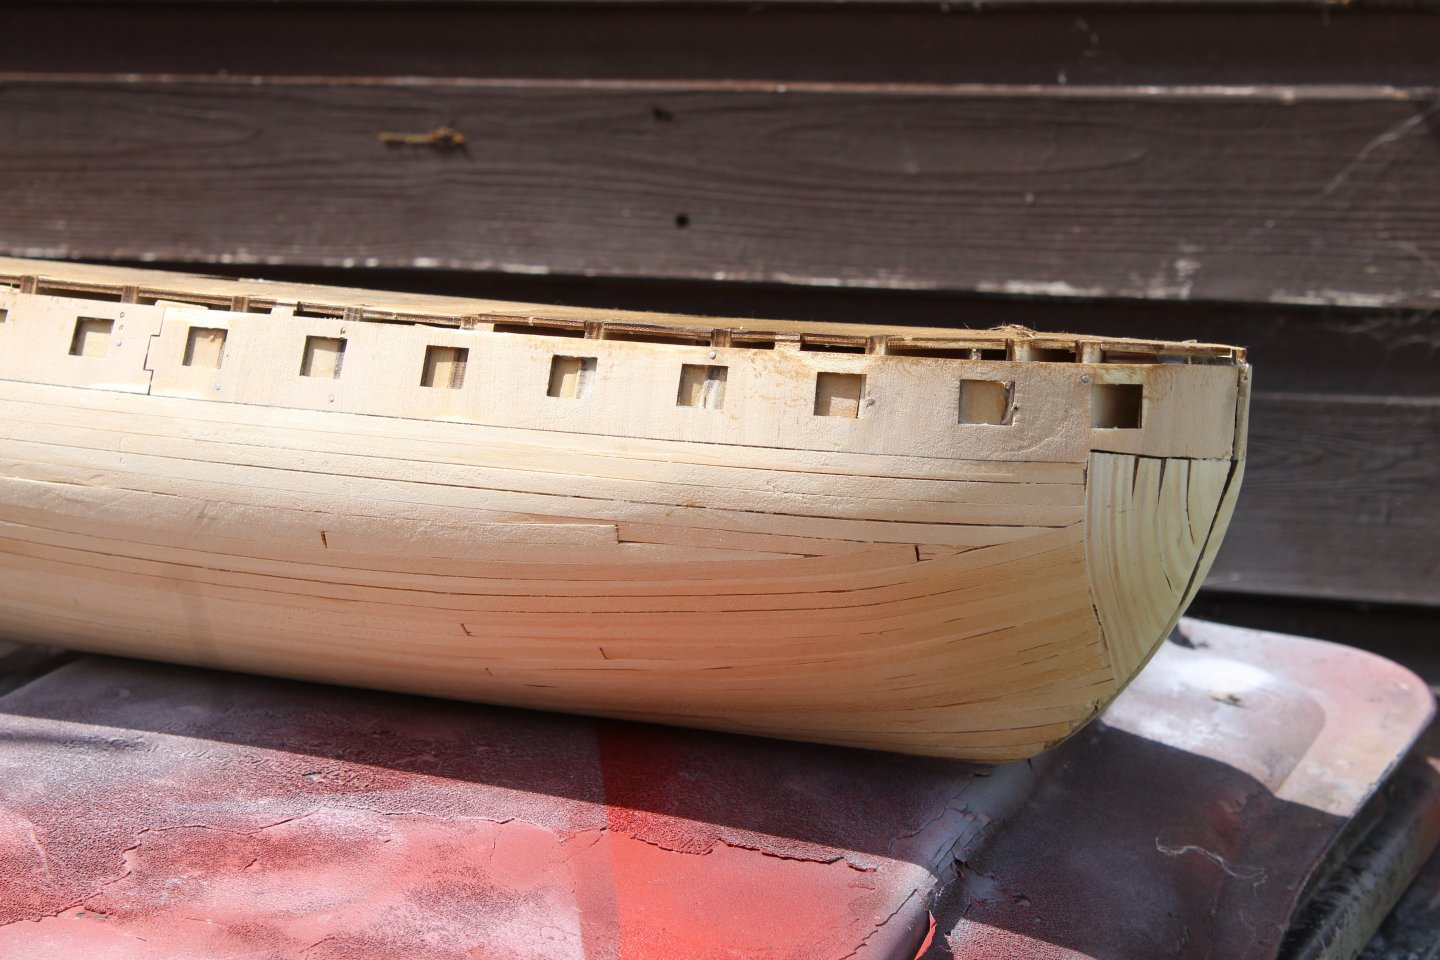
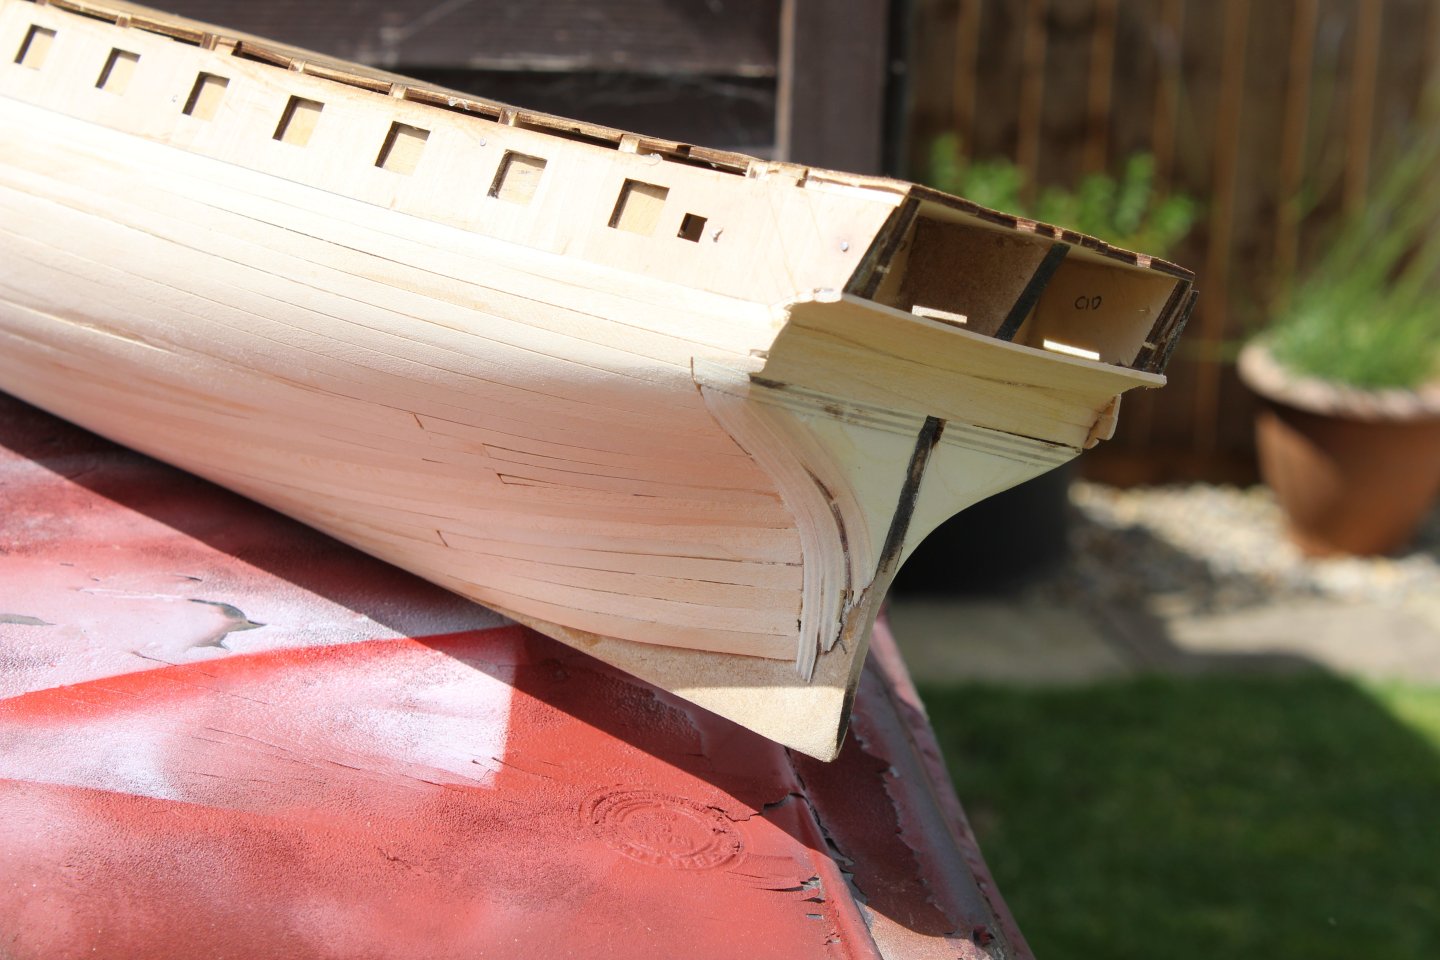
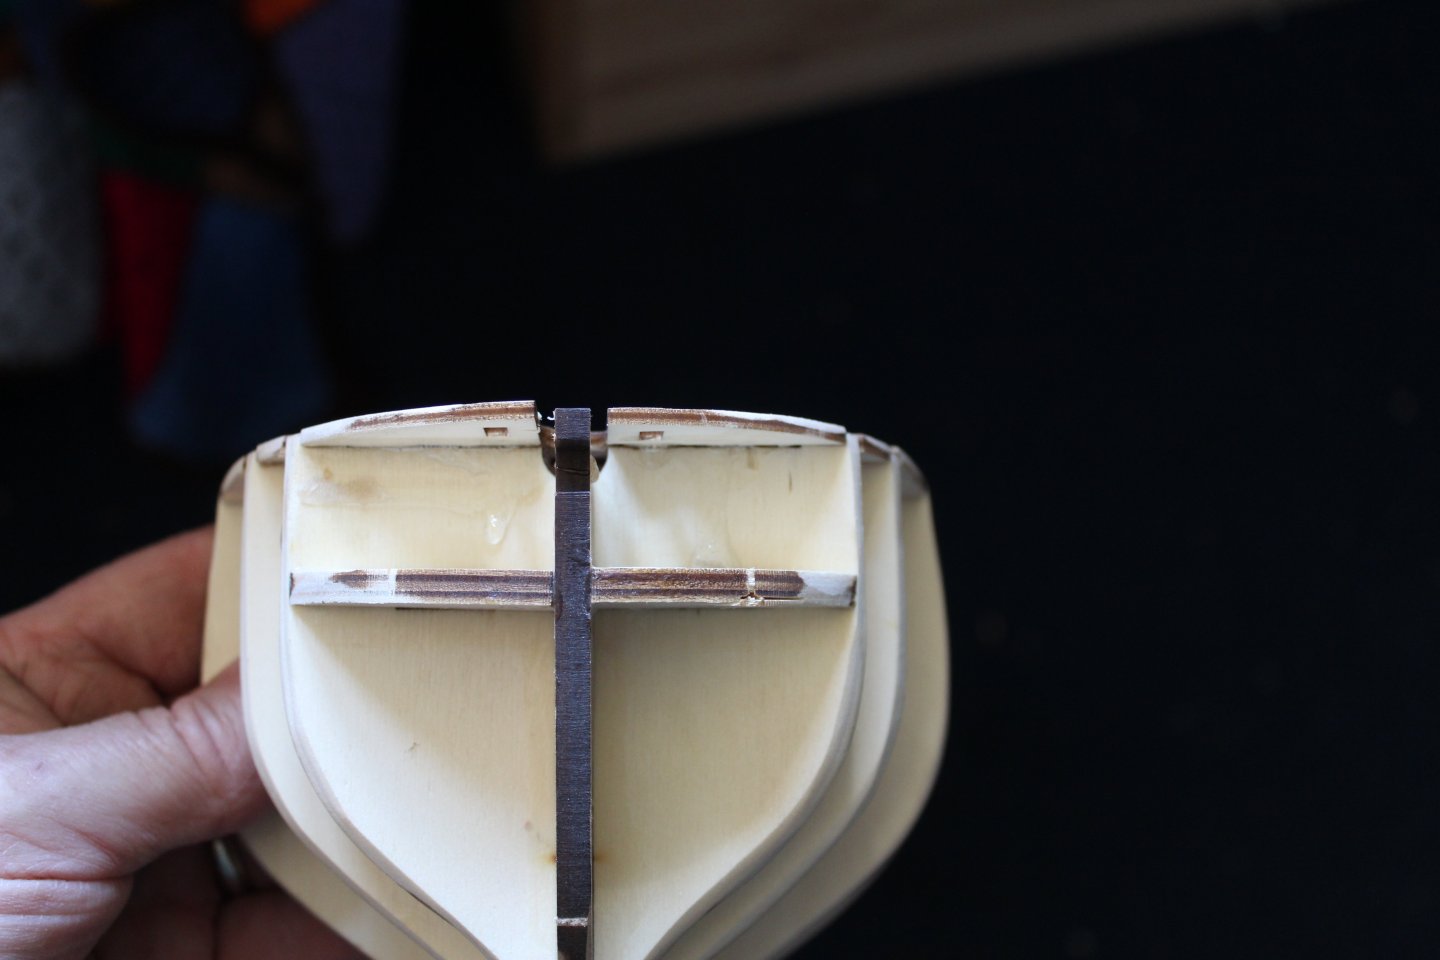
day 3
all the lower gun ports now have backing plates
port side first planked
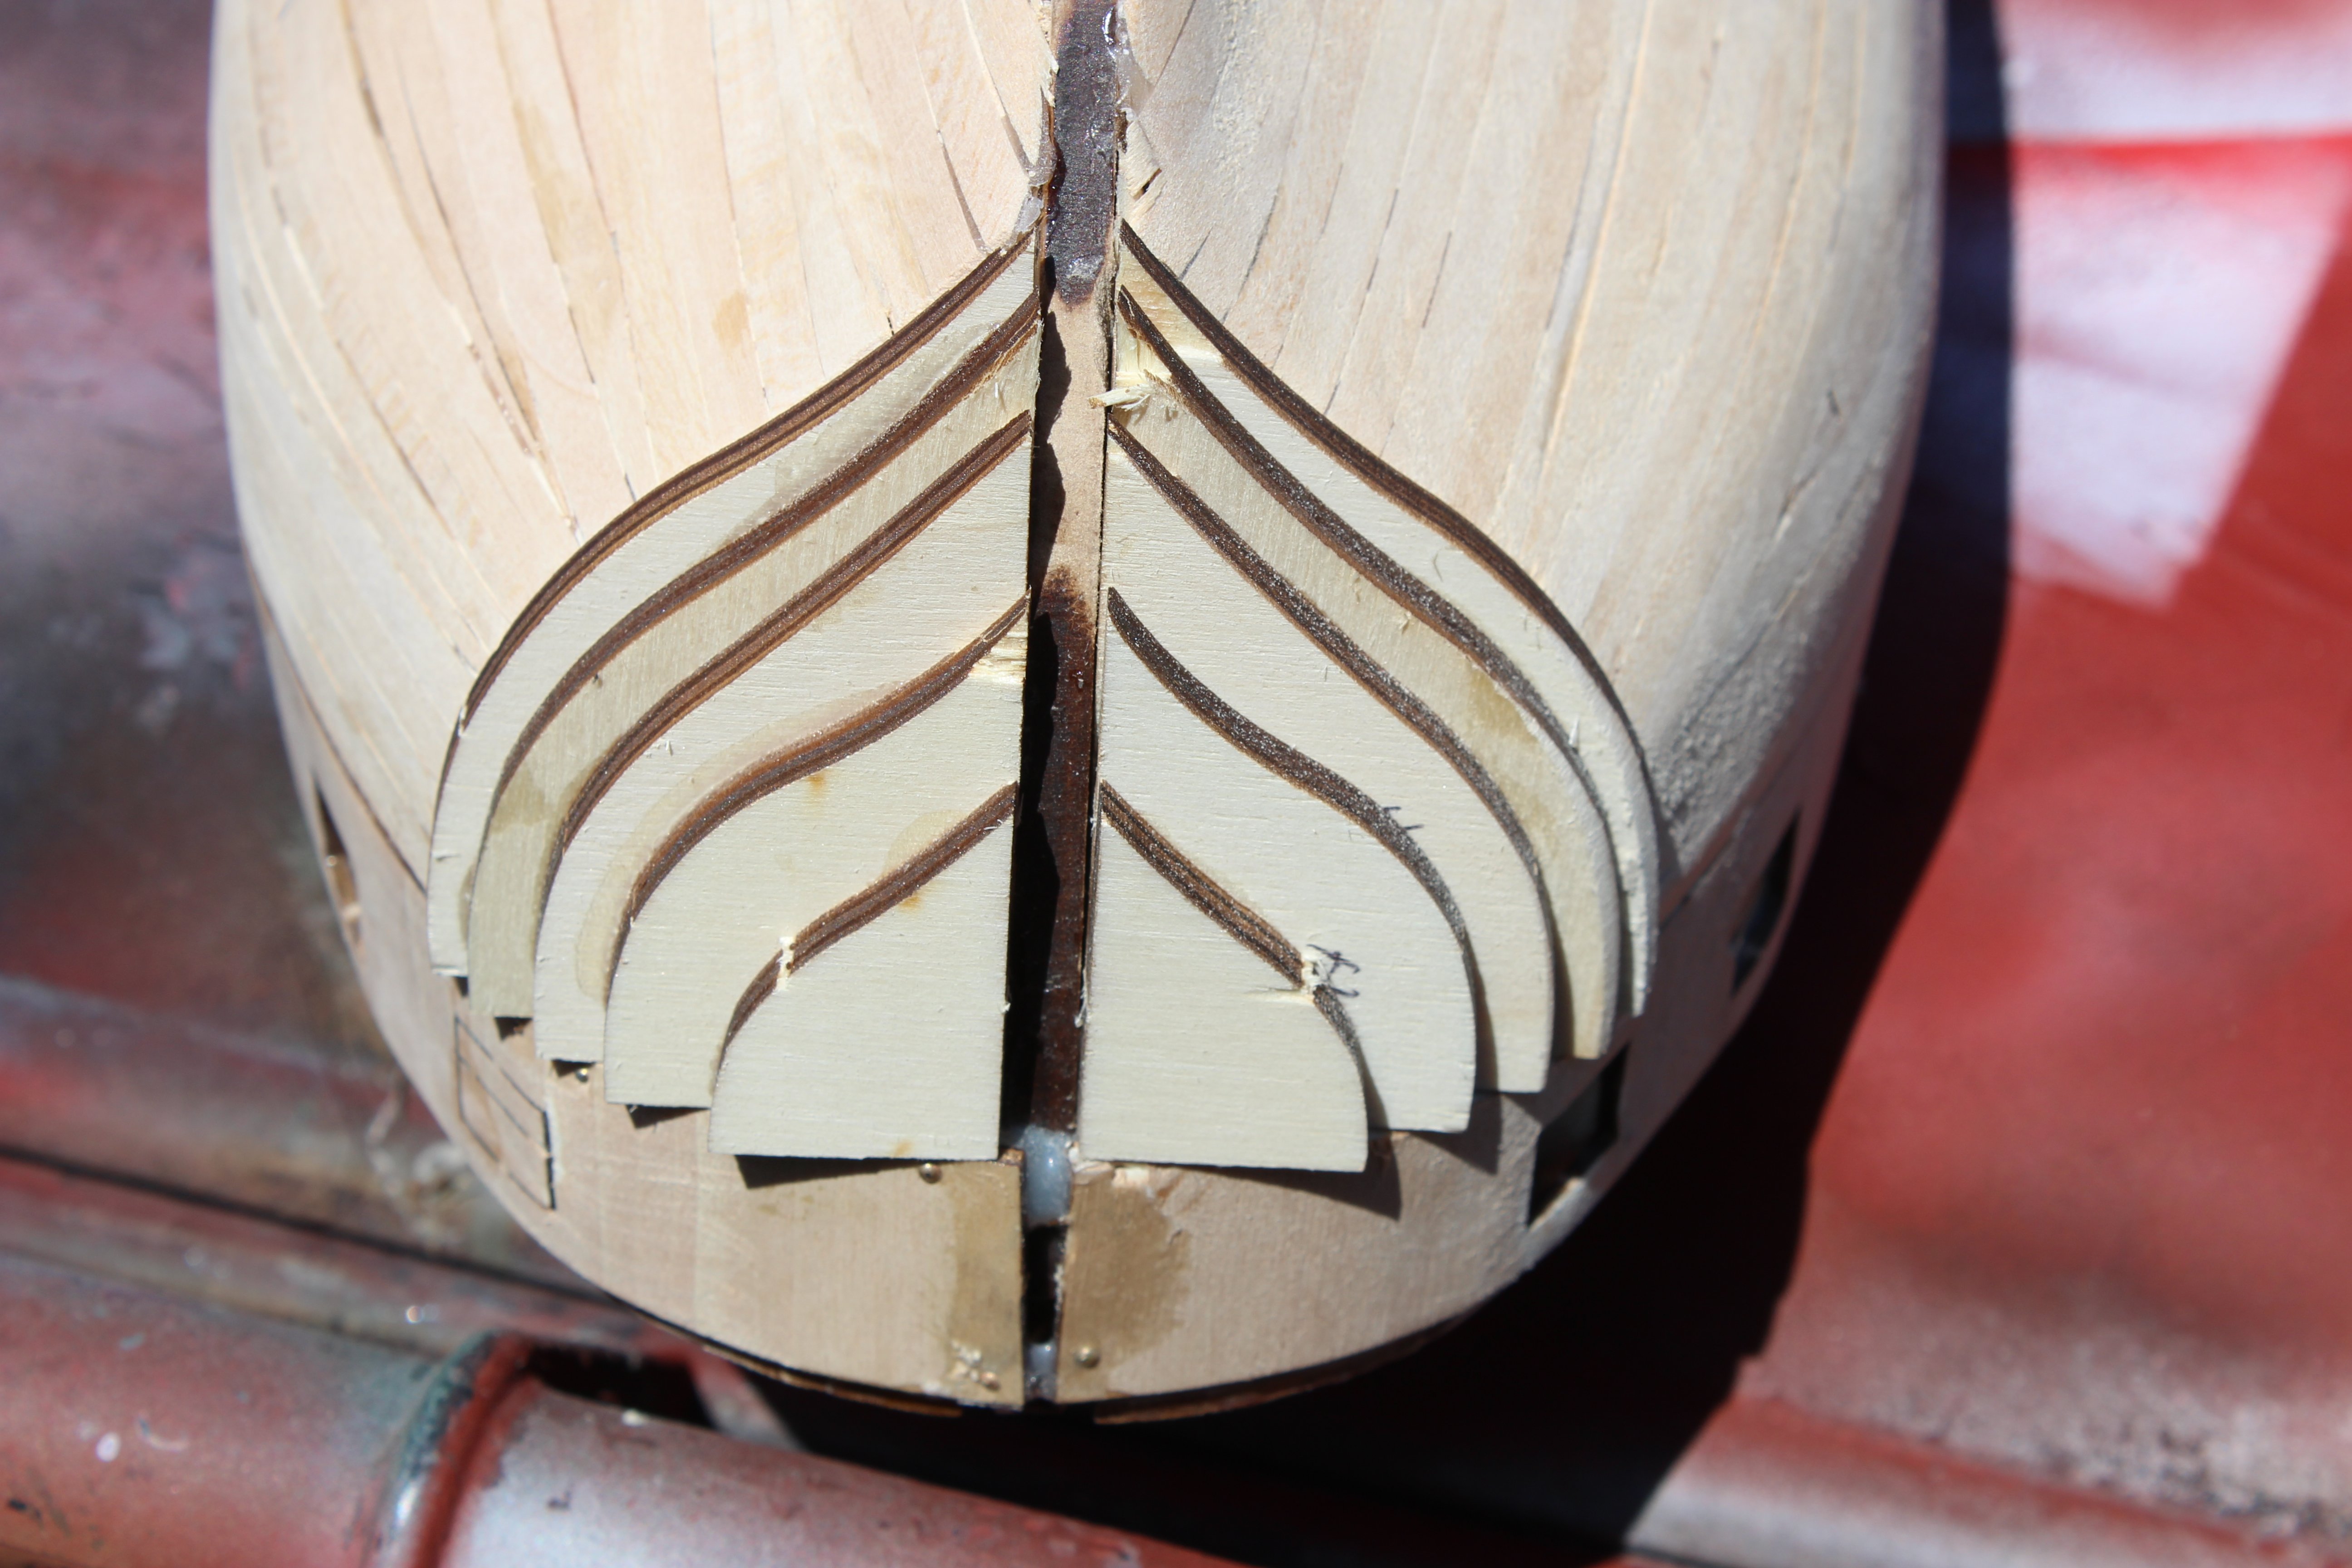
another quirk on this kit the transom and bow are made up on completion of first planking


- brunnels, GrandpaPhil, chris watton and 8 others
-
10
-
 1
1
-
16 minutes ago, Cristiano said:
Thanks to everybody for the suggestion of the copper tape (which already had used in the past), but the sense of my comment was of a different meaning: since this type of ship needed almost surely a layer of copper sheets, why don't put it already inside the box?
An answer is not strctly needed...
i have amended the comments in my conclusion, to state no copper tape or tiles is included in the kit, and if i ever get the chance to discuss with Occre i will bring some of these "why's " up
- Canute, mtaylor, chris watton and 1 other
-
4
-
-
-
it took a while to set the baseboard up, as i found it did not align properly
-
7 hours ago, Old Collingwood said:
Looks like a Great new project Kevin - looking forward to what you will do to her.
OC.
Morning OC
lol some will say, oh another kit he wont finish
- Canute, mtaylor and Old Collingwood
-
3
-
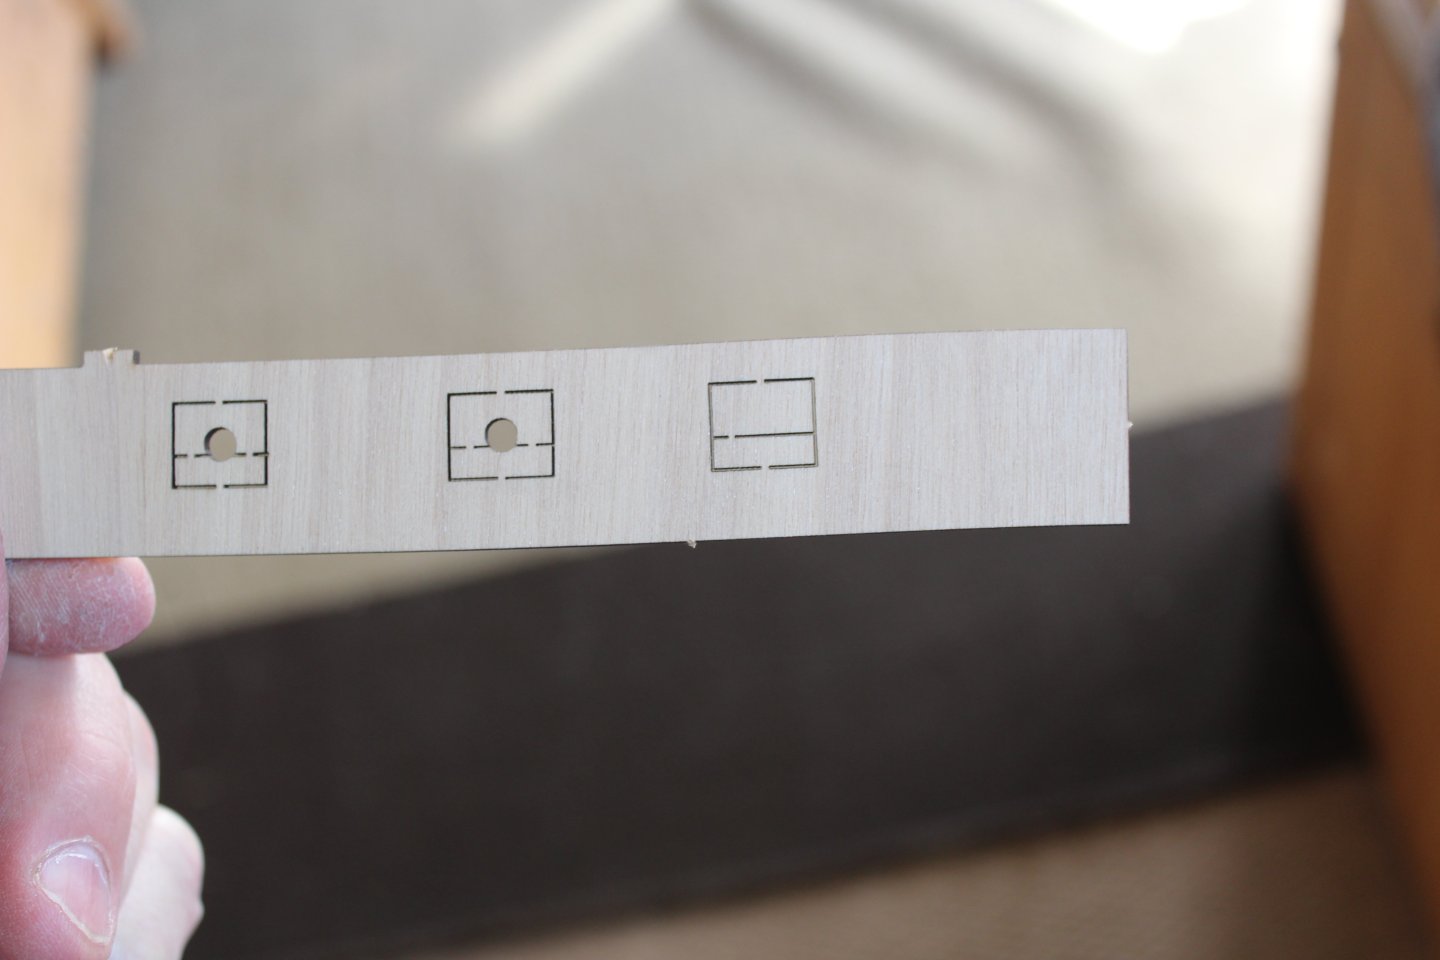
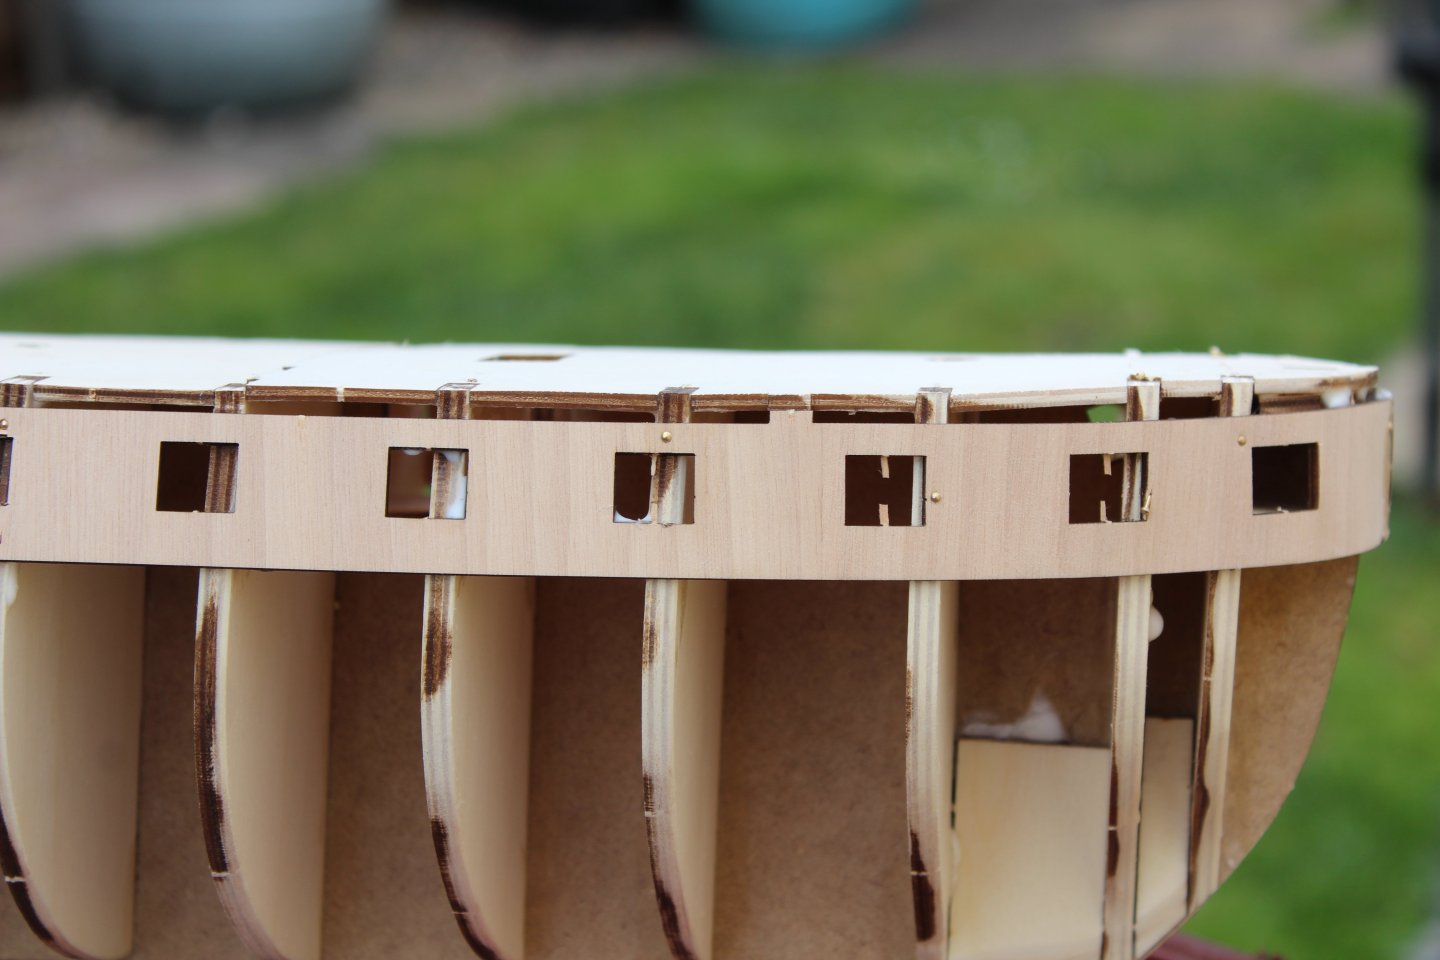
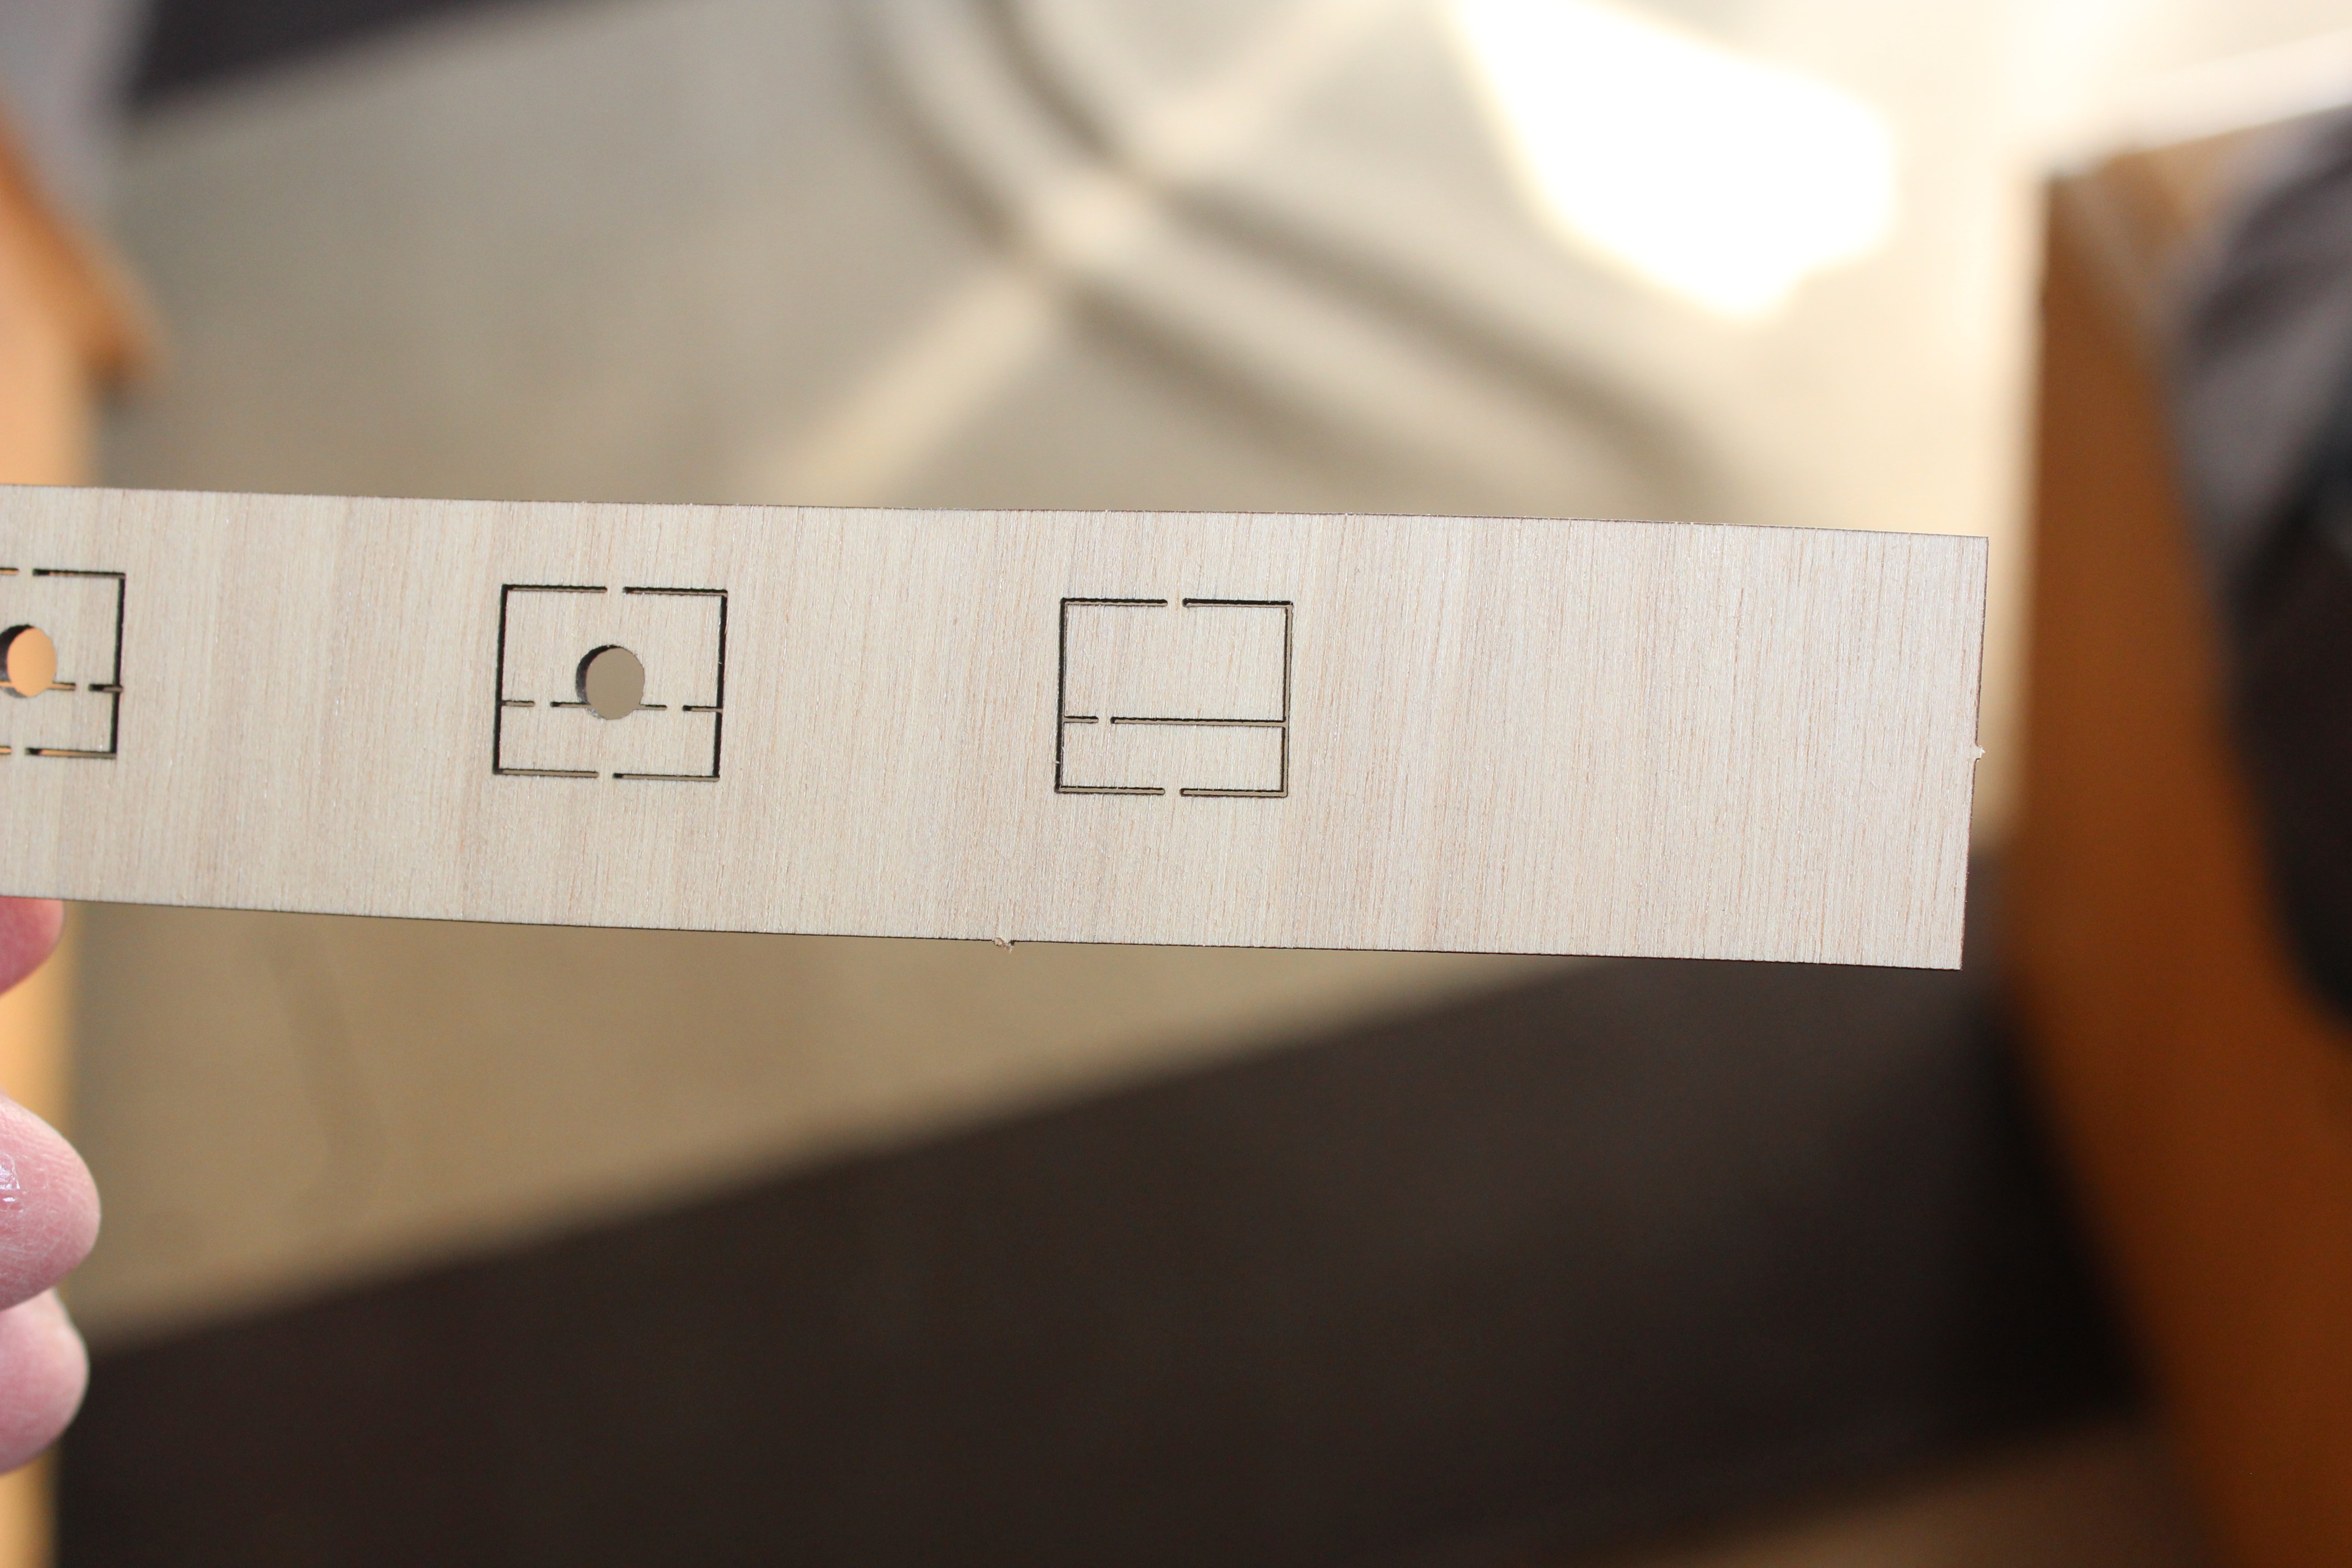
2 minutes ago, wefalck said:
That's kind of strange, that the the bulkheads are behind the gun-ports. Normally, such laser-cut kits are well-engineered ... I gather you will have to show the lids closed in this case, at least the ones in front of bulkheads.
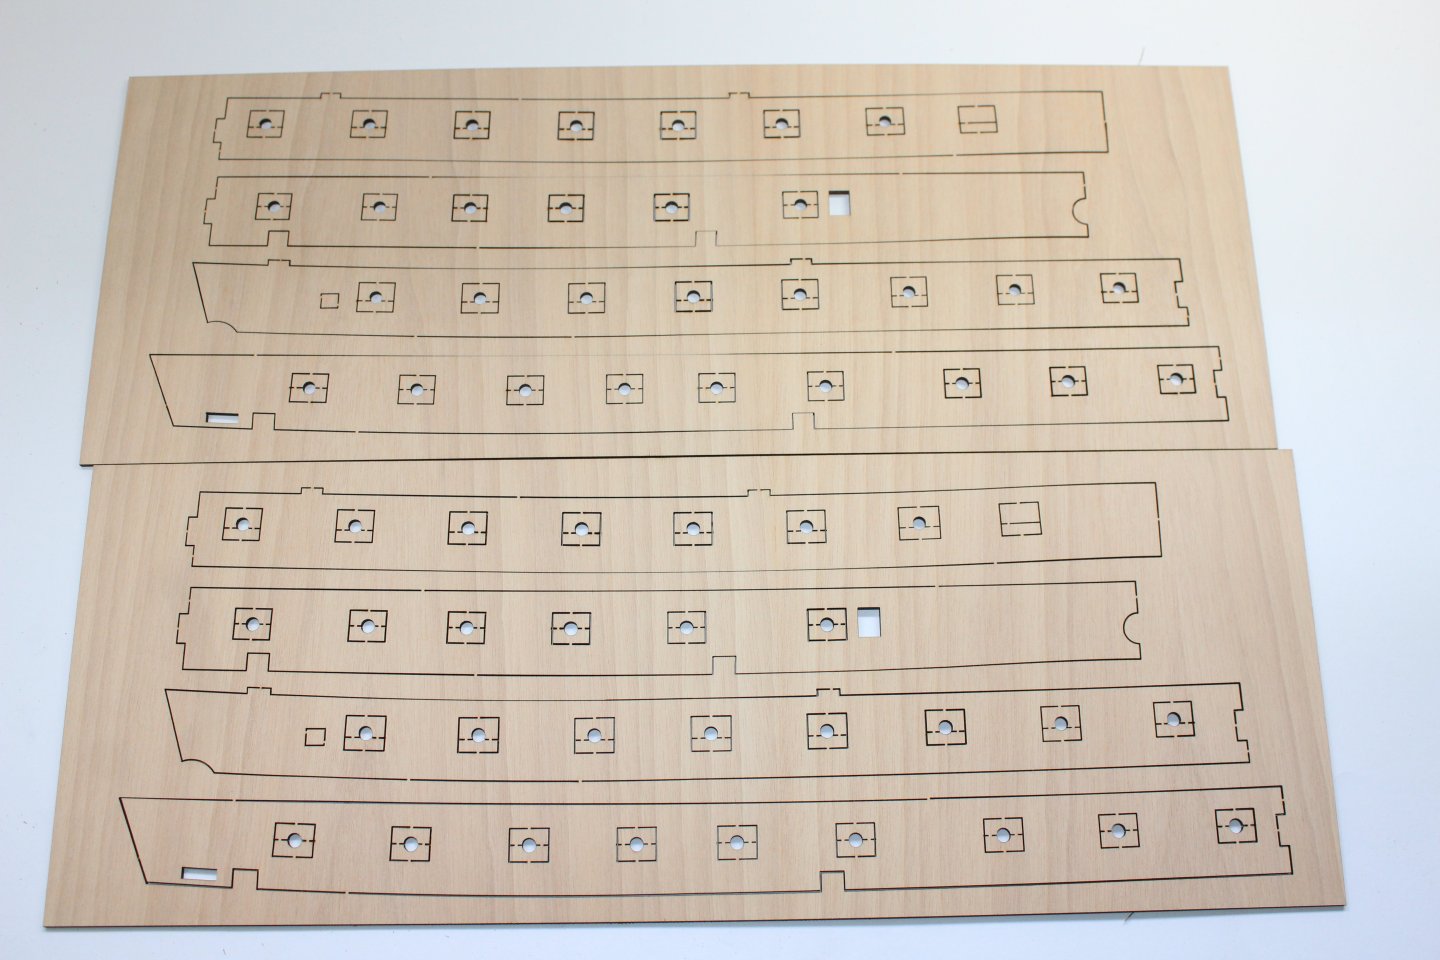
just checking that i had not messed up
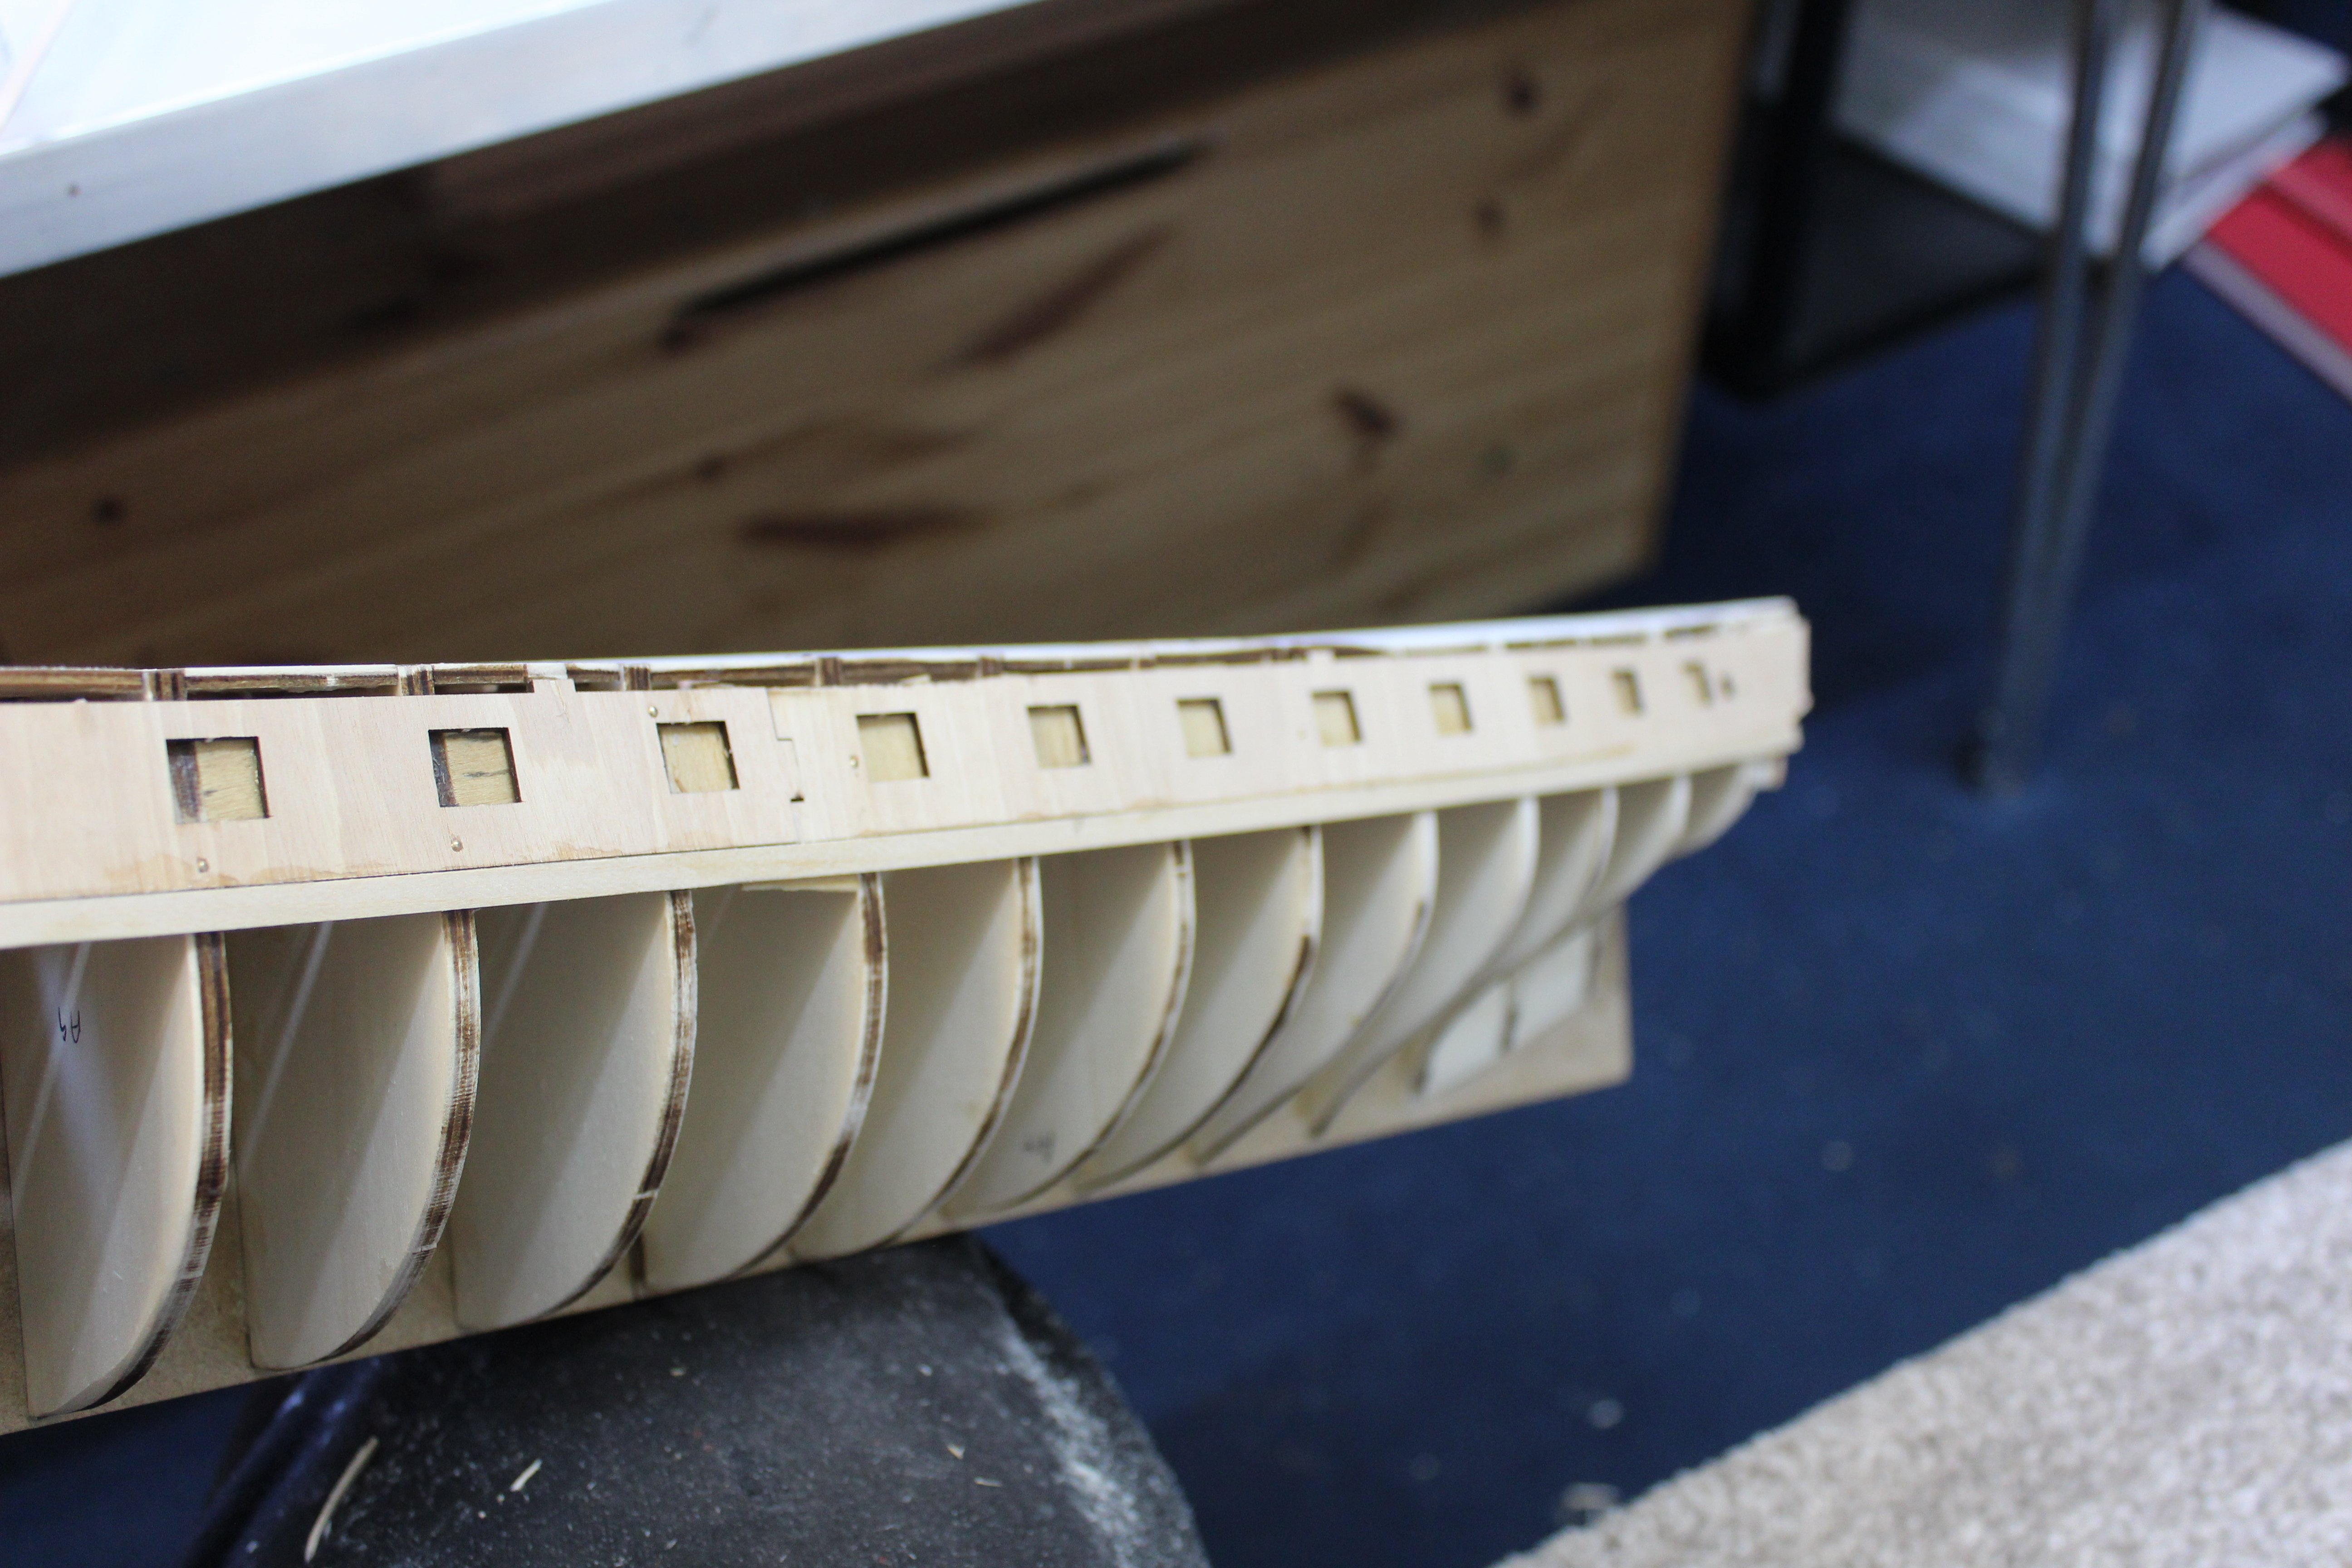
these are the templets as they come off the billet. the middle sections are removed, fit the template, a blank is then fitted at the back, then the removed section is put back in to allow fitting of the dummy barrel, hope that makes sense, but seam long winded way of doing things

-
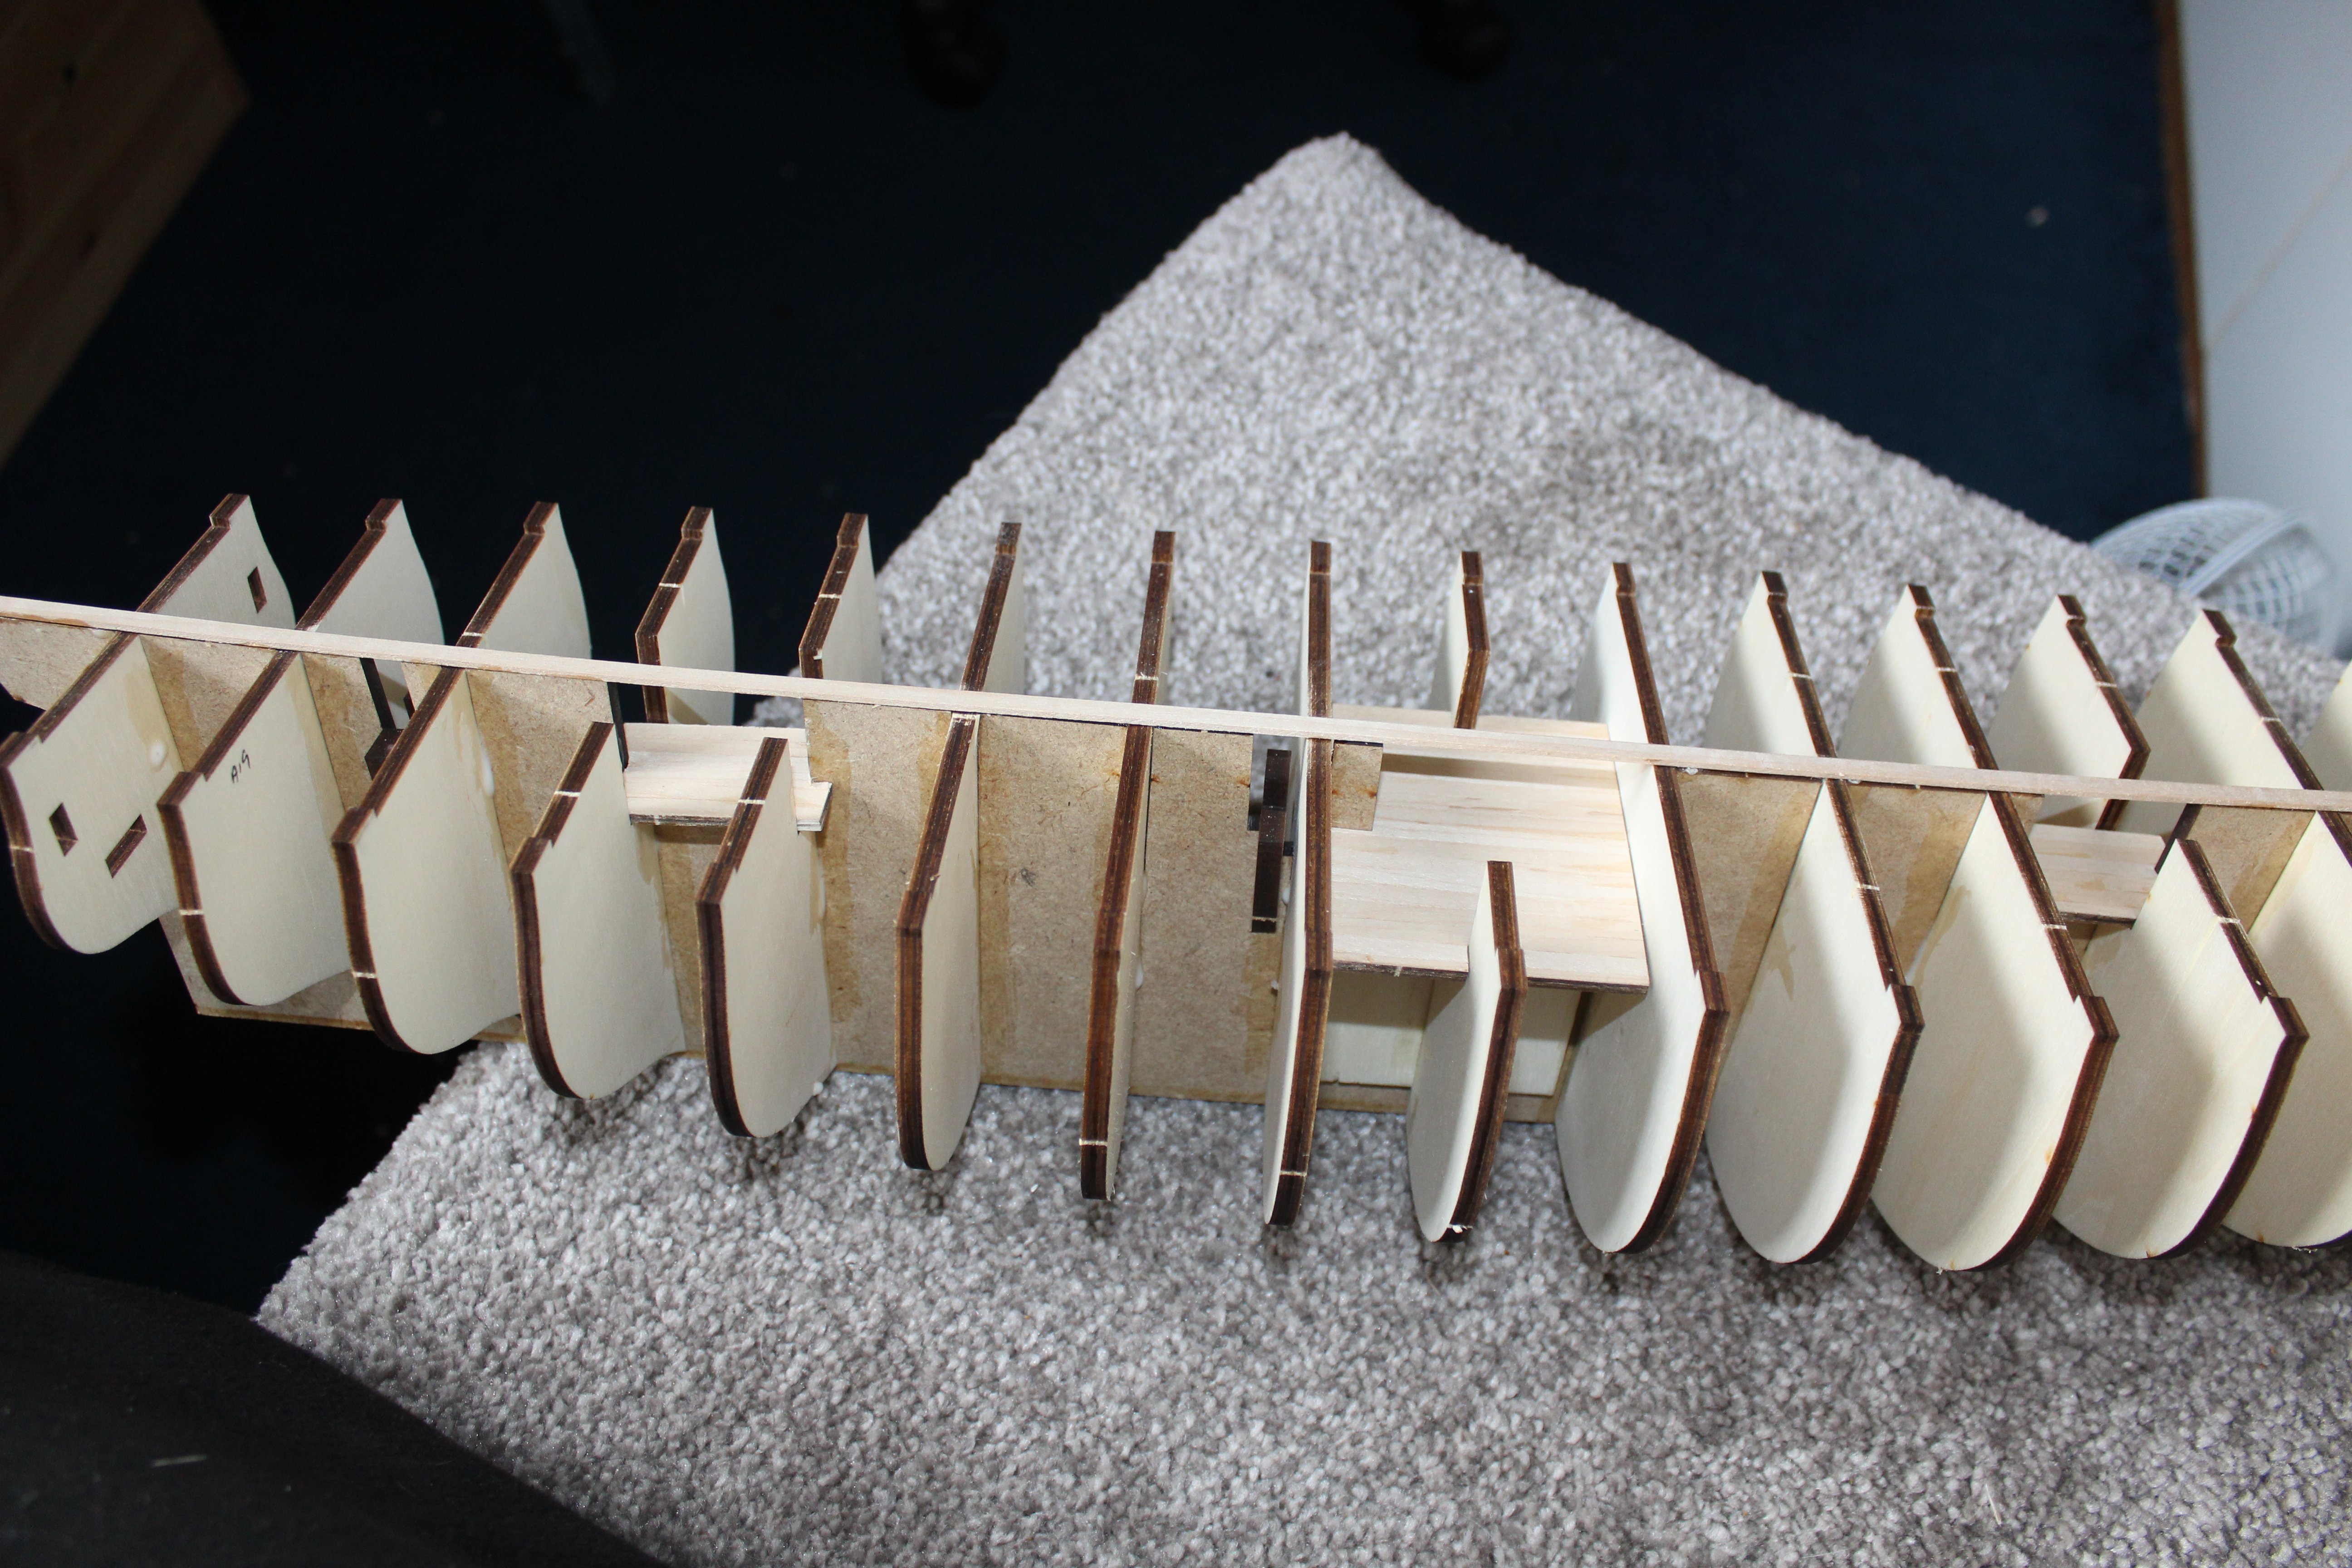
day 2
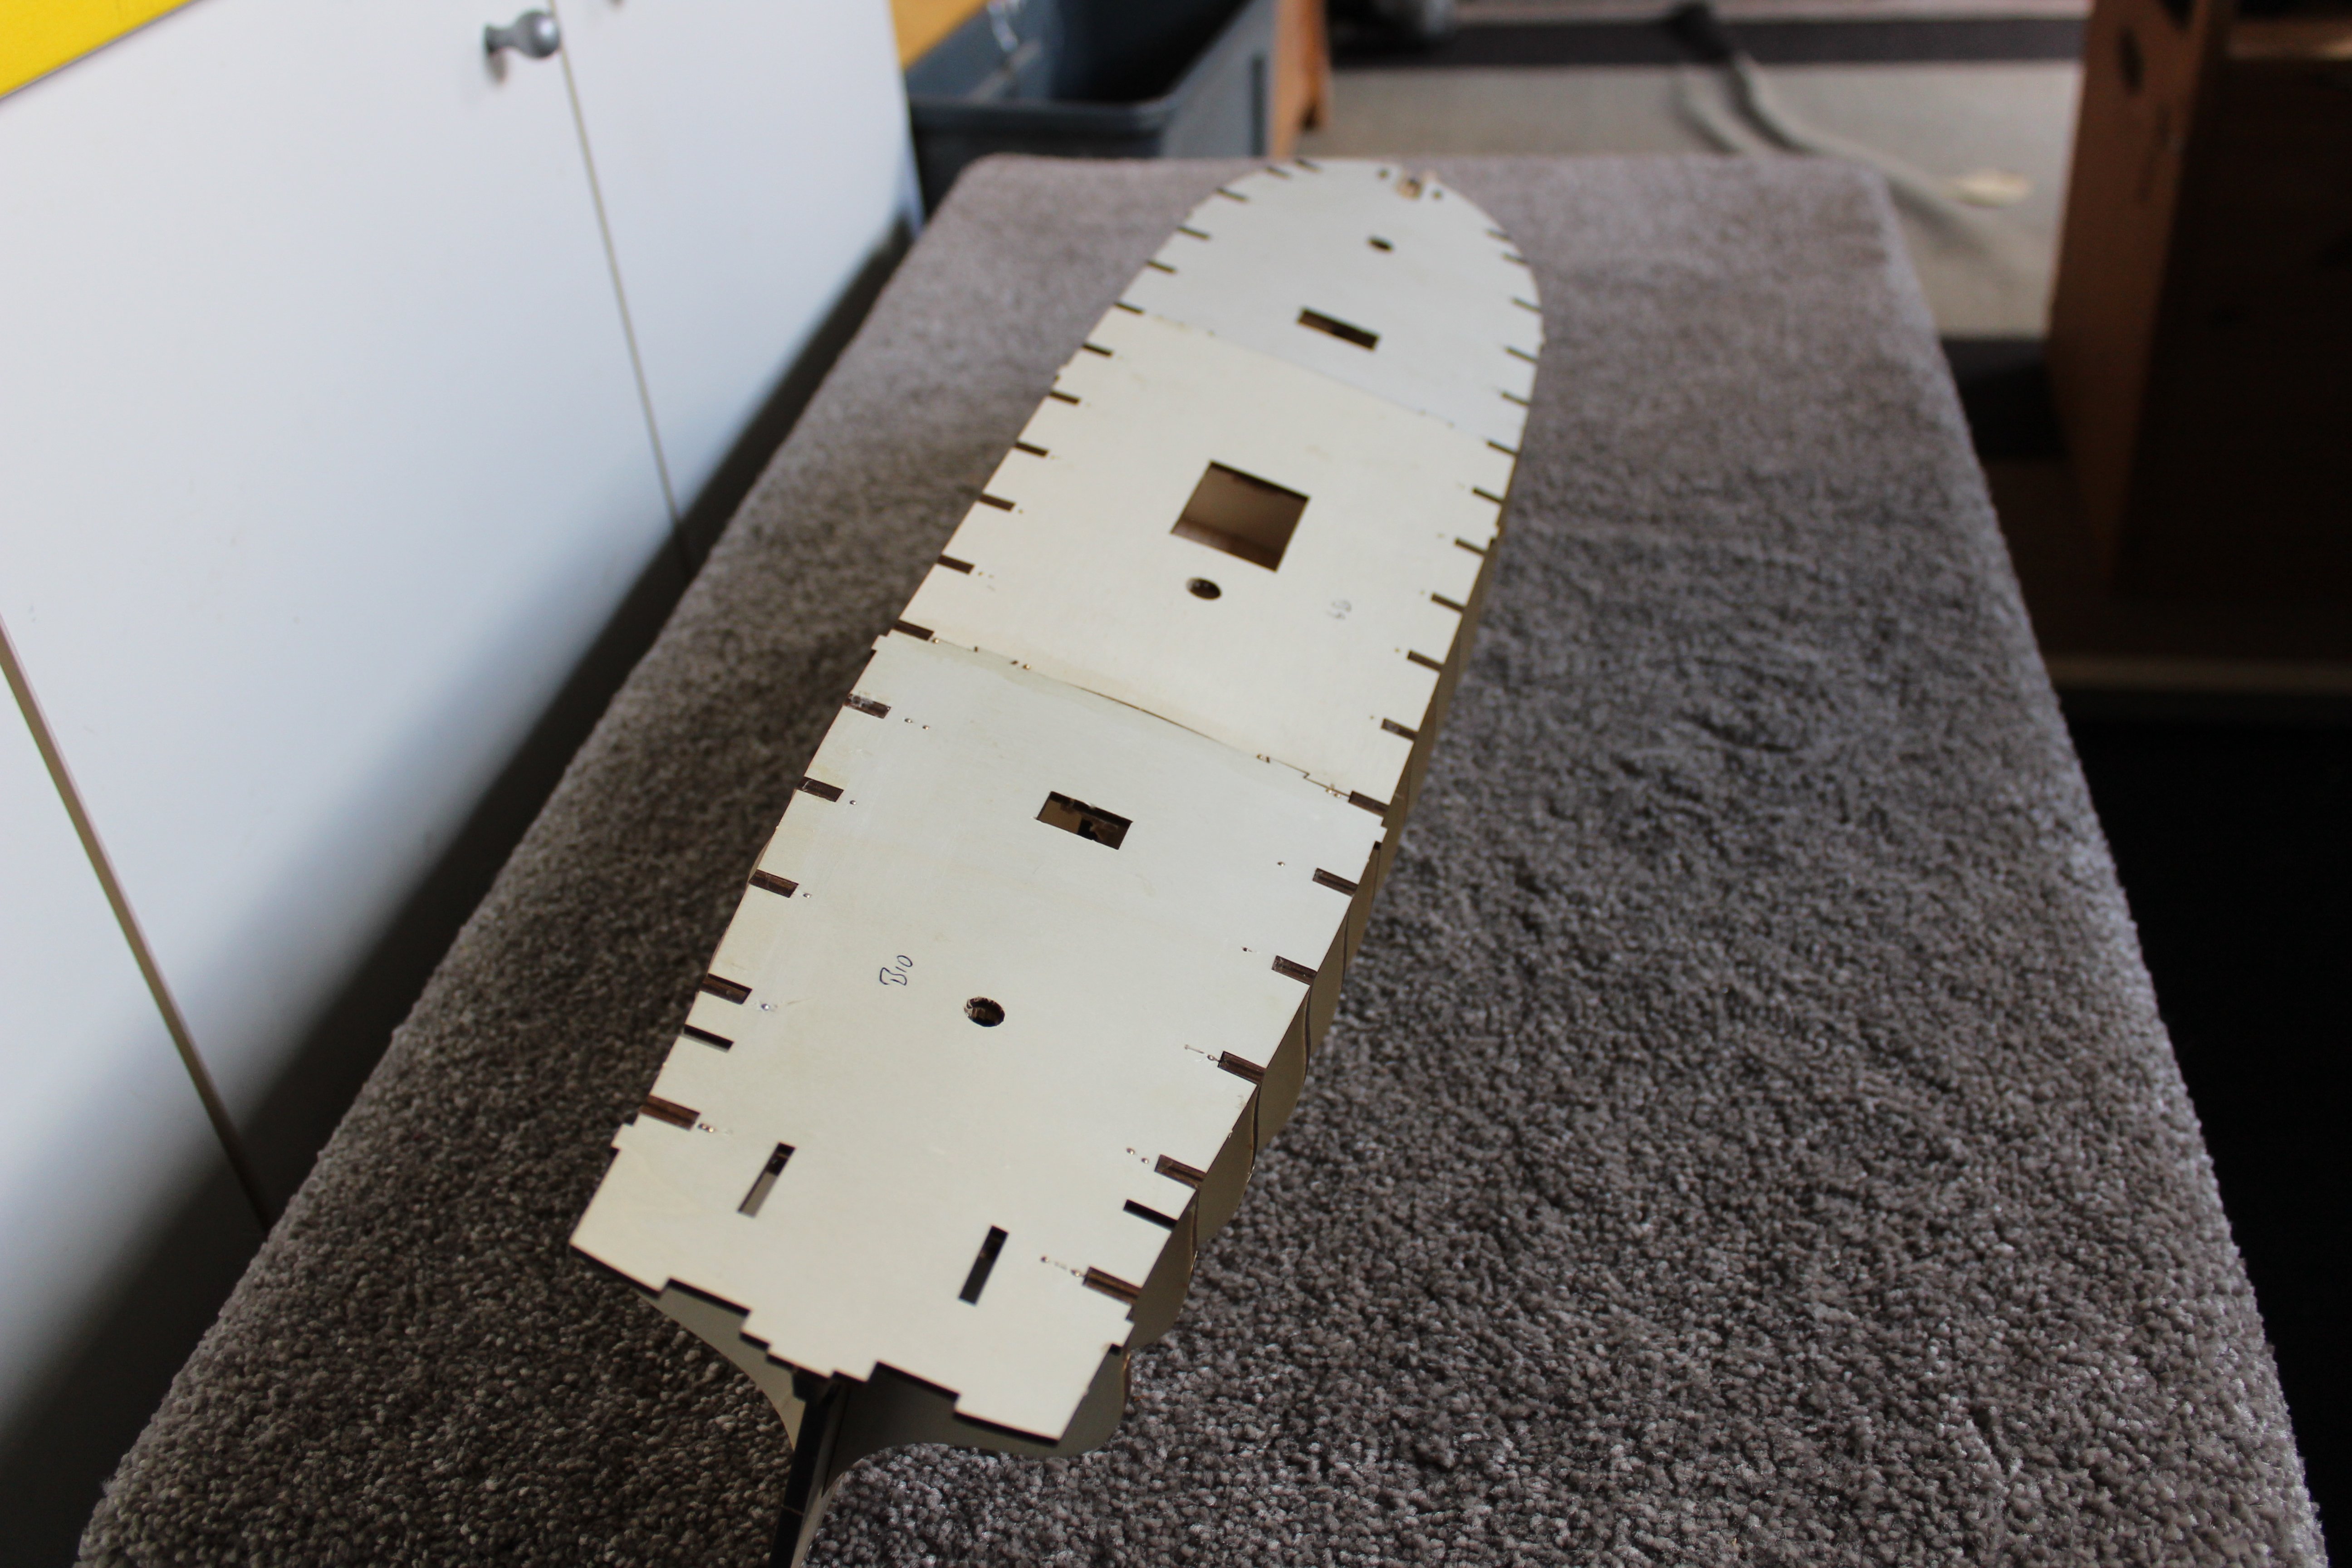
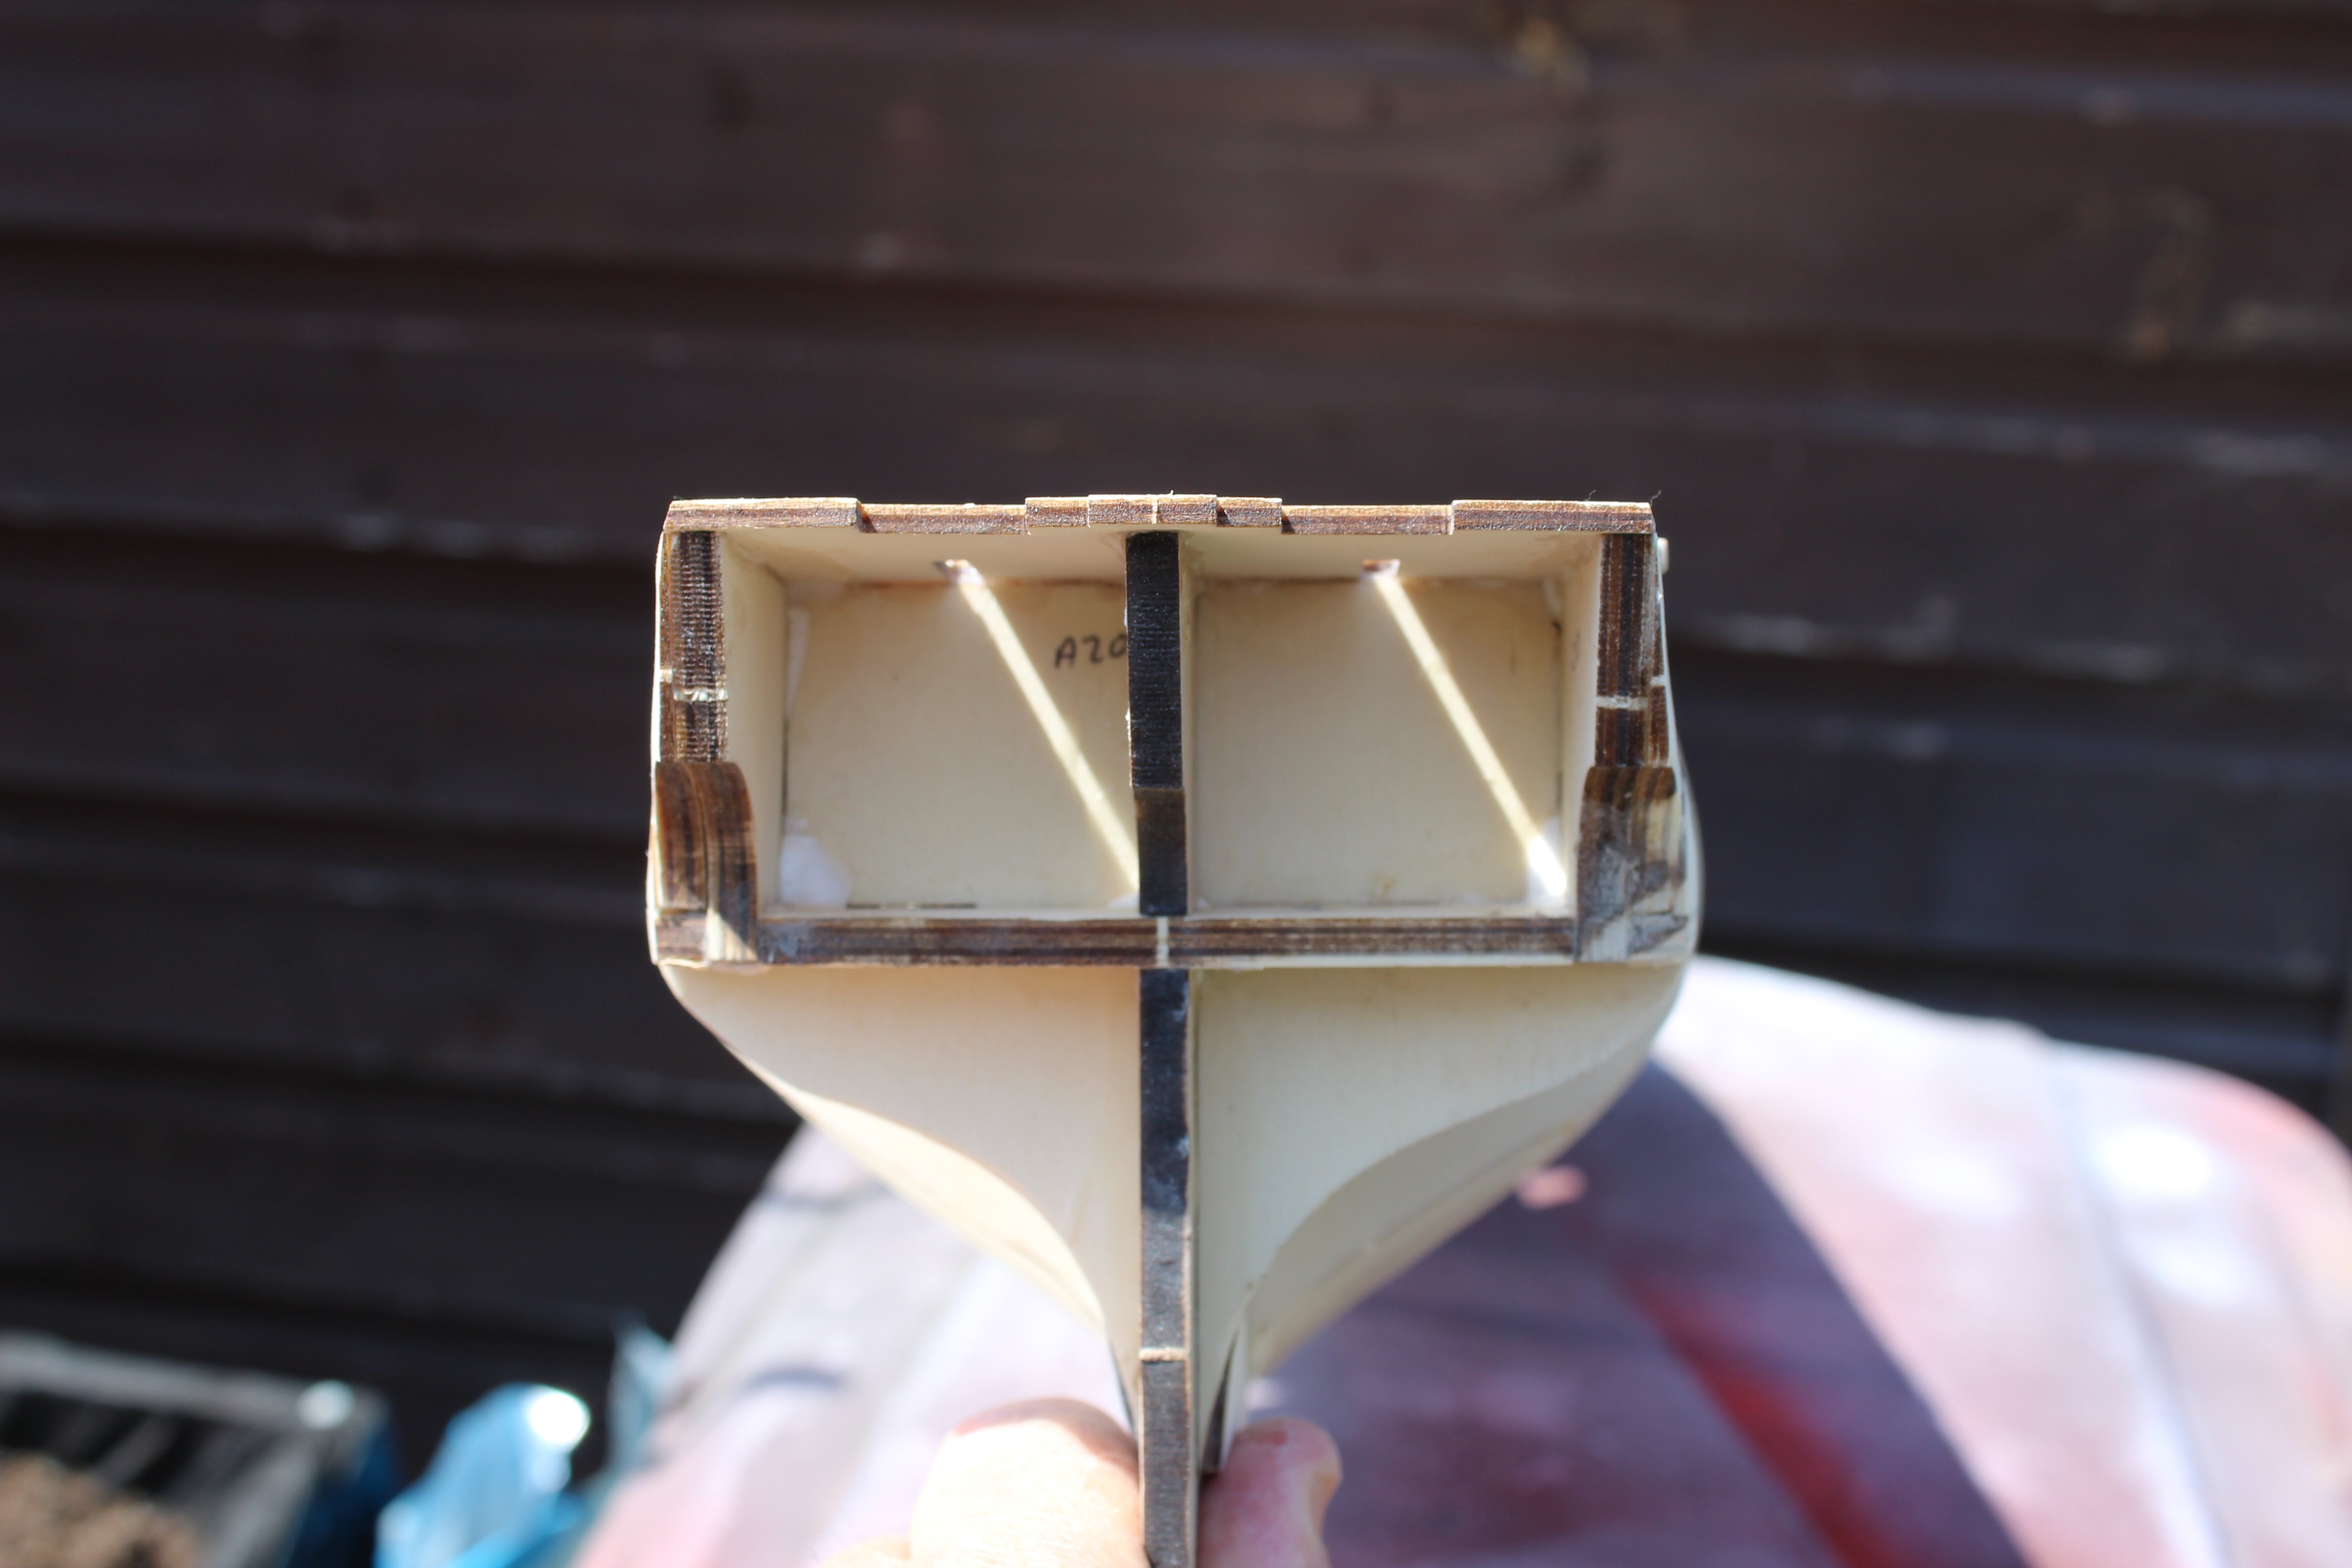
full deck fitted and the camber dried ok, but today i realised i had gone to far fwd and aft, and to leave it would have thrown all the templates out, so a couple of frames both ends have gone back to the deck sitting directly on to the frames

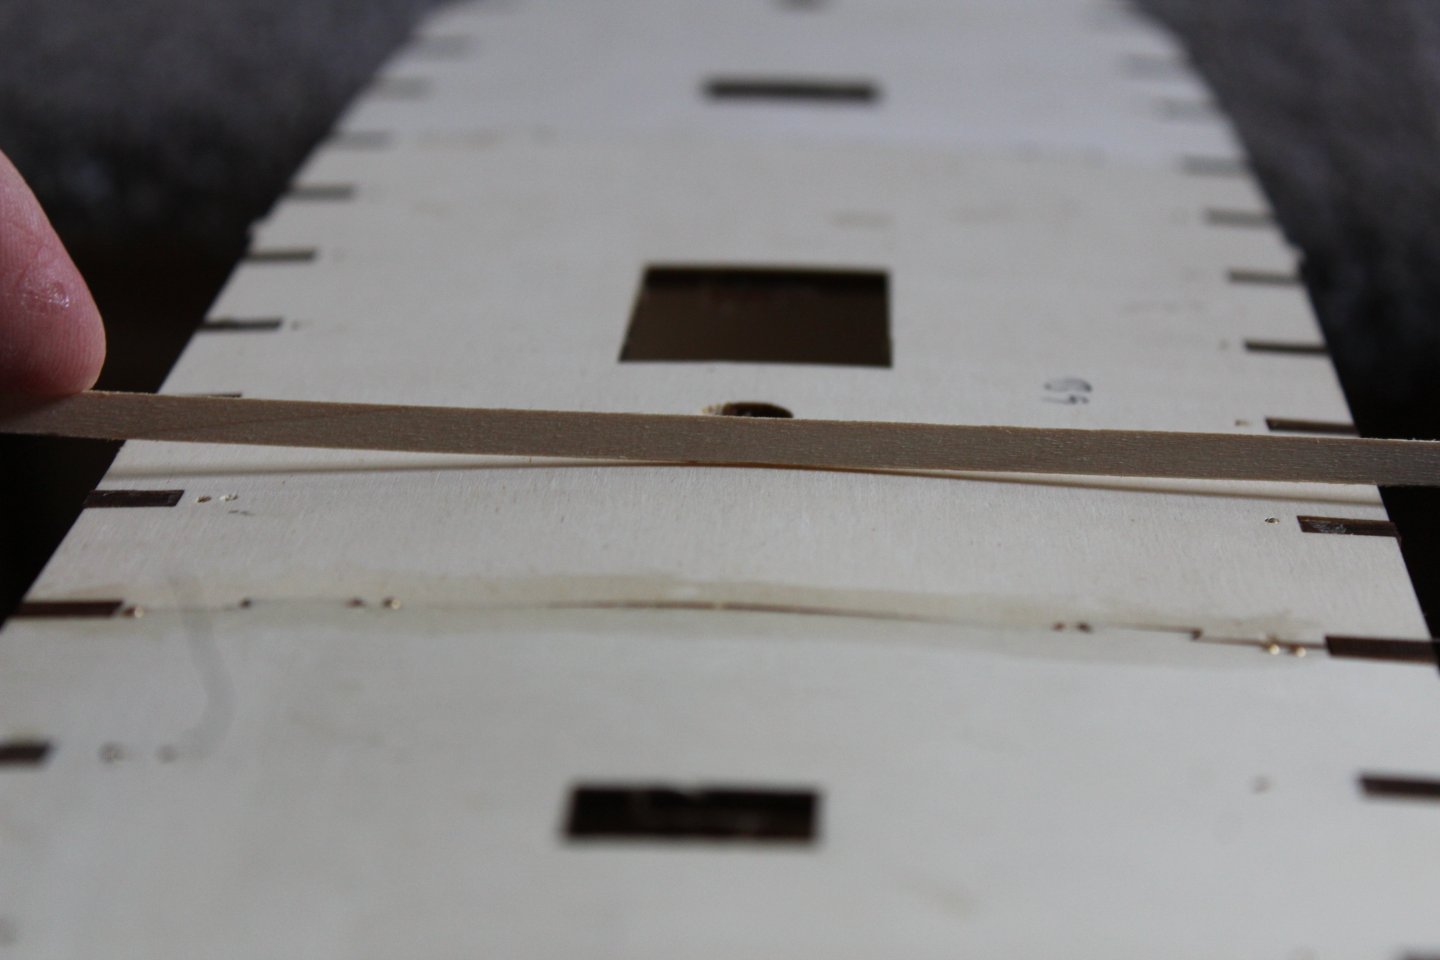
deck cut to remove section, remove camber and replace deck
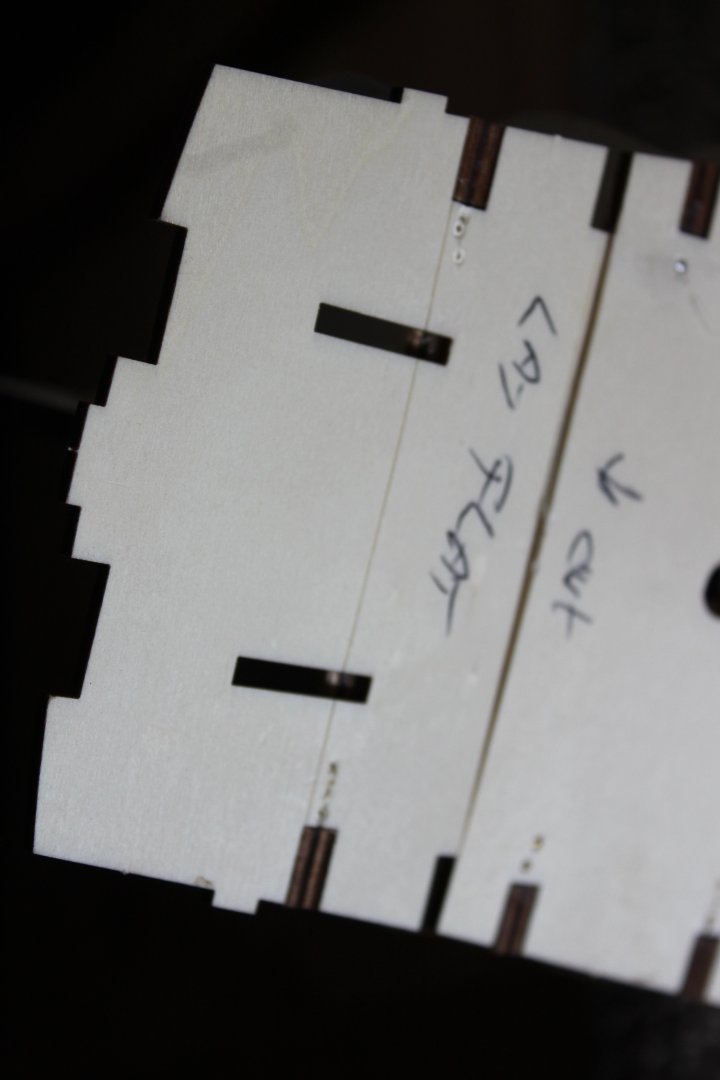

sitting flat
why oh why, what a pain
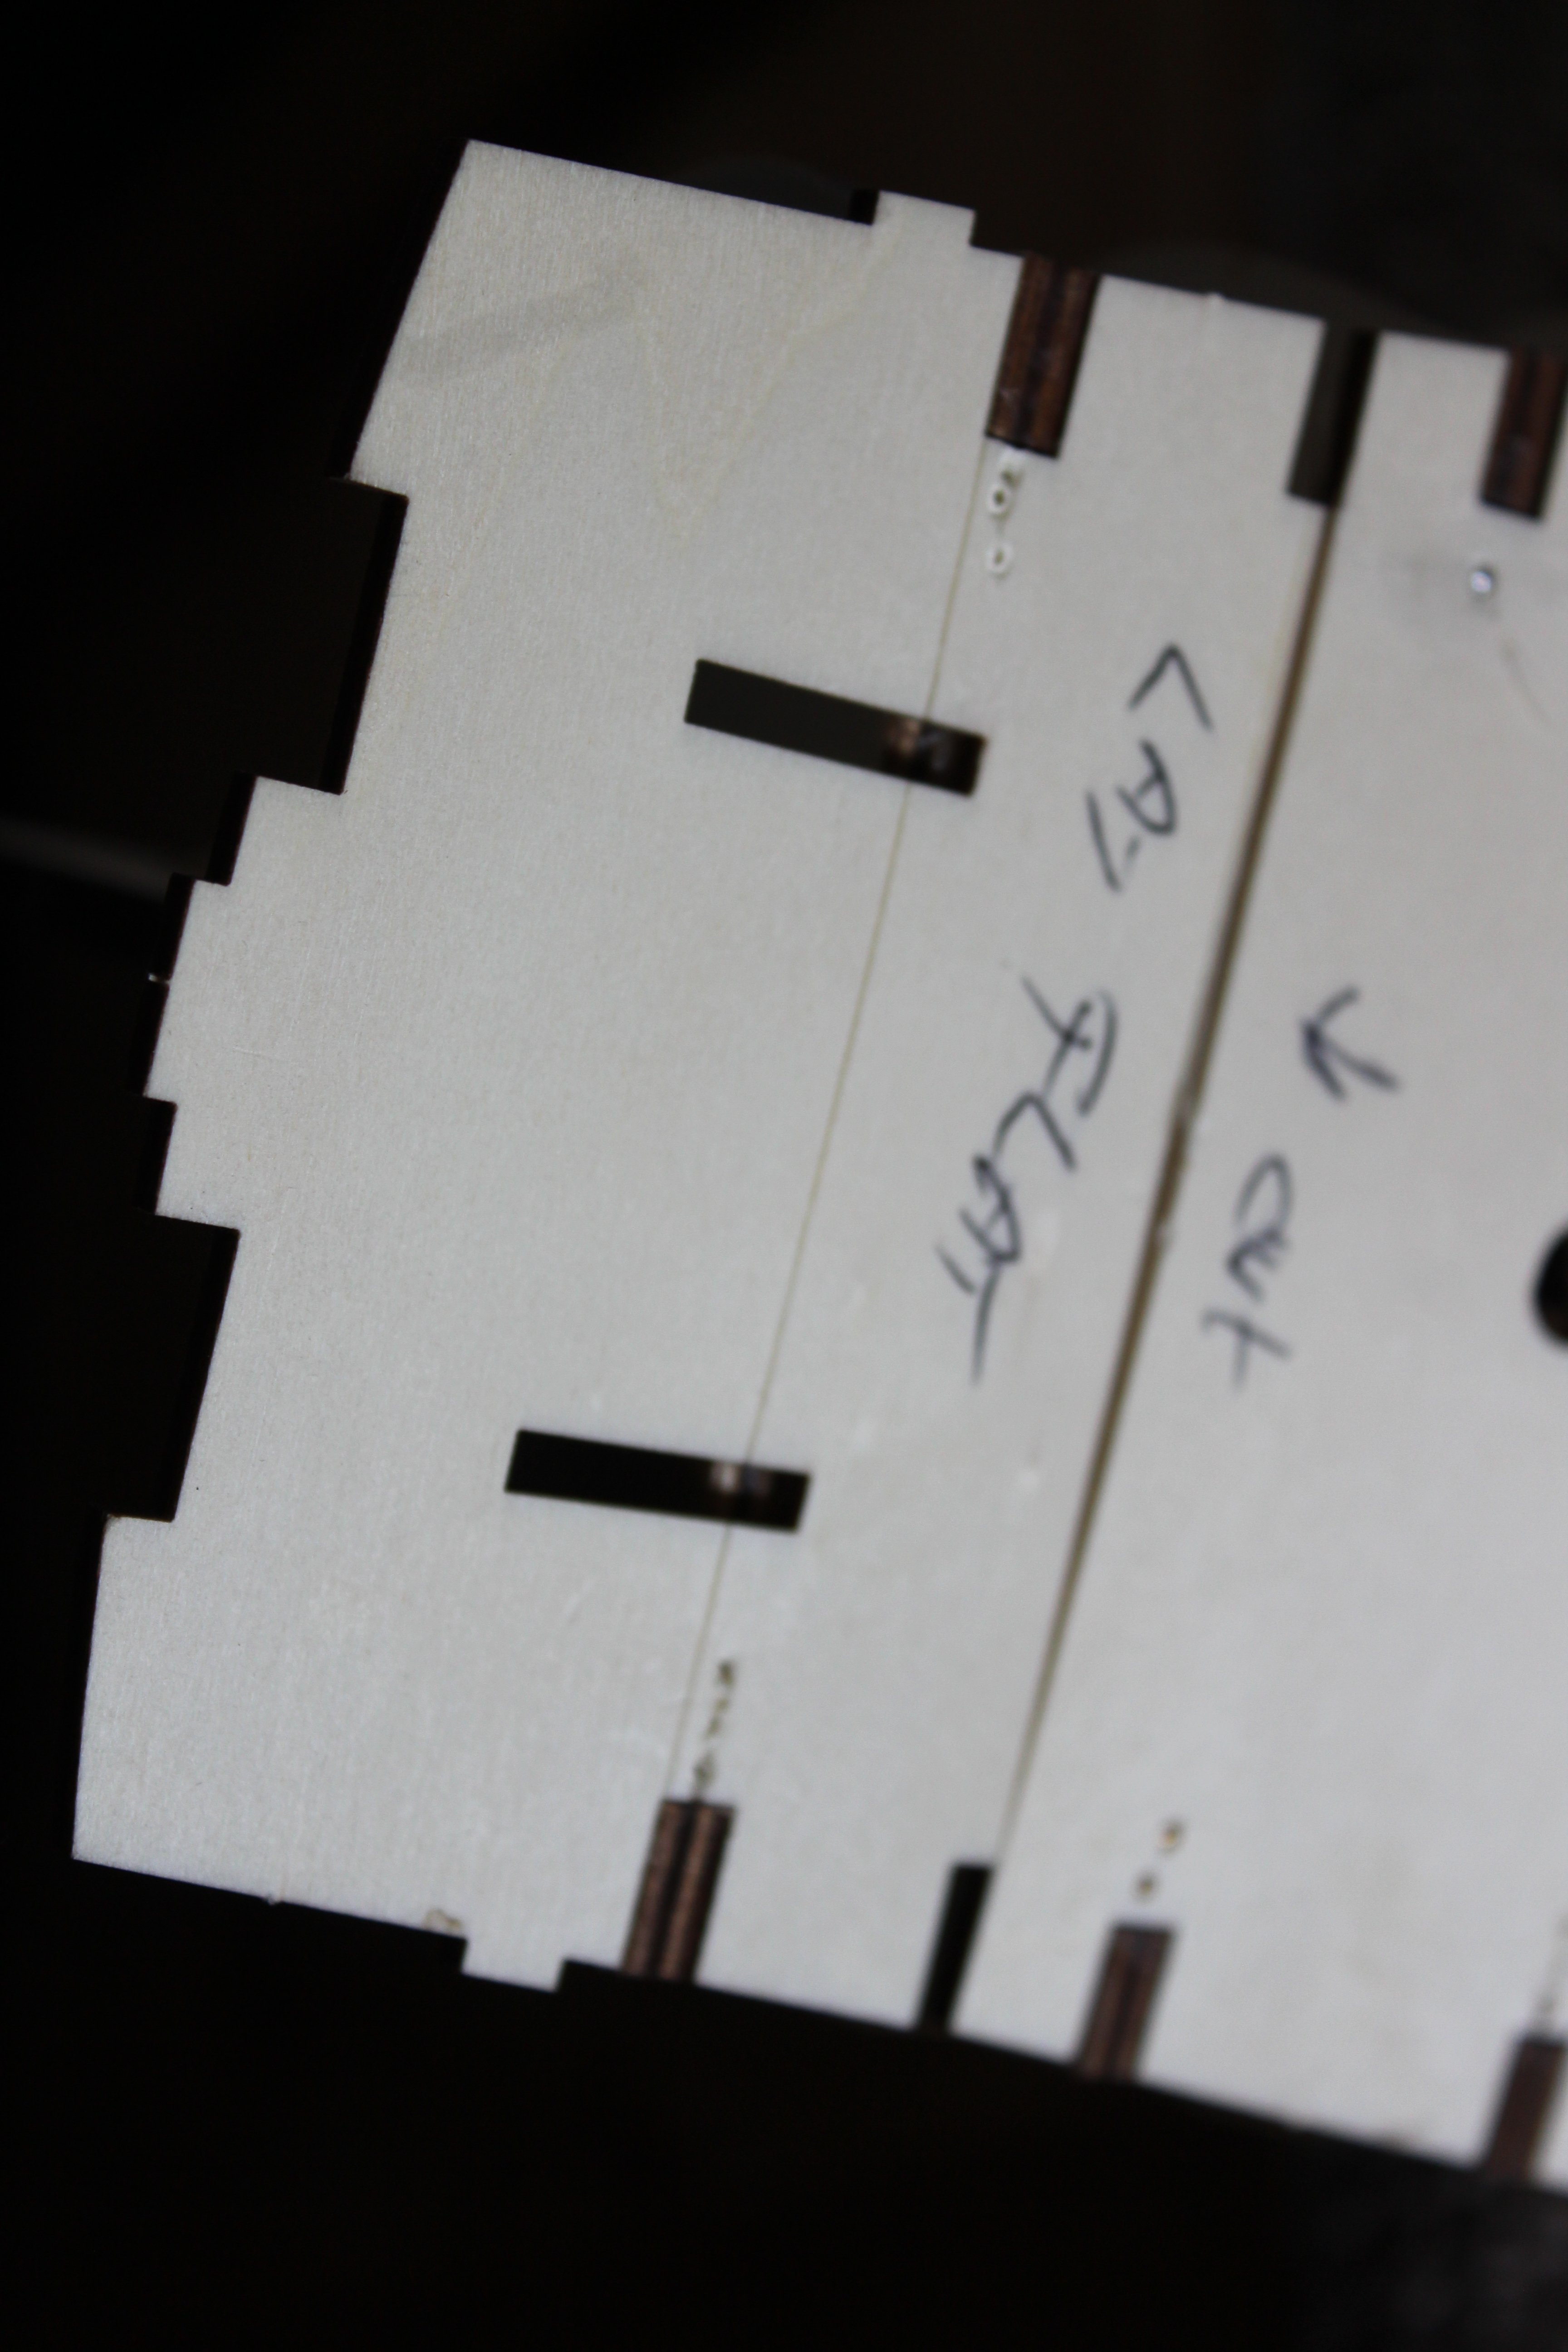
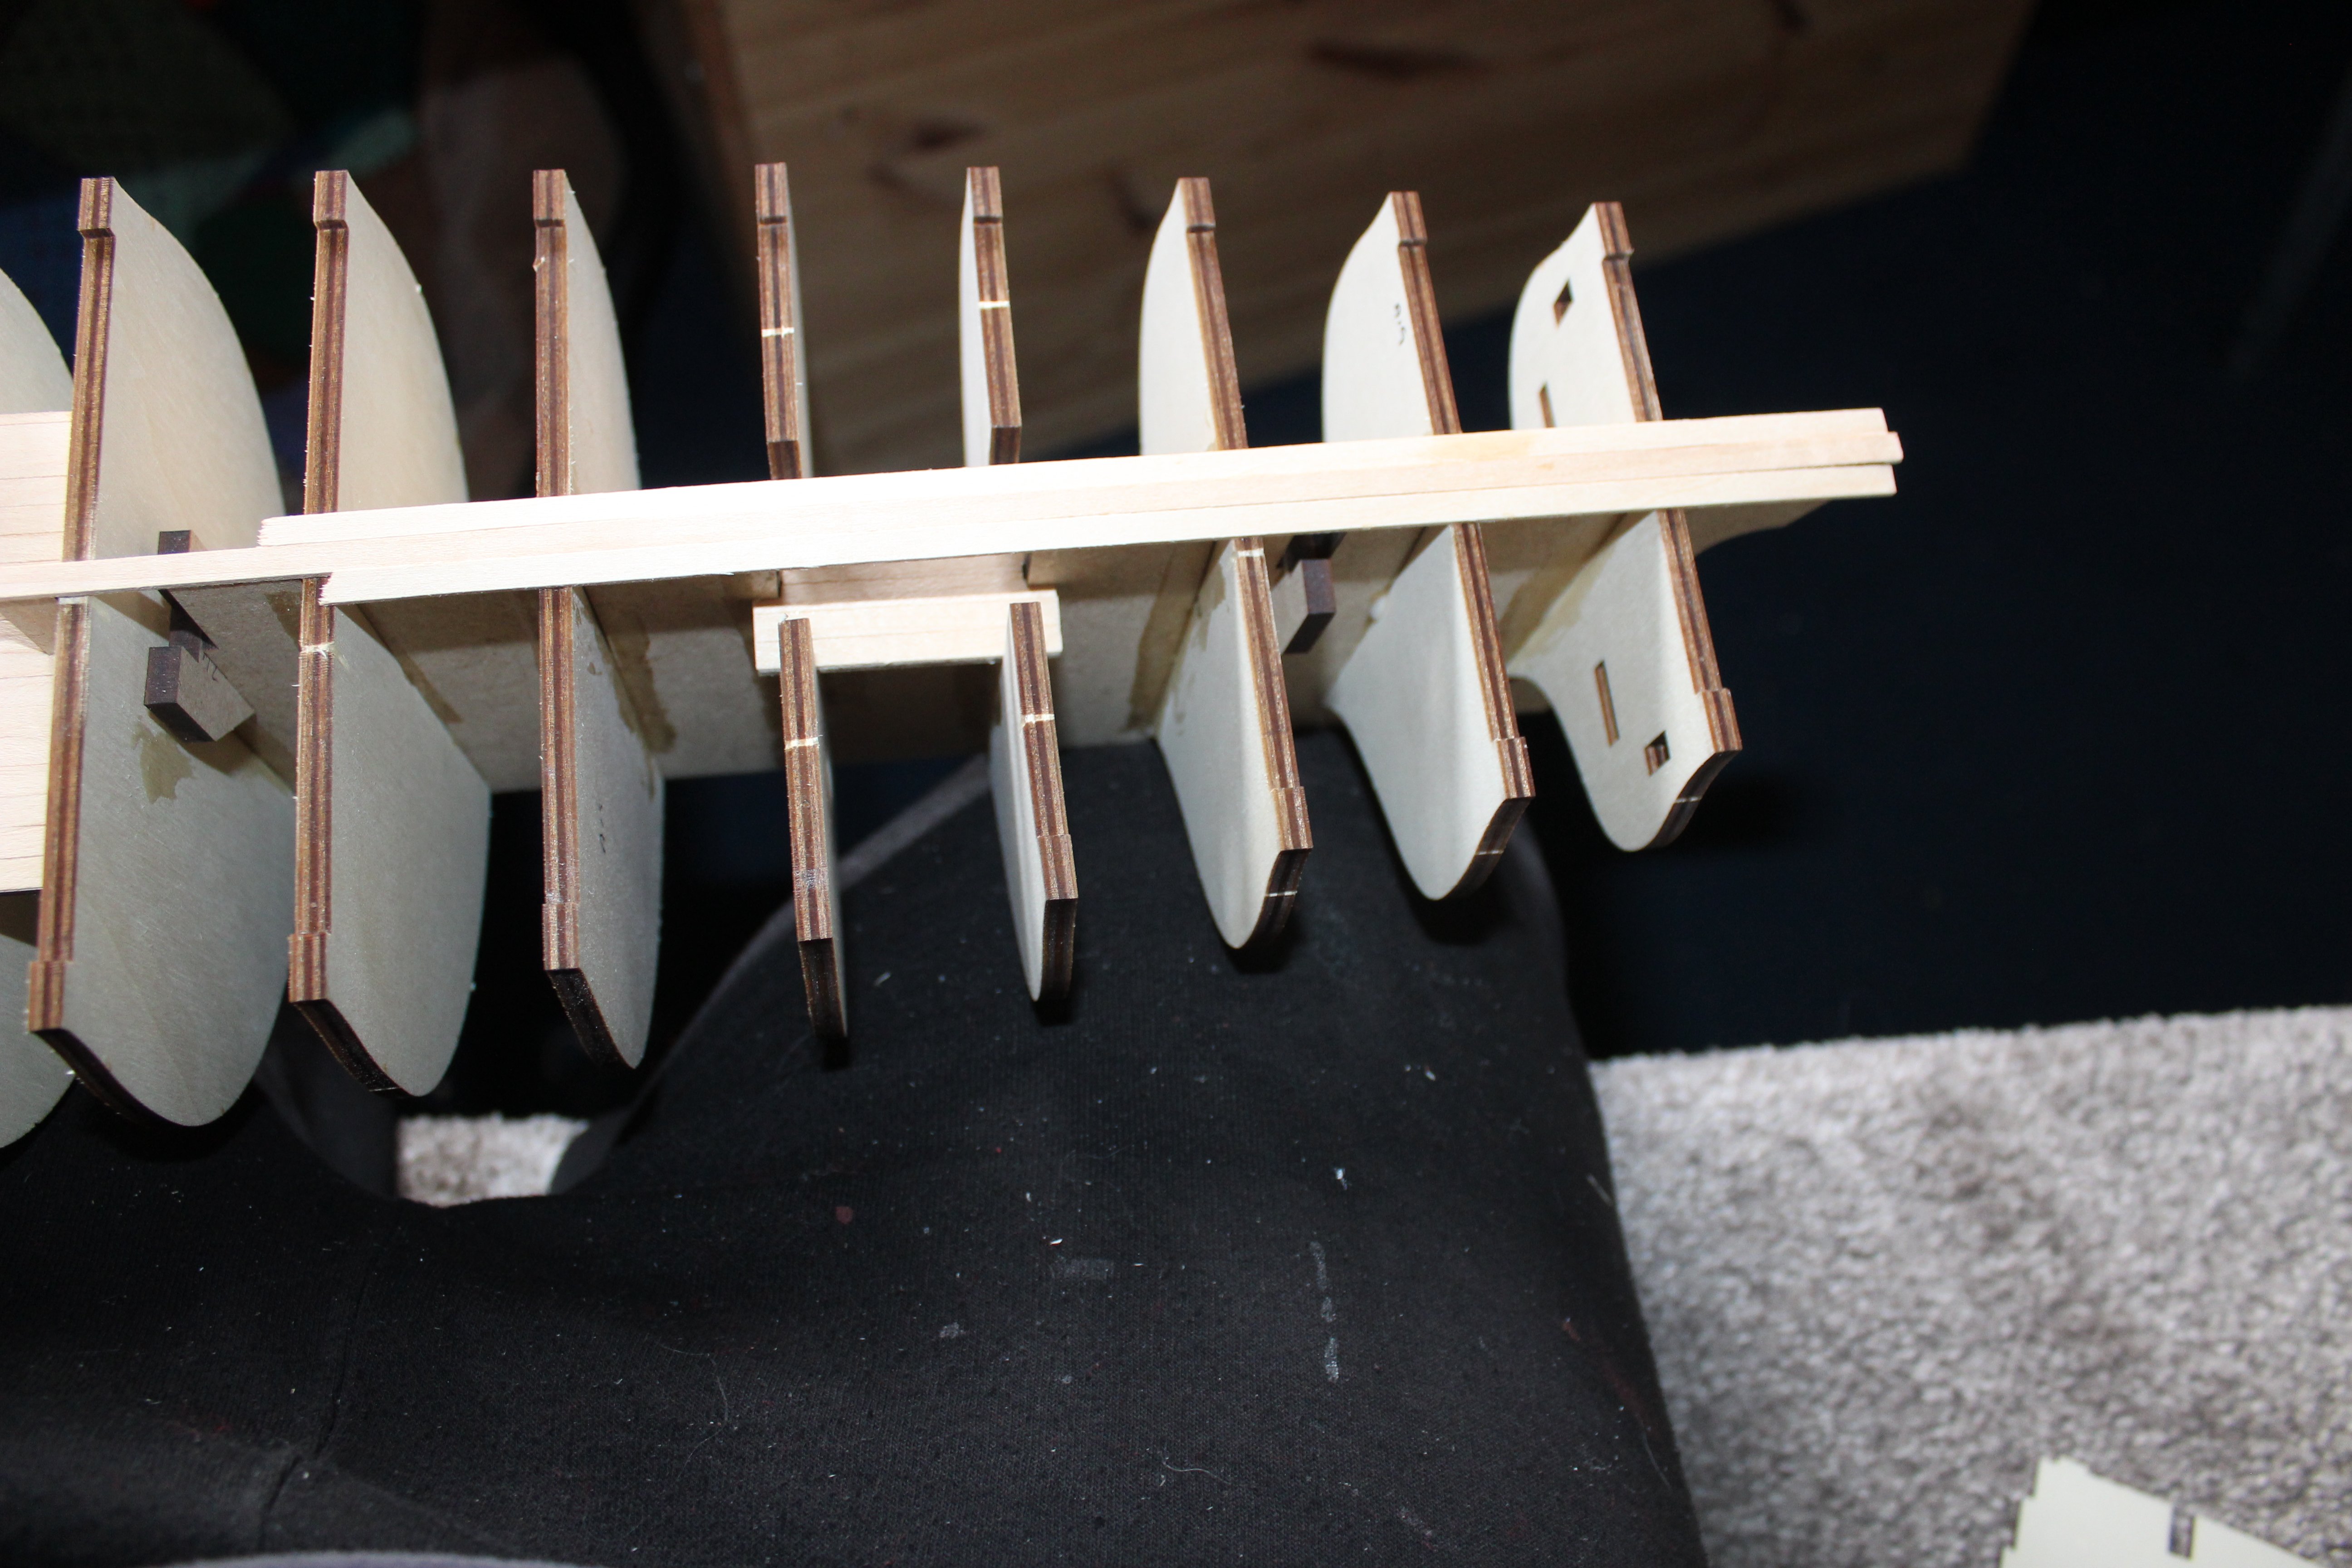
instructions say lay the deck, then fit upper gun port pattern before planking, well i think thats a pants idea, as it will get knocked about, so i marked where it fits and fitted the lower template, the rear sect was fine, but front end requires soaking and the grain of the wood is vertical so breaks so very easily
this the better looking side
im not even going to ask why all the forward gun port are in front of the frames
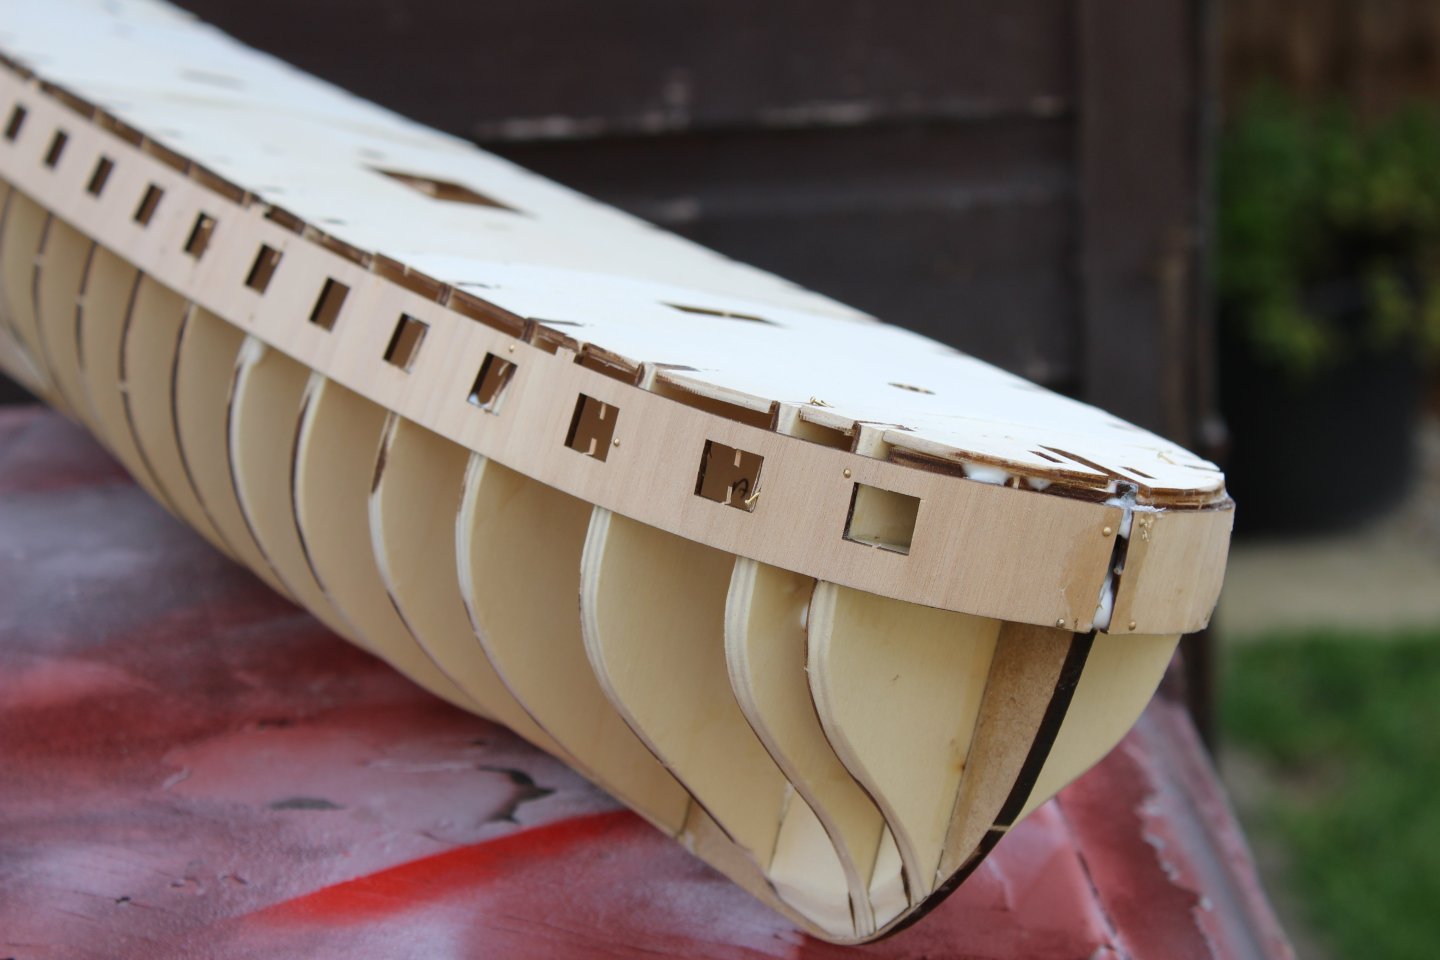
planking tomorrow
-
23 minutes ago, wefalck said:
Some years ago, I considered making a model of her based on the Heller plastic kit, which is based on the plans published by the Association des Amis du Musèe de la Marine (as presumably the OCCRE-kit is). The project was abandoned due to the extensive changes that would have needed to be made to the plastic kit. However, in this context I took a number of photographs of the model in the museum in Paris (which, together with other sources preserved in the museum's archives, formed the basis of the plans of the AAMM). The model is in the 1839 livery, when she was painted black on the occasion of bringing back the remains of Napoleon I from St. Helena.
You can have a look at the pictures here: https://www.maritima-et-mechanika.org/maritime/models/bellepoule/bellepoule.html. The model is not on display currently, after the refurbishment of the museum
BTW, Odin is a Germanic god, not a Greek one 🫣
Thank you so very much for the link, and stand corrected on the name
- Old Collingwood, mtaylor and Canute
-
3
-
sorry for yr loss, and i look forward to see you put my attempt to shame,
- Patrick Haw and Ryland Craze
-
2
-
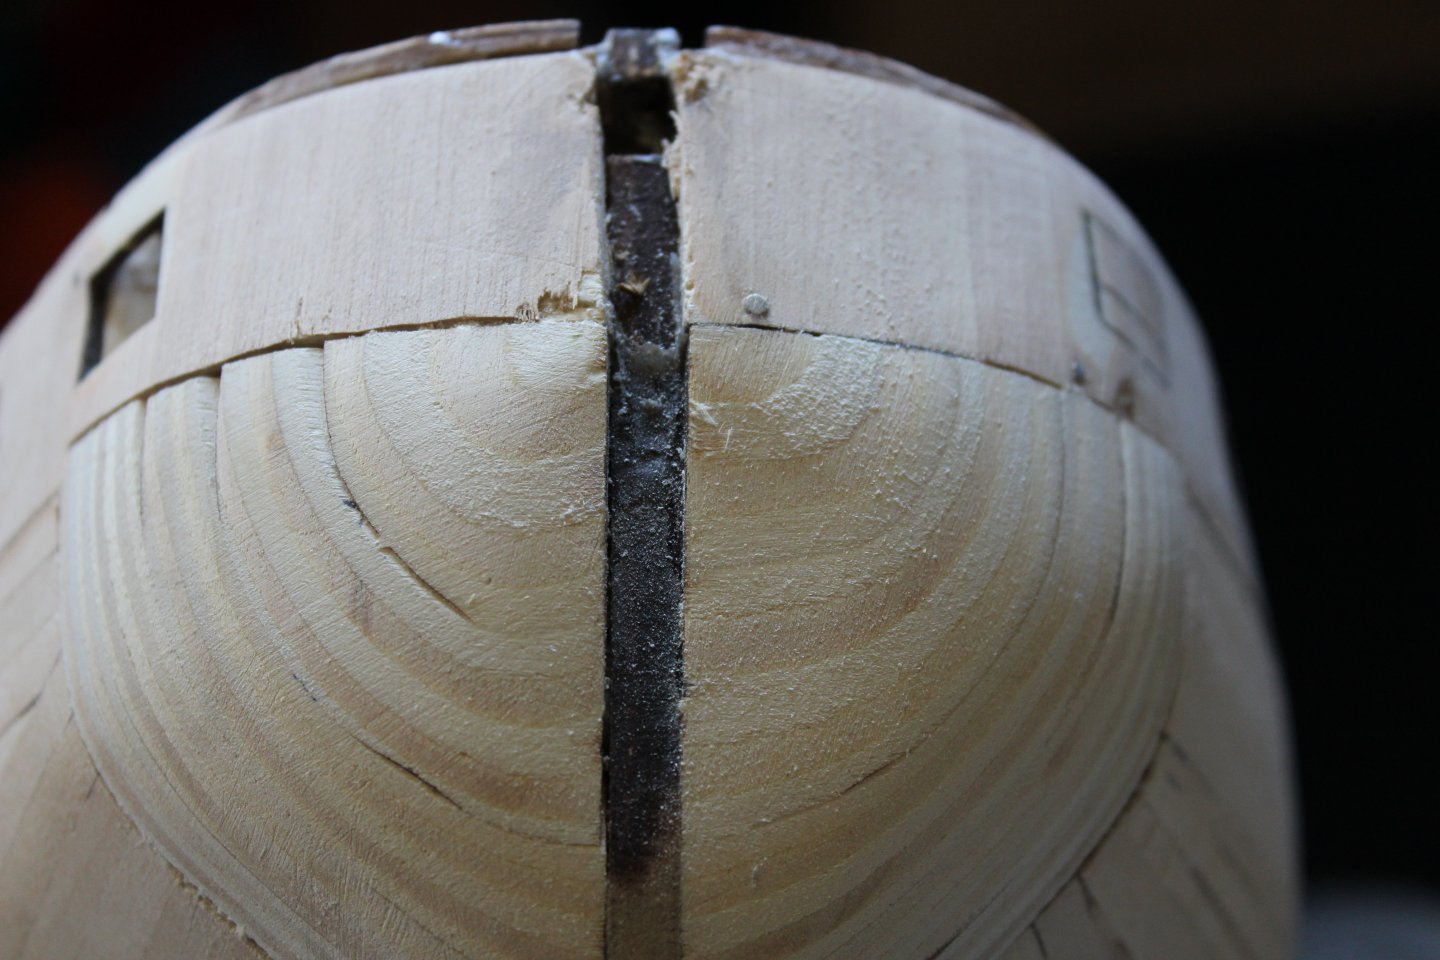
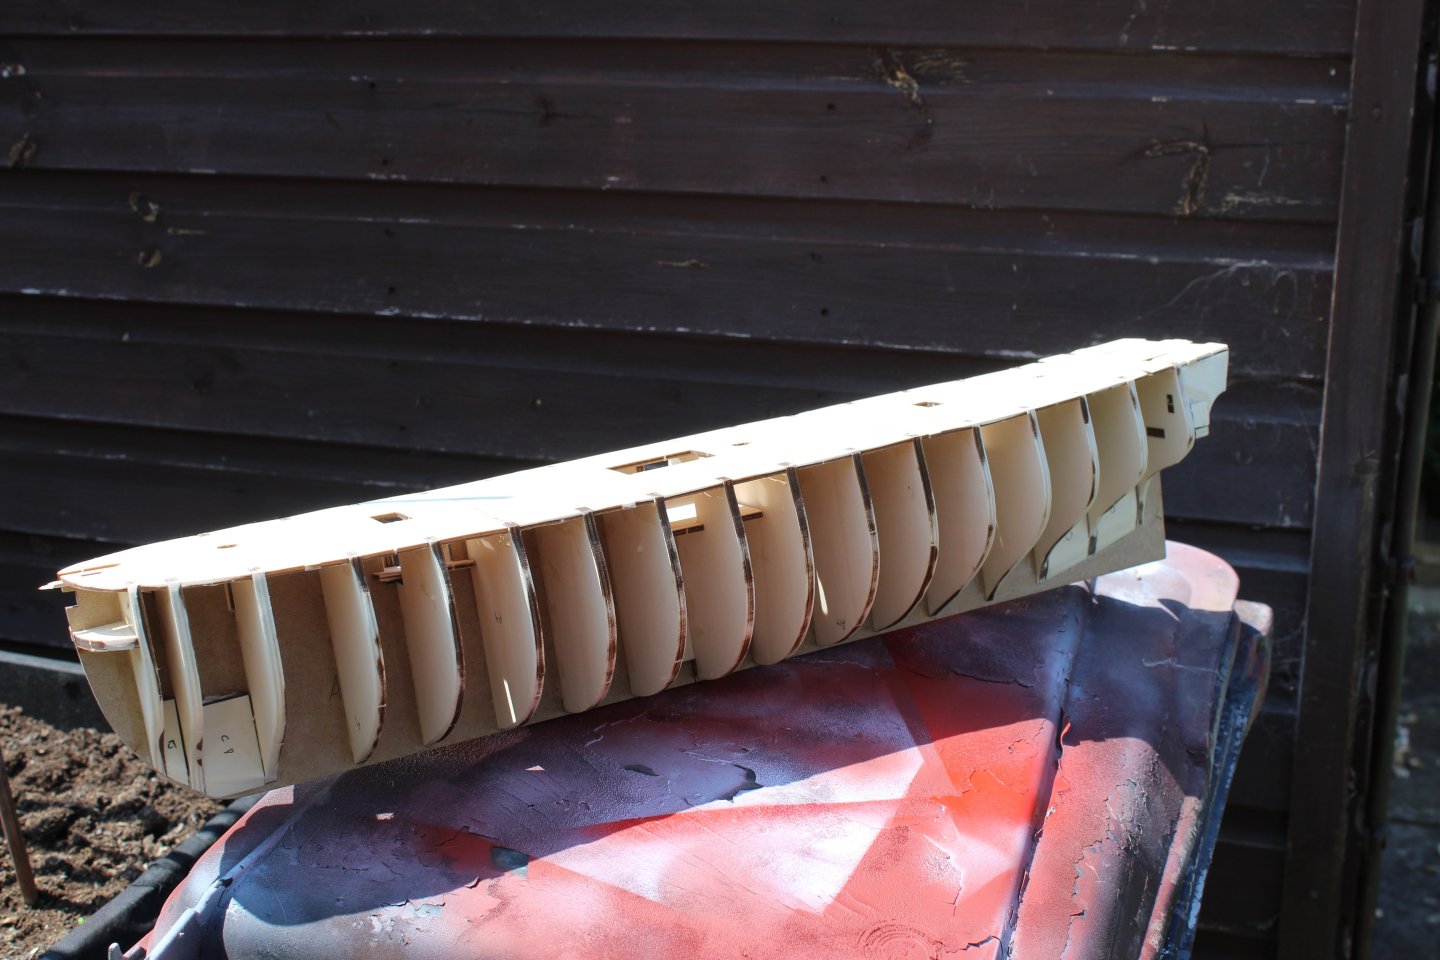
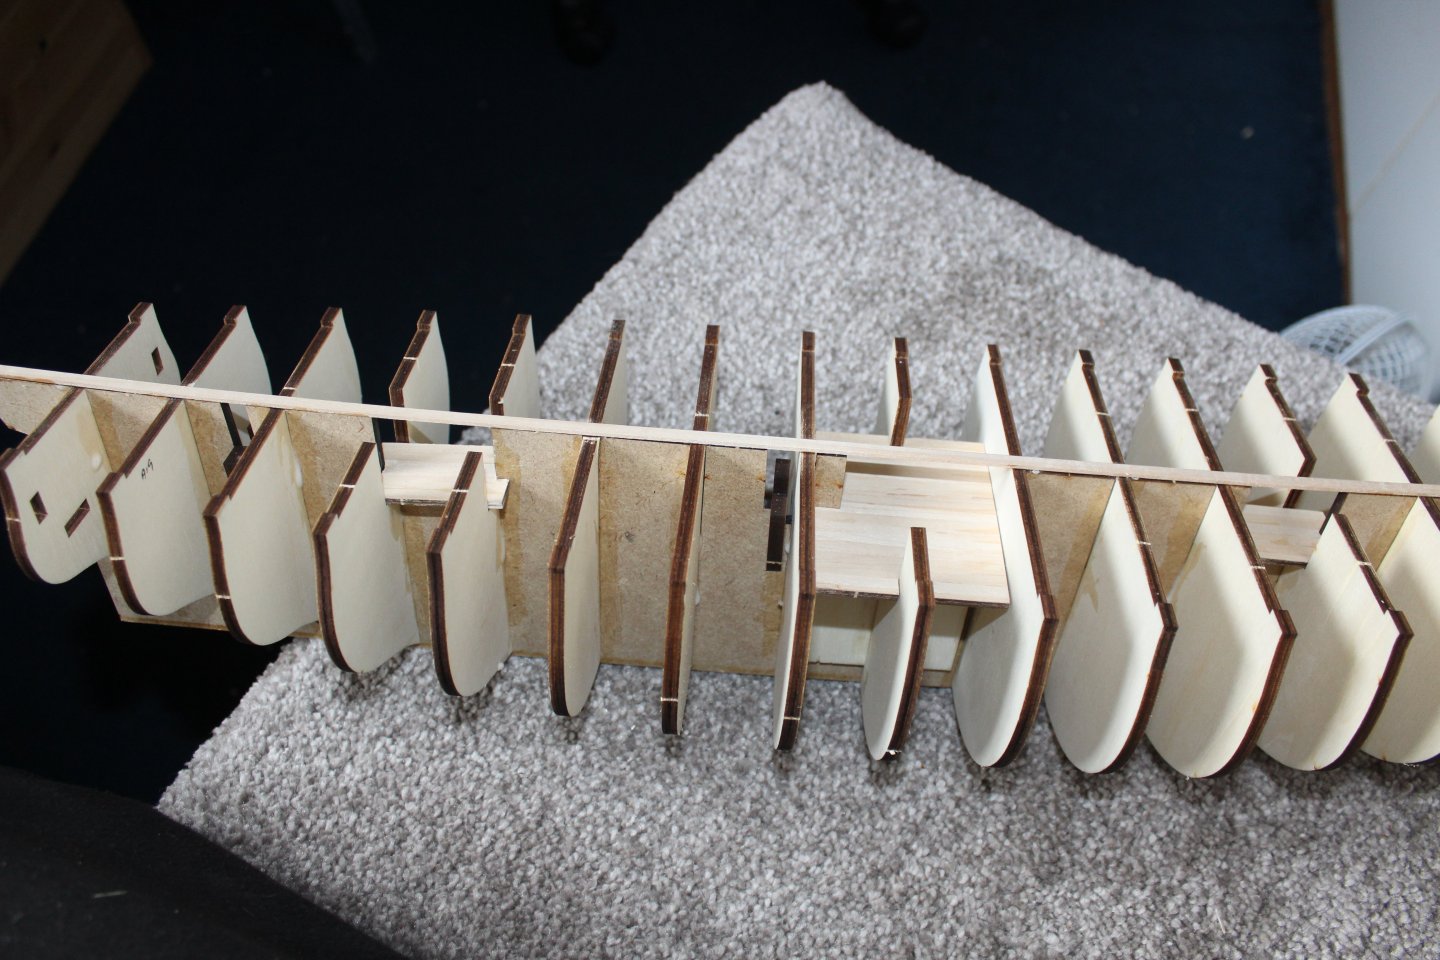
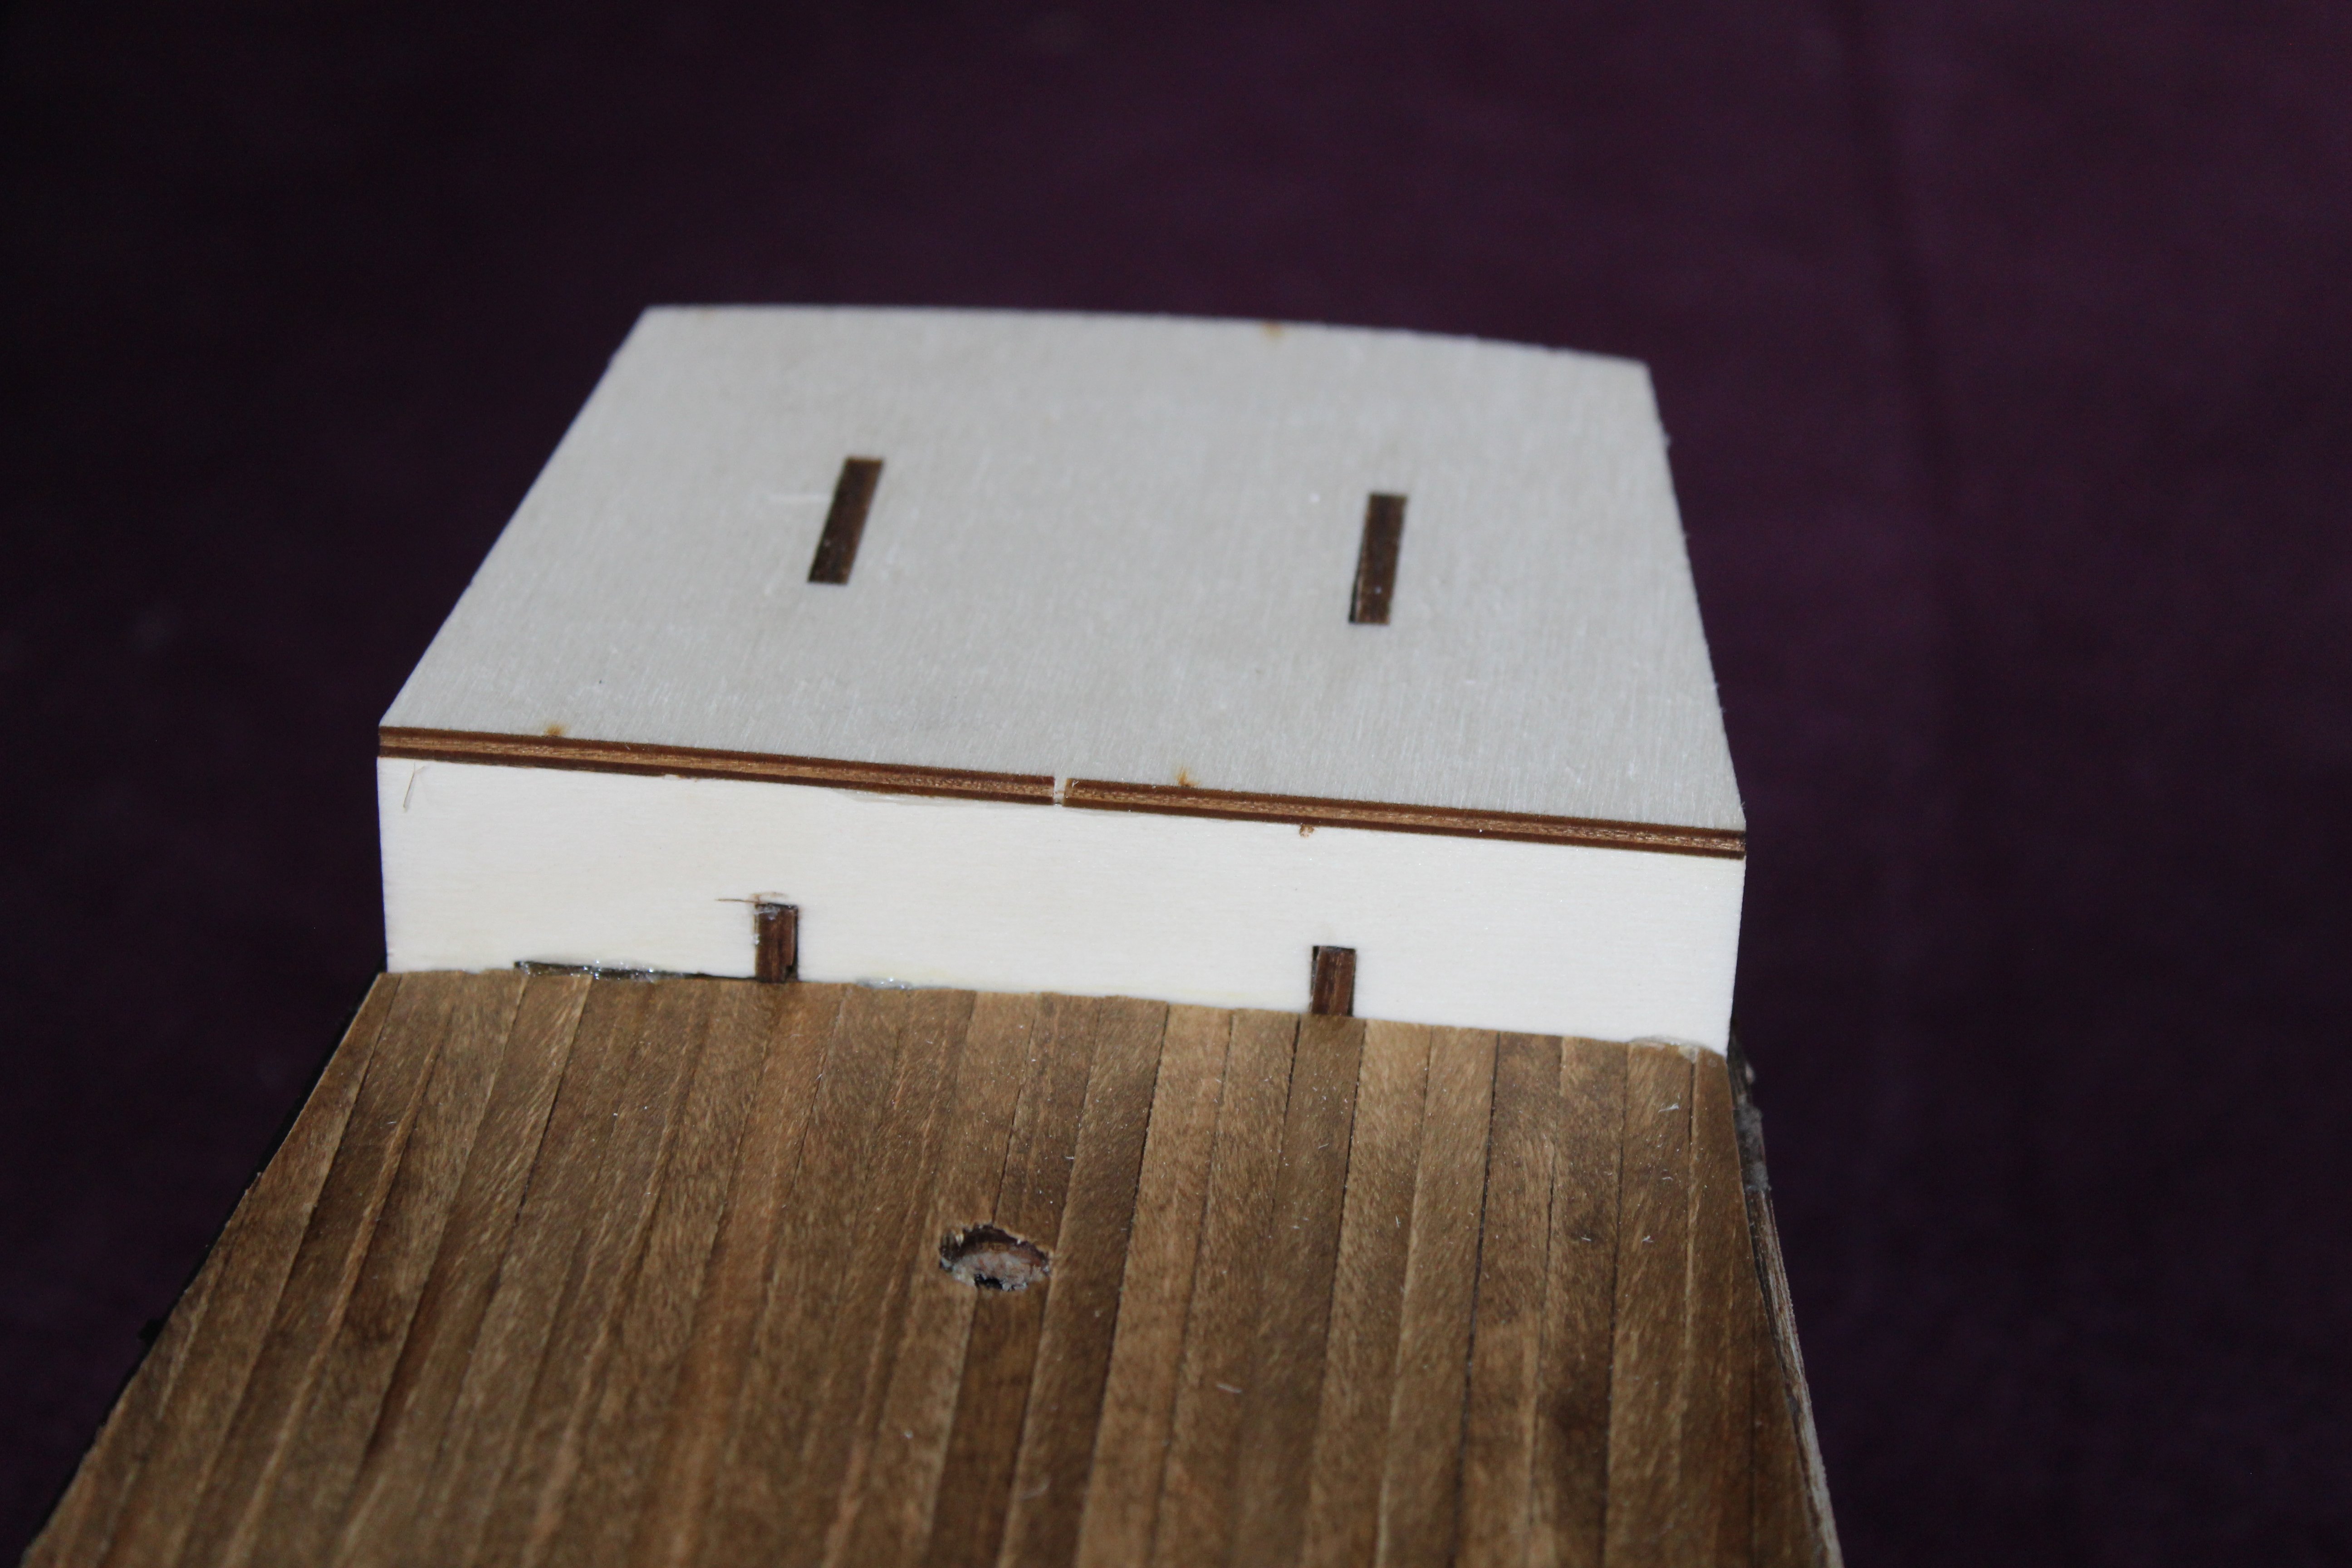
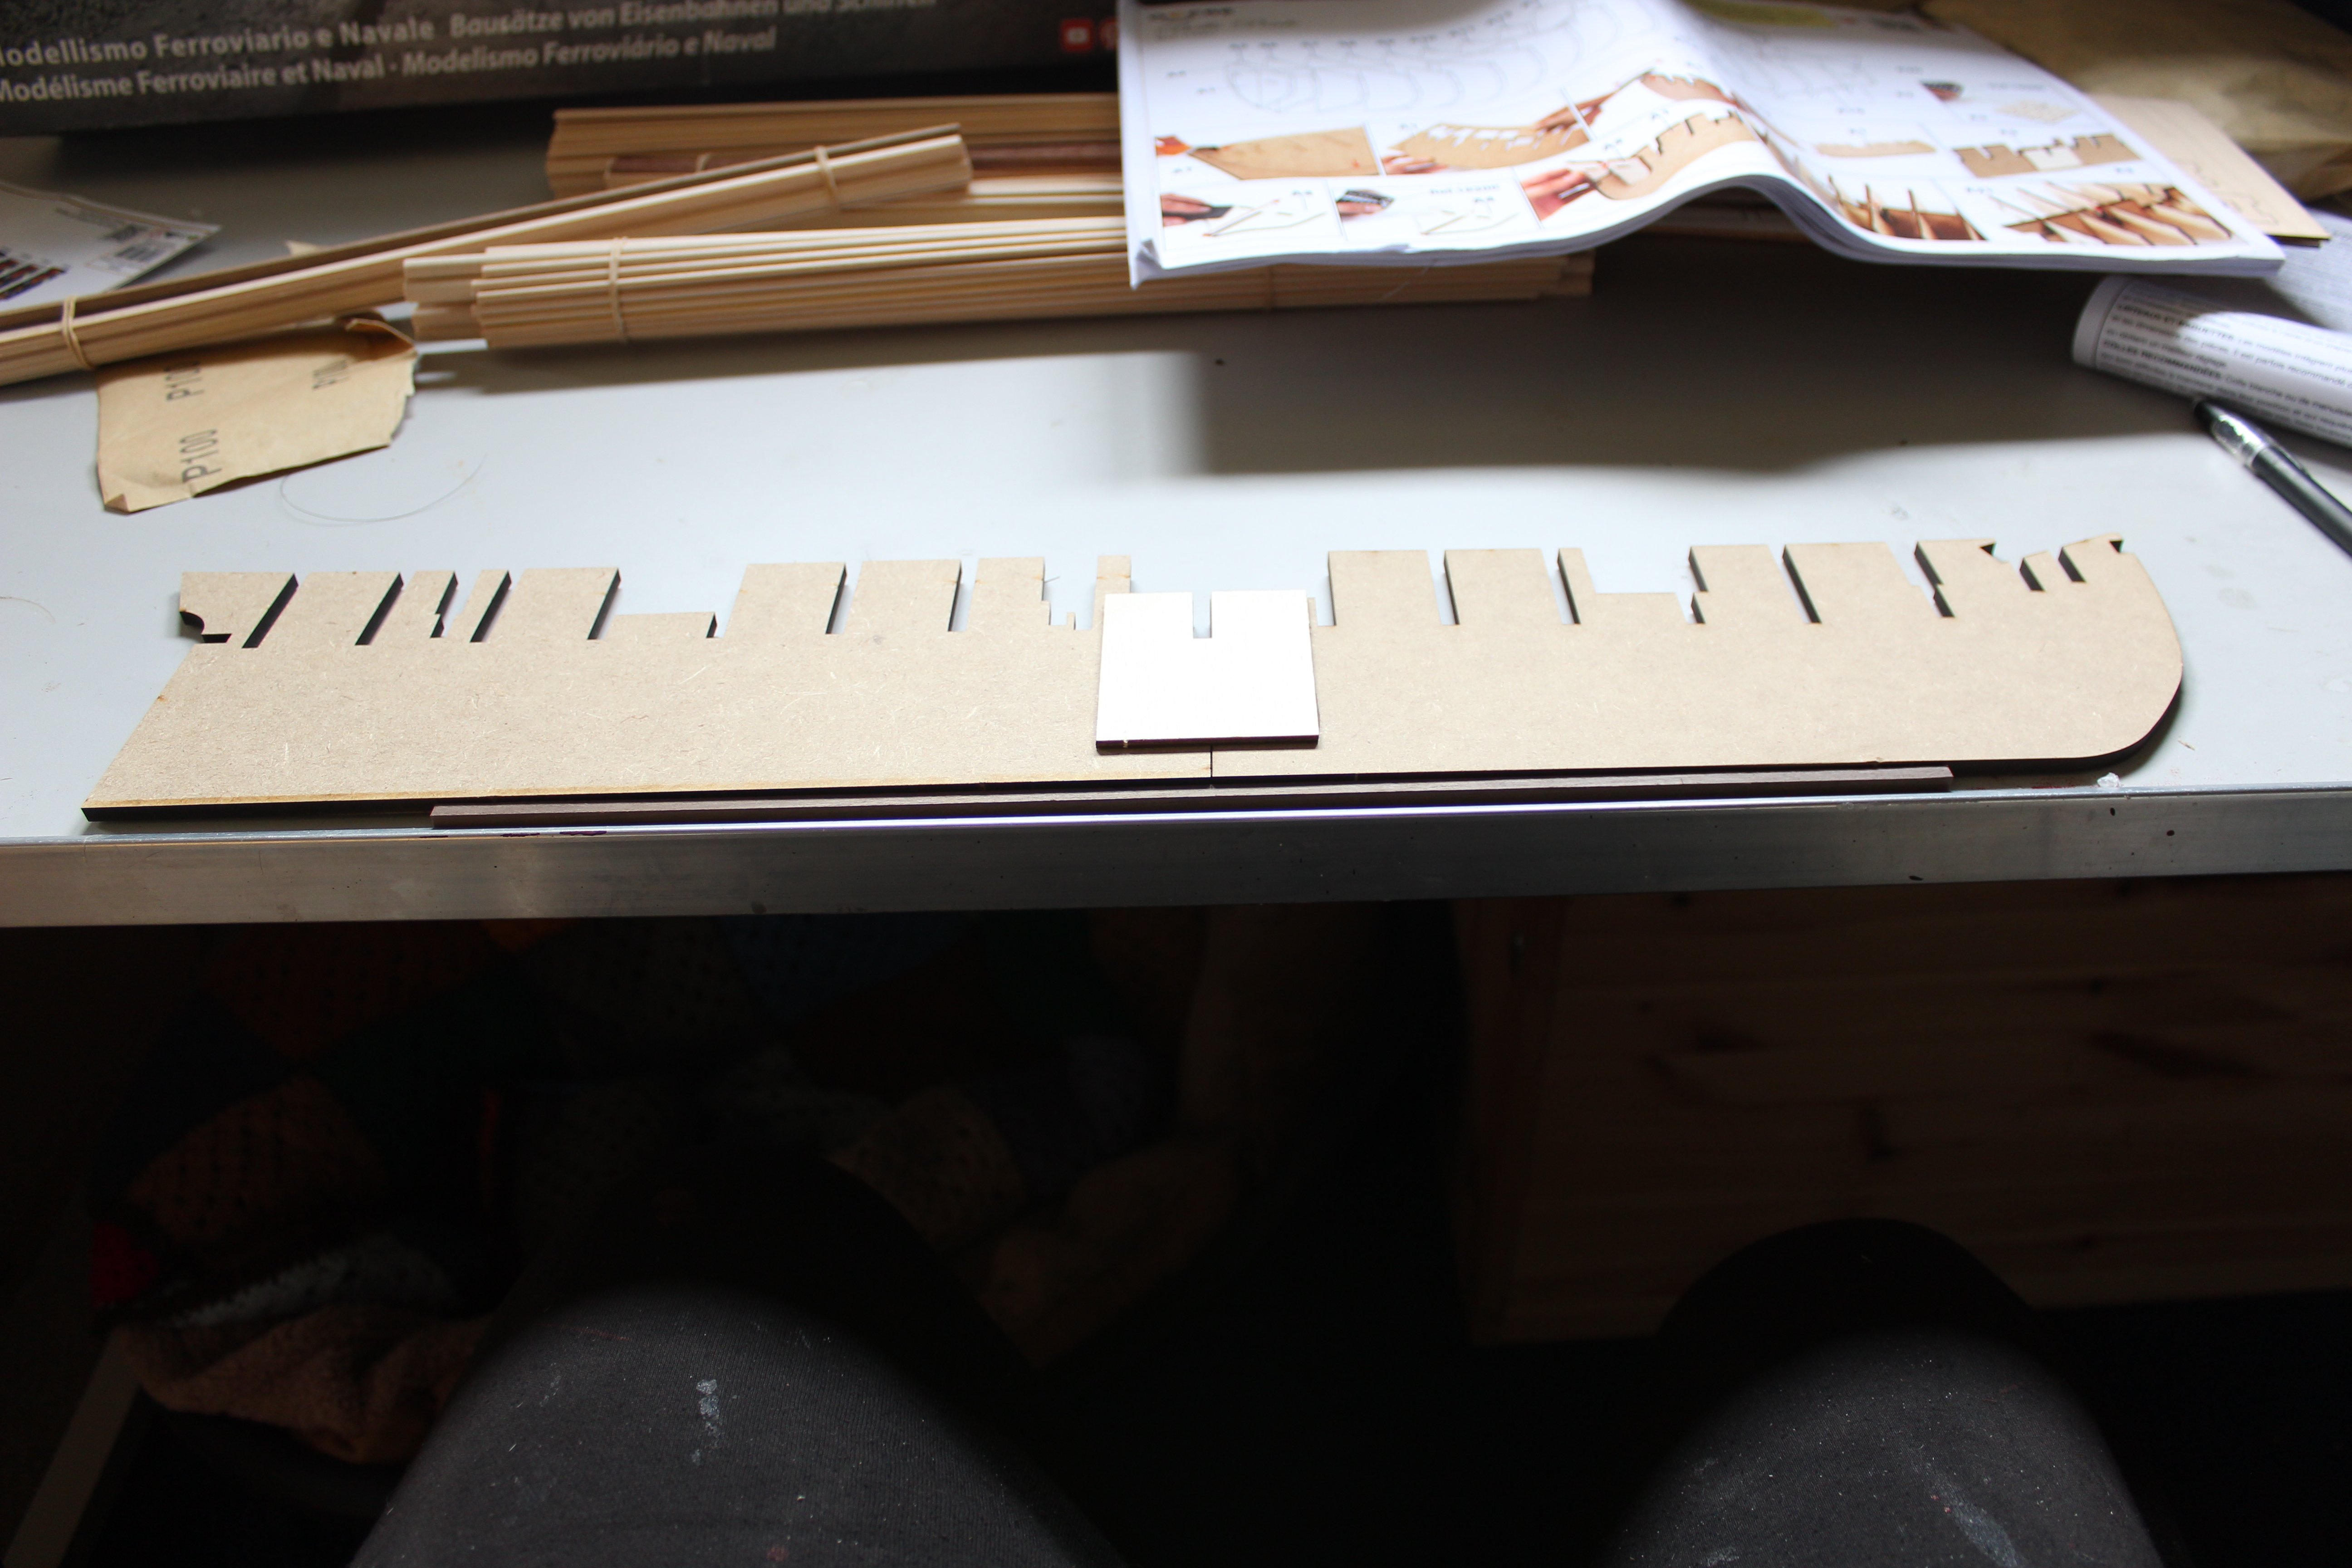
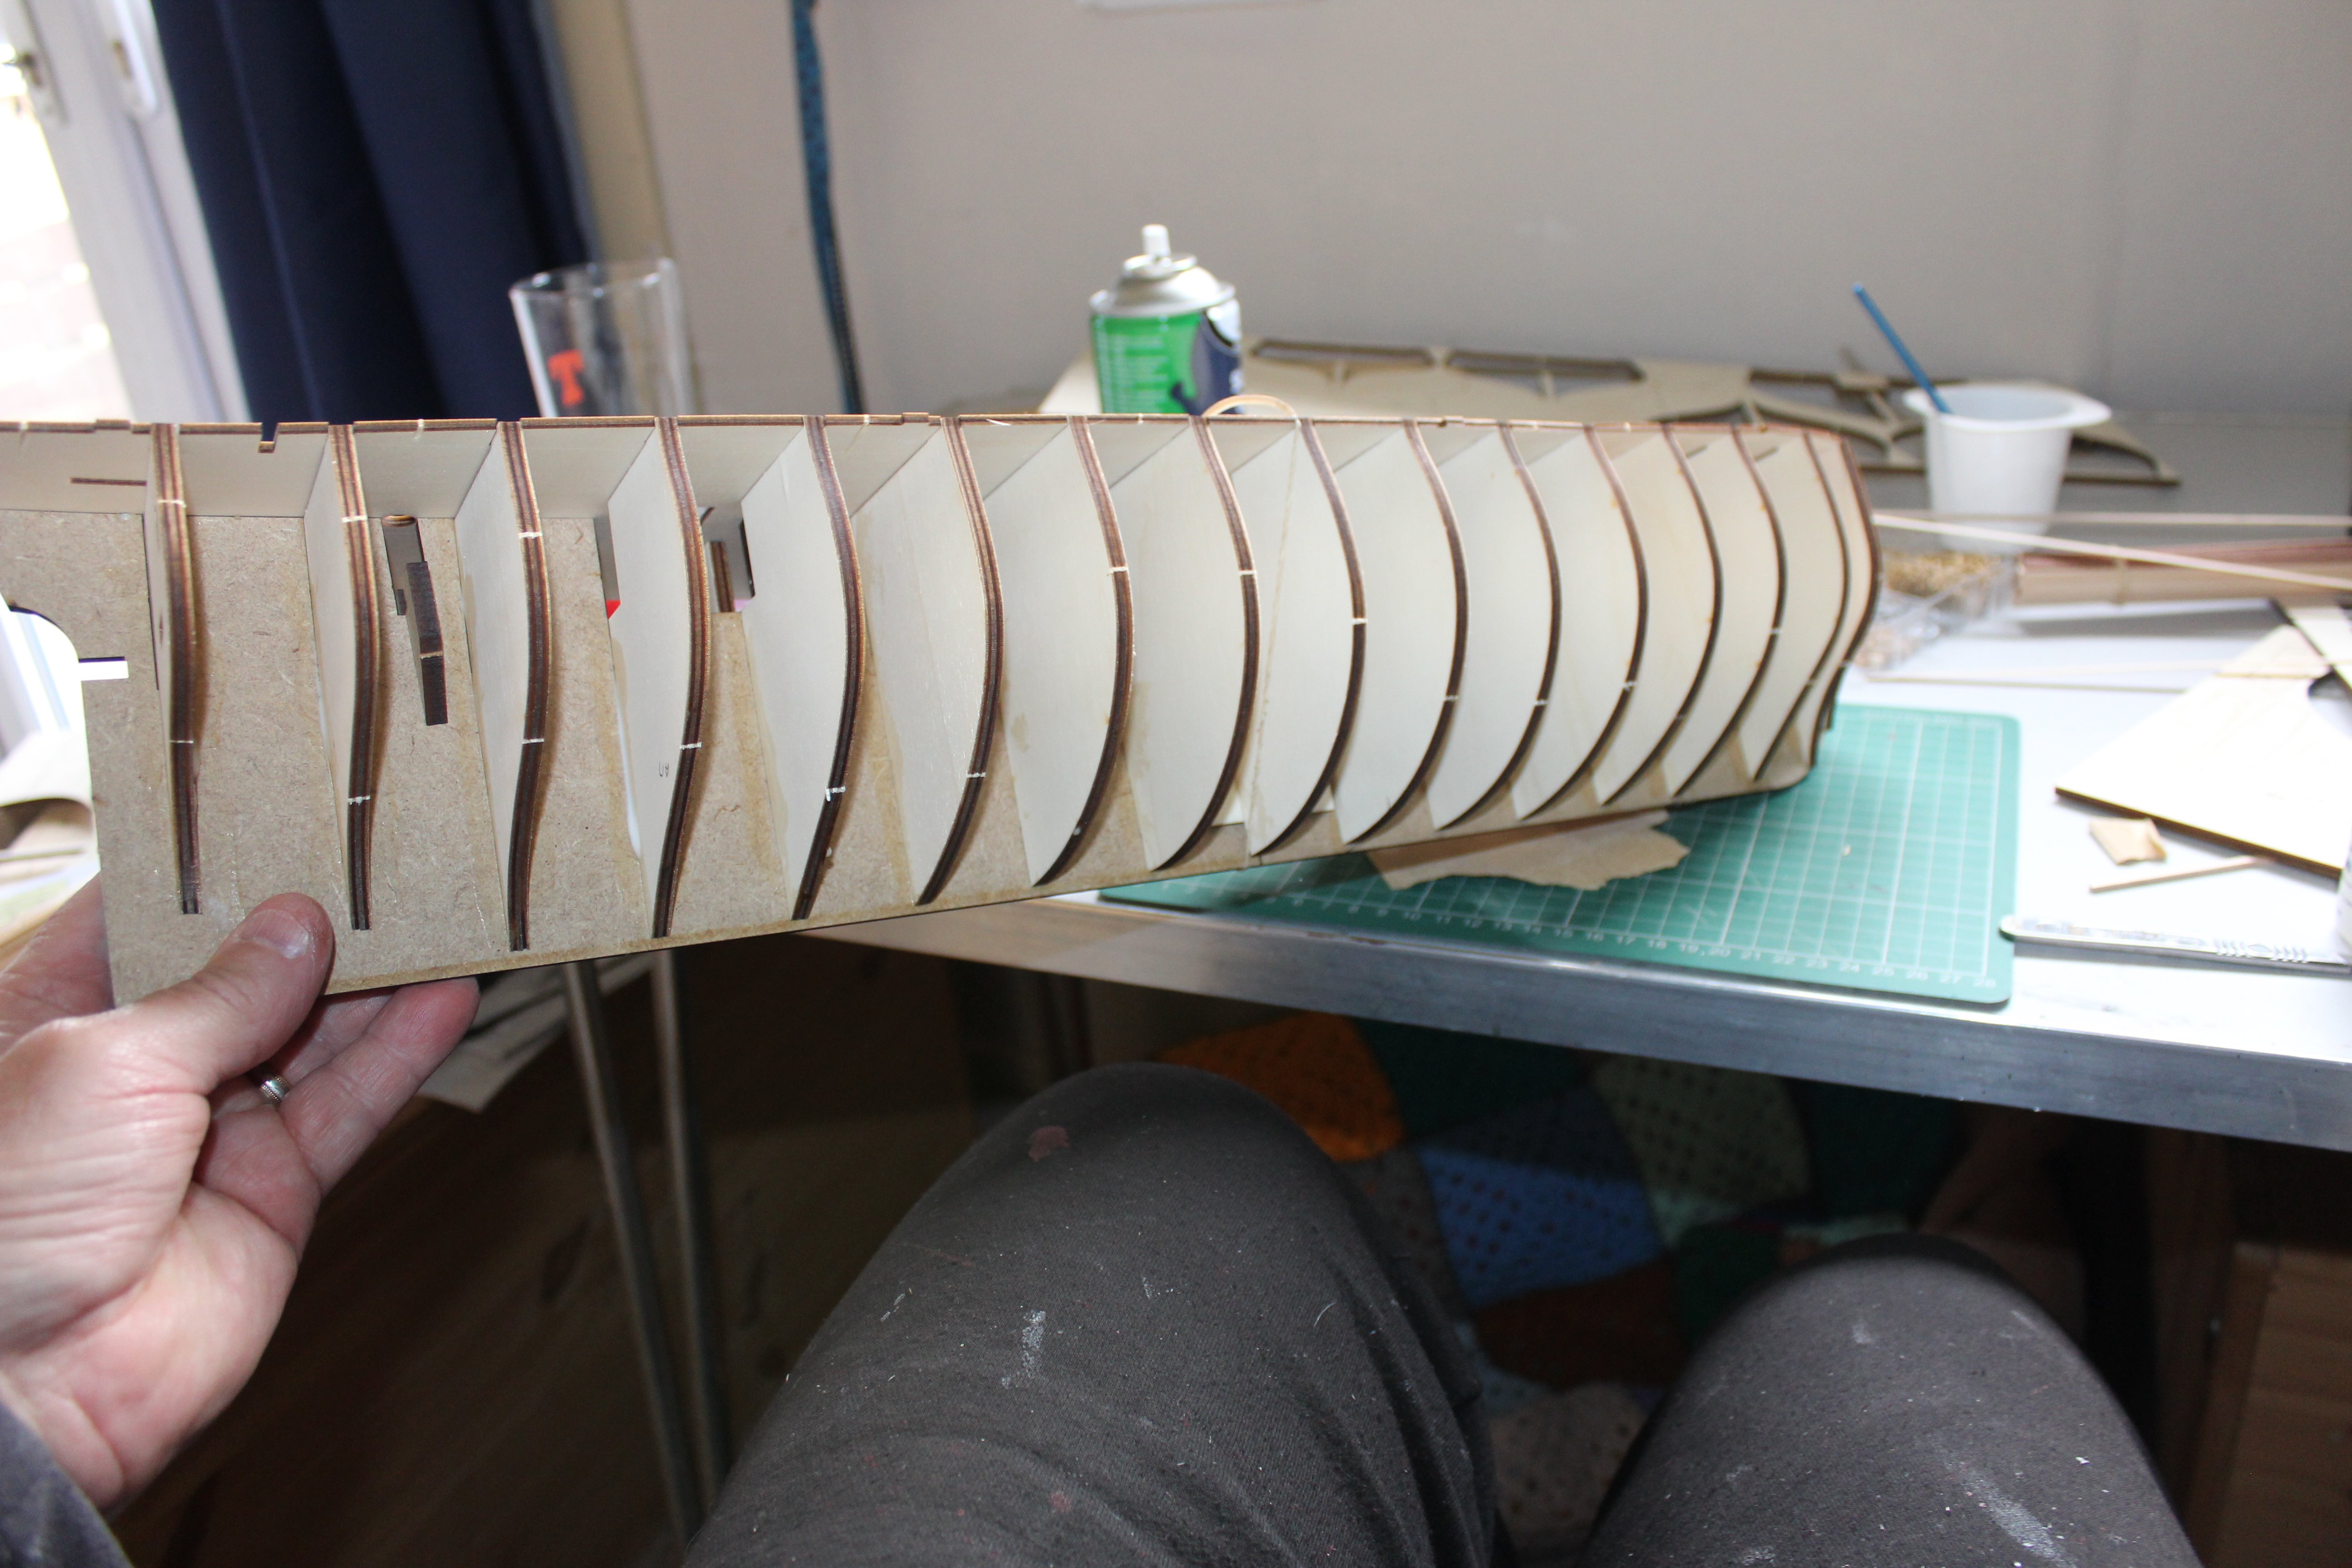
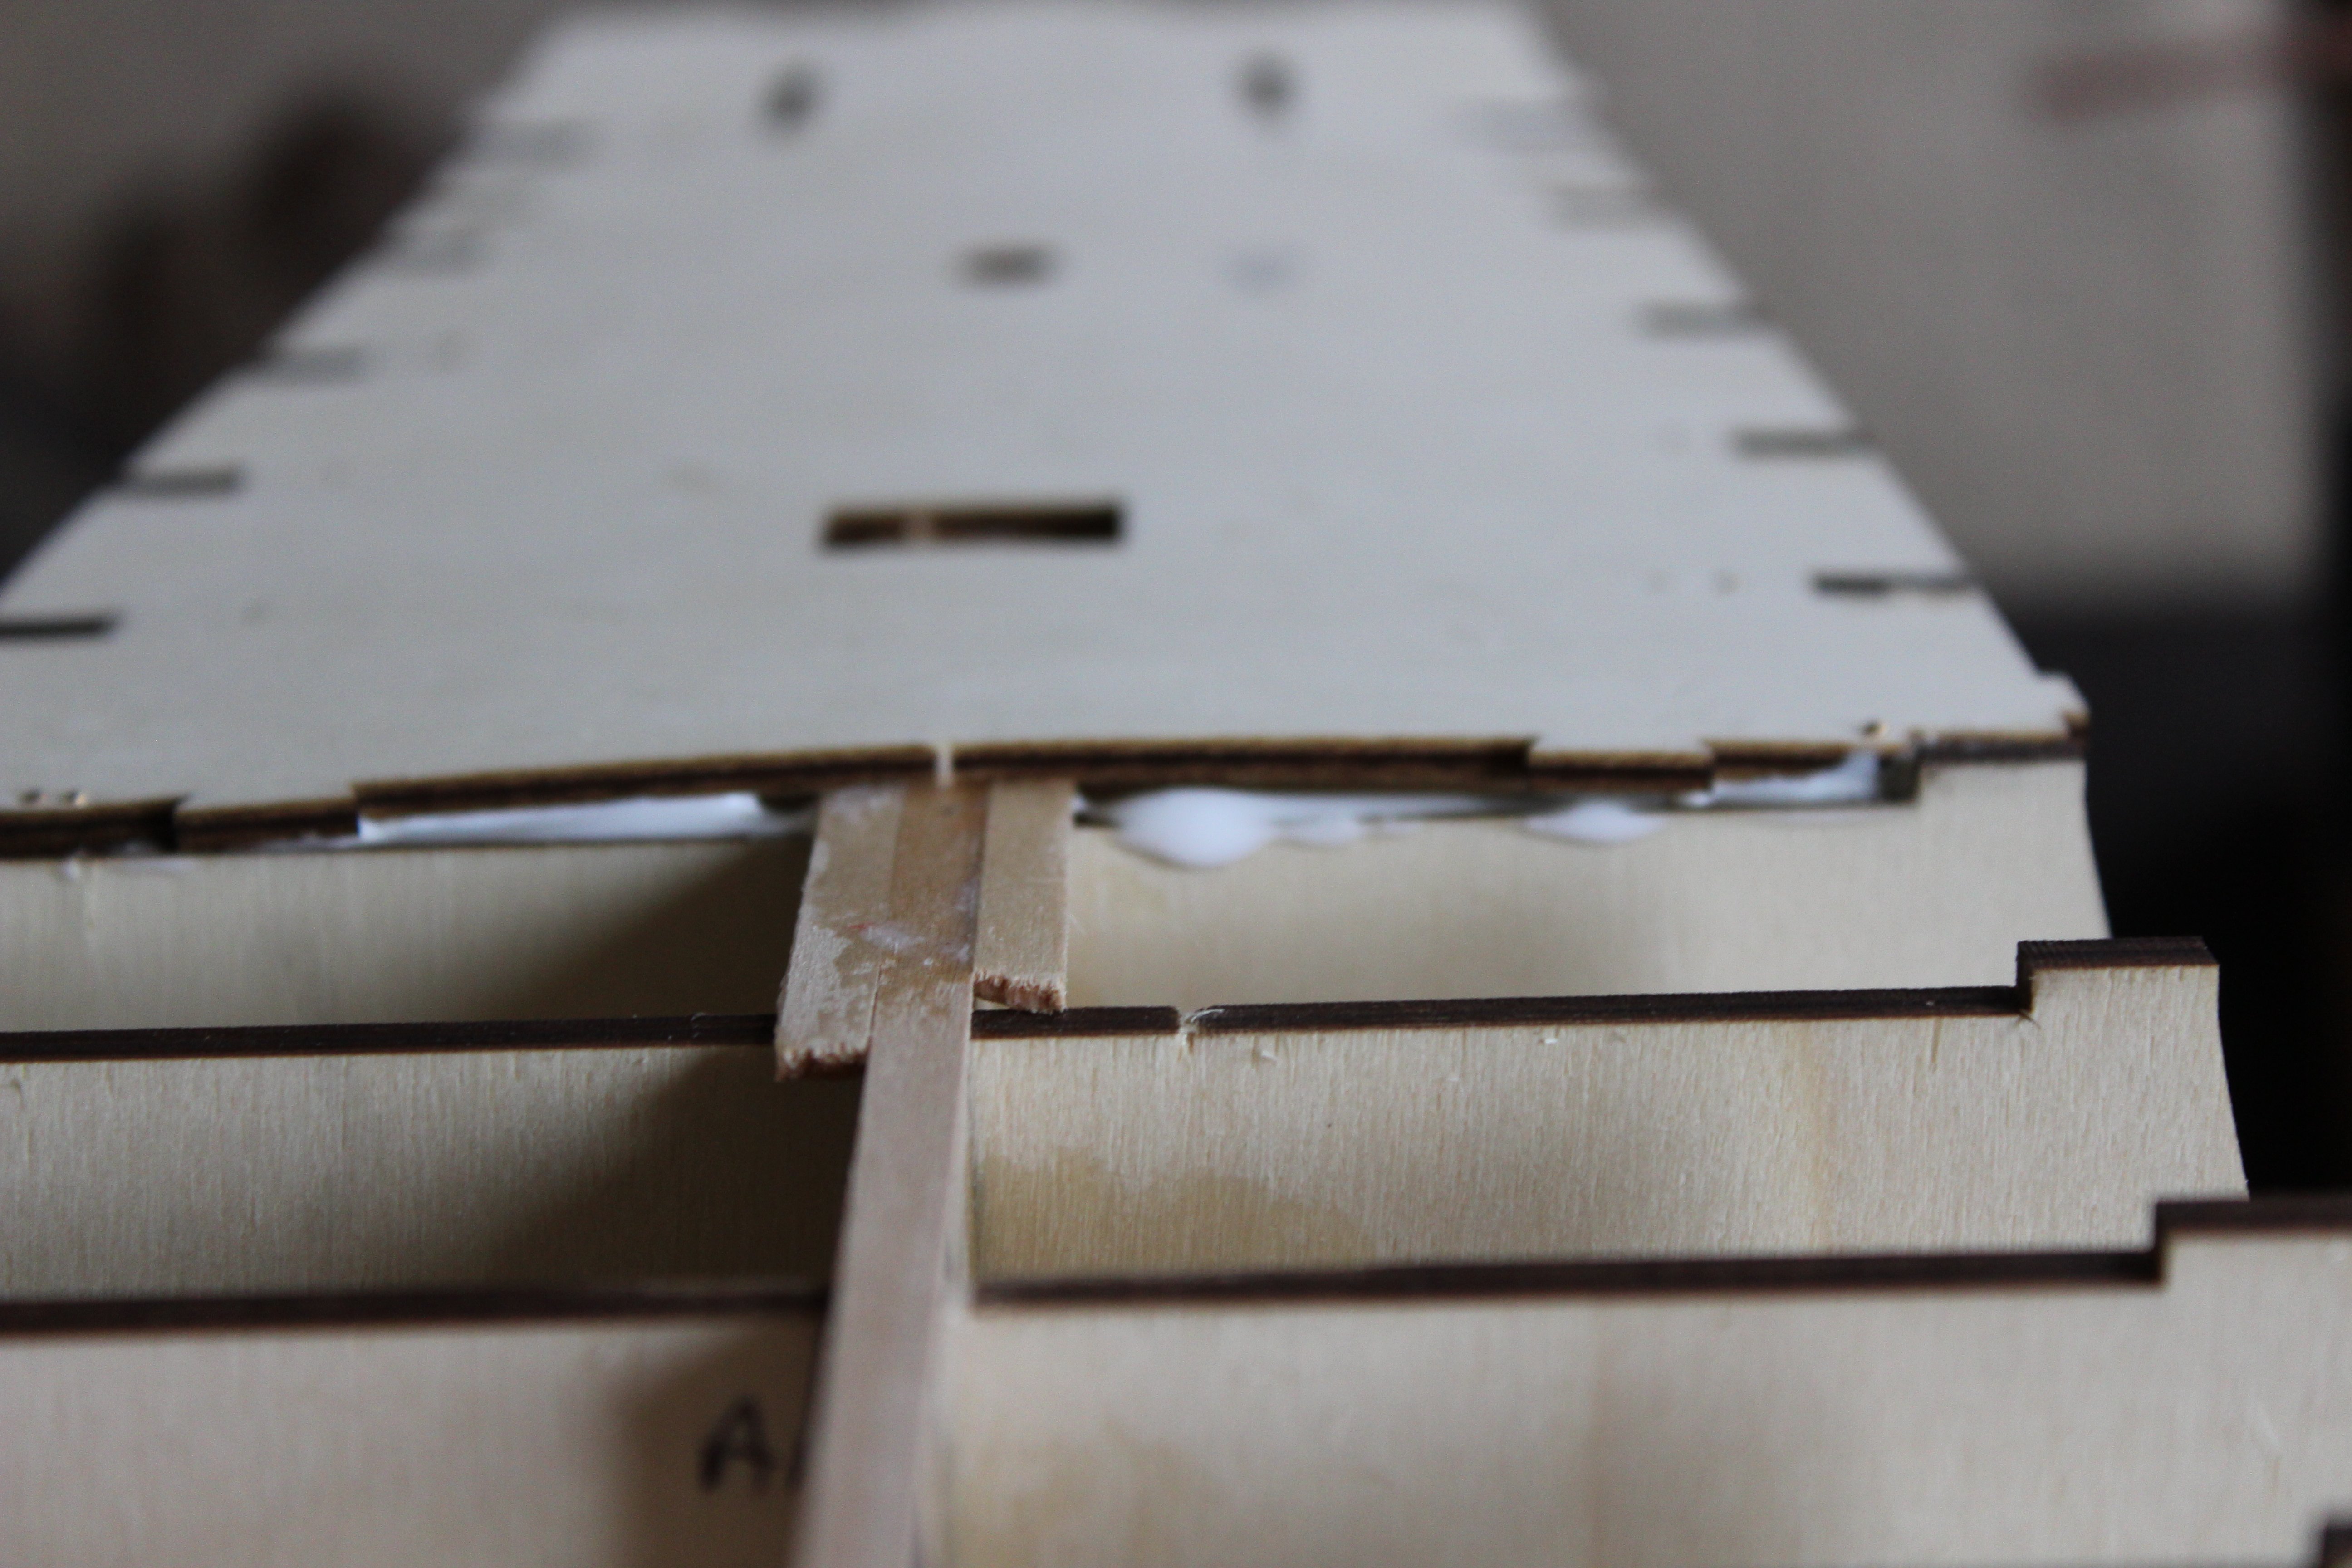
build log day 1
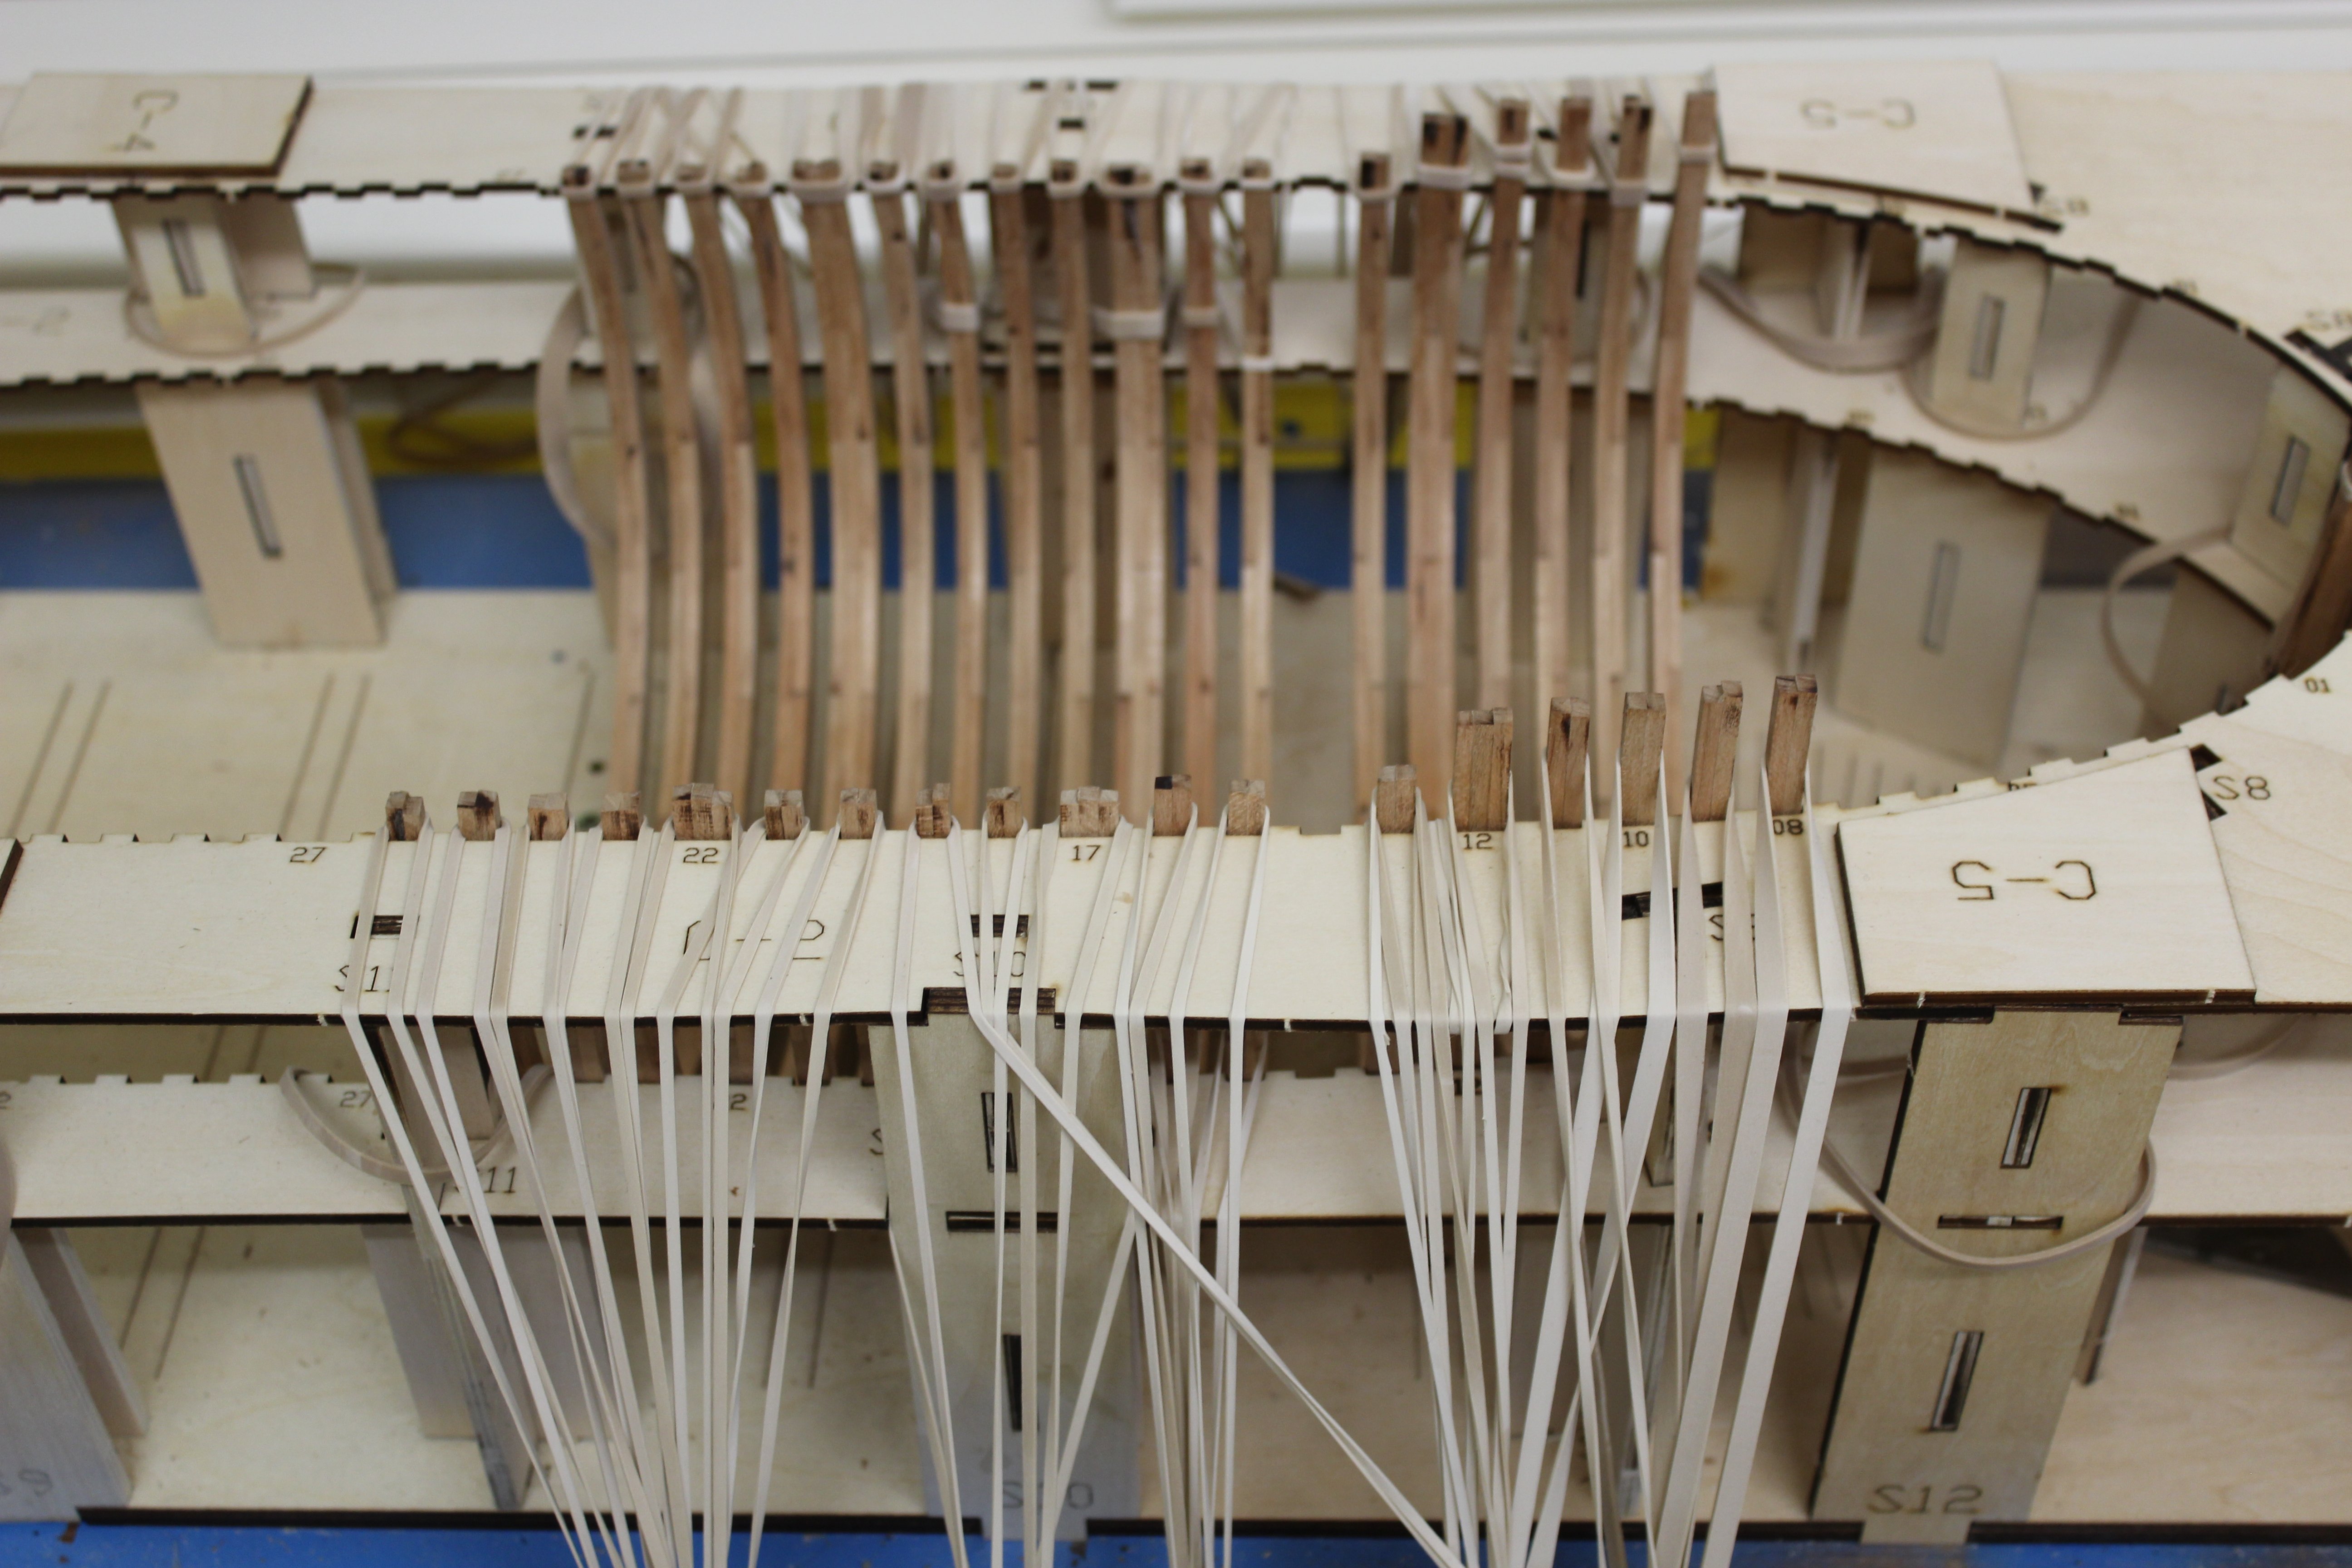
the two pieces of the centre line are sandwiched between two plates

17 frames test fitted, no adjustments were needed
BUT
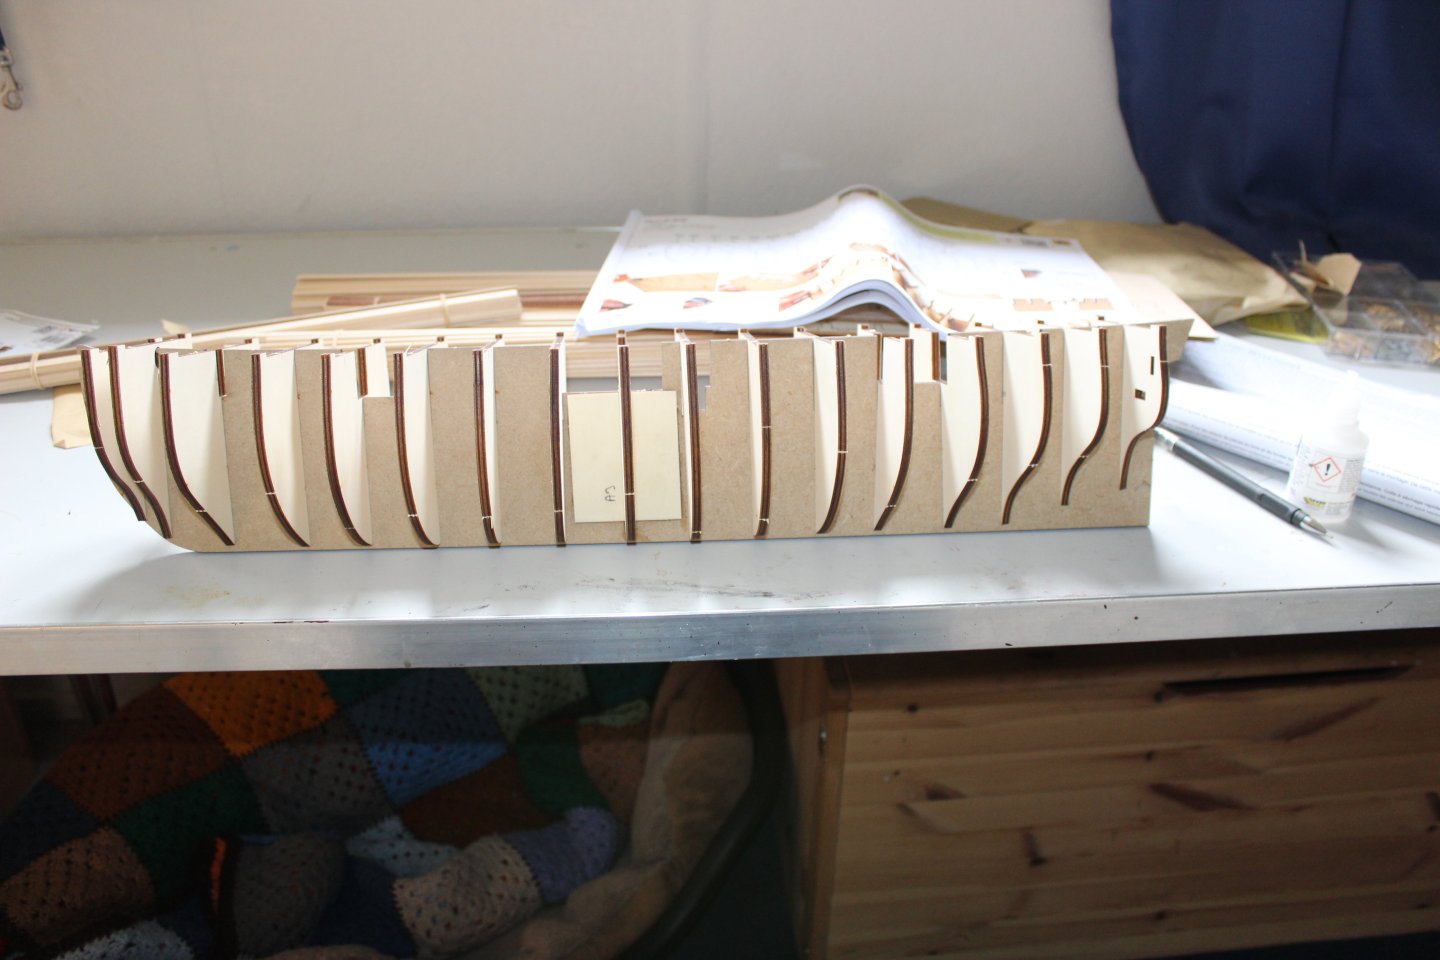
there is no camber
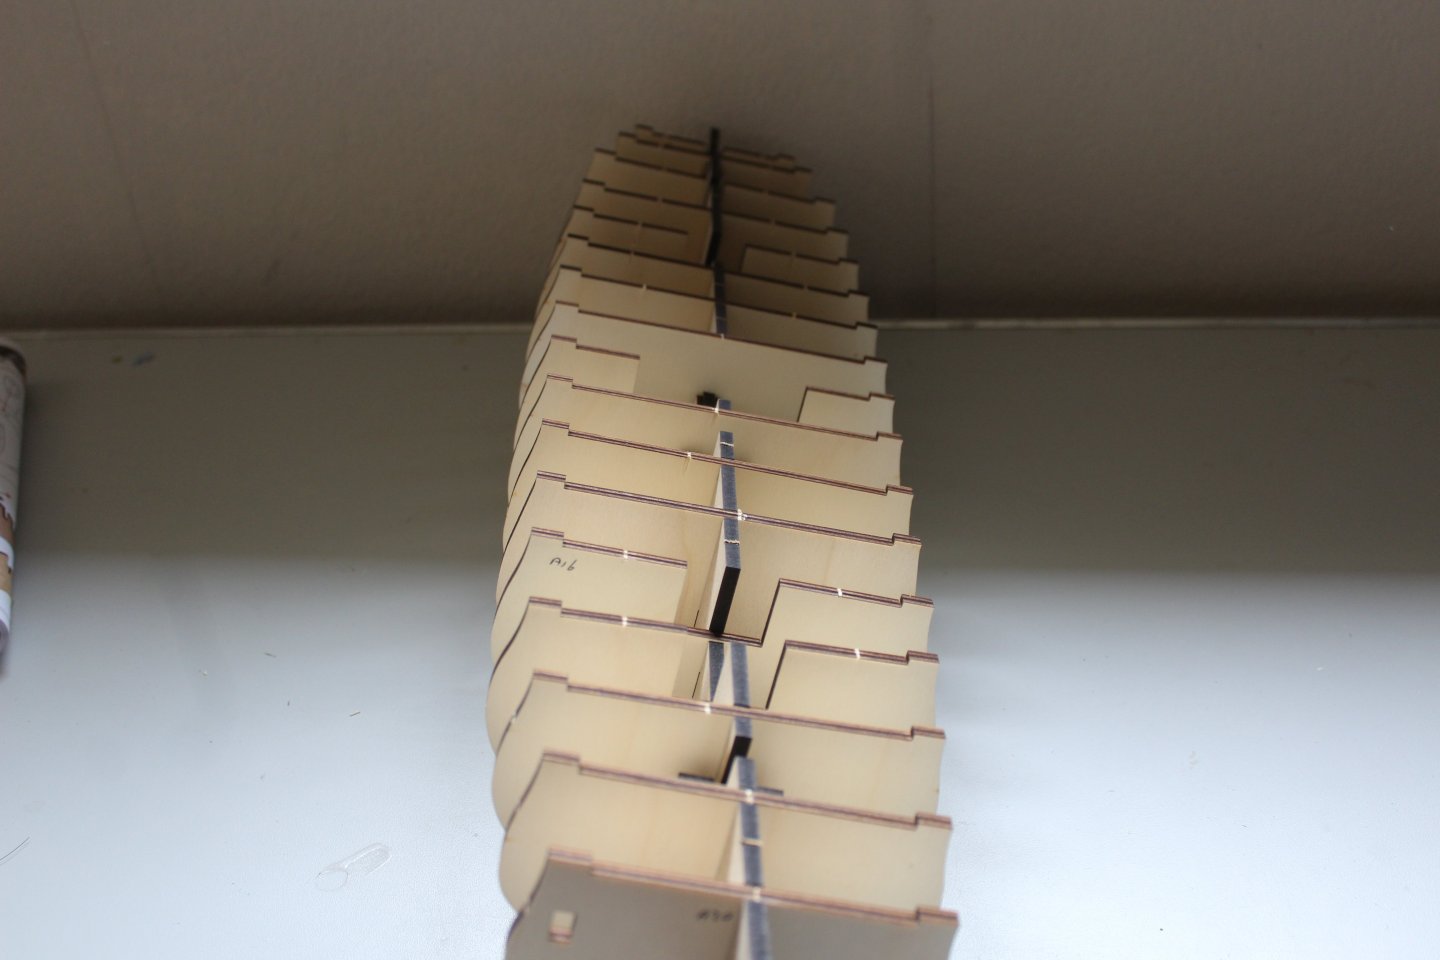
ummm
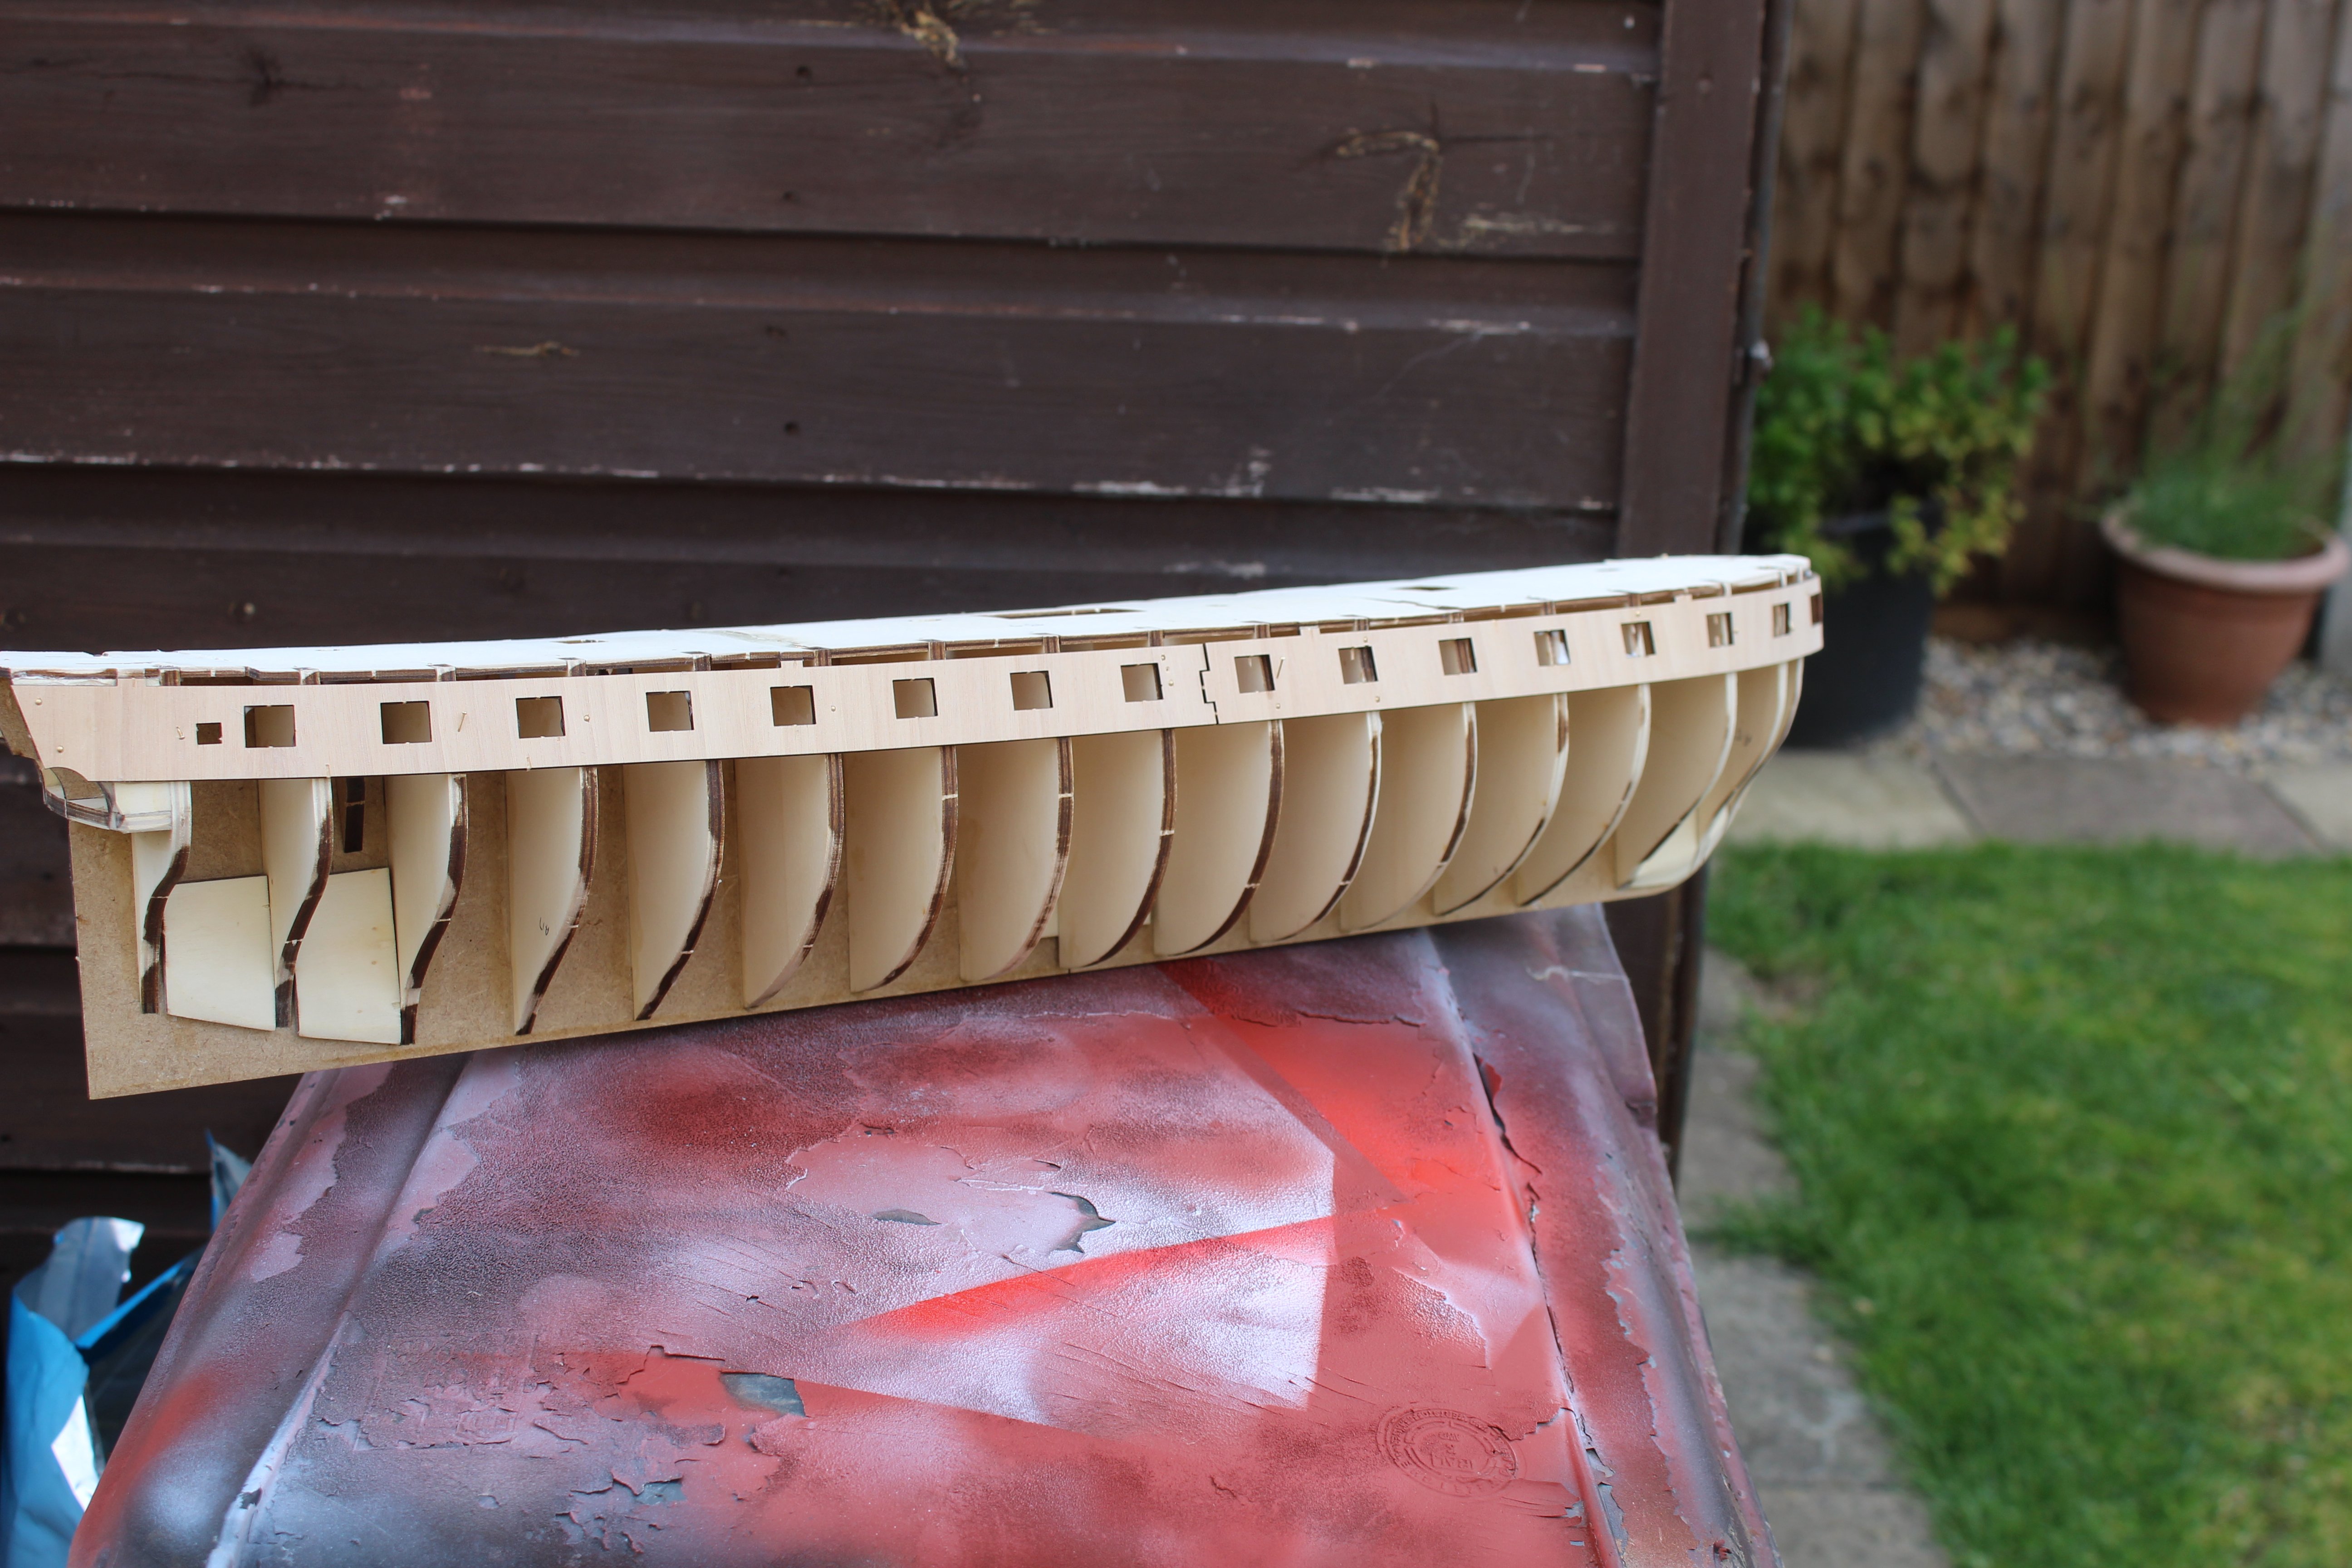
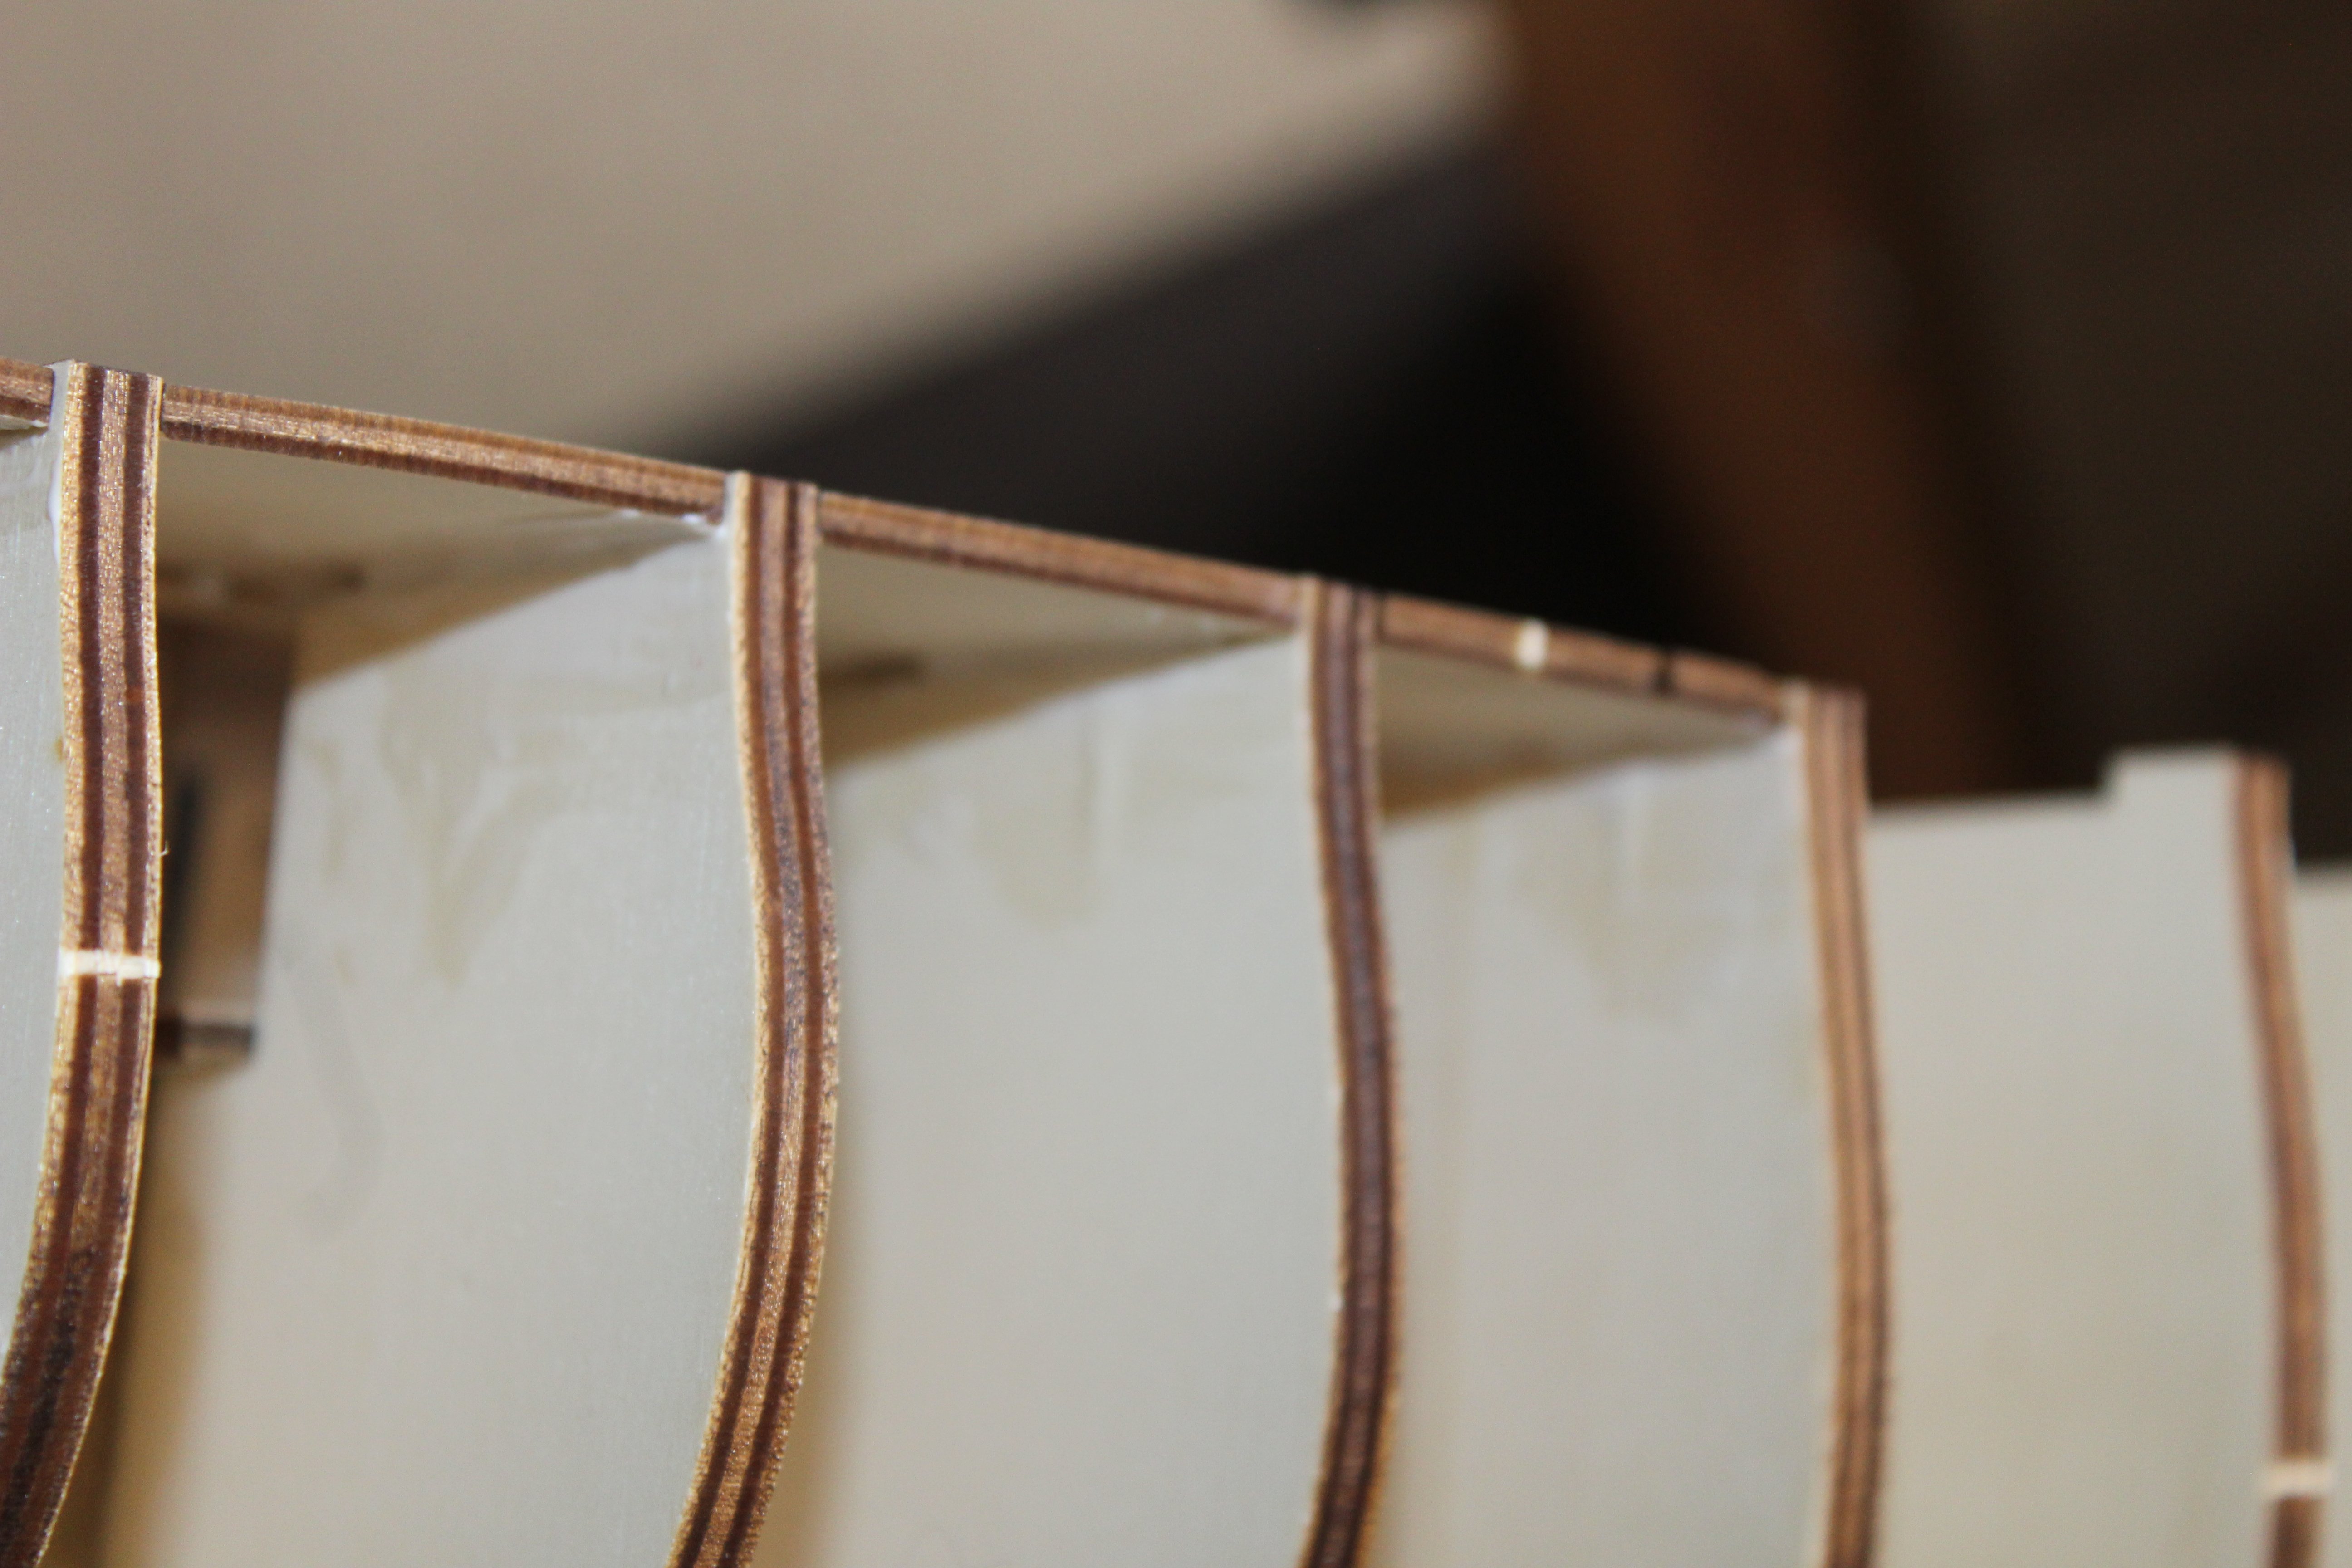
test fitting, everything lines up, all bulkheads and decks are ply, the centreline is MDF

three deck section, planked and test fitted

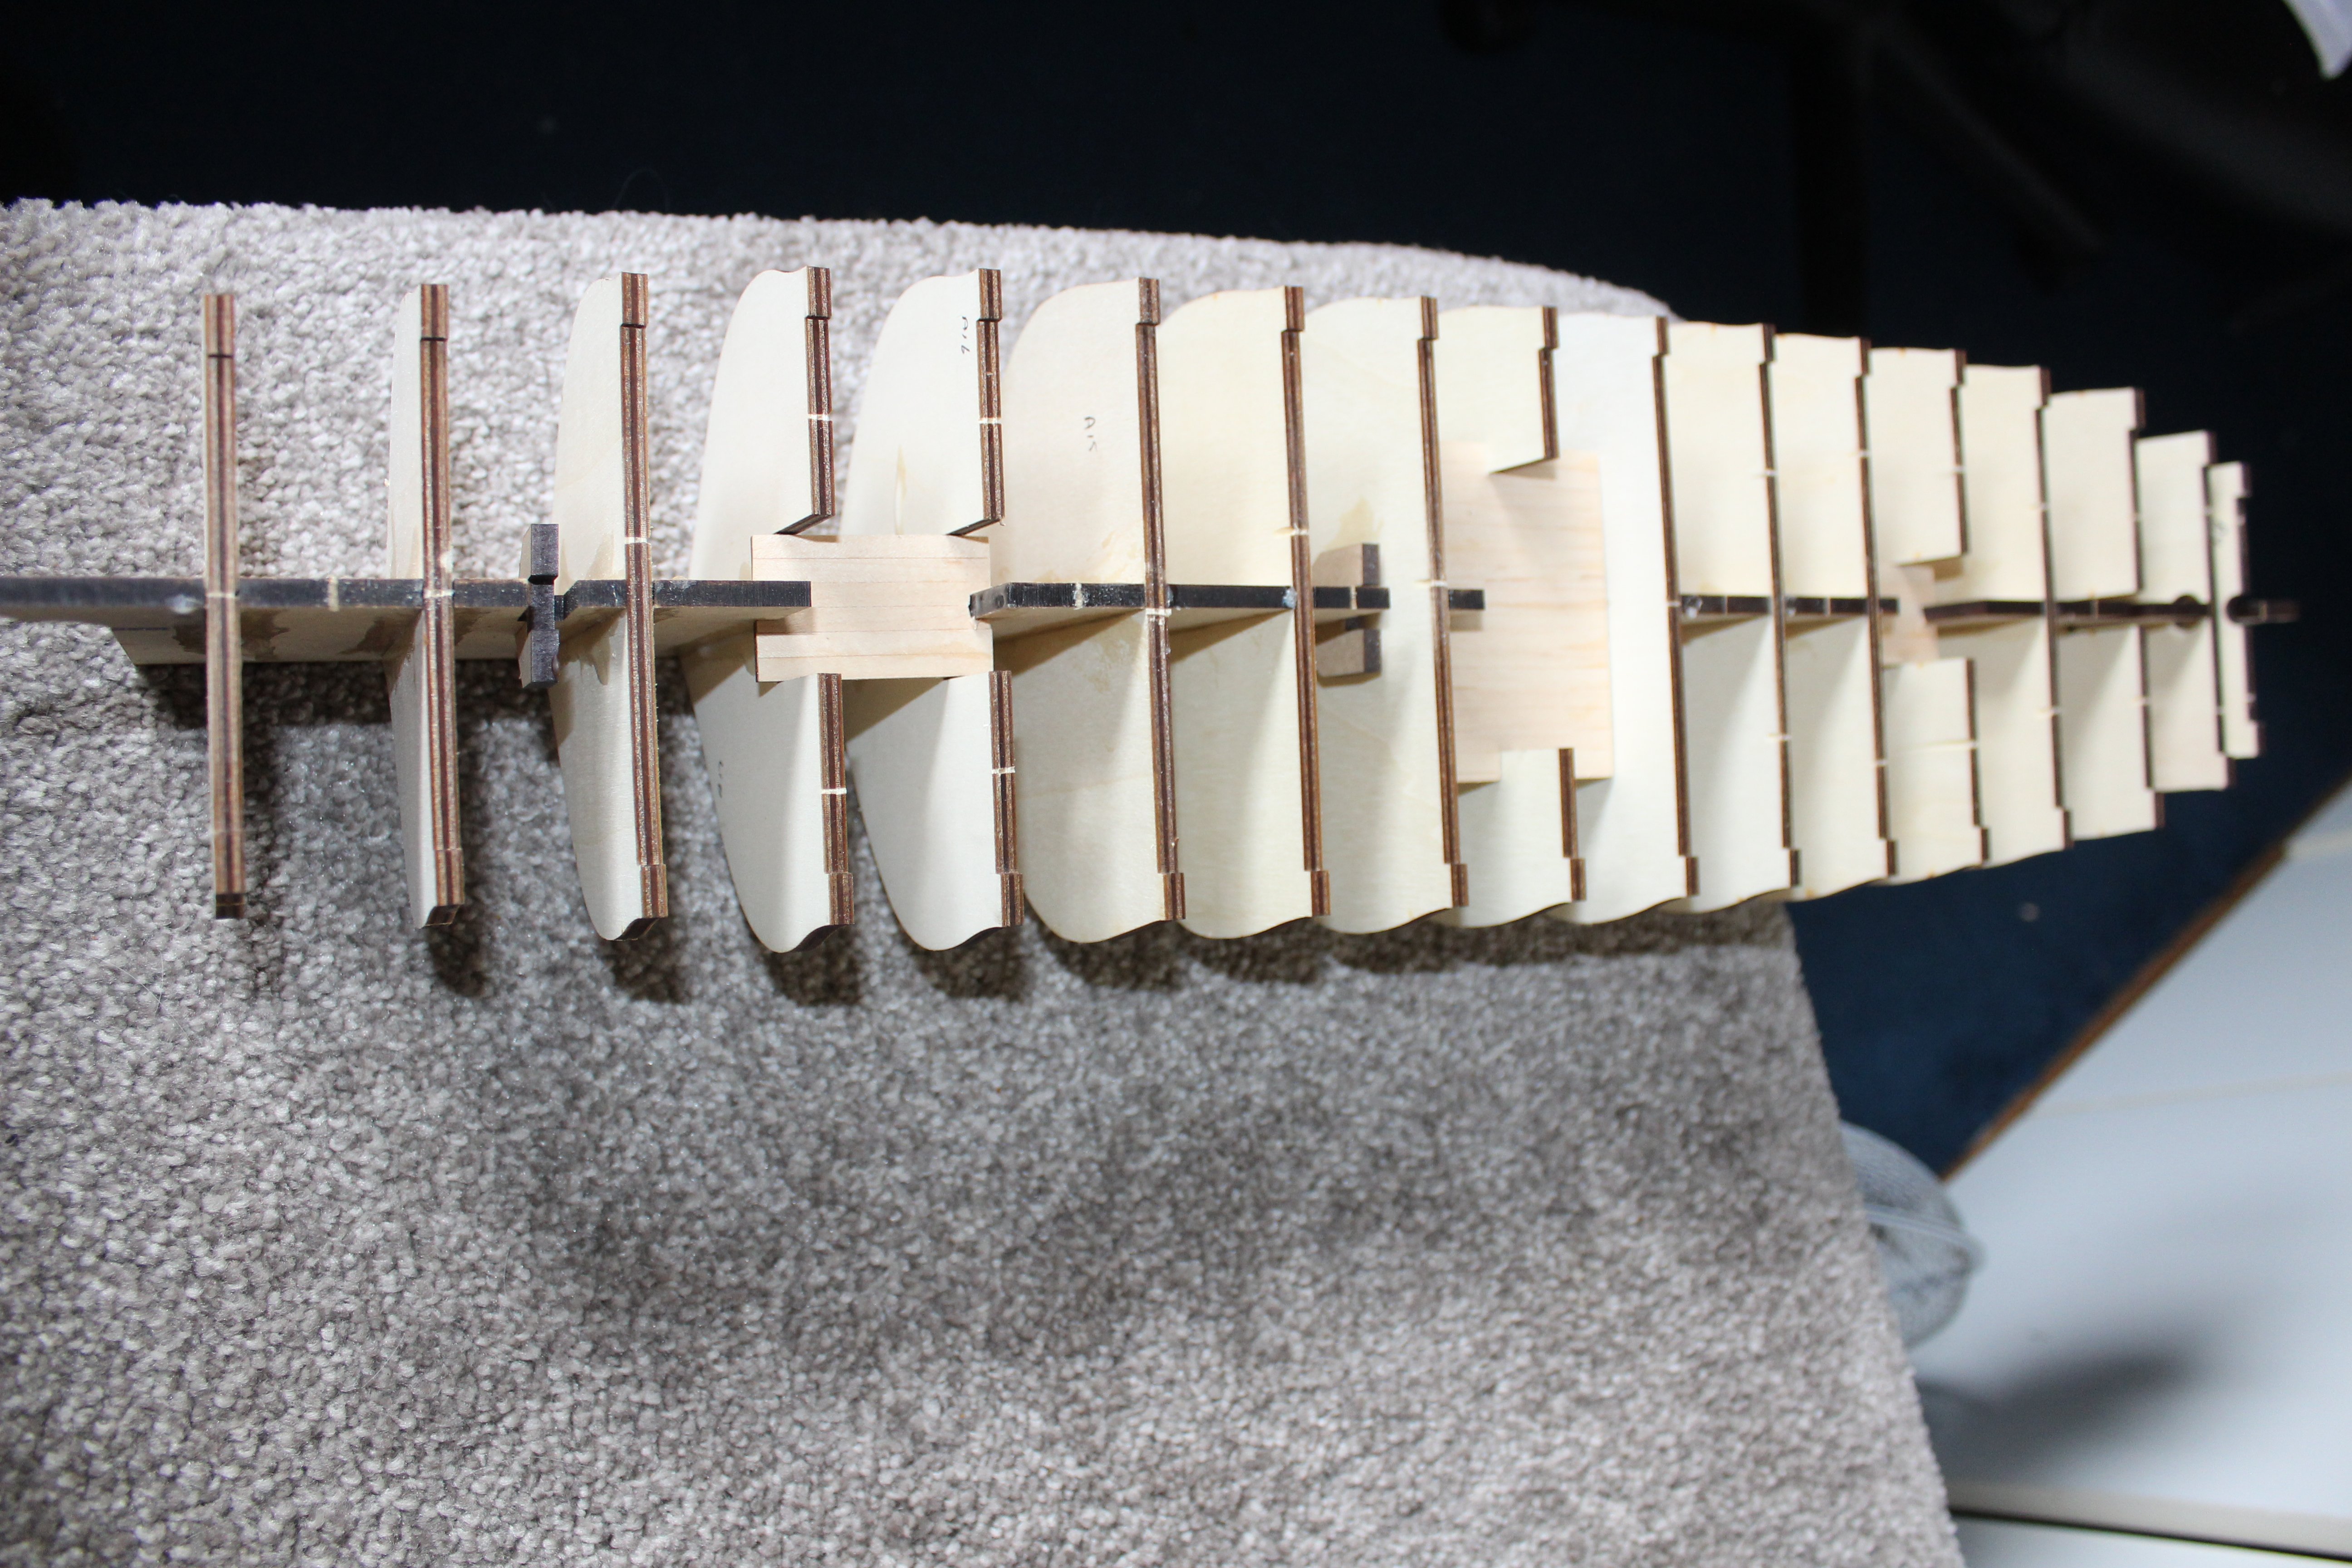
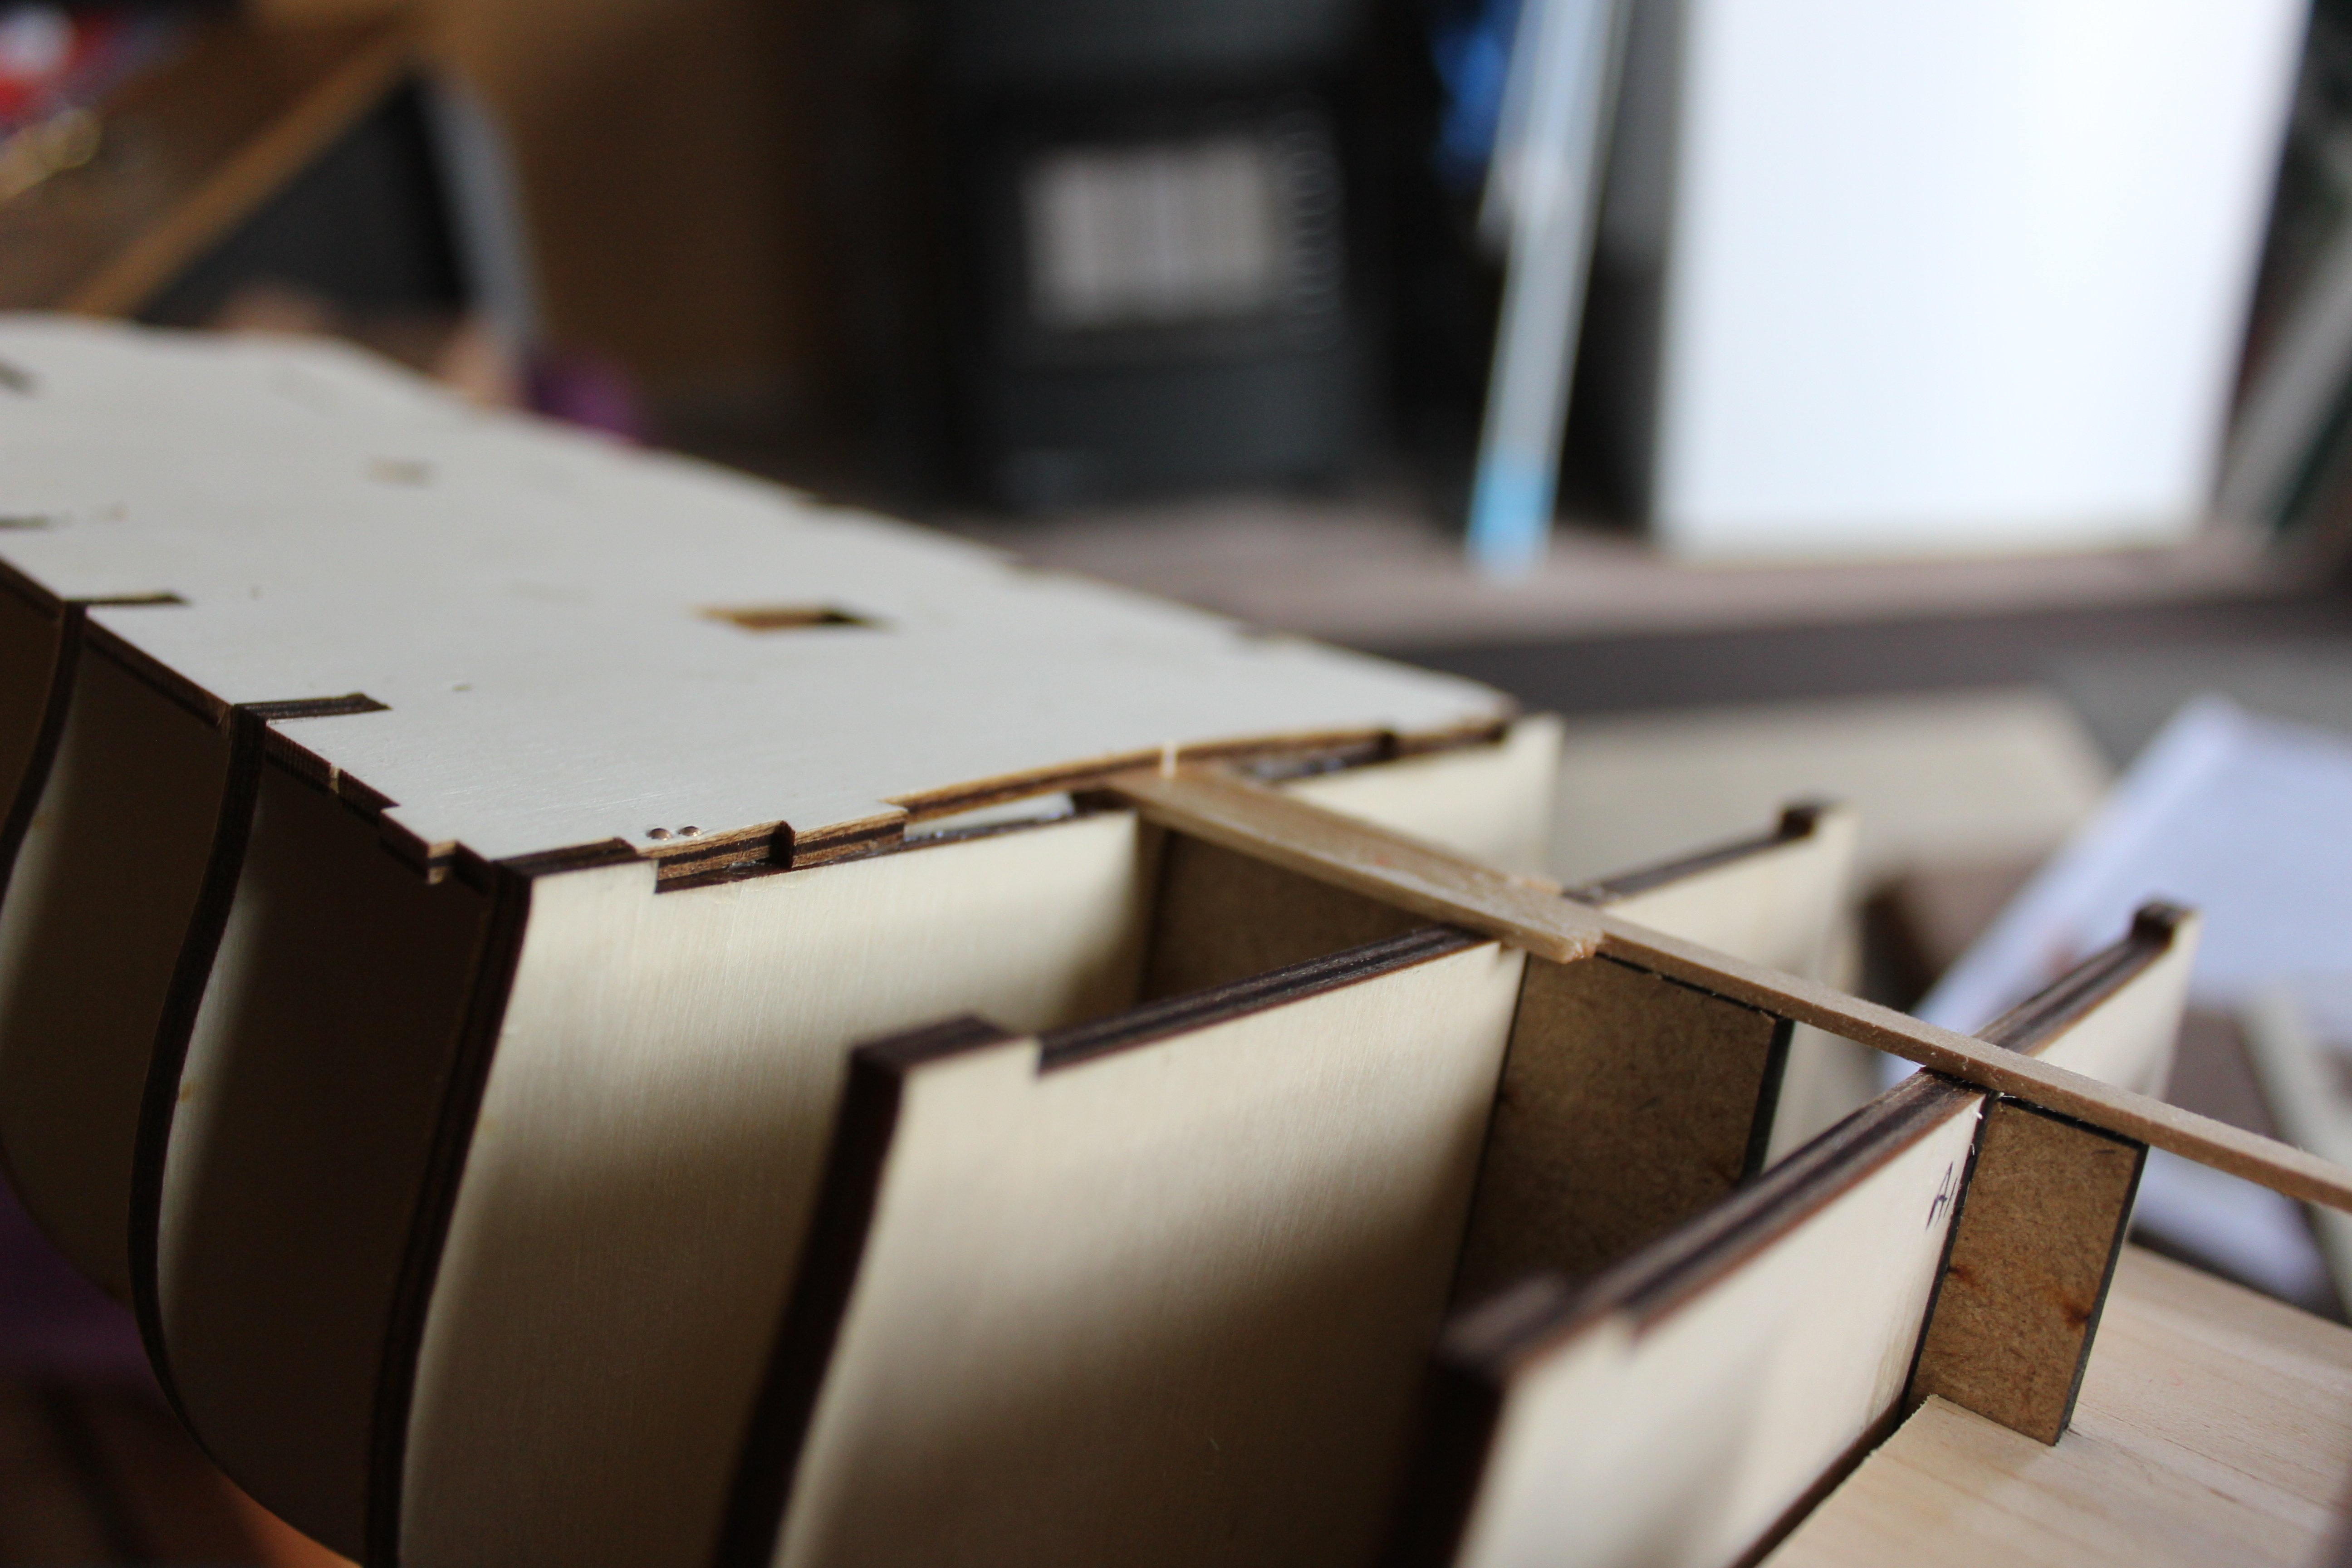
all frames glued in and allowed to dry with top deck in place
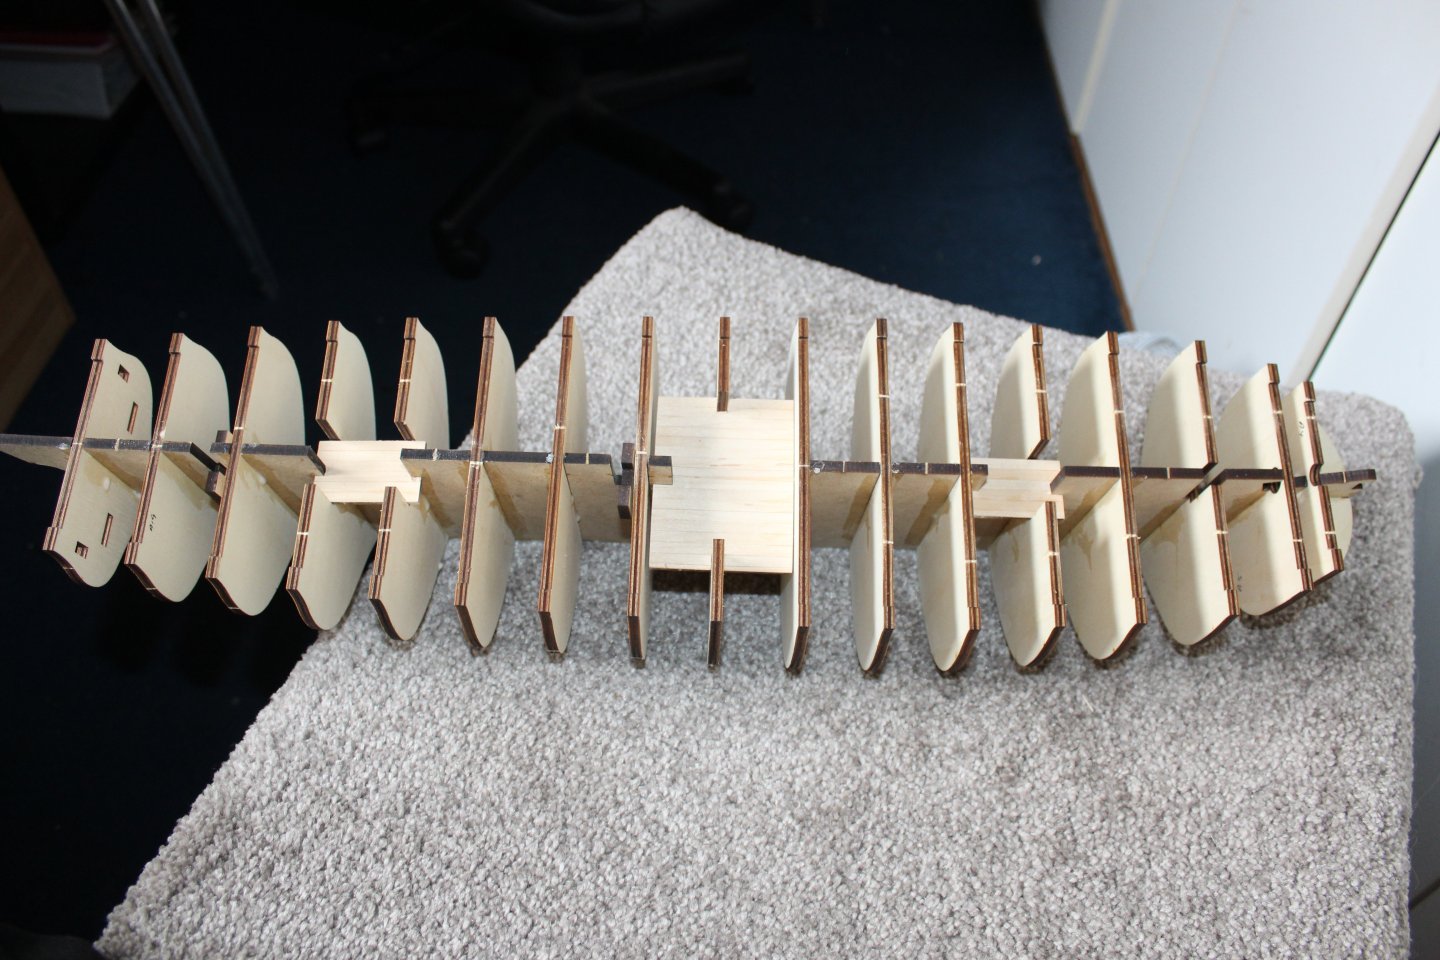
Camber
i decided to raise the centre line by 1.6mm as i want to restrict any long term disadvantages this might cause, but i spread the revised height over 3 planks, 1.6 *15.5mm


glued and pinned
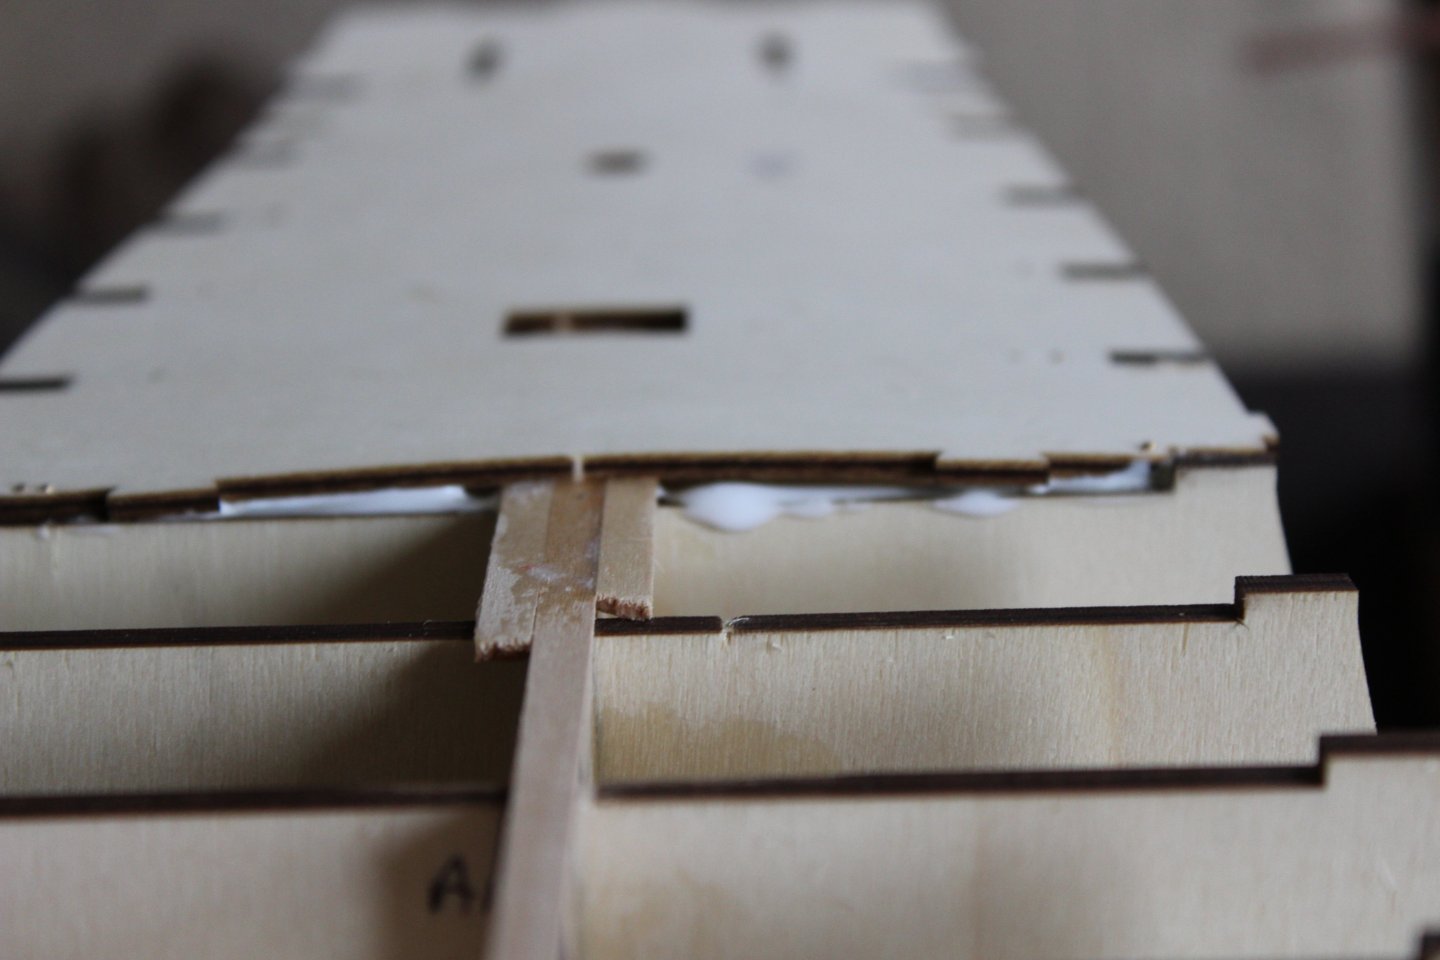

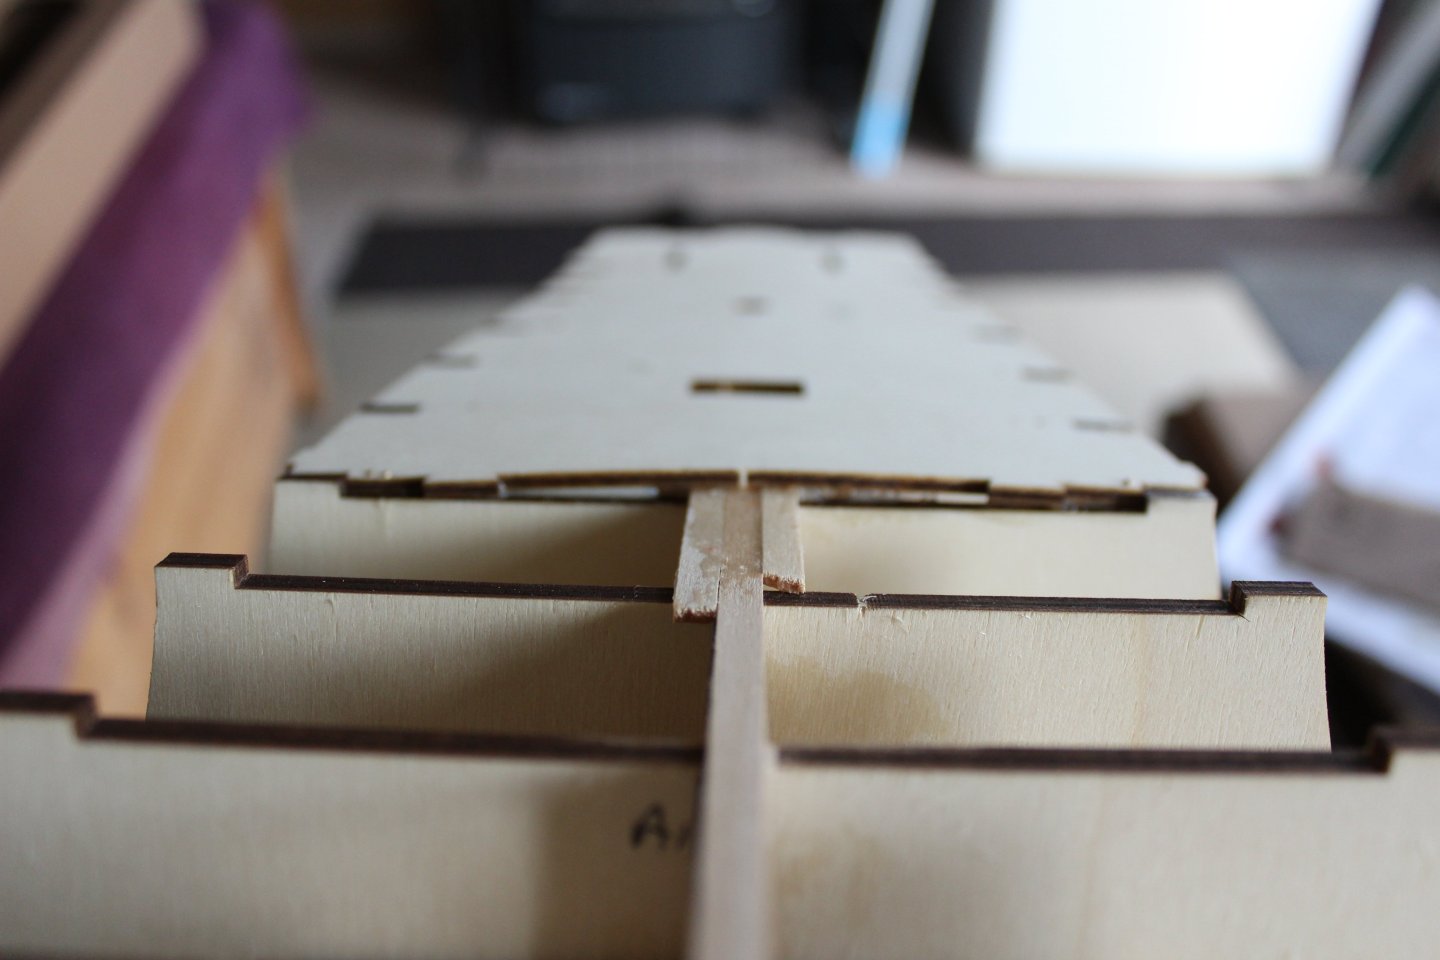
it perhaps could have been increased to 2mm, but is noticeable and im happy

- Canute, GrandpaPhil, wvdhee and 12 others
-
15
-
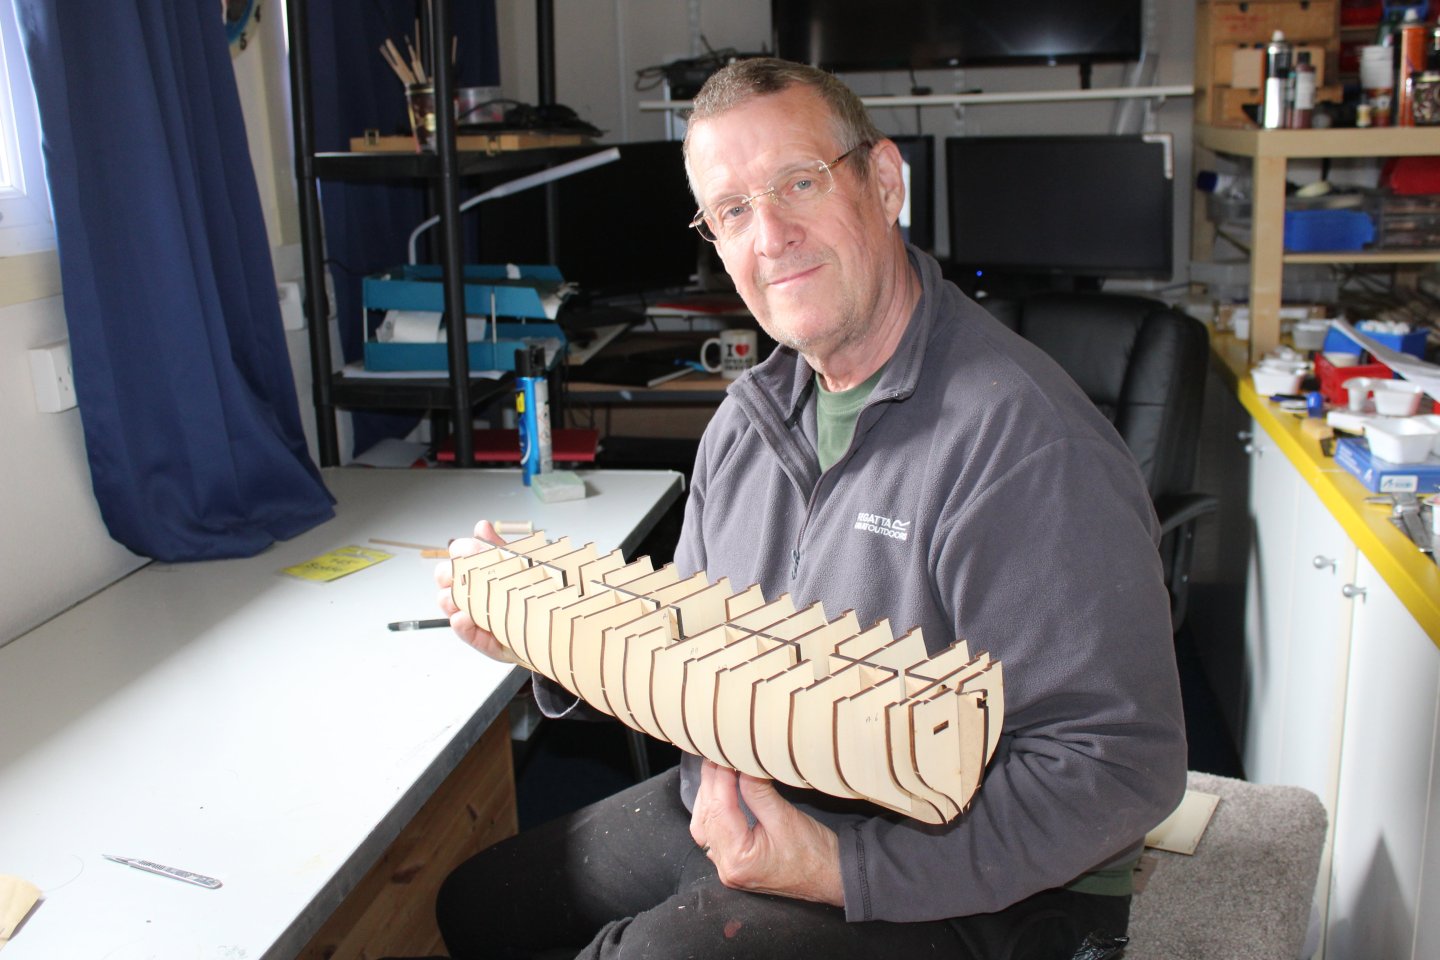
good evening everyone,
Indy is on the build table but since finishing the tug last week i smashed my glasses, and the spares are too out of date to make any difference, i was doing the bowlines, and was struggling doing them after a couple of hours, eye have now been re-tested and my goggles on the way, but for a few days im going to start the Occre Belle Poule, i did a kit review of her a few days ago
For those interested the new boi Apollo is fine, and a new baby has been ordered, born on Friday 24th May this is going to be Odin Minimoo (Odin as in Greek god and i served 8 years on HMS Odin, Minimoo is in tribute to Dobbie who we lost about 8 weeks ago
Belle Poule - Occre - 1/90 - review by kevin - REVIEWS: Model kits - Model Ship World™
Apollo and the wife, love them to bits

Odin Minimoo

-
From wikki
Belle-Poule was a Surveillante-class 60-gun first rank frigate of the French Navy. She achieved fame for bringing the remains of Napoleon from Saint Helena back to France, in what became known as the Retour des cendres.
Construction and early career[edit]
Although construction was started in 1828, Belle-Poule was launched only in 1834. She was one of the first ships to be built in a covered shipyard, which allowed the builders to delay construction while the political and financial circumstances were not favourable. Her design was inspired by USS Constitution.[1] She was commissioned in July 1835, and displayed very good sailing properties.
On 1 August 1839, under command of the Prince of Joinville, third son of King Louis-Philippe, she left Cherbourg to join the Eastern fleet of Admiral Lalande. In October, she ran aground on the Taches Blanches, in the Dardanelles and was damaged. She was refloated and taken into Constantinople, Ottoman Empire for temporary repairs before sailing to Toulon for permanent repairs.
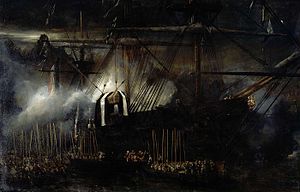
Retour des cendres
On 27 July 1840, she set sail with special equipment for Saint Helena to bring back the remains of Napoleon. She had been painted black for the occasion. On 30 September, she arrived back in Cherbourg, where, on 8 December, the Emperor's remains were transferred to the steamship Normandie. Normandie transported the remains to Le Havre and up the Seine to Rouen, for further transport to Paris.
The transfer of the remains from Belle-Poule to Normandie in the road of Cherbourg was executed in much ceremony, and became a subject of choice for marine and romantic painters.
Canada and Morocco
In 1841, Belle-Poule cruised along the Canadian coast, landing in Halifax, Nova Scotia and visited New York City, where the Prince of Joinville visited the President of the United States. Belle-Poule was back in Toulon on 14 July 1842.
In 1844, Joinville, then vice-admiral, was sent to Morocco to support the action of General Thomas Robert Bugeaud in Algeria, with Suffren, Jemmapes, Triton, and the frigate Belle-Poule. Tanger came under attack on 6 August, and Mogador was taken on 15 August.
Afterwards, Belle-Poule cruised the Indian Ocean, where a cyclone left her with serious damage. She was repaired in Sainte-Marie de Madagascar, and returned to Brest.
Crimean War and late career
She took part in the Crimean War, mostly as a transport; she stayed in the East until August 1856, and sailed back to Toulon on 1 September.
In 1859, she was used to transport ammunition, and was decommissioned on 19 March 1861. She was still used to store gunpowder until 1888.
https://upload.wikimedia.org/wikipedia/commons/thumb/5/5f/Belle-Poule-IMG_4865.jpg/300px-Belle-Poule-IMG_4865.jpg Model of Belle-Poule, on display at Toulon naval museum.History https://upload.wikimedia.org/wikipedia/commons/thumb/0/01/Flag_of_France_%281814%E2%80%931830%29.svg/42px-Flag_of_France_%281814%E2%80%931830%29.svg.png https://upload.wikimedia.org/wikipedia/commons/thumb/3/3f/Ensign_of_France.svg/42px-Ensign_of_France.svg.pngFrance Namesake Paule de Viguier, baronne de Fonterville Laid down 1828 Launched 26 March 1834 Commissioned July 1835 Decommissioned 19 March 1861 Fate Scrapped 1888 General characteristics Class and type Surveillante-class frigate Displacement 2500 tonnes Length 54 metres (177 ft) Beam 14.10 metres (46.3 ft) Draught 3.80 metres (12.5 ft) Propulsion sail Complement 301 Armament -
60 guns
- 32 × 30-pounder long guns
- 4 × 80-pounder Paixhans guns
- 24 × 30-pounder carronades
Armour Timber - mtaylor, Haliburton, GrandpaPhil and 5 others
-
8
-
60 guns


.svg)
OcCre "Save The Date" Release?
in Traders, Dealers, Buying or Selling anything? - Discuss New Products and Ship Model Goodies here as well!!
Posted