


Kevin
-
Posts
6,524 -
Joined
-
Last visited
Content Type
Profiles
Forums
Gallery
Events
Posts posted by Kevin
-
-
-
35 minutes ago, Blue Ensign said:
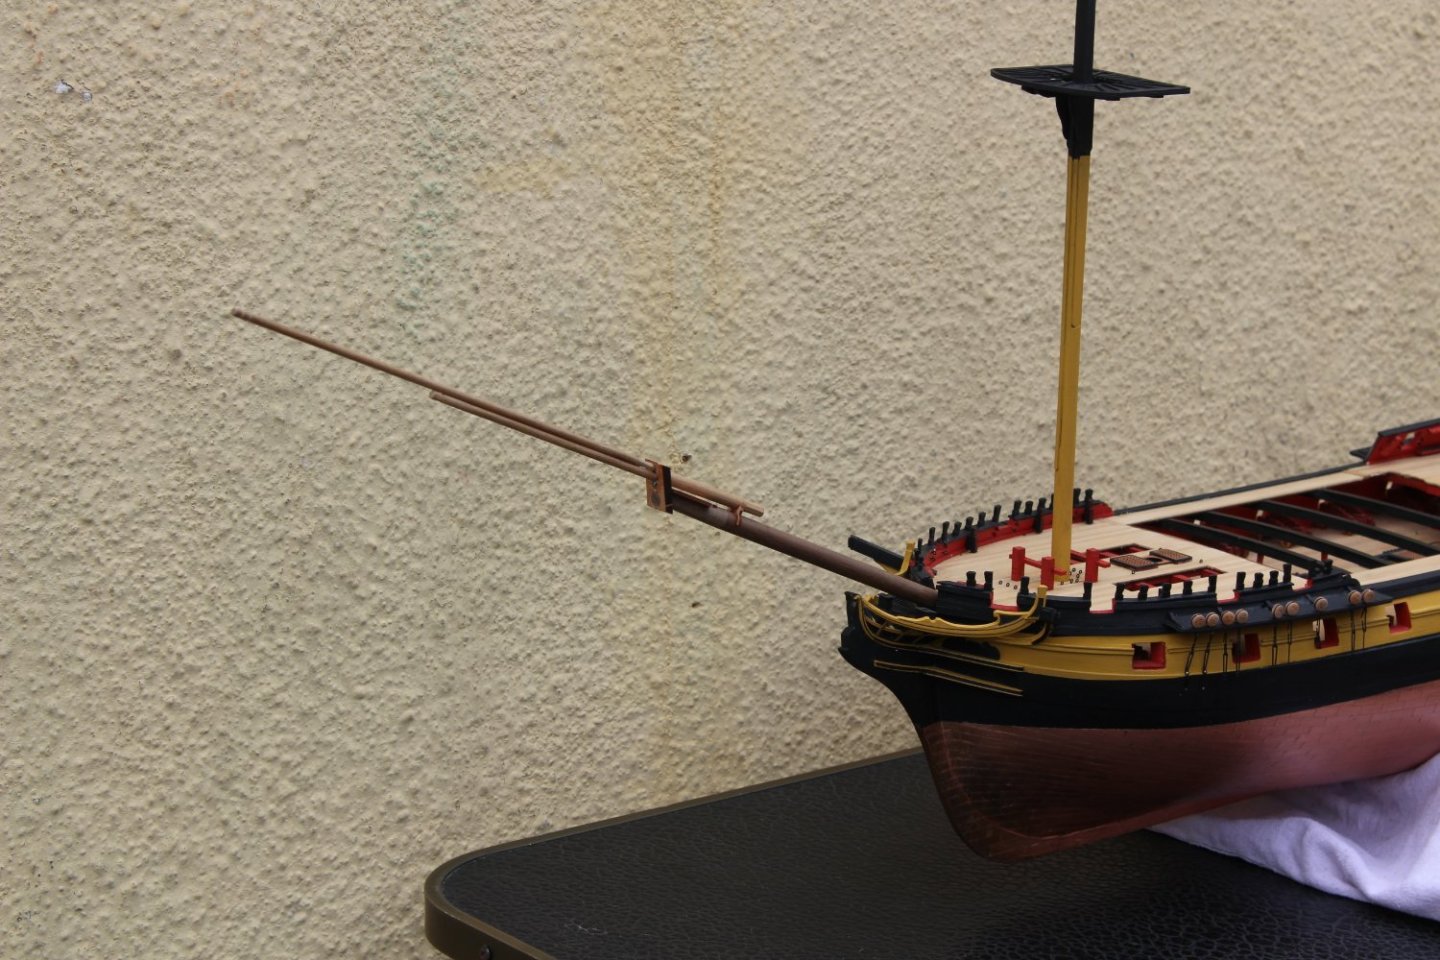
Nice Job Kevin, but the sight of that flying jib boom makes me very nervous, you've just doubled your workspace requirement.🫤
Can you draw it inboard until absolutely required?
Gotta love spaniel pups, which one is yours?
B.E.
nothing is fixed, i am no way ready for masts at this time, but wanted to progress them before the new pup arrival, i also want to redo my display area, so the shed where i did the masts is going to be a temp storage area soon
the pups photo was added by mistake, but decided to leave it there, taken yesterday, with just the boys in it, we will be having one of them but will decide which one, as we have first pick, in a couple of weeks time, his name has already been decided, and will be Apollo
- ccoyle, Knocklouder, DonSangria and 9 others
-
 12
12
-
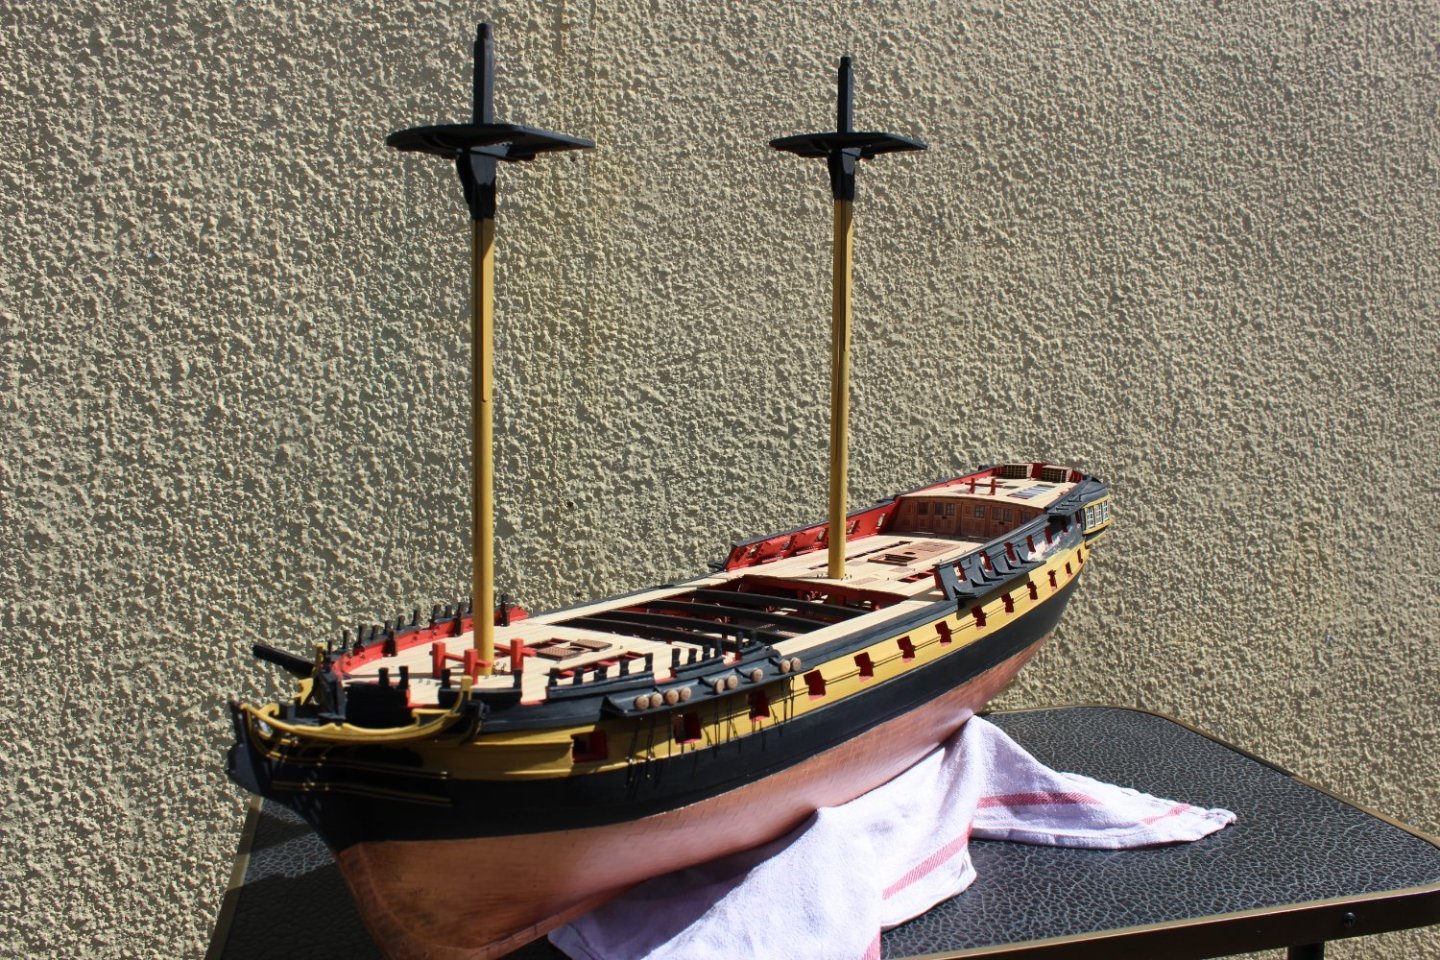
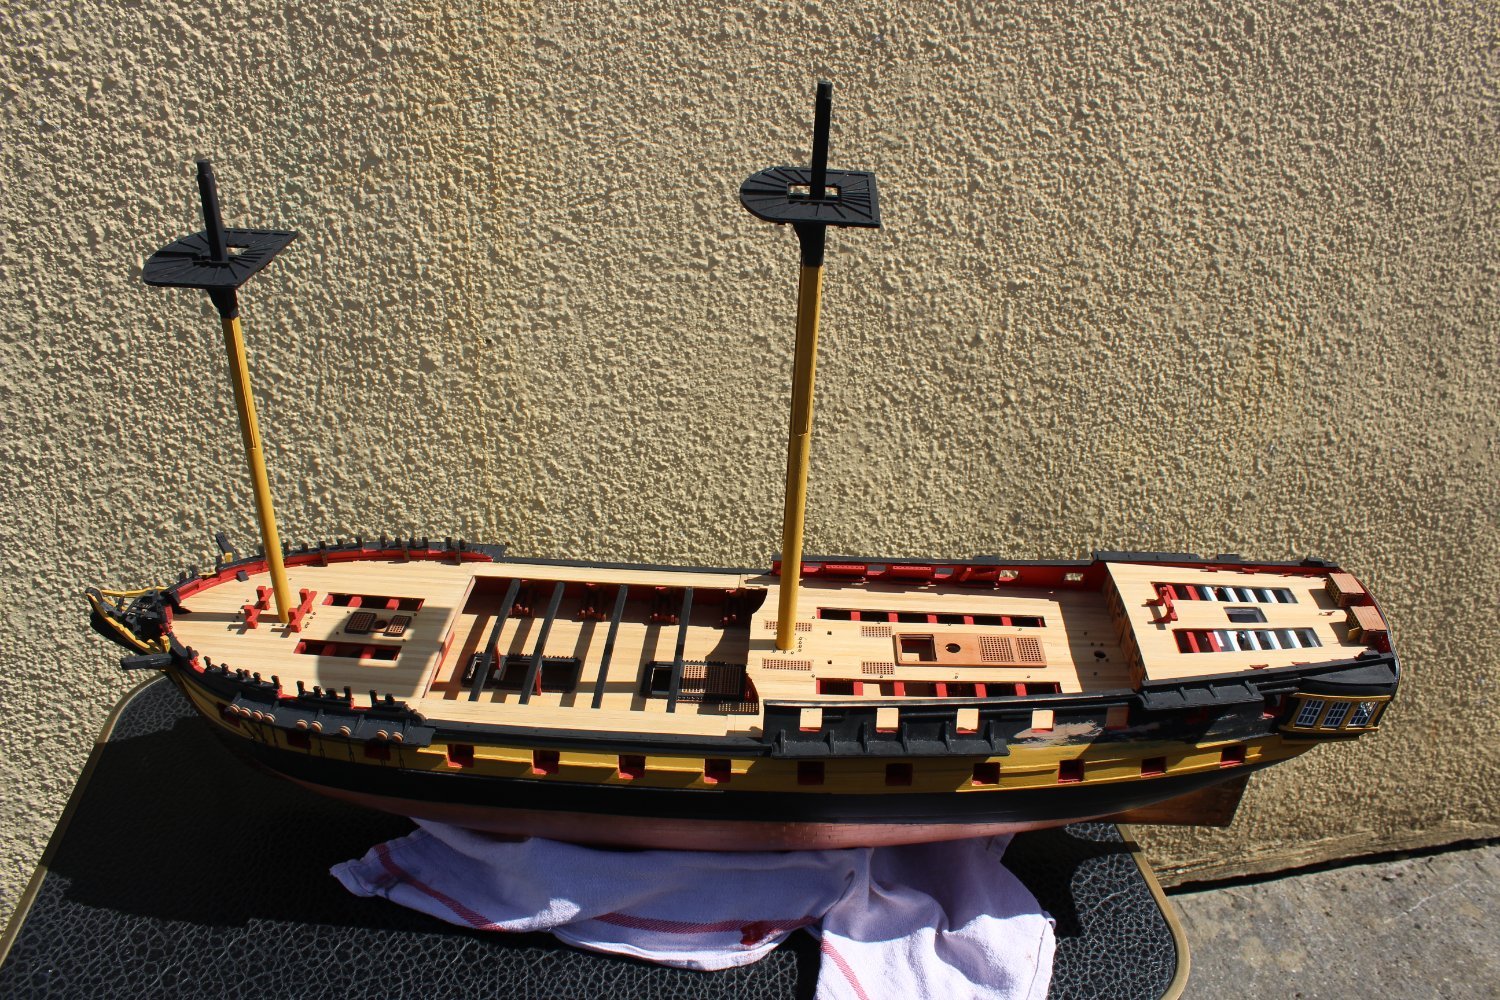
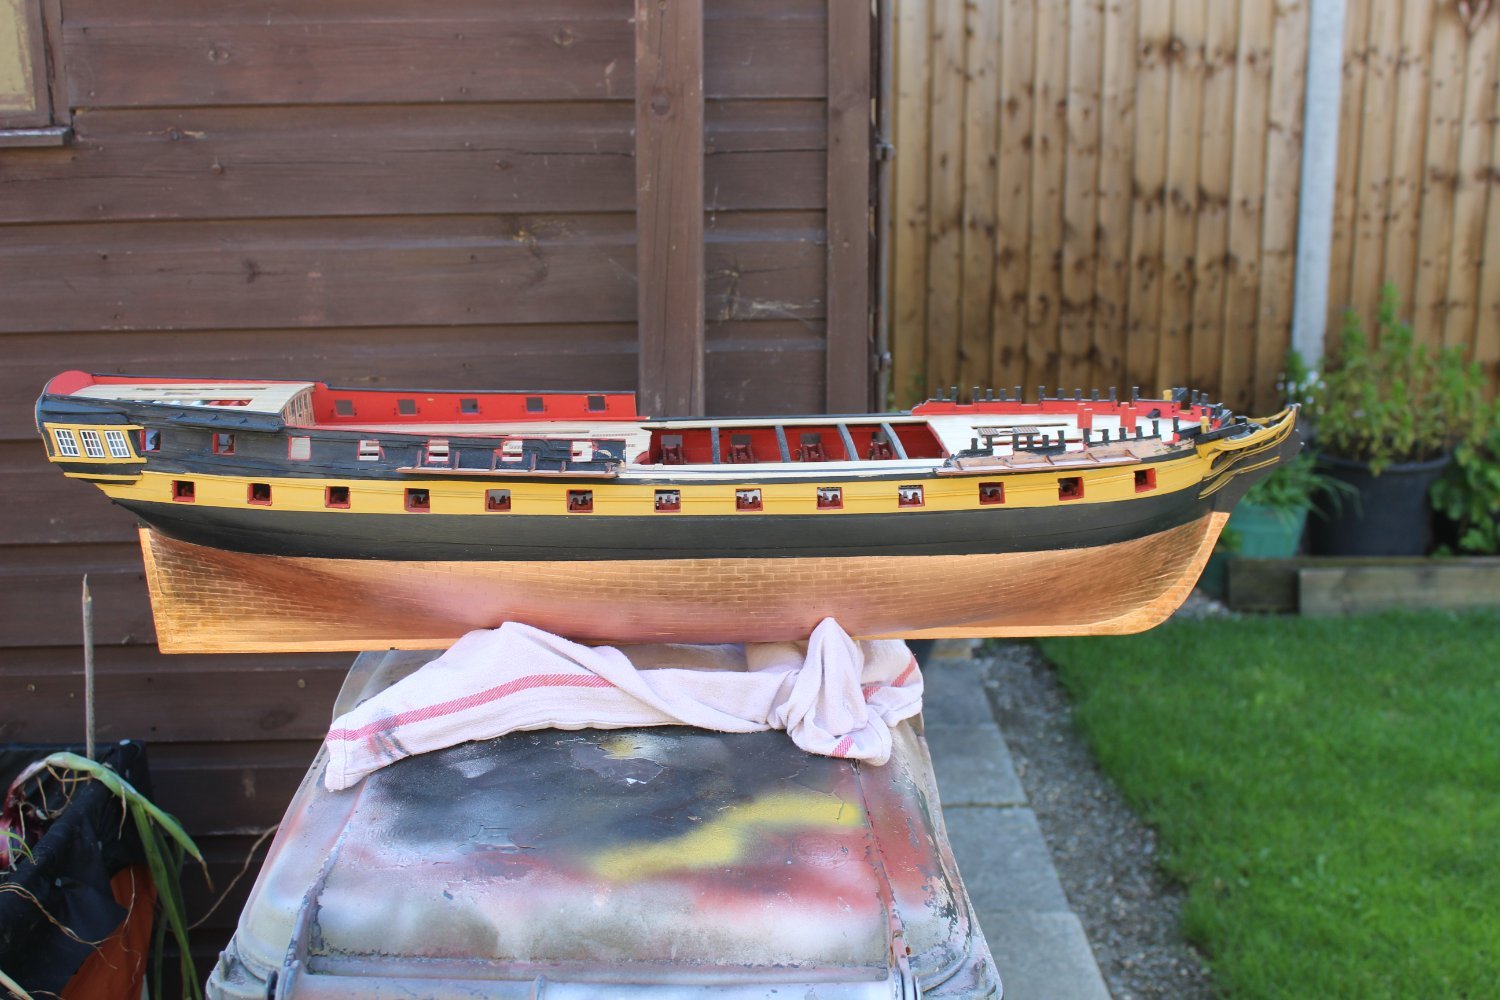
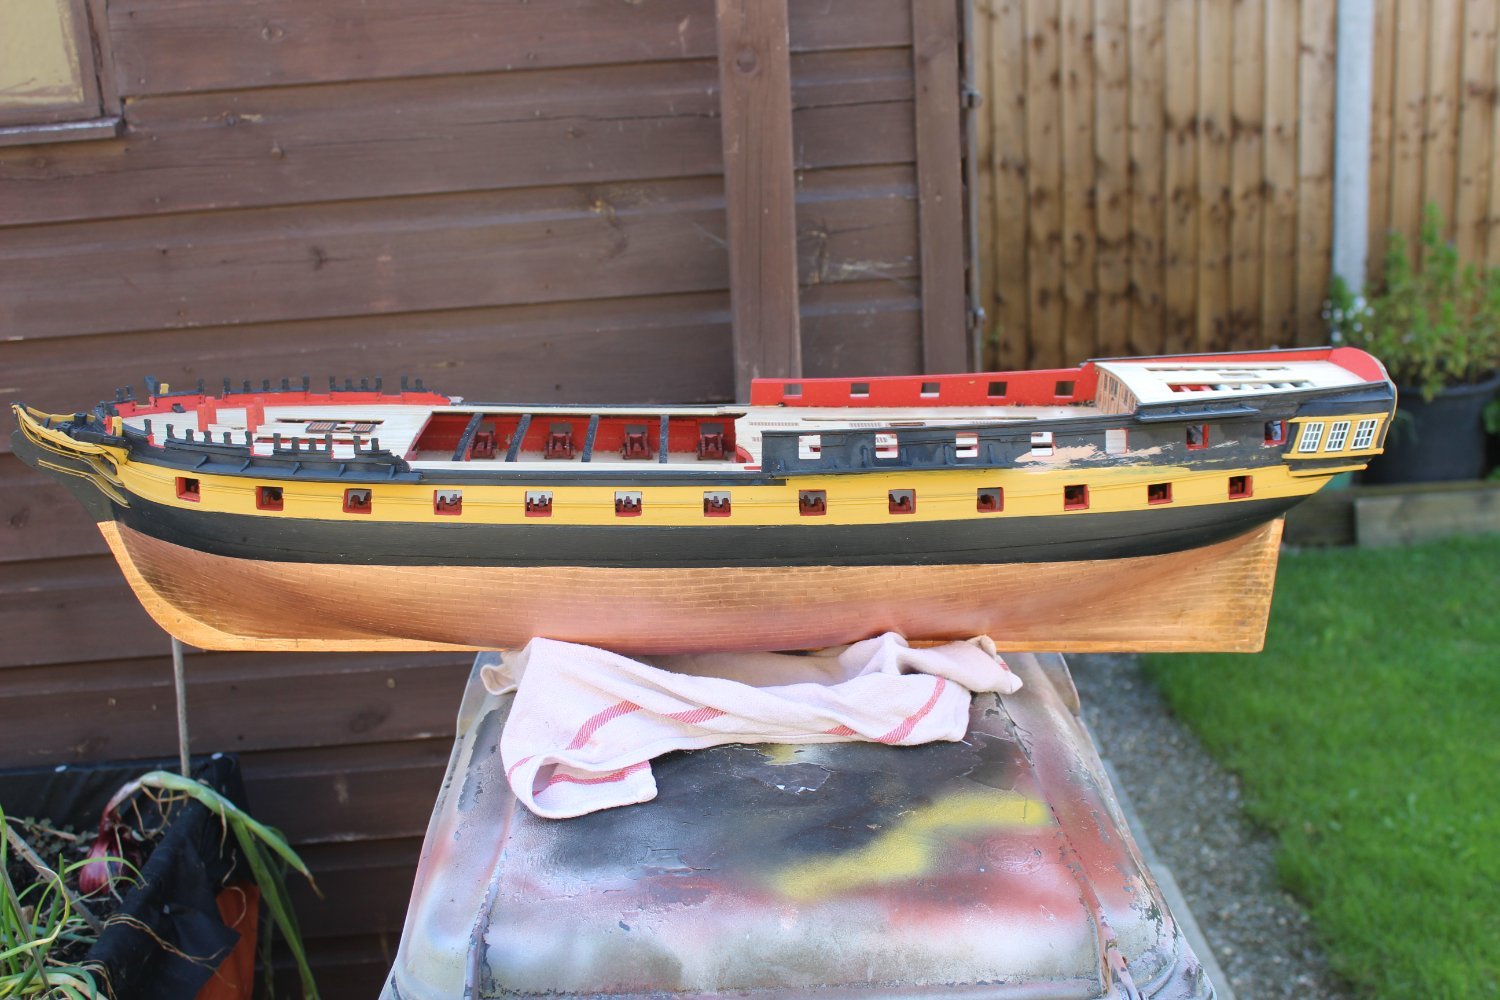
good morning everyone
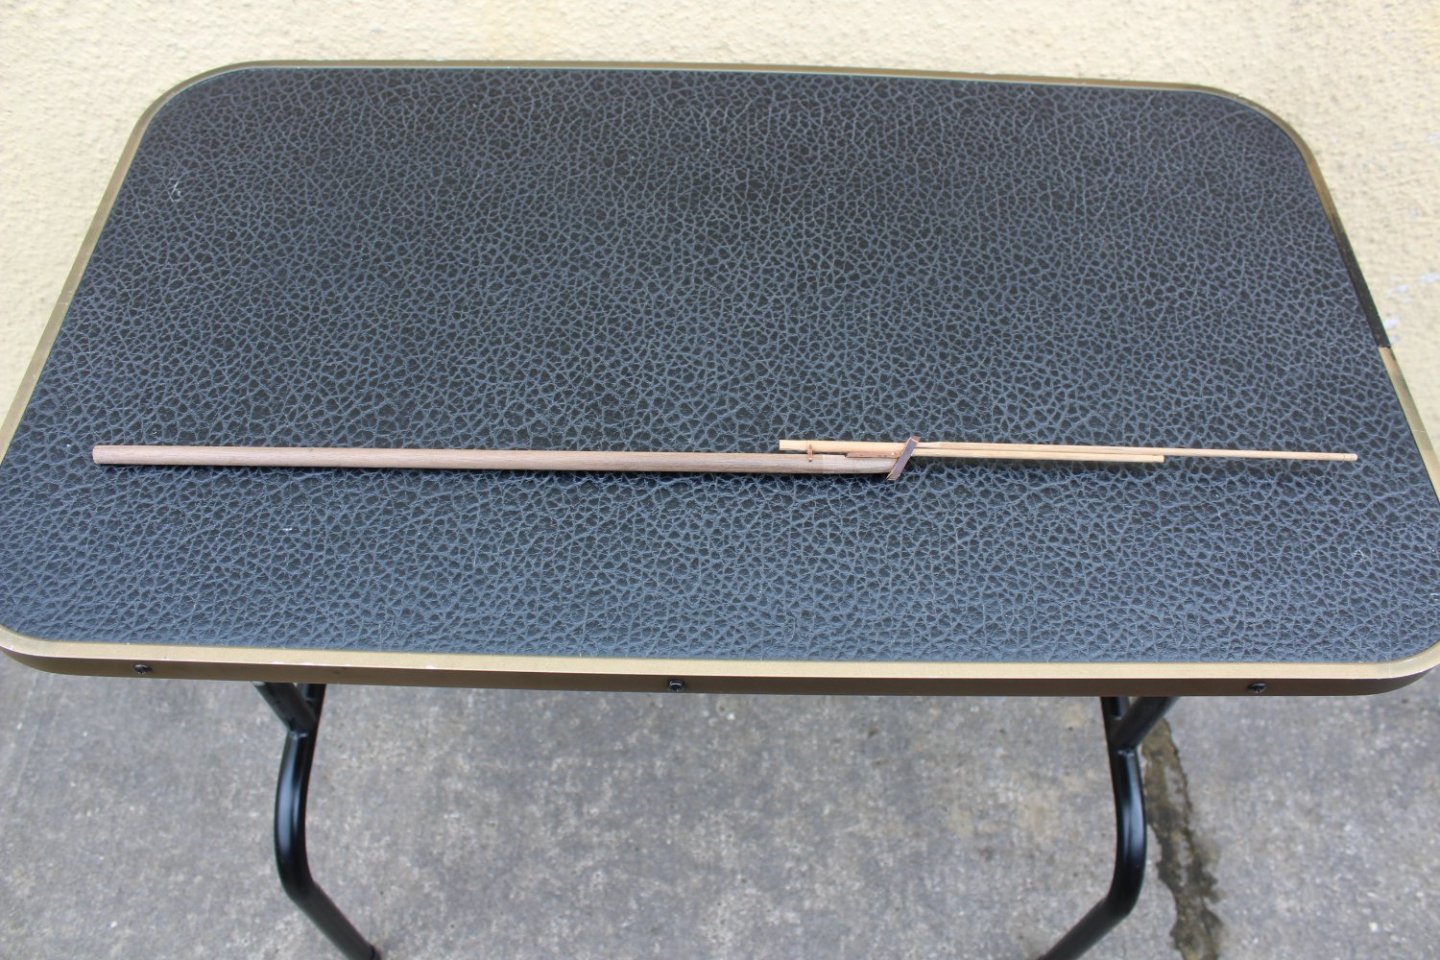
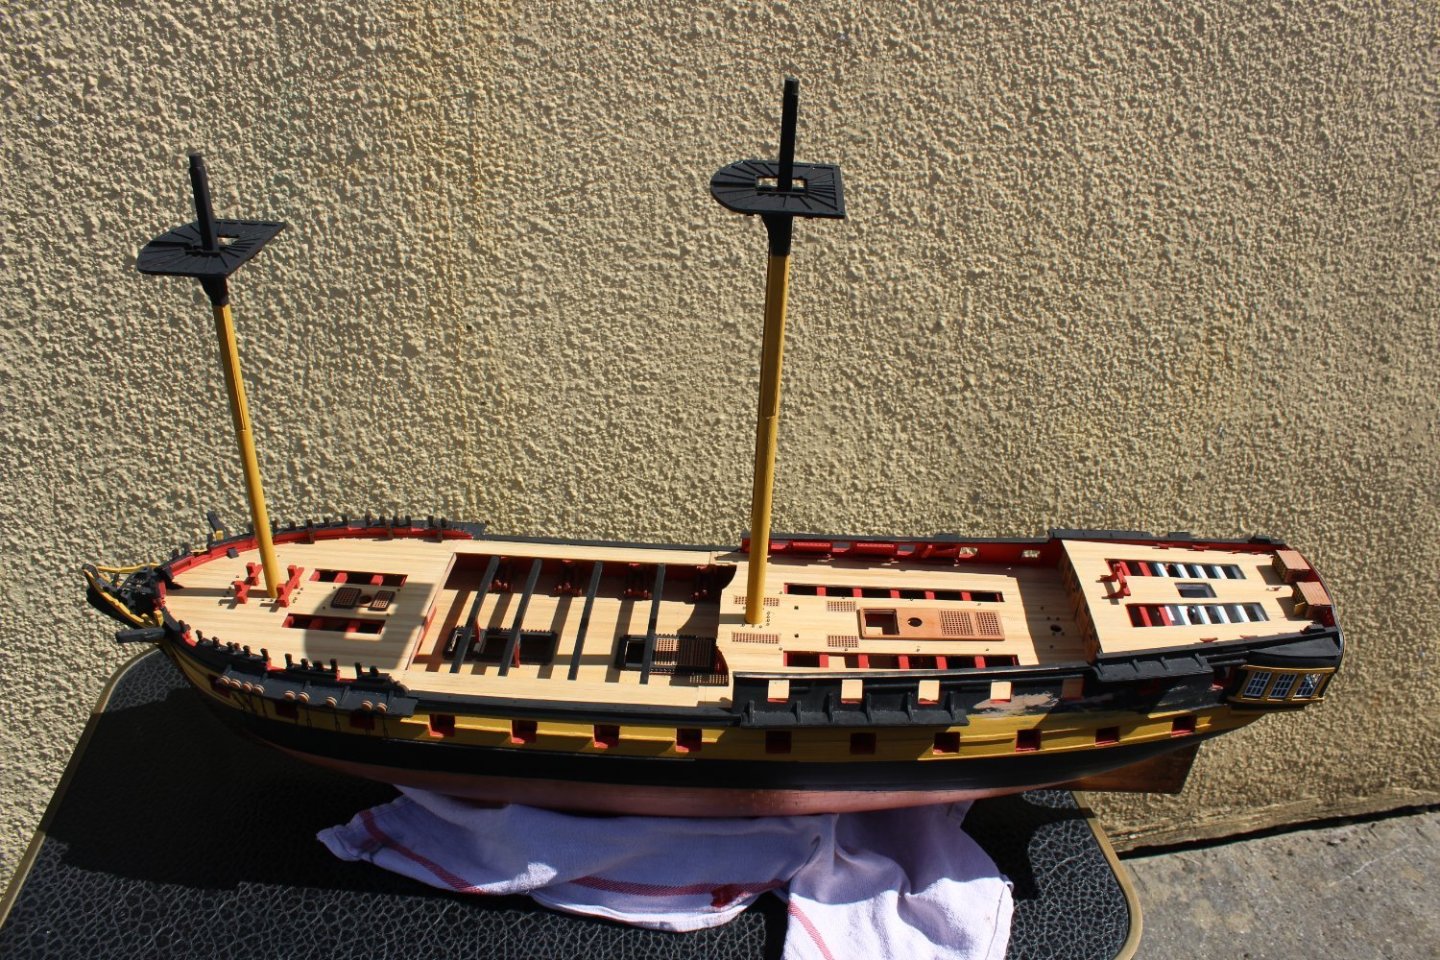
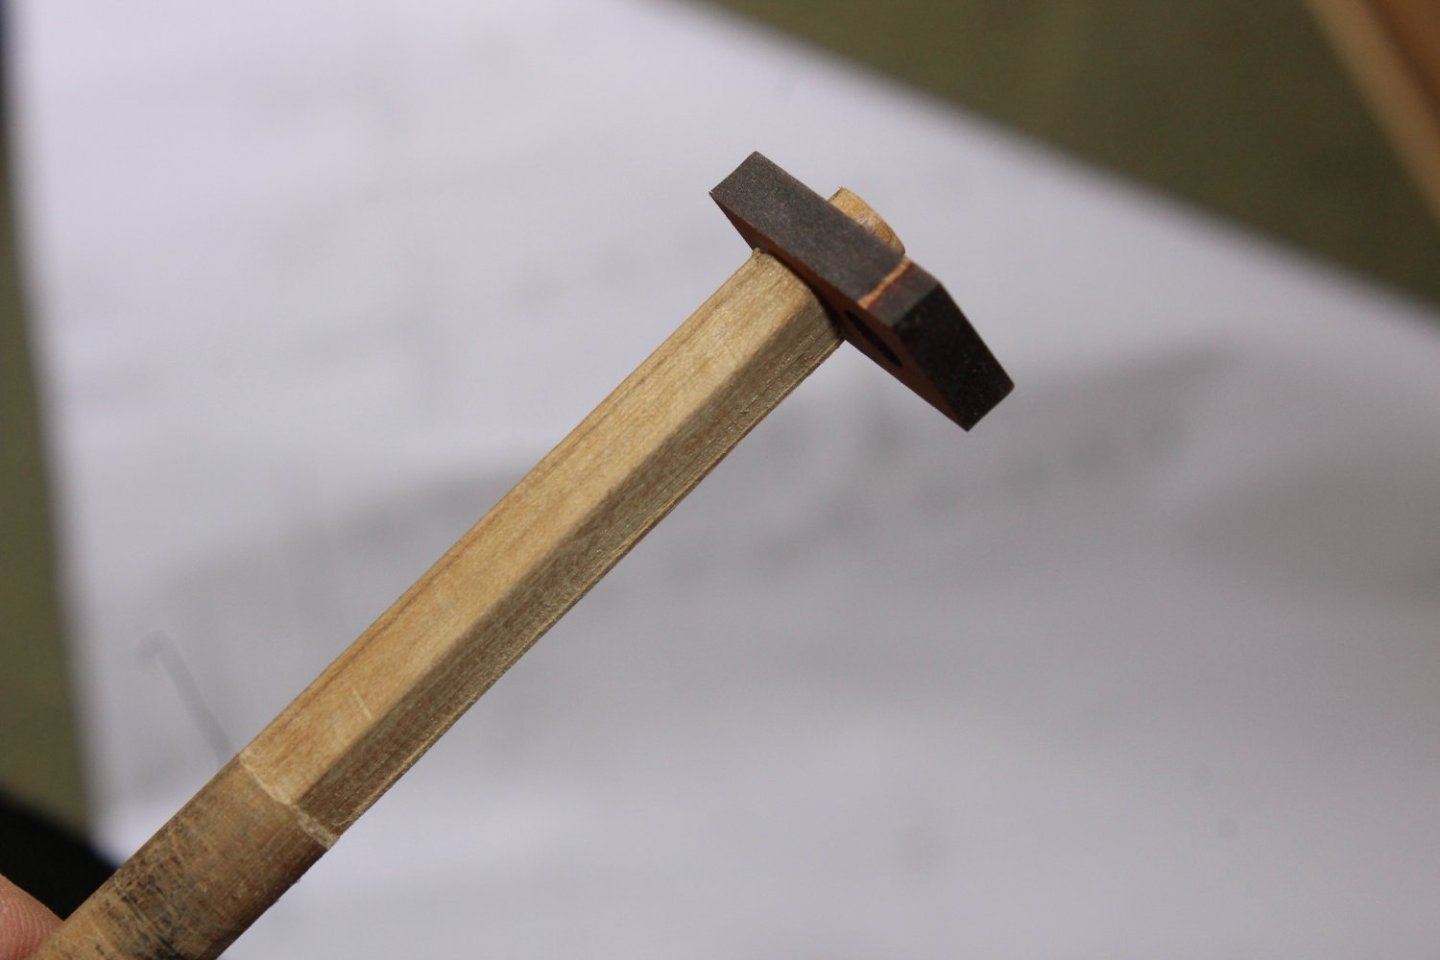
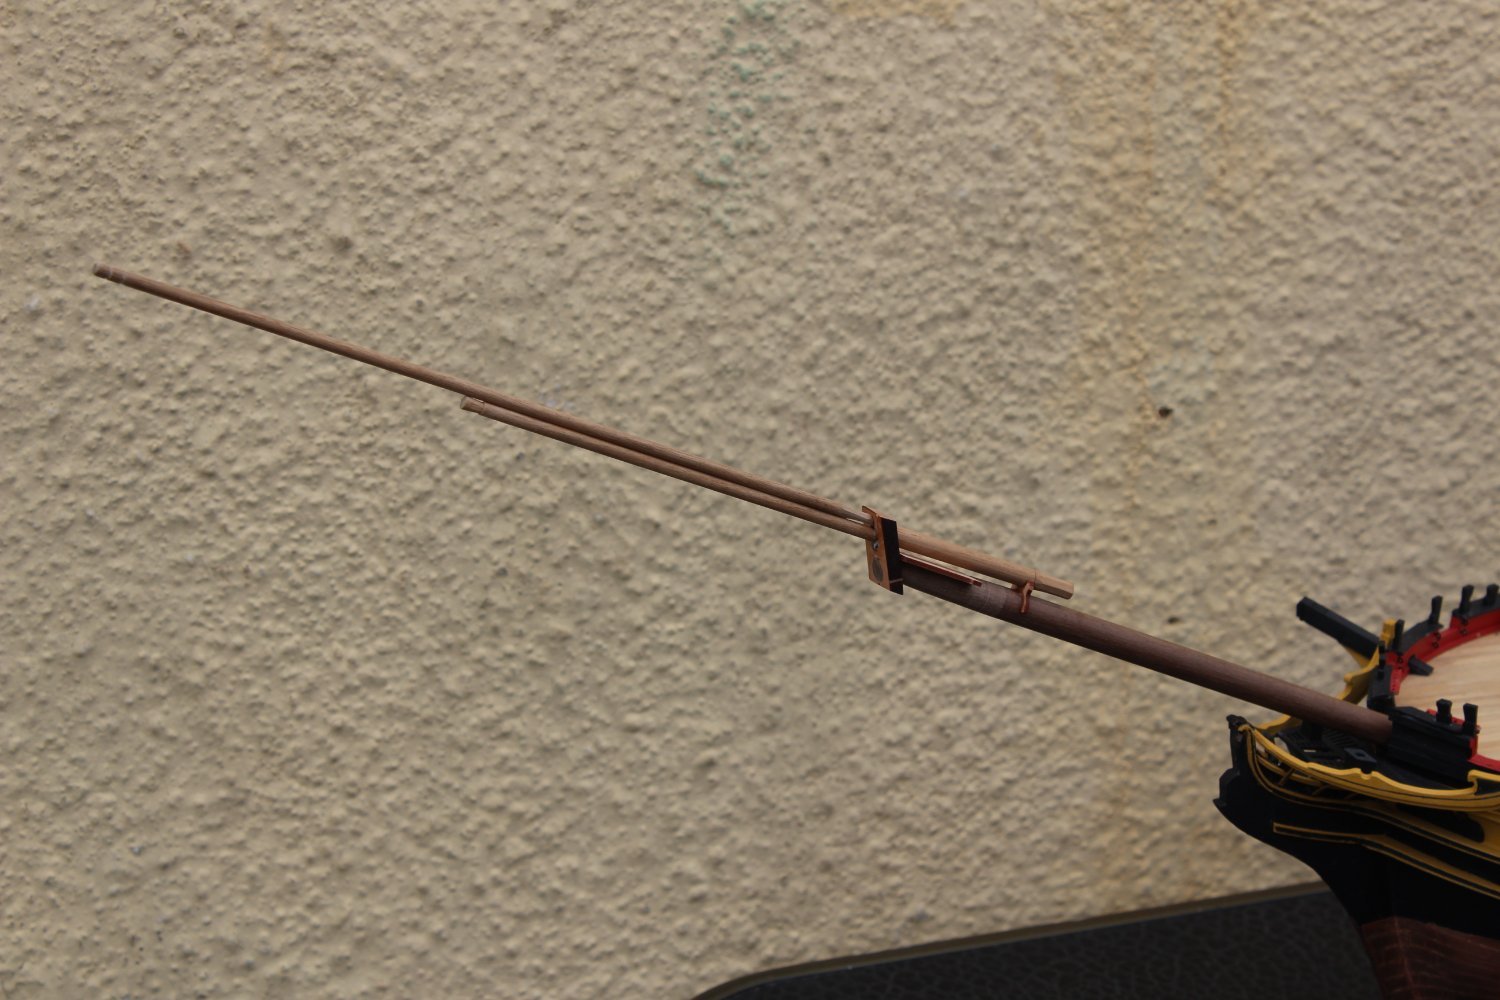
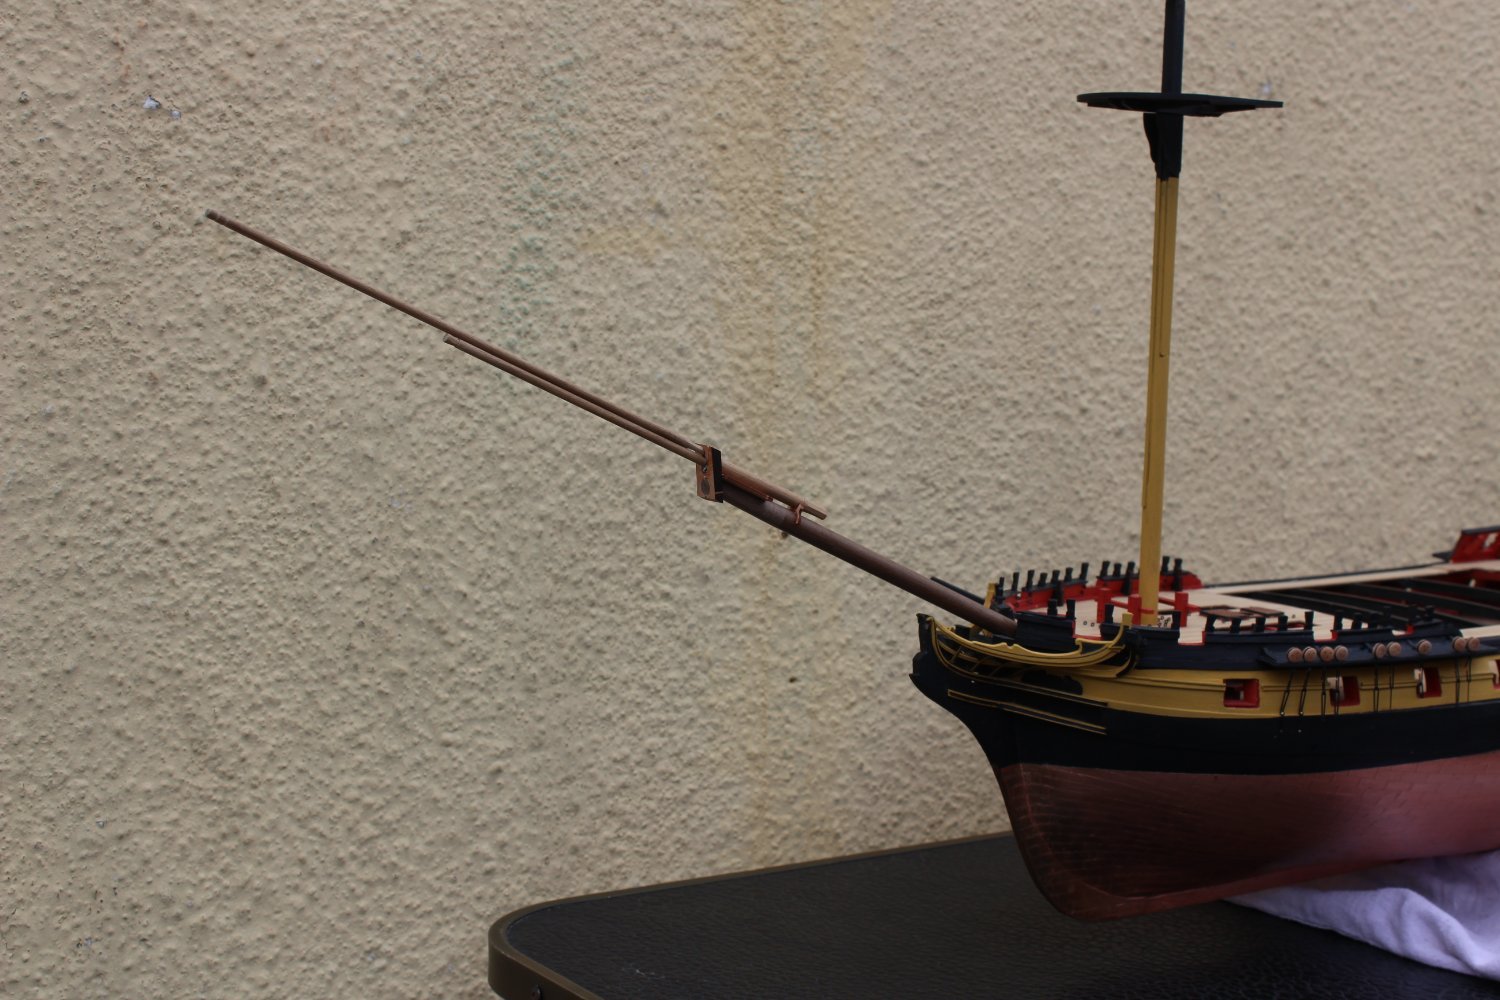
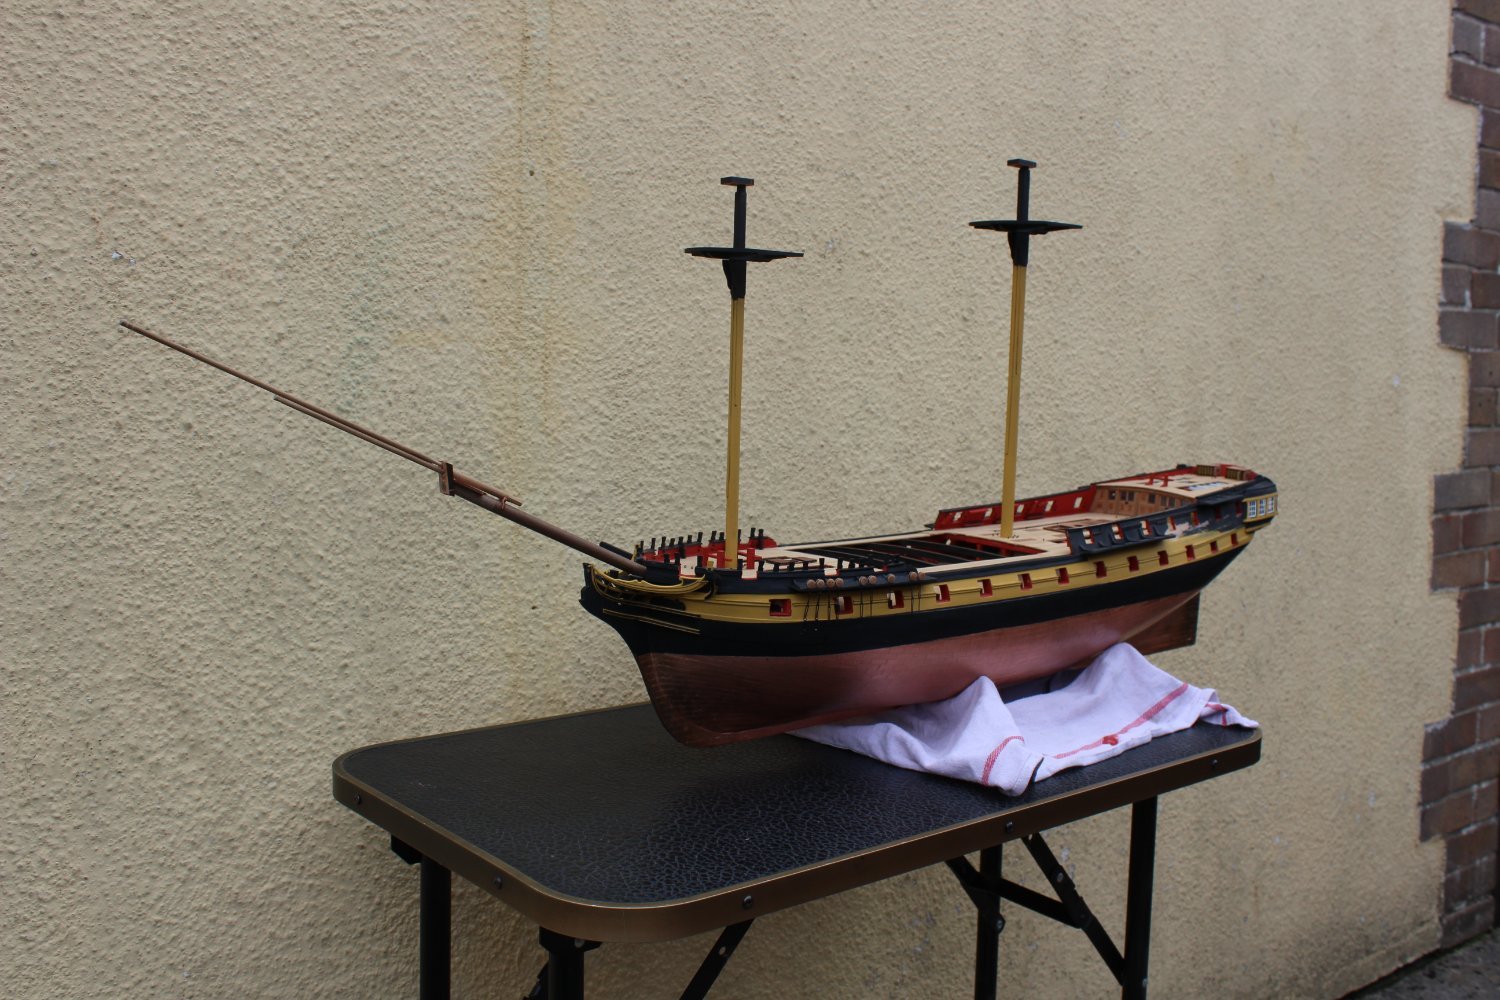
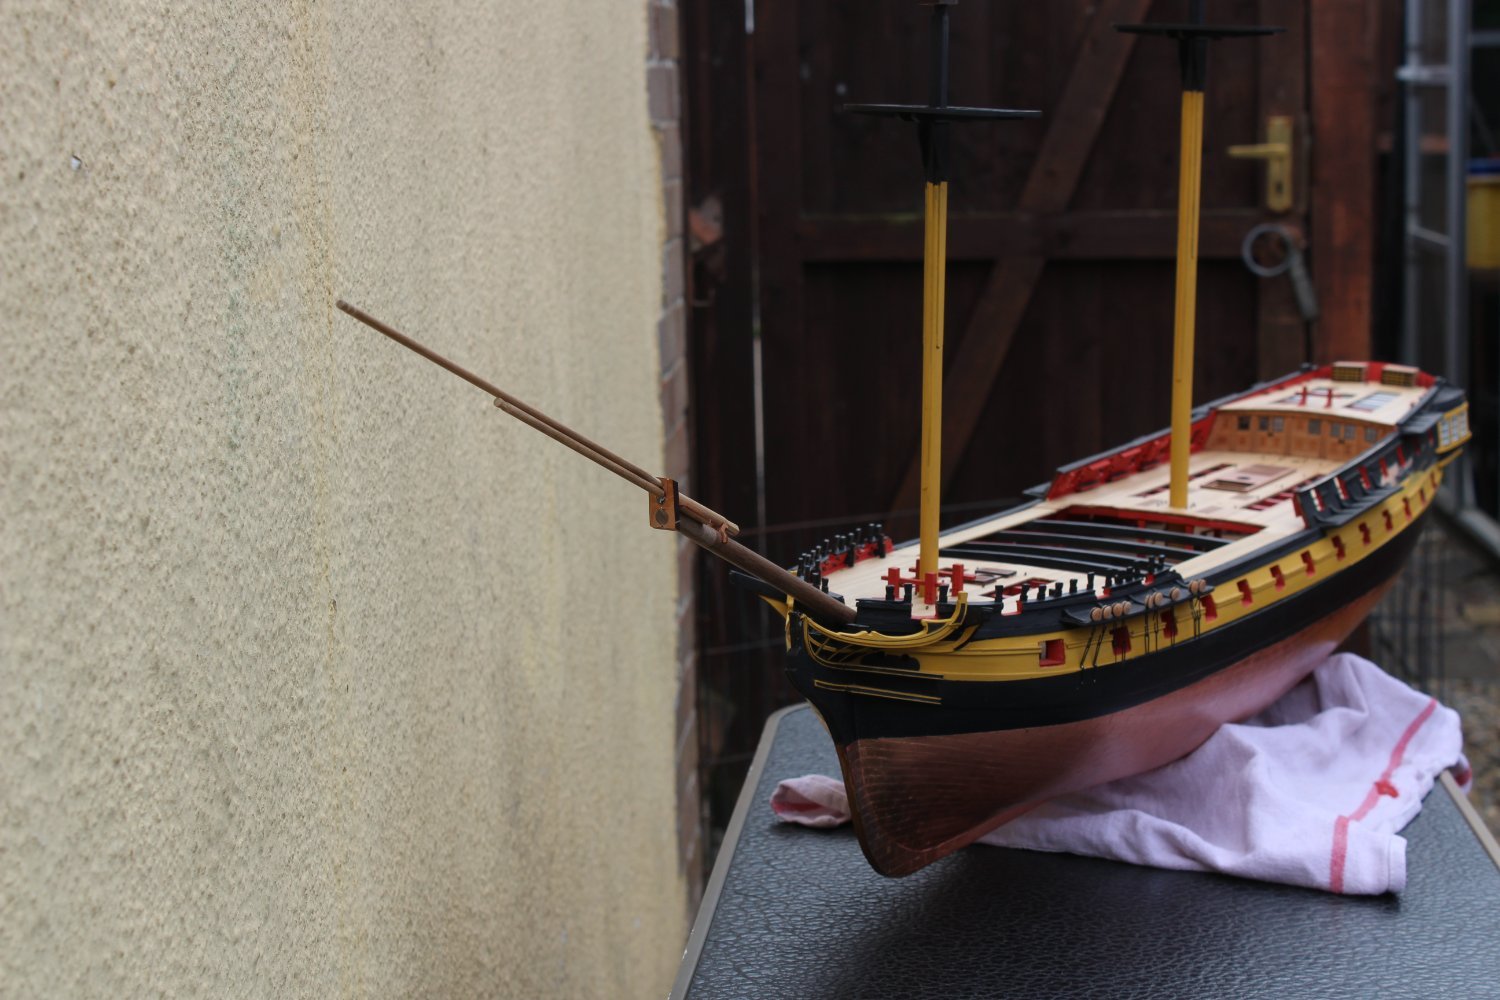
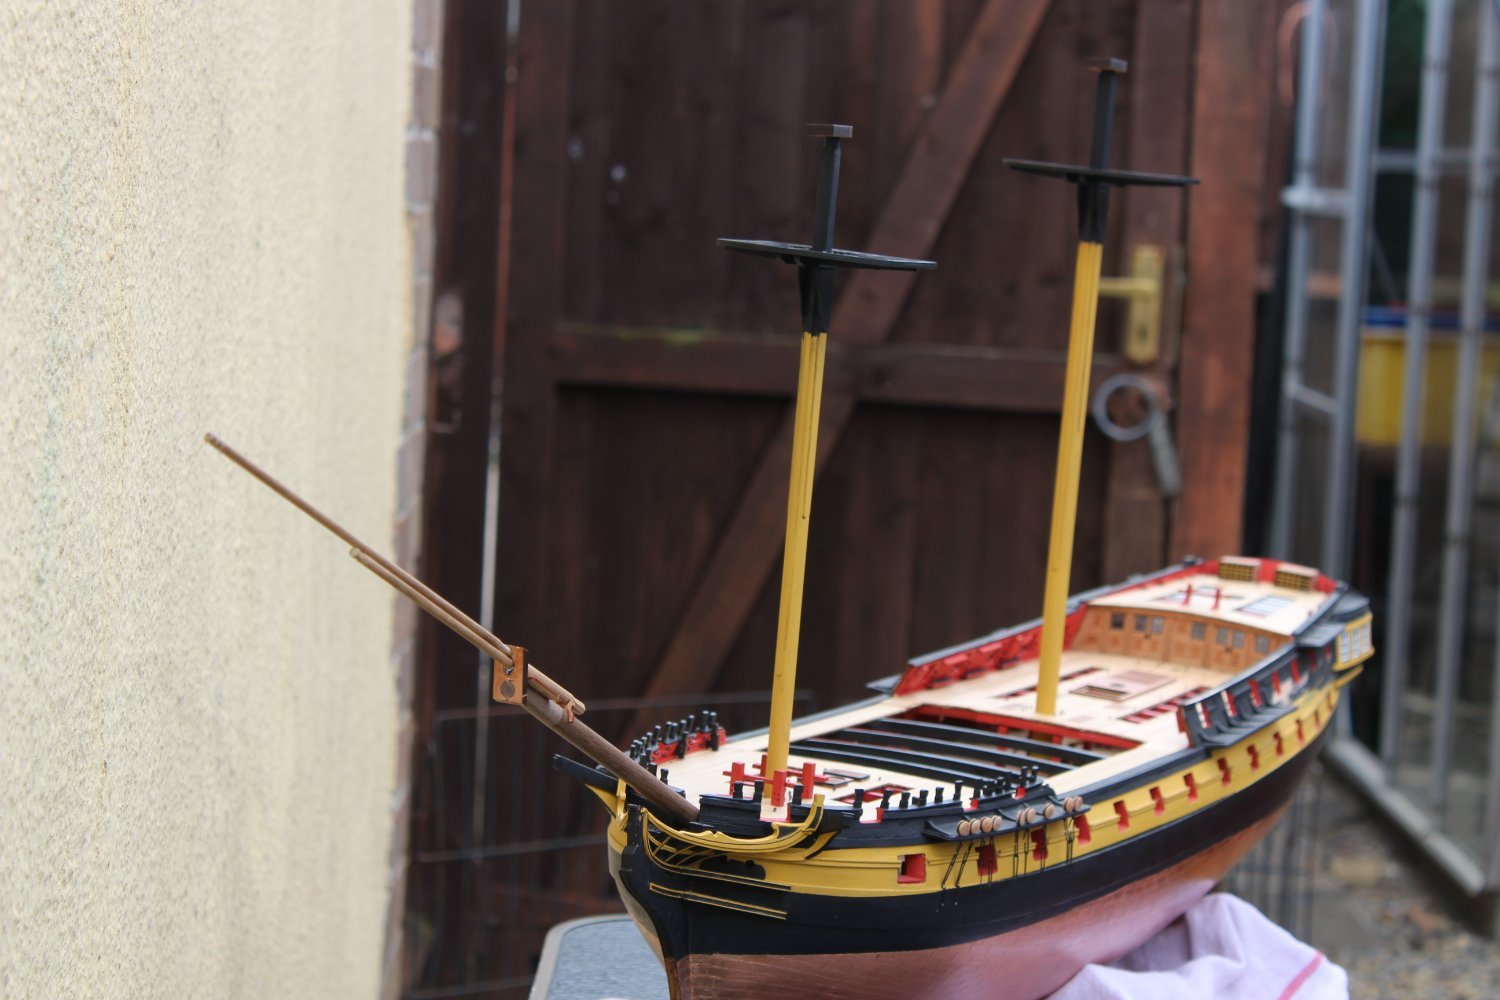
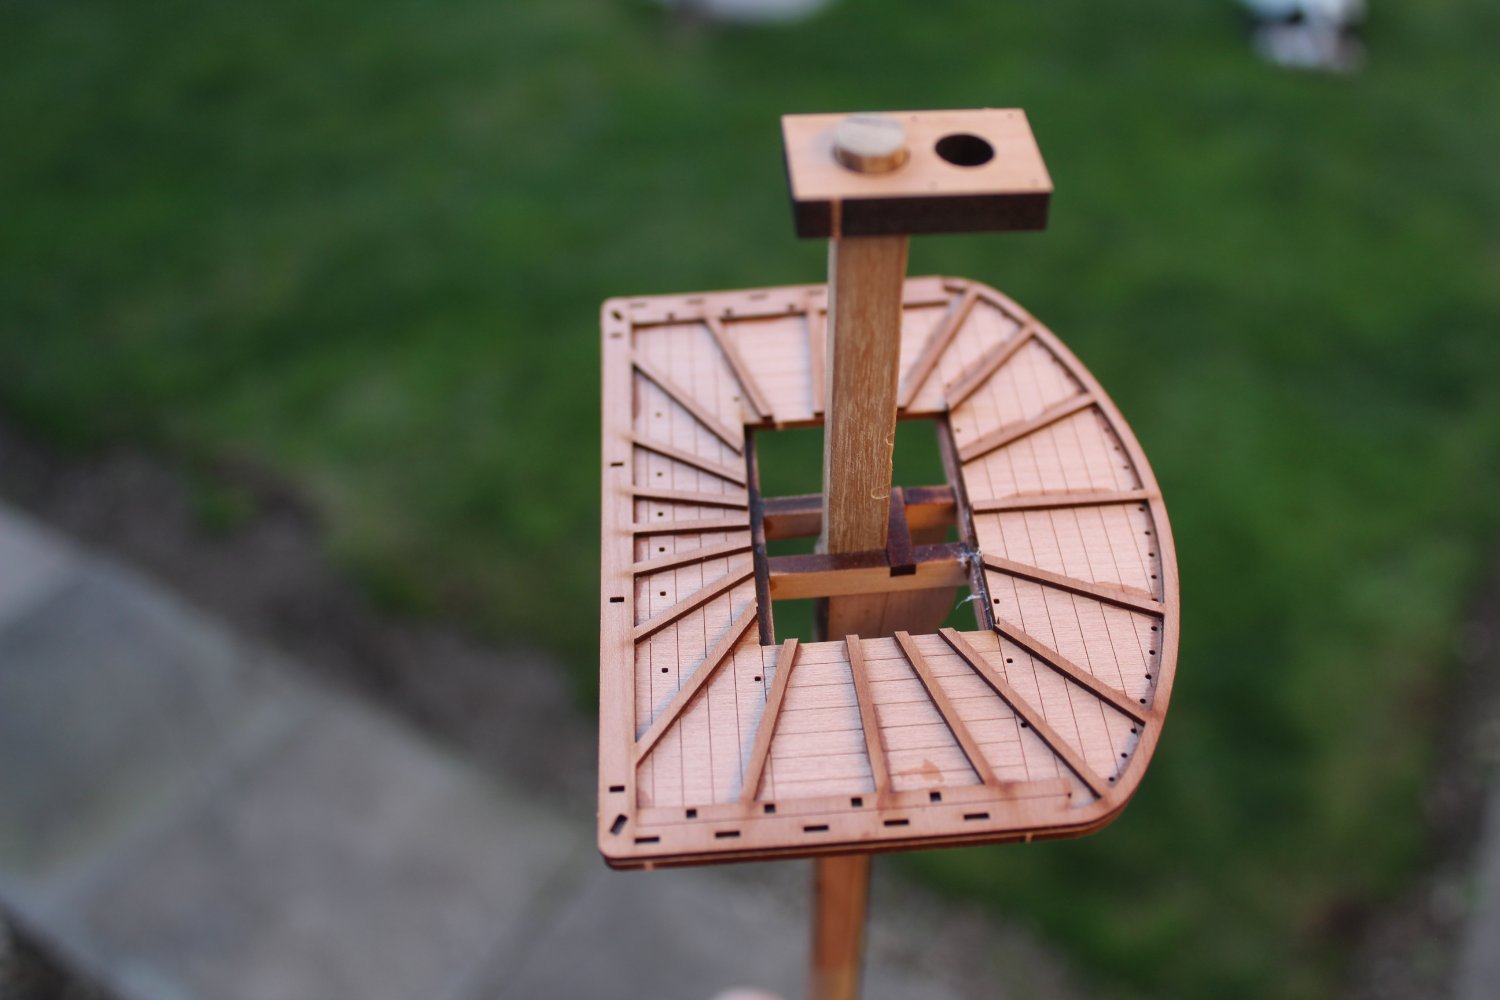
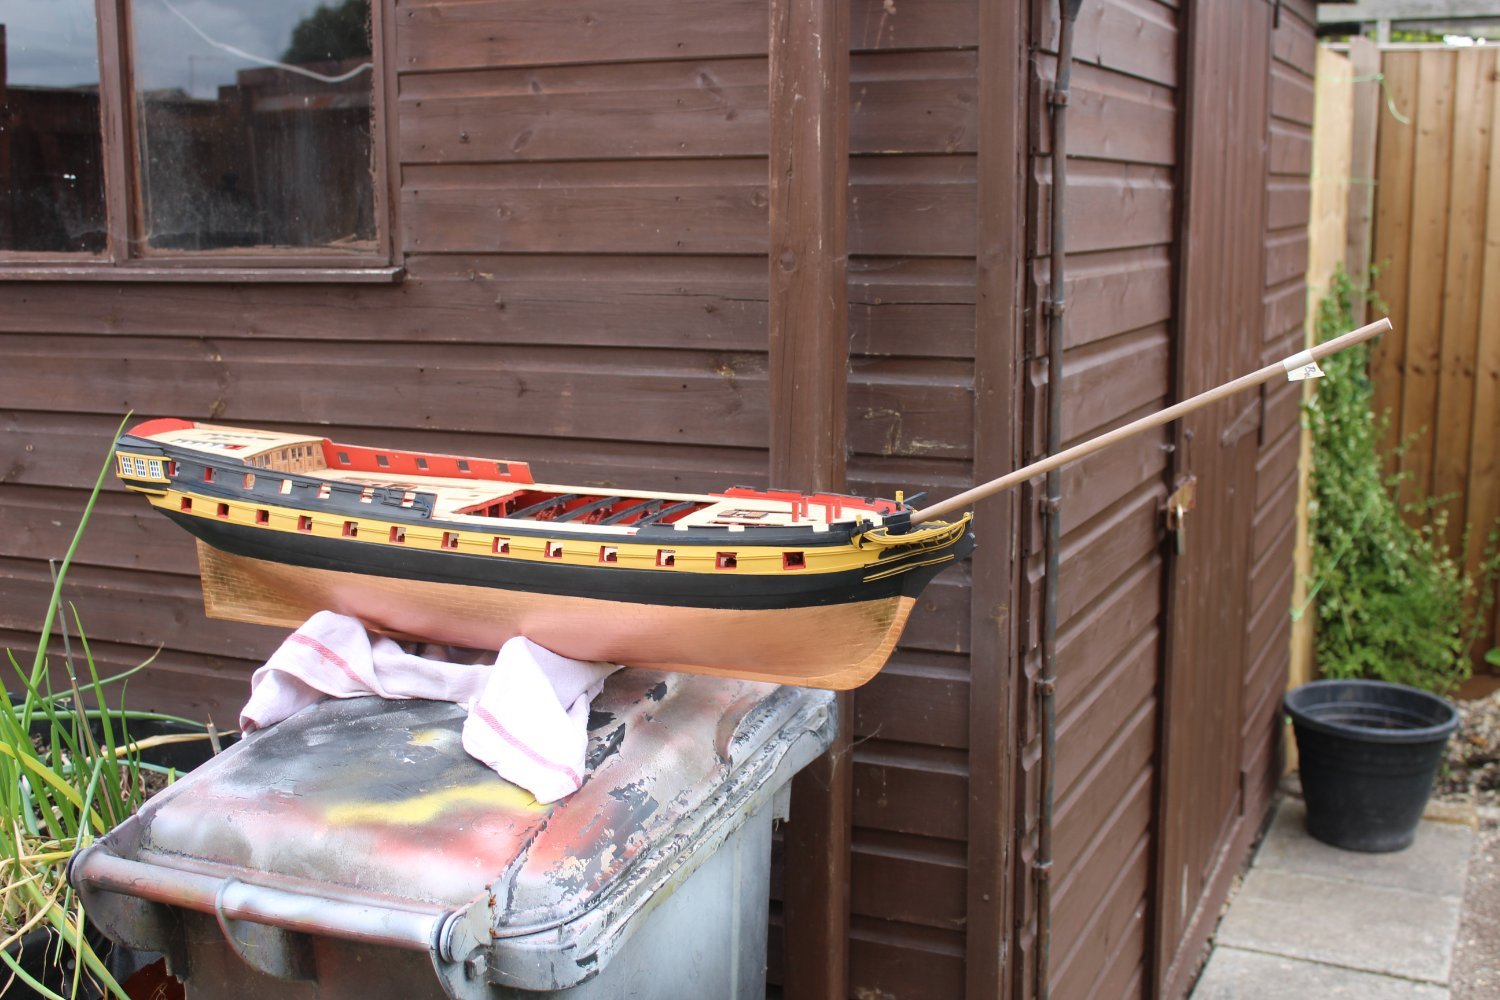
Bowsprit 177-6 also completed yesterday
well that was a fun little project, i went for the longer version of the two options available and went with the flying Jibboom. this extents the build by another 110mm, the most difficult part was the angle for the masts passing through the cap, done now and im quite pleased with the result


.thumb.jpg.238382c6bfbf40606e1c6f37586da2b9.jpg)
-
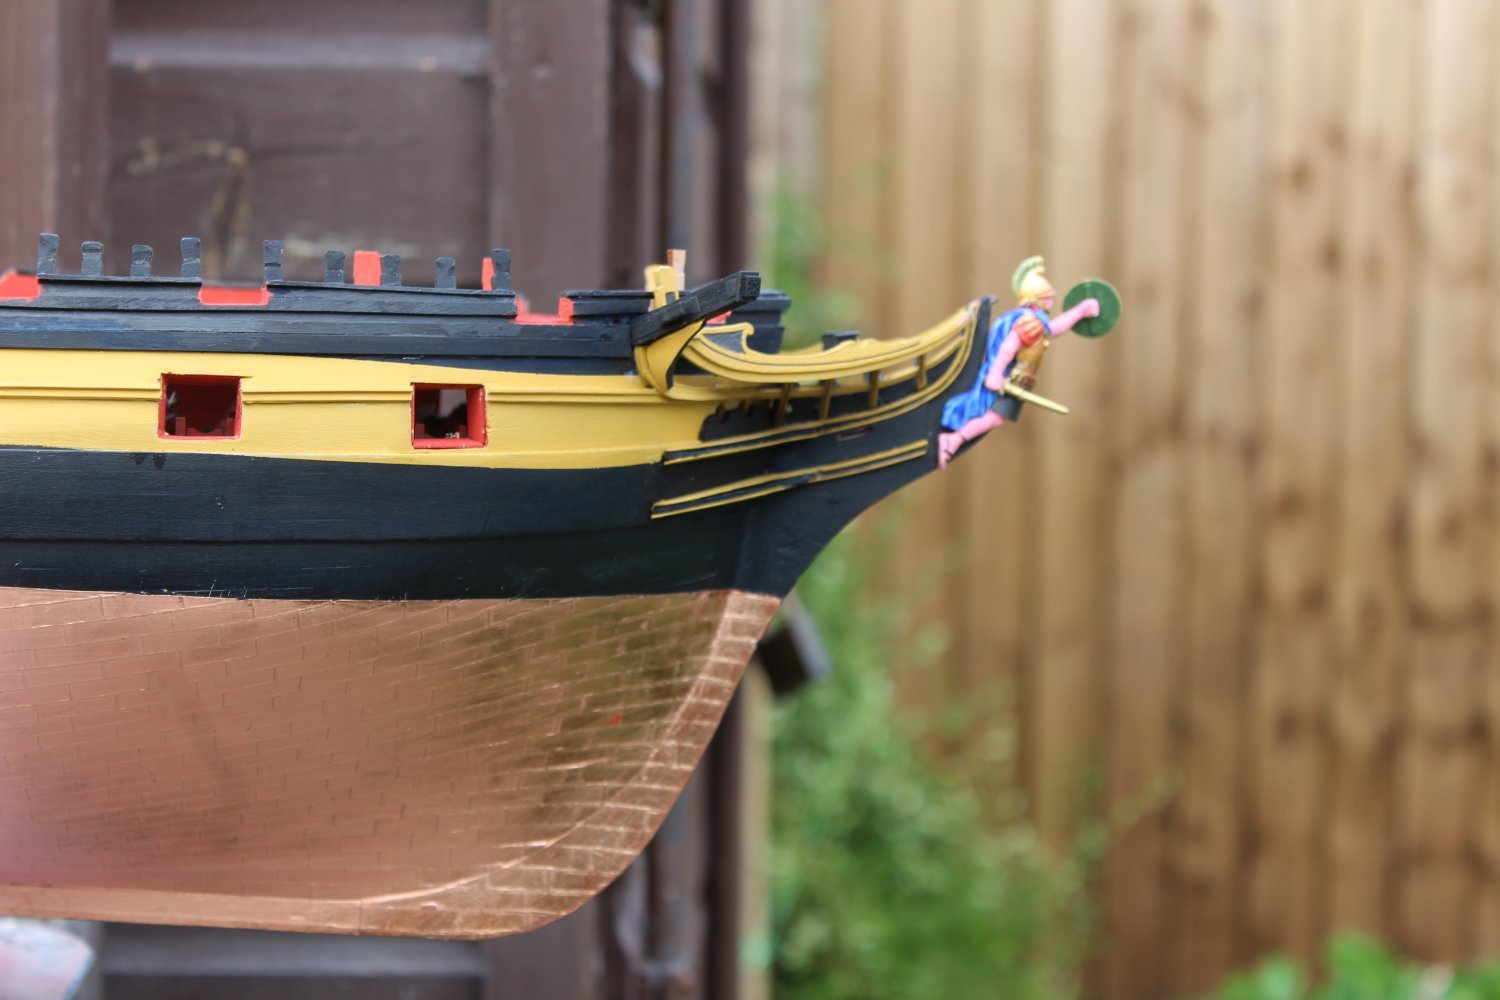
3 minutes ago, Blue Ensign said:
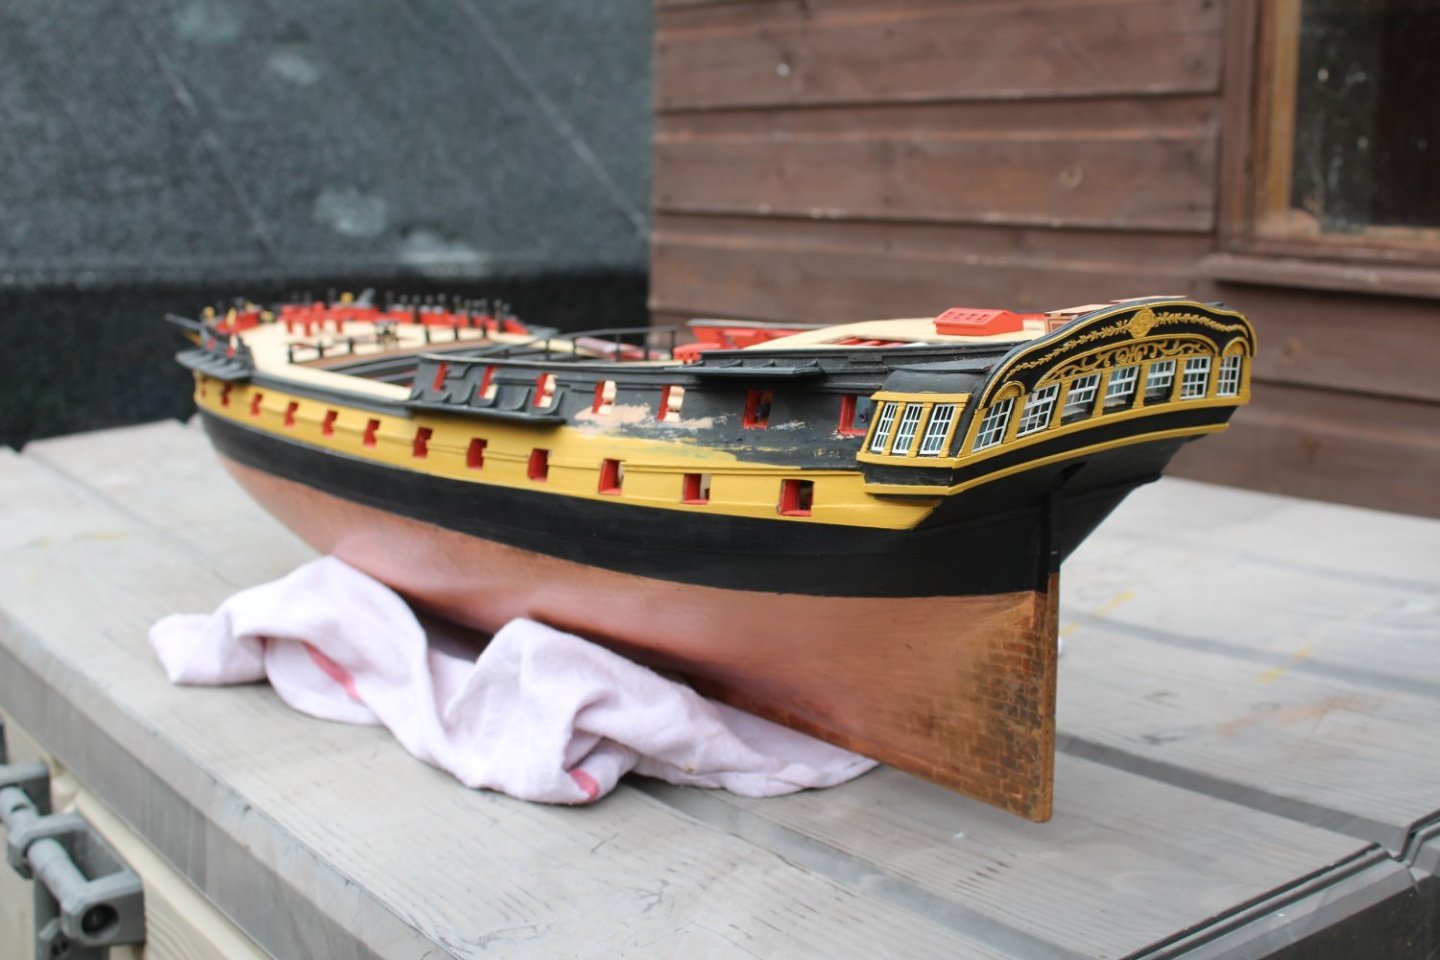
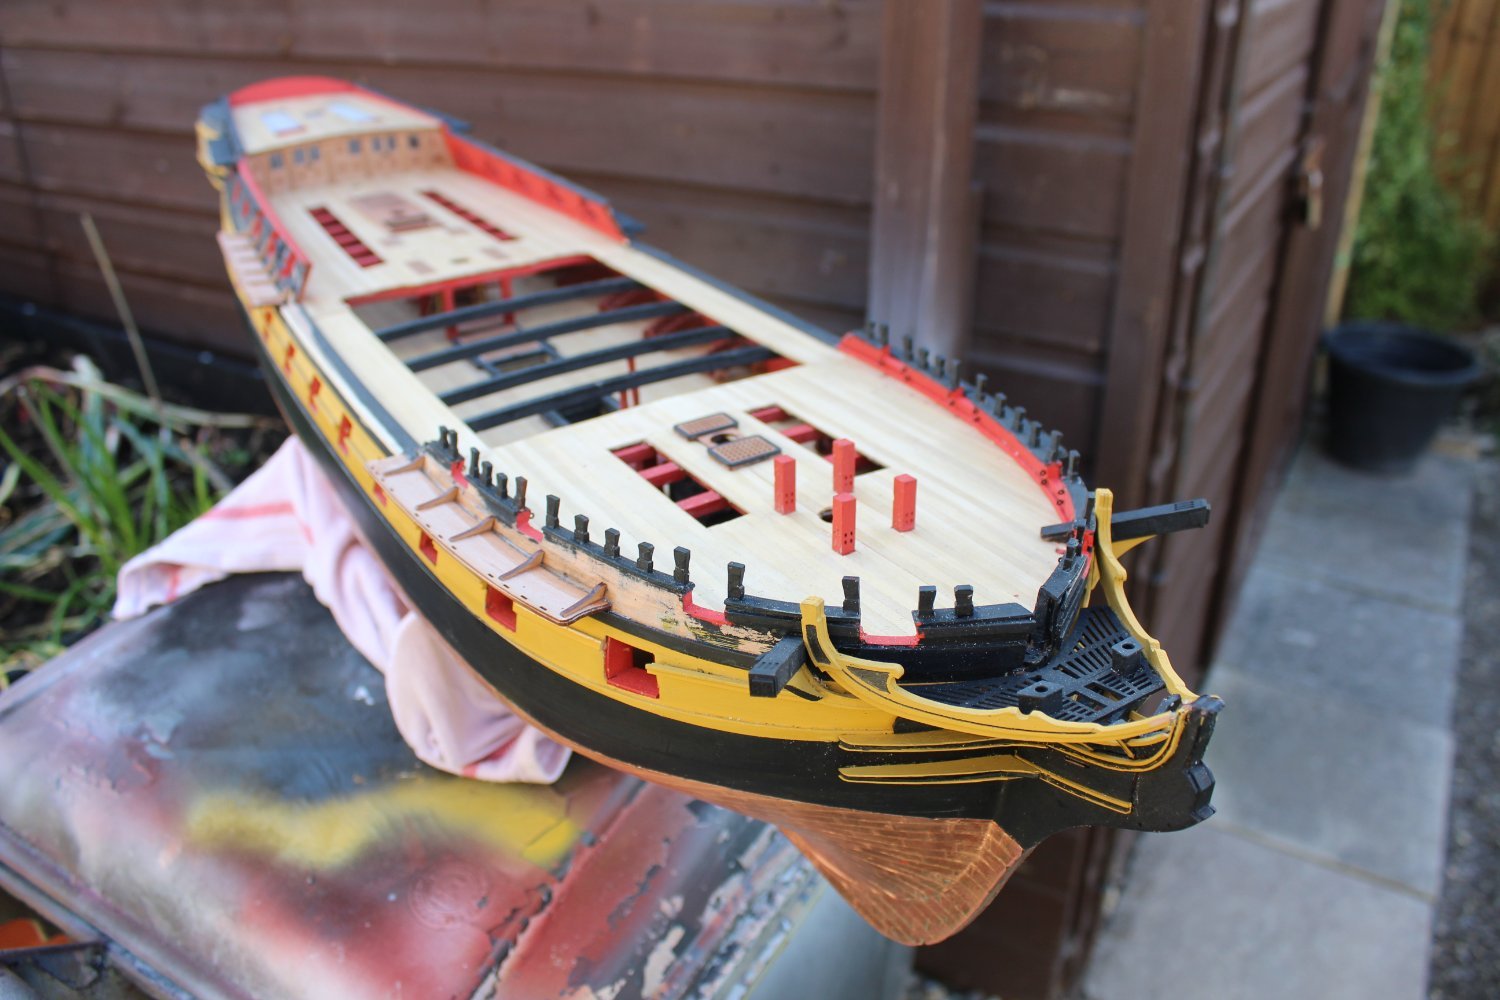
Maintaining copper is a tricky business during the constant handling during the remainder of the construction. I suppose that unless the copper is damaged, it could be re-treated later.
I seem to recall that on my Pegasus build I used cling film to cover the lower hull taped to the wale with varying success.
I wonder, could you construct a cut out polystyrene cradle to rest the hull in that would allow you to to turn the hull about without contact.
The build board I made to hold my Indy keeps her secure for most activity, and I don't need to handle the hull. The downside is that it is a bit of a beast to move about and there will be times when I need to transfer her to the keel clamps to get specific angles for better access.
B.E.
some great ideas thank you, i will retreat and see how it goes
- mtaylor and Old Collingwood
-
2
-
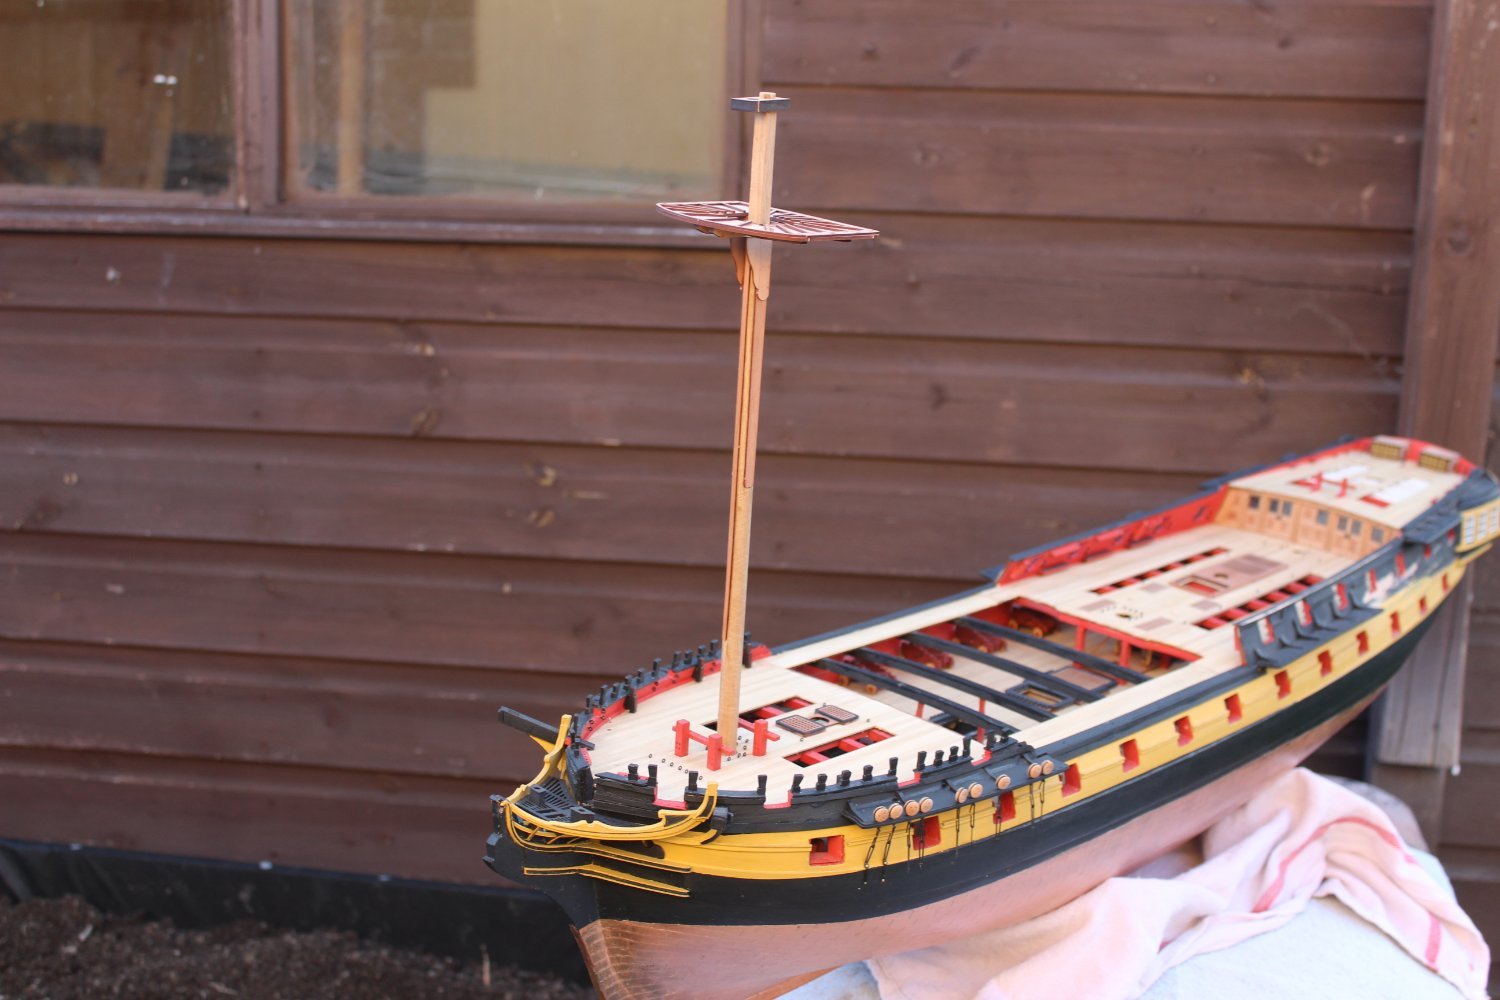
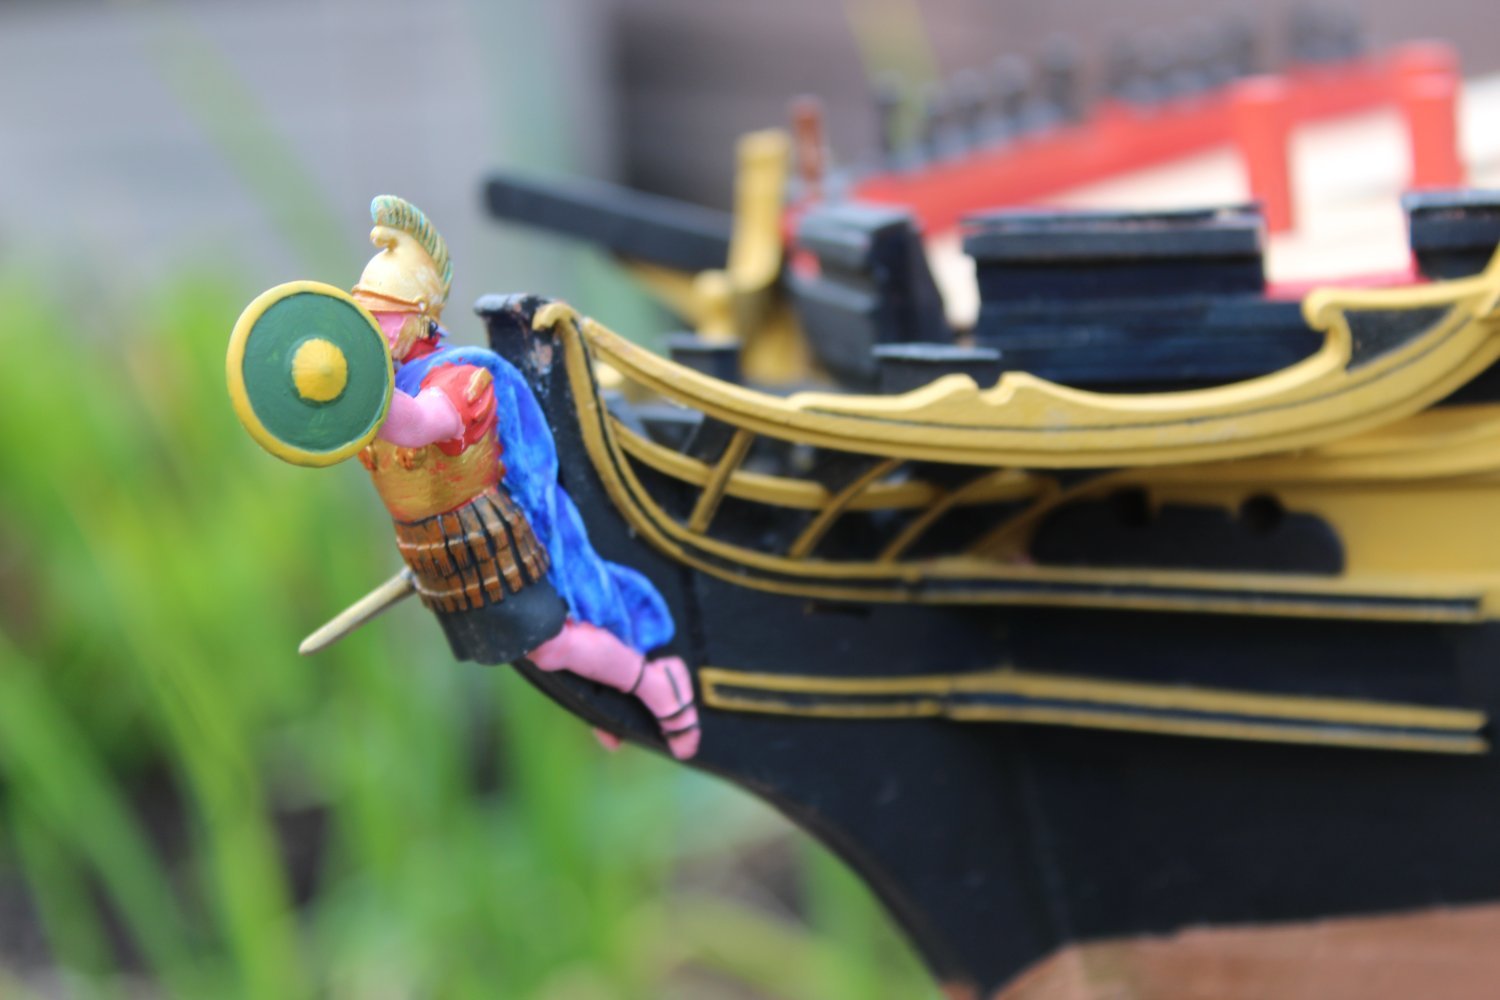
19 minutes ago, mugje said:
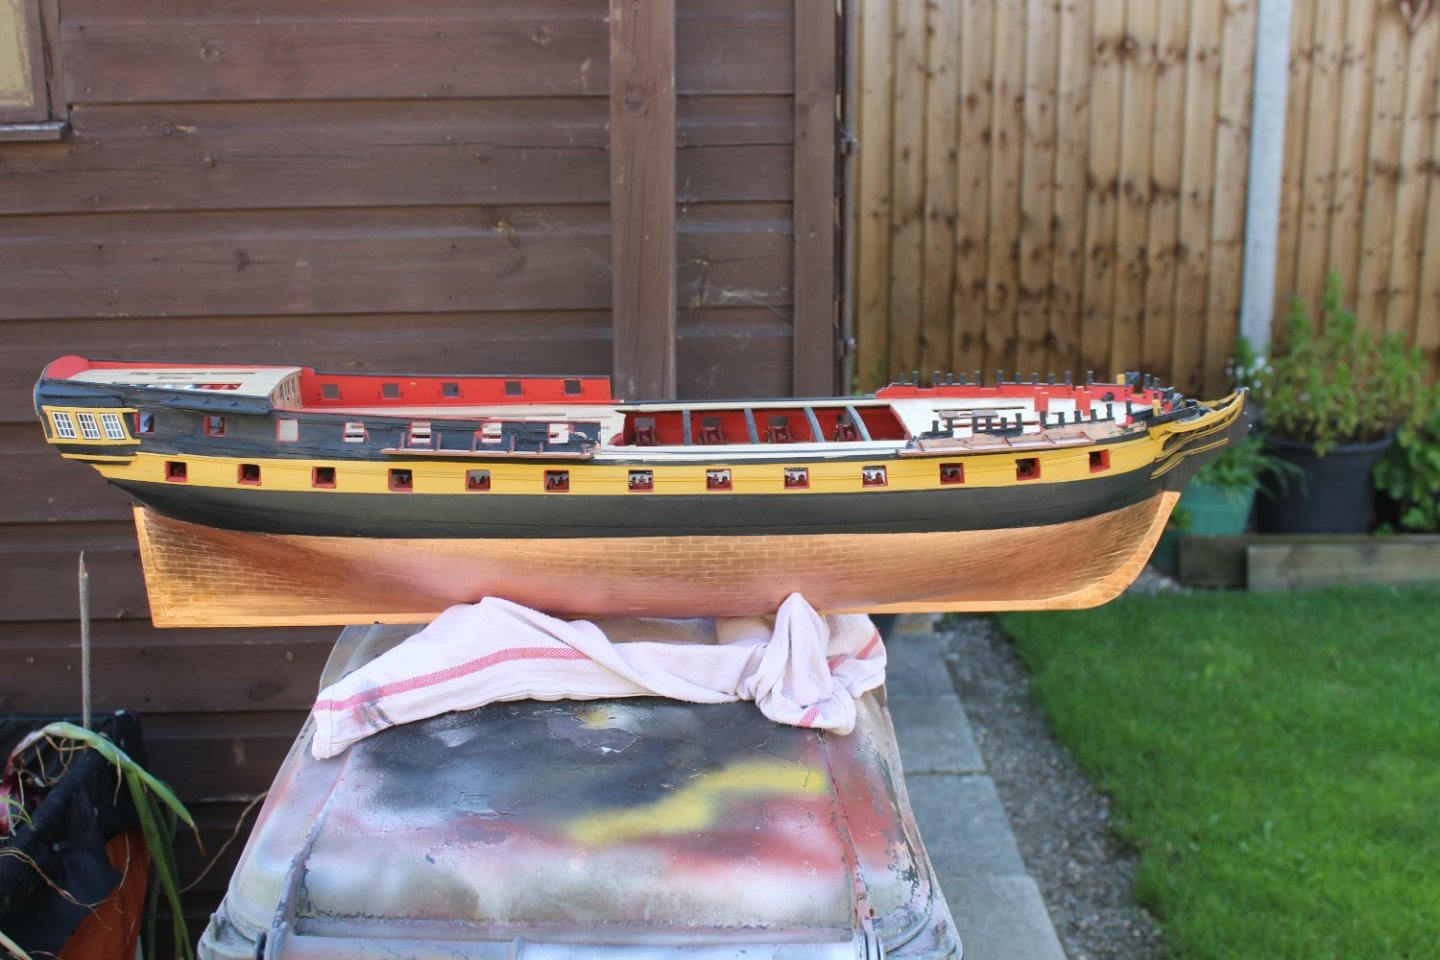
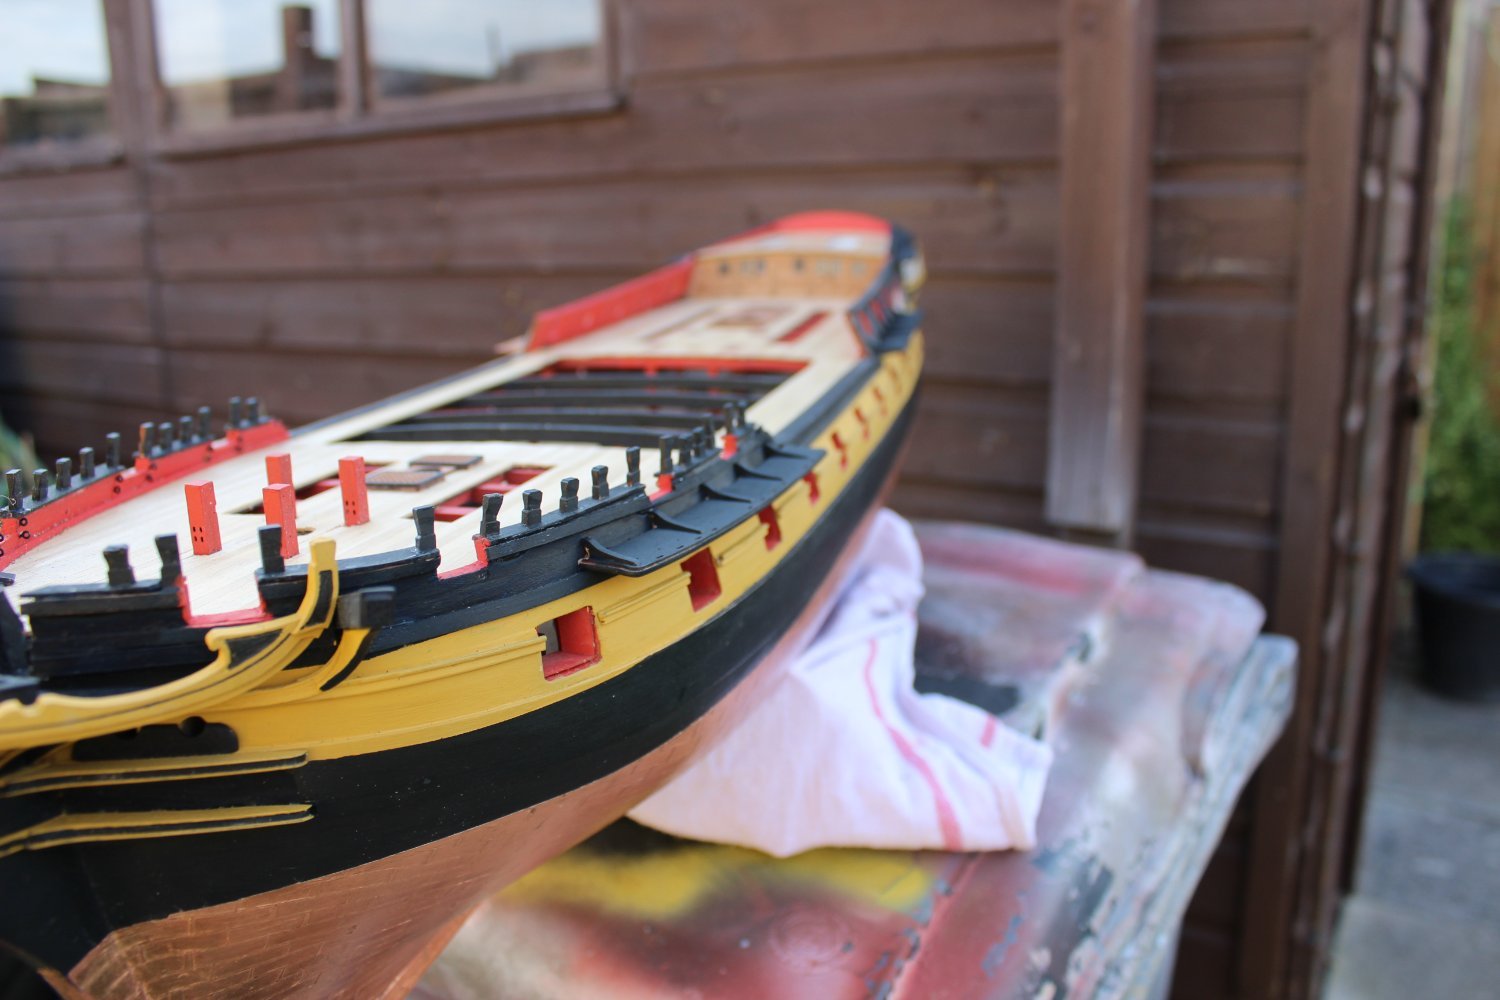
That's beautiful in the natural outside light!
thank you
- mtaylor, mugje and Old Collingwood
-
3
-
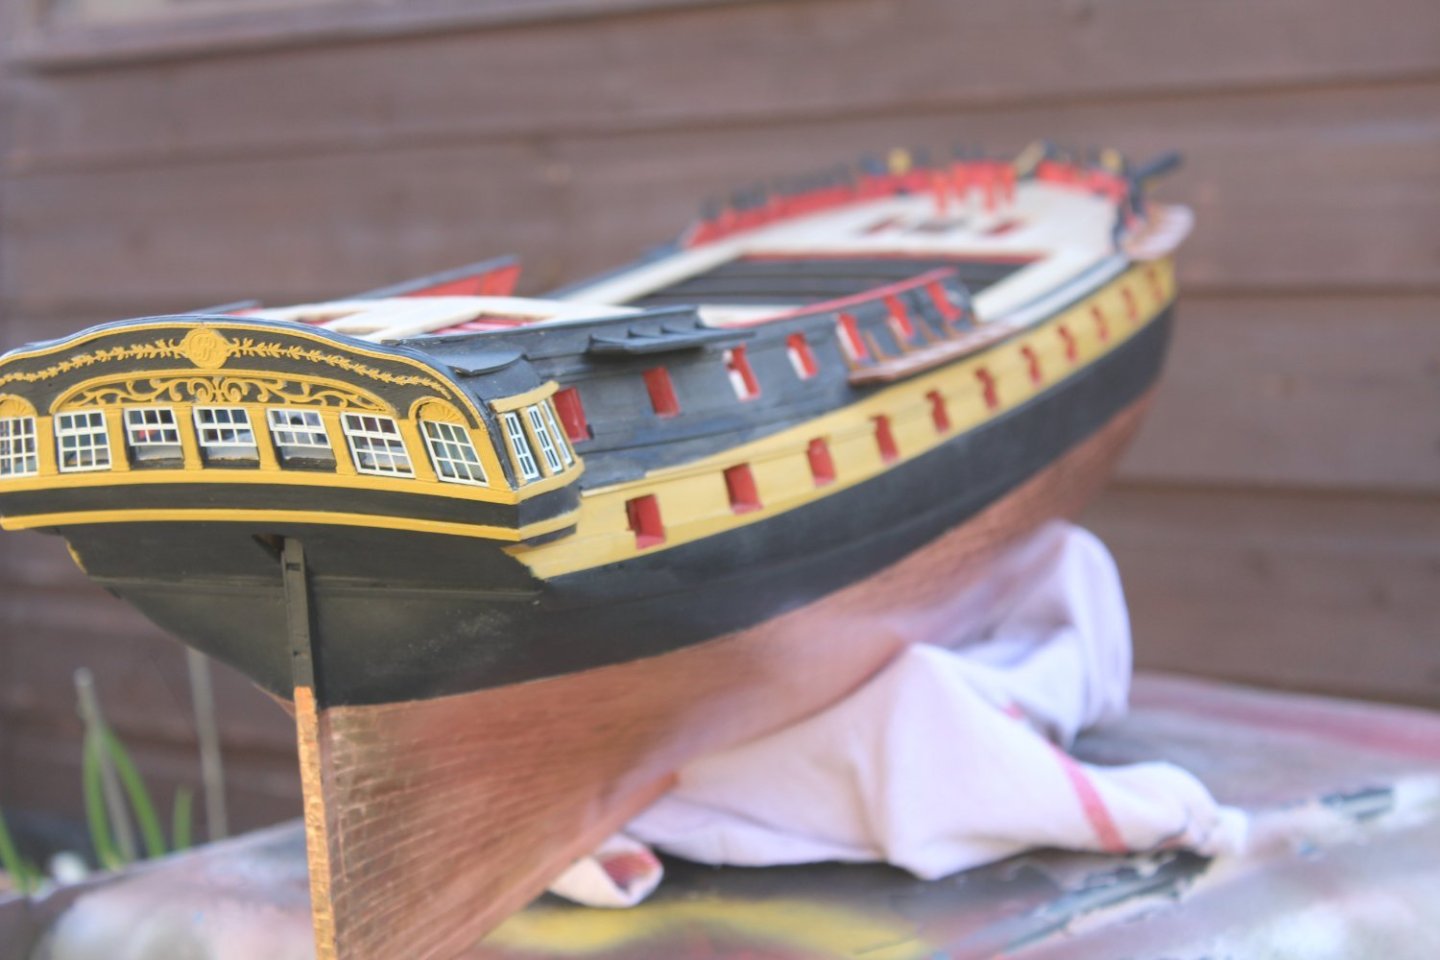
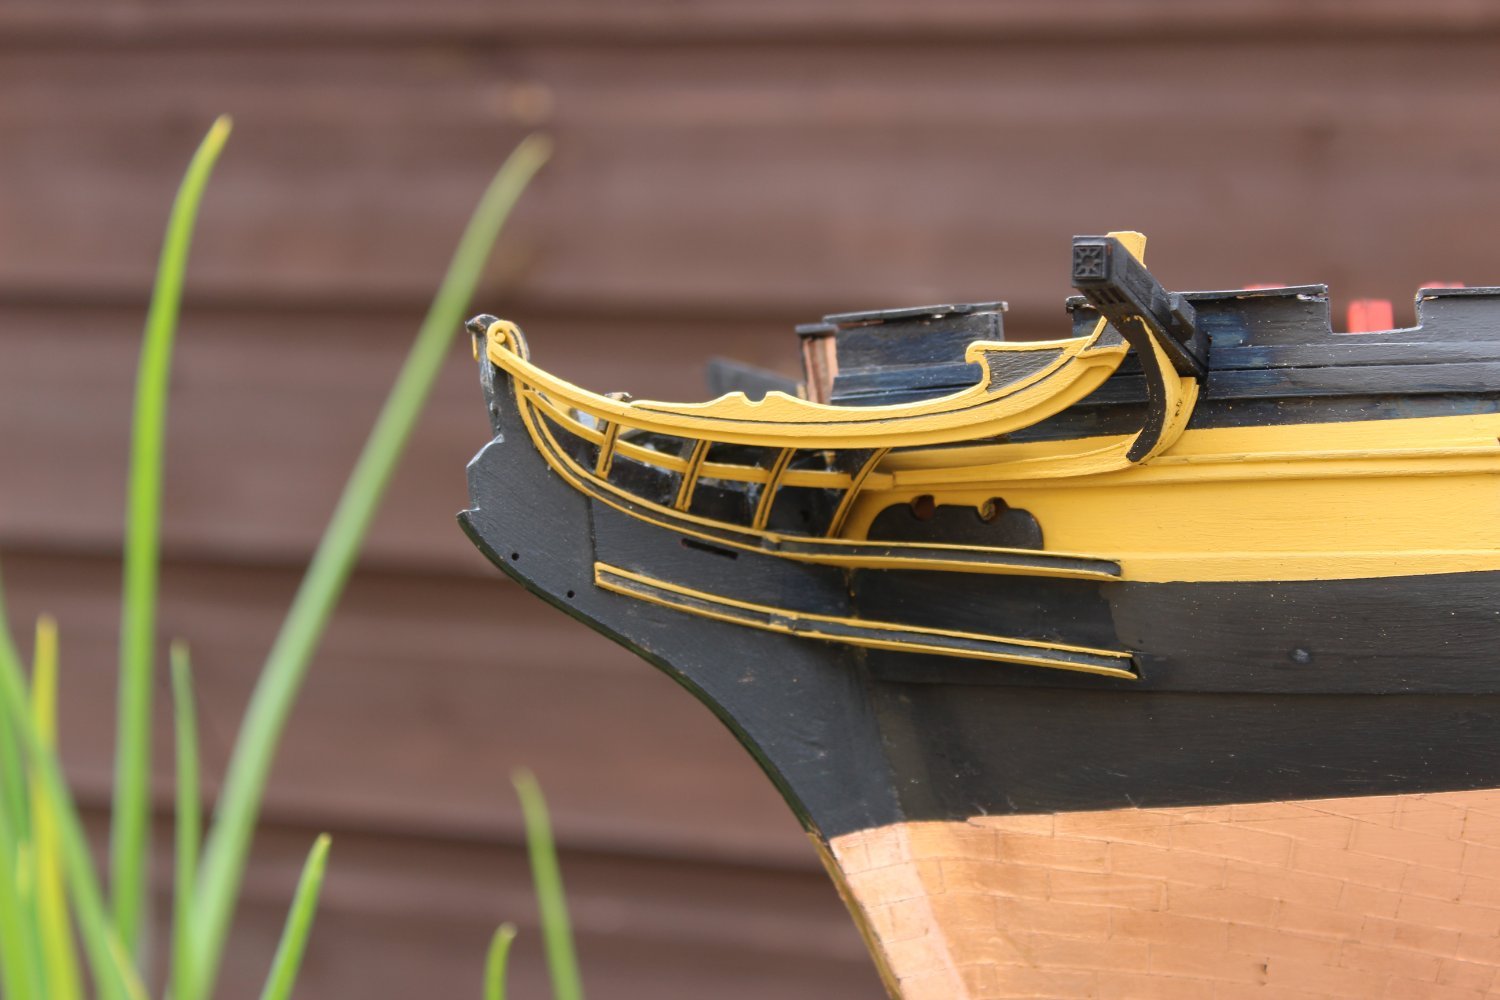
1 hour ago, Blue Ensign said:
Getting enjoyment from the build is the main thing Kevin, without that a build is unlikely to be finished.
I like the look of your Indy, and it will be interesting to see a fully masted and rigged version.
I'm sorry you won't see that on my version, which will have stump masts only, if any masts at all.
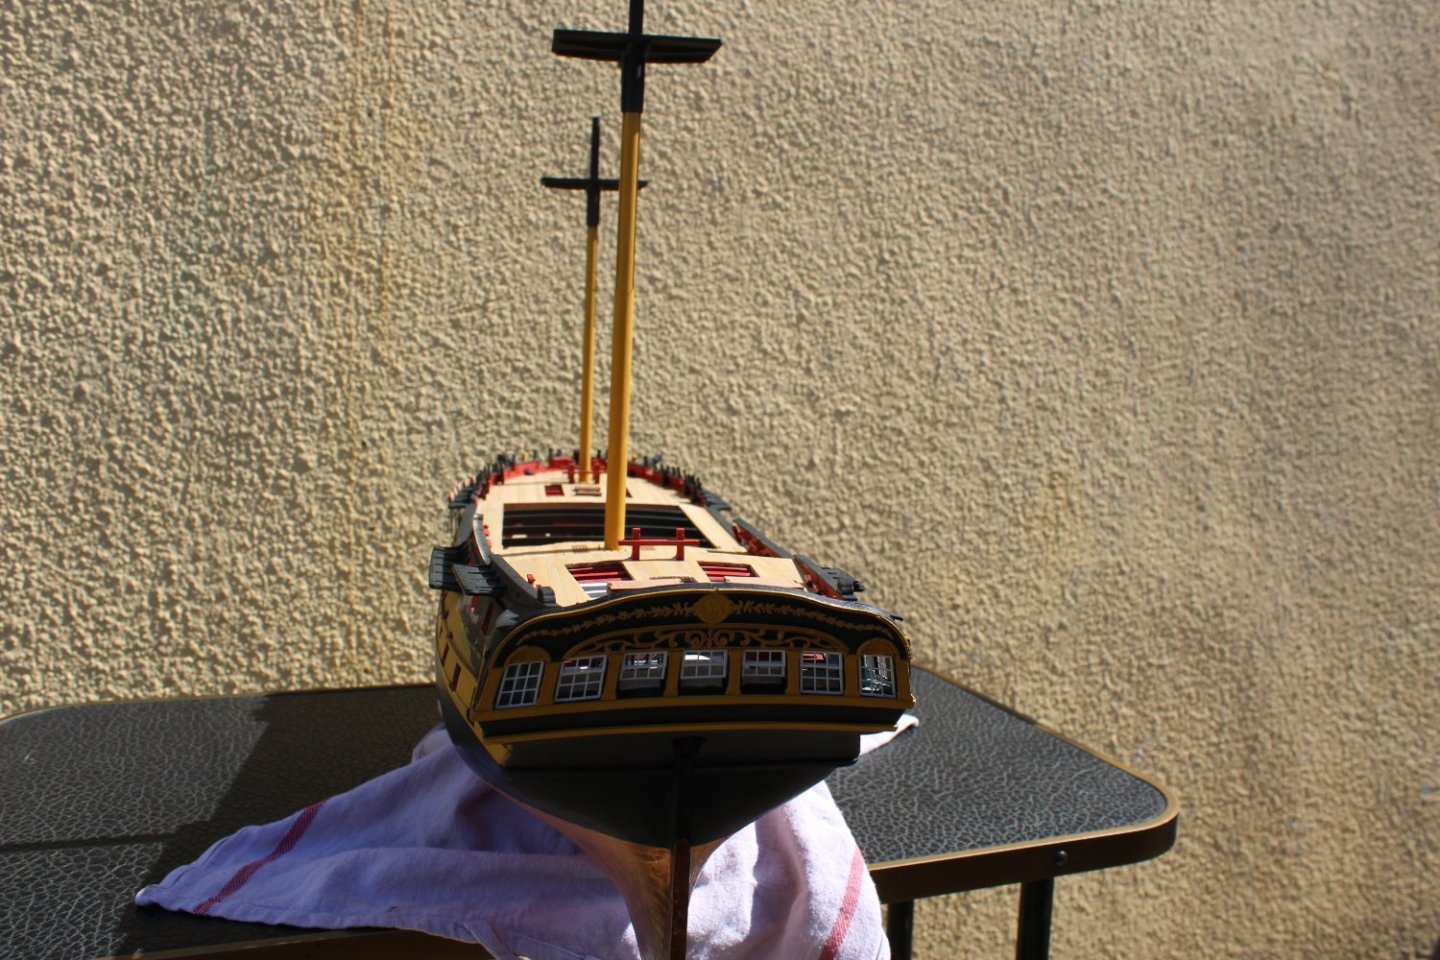
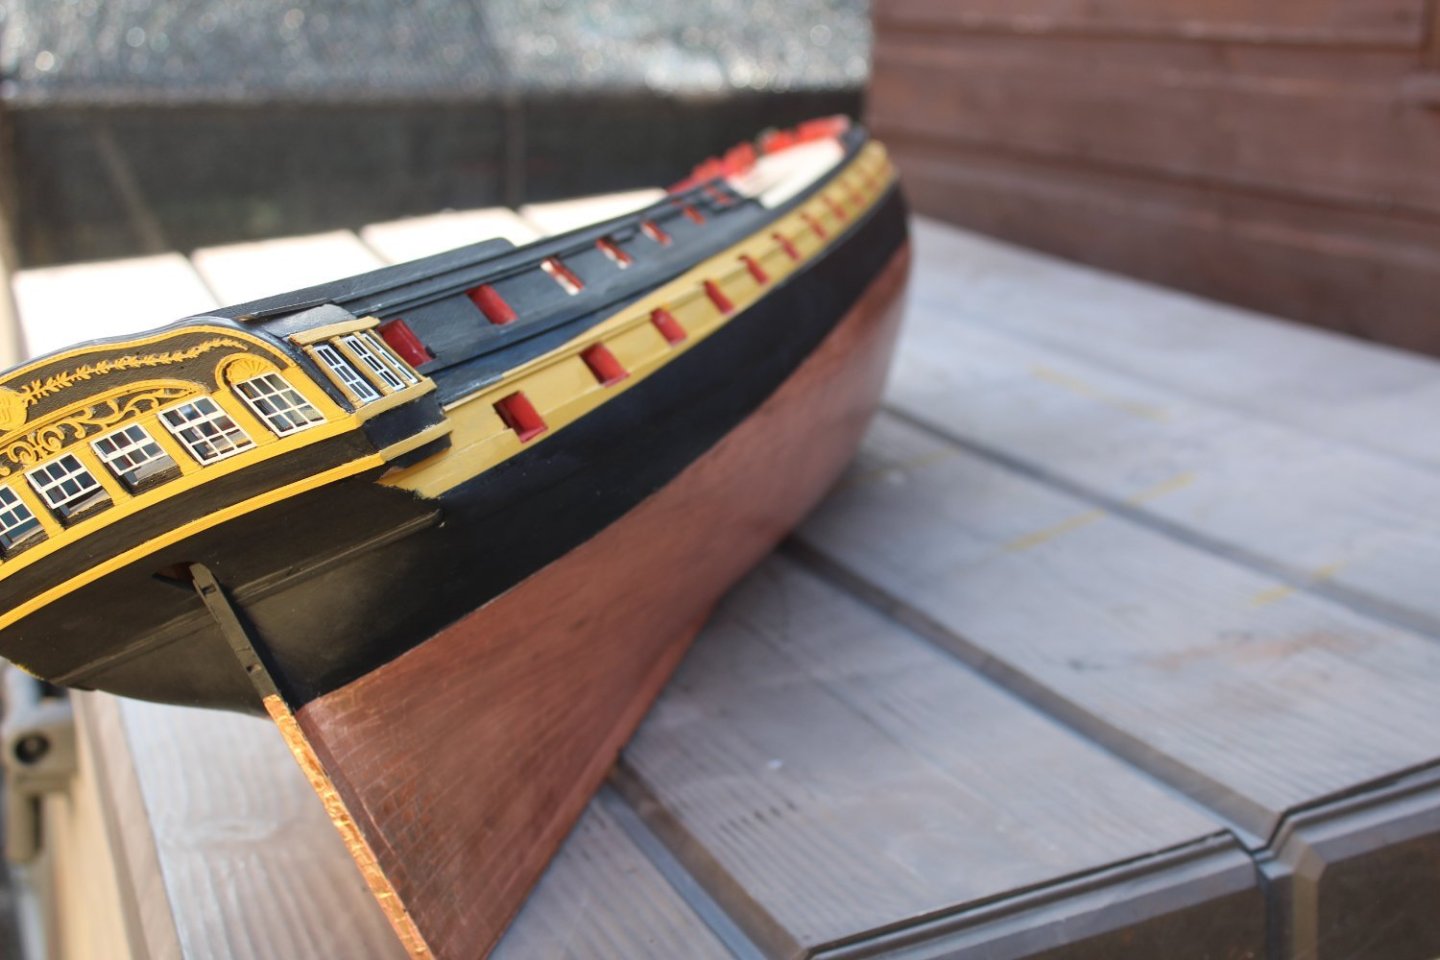
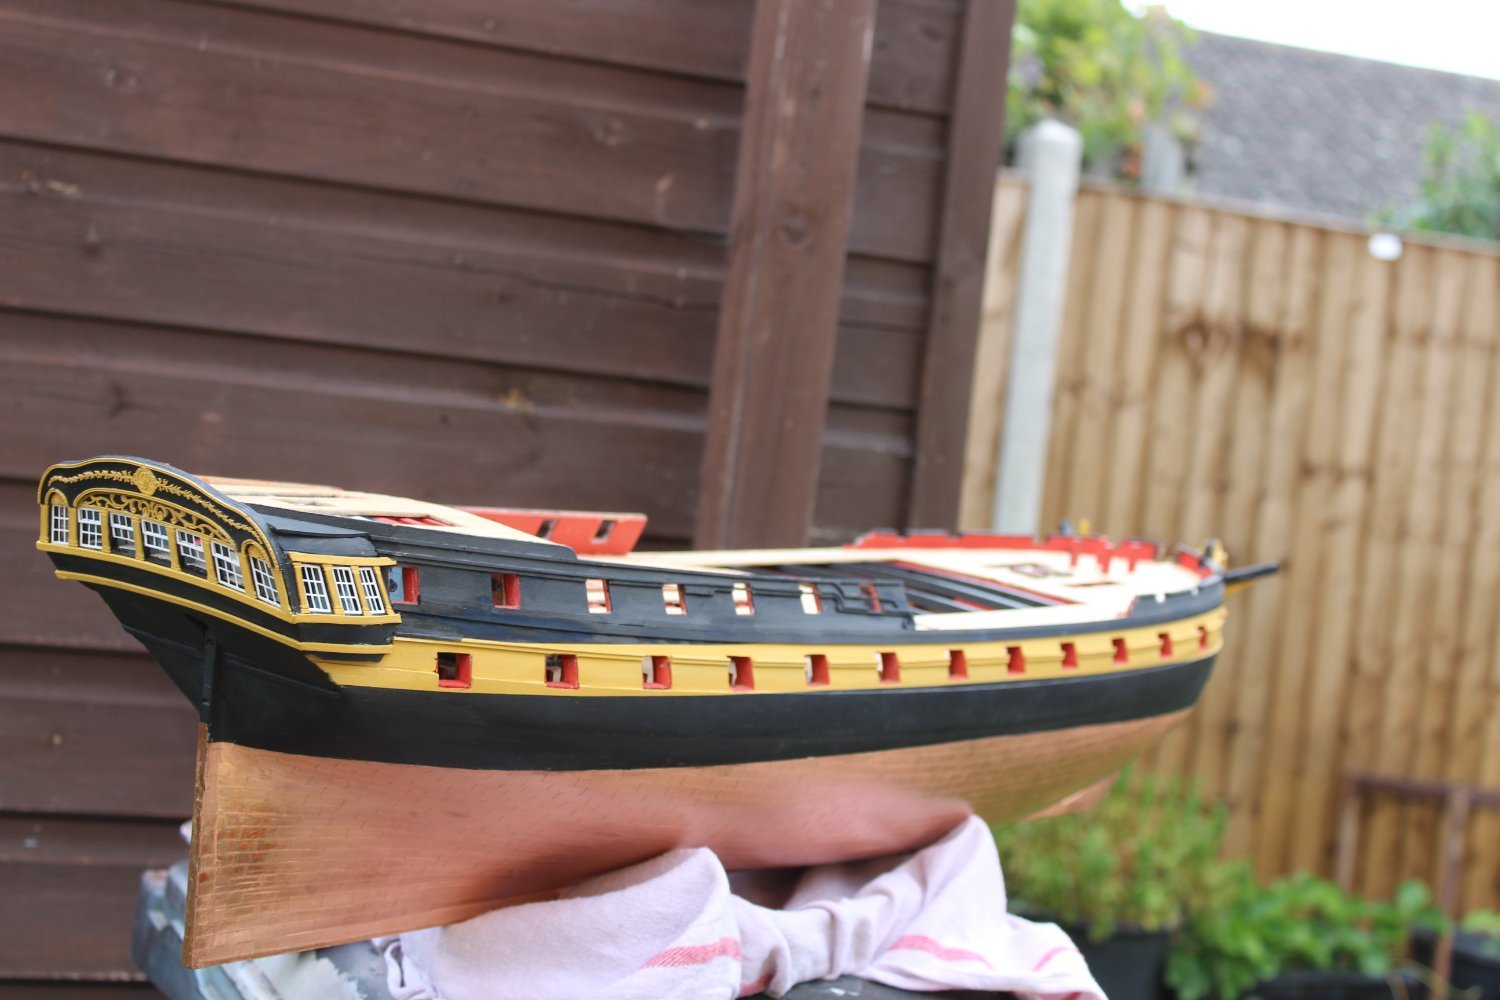
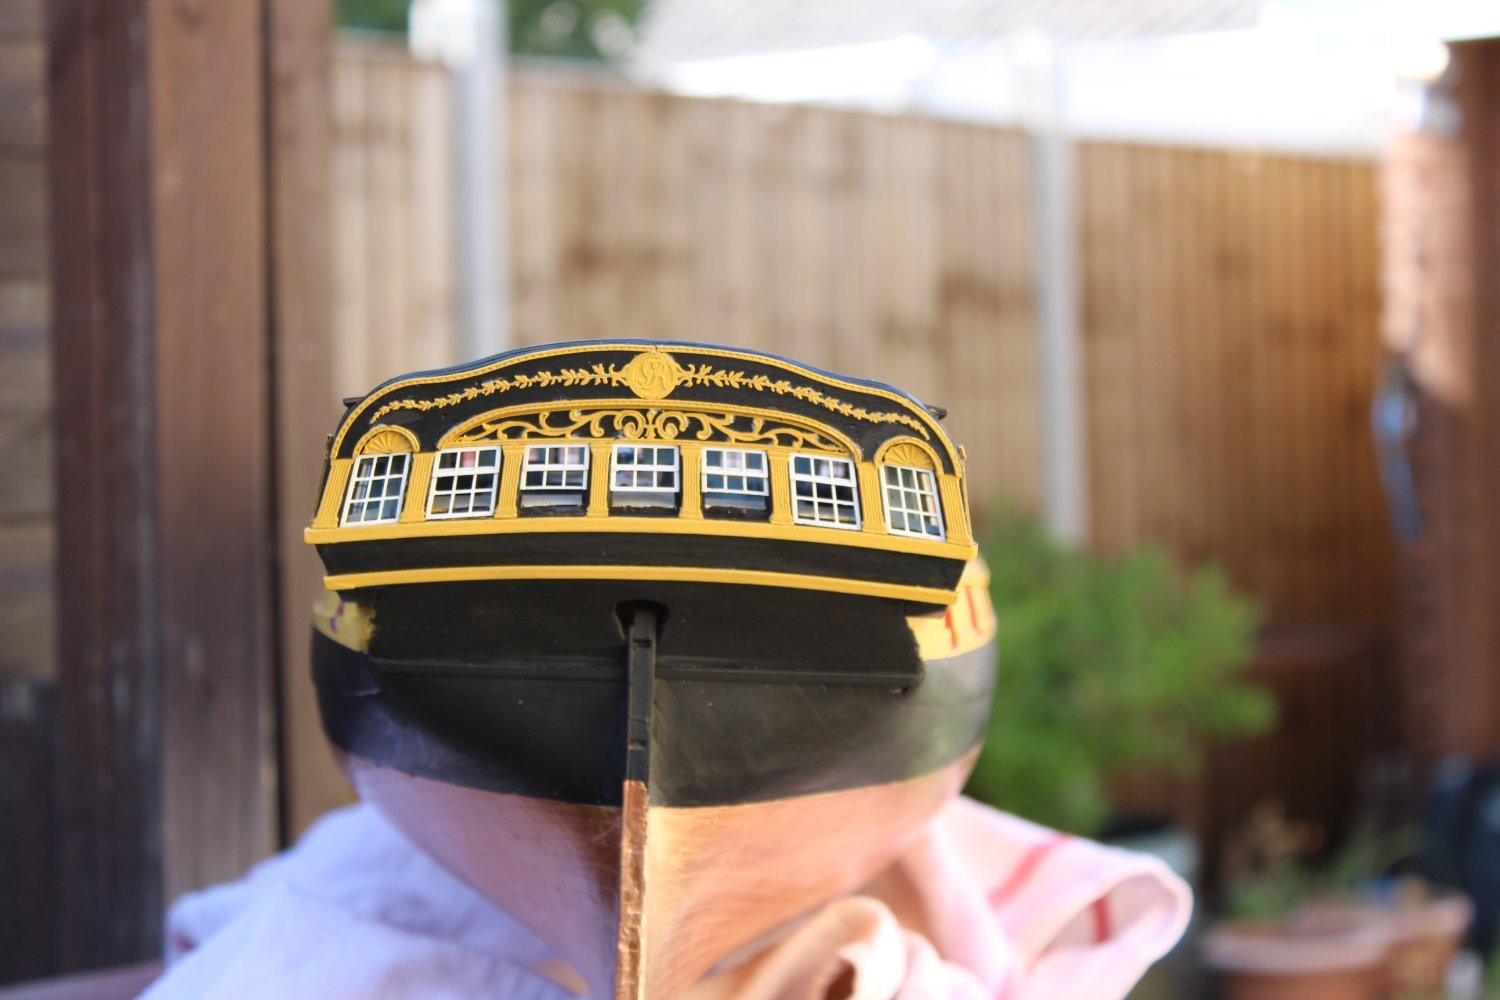
ps. You haven't forgotten to fit the lower finishings of the Qtr galleries have you?
Regards,
B.E.
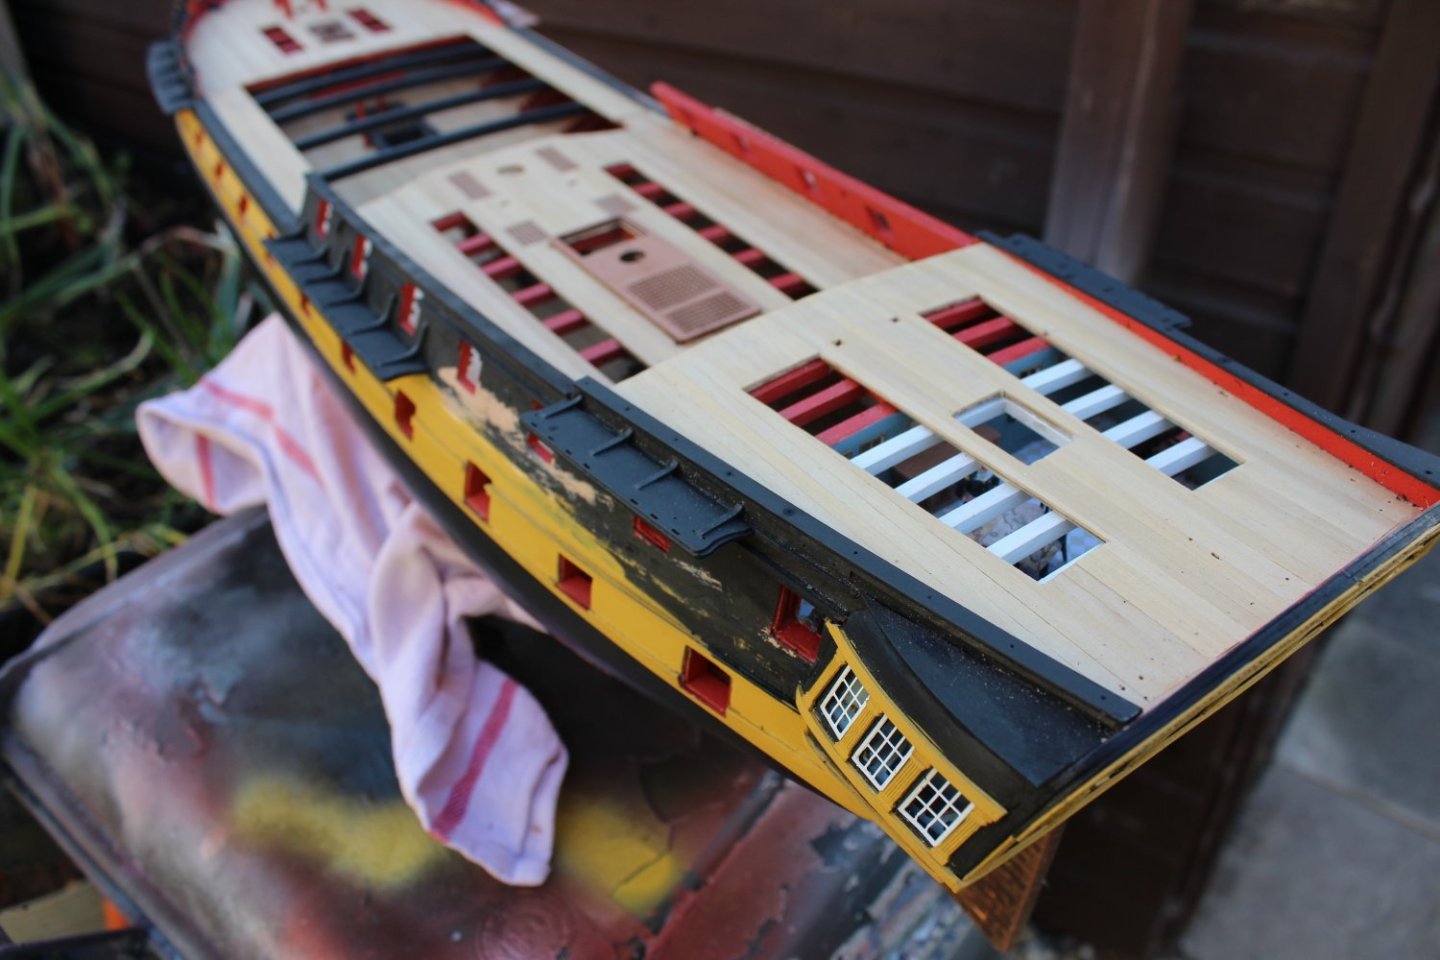
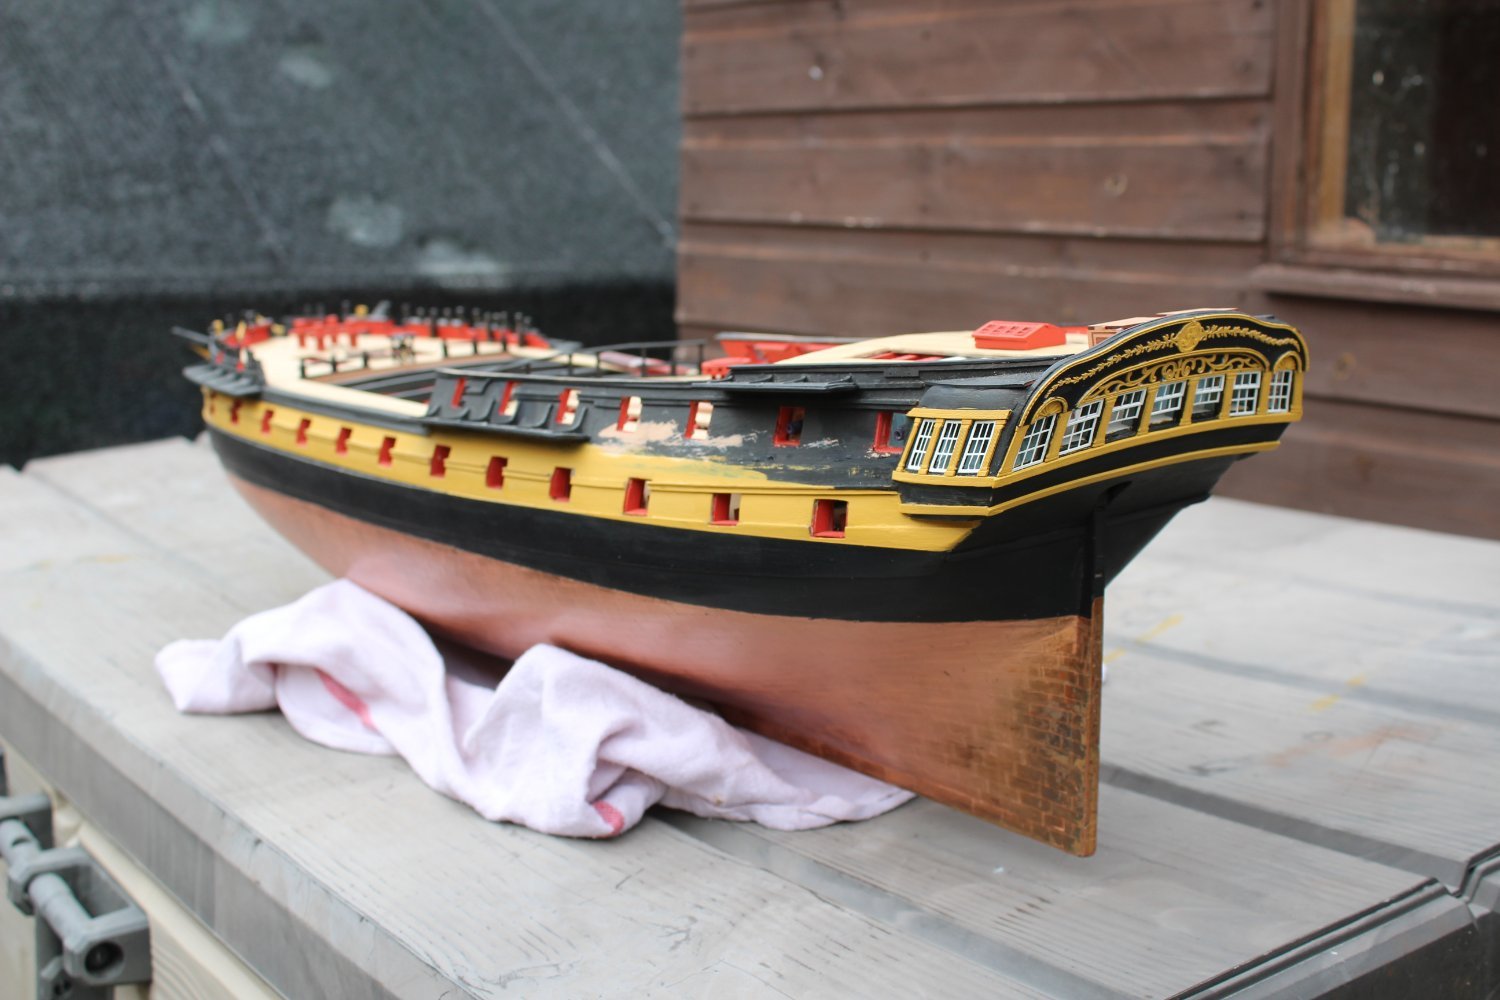
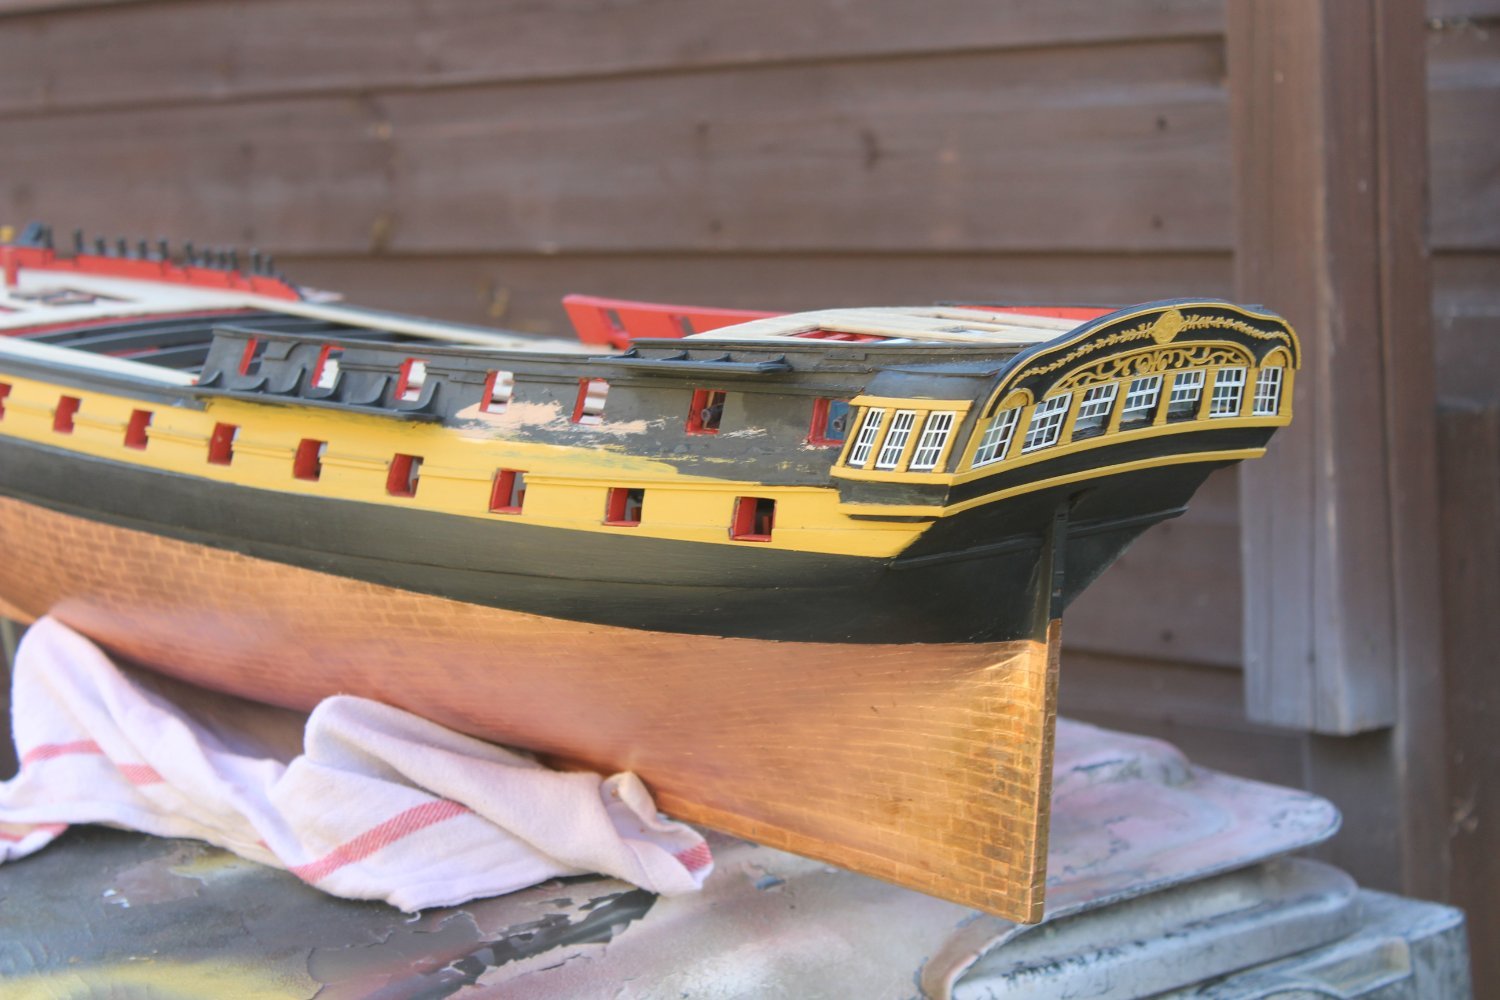
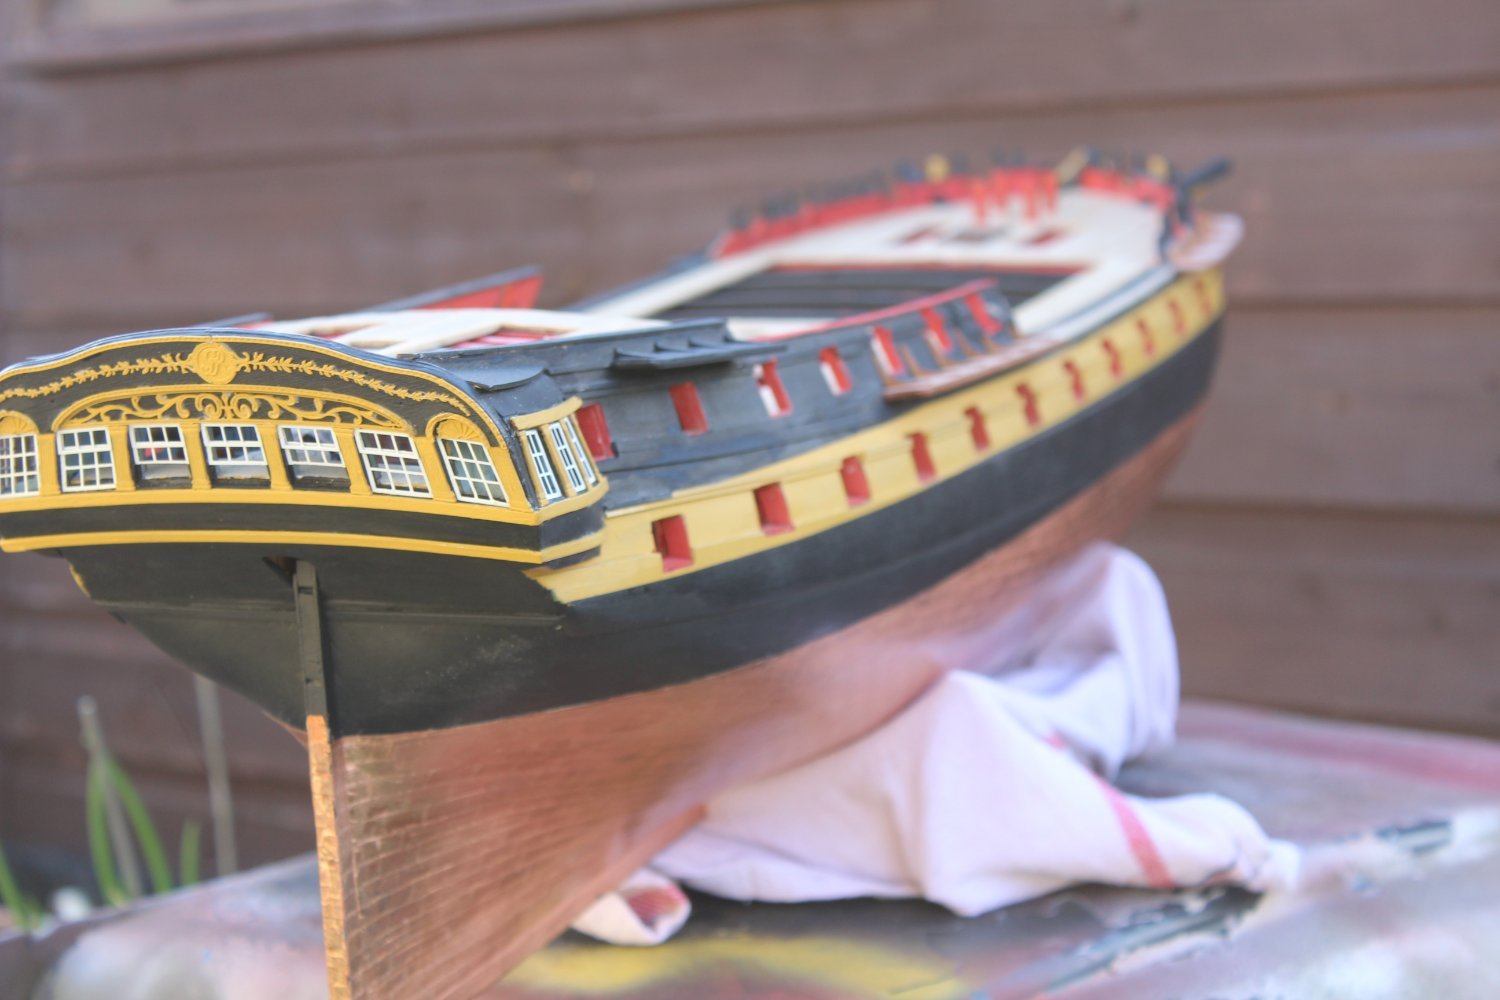
at present im unable to make them look right, so i will try again when i redo the midships to aft repaint
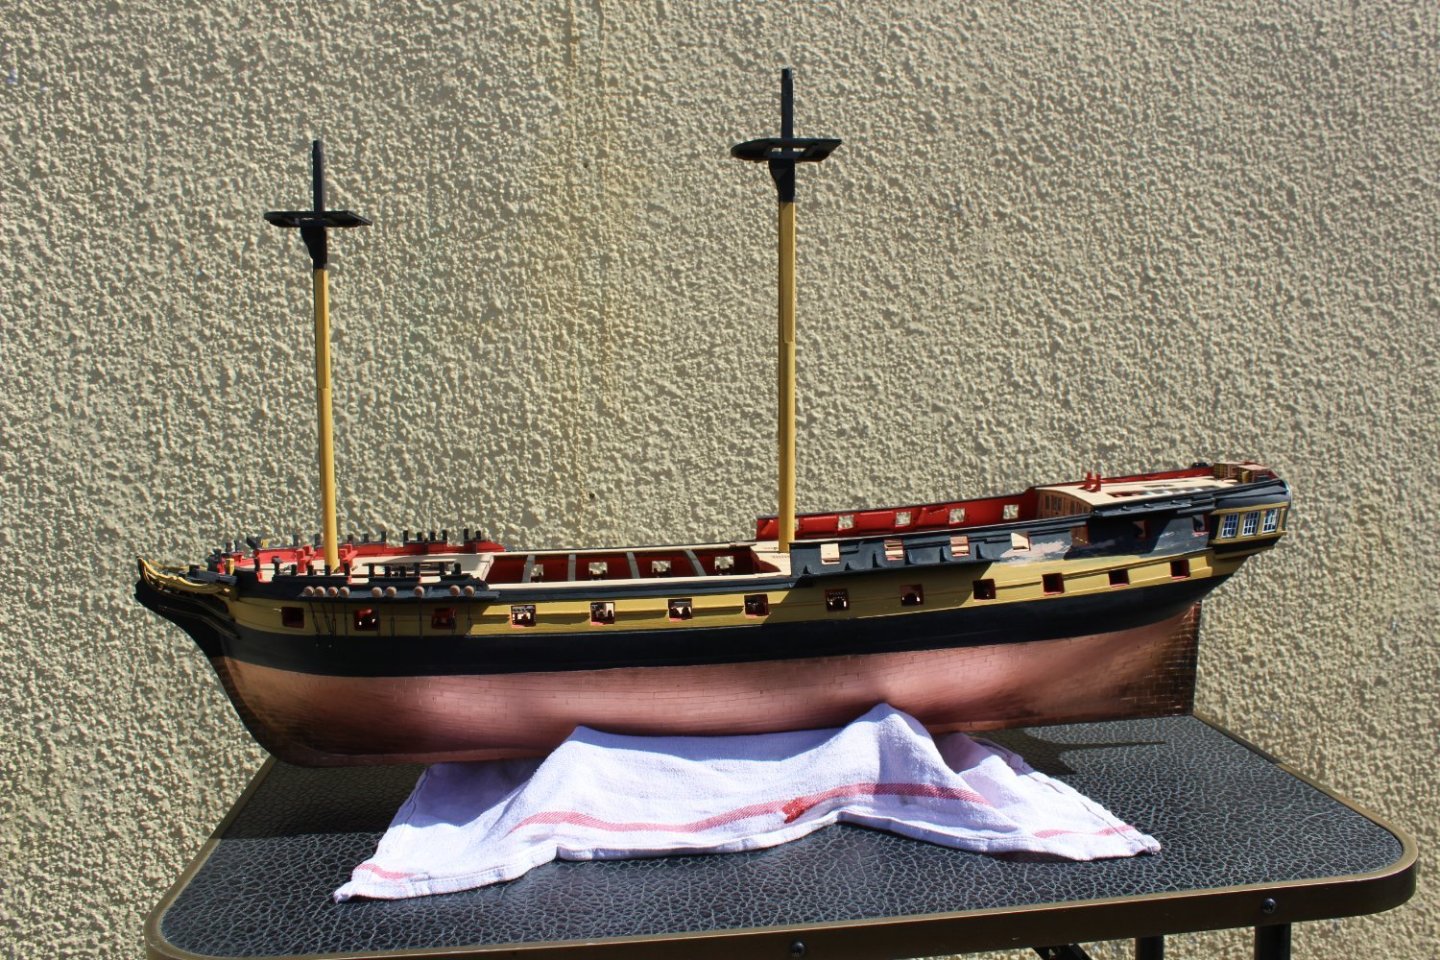
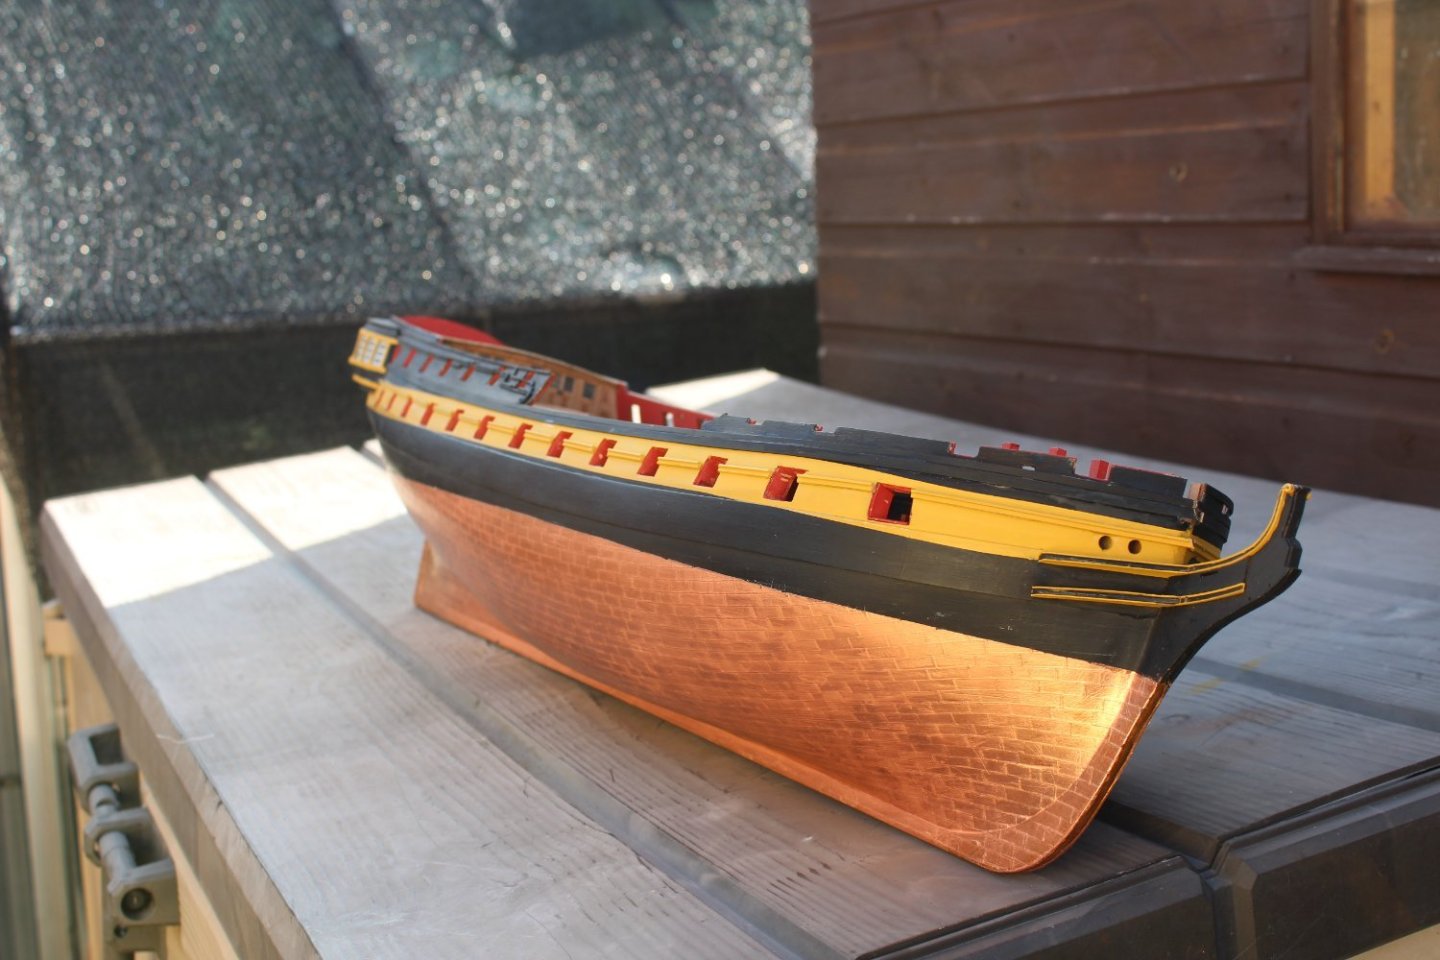
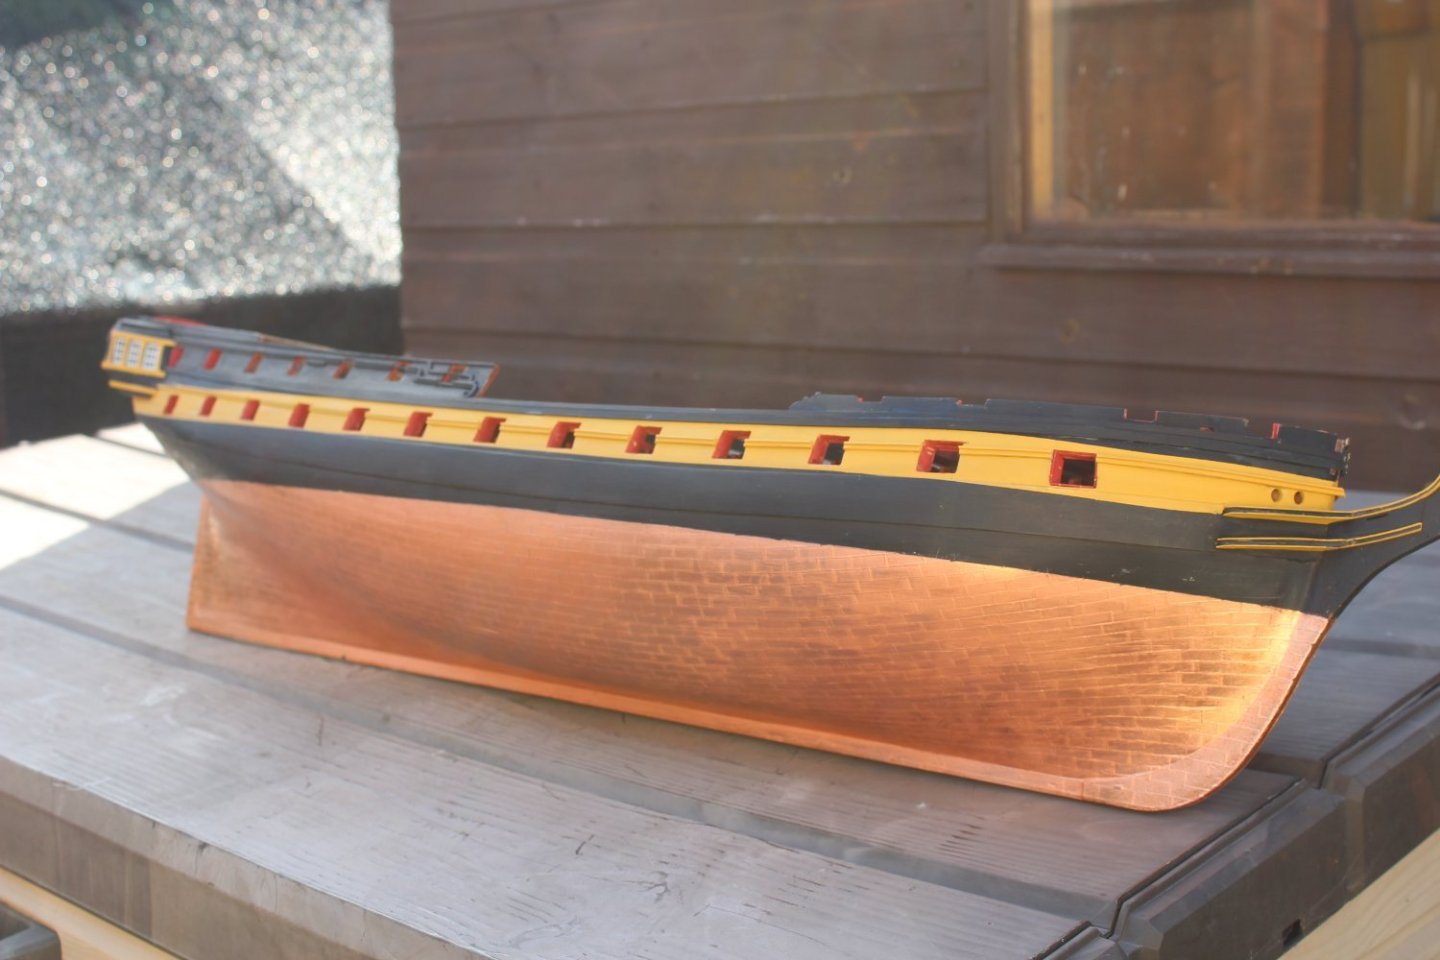
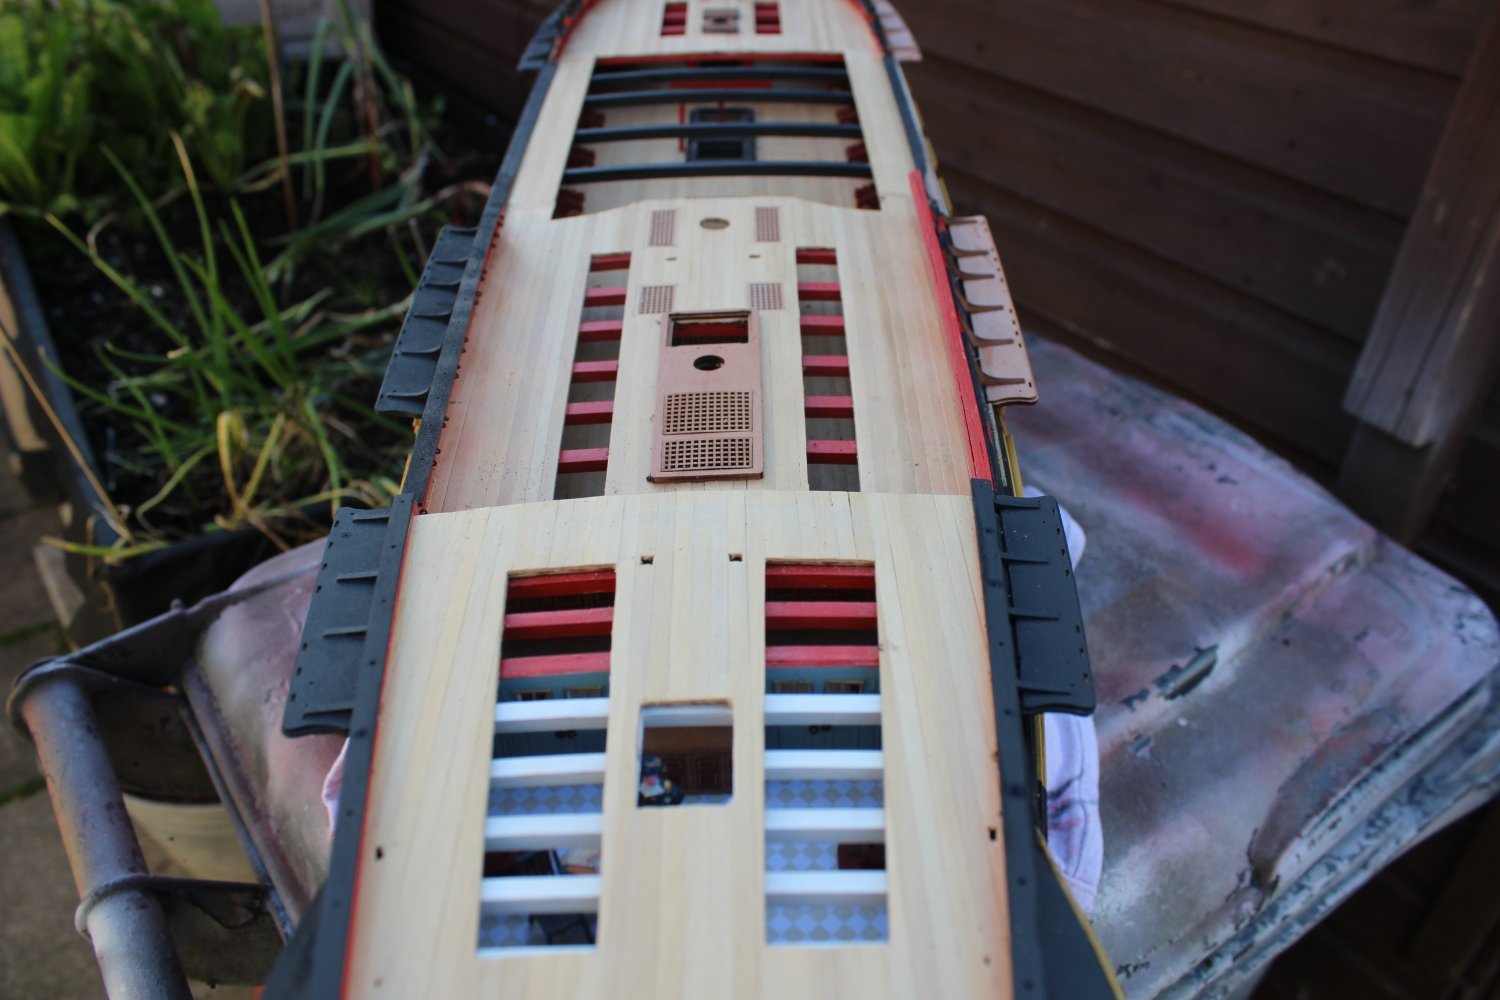
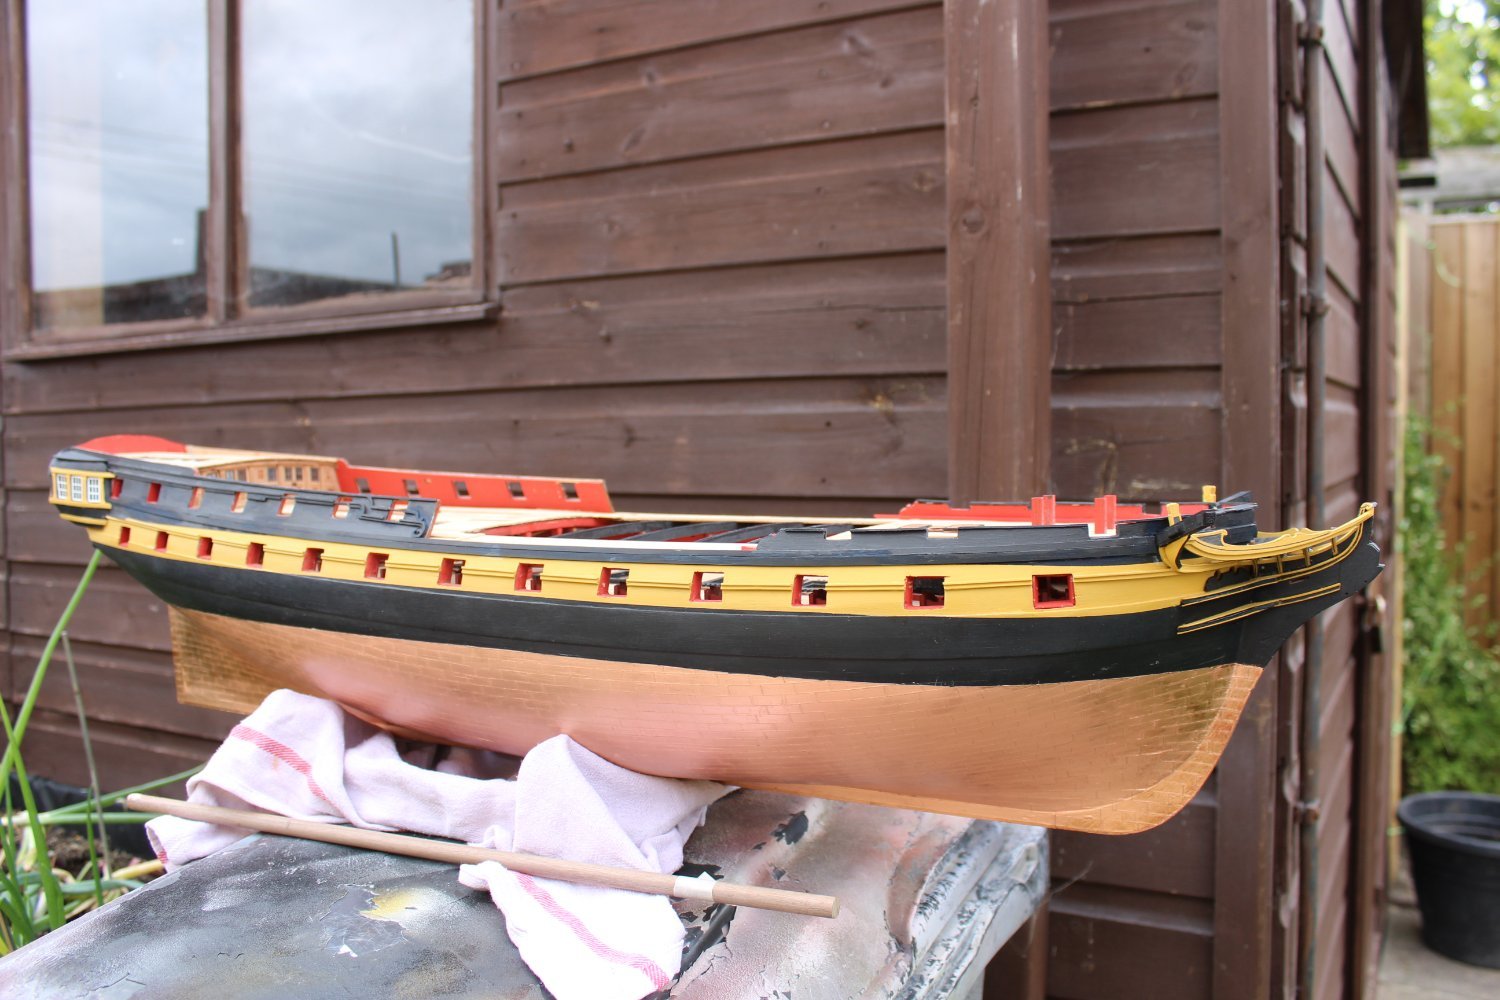
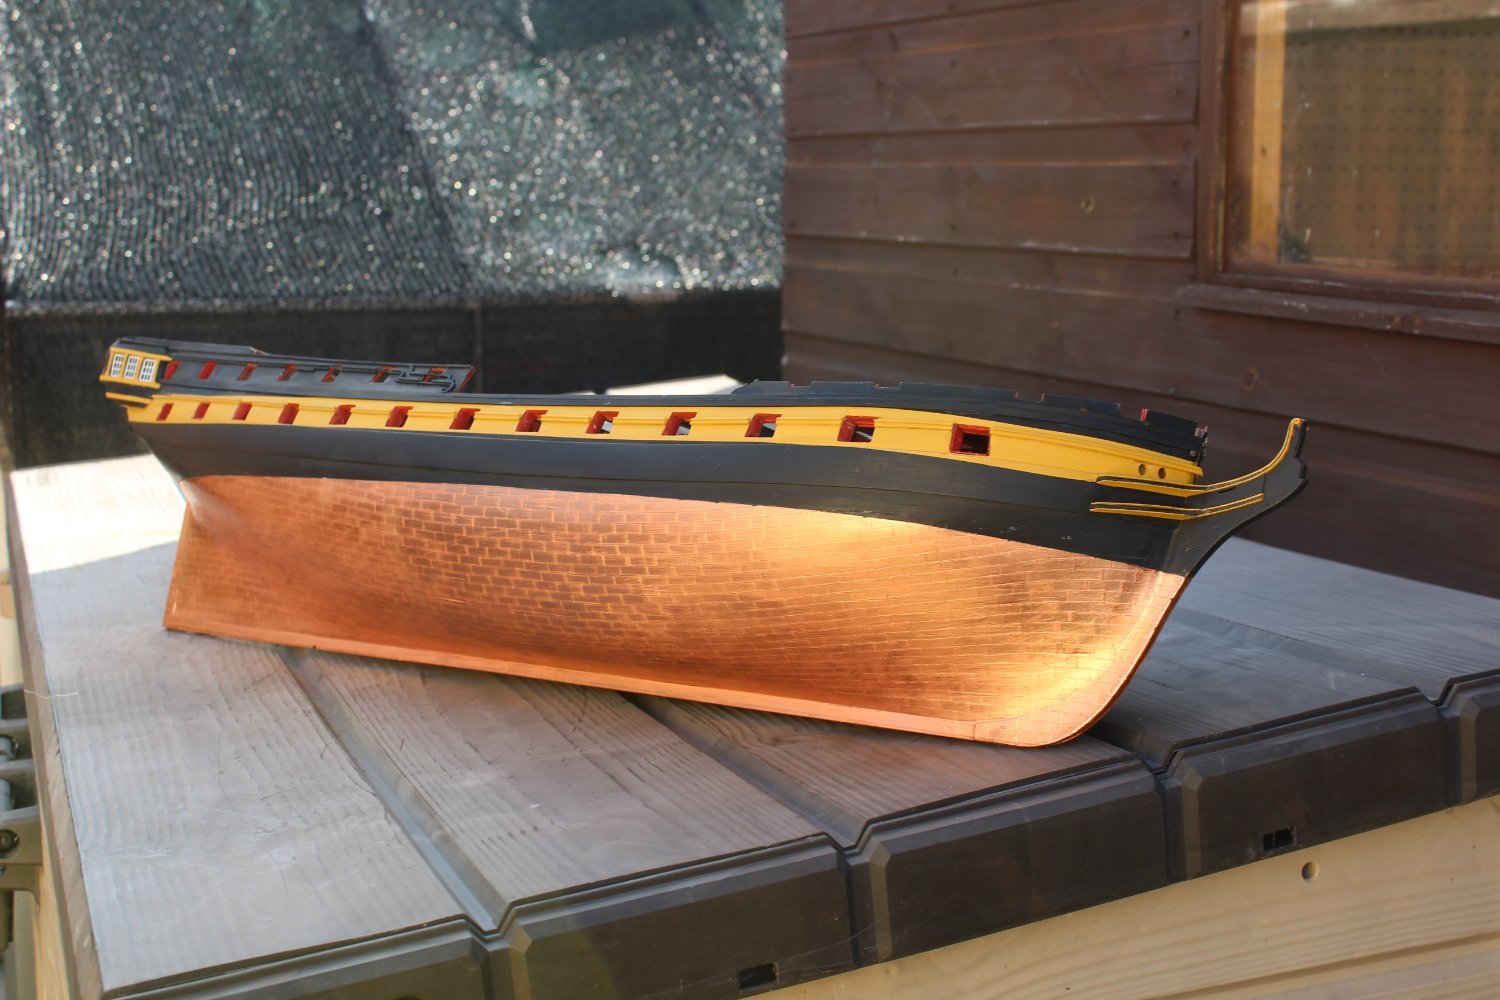
plus i may have a bit of a problem with my coppering, i used the tape, and put a water based varnish over, but im wearing the varnish away with constant use, lol its looking very polished by the rudder post and lower bow
no masts, is that a personal choice or space related?
- Old Collingwood and mtaylor
-
2
-
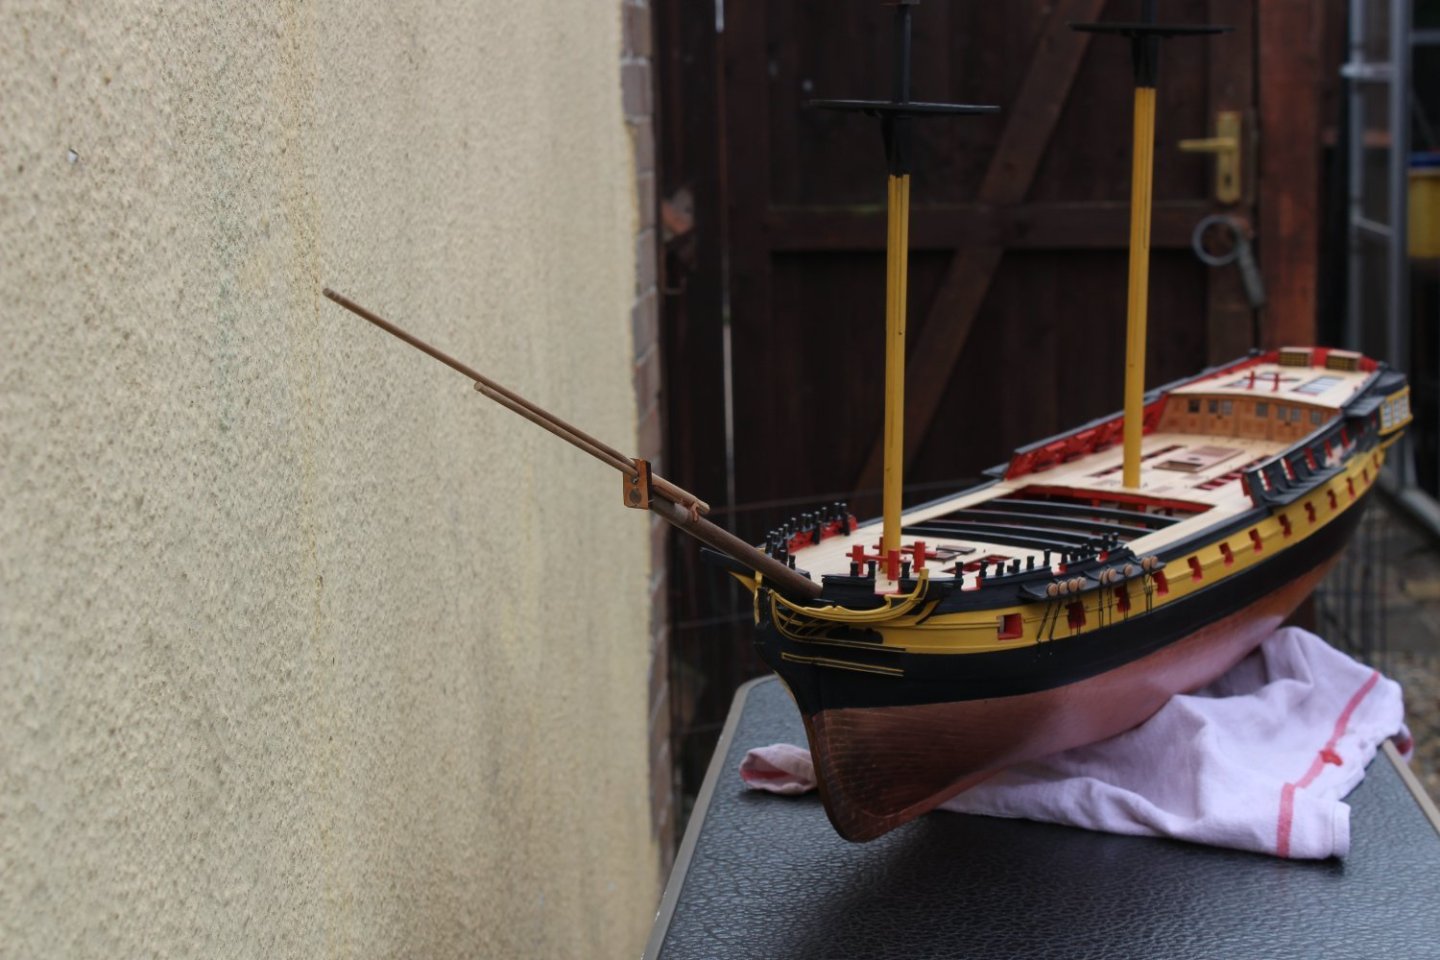
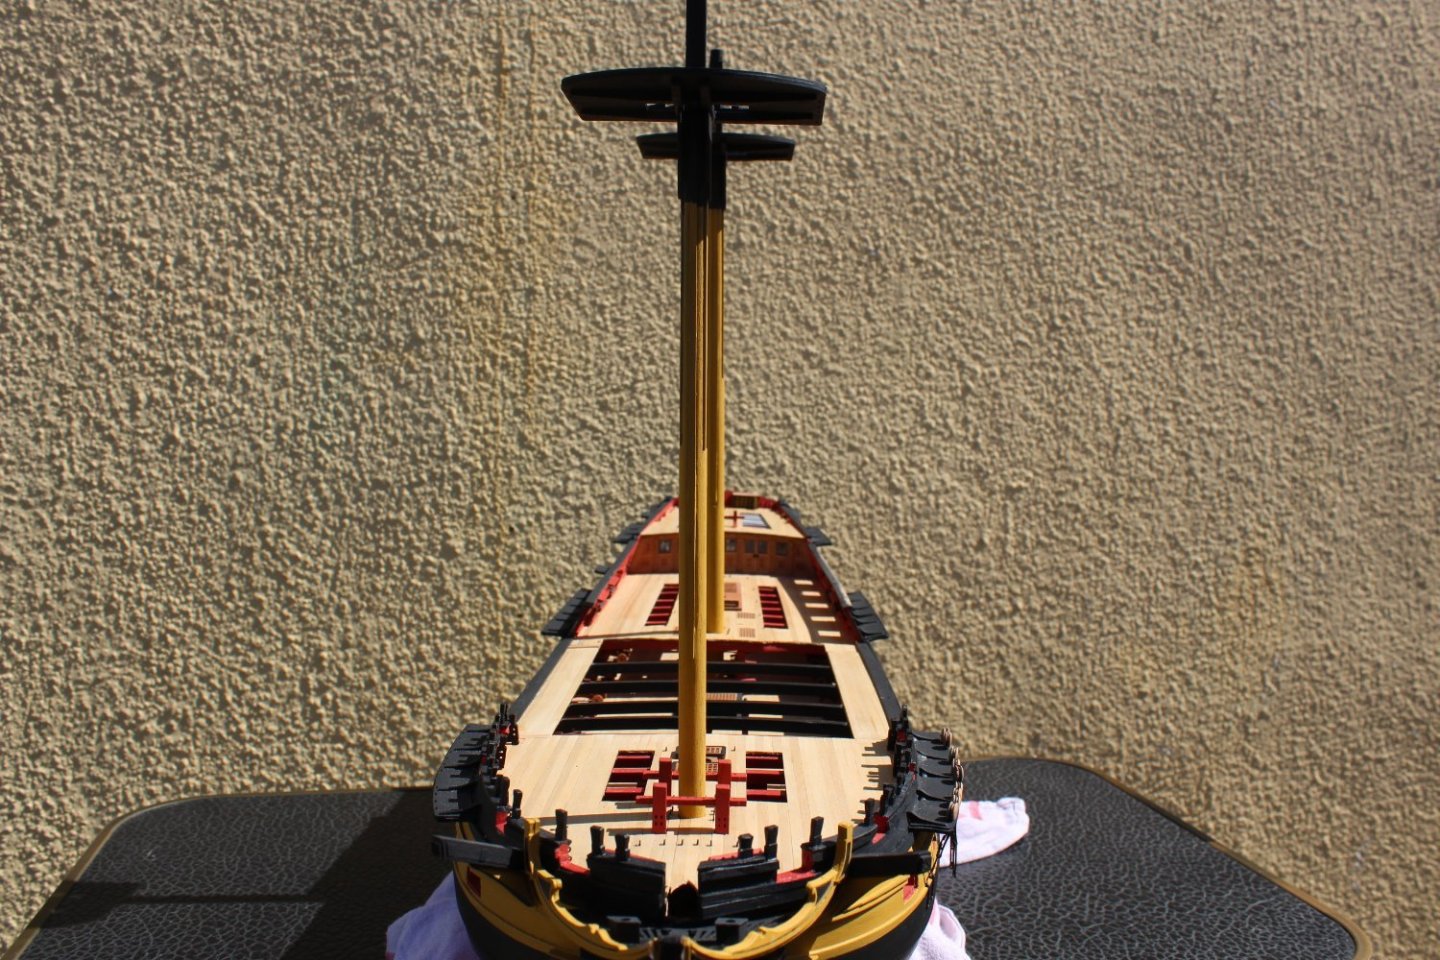
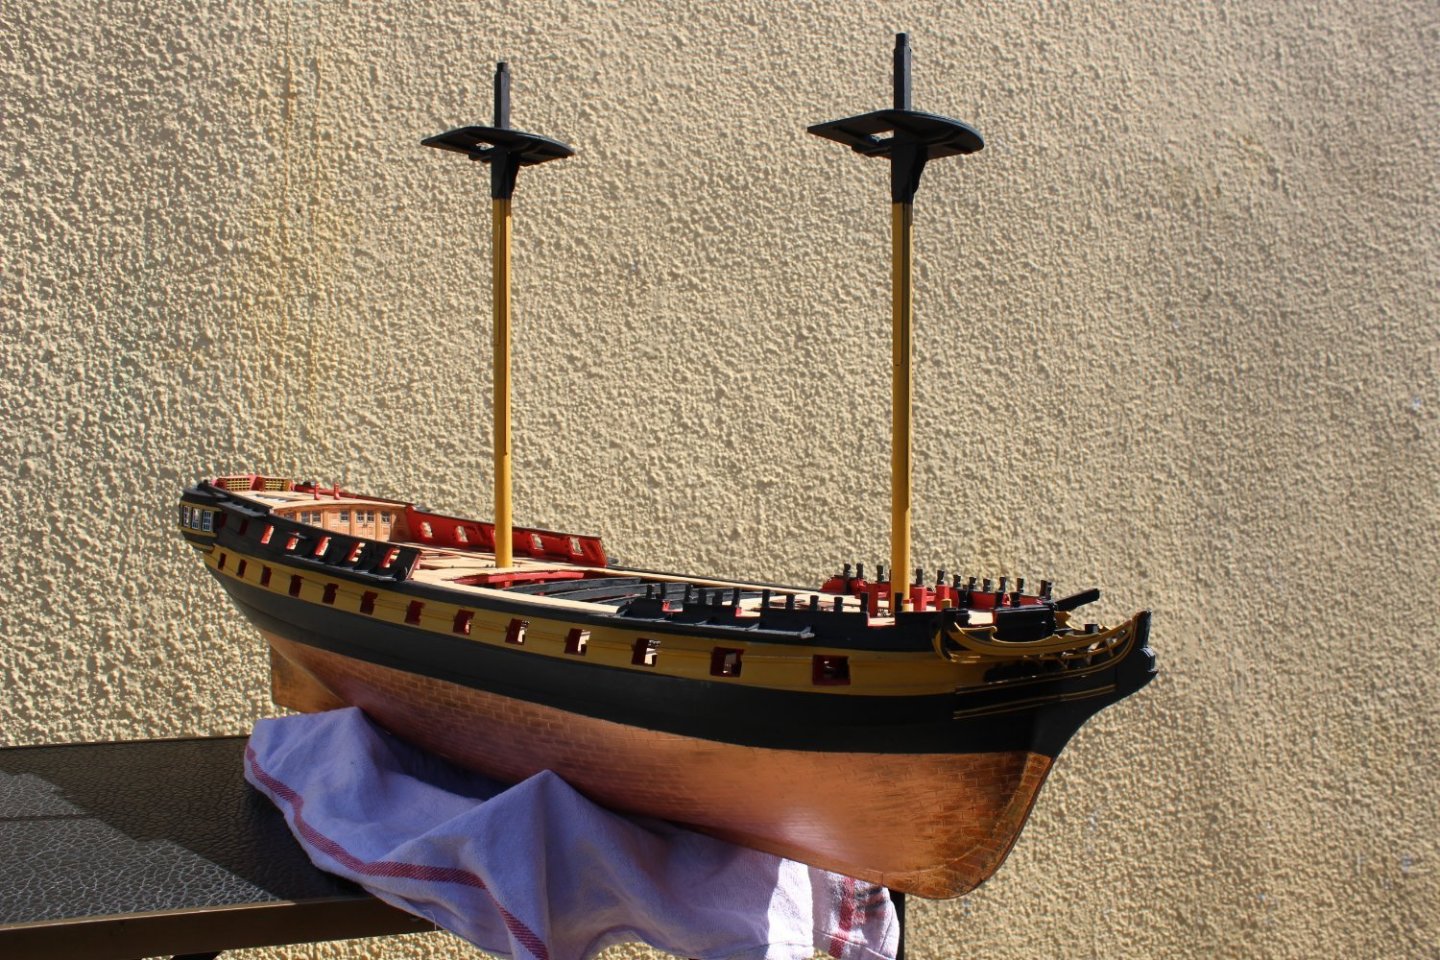
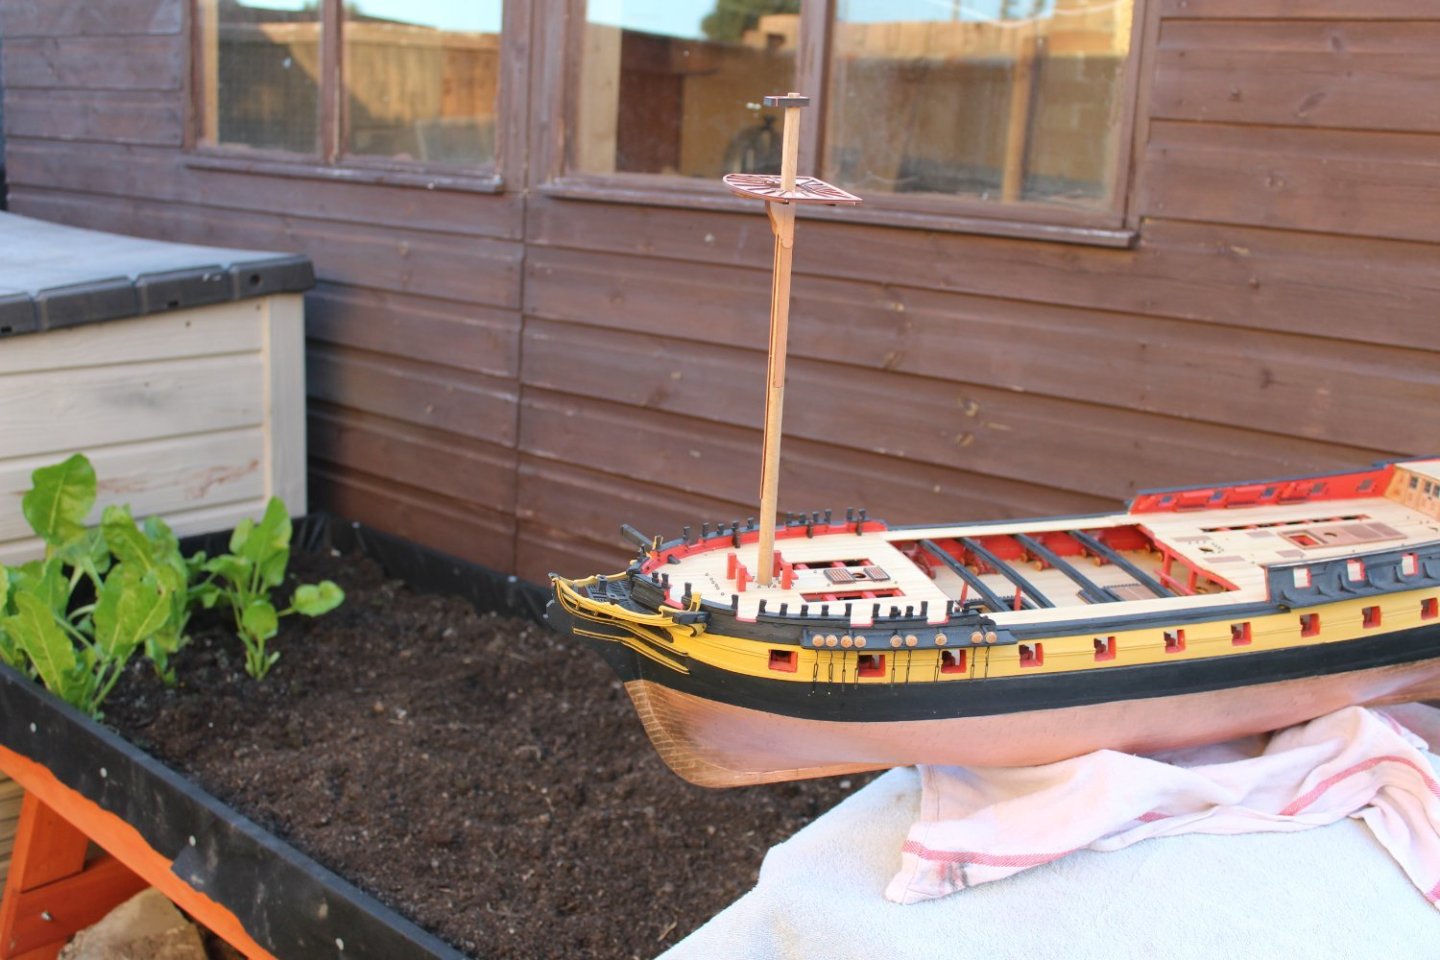
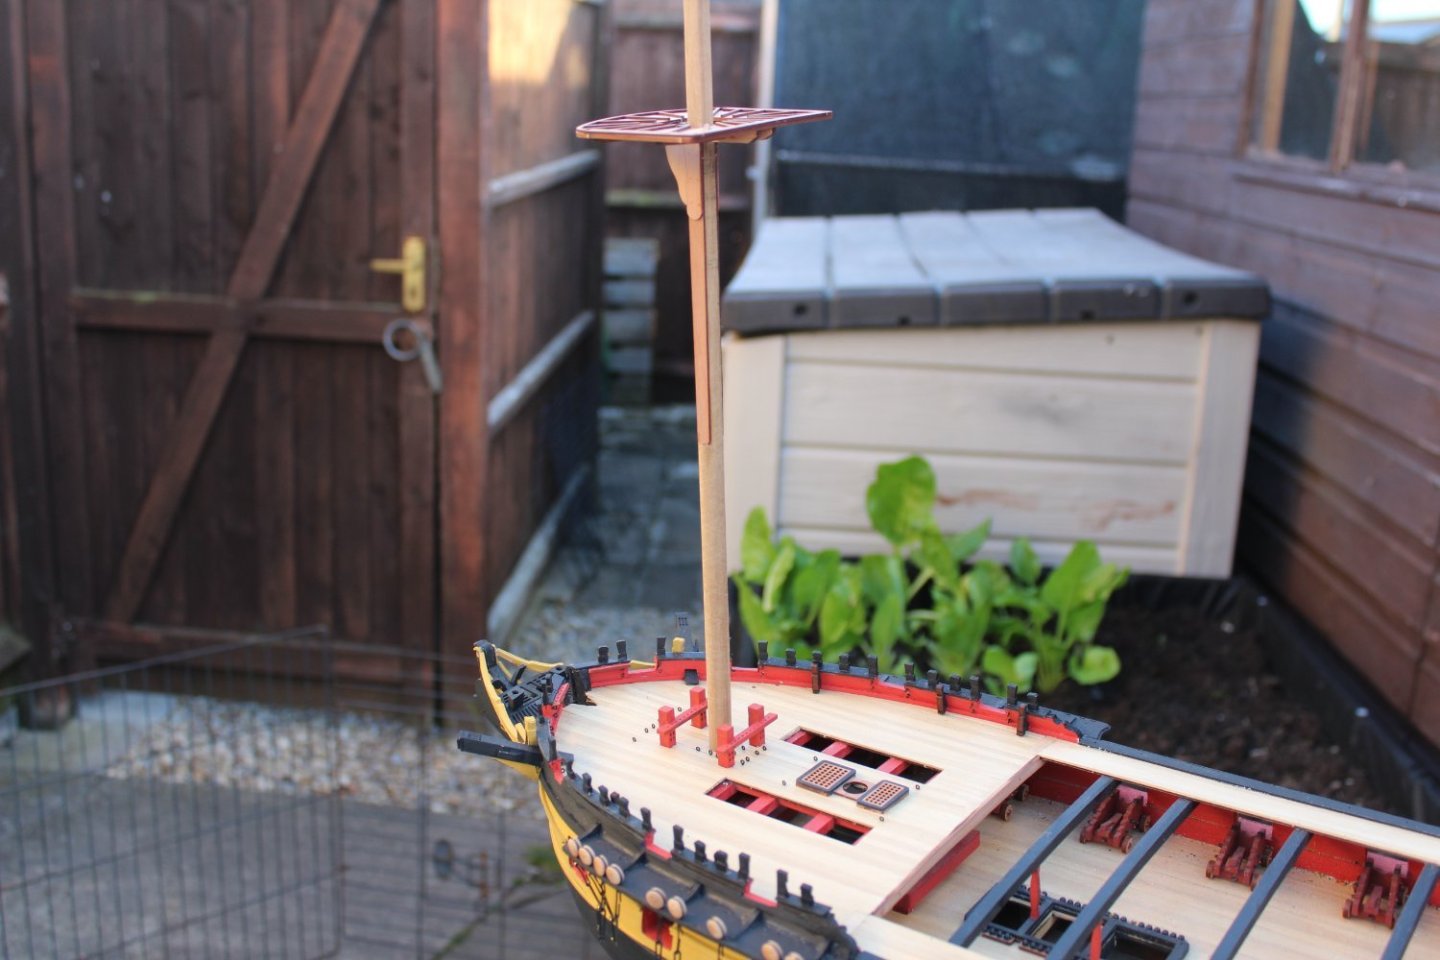
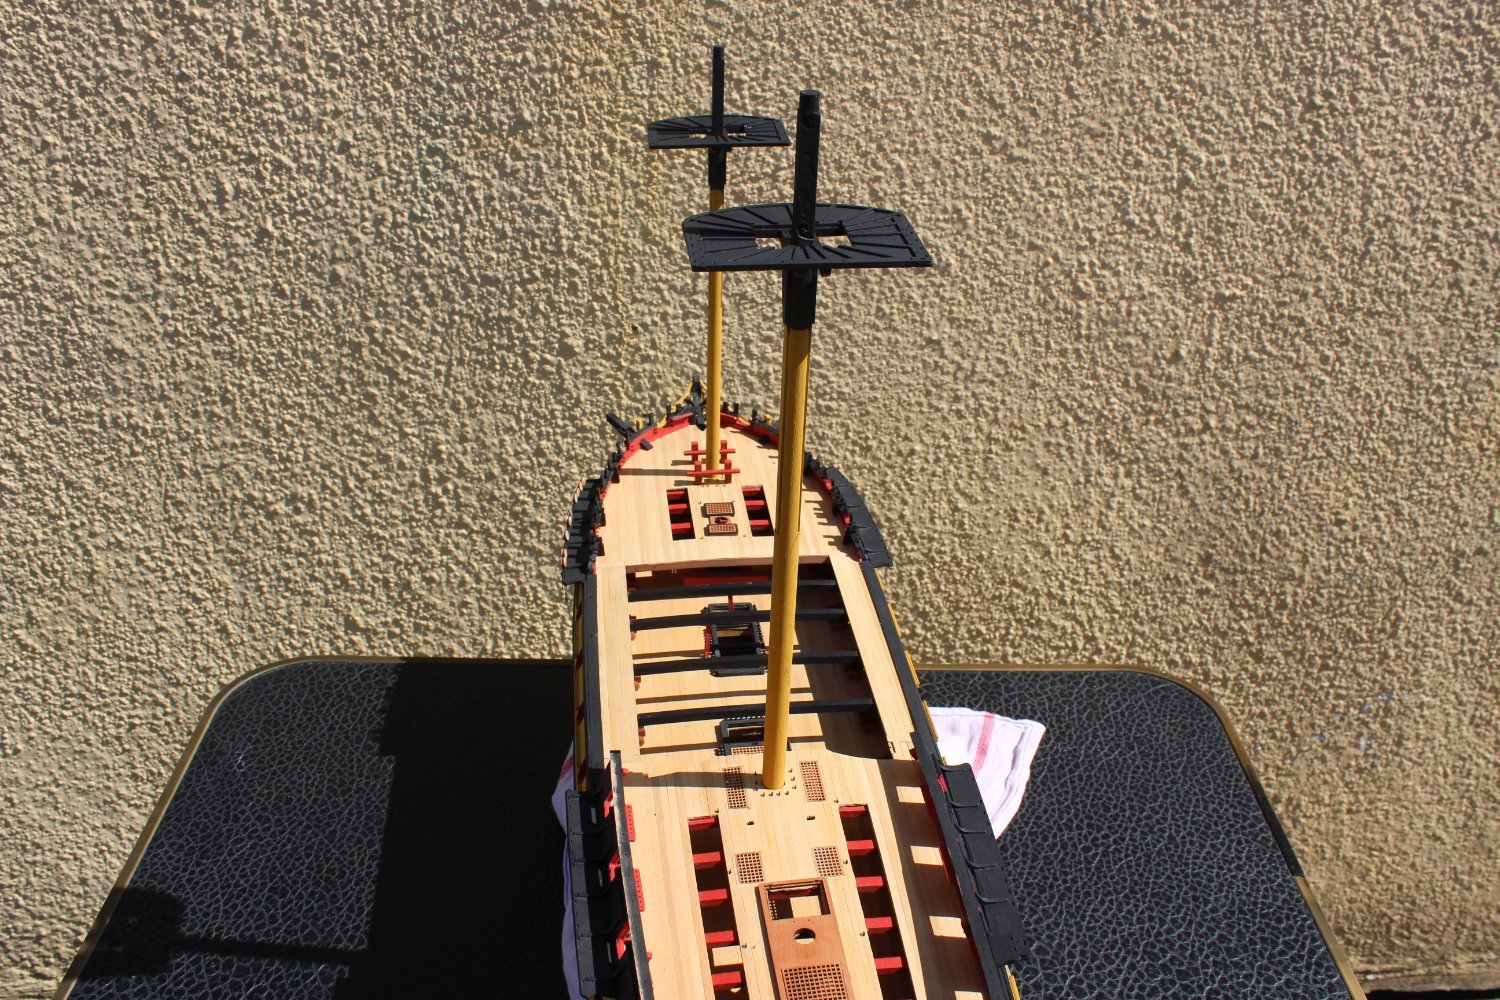
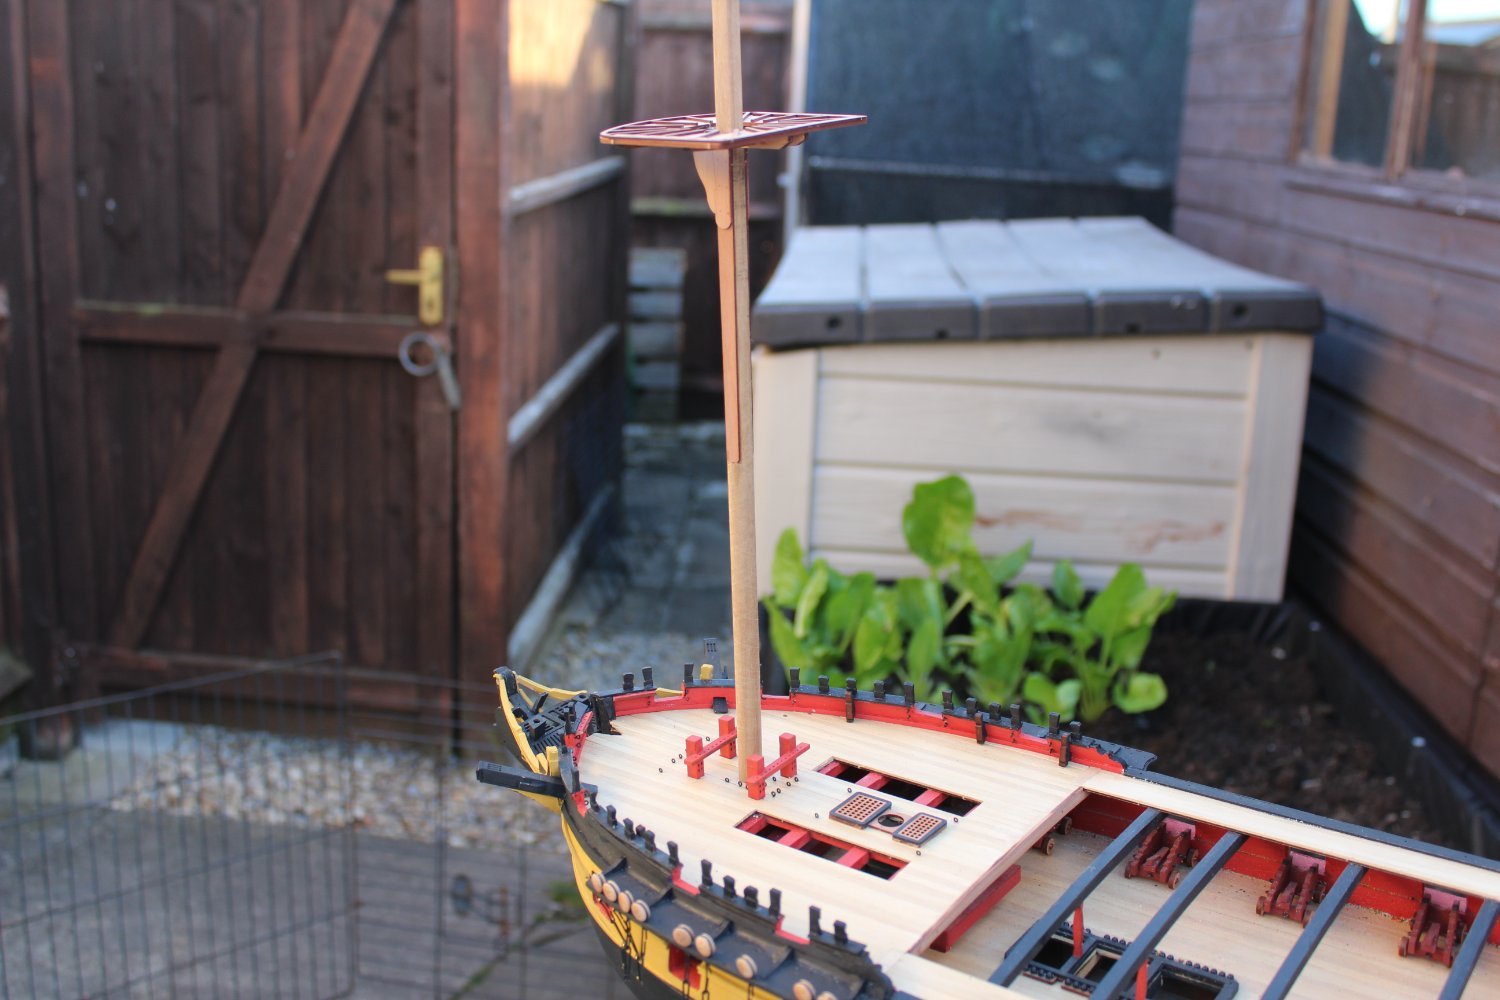
good morning everyone
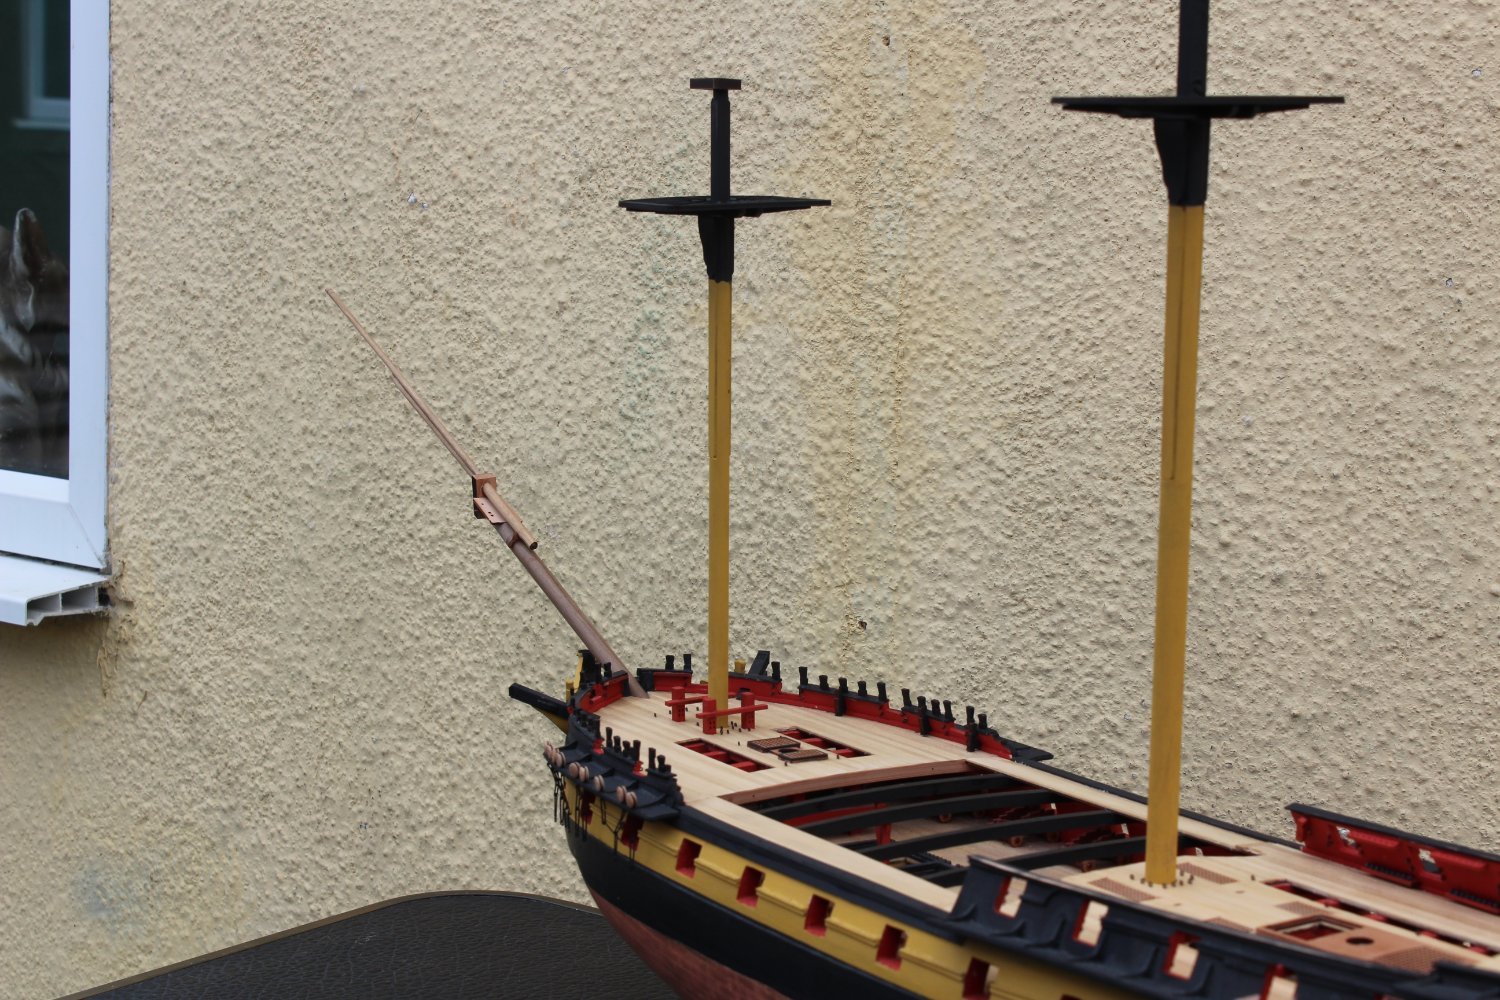
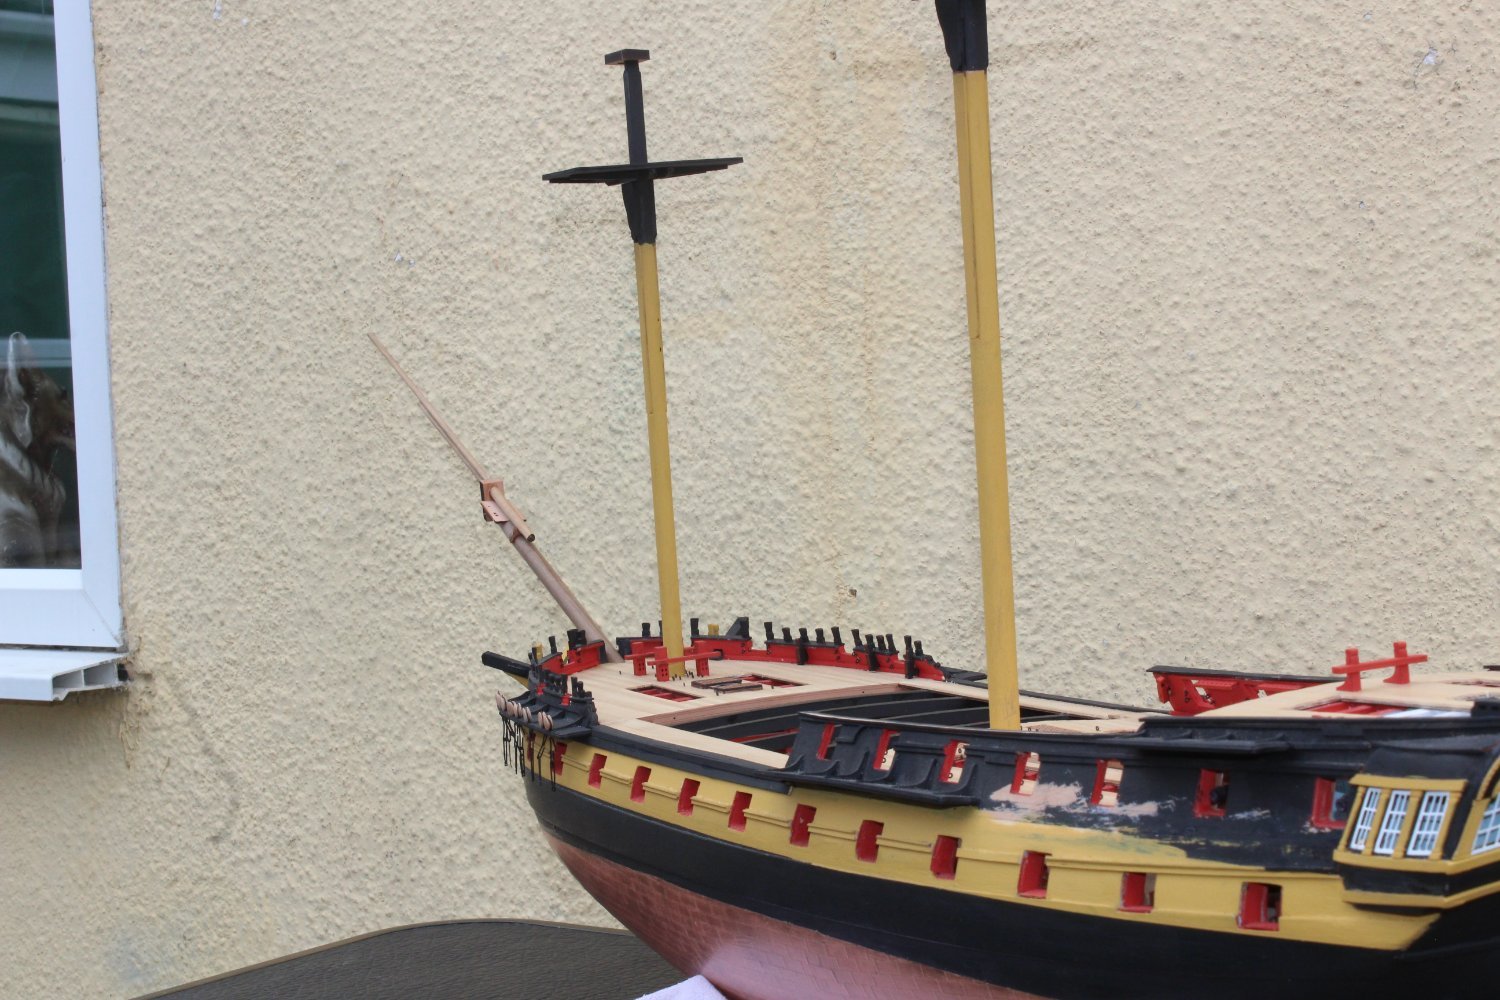
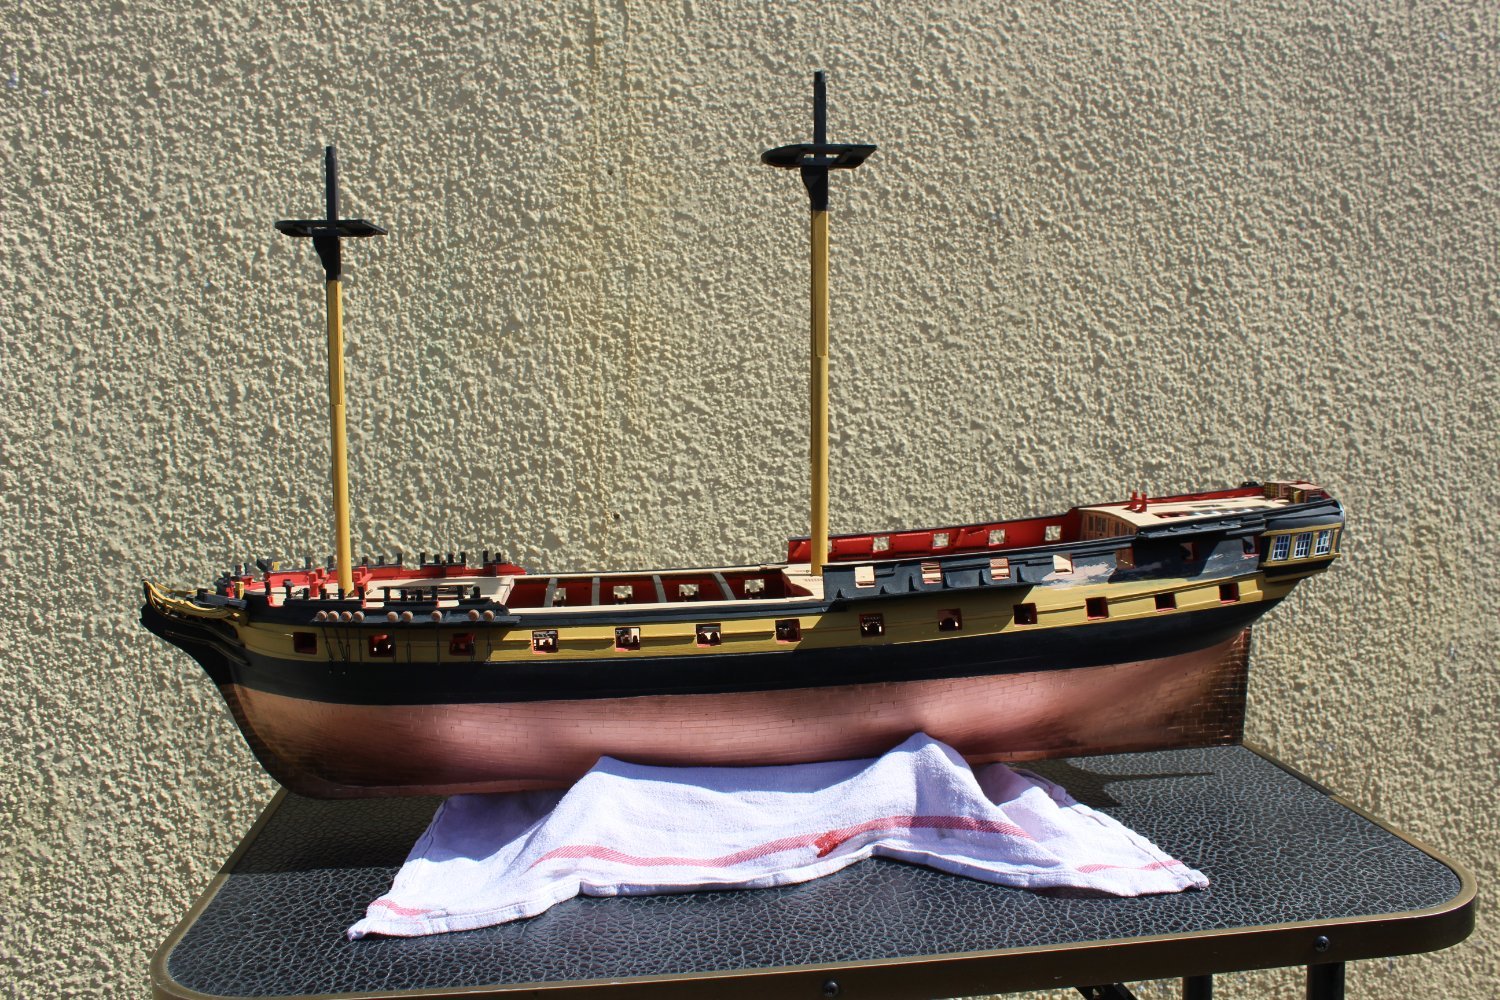
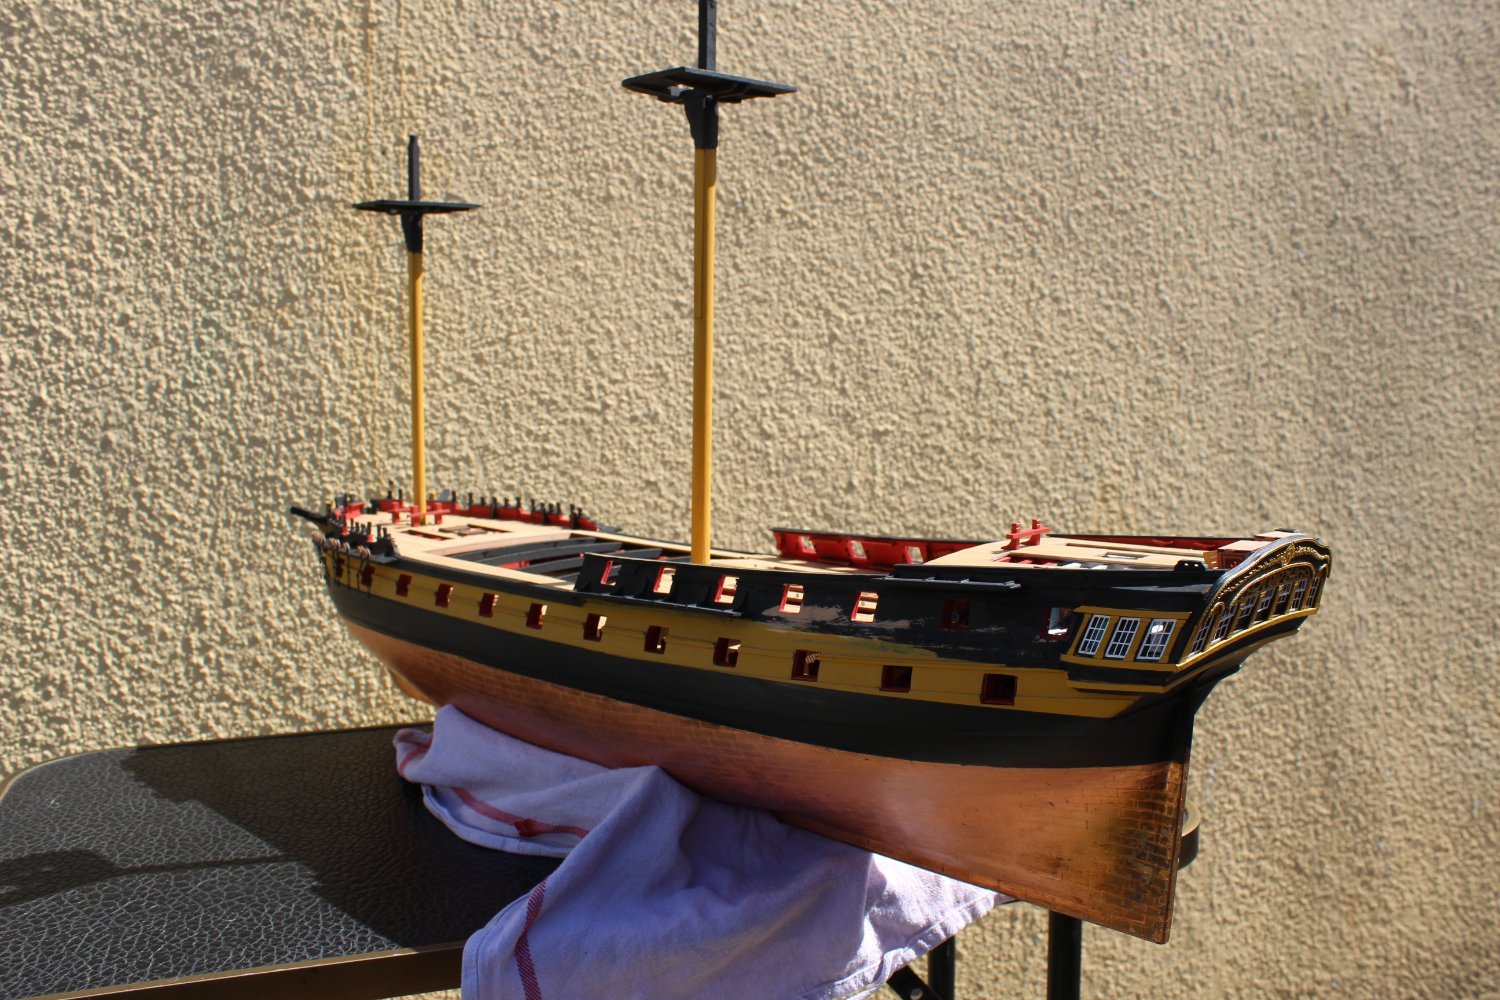
day 176-6 lower masting
will be interesting to see how @Blue Ensign and @ECK tackle the masting, th standard of the builds far surpasses mine, butim thoroughly enjoying mine
the two lower mast come together vey quickly, and although they are only primed they look good in the sunshine
@yvesvidal - Agreed - NO dustbin


-
-
-
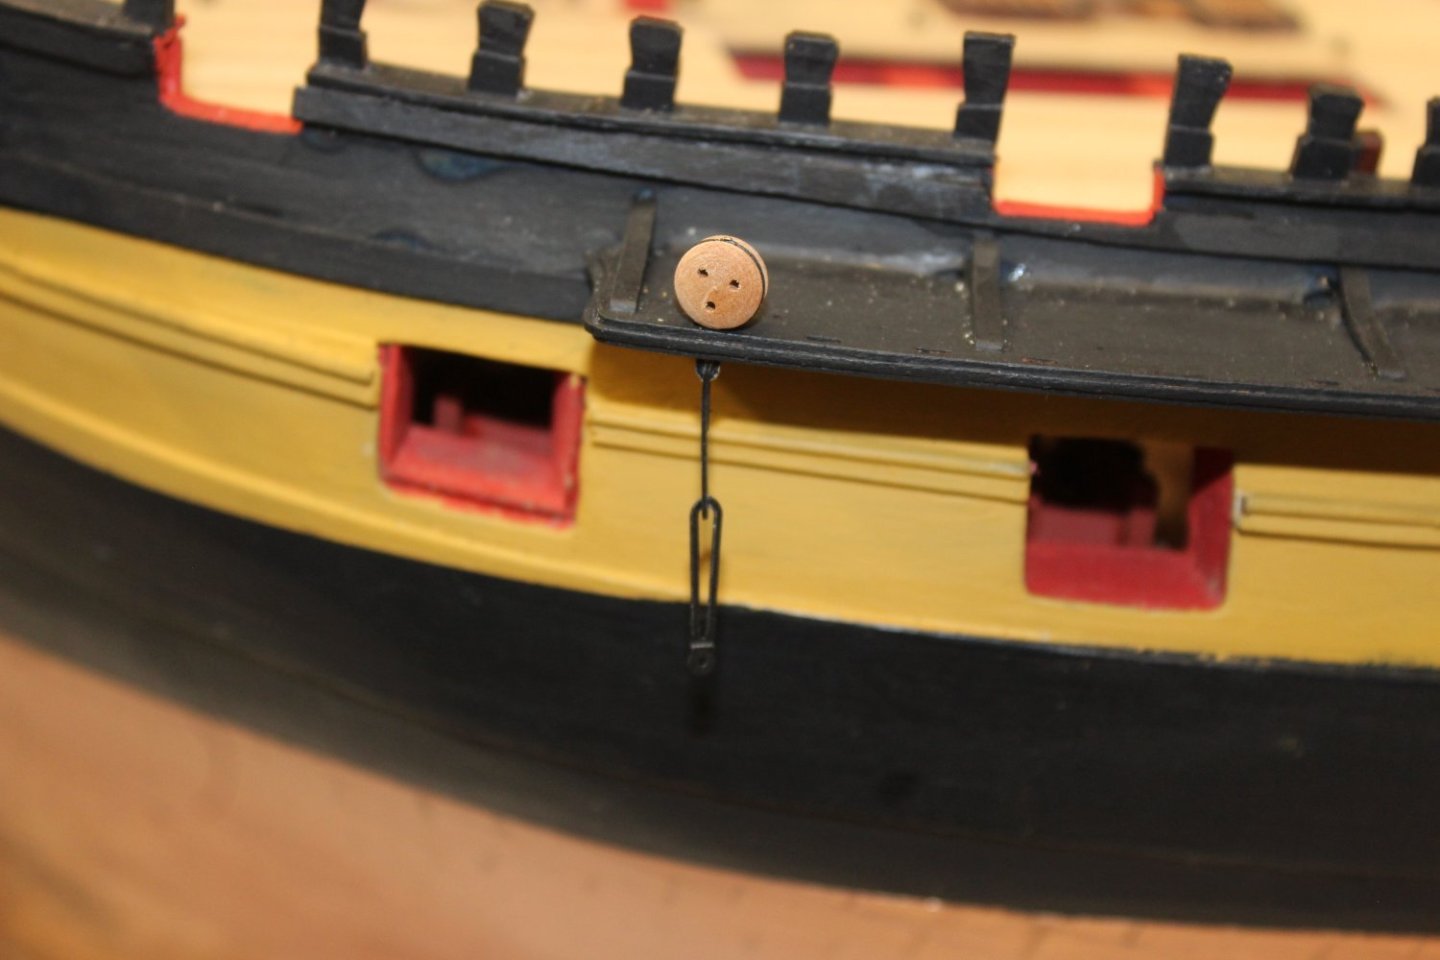
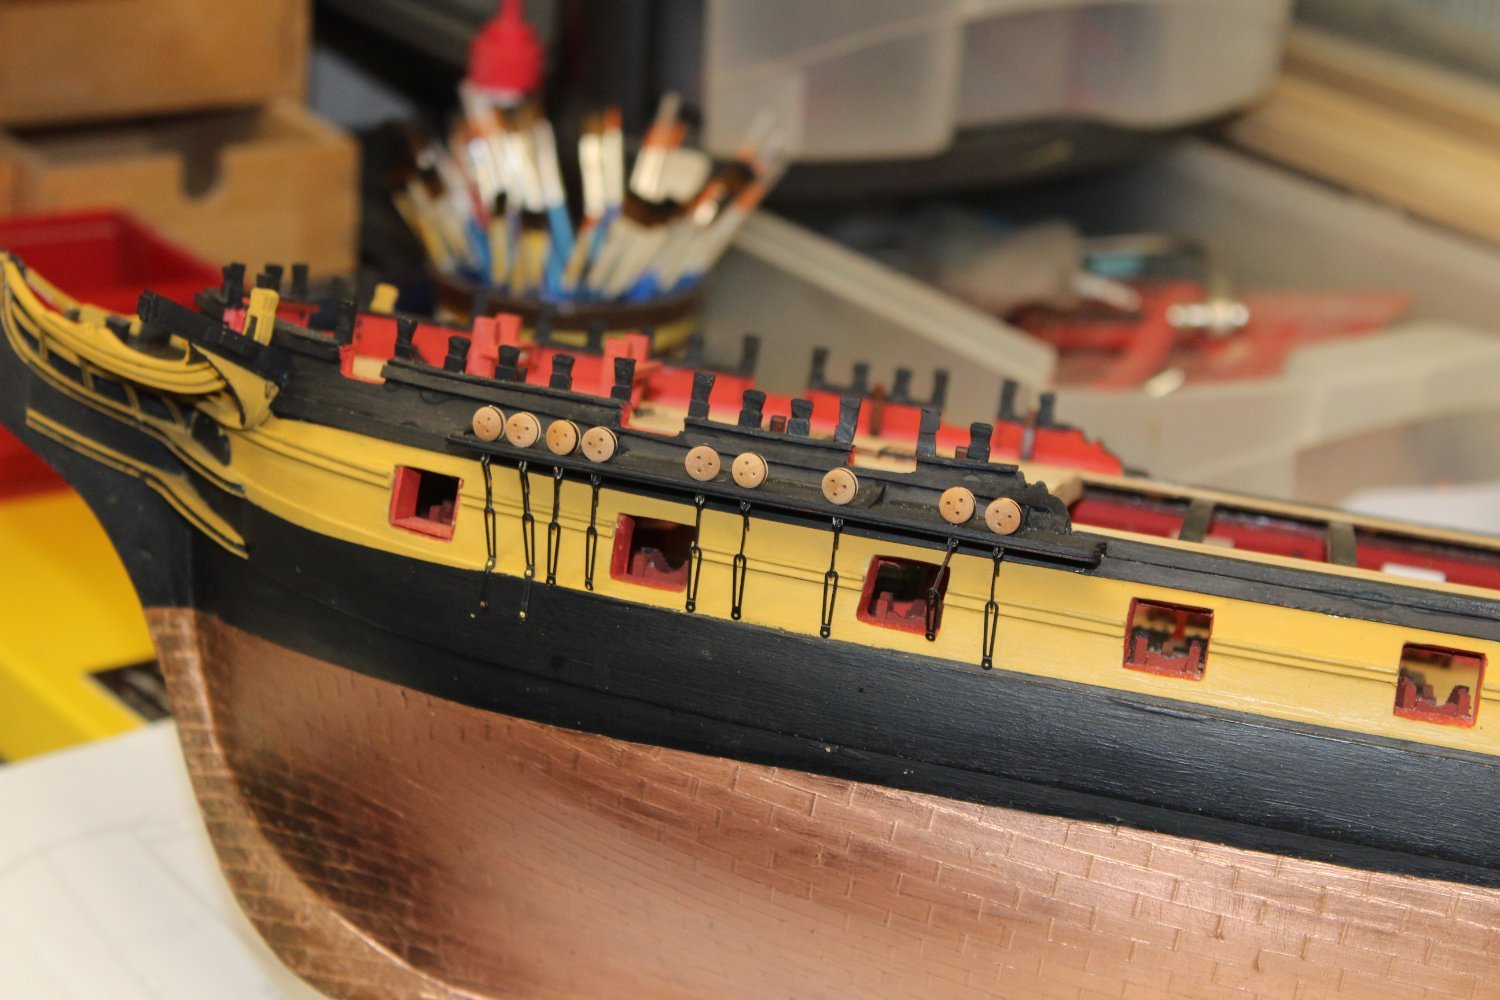
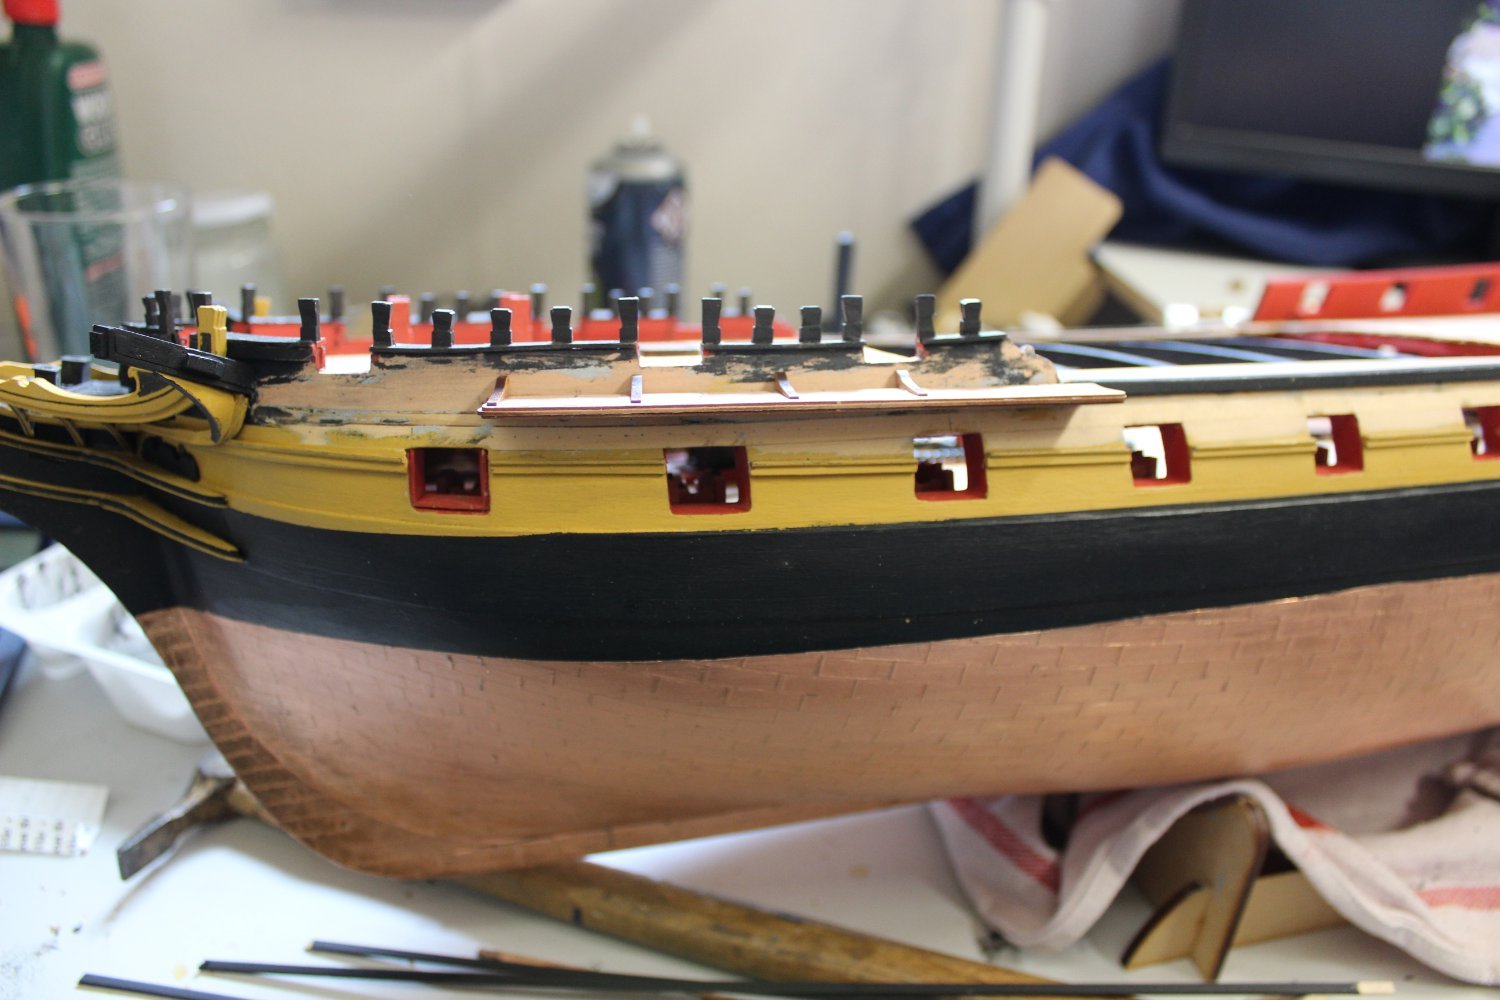
11 minutes ago, James H said:
Beautiful! Those chainplates easy enough?
so far so good, but only two so far are fixed into position, its a joy to do this build, the only bits that let it down are bits i have to do, lol no pretty pictures to follow now, im on masting/rigging, for me the most enjoyable bit
-
good evening everyone,
thank you for comments and likes
day 174-6
ive been busy recently, with lots of gardening, and other projects, and in the last 10 days we have been in the process of finding and new puppy to go with our boi, that has been successful, and will be with us in about 6 weeks time
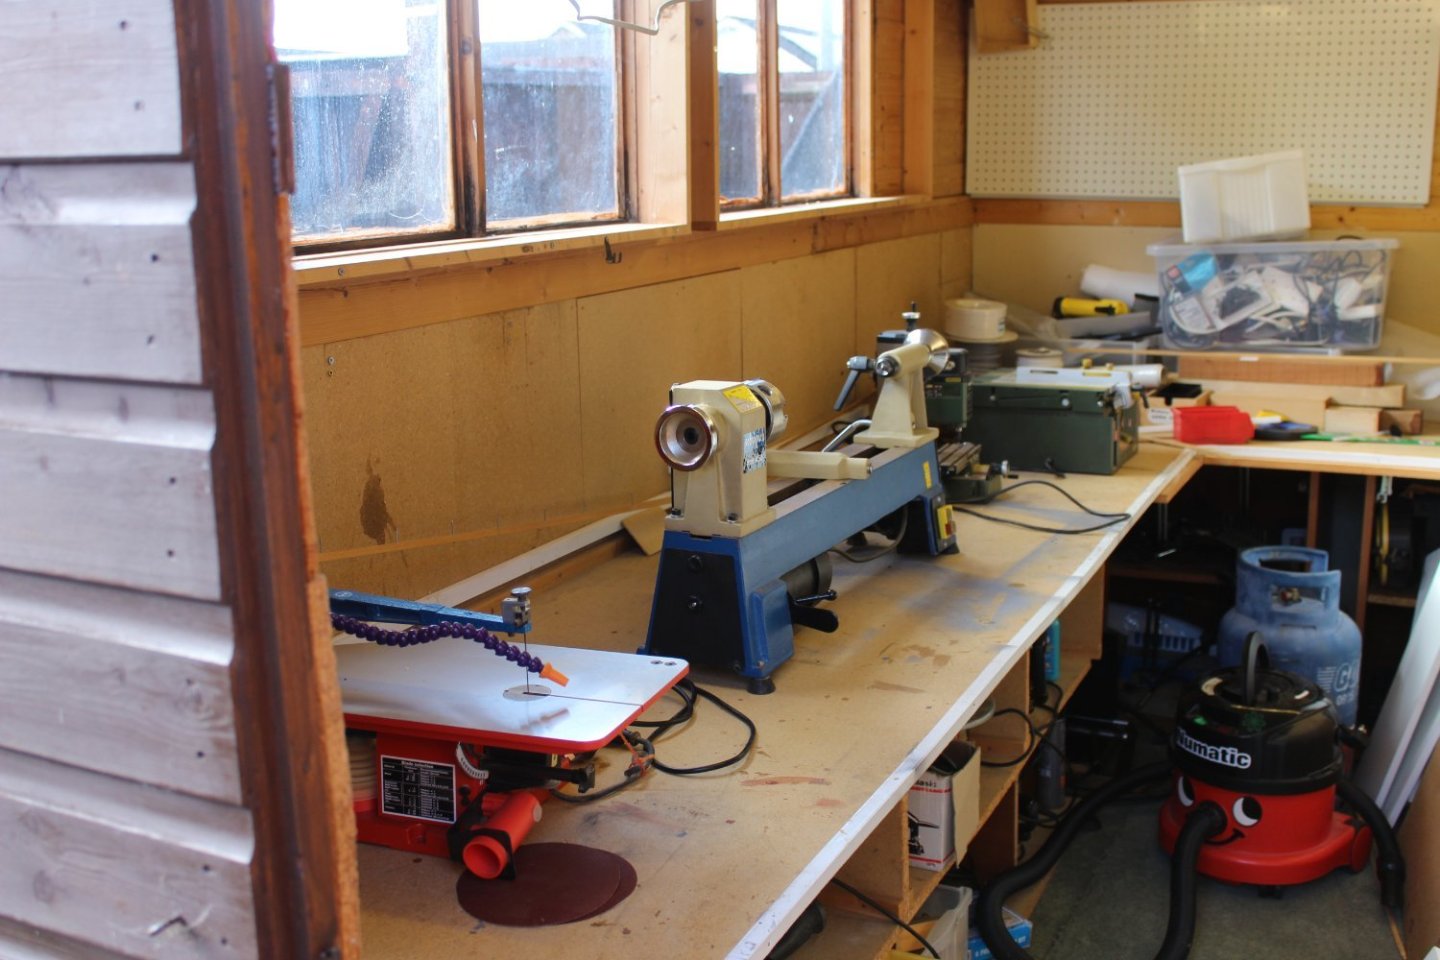
as for the build i still continue to do a bit daily, however done more today, as i wanted to see if any of my toys are worth keeping, if so, to use them, which is what has happened, and IMHO quite well


-
-
-
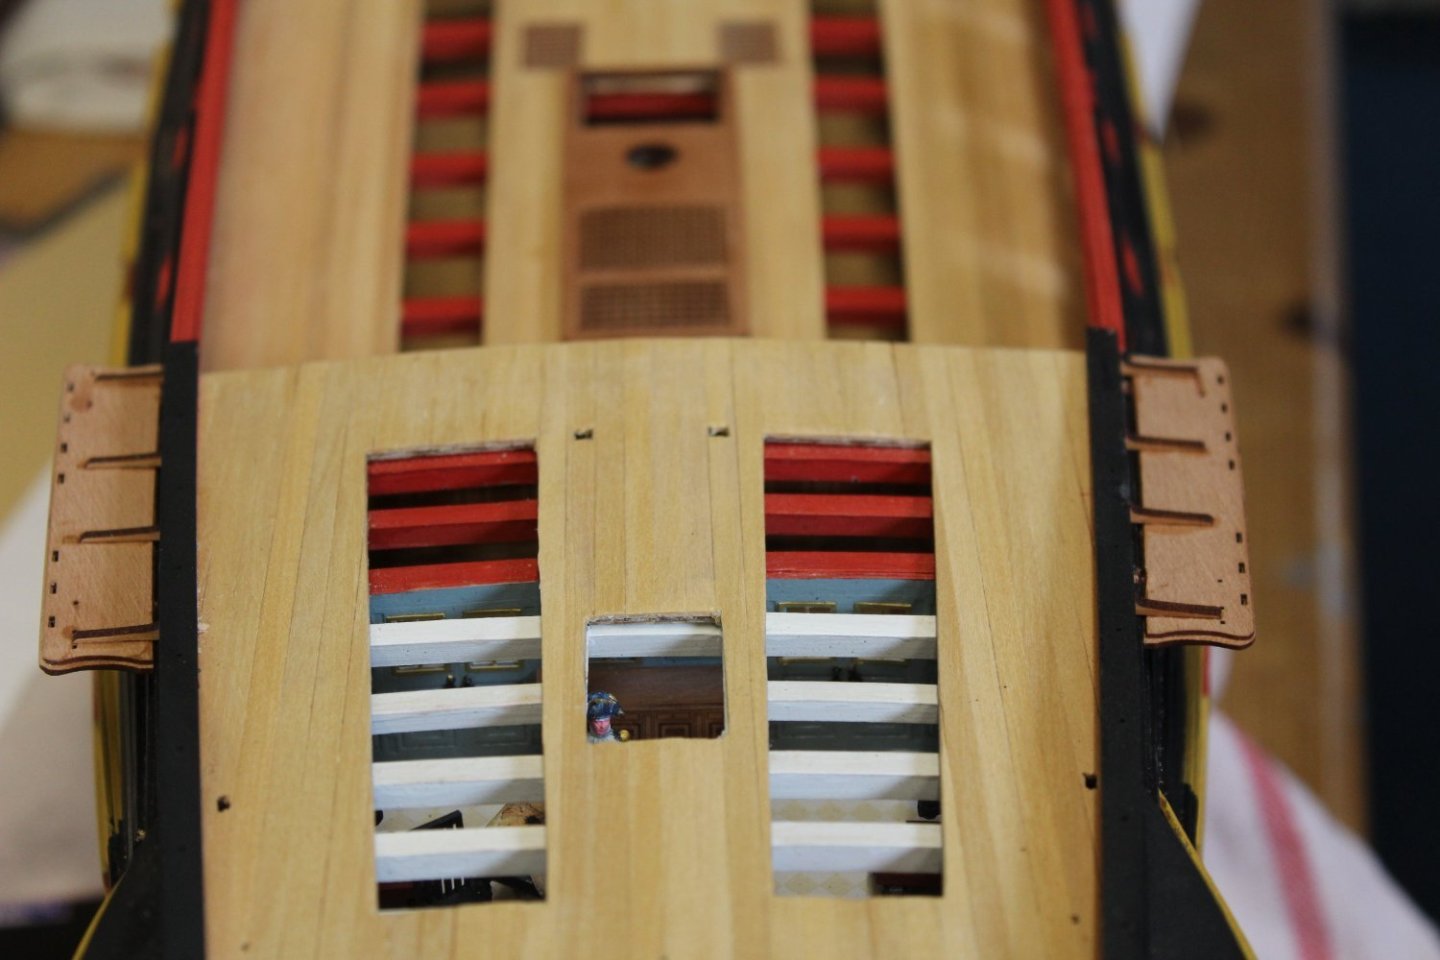
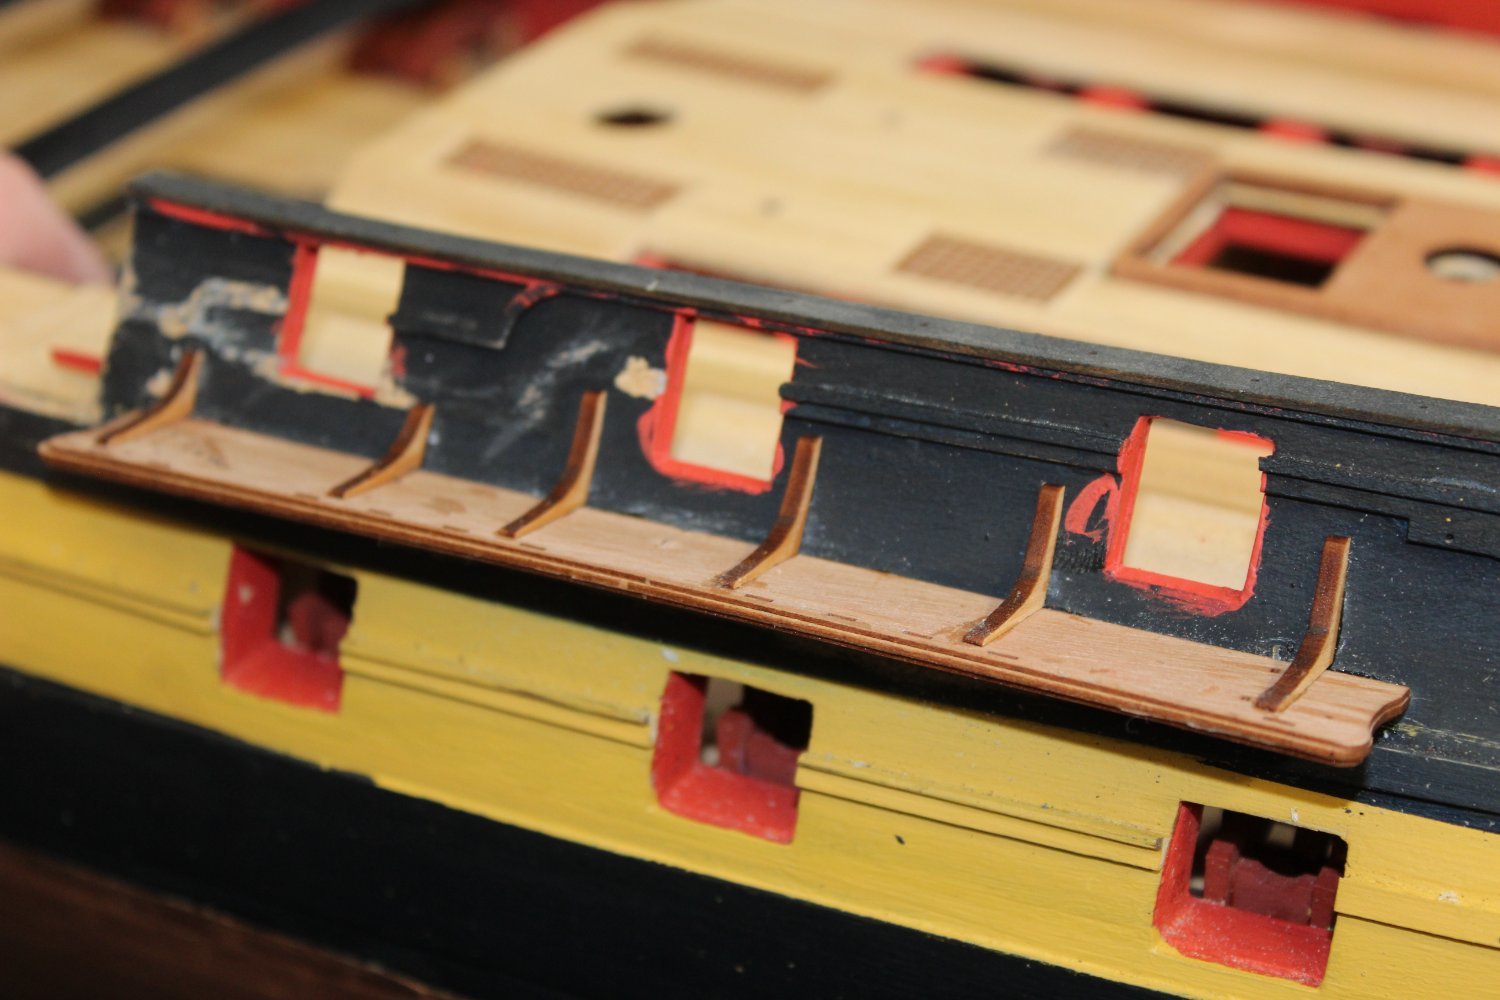
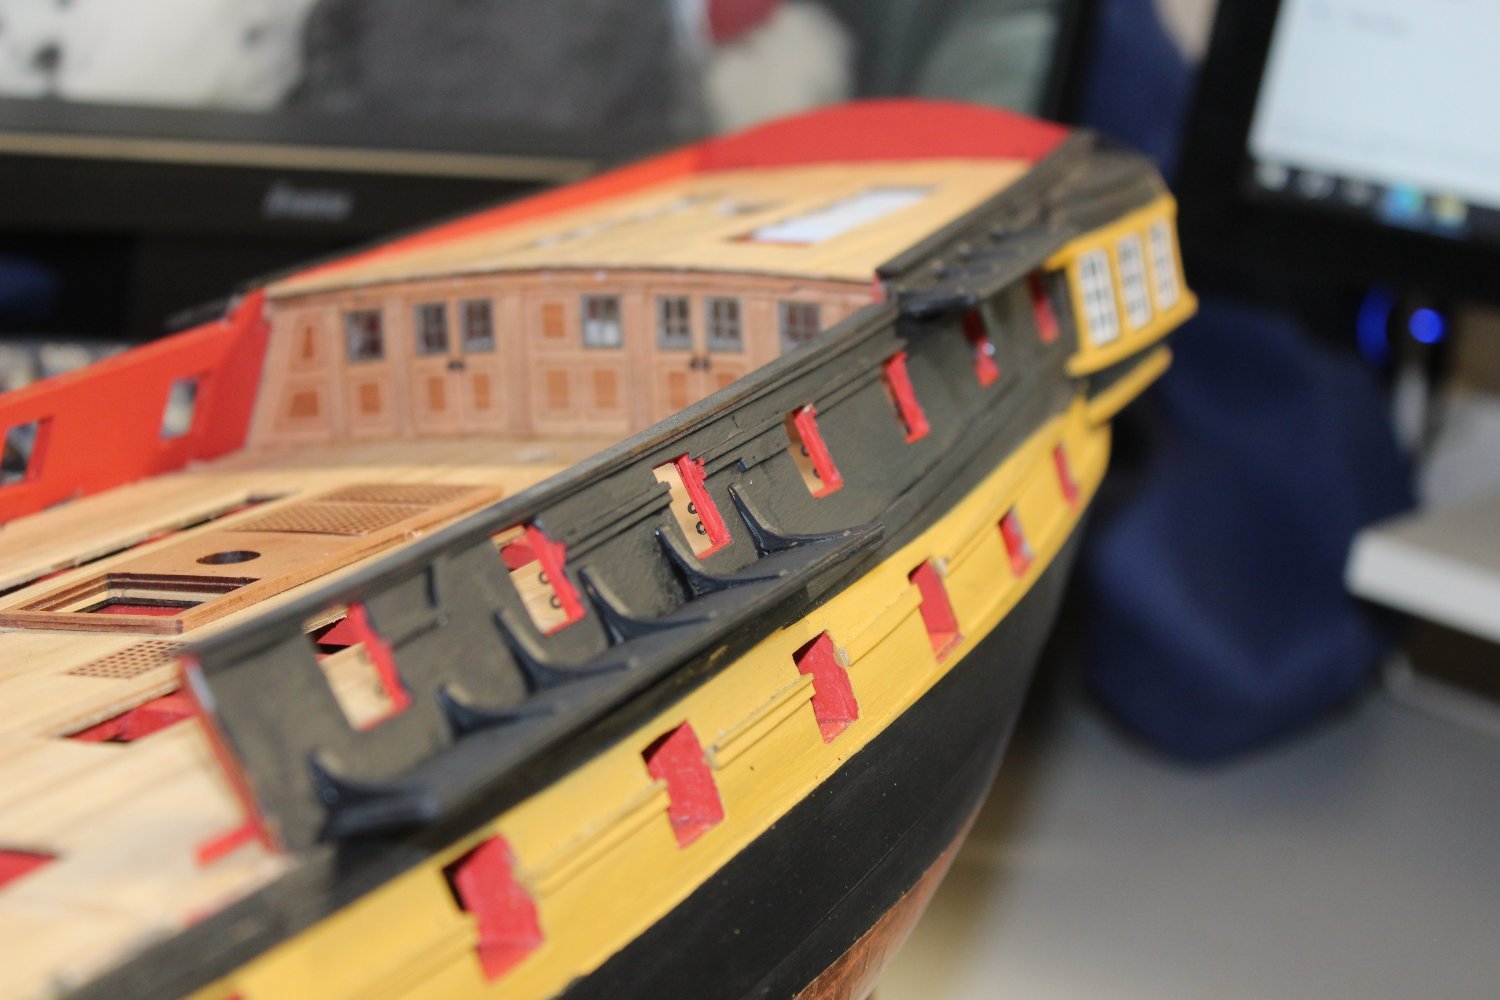
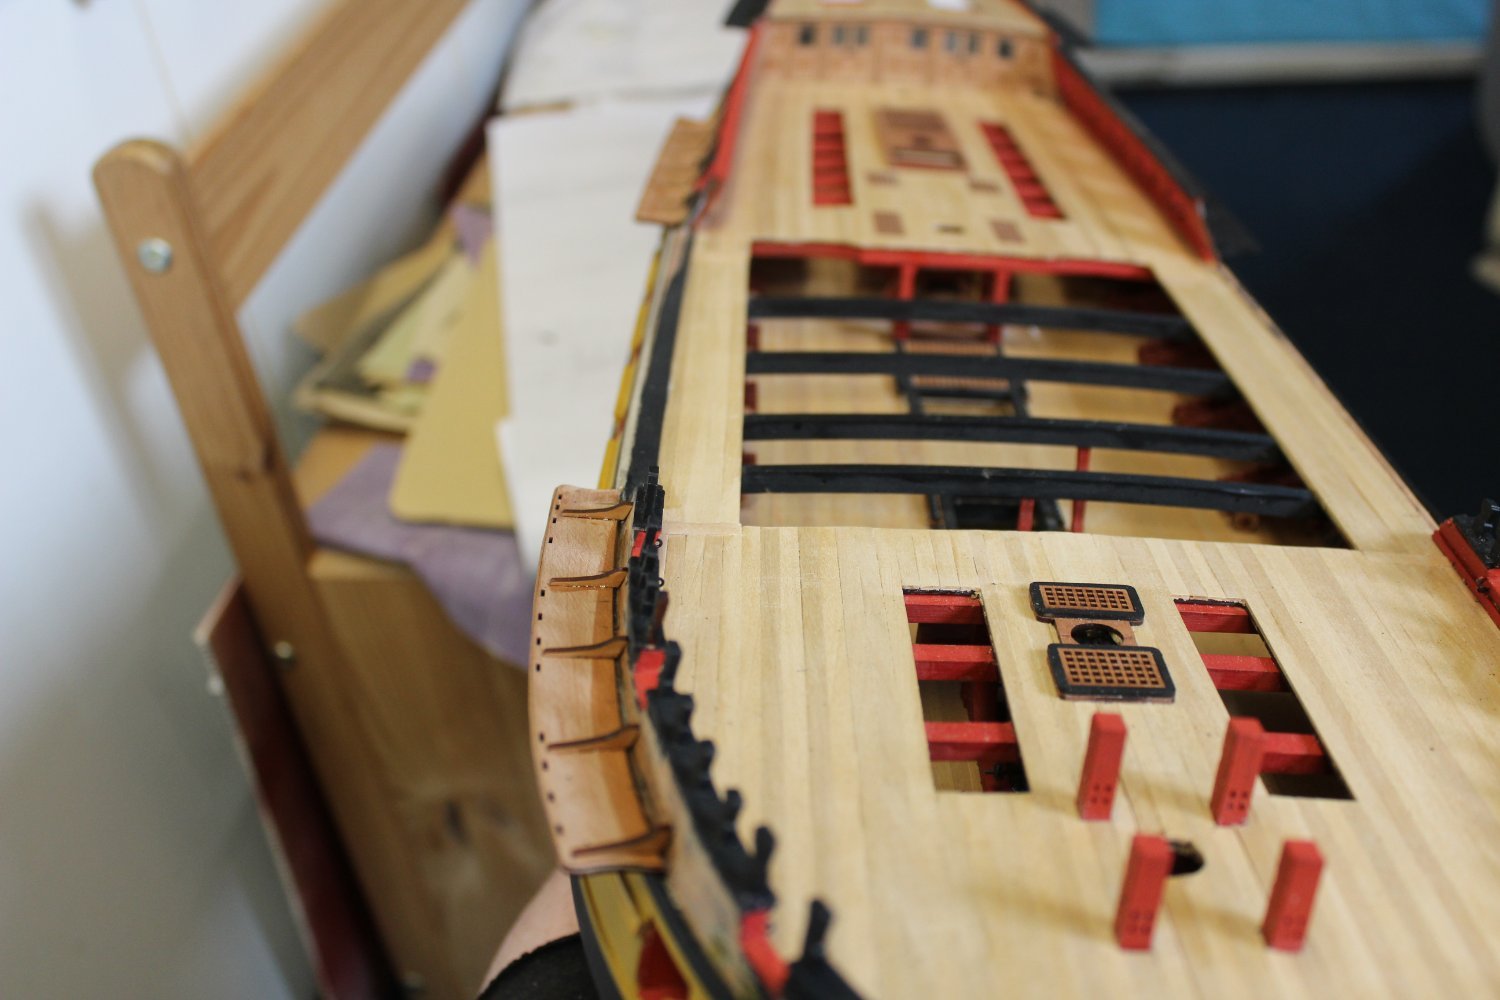
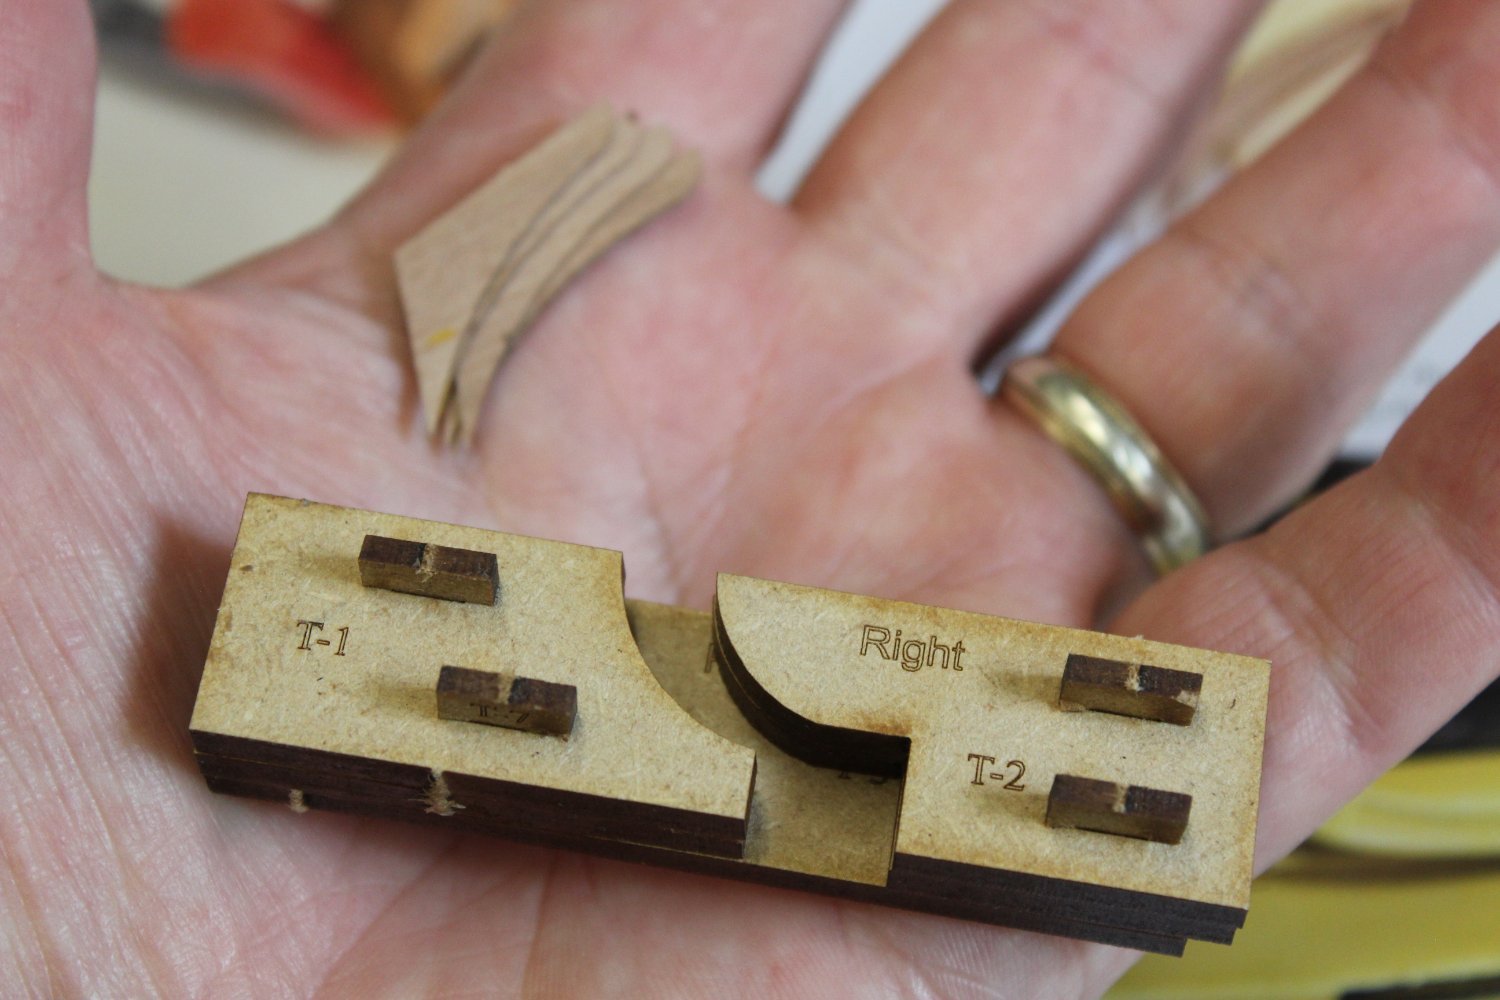
Good evening everyone
Thank you for comments and likes
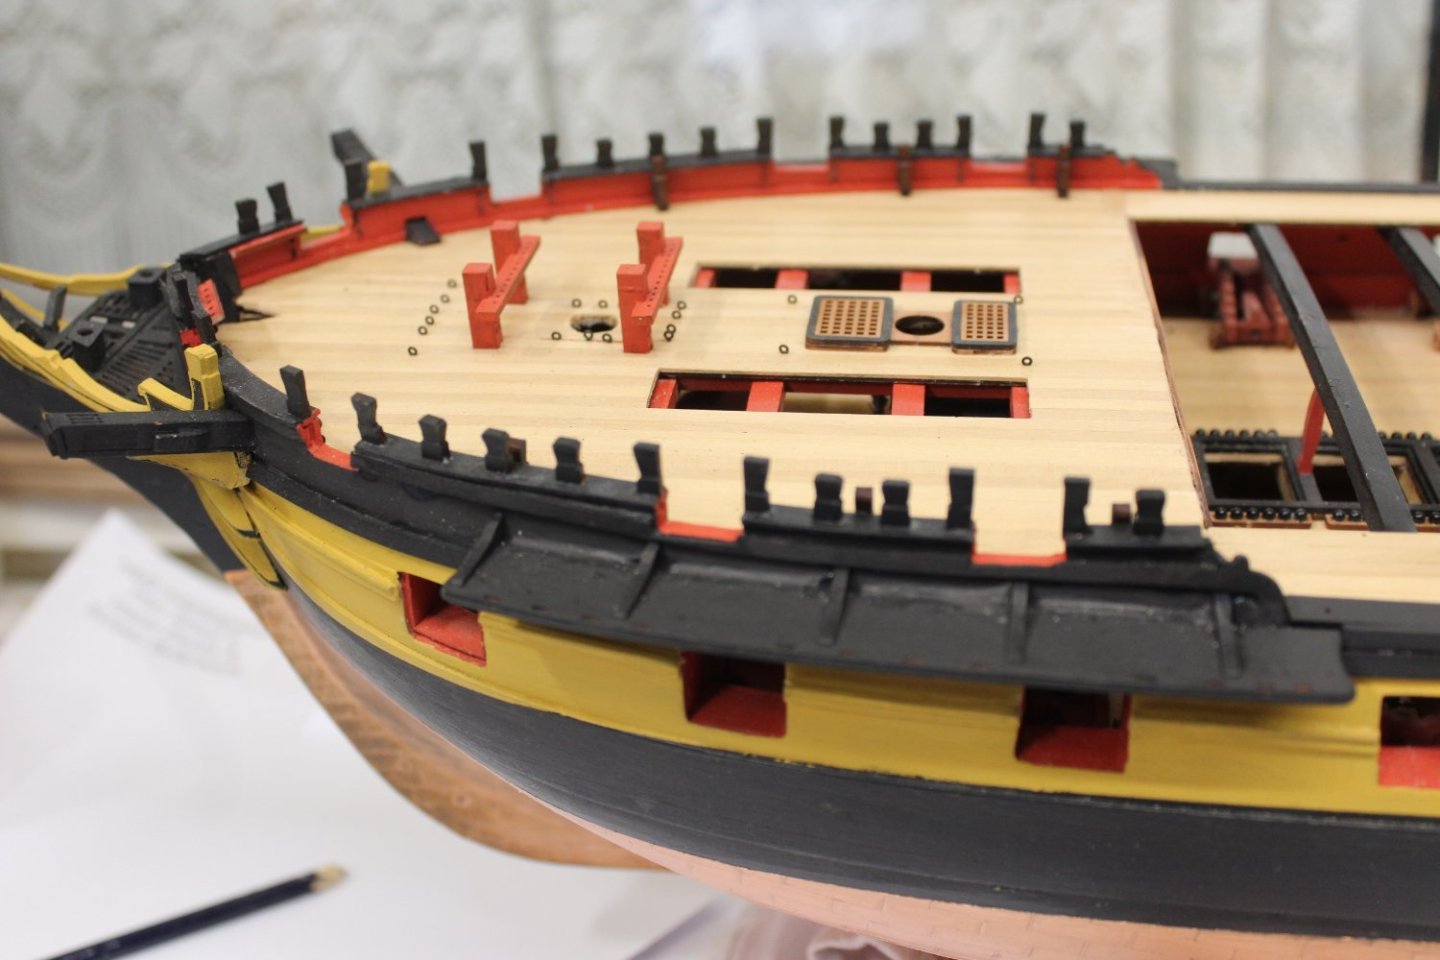
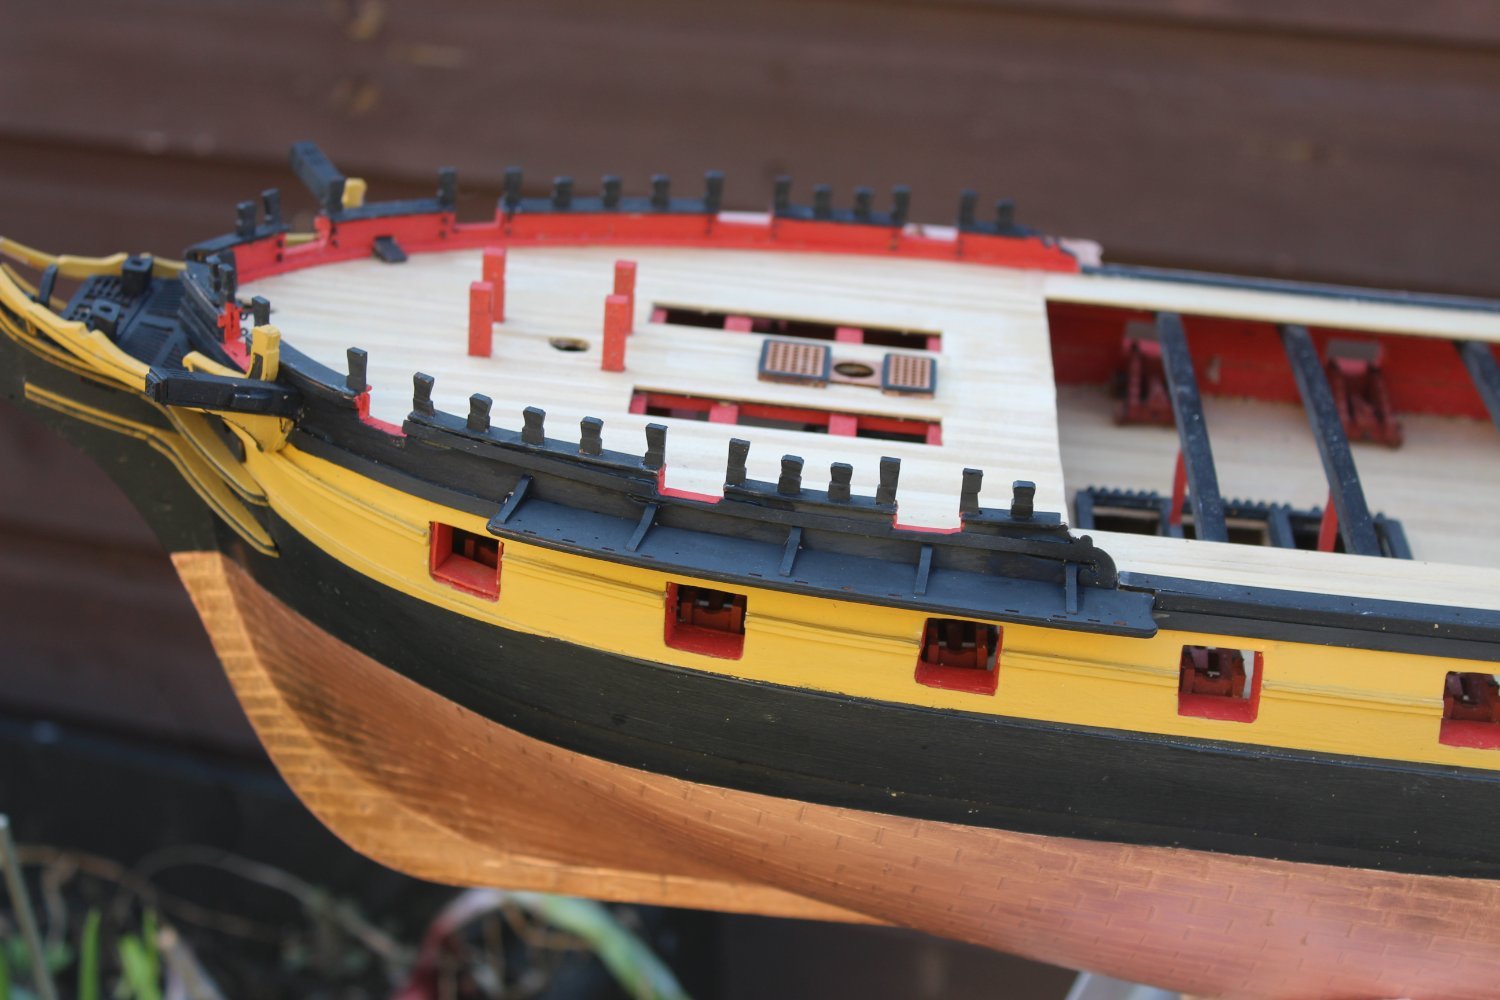
day 157-2 main channels in place
the main and mizzen channels were the easiest to get into position due the to way the kit was designed, the fore however took a few attempts to get right as i lost the lines due to painting and sanding, as a result i went back to the wood and it made it a simple task to get the alignment


- Theodosius, BenD, chris watton and 20 others
-
24
-
 2
2
-
-
14 minutes ago, Chuck said:
Lovely!!
Thank you Chuck, Very much appreciated
-
-
-
-
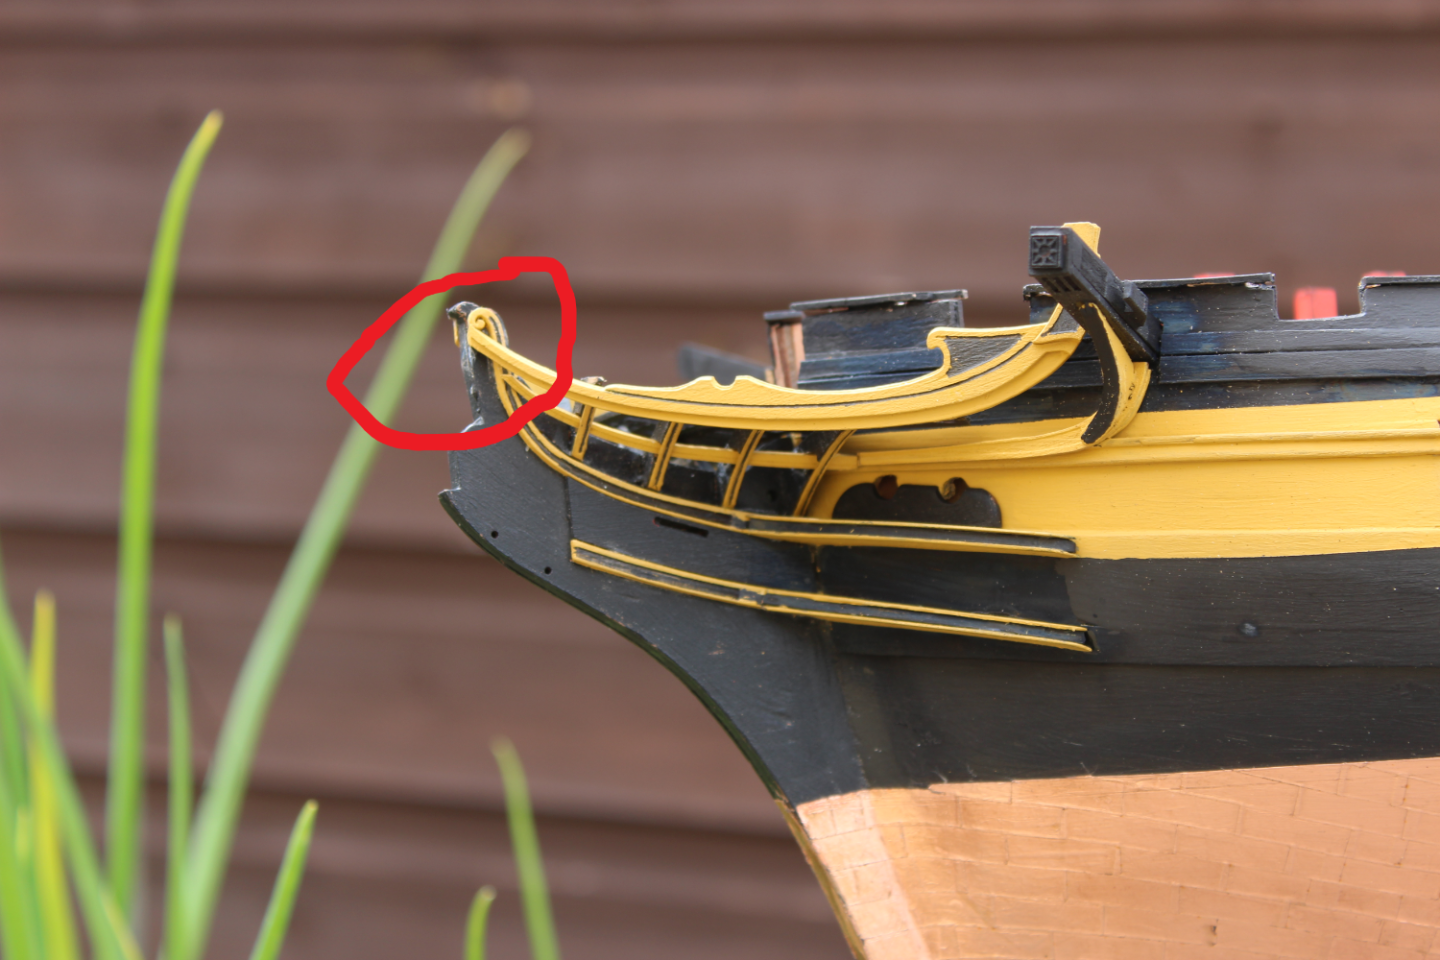
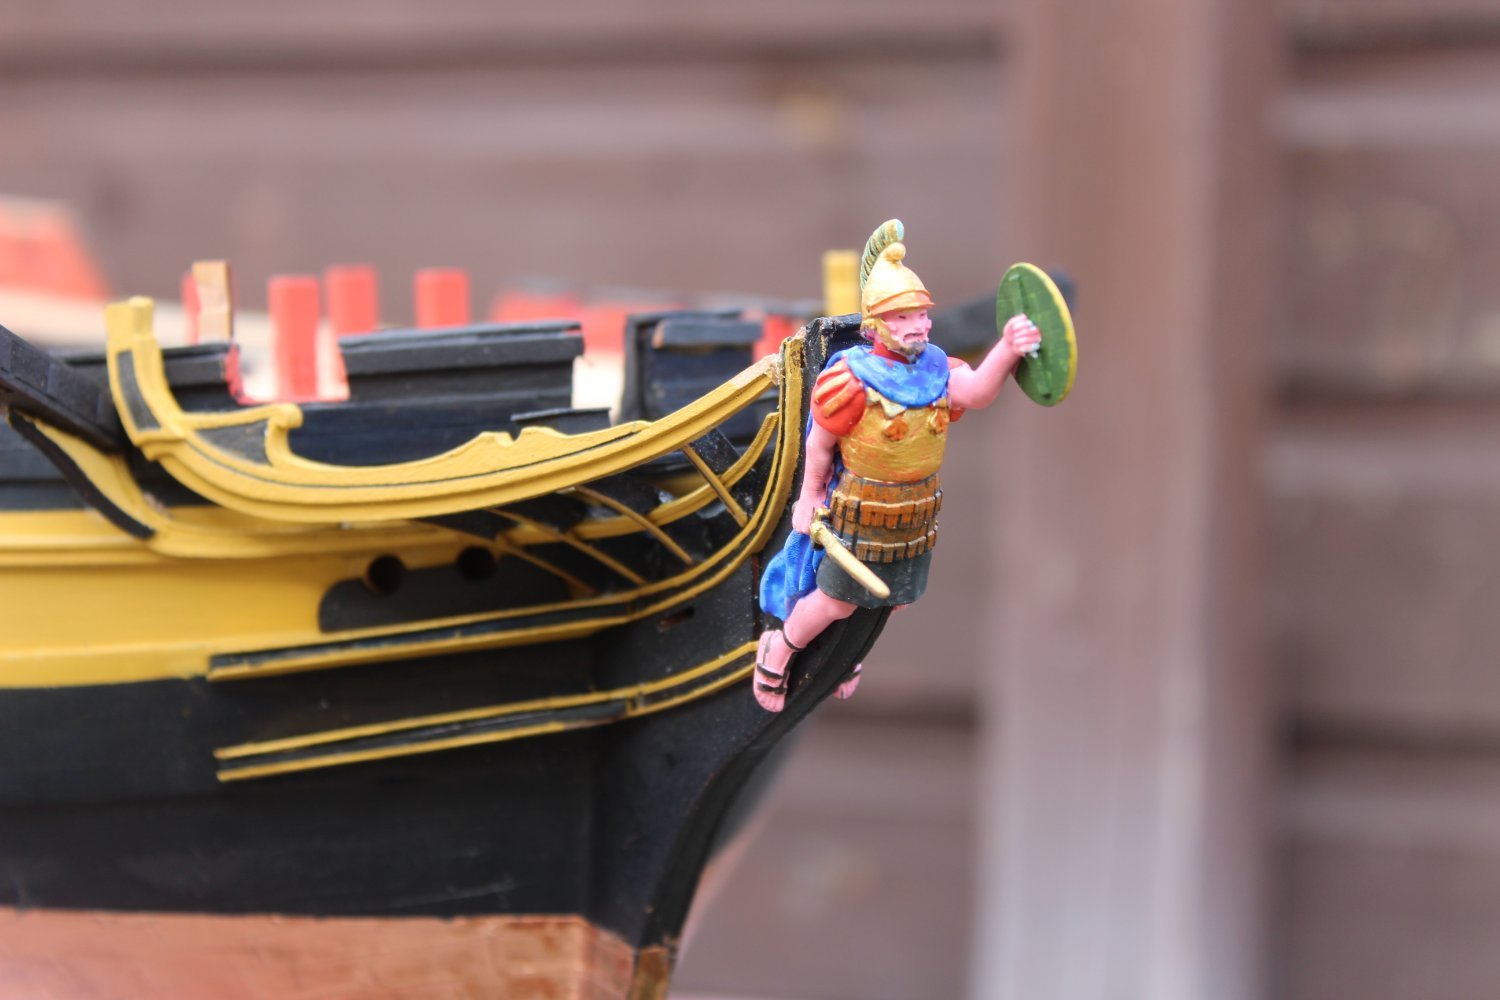
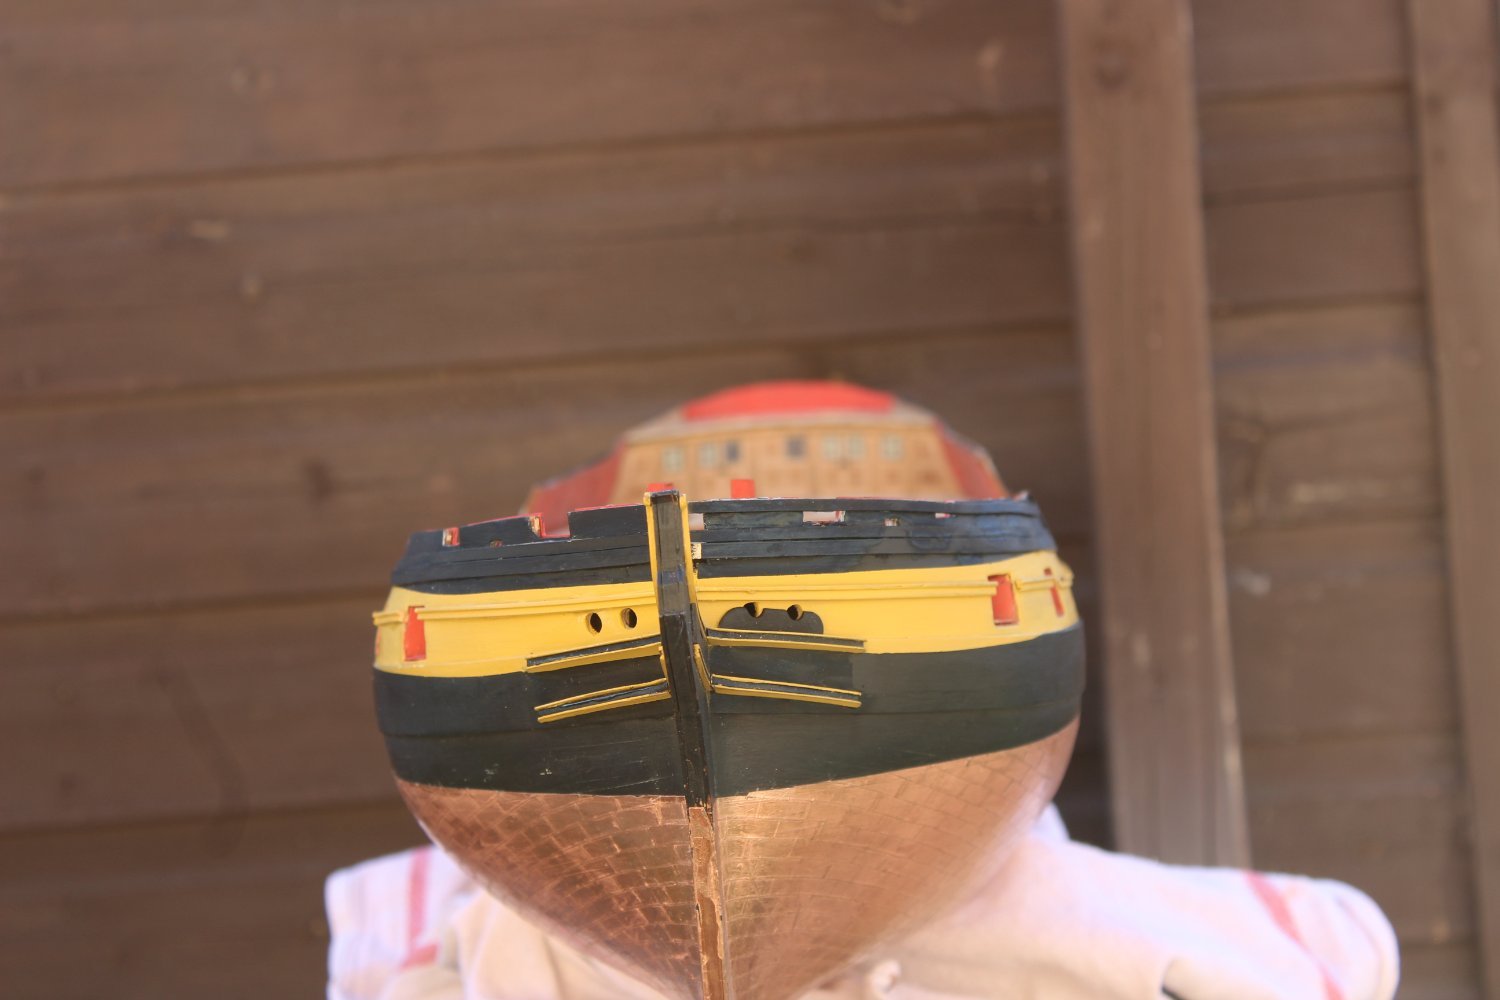
1 hour ago, Blue Ensign said:
There's something looking a little awry with the headworks Kevin.
Should not the Main Rail (top rail) sit behind the Hair bracket that runs up from the upper cheek?
B.E.
thank you BE i will sort tomorrow
- Ryland Craze, mtaylor, Nipper and 5 others
-
8
-
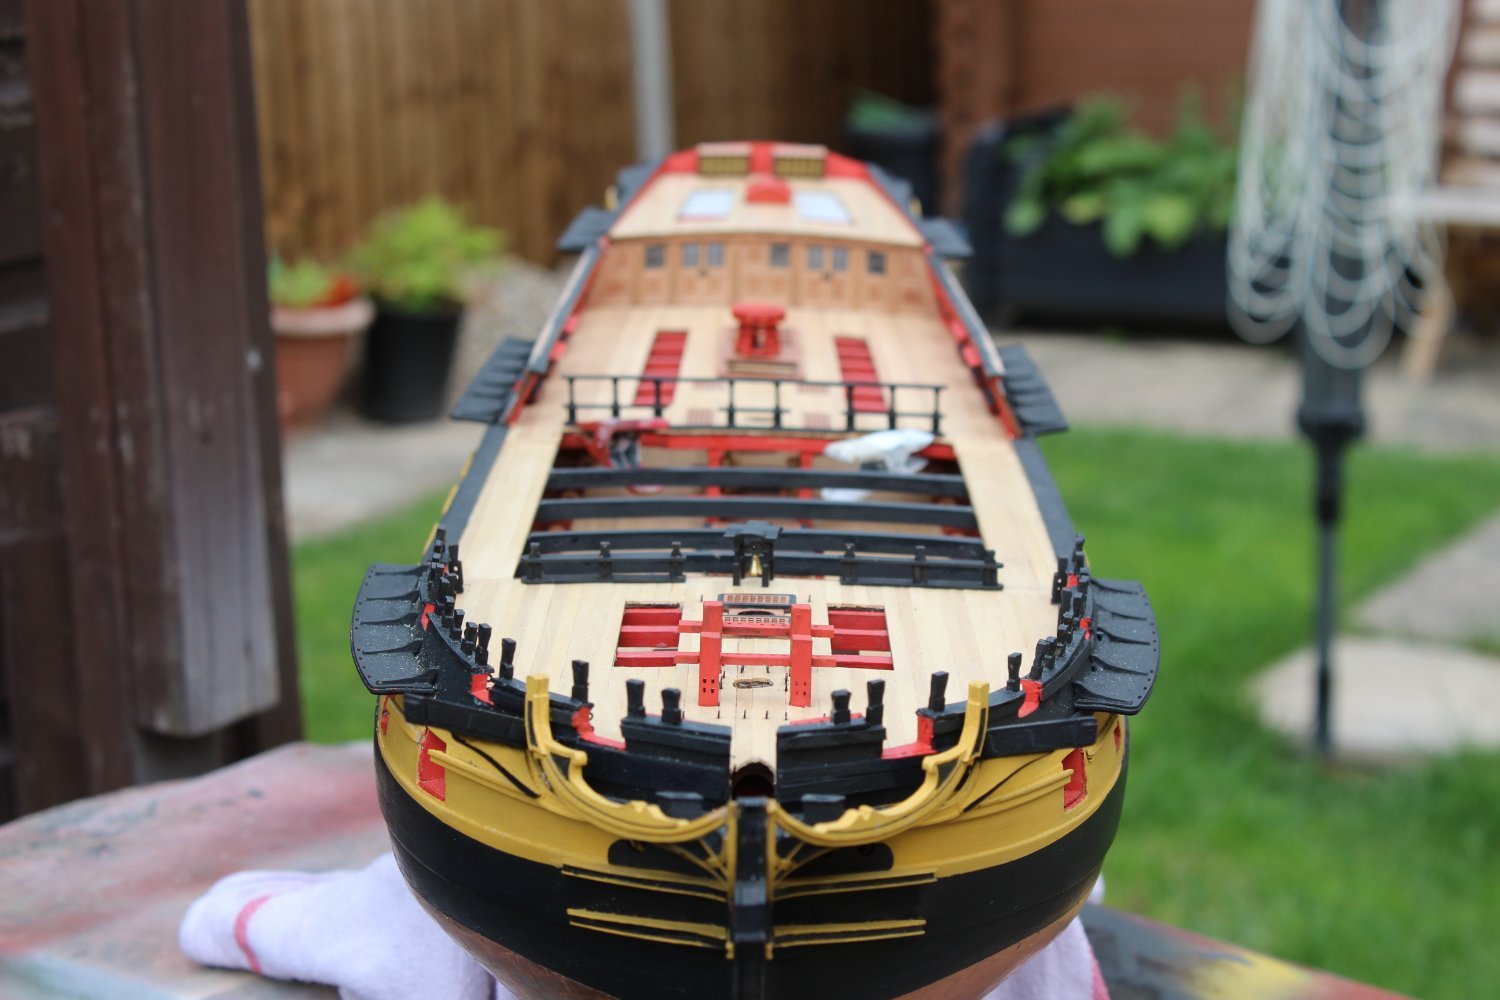
good evening everyone
thank you for comments and likes
day 46-4 head timbers
well that went a lot better then i thought, the head timbers are complete a couple of alignment changes to be made, otherwise i am quite happy how she looks
lots of painting now required


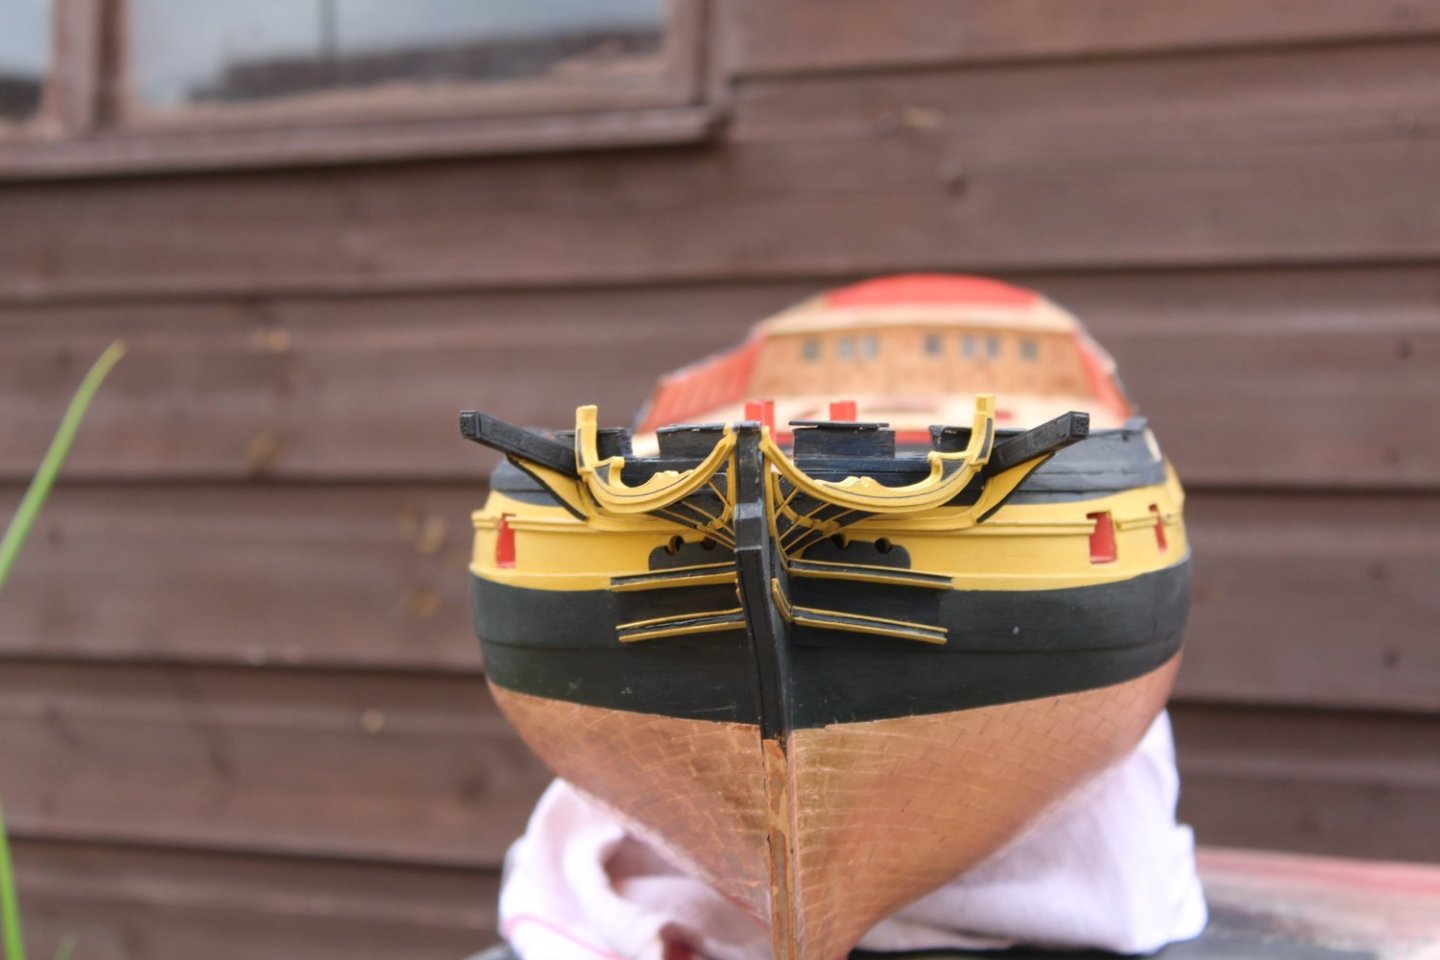

 love the clever way the cathead knees are formedlove the clever way the cathead knees are formed

-
Welcome back
- mtaylor and Keith Black
-
2
-
good evening everyone
Thank you for all the comments and likes, very much appreciated
144-4
side rails are now fitted on both sides, although they look symmetrical it also looks so very tatty, for me thats been the most frustrating part of the build, with little to show for a weeks work


-
1 hour ago, Old Collingwood said:
I keep missing your updates, she is looking so nice Kevin.
OC.
i miss our conversations, its just been such a busy year so far
- Obormotov, mtaylor and Old Collingwood
-
3


.jpg.077e9317969d66deef915432357d9b8d.jpg)


HMS Indefatigable 1794 by Kevin - Vanguard Models - 1:64 - Feb 2023
in - Kit build logs for subjects built from 1751 - 1800
Posted
good afternoon everyone
thankyou for comments and likes
day 180-6
today i made up the mizzen mast, all 3 are very basic for now, but i really wanted to get them out of the ways before the new puppy arrives, a couple of bits are pinned, but nothing is glued, so might seam a bit squiffy in places, also they they might not be in the fully home position
I will possibly be have a few days of soon from the build, as the mancave display area, is to be made larger, and although it was only done a couple of years ago, its its small (lol always something to do)