demonborger
-
Posts
208 -
Joined
-
Last visited
Content Type
Profiles
Forums
Gallery
Events
Everything posted by demonborger
-
Well the main point is that this could serve as a great starting point for a kit bash. I don't think actual plans of the treasure ships exist, or written details beyond a certain generality. So the builder can have a degree of artistic license with their kit bash. It won't appeal to the purist of course, but they have the realms of scratch-building to satisfy their desires. Wooden dowels for the masts, scratch built sails, reworked door/window frames, 0.5mm wood planks on the hull and deck, some false guns, and some new rigging rope and you could have a relatively inexpensive ship that is exotic, if only loosely historic, won't take up much room etc. It's tempting to build that kit, as well as one of the korean turtle ships.
-
Hi guys, while browsing around ebay I came across this item, It is chinese but from what I can see is not part of the ZHL axis of pirates. It isn't a PoB style kit, instead it is a much more simplified wooden laser cut puzzle sort of model. http://www.ebay.com/itm/China-sail-boat-ZHENG-Hes-Treasure-ship-model-Wooden-model-kit/261347744765?rt=nc&_trksid=p2047675.m1851&_trkparms=aid%3D222002%26algo%3DSIC.FIT%26ao%3D1%26asc%3D261%26meid%3D3971138731320253844%26pid%3D100005%26prg%3D1088%26rk%3D2%26rkt%3D5%26sd%3D251396969337%26 Very tempting kit bash project. Plank it with some nice 3mmx.05mm walnut or so, scratch build some other parts and it could quite a nice little model.
-
 Wow Corel's gunports design is probably my favourite for simplicity and appearance, but adding those false gun carriages is a masterstroke!
 -
What PVA glue is it? Surely some water can help loosen it? Otherwise measure a line on the inside of the bulkhead where it should be and glue material to there and sand the outside to get the right shape for the bulwark and gunports, once those are in and it is a bit more structurally sound then you can fix the alignment below when you fair the hull shape (i,e sand it). The side that is lower than it should be can have some thin wood strips to thicken them? That is provided the false keel is dead straight.
-
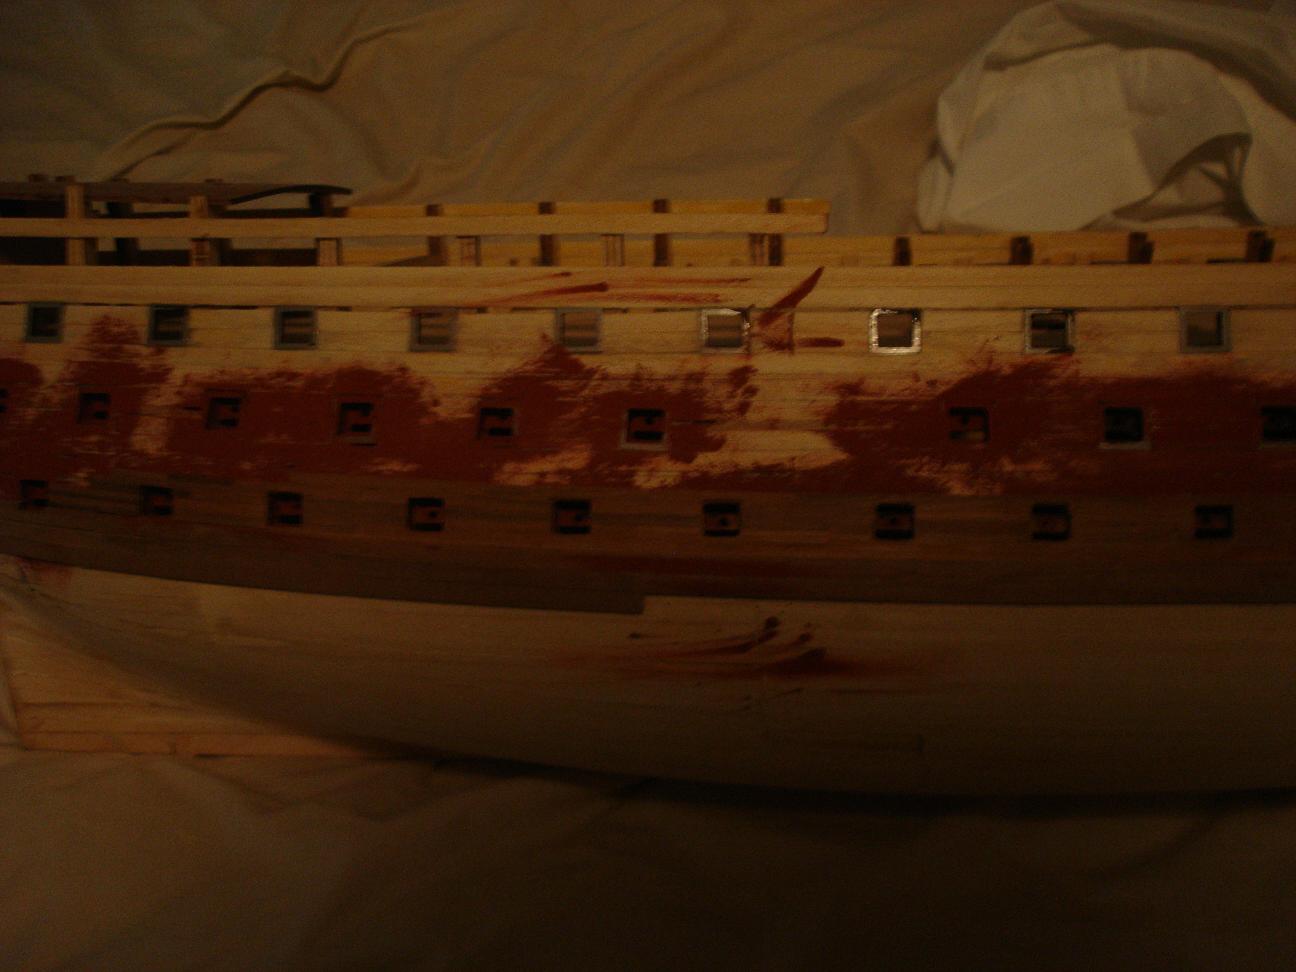
Your next move must be to shape the 5x5mm walnut into the support beams for the upper deck. That will give you an approximation of the deck height. Dry fit only at this stage and mark the deck height. You could glue them now but it would make installing the guns a bit more crowded. After you have market the deck height (including the tanganyka planks) then use that to help you measure where the top of the bulwark will go, next leave a 8mm gap (as the plans show) and begin planking downwards. Don't touch the upper bulwark again until after you install the upper deck and the second layer of it will lock the deck in. For the gunports remember it is easier to not cut the wood used to support the top and bottom of the frame, instead just leave a gap of the required mm from the plank above (using a dry fitted wood strip to mark the gap). Not the clearest picture but it should help illustrate what I am saying. Currently I am working back up with the second layer after planking down with the first, when that layer reaches above the upper gun deck then I will sand it smooth and paint it, then install the guns, then fill in the planking for the bulwarks and plank upwards. The hard part is making sure your top bulwark plank is marked correctly. For the gaps I just used strip wood of appropriate thickness nail temporarily in place. Be careful with the distance markings as the ship is very curved in places. You can approach it how you see fit, I have probably made innumerable errors but the overall idea seems to be ok.

-
Your method looks very effective,
-
The biggest problem with attempts like this is that the person never sands it. They don't fair the hull, or sand anything or file anything. Or use wood filler etc. It is probably a lack of patience and also a lack of understanding how vital it is to sand things before finishing with paint. This is nothing like the Mamoli Victory. Mamoli doesn't use an sockets at all for the gunport lids, they use cast metal false hinges that you put into holes that you drill in the hull, and attach the other part to the gunport. It certainly does look like the Del Prado one however.
-
I find that it is best to only push the nails half in, then remove them. It should make it much easier to sand things nice and smooth and then you can put them back in (with the heads cut off) after.
-
There is plenty of lime wood for the first planking, it isn't as good quality in the revised kit as it was in the earlier kits (the edges aren't as sharp) but everything is laser cut. I think you should buy some 1mmx5mm (or 1x4mm) walnut and double plank the bottom of the hull and trial copper tape to do the coppering, rather than use the green wood that is supplied. The Tanganyika supplied for the decks is beautiful I think, danish oil is a great finish for it. I do think the Mamoil one is nicer than the other 1:90-1:98 kits on the market. For all the faults of the kit design the bulkheads and false keel are very substantial and it holds its shape very nicely. Cutting off the gunport tabs of the metal gunport frames and filing them down to glue to the bulkheads works ok, the material is easy to sand down with the hull. If you put in the supports adequately and use a decent glue then they will stick firm.
-
I used the metal gunport frames for both the Royal Louis and HMS Victory and they hold firm with CA glue and some side supports. They are also fairly easy to sand/file down and overall give the best result for all the false cannon arrangements. As you plank from the top down it is also fairly simple to line up all the gunports. All the false decks supplied should be planked with the tanganyka strips. As mentioned about put the upper gun deck cannons in before you put on the quarter deck, but double plank the hull before you reach that level. Also consider the option of purchasing some 1x5mm or 1x4mm walnut to double plank the hull and use 5mm copper tape for the coppering. The supplied method is ok also.
-
I just plank them on the floor in the middle of the room :s
-
Try a few things, if they all fail then just buy metallic black Tamiya spray paint. Quick and easy and looks ok.
-
http://www.modelshipyard.com.au/timbers/timber-strips/silver-ash/ What about silver ash?
-
I think you could probably use fly mesh for the metal work for windows.
- 396 replies
-
- 2
-

-
- Idea
- Bright Idea
- (and 1 more)
-
A video about attaching blocks to spars and masts
demonborger replied to Modeler12's topic in Masting, rigging and sails
Thanks for this, it is so simple but so important for neat rigging. -
Mamoli makes a 1:96 kit of the Flying Cloud, another to consider.
-
Best Gold Paint??
demonborger replied to demonborger's topic in Painting, finishing and weathering products and techniques
Well I went out and bought the Krylon 18 c Gold Leafing pen and am impressed with the results. -
Mercury is very interesting kit and one that I am considering. There are many interesting kits that don't have many build logs here or else where, and other kits we have dozens of logs. Mary Rose is another interesting kit with no build logs. If you wouldn't mind could you post photos of the various components of the kit? The Chinese do a good job of providing such information (which is how we can see that their kits are poor quality copies....) but the european kit manufacturers provide no photos of the kit components, frustrating for the consumer.
- 55 replies
-
- 1
-
-
- mercury
- victory models
- (and 1 more)
-
Santisima Trinidad: Occre vs DeAgostini
demonborger replied to mangaroca's topic in Wood ship model kits
I found single planking for the Occre kit to be fairly simple, it was my third ship. The sapeli they provide for the planking is pretty decent stuff, and they provide so much extra material, I probably had about 25% of the material left over. I'm not sure how Deagostini does the gun ports. For the Occre one something will have to be done to improve the gunports because the metal frames stick out a fair bit. I bought extra material that was 1mmx3mm and put it between the gunports and the wales to make it more level. Another who has a log here scratch build the gunports. Overall the Occre kit is great, and fairly simple to get a nice result, there is scope to improve it by changing the gunports and perhaps the metal cannon carriages. The plywood keel may also be changed to get a better finish (although this is not necessary). -
The shape of the hull probably has some impact on when to do so. For my Santisima Trinidad which is single planked, I added it after the planking was completed. It made sanding much easier and the shape seems to work nice. I do the garbard only from the middle to the stern earlier on and finish with the front part of the garbard to the bow as the very last piece.
-
I'd love to see someone make this kit with black ebony and red padauk for the hull.
-
Announcing the Model Ship World Ship Kit Database Project
demonborger replied to SkerryAmp's topic in Wood ship model kits
Can you supply measurement data in metric also? -
What is the best gold spray paint brand? What is the best gold paint (brush application)? What techniques do you use to get the shiniest gold finish? What finish should be applied over gold to keep it looking shiny? Any other decorative metallic paint colours would also be helpful (brass, silver, copper).
-
Where Do You Keep Your Working Plans
demonborger replied to BubbleHead's topic in Modeling tools and Workshop Equipment
I work on a table on one side, and have the plans on a sofa on the other side of a room.