


vossiewulf
-
Posts
1,207 -
Joined
-
Last visited
Content Type
Profiles
Forums
Gallery
Events
Posts posted by vossiewulf
-
-
-
-
-
-
Joel, aren't those values again either guidelines or minimums? Just take a look at all the British 74s, go to ThreeDecks' search page and tell it to bring up all Great Britain ships that are Third Rate and 74 nominal guns then look at the ships and their gundeck lengths. All of them have 14 ports a side. I can't remember where but I remember reading a designer saying he was pleased he'd gotten an extra two inches between ports, that it doesn't sound like much but made a measurable difference in ease of working the guns.
-
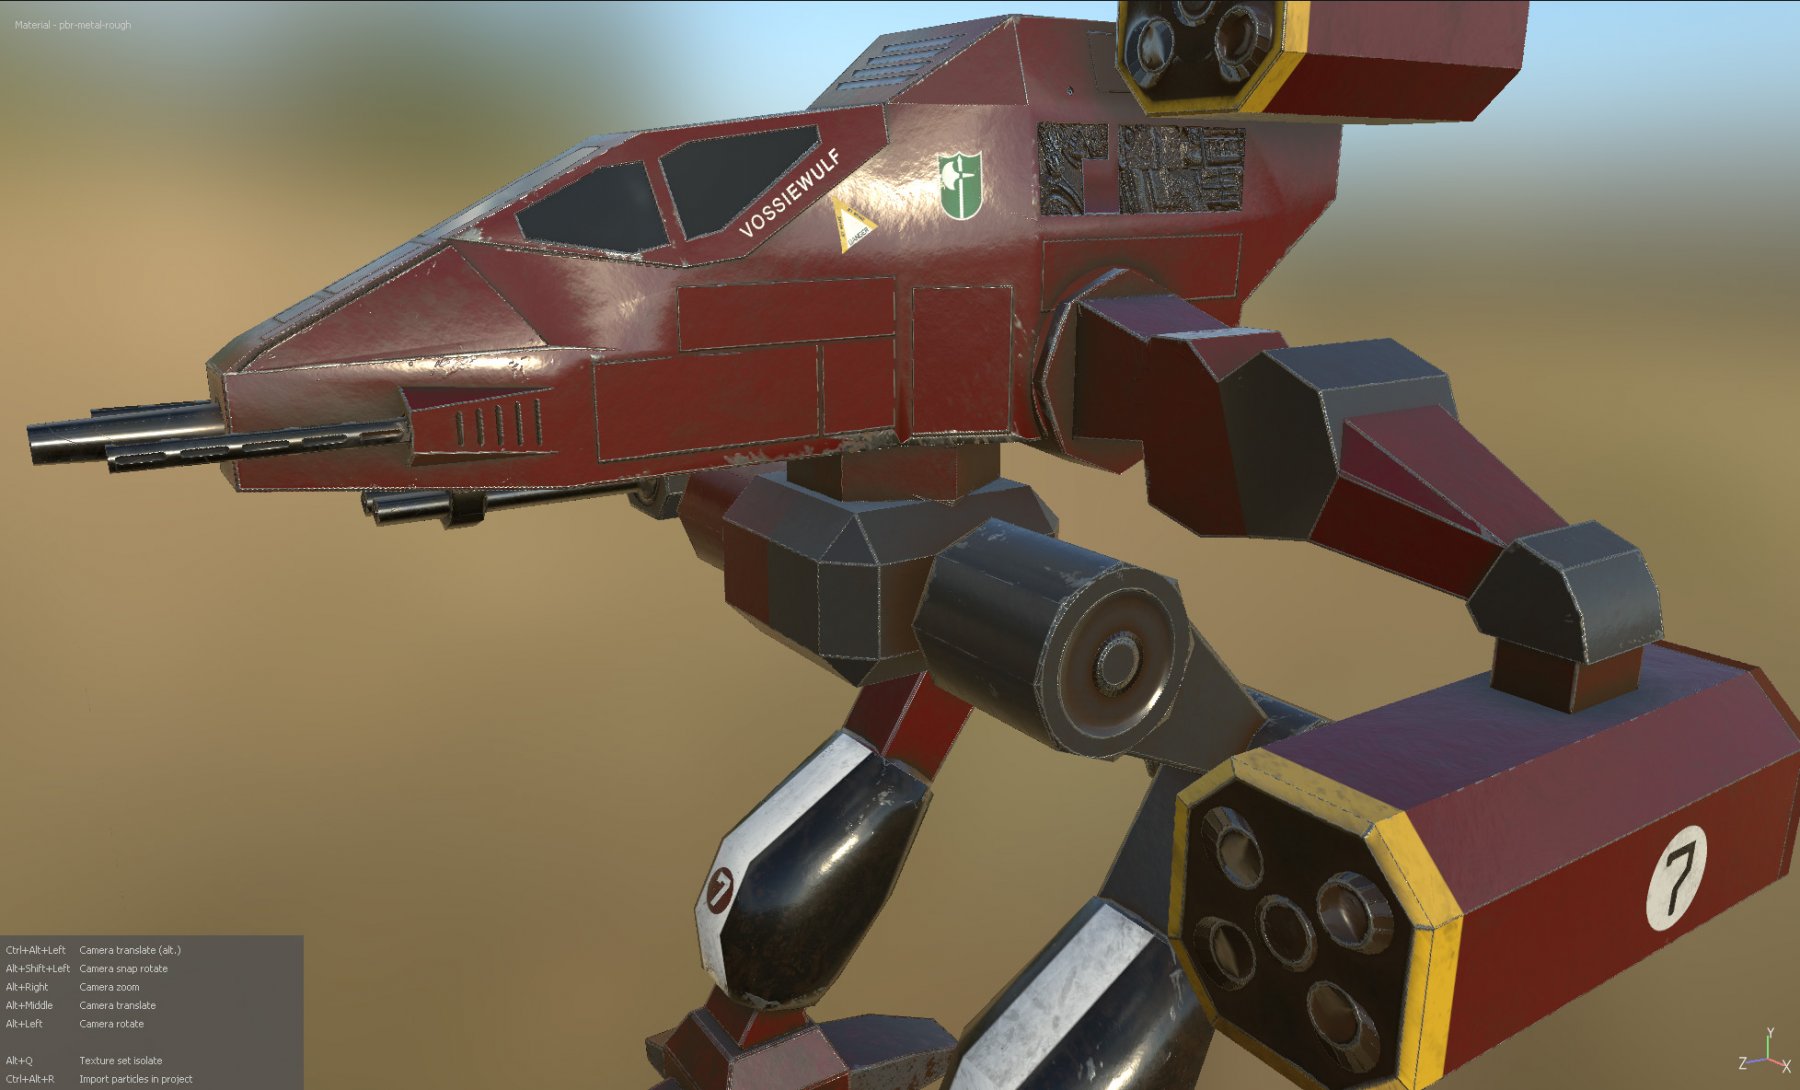
Ditto. These are Battletech mechs from a game project I was working on last year. First two are high poly but bottom one is low poly + normal map (and AO and curvature and ID etc.) and not the final version, you can see where I forgot to taper the missile launcher tubes so Substance Painter's normal map baker got confused.


-
-
The gunport spacing has to be a general rule. Since frigate and ship designs of the same number of guns had gundeck lengths that varied by a foot or two from each other during any given time period, it can't be a hard rule as those differences are not going to be divisible by the size of the shot and the number of gunport spacings.
-
The thing that surprised me is making treenails actual objects. I hope your machine has lots of memory
") For the sake of rendering times you might want to think about the parts you can do with normal maps and your textures instead of building memory-intensive geometry.
For the sake of rendering times you might want to think about the parts you can do with normal maps and your textures instead of building memory-intensive geometry.
I know lots of people who use Blender and do very good work with it. I am MAX but that's because I have been using it since it was 3DSr4 for DOS in 1994, no way going to learn wildly different workflows at this point. At one point I had a free licensed copy of Lightwave 7 or something, but I gave up after a week, what a completely messed up program that was. The preferred modeling method was typing numbers everywhere.
I assume you are texturing right, not going to keep just the generic wood textures? If so, what are you going to do to unwrap UVWs? There are only a couple tools I know of that can reasonably handle something this complex, otherwise you'll need to break it into lots of separate objects. I use Flatiron for complex UVW unwrapping, but it's a bit expensive and not sure if it supports Blender.
If you can, and haven't already, look at the Substance Designer/Painter combo, there isn't much you can't do and it's quite easy to do amazingly cool things. One of them is like $150, the combo was $250 last time I looked and you could get it on Steam.
Regardless, it looks good already and you're thinking about the right things, so I'm sure it's going to be a very nice and accurate model.
-
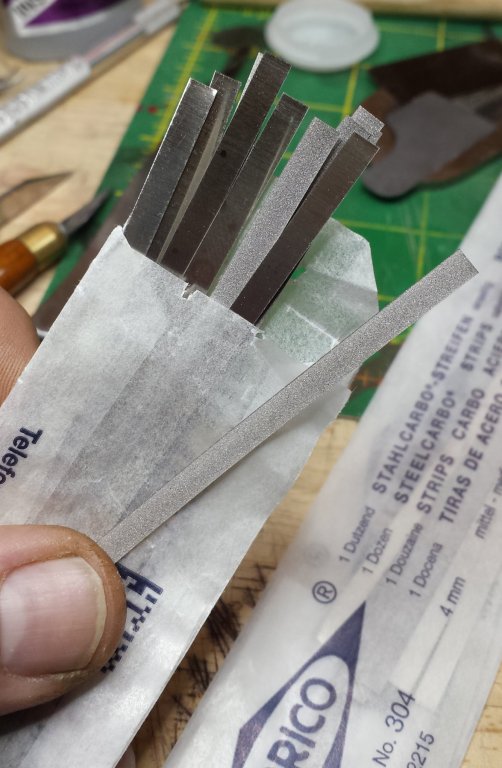
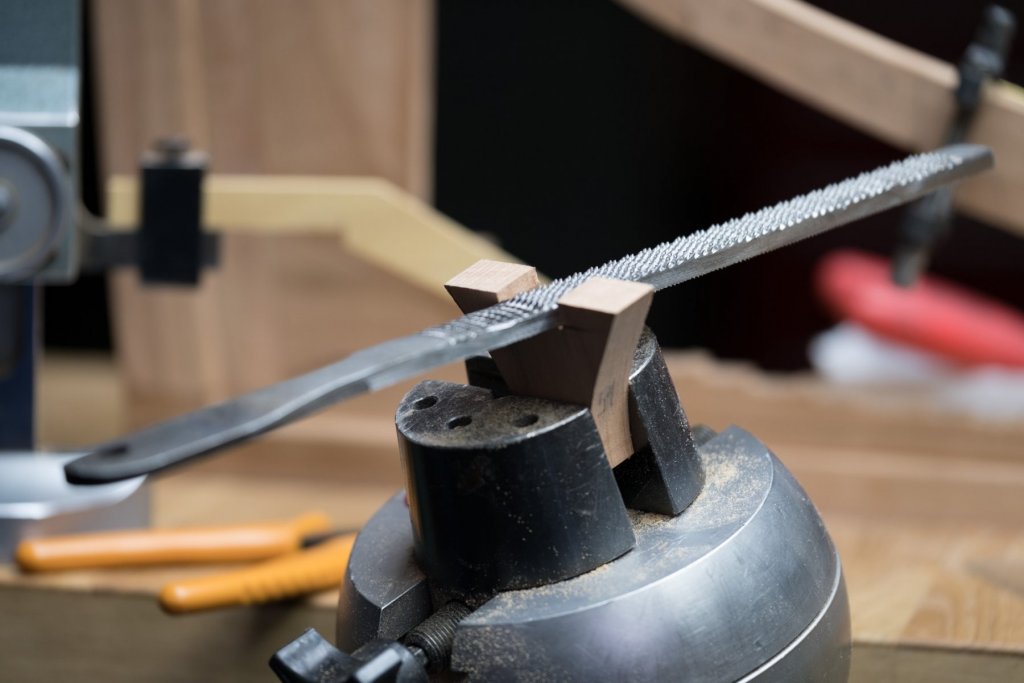
Give me a couple days to play with them, I just had a few minutes to experiment with them this evening and I may rate the medium more like 220. But regardless I think these are going to be really handy for making various sanding/filing tools, I'm going to mount them on some brass pieces and also some spring steel pieces but you could use wood in most cases.
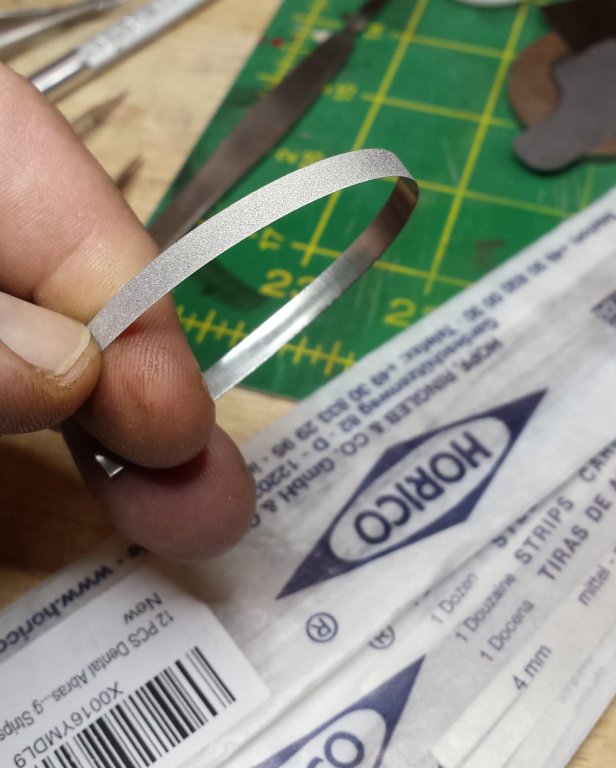
Also, this brand is definitely diamond
") But a bit more expensive at $12 for 5 pieces. But still used on wood they should last almost forever so I think either the Horico ones or these are going to be good purchases.
But a bit more expensive at $12 for 5 pieces. But still used on wood they should last almost forever so I think either the Horico ones or these are going to be good purchases.
- Tadeusz43, thibaultron and mtaylor
-
 3
3
-
Easy guys I didn't say anything about slavish attempt to find the perfect furniture, just that whatever I end up doing is still an open question
Once I get there I'm going to review the LN kit vs. various cutter models, I think it was Tony who provided a link upthread to a large collection of cutter models, some period.
I have been toying with the idea though of giving this a real name of a cutter of the right size and time period, I don't much like the idea of a made-up name. Haven't decided yet.
Passer, if you haven't found it already the best build log you should be following even though the design is somewhat larger and a bit different than our cutters, is Chuck's Cutter Cheerful. He's doing the rigging now and also the full step-by-step instructions are available on his Syren Models site.
Also, as Rick pointed out to me some time ago, the first chapter of Rigging Period Fore and Aft Craft could be relabeled "The Advanced Rigging Manual For Lady Nelson and Sherbourne". It covers a cutter basically identical to ours.
- Canute, Jörgen and popeye the sailor
-
3
-
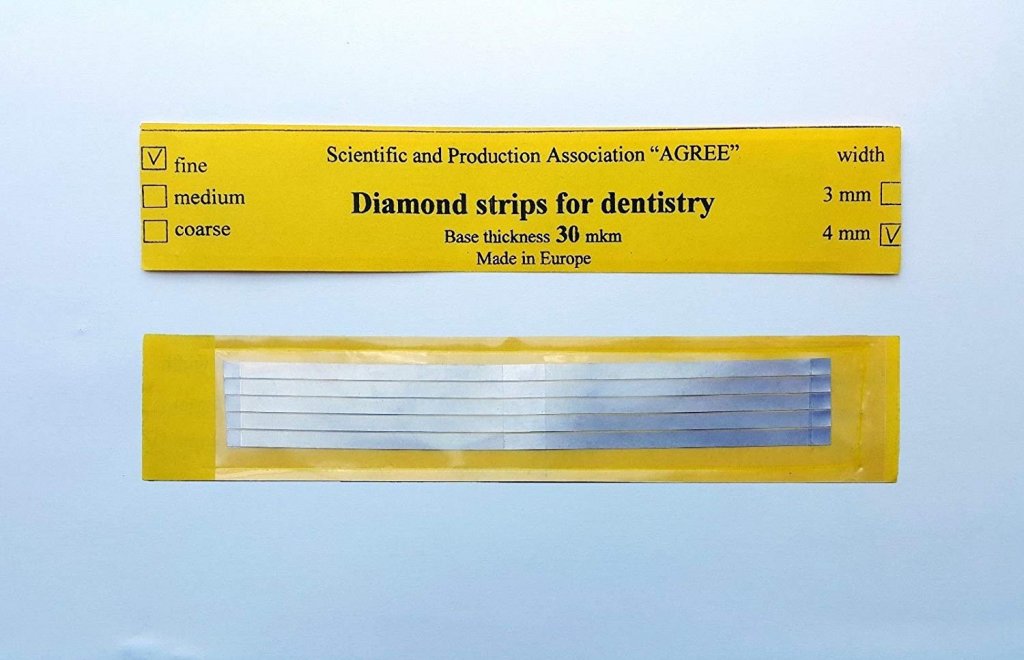
8 hours ago, wefalck said:
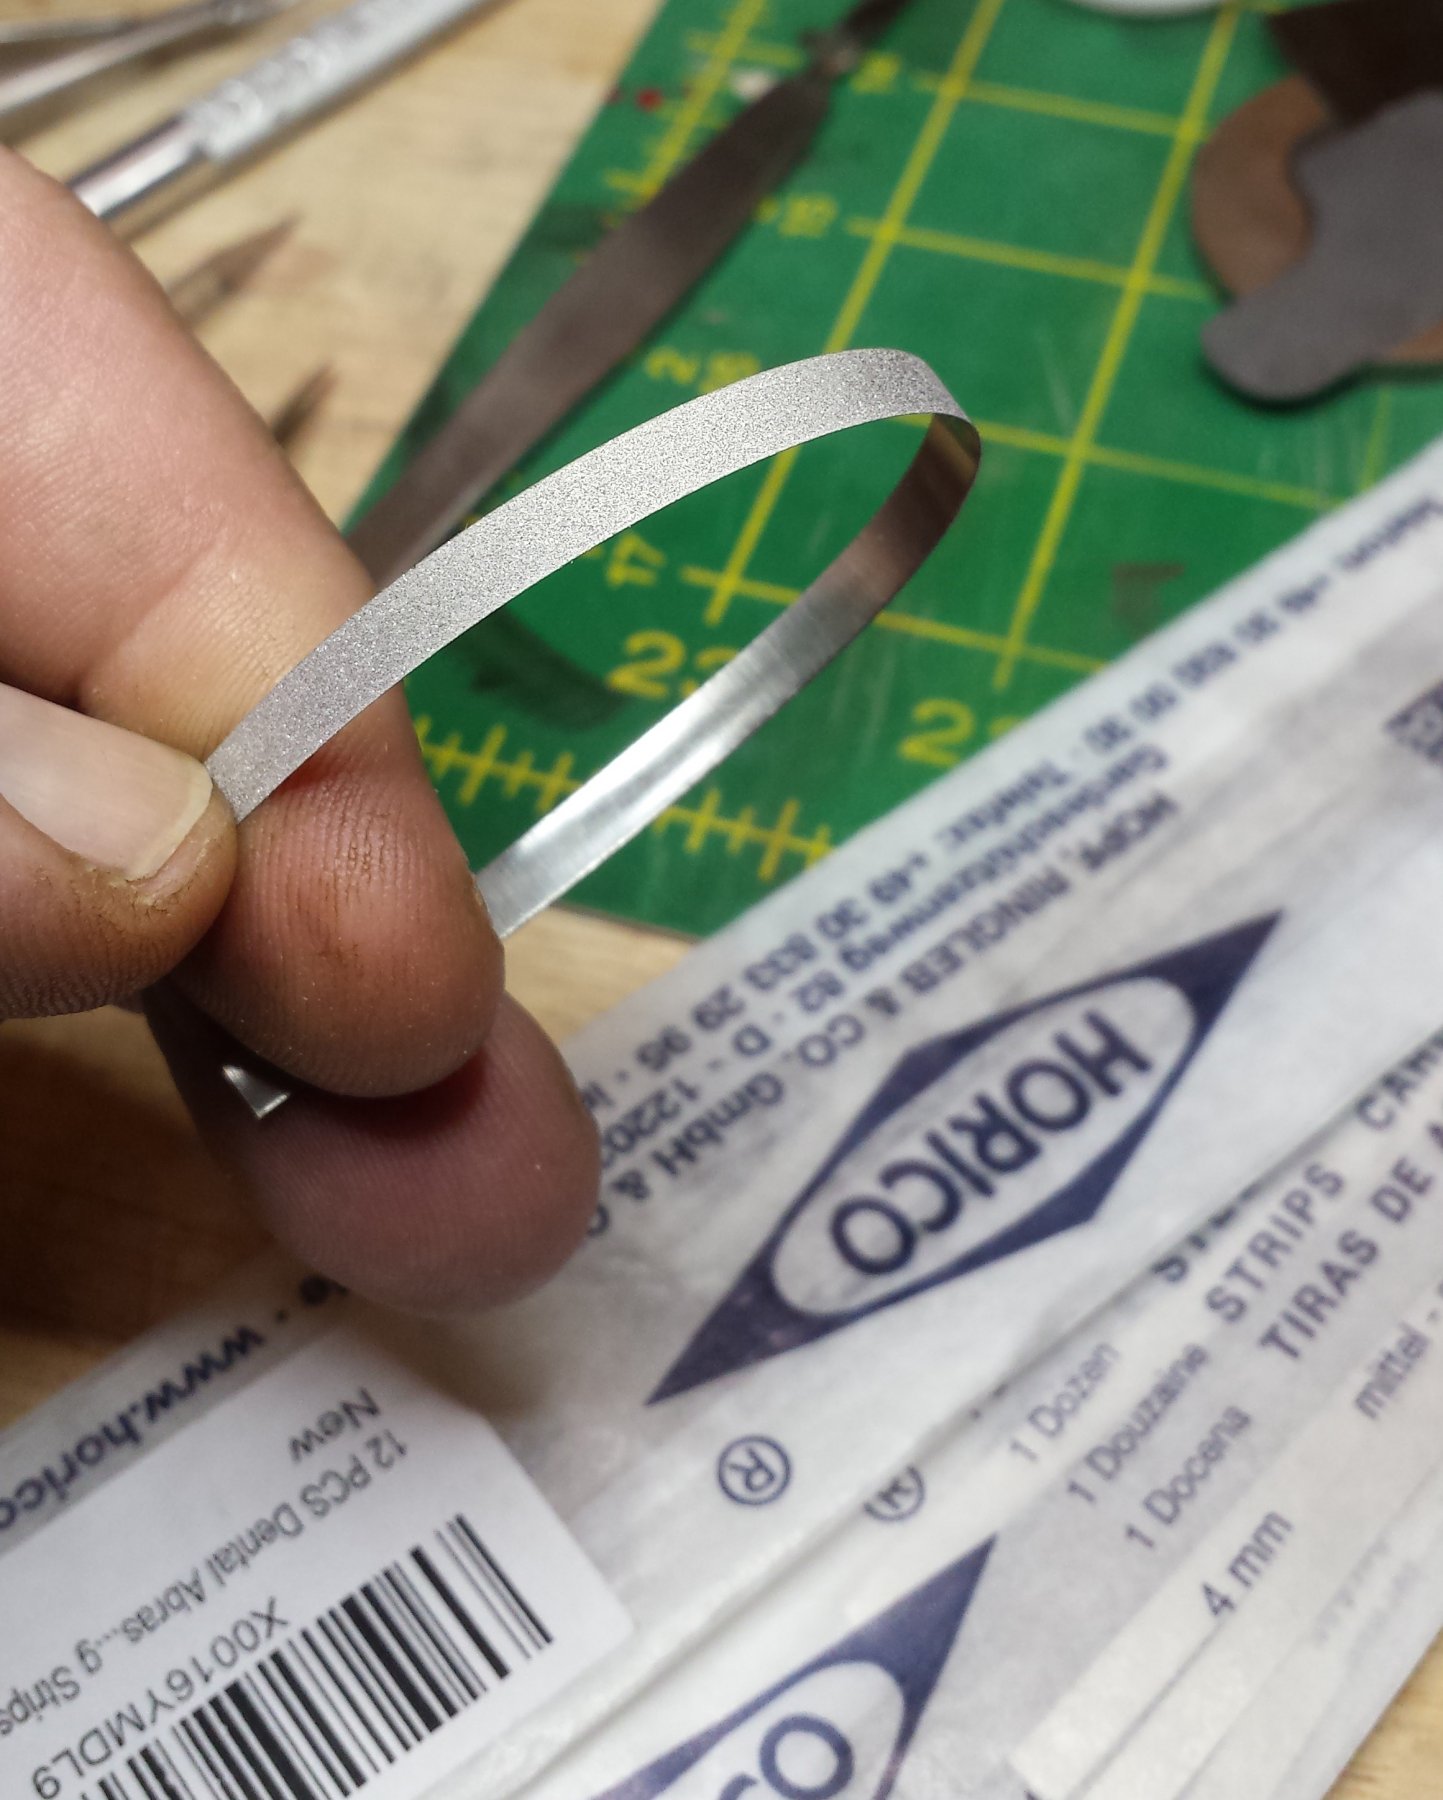
The thin steel backing with a total thickness of 0.1 mm made them particularly interesting from my point of view, as you can widen narrow slots and the likes with them. No other file or sanding-paper is that thin.
Good point, hadn't thought of that use.
5 hours ago, Kurtrjohnson said:With regards to the dental abrasive strips, which coarseness is the most practical for use on wood, fine, medium or coarse? What sandpaper grit are they similar to, 400, 600, 1000?? They sound very interesting.
Kurt
As I mentioned, not really sure, but I would start with the fine grit. The medium that I tried last night was maybe 100 grit(?) and I assume the coarse is going to be more for reshaping than sanding.
- thibaultron, Canute and mtaylor
-
3
-
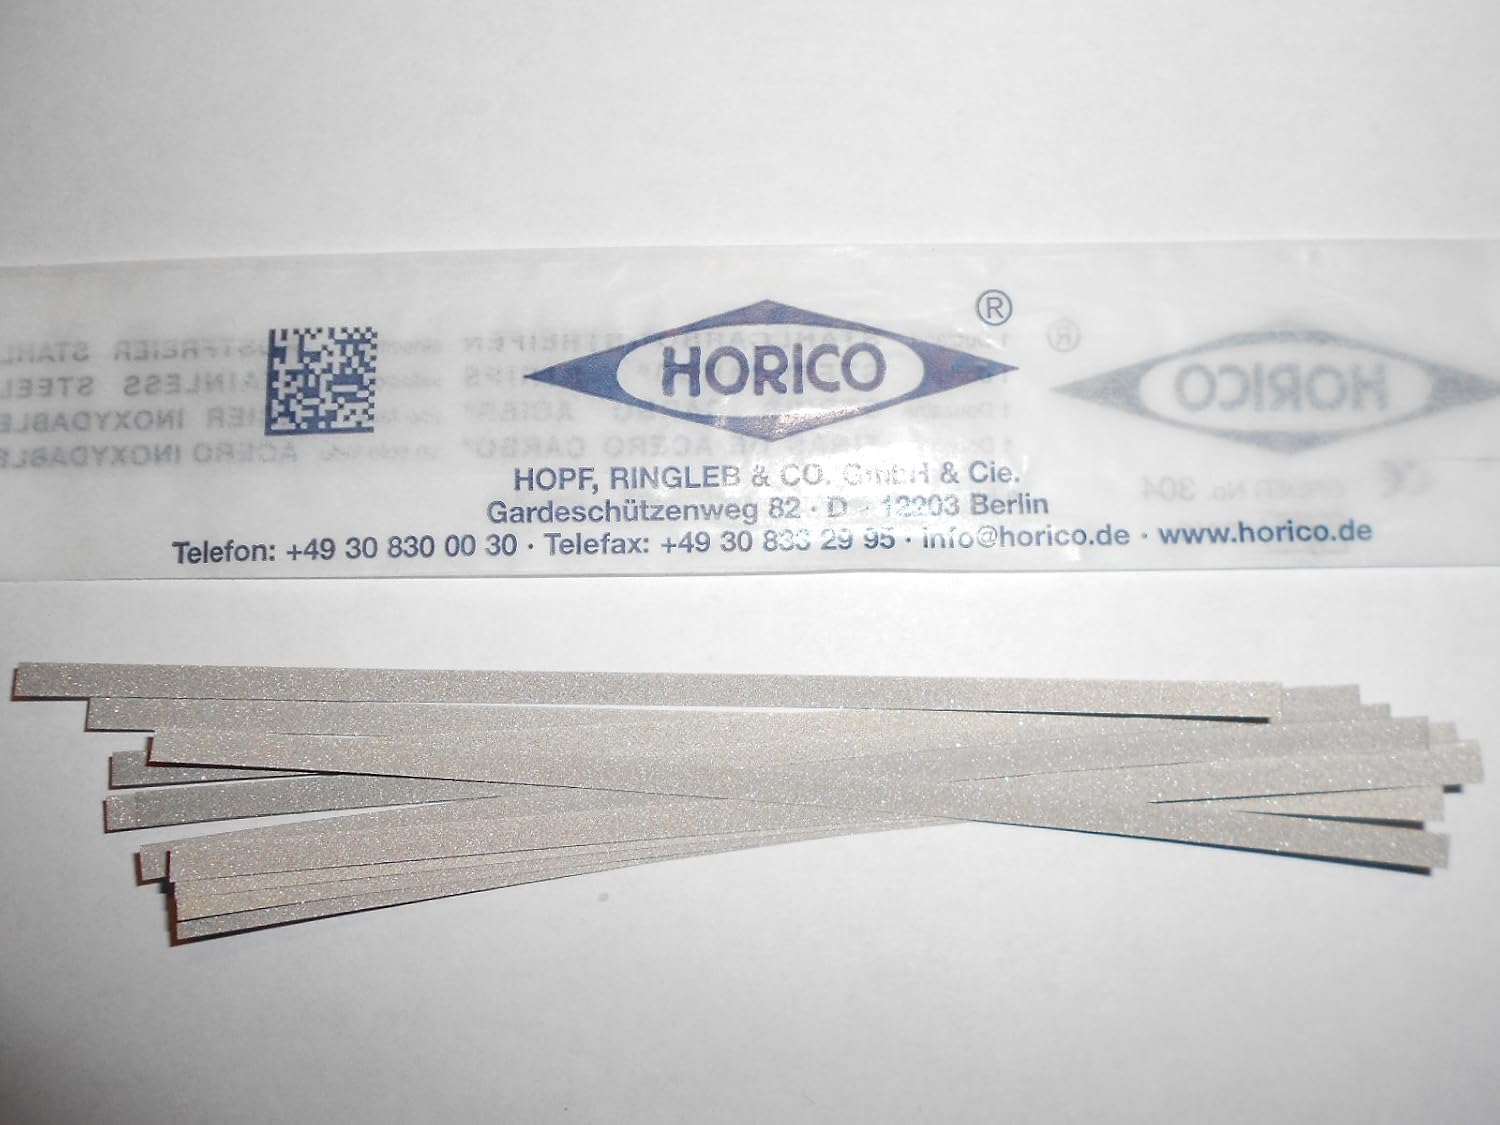
6 hours ago, wefalck said:
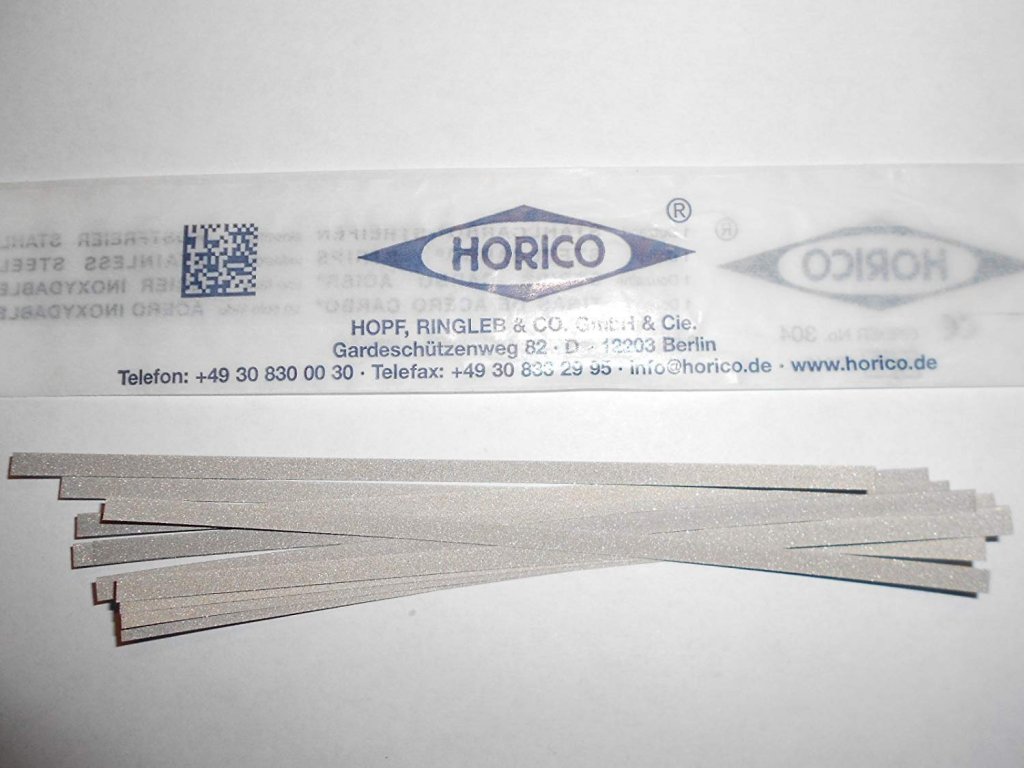
How much did you actually pay for these HORICO Stahlcarbo® strips ? The only Amazon-offer I saw today seems to be grossly overpriced. So far I only found suppliers that would only sell to professionals or traders, but not to private persons. May have to contact the manufacturer directly.
$19.45 delivered for 12 diamond-coated stainless steel strips, and they seem to be made well and should last quite a long time. I'm disappointed they're only on .007" steel, I was hoping for a bit stiffer. But if nothing else you can make lots of really useful semi-files out of these and that's what I intend to do.
I might pick up some of the wider 6mm strips also. BTW all manufacturers seem to sell coarse/med/fine grit but no indication of how that maps to normal diamond sharpening stones and the like.

-
The "antler" carving looks like standard acanthus patterns.
- Hubac's Historian and EJ_L
-
2
-
5 hours ago, Rick01 said:
I'll still be around to comment on deck furniture, masts and rigging
. This seems to be where the kit has taken the easy way and oversimplified much of the detail, however as it's a kit of representative cutter it does allow us to reinterpret/refit this whole area.
As long as you accept that anything bad that happens in your absence is your fault, I'm good
I've figured furniture is still a totally open question, we've seen a whole series of models, none of which has the same furniture as the others.
-
-
23 hours ago, Passer said:
And many that are finished! It is goldmine to have so many references of very nice models to learn from. Trying to keep an eye of all of them.
Yes, and I've been lucky in that Rick has been doing most of the research for me
But I just see now that he has a new build going, something I'd missed. I'm glad that he's working on something but I'll have to assume I need to do more digging myself. If you see upstream we were discussing at length the gunport locations and orientation, since they follow the line of the top of the gunwale rather than the deck line, which still seems weird to me.
7 hours ago, shipmodel said:1. The garboard strake, and even the next strake known as the first broad strake, flare at the stern on actual ships. On a narrow hull like a cutter this may eliminate the need for any stealers at the stern.
2. At the bow, keep the tip of the garboard plank low. The more it is allowed to rise up the stem the less room you will have for the upper planking strakes, so the more they will have to taper or you will have to use more drop planks.
3. Don't worry about locations of butt joints in the hull planking. They were pretty much random, and governed by the availability of various plank lengths. The only general principal is that you do not want butt joints on the same frame unless they are separated by two or three solid strakes. The 3 and 4-step planking layout applies to the deck, not the hull.
4. The best resource I have found for hull planking, deck planking too, is "Planking the Built-Up Ship Model" by Jim Roberts and available from Model Expo and/or other book sellers.
Hope this helps a bit.
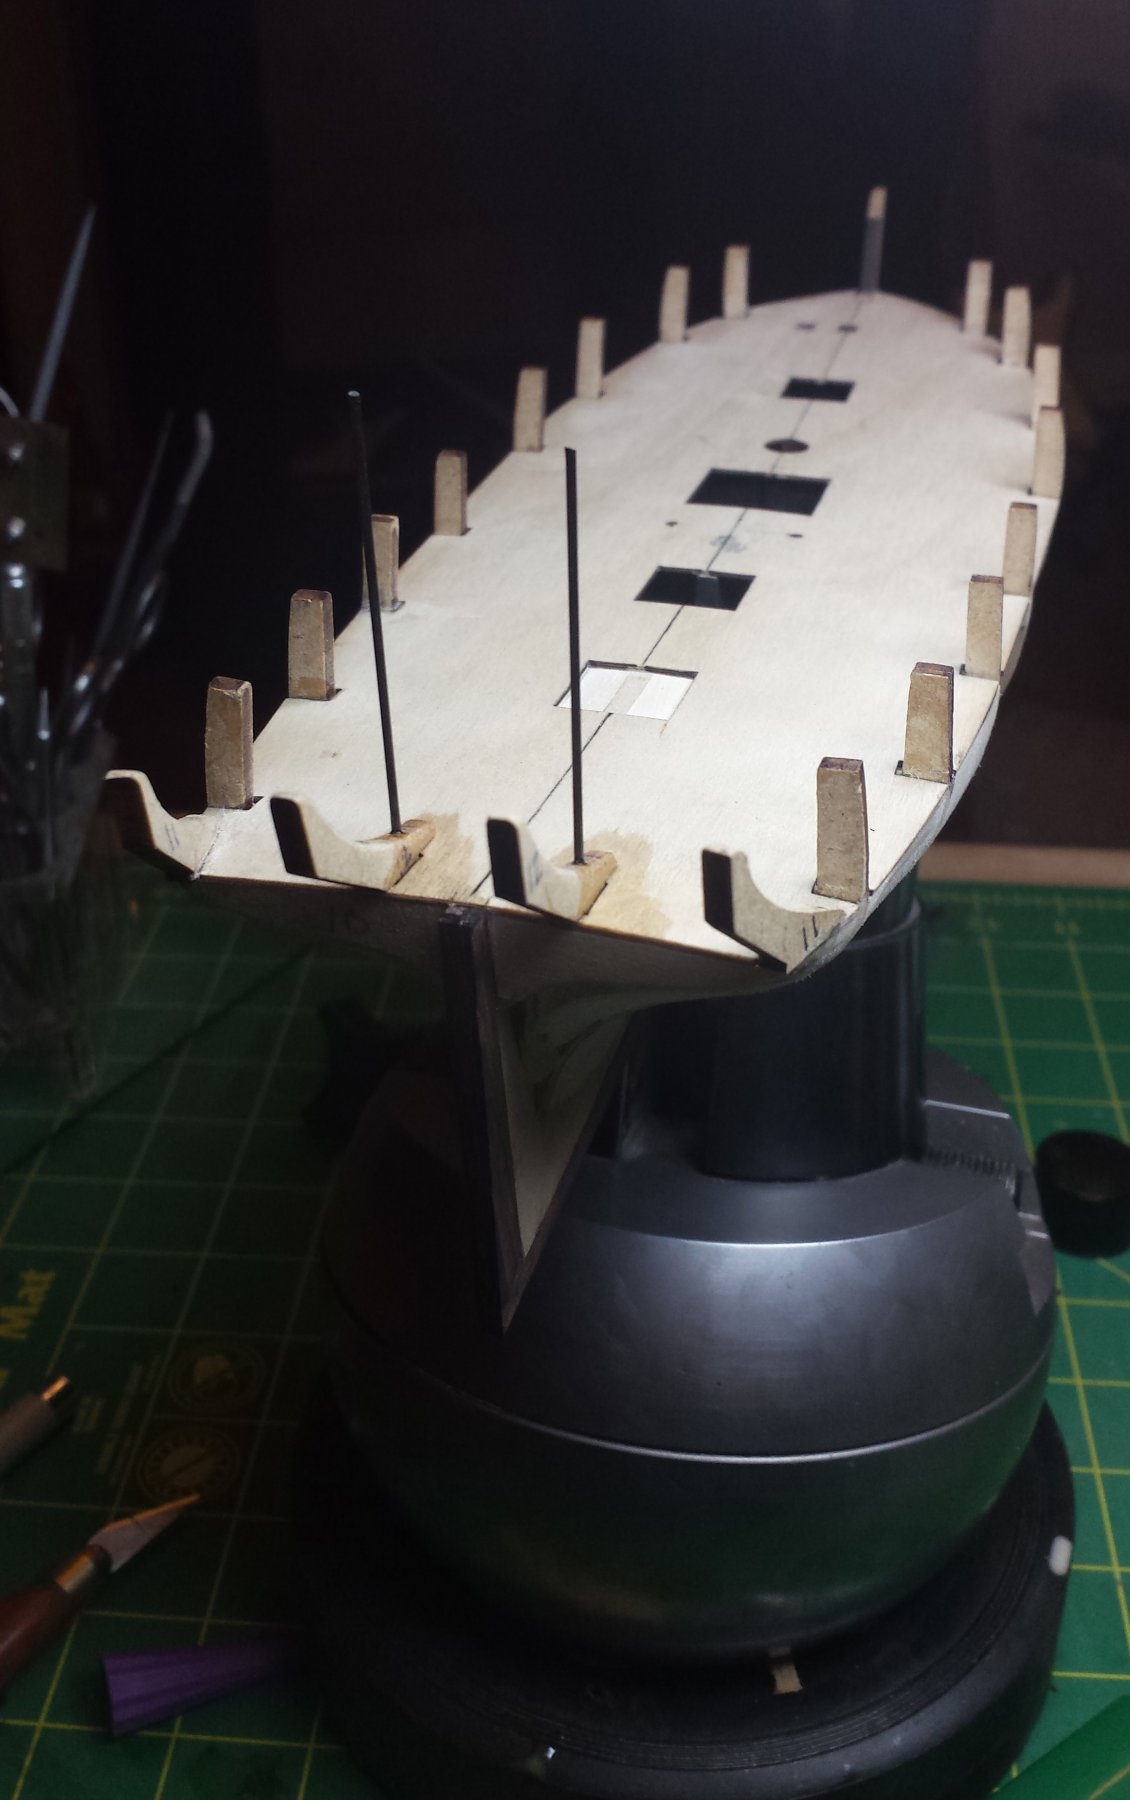
Thanks Dan. I think the one book I don't have is that one, so I'll grab it. I wish I'd known about the flaring before I started the second planking, that would have made things much easier. As it is unfortunately I'm committed now and will have to go with my stealer plan. They're going to be where the surface flares out for the transom and therefore will be mostly edge-on from normal viewing angles so hopefully not a real issue.
After putting on the garboard the first thing I did was taper the topline to reduce how far it comes up the stem on both sides. And I found a new issue that I'd need to account for, that the bow end of the port rabbet bottom line drifts upward a bit less than 1/32" before beginning the upward sweep. Not sure how that happened yet but experience with the first planking told me to fully compare each plank as it's put on each side to within an inch of their lives to catch those kind of things so I saw immediately that the top line of the garboard plank on the port side was considerably higher than the starboard one. I carefully trimmed the port one back most of the way with the first plank and the rest of the way with the second, spreading the error out a bit.
As of the second plank they've been dead even port and starboard so hopefully all is well, and I'm going to be more careful cutting rabbets next time.
- popeye the sailor, Canute, Jack12477 and 1 other
-
4
-
15 hours ago, albert said:
Very very
nicePERFECT.Fixed that for you
- Nirvana, mtaylor, Bluto 1790 and 2 others
-
5
-
8 hours ago, Passer said:
Thank you
It is quite fun that we actually are at the same point in the build and also little bit do the same things on the kits (so far). Could be very nice to exchange ideas.
Yes, but also keep in mind there are like 137 Lady Nelsons and Sherbournes being built at one stage or another here
- mtaylor, popeye the sailor, Canute and 1 other
-
4
-
They differ very little, so in general experience with one puts you in a position to suggest what to do with the other. Thanks for the reminder/suggestion of placing an early plank at the bottom of the gunports to ensure they are aligned. And welcome to the cutter party BTW:)
I AM making progress here, just slow as my time windows remain a bit constricted and I keep finding myself spending half of it on workshop logistics, this evening was making new sanding tools using spring steel pieces of various thicknesses as a backing for PSA stikit gold paper of various grits. Then I got annoyed at the lack of a curved-edge scraper of small enough radius for this ship so I took one of Lee Valley's small scrapers (which are nice BTW) and ground it into a basic curved scraper with several convex and concave curves.
That said I'm sure Lee Valley scrapers are just spring steel of the right thickness, I keep meaning to get a roll of that thickness plus some heavier- I really like my heavy luthier scraper's lack of chatter and want to try thicker small scrapers. And I've been thinking why not make some "carving" tools with traditional straight/convex/concave/v-parting cuts but make them pure scrapers - a "gouge" would just be a fully hardened tool steel piece like any small palm carving tool, except it ends in a transverse blunt curve of the correct radius. When you really sharpen something like that, you can carve with them with far more predictable results than the usual edge tools. On the downside, of course much slower. So I want to make some for finishing of difficult curves that cross the grain but I also think they'll be quite handy for general ship work and particularly planking.
-
On 4/12/2017 at 2:09 AM, wefalck said:
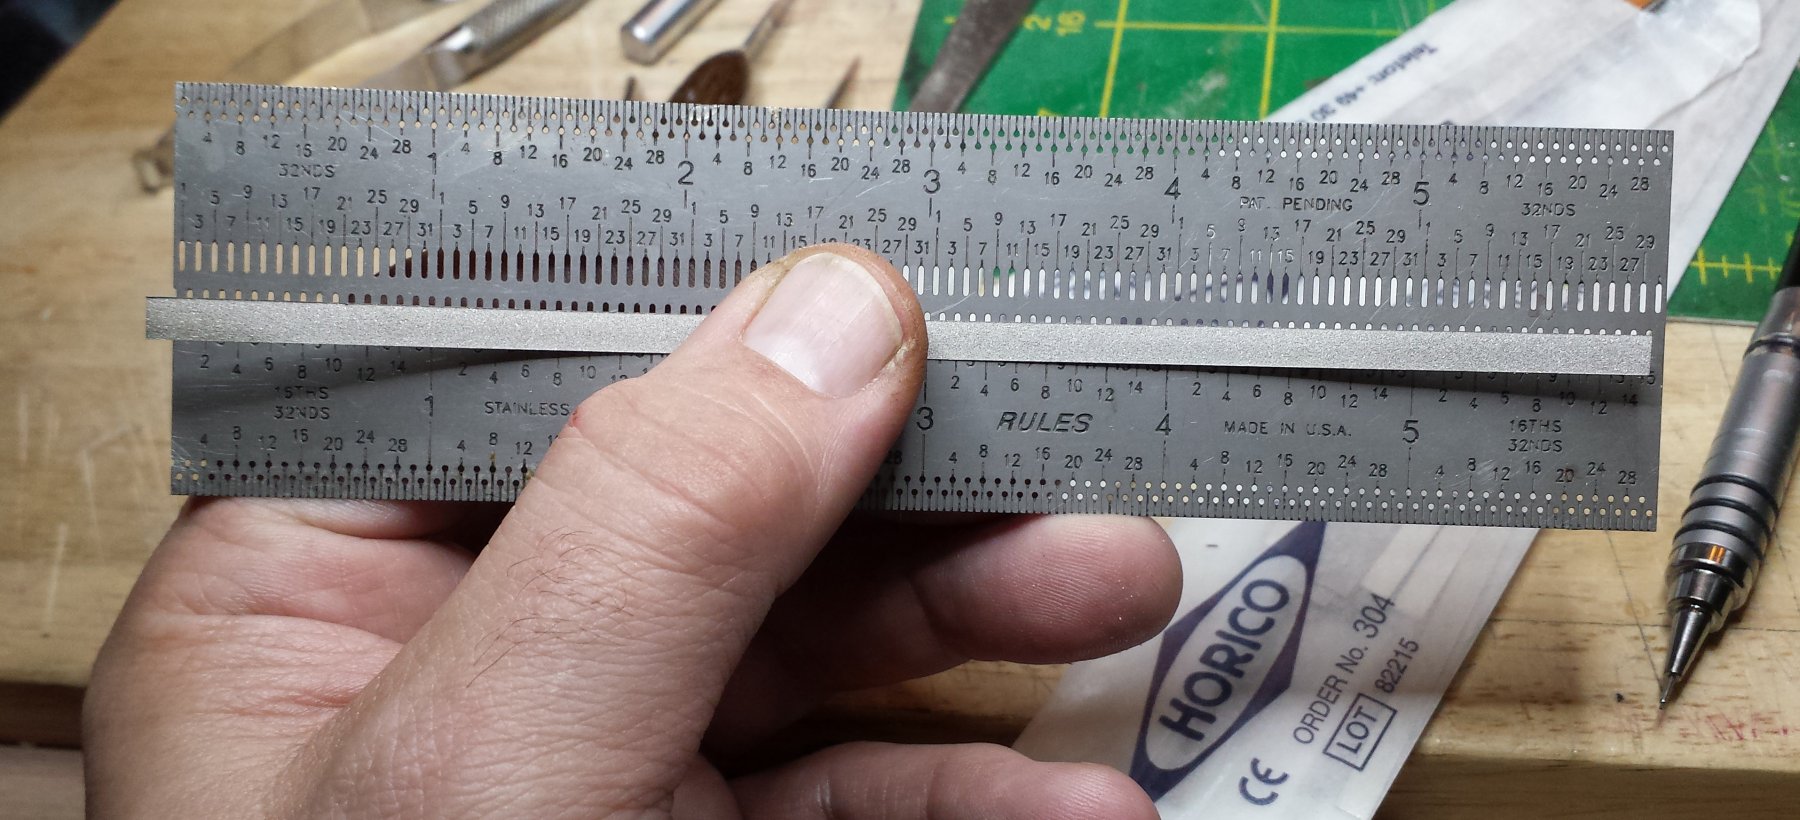
- so-called separation strips. These are used to file the sides of teeth or false teeth. They are abrasive material of various grades on a backing of either Mylar or stainless steel. For the time being I got some Mylar ones, which I bought to make sanders for my filing machine and the micro hand-sander I built. I have not being able to identify an on-line source for the steel-backed ones. One may need to buy directly from the manufacturers: http://www.horico.de/en/neuigkeiten/2-uncategorised/91-alle-streifen.html. The Mylar-strips are about 5 mm wide, while the steel ones come in width down to 3 mm. As you can see in the link, Horico also makes fine-toothed steel-strips, i.e. saws.
- There is also one provider for something like a miniature hacksaw that uses the above steel sawblades or abrasive strips: http://www.ebay.de/itm/172605444198?_trksid=p2060353.m1438.l2649&ssPageName=STRK%3AMEBIDX%3AIT.
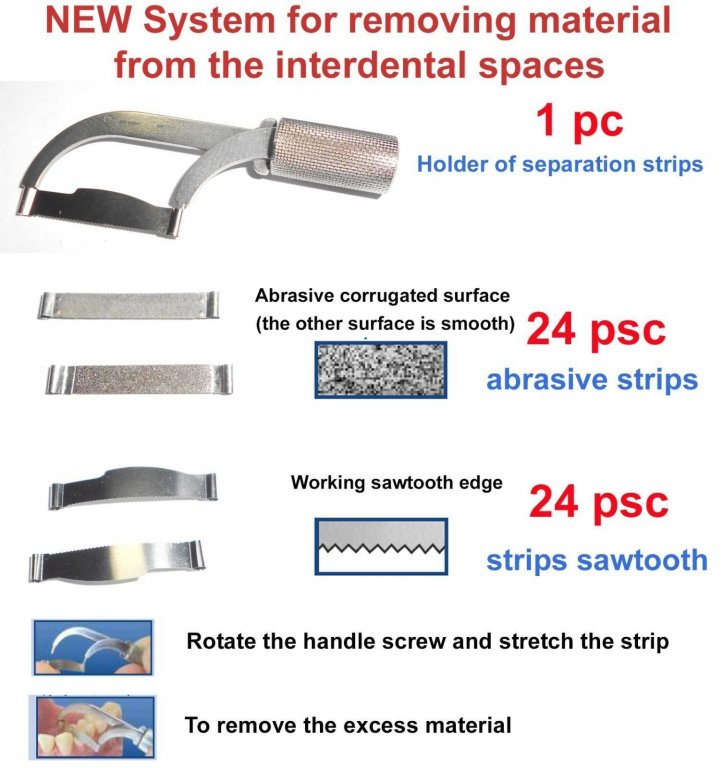
I have not seen this on offer somewhere else and this offer appears to be rather pricey. Haven't tried this yet.
I found you can get these polishing/separator strips on Amazon. The stainless steel ones appear to be spring steel coated with diamond so very promising, I ordered some yesterday. The mylar ones look good also and I ordered some of them, but they're more or less flexi-i-file pieces so they might be just a better replacement for those.
- cristikc, edmay, thibaultron and 3 others
-
6
-
On 4/15/2017 at 4:42 AM, Gaetan Bordeleau said:
Nevertheless, here is what I usually do to estimate the quantity: I buy a quantity of wood which is between 1 and 2 times the volume of the model: a 74 at 1/48 would be 6 cubic feet.
Every time I tried to calculate a wood quantity to buy, I had to go back later to buy some more.
So If I need 6 cubic feet, I would buy the double, this way I am sure not to arrive short and if there is too much, I will have some for the next one.
I figured you would have just worked from M. Boudriot's careful calculations of the amounts of wood of various types required. At least I remember him having good data for wood quantities, it's not something I look up on a regular basis. Although you're working at furniture scale, the easy calculations we use doing that wouldn't apply to an object where um, maybe 20%-30% of its internal volume is more wood structure in zillions of separate pieces, so I like your method of working off the volume.
-
-


Fokker DR 1 by Torbogdan - FINISHED
in Non-ship/categorised builds
Posted
That's why I turned my own, one of the biggest nightmares in modeling is trying to make a rotary or radial engine that's cast in two parts presentable.
One option is 3d printing at Shapeways, and here are some models you could use. If you don't know 3D work I would ask someone that you know whether they could help, to get them successfully printed you'd need to scale it to the correct size and also move some parts around for proper printing, and once received you'd assemble it like a small kit.