


vossiewulf
-
Posts
1,477 -
Joined
-
Last visited
Content Type
Profiles
Forums
Gallery
Events
Posts posted by vossiewulf
-
-
I don't have OCD, I just have an uncontrollable urge to make sure everything is perfectly right and straight and aligned at all times. Totally different!
- popeye the sailor, Rick01, mtaylor and 4 others
-
 7
7
-
-
In case you don't know, you'll need a couple shallow-curve carving gouges for the hull, at least if the bulkheads are part of the solid hull, and some wood rasps will also help remove the excess wood quickly. When you get close, some curved and straight scrapers can remove wood pretty quickly with good control.
- mtaylor, pontiachedmark and John Allen
-
3
-
Your first post was Jan.16 and nine days later you have an almost completed admiralty model with fantastic joinery. I've decided you don't have 8 arms, you have at least 16, with four independently-operating heads. Seriously that's amazing.
-
On 1/22/2019 at 10:38 AM, Nirvana said:
Mr. Watton, I am glad to see you are going outside the manufacturer line, and creating your own choice of "kits". Just like Mr. Passaro. I can see a line of potential customers for your products.
If they haven't thought of it yet, @Chuck and Mr. Watton should think about either entirely merging or at least synergizing their operations, with Chuck supplying certain fittings/rigging line/wood upgrades etc.
But a single model company with kits designed by Chuck and Chris? Sign me up
")
-
26 minutes ago, Drazen said:
- in winter constantly below 30%, sometimes below 25% (yesterday measured 20% - this is dry like a gunpowder 🙂 )
- in summer constantly higher than 75%, even 80% or 85% humidity
That's going to put serious stress on just about any wood object, please don't leave any good musical instruments in your cellar, either.
You don't need to close off everything, just get a humidifier with an automatic setting so it turns on whenever the humidity drops below a set point. With your summer humidity, I'd set it to 50%, few things have a problem with a 20-25% humidity change over the year. I had one at a previous house that I bought on Amazon for about $150. I had to fill it with water every day which was a bit of a pain, but it was better than damage to my wood stuff.
-
As others are saying above, cracks appearing in wood objects is always a moisture problem, either the humidity where it is stored is varying over a wide range or pieces of wood used in construction were not fully seasoned and stable.
If it's a humidity problem, as others noted a humidifier is the solution. If it's because not fully seasoned (dried) wood was used, there wouldn't be much you could do other than rip that wood out.
And sorry you're having this problem, that's a sad thing to happen to a pretty model.
-
Interesting article, and either written in excellent English or translated by a skilled translator. Unfortunately I don't have the knowledge to judge your assertion about the Russian La Legere model being the original constructor's model, but it seems plausible as I read it.
-
-
I'm kinda with Dowmer that that hook looks a little too light. Any chance you could find a size between this and the one you thought was too bulky? However, only ship model people might notice, so it may not be worth fiddling with.
-
I am the angel of temptation, bow before my ability to cause marital strain
Actually I am in fact trying to help people by providing solutions to some problems that they're probably not familiar with because they're not someone like me who trolls through catalogs and sites for all sorts of industrial/professional suppliers. And anyone else is welcome to post things they find, too.
Bob, I have one of those too and I thought about making it into a hand clamp, but to do so I put leather over the teeth on the jaws, and that was a problem because much of the gripping power comes from those teeth, not how tight you can twist the handle. In other words it works well as a hand clamp, but only for things that don't require too much force to hold. The jeweler's wedge hand clamps can grip much harder.
- pontiachedmark, mtaylor, Canute and 4 others
-
7
-
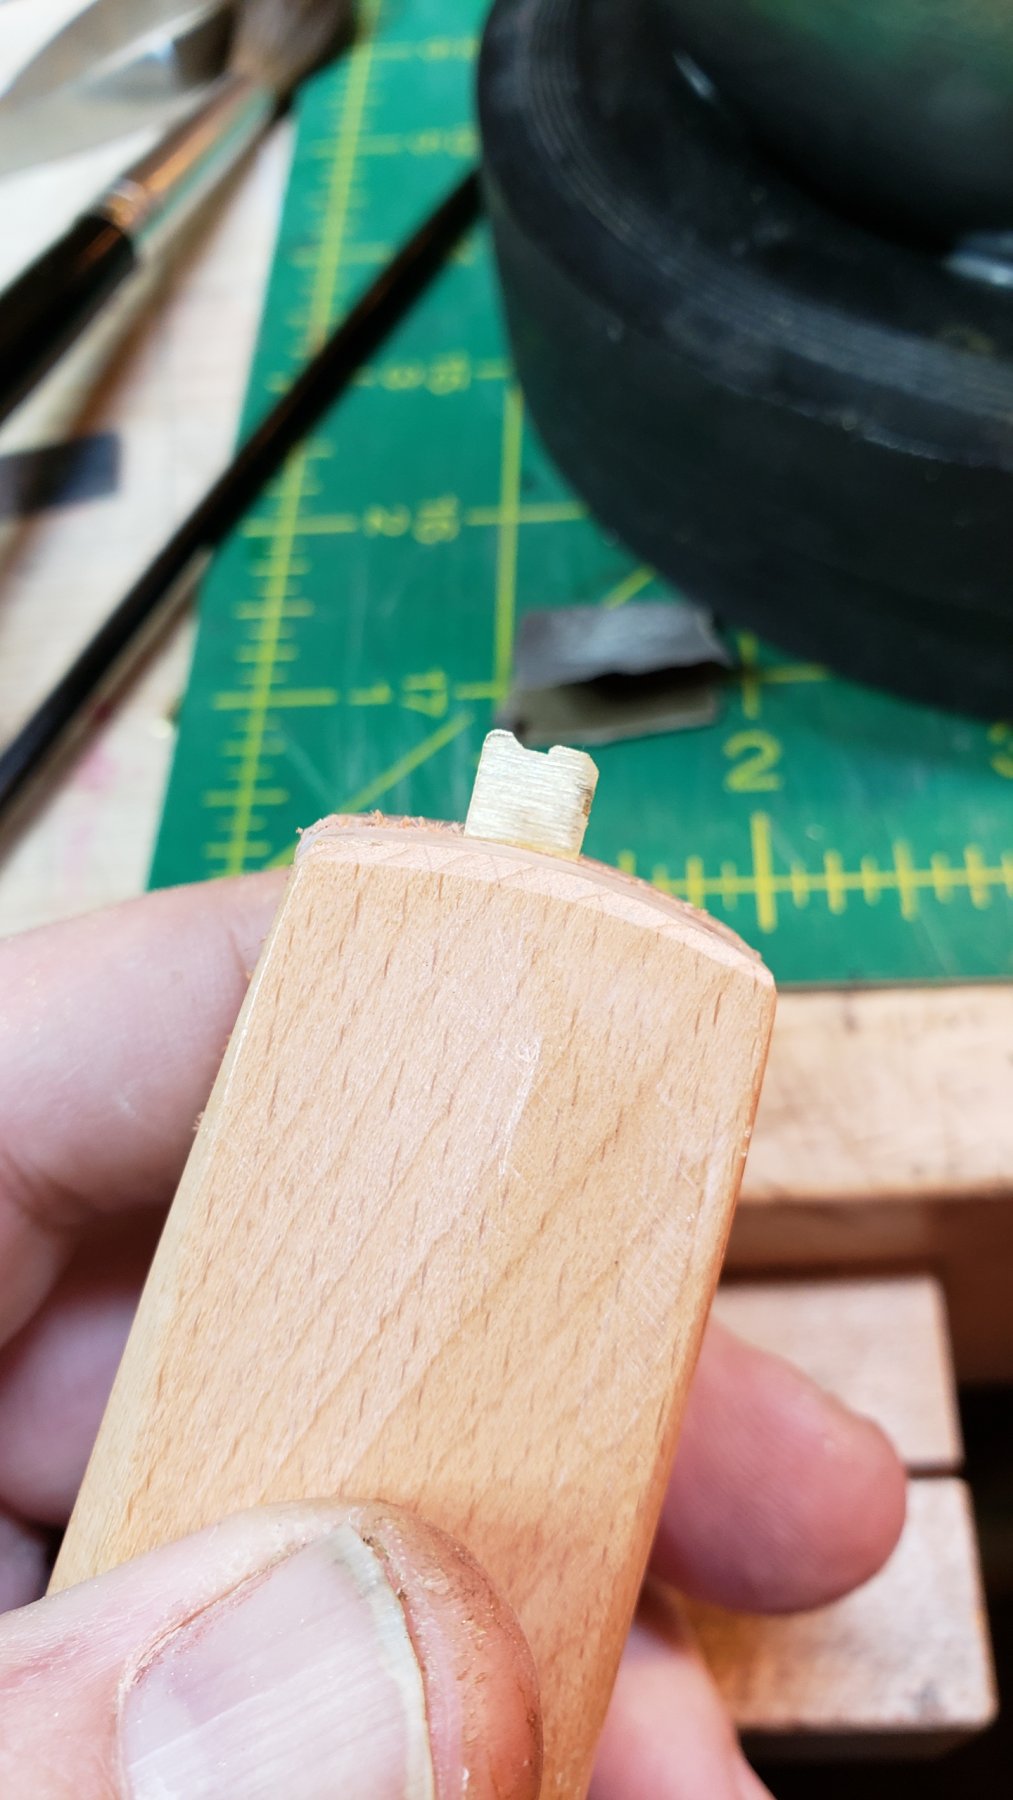
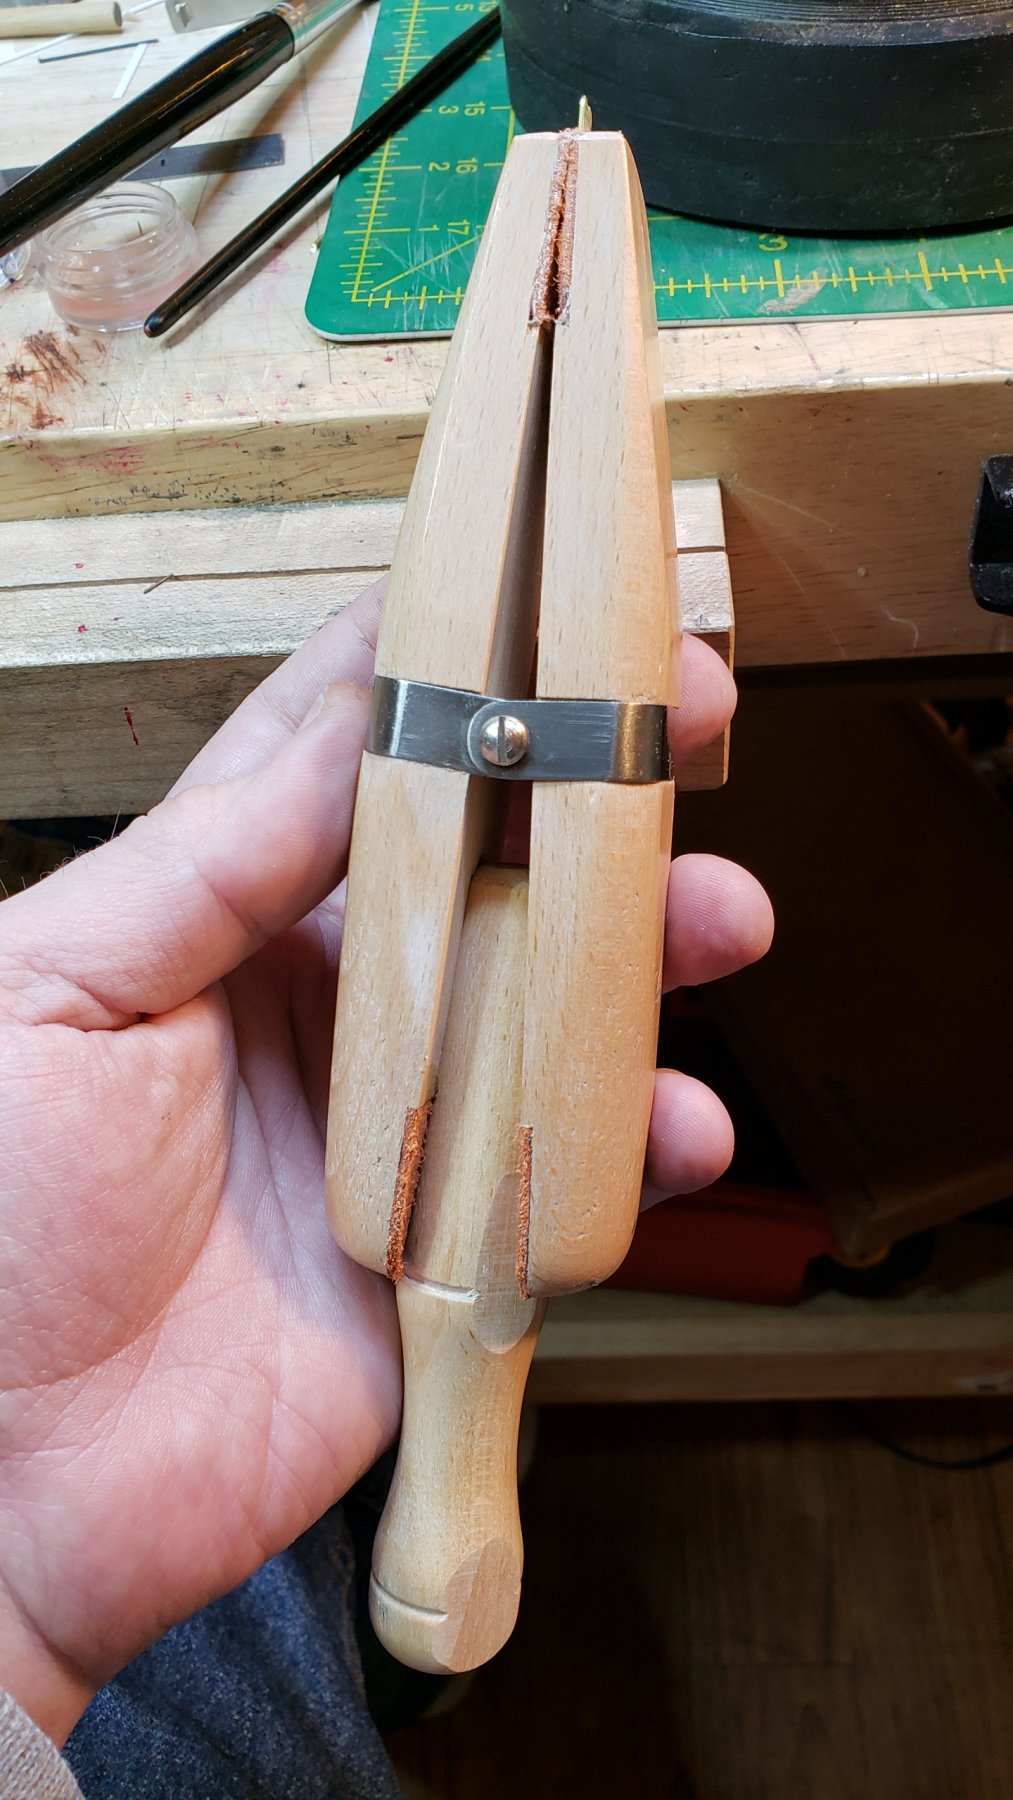
Jeweler's hand clamp. They come in several varieties and sizes, none more than $15 or so. This one is about 2" across and can handle a depth of about 5/8", so it can hold on to reasonably-sized parts. And it can either hold on gently or with a deathgrip depending on how hard you tap the wedge in. It's very good for filing brass/metal pieces and knife and carving work.
Only things I did to this one were 1) filing the top so it made a flat surface when clamped on small things, and 2) disc-sanded a flat into the wedge piece as otherwise it might drop out and roll all the way across the floor, not that I would know.


-
Bringing this back as I don't see what I use, which are small disc sander mandrels for rotary tools. They're better than a full disc sander as you use finer grits and you can also cut two angles at once. I use mine in a micromotor but they will work with any rotary tool that can handle a 1/8" bur.
These work extremely well for me, and are quick too.
-
I agree with you on using walnut for deck furniture, its grain creates scale gouges in the surface that are three inches wide and a foot long. I don't understand why kit manufacturers use any open grain wood, especially for deck fittings. I tossed all the deck parts from my LN and scratched everything from boxwood.
-
Normally I'm not much of a fan of sails on ship models as they to me rarely look natural or correct. The sails on your GR on the other hand are the best I've seen, I'd be tempted to try sails if I could get similar results. I'll have to read back as to how you did them.
-
-
-
Wooden kits have many advantages, including ease of modifications and not least being that a well-made wooden ship model has some significant intrinsic value, whereas plastic models have much less if any, despite how well they might be built. Also, the choices for plastic models of reasonable quality is much less than what is available with wood.
The downside with wooden ship models is the planking phase. It's quite difficult to figure out the concepts the first time around, and it's just plain repetitive; you can easily spend a couple months of evenings doing nothing but adding a couple planks an evening. And in general ship modeling calls for many repetitive tasks- you build a 74 gun ship and you're going to be building 74 cannon carriages with the only differences being size.
If for no other reason, it seems to be why ship modeling is dominated by older modelers, it seems like most people have to hit a certain age before they have enough patience to work through some of the tedious phases of ship builds
The kits that do the most hand-holding of modelers while producing good results are the Master Korabel kits from Russia- every plank is laser cut so no need to figure out planking bands and tapering and spiling planks. A good way to see if you'd like that style of kit is to buy one of their inexpensive ship's boat kits.
I wouldn't recommend the mini Mamoli kits. They're really not very good and will produce at best something you would be none too proud to show your friends.
- thibaultron, mtaylor and Canute
-
3
-
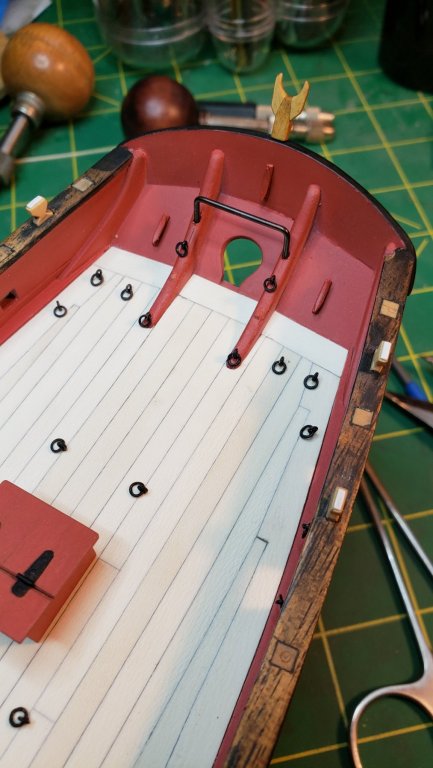
For Rick, this was my solution to the stern bits, but I still have to touch up the red. Everything I sailed was a racing boat and we had travelers and boom vangs but I don't remember the rod the traveler traveled on having a name, but I put one in there sort of like yours. Also with a traveler you have to cleat it in the center, so I put a cleat there. And I moved the two that were on the stanchions to the counter, outside the run of the traveler, which makes more sense to me. We're full on making up cutter fittings as we go here.
Also as you see I added a boom crutch. I made it somewhat tall as otherwise you'd have to bend low to get past the boom when it's lashed down.
-
You can get those kinks out by running it between your fingernail/finger and the back edge of a knife. This will also impart a consistent curve, but it won't be waving around. Flip it around and do the same thing, only more gently, if you do it right you can get it pretty straight. If it's running through those stanchions it just has to not be wavy, it doesn't have to be perfectly straight- the stanchions will straighten any remaining gentle curve out.
- bruce d, thibaultron, mtaylor and 1 other
-
4
-
-
Alan, try Tamiya flat black on the resin cannon. Tamiya flat black stays soft and can be burnished. Take a little piece of felt (you can also just use your finger) and polish gently. The recesses will stay matte, high points will be most shiny, exactly how things work in the real world. That's my go-to finish for black iron/steel on plastic, I also used it successfully on one of Model Expo's cannons, the 3 inch Ordnance Rifle.
-
Like Amalio, Woodeater has at least 8 arms.
- John Allen and mtaylor
-
2
-
Great joinery and a very spiffy little carving as well.
- paulsutcliffe, druxey, Keith Black and 3 others
-
6
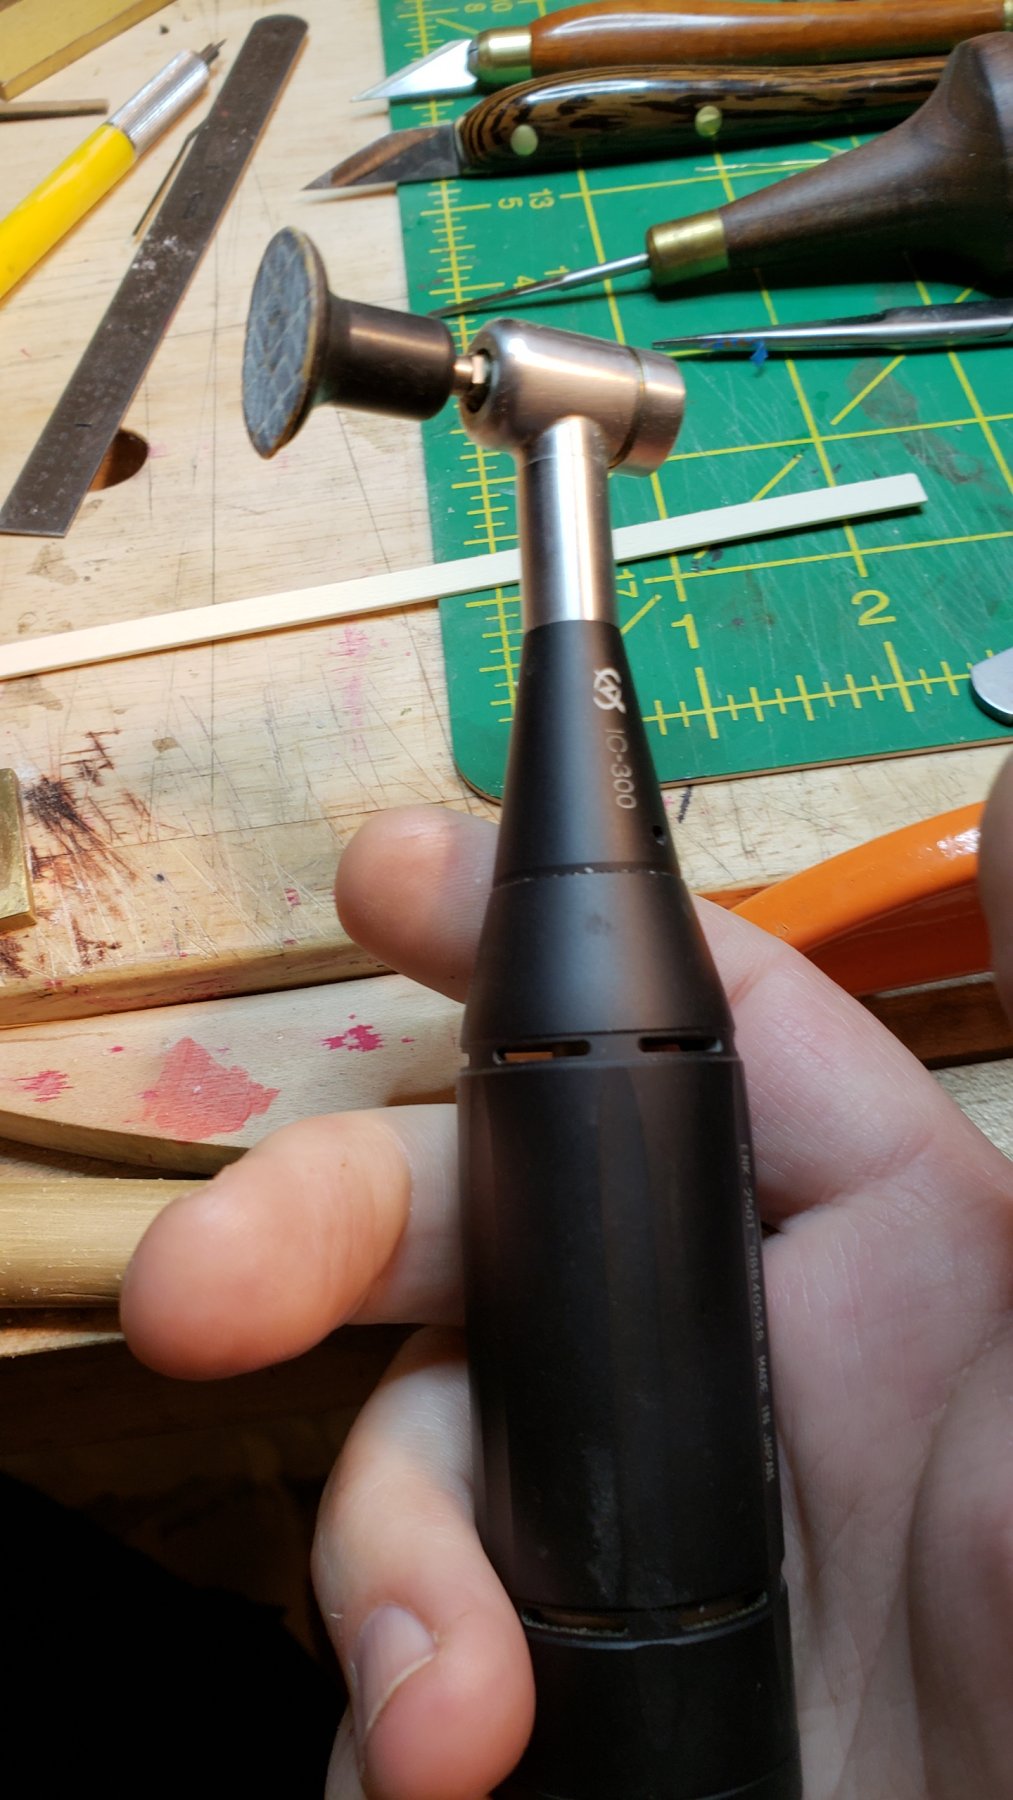

New ( I think.. ) Dremel
in Modeling tools and Workshop Equipment
Posted
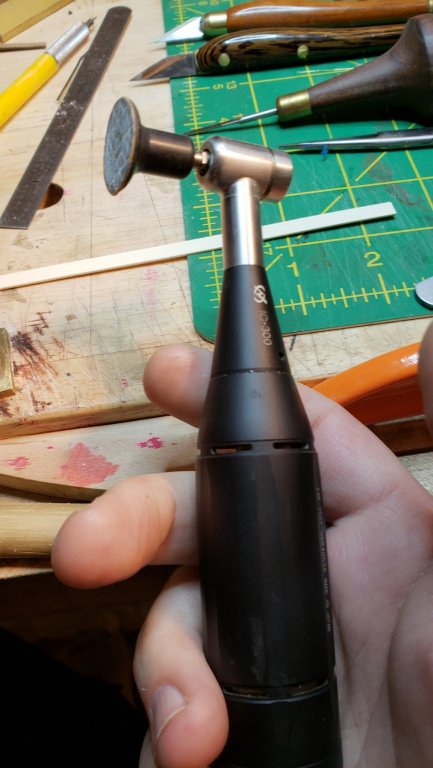
That's getting close to micromotor size, that's nice. Now if they could just make them brushless and use rare earth magnets for the torque... I seriously thought 12 years ago when I bought my micromotor that the technology would get less expensive and filter down to Dremel within a decade. Instead, micromotors have gotten relatively much more expensive for reasons I don't understand. The setup I have literally costs twice as much now as it did 12 years ago in a period of never more than 3% inflation.
Guess we have to hope the Chinese will make some reasonable-quality micromotors or Dremel figures out how to make one at reasonable cost. In the meantime, this 2050 looks like a good choice if it has enough torque for carving away at wood.