clearway
-
Posts
2,238 -
Joined
-
Last visited
Content Type
Profiles
Forums
Gallery
Events
Everything posted by clearway
-
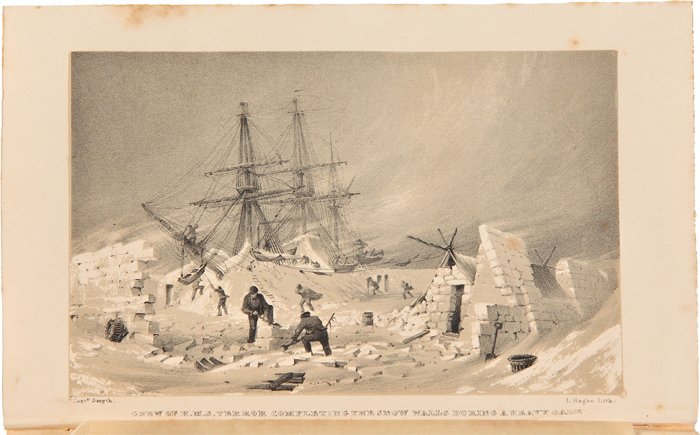
 Thankyou for likes and comments and glad you like her jonathan, It certainly shows the barren conditions them guys wintered in Emmet brrrrrrrrrr! Keith
 -
I have the HMS Beagle kit and the cannon are stored lashed against the bulwarks so that is one option, However on the Blackwall frigates belonging to the East India Company they would store the guns below decks as extra ballast! There are plenty of build logs on here showing cannons being modelled so plenty of reference material Daniel. The other Keith😁
-
Don't know if you have have the documentary "drain the ocean" over the pond but a few weeks back they found the wreck of the Clotilda, Looks like she had a centre board which could be lowered to help her keep way on the open sea. very intersting story behind the ship. Keith
-
Looking niceee ,just tight enough to keep them straight but not to pull the masts out of line, it comes with practice😉 Keith
-
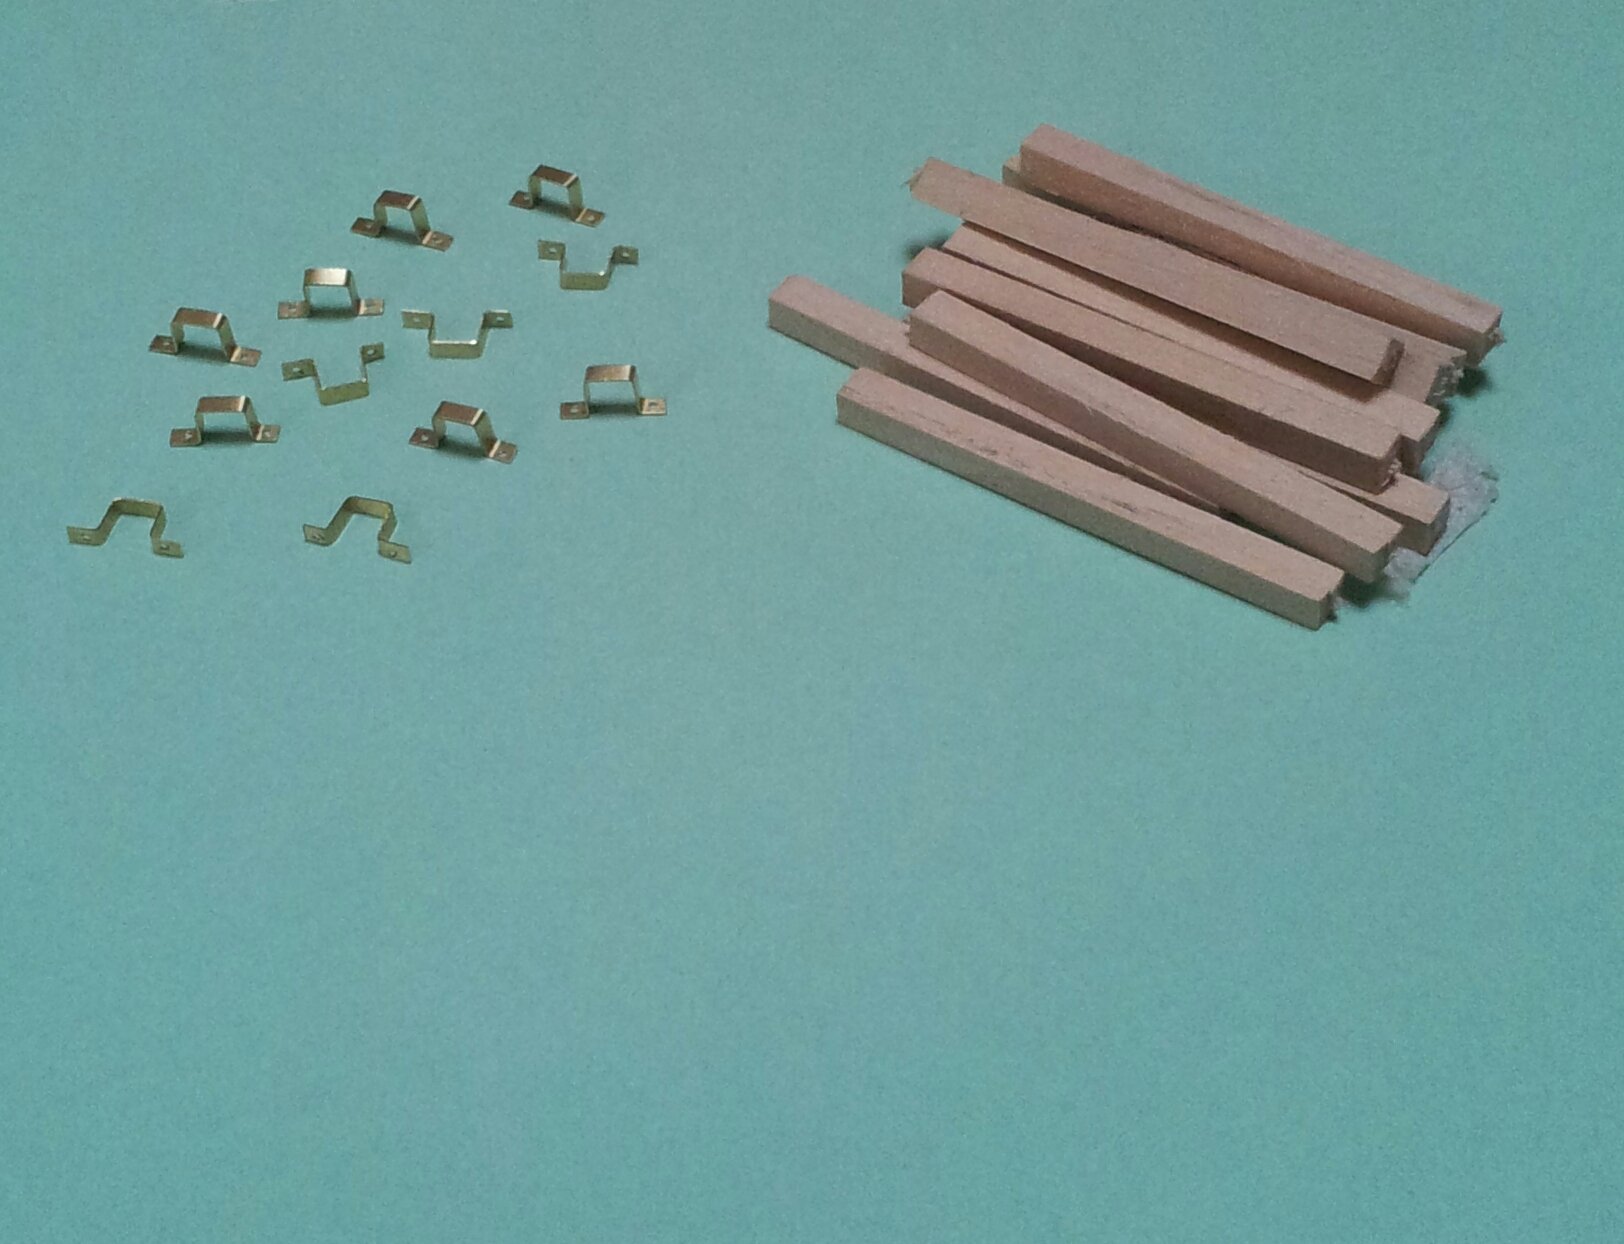
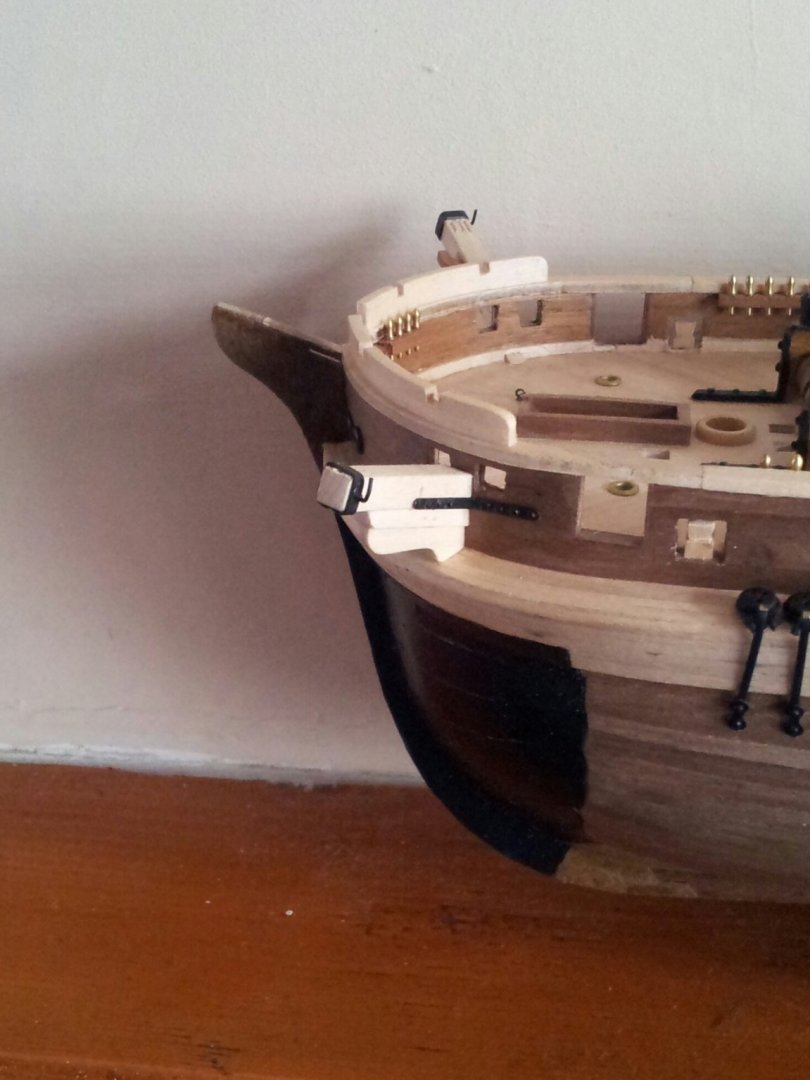
Guy folks night and sounds like a battlefield! It's alter the Occre instructions time again! First i have given one of the quaycraft resin boats i bought a while back a coat of white primer then desert yellow which will be followed by a yellow filter and varnish. Also cut some square 4mm stock into 50mm lengths for the davit posts , and using some 2mm wide brass strip made the square brackets to hold them against the bulwarks. Placed the posts along the bulwarks in their approximate positions to get a feel of how they will look. Take care all Keith


-
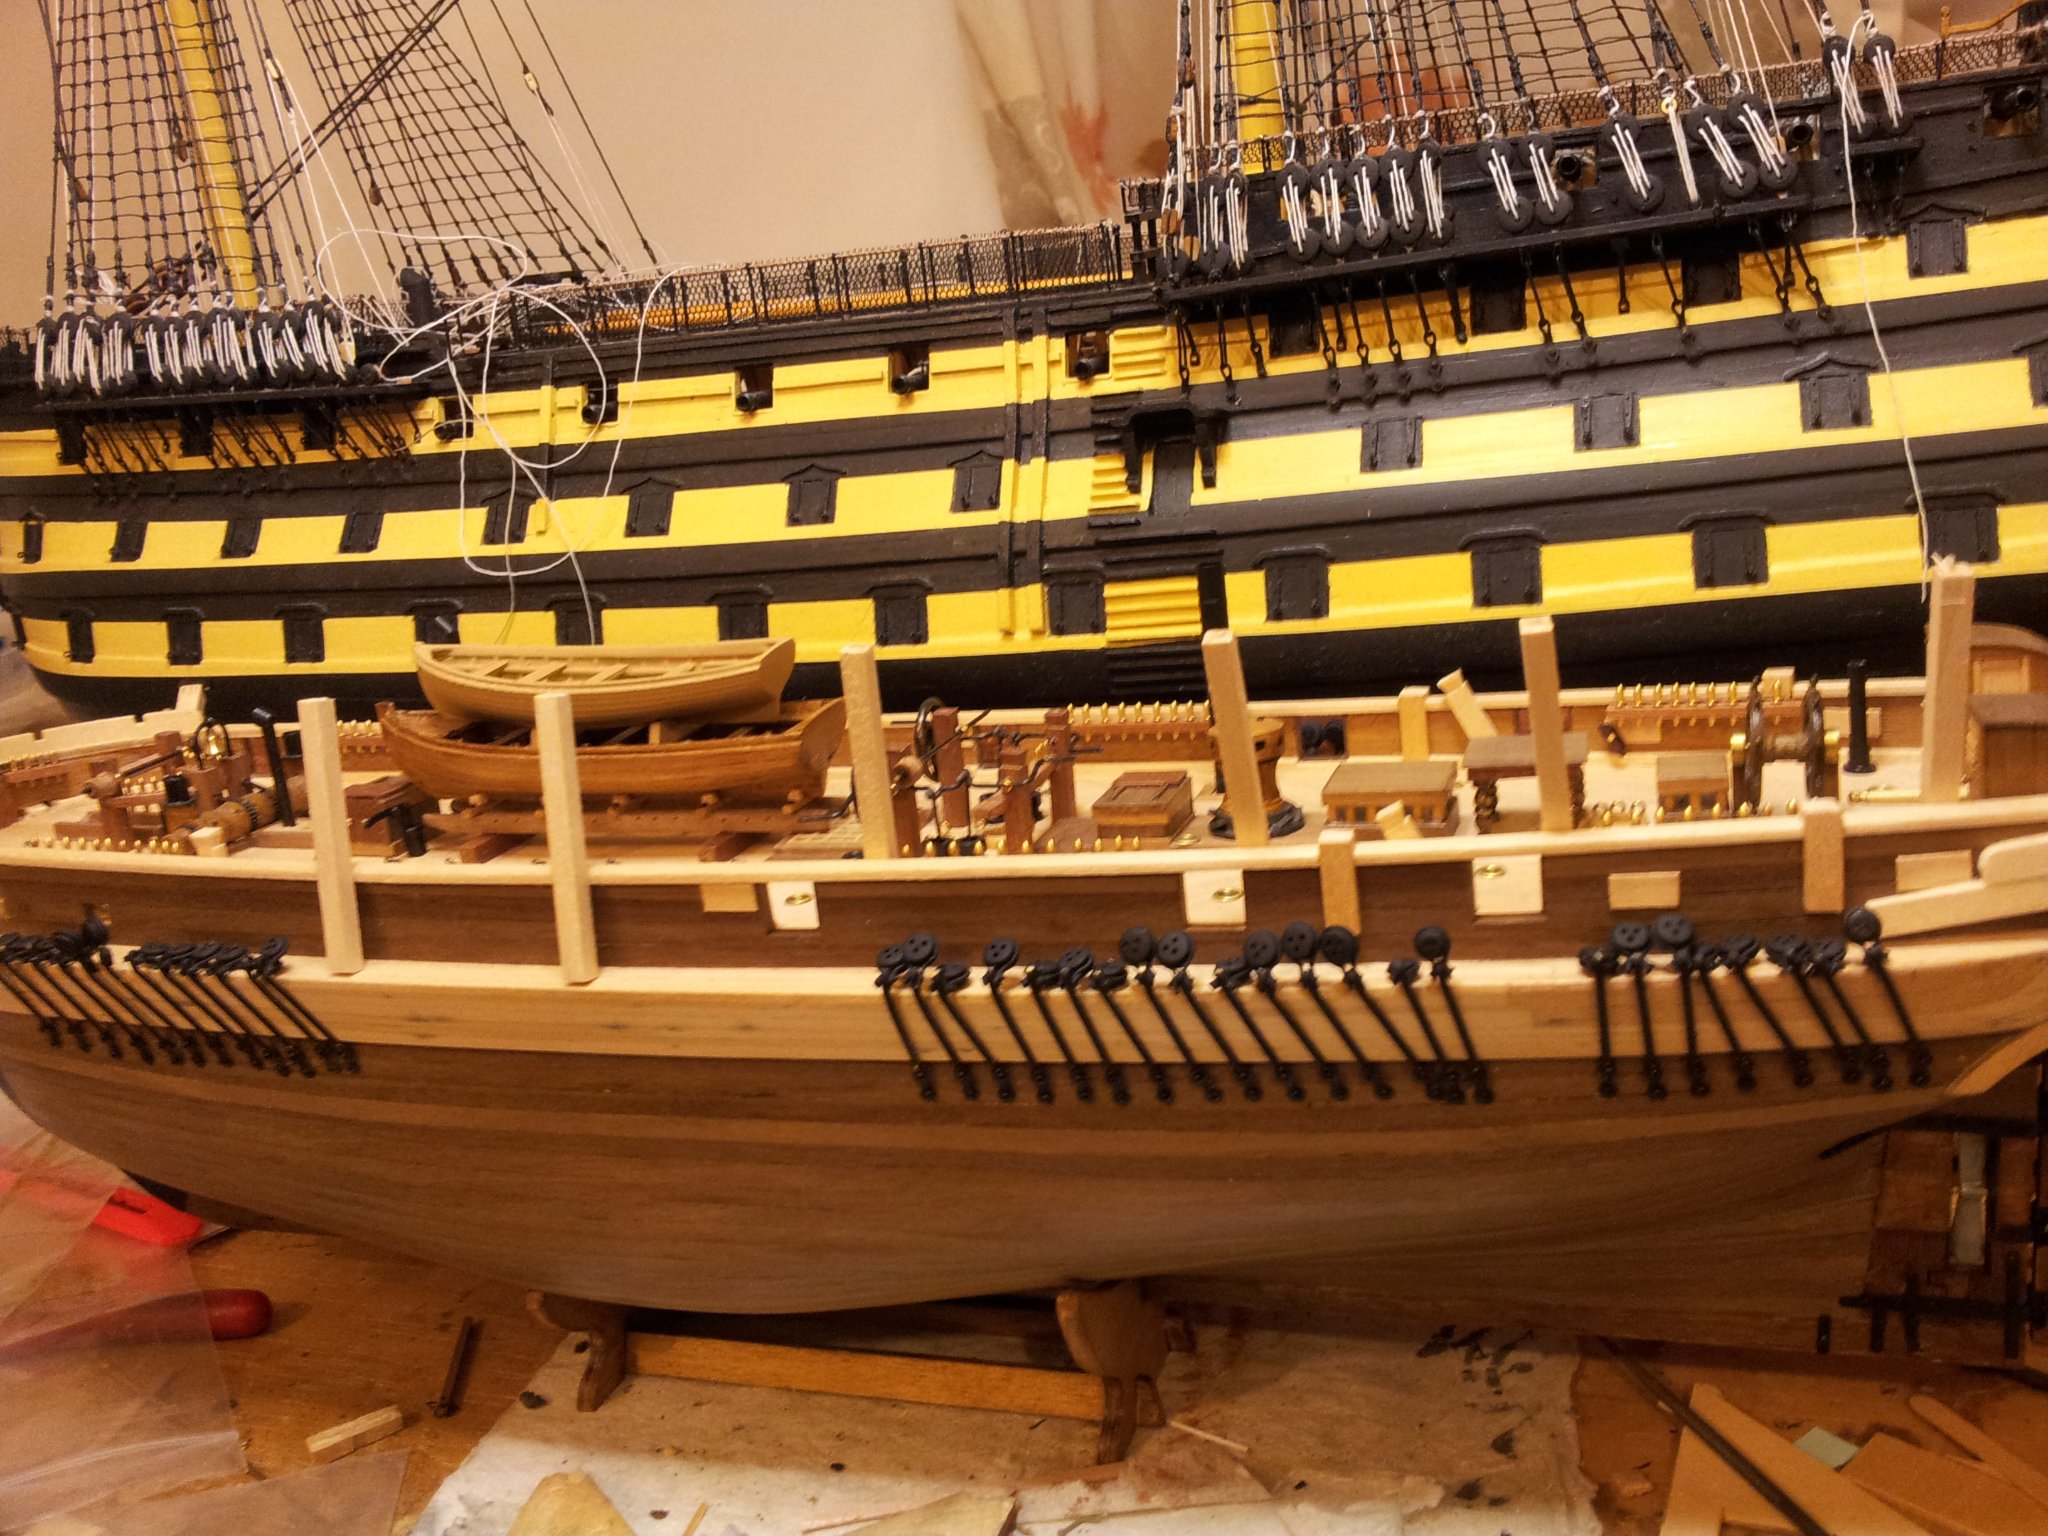
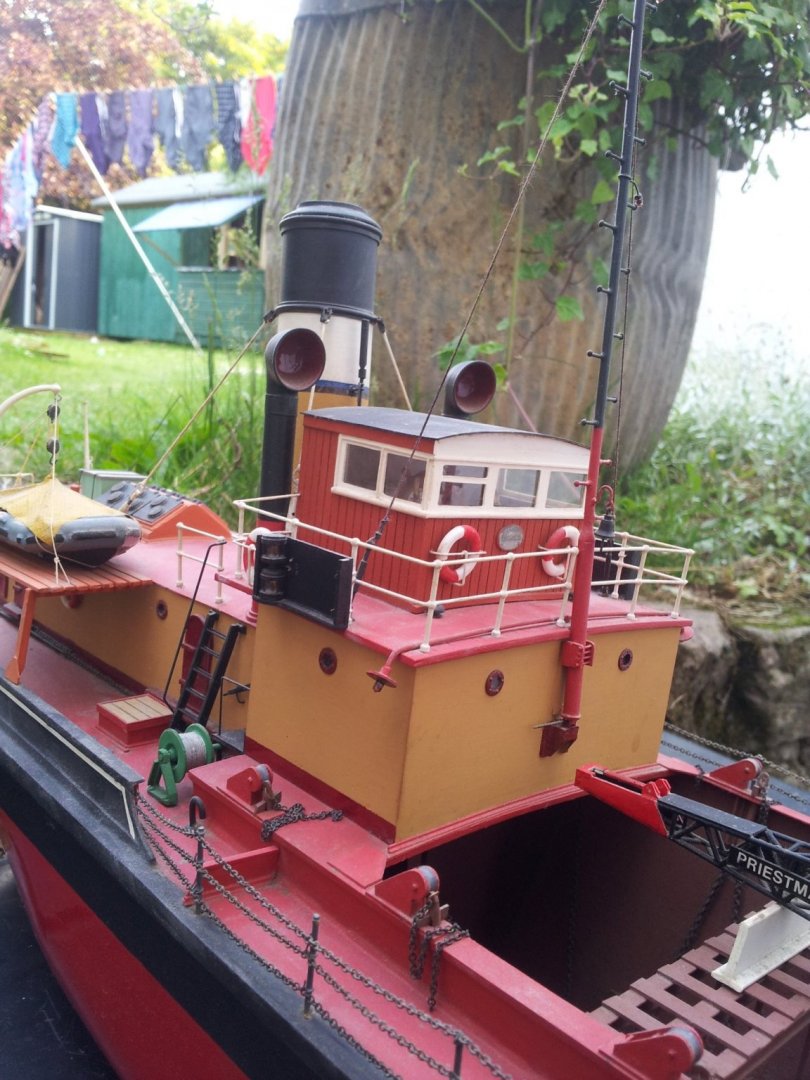
its a colour used for ships especially steam ships, here is a pic of a ship i am building with the superstructure painted in the same colour. keith
-
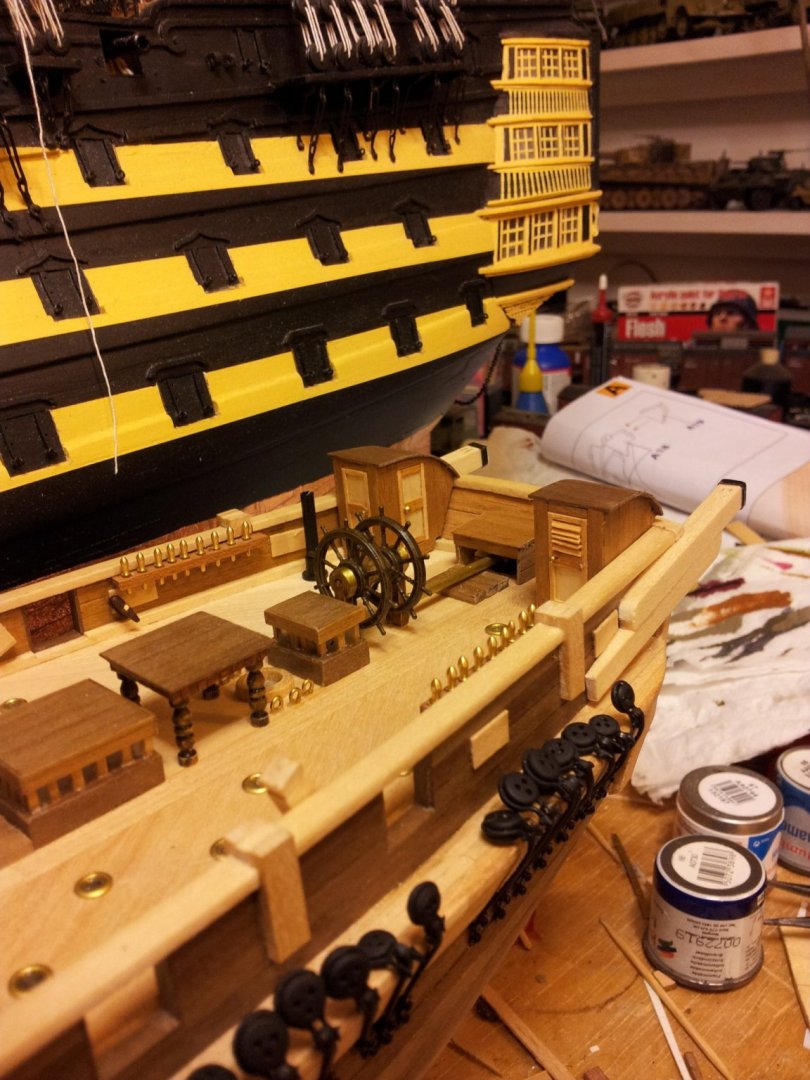
Thanks for views,likes and comments as always folks, sanded back the deckhouse roofs, added door knobs using brass planking pins and gave a coat of matt acrylic varnish (will need another coat). take care all Keith
-
if i had painted mine i would have done the bulwarks in humbrol matt 63 sand, regards the cannons i can't decide whether to include them or not🤔. Keith
-
Certainly makes her look like she has seen some hard work😀- i would maybe give the plating another coat ? Keith
-
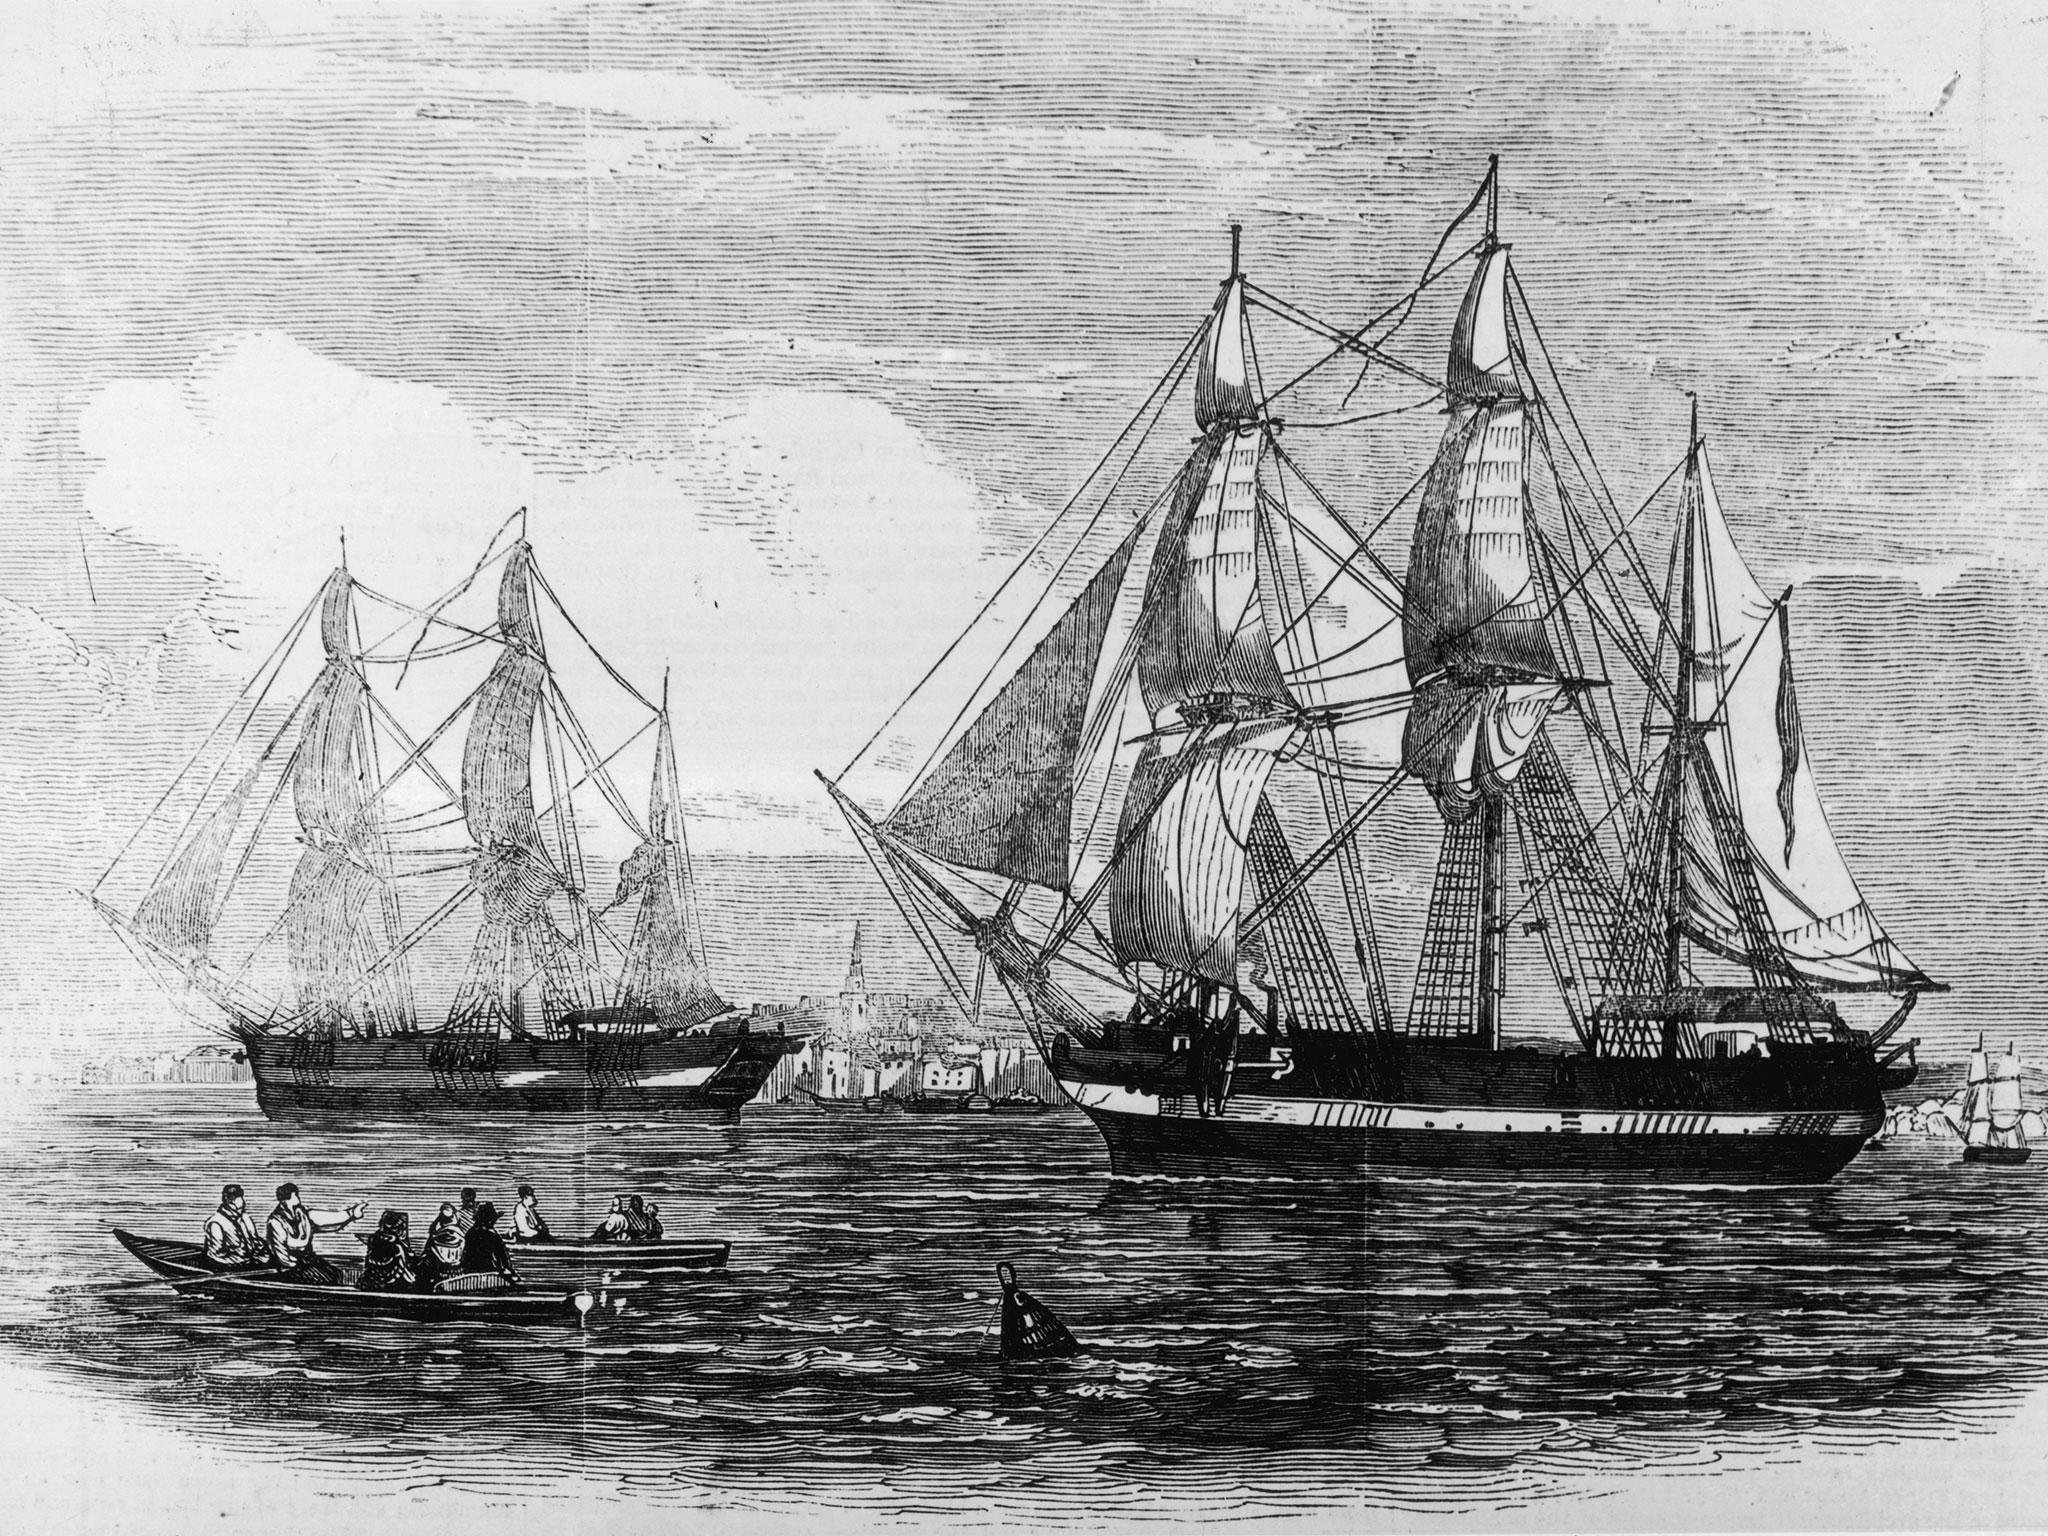
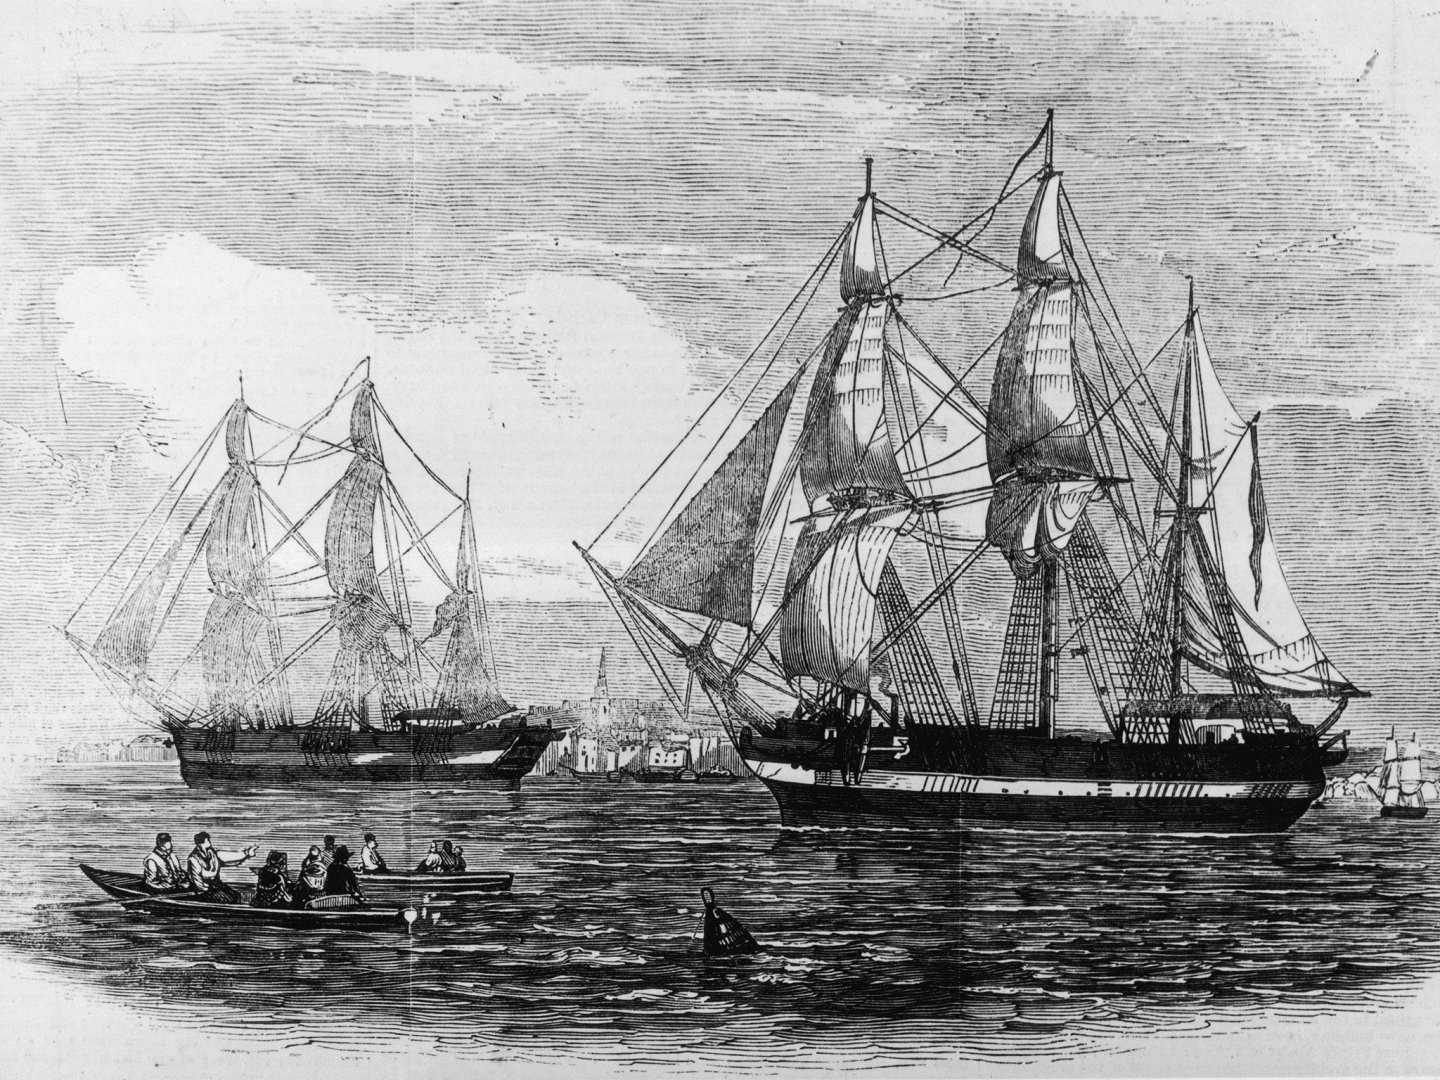
i see what you mean Keith, HMS beagle had gaffs rigged on all masts. I was basing my rig on this image from the start of the voyage so maybe it is a bit of artistic license on part of the artist in the above pic? the enigma and conundrum continues! Keith
-
Thanks Keith- hmmm hadn't noticed anything about a gaff on the foremast though normally they would rig blocks on the main stay to raise the boats then rig a tackle from the ends of the fore and main yard arms to move them over the water. It mentions hen house on the plans so the lats on the door will be for ventilation for the chickens (thinking maybe should be on starboard side). Yes Emmet she is a weird looking but enigmatic ship. Our lock down means all shops except food outlets have to close and no one including family can visit each other- all travel will be banned except for going to work. Keith
-
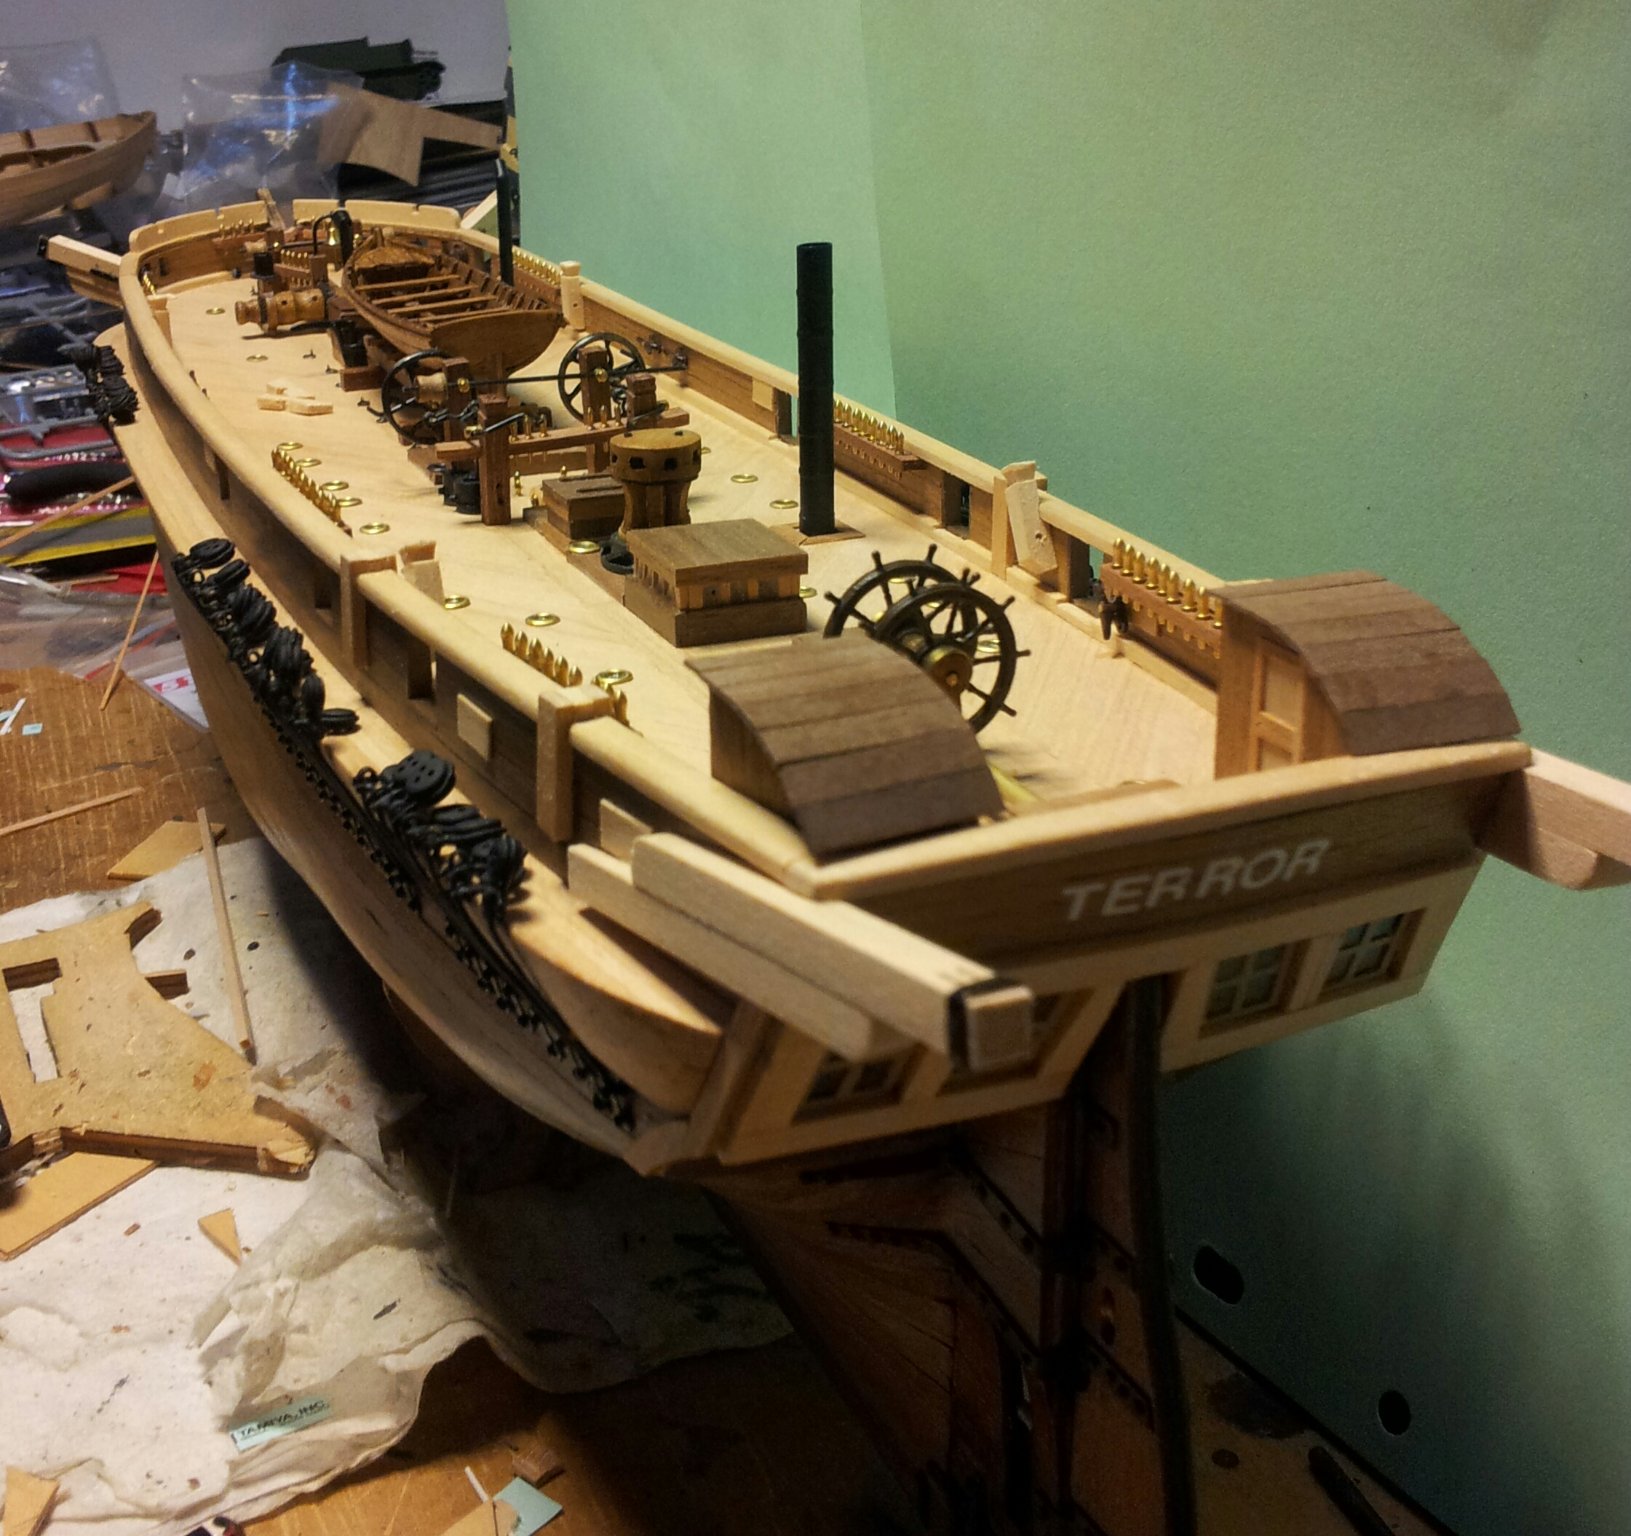
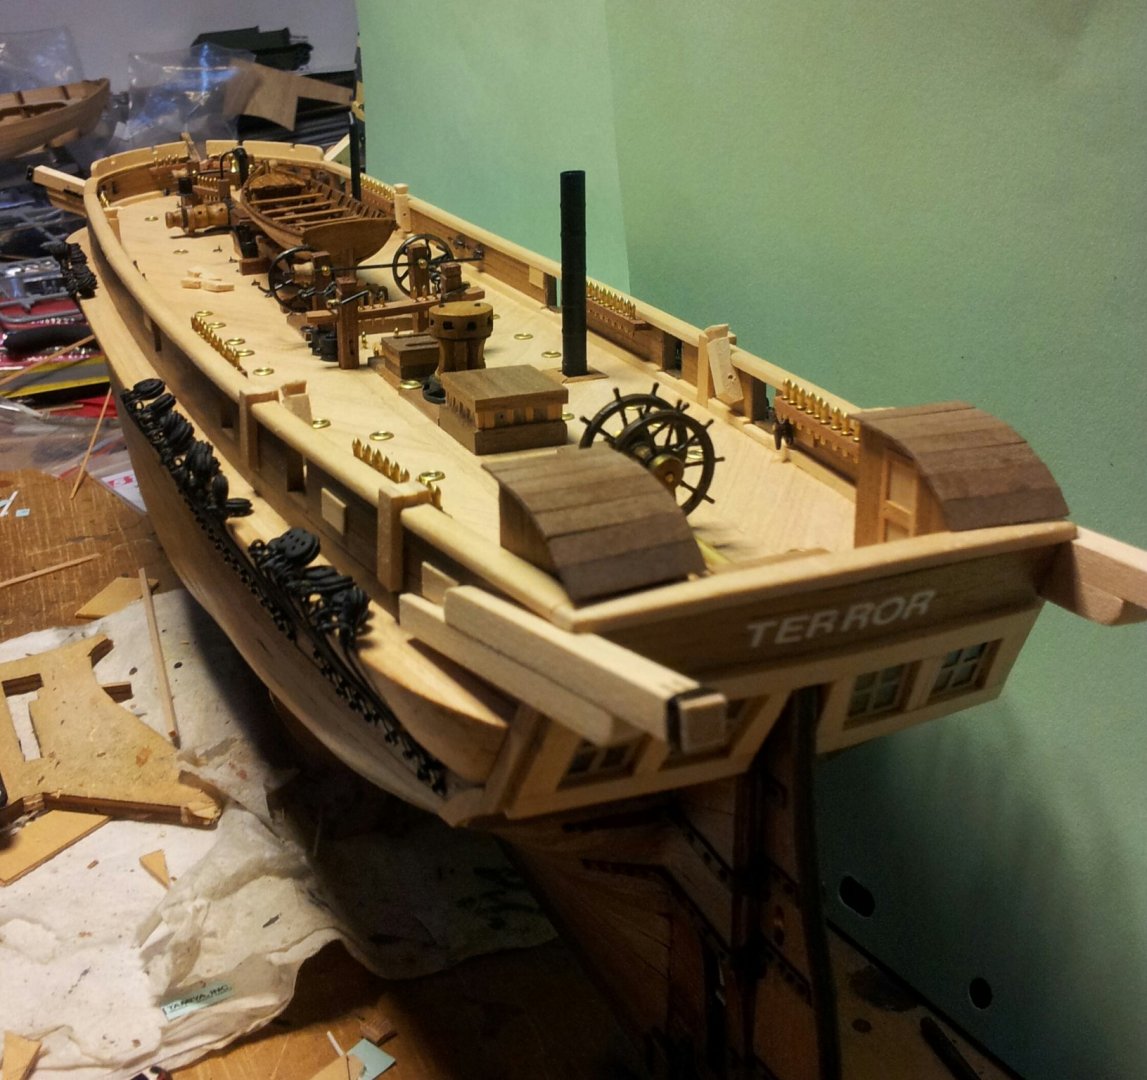
Thanks for looking in everyone, Emmet the diagonal "herring bone" pattern planks are unique to Hms Terror and Erebus though other Royal Navy polar exploration vessels might have had them too, it was to increase strength to resist "bumping into the ice pack. Back with the deck houses and fitted the doors on the forward side and glued the roof planks in place (they still need sanding back on each side). take care all and here's hoping we can all have a christmas this year in the u.k. ! Keith
-
Interesting method for soaking the planks, i bet you are missing your full workshop facilities Emmet! Keith
-
new toys are good ya😁
-
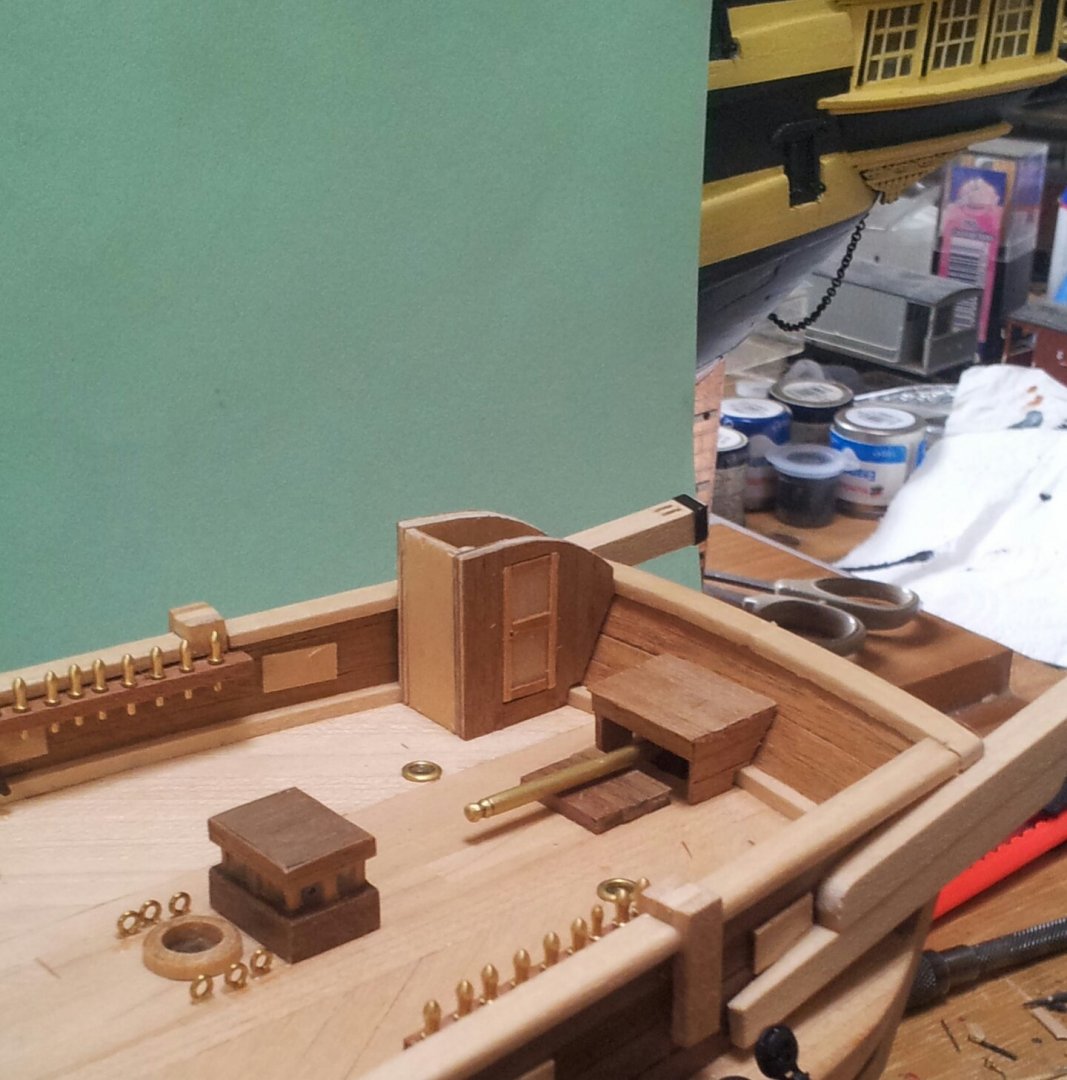
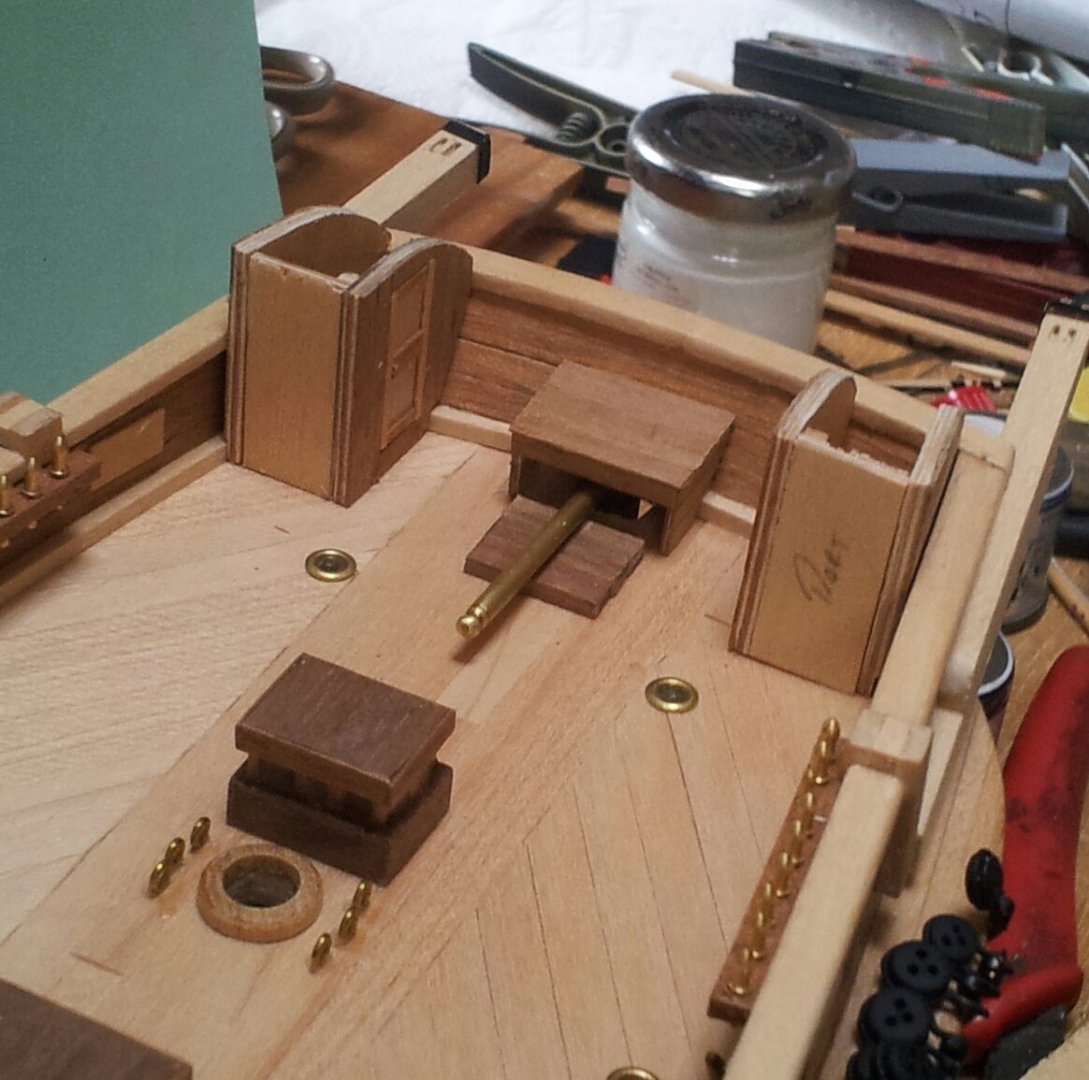
thanks for comments and likes, The gratings are well fastenend in place Heinrich so will have to keep overscale occre offerings. back in shipyard and started on the deckhouses and the box like structure over the rudder head. Wasn't sure whether to follow keith s with the sliding door on the starboard deckhouse, or a hinged door. Settled for hinged set further along and will add a door to the front of both deck houses (looks like divided into compartments on the plans). They are similar in scale to a full size 6' x 4' garden shed. take care all Keith
-
you might get the urge to add more after a while😁, it i a difficult model for first attempt as the instructions are not only lacking but not accurate! not bad at all for a first attempt (nice looking diorama in the background too). Keith
-
Welcome back Emmet , sometimes we need to poke ourselves with a stick 😁 .You will be back into it in no time (don't forget to taper the planks)! Keith
-
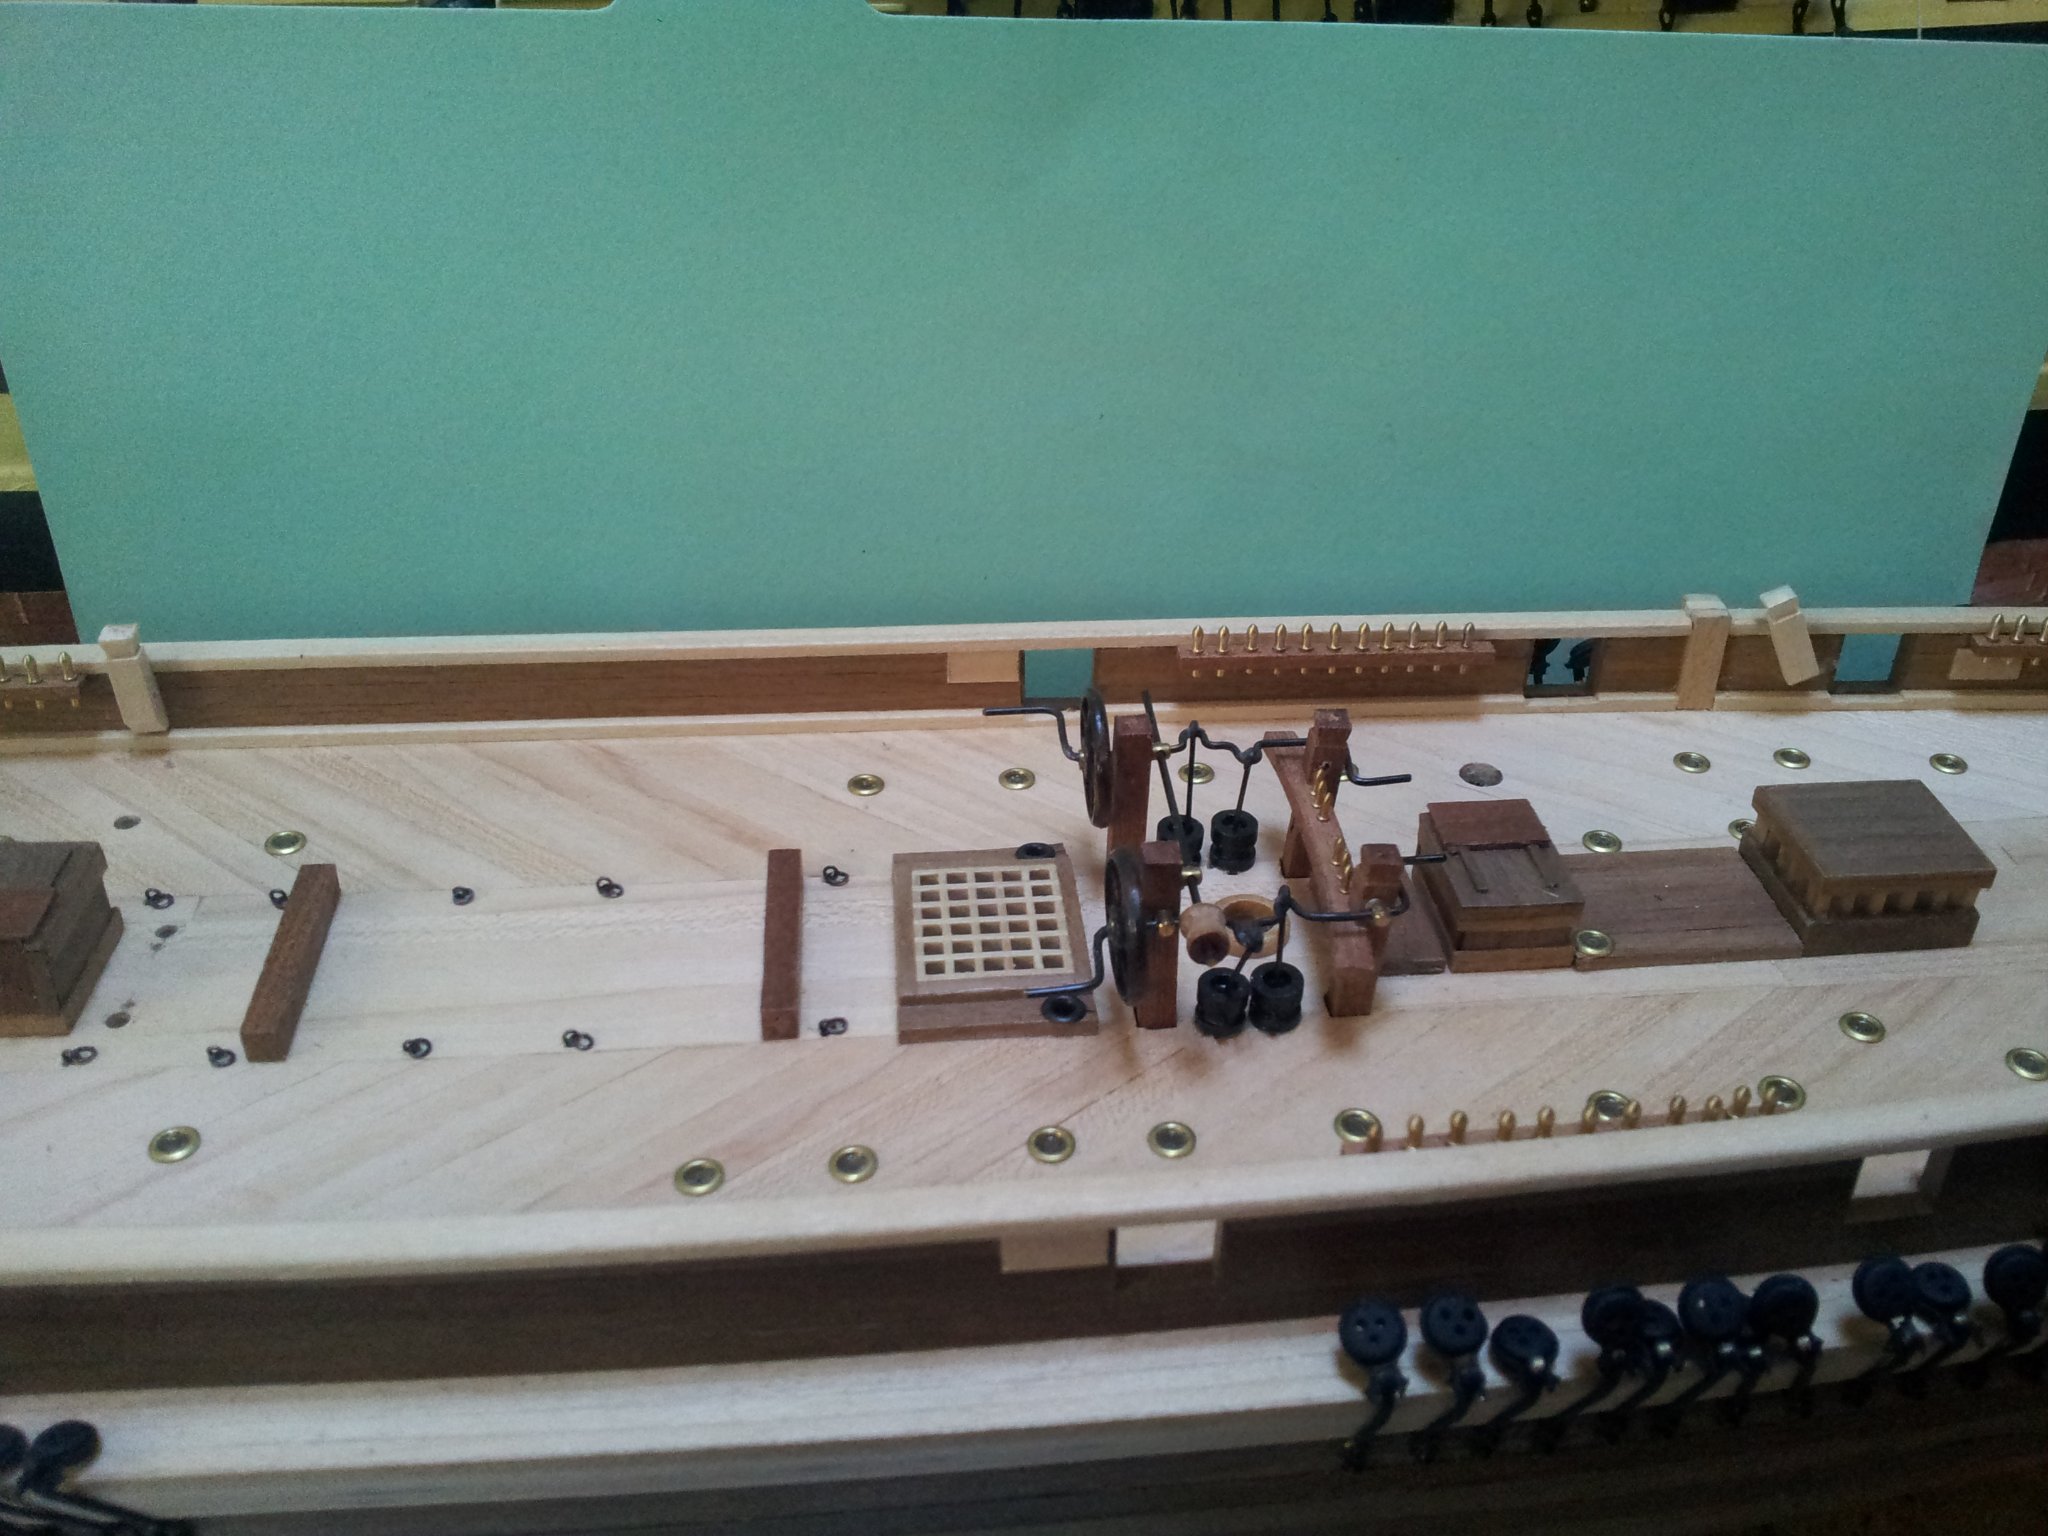
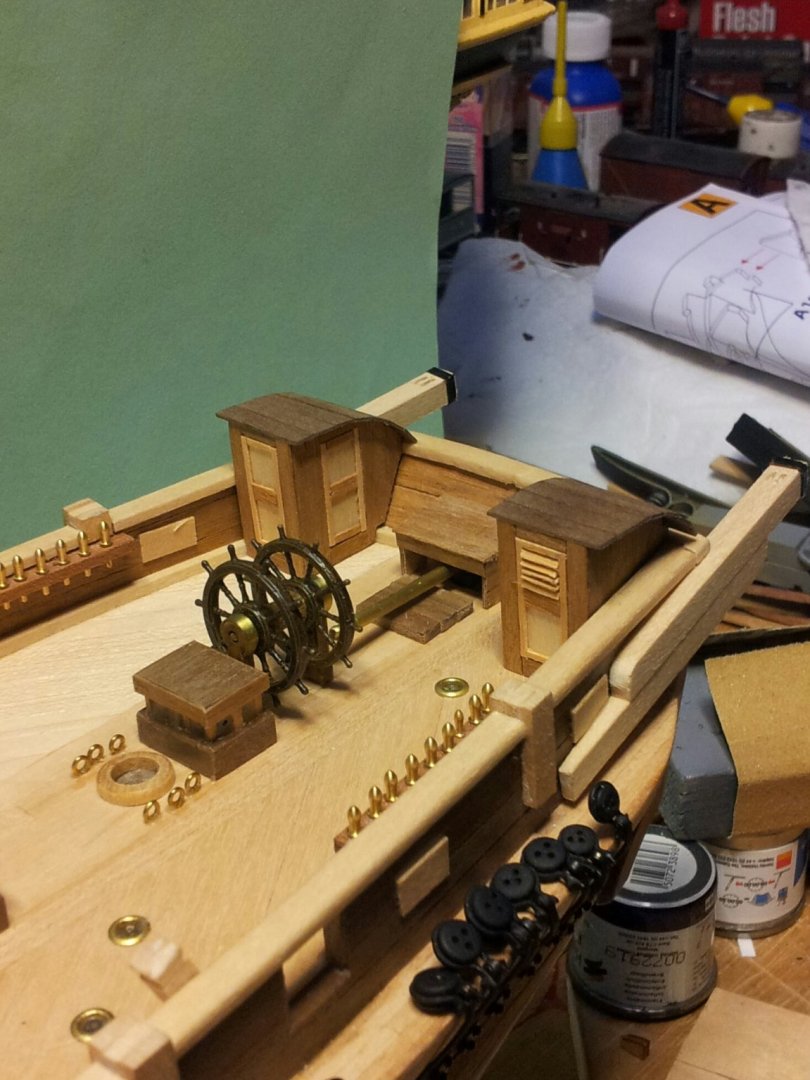
Hello Emmet welcome back and thankyou. Got the cleats installed on the bulwarks today , need to start thinking about the cover for the rudder top and the stern deckhouses. take care all and thanks as always for comments, likes and peeping in for a look. Keith
-
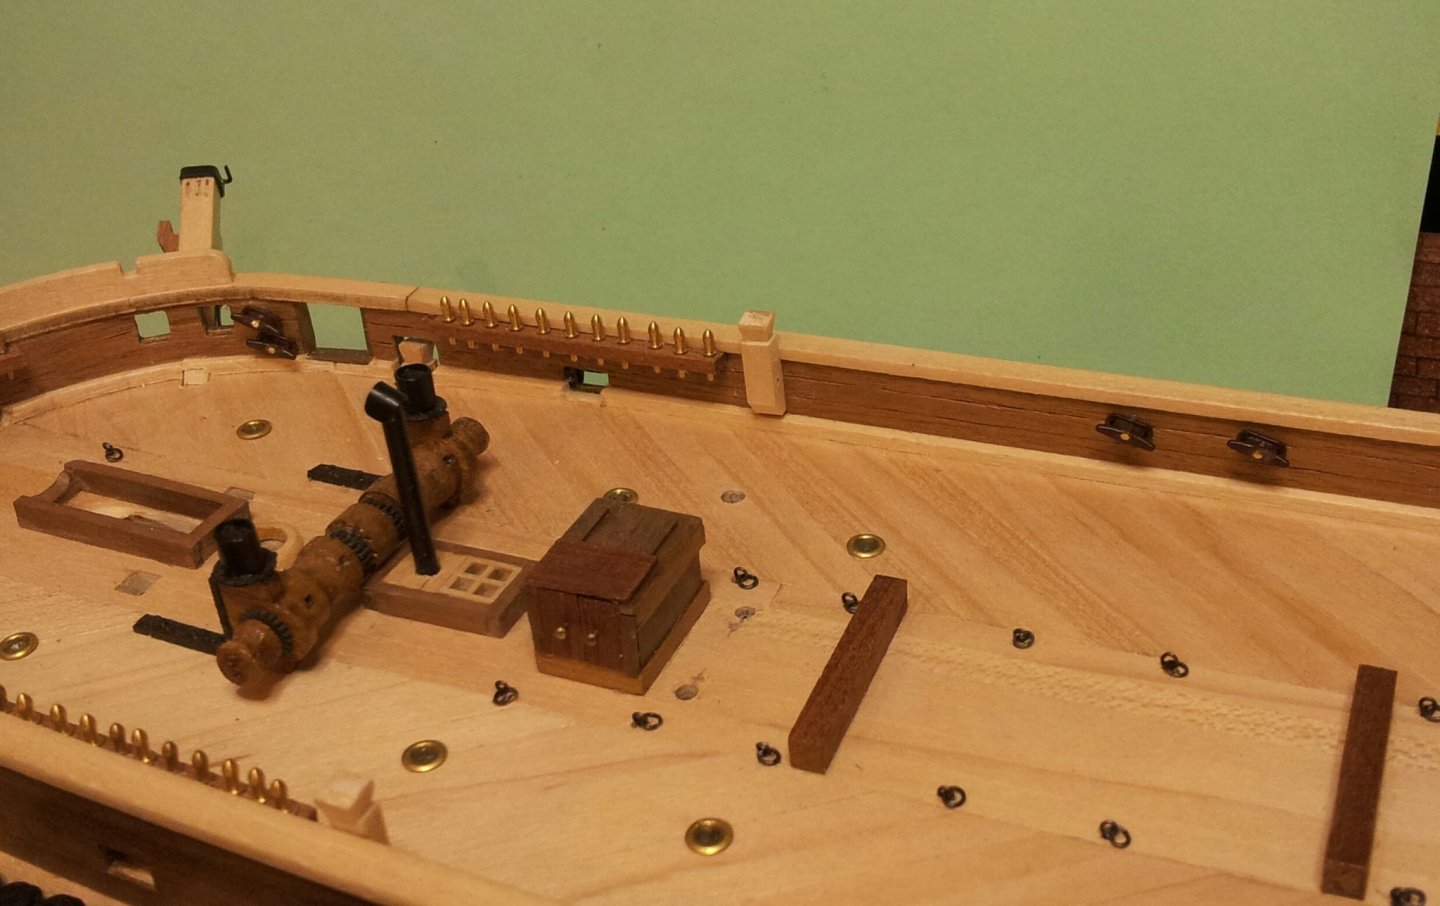
today the kevels have been glued in place on the bulwarks, a tad overscale but will do (should be about 1mm thinner and a couple of mm shorter). next will have to get the cleats in place (bought some aeronaut fittings 8mm ones from model dockyard. take care all Keith
-
make sure its well fastened on as the pinrails will glued to them, model coming along nicely. Keith
-
i soak then taper and bend to shape, then glue them in place. You could bend to shape then let dry before gluing (if using a hot iron on the wood it will keep its shape and be dried out. Keith
-
steaming/ soaking in water for a few hours will work.
-
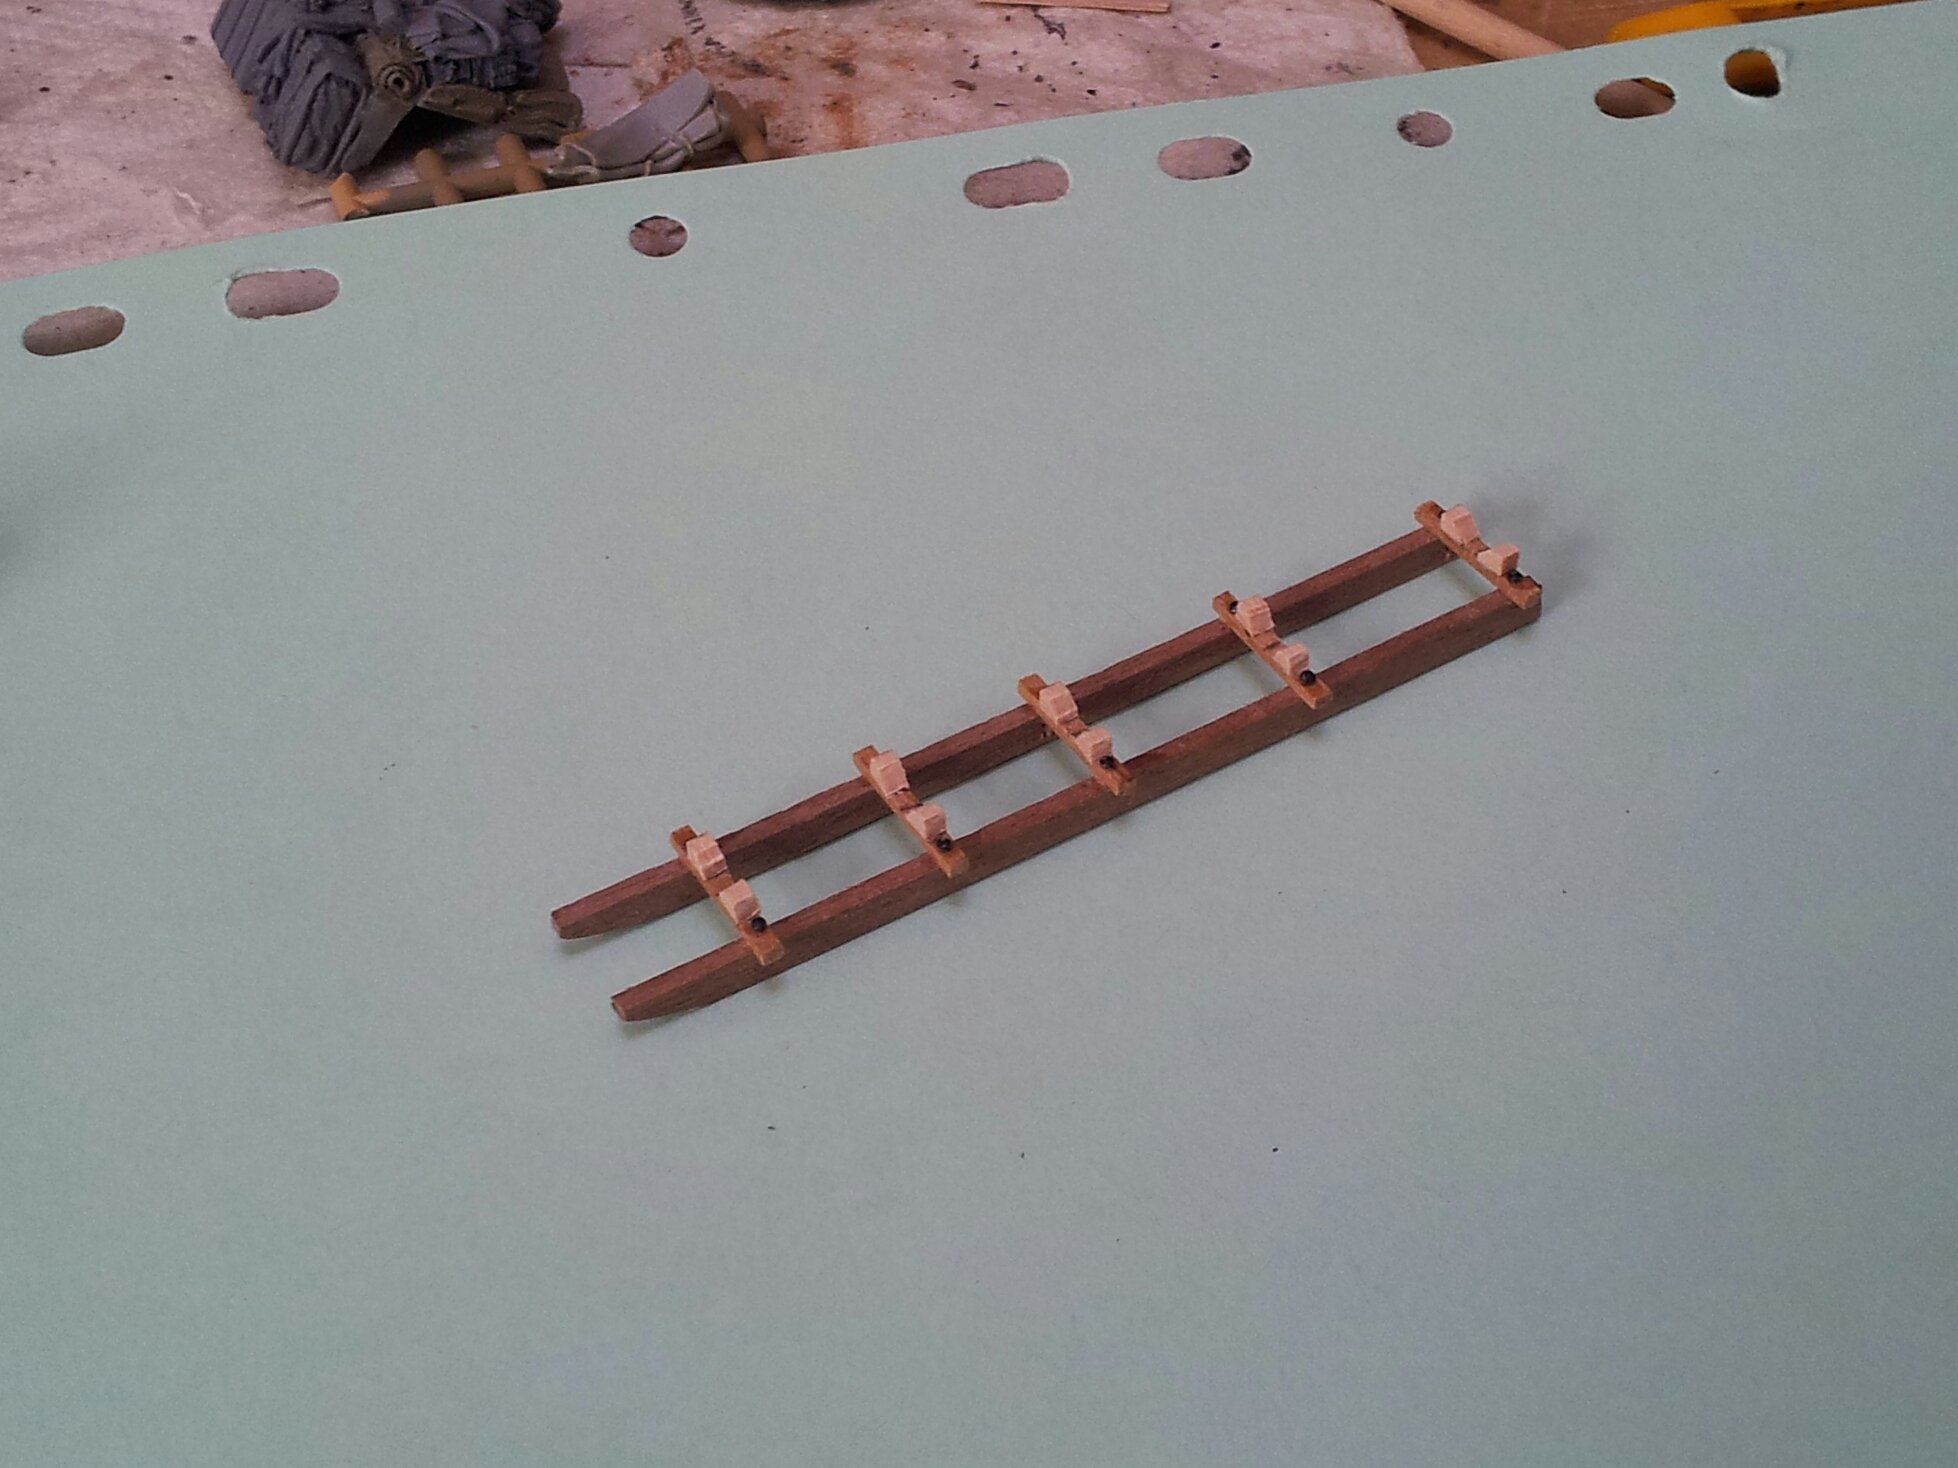
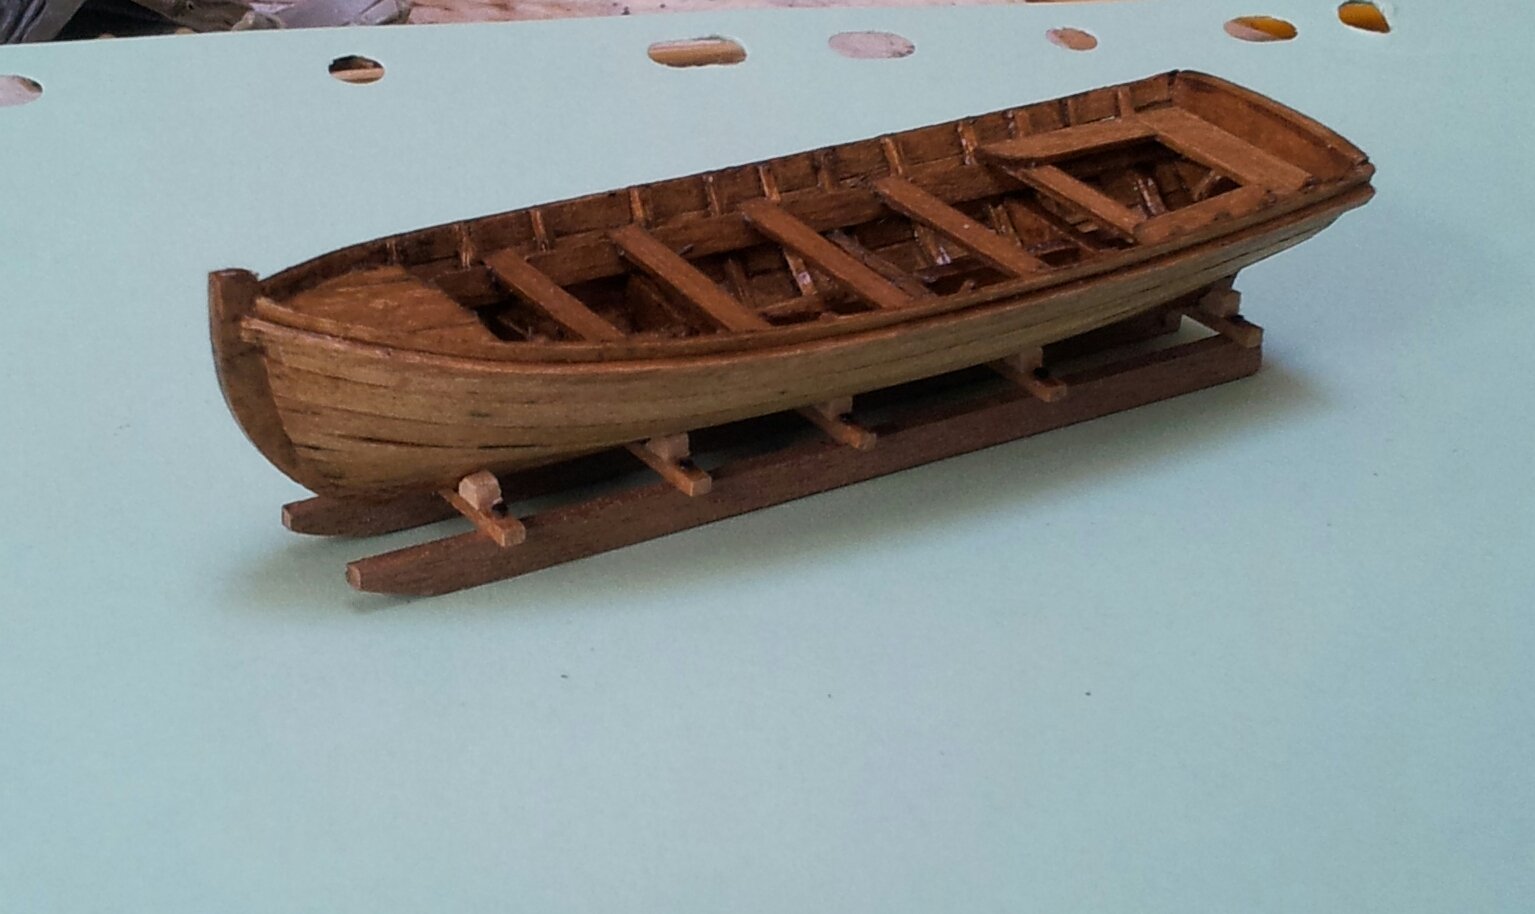
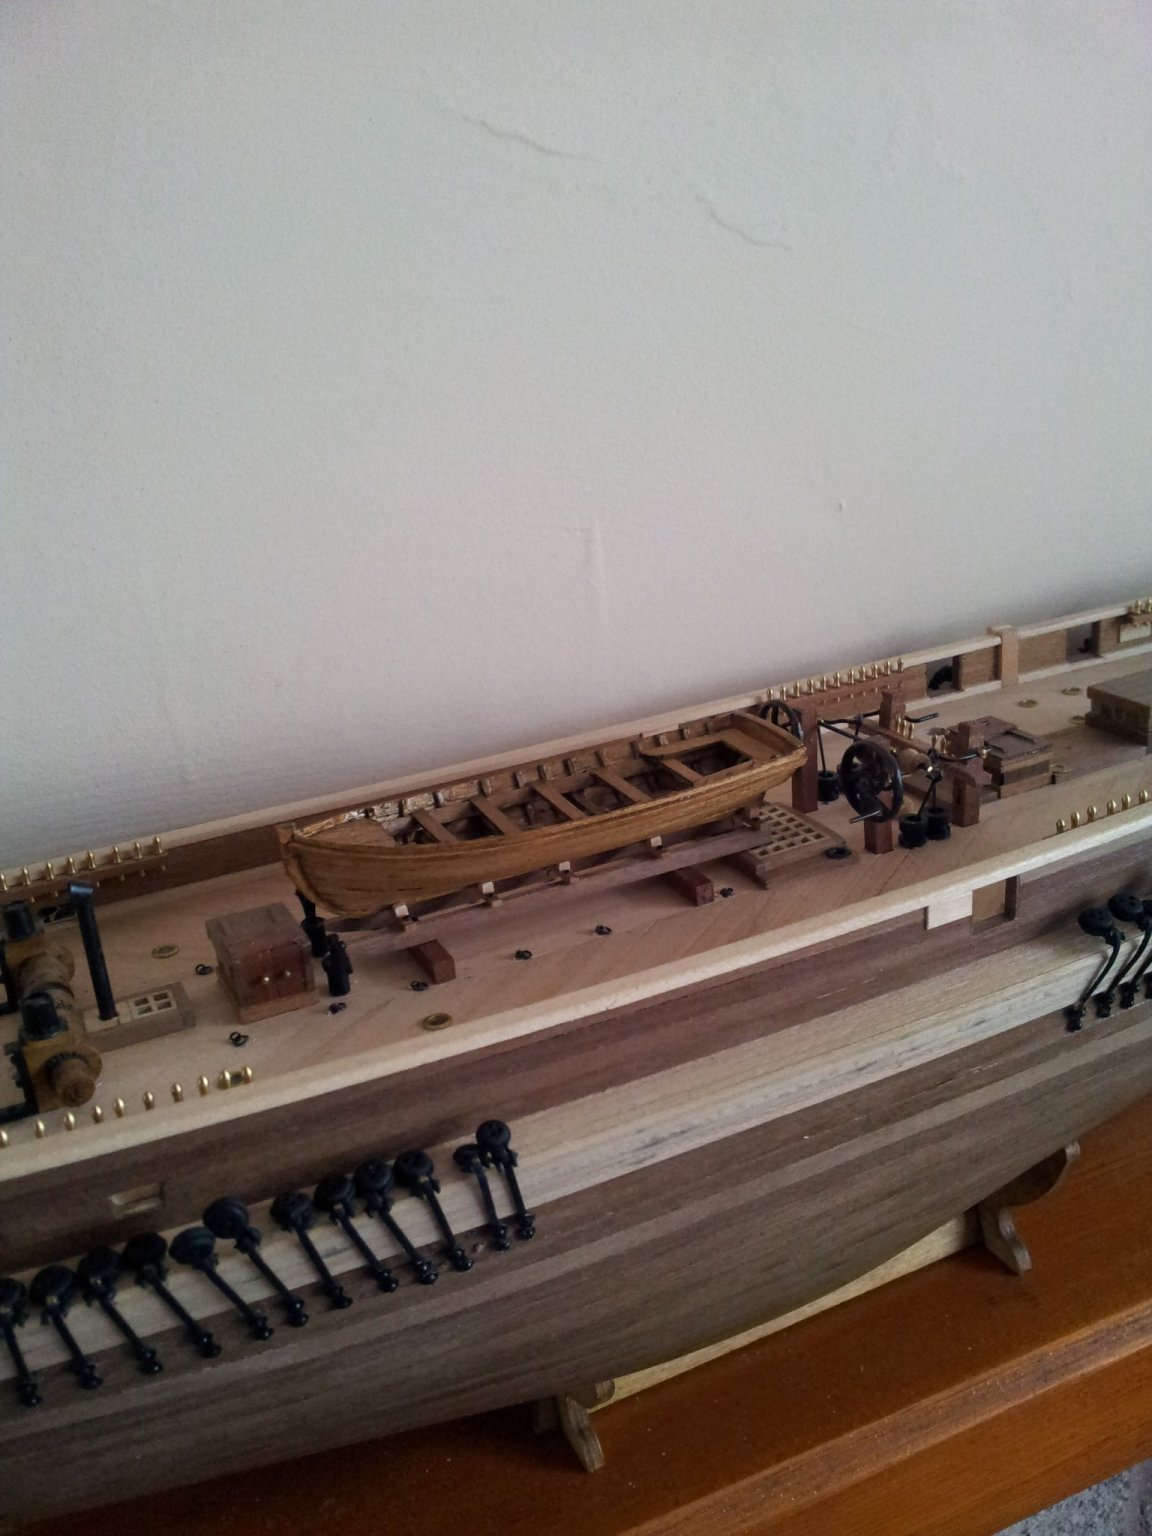
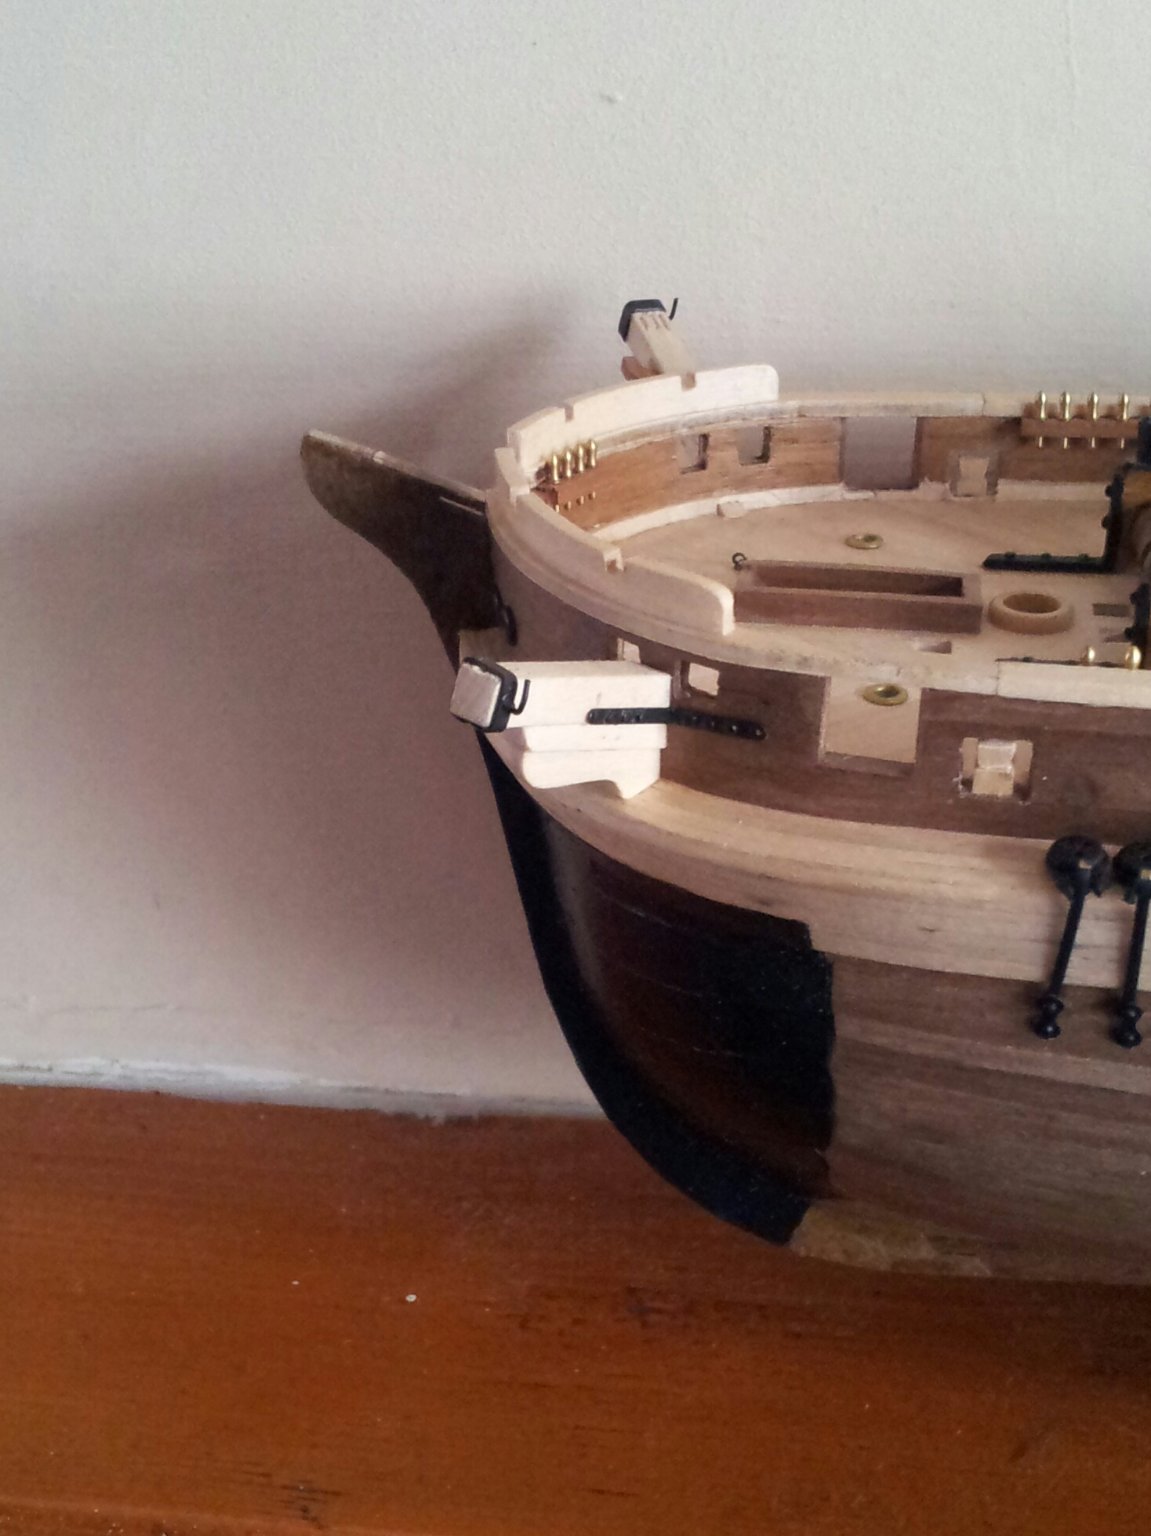
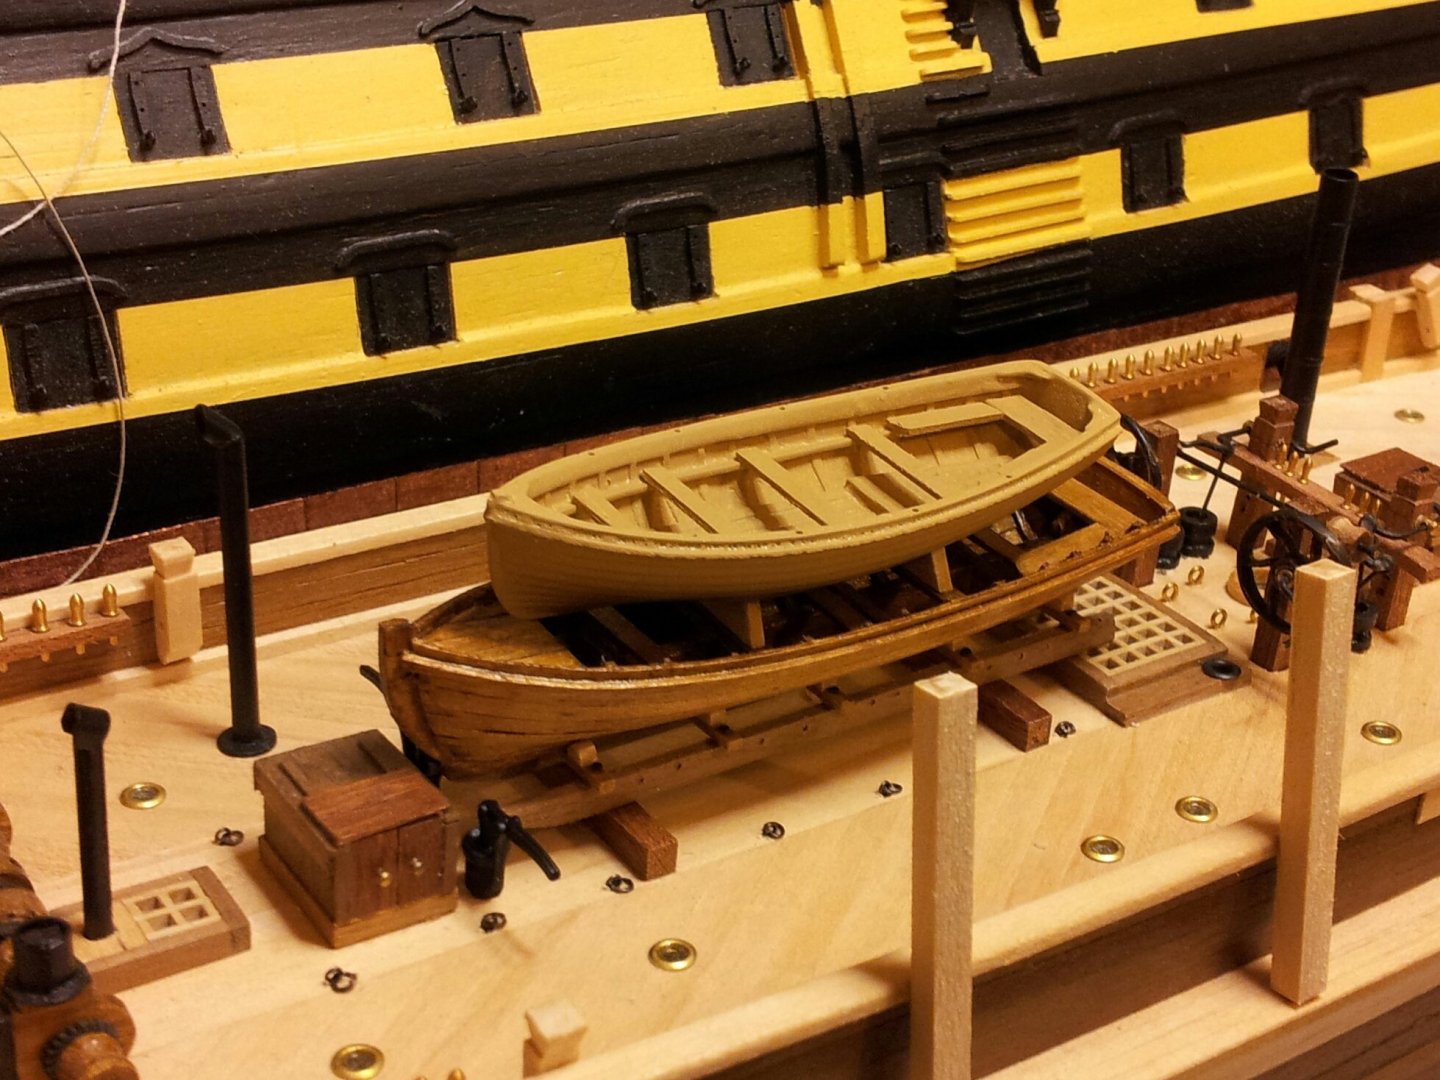
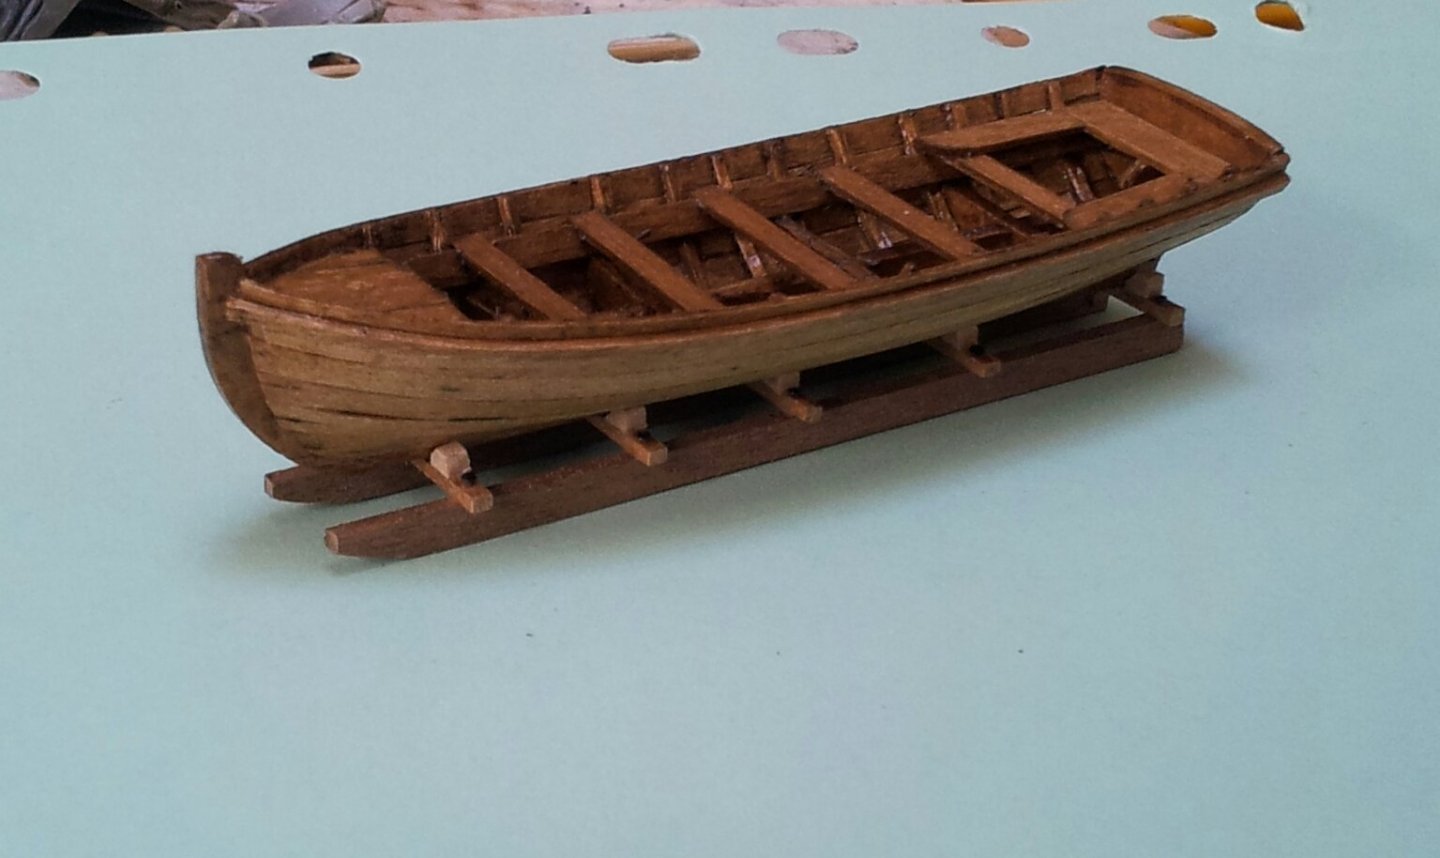
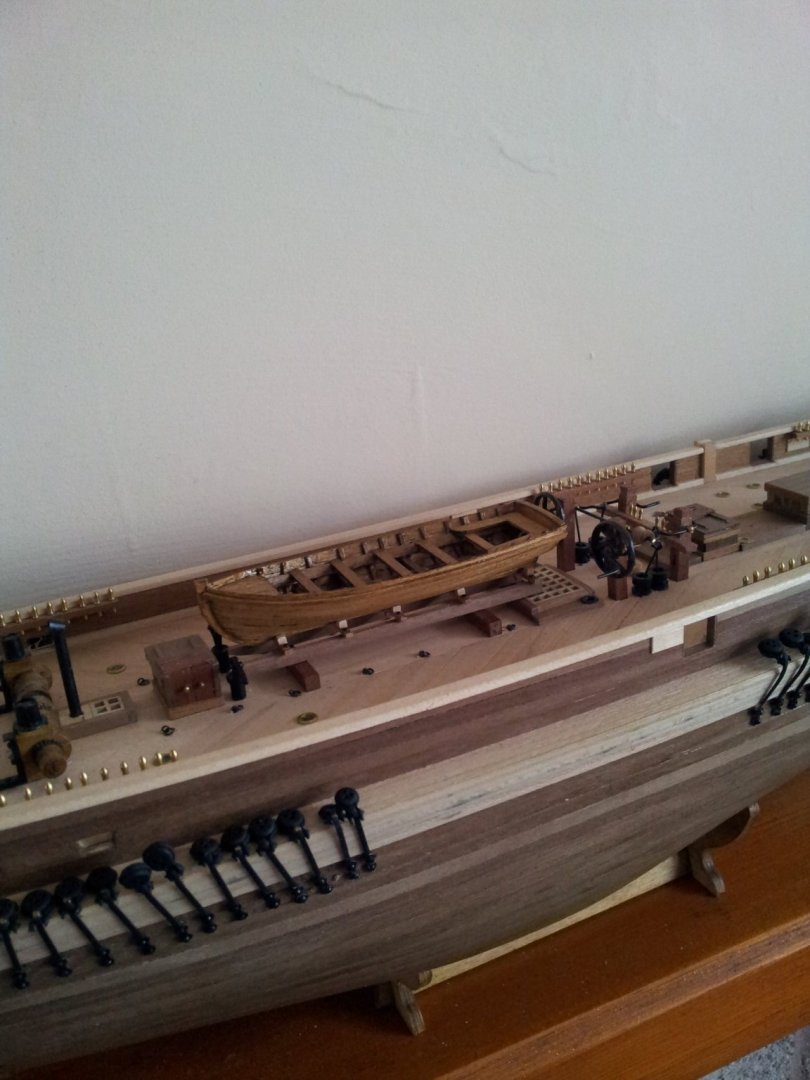
thanks for likes and comments, the more i look at the sled the more i like the look so will mount the two ships boats on the sled methinks😁. Keith i am going to be doing Kevels for the topsail tyes as they are on matthews plans as well as the plans you have from earlier expedition, and also need to add some cleats on the bulwarks too. Keith
-
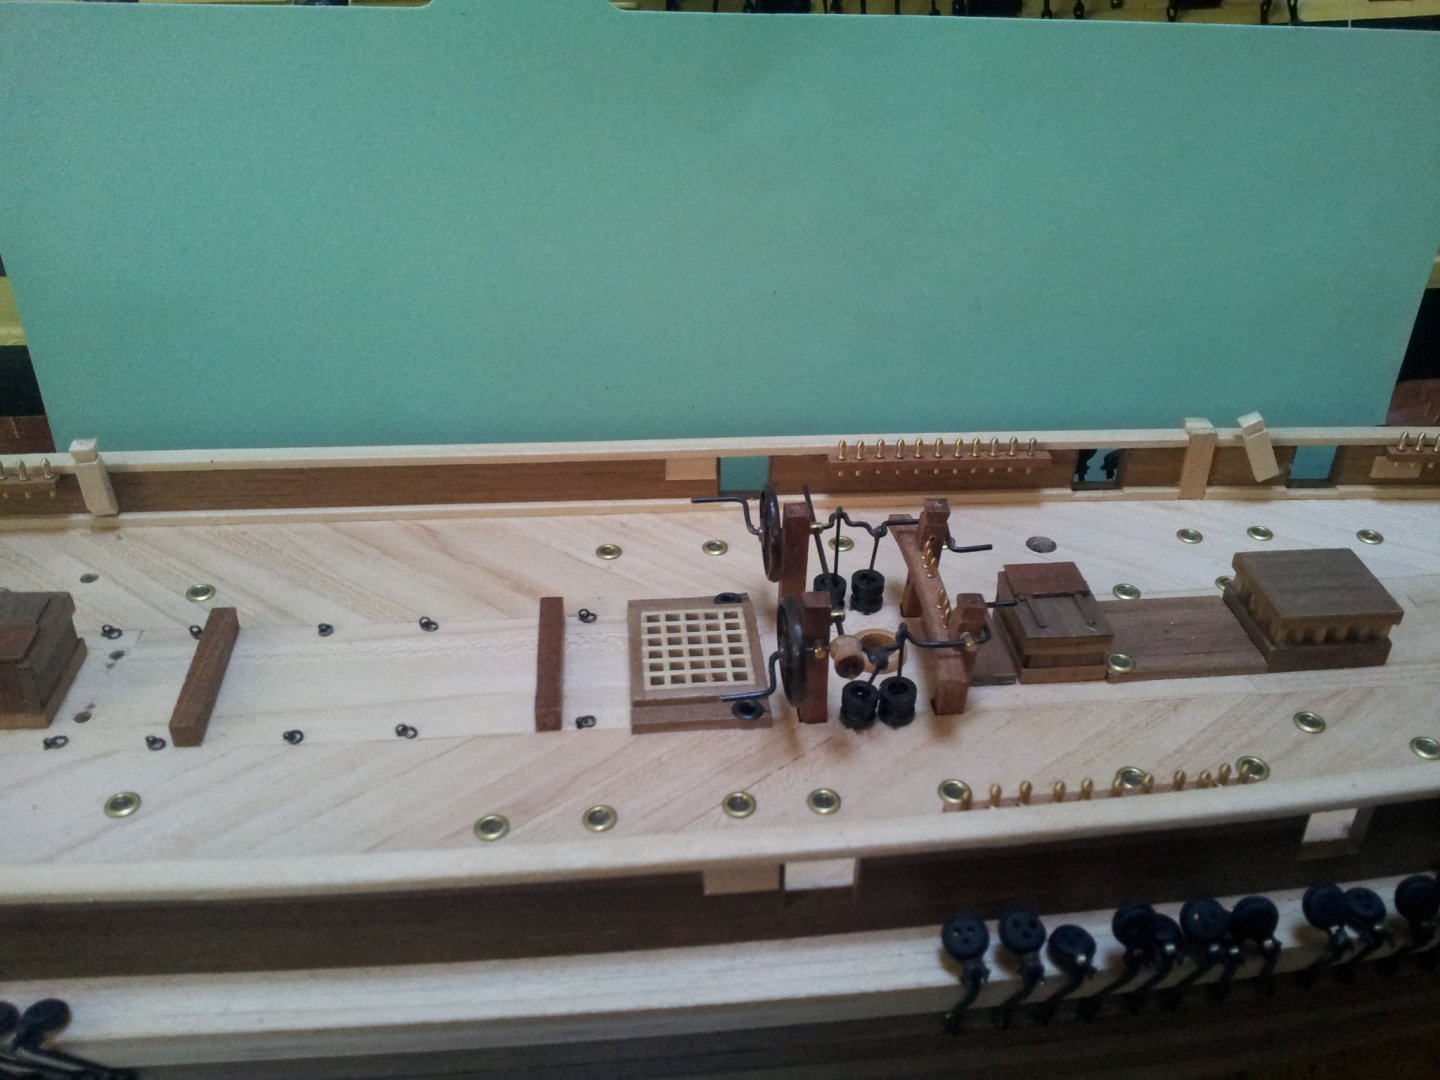
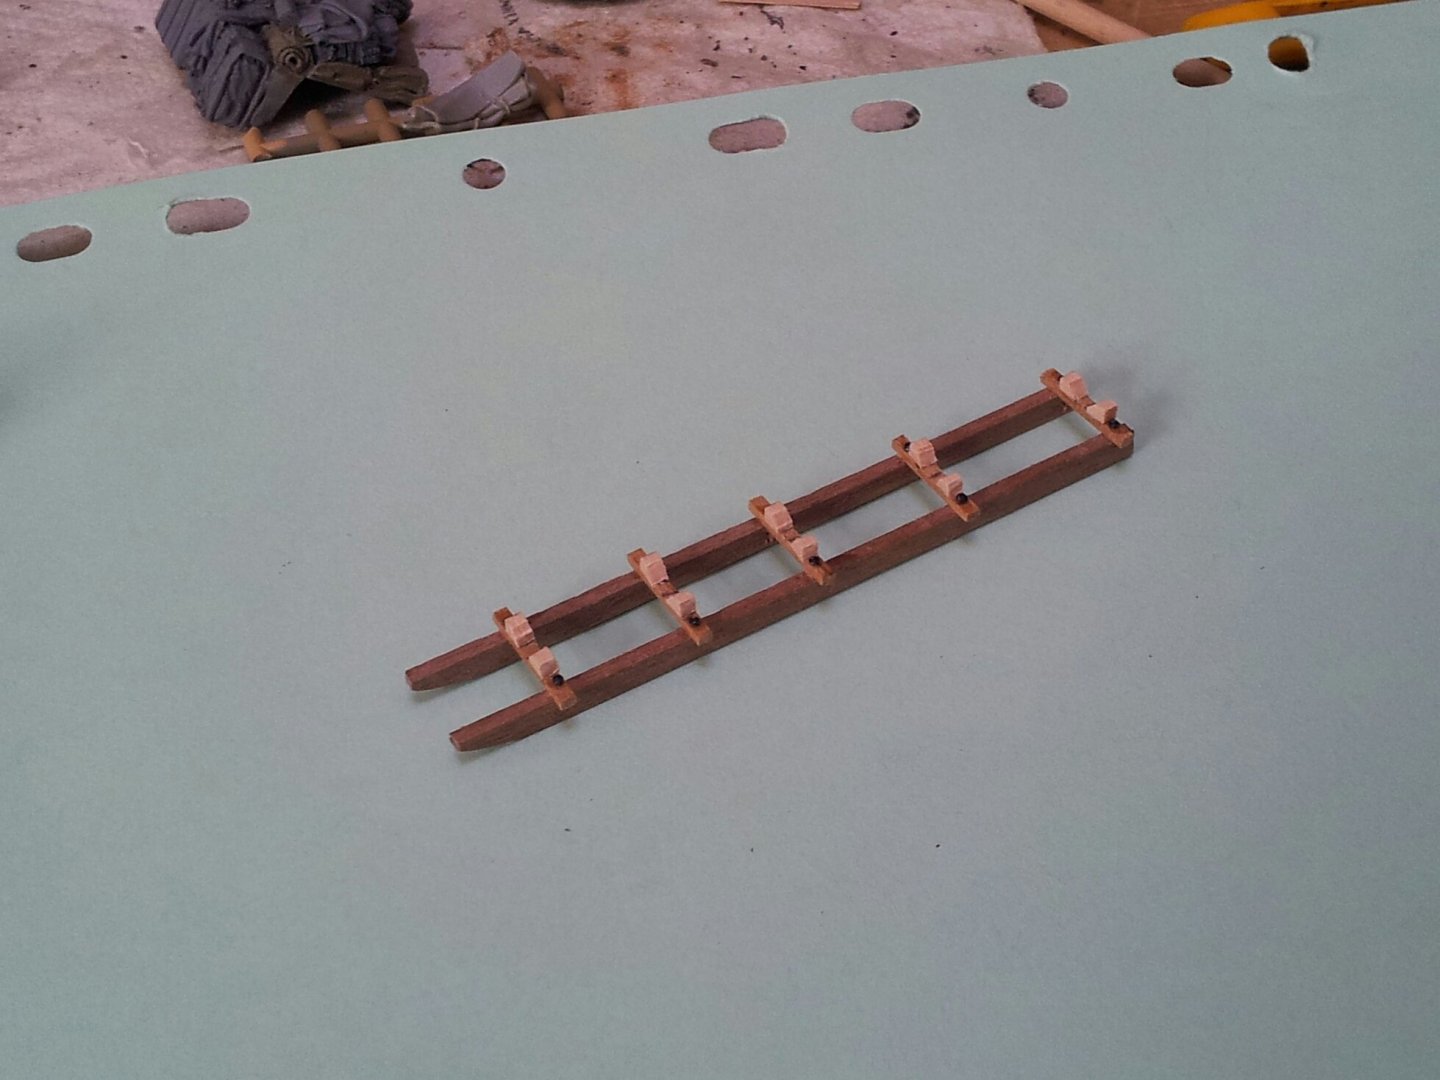
hello and thanks for looking in, oh my clocks back an hour and winter is coming to quote an excellent series😉. I was thinking sleds! Did they actually build the sleds for Terror and Erebus in situ, or were they made in the shipyard in England to save time and effort (it was the spikes holding the sled together that made me think this). Also on the antarctic expedition plans it looks like the boats are sitting on a runner from a sled. Built a basic sled (havn't drilled the holes in runners yet), and tried it in situ with the ships boat resting on it.... still can't decide if to leave it like that or not🤔. Also fastened the iron knees onto the catheads and painted the crutches for the whisker booms. take care all Keith
-
the ice bumpers will be more secure glued to the first planking and see keith s build log regarding spider band on mizzen. Metal bands on masts on vessels by this time though i dont think she had made masts like victory so may have just had bands on the cheeks (still looking into this). Keith