-
Posts
2,238 -
Joined
-
Last visited
Content Type
Profiles
Forums
Gallery
Events
Everything posted by clearway
-
hi Emmet- didn't notice new info added- best to put any new update pics in the reply to topic as opposed to editing existing entries as people wont realise there is anything new- looking good and well done with the fix- the poop deck will need held down as it curves in 2 planes (mine did). i usually use masking tape wrapped round the deck and frames 3-4 times then leave for a few days till the wood glue cures. Keith
-
sometimes the research is more interesting than the build- i have the same problems with having to add more detail to my billings HMS Victory as they simplified a lot including the yards and rigging. Keith
- 206 replies
-
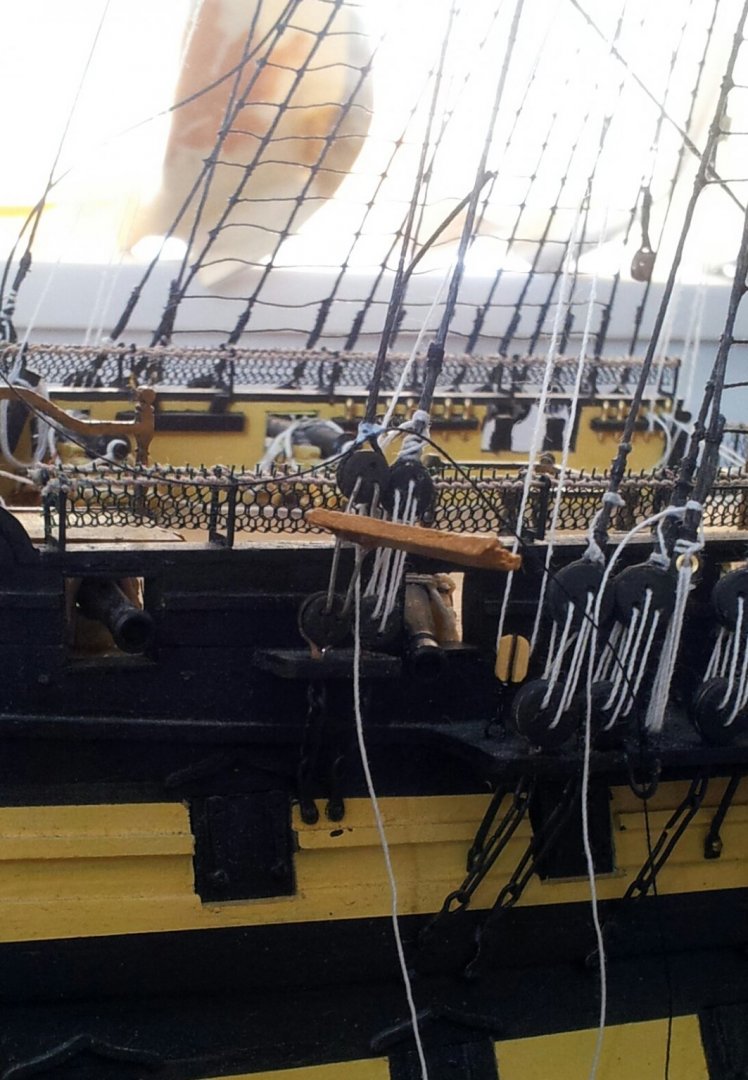
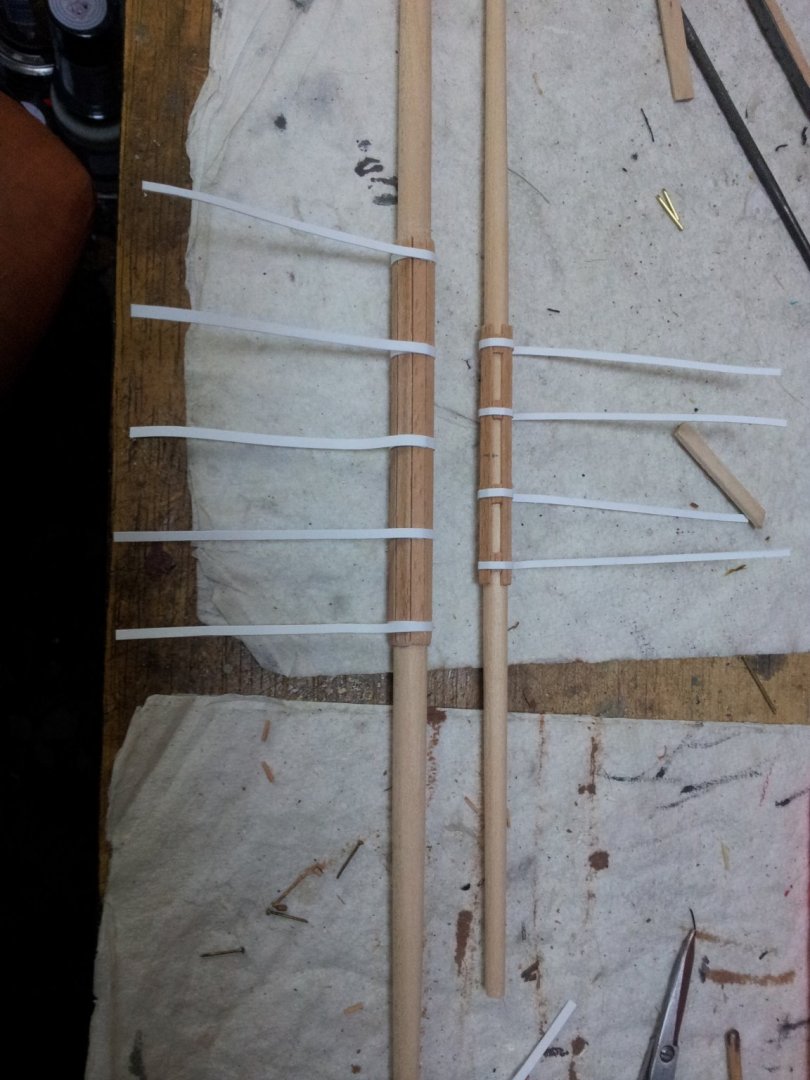
thanks for the comments, likes and views everyone- hope the piccies are helping gieb8688. bit more progress with the deadeyes for the main t'gallant mast attached to backstays using ye old mark 3 deadeye spacer (high tech precision engineering🤣) mk1 and 2 got lost years ago!, also got the card bands on the fore yard and fore topyard. take care all and keep up the good work everyone. Keith
-
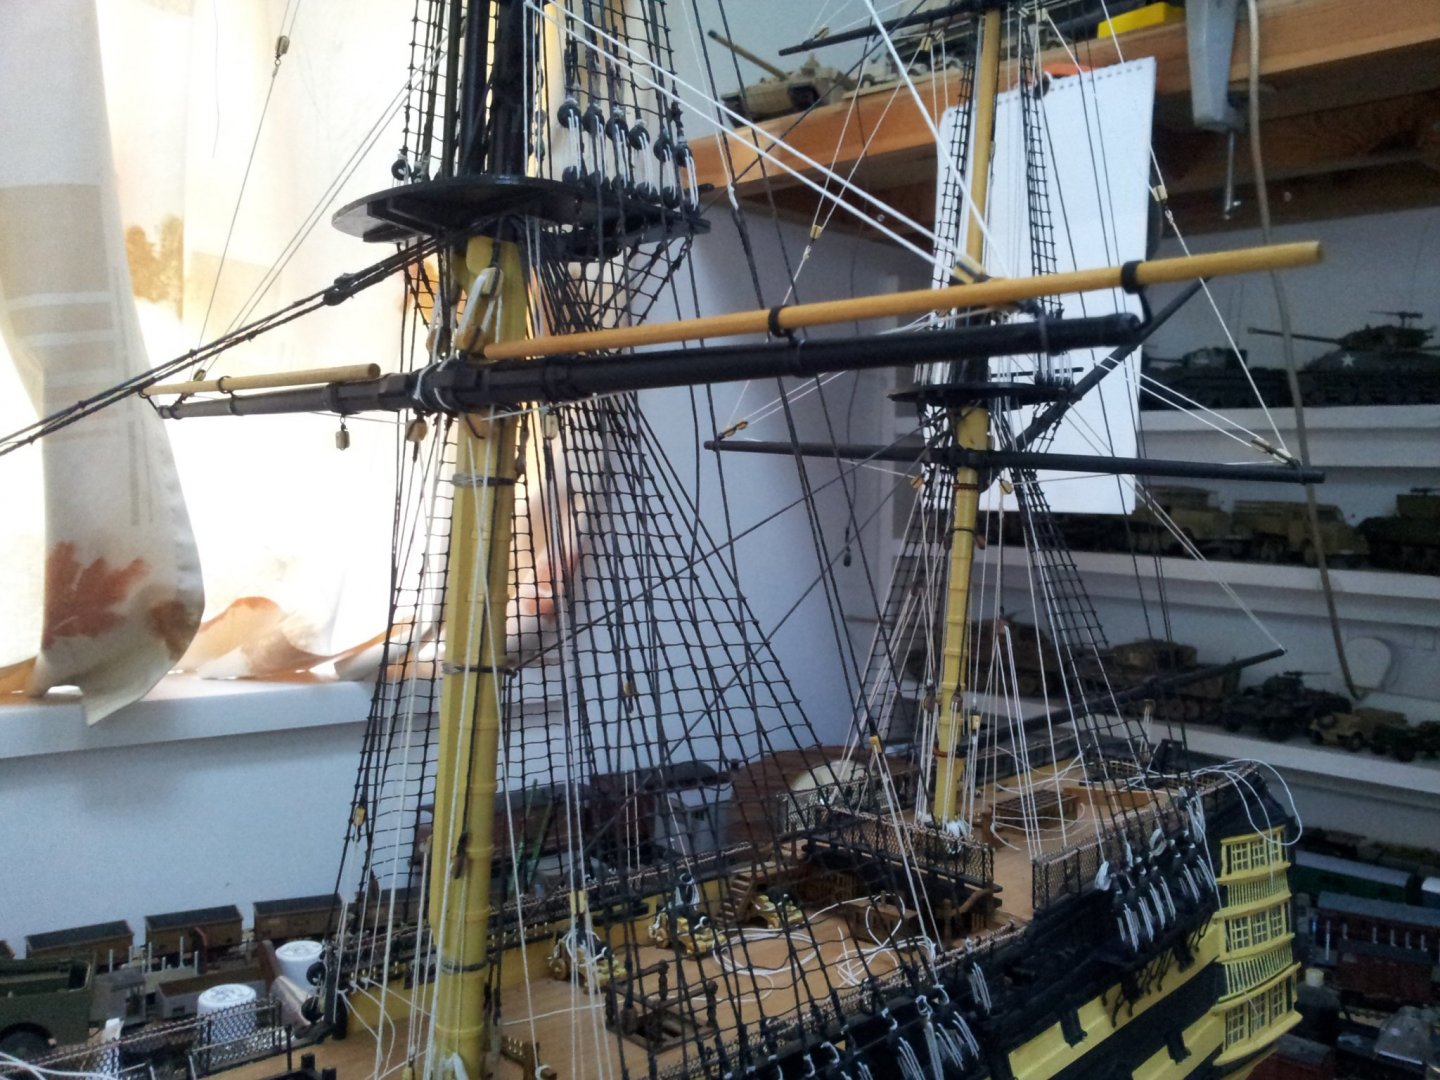
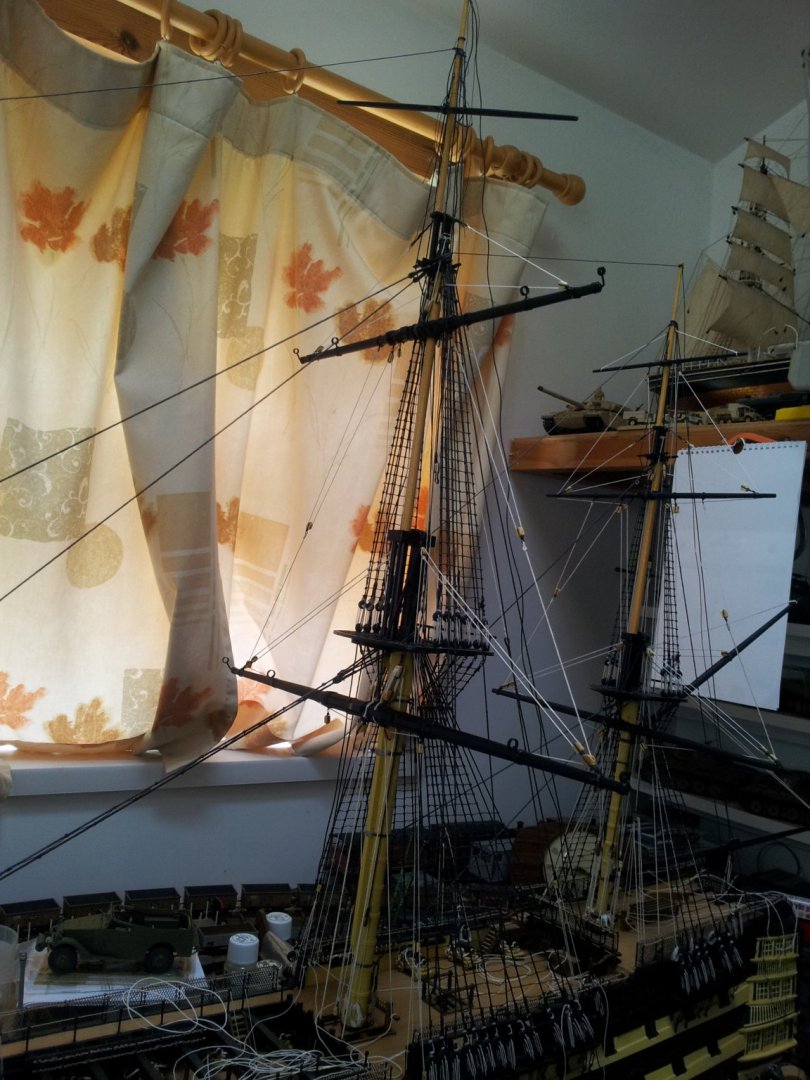
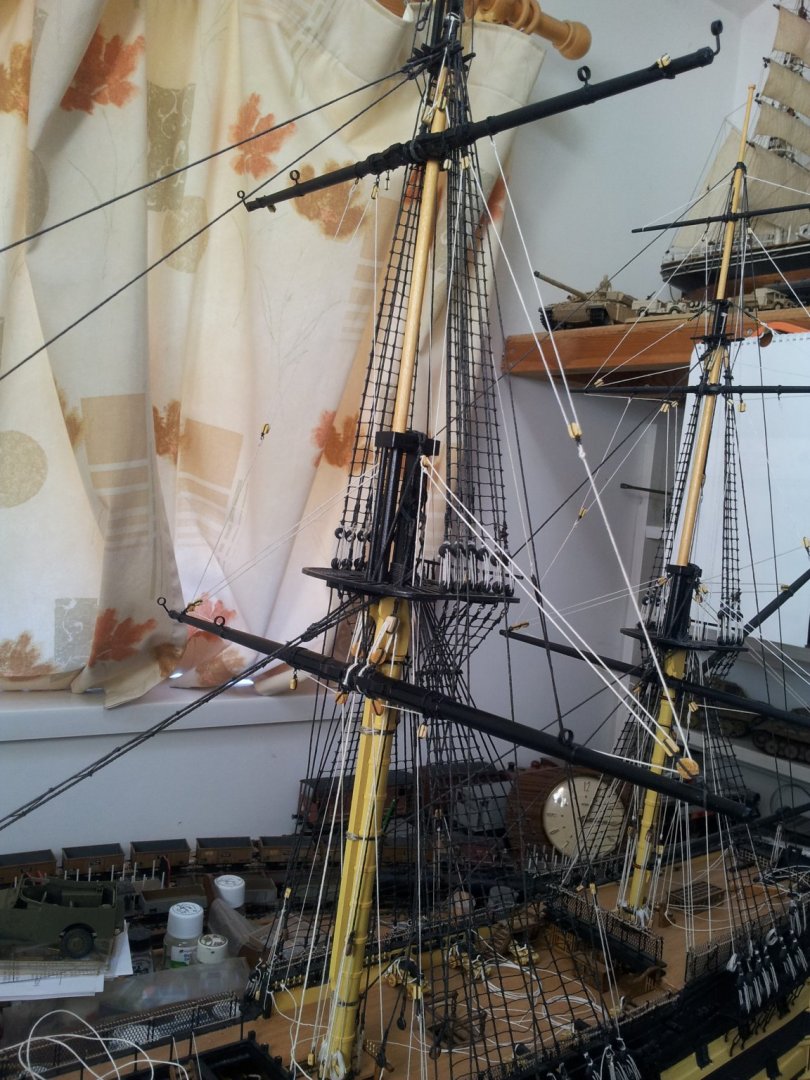
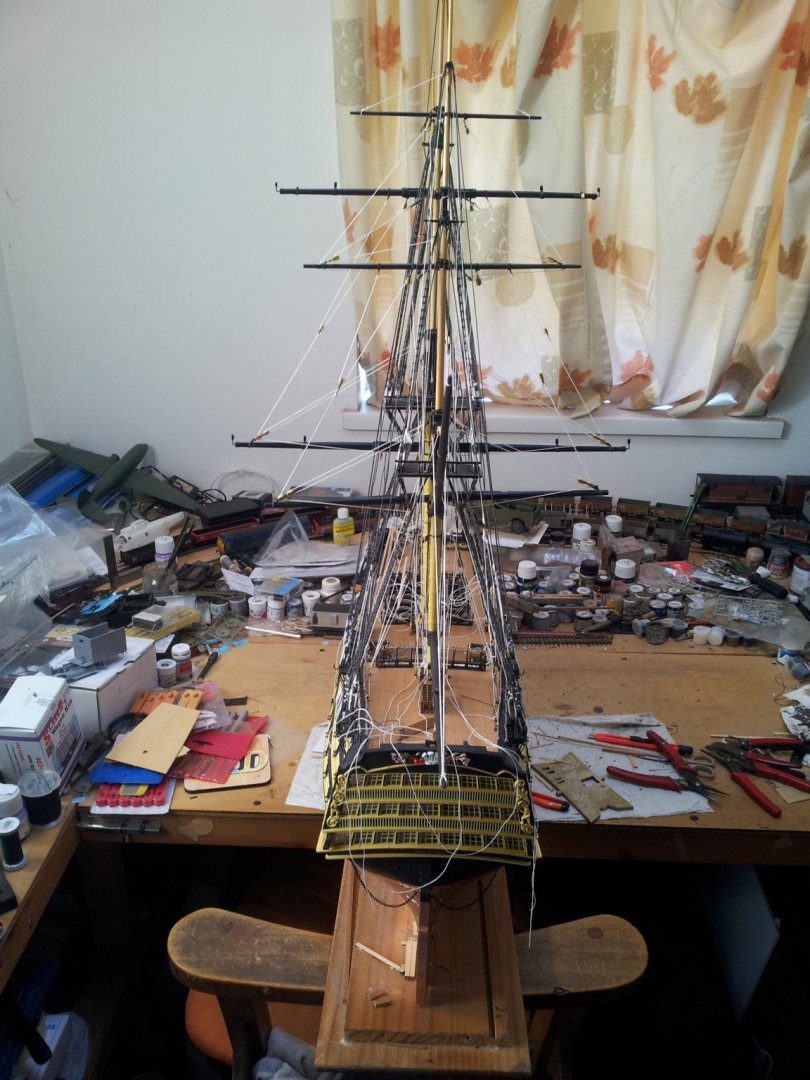
work continues on the mainmast with the tops'l yard lifts rigged and belayed- when bending the topgallant yard realized i hadn't rigged the mizzen royal stays! the mass of straggly ends at the top of the mast are the t'gallant backstays waiting for glue on knots to dry and be trimmed. take care all Keith
-
Hi keith- i have this one in my to do stash and after a quick check to make sure the contents were o.k. before storage came up with the same thoughts regarding accuracy as you- well done on taking her to the next level🧐. I would leave the ships boat in the natural wood finish and just varnish it- looks toooooo nice to spoil by painting. Have you read "Erebus" by Michael Palin- jeez them guys had a set!!!!! also advise James Lees "masting and rigging of english ships of war" when it comes to building the masts and yards. Keep up the excellent work. Keith
- 206 replies
-
the end is in sight Jeff! outside shots do add an air of realism- unfortunately my Vicky is now to cumbersome and "sticky outy" for alfresco shots😆 Keith
- 86 replies
-
- pickle
- caldercraft
-
(and 1 more)
Tagged with:
-
i do what popeye suggested and just use a small amount of thin superglue on my stantions- when dry you can lift the entire railing off to paint it- keep up the good work. Keith
- 207 replies
-
- billing boats
- cutty sark
-
(and 1 more)
Tagged with:
-
looks good jeff- knot on anchor looks fine to me and don't forget you are the admiral so what you see fit goes😁 Keith
- 86 replies
-
- pickle
- caldercraft
-
(and 1 more)
Tagged with:
-
Ty for comments and views all- still recommend doing a small build to get the hang of model shipbuilding before doing Victory though matthew. Work continues on the tops'l yard with sheets and clewlines rigged. Next job will be the topyard lifts and the halliards on the final maintopmast backstay (leave backstays as late as possible to allow easier access) Take care all Keith
About us
Modelshipworld - Advancing Ship Modeling through Research
SSL Secured
Your security is important for us so this Website is SSL-Secured
NRG Mailing Address
Nautical Research Guild
237 South Lincoln Street
Westmont IL, 60559-1917
Model Ship World ® and the MSW logo are Registered Trademarks, and belong to the Nautical Research Guild (United States Patent and Trademark Office: No. 6,929,264 & No. 6,929,274, registered Dec. 20, 2022)
Helpful Links
About the NRG
If you enjoy building ship models that are historically accurate as well as beautiful, then The Nautical Research Guild (NRG) is just right for you.
The Guild is a non-profit educational organization whose mission is to “Advance Ship Modeling Through Research”. We provide support to our members in their efforts to raise the quality of their model ships.
The Nautical Research Guild has published our world-renowned quarterly magazine, The Nautical Research Journal, since 1955. The pages of the Journal are full of articles by accomplished ship modelers who show you how they create those exquisite details on their models, and by maritime historians who show you the correct details to build. The Journal is available in both print and digital editions. Go to the NRG web site (www.thenrg.org) to download a complimentary digital copy of the Journal. The NRG also publishes plan sets, books and compilations of back issues of the Journal and the former Ships in Scale and Model Ship Builder magazines.


