


Ryland Craze
-
Posts
1,540 -
Joined
-
Last visited
Content Type
Profiles
Forums
Gallery
Events
Posts posted by Ryland Craze
-
-
Brian,
Congratulations on completing your AVS. It has been a real pleasure following your build log and it will be an inspiration to other AVS builders. I look forward to your future builds.
- zoly99sask, Canute, Dimitris71 and 3 others
-
 6
6
-
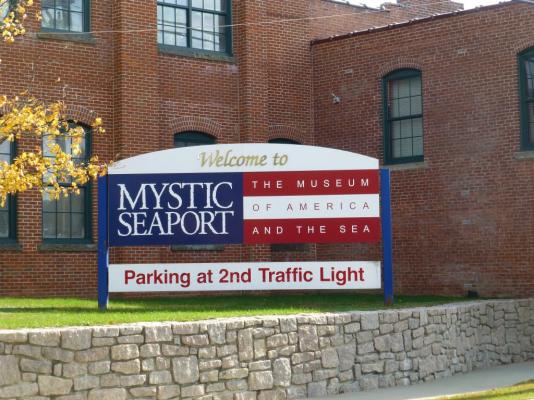
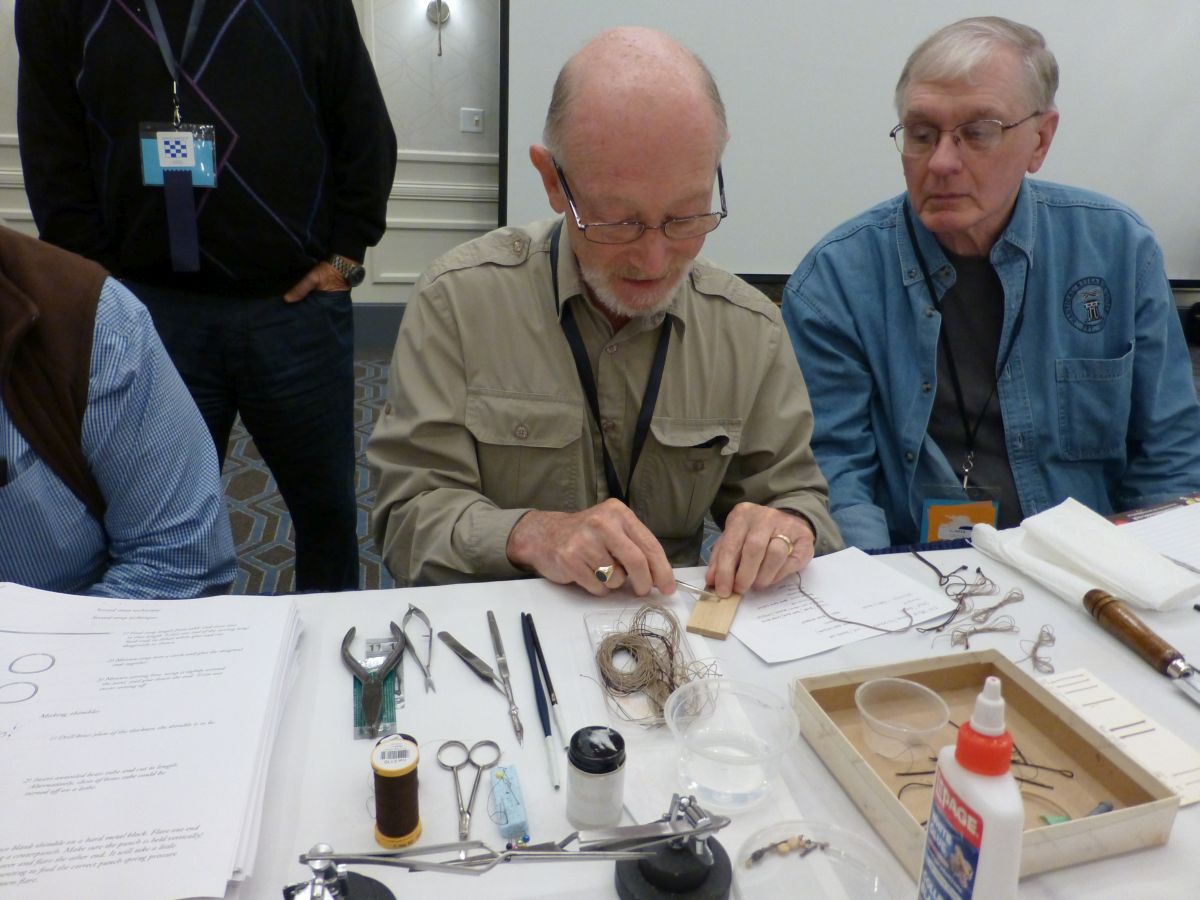
There was a lot more going on at the NRG Conference than the tours on Thursday. The pictures I posted were from two of the four tours given at Mystic Seaport.
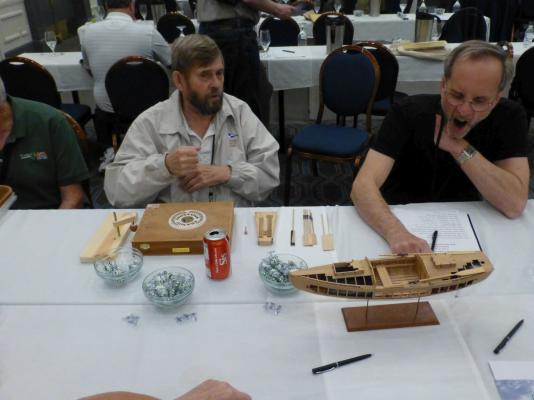
What I liked were the modeling roundtables held on Friday. There were five roundtable sessions given by the following presenters:
- David Antscherl - Rigging Tips and Tricks
- Nick Damuck - Making Scale Silk Span Sails
- Chuck Passaro - Serving Rope
- Kurt Van Dahm - Airbrushing Basic
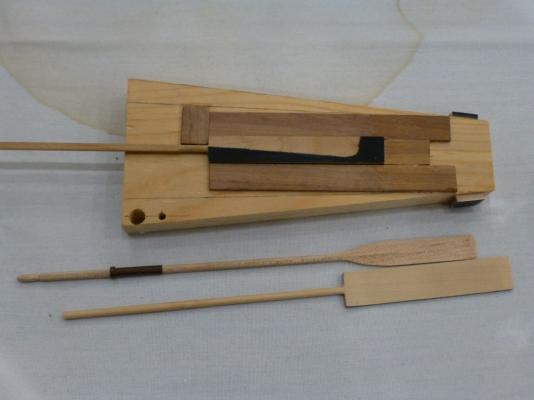
- Steve Wheeler - A Jig for making Oars
David Antscherl giving his rigging session
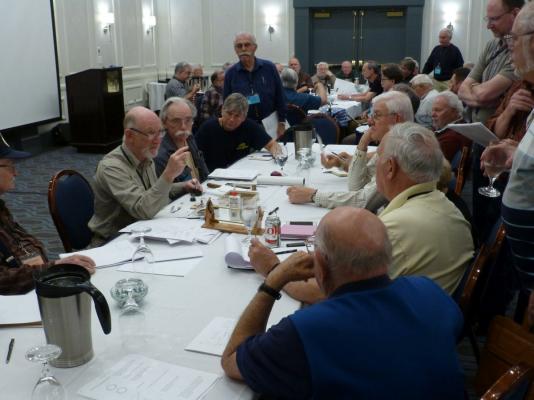

Kurt Van Dahm giving his airbrushing session

Steve Wheeler teaching us to make oars using a jig

I hope others post their pictures as many had better cameras than mine.
-
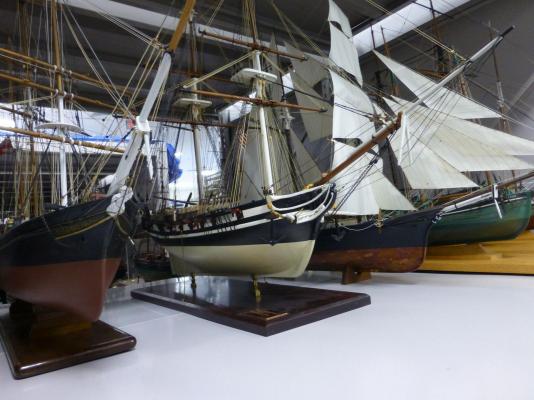
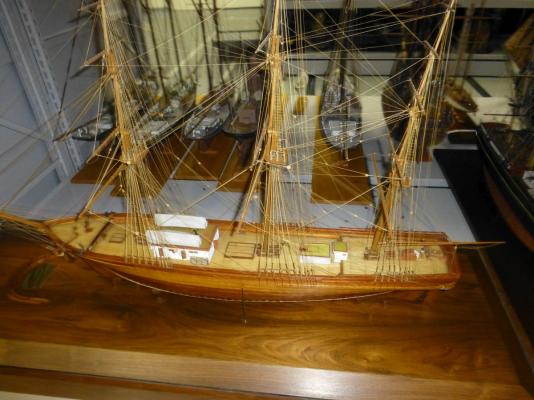
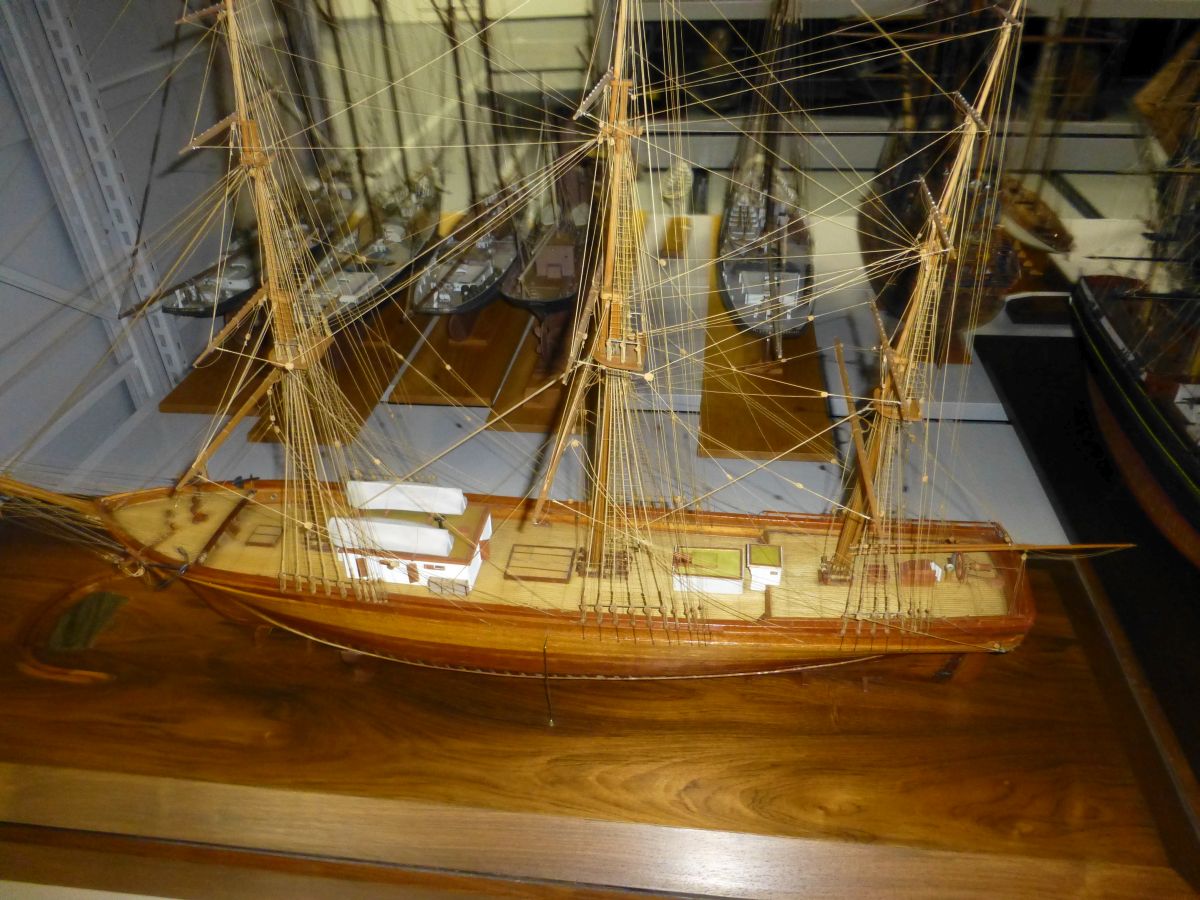
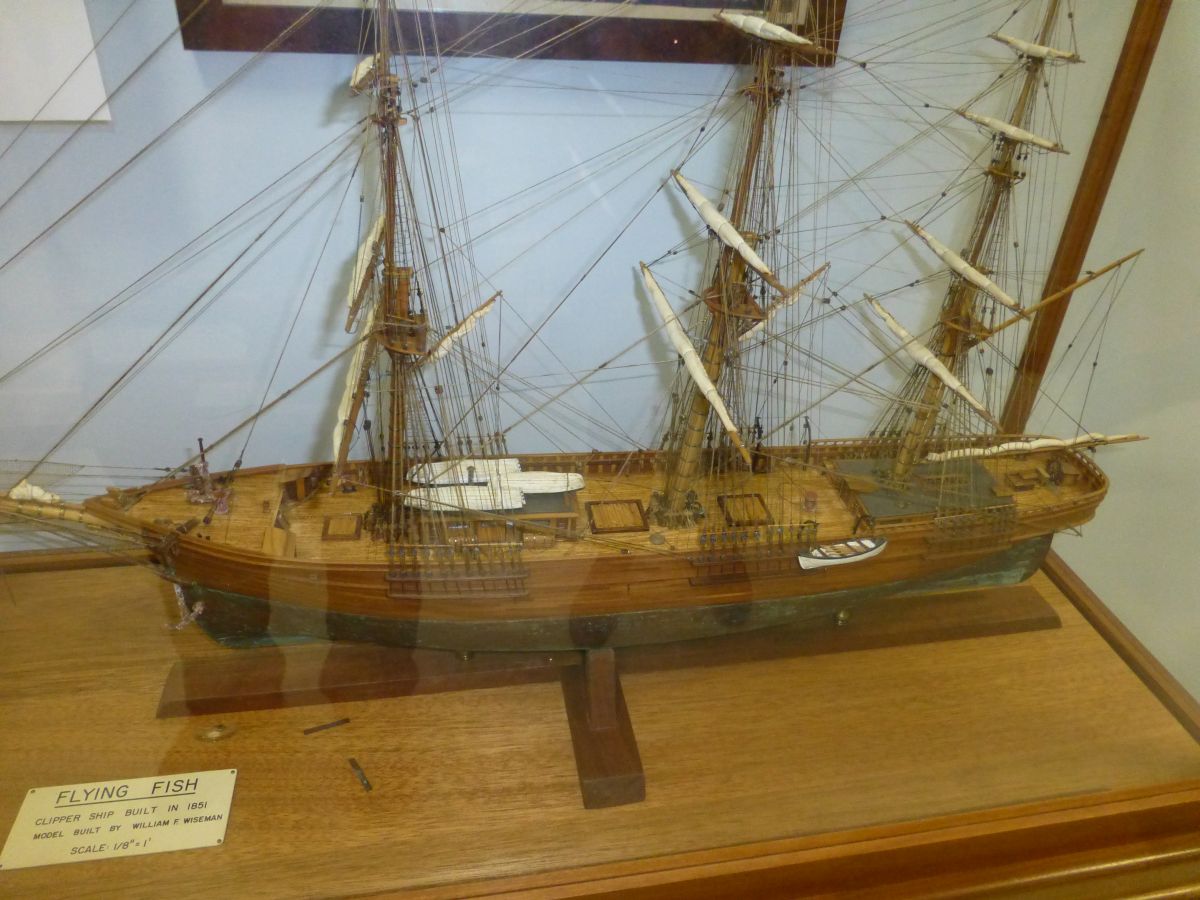
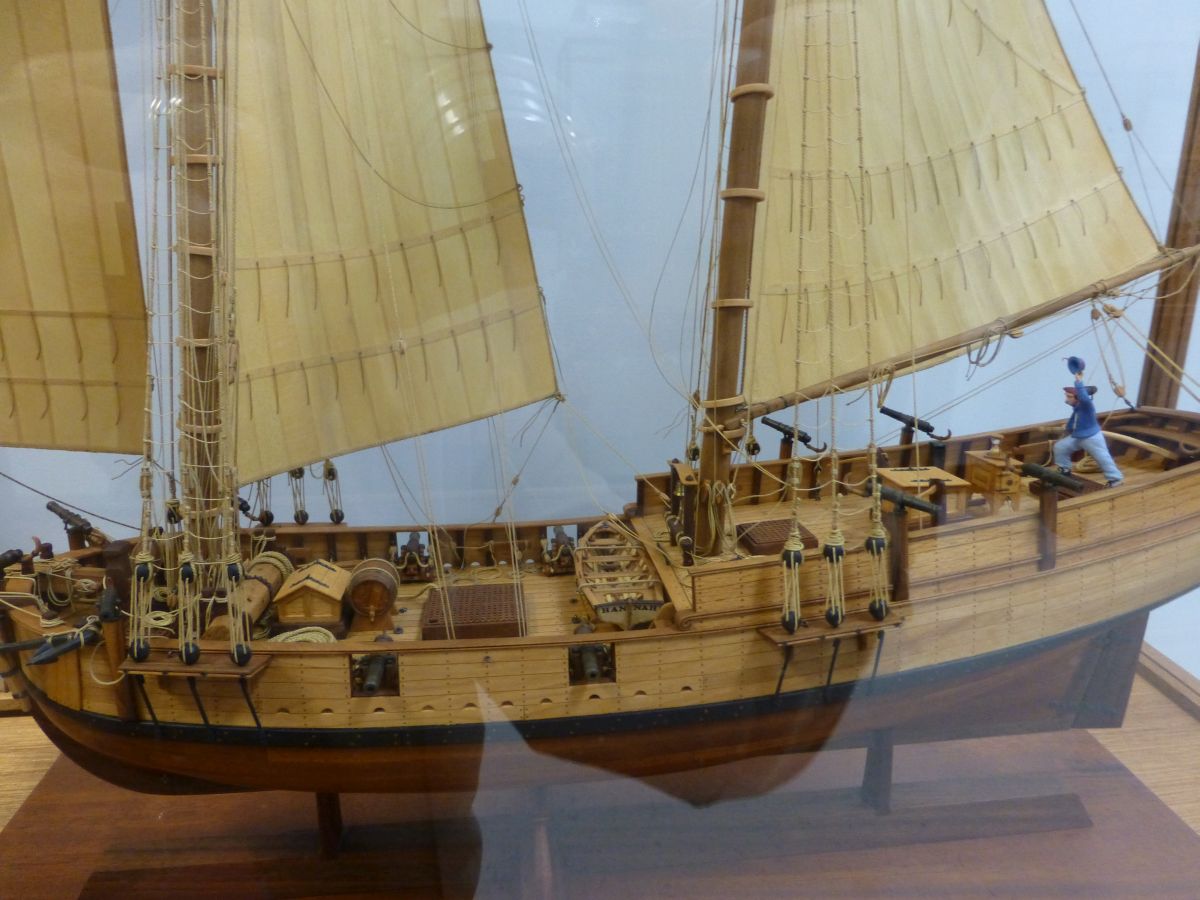
I immediatly recognized the beautiful model of Hannah, by William Wiseman, which won the Grand Award at the 1996 Mariner Museum Competition. I always wondered where it ended up. Was this one on display or relegated to a storage room? If the later - what a pity. Take a close look at those sails. They're made of wood.
Greg,
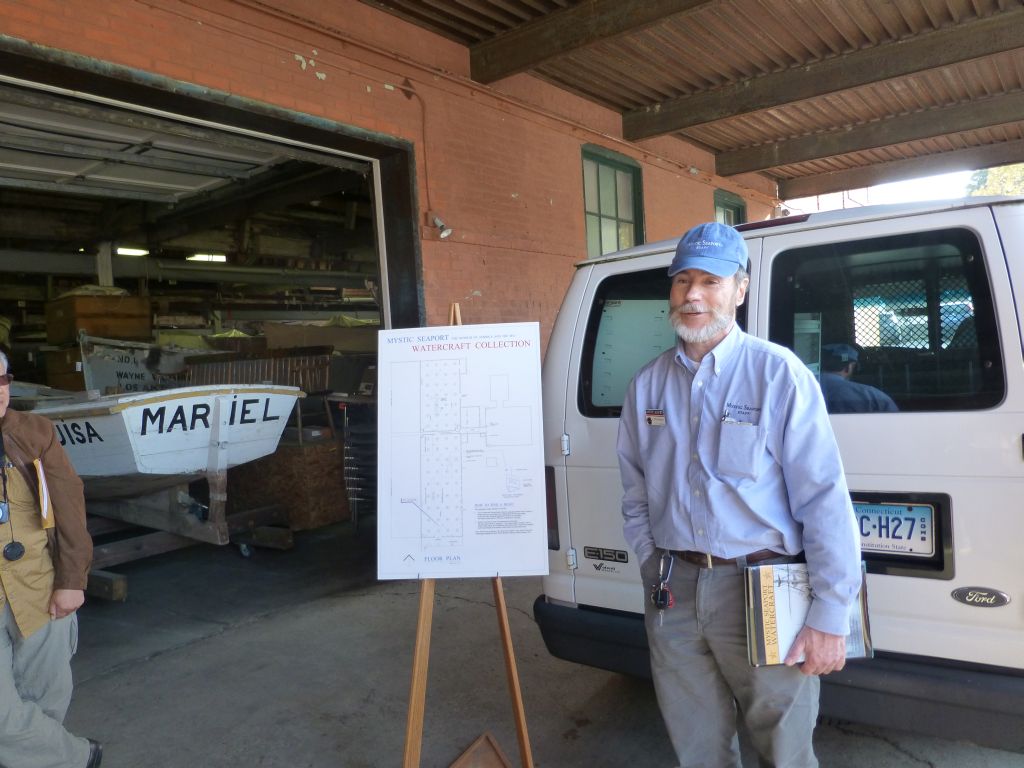
I understand that the Seaport just acquired the Wiseman collection from his estate. Several models were in the hallway in their cases. There were many discussions among the tour group members as to why these models were not on display. The curator said it was lack of space as only about 10% of the models are on public display. They are building a new 5,000 square foot exhibition building and they hope they can display more ship models there.
-
-
-
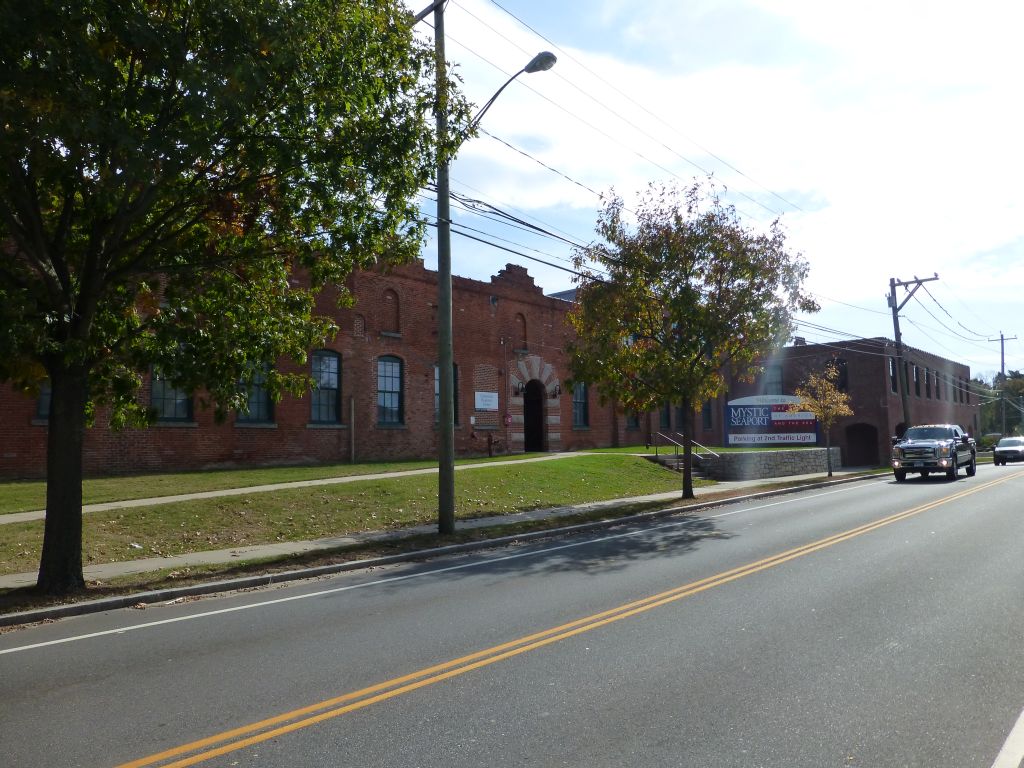
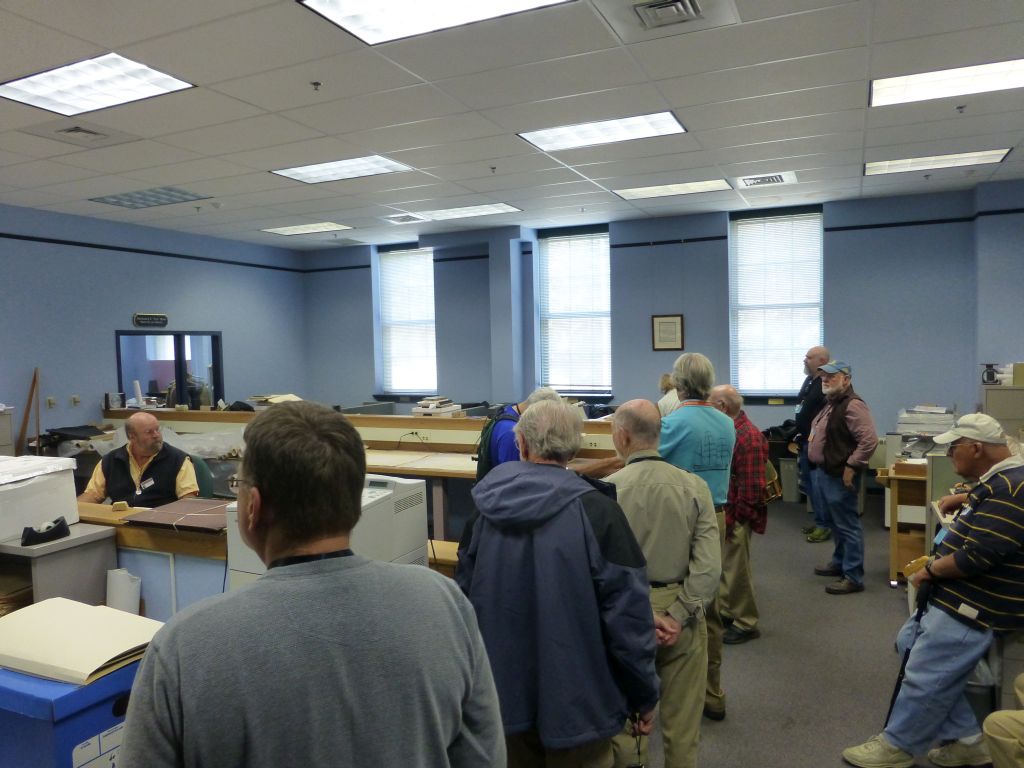
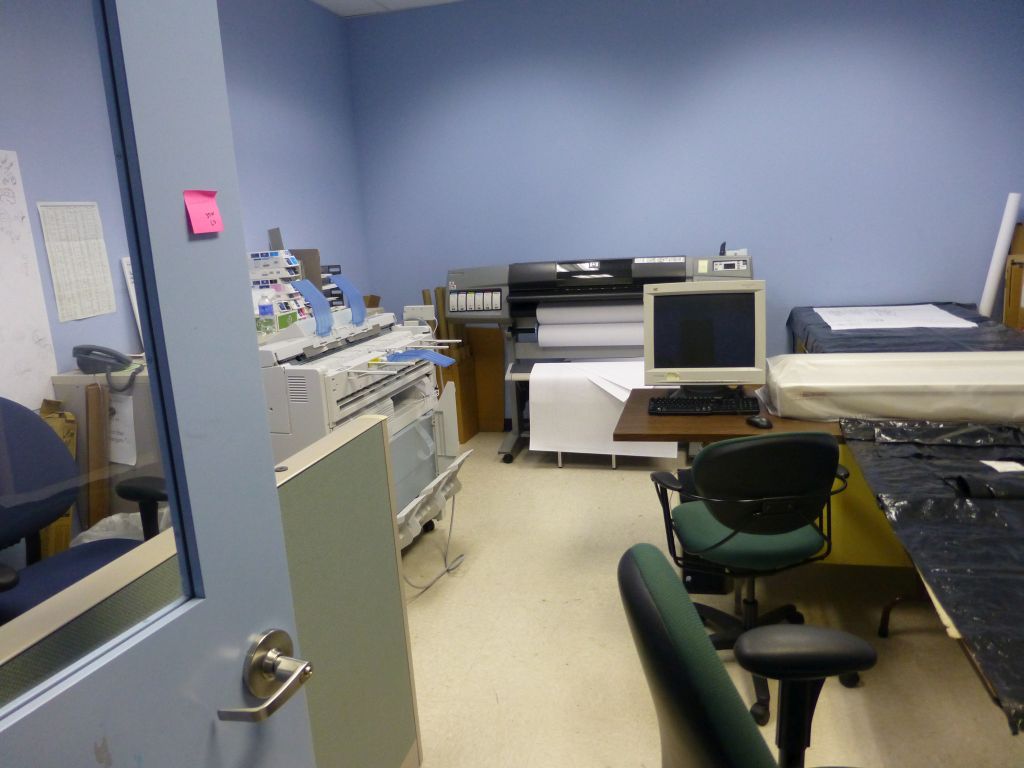
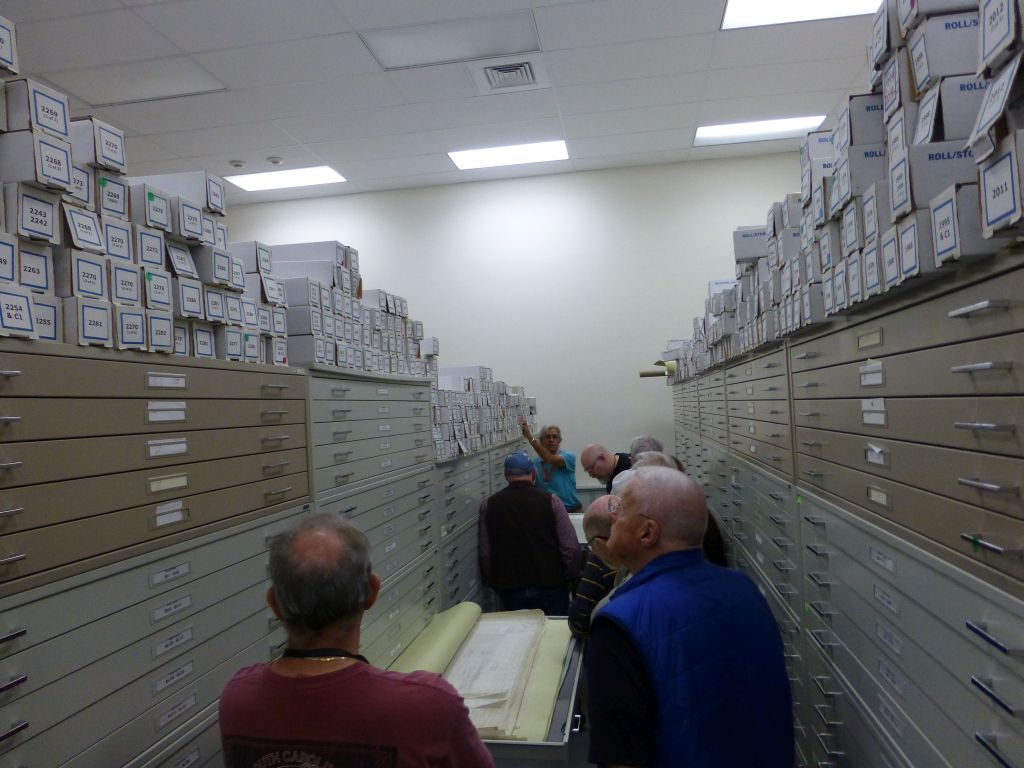
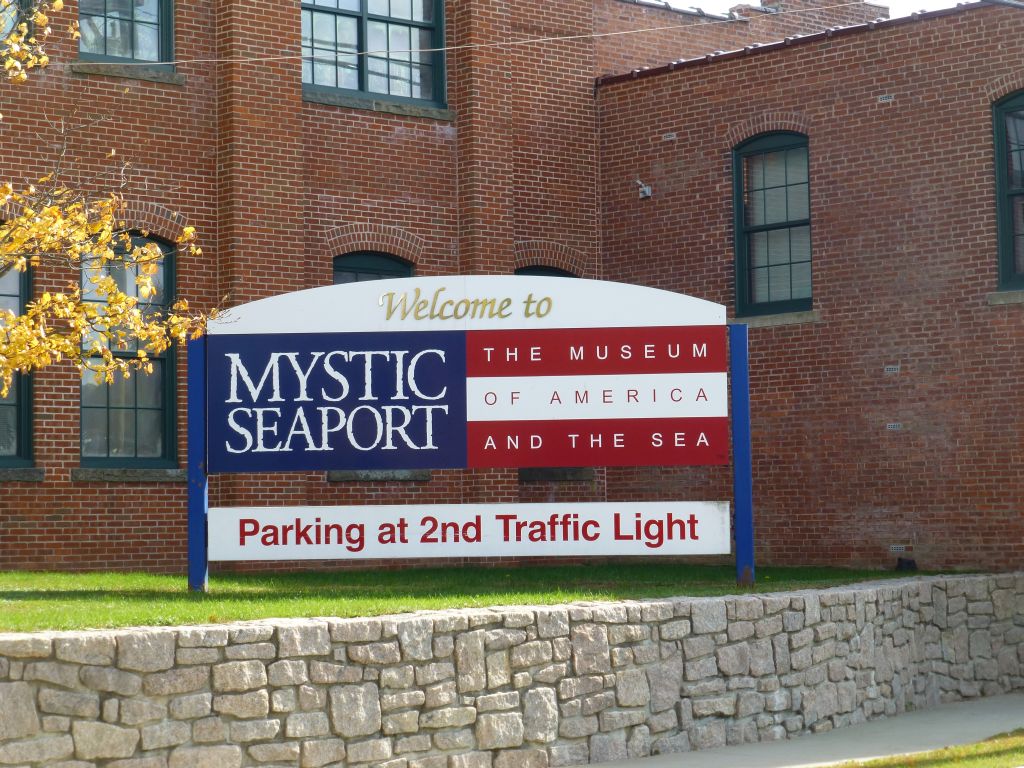
In another section of the Collections Department of Mystic Seaport, they house plans, logbooks, photographs and a massive library. They try to put as much of their information online as possible. Here is a link to their research page: http://www.mysticseaport.org/research/
For their online library, the link is http://library.mysticseaport.org/
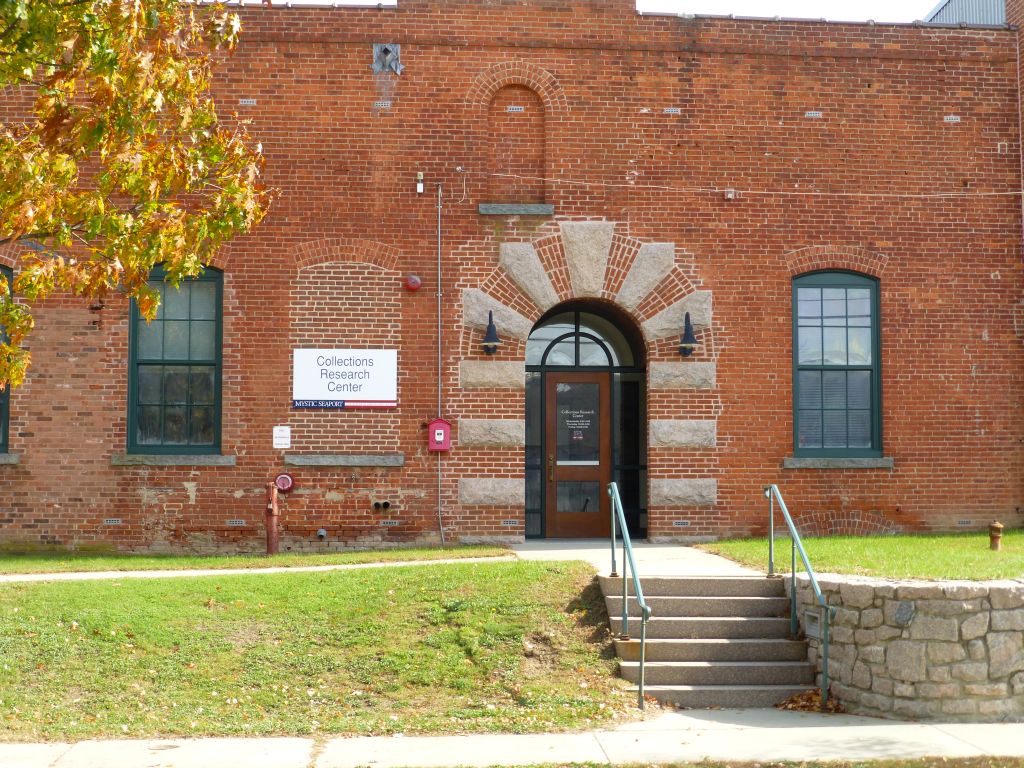
Here is another view of the building that houses the Collections Department:


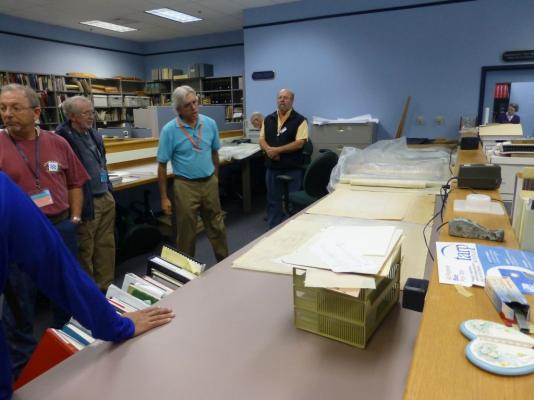
This is where the plans are scanned:

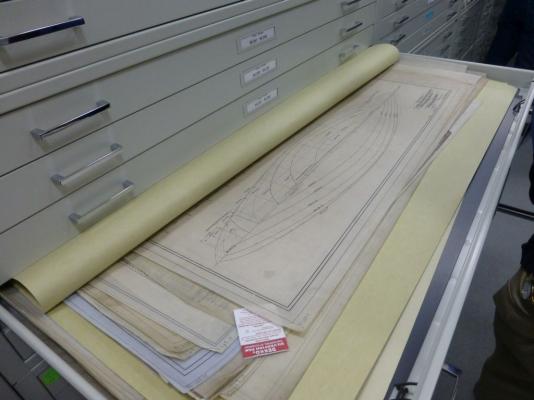
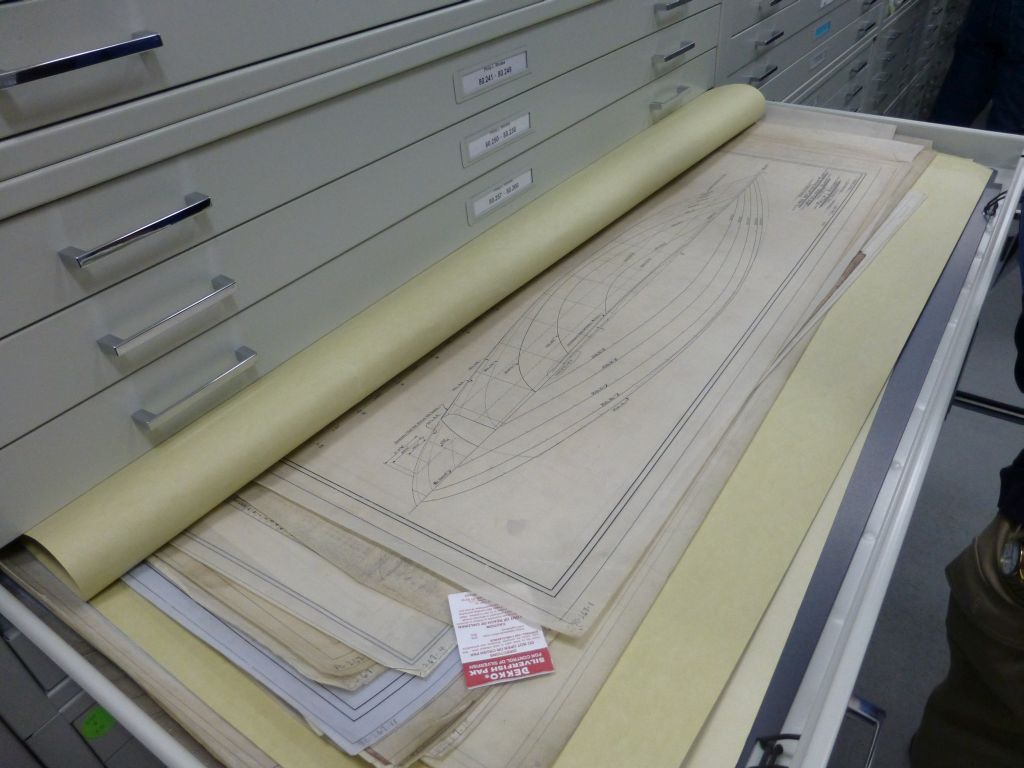
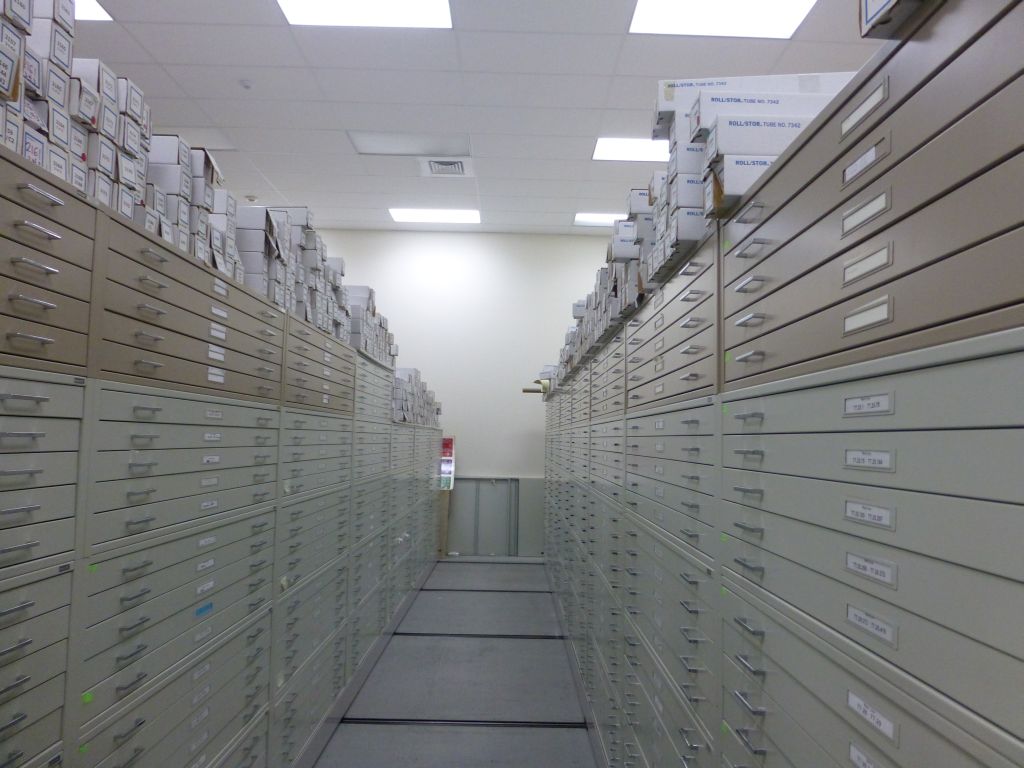
Plans are stored in file cabinets:


-
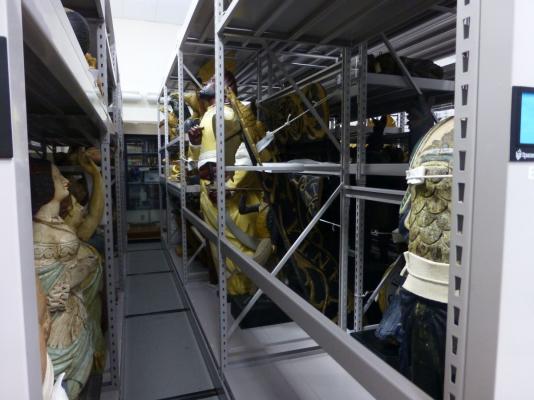
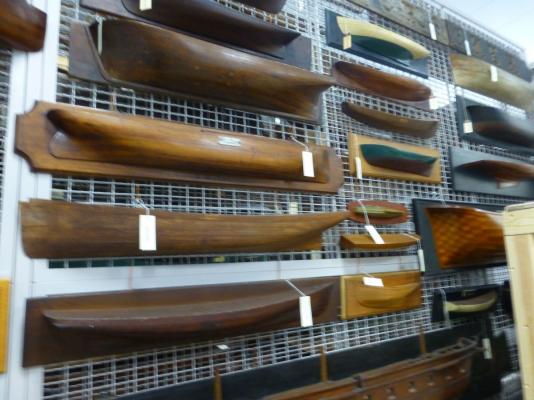
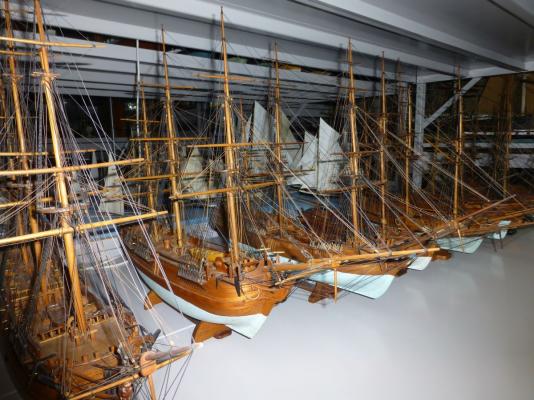
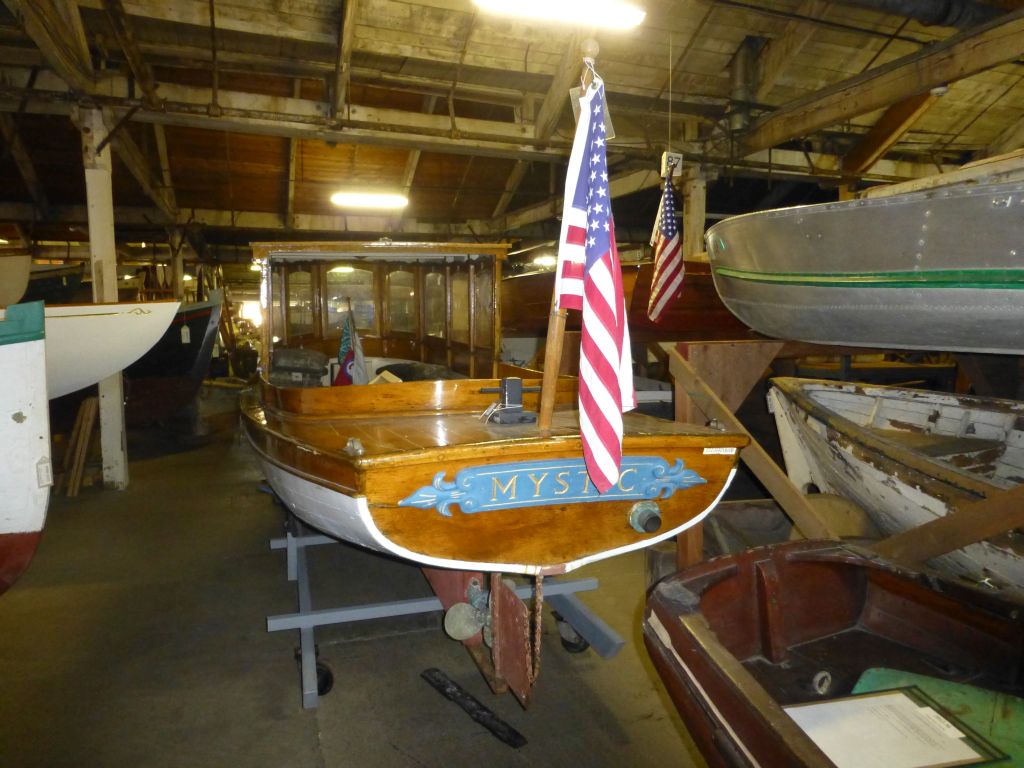
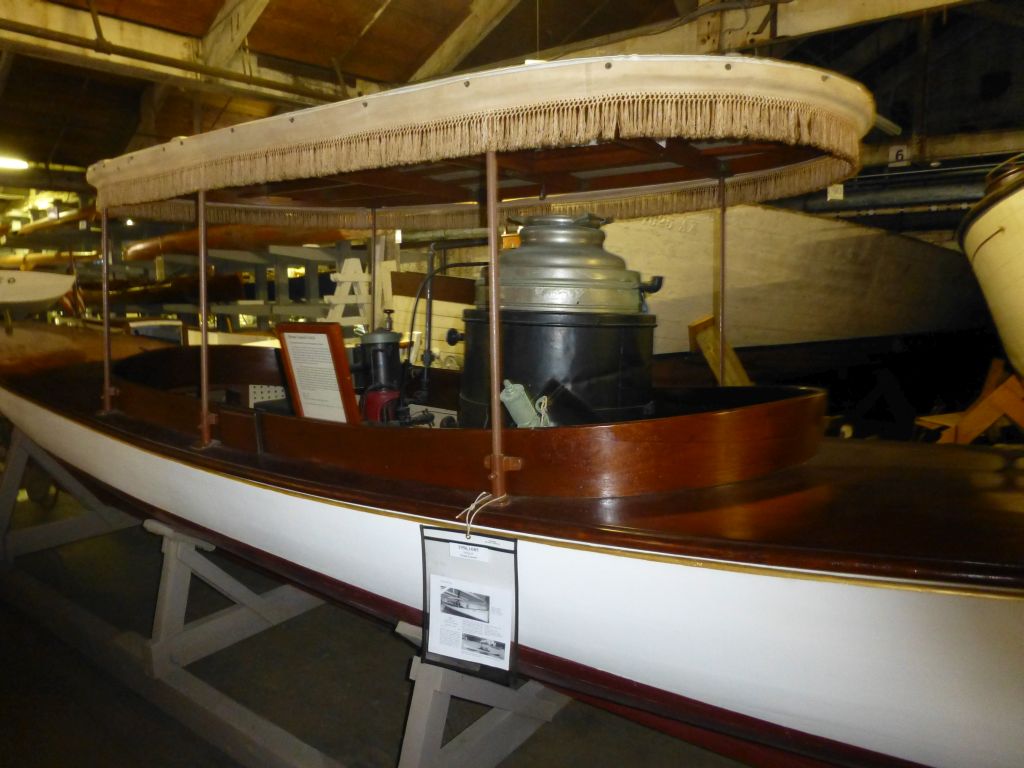
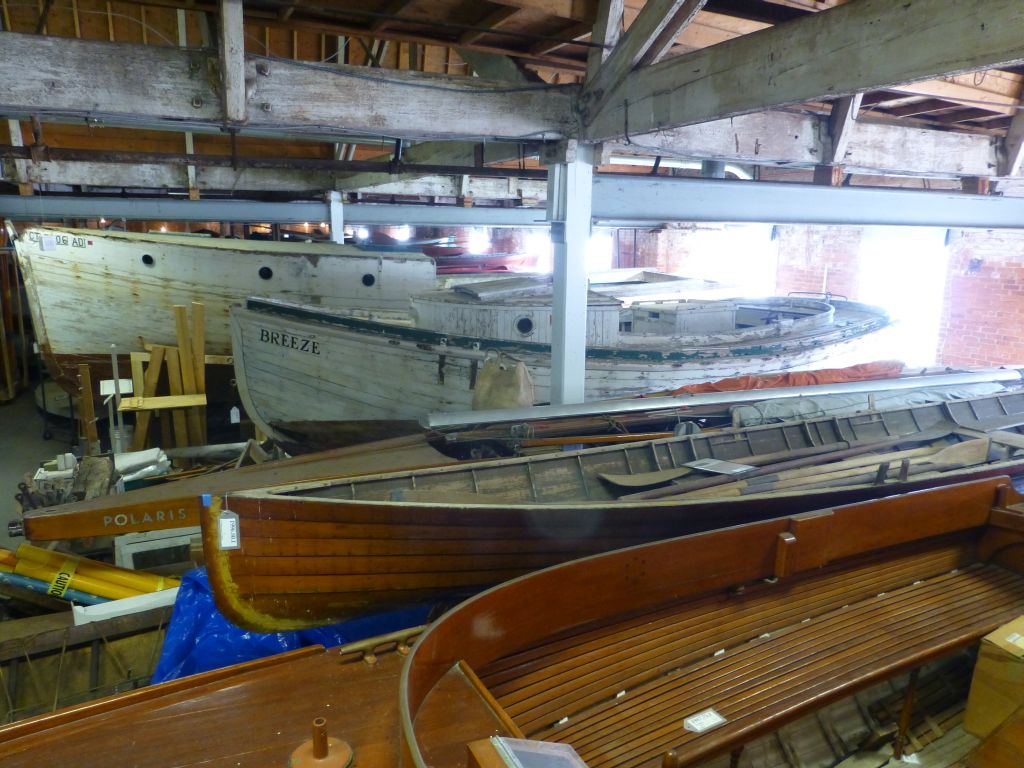
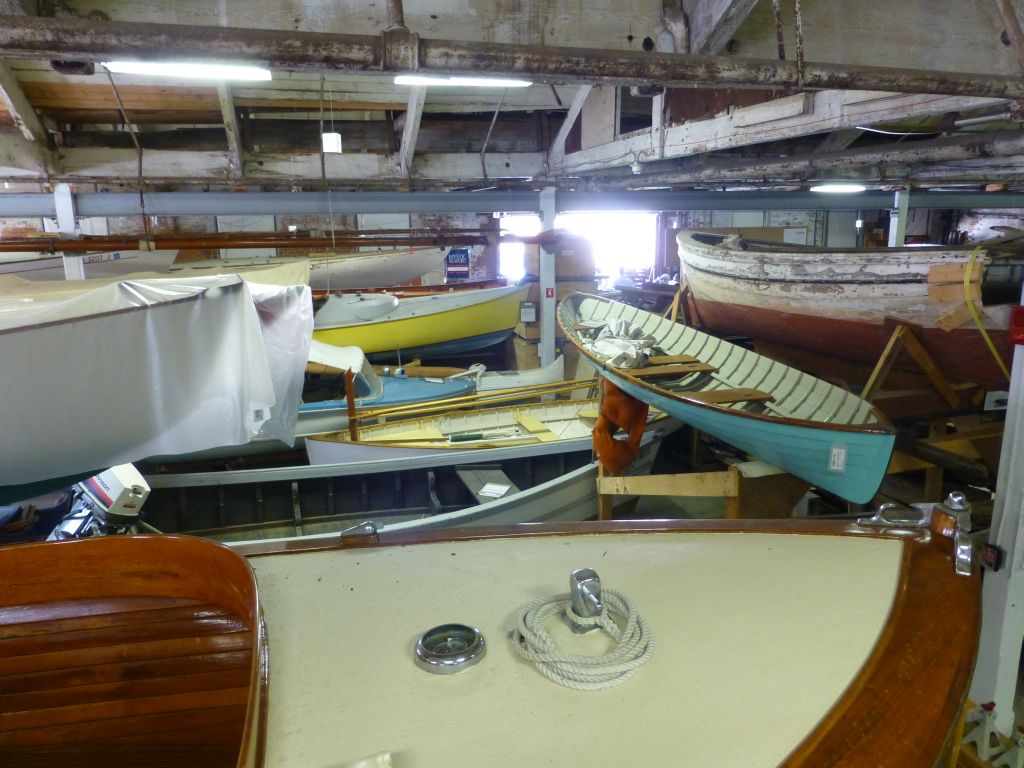
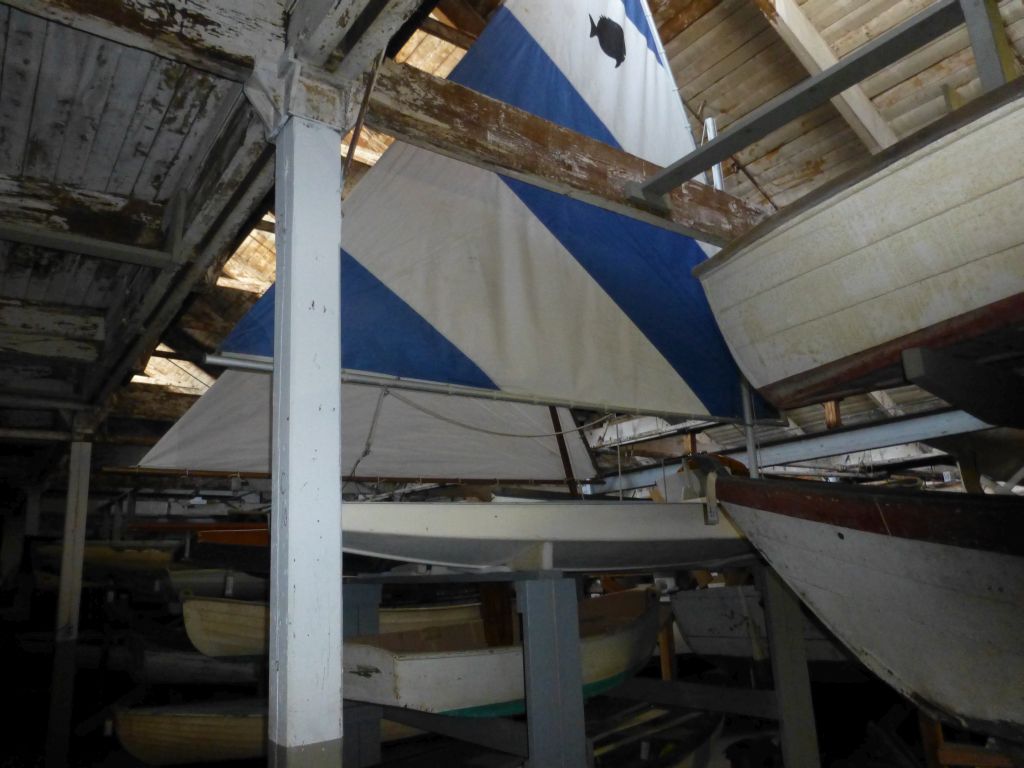
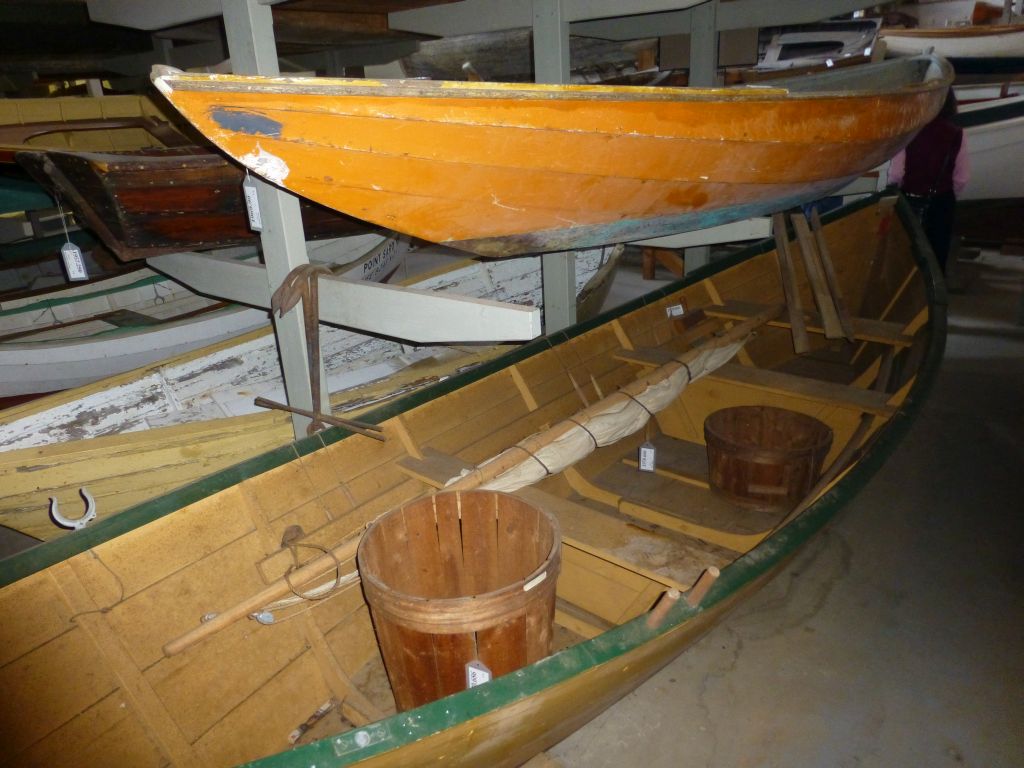
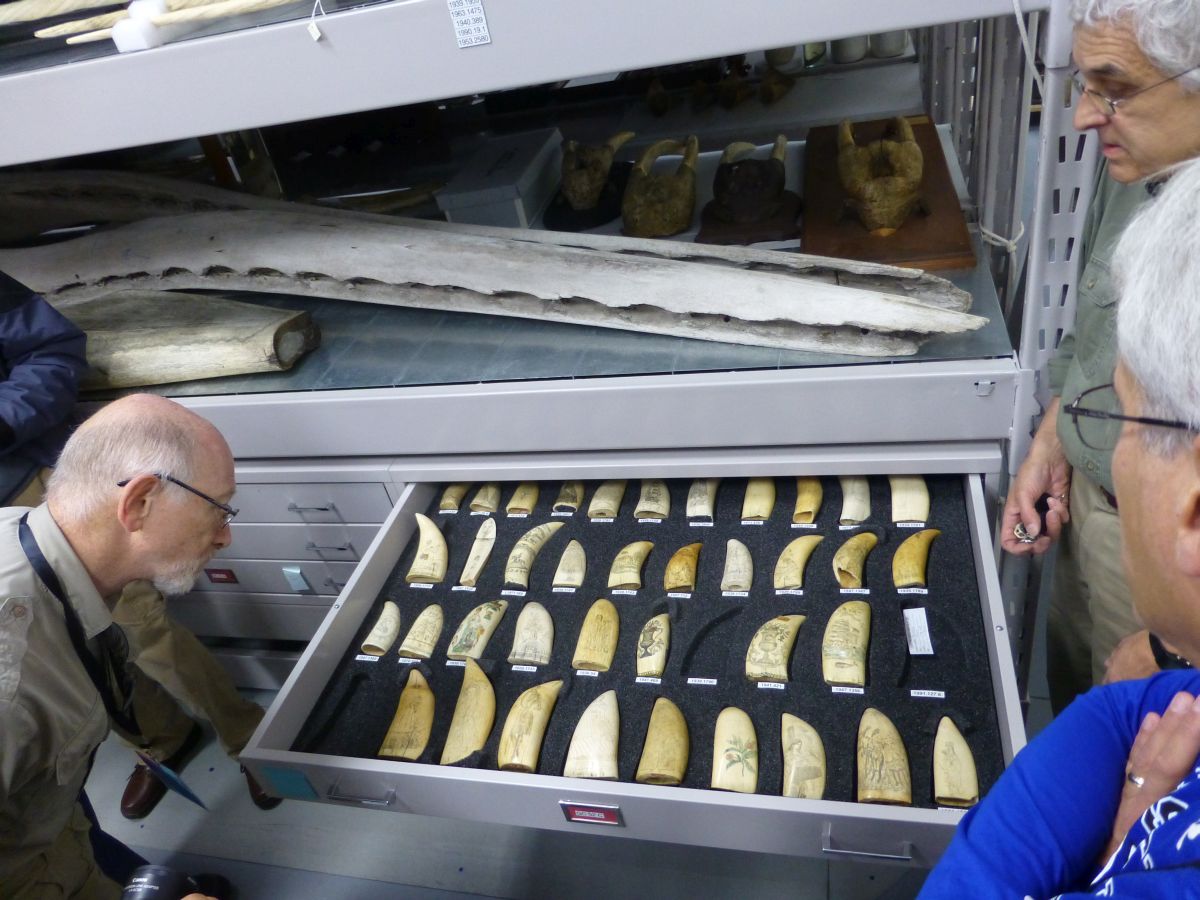
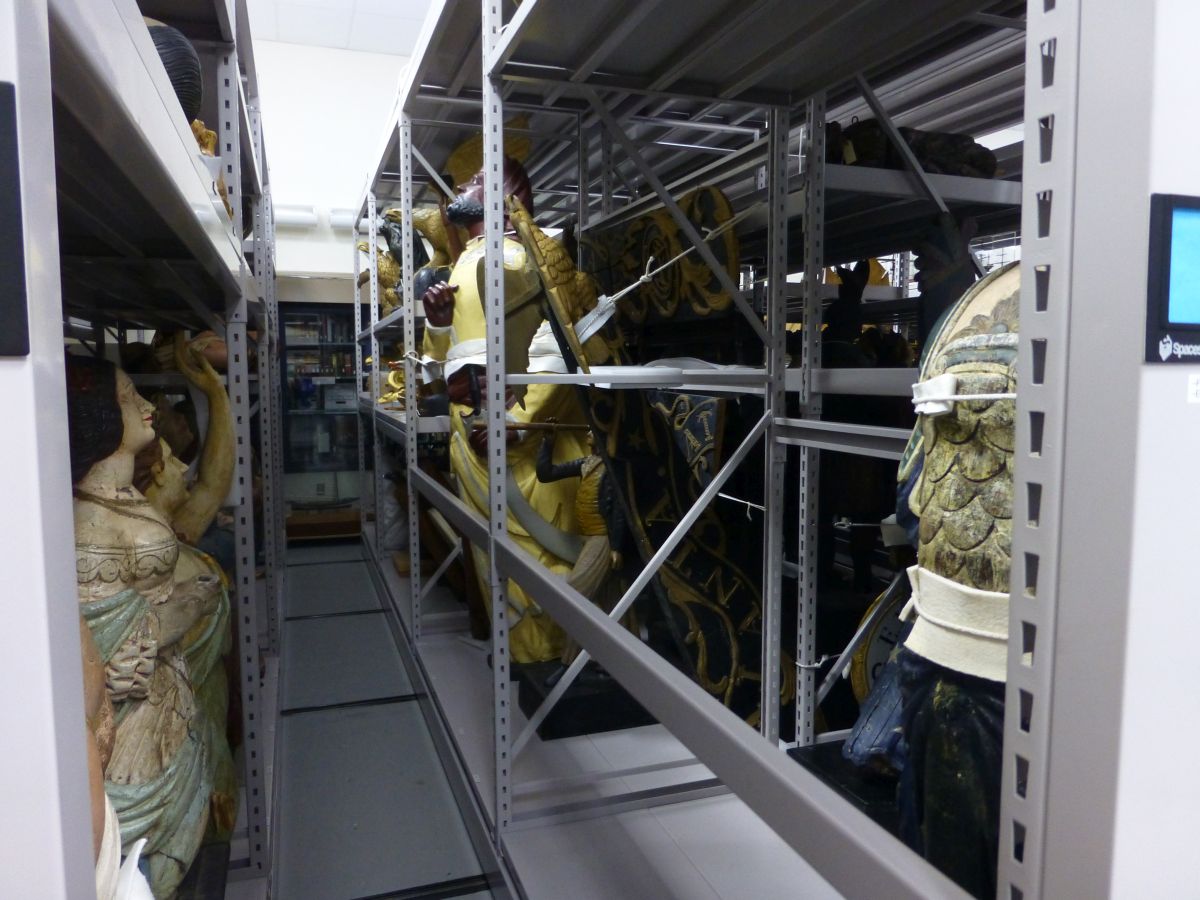
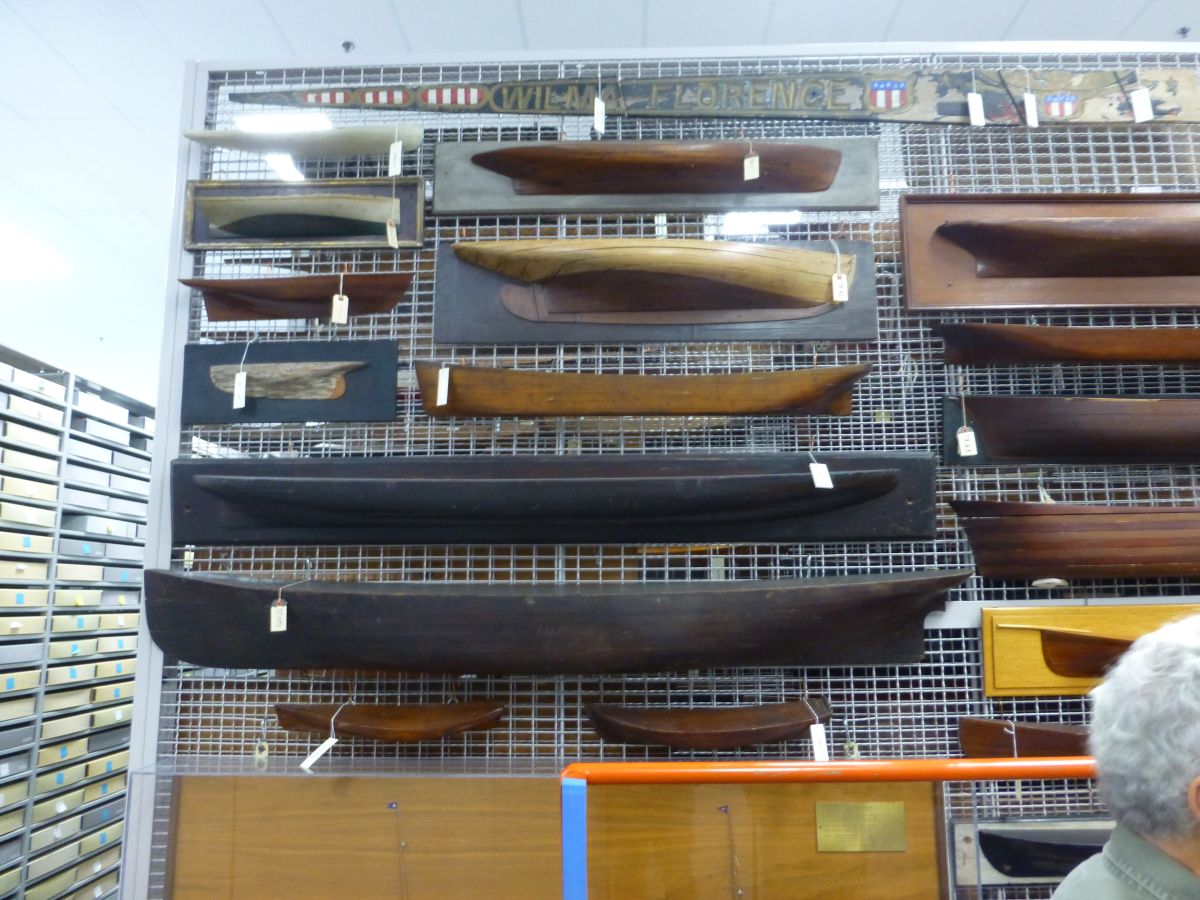
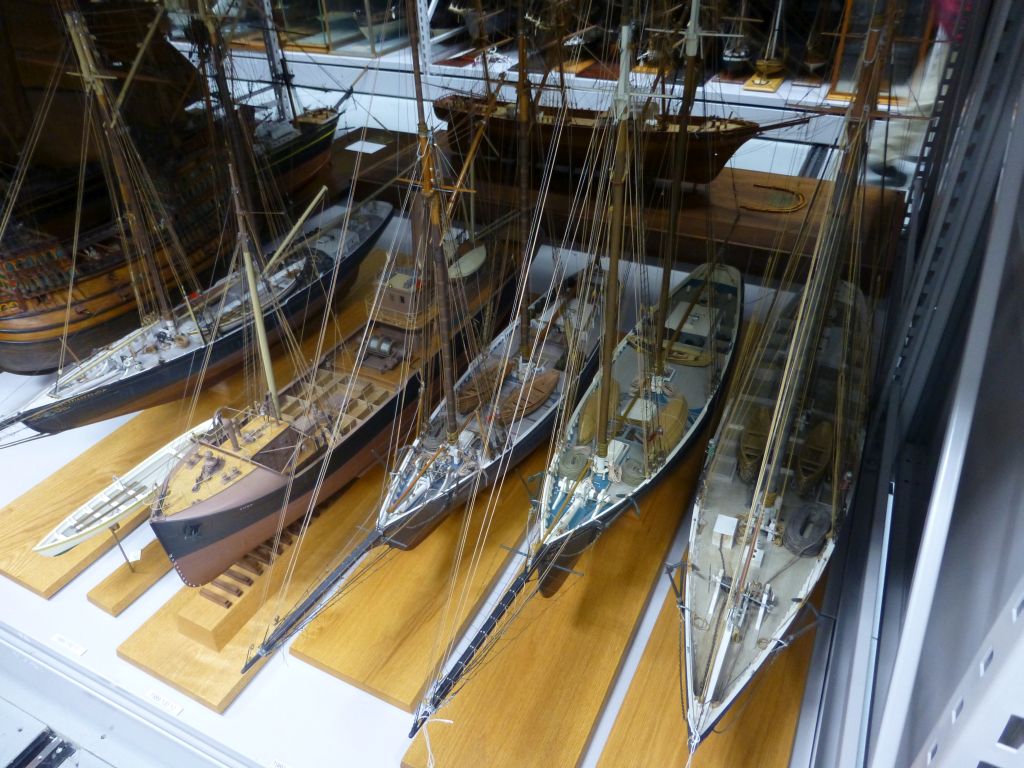
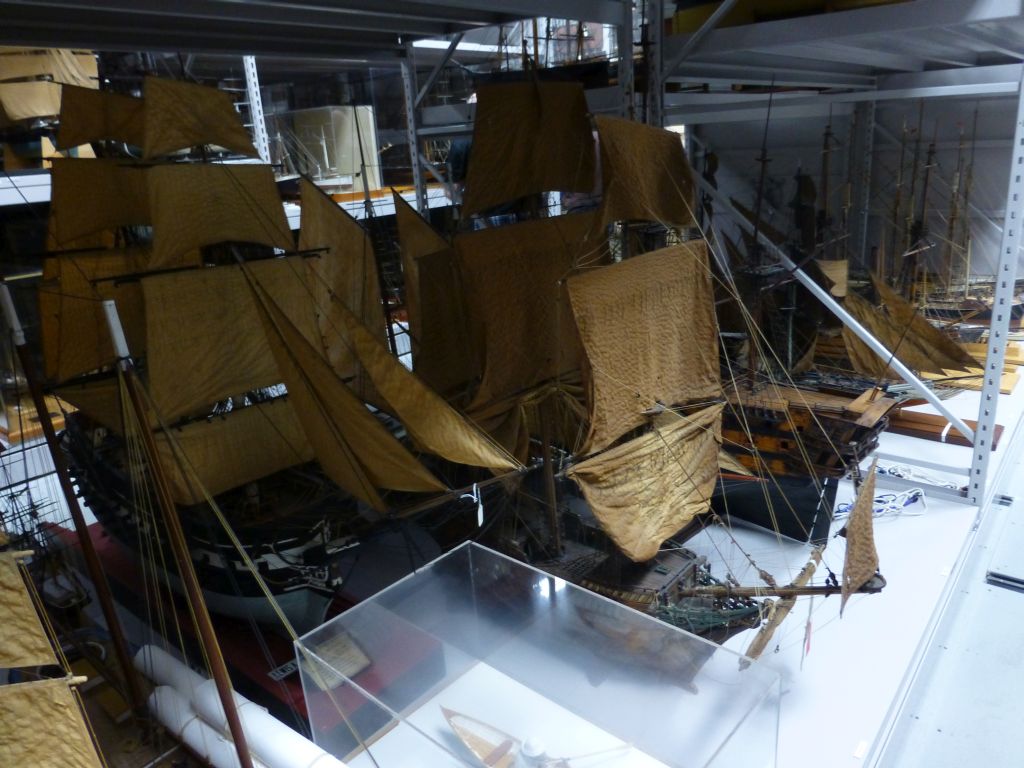
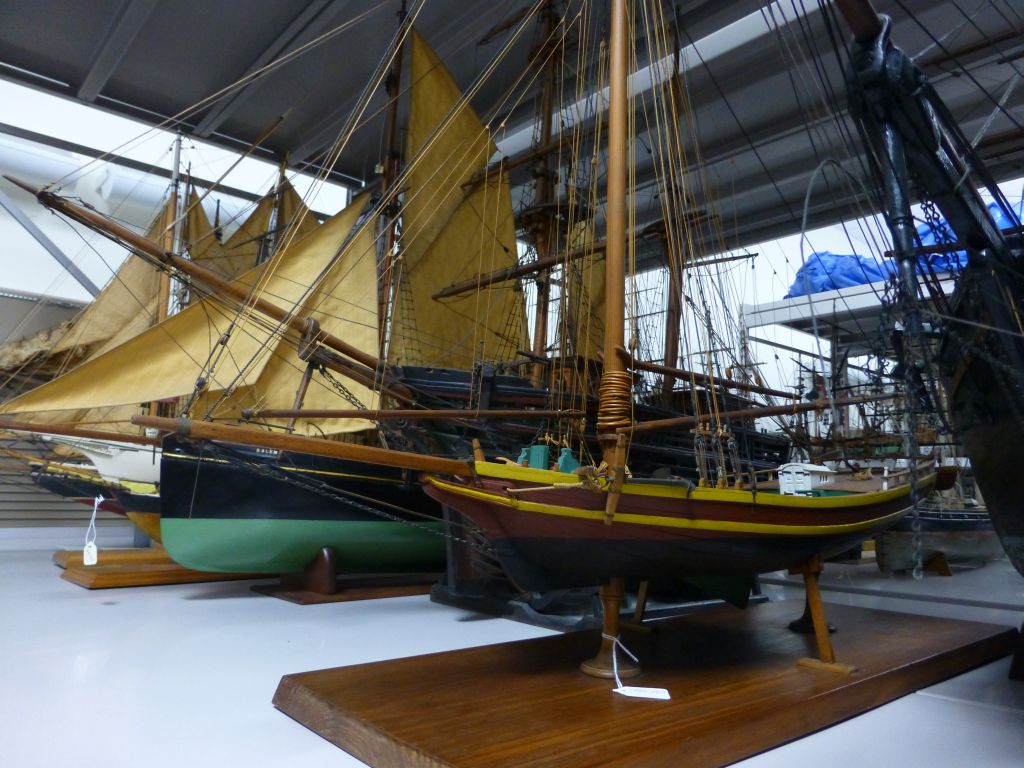
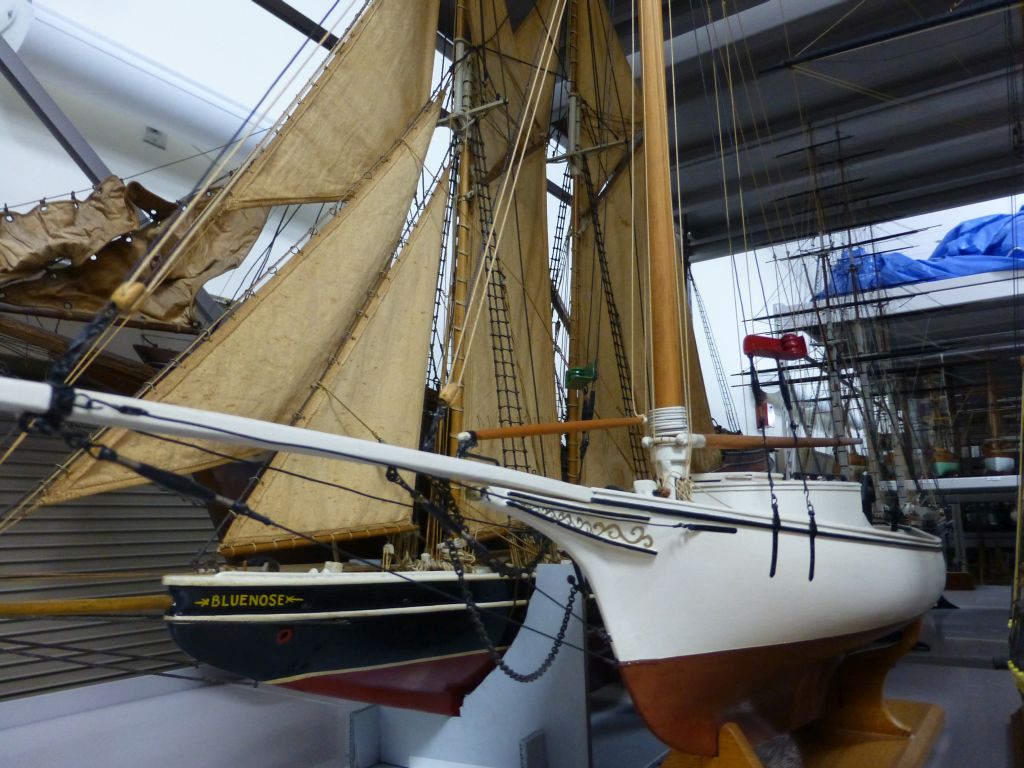
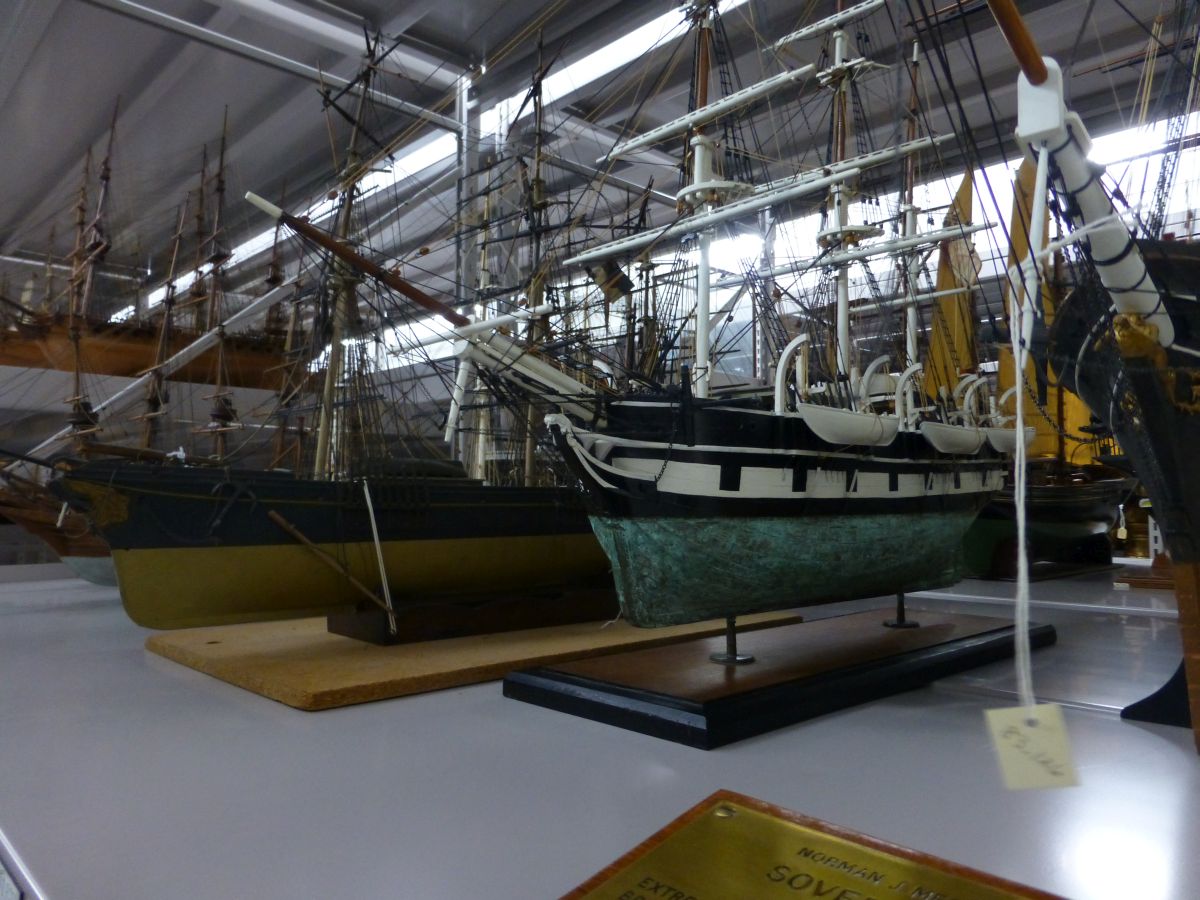
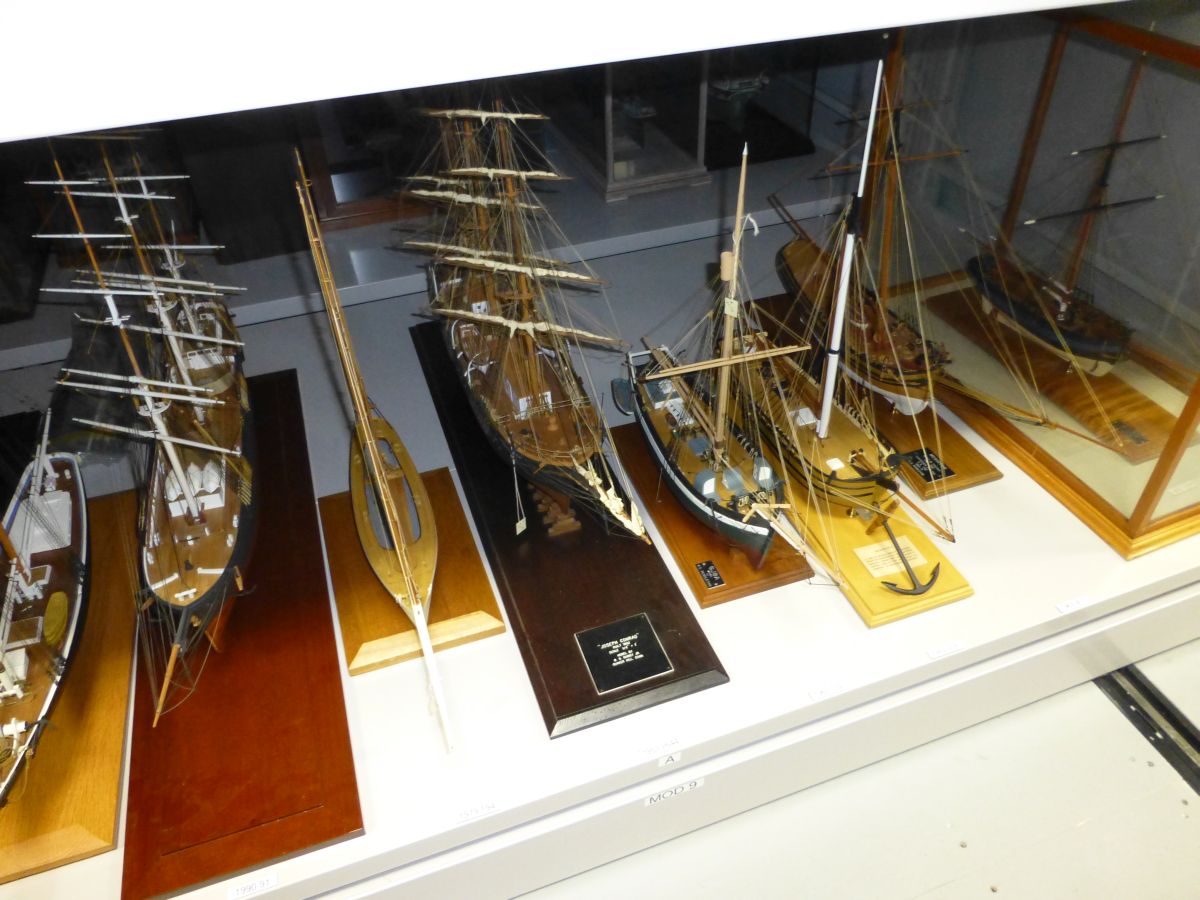
Included in the vault were scrimshaw, figureheads and half hull models. We only saw a fraction of their collection. You wonder what was in those file cabinets.


- hollowneck, UpstateNY, dgbot and 11 others
-
14
-
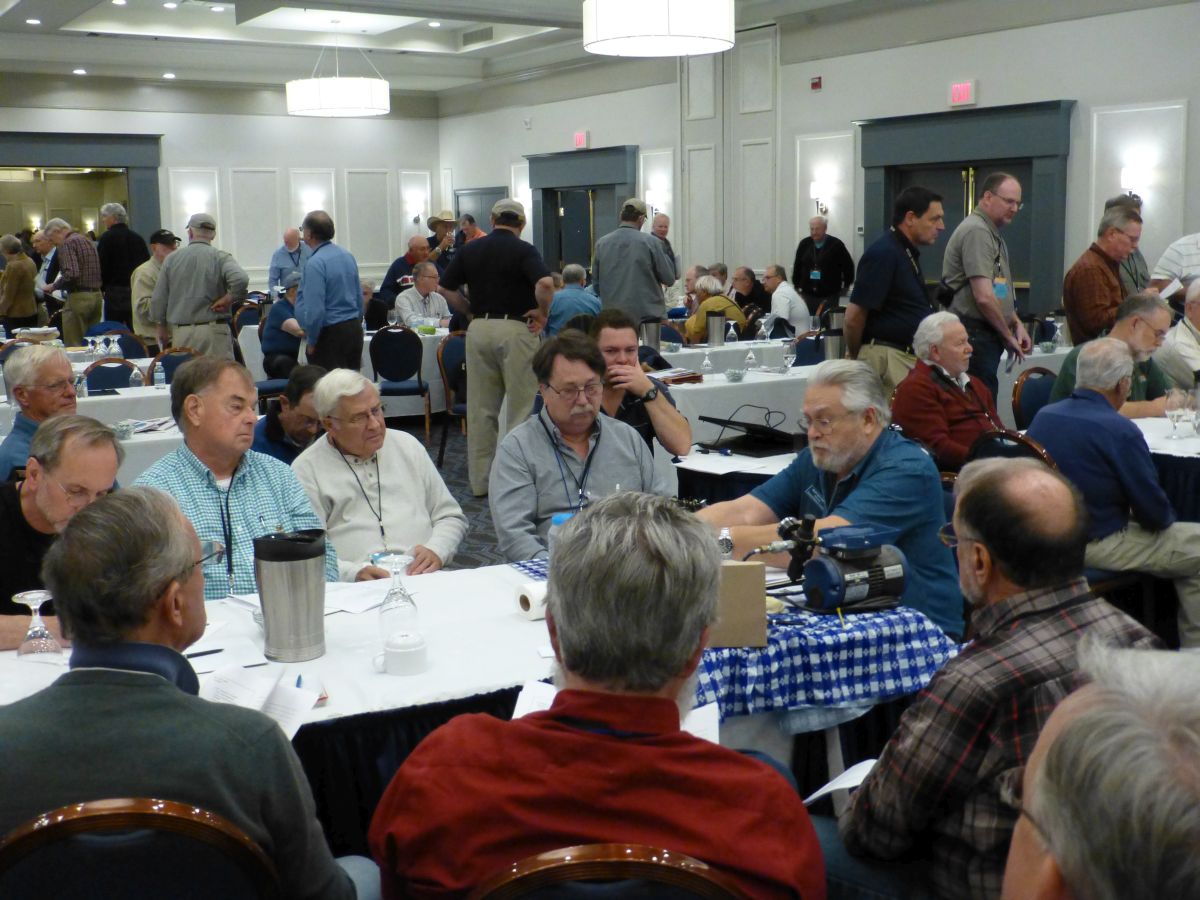
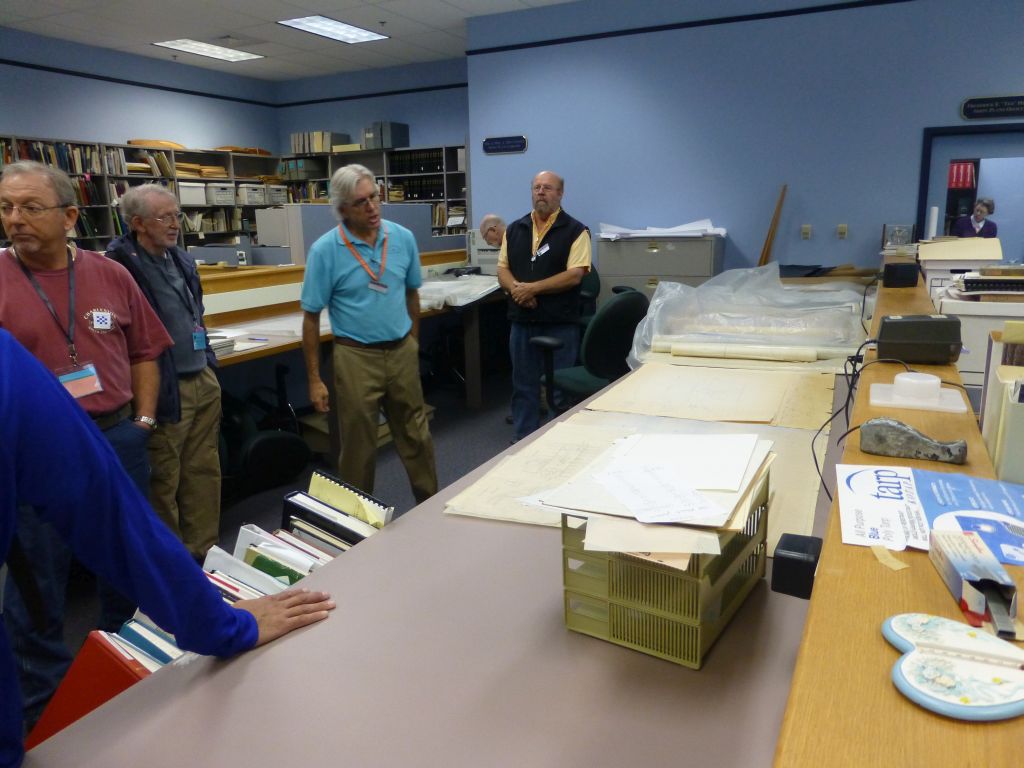
I was fortunate to be one of the MSW members who attended the NRG Conference in Mystic Connecticut. It was the best attended NRG Conferences that I have attended. I met many of the MSW members who were in attendance and saw many of my ship modeling buddies that I have met over the years. The speakers were excellent and I enjoyed everyone of them. I liked the workshops and I learned many things that I will use on my models.
The hard work that the Directors and Officers of the NRG who planned this Conference was appreciated by everyone who was in attendance.
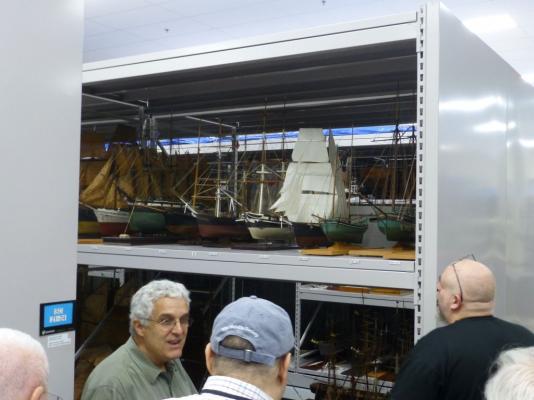
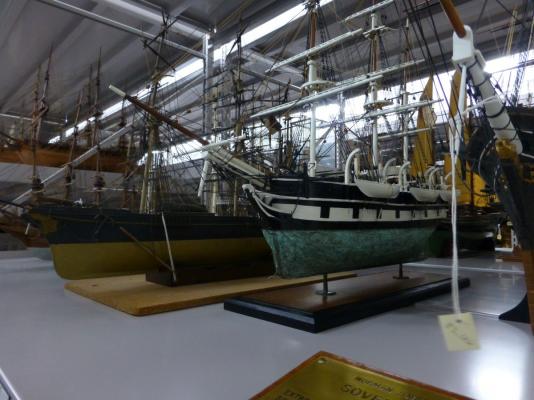
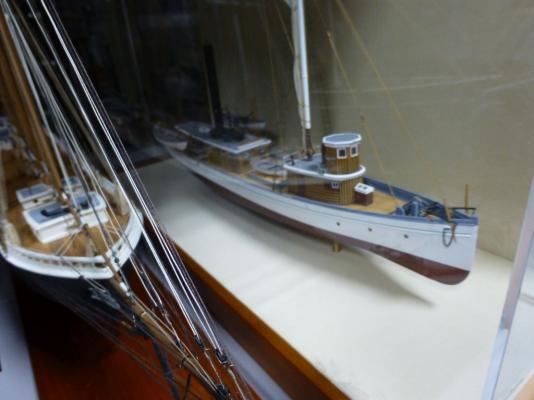
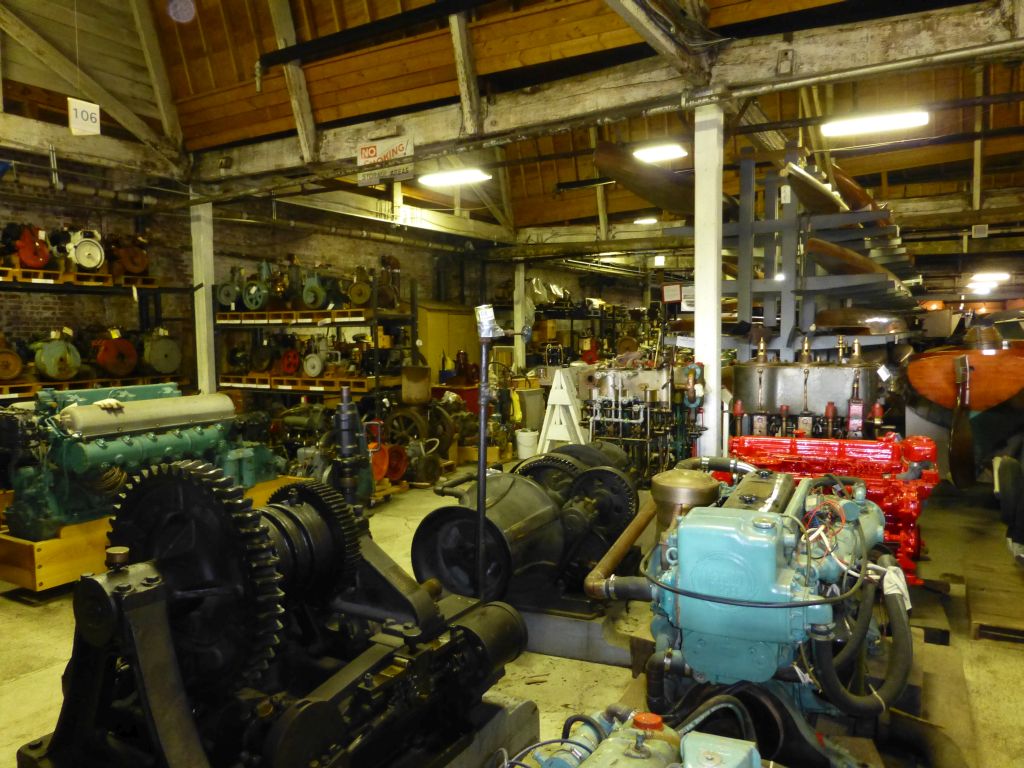
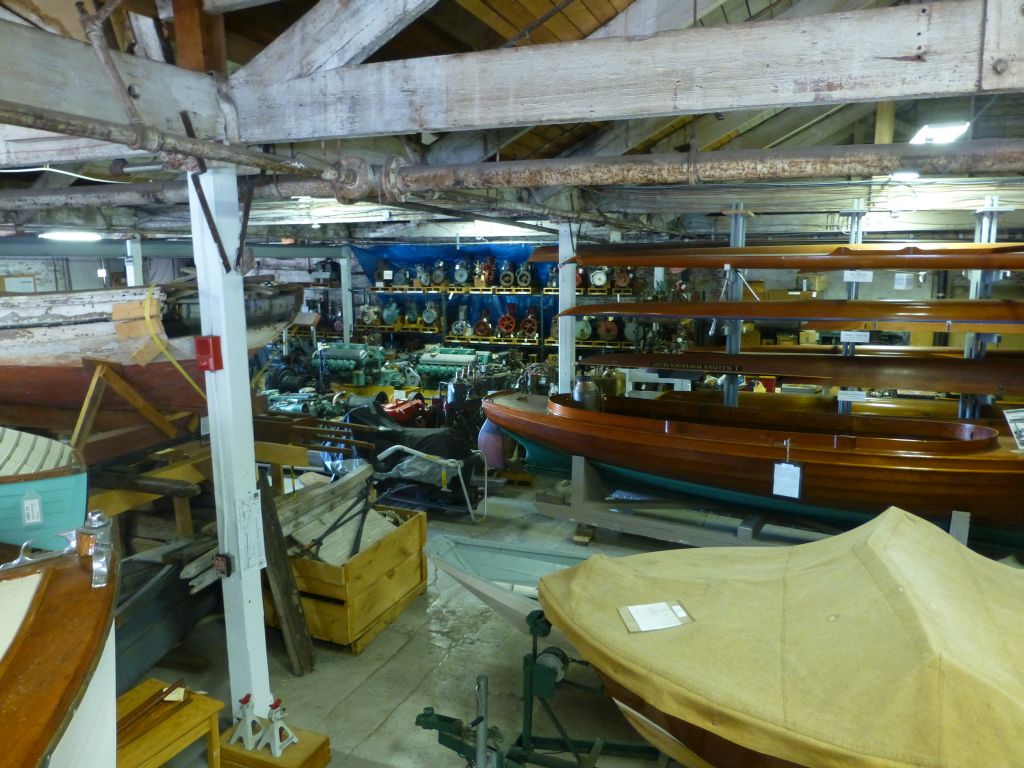
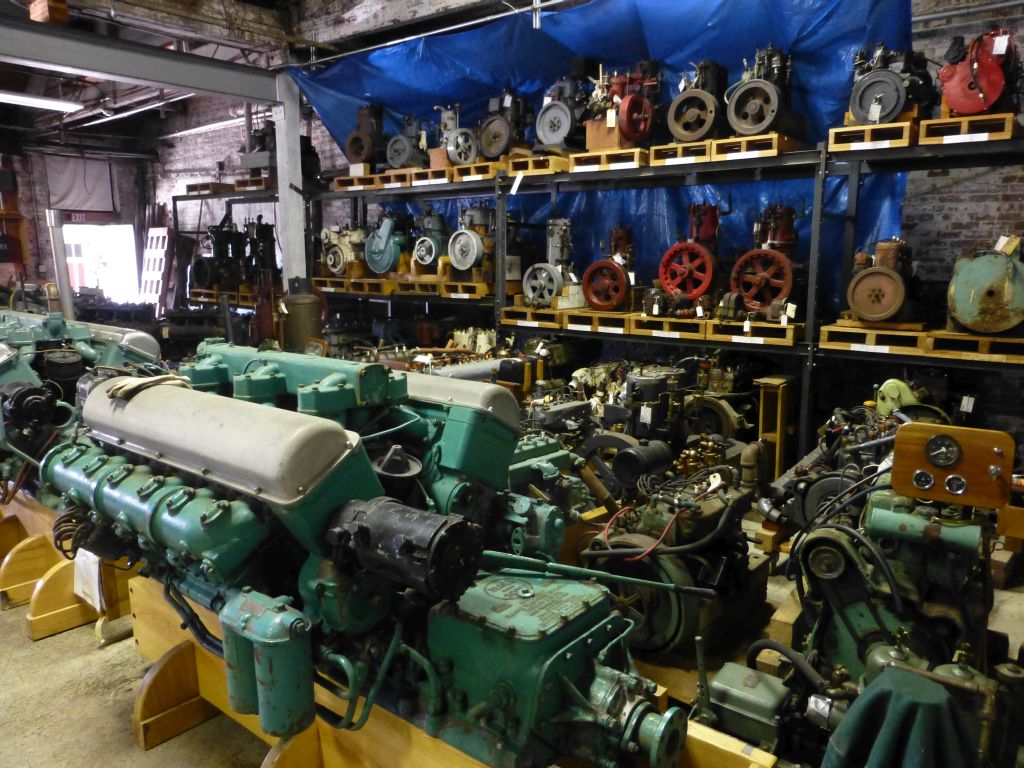
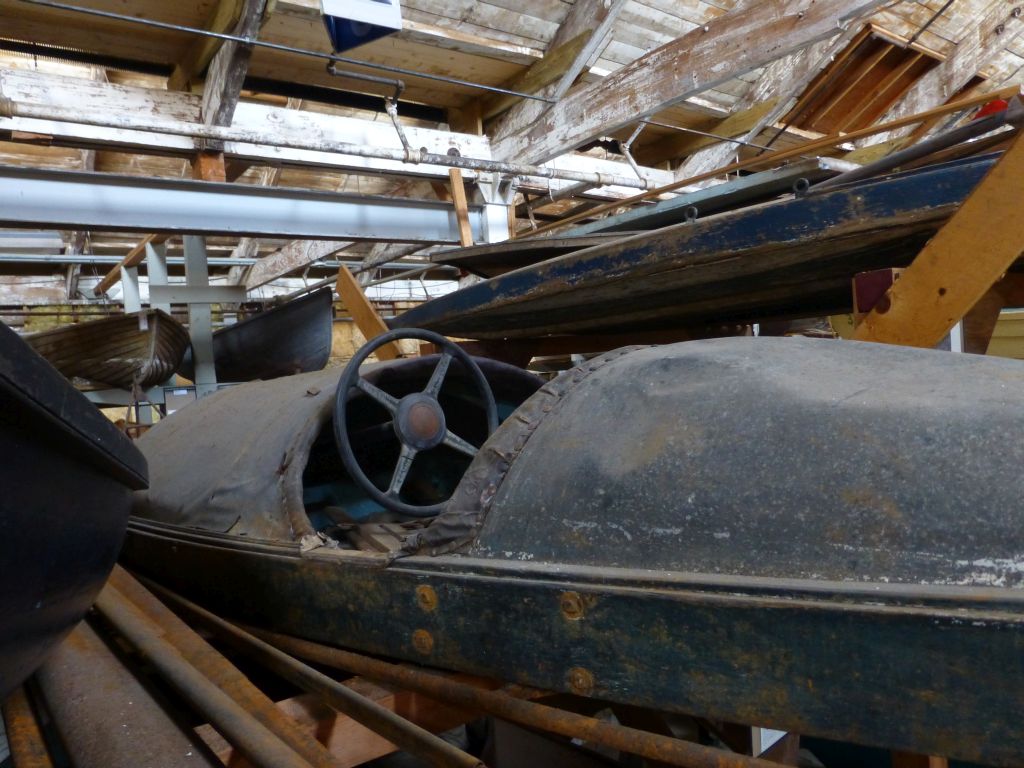
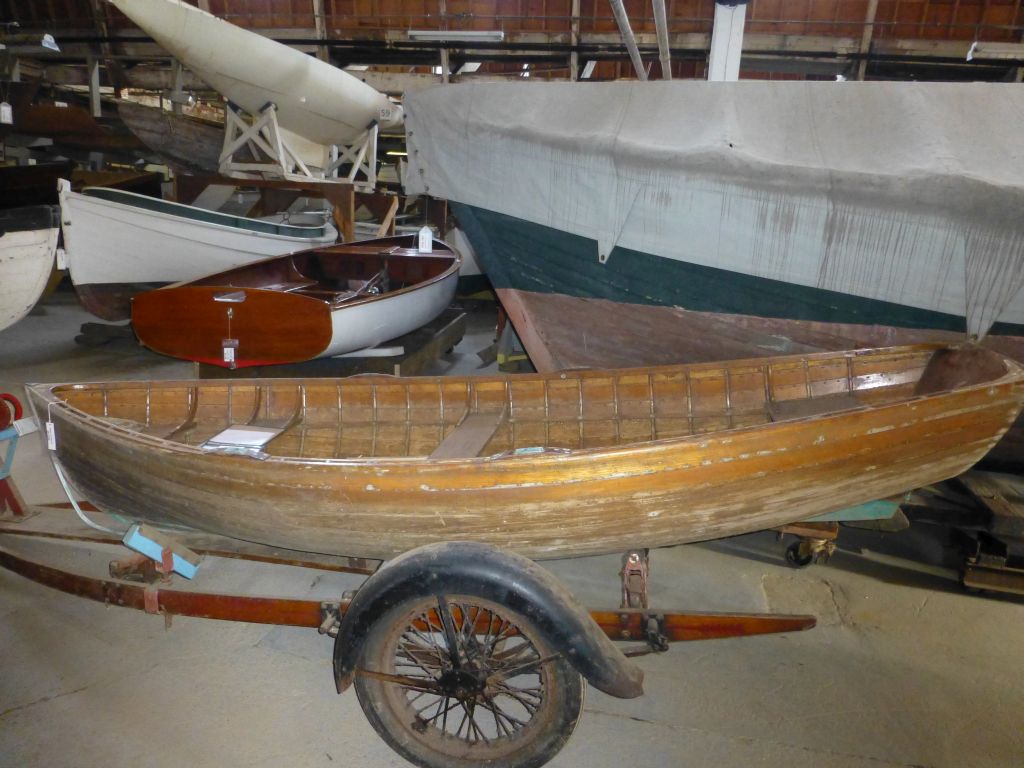
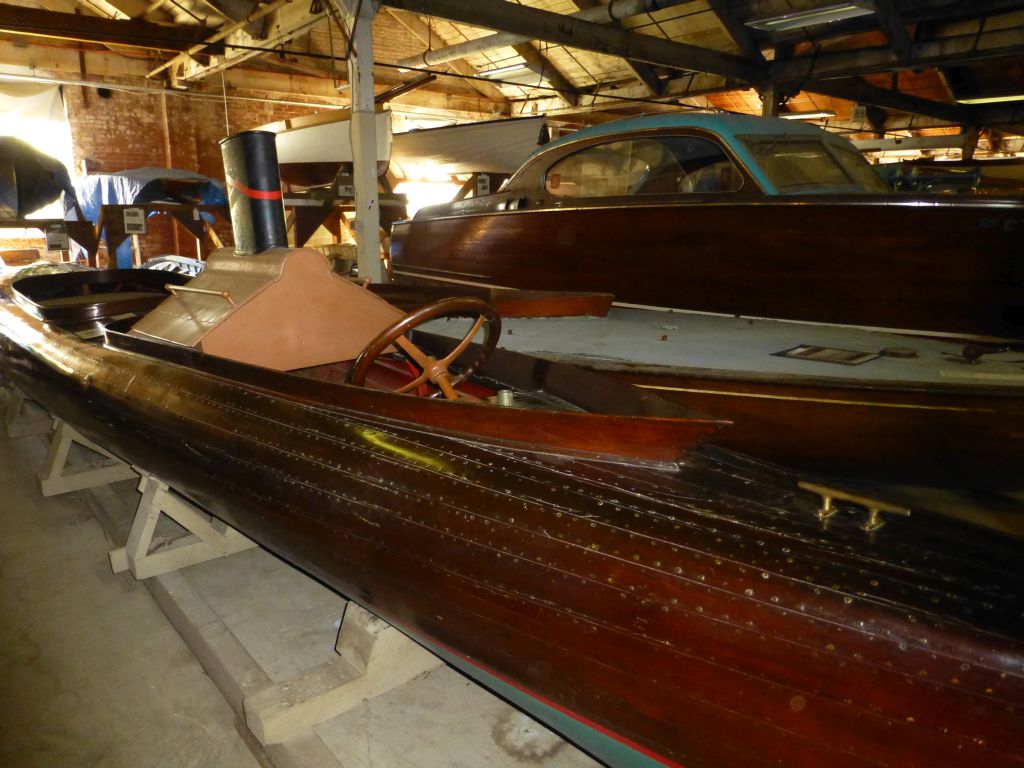
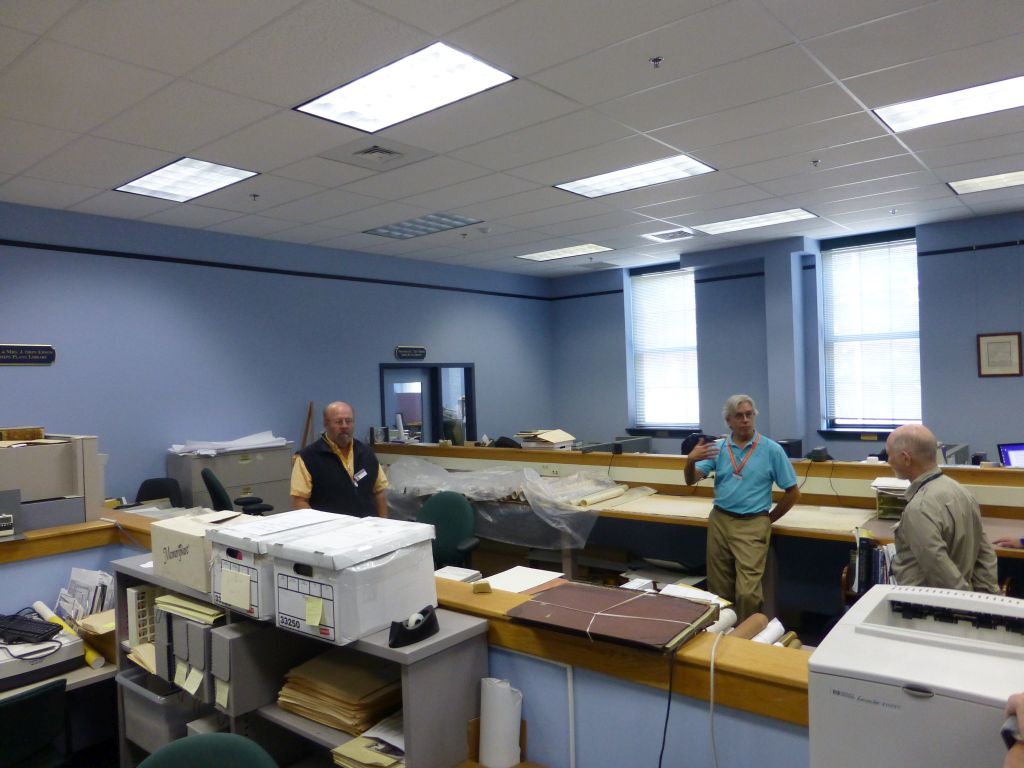
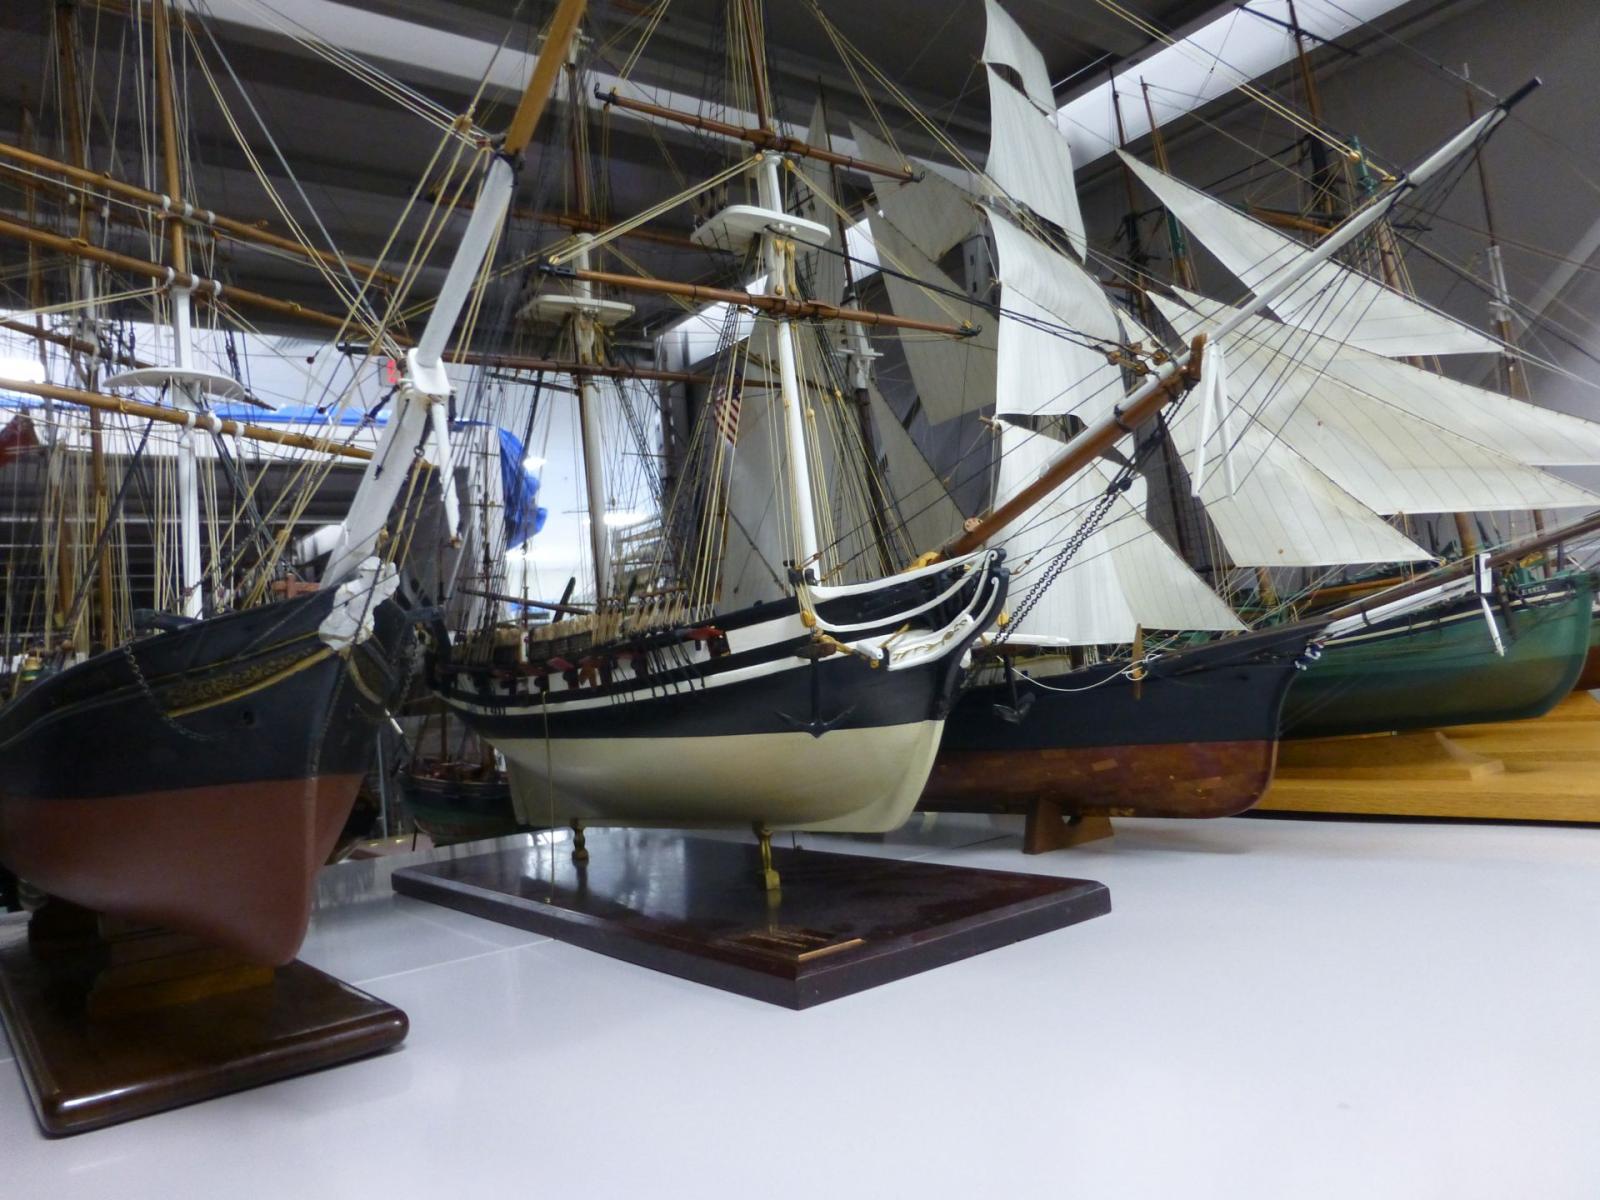
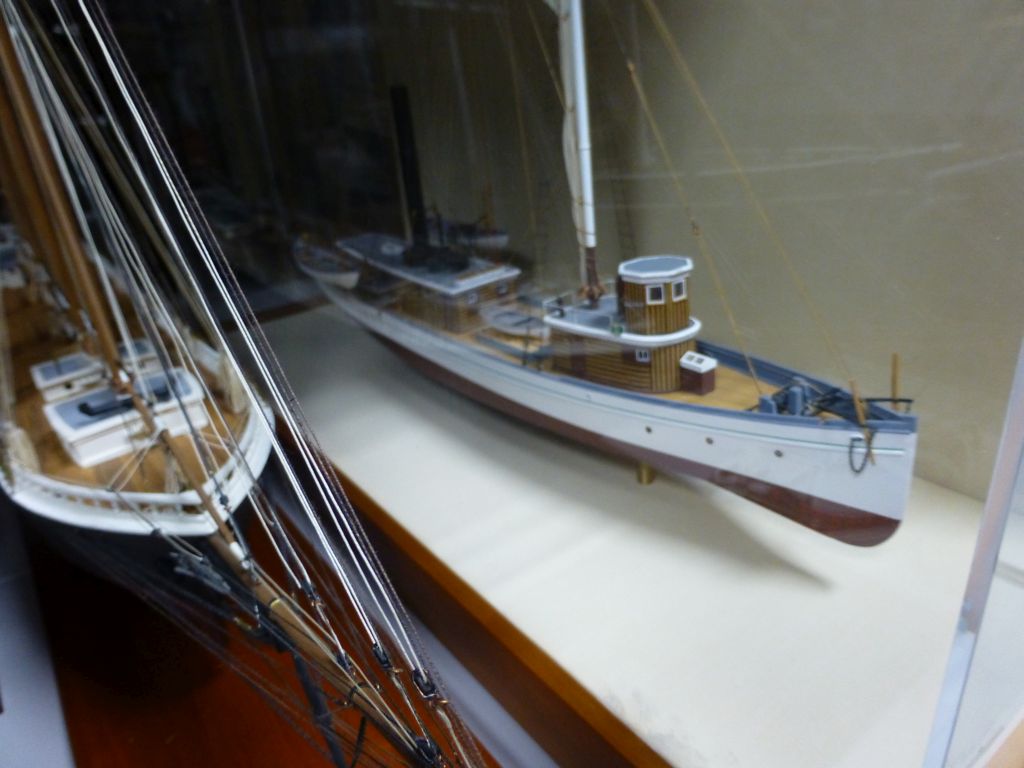
On the Thursday tour, we went to the Mystic Seaport. Each tour session took you to areas that were not open to the general public. I especially liked the tour of the Collections Department. This tour took you into the vault where the models, scrimshaw, figureheads and other items were stored. I took many pictures with my basic point and shoot camera. I only wish I had a better camera and more time to spend in the Collections vault. We were only in the vault for about 30 minutes. Here are some photos:
This is where the collections are housed. I have always wondered what was in this building.

There are hundred of models in this vault. The file cabinets are on tracks and you turn a wheel to move a whole row of file cabinets. The Museum is very selective on which models they accept into their collection.


-
Holy crap. Spend the time to look at that Royal Caroline. It has crazy stuff like this:
Incredible amount of detail on these models. This website is a must see.
- Jack12477, shihawk, Landlubber Mike and 3 others
-
6
-
-
-
Good job on the belaying pins. I am going to use your method on my build. Thanks for sharing.
- Canute, CaptainSteve, Erik W and 2 others
-
5
-
Congratulations on completing your AVS. You did an excellent job building this model. Thanks for posting the pictures. They show a lot of detail of your build.
-
The late Bob Comet of the Hampton Roads Ship Model Society built many models where he left one side unpainted to show the detail of his wood working. You can see pictures of his models on the Gallery pages of the HRSMS website by clicking on the following link: Bob Comet's Ship Models
He was a true craftsman, loved to teach ship modeling and a true friend to all of the club members.
- CaptainSteve and ulrich
-
2
-
Thanks Marty, Bob and the "Likes". I appreciate everyone checking out my build log.
Marty, I look forward to seeing the photo of your Longboat. I like to study the photos of everyone's Longboat build.
Bob, I am flattered by your comment about my build. I have studied your build log and have used your techniques throughout my build. If my build comes out half as nice as yours, I will be really pleased. Your build has set the standard for Longboat builds.
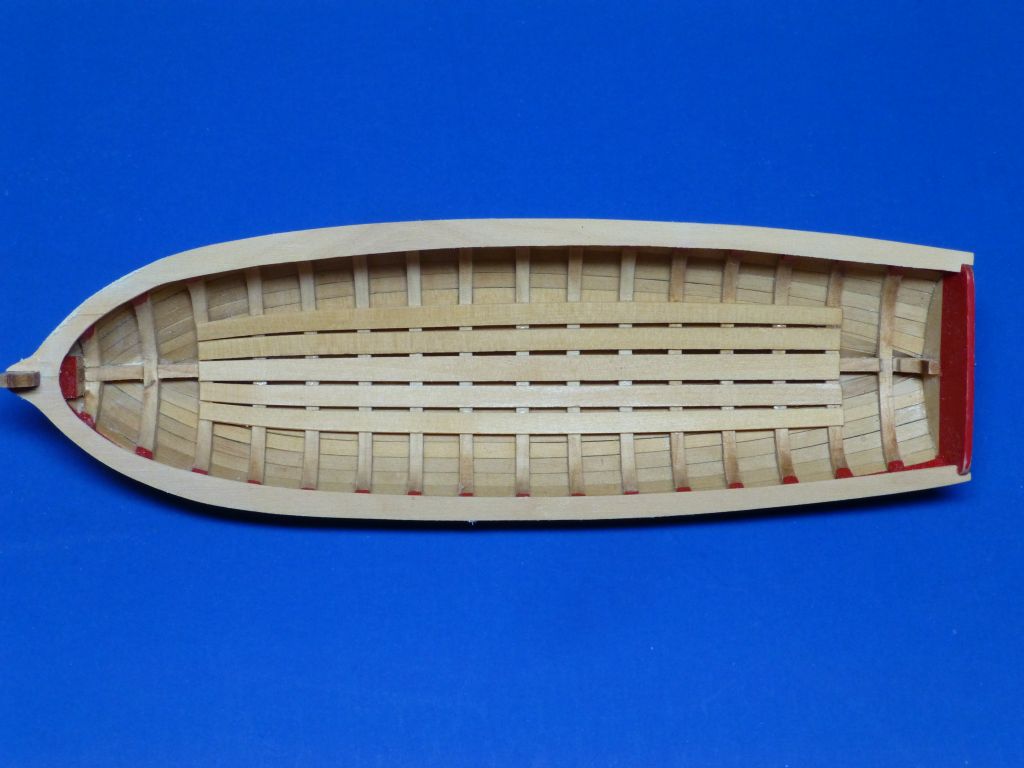
I have completed the rear platform and the forward wall of the locker. I used BobF's method of making templates to cut out the platforms. The templates really help to get a good fit.
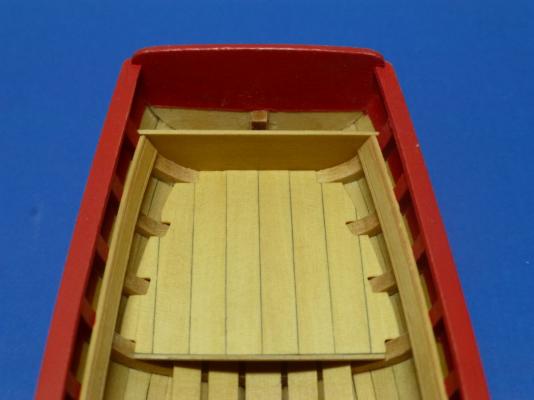
Here is a picture of the overall look at the interior of my Longboat.
-
Ryan,
Nice job on the forward platform. It is way better than your first attempt. The platforms are difficult to make as you try to get the proper fit.
Keep up the good work.
-
Thanks Tom for looking at my Longboat. I would like to see a picture of your Pinnance with the stand.
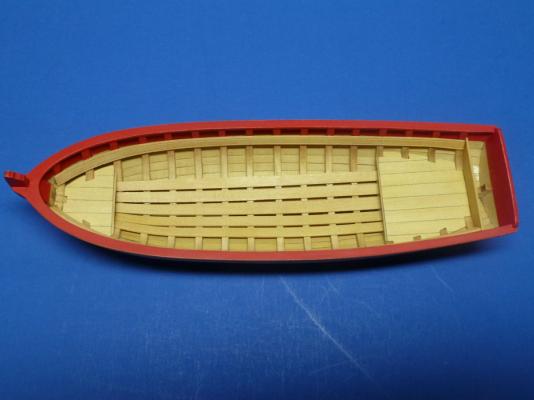
I completed the forward platform using the method that BobF used on his Longboat and here is a picture of what I have completed.

The forward platform is made of boxwood that I purchased from Jeff Hayes at HobbyMill. I am going to miss Jeff when he retires and closes his business as his wood makes my work look much better than if I had used the kit supplied wood. Here is a closer look of the forward platform.

I am working on the rear platform and will post pictures when I finish that part.
- justsayrow, Wishmaster, Jason and 8 others
-
11
-
Jack,
It was good hearing from you. Thanks for the comments on my Longboat. My photography skills are nowhere close to yours. I have enjoyed your Oseberg Viking Ship build log. I hope to see that model in person sometime in the future.
I really enjoyed the time we spent in St. Louis talking about ship modeling and I look forward to seeing you and your wife in Mystic next October.
-
Tim, Michael and Alistair and all of the "likes", thanks for checking out my Longboat Build Log. I have not had much time to work on it in the last two months as I have been extrenely busy at work with the acquisition of another dealership group that will increase the number of our employees from 100 to 260 and add three new franchises to our existing franchises. I was able to slip away for several days to attend the NRG Conference in St. Louis, but I paid dearly this past week to make up the time that I missed. Hopefully, the long hours are behind me and I get get back to ship modeling and MSW on a regular basis.
Alistair, I have really enjoyed your Fly build. I like the way you aged your copper plates and I may use that process on my next build. I appreciate the way you go in great detail to explain your building techniques, which helps us all to learn.
Tim, I have watched you turn that solid block of wood into a finely detailed model of a PT boat. Keep up the good work.
Michael, I have enjoyed your builds of your large scale models. They are as close to the real boats as you can get.
I hope to get the floorboard installed shortly and then it is on to the thwarts. That will just about complete the interior of the Longboat.
-
Dan,
It was great seeing you and your Longboat at the NRG Conference in St. Louis. You have done an excellent job on your Longboat. I took a lot of pictures to aid me in the build of my Longboat. Keep up the good work.
-
Thanks Dave for your comment. I really like your work and you have a very interesting website.
I have been able to get in some more work on my Longboat. I thinned down the cap rails to approximately 3/32” wide. I really like the look of the thin cap rail. I painted them with Badger Model Flex Marine Colors Bulwarks Red. This paint lays down nicely and leaves no brush marks. I then made the risers. I used a balsa cutter that I got from Micro Mark to scribe the lines in the riser.
Next up is to make and install the floorboards. I plan on using BobF’s method as he described how to make them in his Longboat Build Log.
The picture has the Long boat sitting on a 3/8” thick mahogany base that I made last weekend. Tim Wood held a work session at his house in Virginia Beach for members of the Hampton Roads Ship Model Society. I brought my new Byrnes saw and between the saw and Tim’s wood working tools, the end result was a very nice base for my Longboat to be displayed on. Thank you Tim for hosting this event.

-
Per,
It looks like bulkheads E thru H at the bow need to be faired more. I took quite a lot of wood off of the leading edge of these bulkheads so that my planks would lay flat against the frames. Fairing of the bulkheads produced a natural sheer line at the bow on my Longboat.
- Stuntflyer and Nirvana
-
2
-
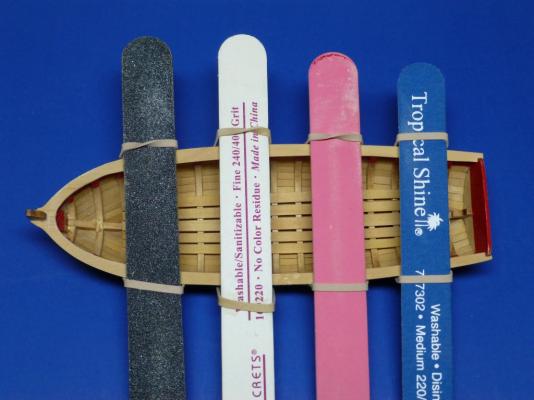
Thanks Jim. In the dry fit of the cap rails, I used a ¼” square piece of basswood. It moved around too much for me. I then saw the sanding sticks on my workbench and tried them. The fine grit keeps them from moving.
Pops, thank you for your comment. I am sorry to see that you have put your Longboat on hold. I have really enjoyed following your Build Log. I know that you learned a lot from your Longboat build and this will help you on your Bounty Launch.
Thanks also to all of the “likes”. I appreciate you looking in on my Longboat build.
-
I have done a little more work on my Longboat. I painted the frames and inboard planking using Badger Model Flex Marine Colors Bulwarks Red paint. I like this paint and it left no brush marks. A special thanks goes out to Kurt Van Dahm for recommending these paints.
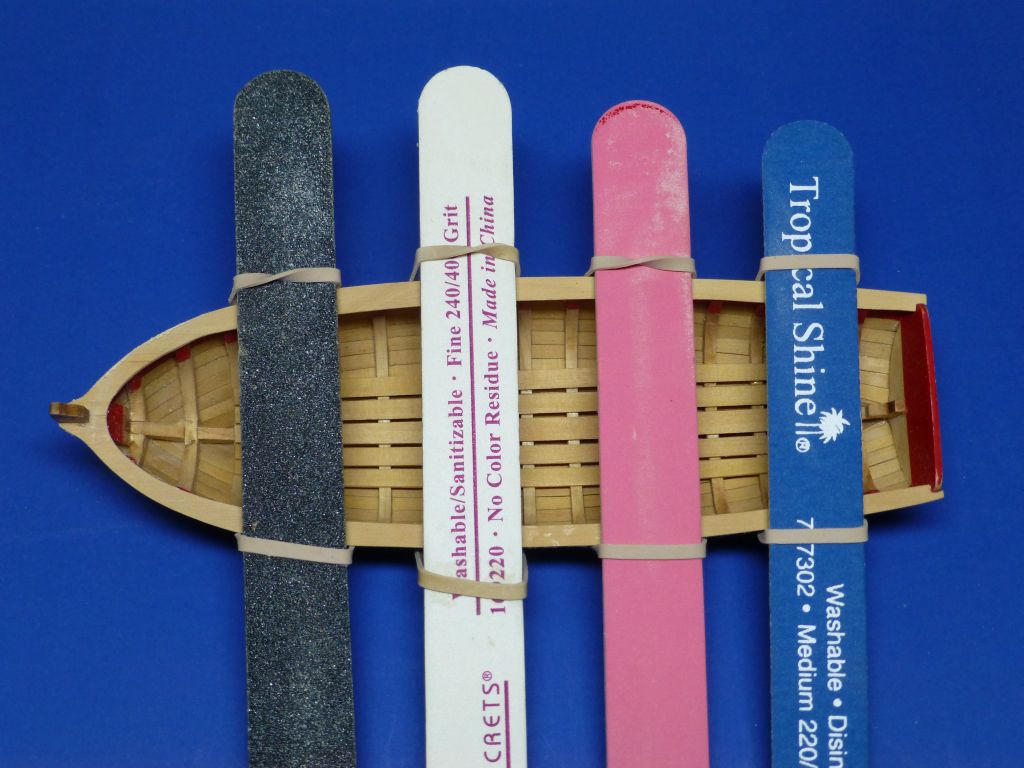
I then cut out the cap rail from a sheet of boxwood. I cut it over sized but made it fit at the stem and the transom. This will allow me to thin it down once installed. I glued one side on using rubber bands and wide sanding sticks to keep the cap rail at a 90 degree angle to the planking. Once the glue set up I installed the other side using the same process.
Here is a picture of my process:
Here is a picture showing the over sized cap rails installed. They will need to be thinned down to approximately 3/32".


bench vise
in Modeling tools and Workshop Equipment
Posted
Good choice. I have this same vice and I have really enjoyed using it. I mounted mine on the PanaVise 312 base. Here is a picture of the base and the product description:
The PanaVise 312 Tray Vise Base Mount is a cast aluminum base mount that helps stabilize the vise and features six integral parts wells with rounded and sloped walls for easy parts retrieval. The PanaVise 312 includes six non-marring, anti-skid pads and has three 0.25-20 holes that are drilled and tapped on the outer lip for mounting accessories such as the 371 Solder Station. It is compatible with the 201 PV Jr. Vise and 300 & 305 Bases.