


Ryland Craze
-
Posts
1,570 -
Joined
-
Last visited
Content Type
Profiles
Forums
Gallery
Events
Posts posted by Ryland Craze
-
-
Welcome to MSW. I think the Swift will be an excellent kit to start with. Here is a link to some articles on planking in the MSW database:
http://modelshipworldforum.com/ship-model-framing-and-planking-articles.php
-
I like your version of the friezes and quarter galleries better than the model of the Minerva. Your design work and craftsmanship constantly amazes me.
-
Jonathan, I am real sorry to hear about your mother. My condolences to you and your family.
-
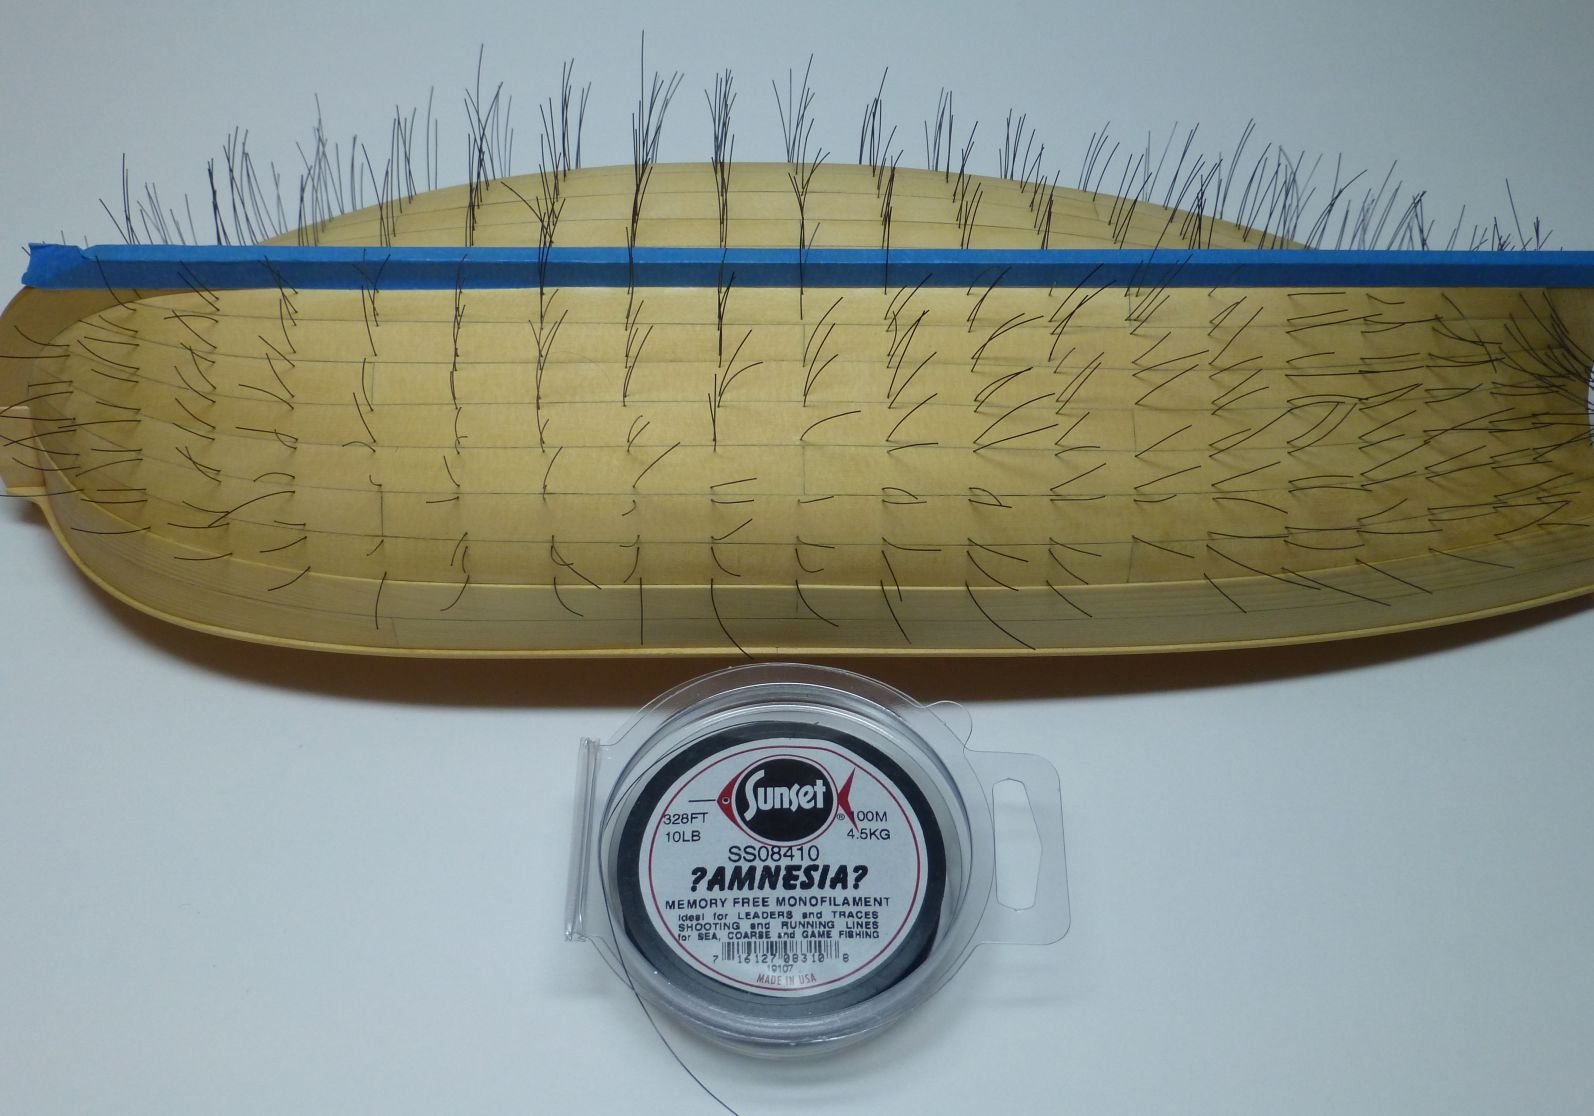
Thanks everyone for the "Likes". I finally finished installing the simulated nails using 10LB black monofilament line. I cut a short length of the line, dipped the end in some titebond glue and then inserted the glued end in the holes that I had previously drilled in the planks using a #77 bit. Once finished and the glue dried, I trimmed the monofilament line close to the plank using a sharp blade. I then gave the hull a light sanding and applied a light coat of Wipe On Poly. Here is a picture of the line before I trimmed it.

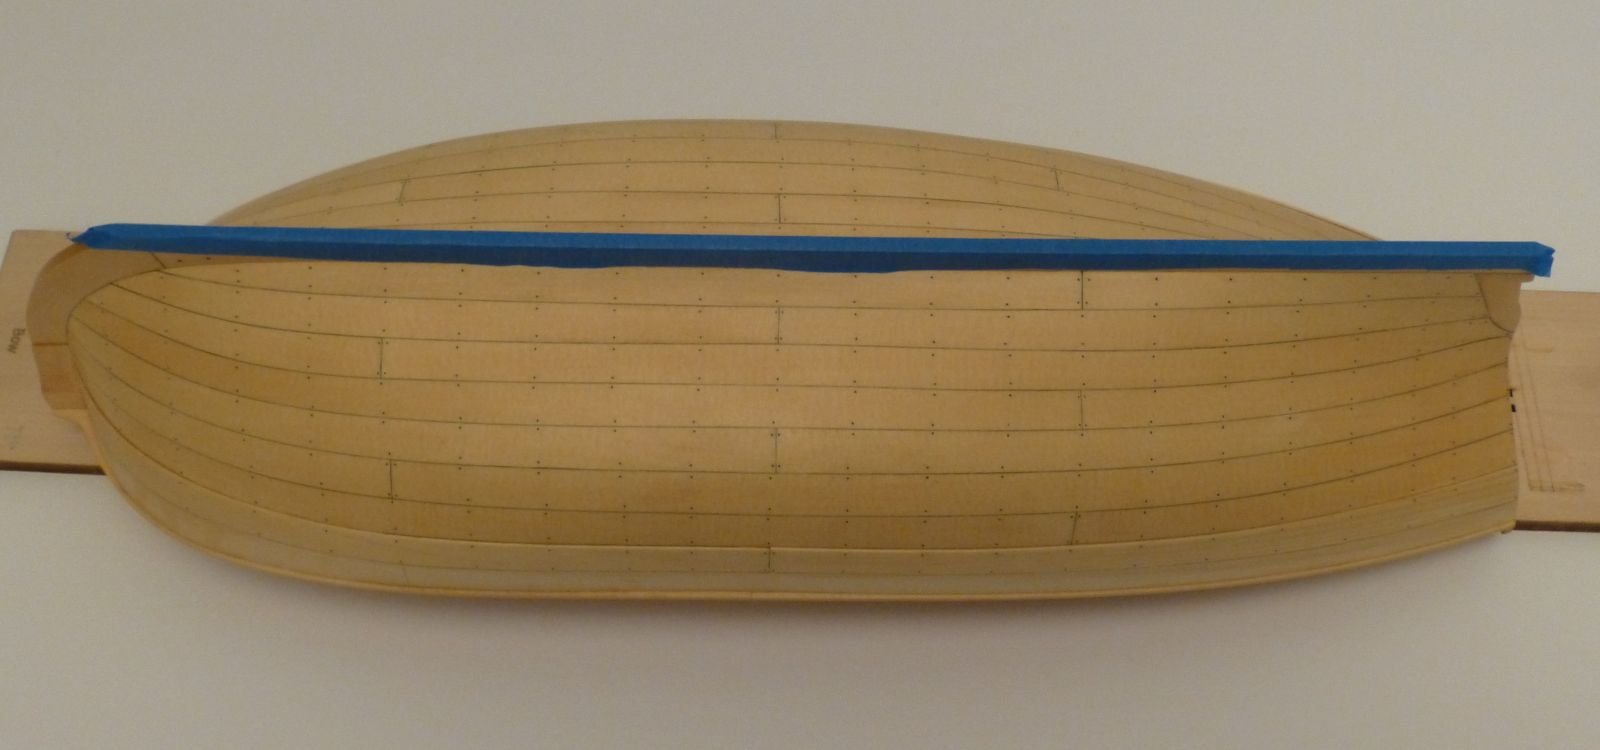
Here is the hull with the monofilament line trimmed and a light coat of Wipe On Poly applied:

I then sanded the inside of the hull and applied Wipe On Poly.
Next up is to paint the cap rail and then install the friezes and the molding. That will complete Chapter 3 of the instructions.
-
You will find the instructions for the Syren much more detailed than the Fair American. You should be able to view the instructions for both kits on the Model Expo website. The Syren kit was designed by Chuck Passaro, who is an administrator of MSW and who would be more than willing to answer any questions you may have during your build. Your Virginia turned out very nicely.
-
Your work looks great. I am glad you redid your bollards and I look forward to following your build as you get into chapter two.
-
Another nice model to start with is the Colonial Schooner Sultana by Model Shipways. It is an inexpensive kit when on sale by Model Expo and builds into a very nice model.
Chuck Passaro has written a detailed set of instructions on how to build this model. It can be found in the MSW Database of articles by following this link: http://modelshipworldforum.com/ship-model-build-and-practicums.php . It is the last article listed on the page and has eight chapters.
-
Thanks Michael and Rich and the "Likes". The model is very strong while being very light.
Jim, thank you for your comment on my health. I am doing great and it seems like a bad dream as to what happened to me a couple of months ago. I will be looking forward to seeing you at the NRG Conference later this month.
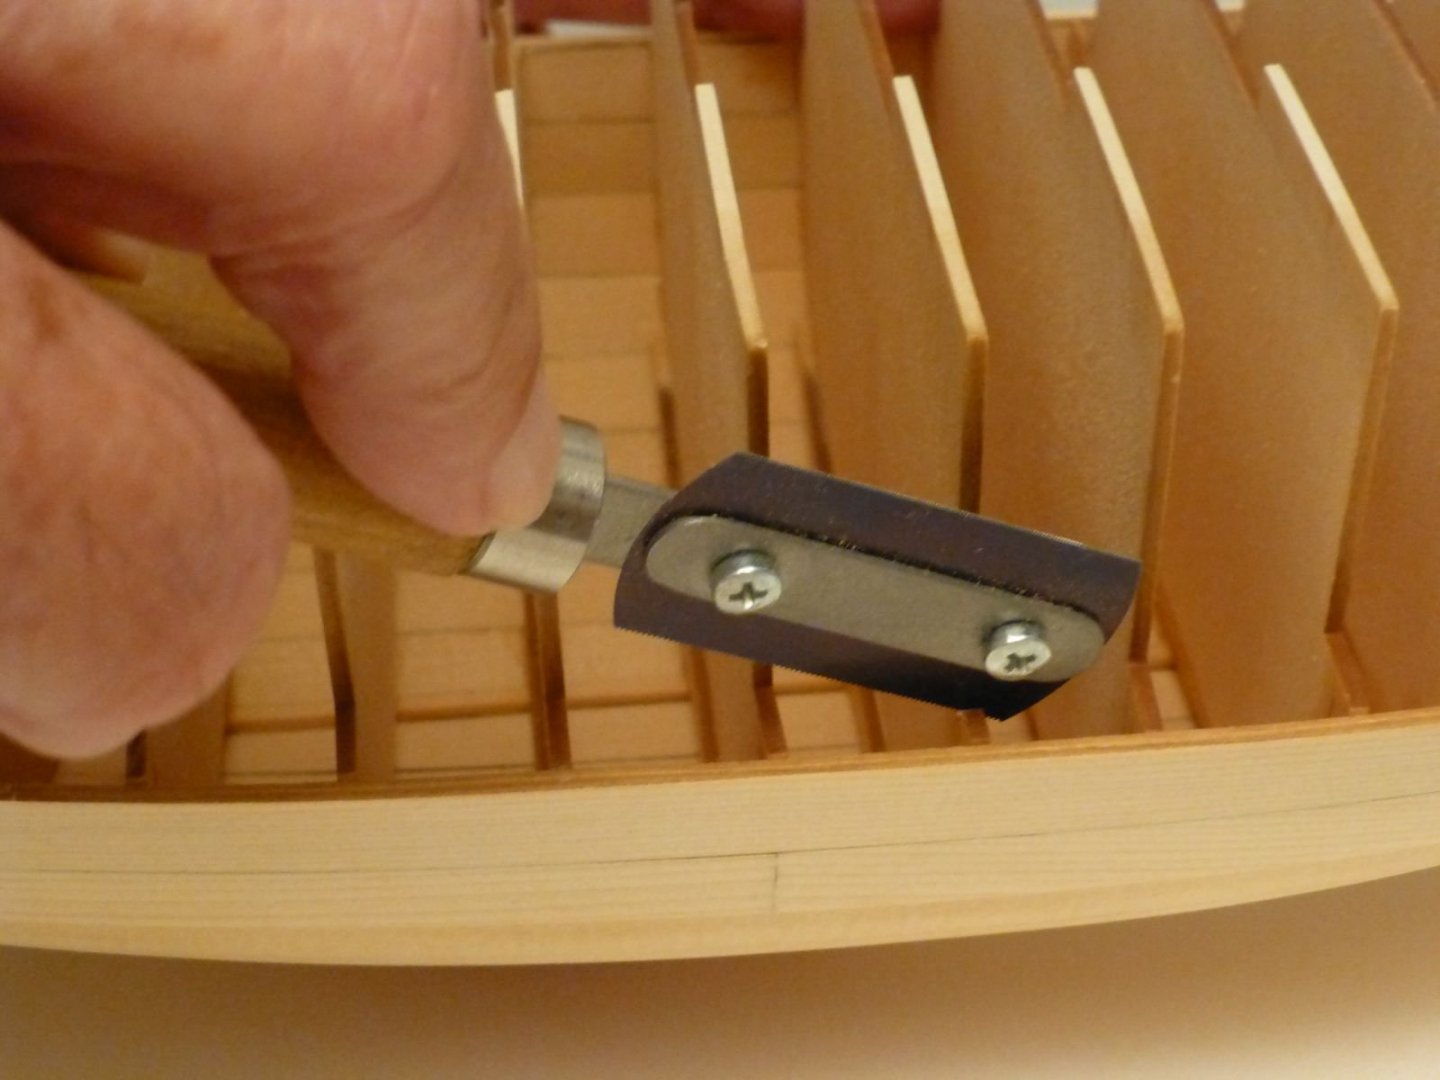
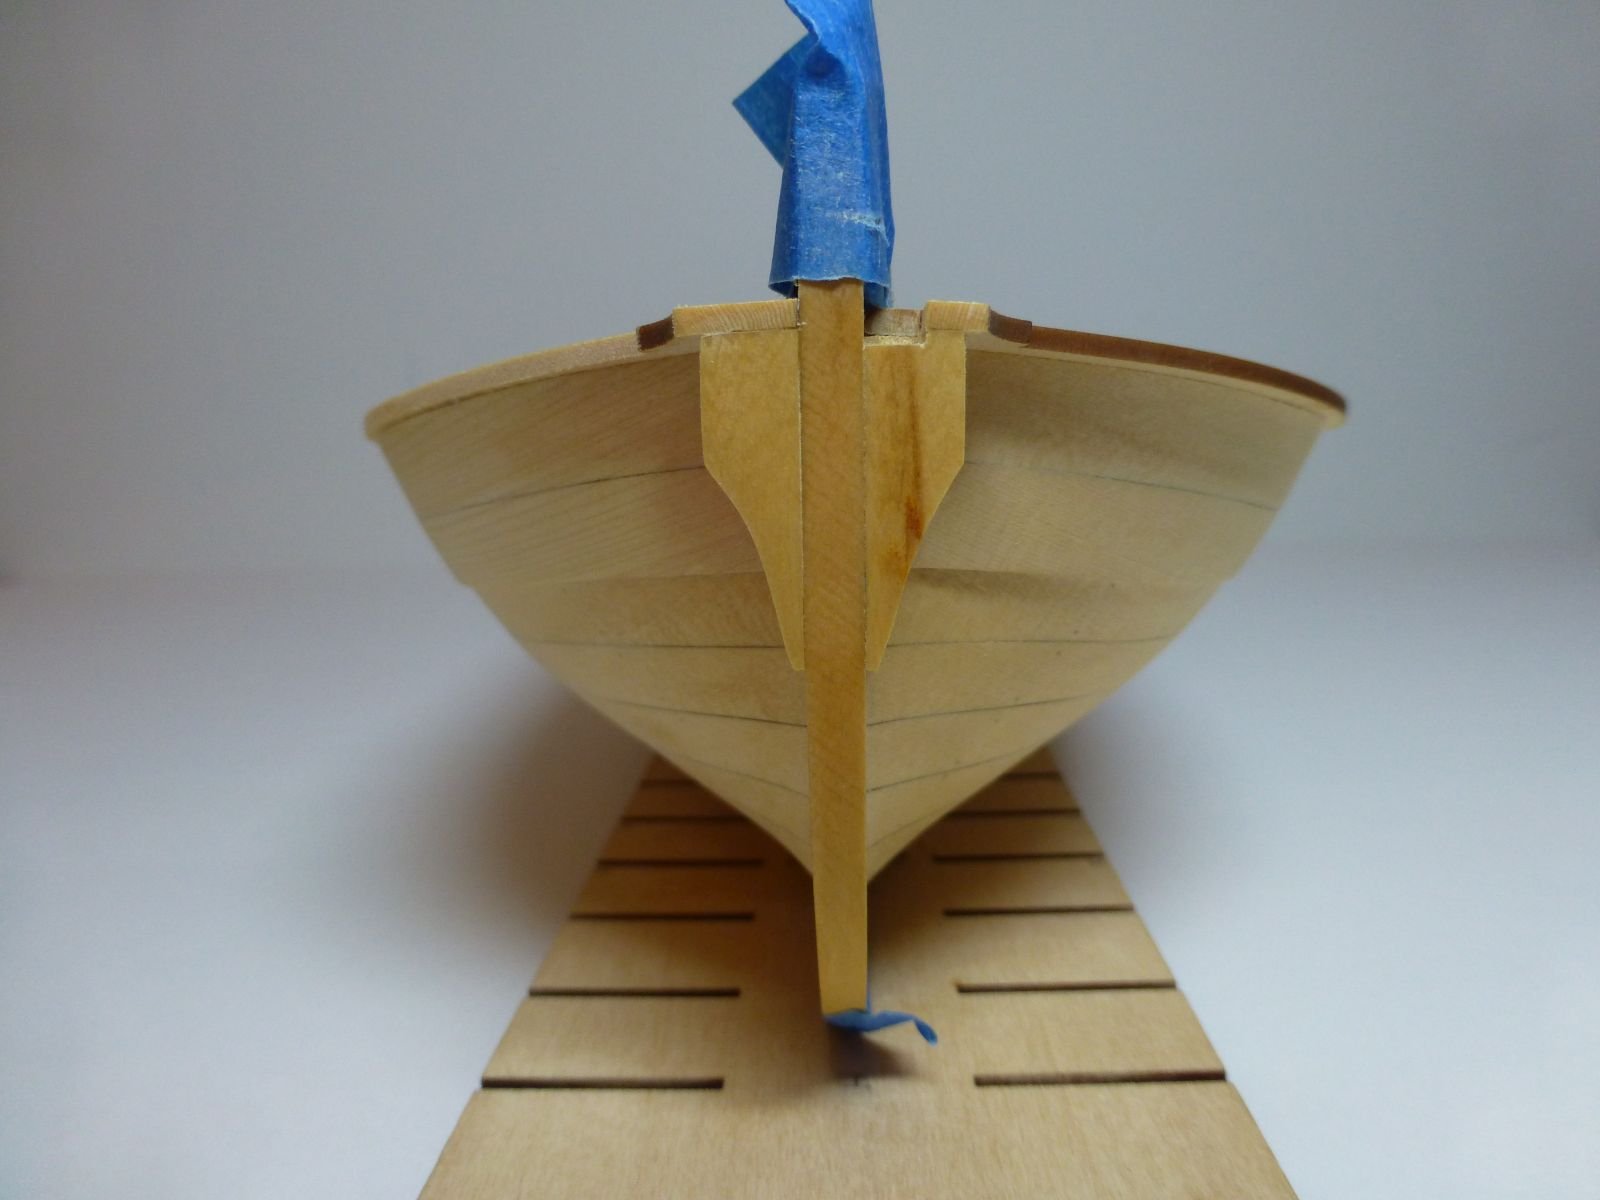
I have installed the cap rail and the bolsters since my last post. The cap rails need to be thinned down quite a bit and I have started this on the starboard side of the model. I have done a lot of sanding on the cap rails and frames and still have a lot more sanding to do. Here is a photo of my progress to date on the Longboat:
I worked on the bolsters for the past three days. I was lucky to have made the starboard side on my first try. The port side took me two tries. I left about an 1/8'' of wood on the forward part of the bolsters after carefully fitting the rear part of the bolsters to the hull profile and glued them to the stem. When I sanded down this excess wood, some red grain appeared from the middle of the port bolster. The more I sanded, the more grain appeared. I am not happy with this as I feel it will look like a bit of red paint got on the bolster when I paint the cap rails red. I will have to live with it as there is no way to replace this bolster. You never know what is hidden inside a piece of wood.

-
Congratulations on the completion of your Armed Virginia Sloop. You did an excellent job on building this model.
-
-
-
Thanks Michael and Rusty for your comments. I am doing great now and should make a full recovery.
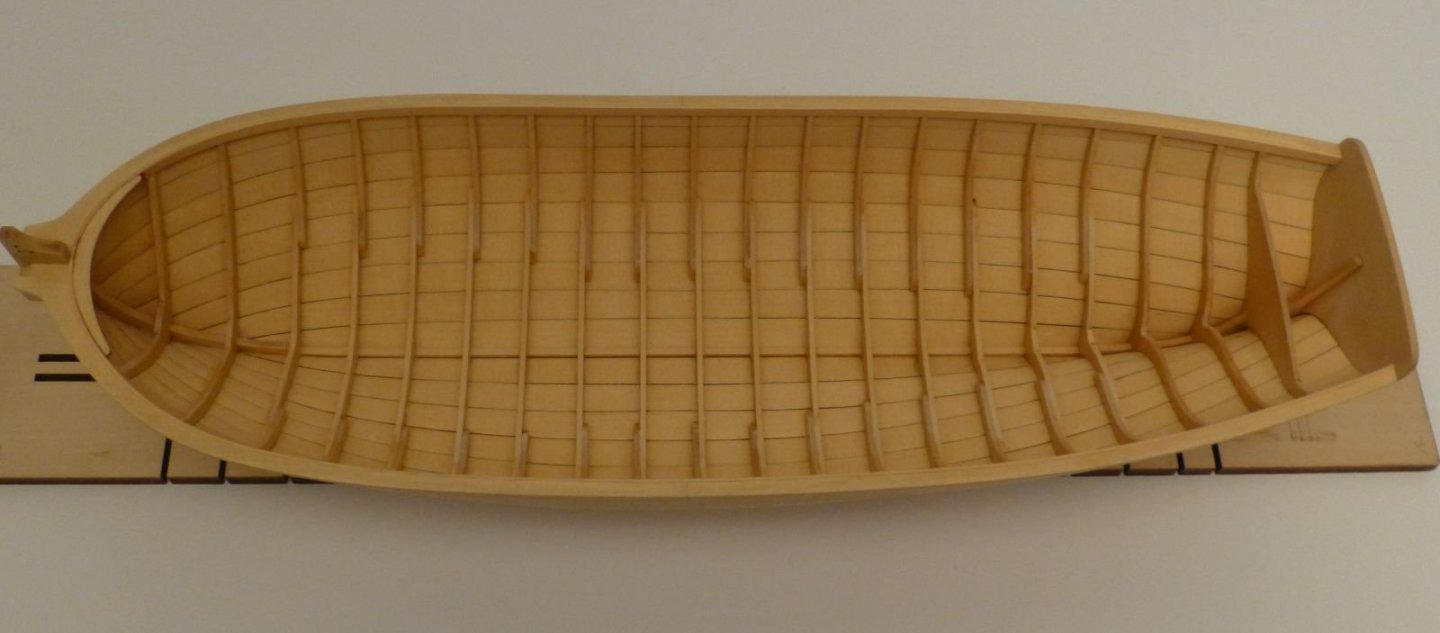
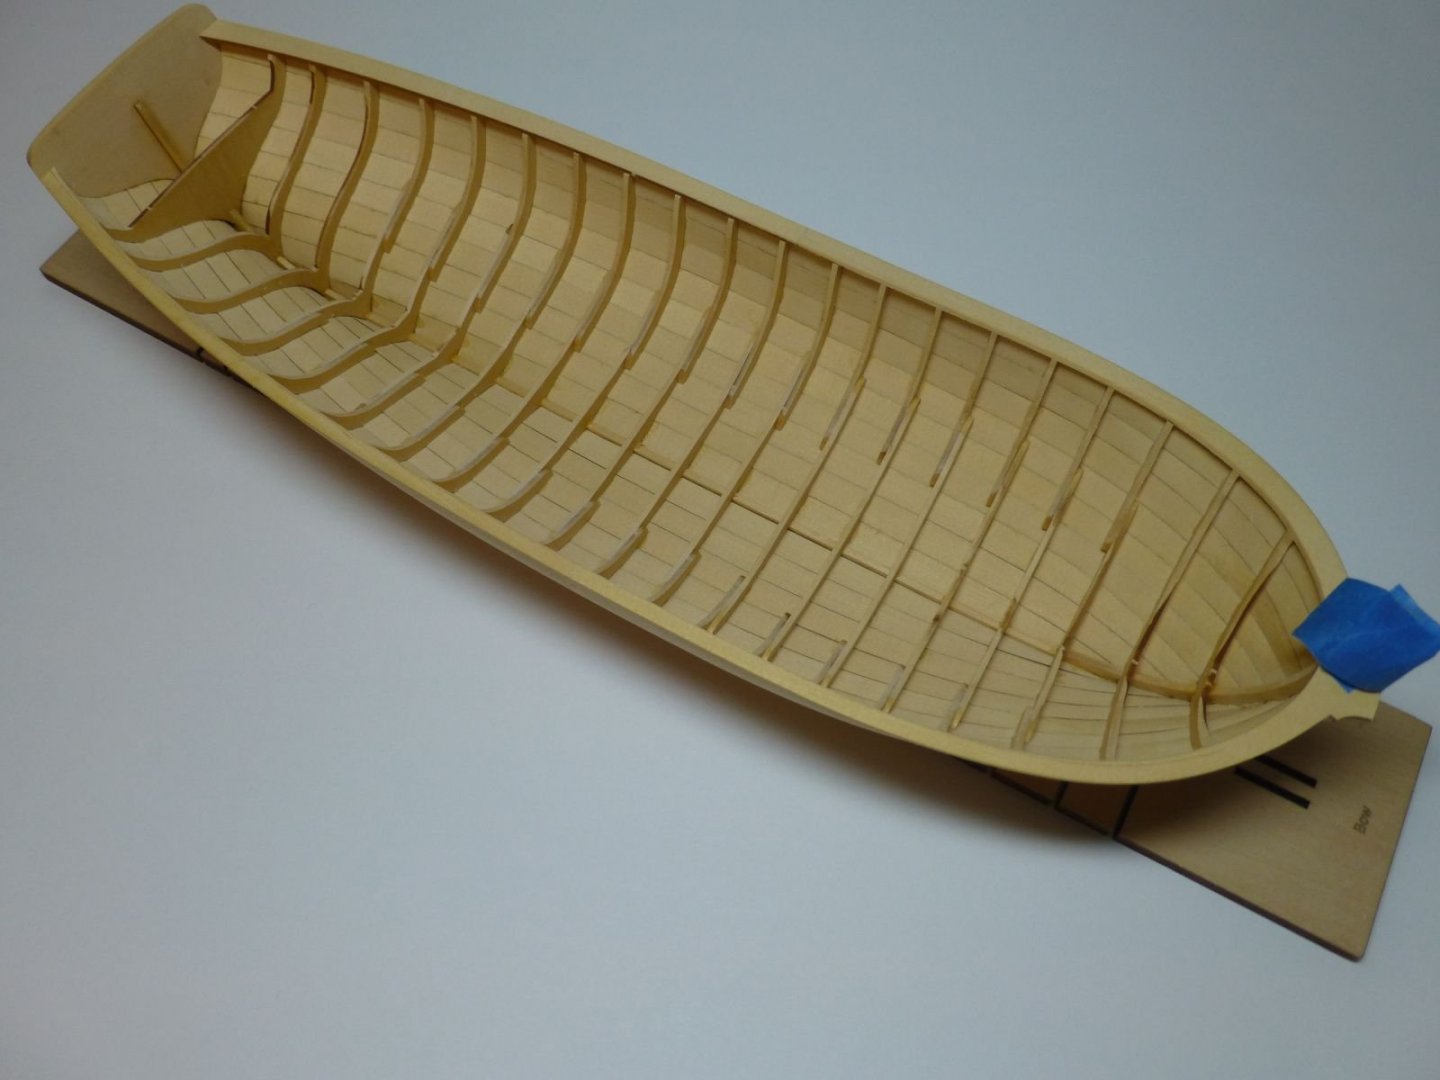
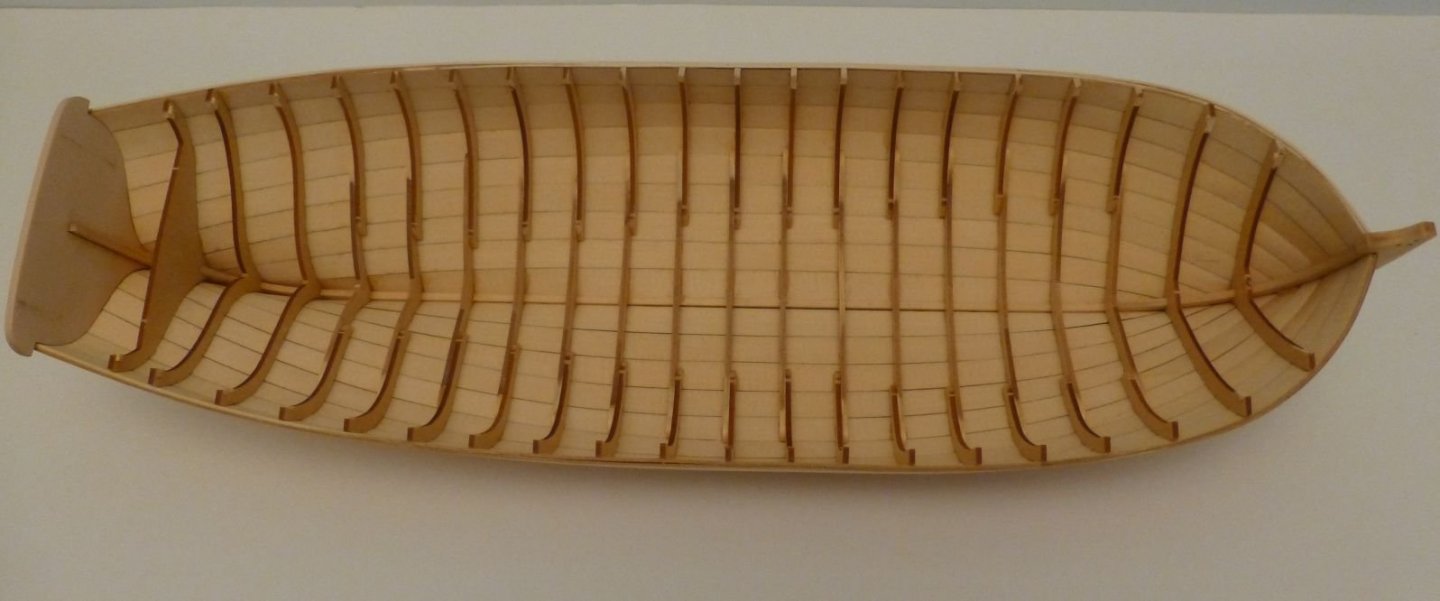
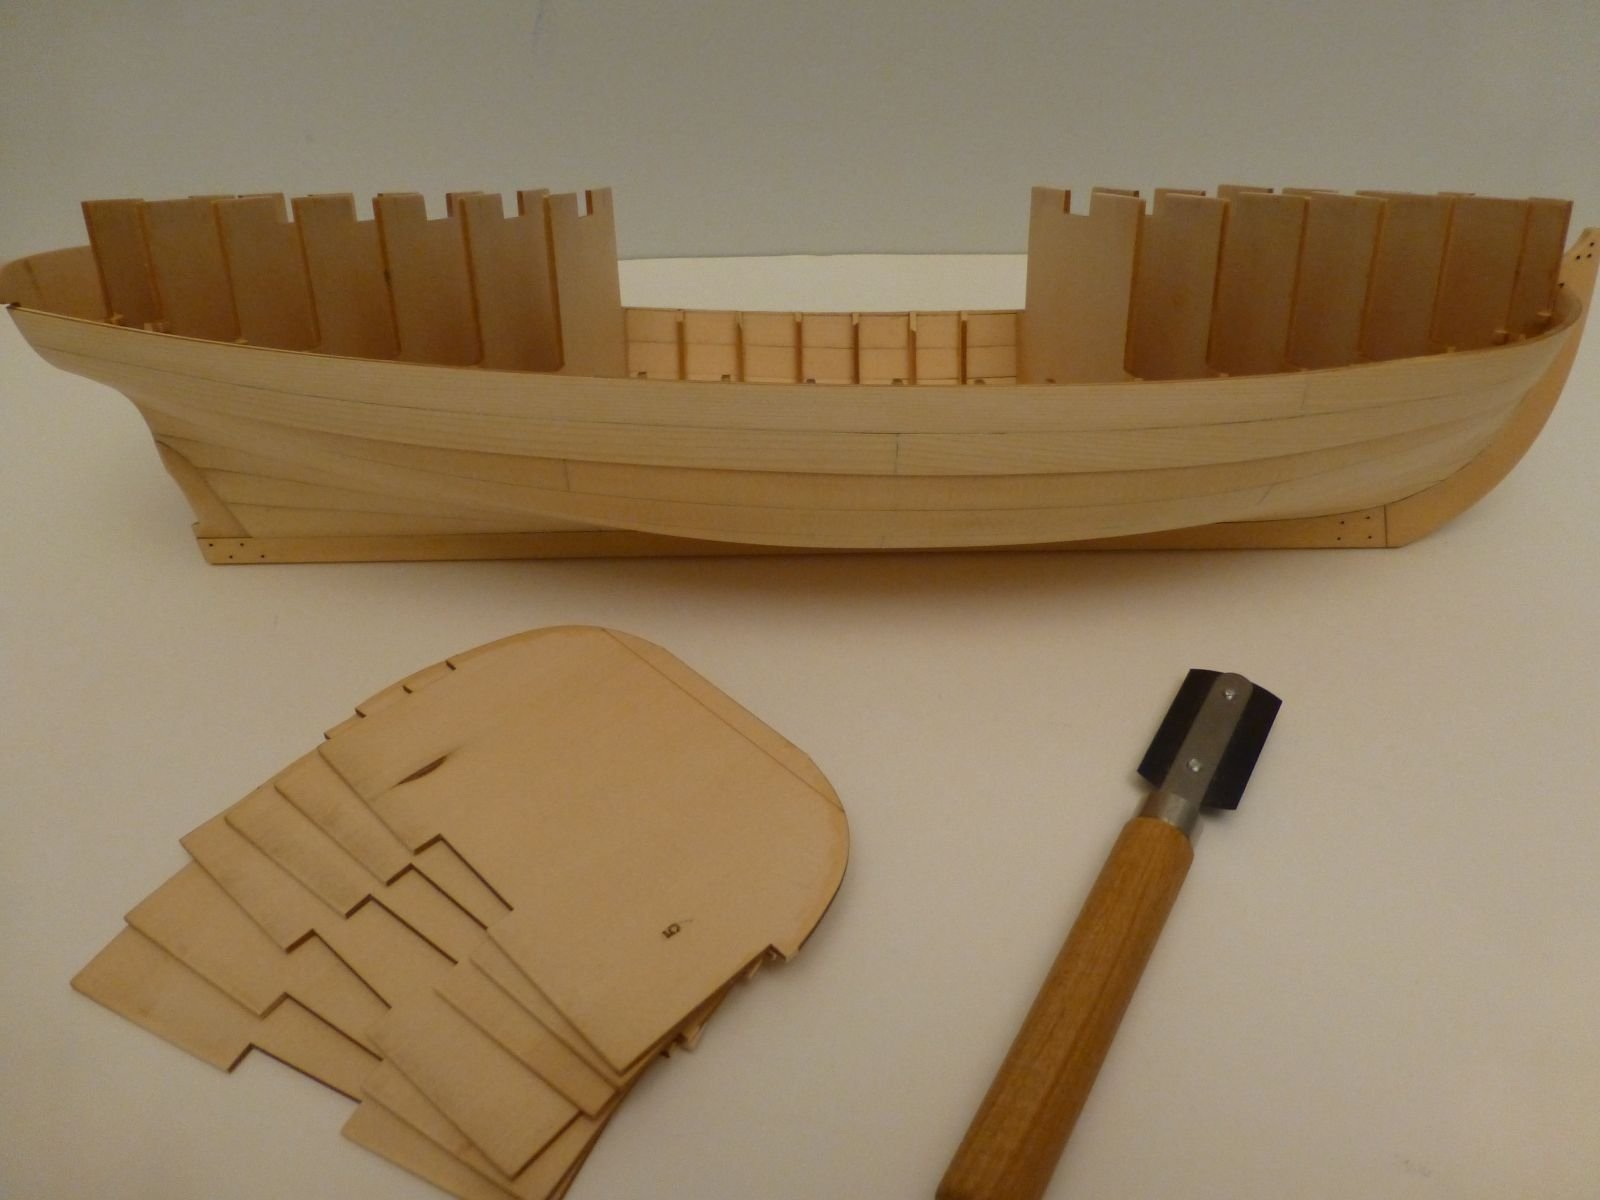
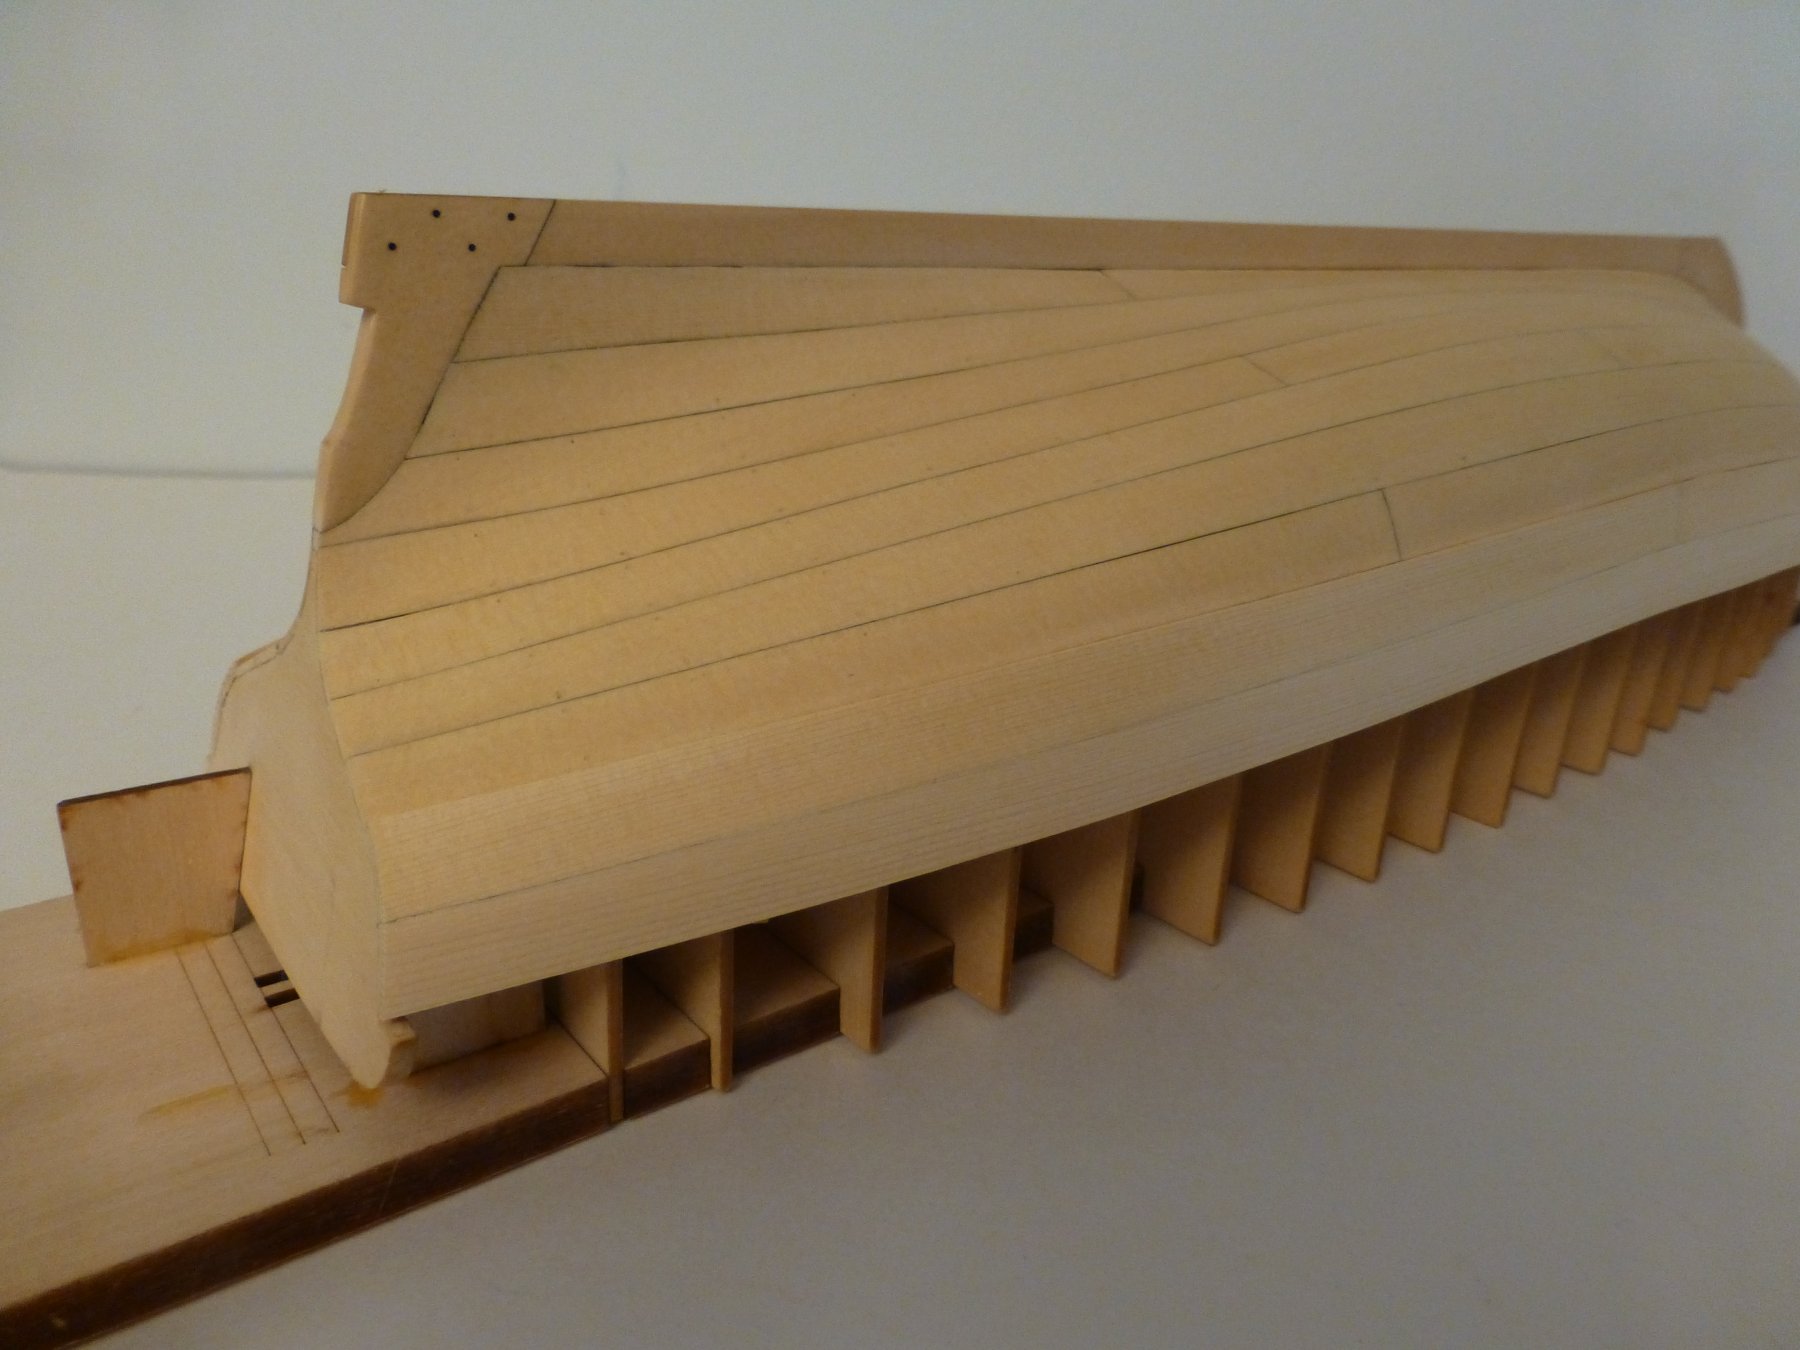
I completed the planking and it was time to remove my Longboat from the build board. I removed the supports at the stern and the masking tape that I had used to tape the bulkheads to the build board. I removed the fore section first and then the aft section. A few slight twists of the build board and the Longboat was free from the build board.
Next came the removal of the bulkhead centers. I used a razor saw to cut the bulkheads free. Chuck's design made this an easy process. I used my razor saw to cut the bulkhead at the top down to the laser cut line on both the port and starboard sides, gave the bulkhead a slight wiggle and the centers popped free. This was an easy process and I had no issues removing the centers.

The model is now starting to look like a boat:
-
I was shocked to hear of the passing of Mitch, especially at such a young age. I always enjoyed the conversations I had with him at the NRG Conferences. He was a true gentleman and will be missed.
- dvm27, MEDDO, pythagoras and 3 others
-
 6
6
-
Michael, I appreciate your comments. The emergency room personnel were great and I have the utmost admiration for their skills. They diagnosed my problem quickly and got me comfortable very quickly. This was a Friday night and I got to the emergency room about an hour before four shooting victims came in. It was quite a scene, but they continued to check on me while there was chaos in other areas of the emergency room. They handled everything in a truly professional manner. I just wished that I had come in sooner and ignored those that said my difficulties were normal.
I have registered for the NRG Conference and fully expect to be at full strength by Conference date. I had a milestone today as I have had my driving privileges restored by my Doctor. I was getting tired of being a back seat driver as my wife has been chauffeuring me around. This to me is a step to returning to a normal life.
-
Thanks Bob for your comments. Several members of my Club (HRSMS) have had bypass surgery over twenty years ago and they are doing just fine. I was doing well with my recovery until the blood clots came into the picture. I called about my breathing issues and even saw a nurse and was told that my issues were normal for bypass surgery. It got so bad that I finally went to the emergency room. My oxygen level was so low that the it did not register on their meter. I could finally breath when they gave me high doses of oxygen. I should have gone back to the hospital when I first started having breathing issues. Lesson learned, If you feel that something is not right with your body, it probably is not right. Listen to your body.
-
-
It has been awhile since I have posted on my Medway Longboat Build Log. I thought that I would give an update on my progress.
In early July, I was having some chest discomfort and pains in my left arm. After numerous tests and procedures by my cardiologist, it was determined that I needed quadruple heart bypass surgery. This was performed on July 26th and I came home on July 31st. Recovery was going along as planned until I started having breathing problems and light headiness. I went back in the hospital on August 9th and they found that I had massive blood clots in my legs, groin and lungs. I was put on blood thinner and they placed a filter just before my heart to catch any blood clots that should make their way toward my heart. I was released on August 14th and have been getting better with each day. I feel that I should make a complete recovery and am very lucky to be writing this post on MSW.
I have completed the planking and installation of the wales on my Longboat. I still have some sanding to do. I did drill the holes for the simulated nails after the installation of each plank. I felt this was easier to do than doing it after the hull planking was completed. I have attached some pictures of where I am on my build.
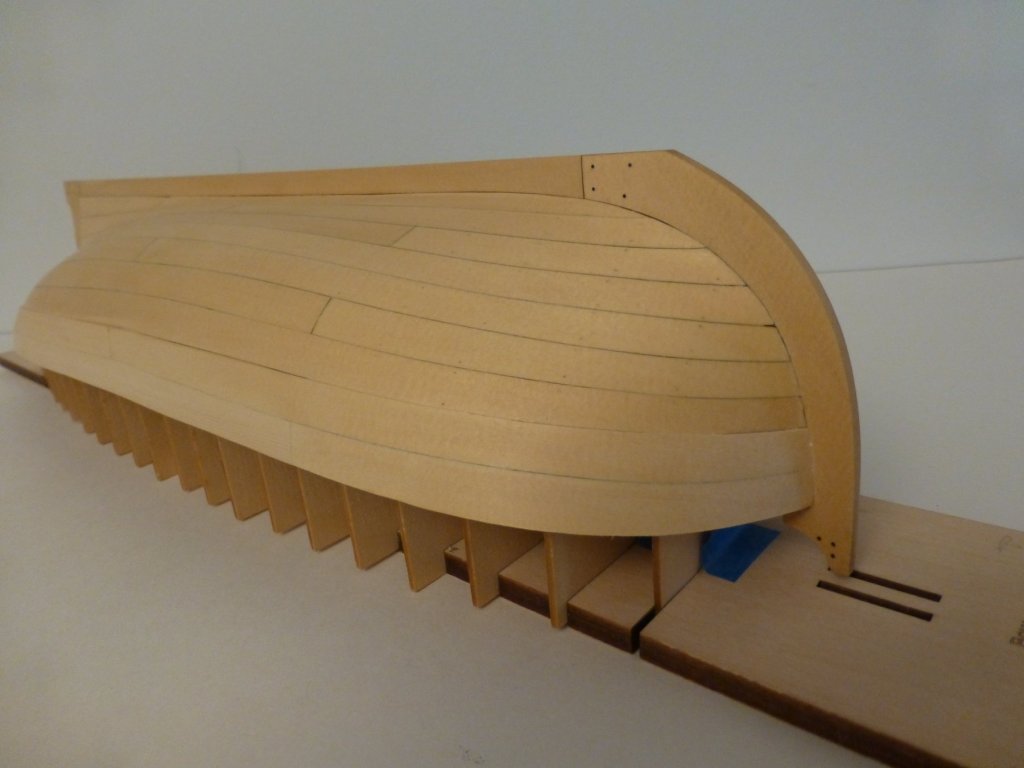
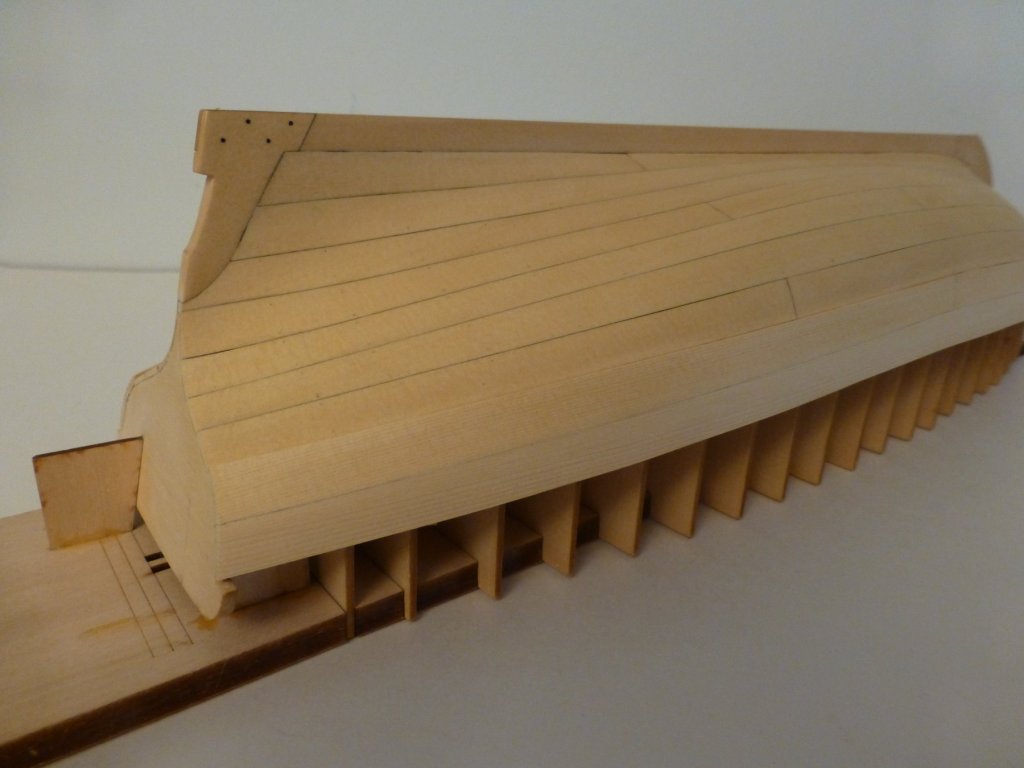
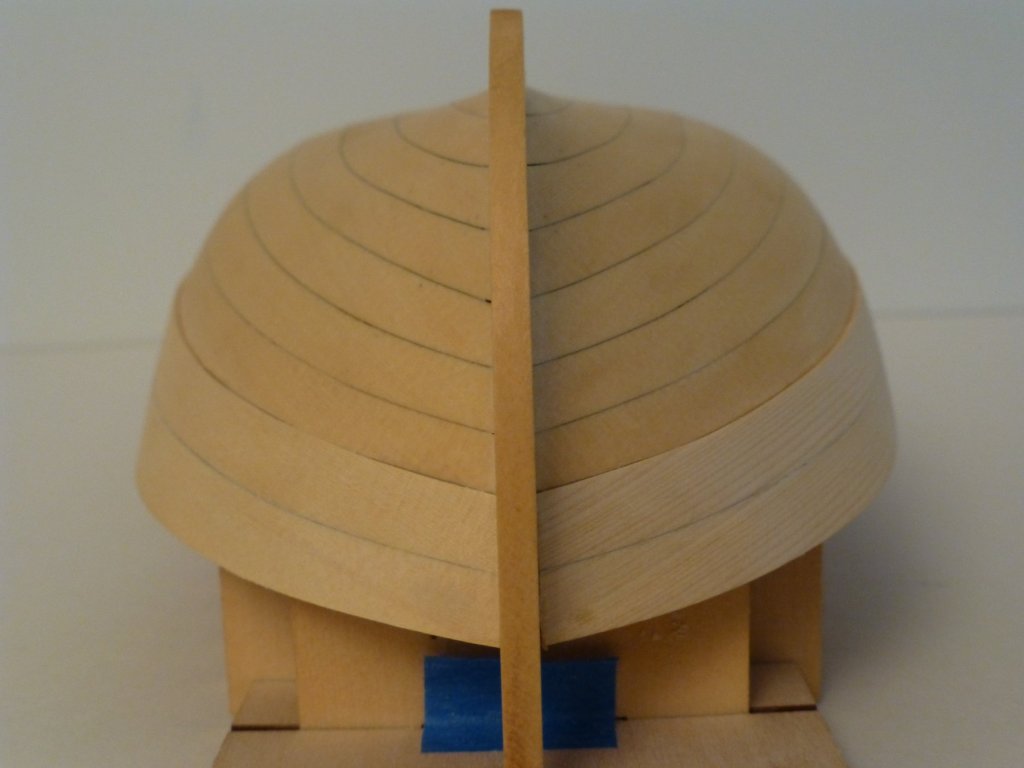
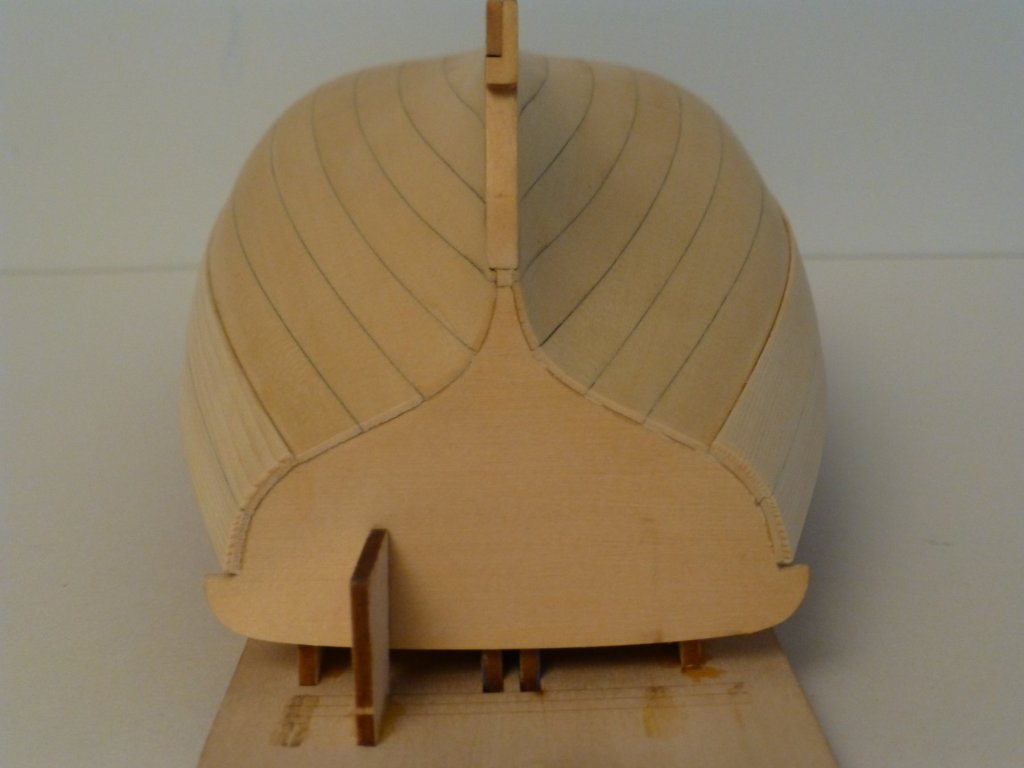
- Rustyj, JeffT, BLACK VIKING and 11 others
-
14
-
I remember that the subdeck on my AVS did not match the plans. I was concerned about this. The openings for the hatches were off center and the notches for the bulkhead extensions had to be opened up to fit properly. The subdeck is going to be planked over and everything worked out just fine for me.
-
-
Nic, take care of yourself. I hope you will be feeling better soon and on the road to a speedy recovery.
-
-
Thanks Bob. That is quite a compliment from someone who I have admired their work over the years. You do not give yourself enough credit for the fine job of planking that you have done on your Longboat.
-
It is nice to see you back to work on your Longboat. Your past builds have been an inspiration to many of us, so you deserve taking a break from ship modeling.
- Osmosis, Rustyj, pythagoras and 3 others
-
6
-
Thanks Michael. I will be following your build of the Royal Barge. I have seen Chuck's model at the Northeast Joint Clubs Conference and it builds into a nice model. You will do a good job on your Royal Barge after seeing your work on your Pinnace.
Greg, the lining out of the hull was a good learning experience. It refreshed what I learned in the Planking Admiralty Workshop. I am sure some builders of this model will not line out their hull. My marks on the bulkheads for the most part matched the width of the preformed planks. I also used the lined out hull as a teaching aid at one of our Club meetings.
Rusty, it was good seeing you at the Northeast Joint Clubs Conference and thanks for bringing your Medway Longboat and your Royal Barge. Your craftsmanship is excellent and it motivated me to get back to work on my models.


Constructo Enterprise instuctions/plan
in Wood ship model kits
Posted
I have a PDF of the instructions. It is two files with a total of 109 pages with many color pictures. This is for the newer Constructo Enterprise kit number 80837. I have uploaded the files below:
ENTERPRISEINSTRUCCIONES-1.pdf
ENTERPRISEINSTRUCCIONES-2.pdf
I hope this helps.