


G.L.
-
Posts
1,553 -
Joined
-
Last visited
Content Type
Profiles
Forums
Gallery
Events
Posts posted by G.L.
-
-
-
On 5/22/2021 at 8:37 PM, vaddoc said:
Great progress GL, you ve done a ton of work! This is a very nice and different approach, your choice of wood is also interesting. I ve never used ebony but I have used mahogany. Beautiful but difficult wood to work with and after a few (10) years of exposure to light, the colour has changed from red to brown.
I am really very interested to see how your planking will come out and what challenges may appear, also how much spilling your hull will need. How long is the hull and how thick your planks?
Regards
Vaddoc
Thank you very much, Vaddoc.
At the moment I have no difficulties working with mahogany. Ebony, on the other hand, is very hard and it is difficult to bend. When sawing and sanding it produces very fine black dust that also seems to be quite toxic (see posts post 26, 27, 28).
The hull is 54 cm long and the planking is ±1.2 mm thick. -
Impeccable work, Valeriy!
- FriedClams, lmagna, Keith Black and 2 others
-
 5
5
-
In my opinion this is well done, Mark. Still much better than I could. Probably your skill will grow as more of the wood carving is done.
- FriedClams, Keith Black, Canute and 4 others
-
7
-
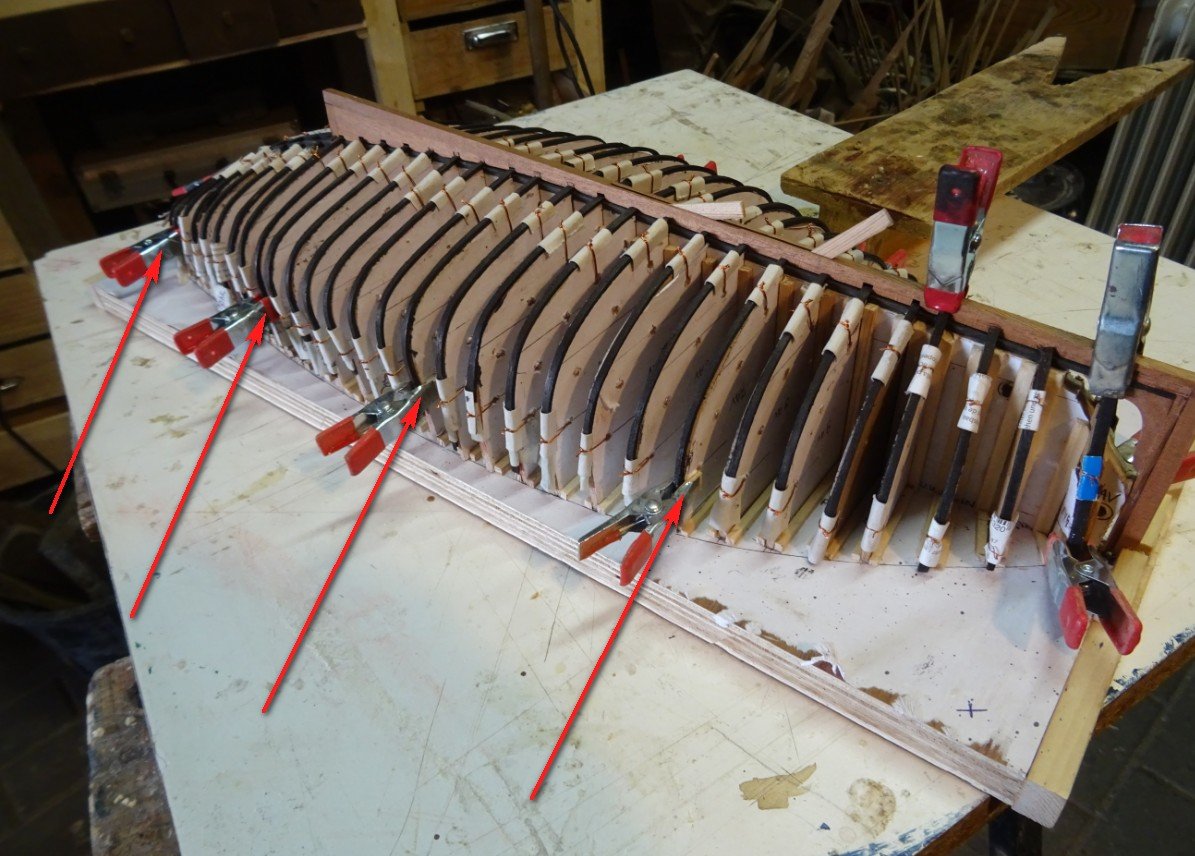
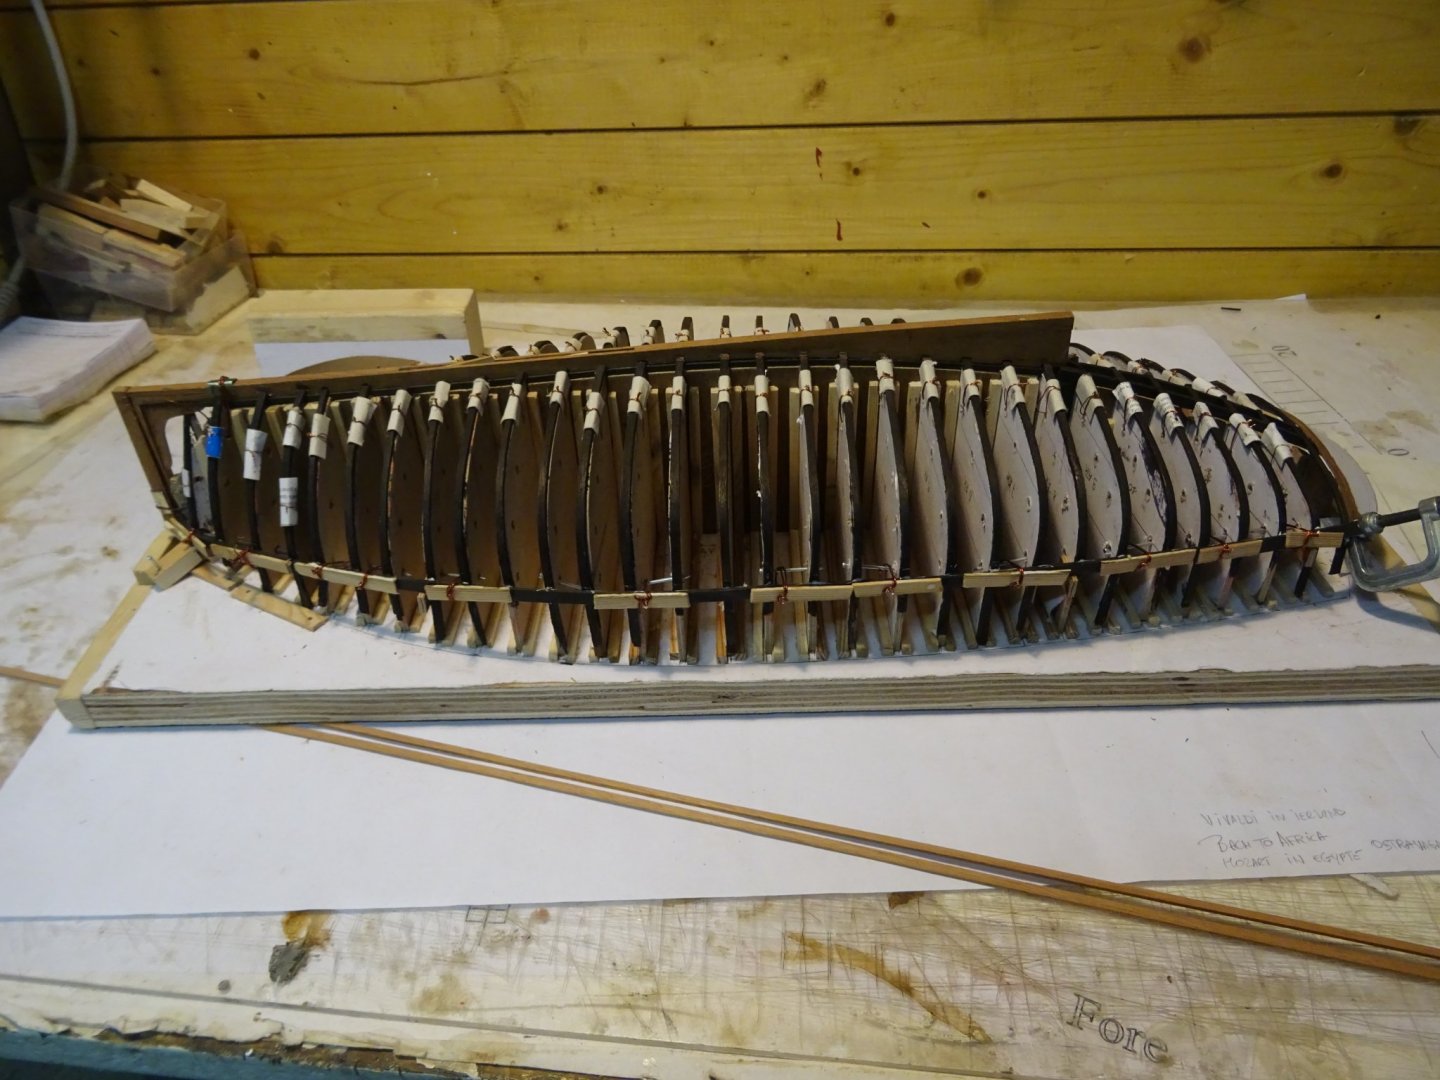
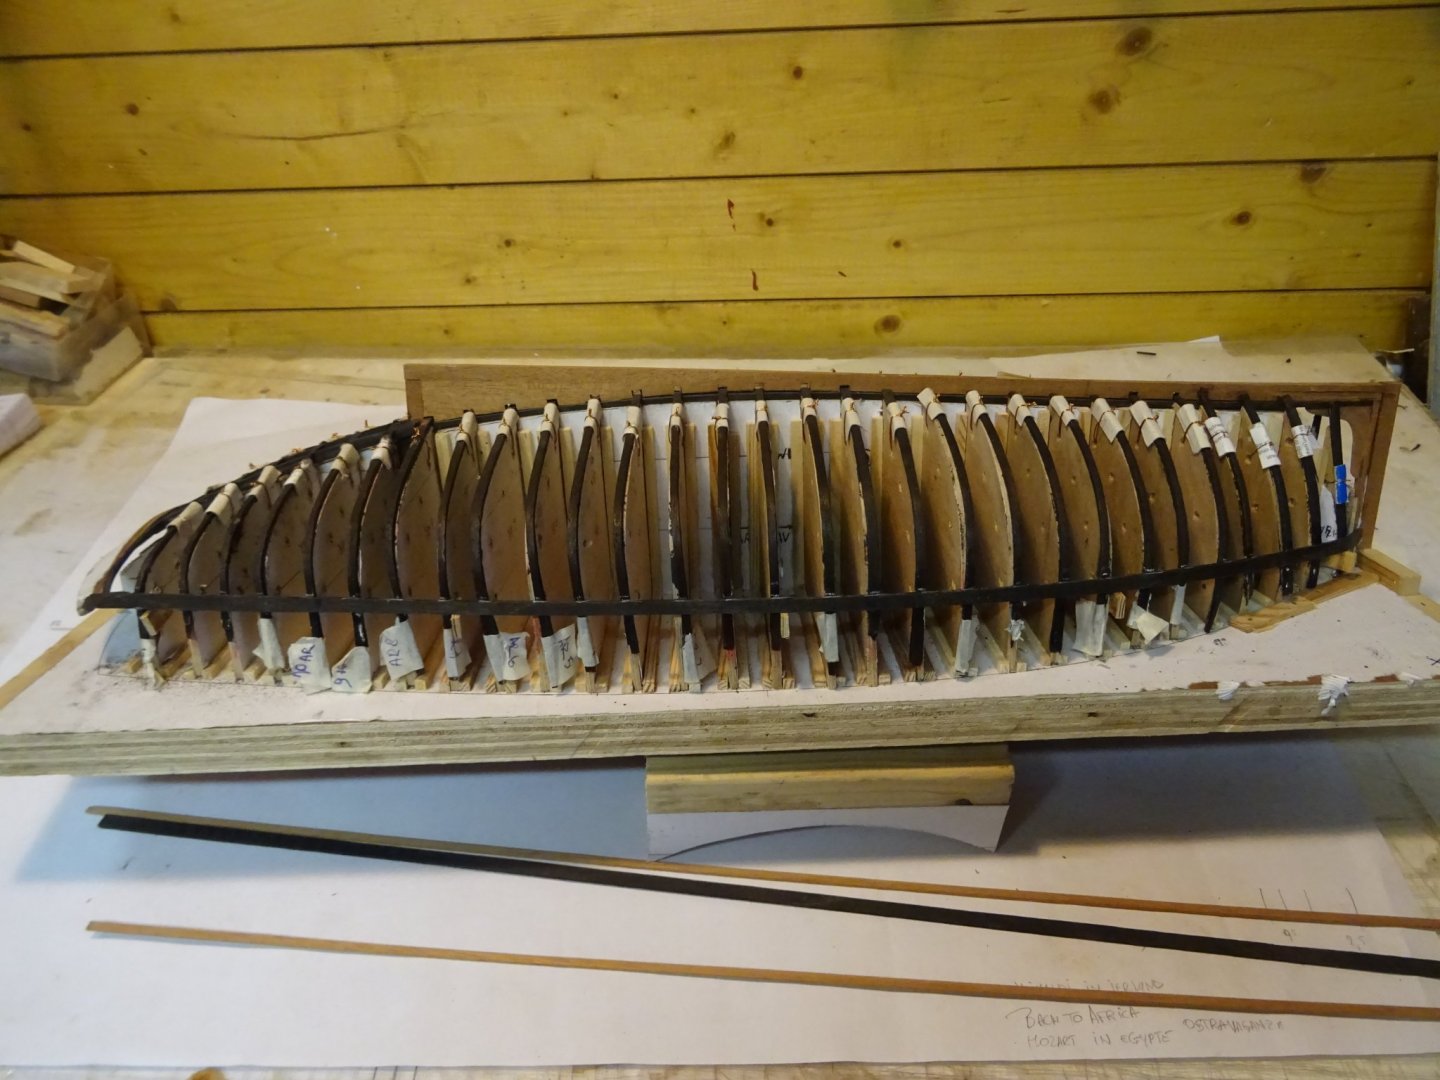
The first plank is cut. It is very straight, narrow at the ends and a little wider in the middle.
Gluing the first strakes at both sides. The thin planks bend easily.
The port side of the model will be left open. This plank will be the last on that side for the time being.
And that is it for this week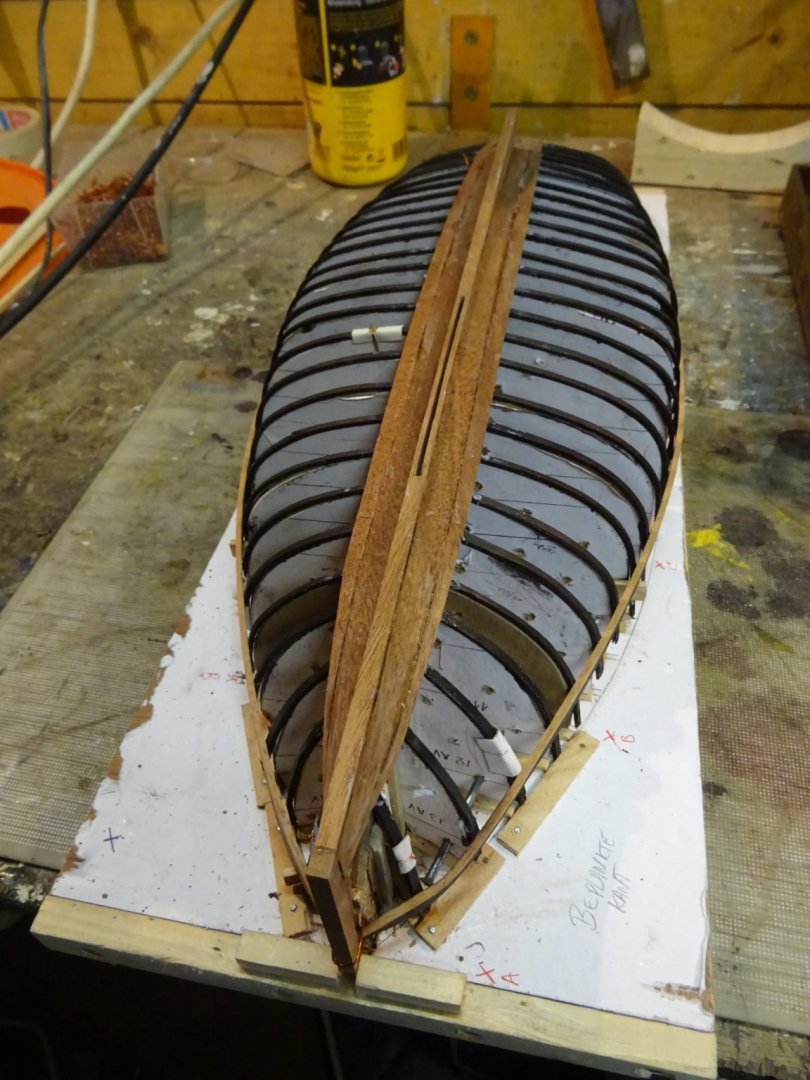

Thank you very much for reading this log, for your likes and for your reactions.
Till next week!
- GrandpaPhil, Baker, jlefever and 8 others
-
11
-
On 5/18/2021 at 8:45 AM, Wintergreen said:
I guess the laminated plank stock is thin enough to take the bending without too much fuzz.
Otherwise I would be hesitant to use laminated wood, since it will be stiffer than solid.
Can't wait to see the inside when planking is finished 😉
I don't think bending will be a big problem, the strakes will be only 8mm wide at their widest point.
On 5/18/2021 at 9:23 AM, noel_colledge said:Hi GL
I am intrigued.
Can I ask what made you go down the route of laminating the planking rather than just double planking to get the same effect?
From my experience Mahogany can be very brittle when trying to form as it is without the added issues of a glue layer holding it back
Best regards
Noel
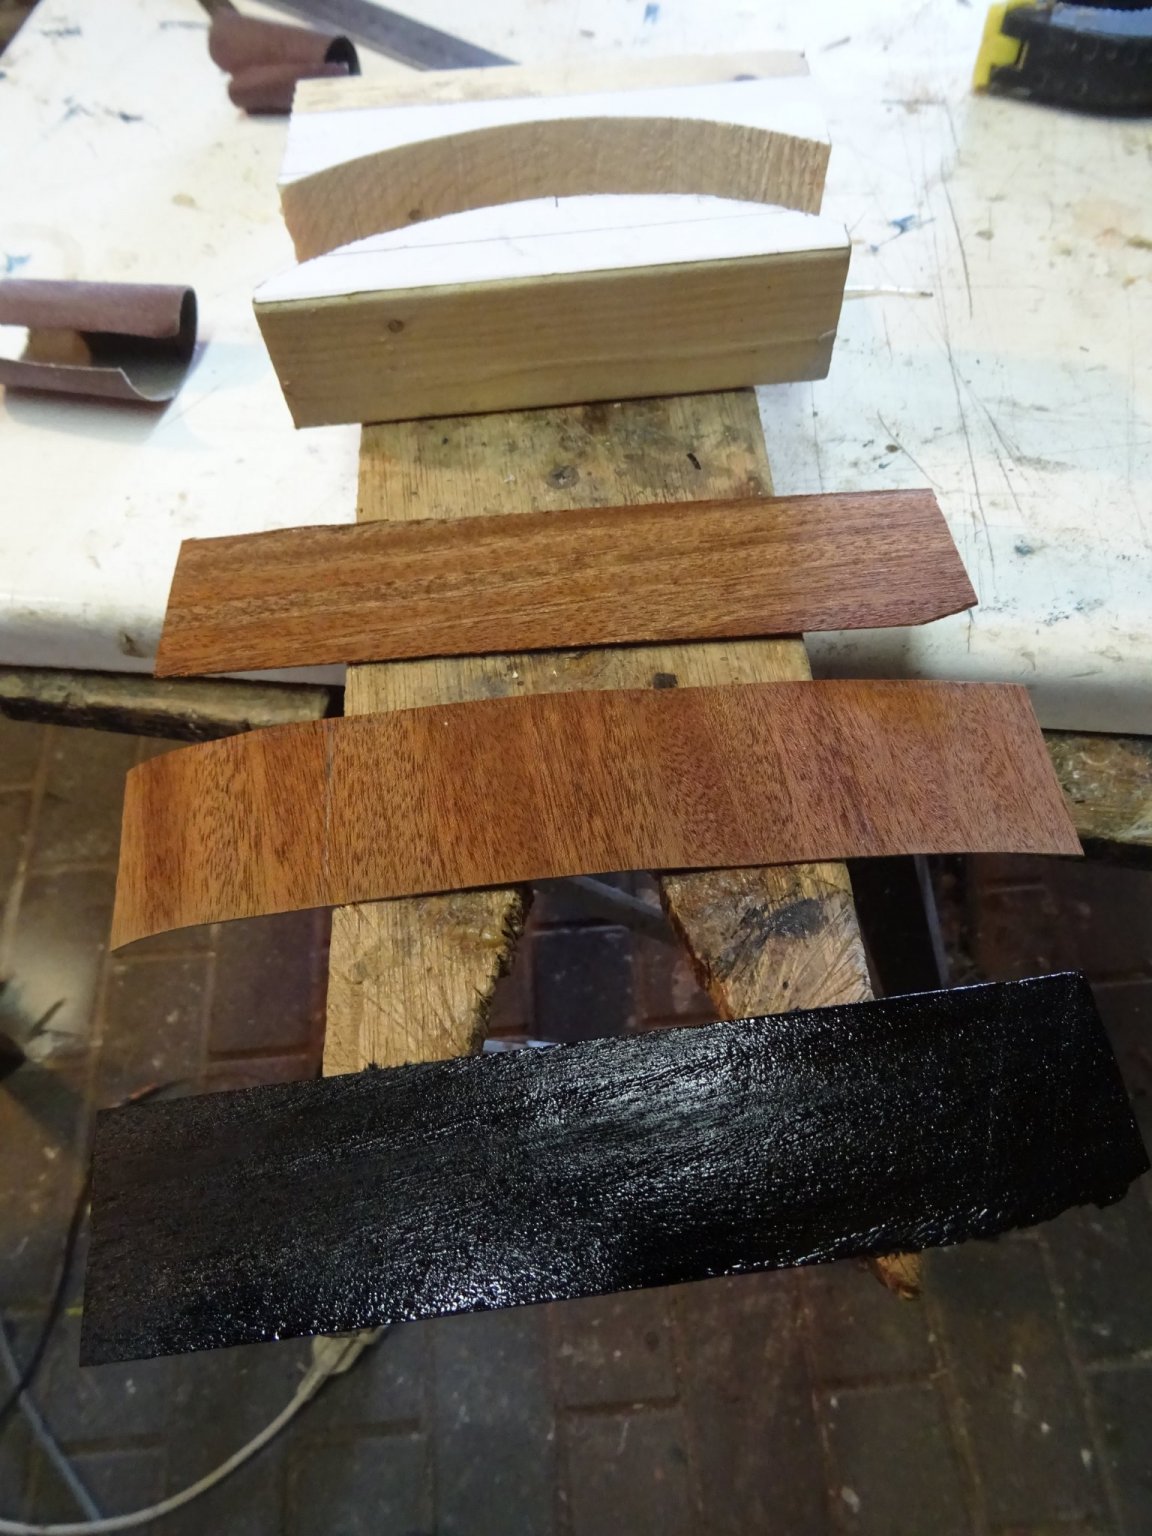
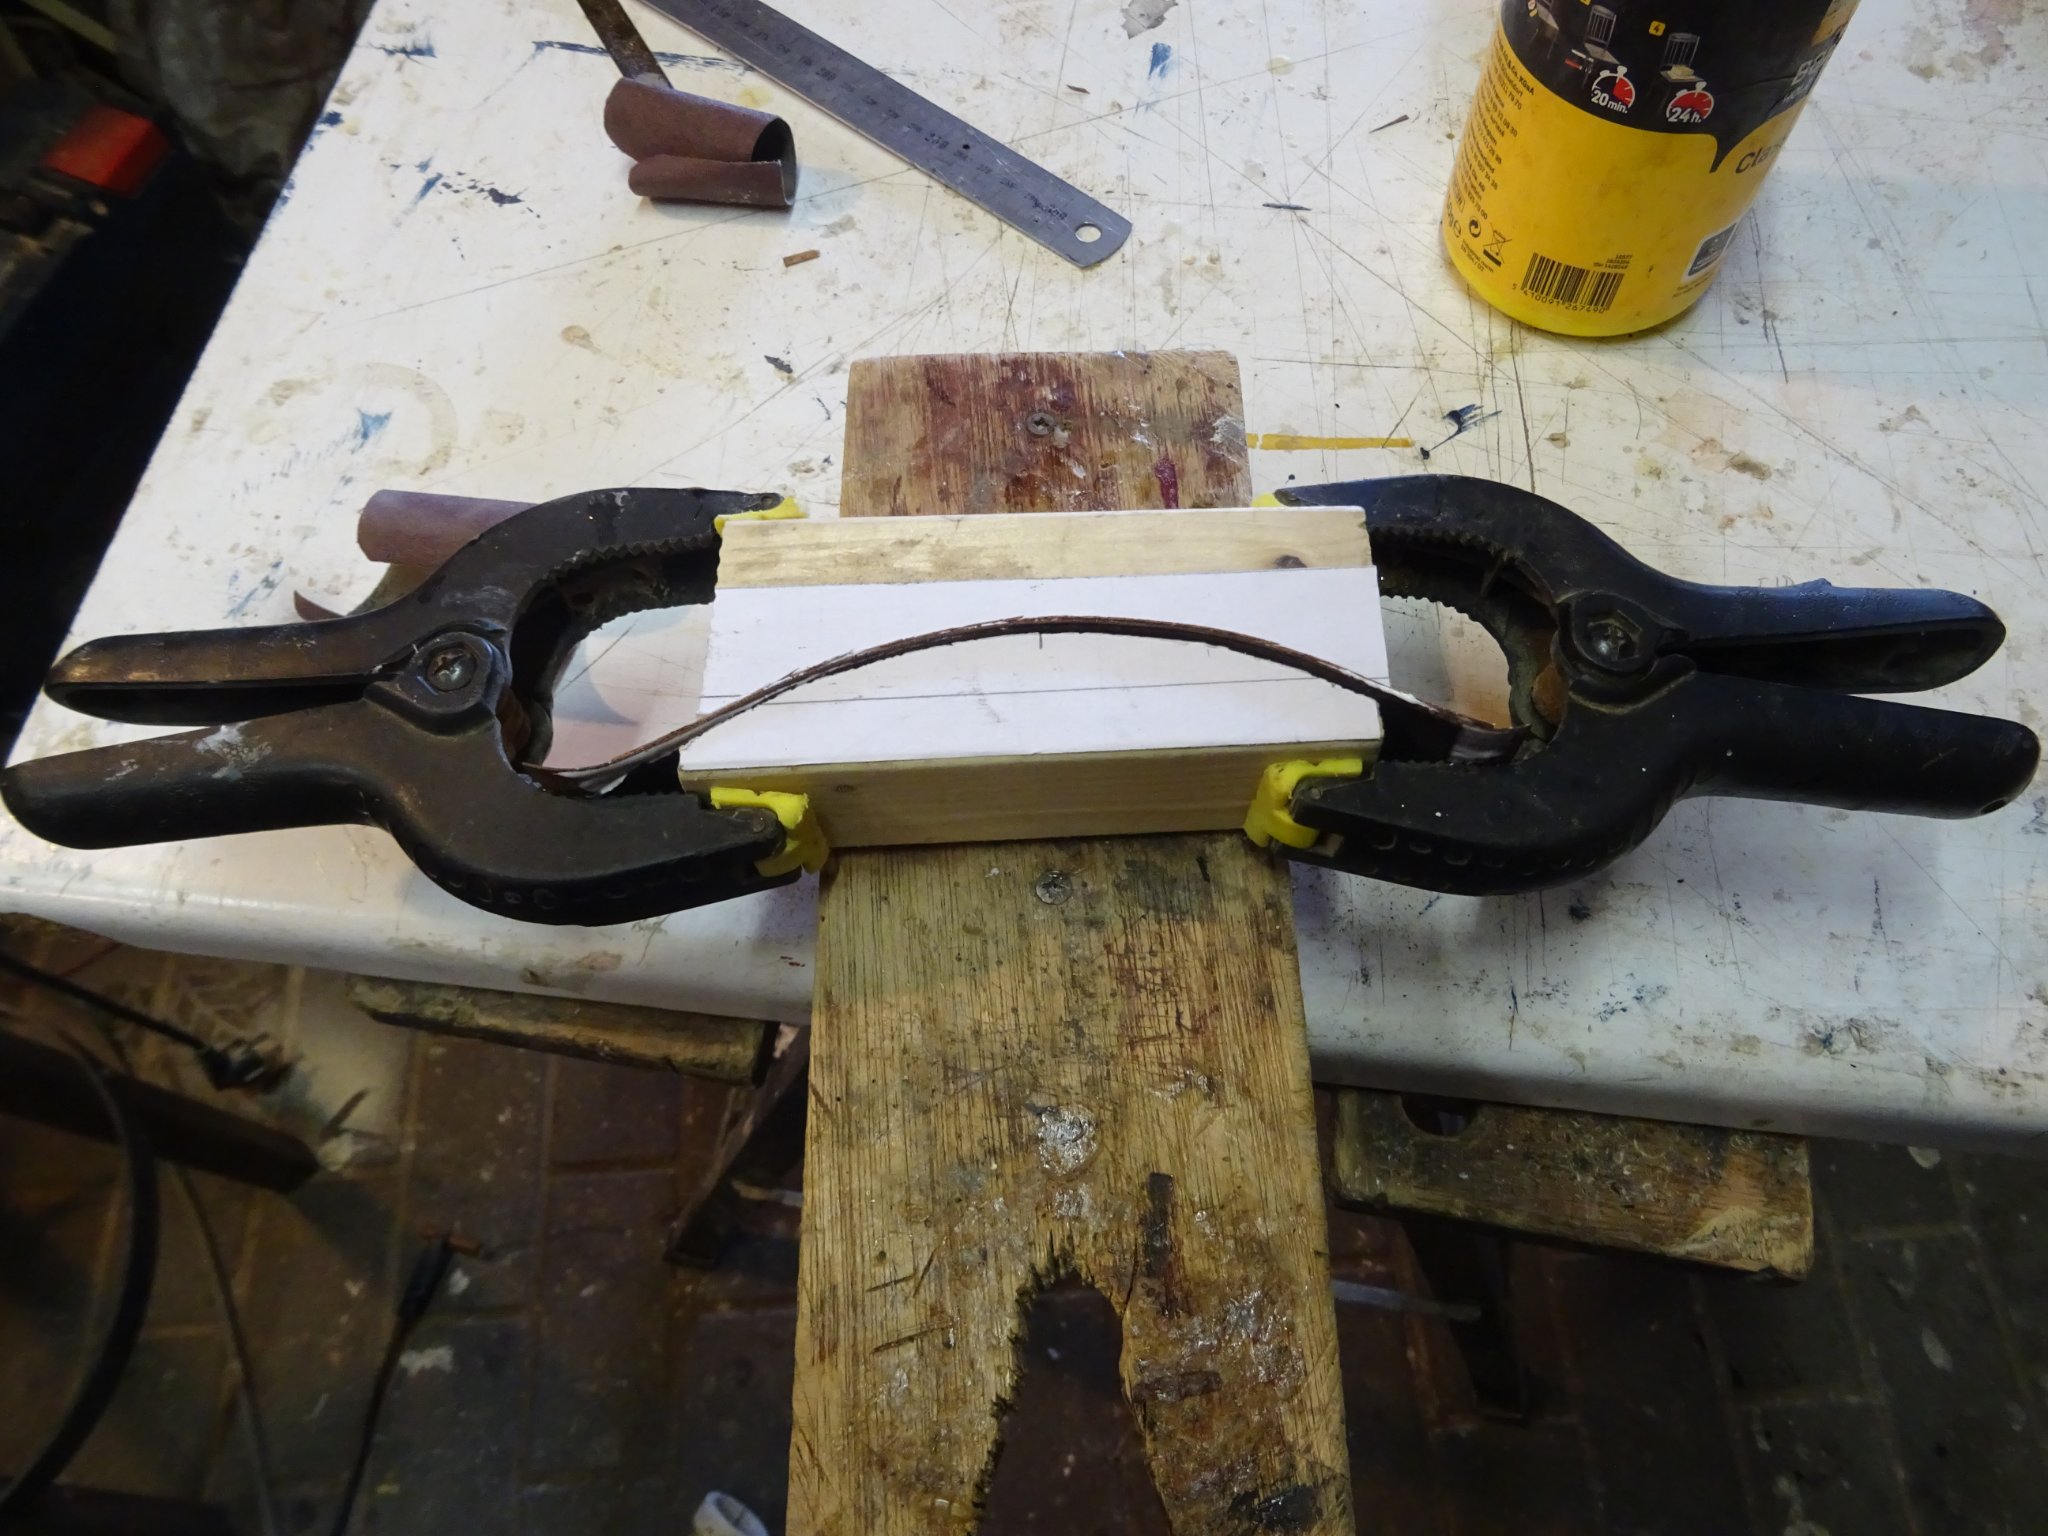
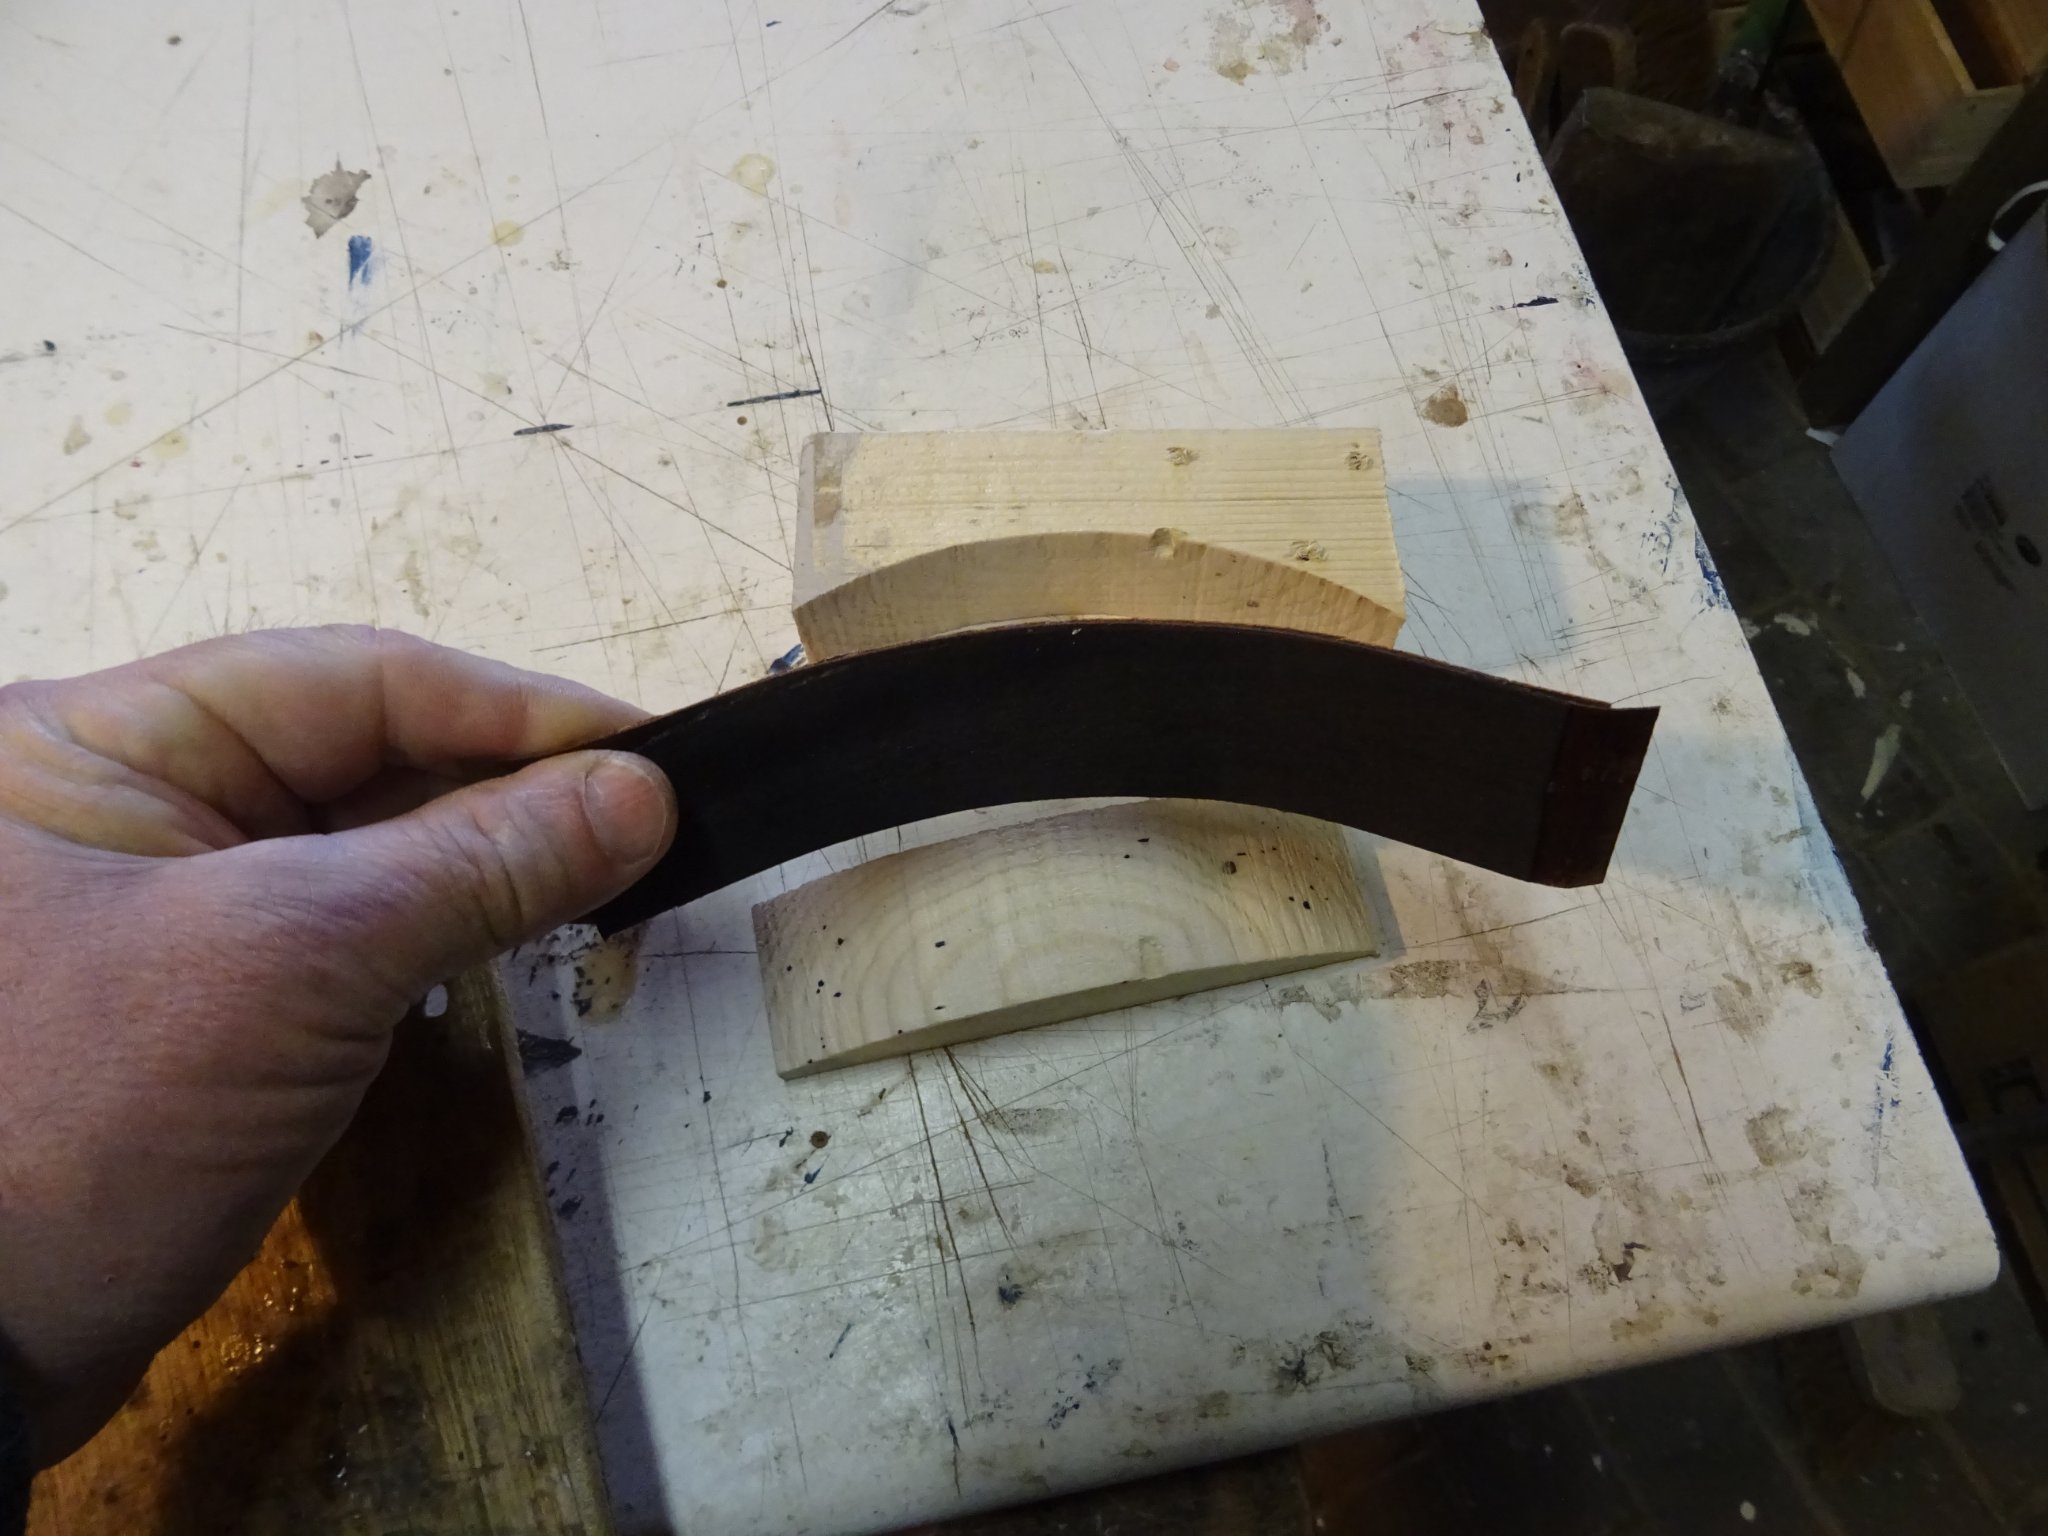
I laminate the planks because Mr. Orsel used this method to build his model. He used mahogany veneer on the outside and ebony veneer on the inside to have neat black planking on the inside without having to paint. I don't have ebony veneer, so I use black-stained mahogany veneer for the inside. Mahogany veneer is indeed brittle, but if you moisten it beforehand, you can cut long narrow strips.
- mtaylor and FriedClams
-
2
-
-
-
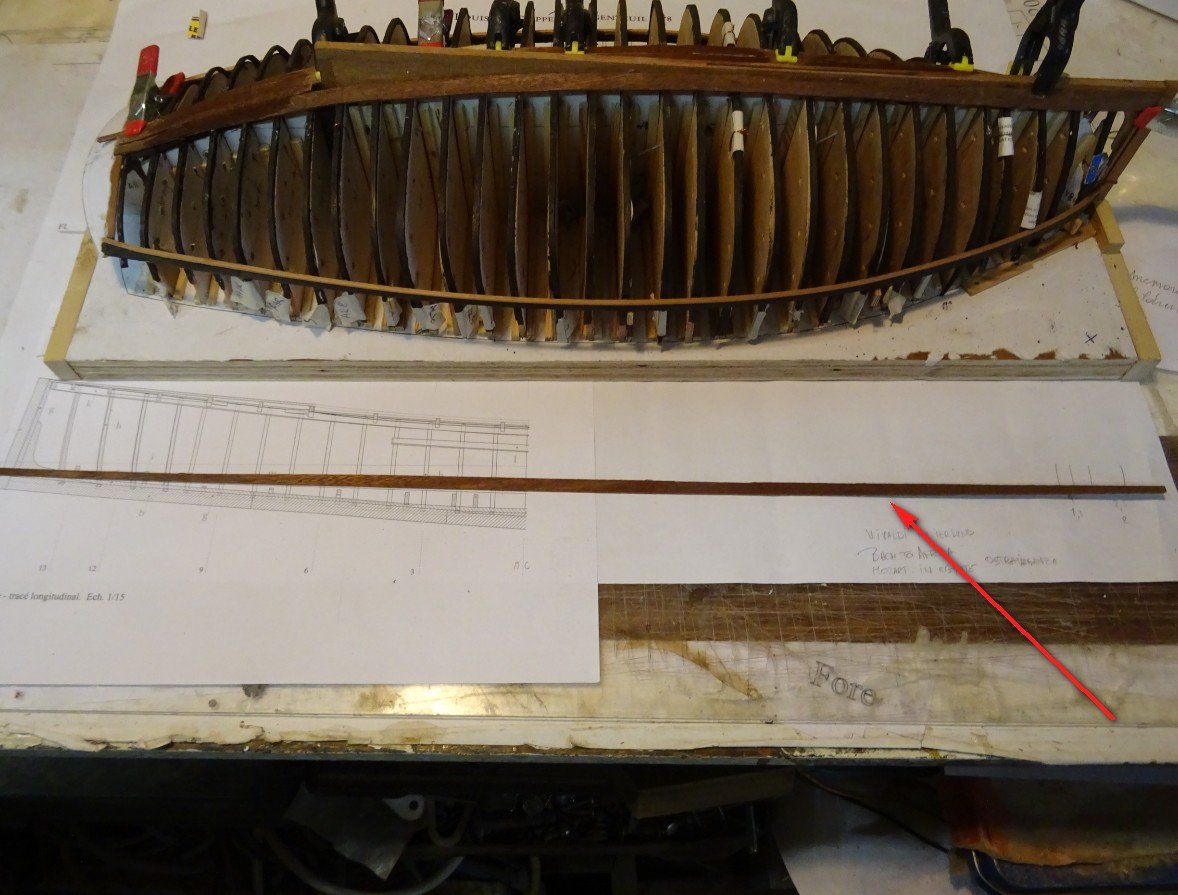
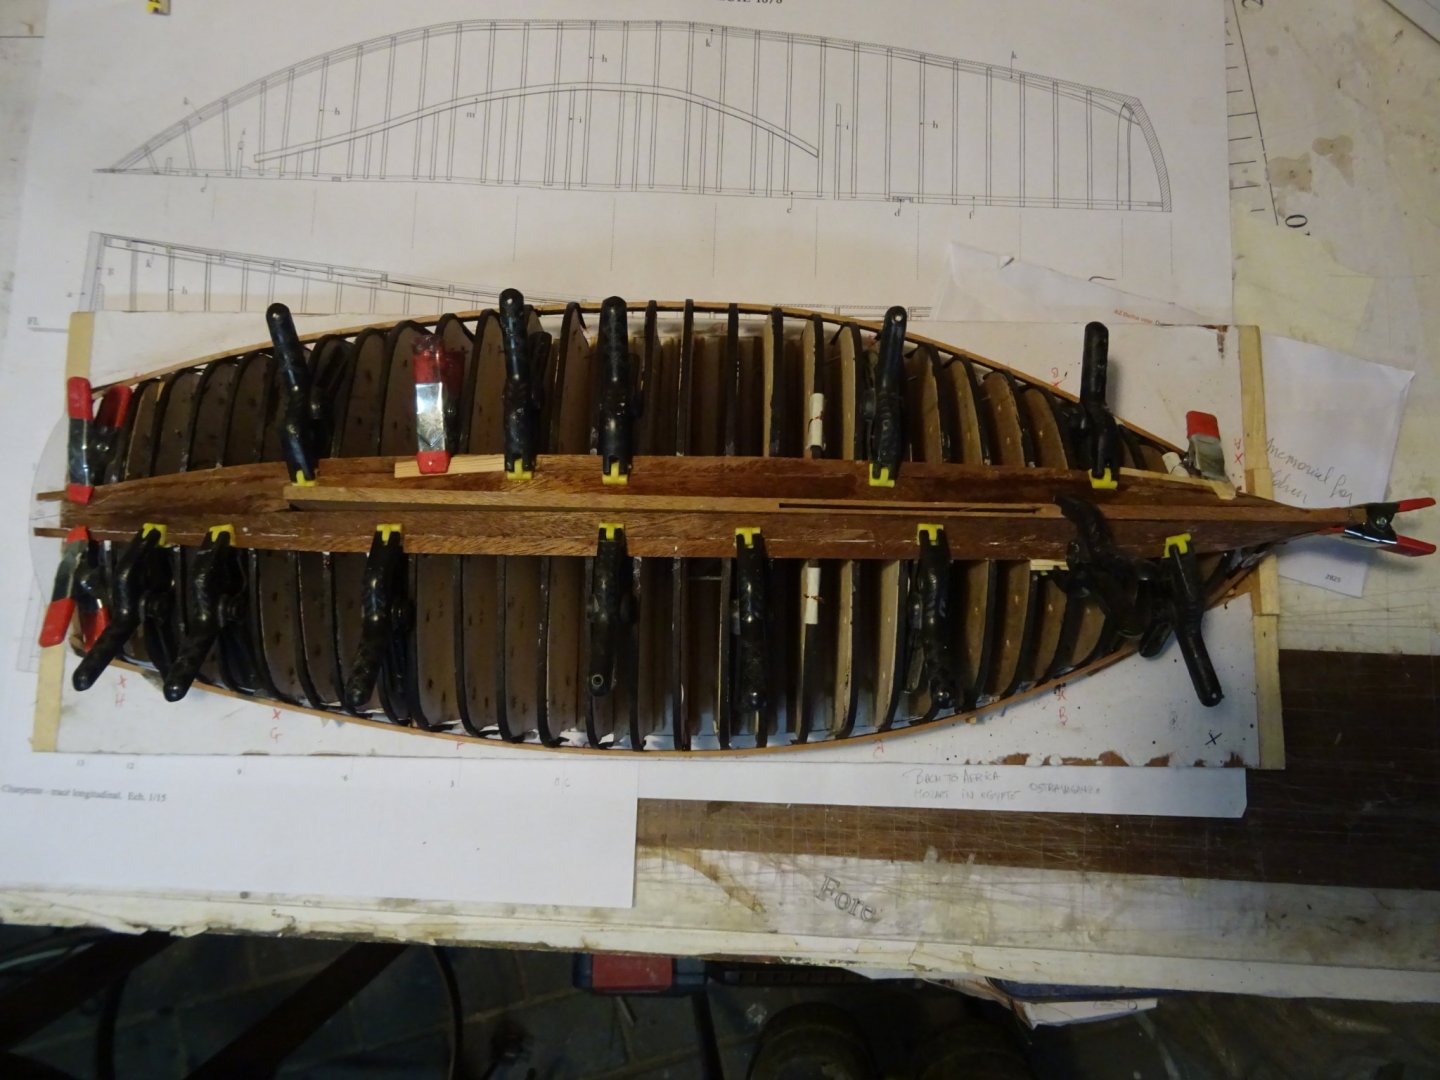
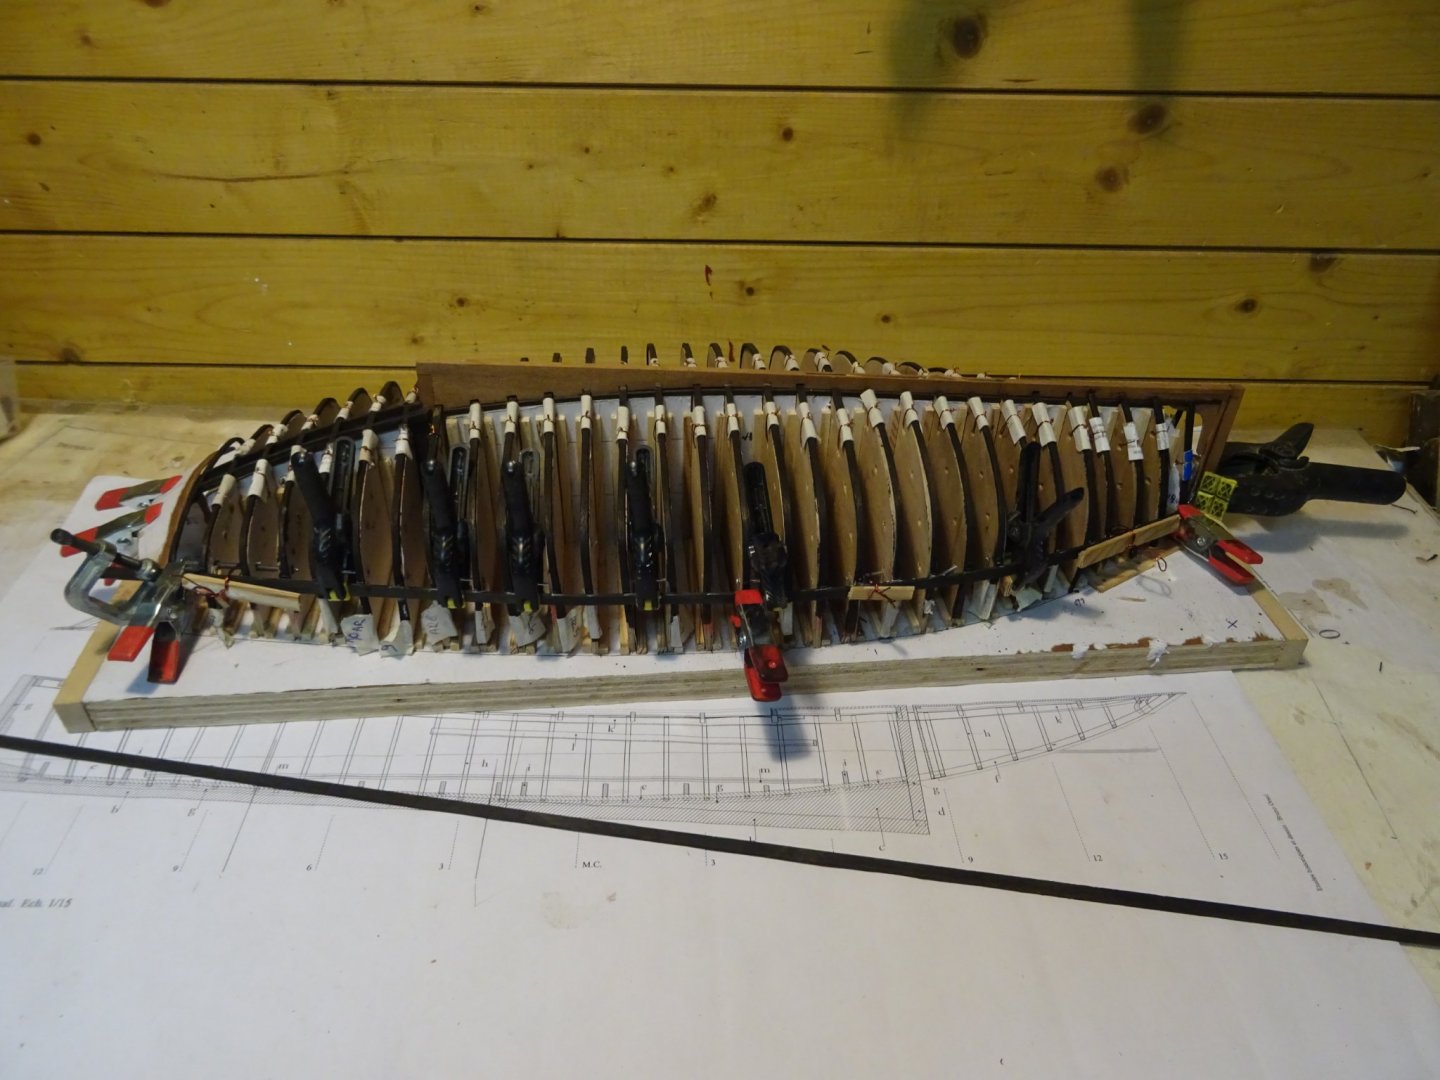
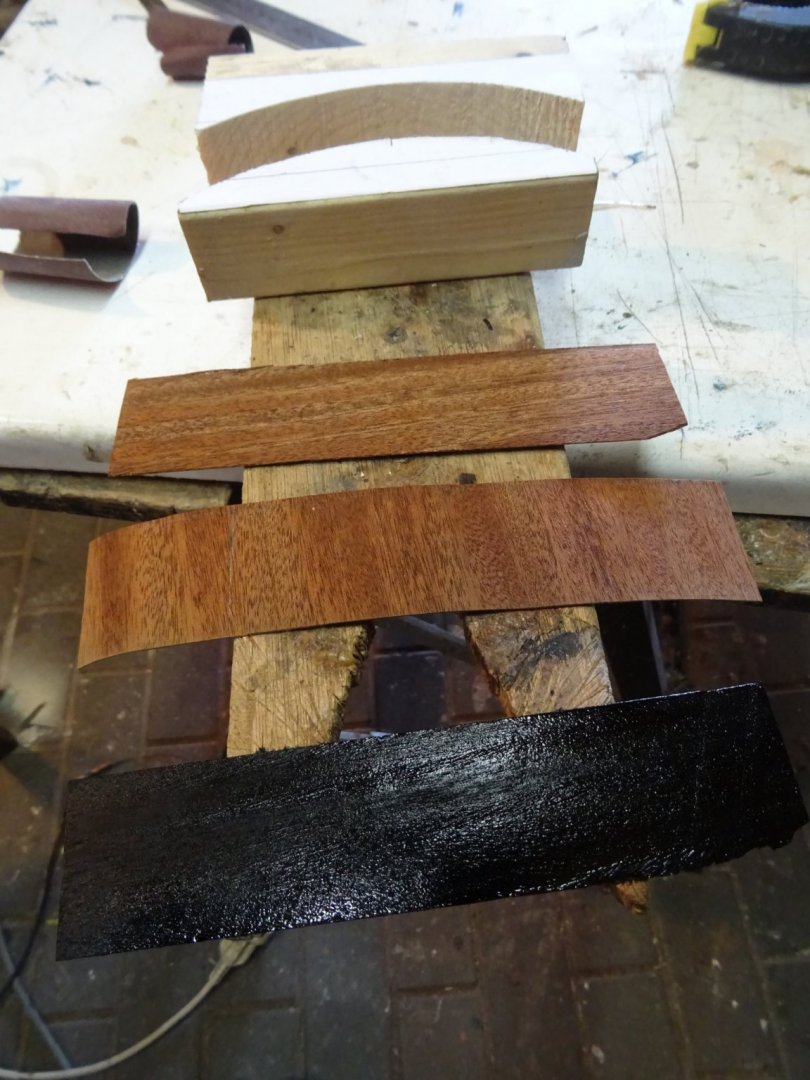
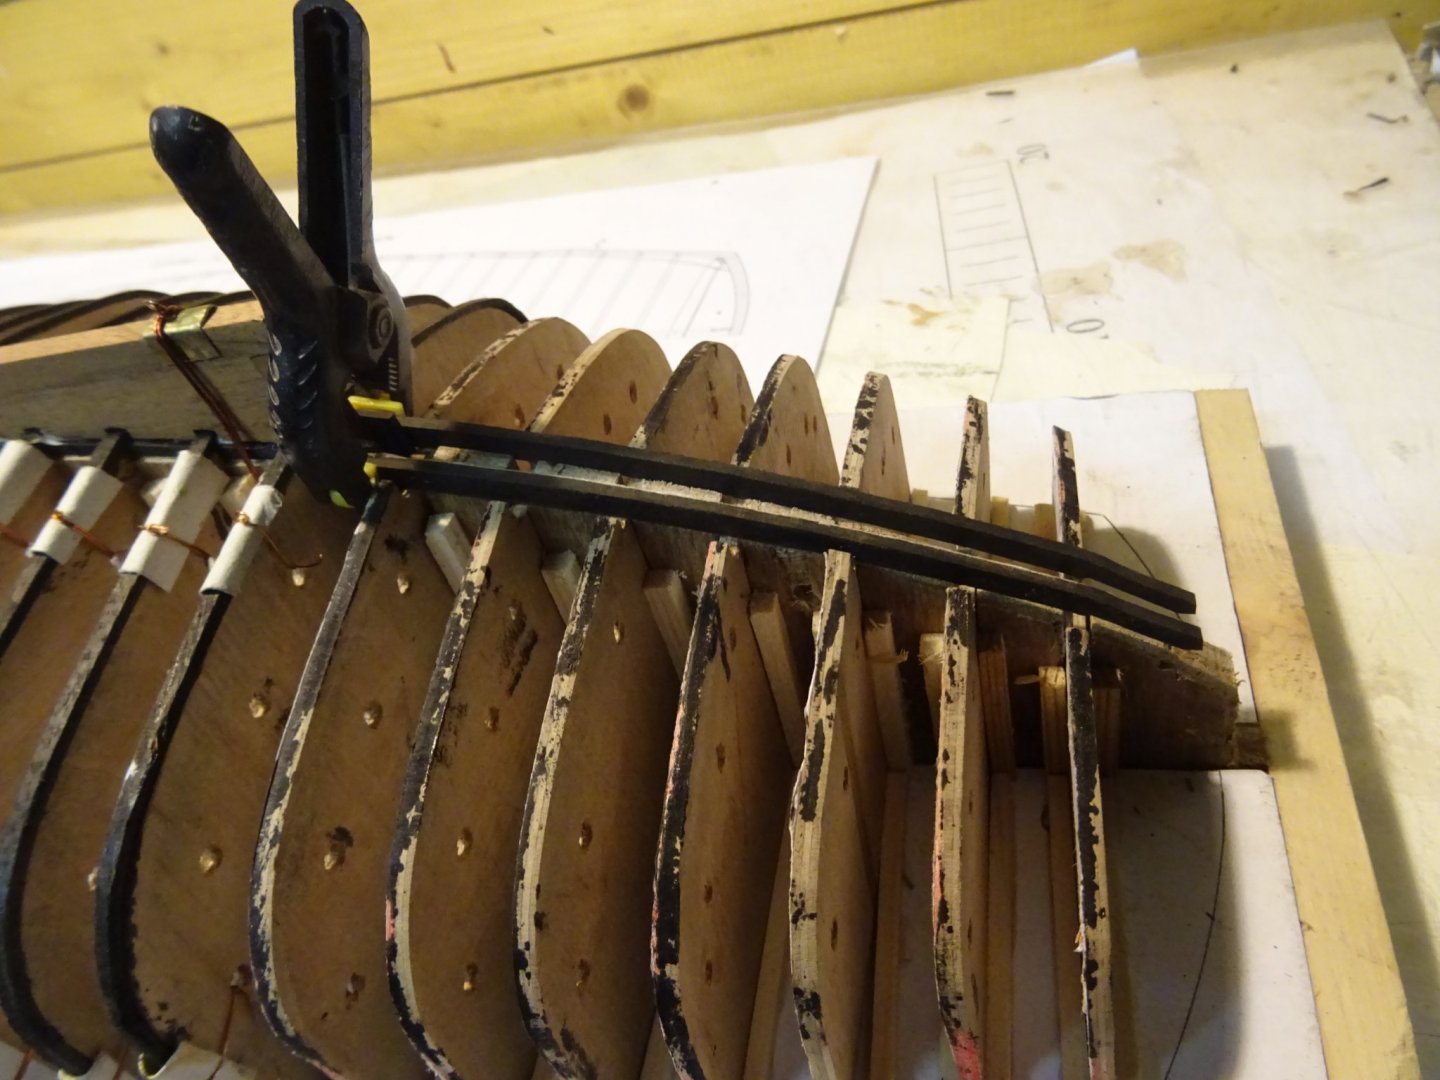
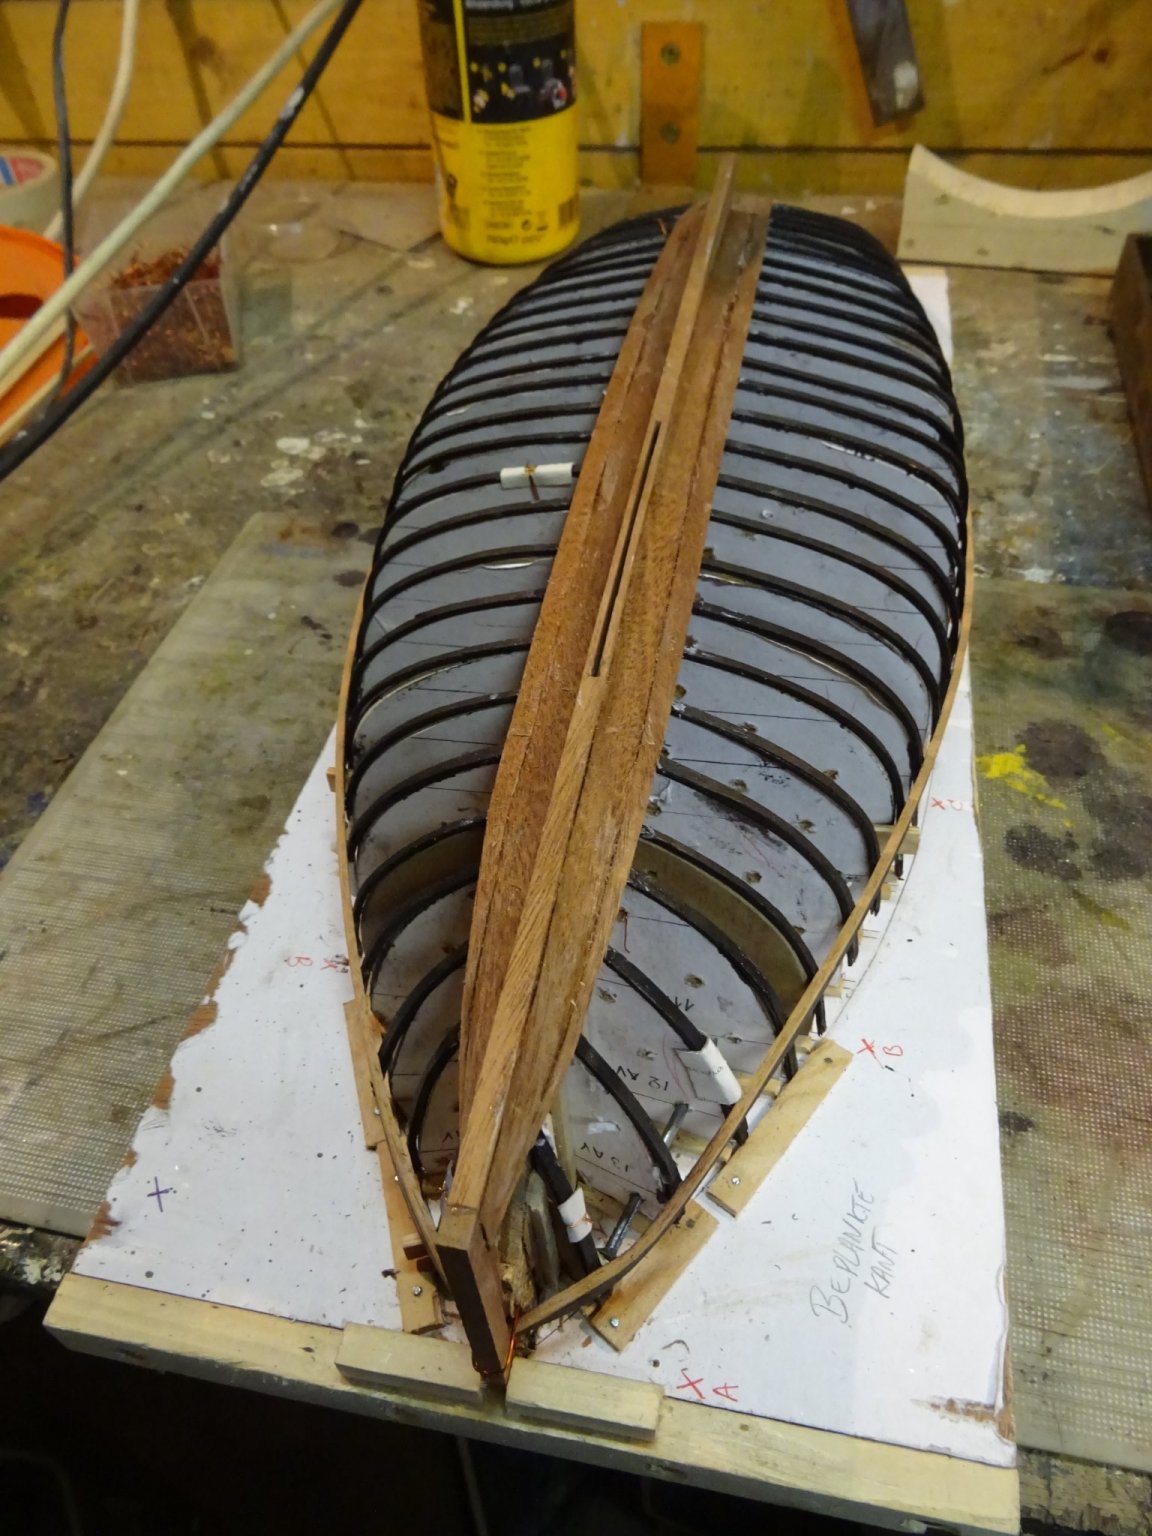
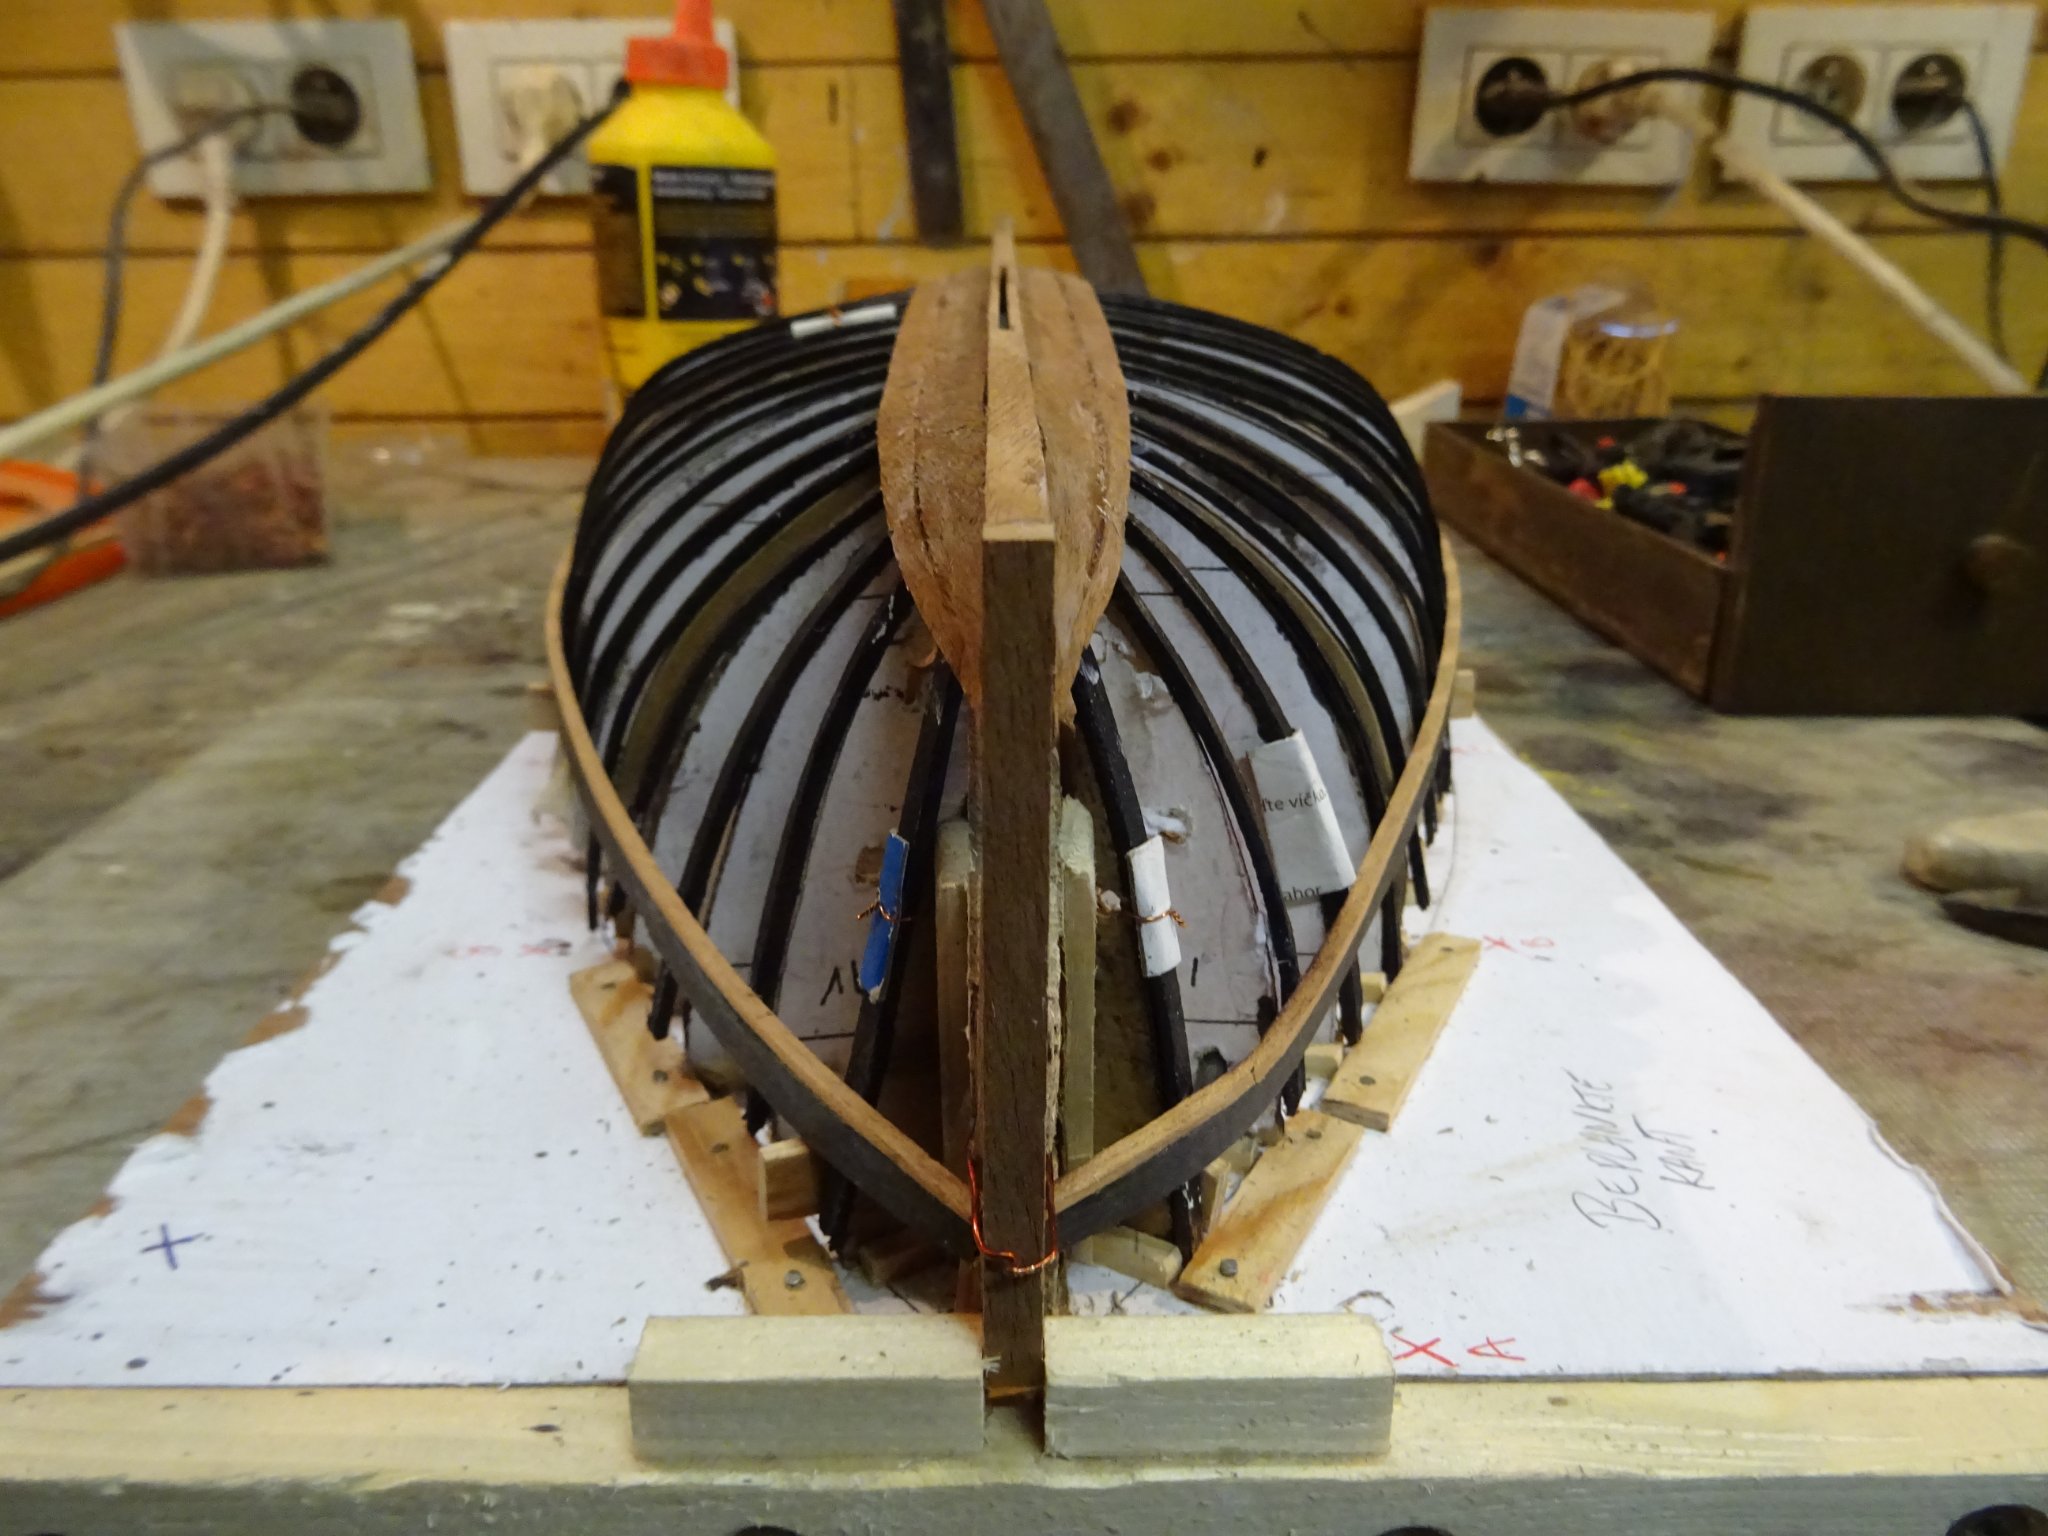
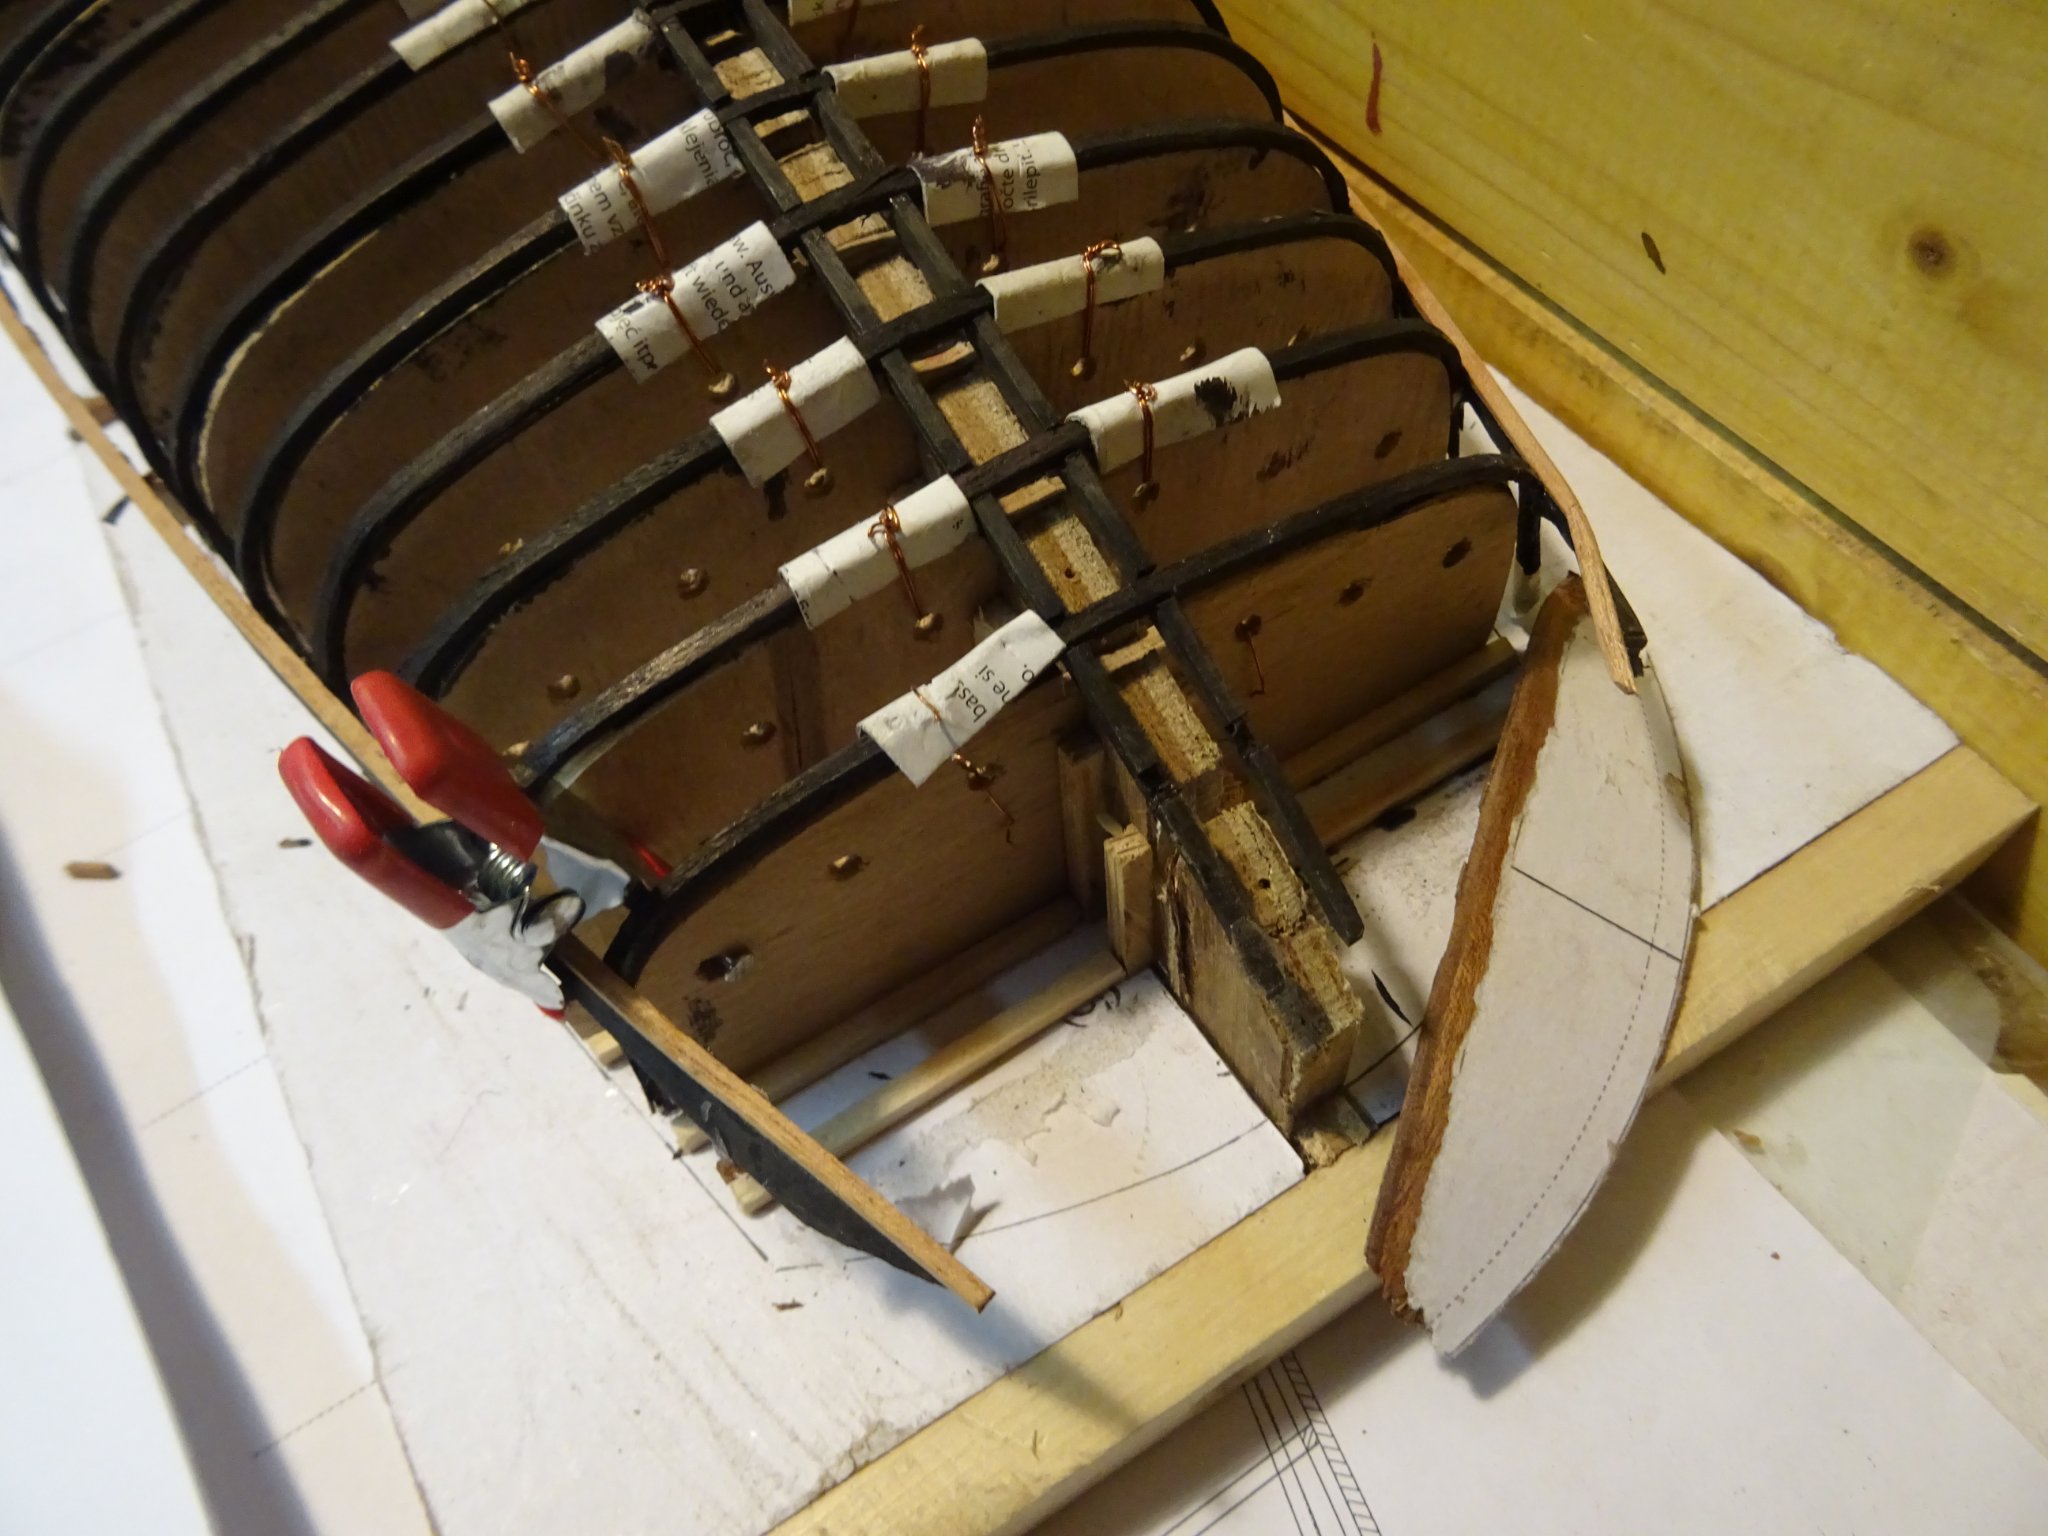
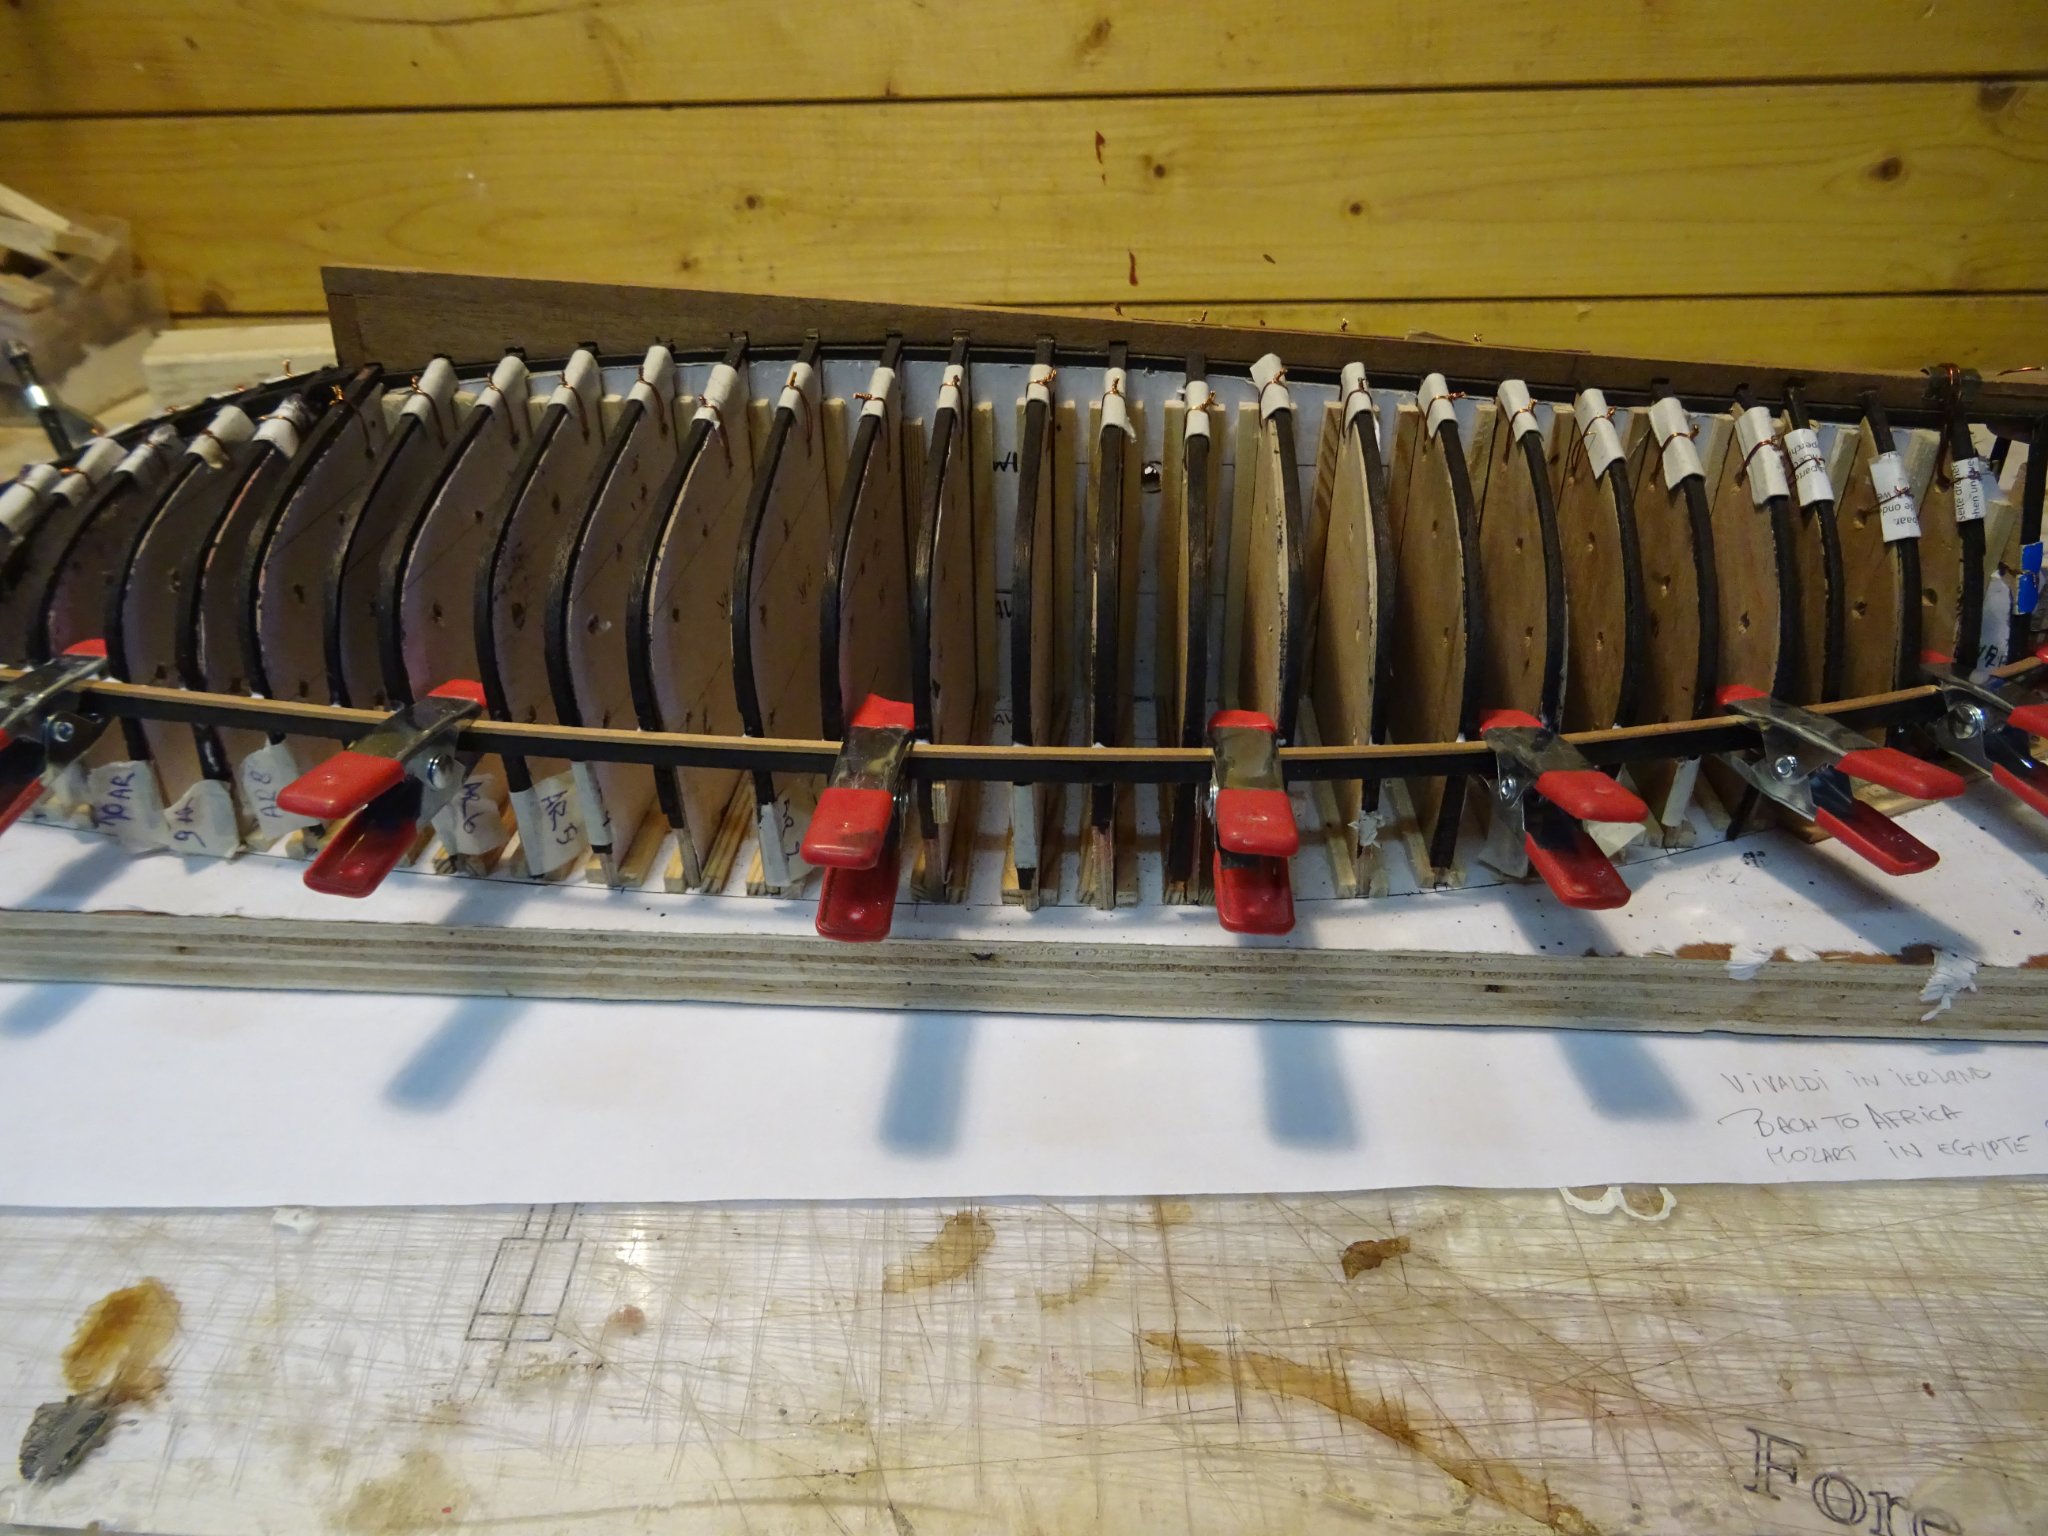
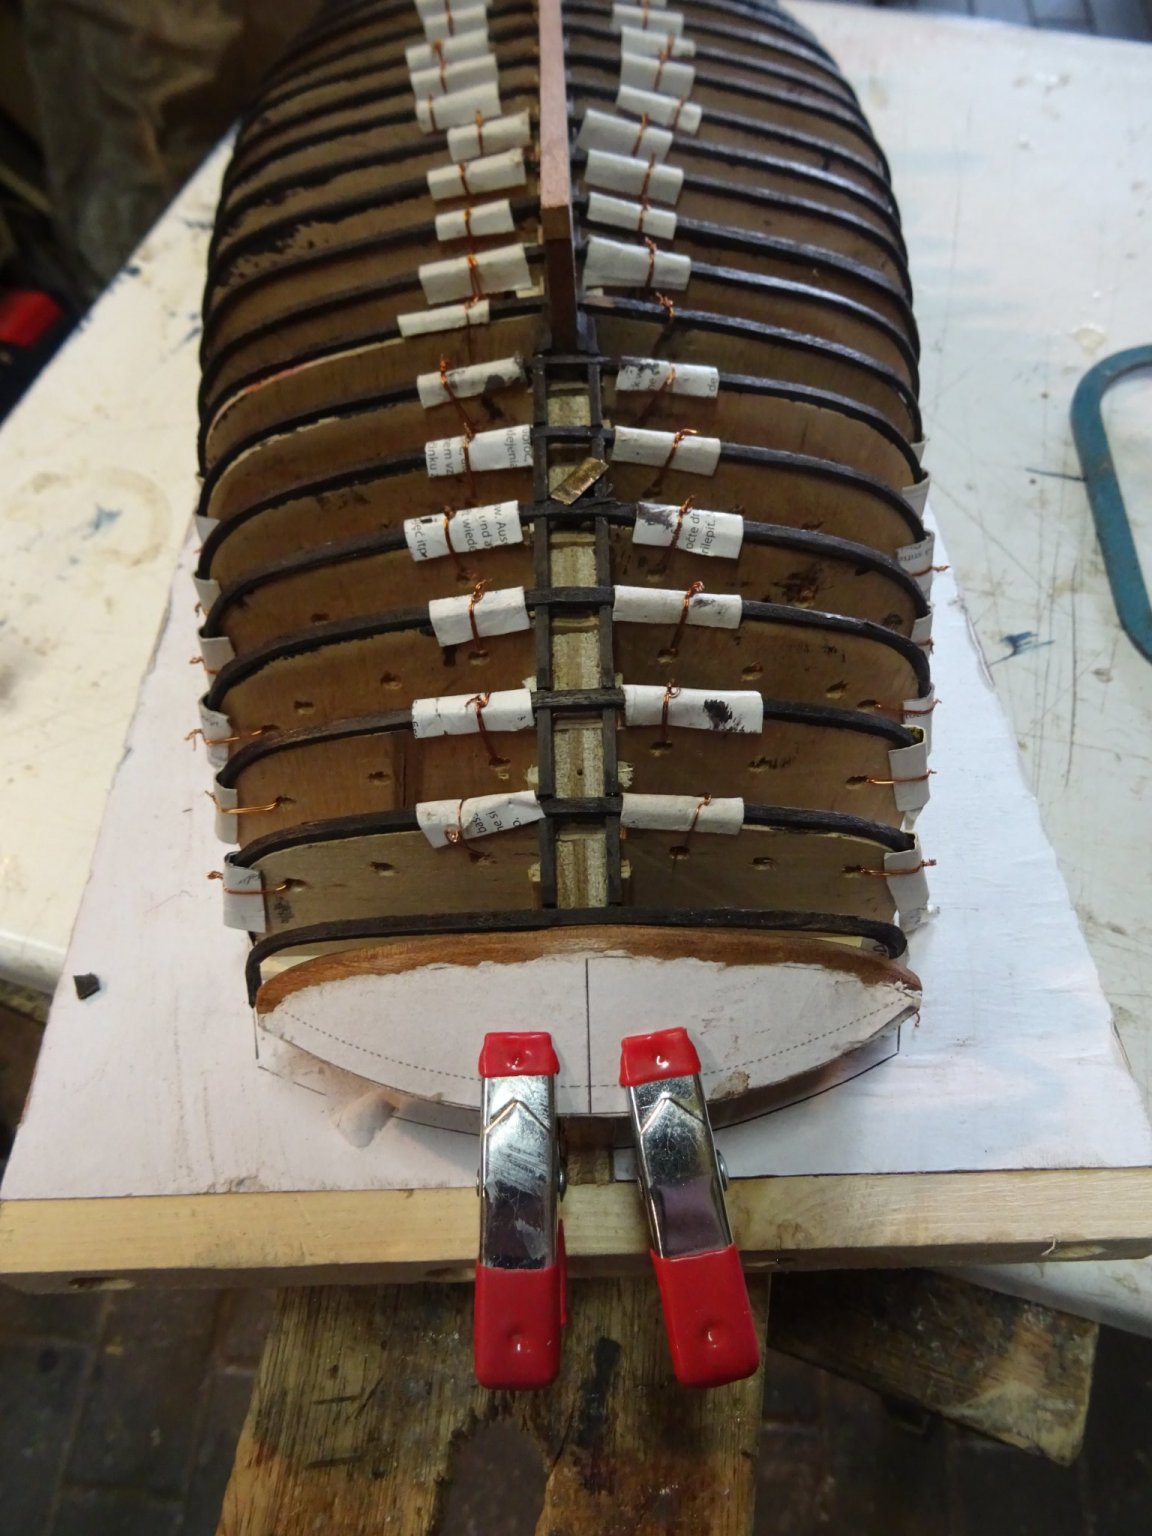
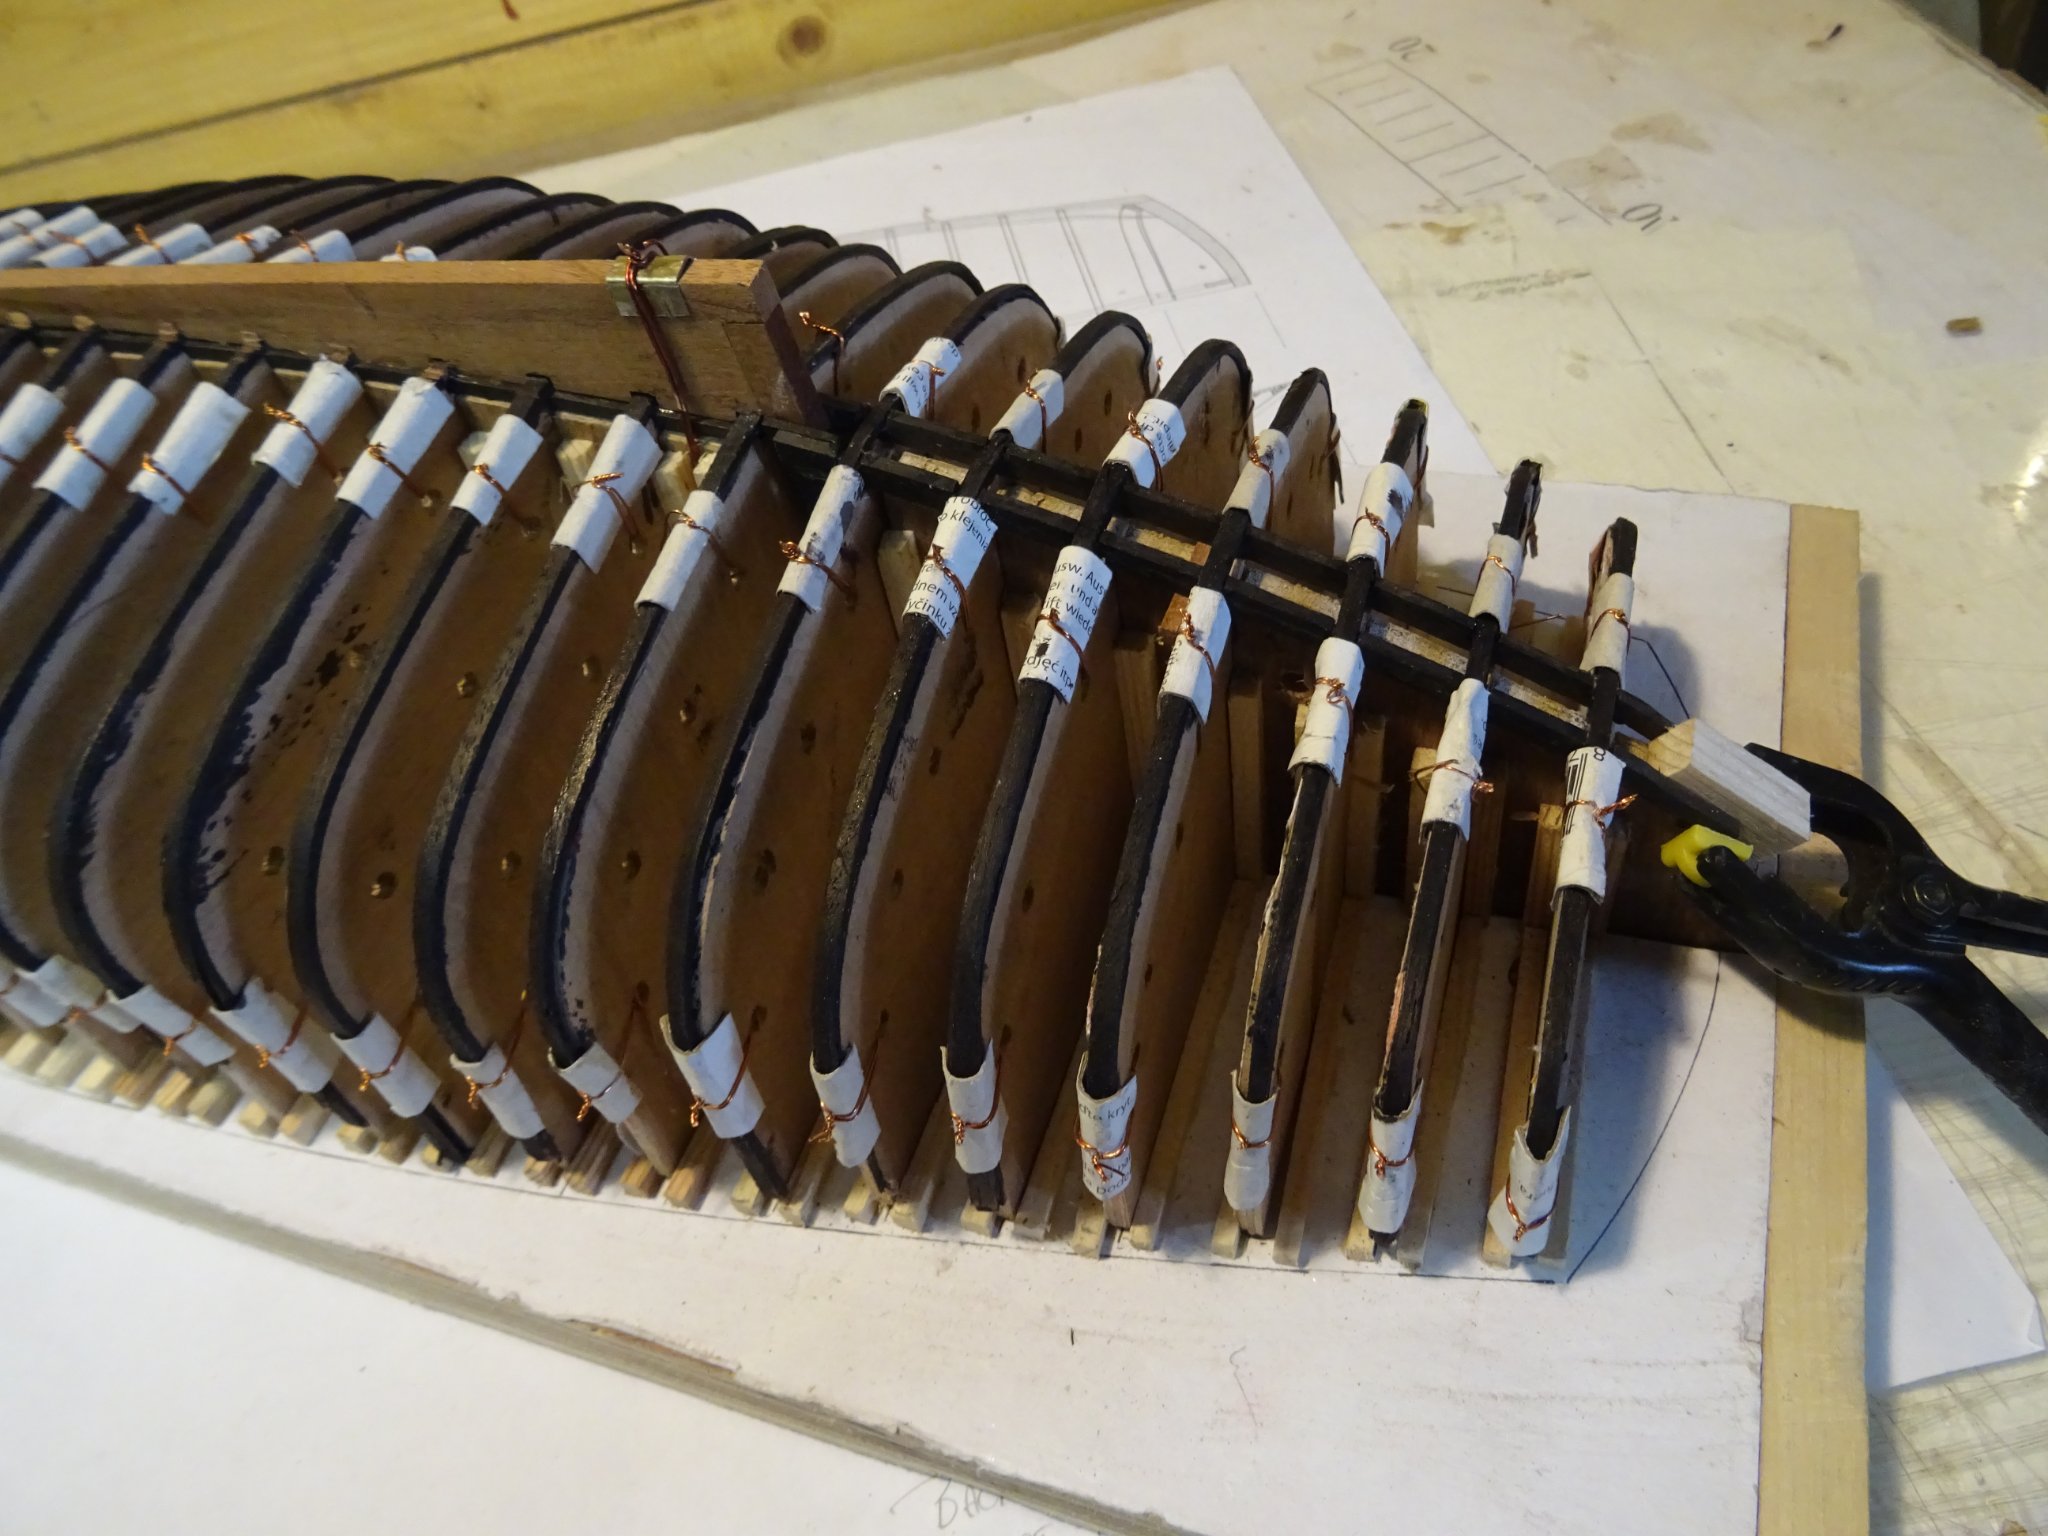
7. Planking the hull
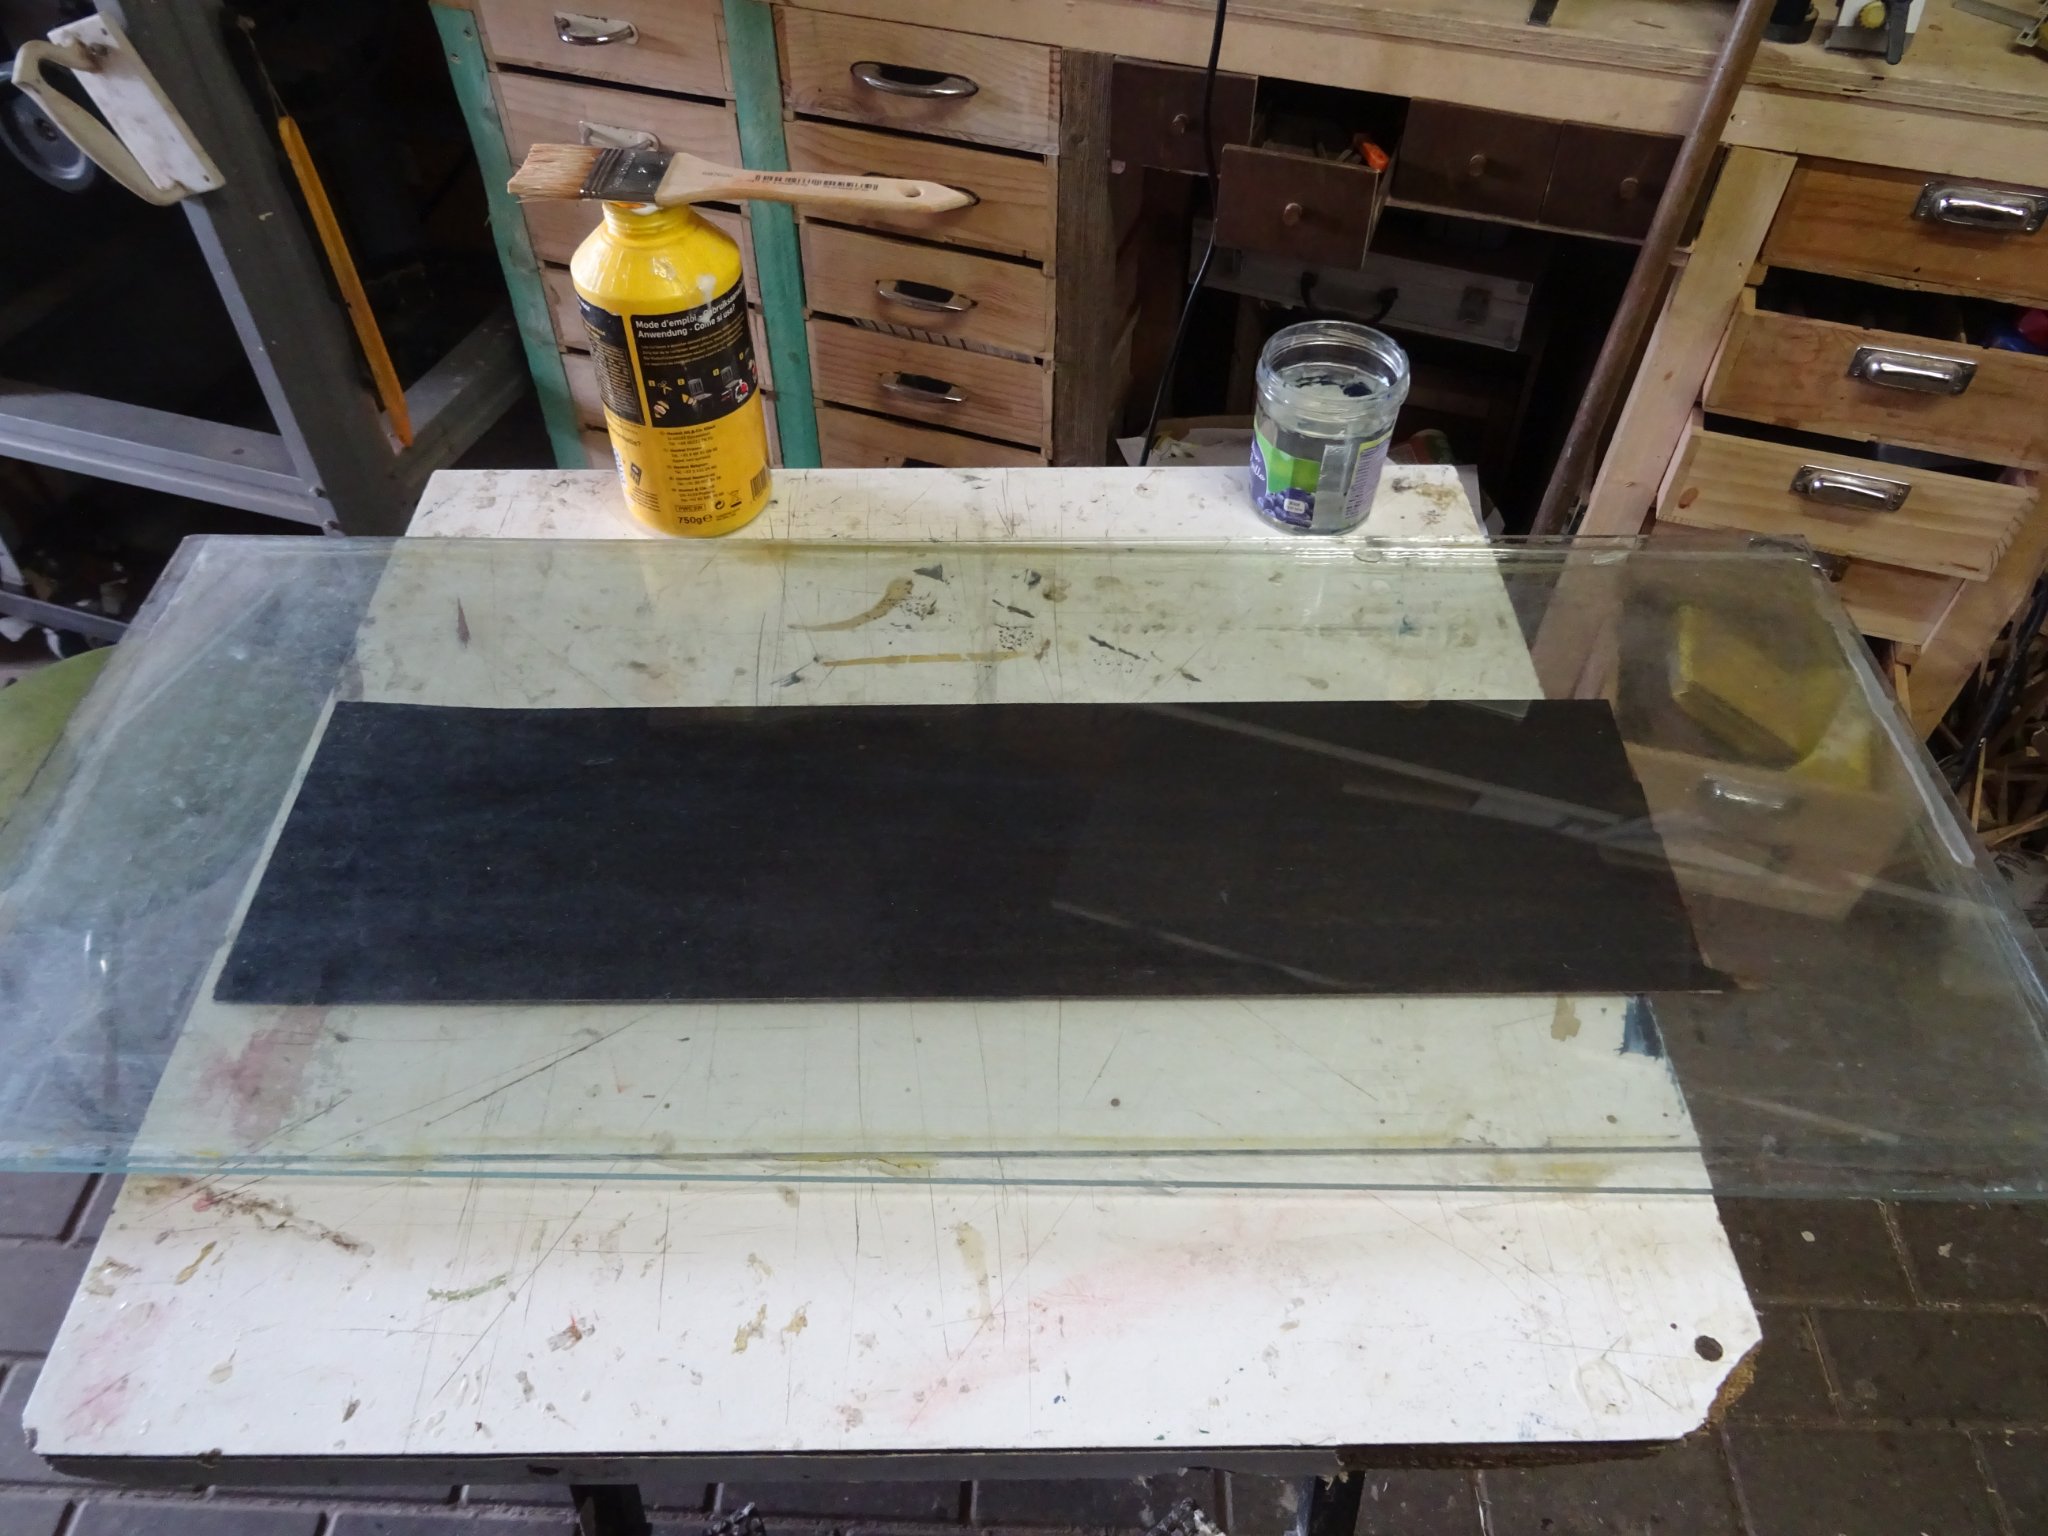
The inside of the hull is black and the outside natural mahogany color. Mr Bruno Orsel uses planks made of a layer of ebony veneer, glued on a layer of mahogany veneer. I don't have ebony veneer so I make black veneer myself by staining mahogany veneer black. I glue two blades (black and natural) on each other. I let the glue dry between two glass plates to obtain a thin (± 1.2 mm thick) plywood sheet to cut the strakes of.
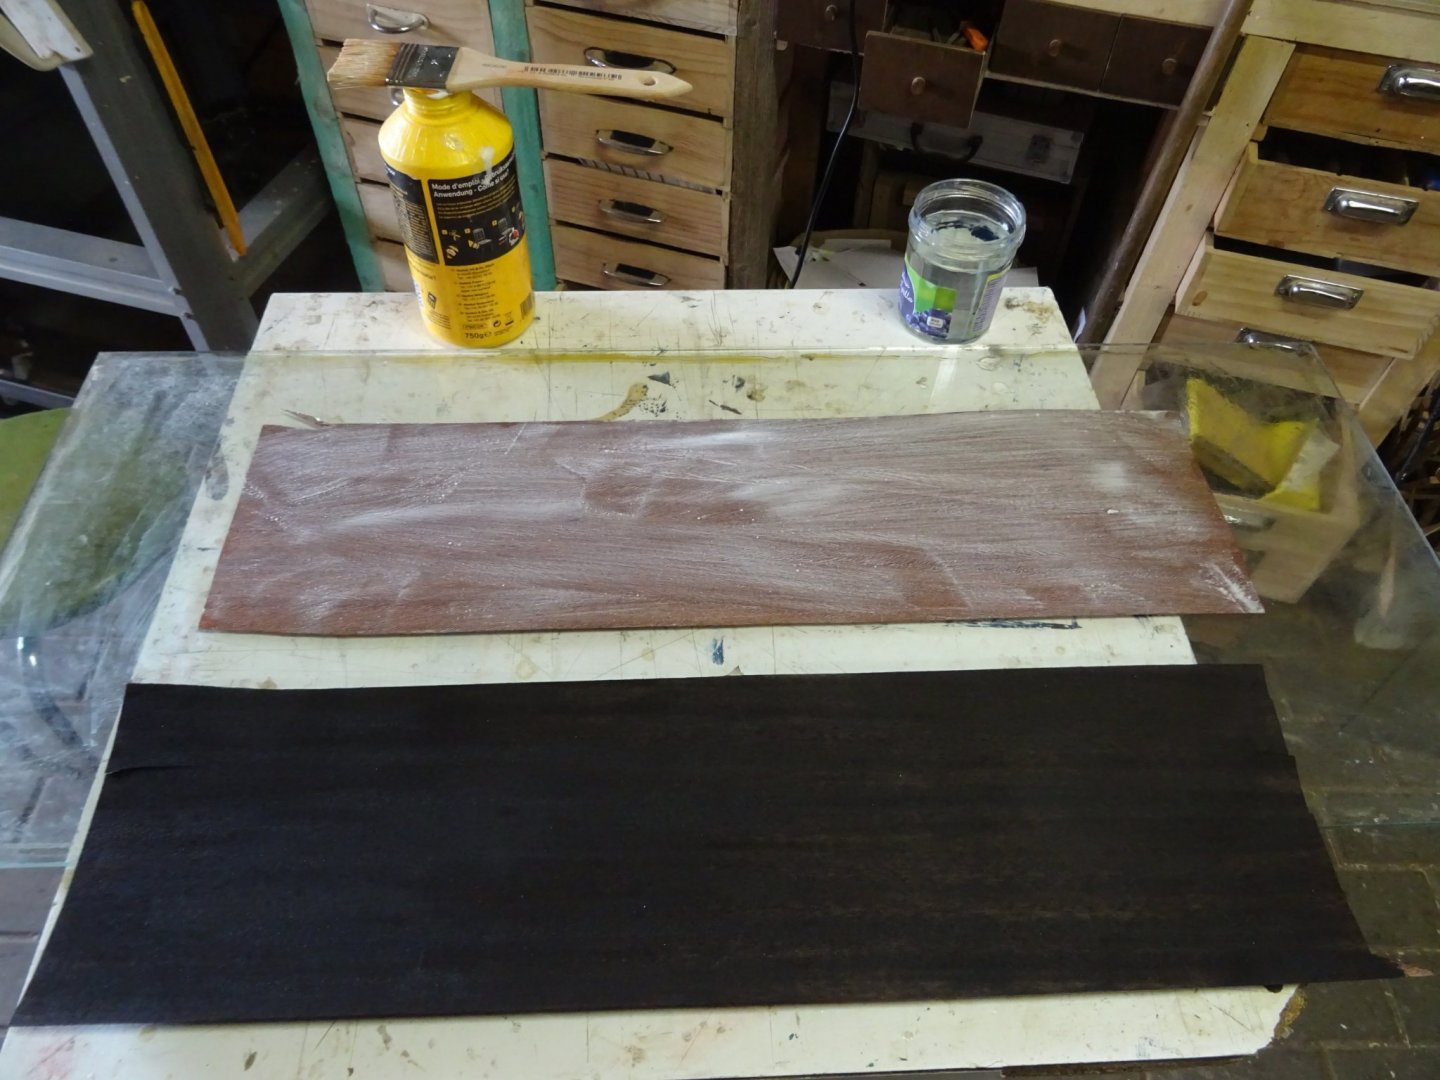

Of this sheet I can cut the planks one side black and one natural mahogany.
I start the planking at the bottom side with the garboards. Gluing the port garboard.


The next is the starboard garboard.
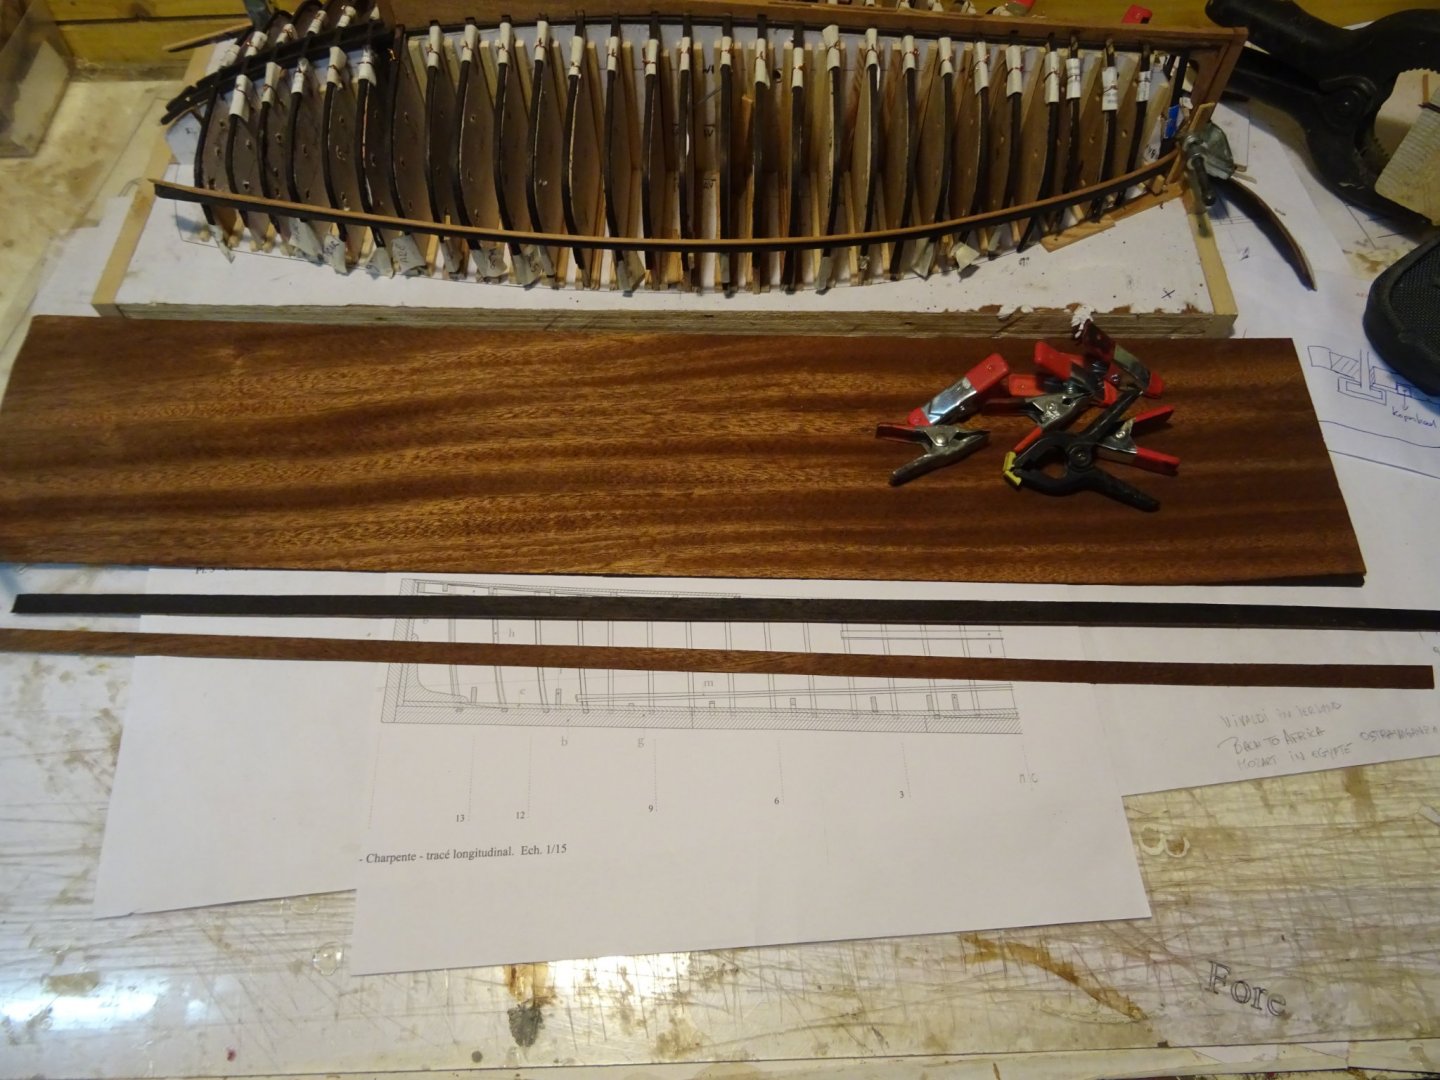
Between the garboard and the wale come 18 strakes. To determine their shape, I measure every five frames the frame length and divide that by 18.
Thank you very much for reading this log and for your likes.
Till next week!
-
The planking looks very good, Vaddoc. Very well done.
Painting the hull or keeping it in natural wood, it's always a difficult decision. After doing all this excellent work on the planking I would keep the wood natural.
-
-
Congratulations, Jorge. Your Triton really turned out to be a very beautiful model.
- Jorge Diaz O and mtaylor
-
1
-
 1
1
-
On 5/2/2021 at 5:33 PM, Wintergreen said:
Great progress GL!
Bumper edge, or rubbing strake I presume.
This clipper will look splendid when it is planked and varnished. Ebony and mahogany - yummy to the eye 😉
Obviously there was no risk with the hull being deformed while gluing only one wale at a time since it is so well fastened to the building board.
Keep it up!
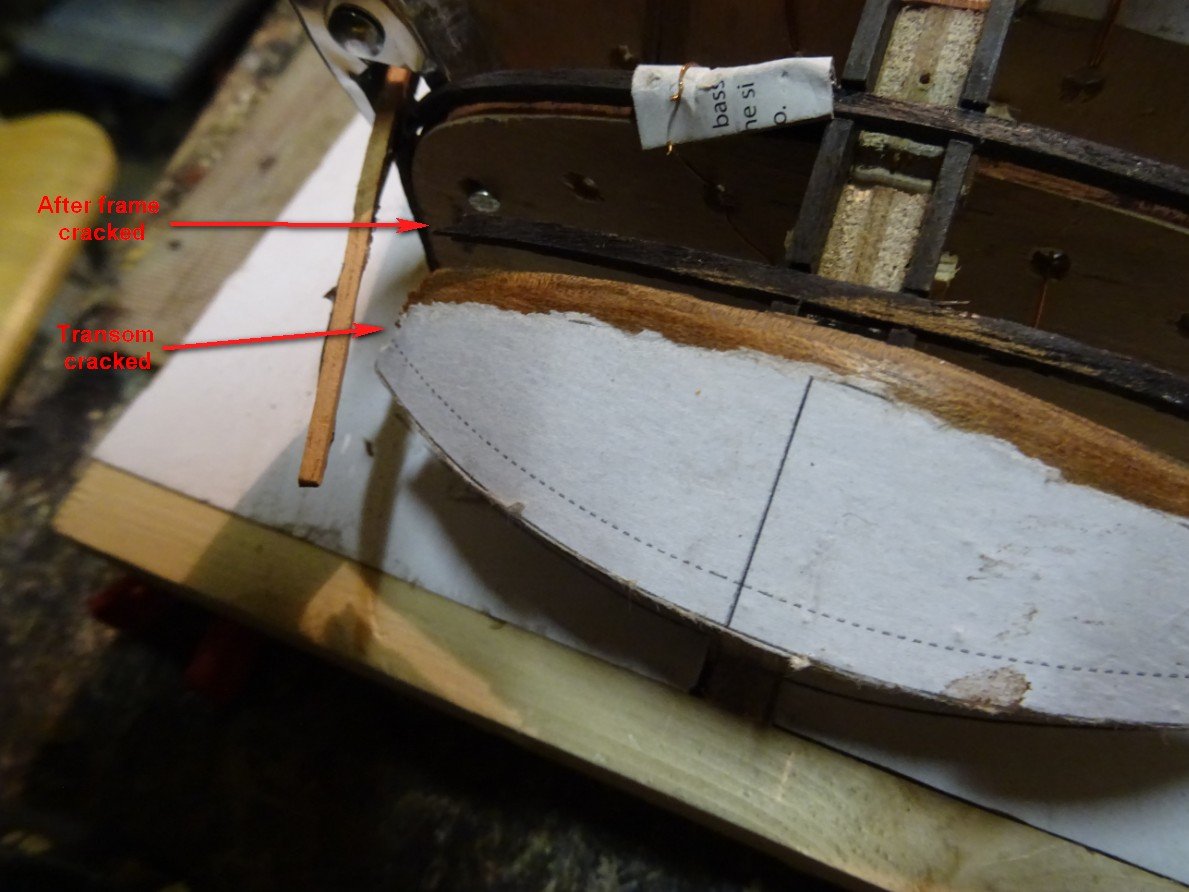
Well Hakan, the hull is not deformed, but I had a different incident😒.
When I removed the clamps and supports which had to keep the starboard wale in place, the starboard side of the transom and the after frame cracked. The force of the ebony wale pressing on the transom was probably too great.
So, no progress to report this week.
I carefully remove the remnants of the frame and the transom. Fortunately this succeeds without causing further damage.

I re-laminate the frame ...
... and the transom.
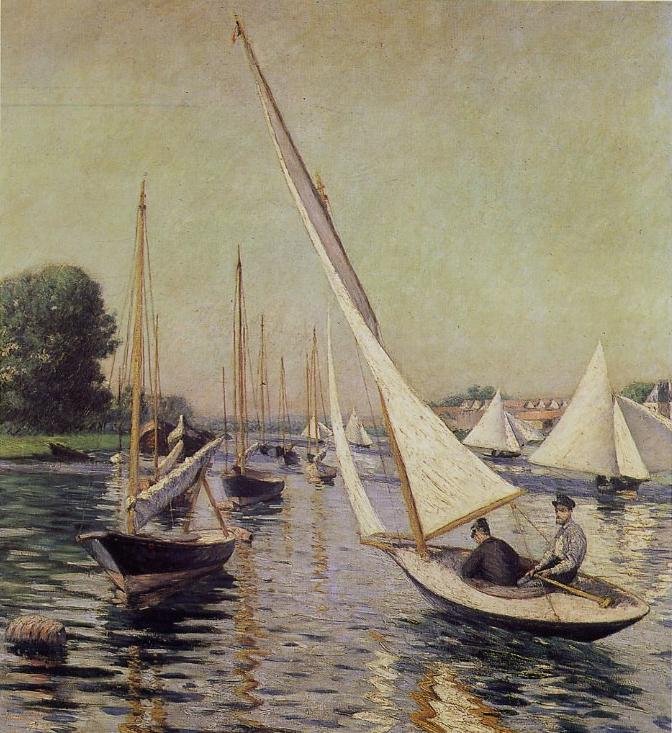
Forgot to make a picture of the replaced pieces. Instead of that another picture of a painting of clippers d'Argenteuil by Gustave Caillebotte.
I hope I can report some progress again next week.
Thank you very much for reading this log, for your likes and for your reactions.
Till next week!
- ccoyle, Ekis, GrandpaPhil and 5 others
-
8
-
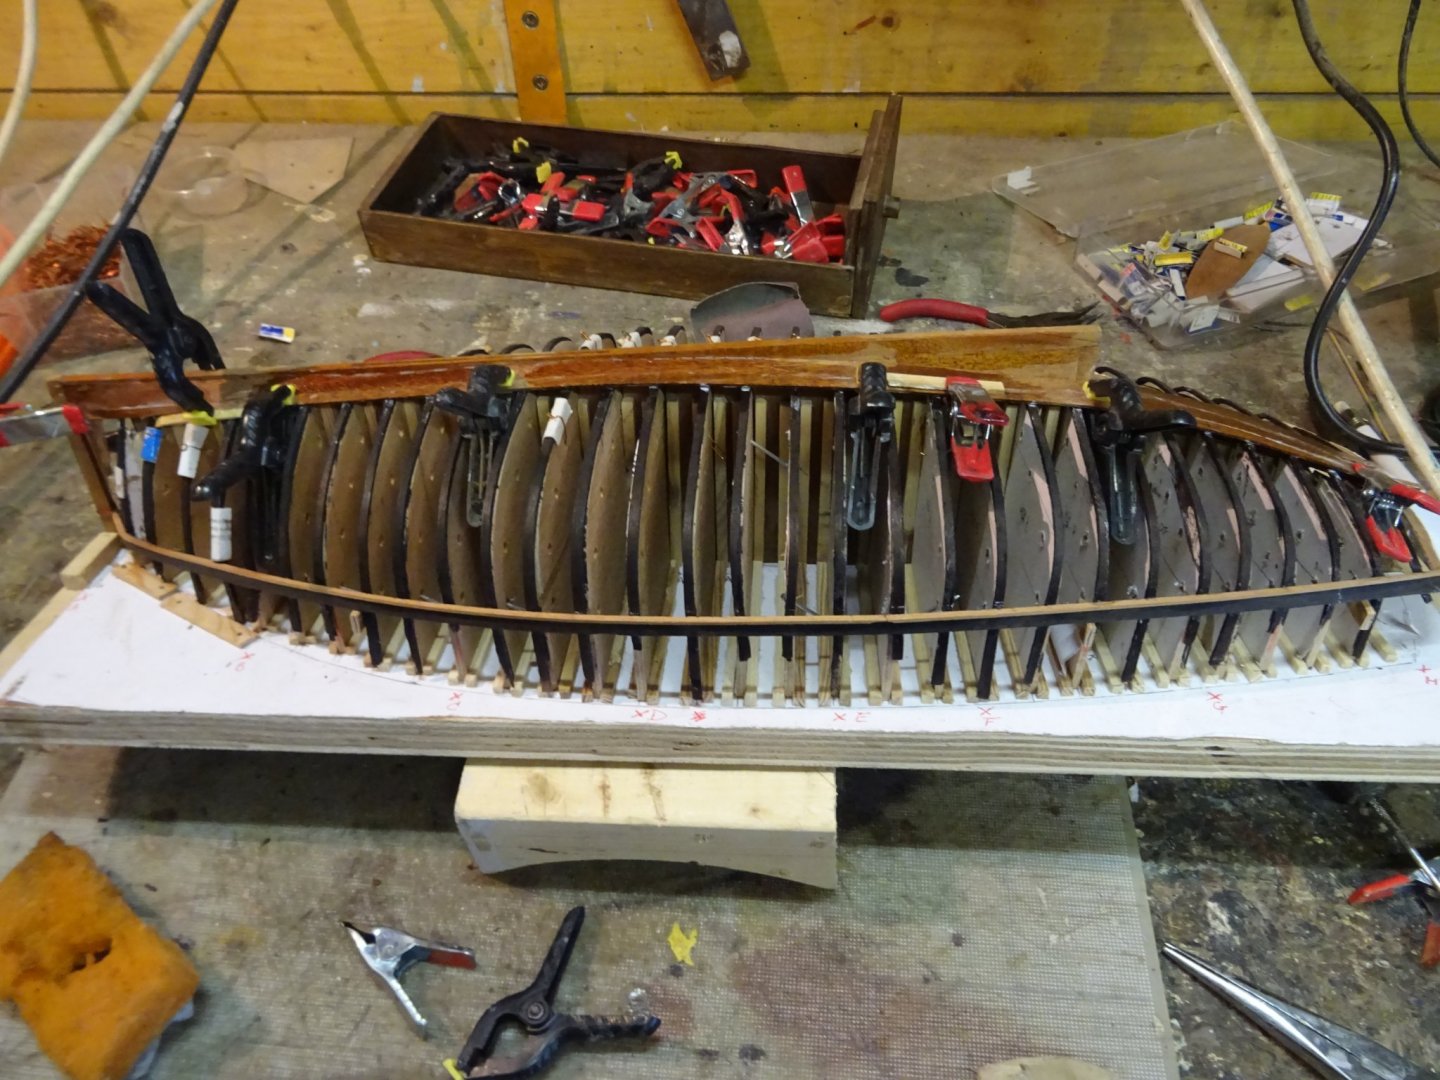
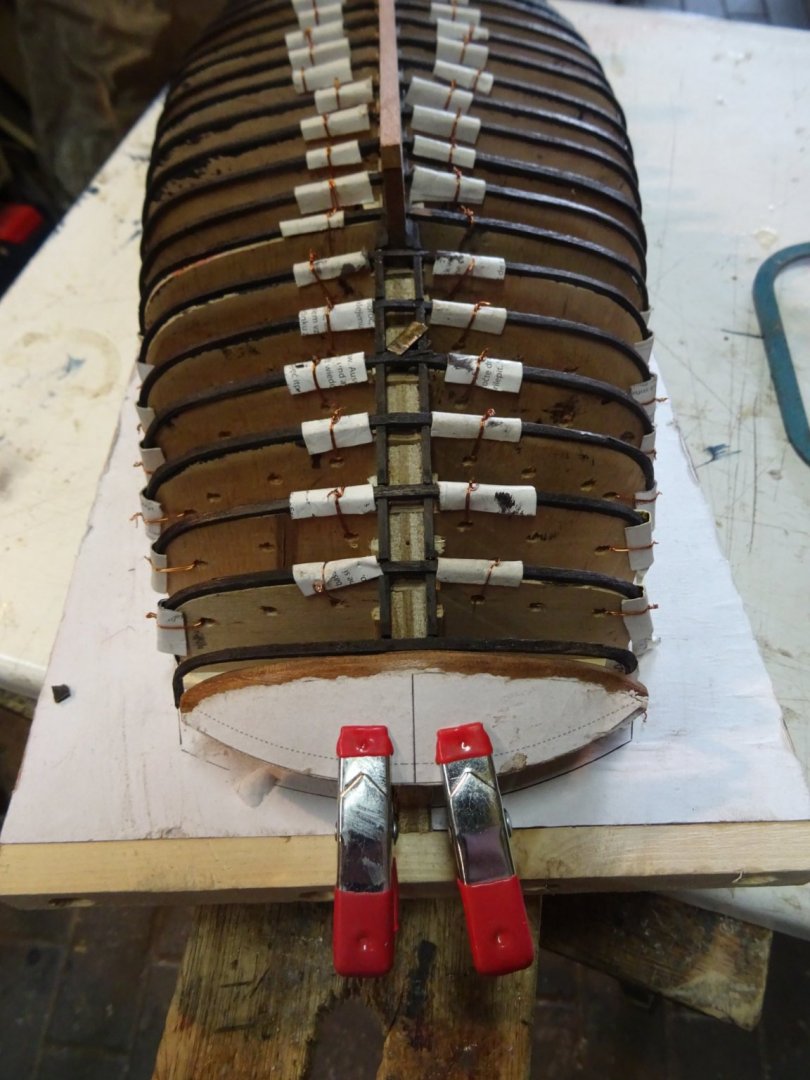
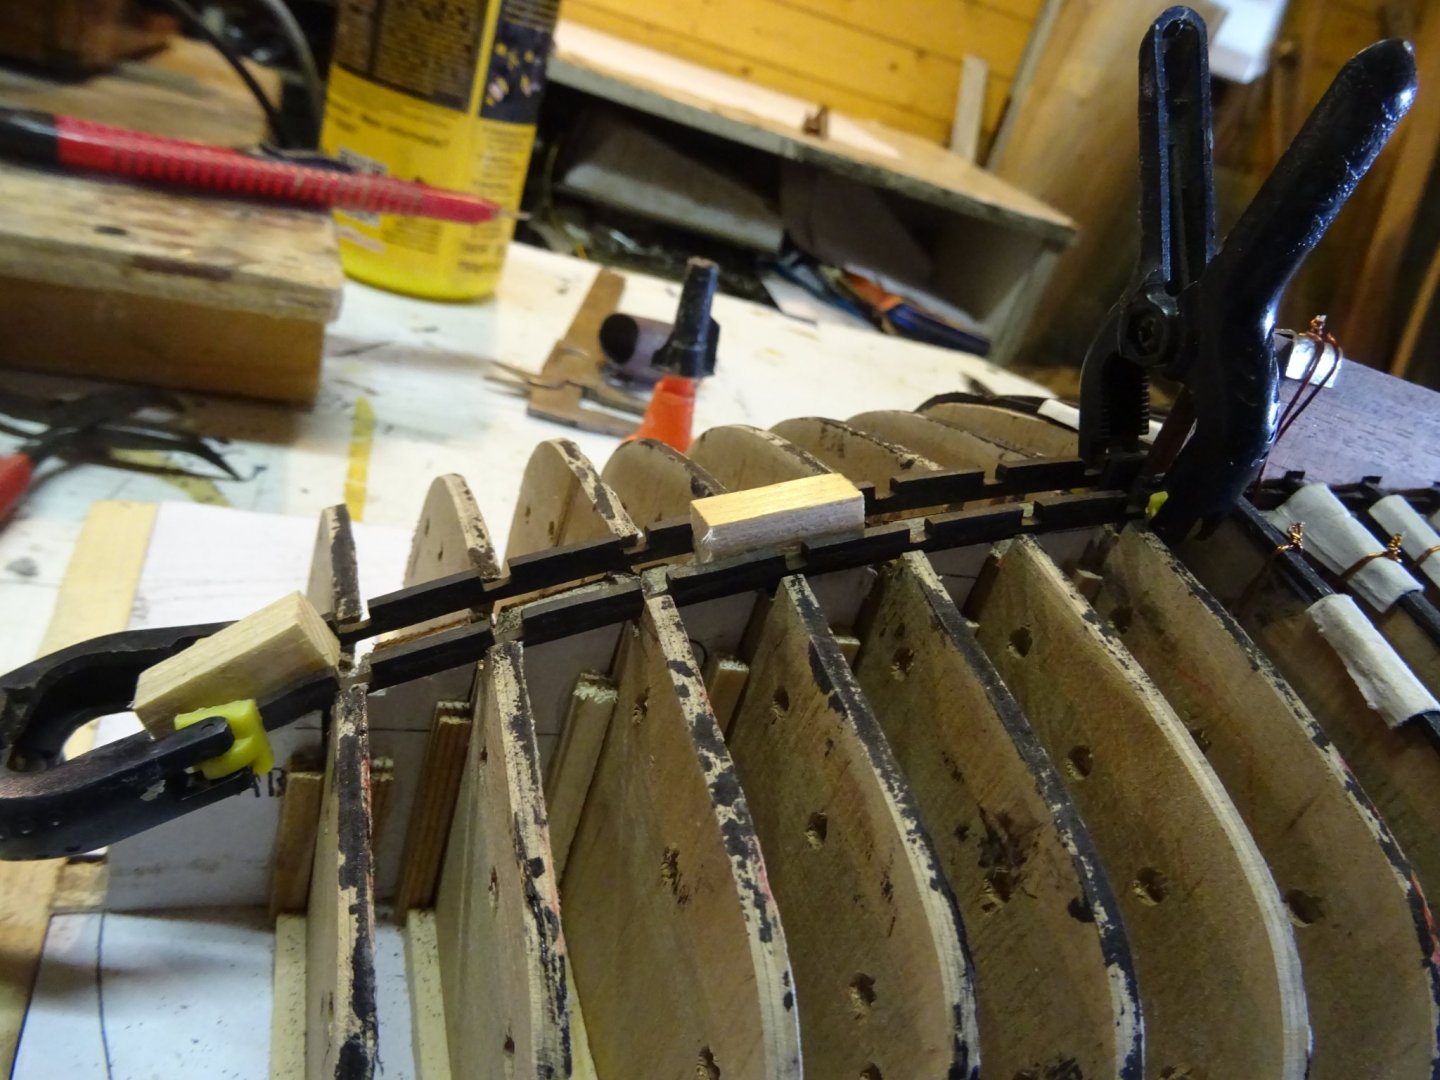
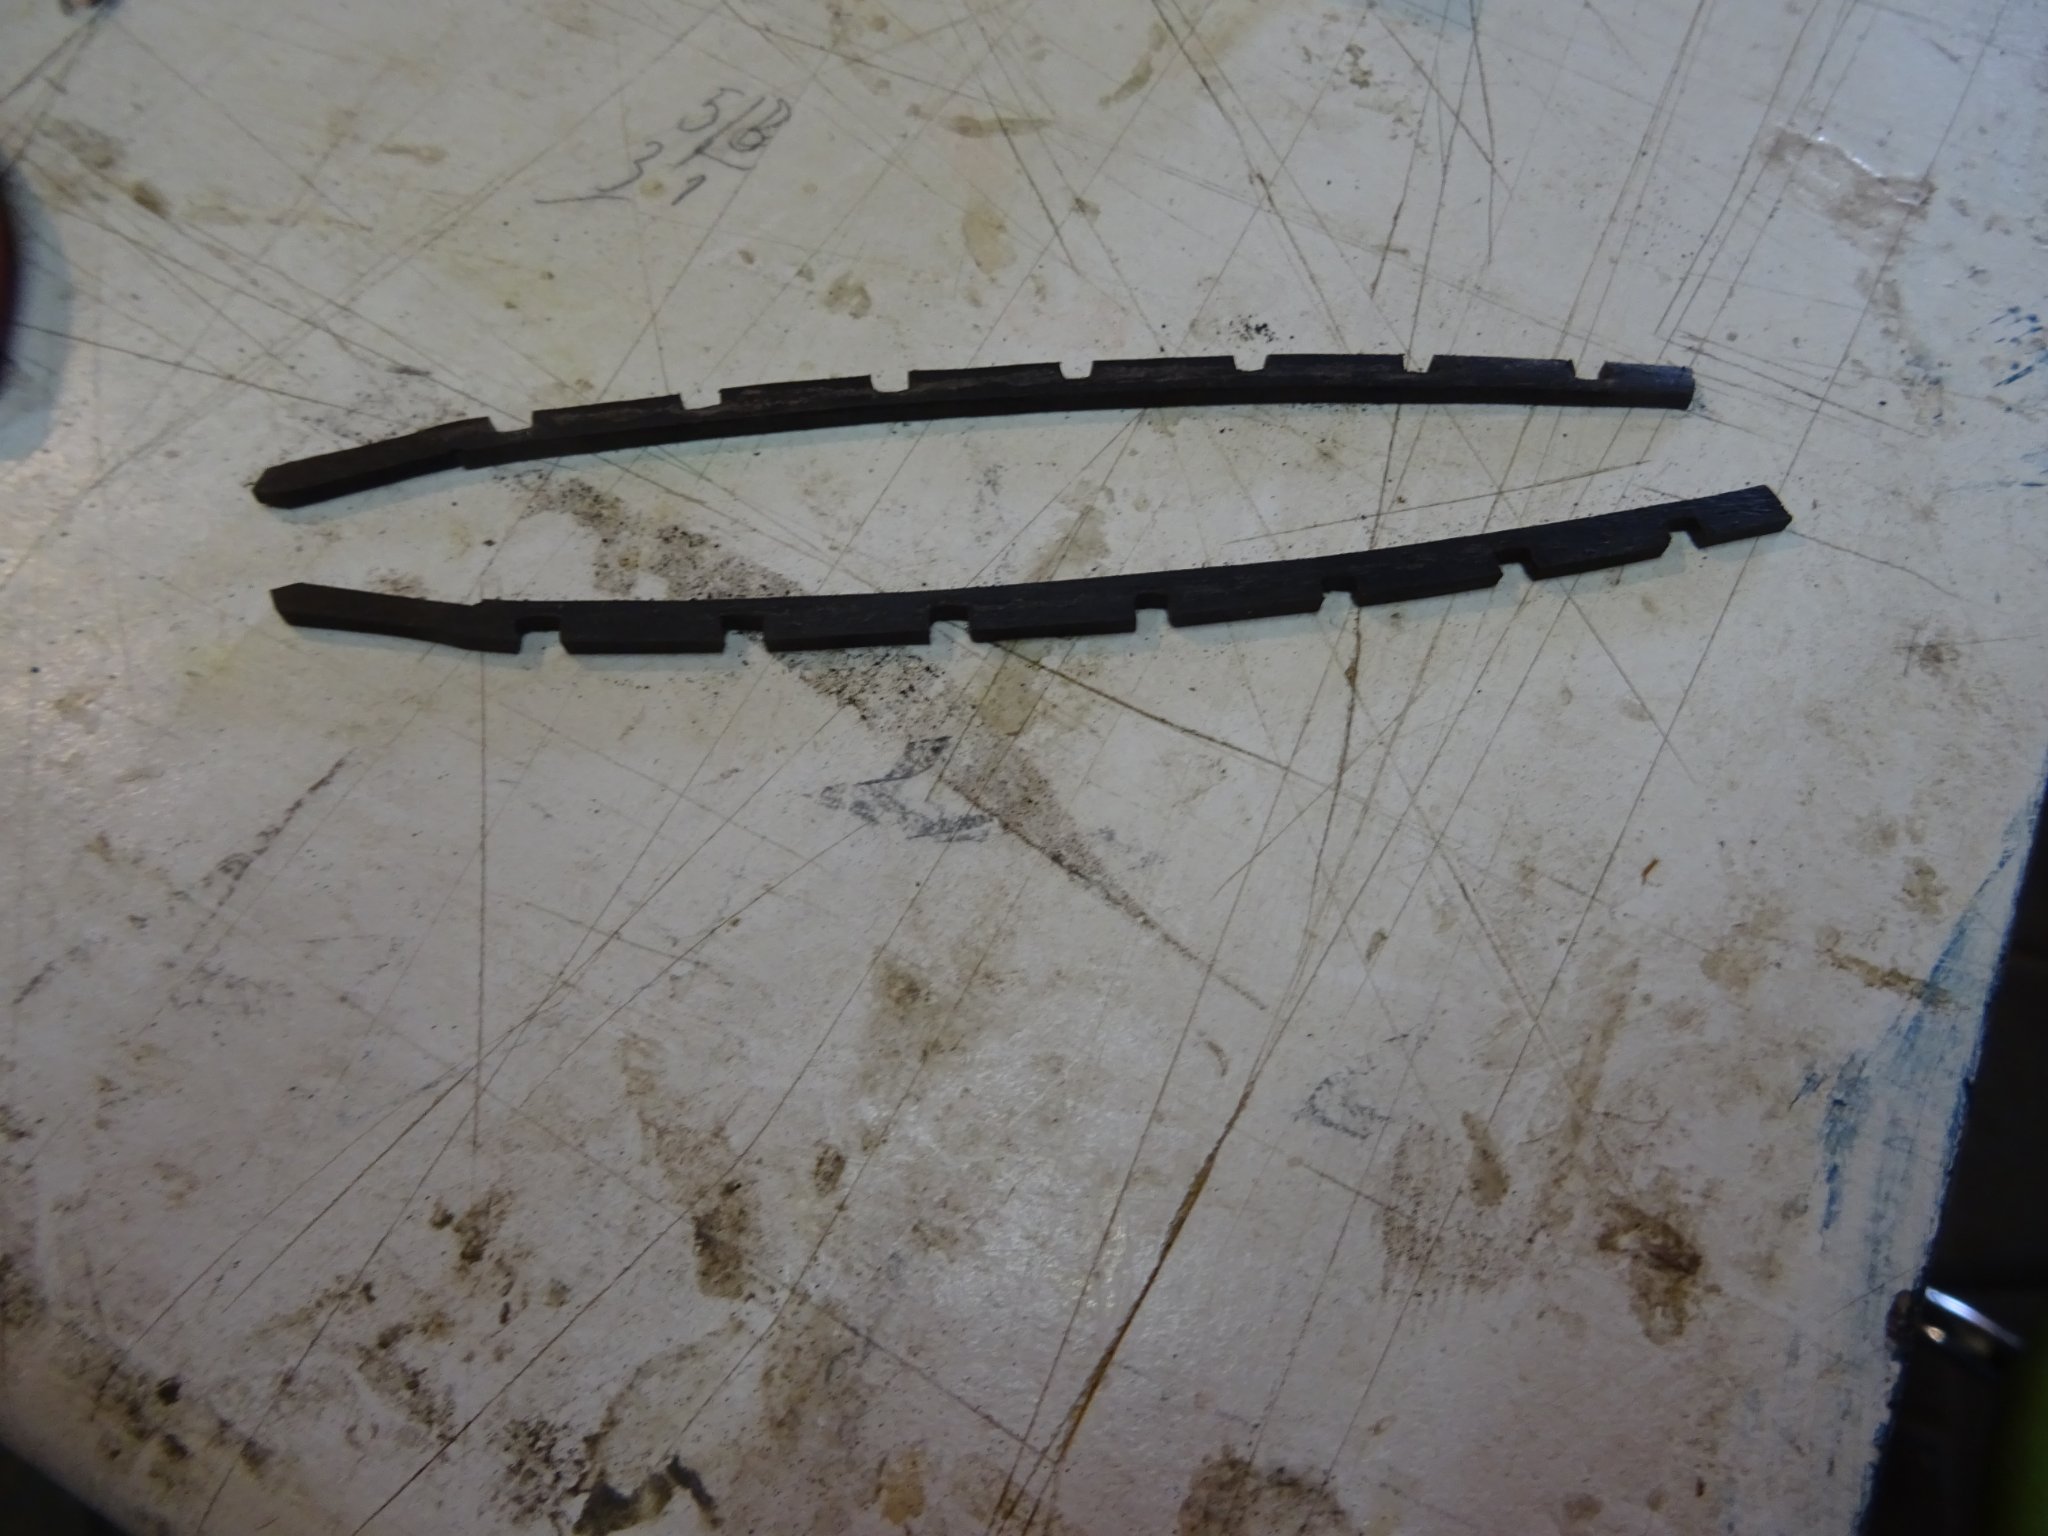
6. The wales
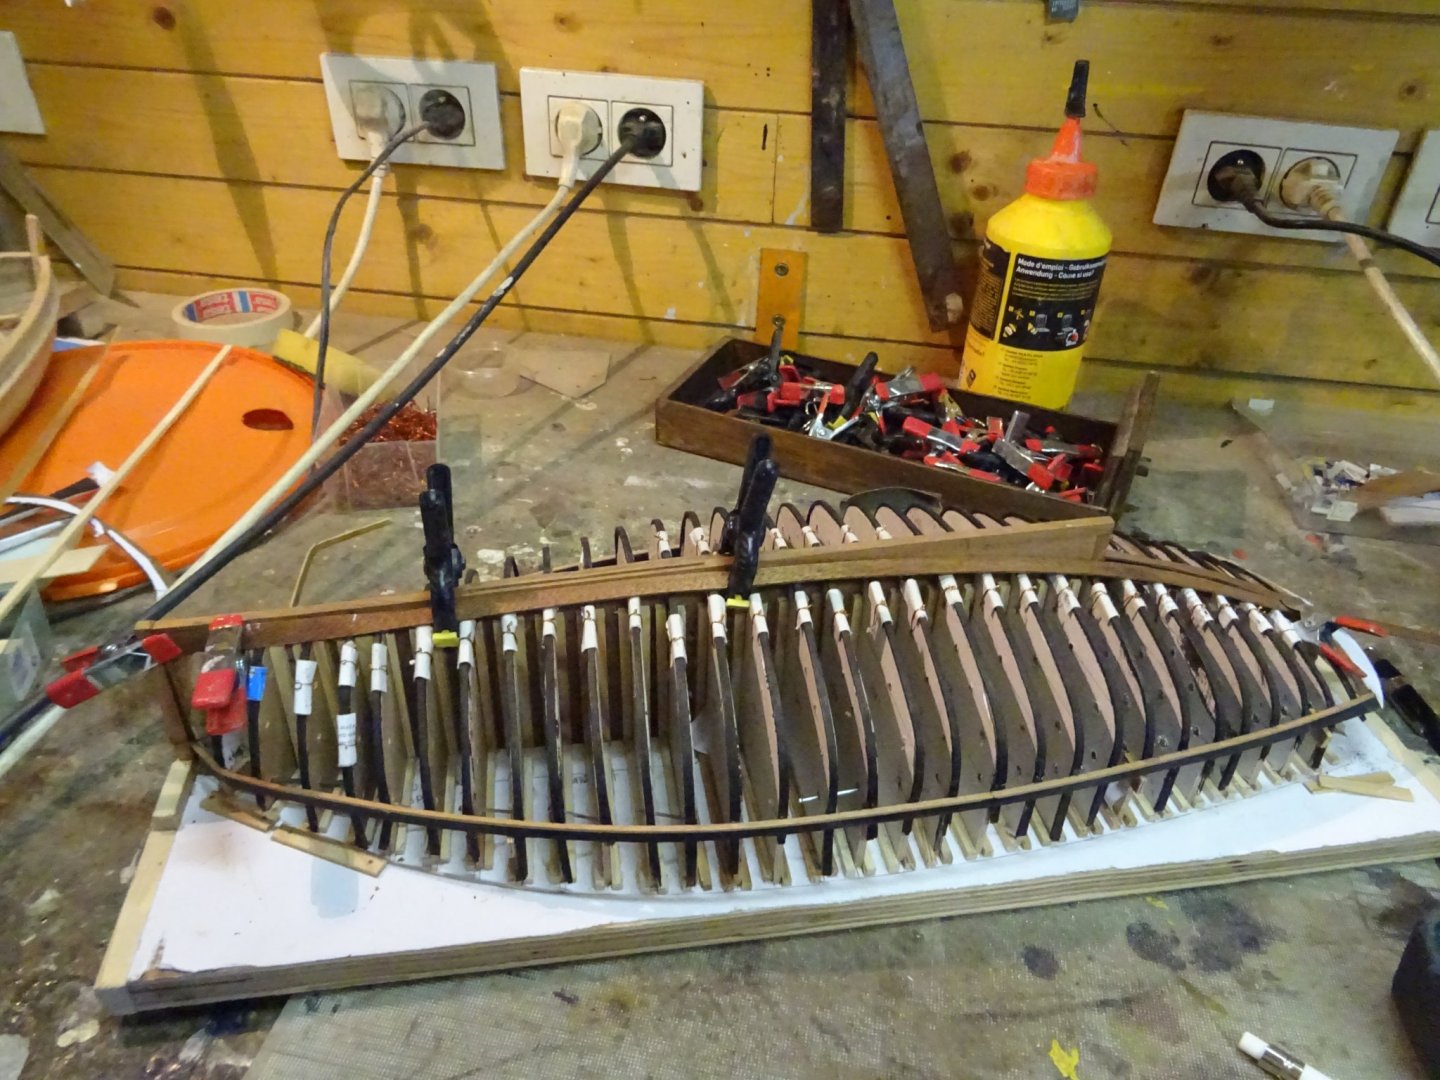
Before placing the wales, I glue at regular distances a small support to the frames at the correct height.
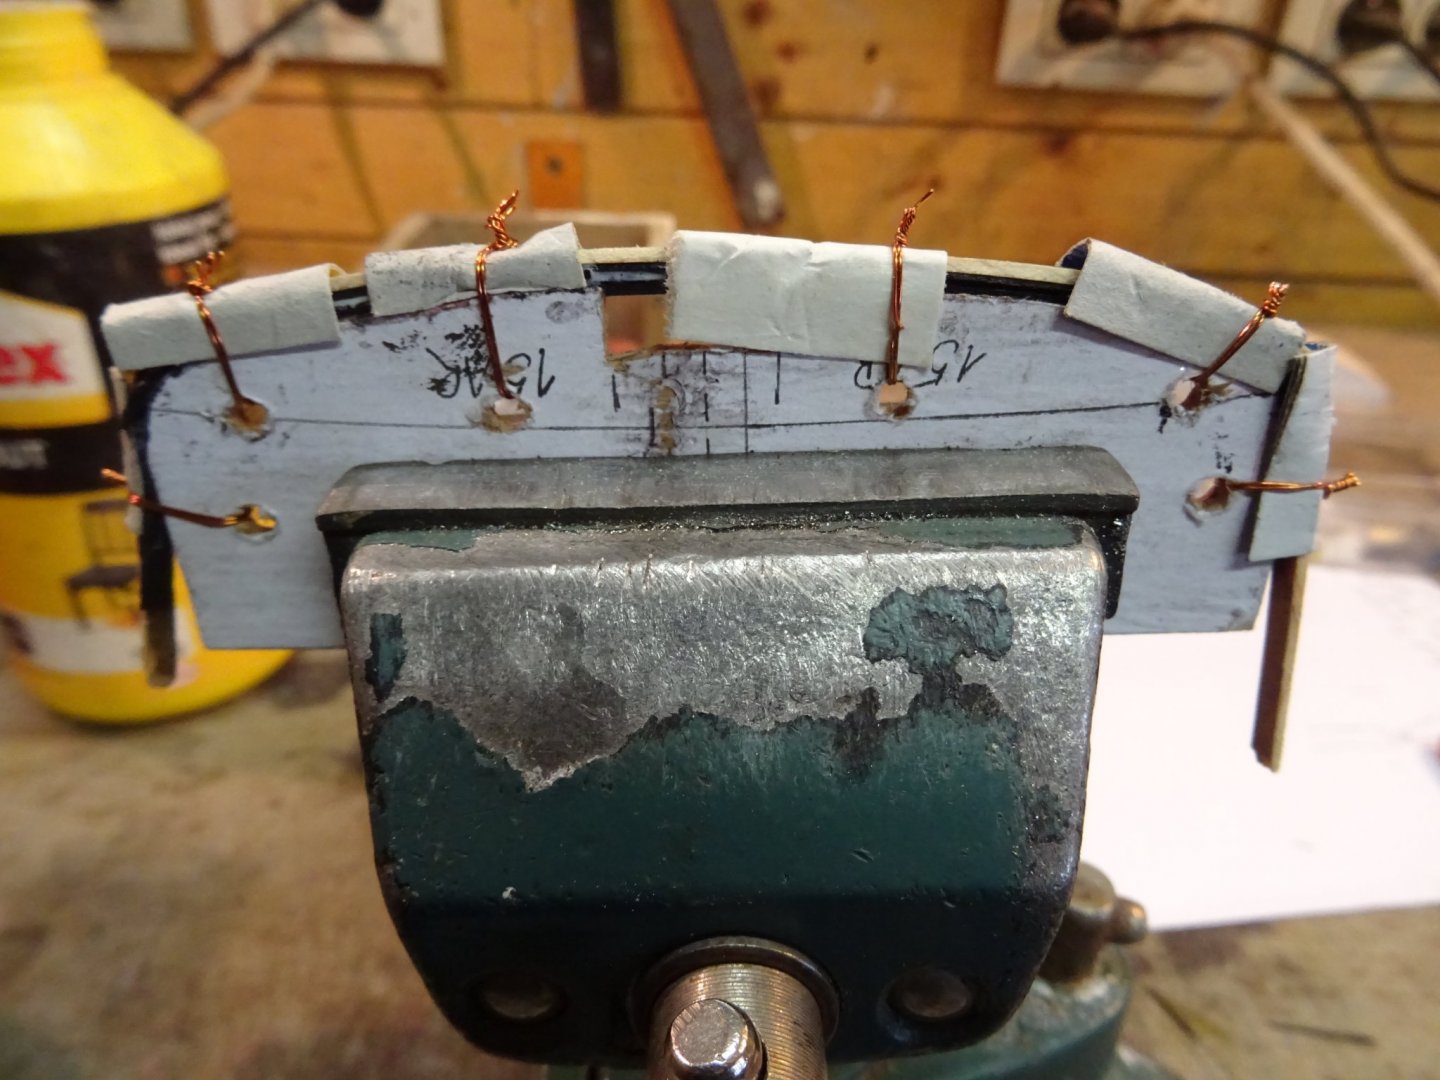
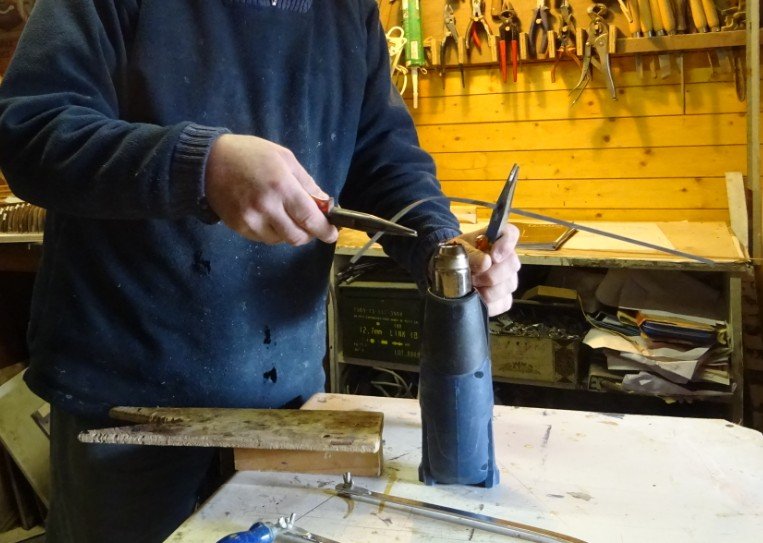
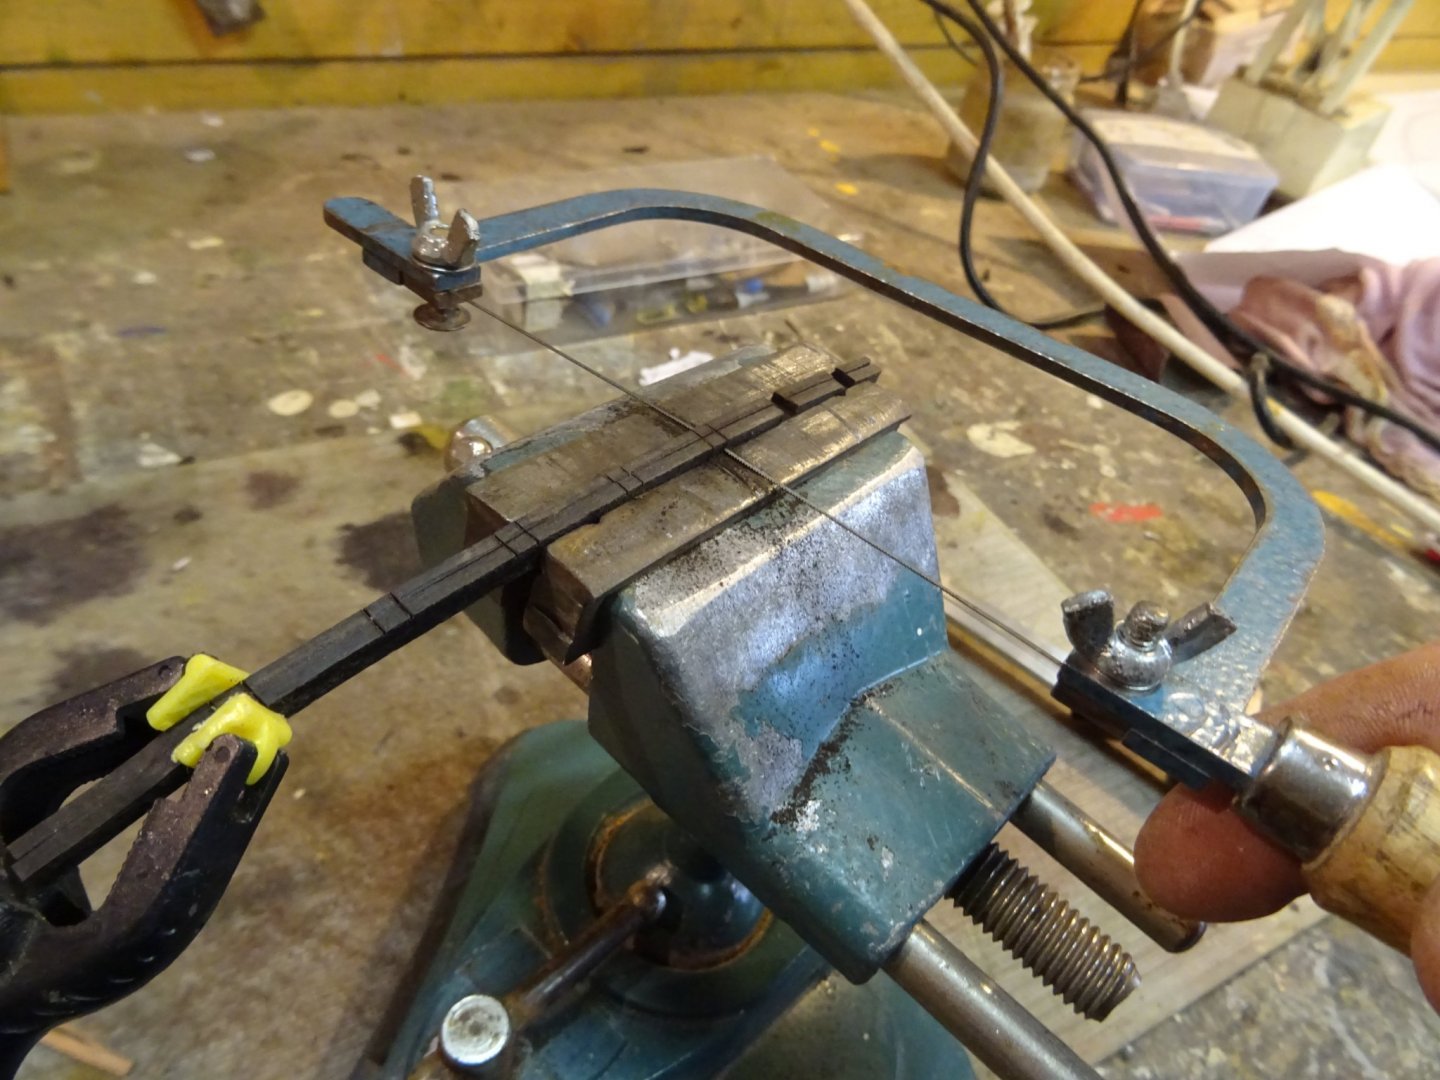
The wales are made of ebony to contrast with the mahogany hull. To give the stiff ebony somewhat the round shape of the hull, I pre-bend the wales over the heat of a paint burner.
Gluing the port wale. Starboard wale lays ready in front of the model.
My method to keep the wales into place while the glue is drying
Next day, the supports can be removed. It is now the turn of the starboard wale.
Below the wales comes a mahogany ornamental bumper edge.

Thank you very much for reading this log, for your likes and for all your encouraging reactions.
Till next week!
-
-
-
14 hours ago, Vegaskip said:This afternoon's little trip to the North Atlantic. HMCS Assiniboine
I made several of these 'small' trips with frigates (they lasted much longer than an afternoon), I clearly recognize the atmosphere in your painting. Honestly I don't have much nostalgia for it.
Painted very truthfully. I am a fan of your work! -
-
My sincere condolences to your mother, Mehmet. That will be a beautiful model again. A nice tribute to her.
- mtaylor, thibaultron and ccoyle
-
3
-
Vaddoc, that has become a perfect hull. It was well worth the investment in time and precision work.
- FriedClams, vaddoc, bruce d and 1 other
-
4
-
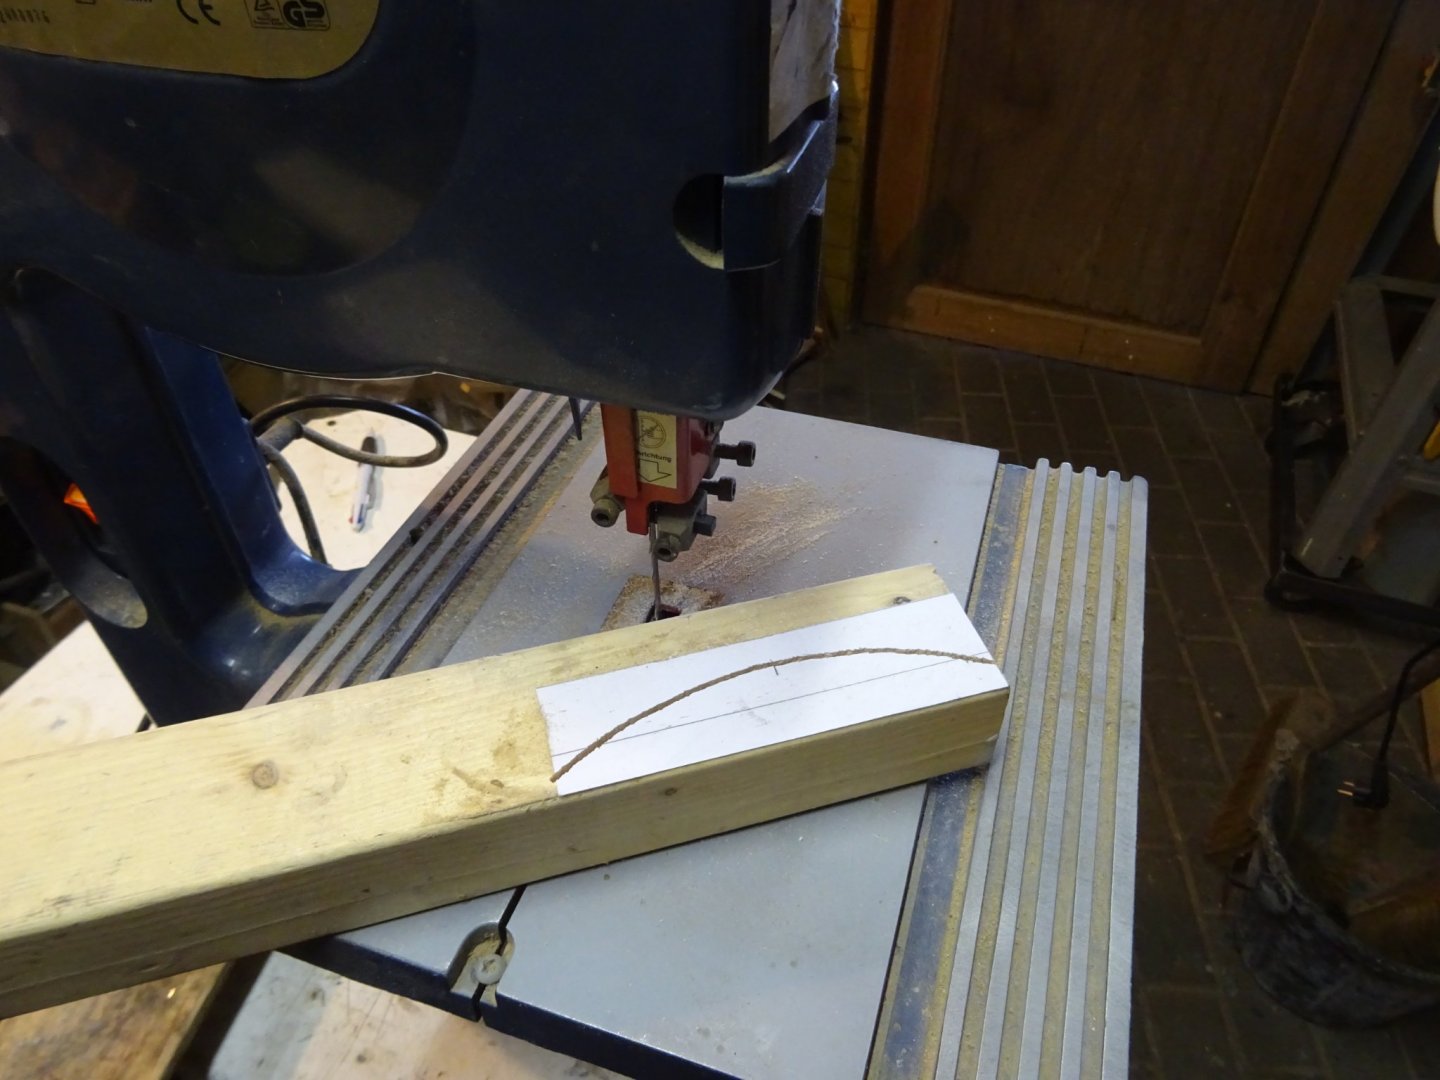
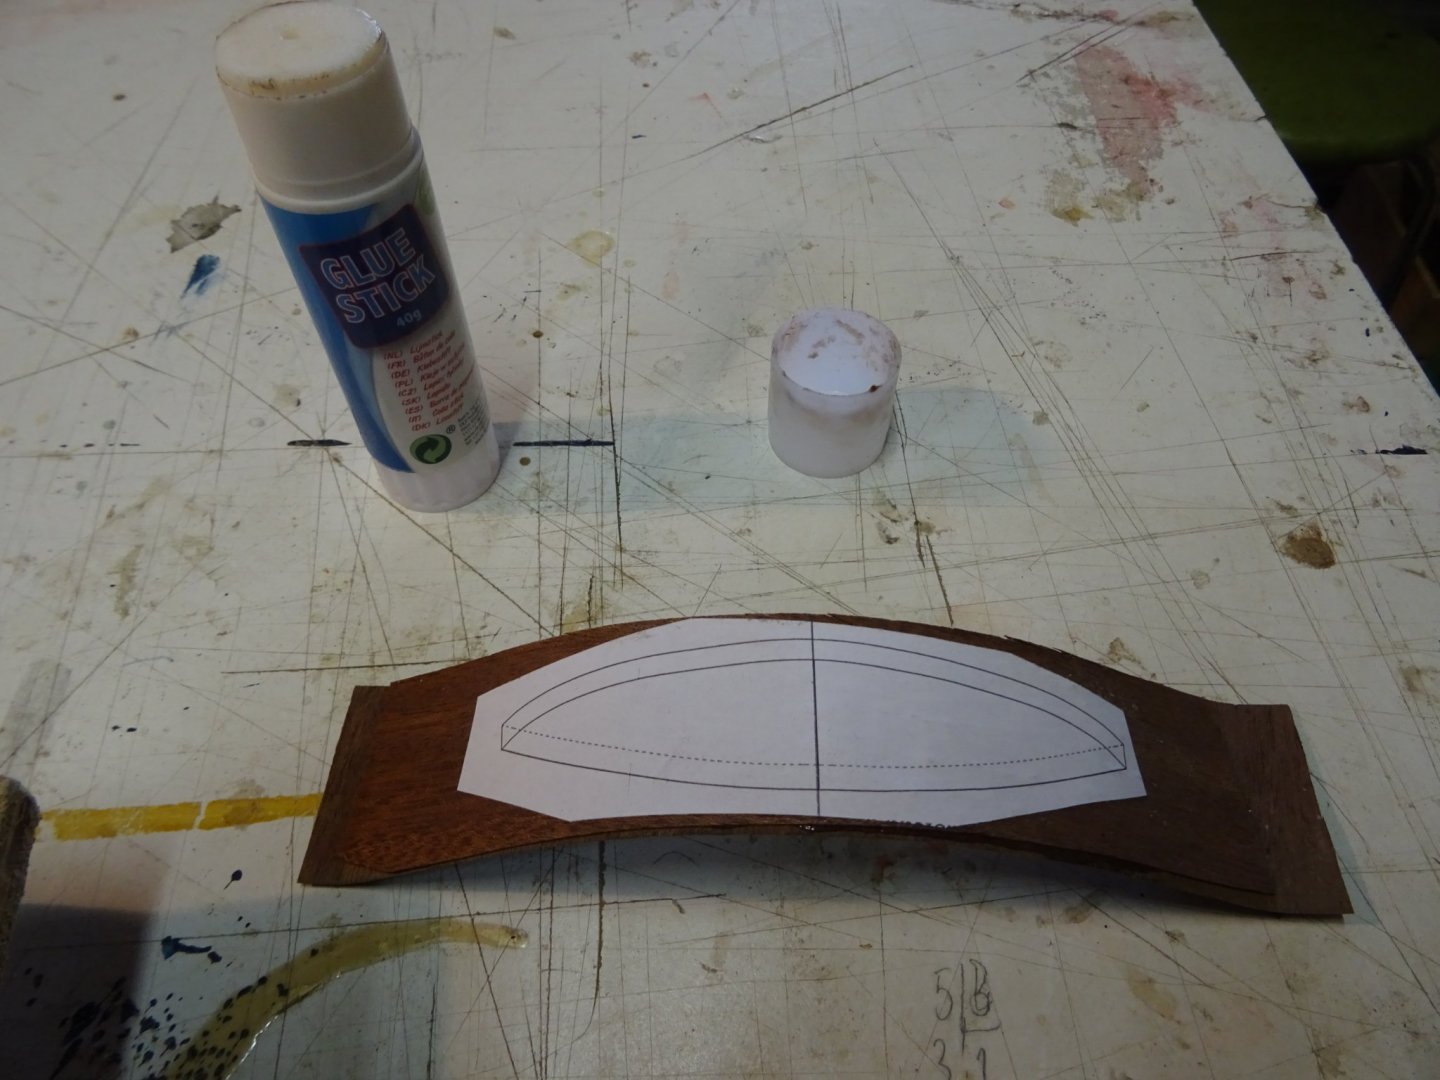
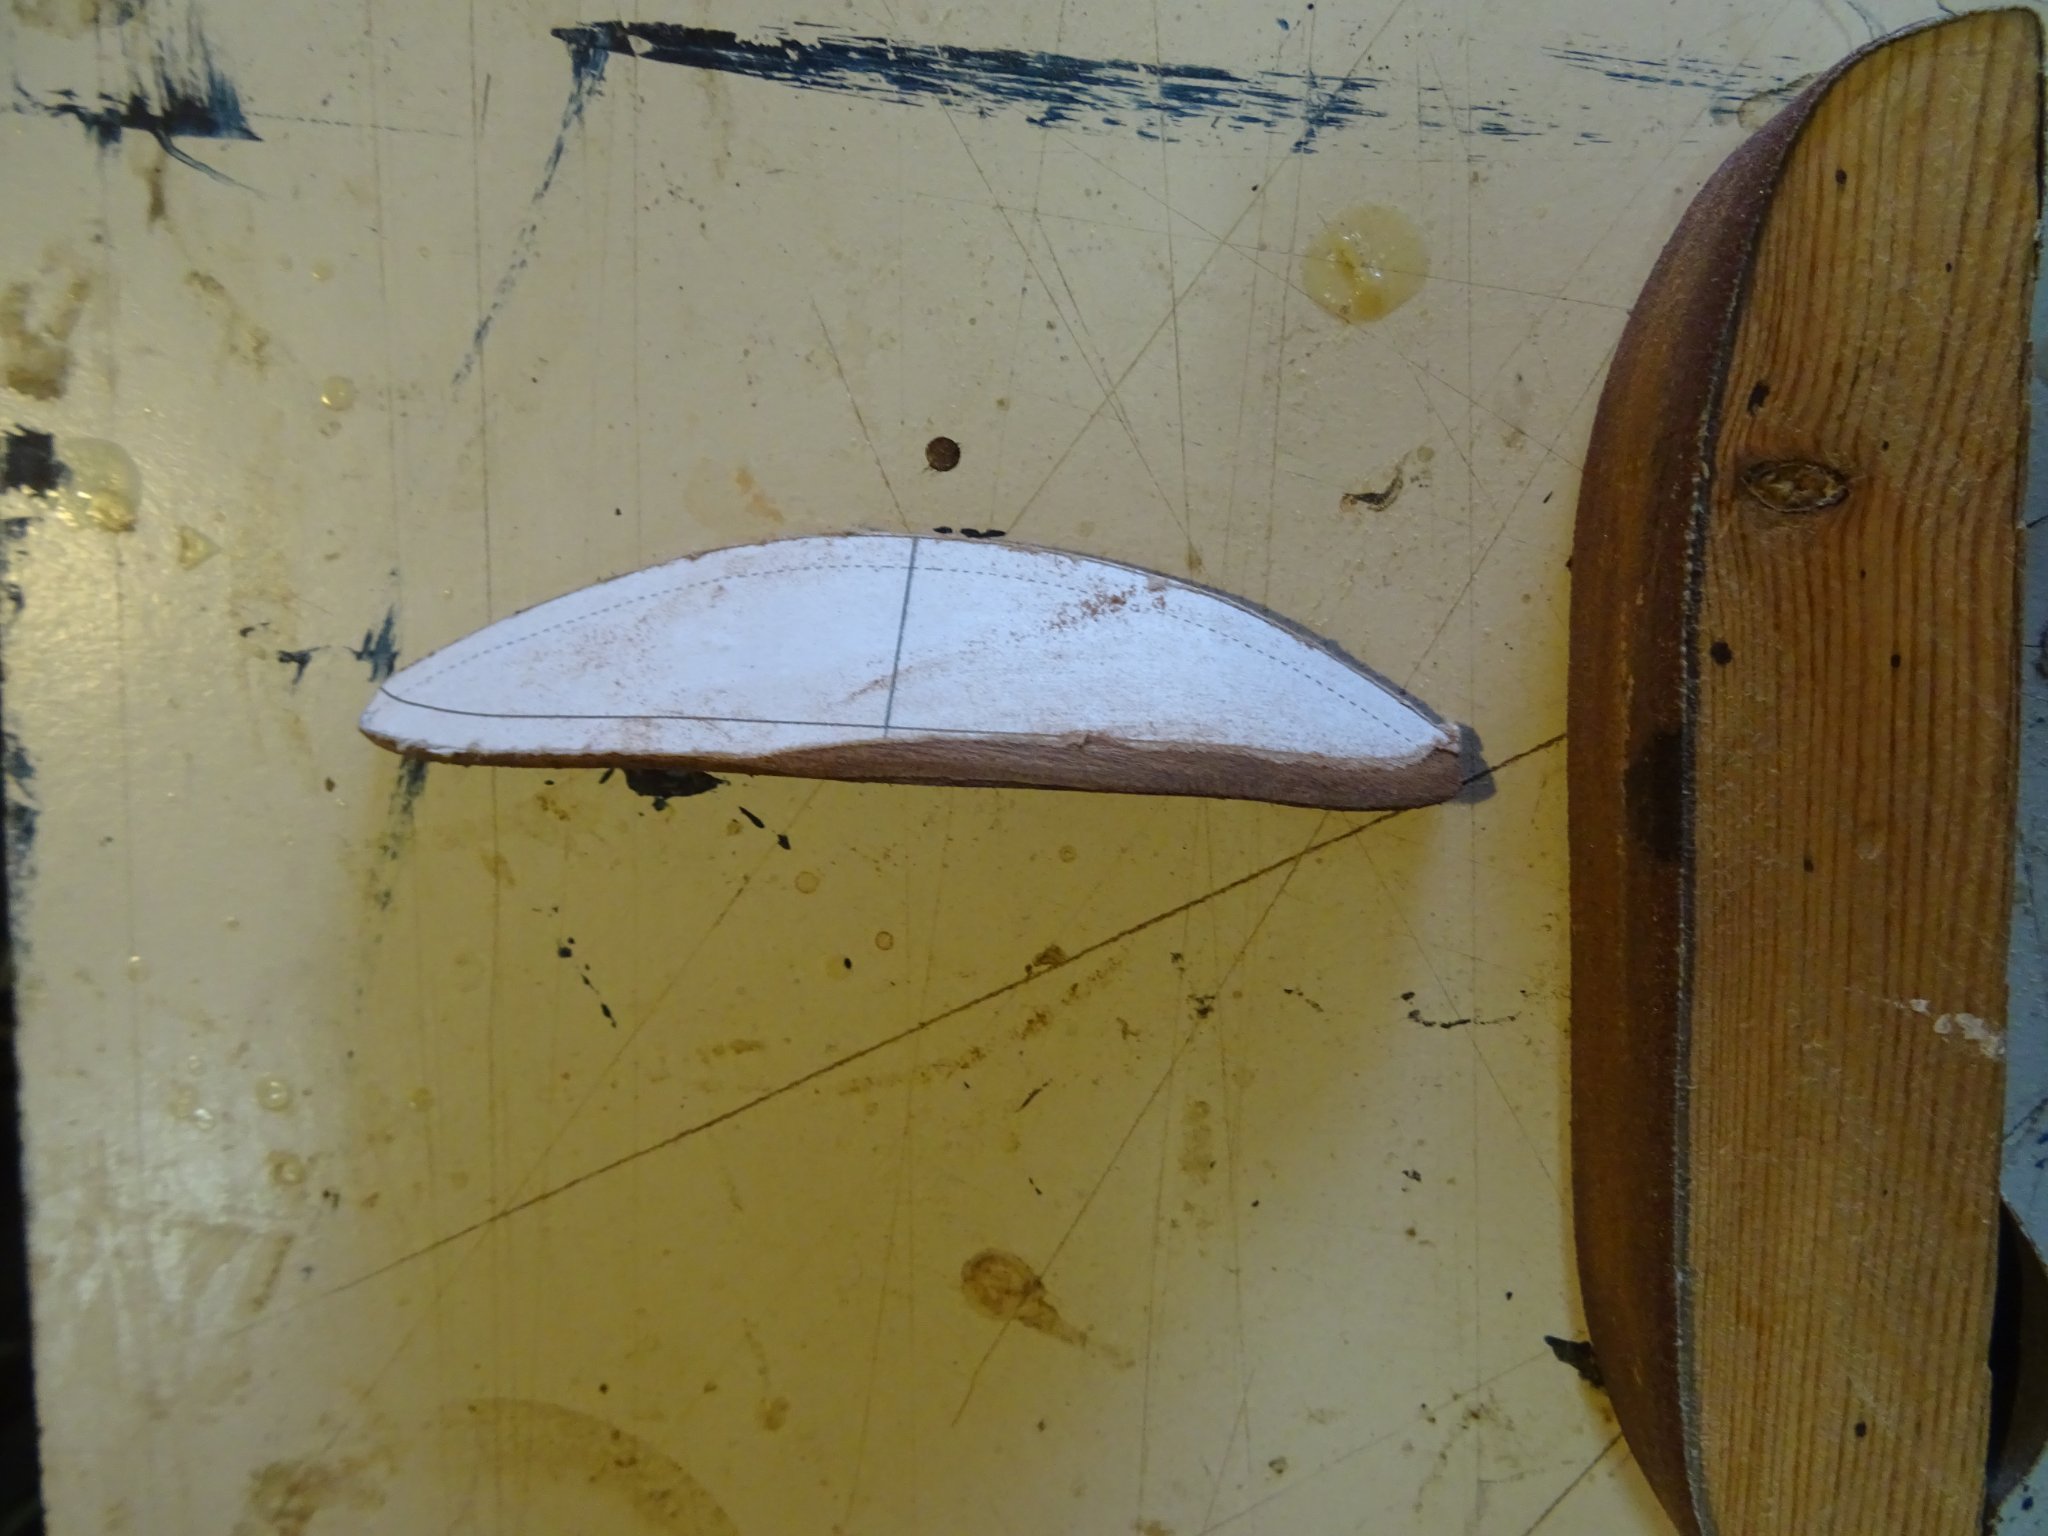
5. Transom
The transom of the clipper is bent, therefore it will be laminated with three layers of veneer. I make first the mold to laminate.
The three veneer layers. The inner layer is stained in black.
Here they are glued.

The next day I take them out of their mold.


This is the shape of the transom.
The transom is sawn out.
The top and the bottom sides must be sanded diagonally. One on the inside, the other on the outside.

Gluing the transom into position.
Thank you very much for reading this log, for your likes and for all your encouraging reactions.
Till next week!
-
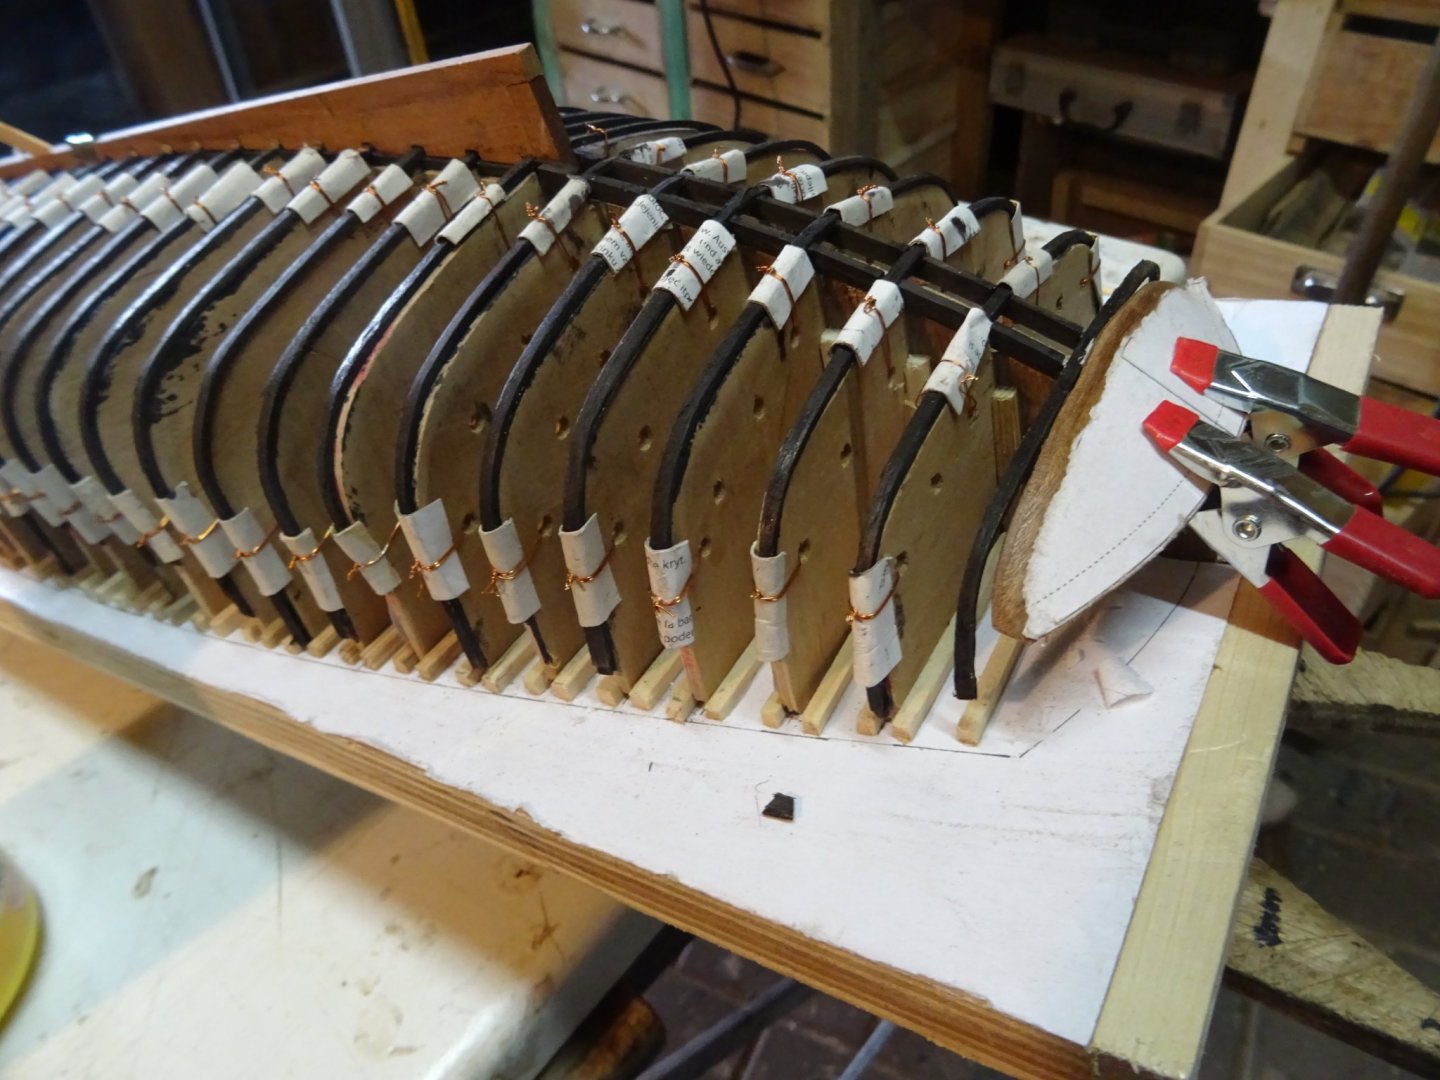
4. Horn timbers
I now remove the frames behind the rudder post.

The horn timbers are made of ebony and they have to be glued at each side of the helm port.
Fitting them.
The frames will be incorporated into the horn timbers. Sawing the slots for the frames.

Gluing the horn timbers into place. I use two spacer blocks to keep them parallel.
The after frames can now also be glued definitively into place.

I am now also gluing the cant frames.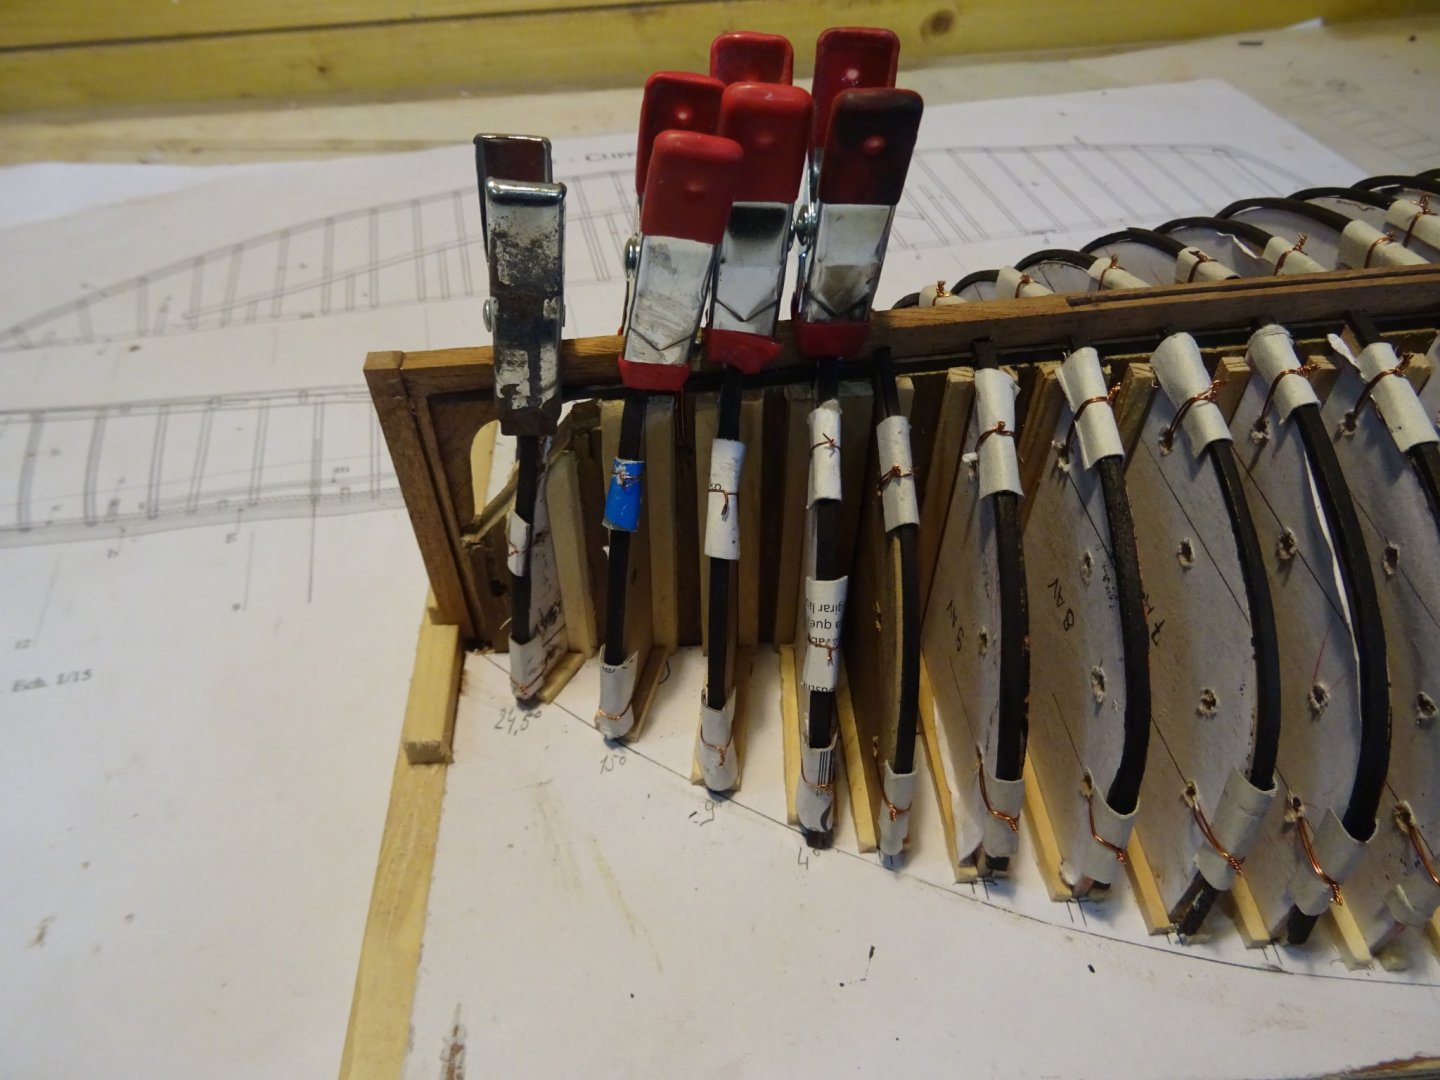
-
-


Clipper d'Argenteuil by G.L. - scale 1/15 - POF - SMALL
in - Build logs for subjects built 1851 - 1900
Posted
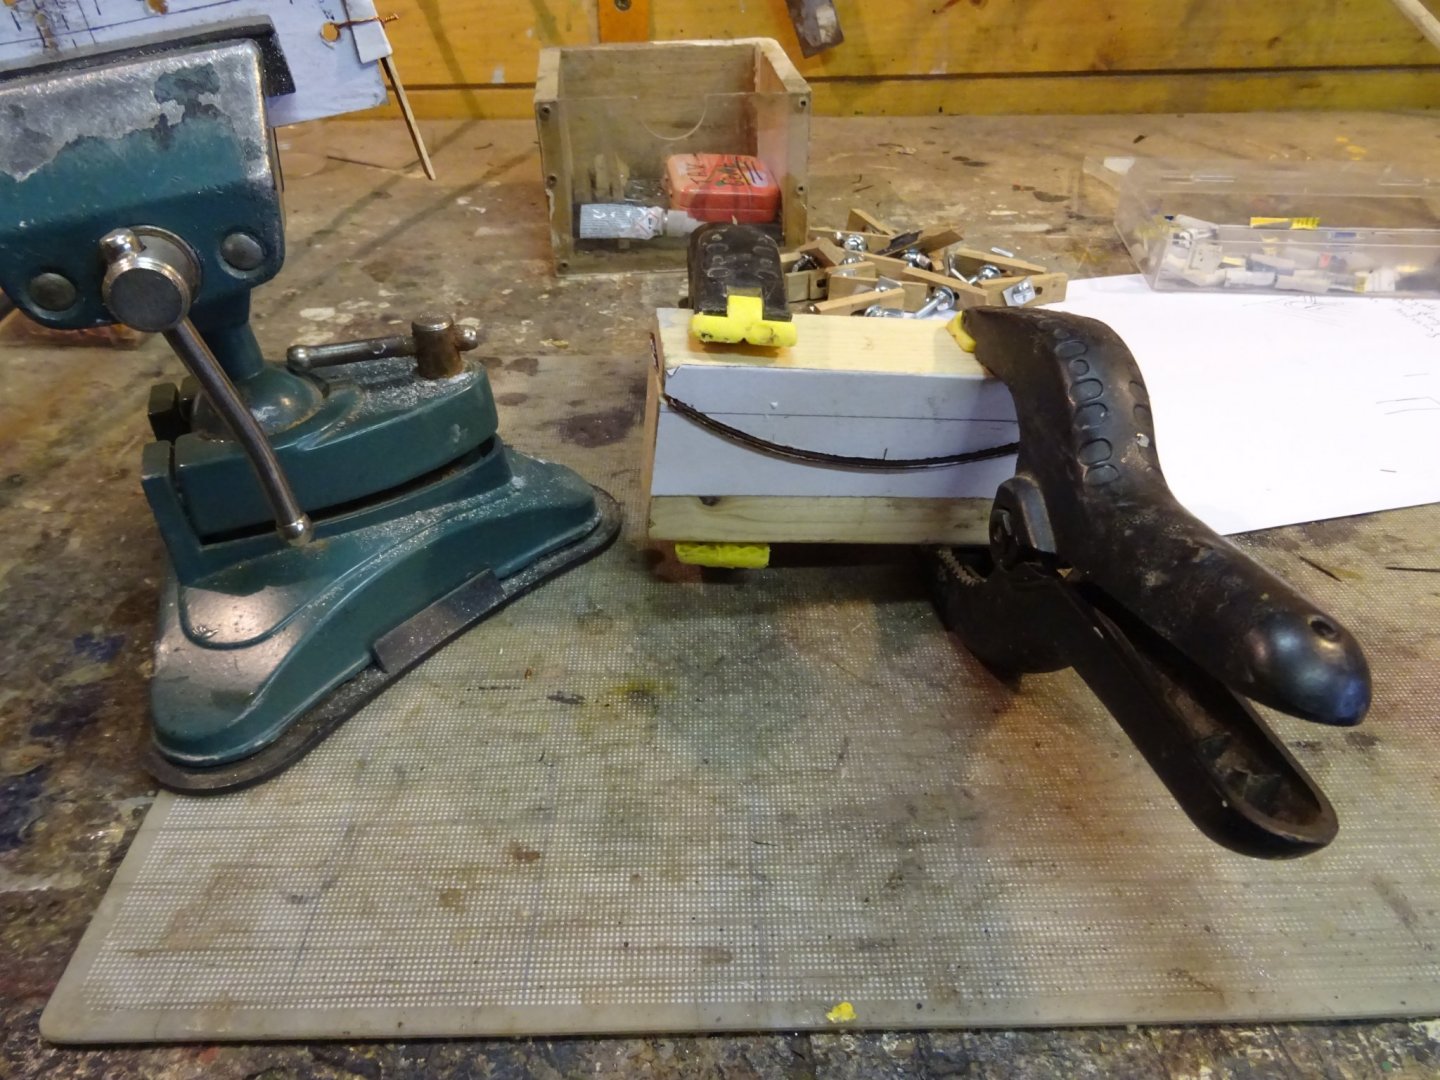
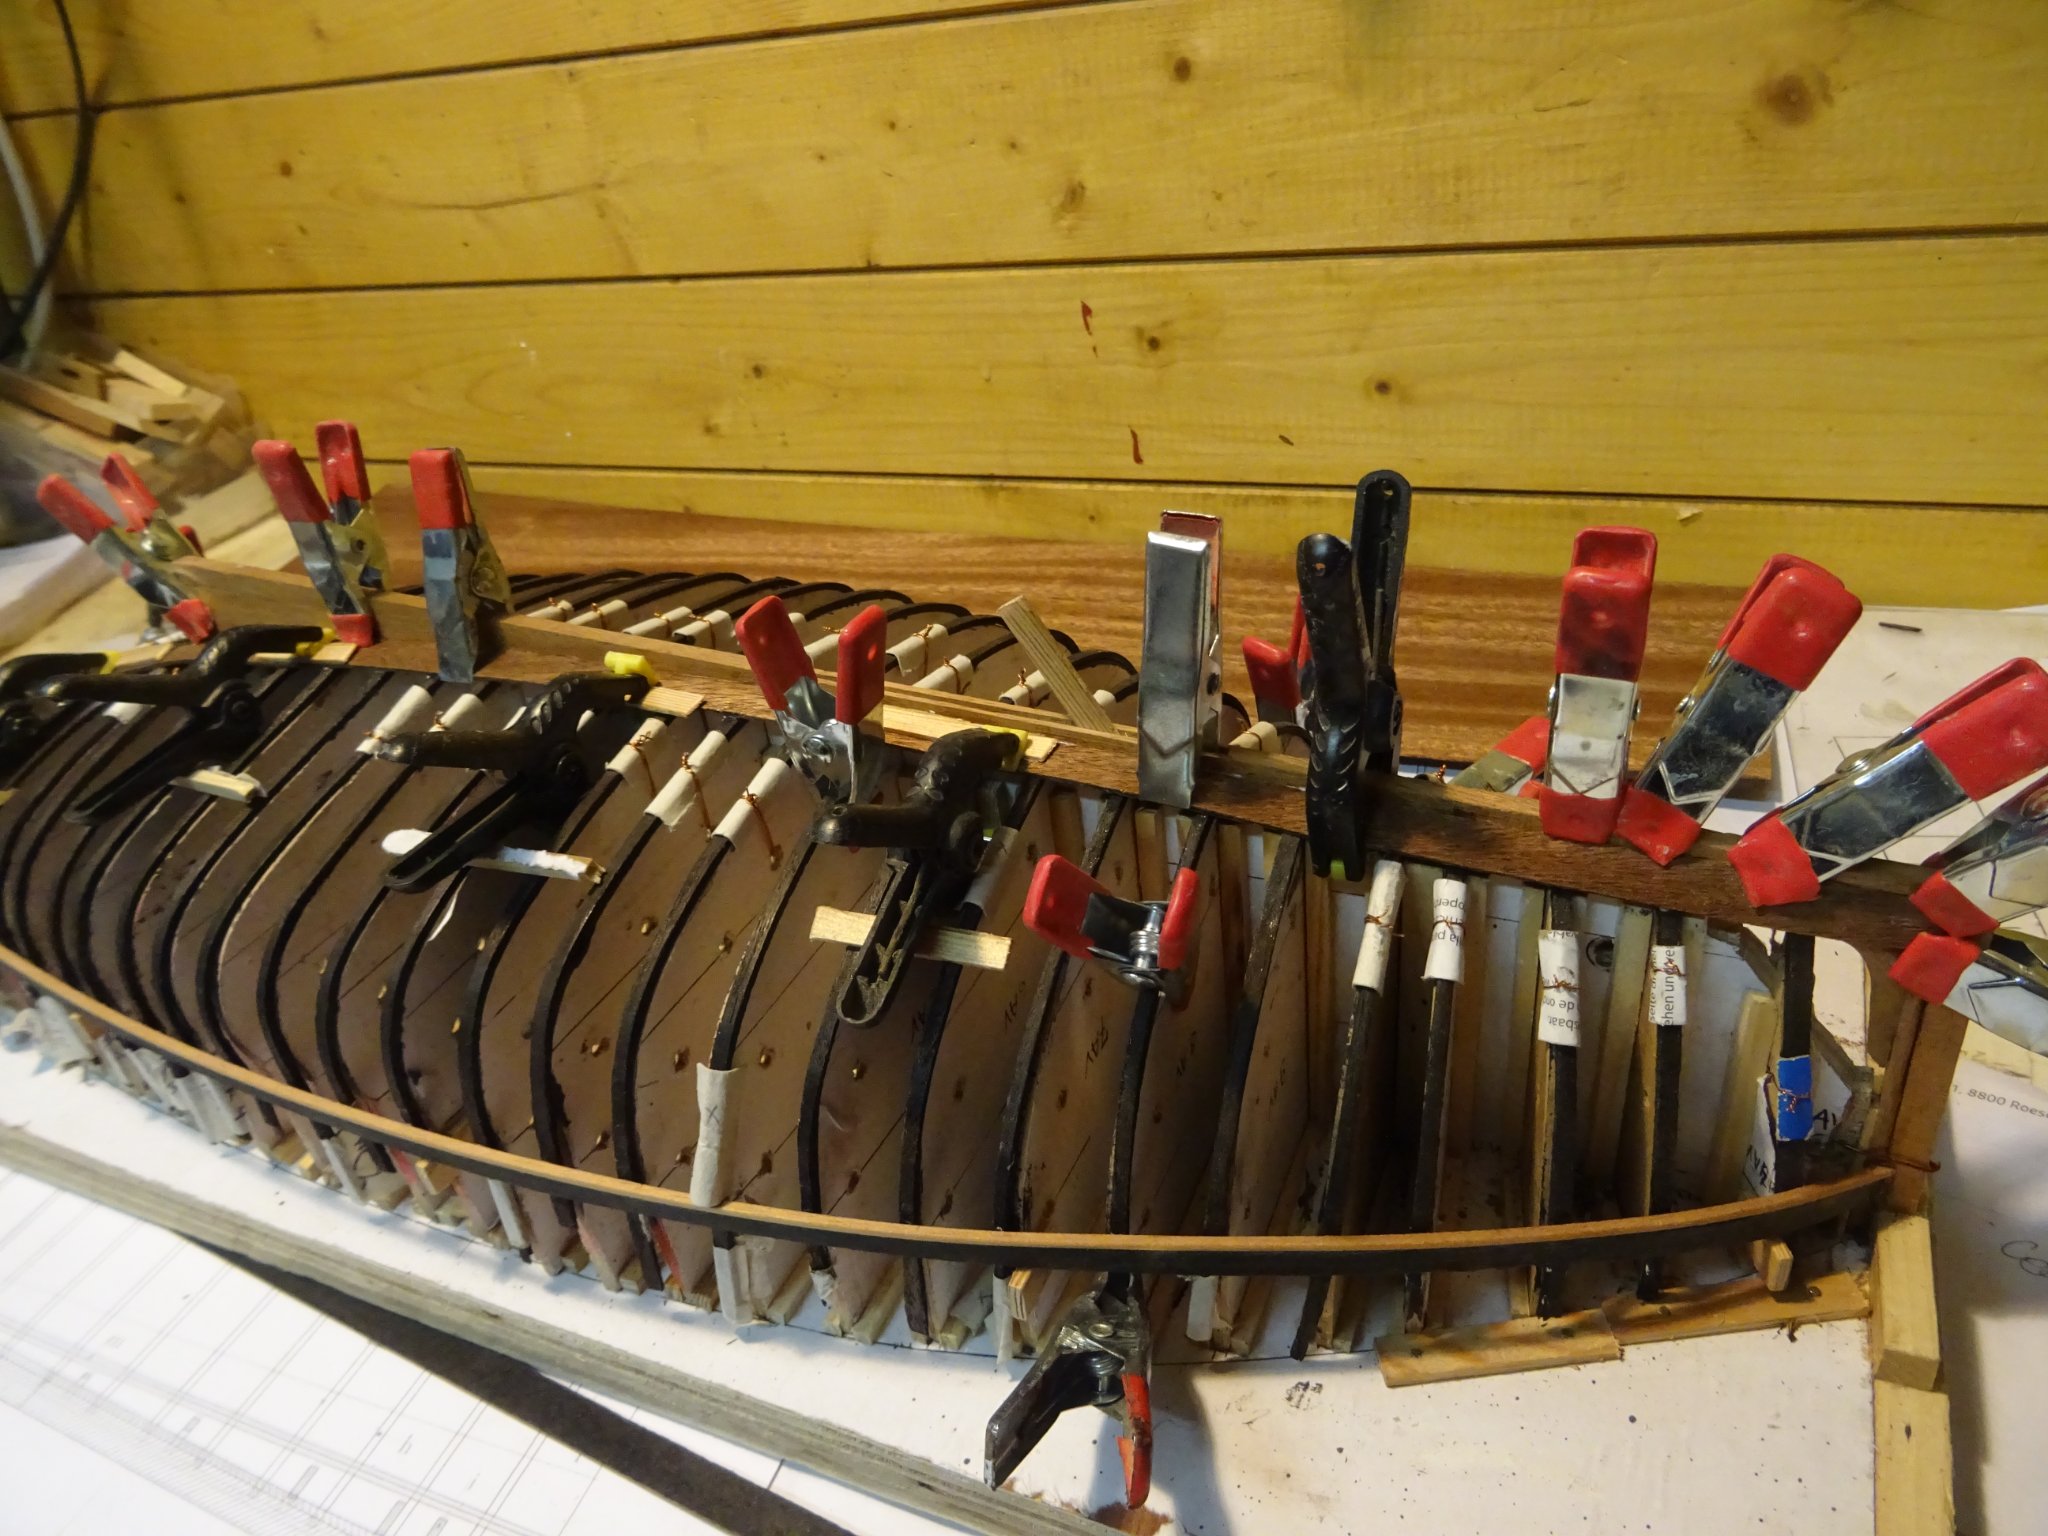
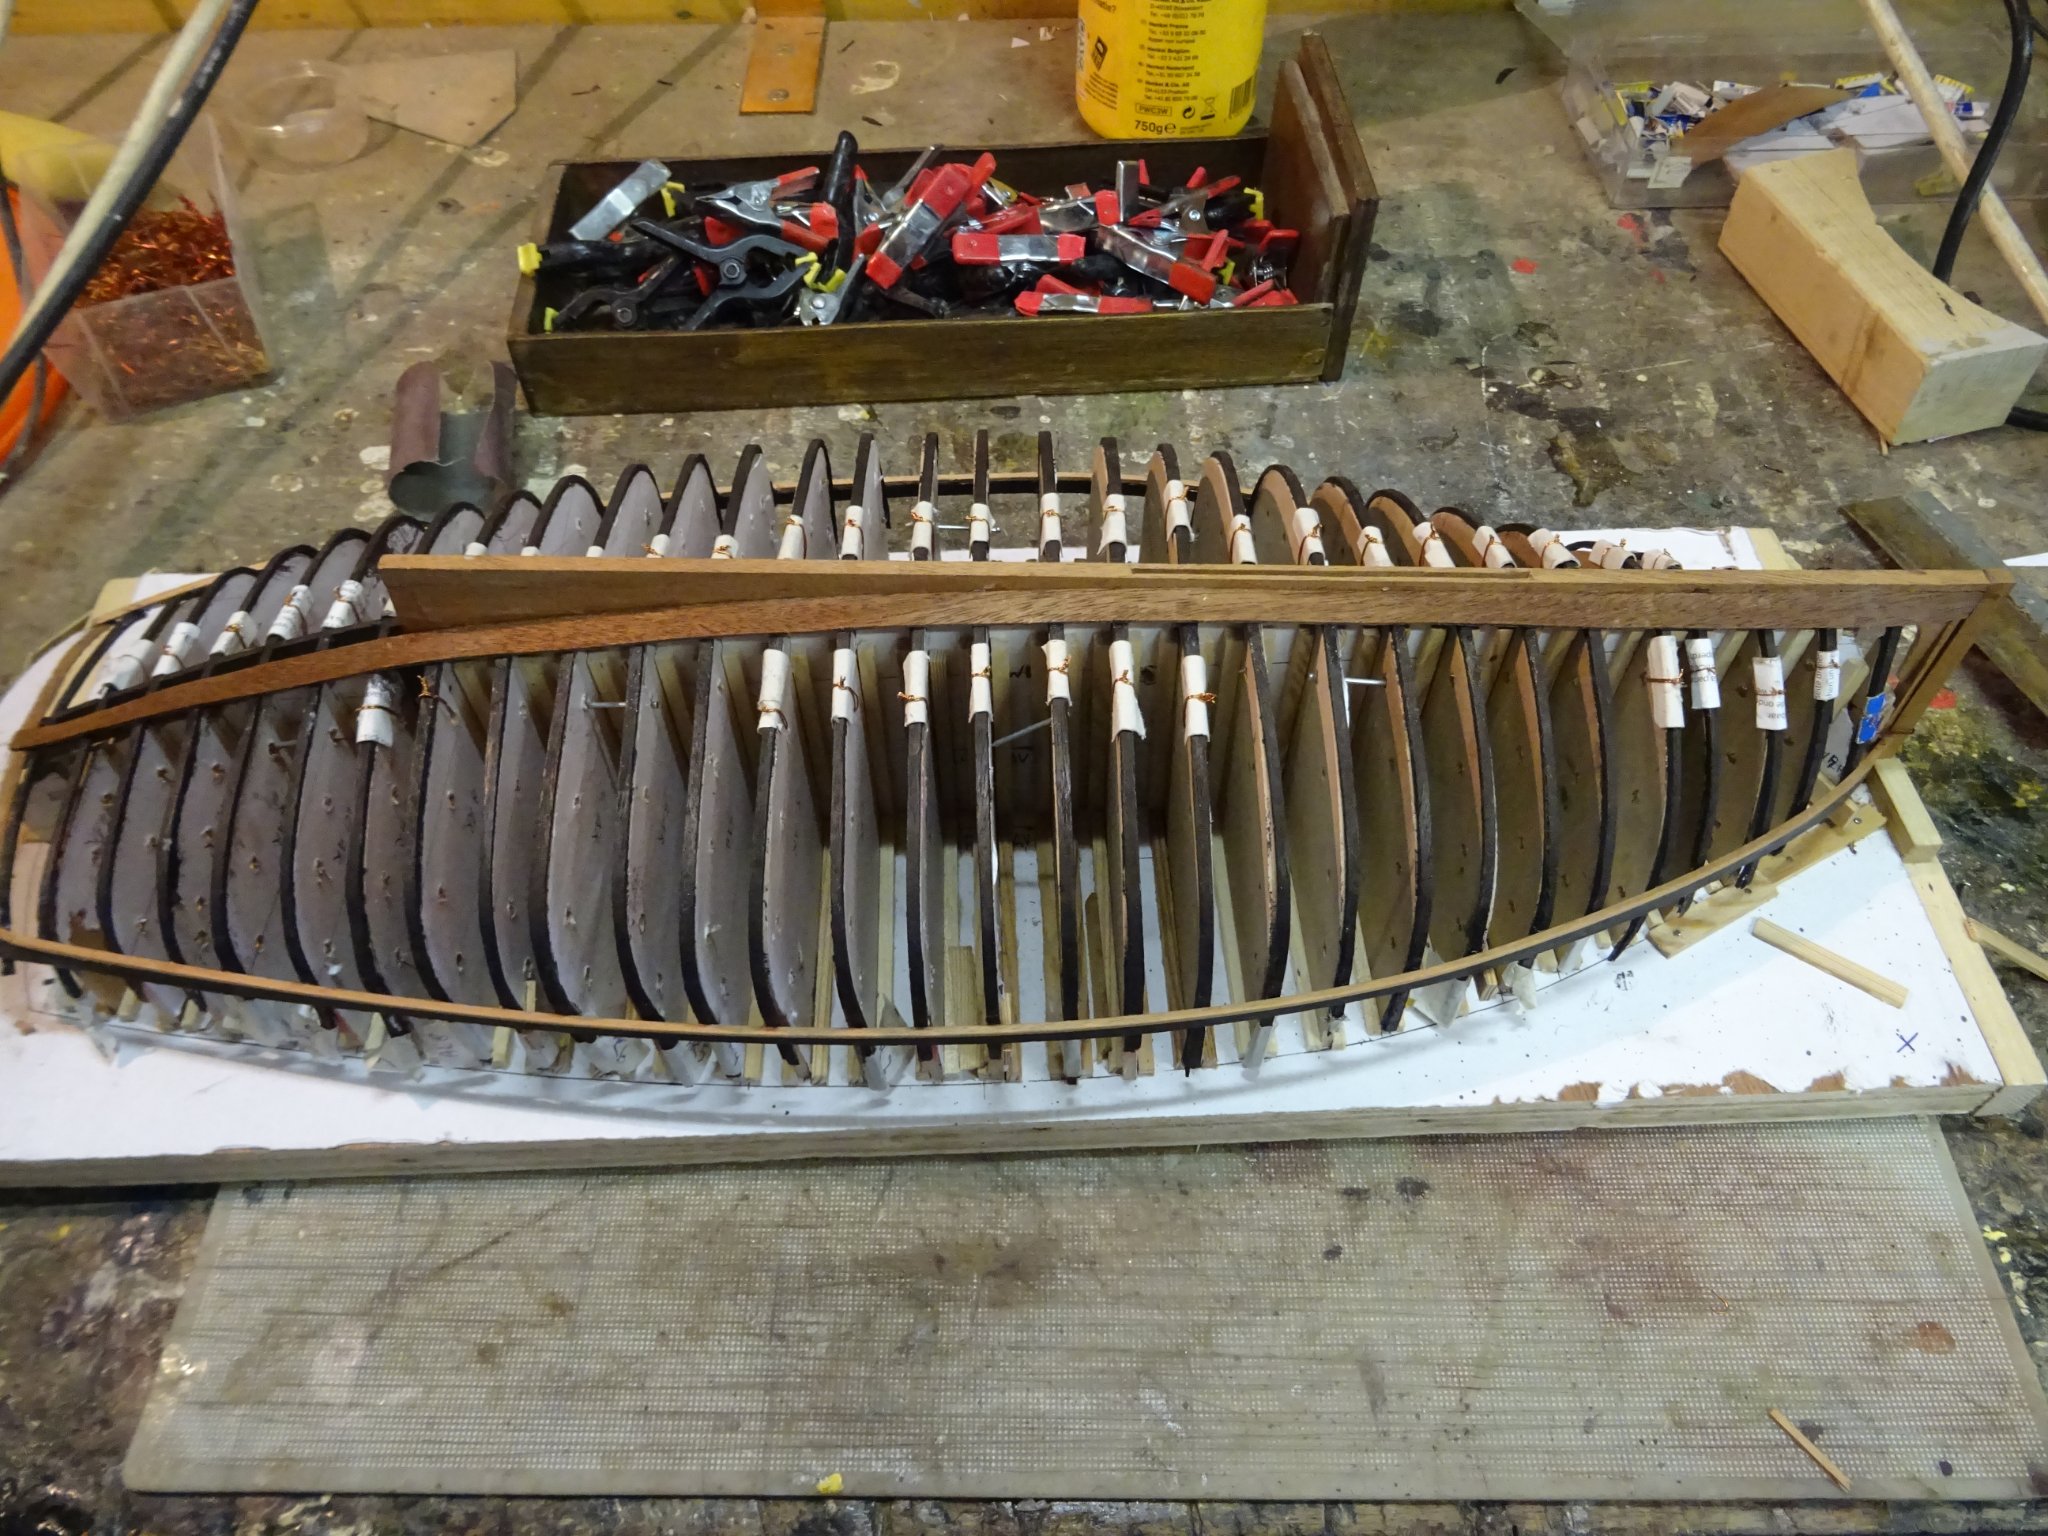
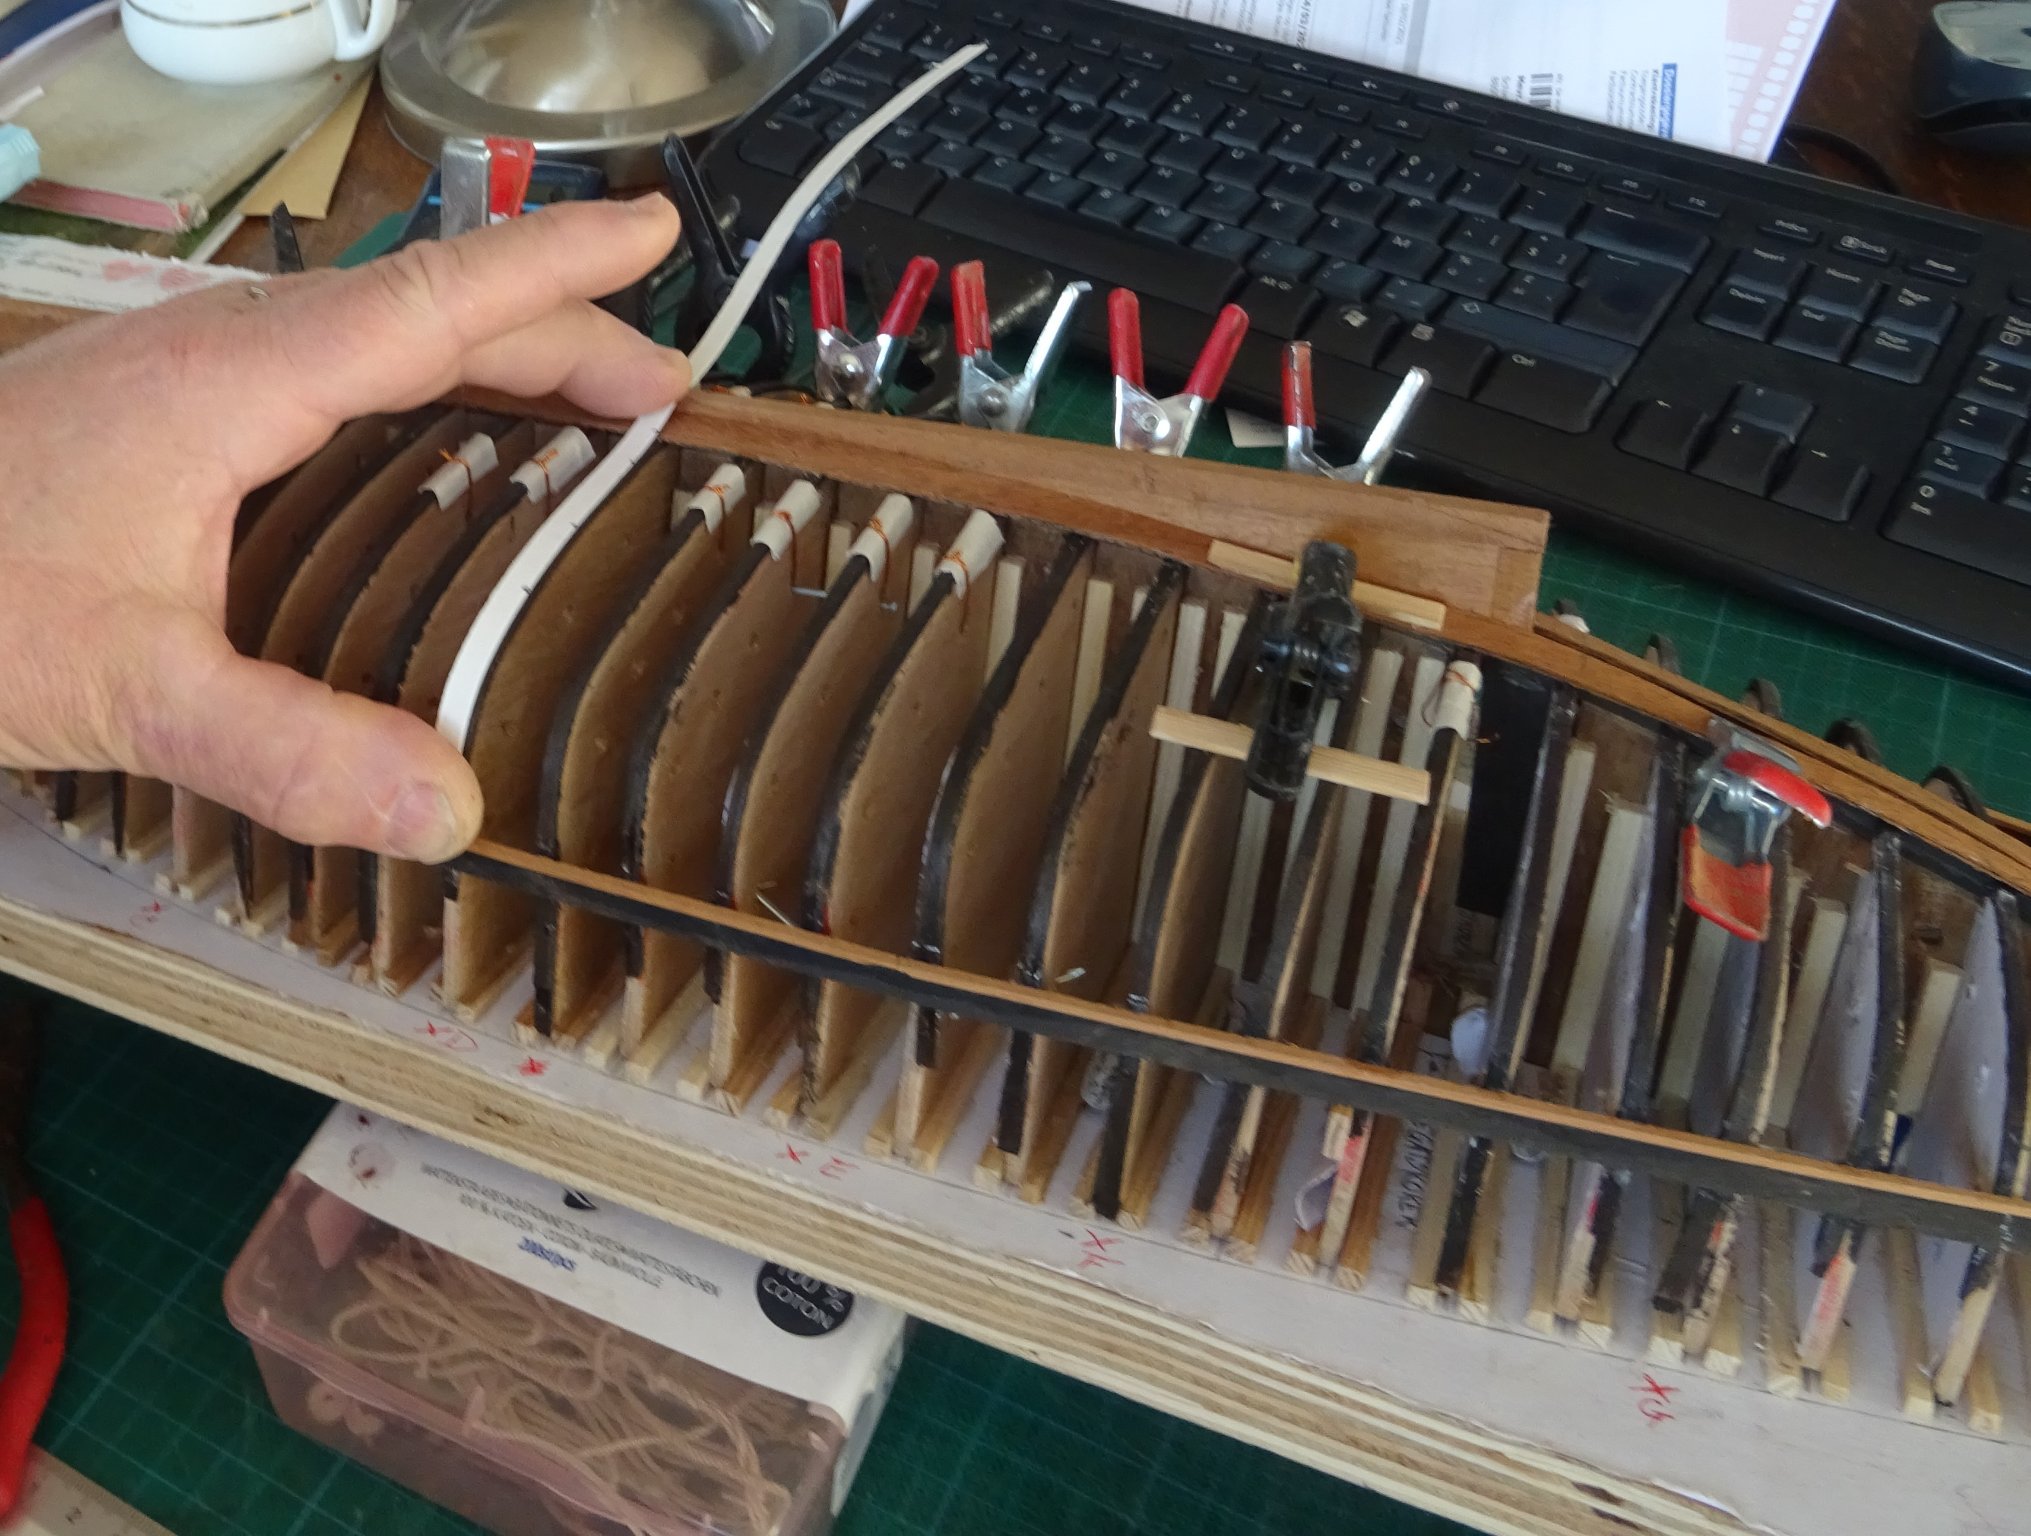
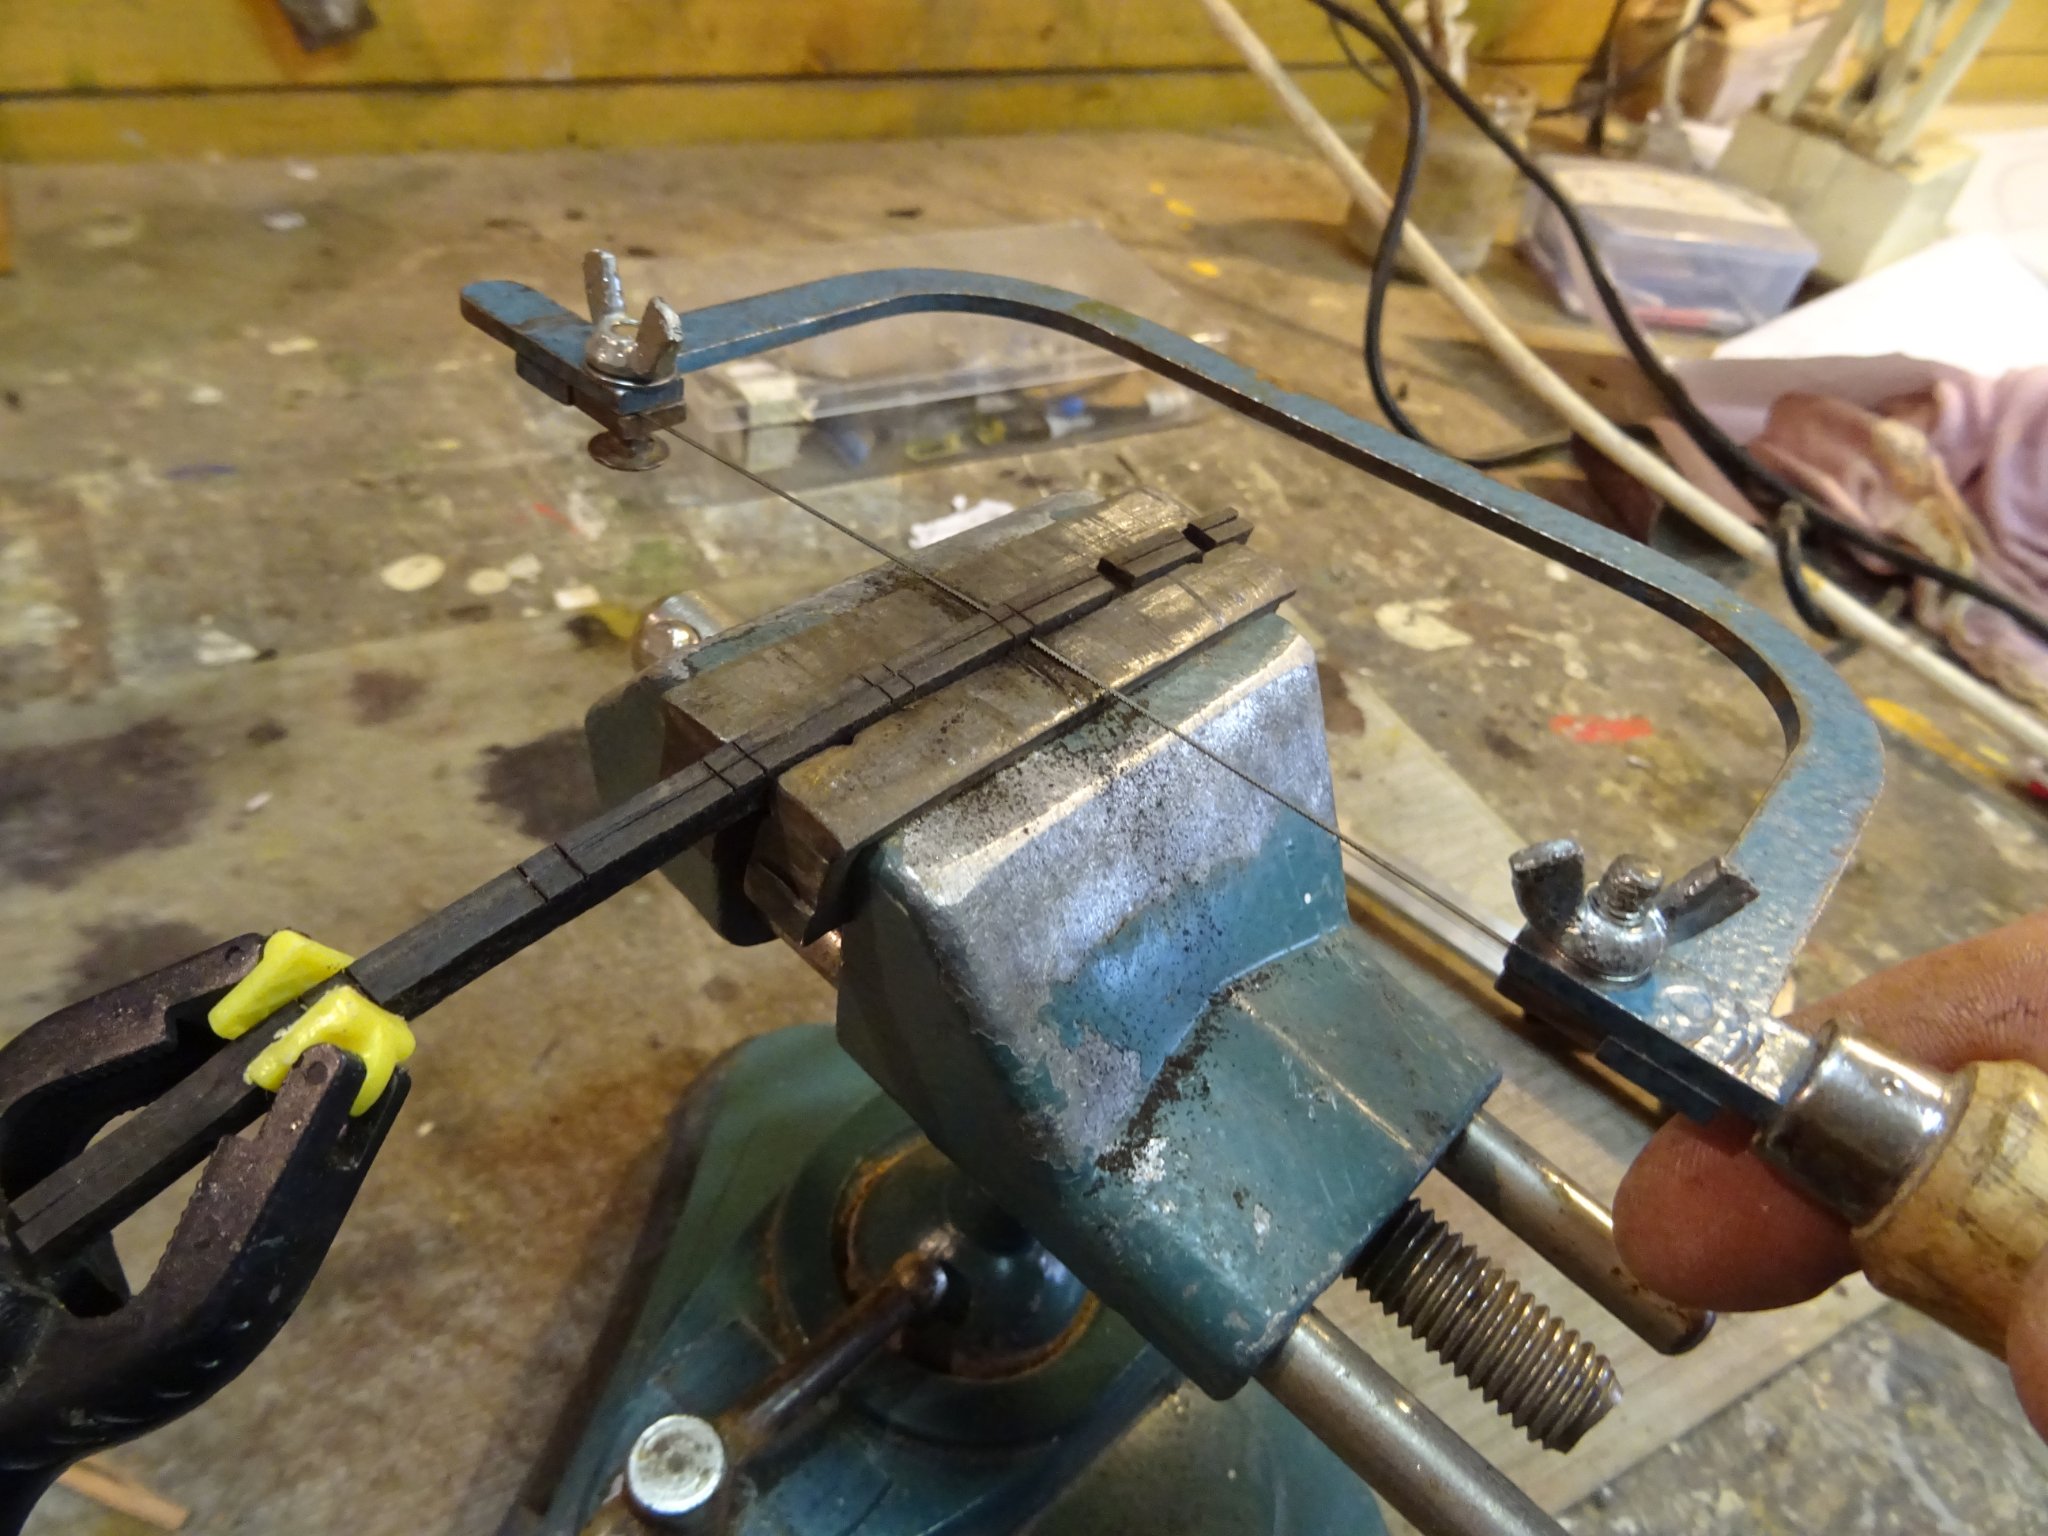
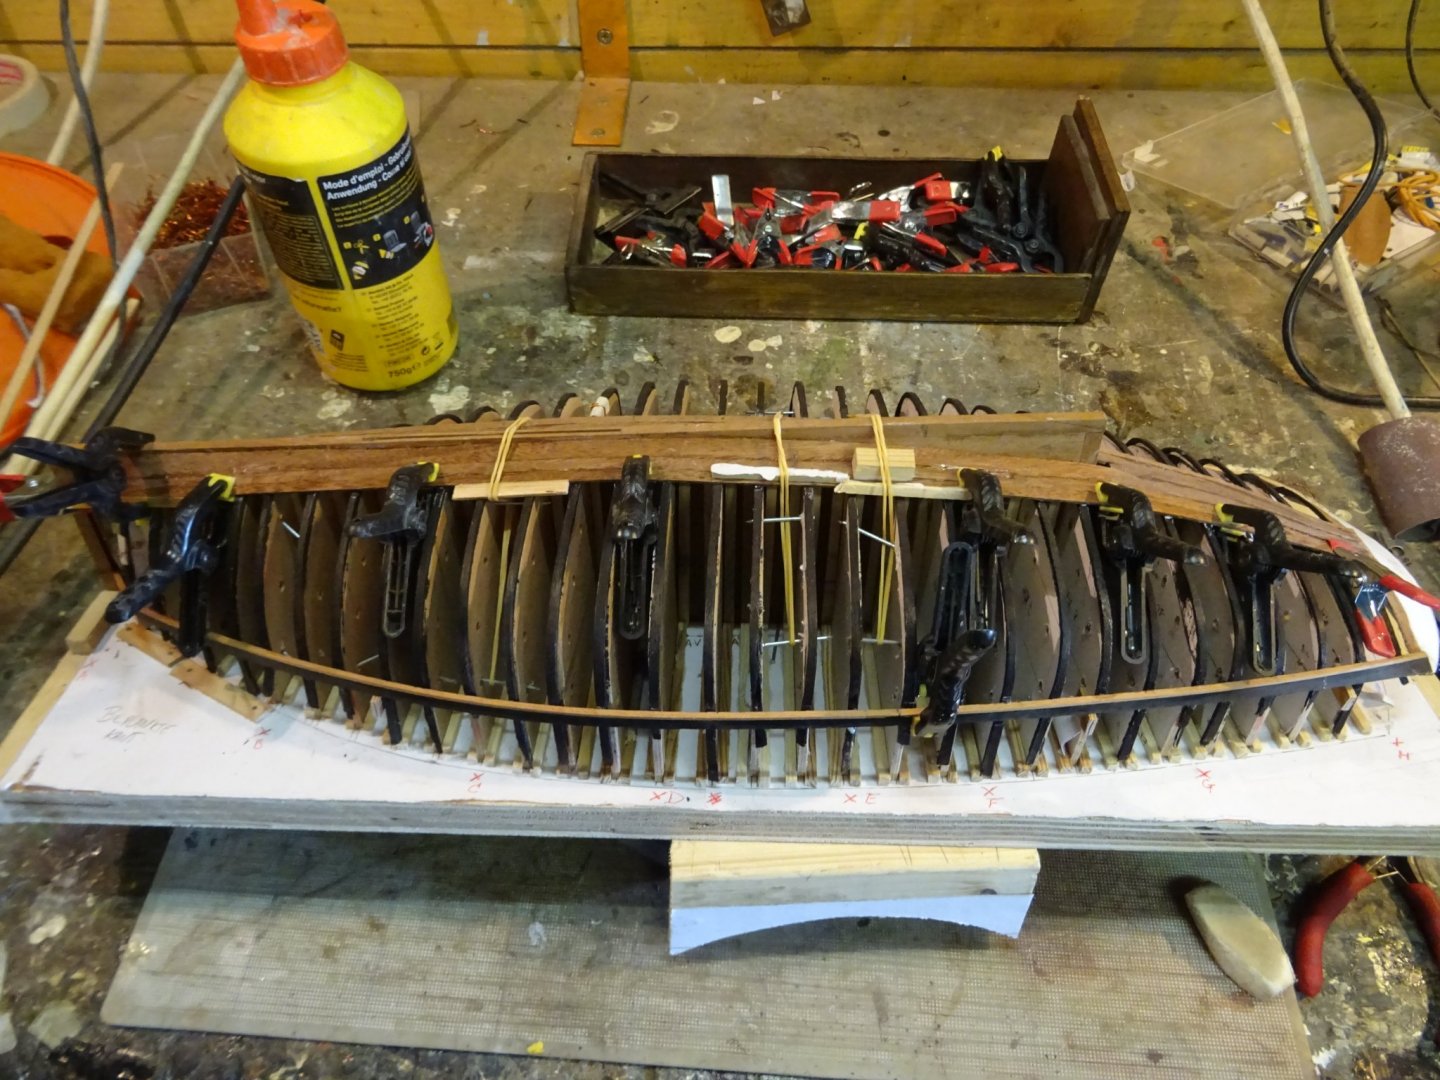
The planking is continuing. There is not much different comment to give other than I have to be more and more inventive to clamp the planks. Rubber bands come in very handy.
Thank you very much for reading this log, for your likes and for your encouraging and inspiring comments.
Till next week!