michael mott
-
Posts
5,200 -
Joined
-
Last visited
Content Type
Profiles
Forums
Gallery
Events
Everything posted by michael mott
-
 Beautiful work as always Ed. Michael
 -
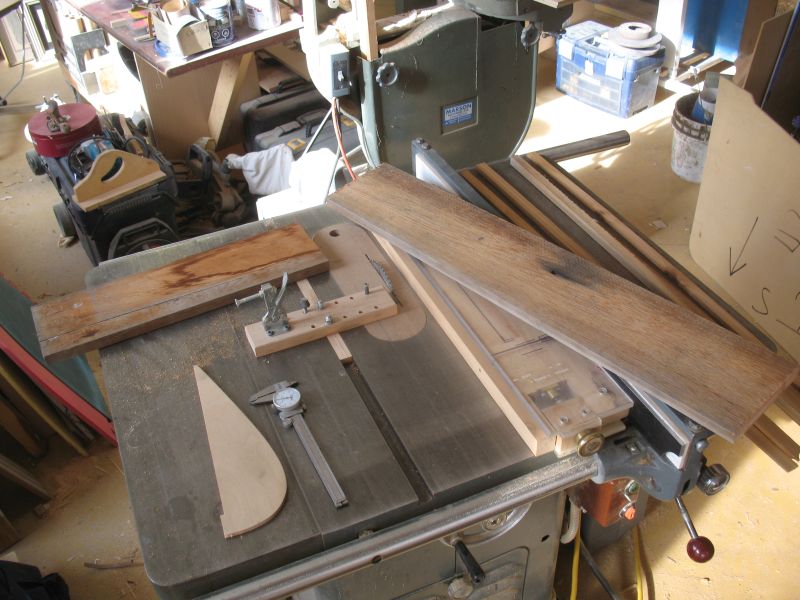
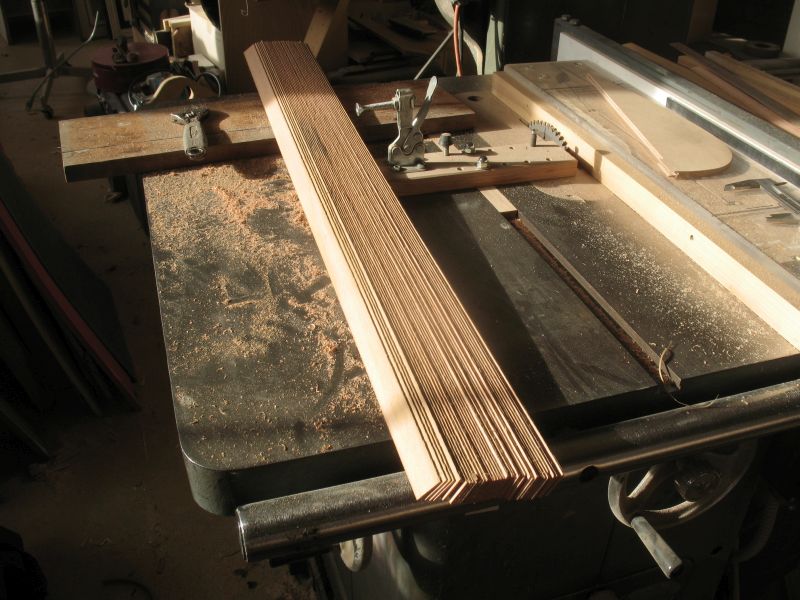
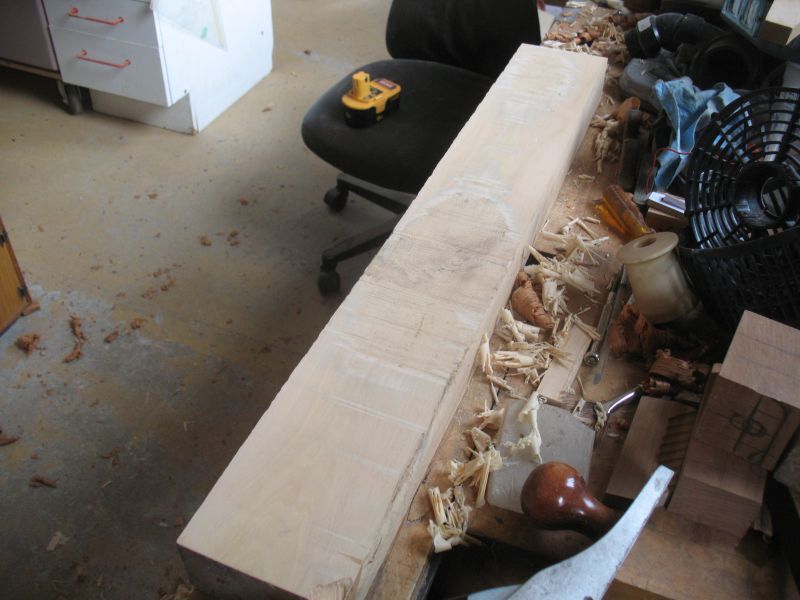
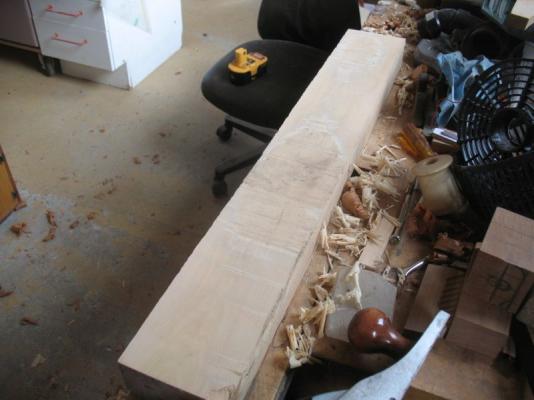
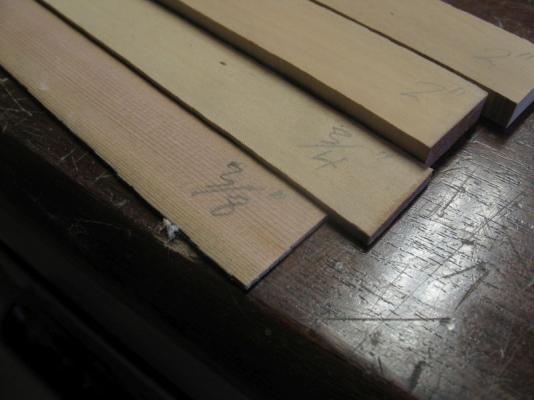
Thank you for the likes. Earlier today I worked on preparing some of the materials for the building. first I made the decision to use Cedar for the planking, because I don't have any Yellow Cyprus, the piece of Western Red had some very tight grain and the board was big enough to give me 38 boards 32 inches long by 3/4 x 3/64 inches. I also cut some of the Castello Boxwood 28 inches long and then cut some 3/4 x 1/4 and some 3/4 x 3/32 inches this will be used for the keel and keel plate, I will use the bandsaw to cut the shorter taller pieces for the stem and stern. I really liked the way the Castello cut on both the bandsaw and the tablesaw. I ended up changing the tablesaw blade from a carbide tipped one to the hollow ground steel finishing blade The Castello is straight off the tablesaw, the Cedar has been sanded because I used the thin carbide ripping blade. Now I need to cut some ribbands, I am leaning towards some tight grained Fir 5/32 x 3/32 32 inches long, I will need to check my stock. Michael


-
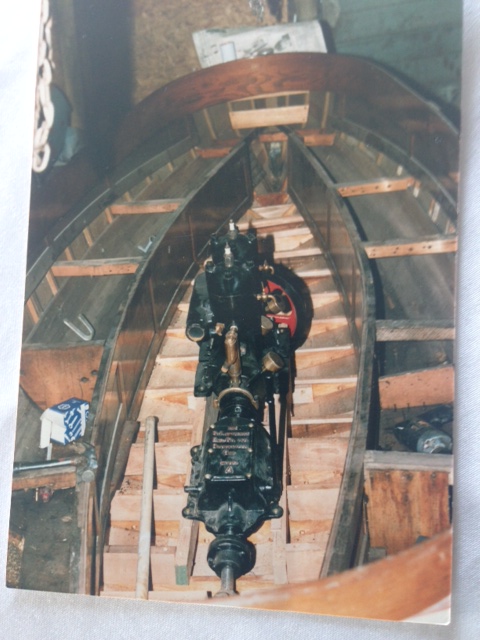
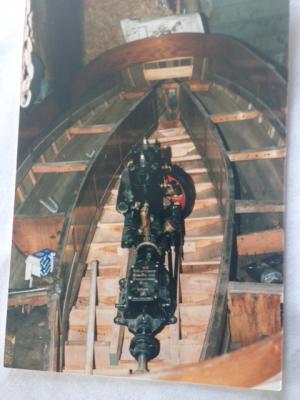
Good evening Mark, my thoughts are to add at least 8 or 10 ribands to each side evenly spaced. My understanding is that the ribs on the full size are 3/4 by 1/2 inch. In rereading Roger's notes there is a plate on top of the keel that is 4 inches by 3/4 inches and tapers toward the bow and stern. this plate forms the upper side of the bearding line for the planking and gives a greater area to attach the garboard strake. I am going to make the keel, keel plate, stem and sternpost out of the Castello Boxwood. I need to make the ribands strong enough to not deform when I set in the frames. something that has crossed my mind is to use some thread to hold the frames (ribs) to the ribbands while they set. The fir test frames were pretty flexible, however I am also going to test the Castello for the frames as well, they will be 3/32 x 1/16th full size on the model. I am planning on following the curve at the extreme ends of the bow and stern this will prevent twisting them too much it is hard to tell a great deal from this picture Evidently the ceiling boards which significantly strengthened the hull, they are 1 1/2 by 3/4 bead and cove. have to go guests just arrived Michael
-
Nice to see another larger scale small craft. Michael
-
Dr. Per, Thank you for posting that artists information those truly demonstrate the human ability to share the joy of the universe, using a beautiful material of nature. Michael
-
Daniel this model is seriously small, I think I would be ready for a straightjacket by now. You are doing a great job BTW. Michael
-
I disagree. Michael
-
Very nice! I suppose now I need to make a model of my 1:2 model of maria. Michael
-
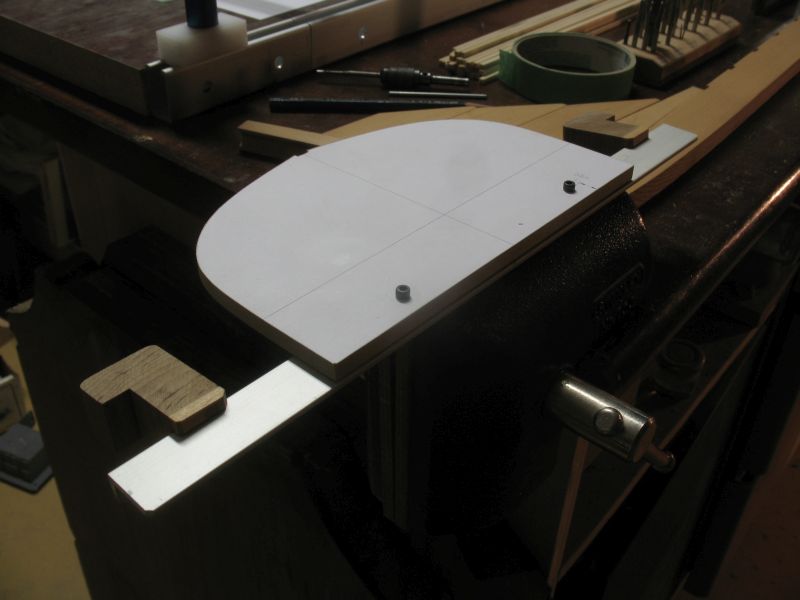
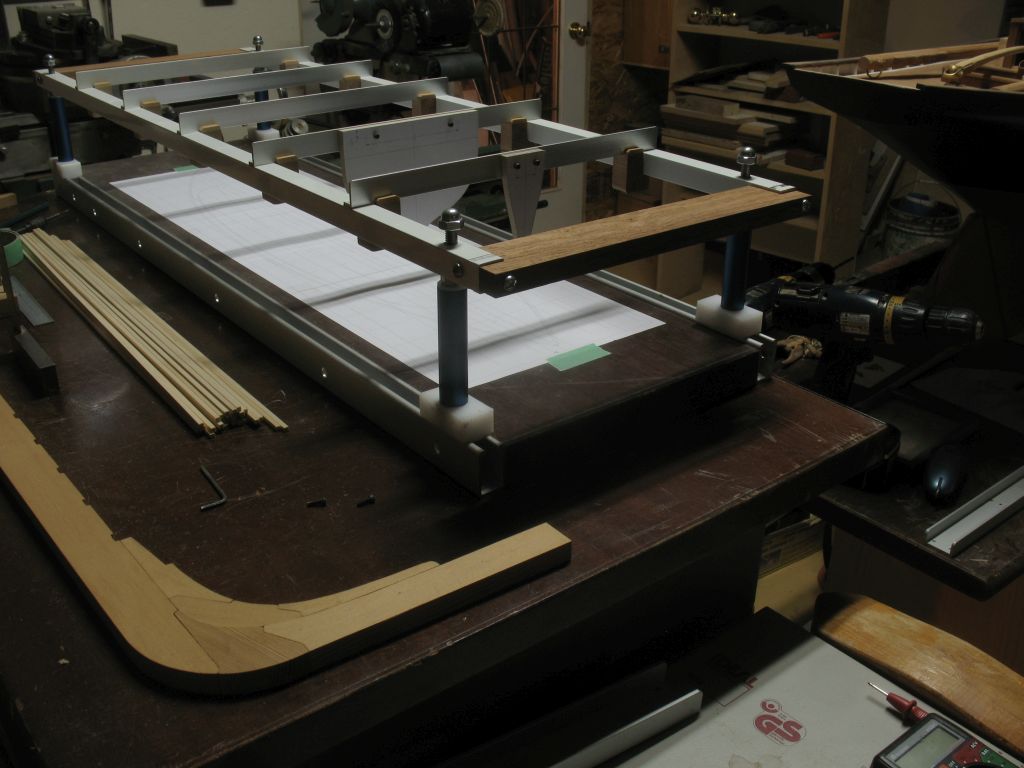
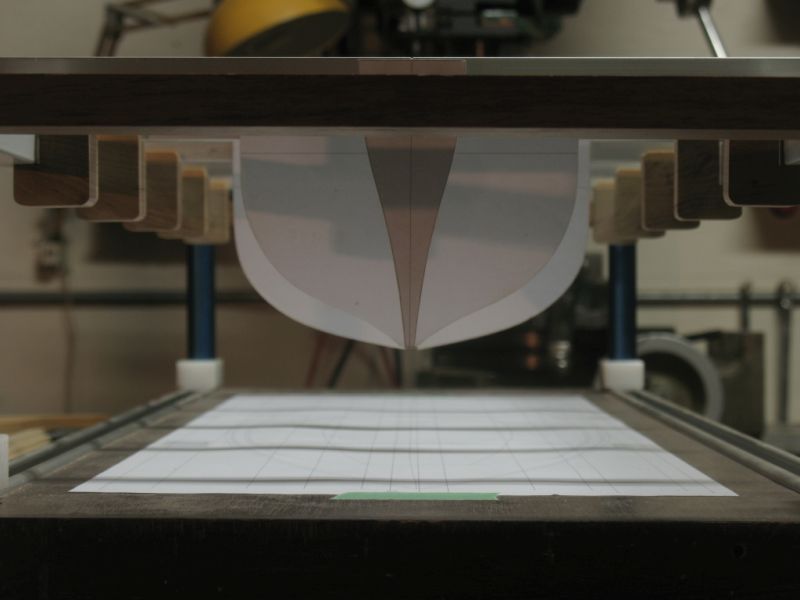
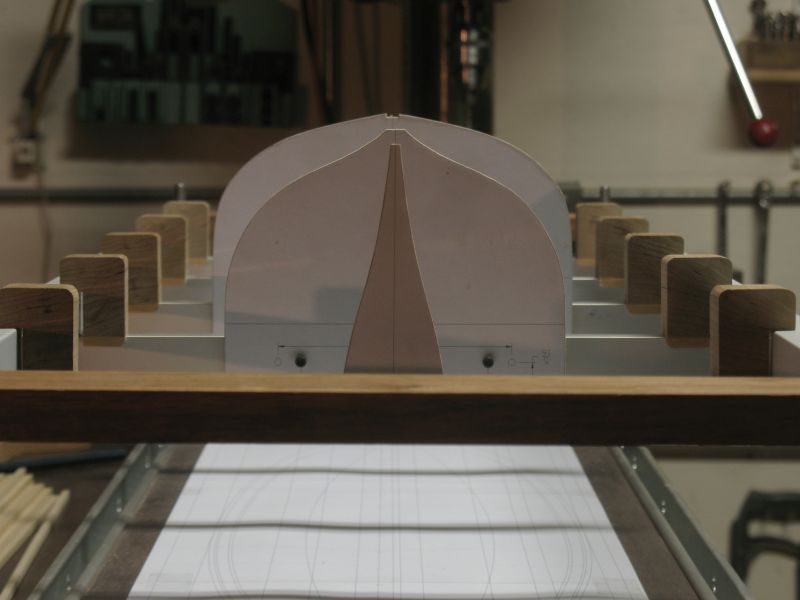
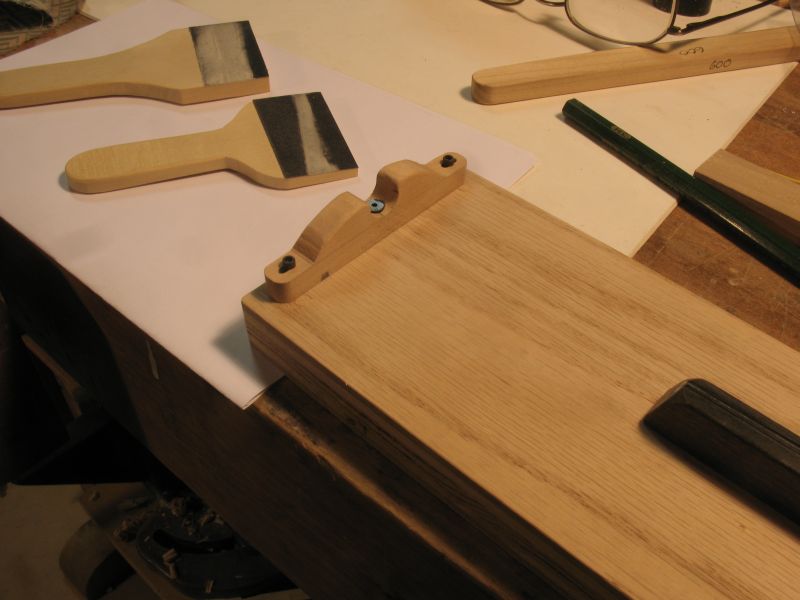
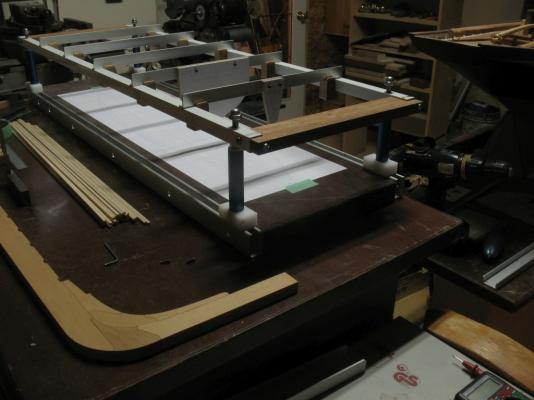
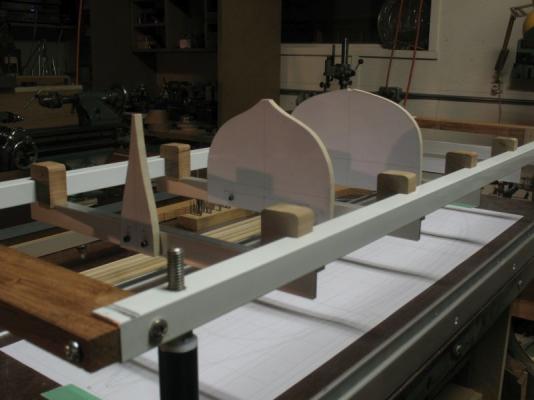
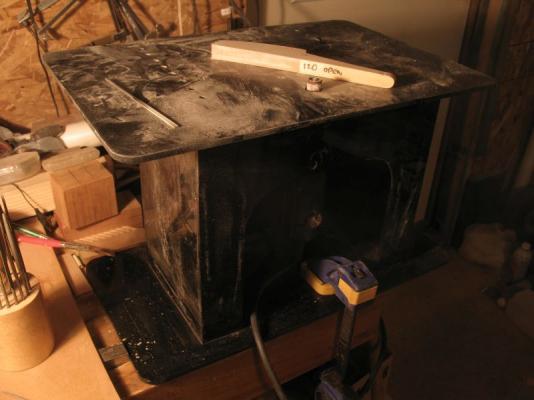
After resizing the drawings I needed to modify the building jig, thinking about the sequence of construction I eliminated the keel support for the moment. The white rails were too short so a new pair were drilled. I had a scrap of Brazilian Rosewood which was just big enough for the new frame end bars. Some wood inserts were driven into the long tubes before the holes were drilled the frame is now quite rigid. I have cut the first three new molds for the ribbands and mounted them on the aluminum cross beams. The molds were cut from 1/4 MDF and are set aft of the station lines, the last two will be set forward of the station Lines. The molds will not be faired, this why they are placed the way they are. the next pic shows the frame reversed on the build posts. you can see that they are not yet perfectly centered I will do this when all 5 molds are set on the cross beams before adding the keel. I am much happier with the building frame. I remembered that I had built and stored away a small Dremel routing/sanding table which was fabricated out of 1/4 inch thick black plexiglass. I used this table a lot when building Architectural models, I set it up for working on the molds along with some curved shaped sanding sticks. Michael


-
Si it is definitely Western Red Cedar, the lighting distorted the colour, I have some Alaskan Yellow cedar as well, Cracker the aromatic cedar is a different species. the smell is similar to Juniper. Michael
-
Actually the genus is tilia the main species of Tilia are T cordata from Europe, T americana American Basswood or Linden. T cordata is a small leafed lime and T americana has big leaves, these are the two main sources of wood. the lime timber is also used in the making of Charcoal for drawing. references "The Oxford Encyclopedia of TREES OF THE WORLD" ISBN0517616734 published in1981 One of the interesting things about organic materials like wood is that they are adapted to their environments.The wood from a tree that grows in one locale can be exactly the same species as that of tree and in a different locale and the wood from the second tree could be completely different to work because of the soil conditions and mineral content affect the growth and thus the texture and properties of the wood. Michael
-
Oh dear! it looks like you have caught the scratch bug, best cure is a couple of small files and a little bit of sandpaper. Michael
-
Wood Lathe and Router table
michael mott replied to michael mott's topic in Modeling tools and Workshop Equipment
I talked with my youngest son in Calgary today because it is his birthday and during our conversation he was telling me about how he was thinking yesterday about how nice it would be to have a wood lathe, Well it was a no brainer for me to tell him "Happy birthday that I just happened to have a wood lathe that I would be cleaning up and taking it down for him" Life does work in mysterious ways. Michael -
Dewalt 788 Scroll Saw Steal
michael mott replied to FlounderFillet5's topic in Modeling tools and Workshop Equipment
Congratulations Max, it really is great when the stars align in the universe. Michael -
Nice way to add stability to the clamping, I shall remember this one. great job on the planking and the present state looks really fine. Michael
-
Mike, just went through your log. An outstanding job on the longboat. congratulation on a superb looking model. Michael
- 109 replies
-
- 1
-

-
- 18th century longboat
- model shipways
- (and 1 more)
-
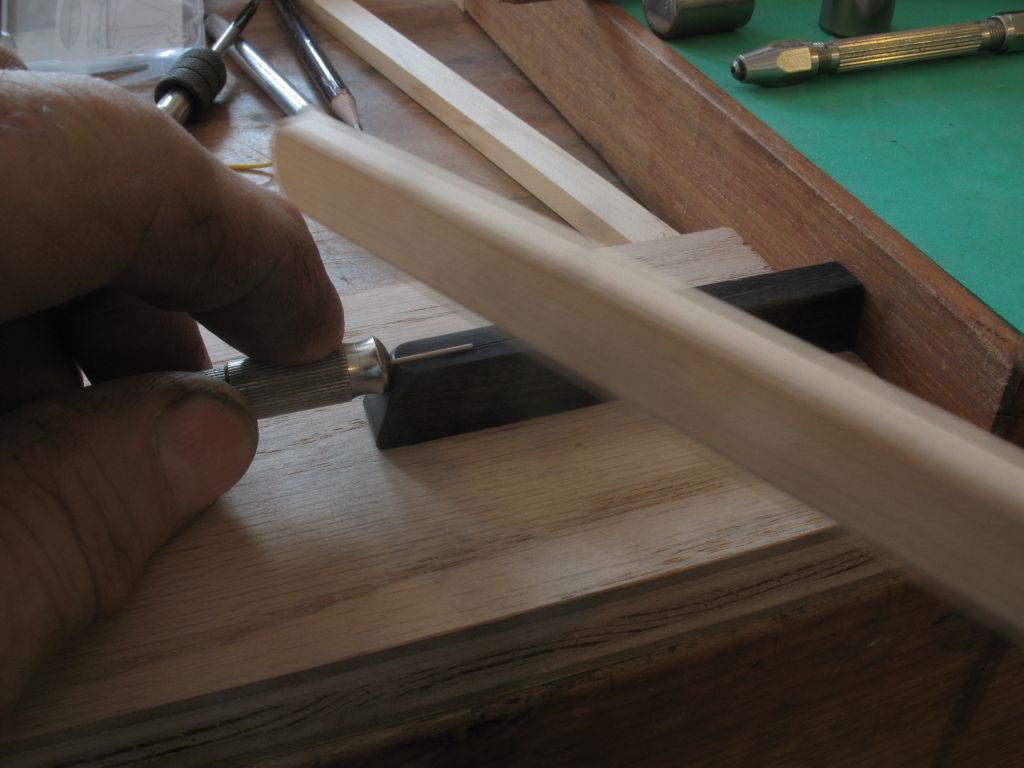
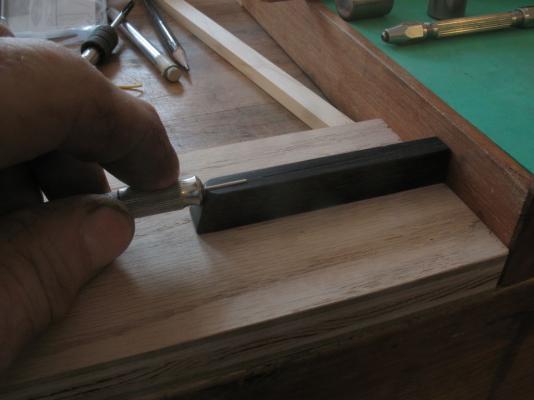
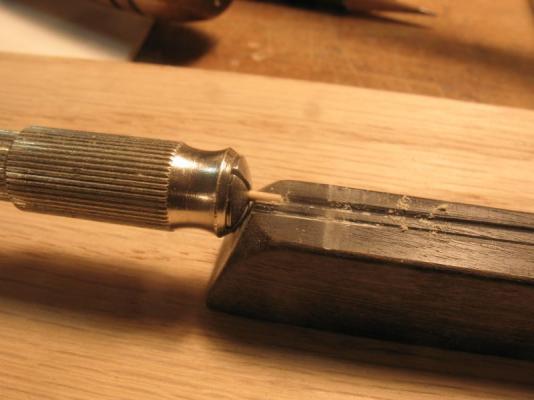
Dan, one way to deal with small diameter spars is to make them from square stock, rather than dowels. I made this jig from a recycled ebony piano key and a few bits of scrap. the wood was chucked in a pin vice, and sanding sticks used to shape the spar. I have just finished going through your entire build log, what a great job you have done the model is looking really fine. Michael


-
Made me smile Ed, wonder if it is some long lost relative? Stunning workmanship as always Ed, I would agree about the use of card for the simulations of sheet steel. The shellac treatment really gives it a lot of strength, reminds me of the model books about building structures for model railways that I read as a kid. Michael
- 3,618 replies
-
- 4
-
-
- young america
- clipper
- (and 1 more)
-
Nils your work on the boom ends is lovely and the drawing that you sketched is a nice piece of artwork. Michael
-
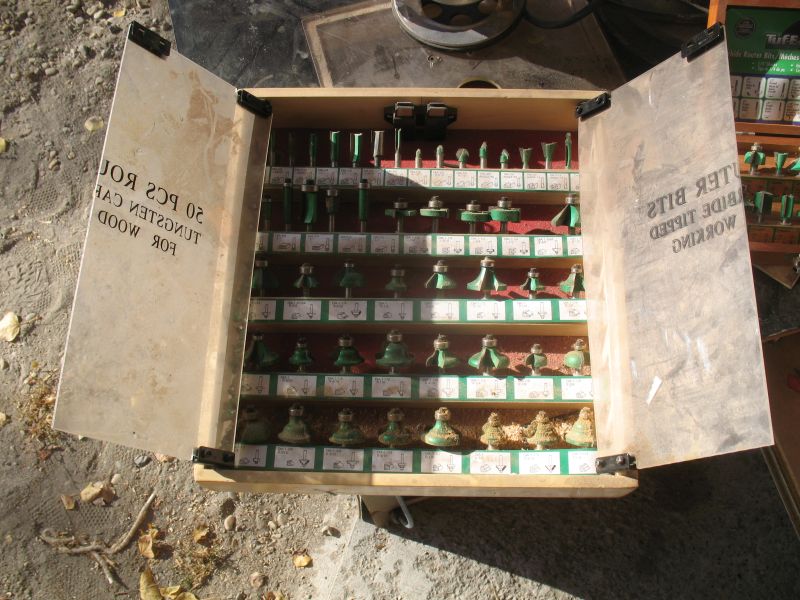
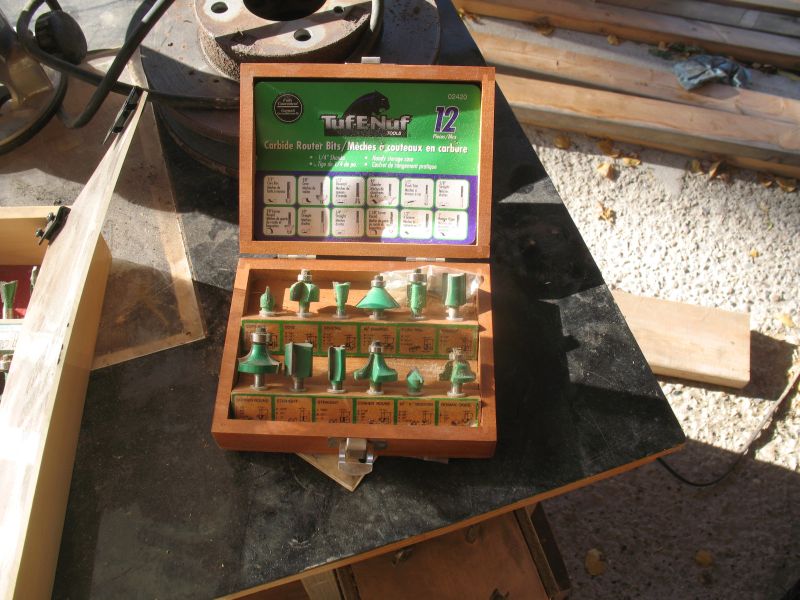
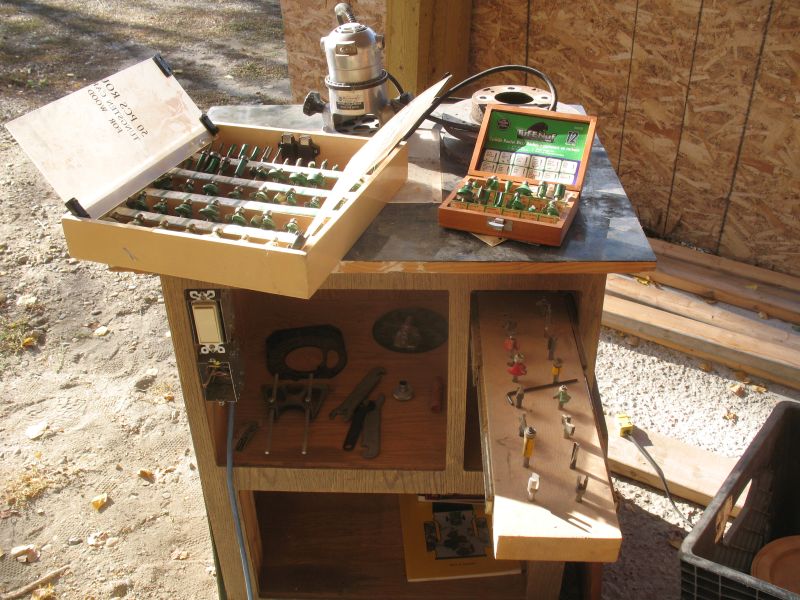
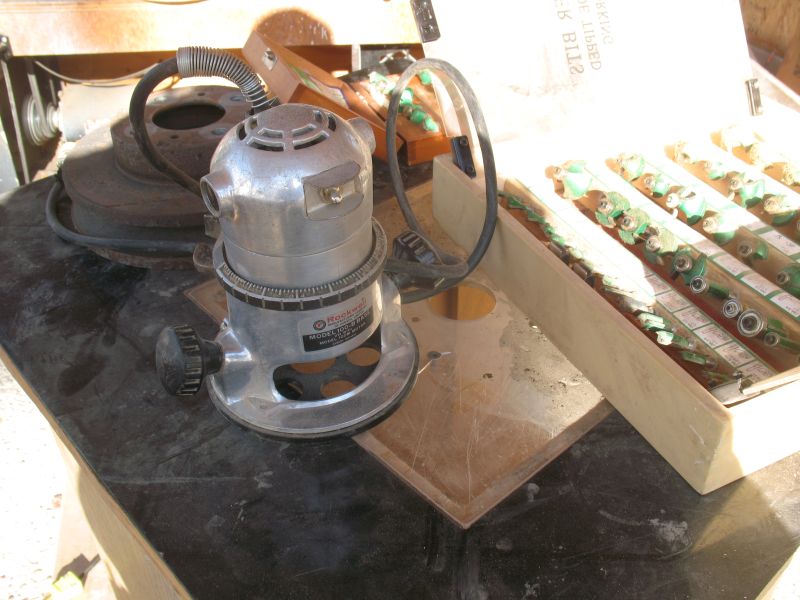
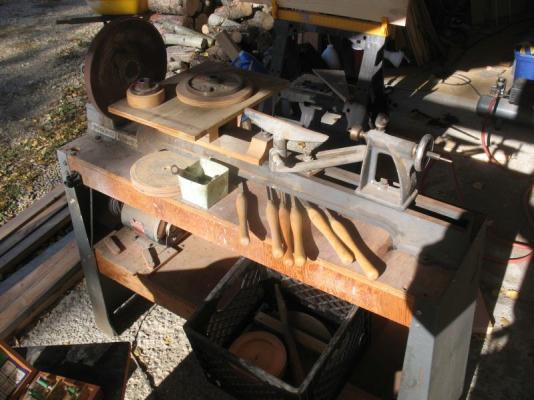
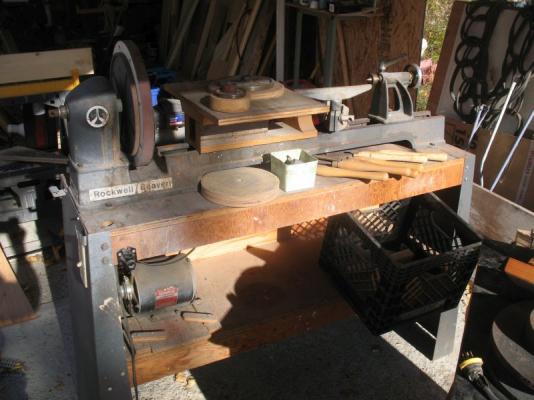
last evening I was thinking about giving my friend Al a watercolour painting for all his help with launching Maria a month ago. The universe works in mysterious ways and demonstrates abundance when one is open to it. This morning my friend Al showed up with the following items and said do you want these. He was clearing up the floor of his shop to make room for the boats he will be working on over the winter. he is not a wood worker and was given these by his brother in law a few years back and never used them. It was such and easy answer. I do feel blessed this morning. They will need a bit of cleaning but all work perfectly, the carbide router bits are virtually brand new. The lathe was set up as a sander so it will go back to being a wood lathe. I need to rethink the size of the watercolour now. Michael


-
Joe the little details that you are adding is what sets this lovely model apart from its peers. The screws are a great touch. Michael
-
The Byrnes Saw "inside and around"
michael mott replied to nobotch's topic in Modeling tools and Workshop Equipment
The riving knife seems like a good idea, with the following caveat, if your saw is not fitted up for one it can be complicated to set it up so that it works as the video shows . I also see that one would need different thicknesses and heights to accommodate different blade widths and diameters. In the video the chap just drops the knife into a slot. the video uses styrofoam as a demo material, I would not cut Styrofoam on a table saw in the first place it is a sticky material that can grab regardless of slitters or knives. He also is using much thicker material than most model-builders would use. All that said safety is a concern, on long work top fingers clamped to the fence work very well. on short work a long push board or push sheet that engage with at least 6 to 9 inches of the length of wood are a hundred times safer than the tiny push stick that the chap used in the video, in fact it is my own personal opinion that the type of push stick that was used in the video should be made illegal to sell because they are inherently dangerous because of their design. There are many approaches to working safely, unfortunately not all of them are transferable to working with very small pieces of wood. I have seen kickbacks and in one case the wood a piece of 1/4 inch by 1/2 inch maple that was wedged between the fence and the blade was ejected horizontally and went right through a gallon can of paint 10 feet away like an arrow. Most of the incidents that occur are combination of poor set ups and rushing and not taking the time to set up the appropriate finger boards or hold down fingers or using a scrap bit of wood as a push tick that only has a miniscule grip on the trailing edge. My advice is hold it down properly in the first place, set the blade height according to the thickness of the wood, use zero clearance insets, change them regularly as they wear or for different thicknesses. Happy cutting Michael -
The Byrnes Saw "inside and around"
michael mott replied to nobotch's topic in Modeling tools and Workshop Equipment
The problem with splitters is that can get in the way when cutting low rabbets and other small accurate cuts. I have always found them more trouble than they are worth. But hey that just me. Michael -
Looks good Tom, I have seen those oscillating saws by Dremel in a local store, I have never thought about using one, but am curious about how they are to use. How accurate are you able to make the cuts, and is there much tear out on the back side when the blade comes through the wood? Michael