MORE HANDBOOKS ARE ON THEIR WAY! We will let you know when they get here.
×


donrobinson
-
Posts
1,909 -
Joined
-
Last visited
Content Type
Profiles
Forums
Gallery
Events
Everything posted by donrobinson
-
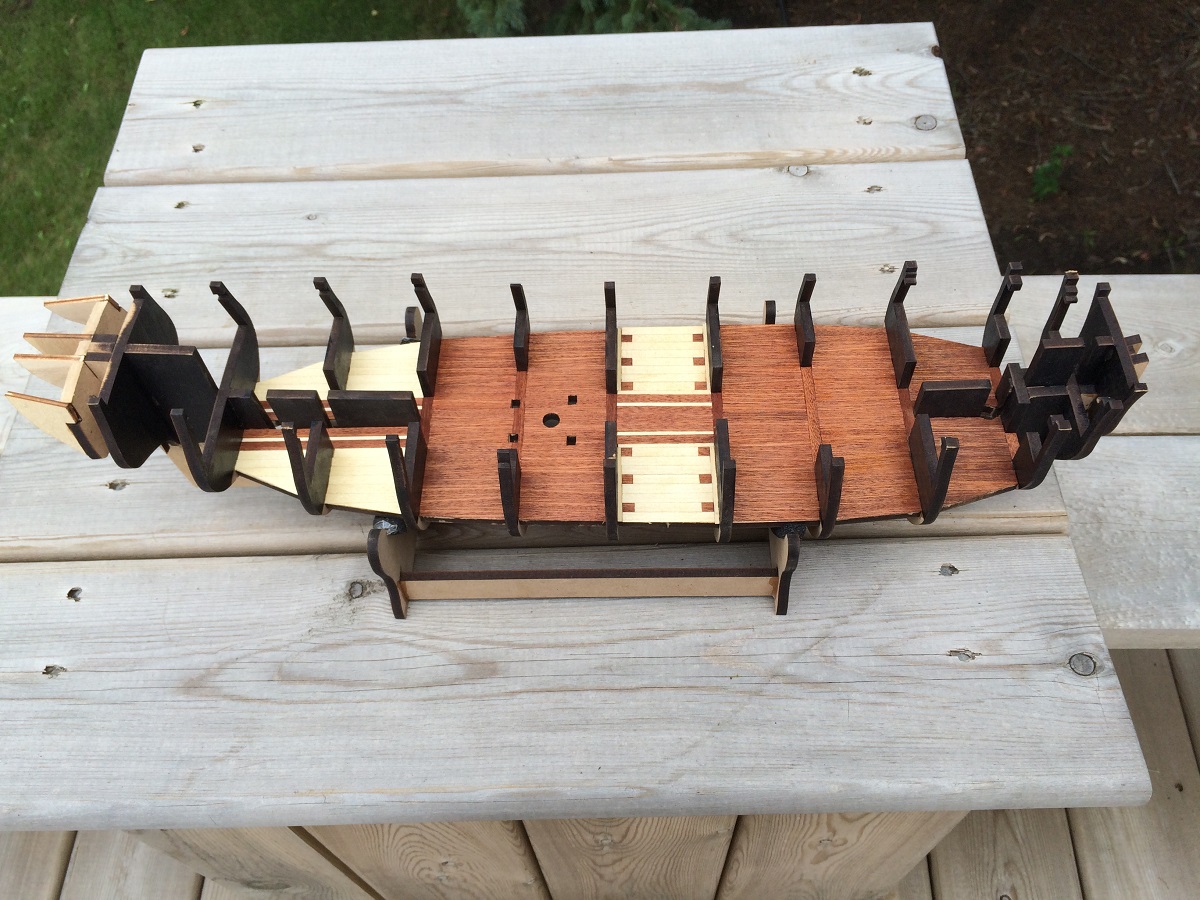
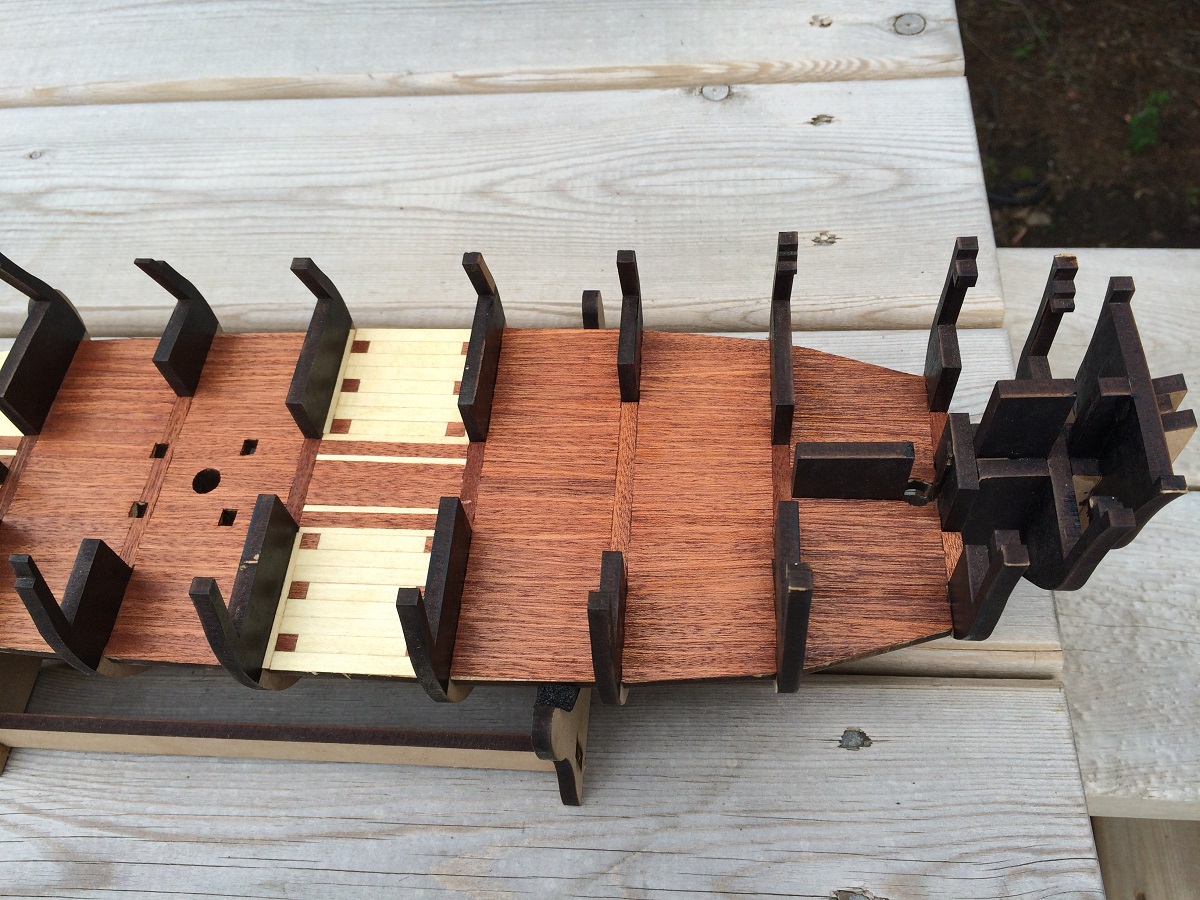
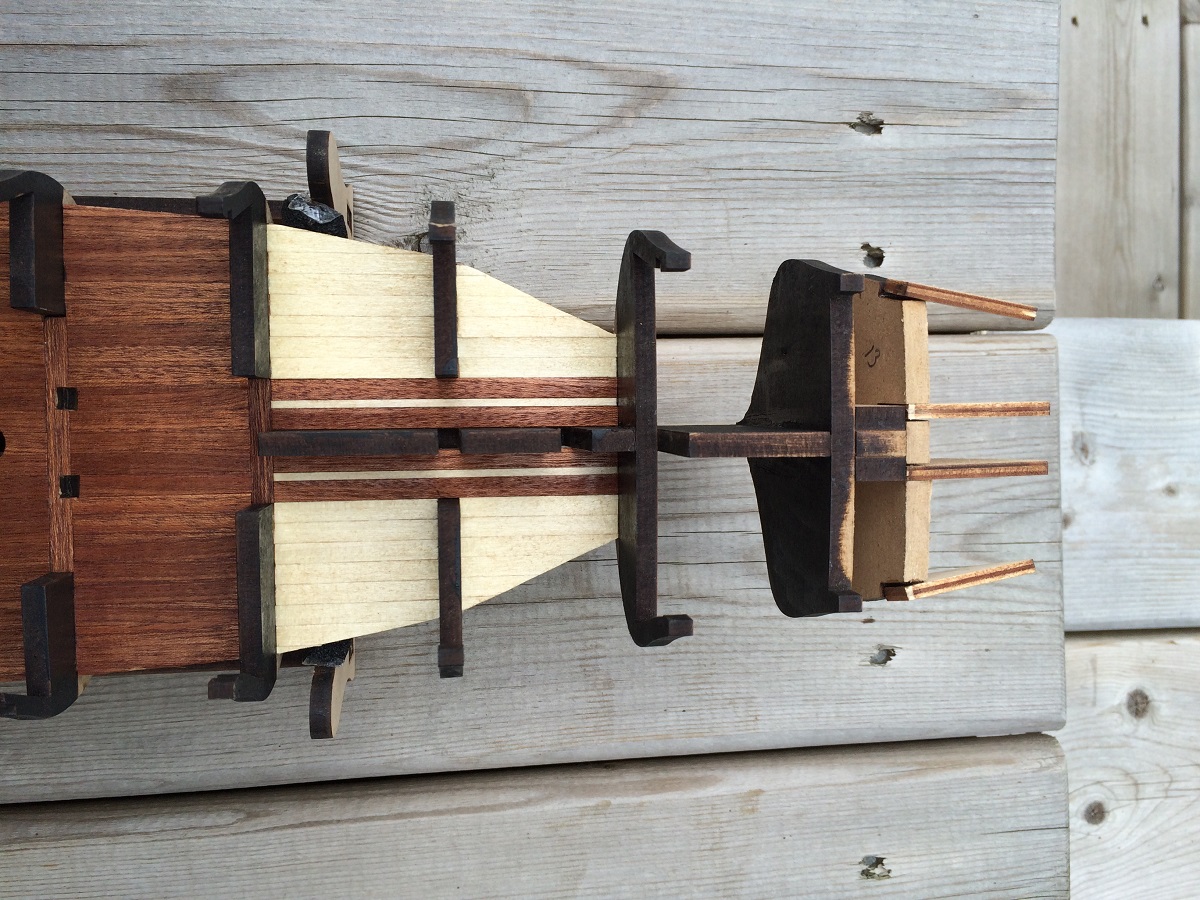
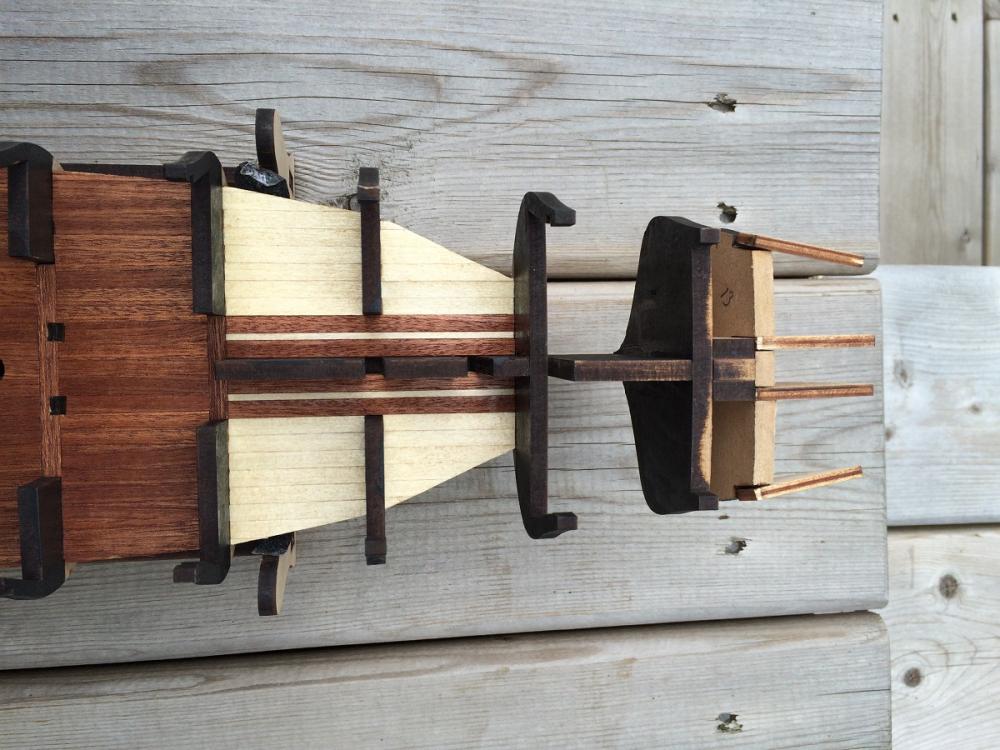
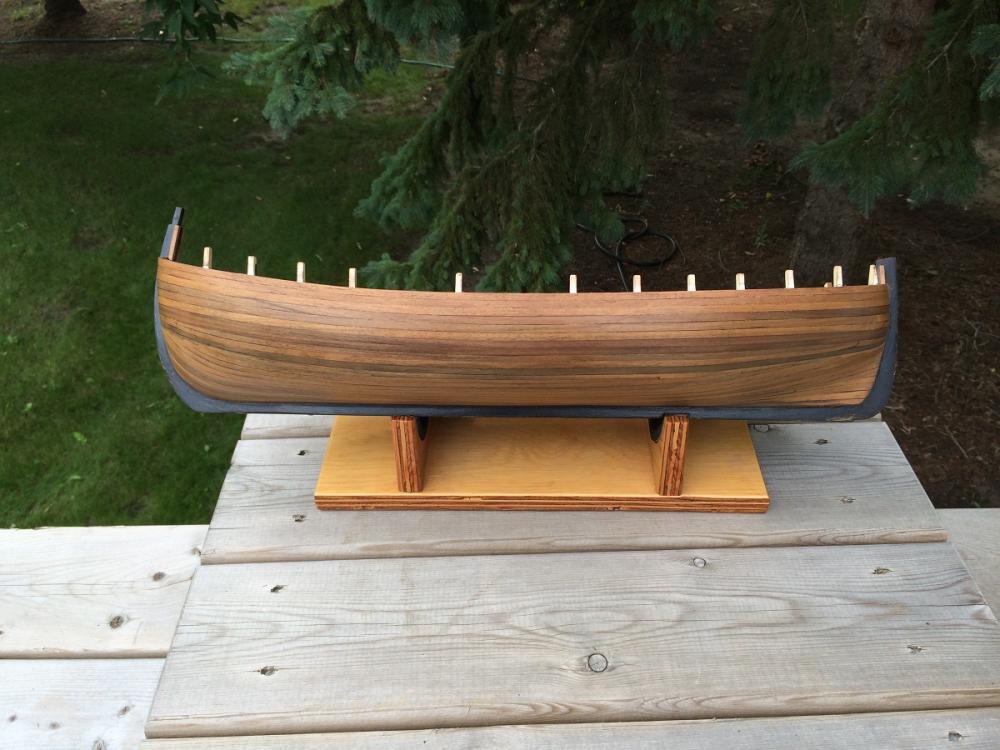
Hello All, hope things are all good. Since last post not too much has happened. I corrected the stern extensions, thanks Mike and Spyglass, and then went on to planking the lower deck. For the most part a waste of time as it won't be seen but it was a lot of fun and a planking exercise is always a good thing . This was leftover planking from my Mayflower so a bit of a salvage operation as well. Next up is the false deck and planking it. Take Care


-
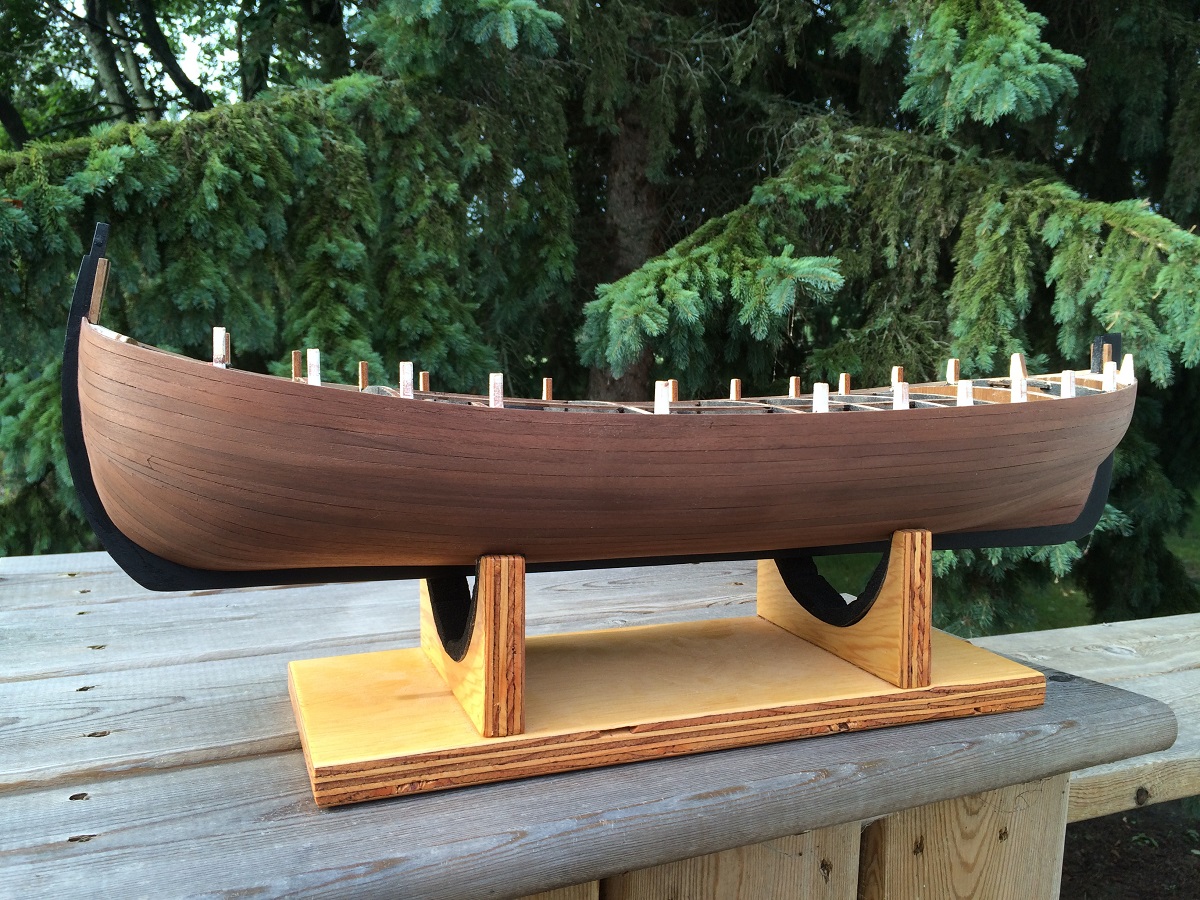
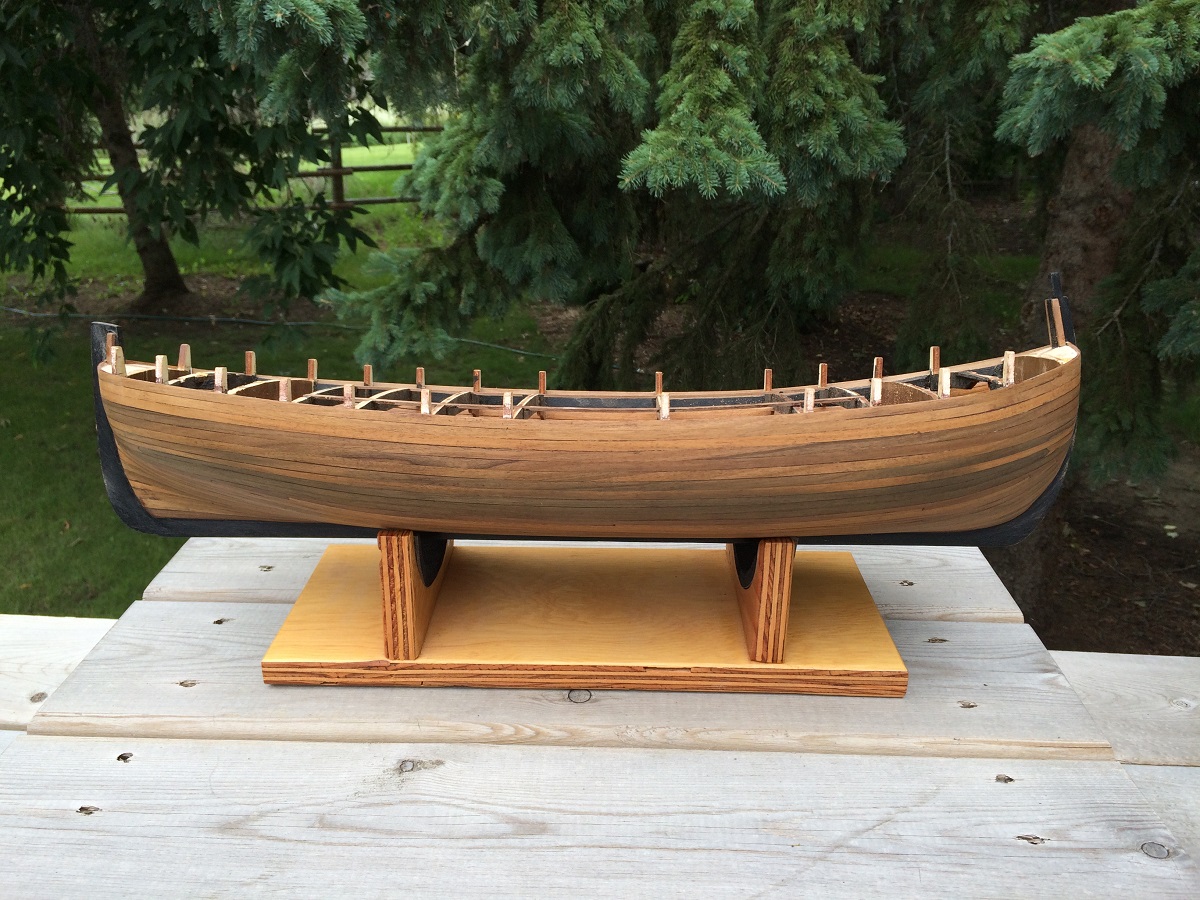
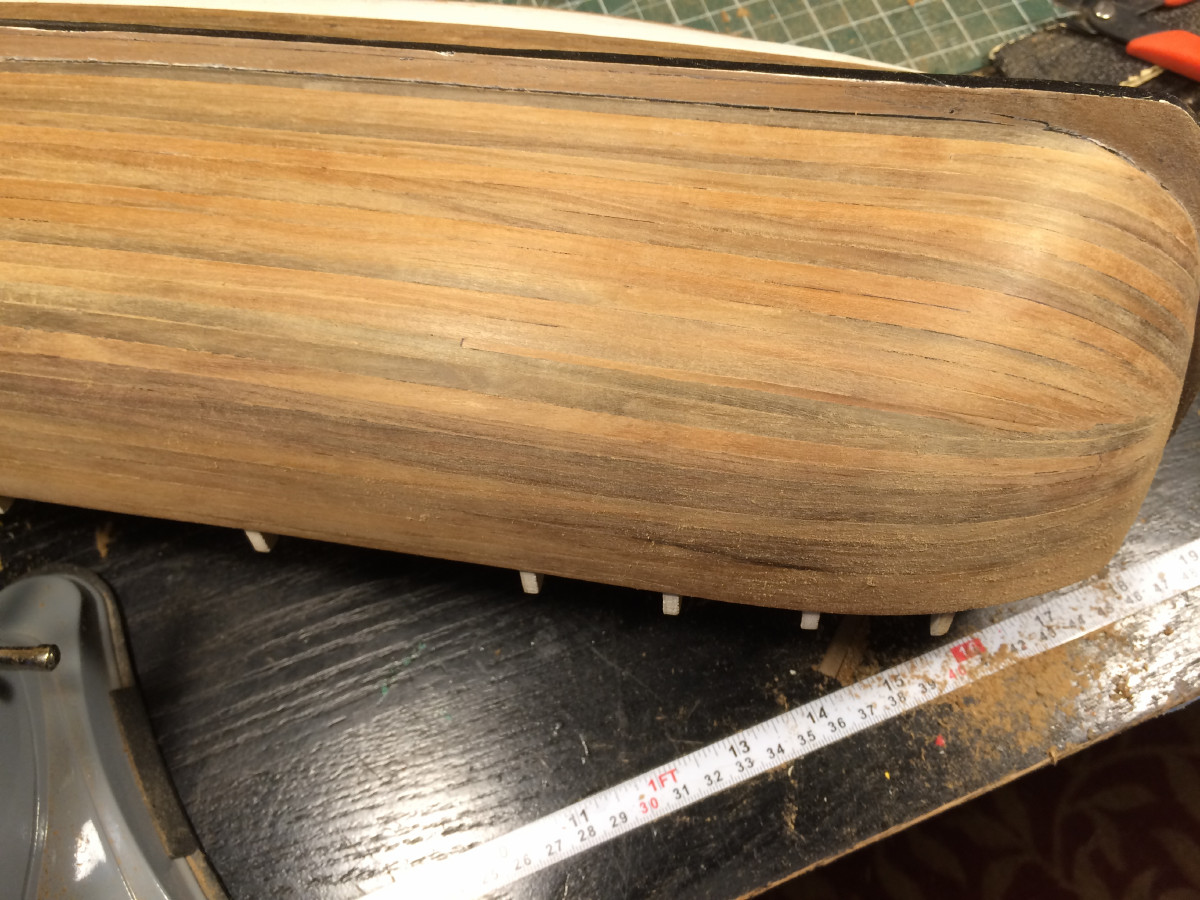
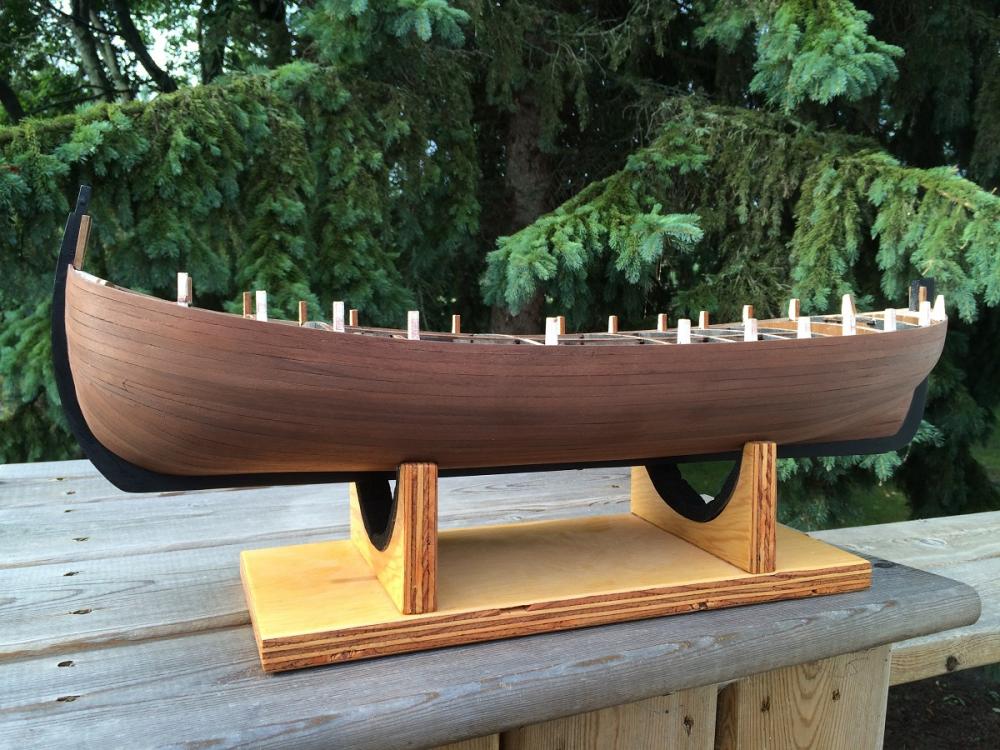
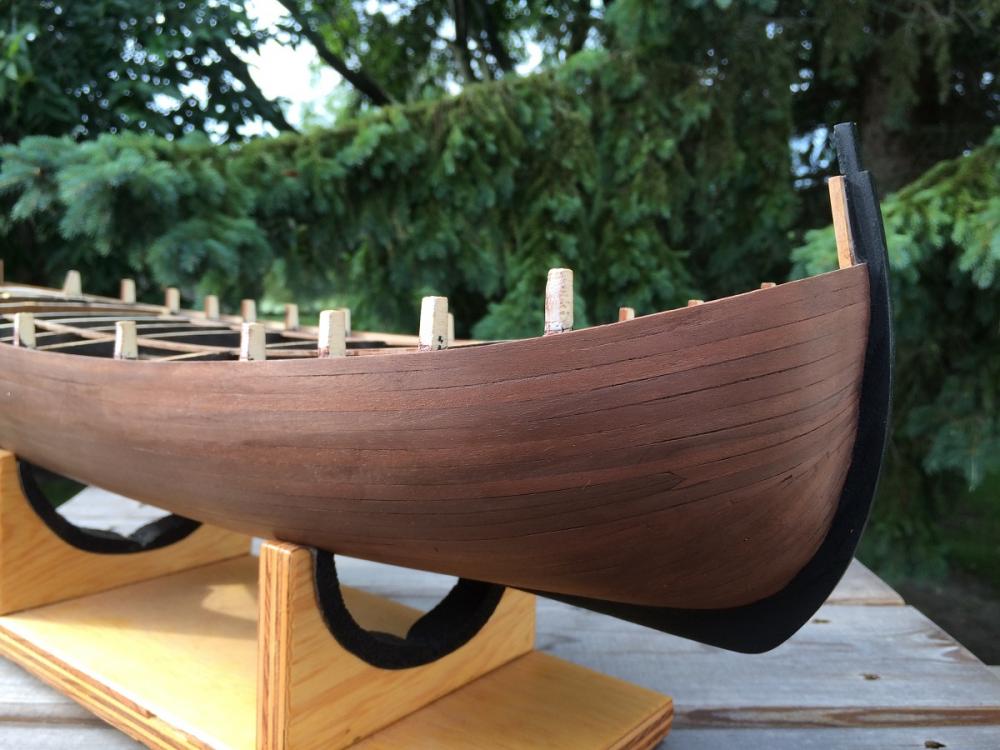
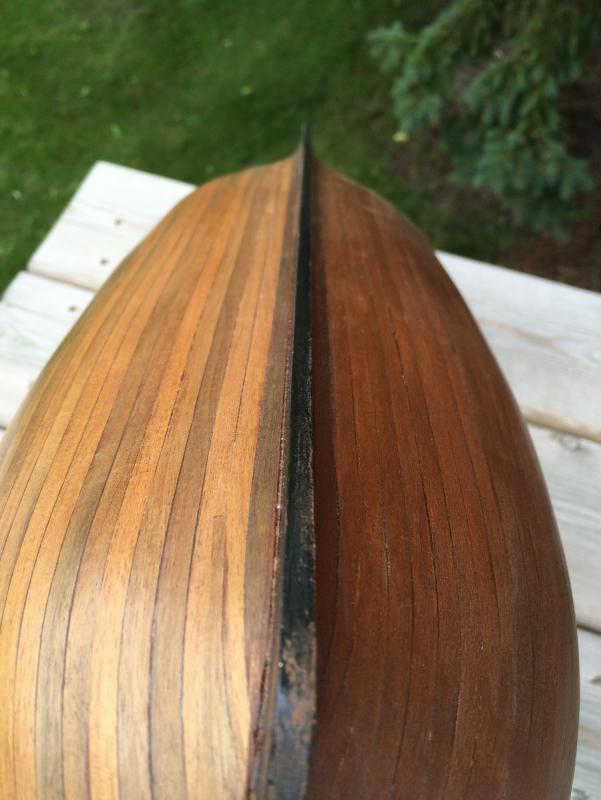
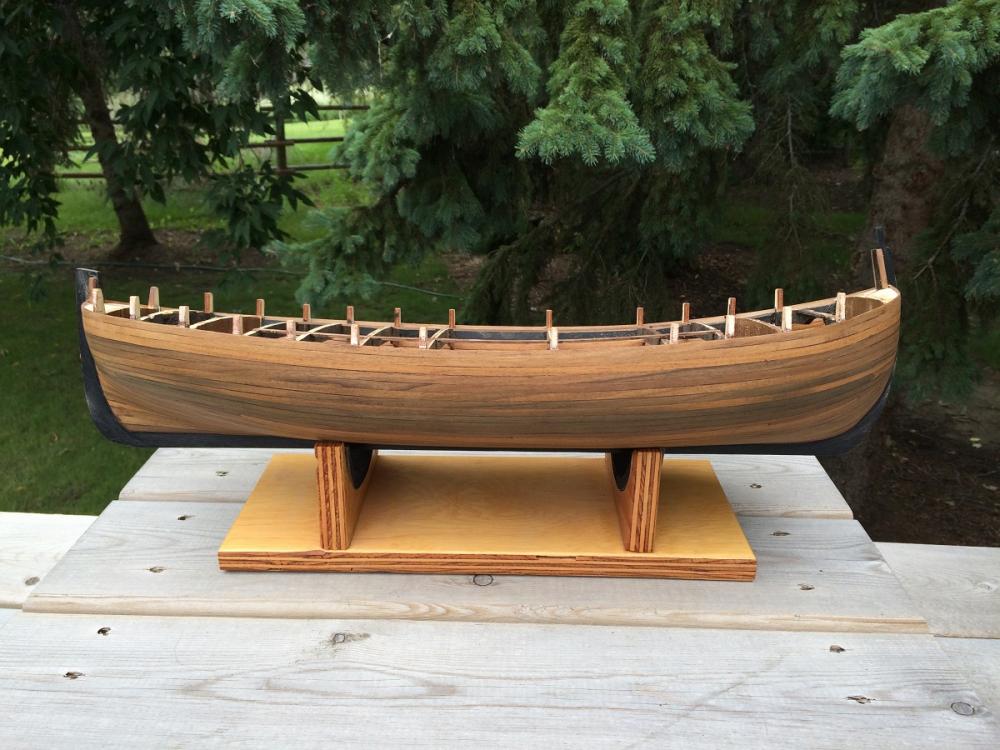
Hello all, Thanks for stopping and adding your likes and comments it's always a good thing. Since last I have finally finished the lower planking, all went good and I was happy with the results. Then things went a little south on me as I decided to stain her and applied a couple coats of wipe on poly. You can see the results below, after looking at her for sometime I decided it was too dark and sanded it all off. After approx 8-10 hours later the pictures show what I am staying with, yup, a natural finish. This is not the normal way to finish a hull but it does end in a real smooth hull . After sanding with four different grades of sandpaper ( up to 320) I applied one coat of wipe on poly. I applied this with a brush, I know it's wipe on, then sanded in a circular motion with 600 grit until almost dry and starting to ball up then wiped off with a clean rag. I found this method really helps filling the small gaps in and leaves a great finish. This part of the procedure I would repeat again the first part I think is kind of a waste of time and will not recommend to be used . Until next time

- 653 replies
-
- 27
-

-
- trabakul
- marisstella
- (and 1 more)
-
Beautiful Bob, You are an awesome Granddad, I'm sure he is very excited!!
- 206 replies
-
- 6
-
-
- battle station
- panart
- (and 1 more)
-
Much better, looks awesome. The tainted coffee is still crossing my mind, I don't think it is too early....is it?
-
John: Did your initial planking go on ok? If so what has changed, because I think you had it right the first time. In my kit the planking is the same as the deck planking bundle which to me looks like Sapelli( not sure about the spelling) it takes stain and finishing well. Mike S. is an expert on finishing so any advice he can give is well worth listening to. Dave(docblake) knows his stuff too I just want to stir the pot between these two
-
Hey Mike: Great work, I personally am a big fan of frapping I don't care much for coils on the deck (on my builds at least). That looks real good, you just can't beat that Syren rope can you?
- 843 replies
-
- 3
-
-
- niagara
- model shipways
- (and 2 more)
-
John, On your initial planking you didn't have this problem and in going back in your log I think the wale would have been the fourth(again without measuring) strake. it laid nicely as did the ones above it. So this is telling me you had things right to this point, what happened is you did not taper the fifth strake and following ones thus causing a problem, again I am just going by what I see in the pictures and manual and not the plans. I will leave you alone now and quit being a pain in the .....
-
Hi John, too bad about the planking but if you are happier than that's what counts. Looking at your pictures and the manual I think you have your plank positioned wrong. It looks like to me you should have it at least two or three strakes lower than the plywood bulwarks, try lowering your plank so the top edge of it is at your line marked and not the bottom edge. This should help as the stern is so much higher I don't think any drastic edge bending is required, and if there was Chris W. would have mentioned it in the instructions. Hope this helps P.S. I have not checked the plans, I am just going by the pictures you have and the manual
-
With that last picture I had to check my cup to make sure it was only coffee I had in it , Looks real good and I agree with Scott that blue looks great
-
I'm with Mark on this one, It really helps to get a break now and then.
-
It seems odd, it's been three years in the making you would think Amati would want to start getting some of it's investment back one of these days
-
That's going to look real good Dave. Nice work
-
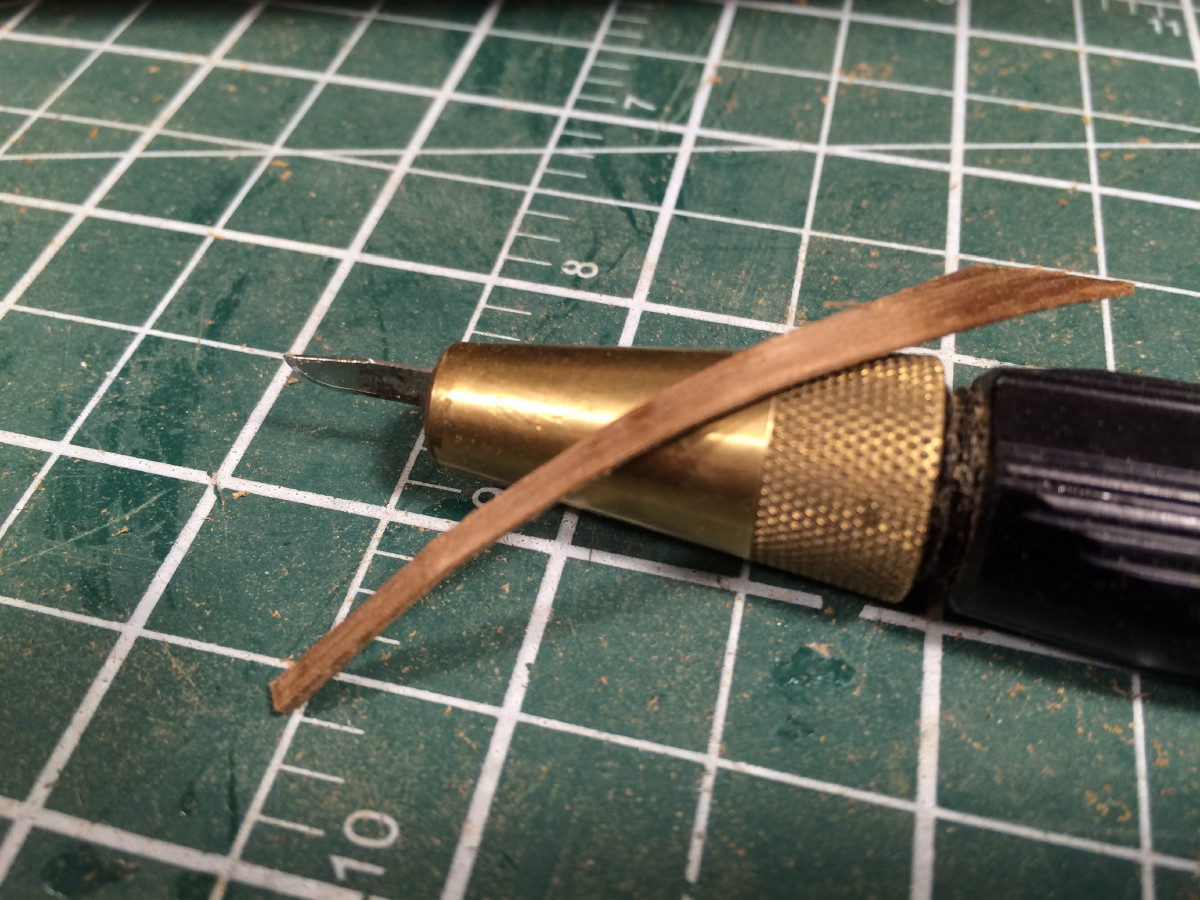
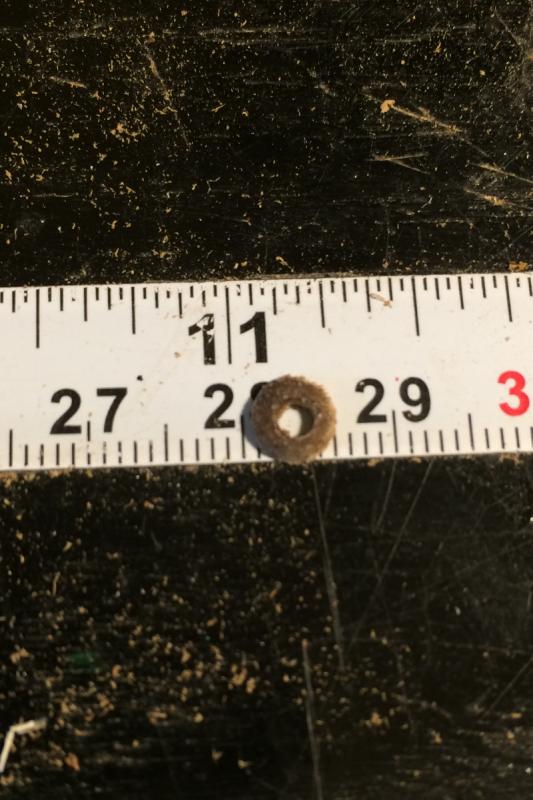
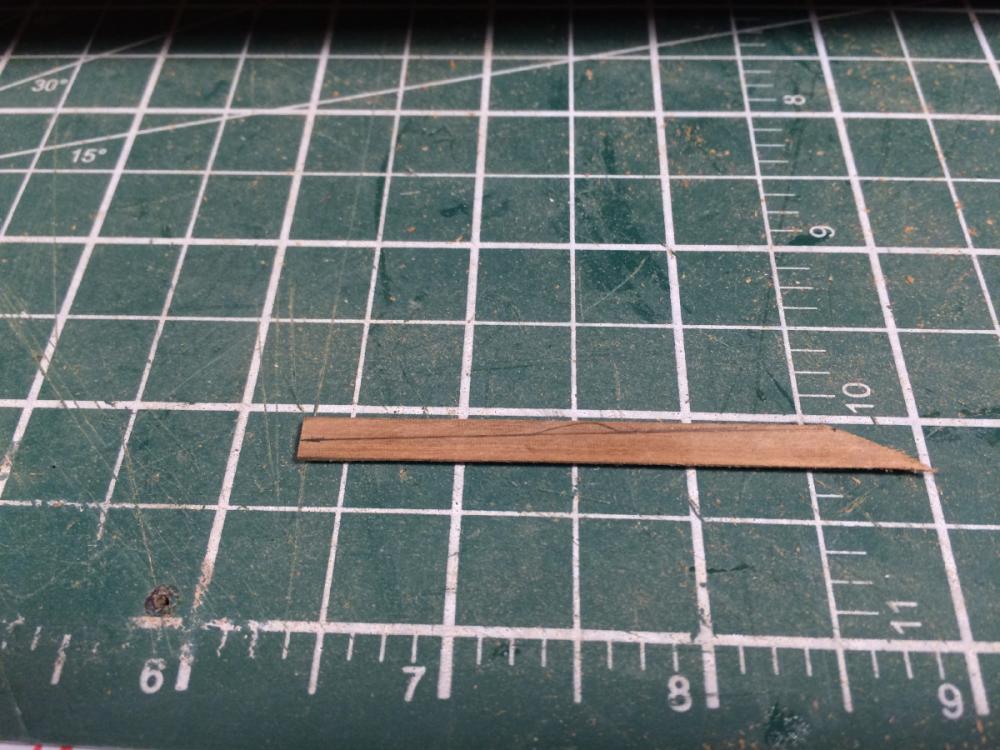
One could easily make something from a wooden dowel. Drill hole down centre, shape then cut off to proper thickness. Here is one I just made from 5 mm walnut dowel and is 1 mm thick. Hole is off centre a little as I held drill bit with my fingers, too lazy to go to garage for proper tool . It took just minutes to make This walnut dowel if using softwood dowel I would soak it in ca first
- 843 replies
-
- 4
-
-
- niagara
- model shipways
- (and 2 more)
-
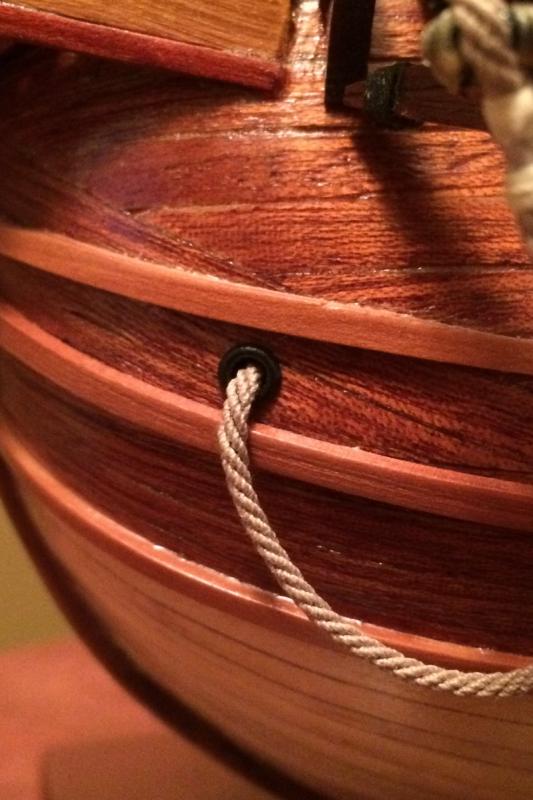
Hi Mike, here is one being used on my Mayflower, 1/8" bought at Michaels
- 843 replies
-
- 3
-
-
- niagara
- model shipways
- (and 2 more)
-
Thanks Mike and Zoltan for your comments it is very much appreciated. Ian: Thanks, if you ever need more pics let me know I have lots more. With these blunt or bluff bows (I'm not sure what the right name is) more stealers would not help. The strakes, after the second one from the keel, really take off. I was going to do some spiling but then realised that I would need planks at least 45 mm wide so I ruled that out. Then it wasn't until I was into it too far before I looked at some Endeavour builds and seen how they were done and realised it could have been done a little different. I am not sure if the way I have done it is right or wrong, hopefully someone will have the answer, but if you look at some Endeavour builds you will get the idea that these bows really are a challenge and the strakes do take an extreme up turn. What I might change is to start from the keel after the first six strakes from the deck and work my way up. I will pm you and send a picture so you can see what I am trying to explain.
- 653 replies
-
- 7
-
-
- trabakul
- marisstella
- (and 1 more)
-
Looks real nice. The decorations really standout against the blue, great work.
-
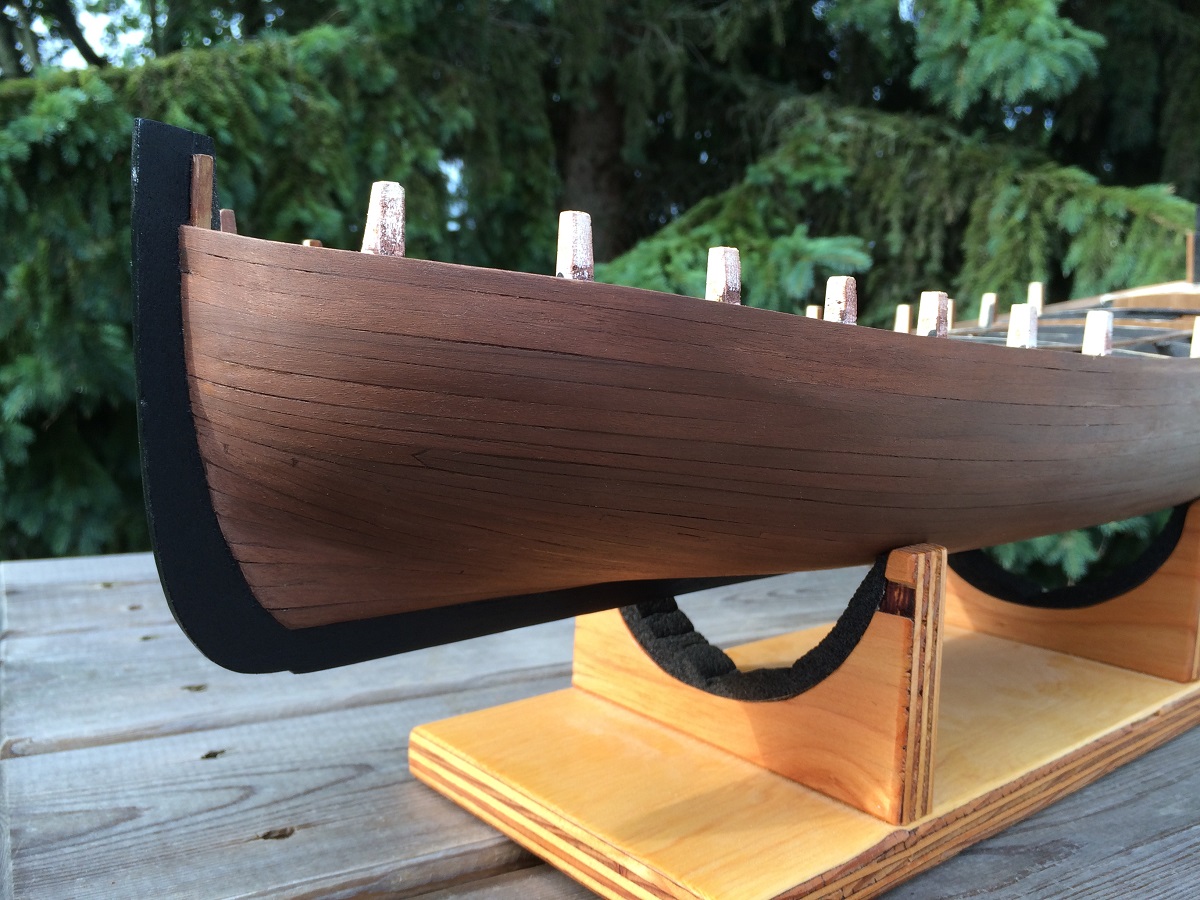
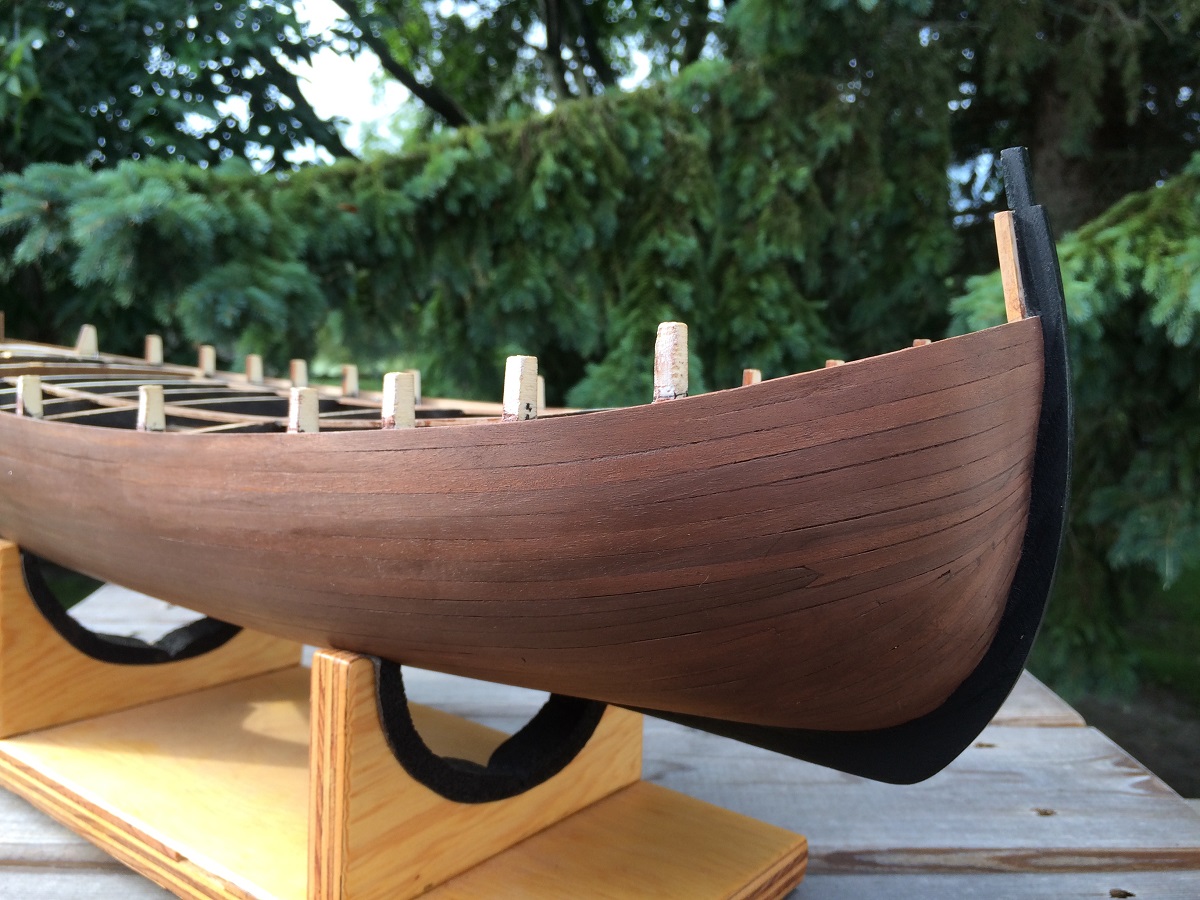
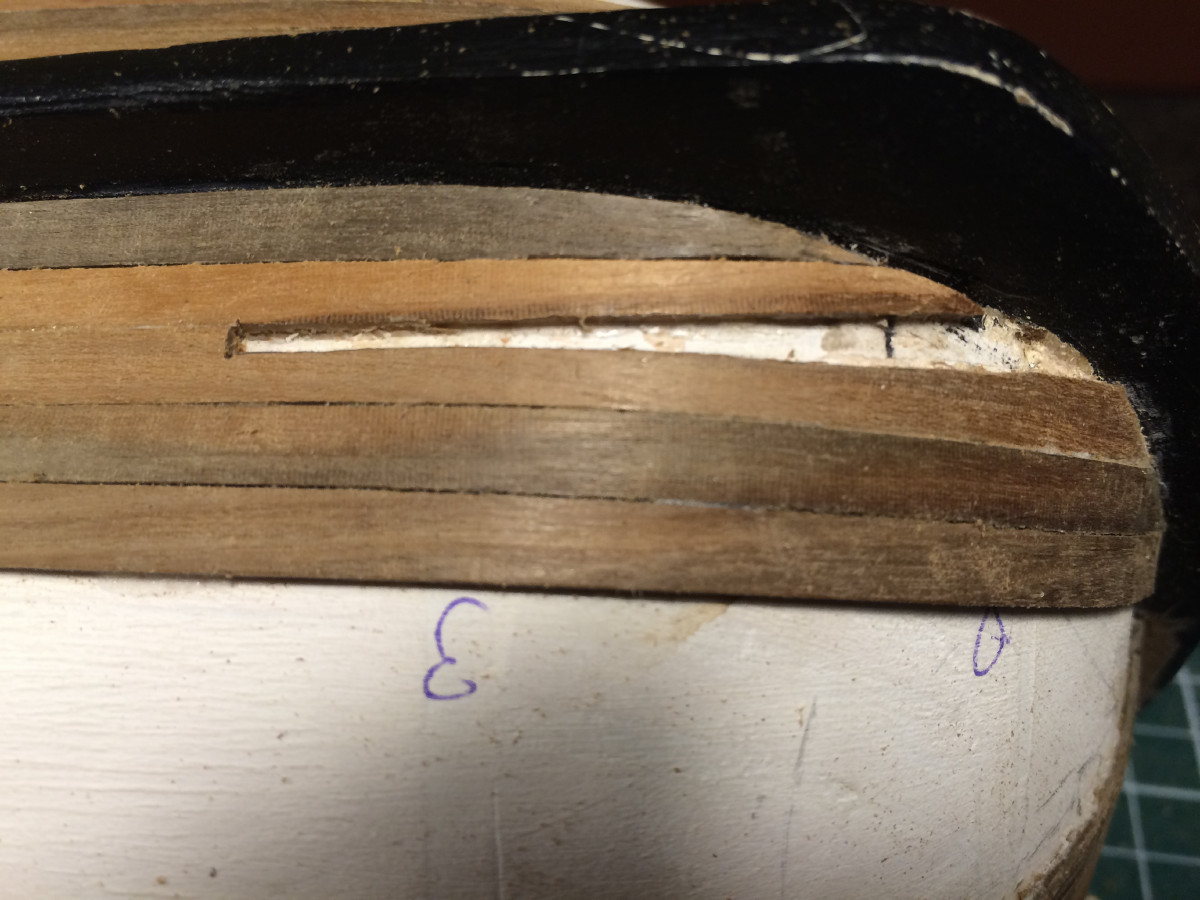
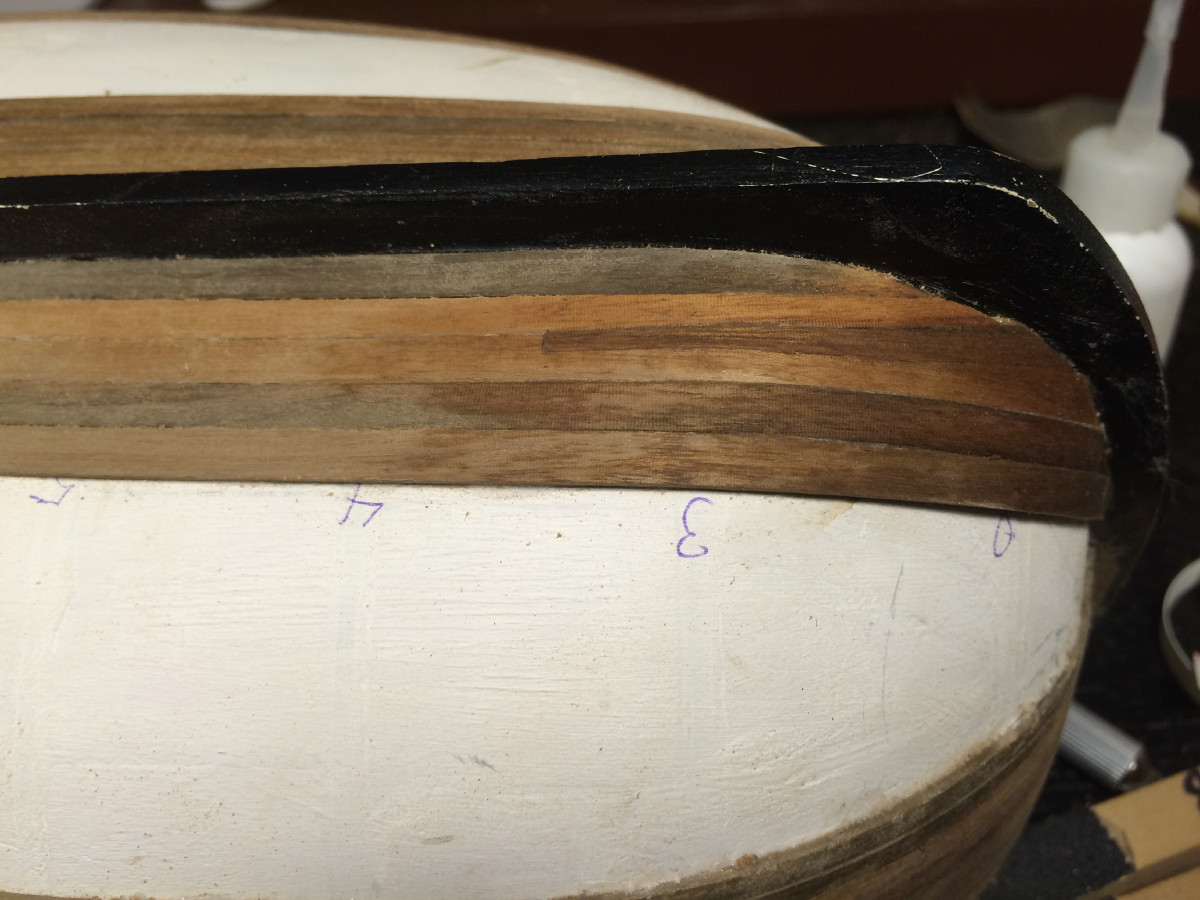
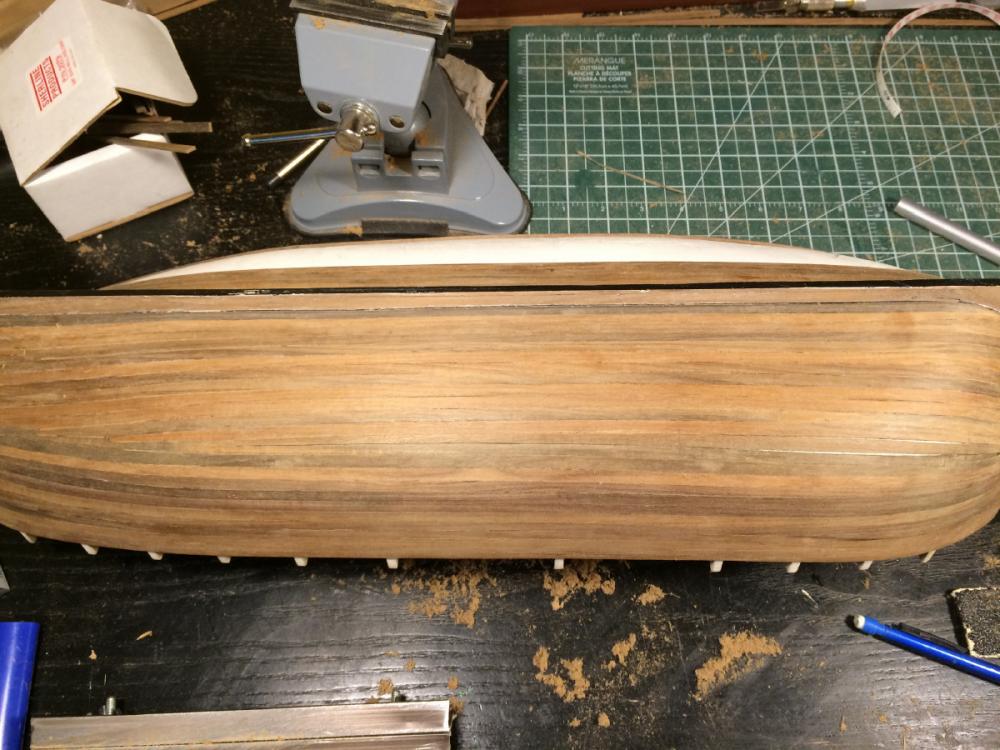
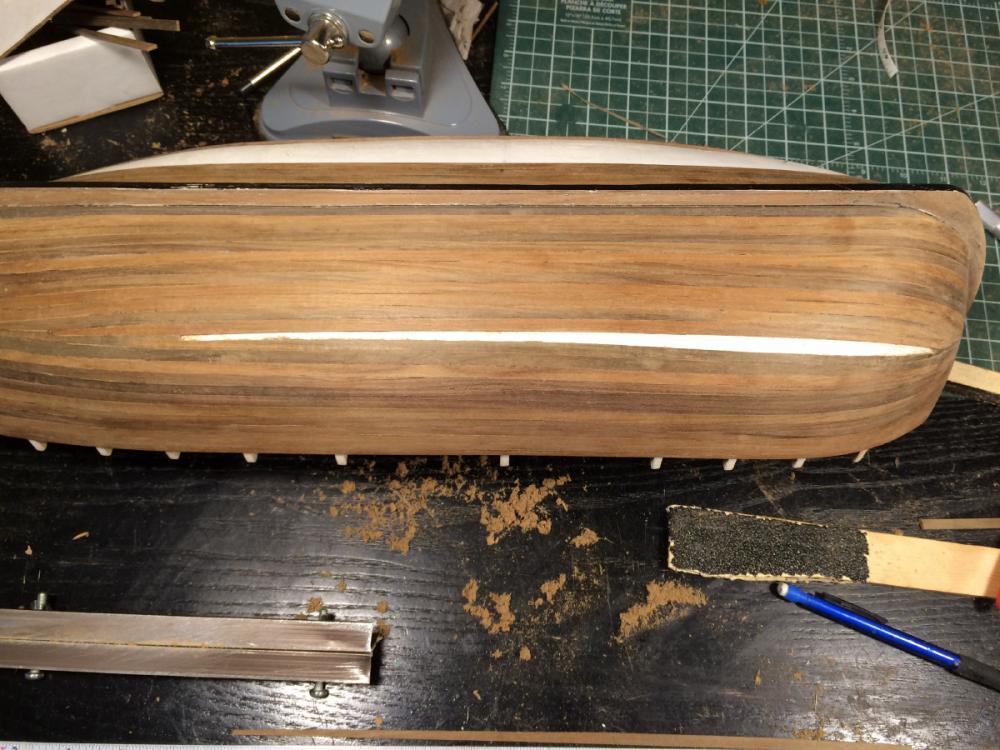
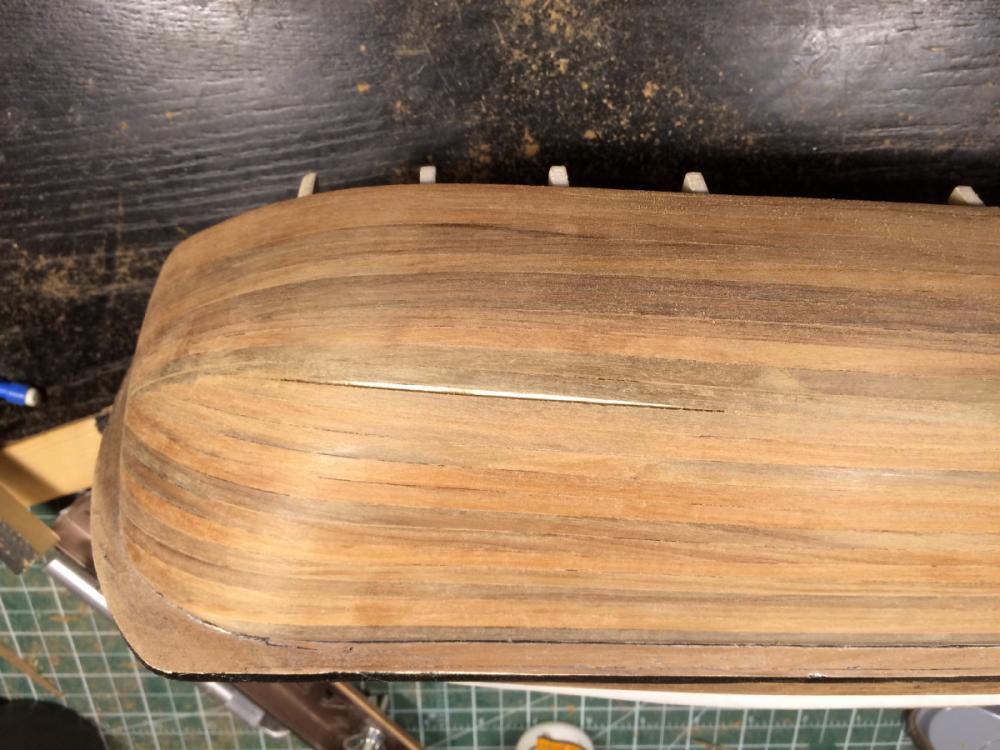
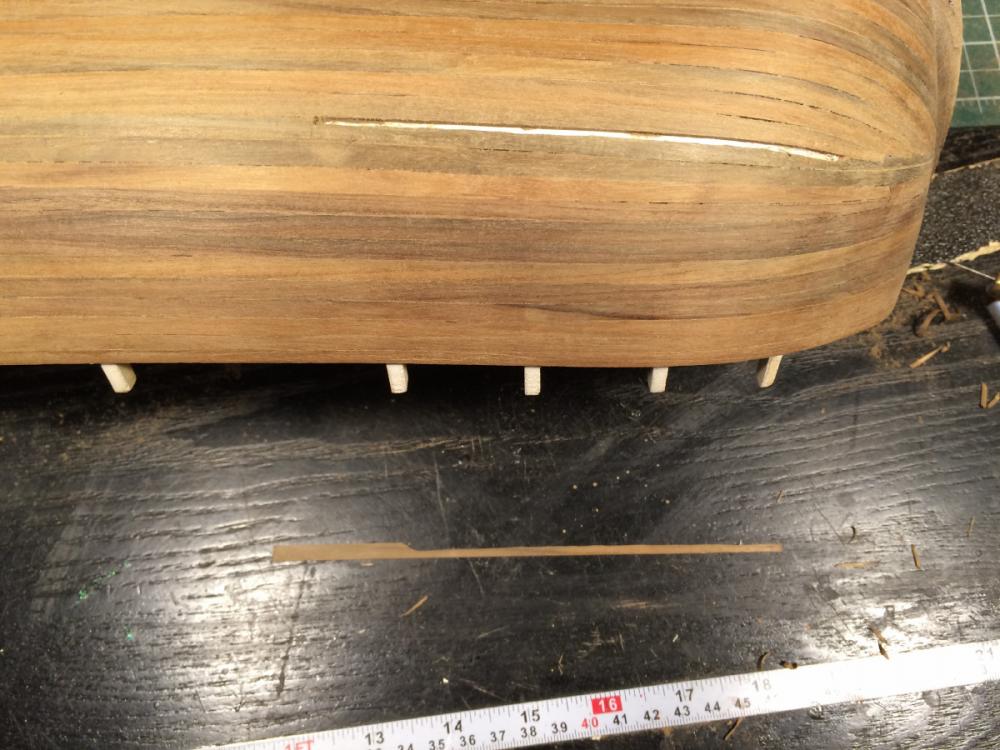
Thanks everyone for stopping in and for your comments and likes. I have a few pictures of my progress I thought I would show. These first pictures are showing the making and installing of a stealer at the bow. There are two at the bow, one on either side, and the same at the stern. These next pictures are making the last two planks on the port side. The first picture shows the gap to be filled, which has already been shaped. Second picture shows the shaped plank laying in gap but not glued down. In these last three pictures the first one shows the remaining gap to be filled the second one shows it after being shaped and the third one shows the port side complete . She still needs final sanding and possibly some tiny gap filling but for now it's on to the starboard side where there is 7 or eight strakes left. Have a Good One


- 653 replies
-
- 19
-
-
- trabakul
- marisstella
- (and 1 more)
-
Hi Bender, the decking is looking real good. I love the shot with the bulkhead it looks real impressive.
-
Looking great, going to be a sweet little girl
-
Hi John nice work on your transom it looks real good. What's confusing is that there is two different models, a "construction" model and a "show" model. The construction model in the book is being planked with walnut, which is not supplied, and the "show" model is planked with something else. Although I have never heard of using boxwood for planking that's what it looks like to me. I say this because it appears to be the same wood as the masts on the "show" model, and boxwood is commonly used for this application. The kit is supplying walnut for the masts and the instruction book is also showing walnut being used so it's anybody's guess as to what is used on the show model. One thing we can be sure of is what the show model is built with and what is supplied in the kit are not the same. Have a Good One