HOLIDAY DONATION DRIVE - SUPPORT MSW - DO YOUR PART TO KEEP THIS GREAT FORUM GOING! (Only 24 donations so far out of 49,000 members - C'mon guys!)
×


donrobinson
-
Posts
1,909 -
Joined
-
Last visited
Content Type
Profiles
Forums
Gallery
Events
Everything posted by donrobinson
-
That made me smile Skip, and you are certainly right. I really think it is a lot of overkill on my part as the plans only called for blocks on the bow and stern but when it is all said and done she should be real nice to plank
- 653 replies
-
- 7
-

-
- trabakul
- marisstella
- (and 1 more)
-
Hi Mike, To answer your question.. No, the Amati version is a entry version kit and this one is by no means that. I built that one for my grandson as a present and it was a lot of fun to build, however, this one is even more fun to build and I am pretty sure it will be on my shelf when it is done
- 653 replies
-
- 6
-
-
- trabakul
- marisstella
- (and 1 more)
-
HaHaHa, told you it was just a little crazy, Thanks for all your comments and likes. Just a little different to say the least but it worked and will be covered up. Whether I needed blocks between all bulkheads I'm not sure, probably not, but now I am certain I will have a good base. Thanks Again
- 653 replies
-
- 7
-
-
- trabakul
- marisstella
- (and 1 more)
-
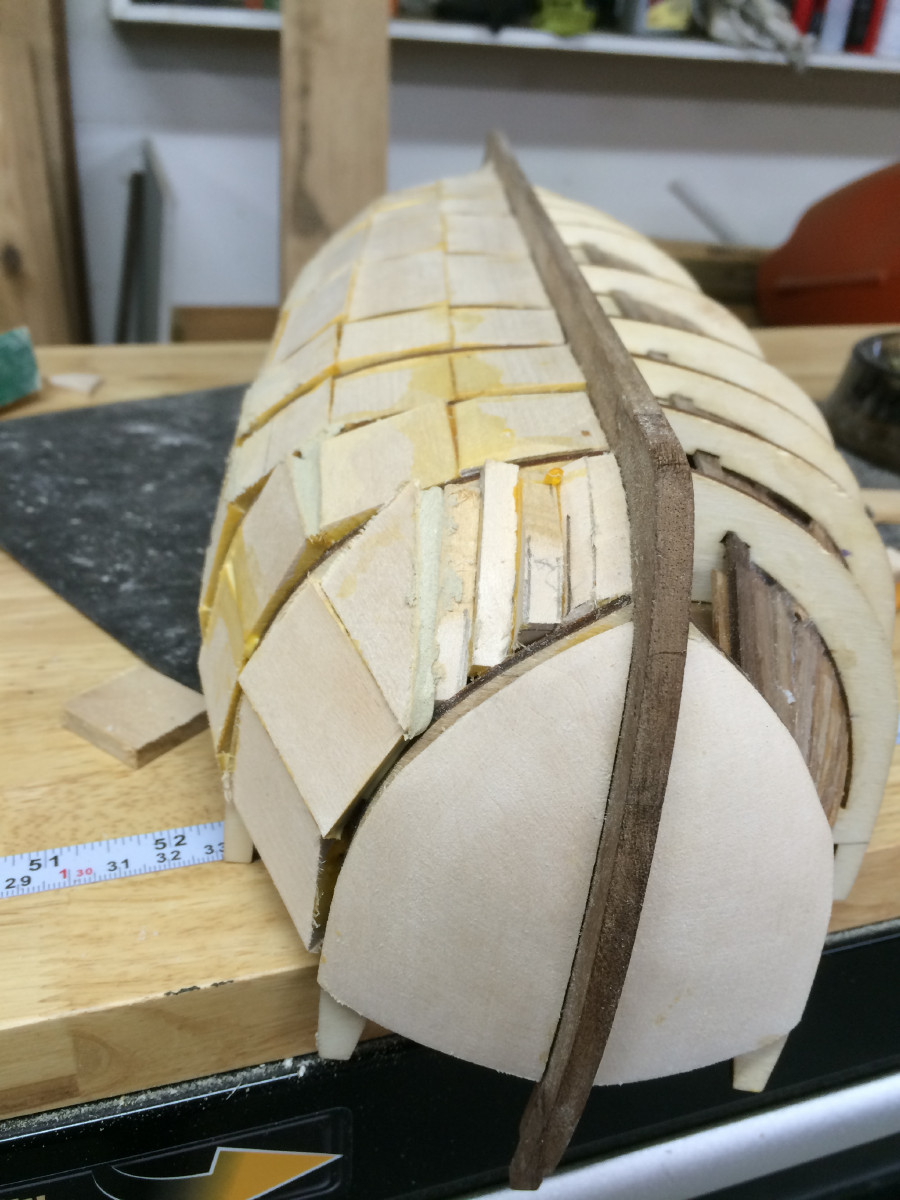
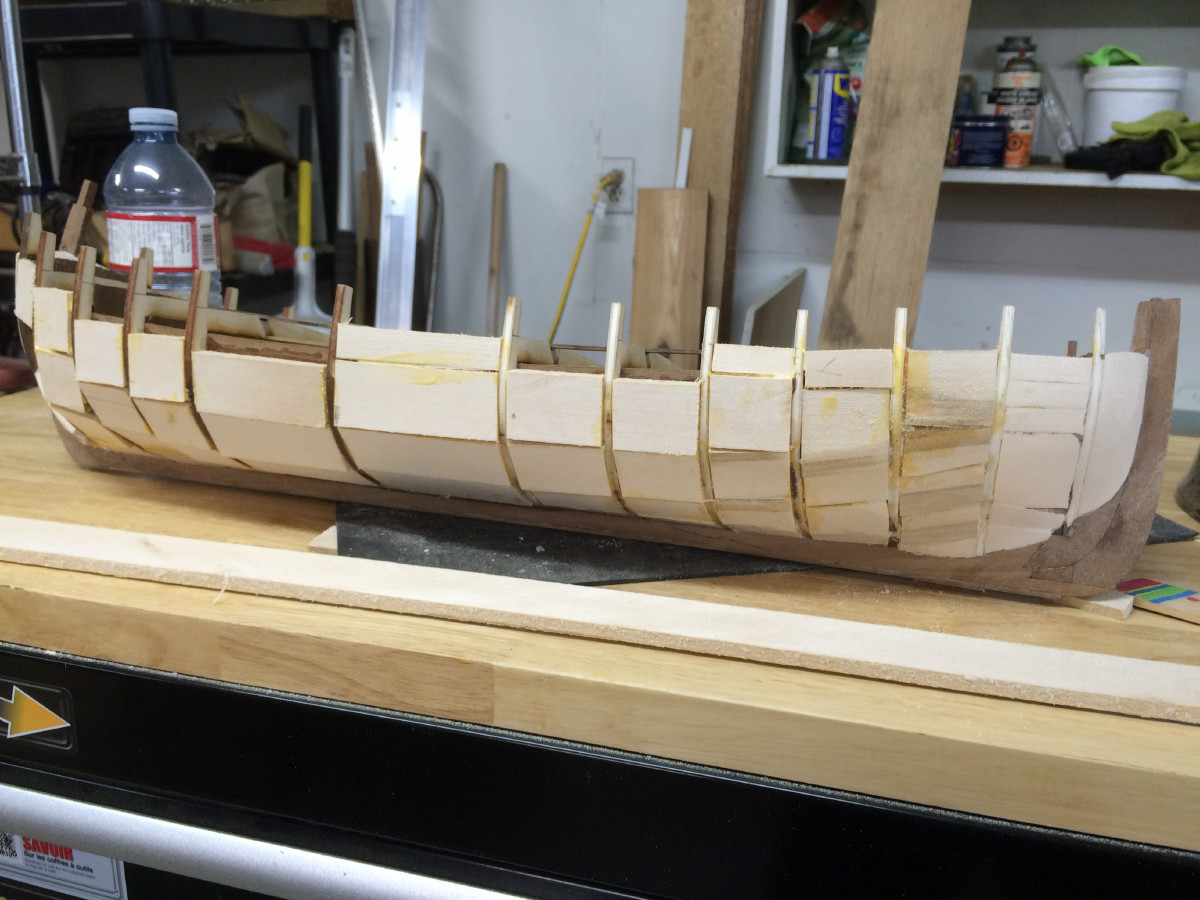
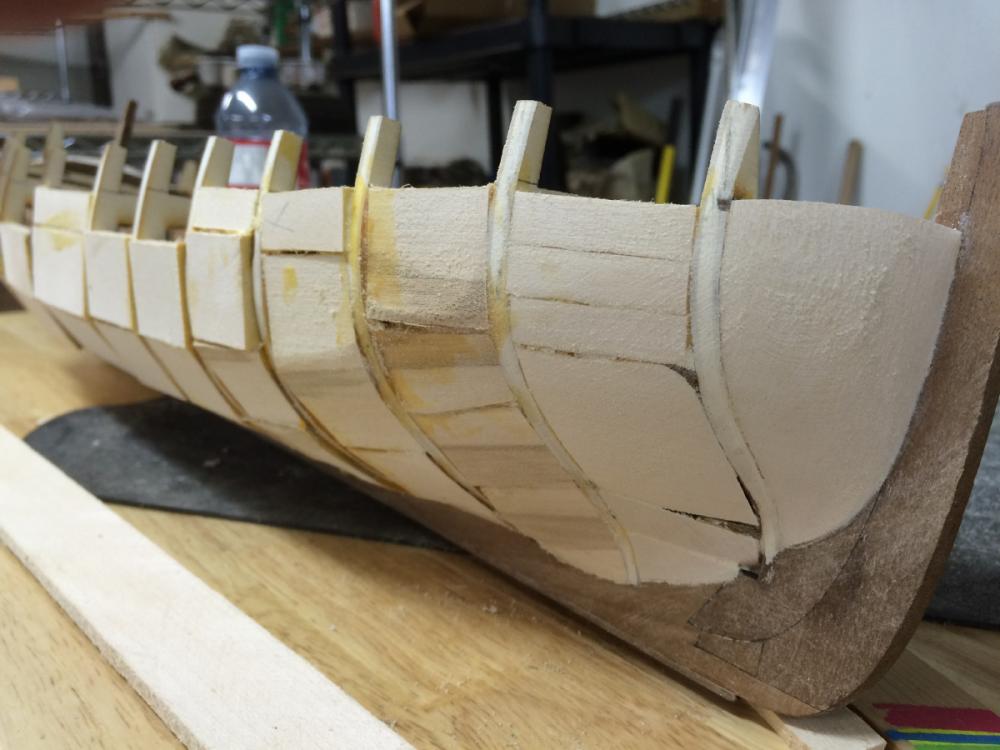
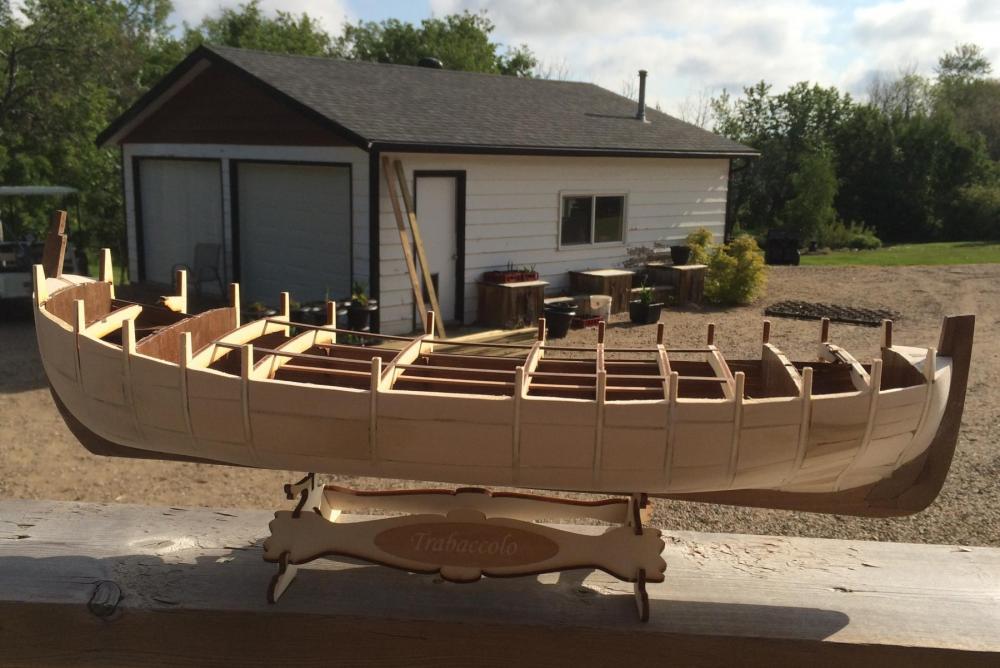
Good Morning All, Well I finally sucked it up and got the filler blocks finished on the port side. This was a evil job but one that I decided had to be done as the hull is only single planked. I know by following the plans and installing only bow and stern blocks it would have been just fine as the planks are 1.5mm thick. So, yes, I am a whole bunch nuts It was a total of 30 hours finishing this side, starboard side should go faster I hope. I used basswood(and wood filler and spackle ) which I think is going to give a real good base for the planking and proved to be fairly easy to work with. Warning: the following pictures are not pretty and caution should be taken before viewing. This unorthodox method should not be tried in a normal home!!! There was no alcohol consumed during any of this procedure, what happened after will remain private . Yah I know, crazy looking stuff. After a lot of sanding it is actually real smooth and test planks lay nicely on it, hopefully all this helps with the planking. It is now on to the starboard side as now she has a terrible list to the port . The lumber in the pictures is for some flower/garden boxes that I have been hired to build so I won't have any updates for a few days. Take Care and Enjoy your builds


- 653 replies
-
- 21
-
-
- trabakul
- marisstella
- (and 1 more)
-
Excellent work Igor, congratulations on her completion
- 71 replies
-
- 4
-
-
- Santa Maria
- Tehnodiktata
- (and 1 more)
-
Paint Over Varnish?
donrobinson replied to mikiek's topic in Painting, finishing and weathering products and techniques
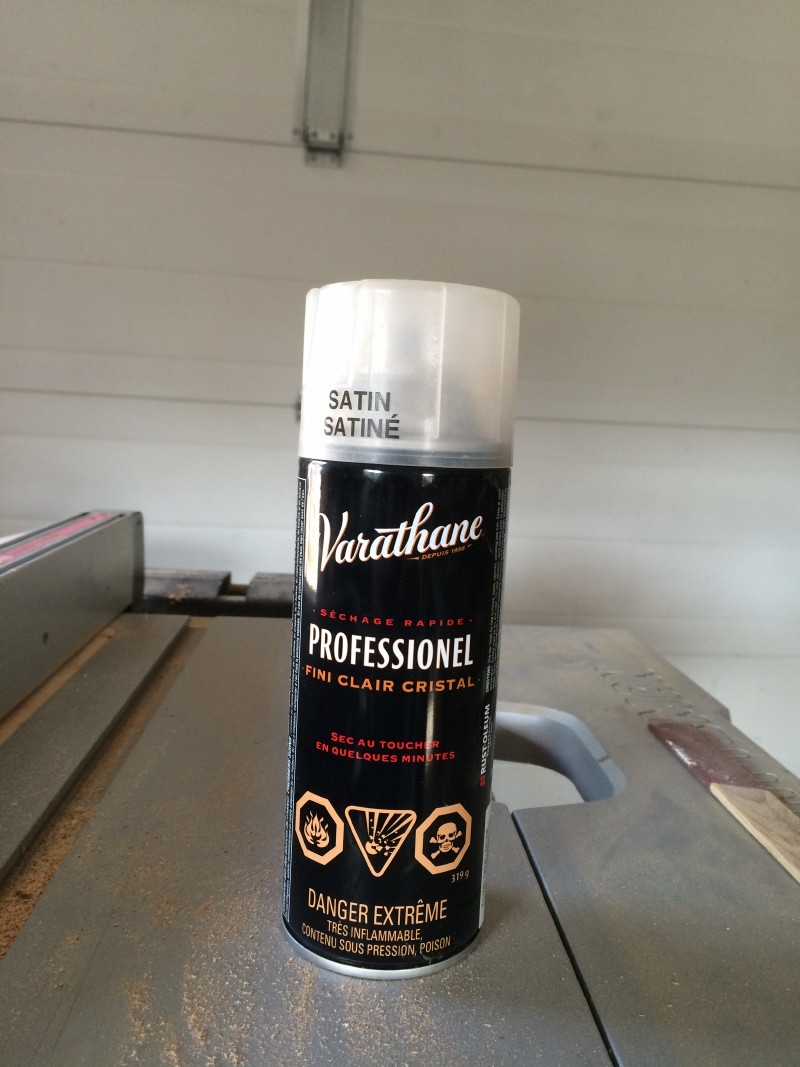
That is the nature of the beast with any flat paint, a flat black being the worst. Flat paint does attract dust and dirt and does not hide smudges or finger prints, and is almost impossible to wipe any of this off without further damage to the paint. I would without a doubt put a few coats of poly on to protect it. Any further minor damage is easily repaired with paint and a little more poly. This one of the few advantages of using flat paint is that it hides repairs and touch ups very well. Using a flat or satin poly will keep the sheen pretty much the same as you have now. I have used this with real good results, it leaves a low lustre finish and gives good protection. It is also available in non-spray containers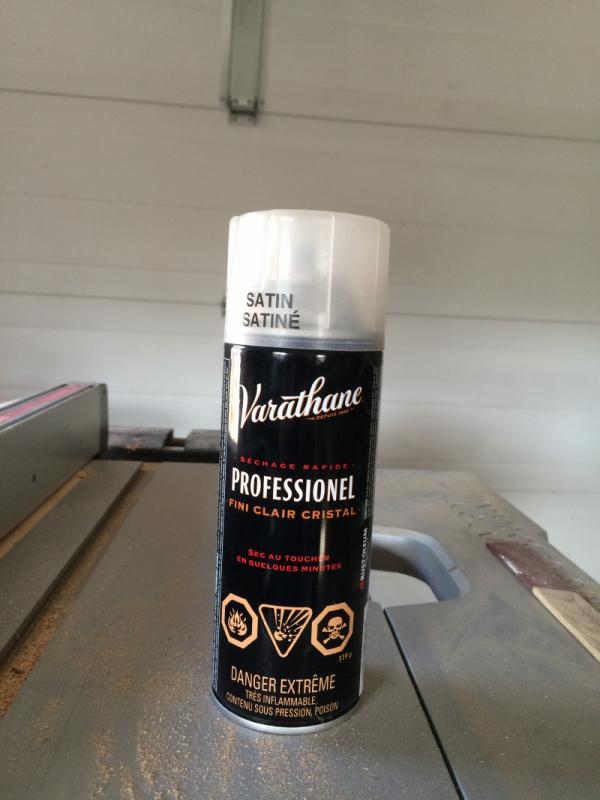
-
Opinions on Sherline DRO for Lathe
donrobinson replied to rtropp's topic in Modeling tools and Workshop Equipment
I think it would be a real good addition especially when doing repetitive jobs. I find the job of counting revs. and writing them down just another way of making mistakes, with my memory by the time I reach over to write down what I have done it is invariably forgotten . I'm not sure if you have the mill also, if you do, it would be a good idea to buy the extra kit for it also. It can then the DRO can be interchanged with both machines quite readily. Lastly it is really not a matter of it is required it is a matter of it is available and you deserve it(upon Admiral's permission of course) -
Looks like this will be a very interesting build and kit, will be waiting for more updates
- 269 replies
-
- 4
-
-
- Queen Anne Barge
- Syren Ship Model Company
- (and 1 more)
-
I might be a little late in this offering, but I could babysit those cases of beer for you if needed
-
You are doing great, you and your grandson should be very happy when done
- 206 replies
-
- 4
-
-
- battle station
- panart
- (and 1 more)
-
Your planking is looking good. Will be watching your progress
-
Man! That looks sweet Mark. Real nice job on the painting
- 652 replies
-
- 2
-
-
- royal william
- euromodel
- (and 1 more)
-
Your work is always amazing, a real treat to watch this wonderful ship be reborn
- 2,625 replies
-
- 7
-
-
- kaiser wilhelm der grosse
- passenger steamer
- (and 1 more)
-
Very nice work, the rigging is looking great
-
Looks awesome Dave, she must be getting close to completion
- 306 replies
-
- 4
-
-
- armed virginia sloop
- Patrick Henry
- (and 2 more)
-
Hi Ian, I just read your last post and I truly hope your enthusiasm does not falter too far. I am really looking forward to seeing this little beauty completed and also the Victory. You are only about 7 hours away, so if things don't shape up I'll be down to shake things up
-
These are great kits and Zoran is always there to help. Enjoy your build, I'll be watching.
-
Looks as though you are getting lots of good advice Elijah, I'll stay in the back and watch you carry on
- 701 replies
-
- 3
-
-
- phantom
- model shipways
- (and 1 more)
-
I'm not sure where you live but Modeller's Workshop(one of our sponsors) makes them, just contact Rick.
- 249 replies
-
- 3
-
-
- billing boats
- vasa
- (and 1 more)
-
I'm about the same as Thistle17, I use various shapes and sizes of wood with sandpaper glued to it(or double sided tape). For fairing a hull I typically use a paint stir stick with sandpaper attached to it, with a different grit on either side. As for sand paper I use sandpaper that is meant for belt sanders as it lasts much longer and is better quality. Poor sandpaper is much like using a dull chisel, requiring more pressure and causing more breakage.
-
Two thumbs up on the fix, she looks good. What was the final procedure?
- 60 replies
-
- 3
-
-
- king of the mississippi
- artesania latina
- (and 1 more)
-
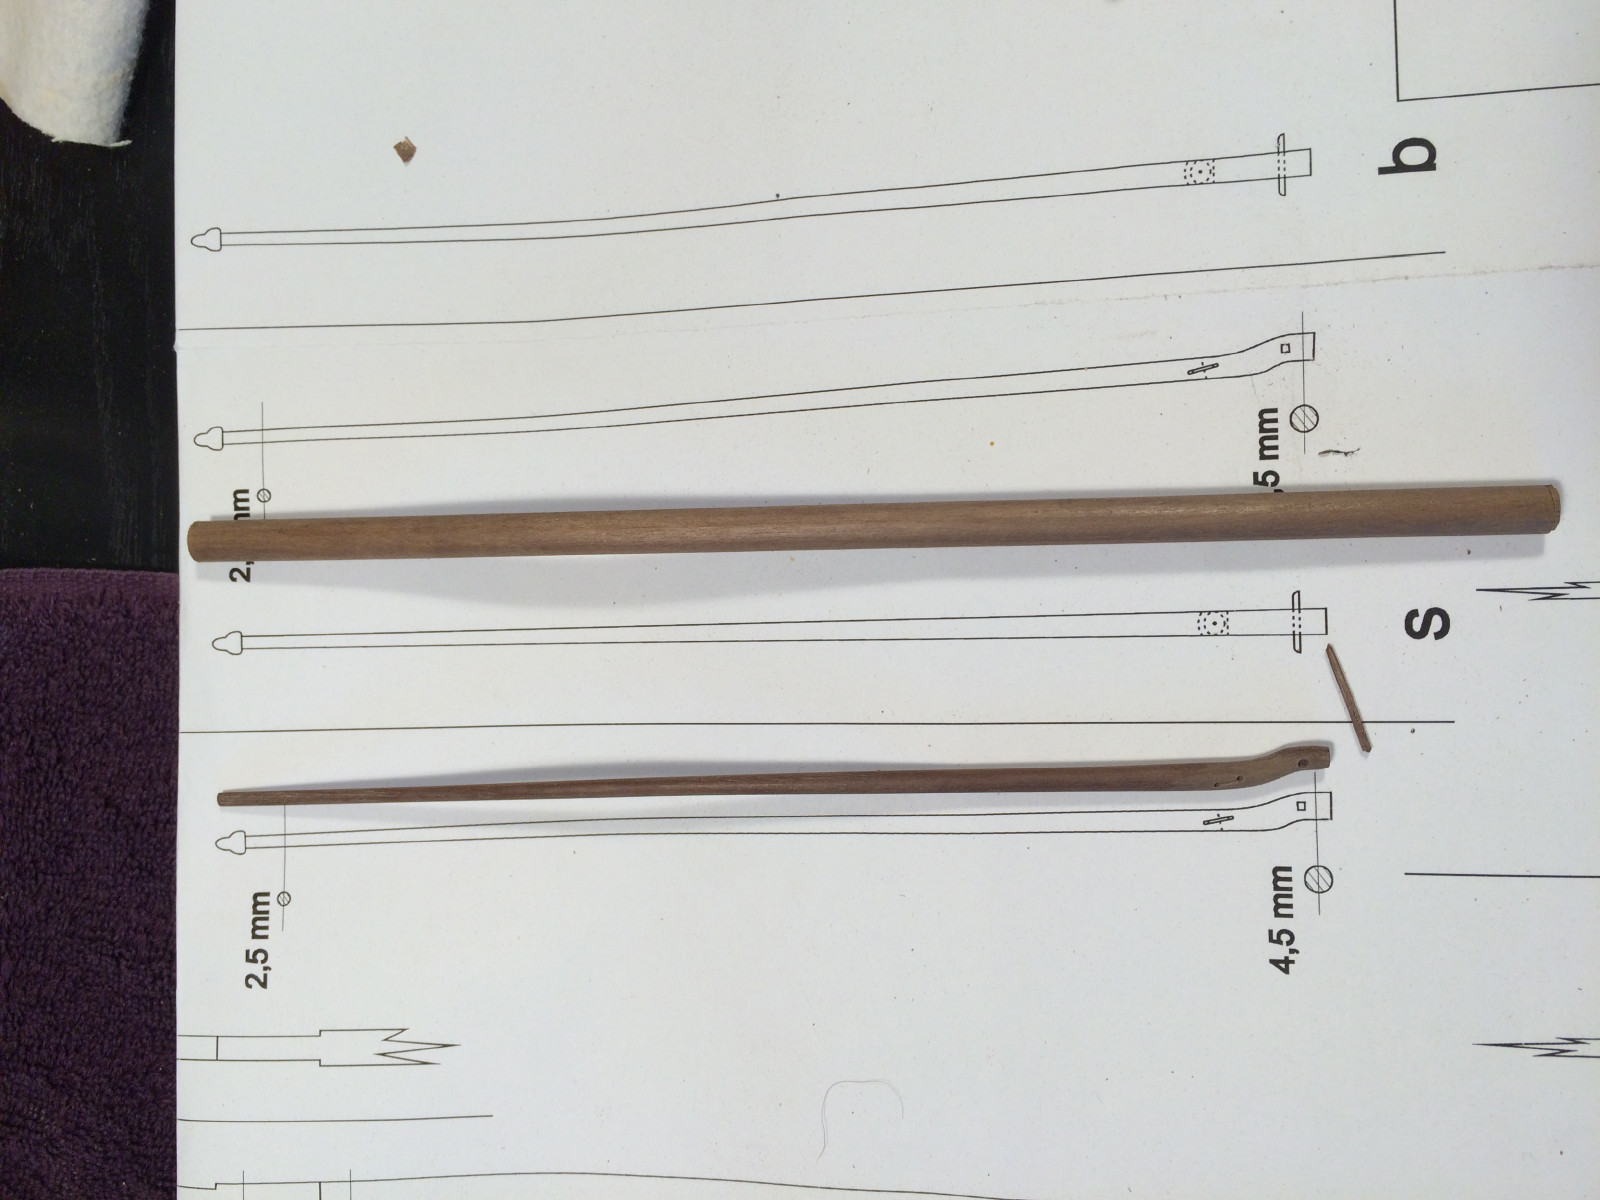
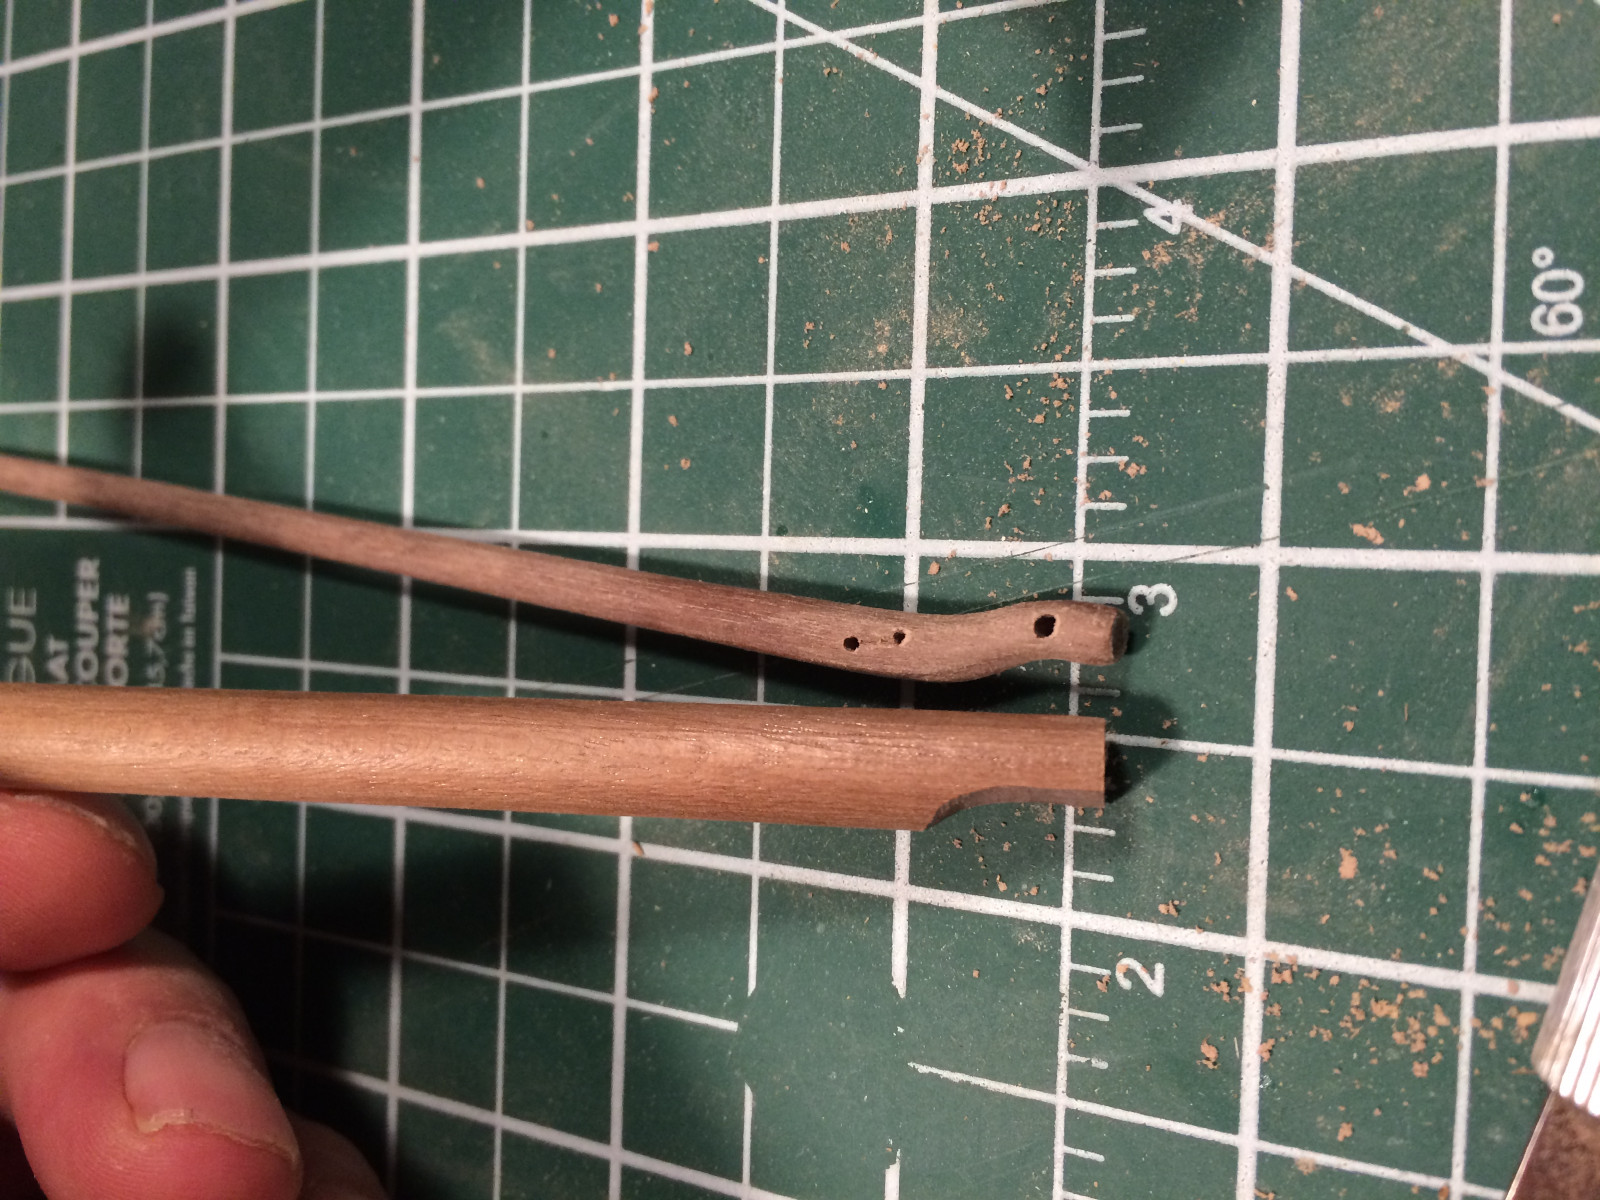
Thanks to all for stopping by and for all the likes. Ian: Thanks, the curve was a little bit of a challenge but I think it will be a lot easier using square stock. I proclaimed yesterday a "day off" so I did not get the second one done. Energy level is much higher today and the weather is still too cool and wet for yard work so hopefully I 'll make some progress today and have some updates. The lathe is a Sherline which I bought last year along with a mill, really good tools.
- 653 replies
-
- 6
-
-
- trabakul
- marisstella
- (and 1 more)
-
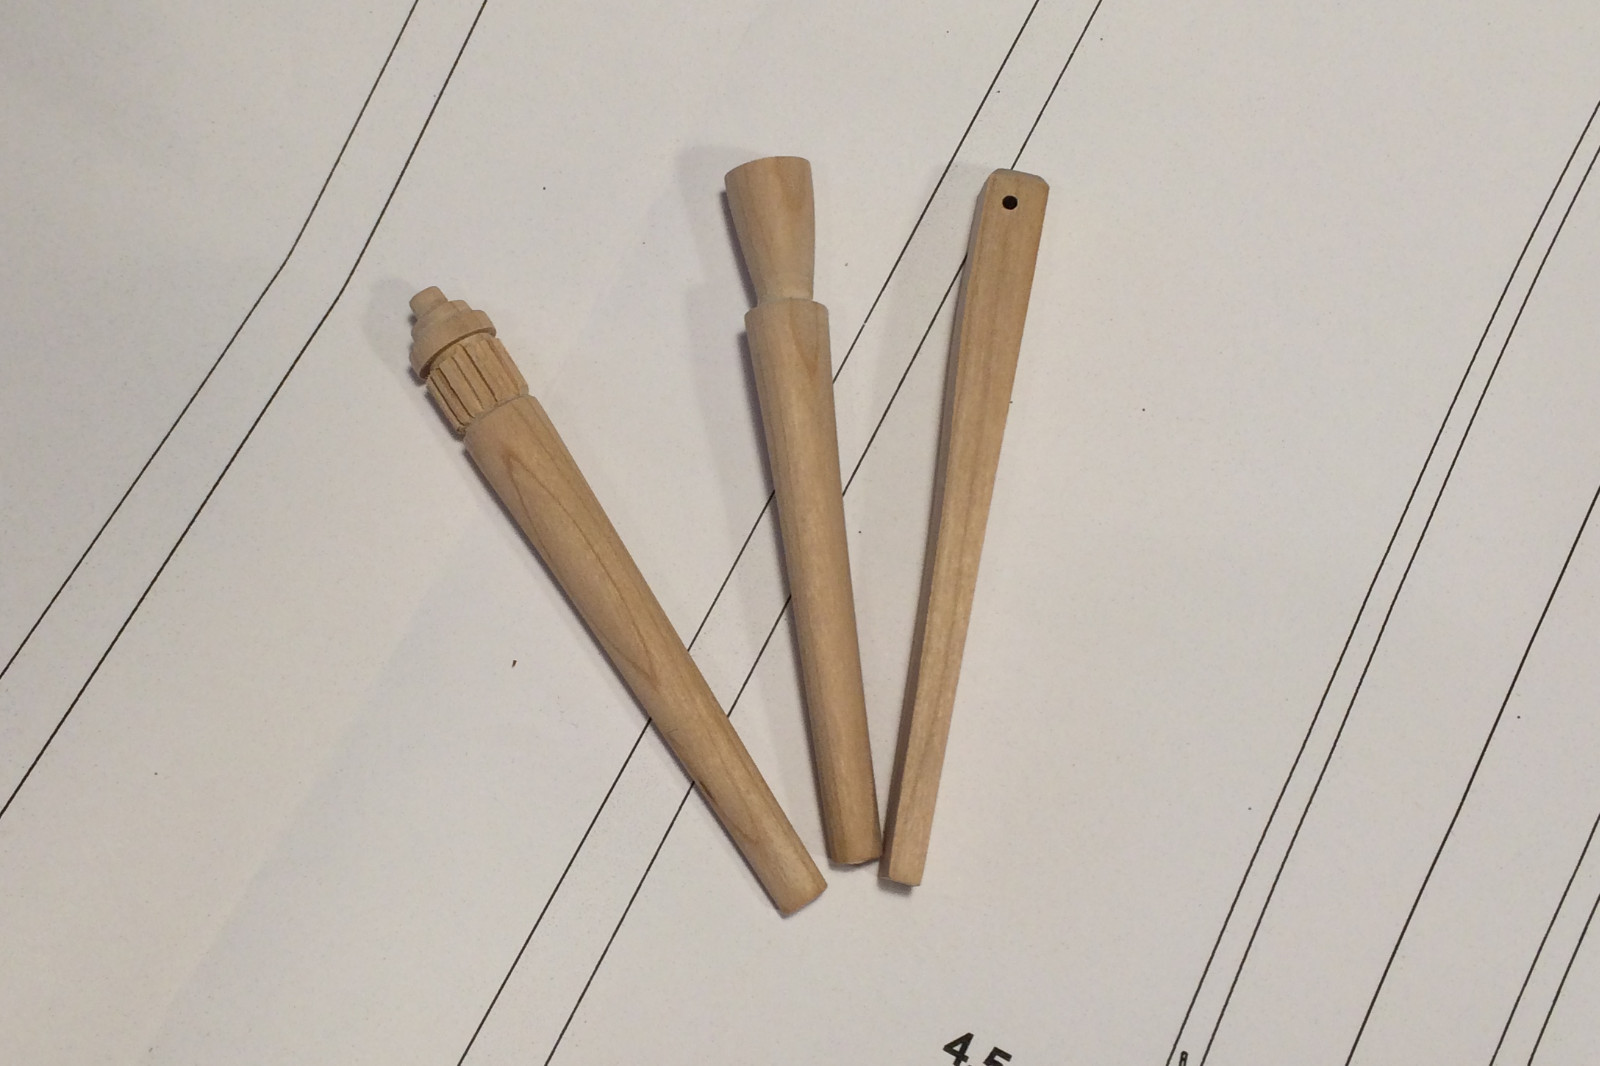
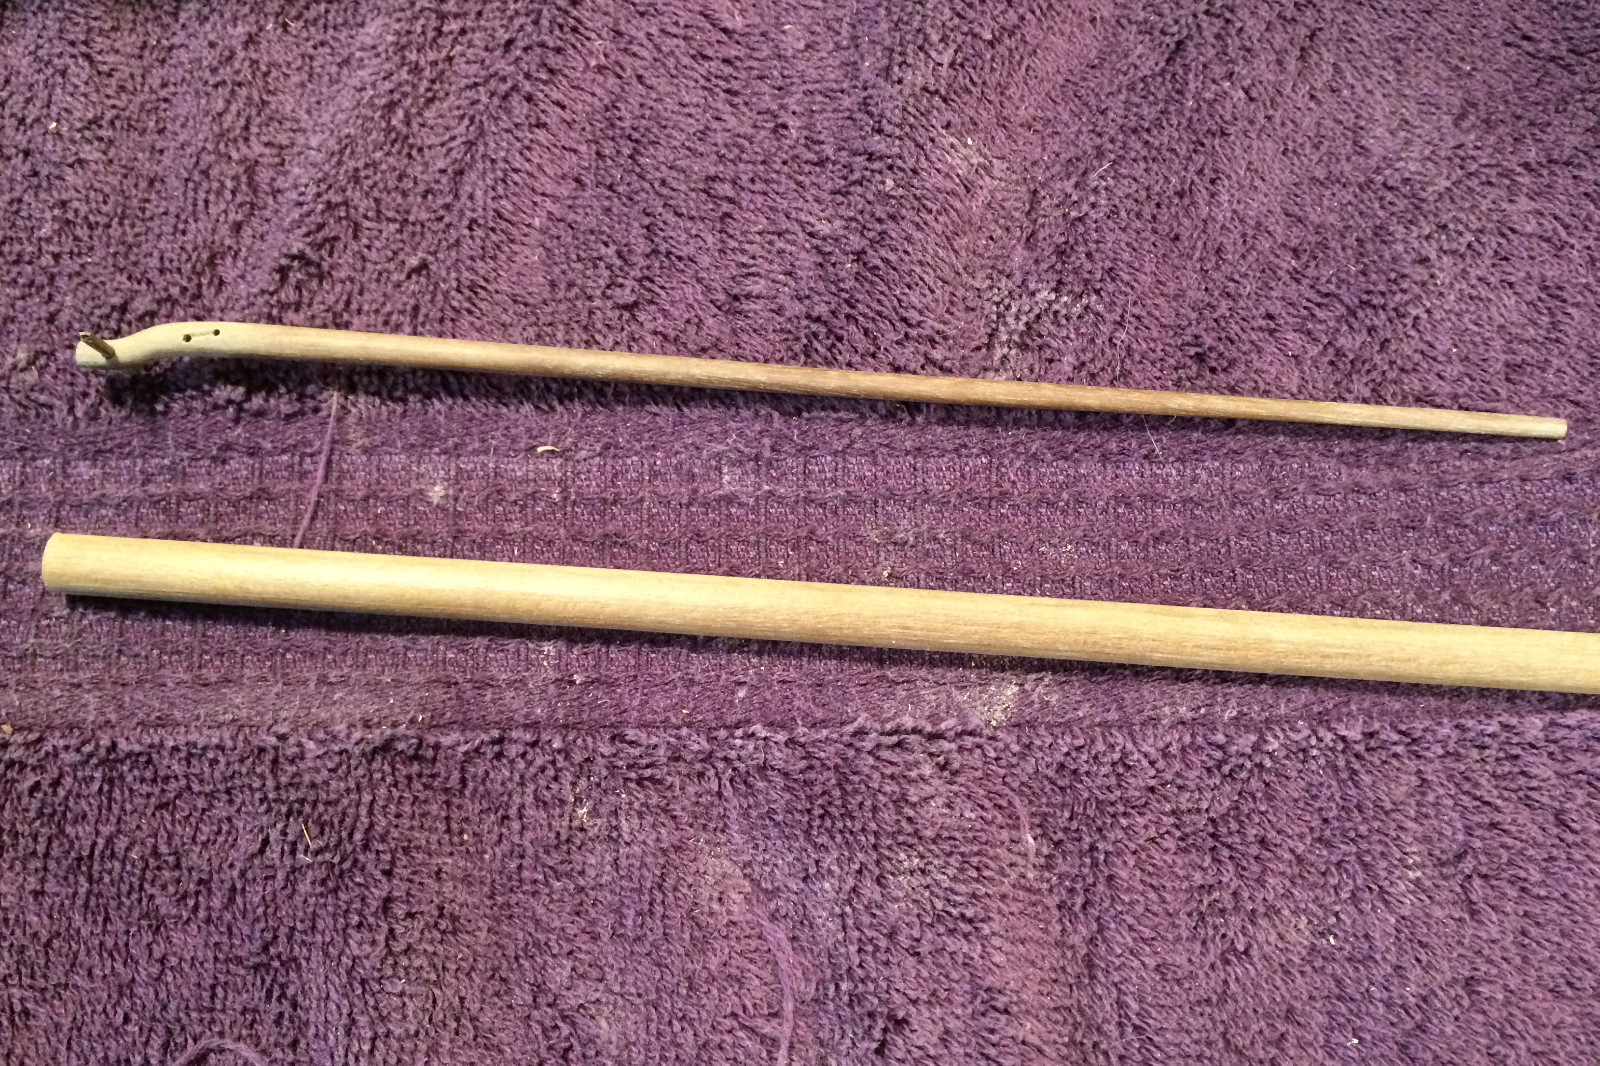
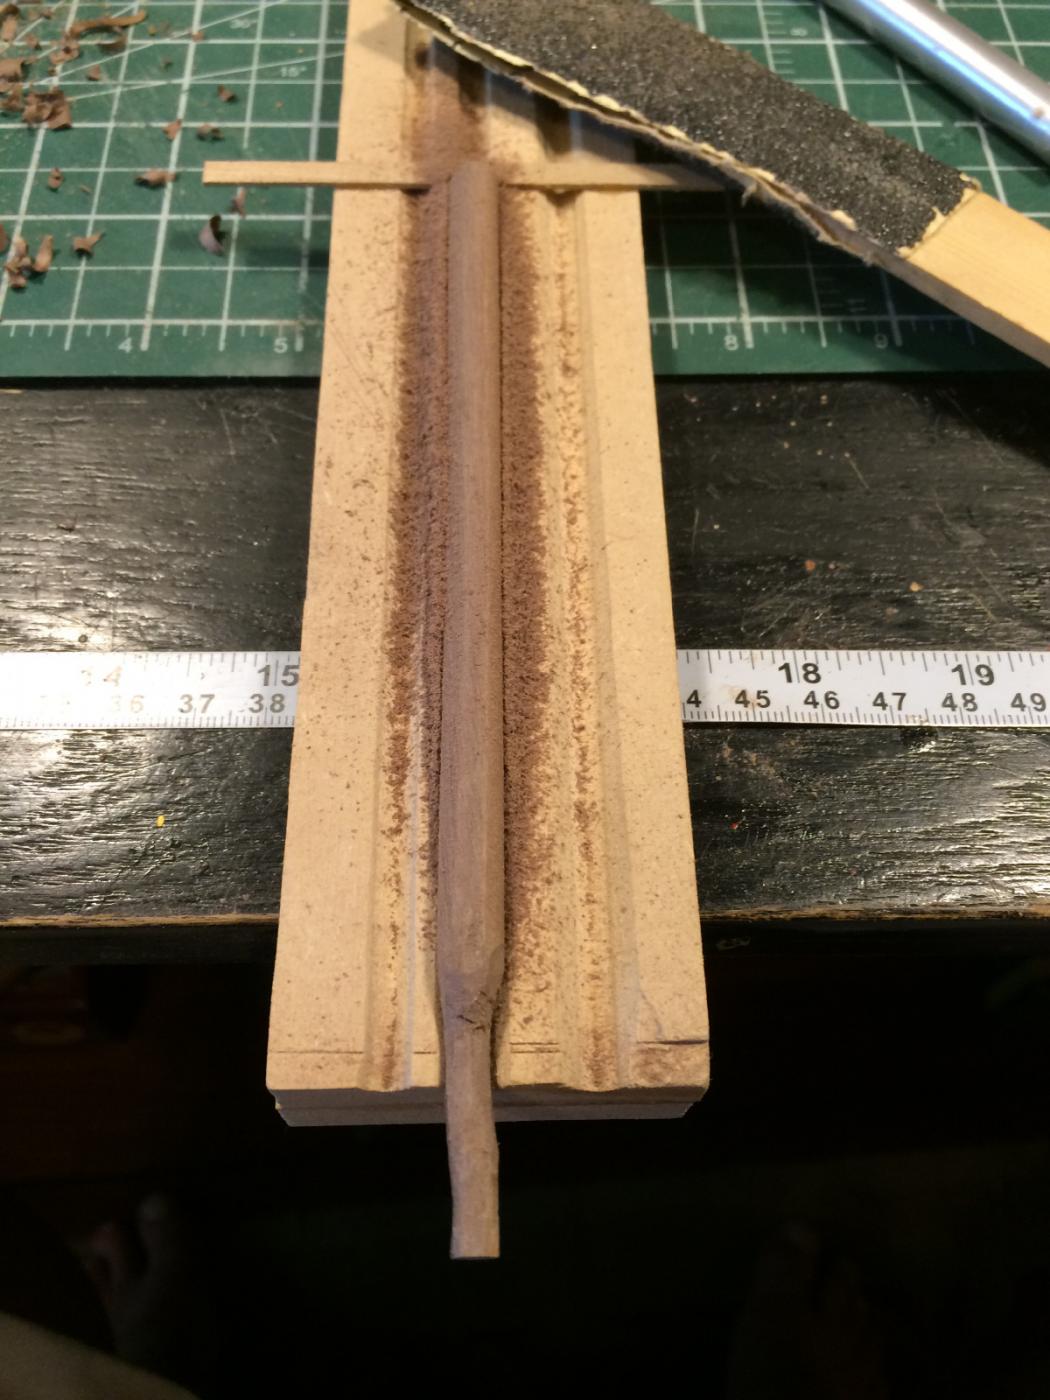
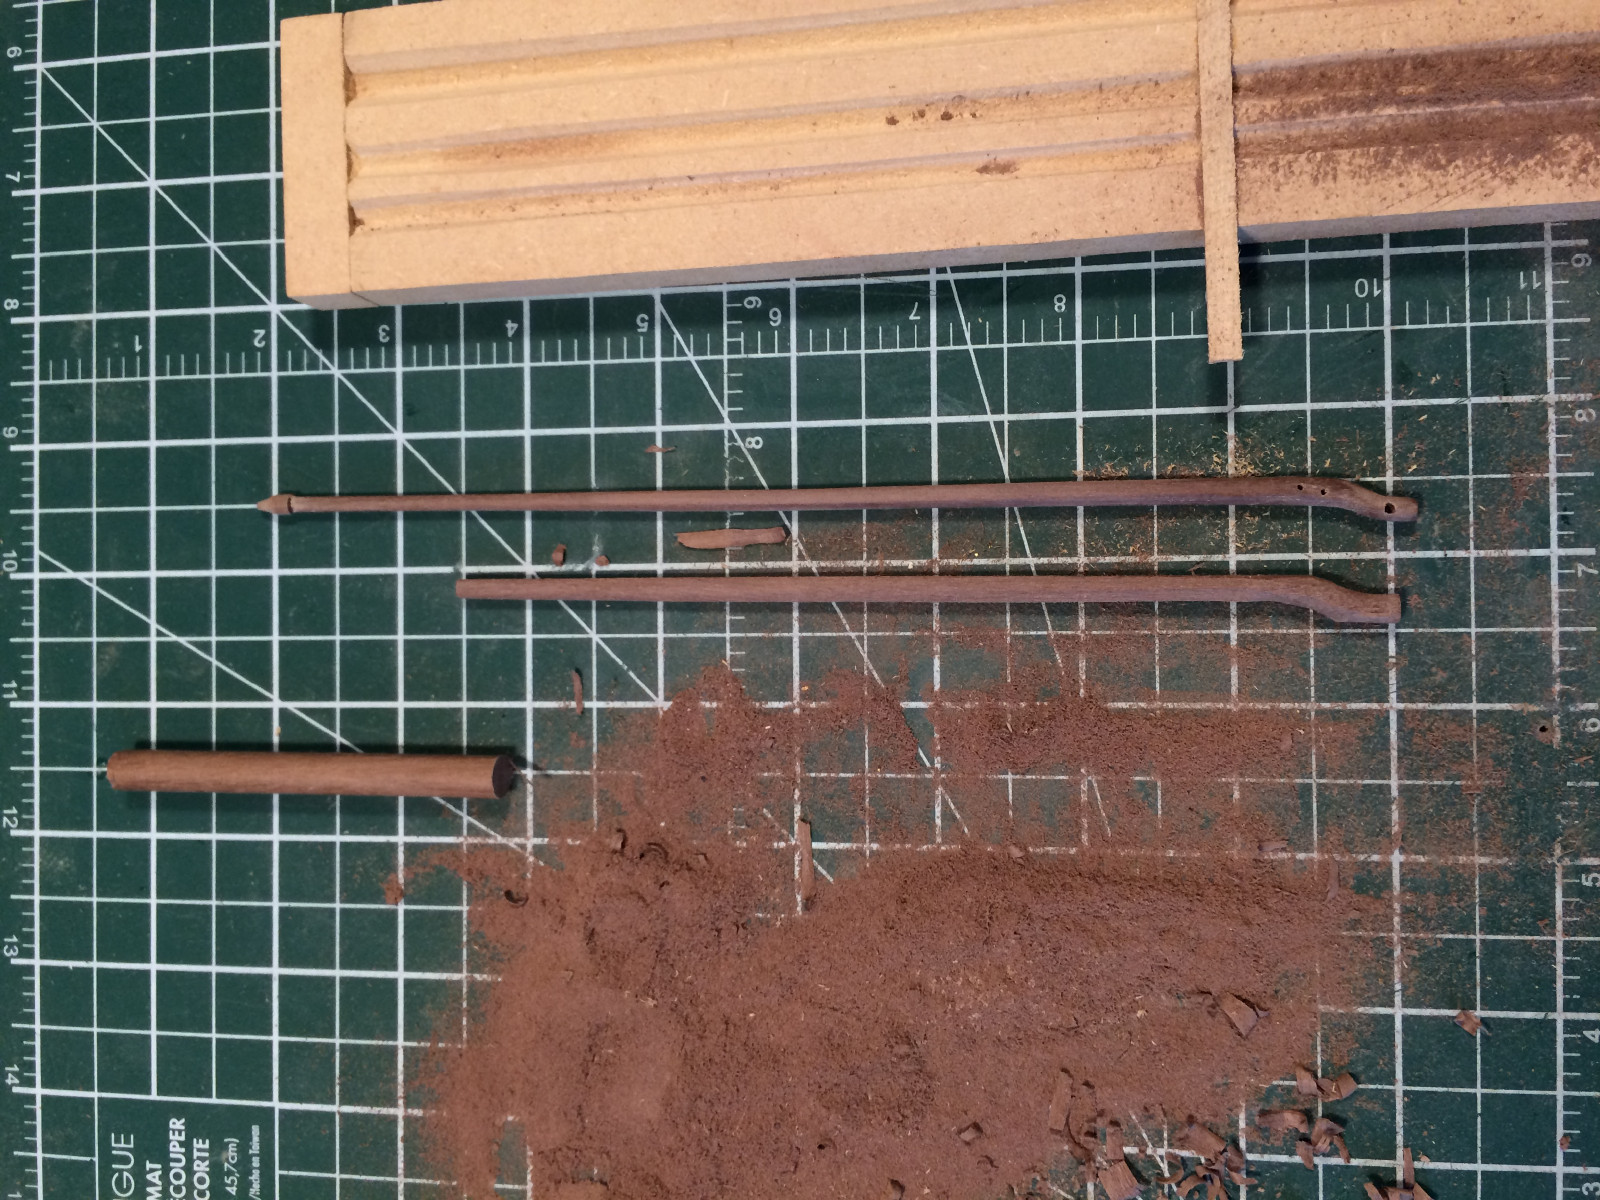
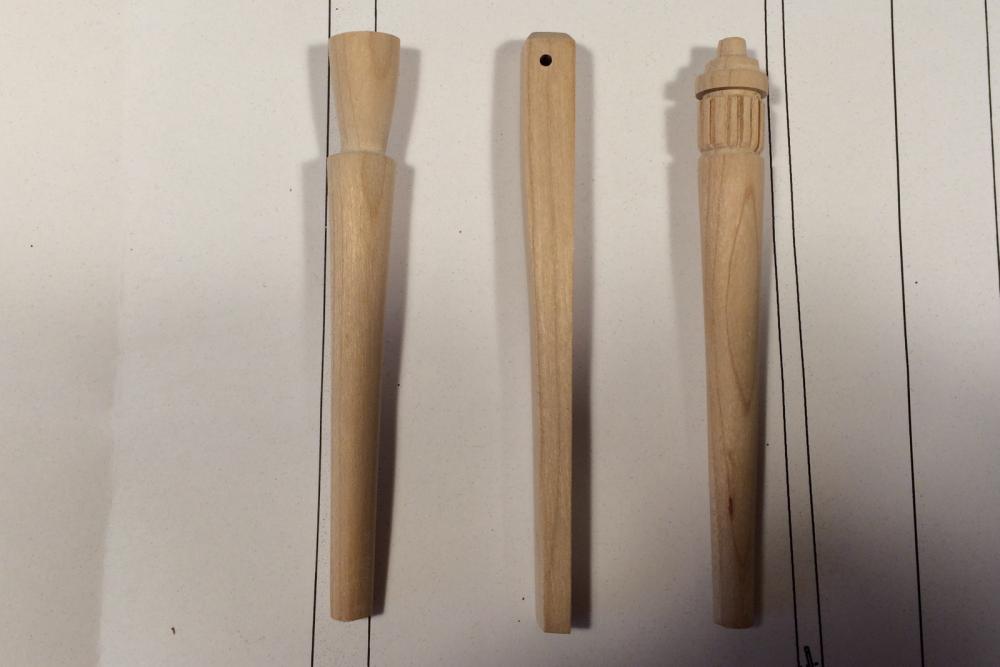
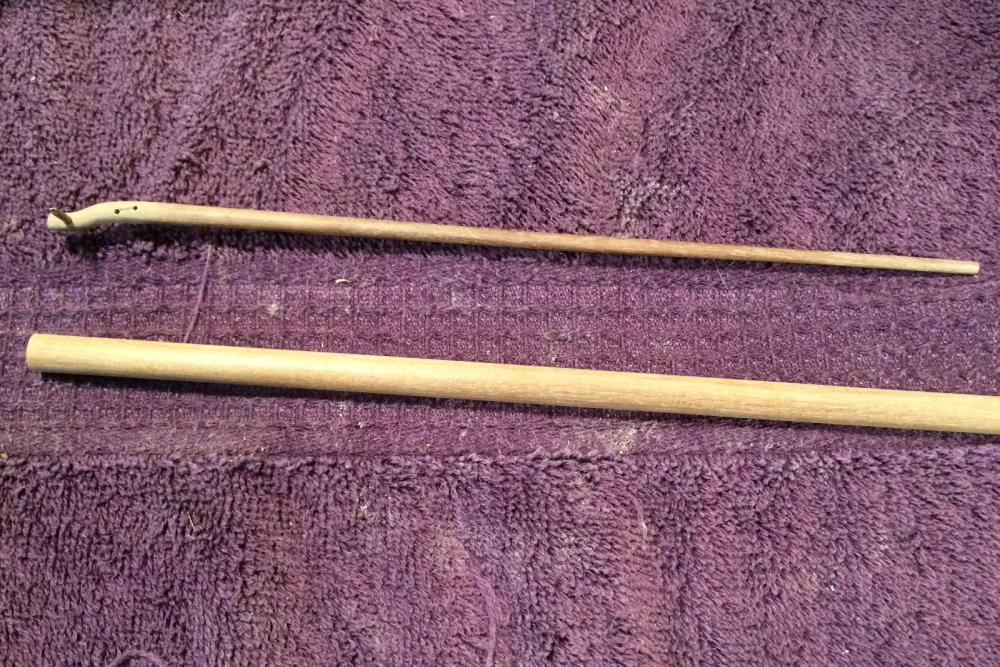
Hi all, well it is kind of embarrassing what I have to show as it is not much. I have been busy with just about everything except ship building lately. The spring yard work on the acreage is almost done and it is finally raining so I hope to get more time in the workshop. I took a little diversion from filler blocks and made the bits and started the mast tops. Using the lathe with sanding blocks and files I shaped the bits Here are the three finished bits, they still need poly Mast tops are carved from 8mm dowel Sanded taper using a shooting board Then the finished product, well not finished but I'm done with it ...... as it is cut 1.5" too short . Not a total waste as it works great as a swizzle stick . Anyway I have since milled a piece of 8mm square walnut and will attempt to re-build to proper length today and possibly do some filler blocks. Thanks for stopping in and have a good one.


- 653 replies
-
- 22
-
-
- trabakul
- marisstella
- (and 1 more)