Trussben
-
Posts
2,007 -
Joined
-
Last visited
Content Type
Profiles
Forums
Gallery
Events
Everything posted by Trussben
-
 Some very nice tool upgrades there Grant, I'm jealous of the dust extraction system, I'd love one of those. It looks like you are using a dewalt 788 scroll saw??? Have you tried using Flying Dutchman blades? I use the ultra reverse versions with good results, normally #3 and 5 sizes on the size stock I work with. However they don't last forever! Ben
 -
You are a braver man than I ED, having your fingers so close to that blade! I wouldn't even attempt it! Mass production of those knees is interesting and thanks for the history around it. Ben
- 3,618 replies
-
- 2
-

-
- young america
- clipper
- (and 1 more)
-
Thanks Andy, Surprisingly my scrap bin hasn't got that big yet, I have no idea why though, more luck than skill I think! Lol Ben
-
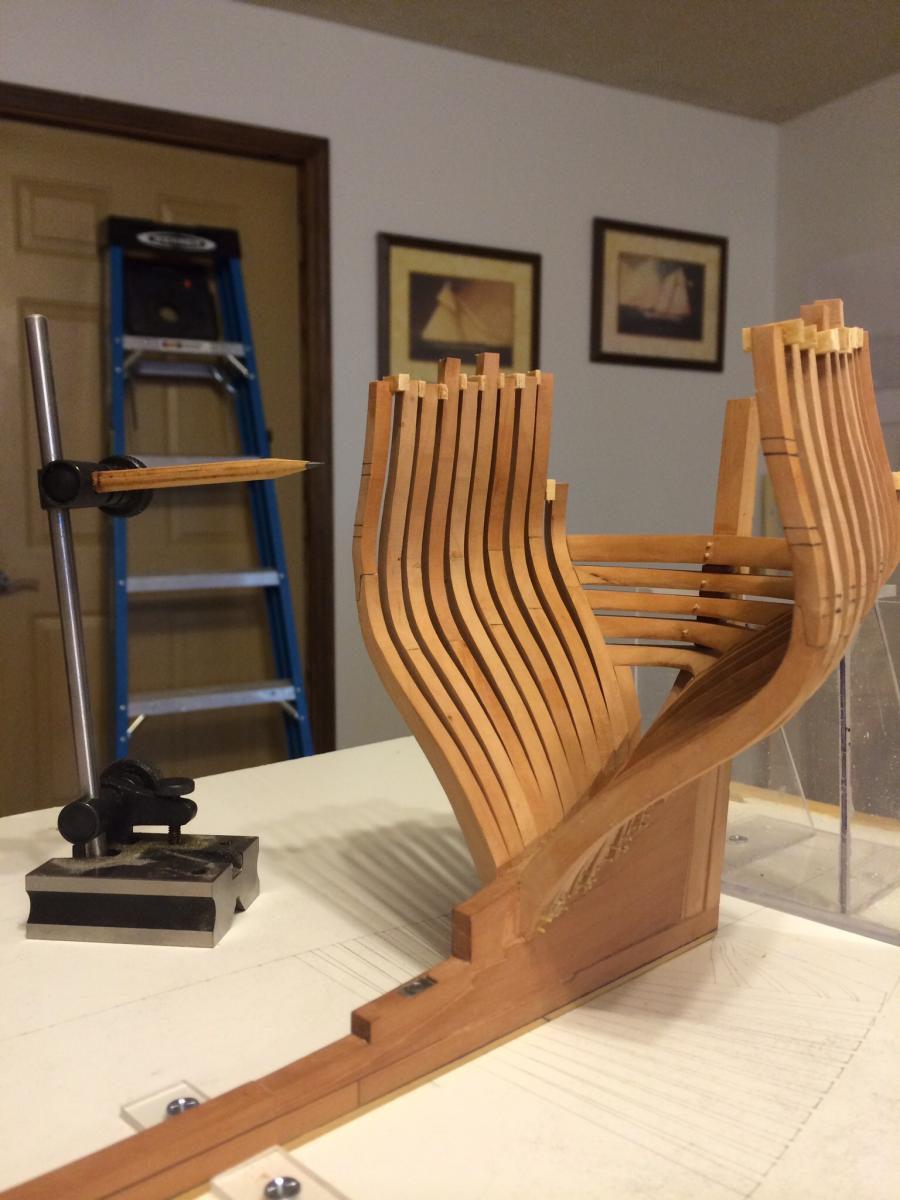
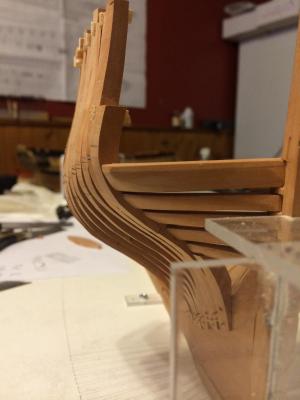
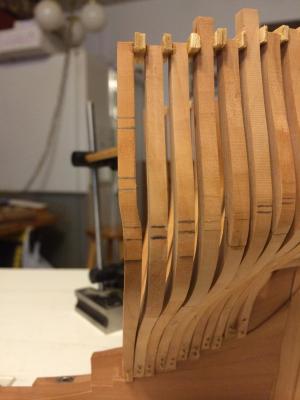
Here are some pics of aft cant frames 8 thru 10 installed. Making up the last 3 frames now. Ben


- 889 replies
-
- 24
-
-
Well done Mark, lots of cutting and shaping ahead of you, good thing you have plenty of time on your hands. Ben
-
The rigging of the wheel to rudder is great Danny, the reason for the nail is?? And the Syren company's products look excellent. Ben
-
Just a quick update, first of the next set of aft cants, no 8 and 9 have been made and installed, now making no 10 which has a 2" cast forward top timber to frame the side of the last gunport, it's being a little tricky and I had to throw 1 side away and make another as they didn't match exactly. Hopefully be able to post pics this weekend of it installed. Ben
-
Well done Buddy, she looks the Bomb! Sure you can't make it to St Louis and bring her along, I'd love to see her up close and personal. Ben
- 421 replies
-
- 1
-
-
- granado
- bomb ketch
- (and 2 more)
-
Congrats on getting paired with a NRG mentor, I managed to get paired with a really awesome guy who is helping me no end with my Pegasus build. Ben
-
Great progress there Sjors, you are really motoring along. I like the roundhouses and paint scheme. Ben
-
Echo by Maury S - FINISHED - Cross-Section
Trussben replied to Maury S's topic in - Build logs for subjects built 1751 - 1800
Very Nicely done Maury. ben -
Wow Danny, you really have made a great deal of progress with this one, compared to the before pics she looks awesome. Ben
-
Yeh!!! Another perfect fitting spirkiting!! Well done Augie, that means all of your construction with the bulkheads, gunports framing, false deck etc.... is dead on. Smooth sailing now for the rest of the bulwark planking. Ben
- 2,191 replies
-
- 1
-
-
- confederacy
- Model Shipways
- (and 1 more)
-
Very Nice Ed, I assume the reason you don't draw treenails and use the monofilament is purely a time thing? Ben
-
Ed, have you seen this online? Is this your work? It has your name on last PDF! Did you know about your plans being on internet? http://todd.mainecav.org/model/stuff/naiad.pdf
-
And if you want to get really serious then Steels Naval architecture 1805 or the Shipbuilders repository are full of info and tables for all types of ships of that era, however rare and very expensive, especially with the plates. Ben
-
Glad to see you back at it Augie, Have you started to thin down the bulwark framing yet? I remember it took me a few days to get it as thin as Chuck recommended. Also I would plank the floors of the QG's now before other planking gets in the way, I found it fiddly to get the pieces the right width etc after the waterway and cabin floor were in place. Hopefully your Spirkiting will line up with the bottom of the gunports like mine did. Good luck Ben
- 2,191 replies
-
- 2
-
-
- confederacy
- Model Shipways
- (and 1 more)
-
HMS Naiad 1797 by albert - FINISHED - 1/48
Trussben replied to albert's topic in - Build logs for subjects built 1751 - 1800
Really coming along great Albert. Ben -
Well back from working away, drilled and pinned all of the aft 7 cant frames to the deadwood and have started cutting out the final 6 aft cants. Hopefully get a few hours tomorrow to start making them up. Ben
-
Harbor Freight Workbench
Trussben replied to Landlubber Mike's topic in Modeling tools and Workshop Equipment
Hi Maurey, The one with wheels is a cheap kitchen moveable island with fold out sides and some drawers, think I paid $20 at Goodwill store and I added another top on it, piece of leftover kitchen countertop that I'm using as Pegasus buildboard. I like being able to move the model around while working on it instead of it being on a fixed table. Ben -
So you doing CT conference but not NRG in October? C'mon Man! Ben
-
Congrats Mark on a major milestone, you've done a fantastic job on that stern. Ben
-
Beautiful Alex. Ben
-
Harbor Freight Workbench
Trussben replied to Landlubber Mike's topic in Modeling tools and Workshop Equipment
I bought one myself, easy to assemble, I glued it at the joints and it is sturdy as hell. Got if for $129 on sale. 2 dislikes - Benchtop Dog holes go all way through top, so any dust on the bench will fall in the top drawers, I fixed this by glueing scrap wood below the top. Drawer slides are not very deep, can only pull drawers out half way, I could buy some deeper slides but not really bothering me that bad. For the price you really cannot complain - you cannot buy the wood locally for that price! ben
-
Sounds like a good approach to take Patrick. Ben