DONATION DRIVE - SUPPORT MSW - DO YOUR PART TO KEEP THIS GREAT FORUM GOING!
×


Trussben
-
Posts
2,005 -
Joined
-
Last visited
Content Type
Profiles
Forums
Gallery
Events
Everything posted by Trussben
-
 Glad to see you back Paul. Ben
 -
Jim Byrnes Model Machines
Trussben replied to Mahuna's topic in Modeling tools and Workshop Equipment
Hey Keith, The Byrnes tools are engineered to last, no doubt about that. I think I use the disc sander the most of all my power tools, maybe even more than my scroll saw. Ben -
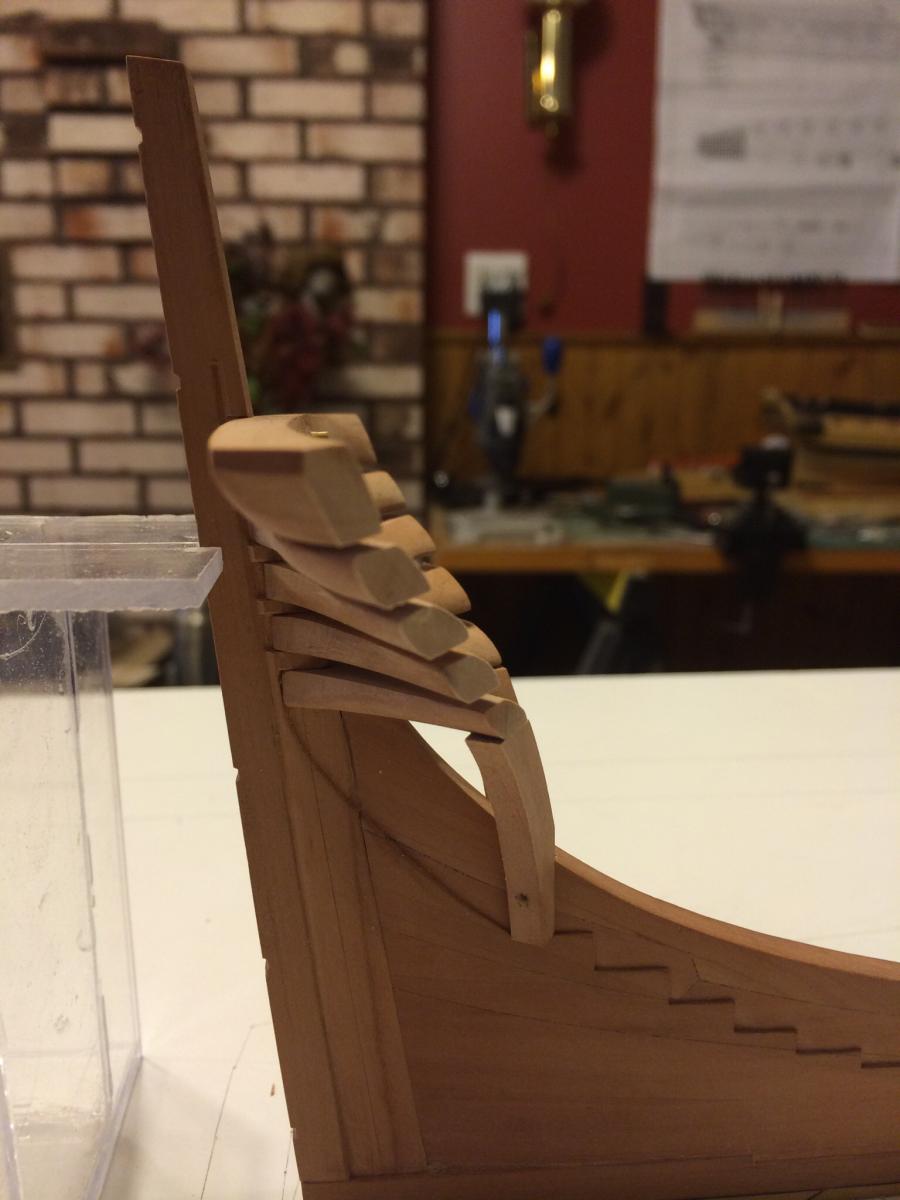
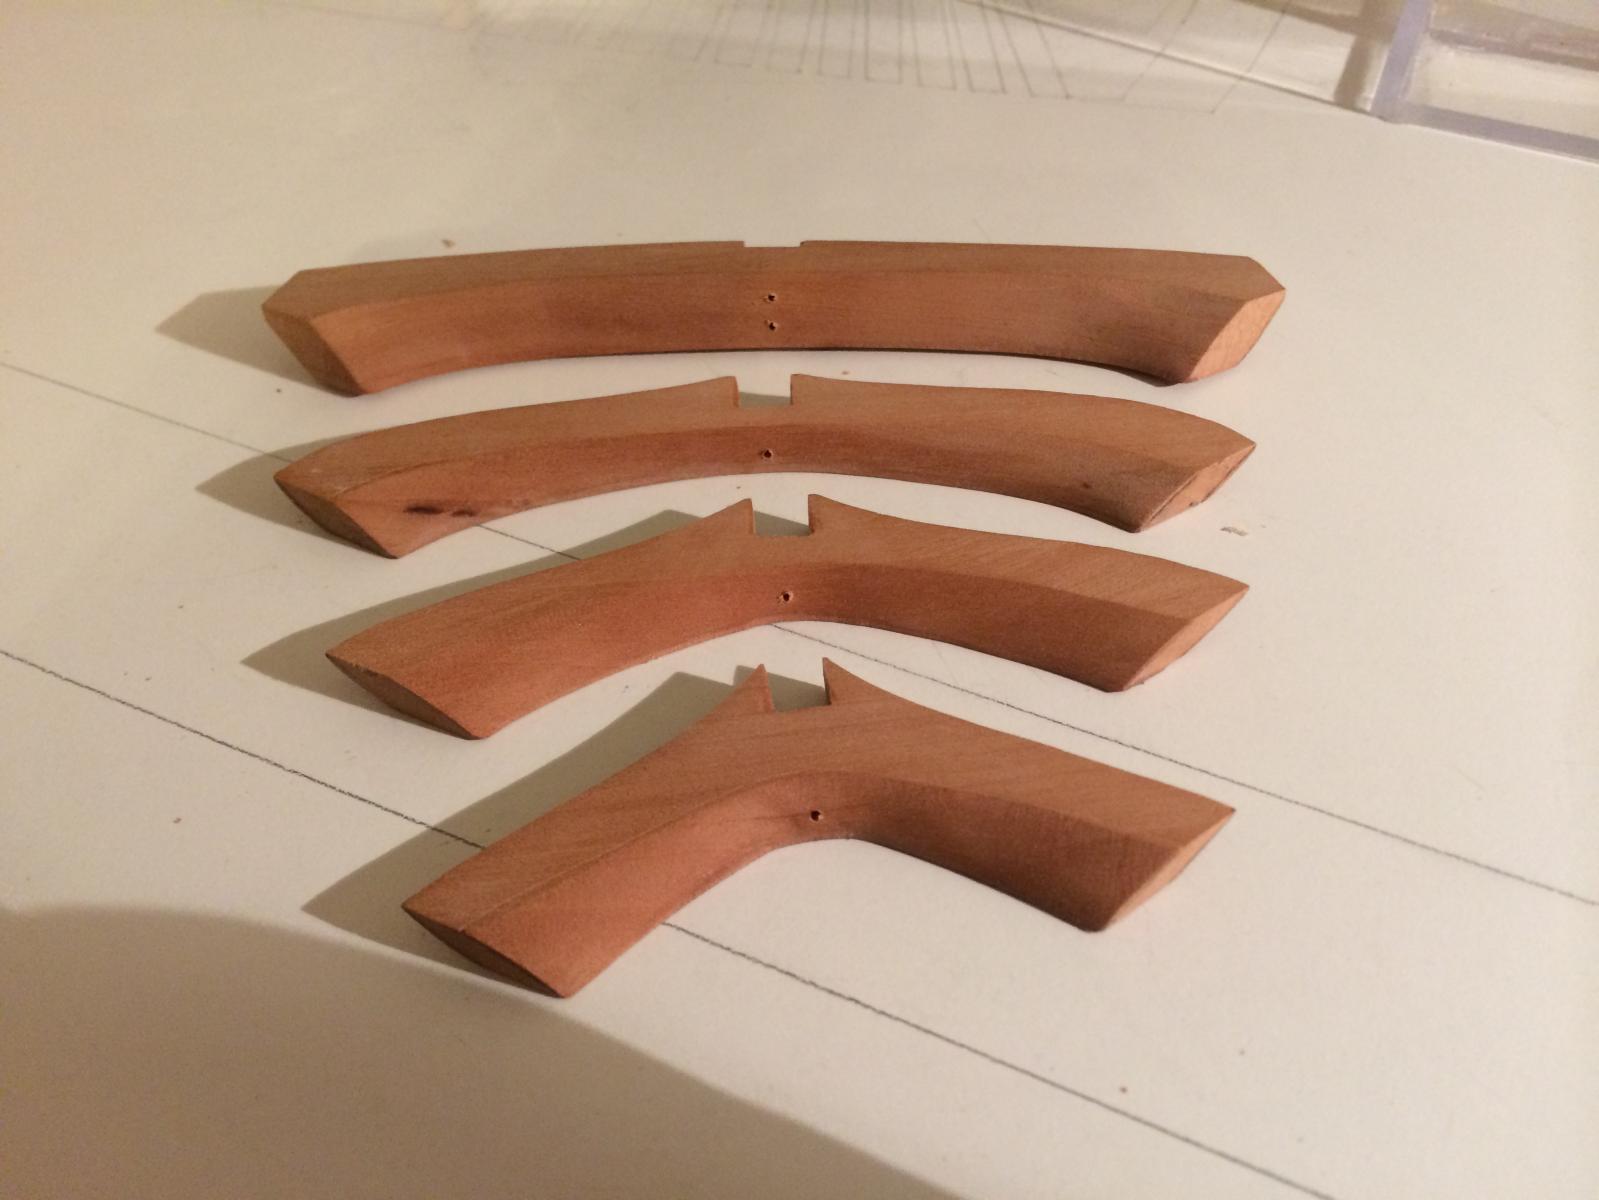
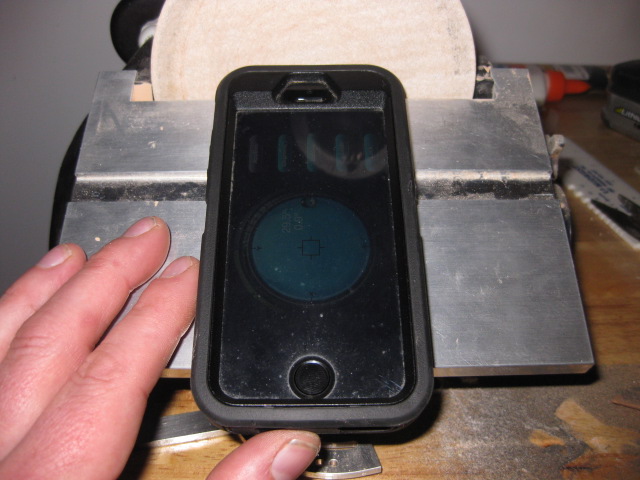
Thanks Rusty, Mark, Grant and everybody for the likes. Mark - I know the picture looks silly, sometimes I feel like destroying my phone but I wouldn't want to damage my precious Byrnes Sander. Anyway - the stern transoms have all been fitted and pinned in place successfully! I had left the ends of the transoms slightly overlength so I could fair them back to suit the aft cant frame which is what I'm doing now and I have started cutting aft cants 1 thru 7 out of 9" stock. Ben


- 889 replies
-
- 15
-

-
Hey Rusty, Will you be going to the NRG conference in Oct? I plan on going for the first time as it's reasonably near to me in St Louis. Ben
-
120 guns! Good grief, what scale are you thinking of? Surely not 1:48?? It would be enormous and you'd need a second mortgage to pay Hobbymill! Ben
-
Sorry Augie - they look fine as they are! ben
- 2,191 replies
-
- 1
-
-
- confederacy
- Model Shipways
- (and 1 more)
-
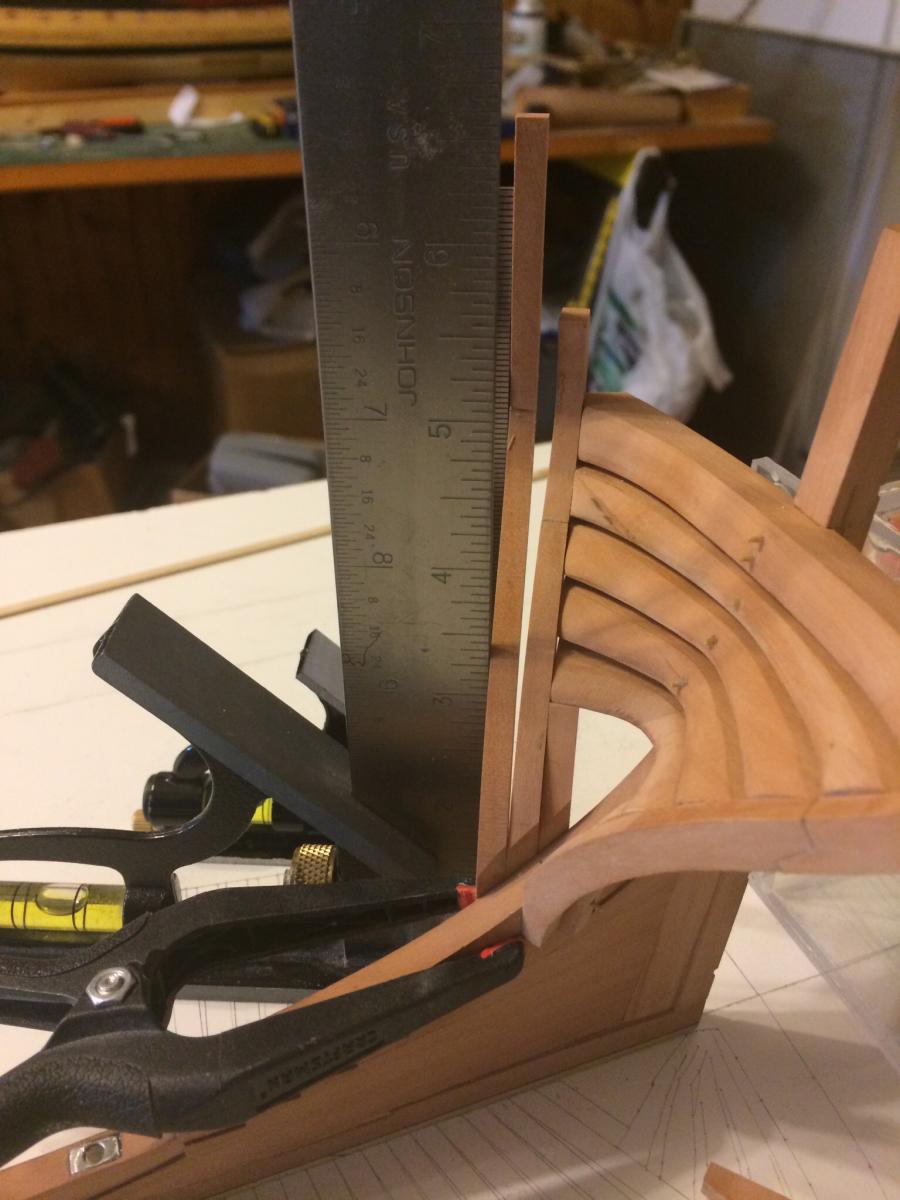
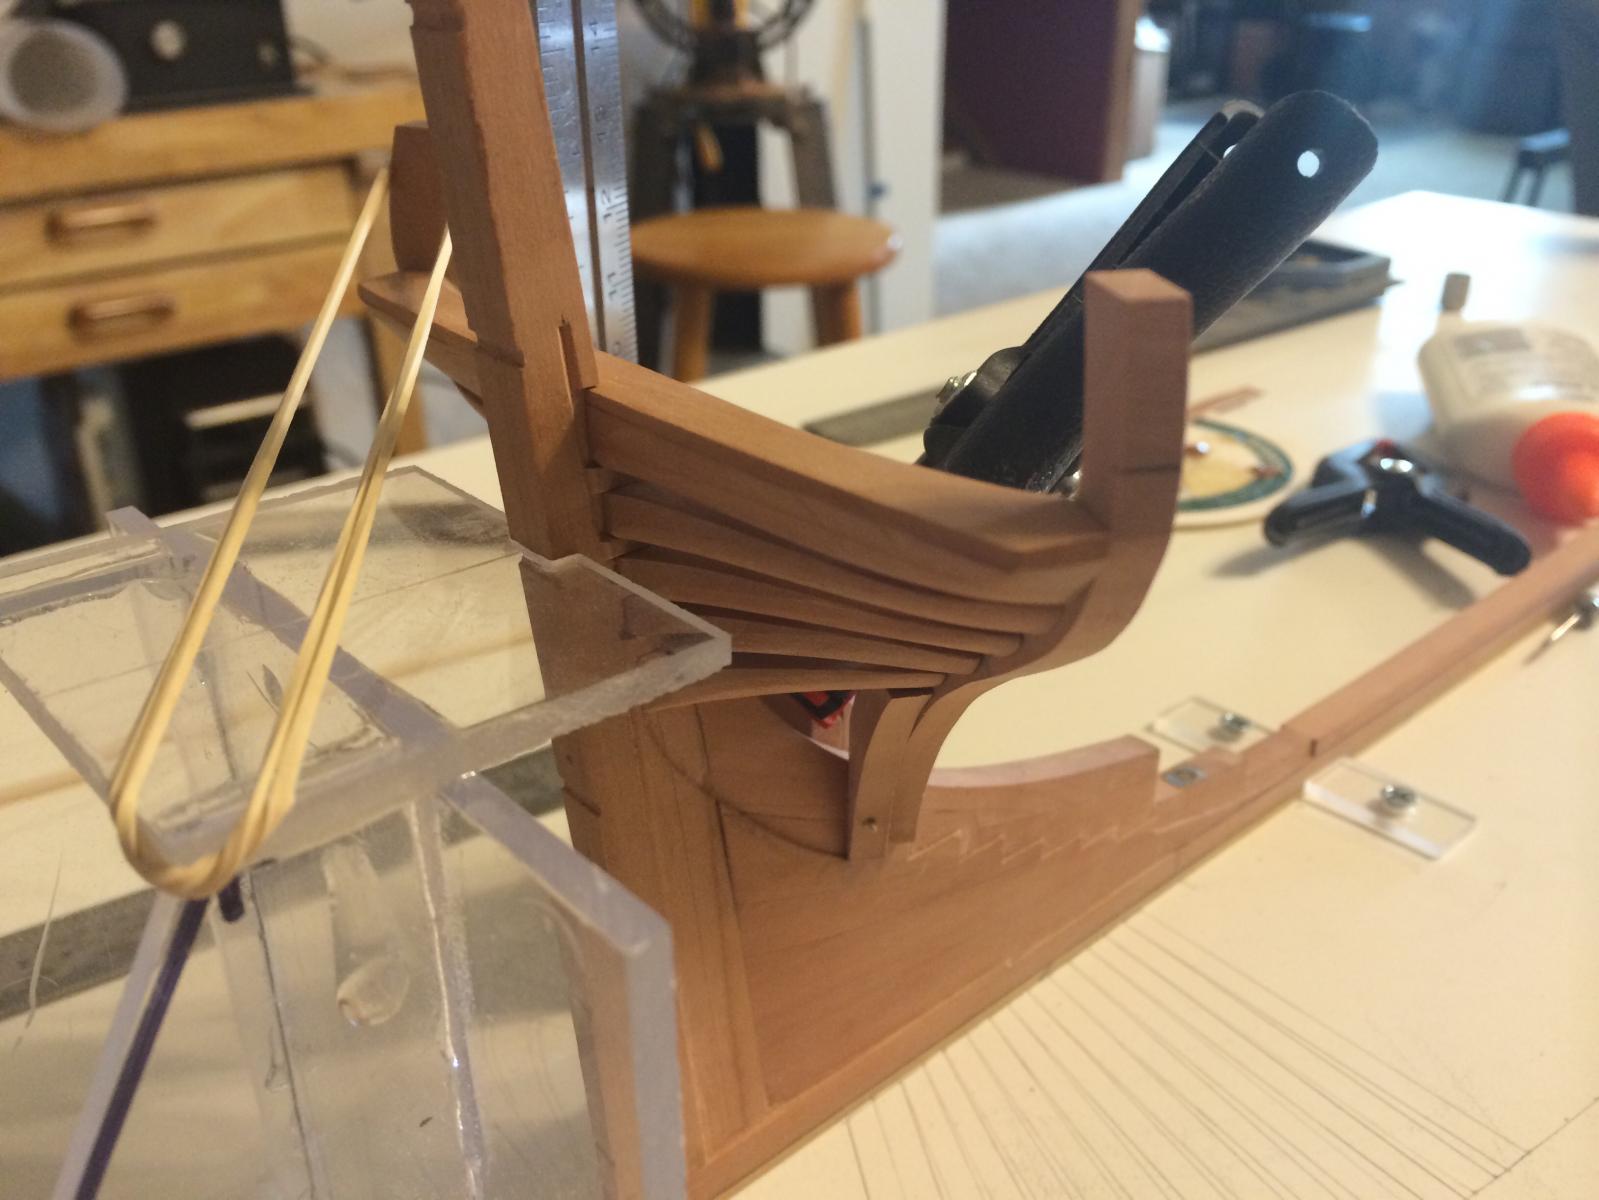
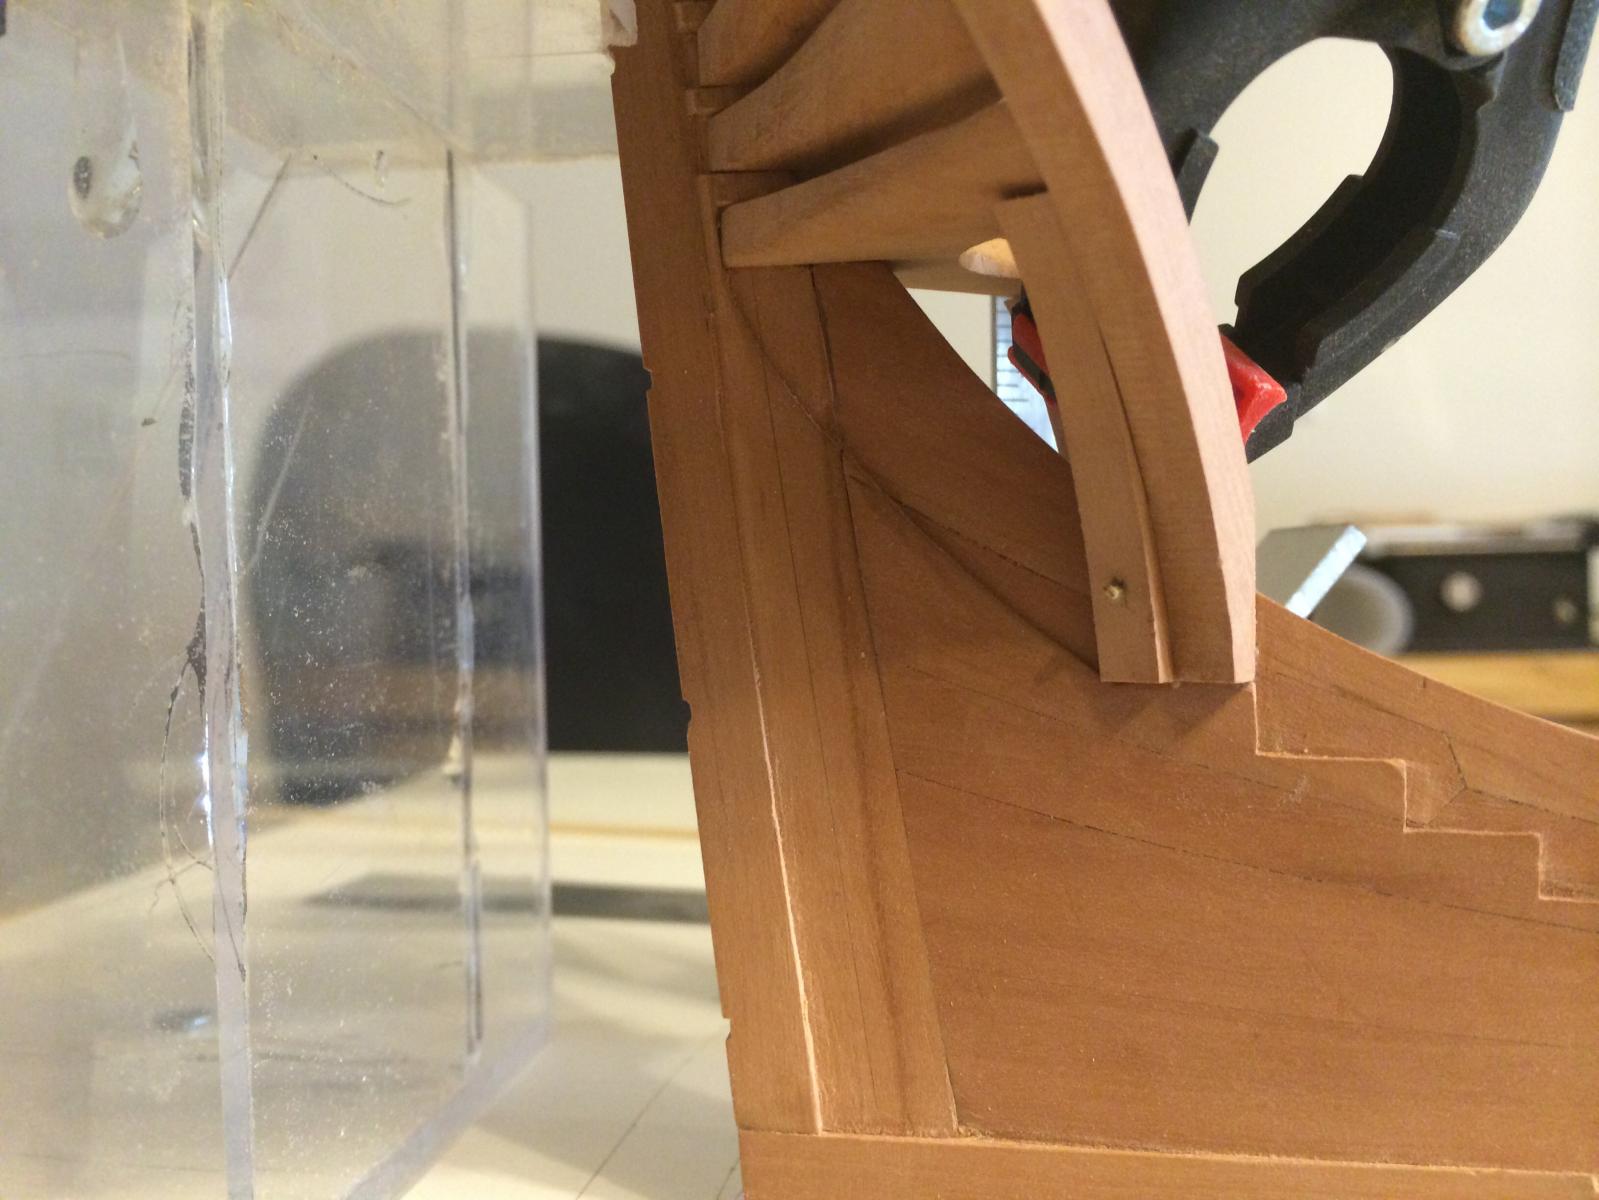
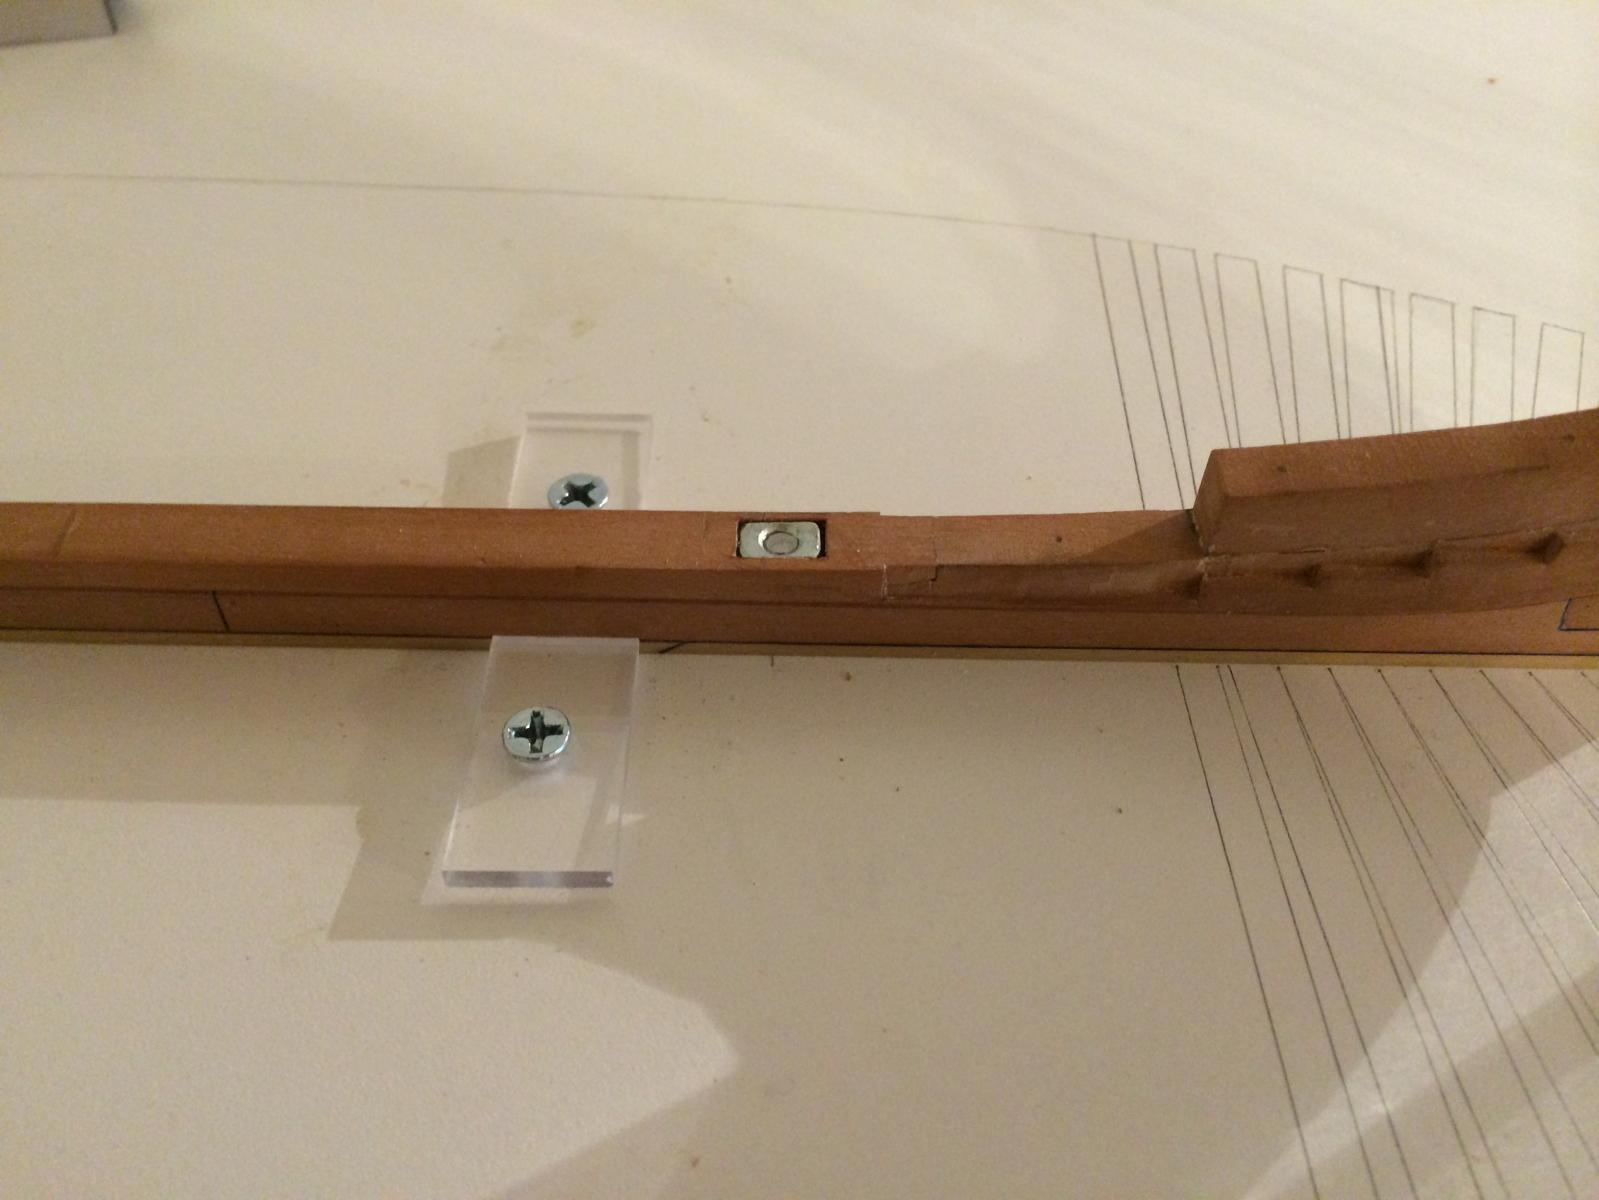
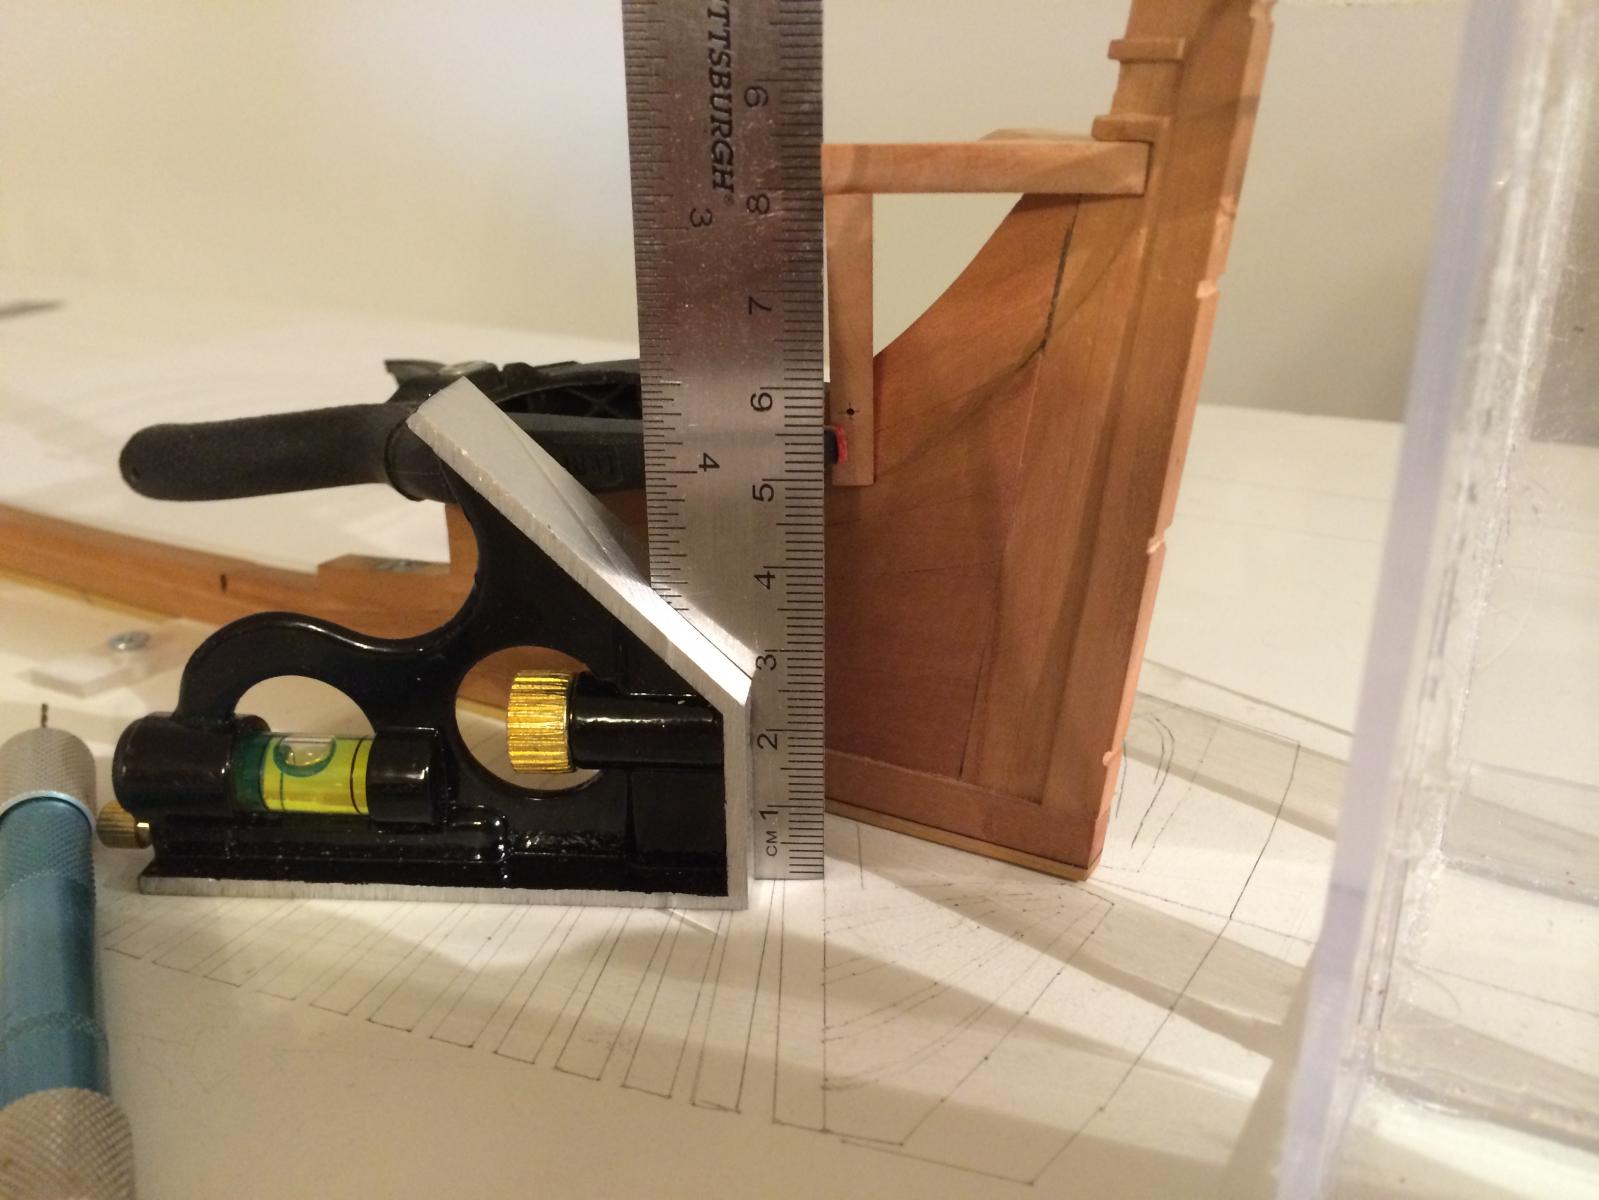
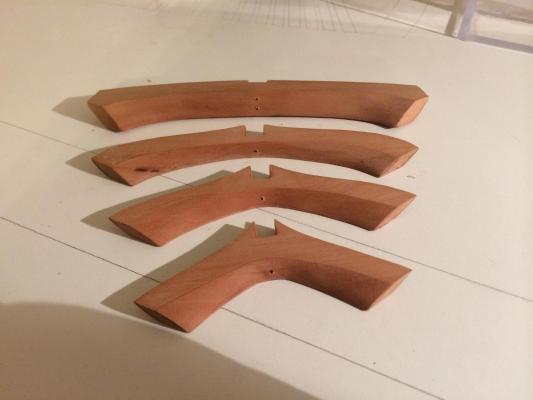
Thanks for the Likes everybody. Druxey - already been done, after that picture I marked the bolts and trimmed them down to a perfect size, see first pic. I have predrilled all of the transoms before fitting for pinning with bamboo treenails, I used a #65 drill bit and drew bamboo down to #35 hole in the Byrnes plate, this is not to scale but just for reinforcement purposes. Then the 4th transom was installed and pinned, making sure that it lined up with the buildboard markings as well as the heights above the keel bottom as measured from the mylar plan. I am deviating from the TFFM description of installing the transoms which would have the wing transom installed first, I am going to install the 4th first, then the fashion pieces below it, this should give me a solid bottom reference point, then I will install the wing transom which will give me the top point, and then install the transoms in between. Hopefully this works out like I envision. Now on to the fashion pieces, they were cut out of 9" stock oversized slightly by 1/32" outside the lines, then I setup the Byrnes sander to excatly 29.5 degrees using an app on my Iphone, the angles were sanded and then the pieces refined until a perfect fit was achieved under transom 4. I drilled them ready for pinning and then glued in place using a square to make sure it was perpendicular ( the picture doesnt look like its correct but it is! ) you can see how the square matches the correct line on the buildboard. ben.


- 889 replies
-
- 15
-
-
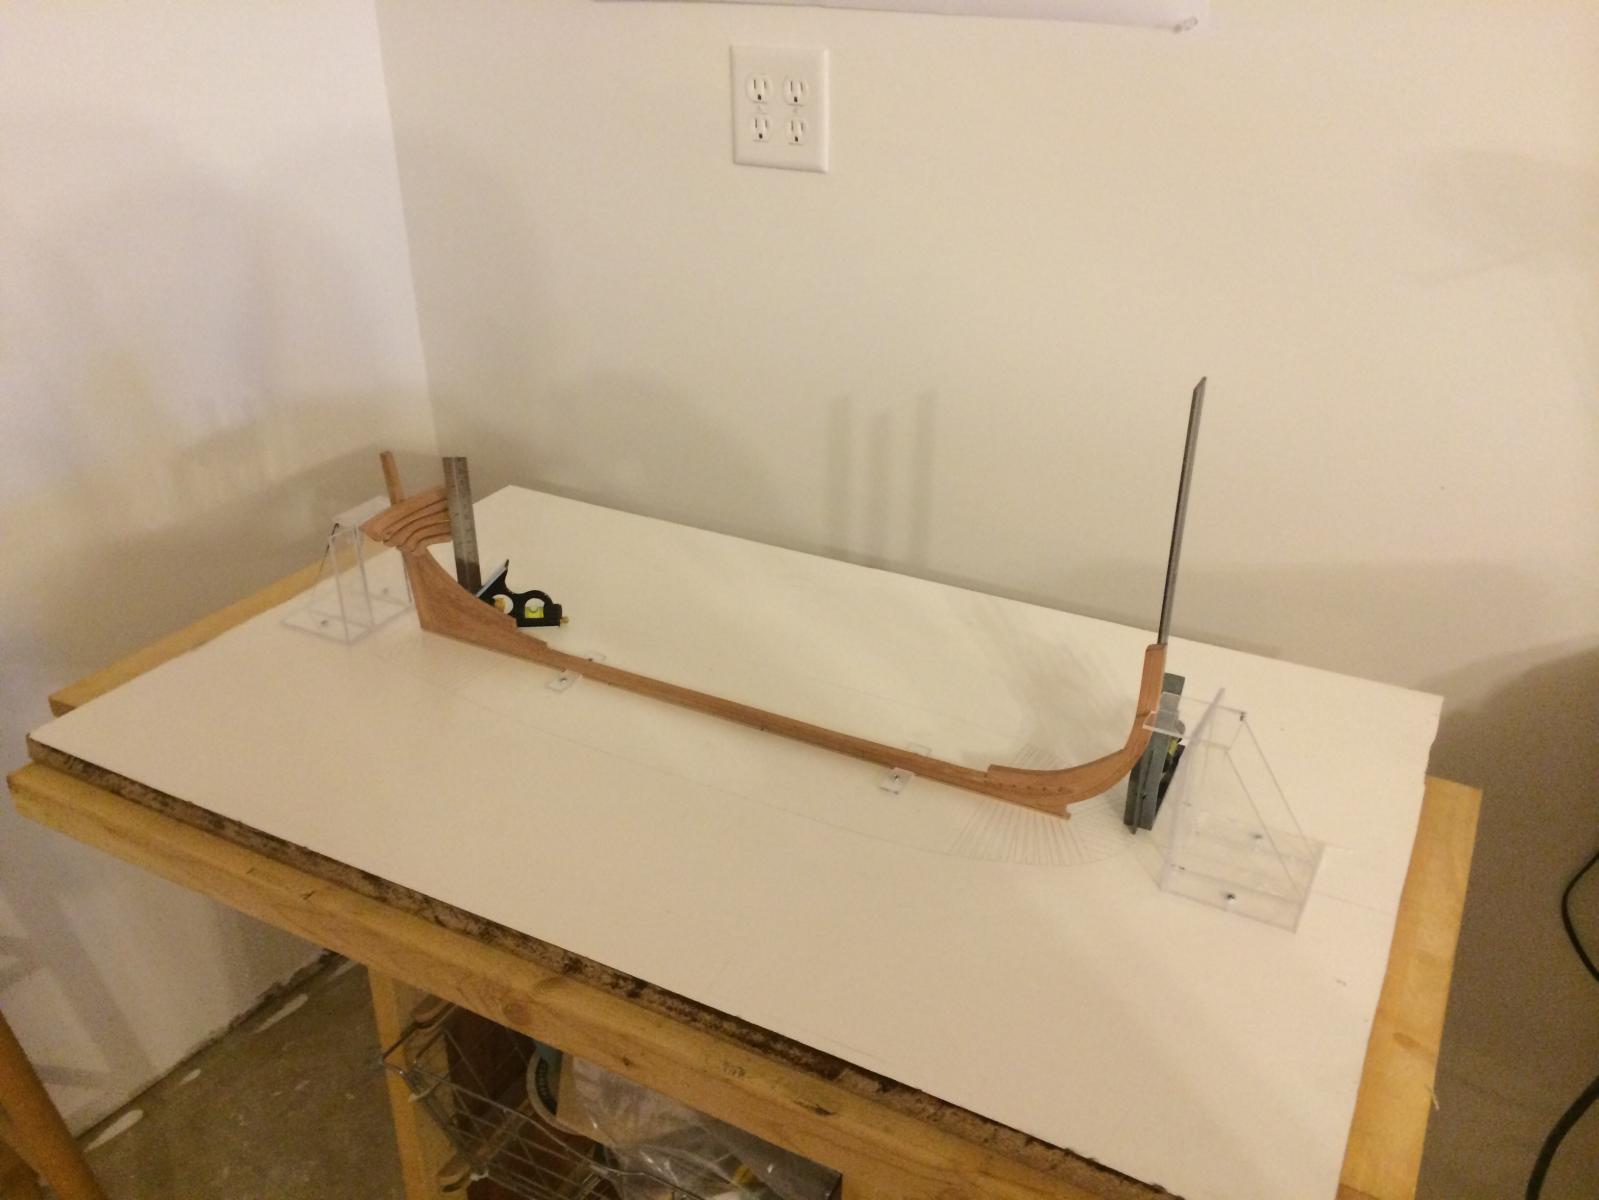
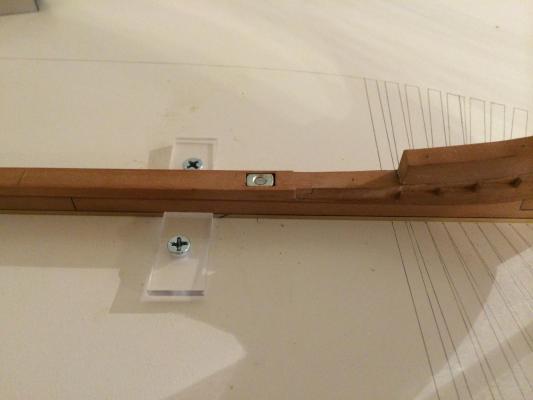
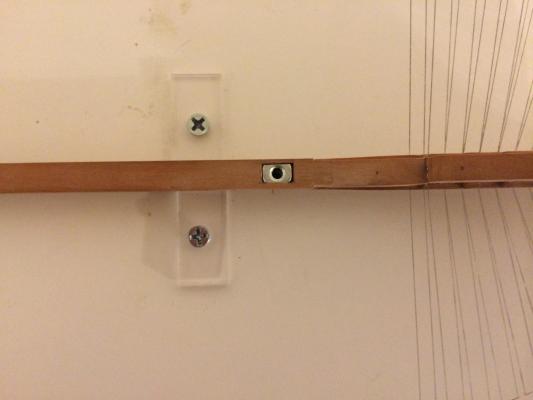
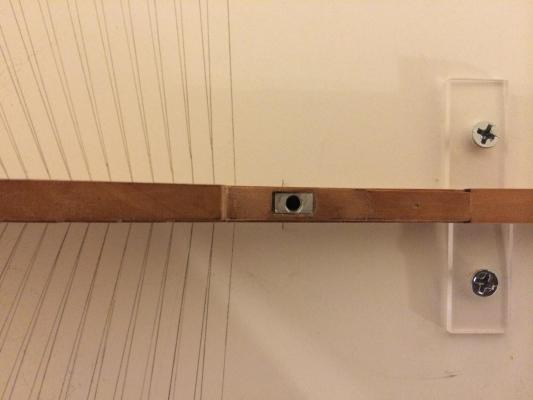
Thanks for the vote of confidence Druxey, I shall do my best with the cant frames but I have laid in store some isopropanol anyway. Today I managed to spend a few hours getting the keel bolts installed into the forward rising wood and aft deadwood, it was a little difficult as I don't have a mill but after drilling clearance holes for 6/32 bolts, I then ground down some 6/32 nuts, marked their position and used a small chisel to make the rebates for them. Then I used 5 min epoxy to glue the nuts in place. Corresponding clearance holes were drilled through the buildboard and 2 inch 6/32 machine screws were cut down to correct length and then tightened up. Almost ready to start fixing the transoms permently but one more addition to the buildboard is needed. Ben
- 889 replies
-
- 12
-
-
Glad to hear the wood is on the way Mark, time for sawdust! Ben
-
Looks great Augie, I did notice that you didn't reverse the scrollwork between the stern windows, but other than that a masterful job of it. Now I can't wait to see your great cabin floor!! Ben
- 2,191 replies
-
- 1
-
-
- confederacy
- Model Shipways
- (and 1 more)
-
Just went through my log and found several pics missing due to the server issues. I have reposted them all as of today. ben
-
Thanks for the likes. Druxey - I think the several hours I invested in this work will pay off as you say, I just hope my skills when I start the aft/fore cants and hawse pieces can attest to it. Ben
-
Hi Chris, I do intend to get back to my Confed, sometime, maybe when I need a break from Pegasus but I don't see that happening anytime soon. I can wait to see you start that 74 scratch. Ben
- 290 replies
-
- 1
-
-
- confederacy
- frigate
- (and 1 more)
-
HMS Naiad 1797 by albert - FINISHED - 1/48
Trussben replied to albert's topic in - Build logs for subjects built 1751 - 1800
You are making great progress there Albert, and as the old saying goes " you can't have too many clamps ". Ben -
Coming along very nicely. Ben
-
Very nice work Augie, How did you get along with the coving above the windows? Did you manage to use the basswood one? Mine broke before I got it out of the sheet so I remade with boxwood. Ben
-
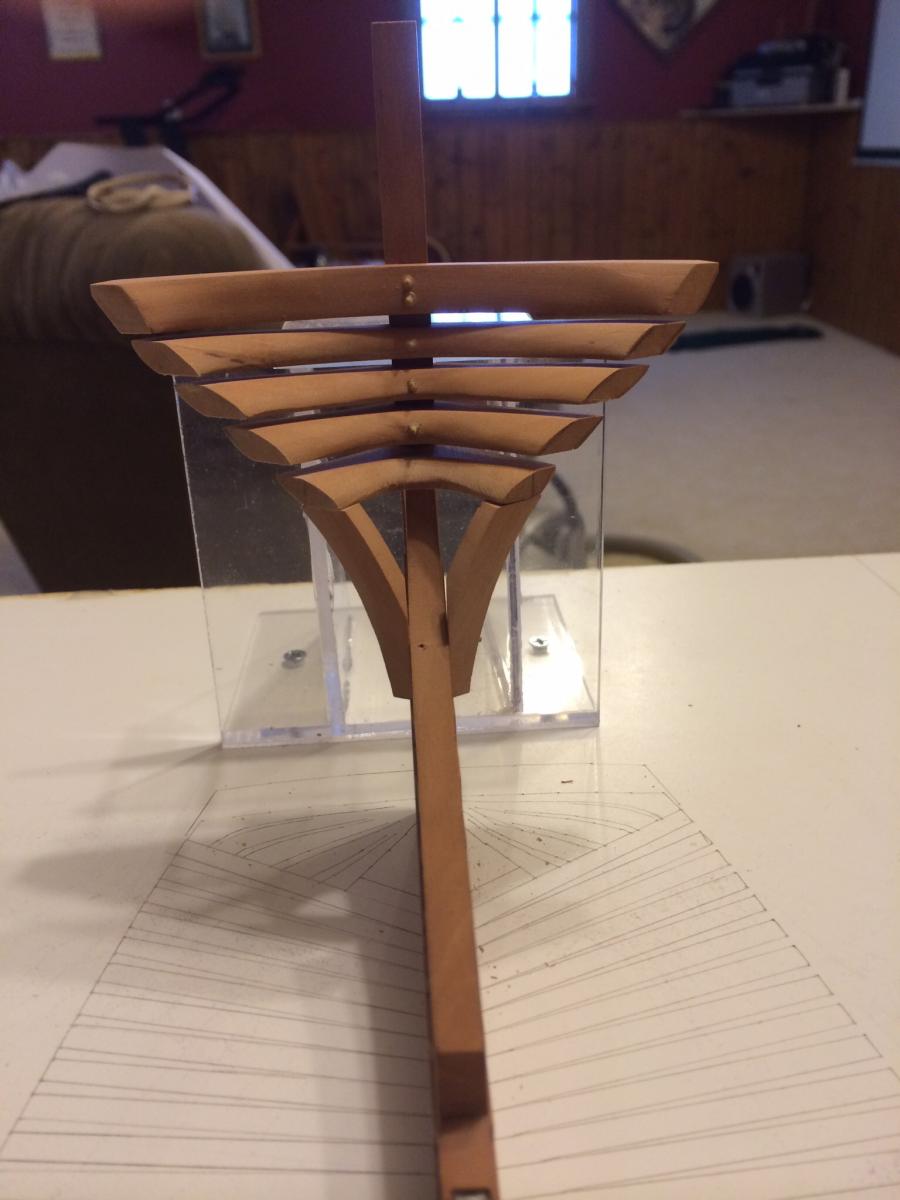
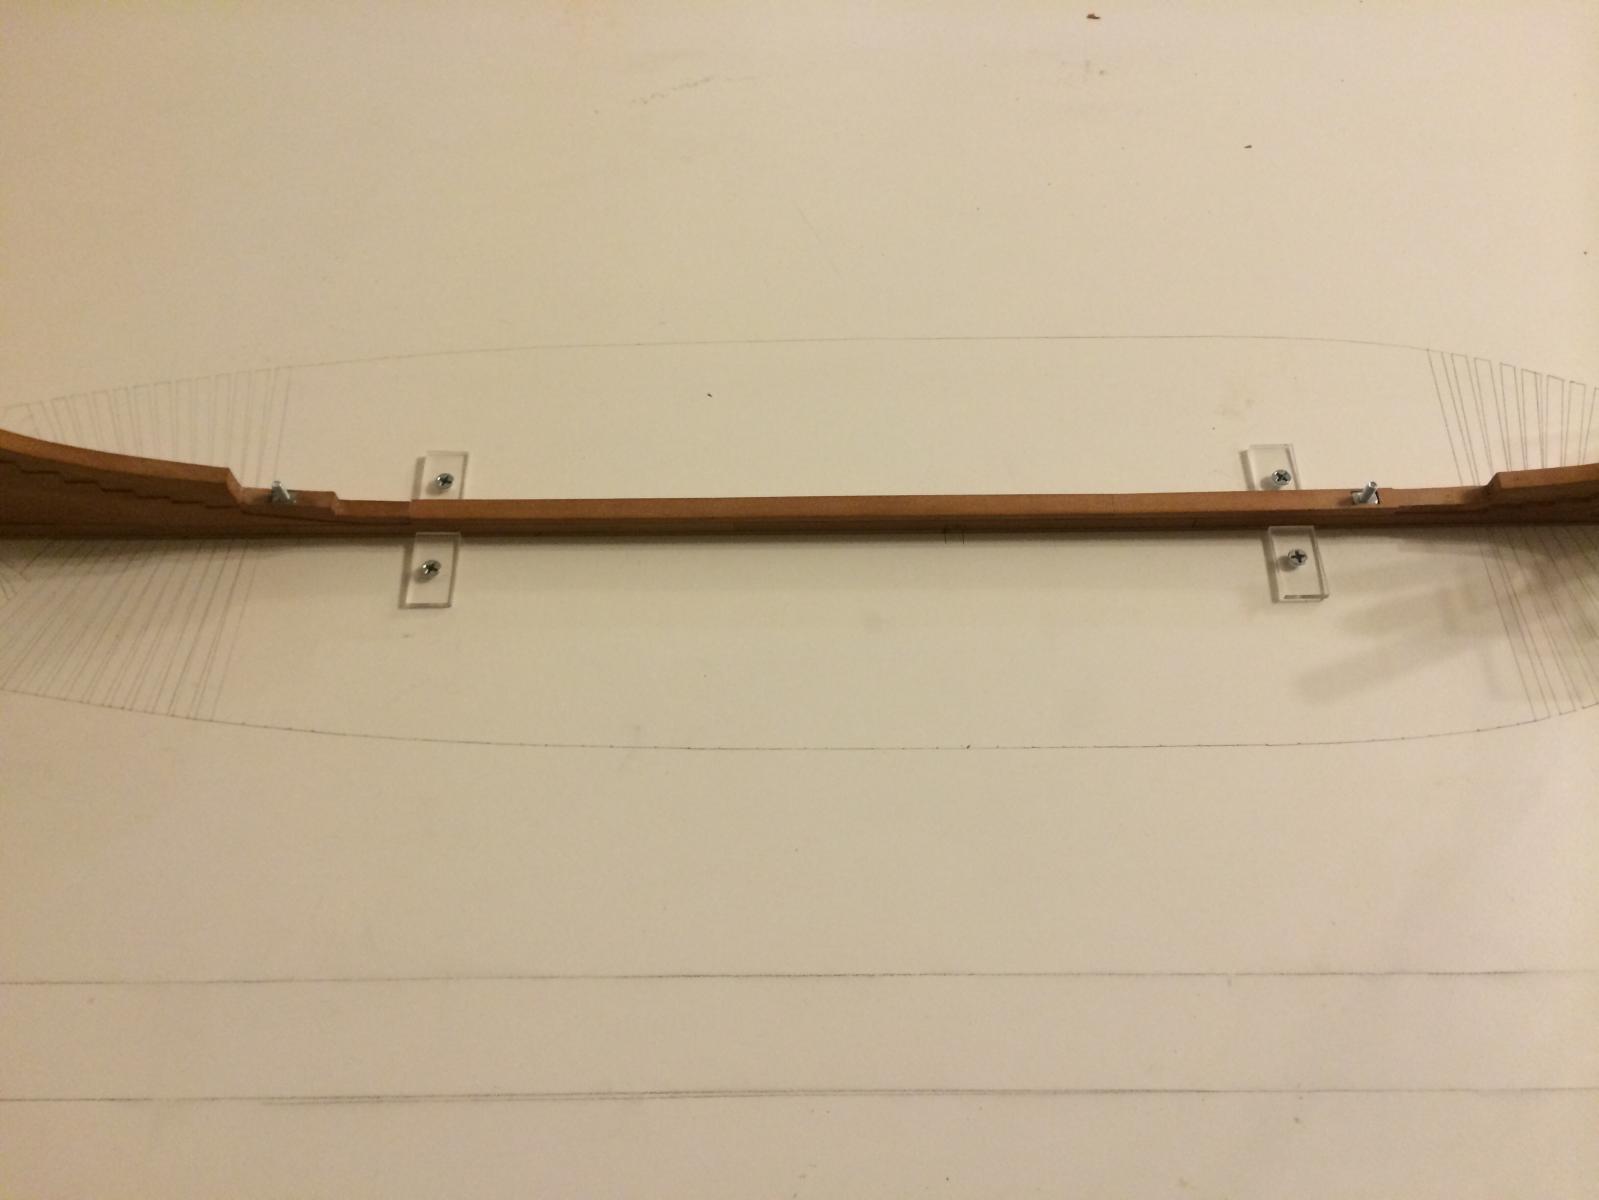
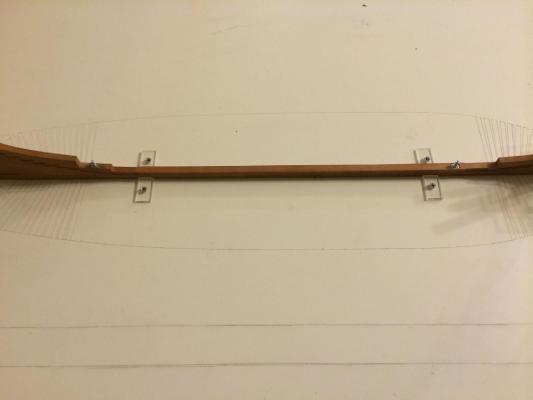
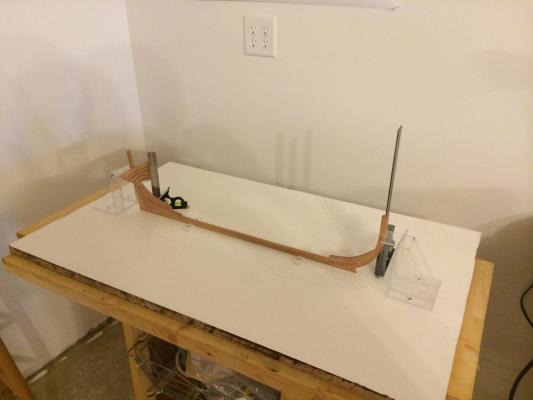
Very slight but very important progress has been made this week, the buildboard has had all the frame lines scribed into it and the acrylic frames and keel holders have been screwed on. I used the plan to mark points at all the frame intersections with a sharp awl, the the plan was reversed to do the other side. Then the points were joined using a steel rule and a sharp exacto blade, then graphite was rubbed into the scores and then cleaned off and the surface scraped with a razor to leave a smooth surface. It took several hours but came out matching the plans really well with little deviation. Ben
- 889 replies
-
- 15
-
-
Sweet Rusty! Ben
-
That wheel looks great Danny, you need to build a bomb shelter like EdT did on his Niaad to protect from damage! Lol Your Vulture is a thing of beauty, I hope my Pegasus can be even close to it. Ben
-
I would just like to say that I have joined the NRG today for the first time, I have already had communications from its members and joined its mentor/mentee program in 24 hrs!!!! Now that is a serious group that wants to help its members just like MSW! I would highly recommend other people here to join the NRG! Ben
-
I'm still loving that Swiss pear Chris, looks beautiful with the oil finish. Look forward to seeing you finish this baby off, maybe I'll get back to mine at some point but having way too much fun on the Pegasus. Ben
-
She is a wonder Gartan, beautiful. Ben
-
Congrats on the milestone Remco! 4.5 years eh? I was planning on about 5 years for my Pegasus but that's only to the end of vol1? I thought you were further than that! Ben
- 1,215 replies
-
- 1
-
-
- sloop
- kingfisher
- (and 1 more)