HOLIDAY DONATION DRIVE - SUPPORT MSW - DO YOUR PART TO KEEP THIS GREAT FORUM GOING! (Only 27 donations so far out of 49,000 members - C'mon guys!)
×


gjdale
-
Posts
4,891 -
Joined
-
Last visited
Content Type
Profiles
Forums
Gallery
Events
Everything posted by gjdale
-
 Thanks Mobbsie, Yes the Cutters are only 25 ft actual length, which translates to 85 mm at scale. That's 10 mm shorter than the Pinnace, although they are wider in the beam.
 -
Thanks Sjors and Brian. Always a pleasure to hear from you two gentlemen. And no Sjors, it won't be taking three years for these little suckers!
-
Thanks Alan - the isopropyl alcohol itself wasn't too fiddly (it's just applied with an old paintbrush). The difficult part was applying just enough pressure with Exacto blade to separate the softened glue, without breaking the extremely thin stock. Patience was the key, and working very slowly, giving the alcohol time to work, lifting a little, applying more isopropyl, and repeating. The whole isopropyl thing is one of the first lessons I learned here at MSW. It's probably still the most valuable!
-
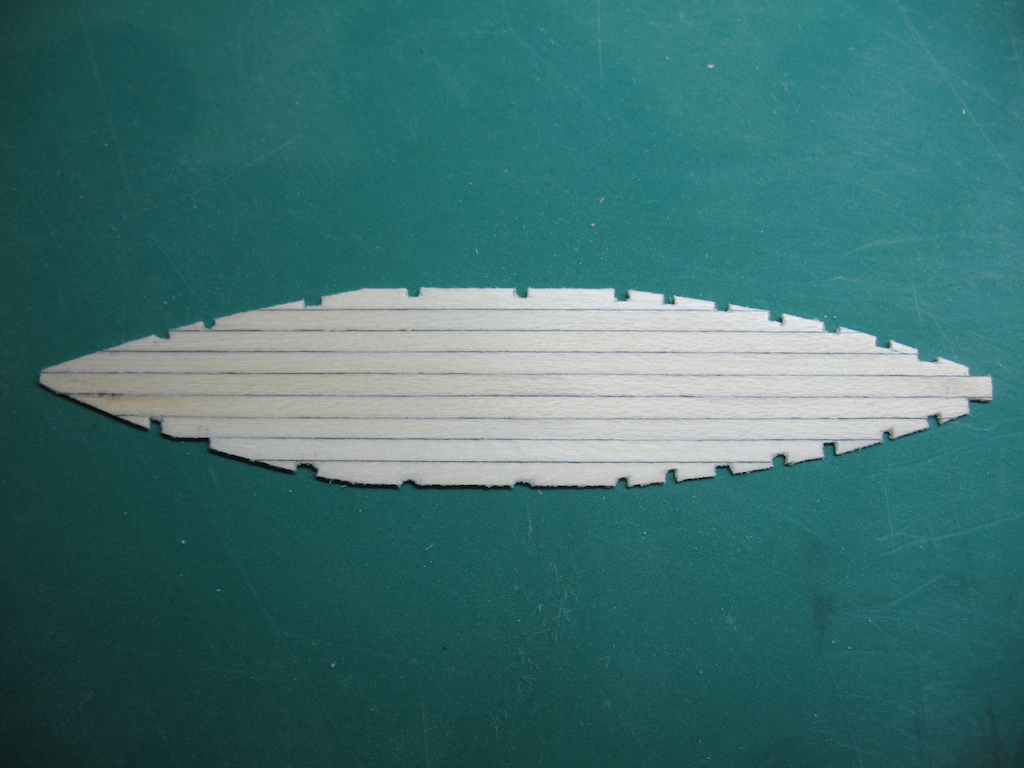
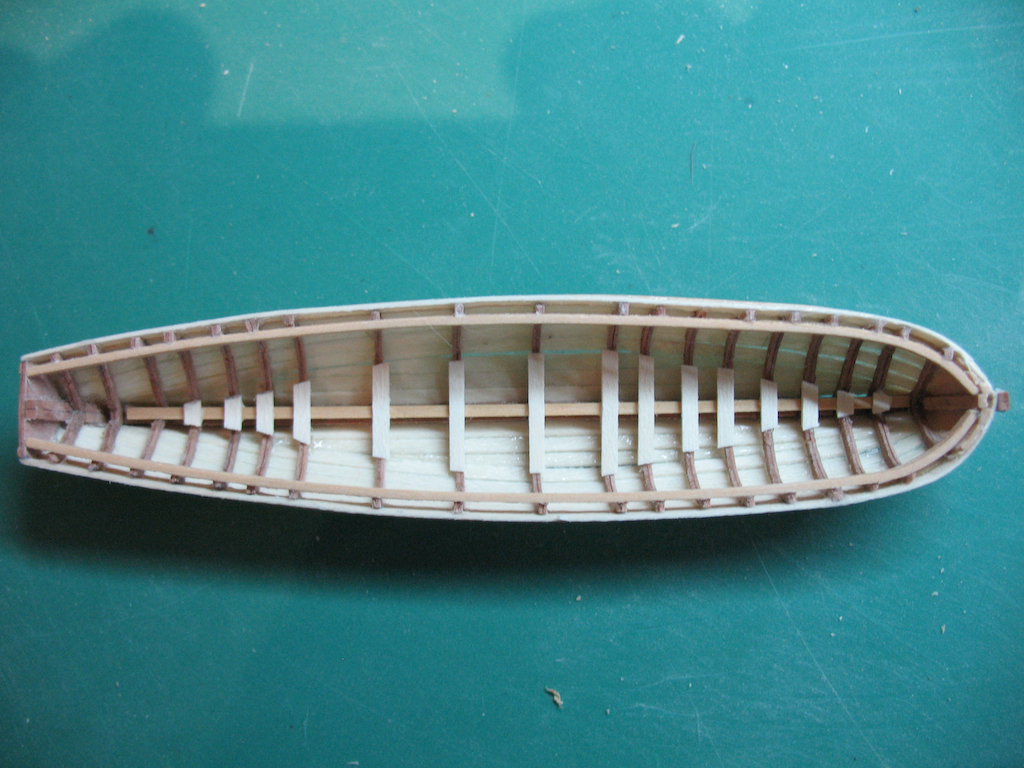
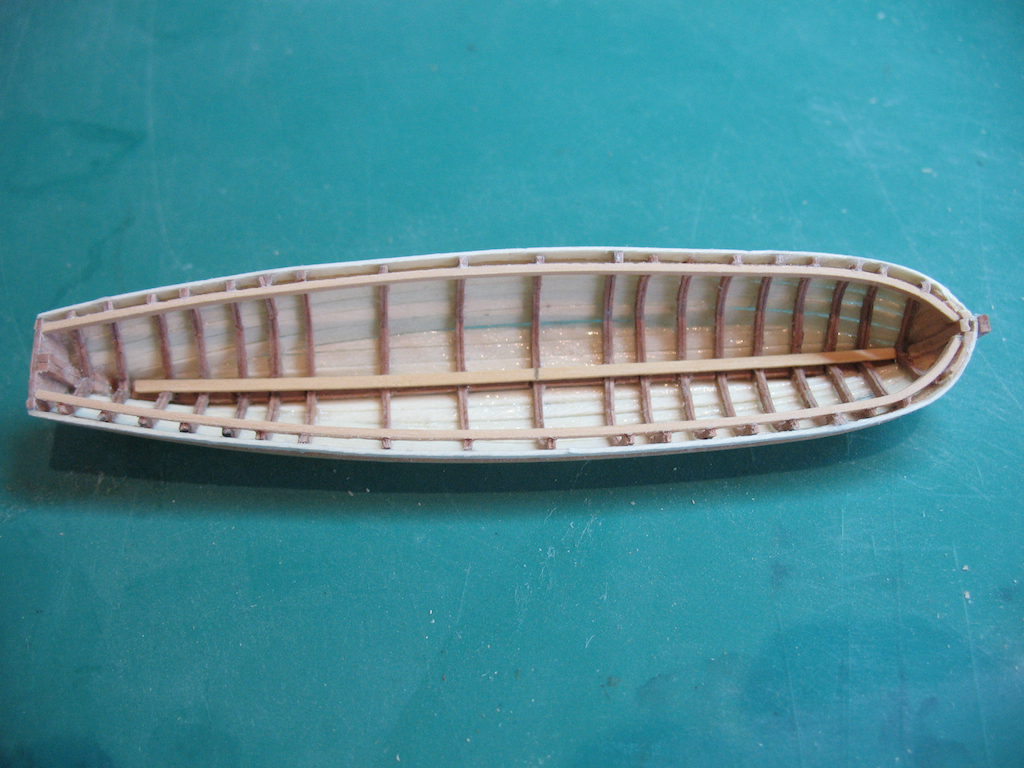
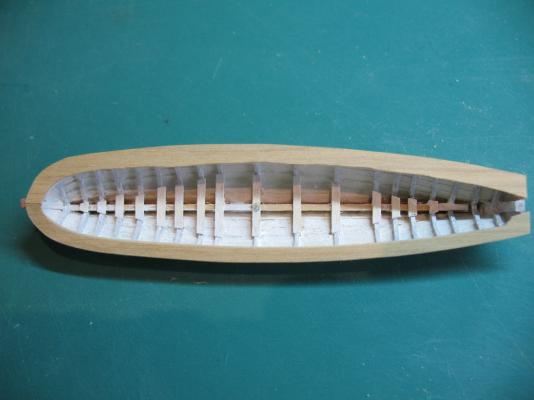
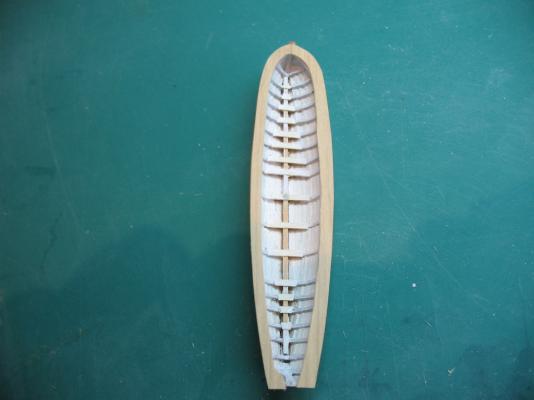
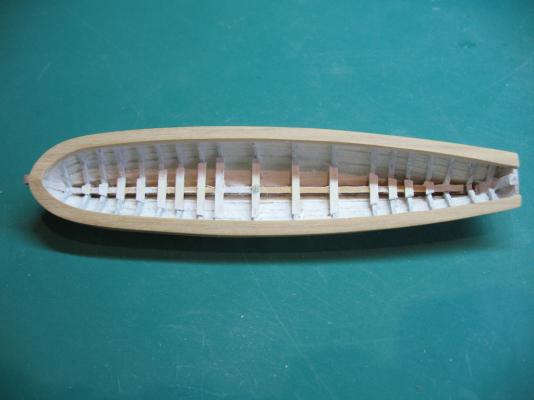
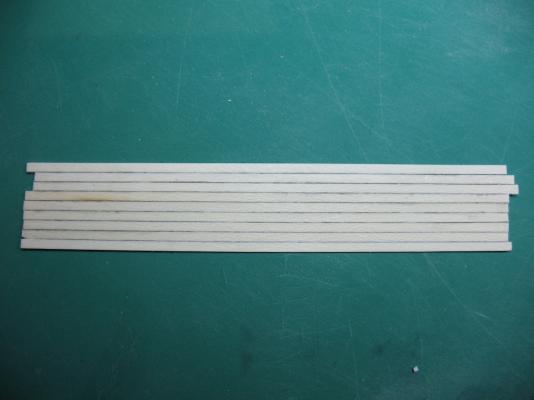
Thank you very much Sjors, Mobbsie, Bob, Augie, Lawrence, Leanne and Jim for your kind remarks, and also to all of the "likes". A little more progress to report: Ship's Boats continued: Among bits and pieces for the Pinnace, I have cut out the frames for the two Cutters. Here is one set: Meanwhile, back at the Pinnace, the next job was to install the Keelson and Gunwales. I used 1/32" x 3/64" boxwood strips for each of these, bending the gunwales using my usual water and steam iron method: Then it was time to install the stringers for the footwaling. I used leftover bits of 1/64" x 1/16" Holly planking stock for these. The footwaling itself is made up of the same material. After darkening one edge with a pencil, I edge glued 9 planks together: After a bit of fiddling getting a paper pattern to fit, I transferred this to my pre-prepared footwaling stock and carefully shaped it using the Byrnes disc sander. This was a somewhat delicate operation, noting that the stock is only 1/64" thick. The notches were then marked and cut with the trusty Exacto knife: This was then set aside to be fitted a little later on. The interior of the boat was then given a light coat of white Gesso. This is to help with the painting - it is sort of an undercoat and will ensure the paint grips over some of the excess glue that could not be removed. The next job was to make the cap rails. I used 1/64" thick Boxwood sheet stock for these. A paper pattern was made to provide the approximate shape and the cap rails then cut out. When I say "cut", it was more a case of sanding than cutting. I used a combination of Byrnes disc sander, Oscillating spindle sander, and hand held rotary tool to achieve the aim. I deliberately cut these over-size so that they could be shaped in situ. In this next photo, you can see the white Gesso applied to the interior, as well as the oversize cap rails tack glued in place. The port cap rail has received some partial shaping in this shot: This shot shows again partial shaping of the cap rails, but also gives a good sense of the long, narrow, sleek form of this particular boat: And finally, here are the cap rails in their final shape. By tack gluing them in place, I was able to sand them to a very good fit. I used a combination of sanding sticks and rotary tool with stone polishing attachment to achieve this. I'm quite happy with the way these have come out - they are flush with the gunwale on the interior, and have just a tiny overhang on the exterior. Once I was happy with the shape of these, I had a rather nerve-wracking time with some Isopropyl Alchohol and an Exacto blade to unattach them again. Once again, they will be finally fitted at a little later stage, but needed to be made now. The interior of the boat has now been given it's first coat of yellow ochre paint, while the cap rails have been painted black. The next job (once the painting is completed) will be to fit the footwaling and then the risers for the thwarts. In between waiting for paint to dry etc, I will start assembling the framing for the two Cutters.


-
Mike, I agree with others who have said that using the tick strip method, you should be using a different strip for each bulkhead. Each strip is the total length for that bulkhead divided by the number of planks for that bulkhead. Clearly then at the bow there will be at least one fewer planks. The planking fan / grid helps you get the spacing of the tick marks for each bulkhead, and this is what will produce the taper. The general rule for tapering is to taper to no less than half the original plank width. That is when drop planks come into play, although from the logs I've seen for this kit, that shouldn't be necessary in this case. Hope this helps.
-
Nice Ben! That simple jig really is a great solution to a tricky problem. Thanks for showing us the detail of both it's construction and use.
-
HMS Druid by Krug - FINISHED - 1:48 - Hahn
gjdale replied to kruginmi's topic in - Build logs for subjects built 1751 - 1800
Hi Mark, Interesting choices for your display. I'm also going with a seamless case. As for angle, while I like the idea of a slipway to provide some angle, my gut is telling me that anything more extreme would look a little odd. It would certainly be unique though! As they say, "Catain's Choice", (with the Admiral's permission). -
Congratulations on finishing the guns Bob - quite a milestone. The capstan looks terrific too - your usual impressively high standard.
-
Rope making machines
gjdale replied to Daryl's topic in Rope Making/Ropewalks's Rope Materials and parts resources
Daryl, You will find several in the Articles and Downloads sections of this site. Here's a link to the relevant page: http://modelshipworldforum.com/ship-model-materials-and-tools.php -
That's a very handy tip and your photo Ben, makes it that much clearer for those of us who are "spatially challenged"!
-
Nice job on the "Chook Hilton" Leanne! Good to see the shipyard back in operation and some planking action happening.
-
I can see and hear it now Alan. "Step away from the tool store Sir!" "I said step away from the tool store!" "Step away from the tool store and no one gets hurt!"
-
That sounds like it could be an expensive visit Alan "No darling, I'm just going to look!"
-
Great explanation with the diagrams Rob. That makes complete sense and seems a little simpler than the planking fan.
-
Hi Alan, While EdT's setup may be OTT for this build, I just noticed your comment about the cost of importing the Rockler T-Track system. I know next to nothing about this topic, but did notice that Carbatec here in Australia stocks the Rockler system. They also have a Veritas system that might be similar. Could be worth checking out for the future.
-
Nice to see the baby emerge from the crib Michael. I hope your gunport issue gets resolved to your satisfaction.
-
Very nice Augie. Enjoy the fishing and beware the Moose!
- 2,191 replies
-
- 1
-

-
- confederacy
- Model Shipways
- (and 1 more)
-
Nice to see some more progress Rob, and an interesting variation on the planking fan/grid.
-
Have to agree with the others Nigel, that deck looks REALLY nice. Your tissue paper technique is interesting and appears to work very well indeed.
-
Wonderful work Ed, and amazing photos. Alan is right - you're costing me a small fortune!
- 3,618 replies
-
- 1
-
-
- young america
- clipper
- (and 1 more)
-
Where to purchase models kits in Melbourne
gjdale replied to richardpepi's topic in Wood ship model kits
Richard, I hate to say it because I would rather support local businesses here in Australia, but in my experience you will pay a significant premium buying through an Australian distributor. My advice would be to check out overseas suppliers. Even with the cost of postage, you will likely come out in front. Cornwall Model Boats in the UK are very good to deal with and reasonably priced (in my opinion). They carry all the major kit brands. I did a comparison just the other day, and I could buy an identical kit (same manufacturer) from Cornwall Model Boats, delivered to my front door, for 2/3 the cost for the same kit from an Australian distributor. And that difference was over $200! Be aware though, that if the value (including postage) exceeds AUD $1,000 then you will be hit for GST on arrival in Australia. It will still be cheaper! But please make sure you do your homework first. Good luck. -
Nice work Mike. Love the use of Lego for making jigs!
-
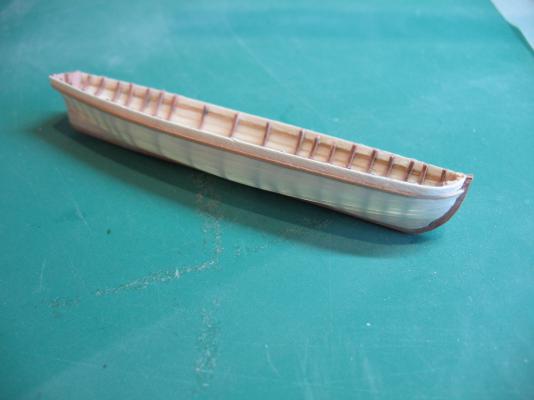
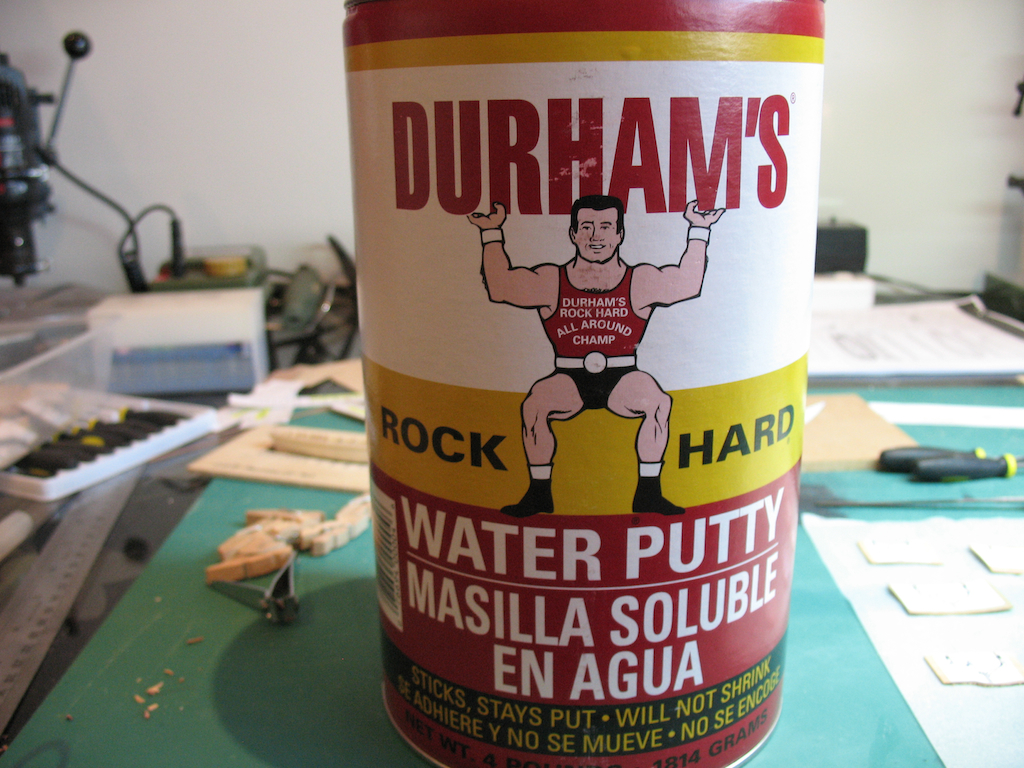
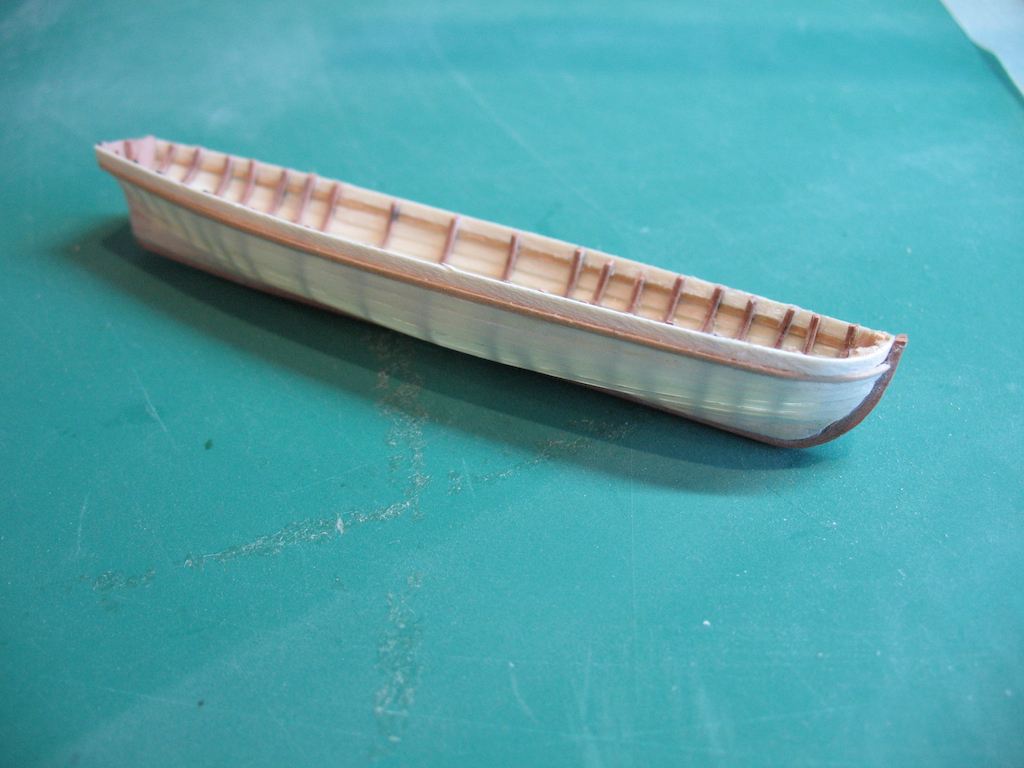
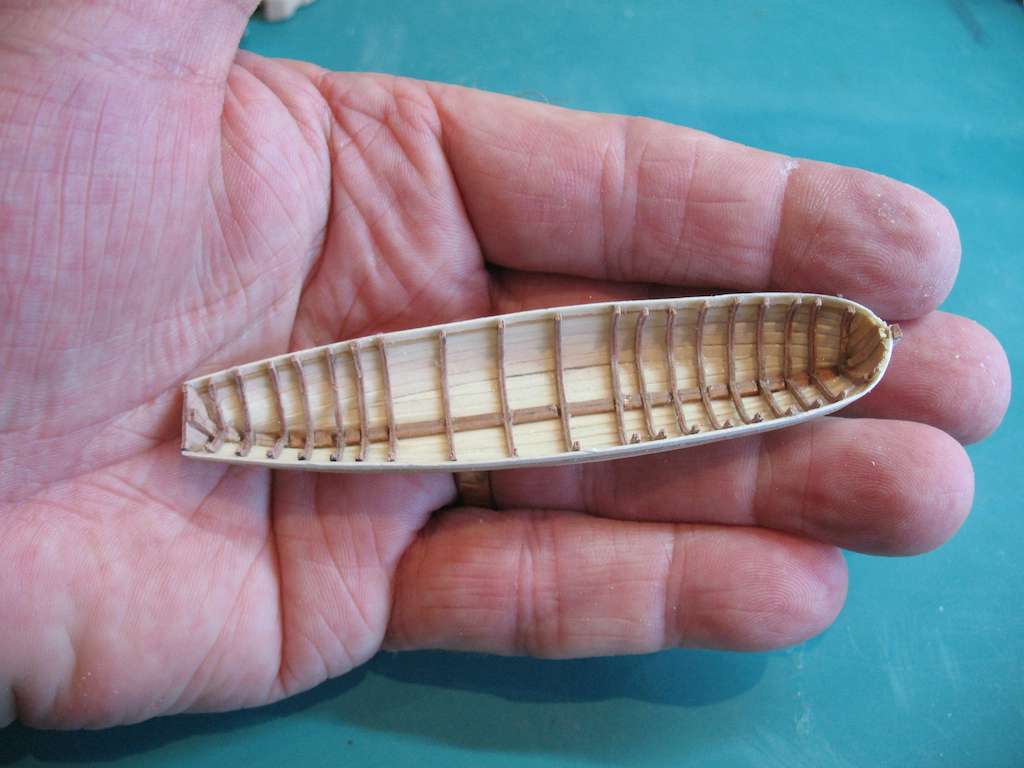
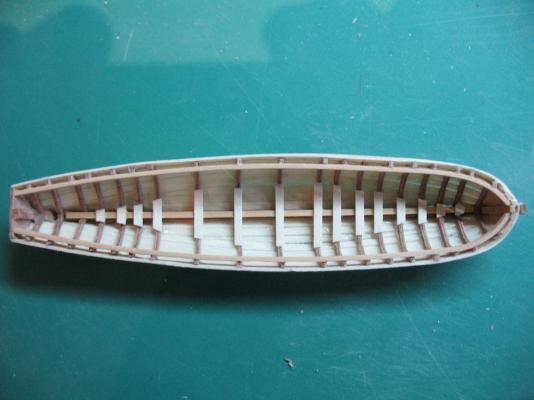
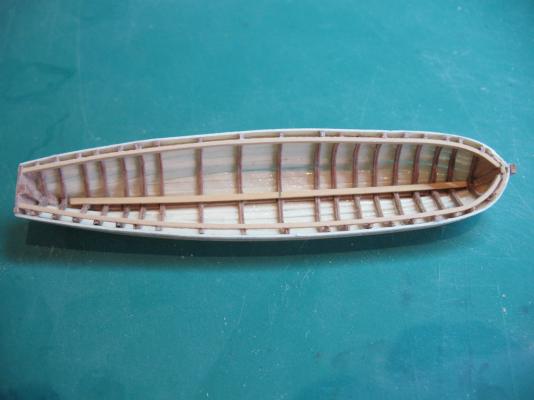
Thank you Lawrence, Ben, Mark and Jesse, and also to all of the "likes". Minor update this weekend - not a lot of time in the shipyard after another week away. Did manage to find time to host a visit from fellow Canberra modeller Leanne (Moo) - always nice to make personal contact with other members of this great community! Ship's Boats continued: I applied some filler to the Pinnace hull, using a product recommended in my Warrior practicum - Durham's Rock Hard Water Putty (that's a 4 pound (1.8 kg) can in the photo: It comes in powered form which you then mix with water to a consistency of softened butter or 'soft cooked cereal'. It is then applied using a small stiff flat brush, left to harden for a couple of hours and then sanded off. It claims to never shrink. Clean up was easy (using only water). Sanding was also pretty easy, and the putty sands off in a dust form, similar in consistency to talcum powder. This product is not readily available in Australia, so as usual I let my fingers do the walking and found some on-line. The postage cost more than the product, but all in all not expensive. Having used it, I can say that I like it - and I now have a "lifetime supply". It is much easier to use than regular wood filler, especially on the extremely fragile boat. I suspect similar results could be obtained with Spakfilla (for the Aussies reading this). I then released the boat from the build board. I was a little too enthusiastic with this and damaged a few frames in the process. Managed to repair them all without too much fuss. Still a bit of cleaning up do do, but here is how she looks now: And just as a reminder of the scale of this little one: I've also finished the first part of cutting out the frames for the two Cutters, so should have them in the build boards next weekend, as well as progressing with the Pinnace.