Baker
-
Posts
4,303 -
Joined
-
Last visited
Content Type
Profiles
Forums
Gallery
Events
Everything posted by Baker
-
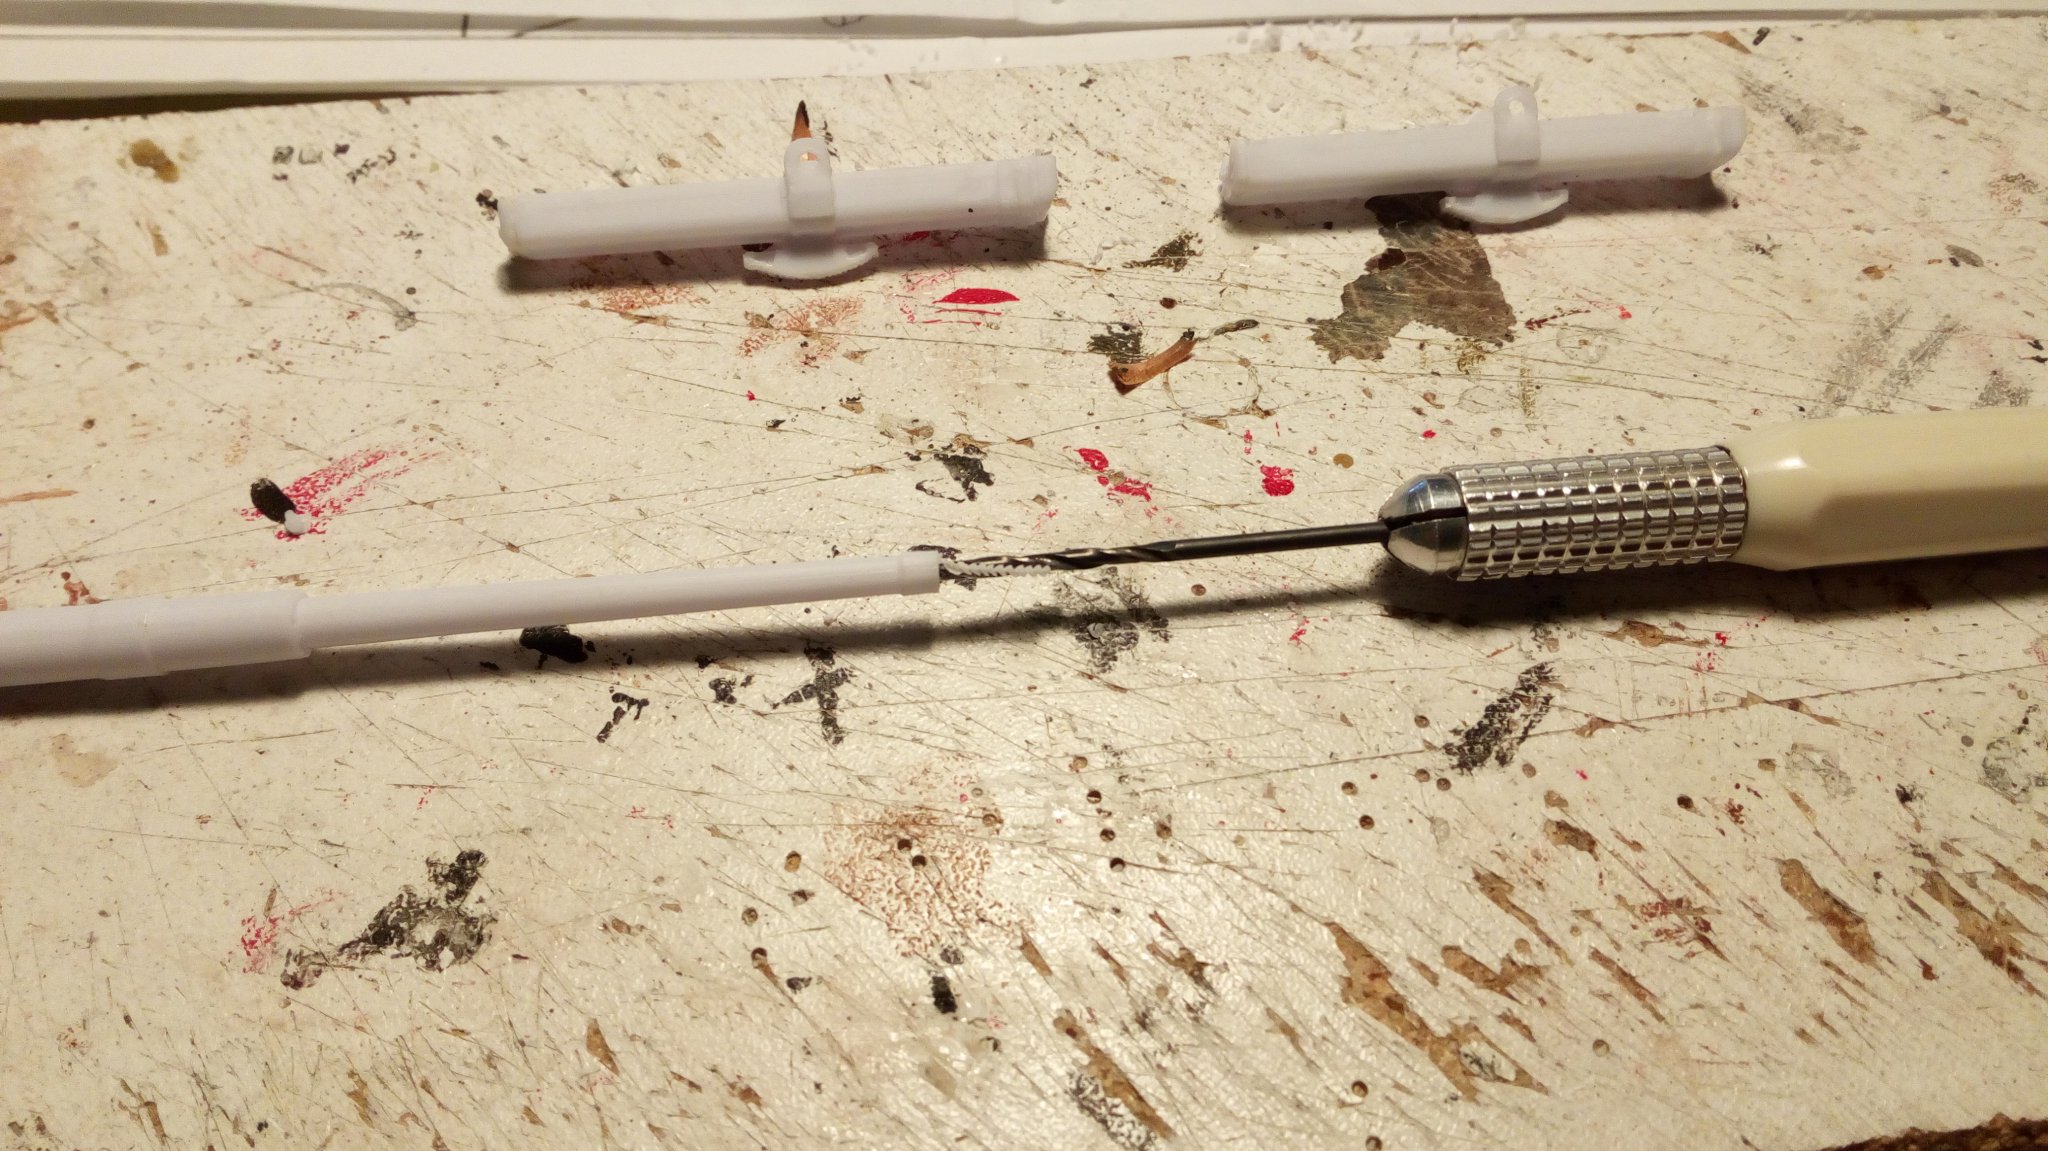
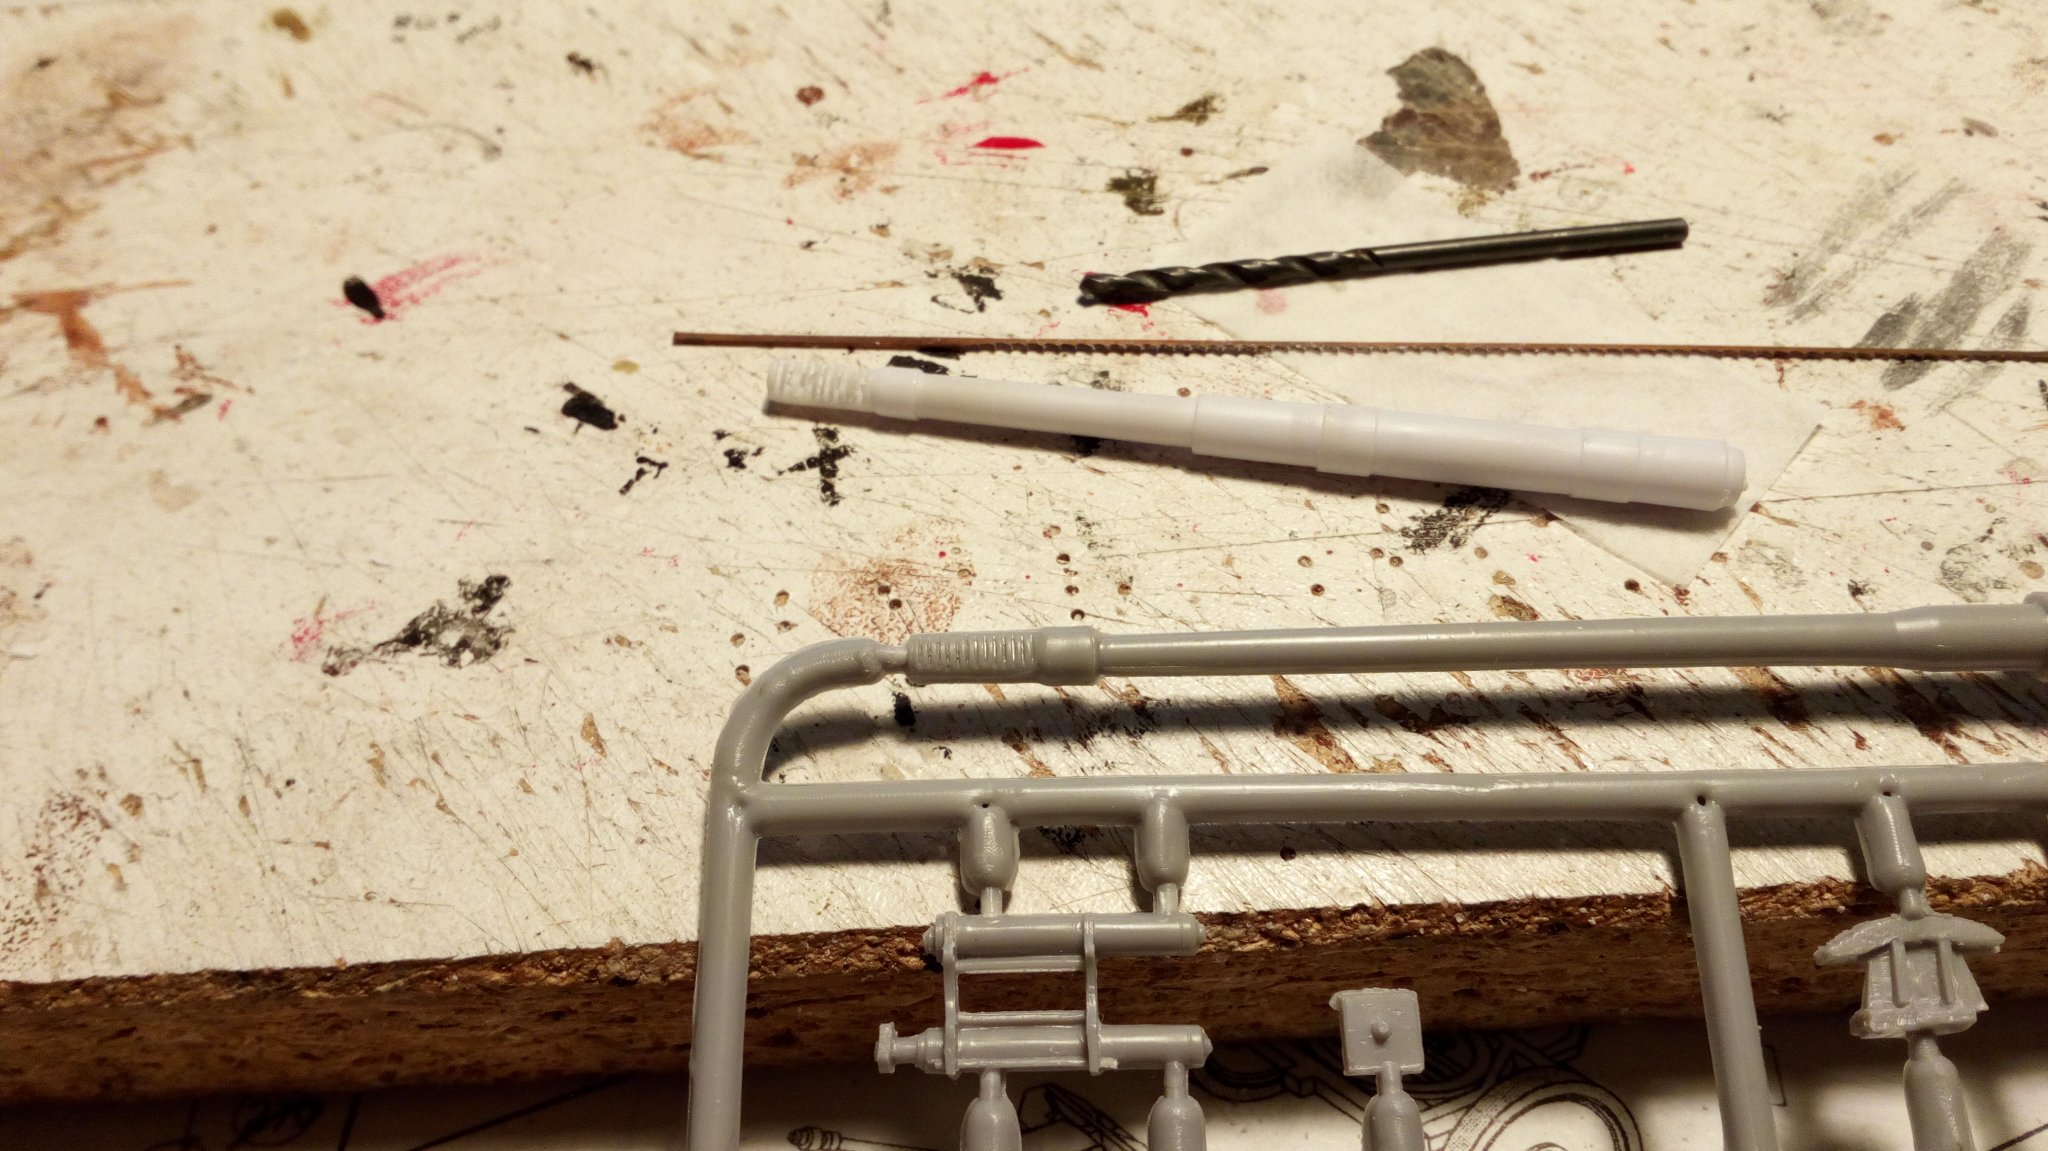
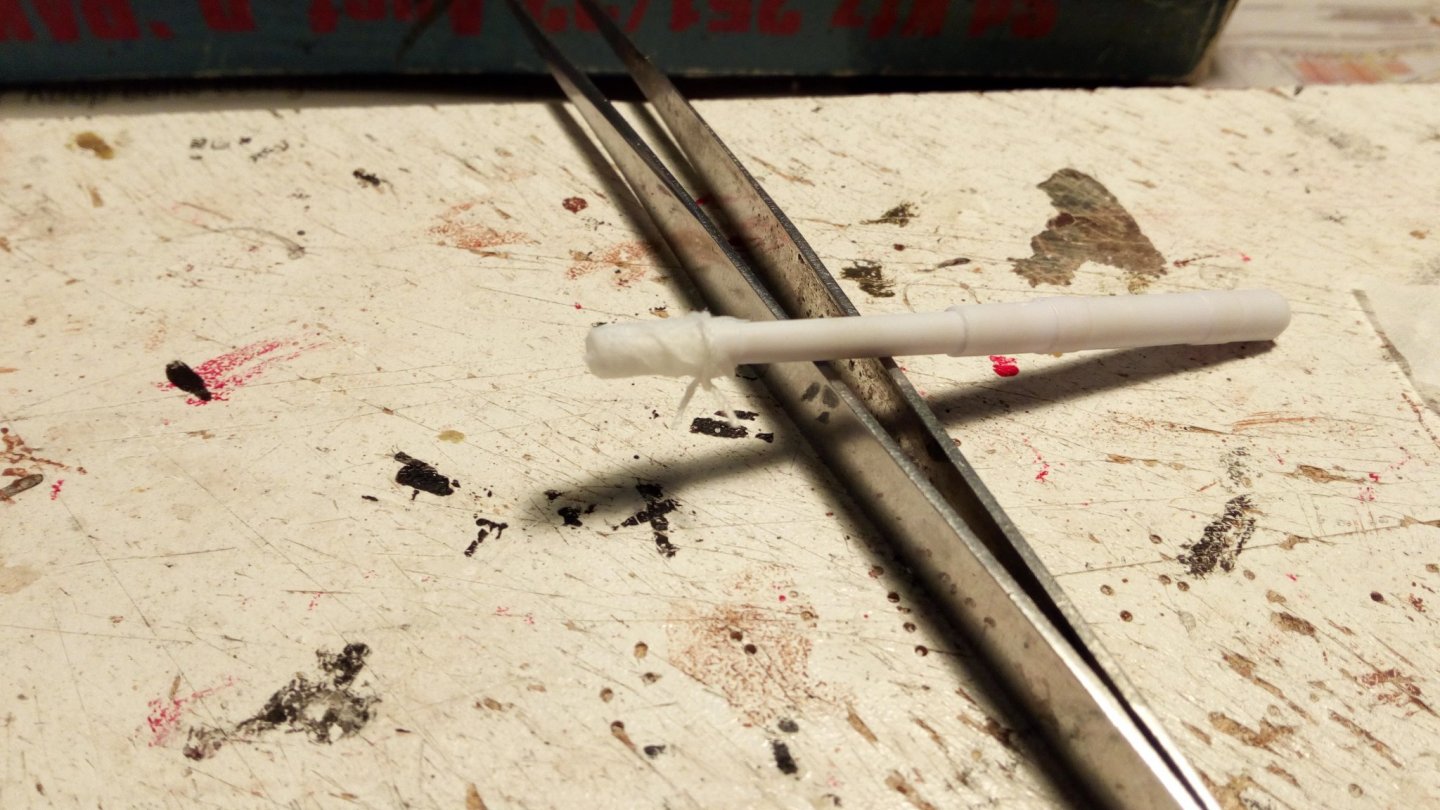
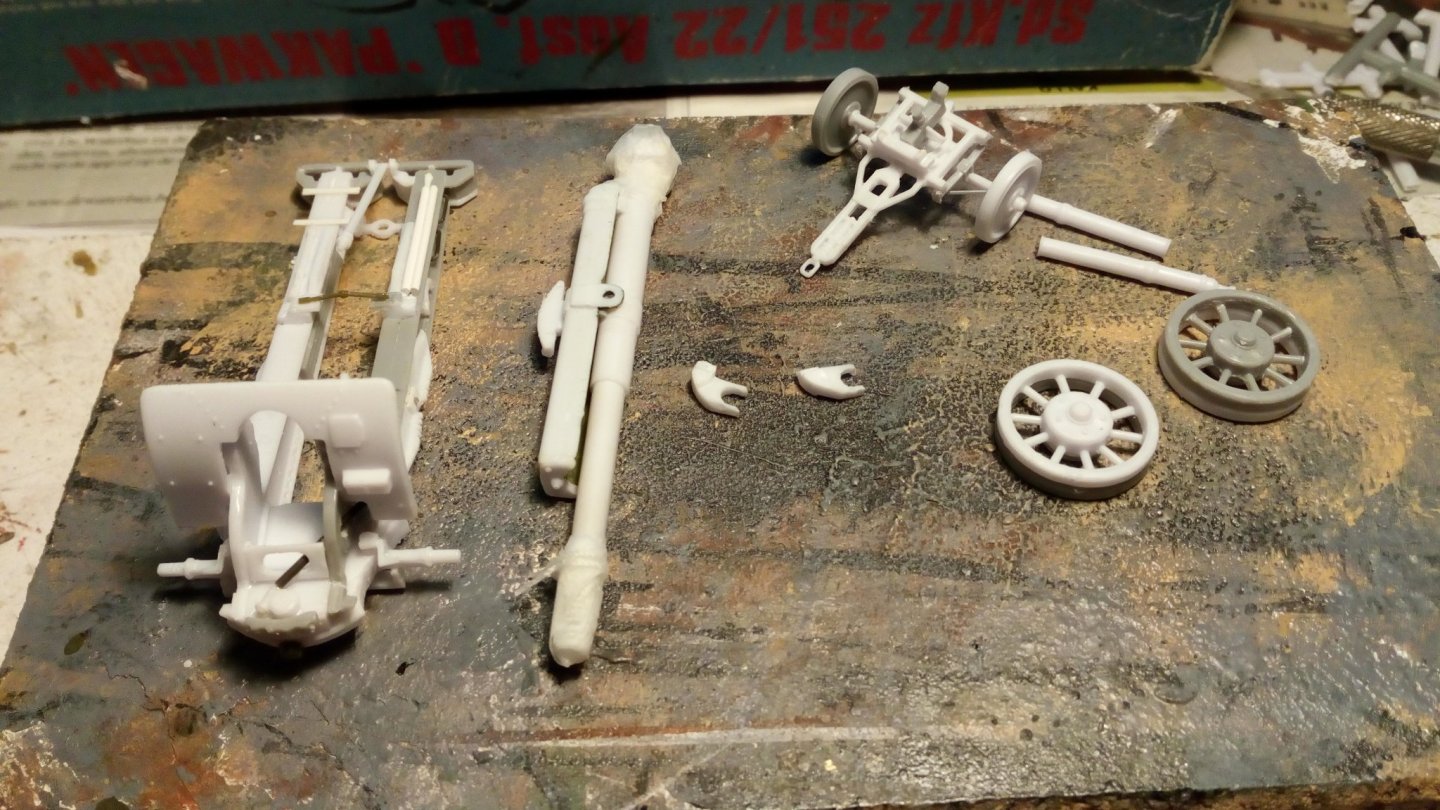
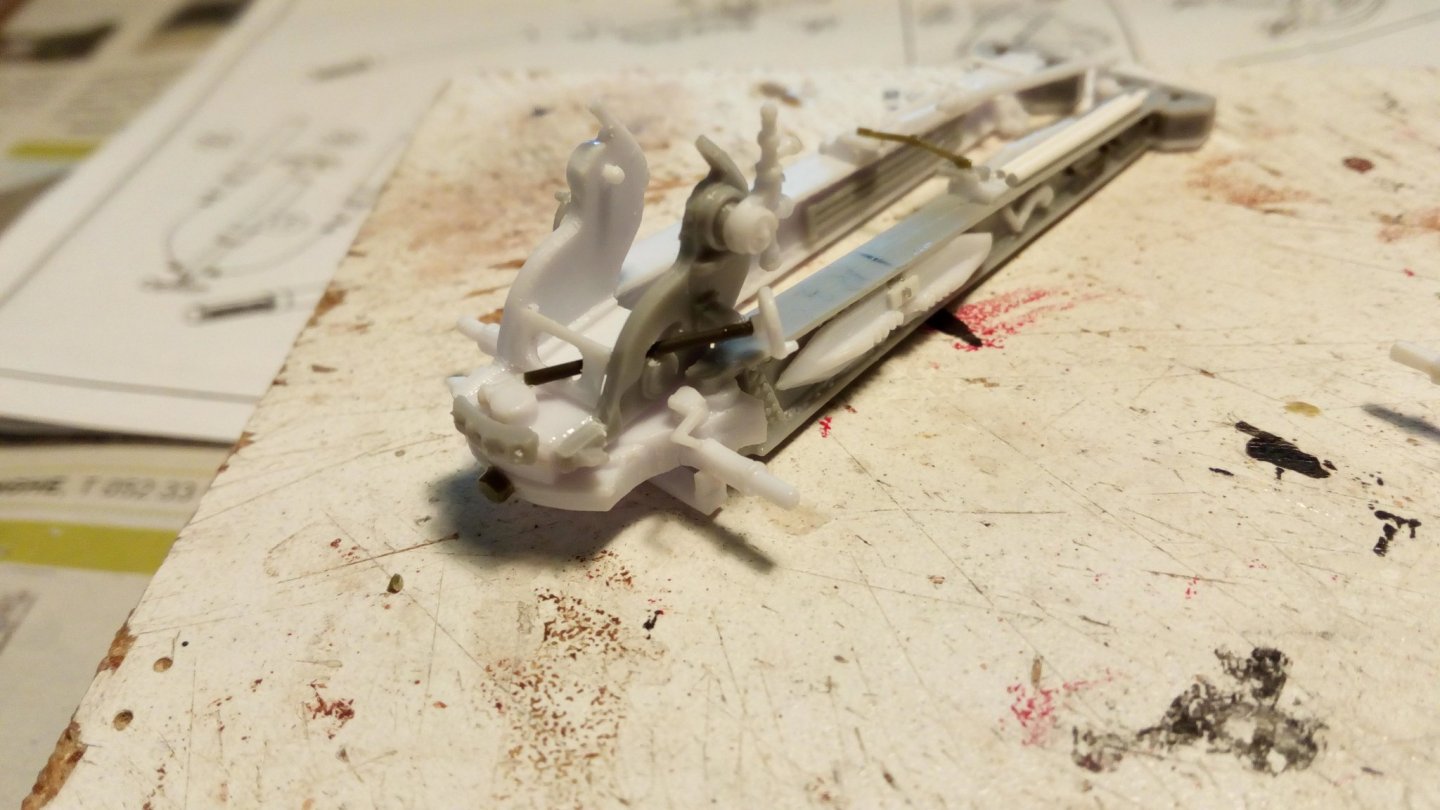
 Yes in real the 2 russian carriages were identical. Saves time in development and production. The German version was actually a quick emergency solution. How do I build an effective anti-tank gun against the Josef Stalin tanks that are becoming more and more numerous on the battlefield? Take an existing barrel and use captured Russian material. In the meantime, construction continues. Drilling out the barrels This part is cast so badly that plan B is needed. The 15.2 cm will be built in transport version, and is provided with canvas protection. The 3 cannons are built as far as possible before painting.


-
Another brave fool(from South Africa)
Baker replied to The Bitter End's topic in New member Introductions
Hello from Belgium. And -
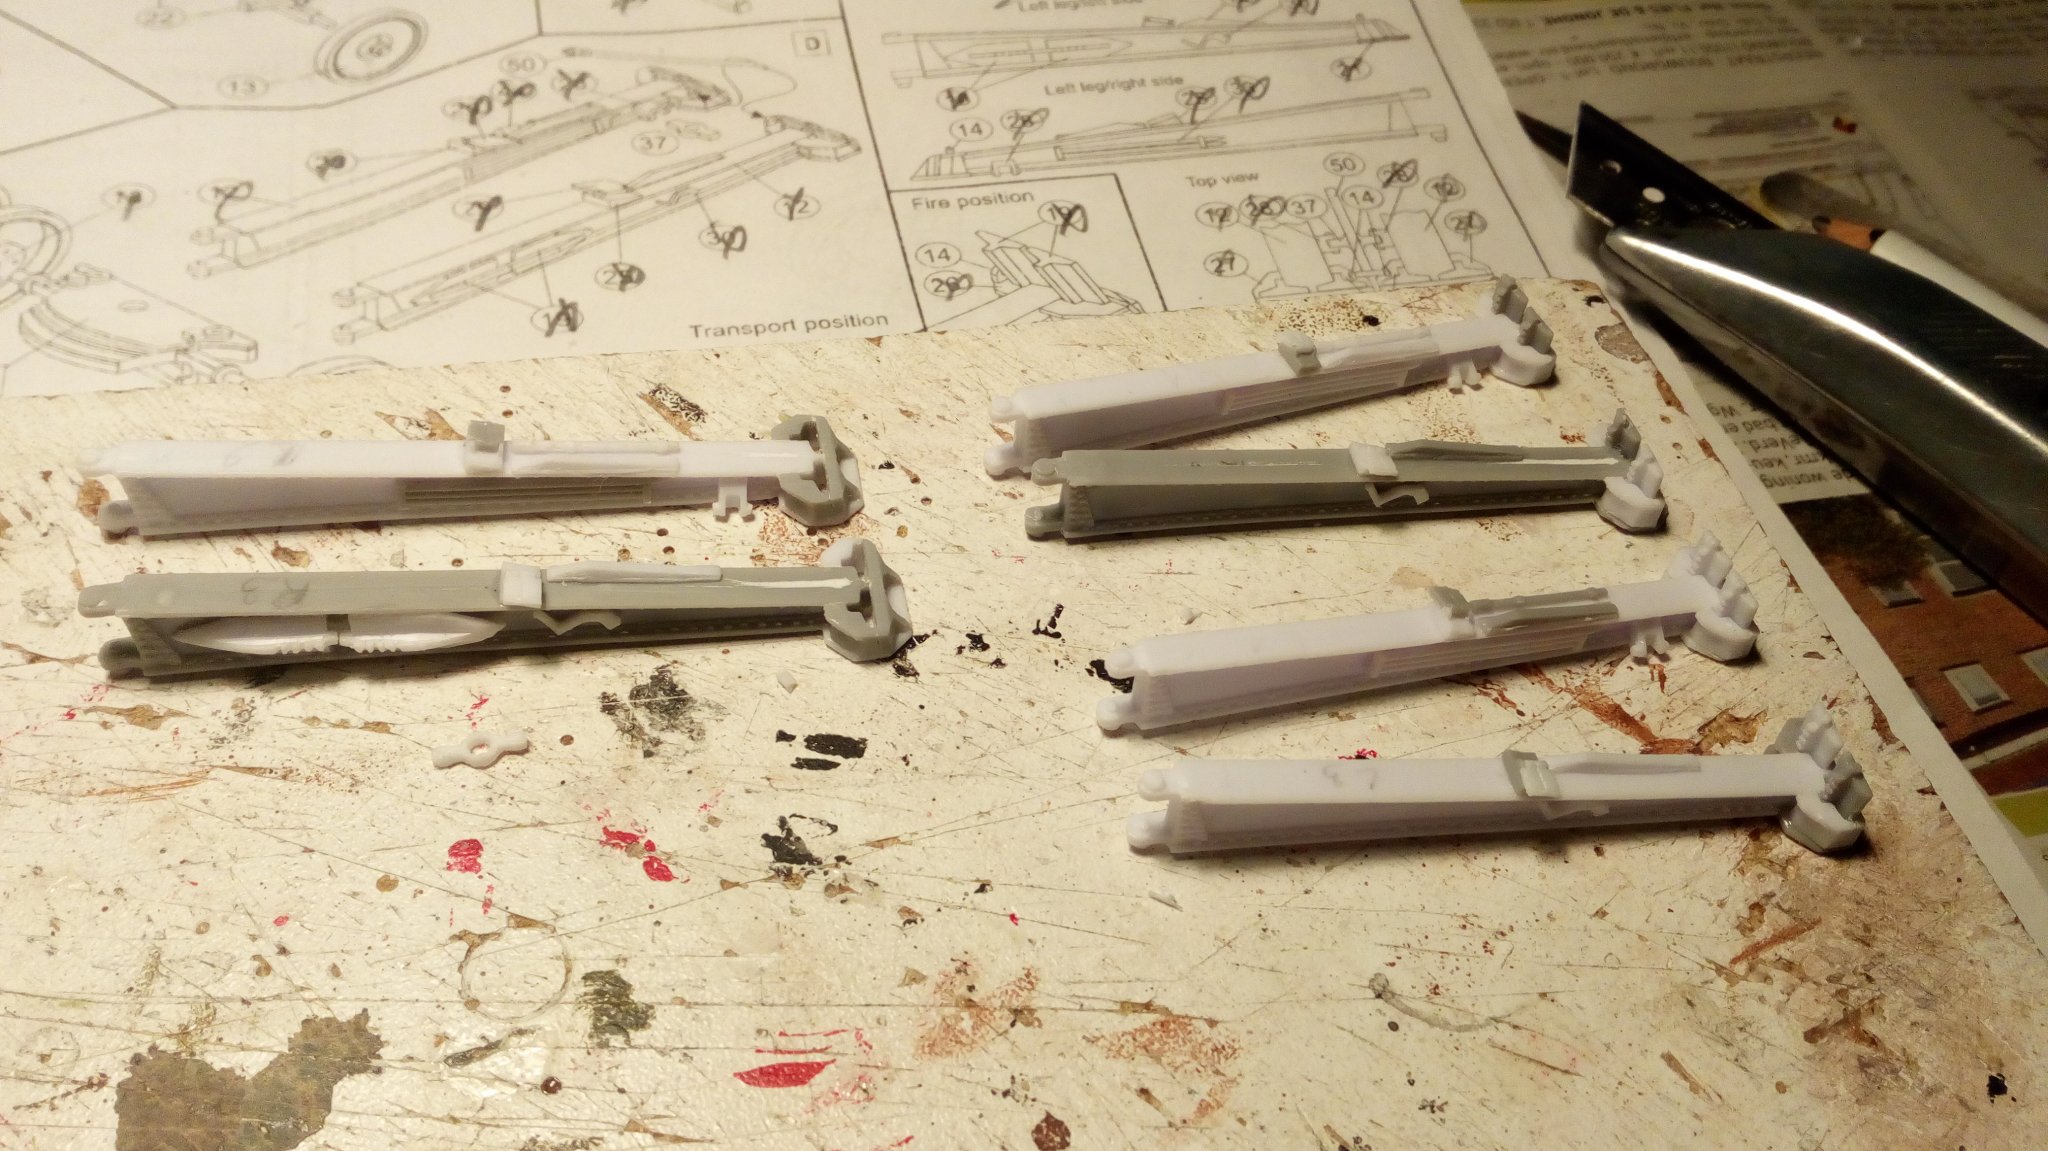
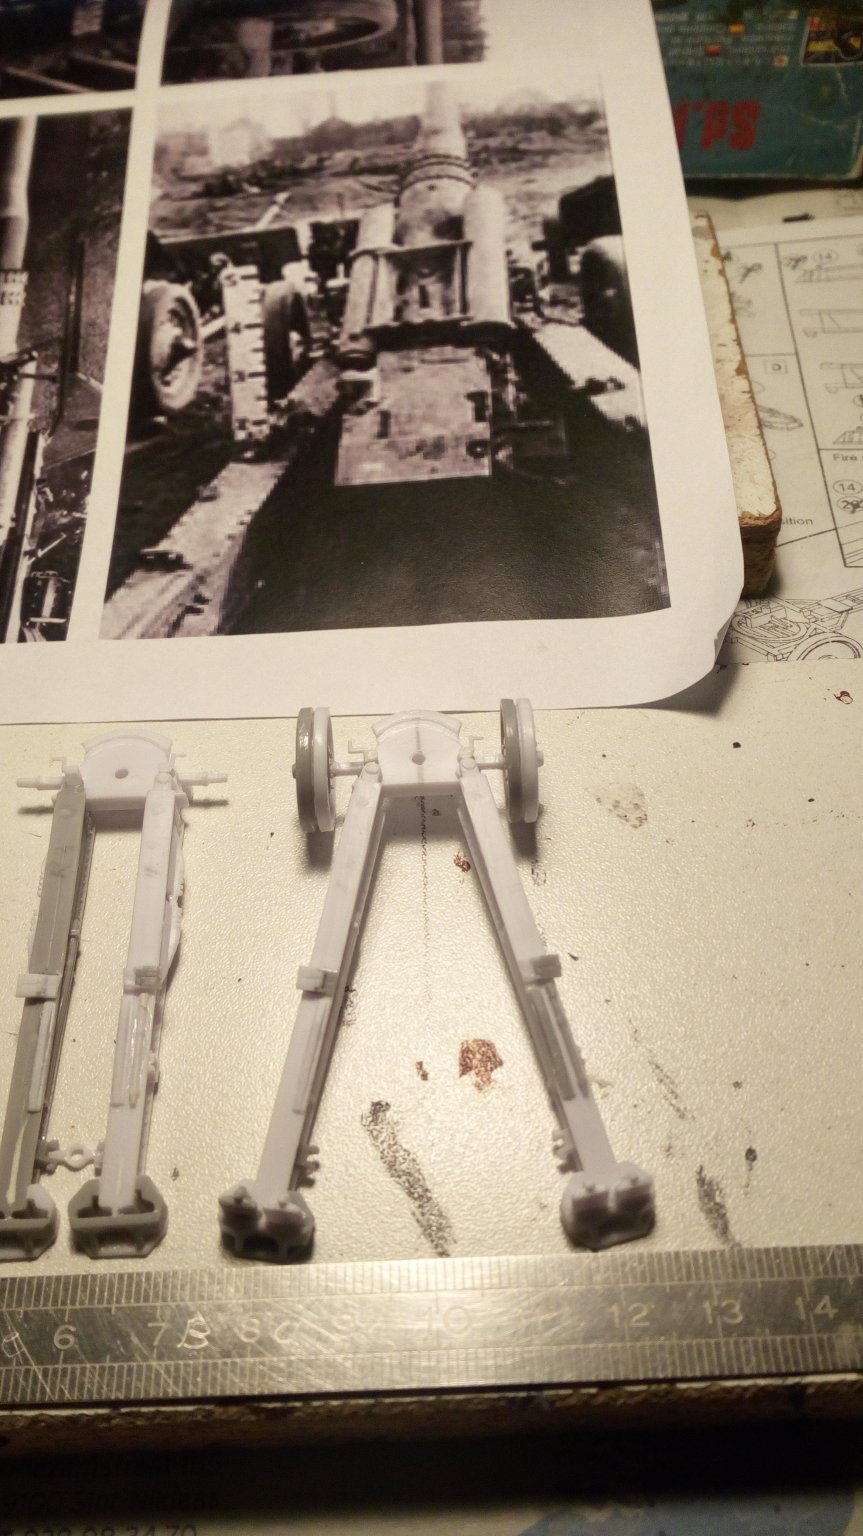
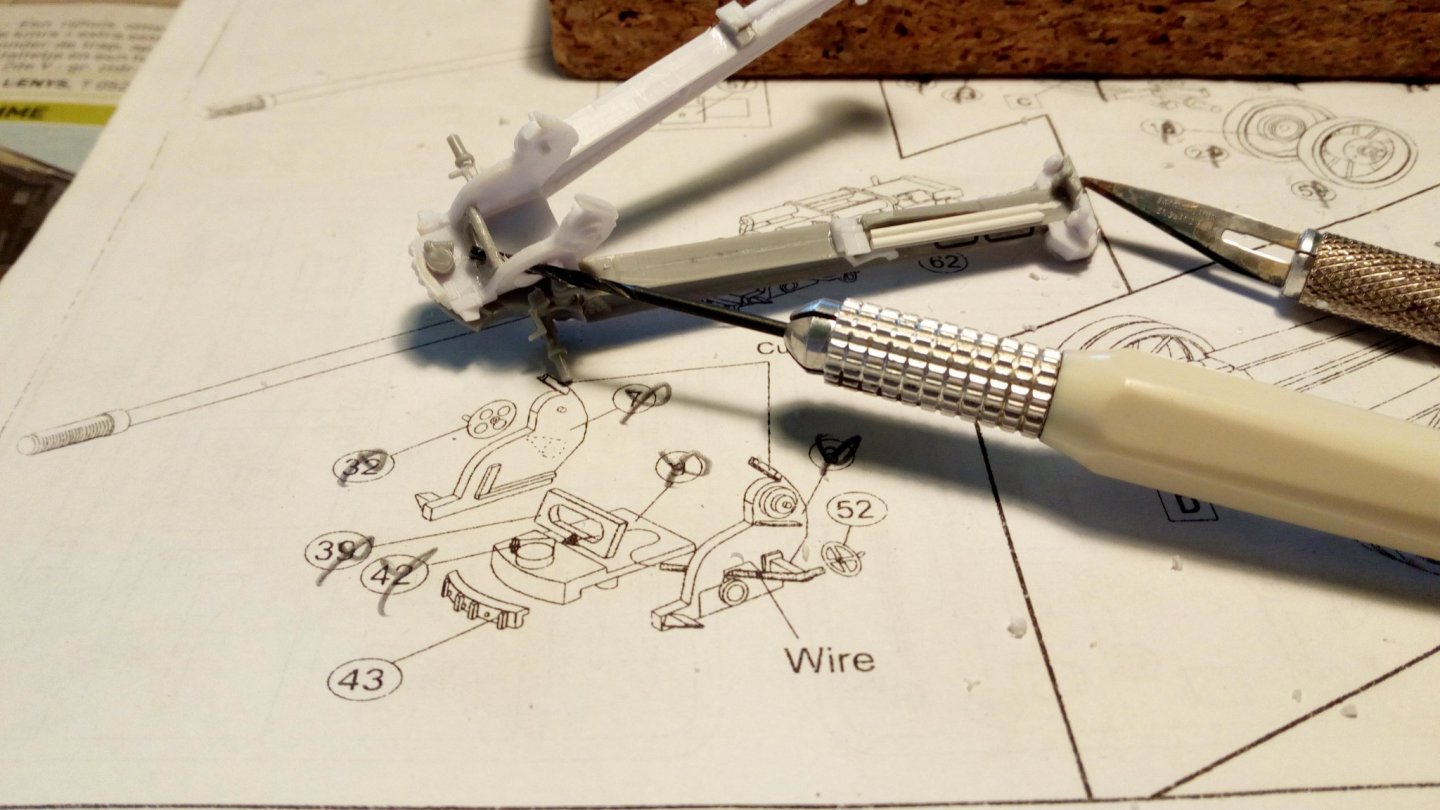
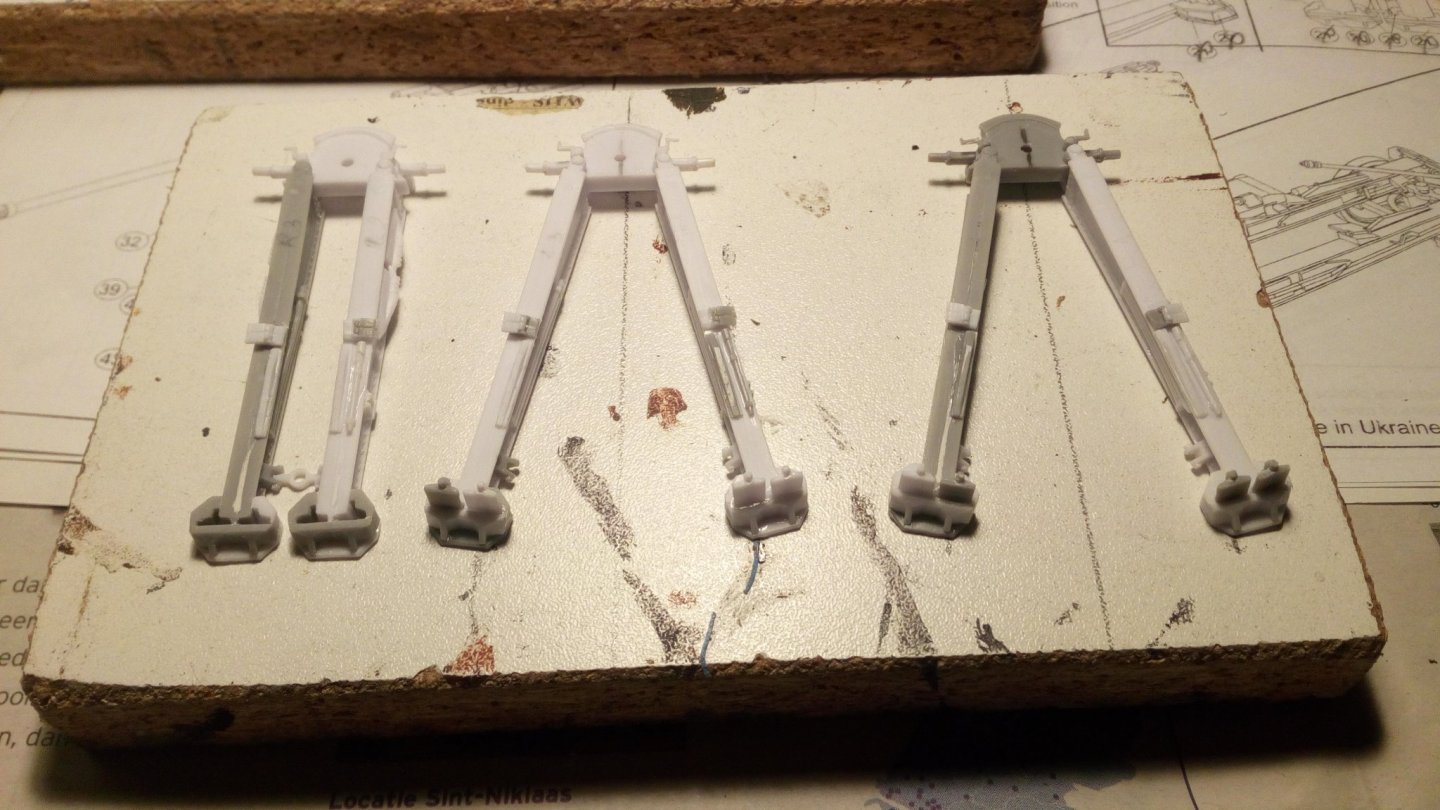
These are to absorb the recoil during firing. They are actually 4 heavy metal pins that were driven into the ground. This way the cannon remained in place during the firing (a cumbersome way to set up a canon). Other versions have a kind of spade directly attached to the back of the legs of the carriage (setting up is of course much faster). see the pak 40 below The carriage in transport arrangement also has these 4 pins. attached to the sides of the legs (foto from internet)
-
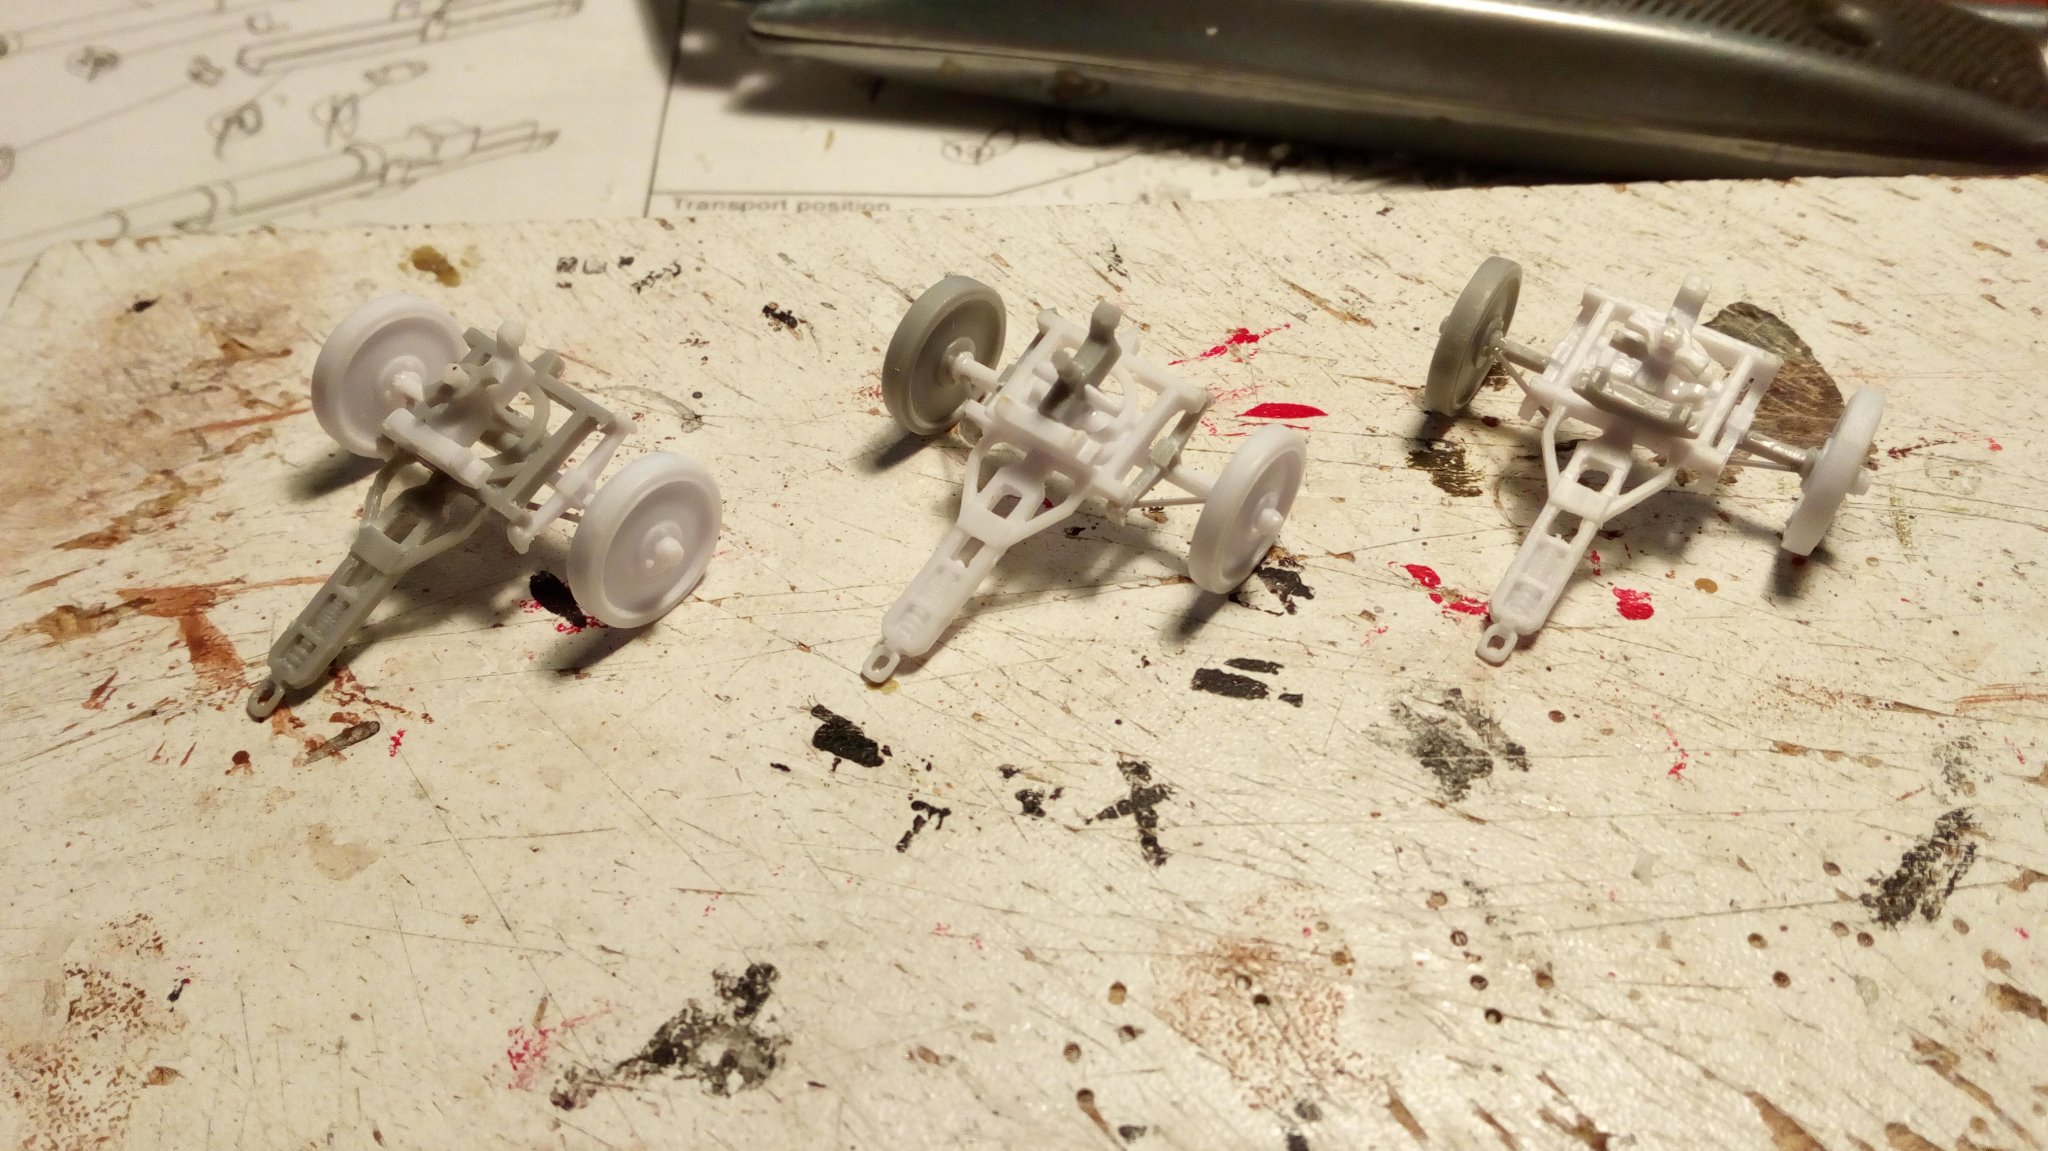
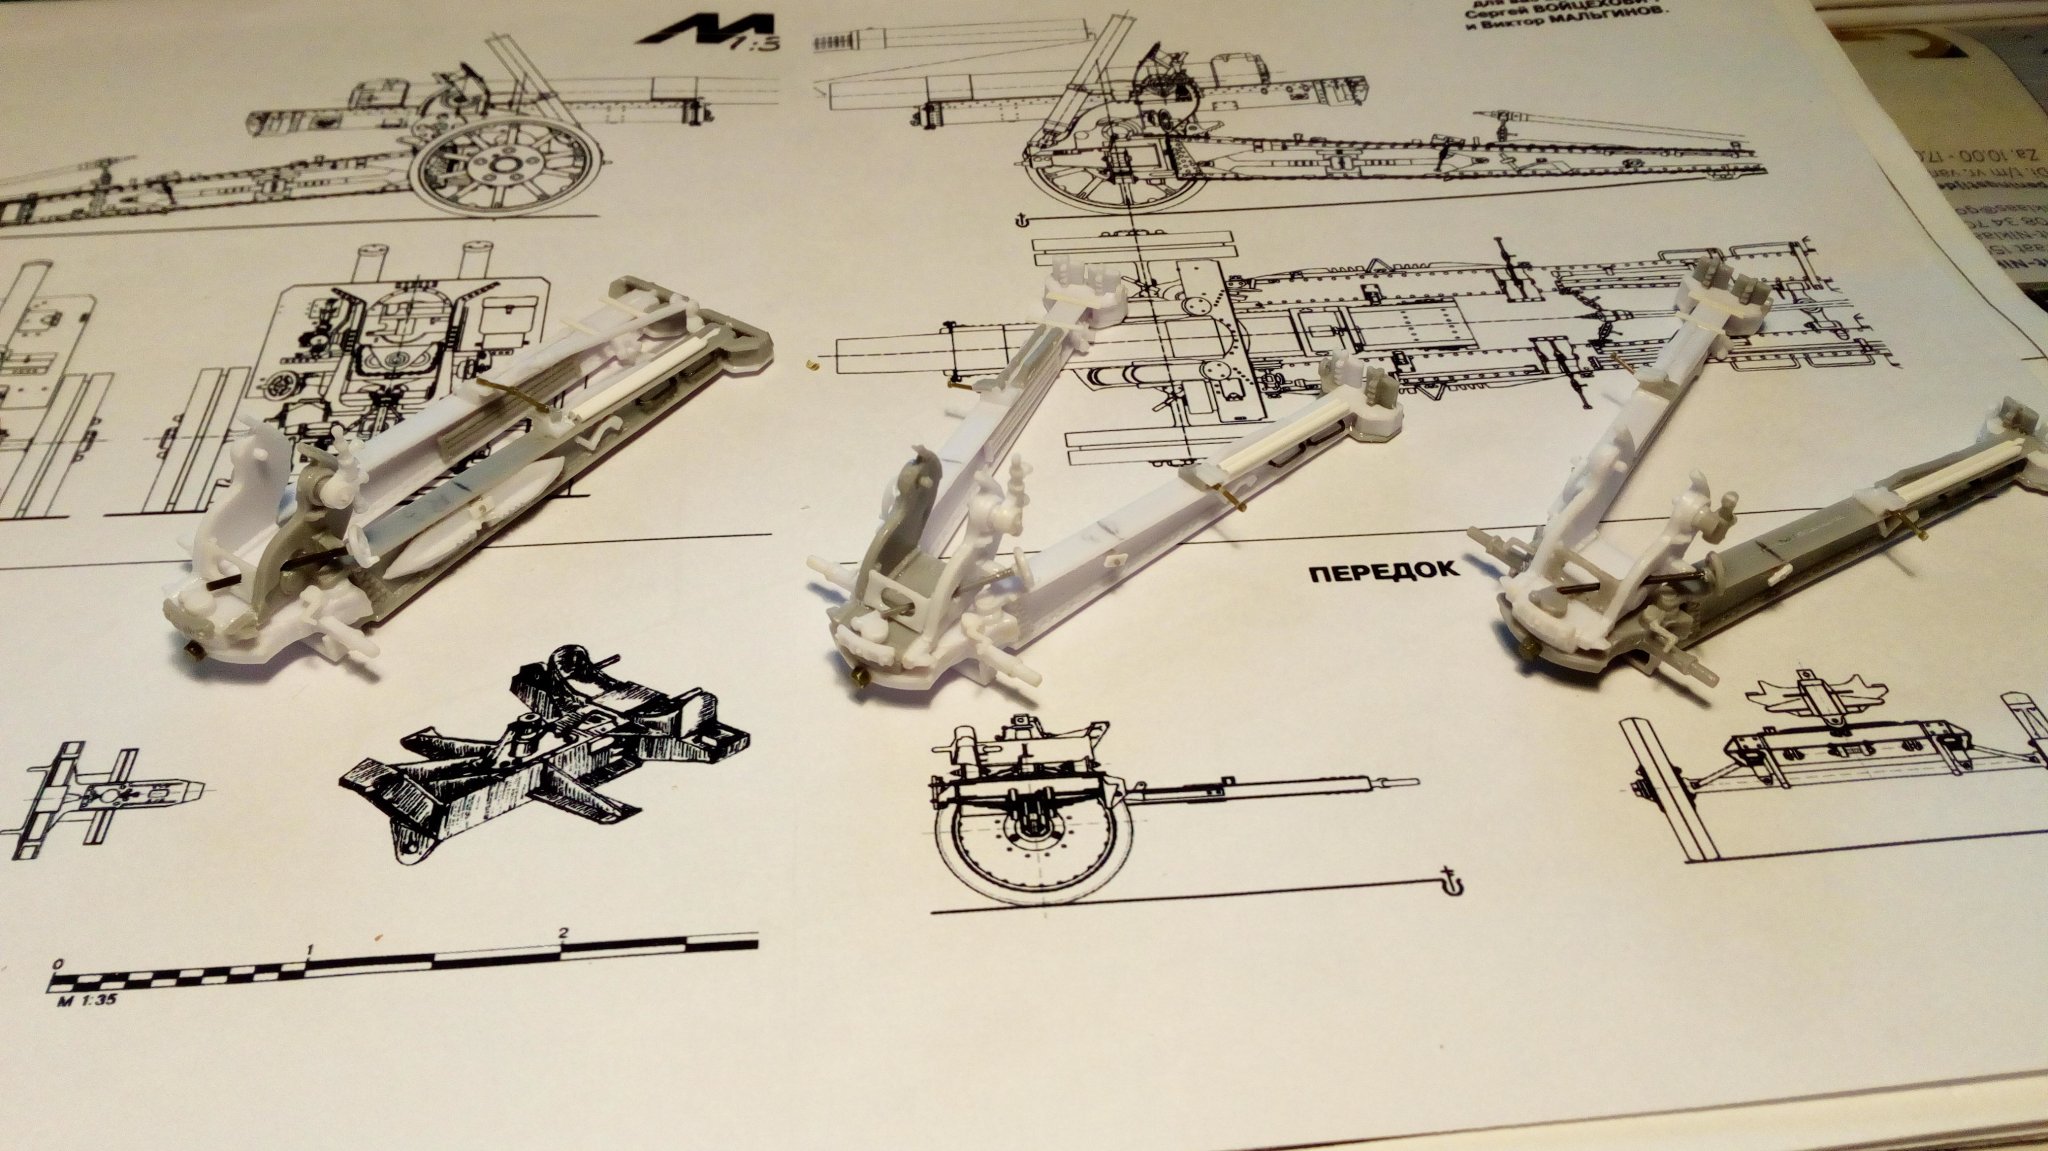
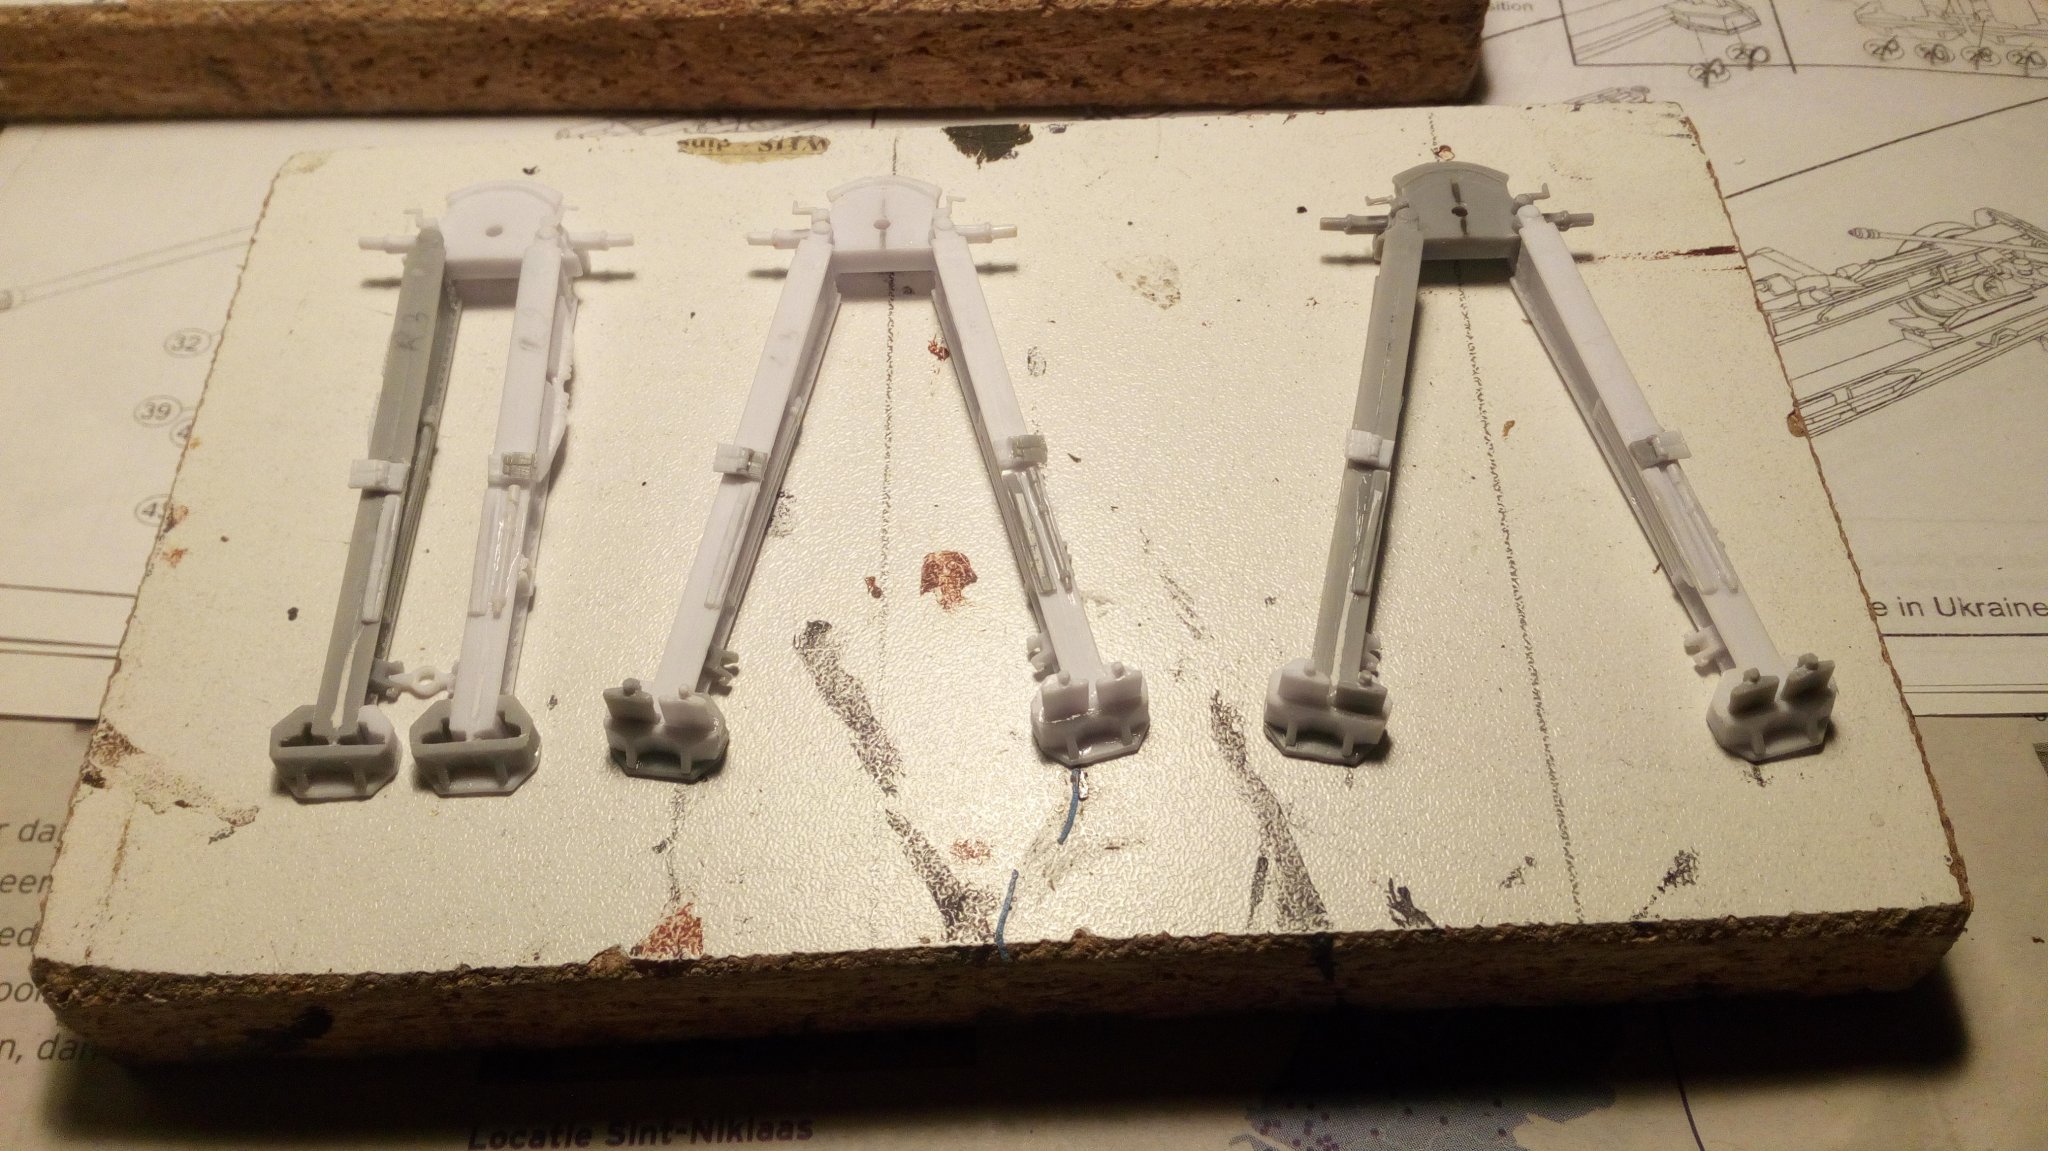
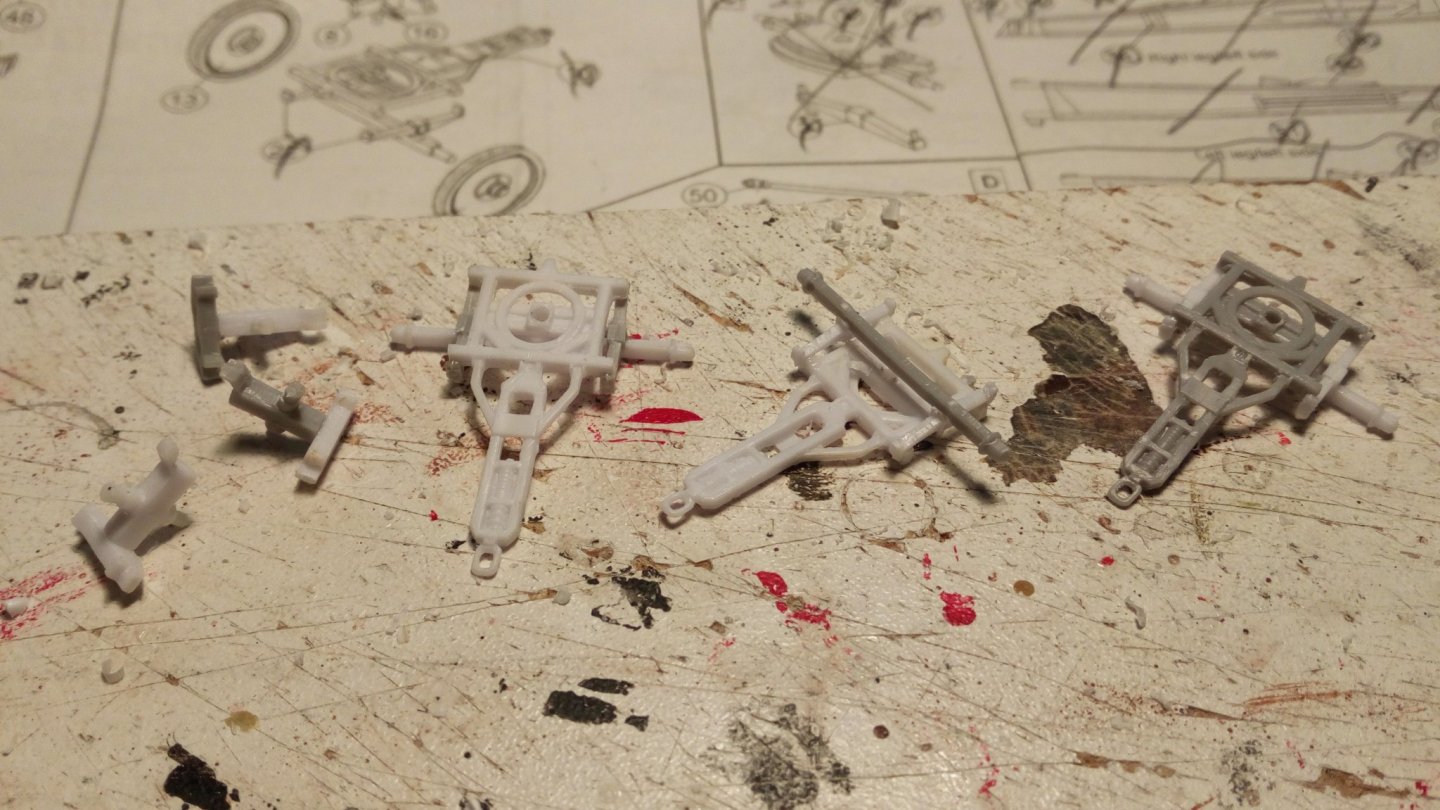
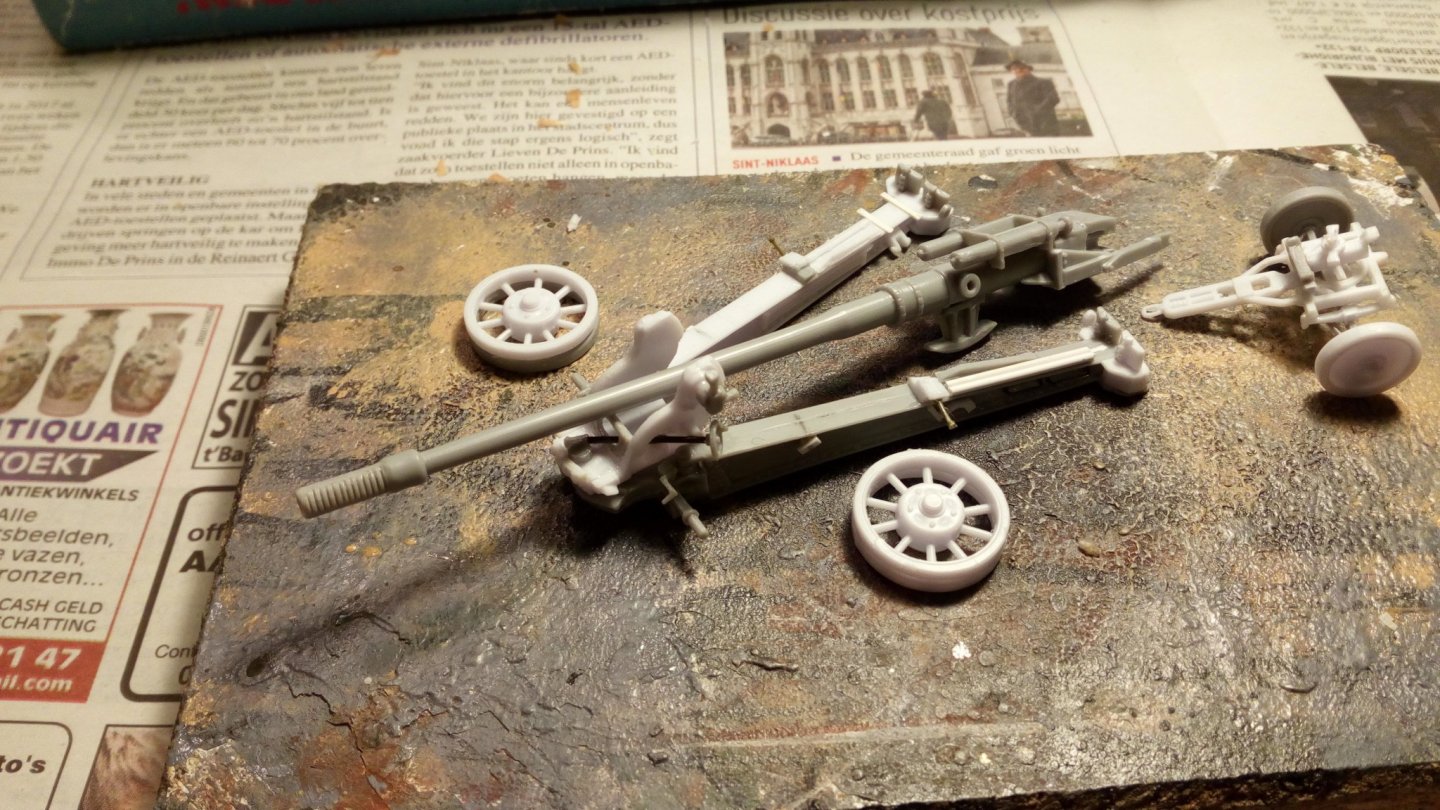
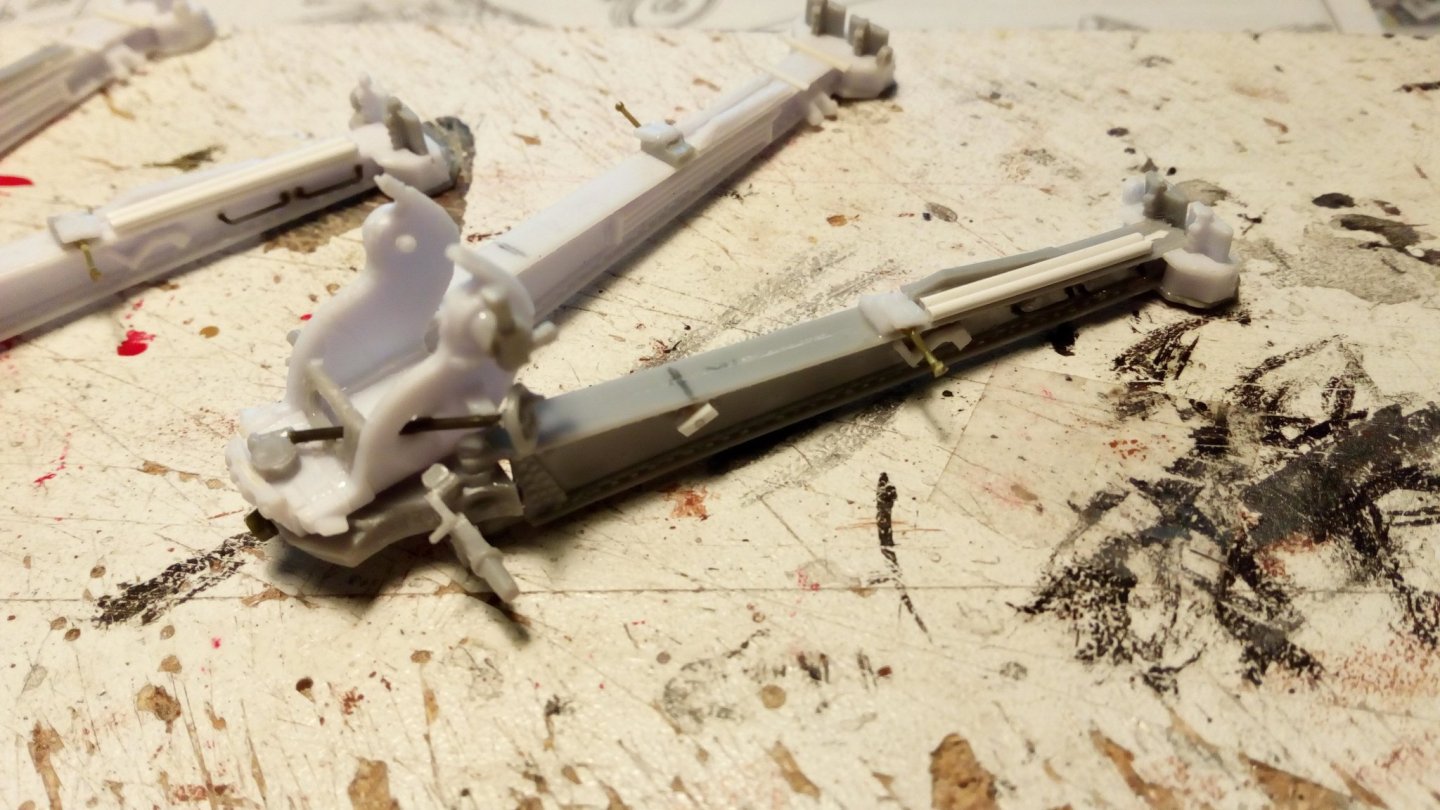
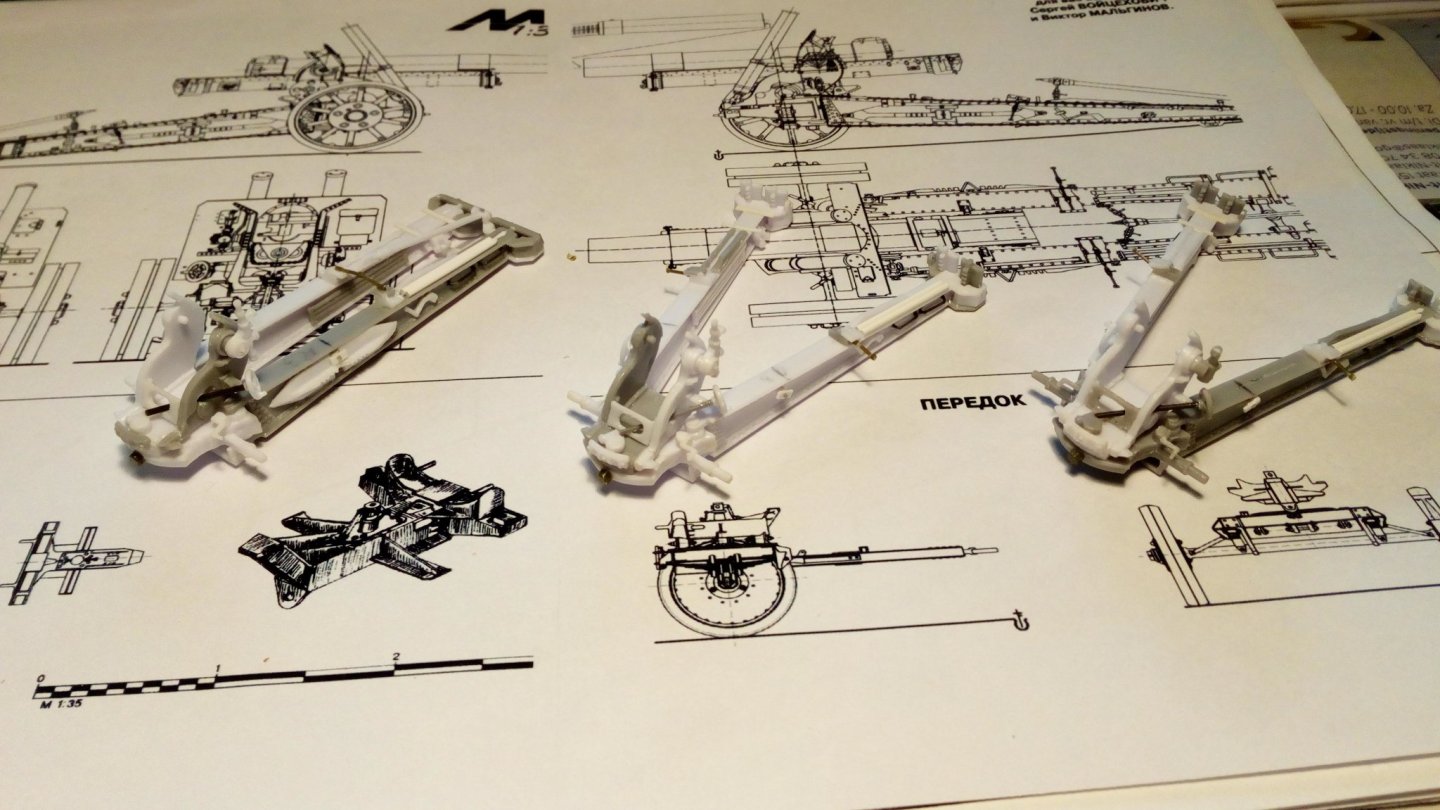
Progress with the carriages. With short run kits you sometimes have to drill holes and fabricate extra parts The three carriages are almost ready. Extra details are added here and there. Thanks for watching.

-
Rebuild a ship model kit?
Baker replied to ubjs's topic in Building, Framing, Planking and plating a ships hull and deck
My idea because I then think I could build it better I have this problem with every model that I build. Once it is finisht, errors pop up. I learn from my mistakes and try not to do them anymore in the next model. How much of the material could I reuse if I tear it down? That depends on how much you want to change. And how much would the new material cost, approx? Dont now, but buying a new kit and starting over is probably the cheapest, I think. -
Neither is my English ( thank you, google translate ).
-
Greetings, And
-
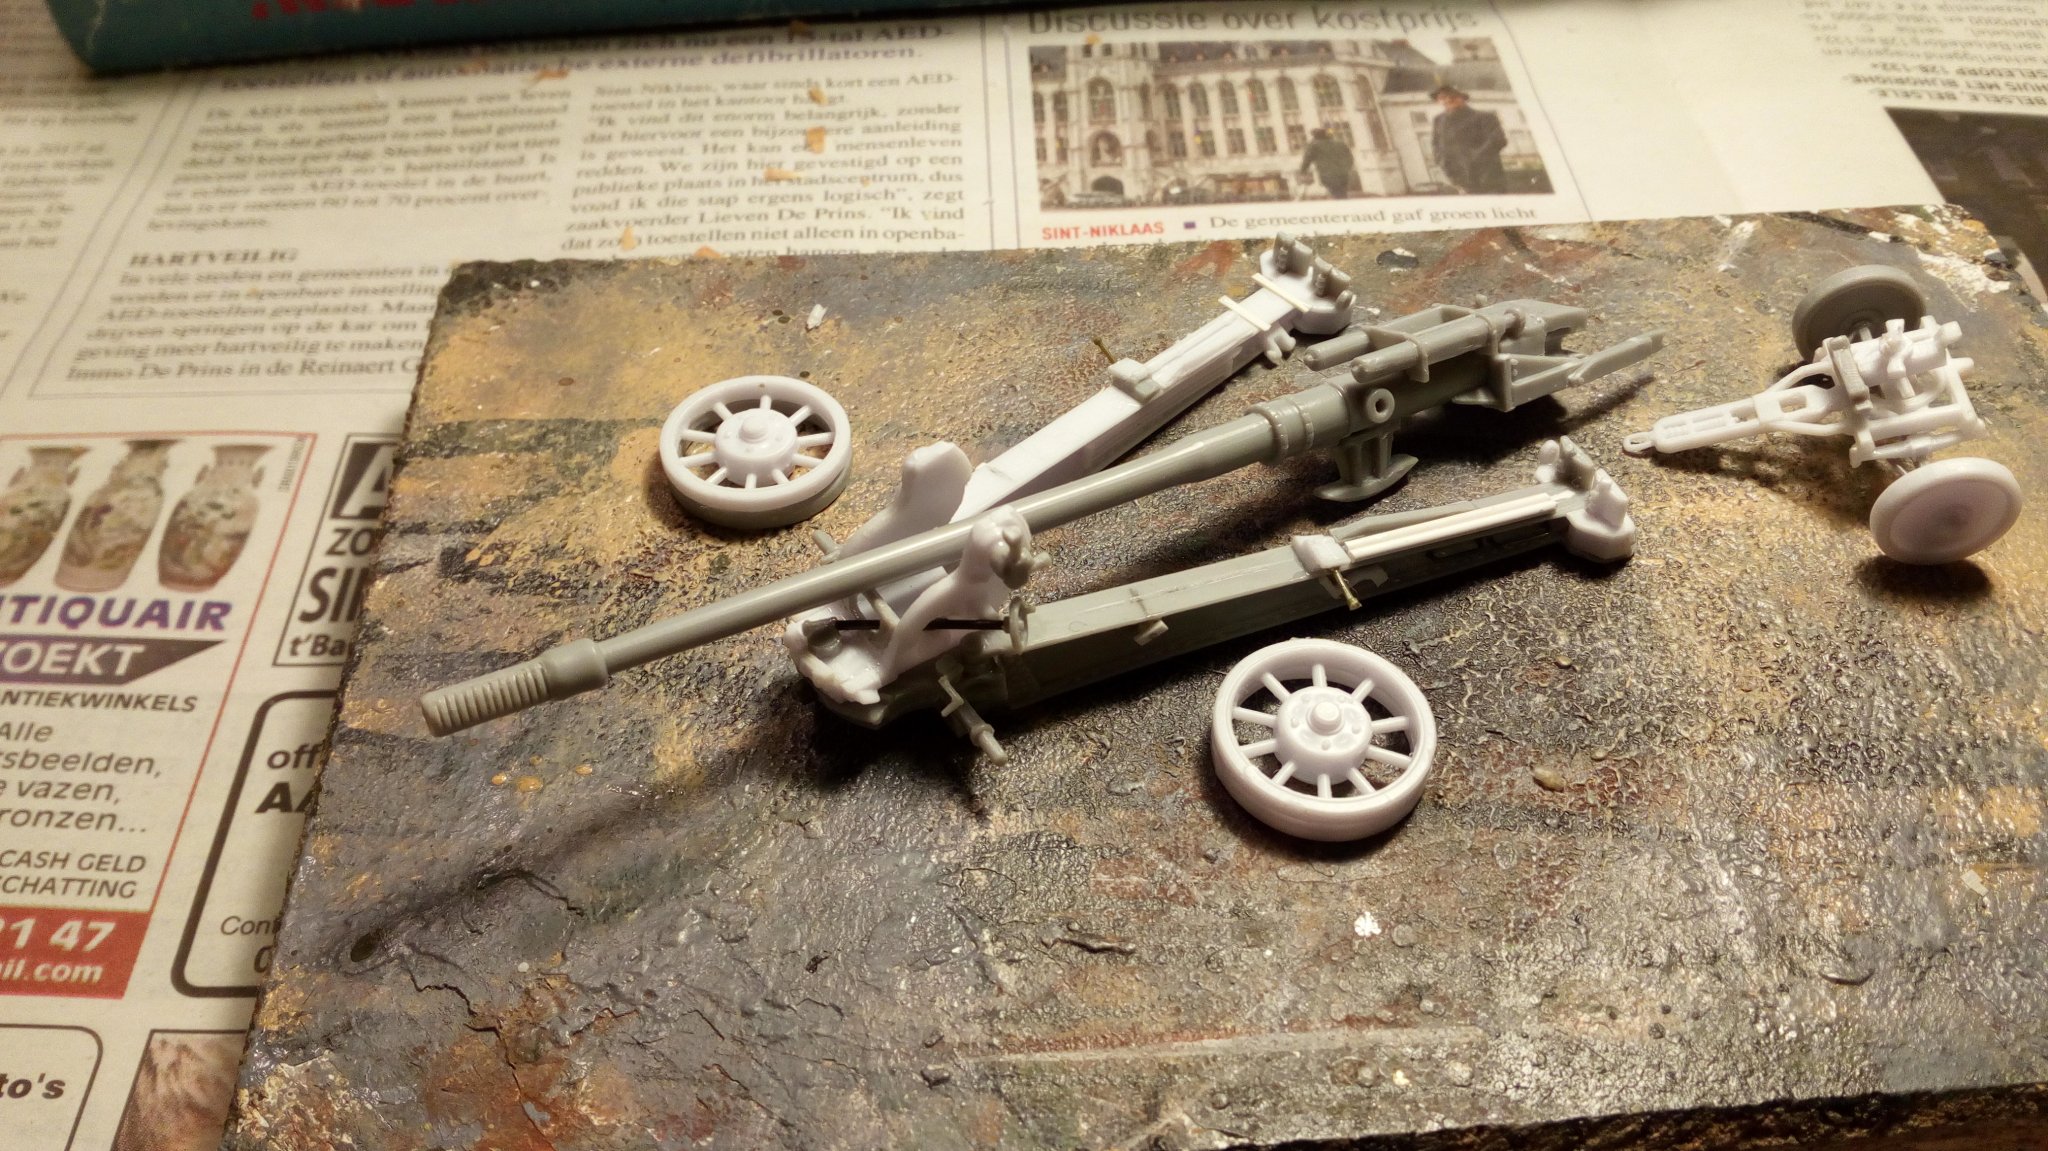
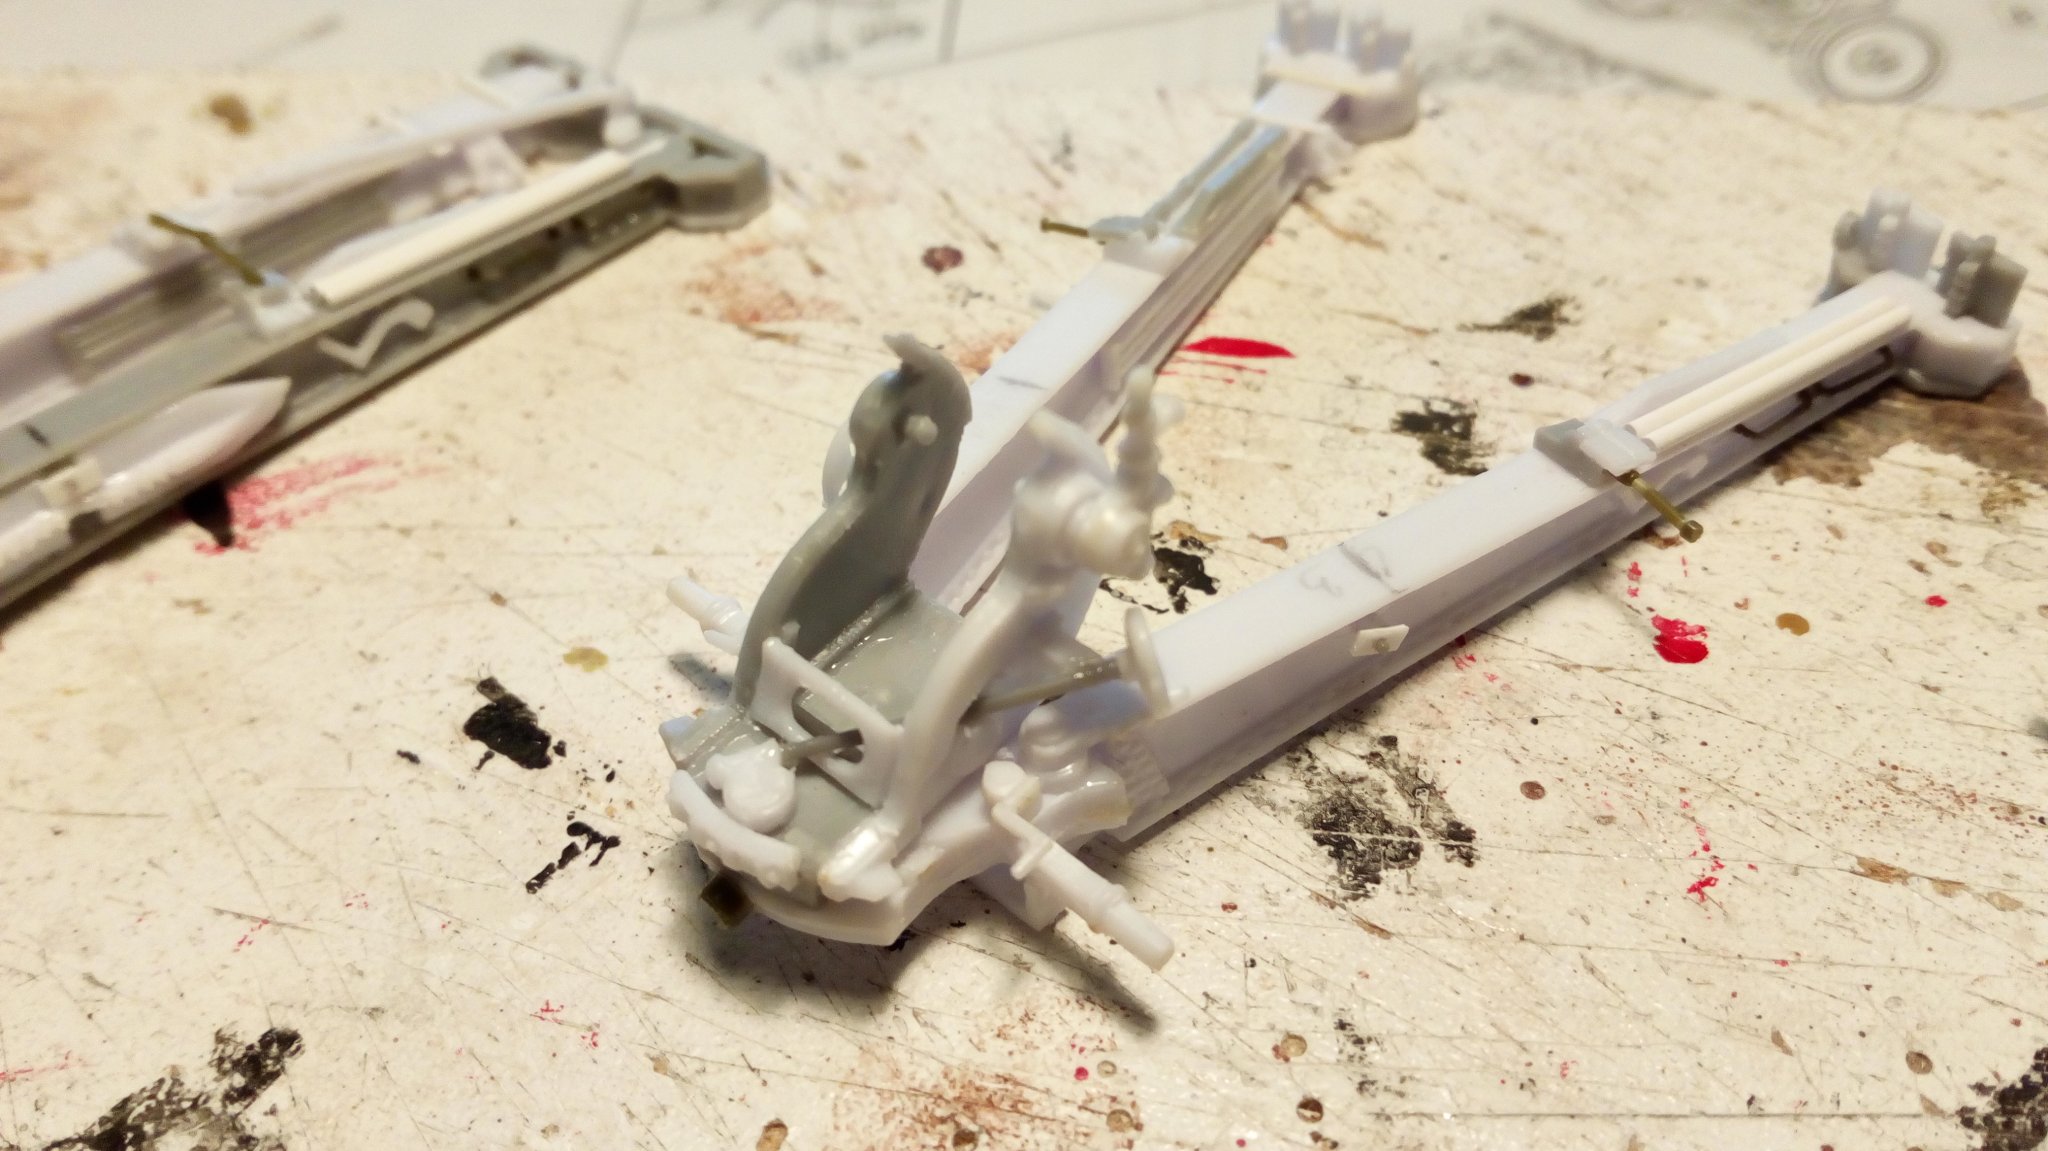
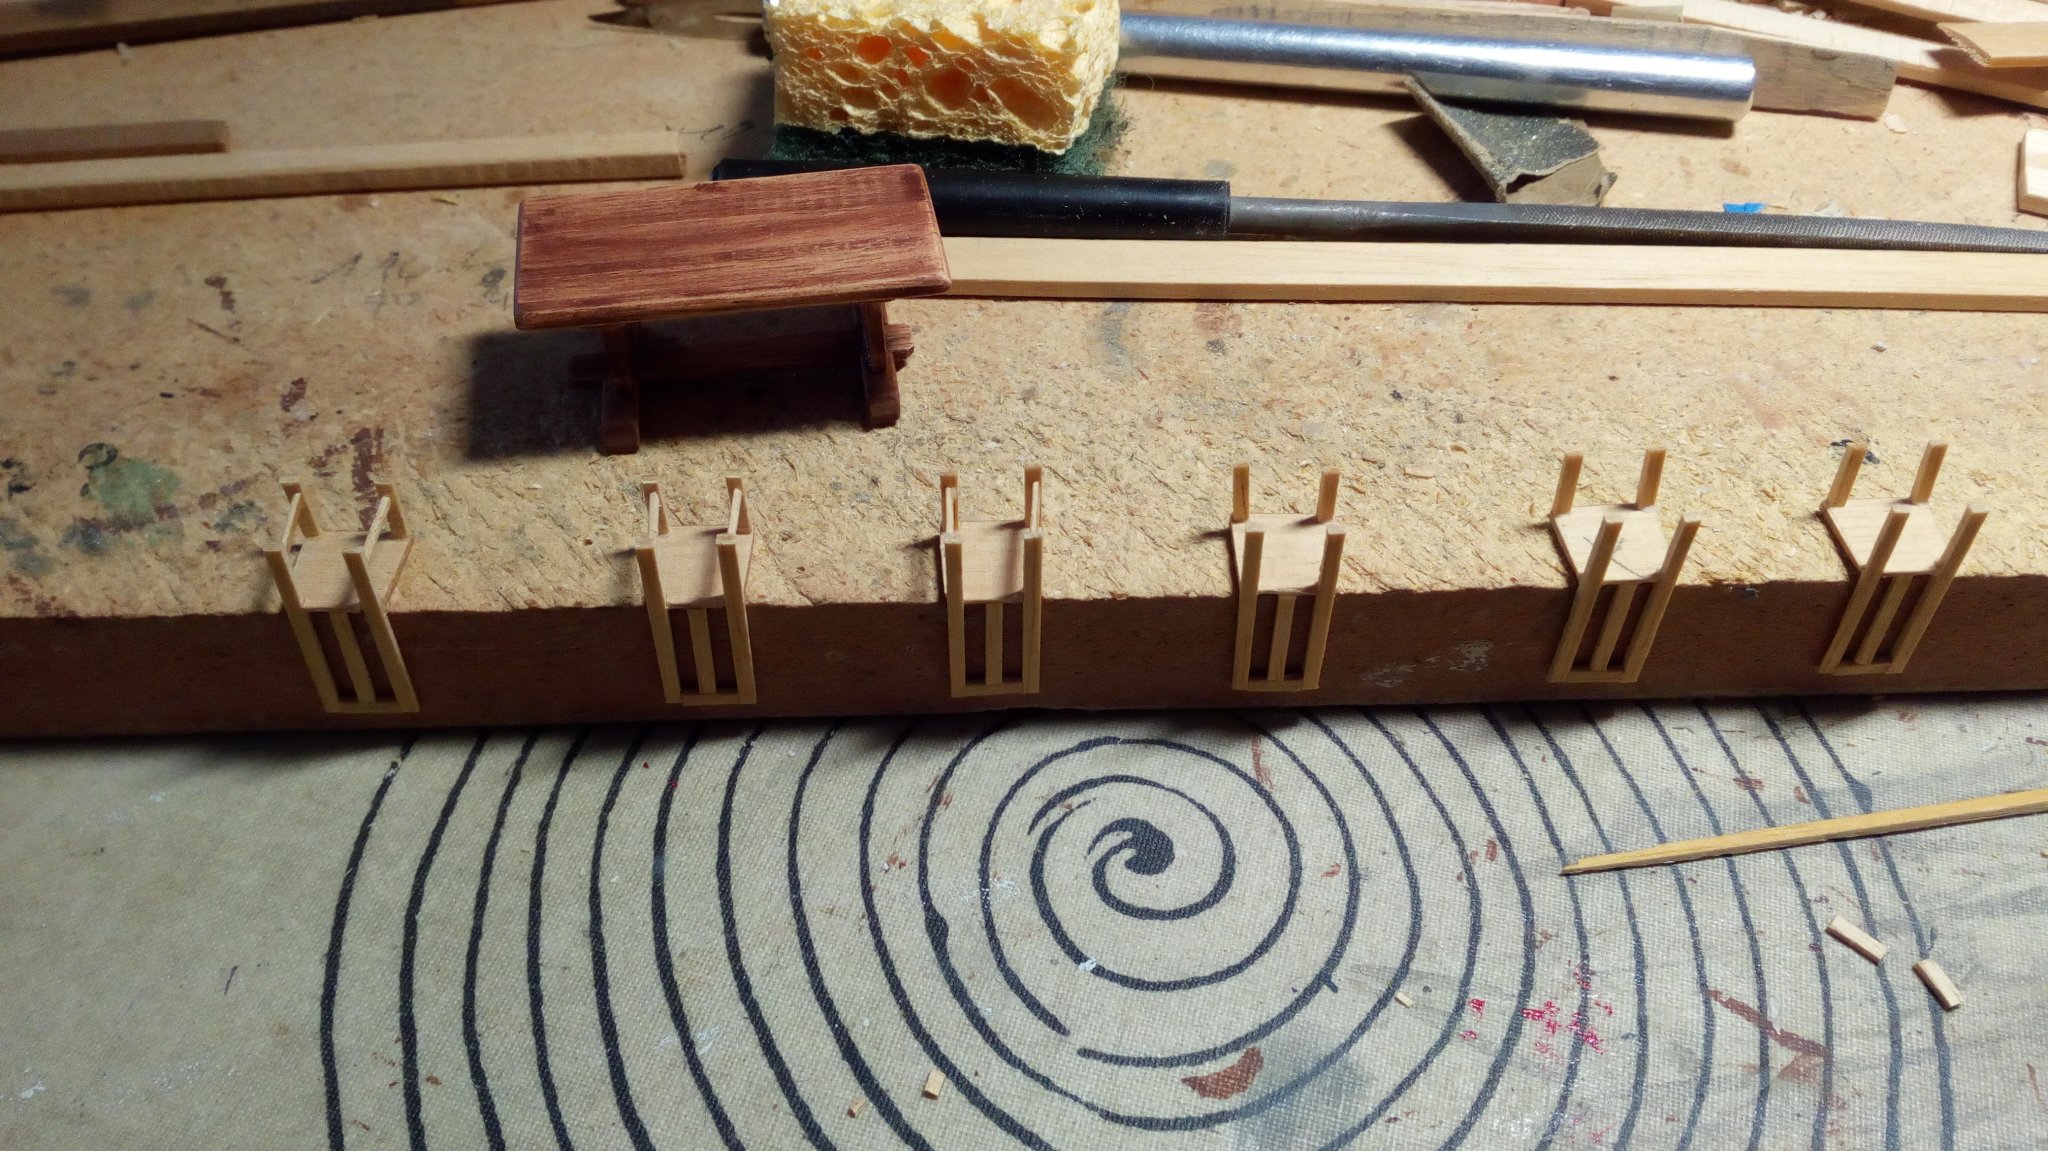
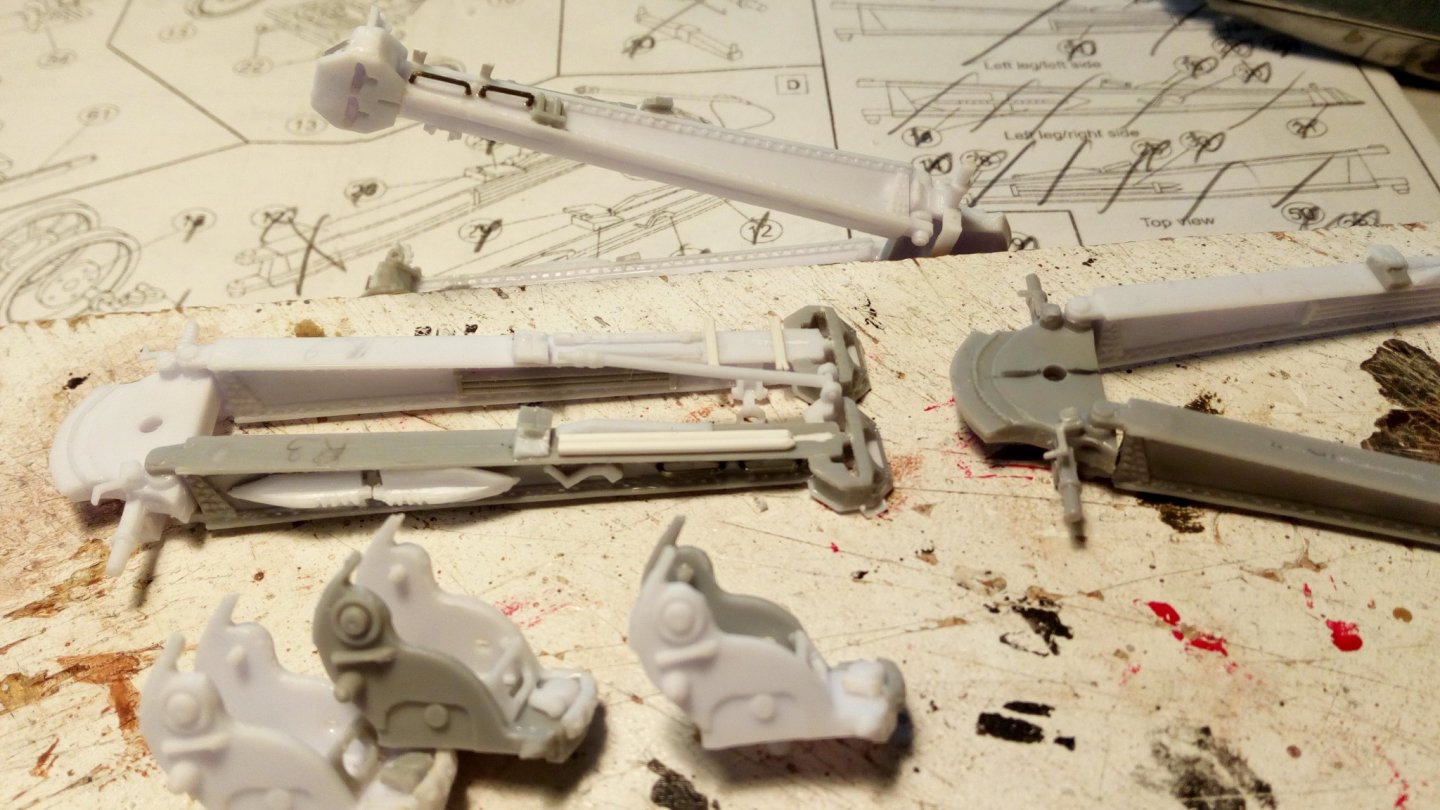
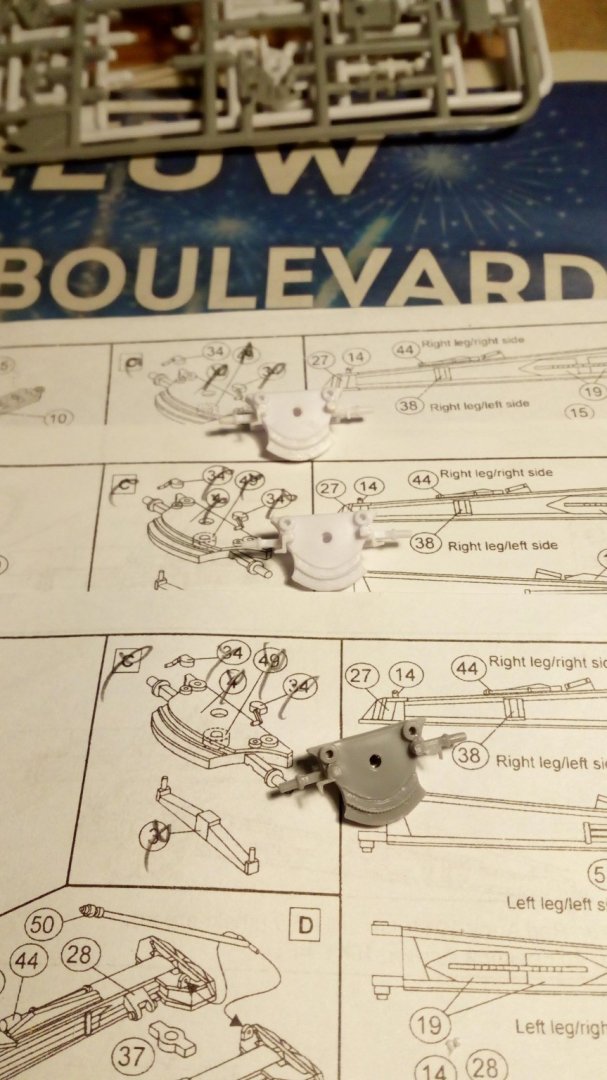
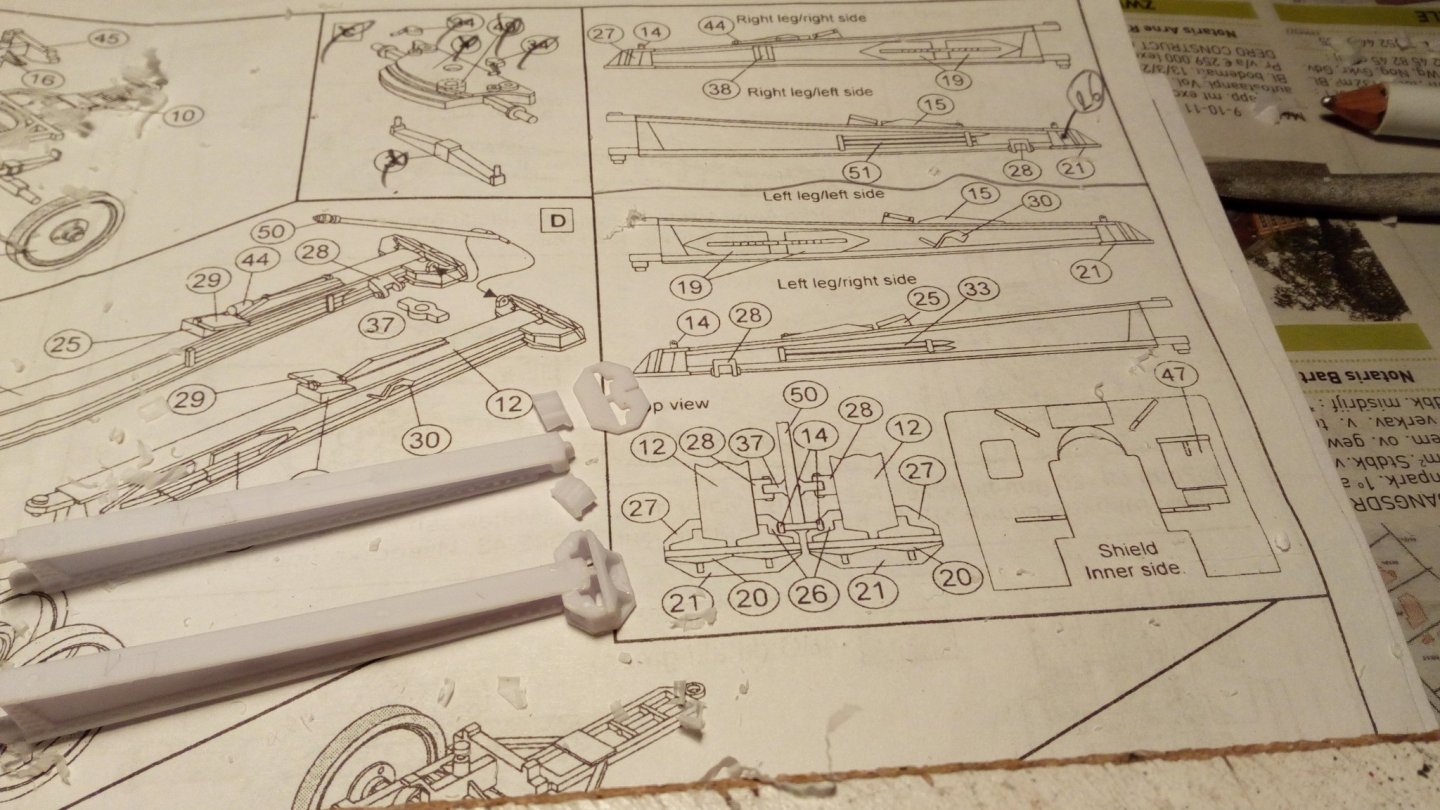
The legs of the carriages are further built according to plan. Estimate the angle in which the legs are placed, a photo of the 12.8 cm Pak is used for this. Legs glued and drying. Later some extra details will be added. 1 cannon is build in transport position and 2 in firing position.


-
-
Greetings, Patrick
-
@ GL I prefer, as good as possible, in a lower acceleration. It remains a hobby for me. @ Michael Yes, the idea is to build a model with full rigging and sails. Thanks for comments and likes
-
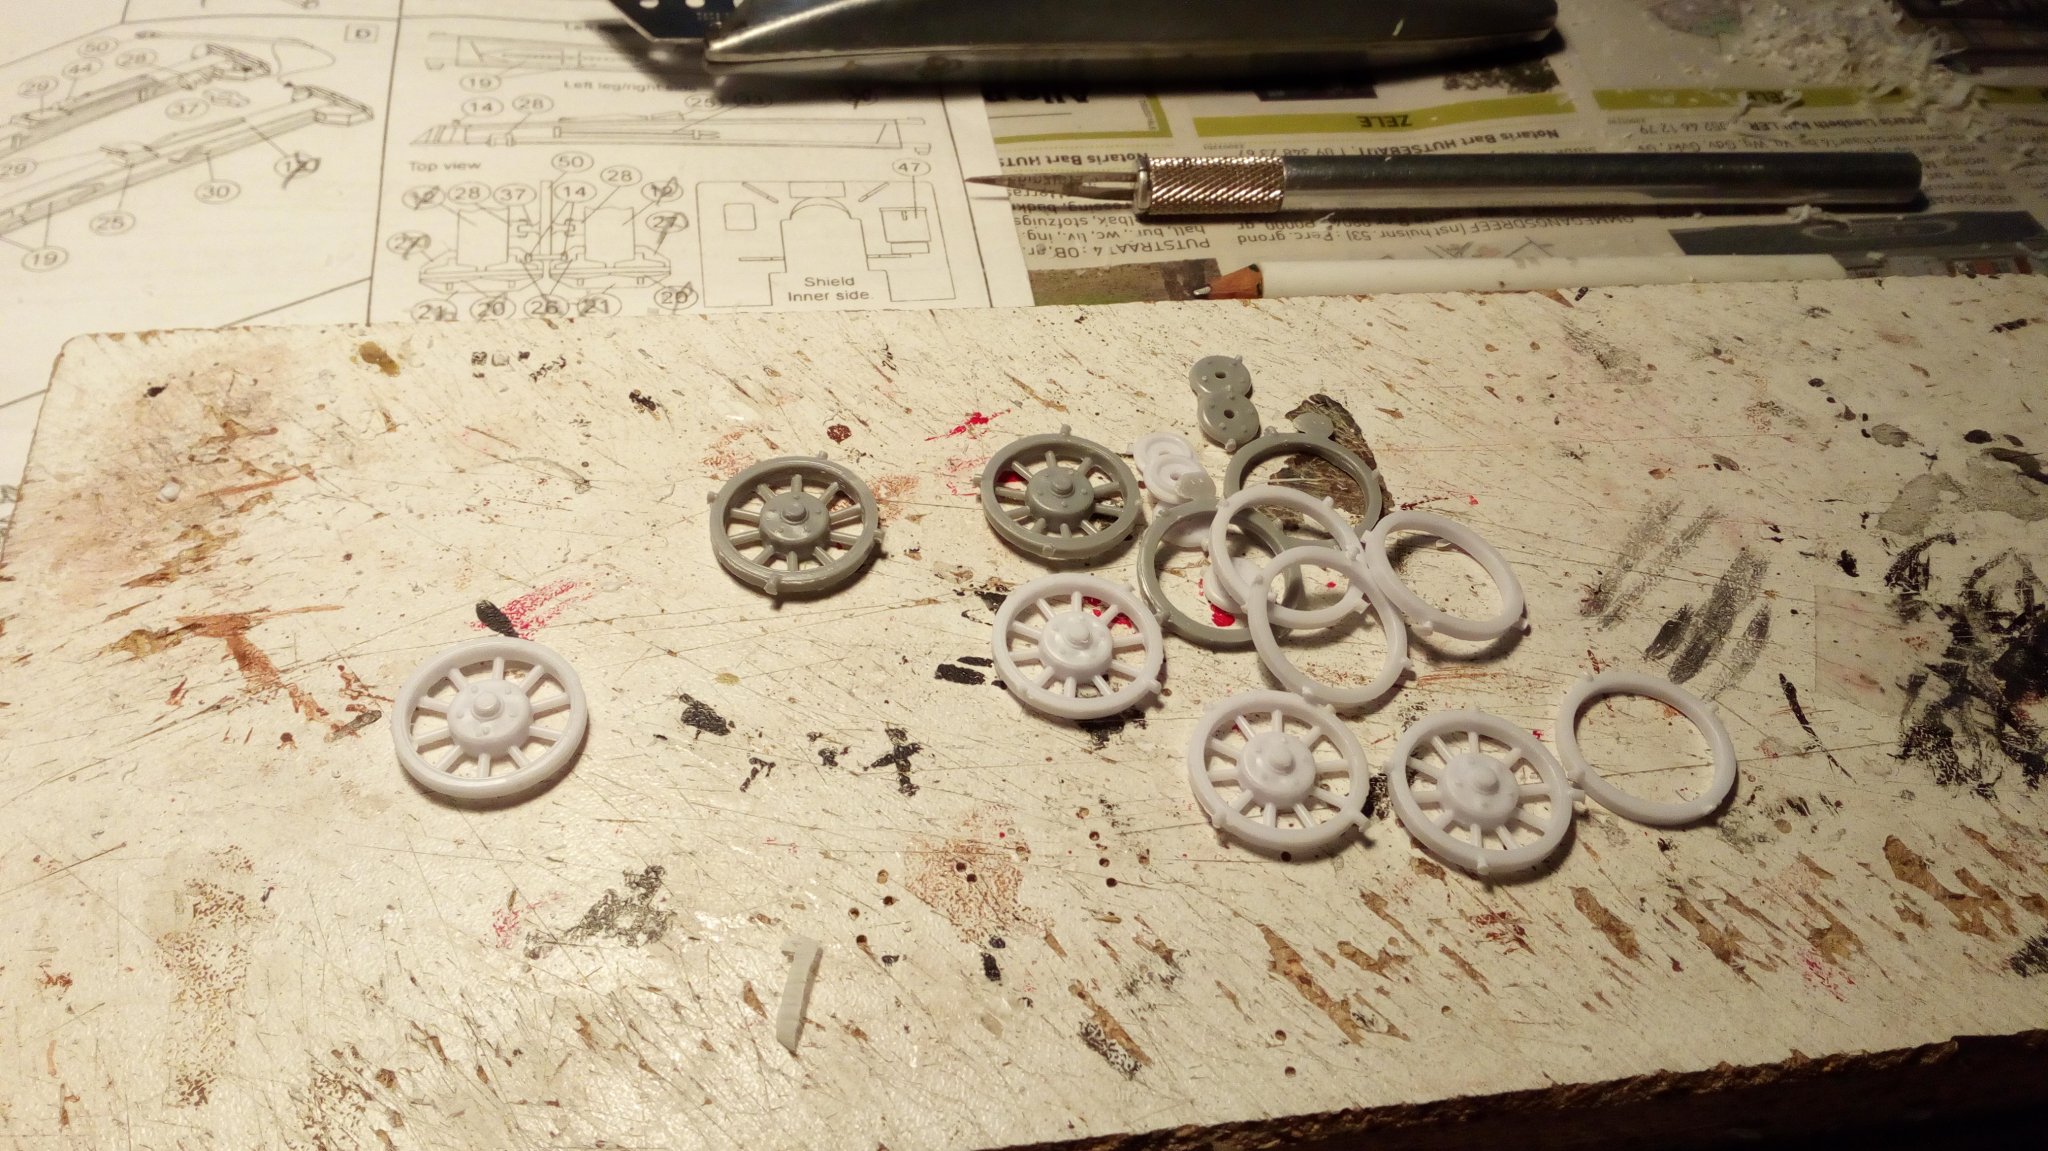
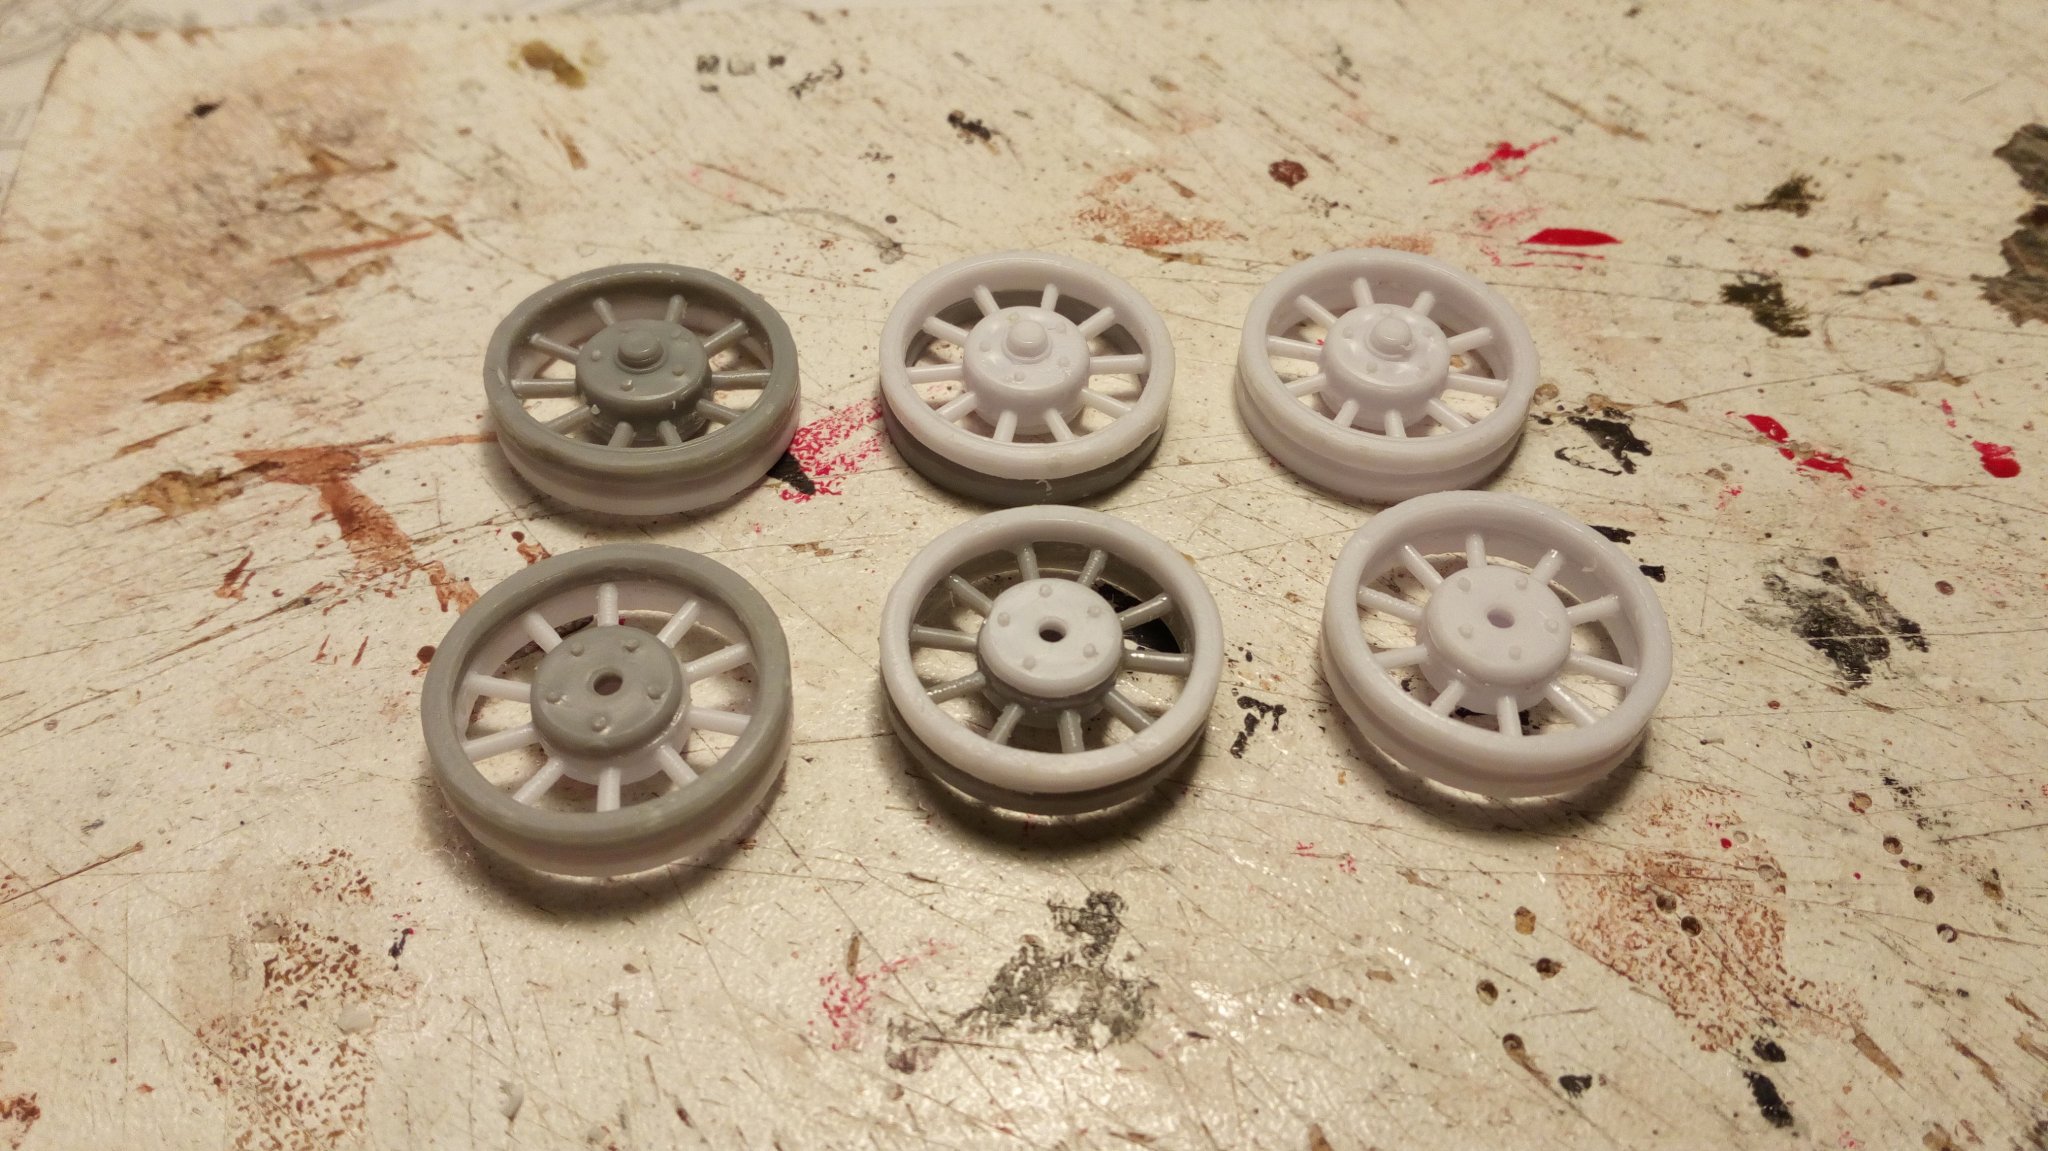
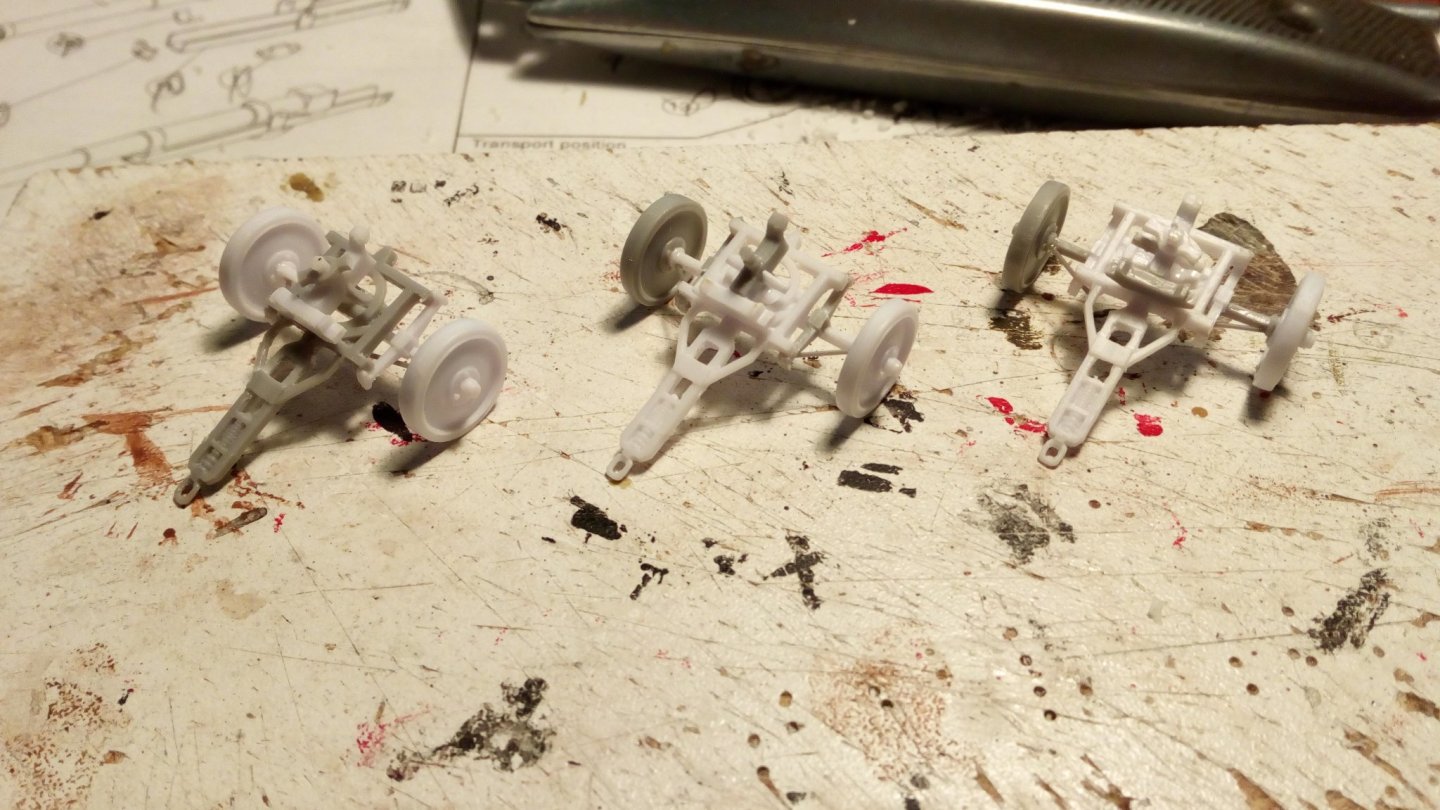
While building the carriages the wheels are made. Ther are 18 pieces for 6 wheels cleaned up and assembled.


-
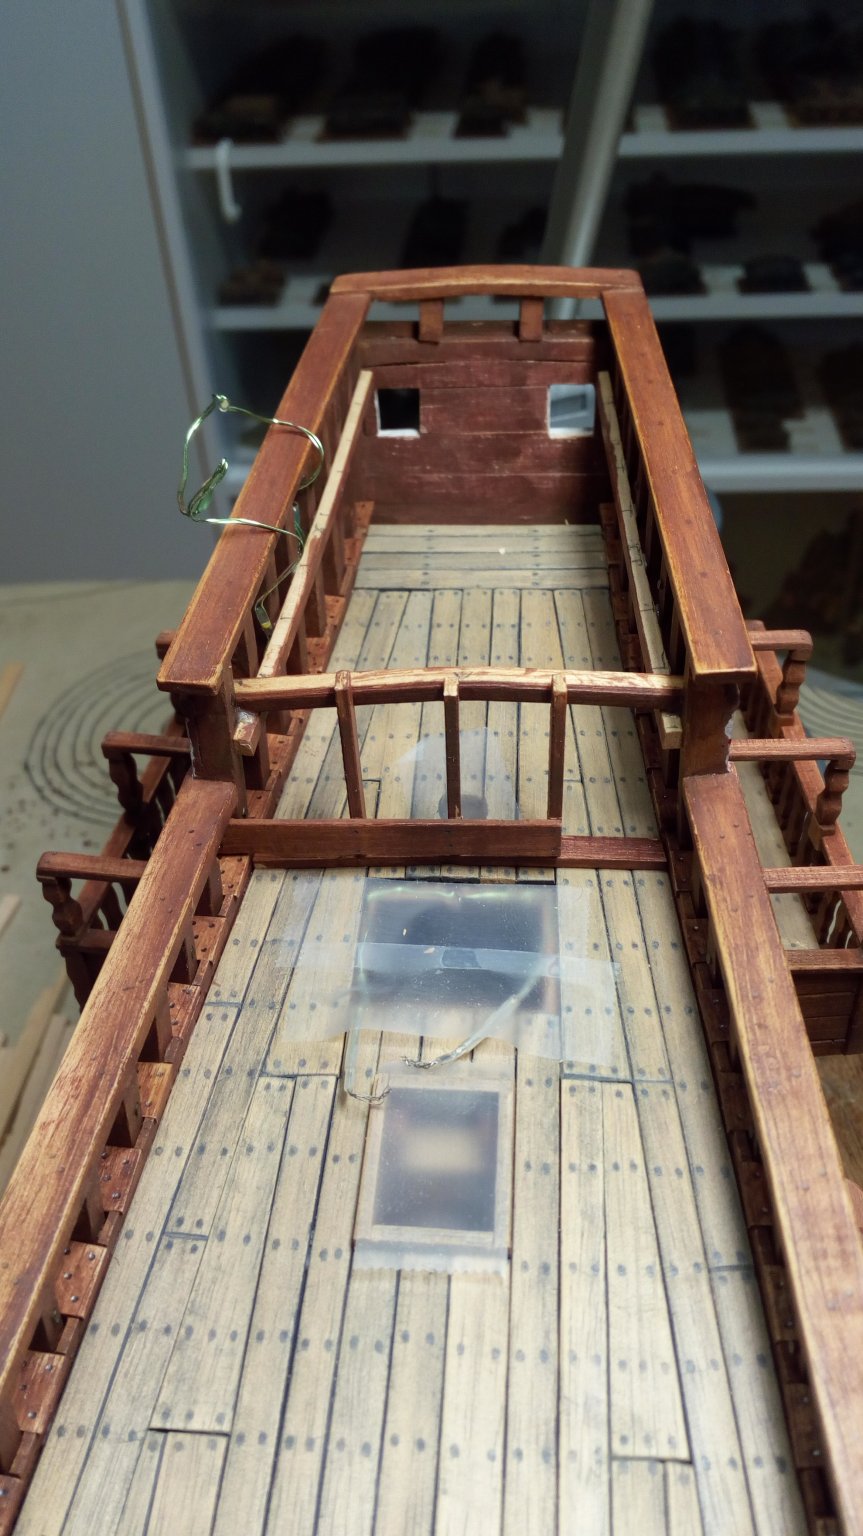
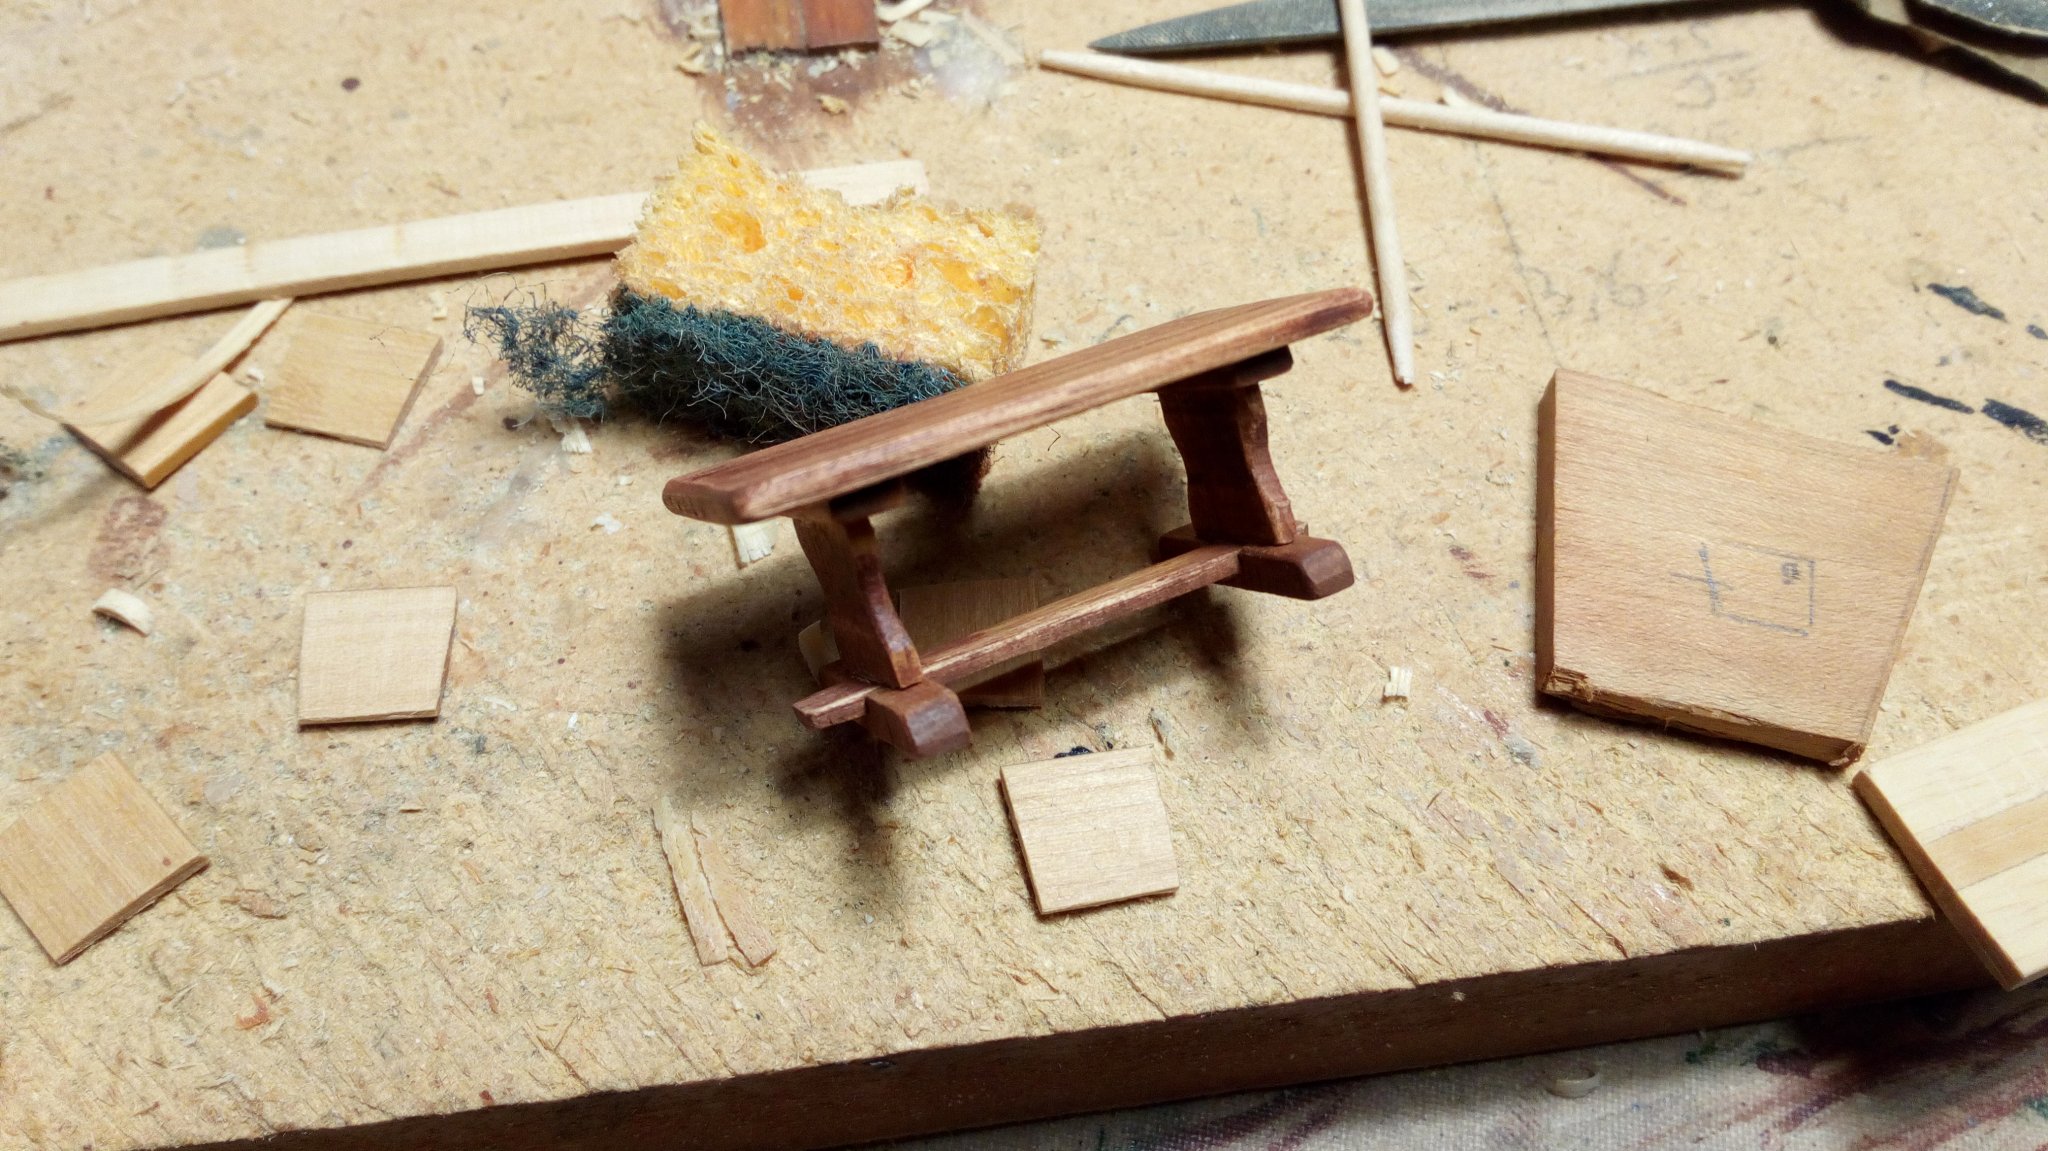
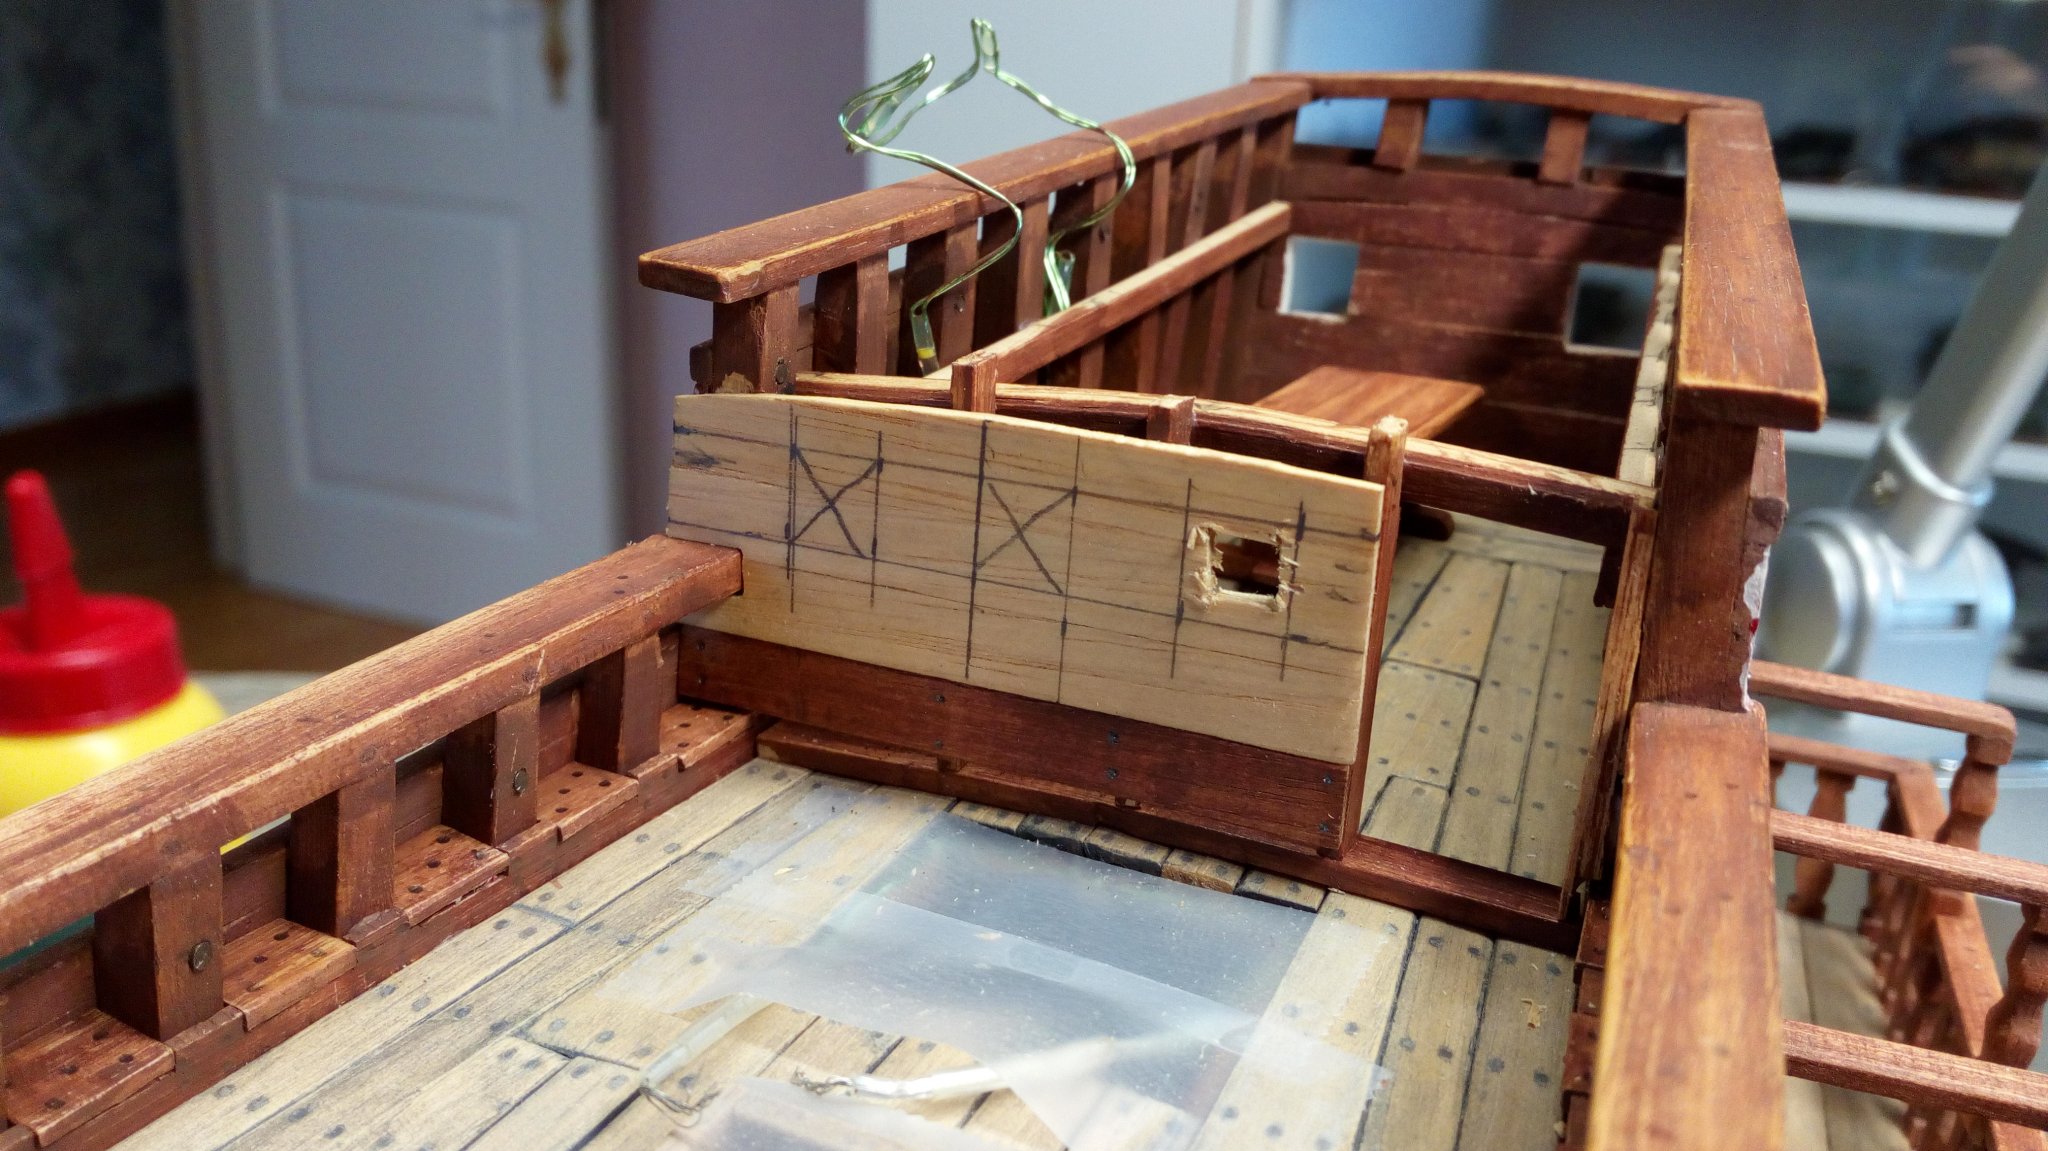
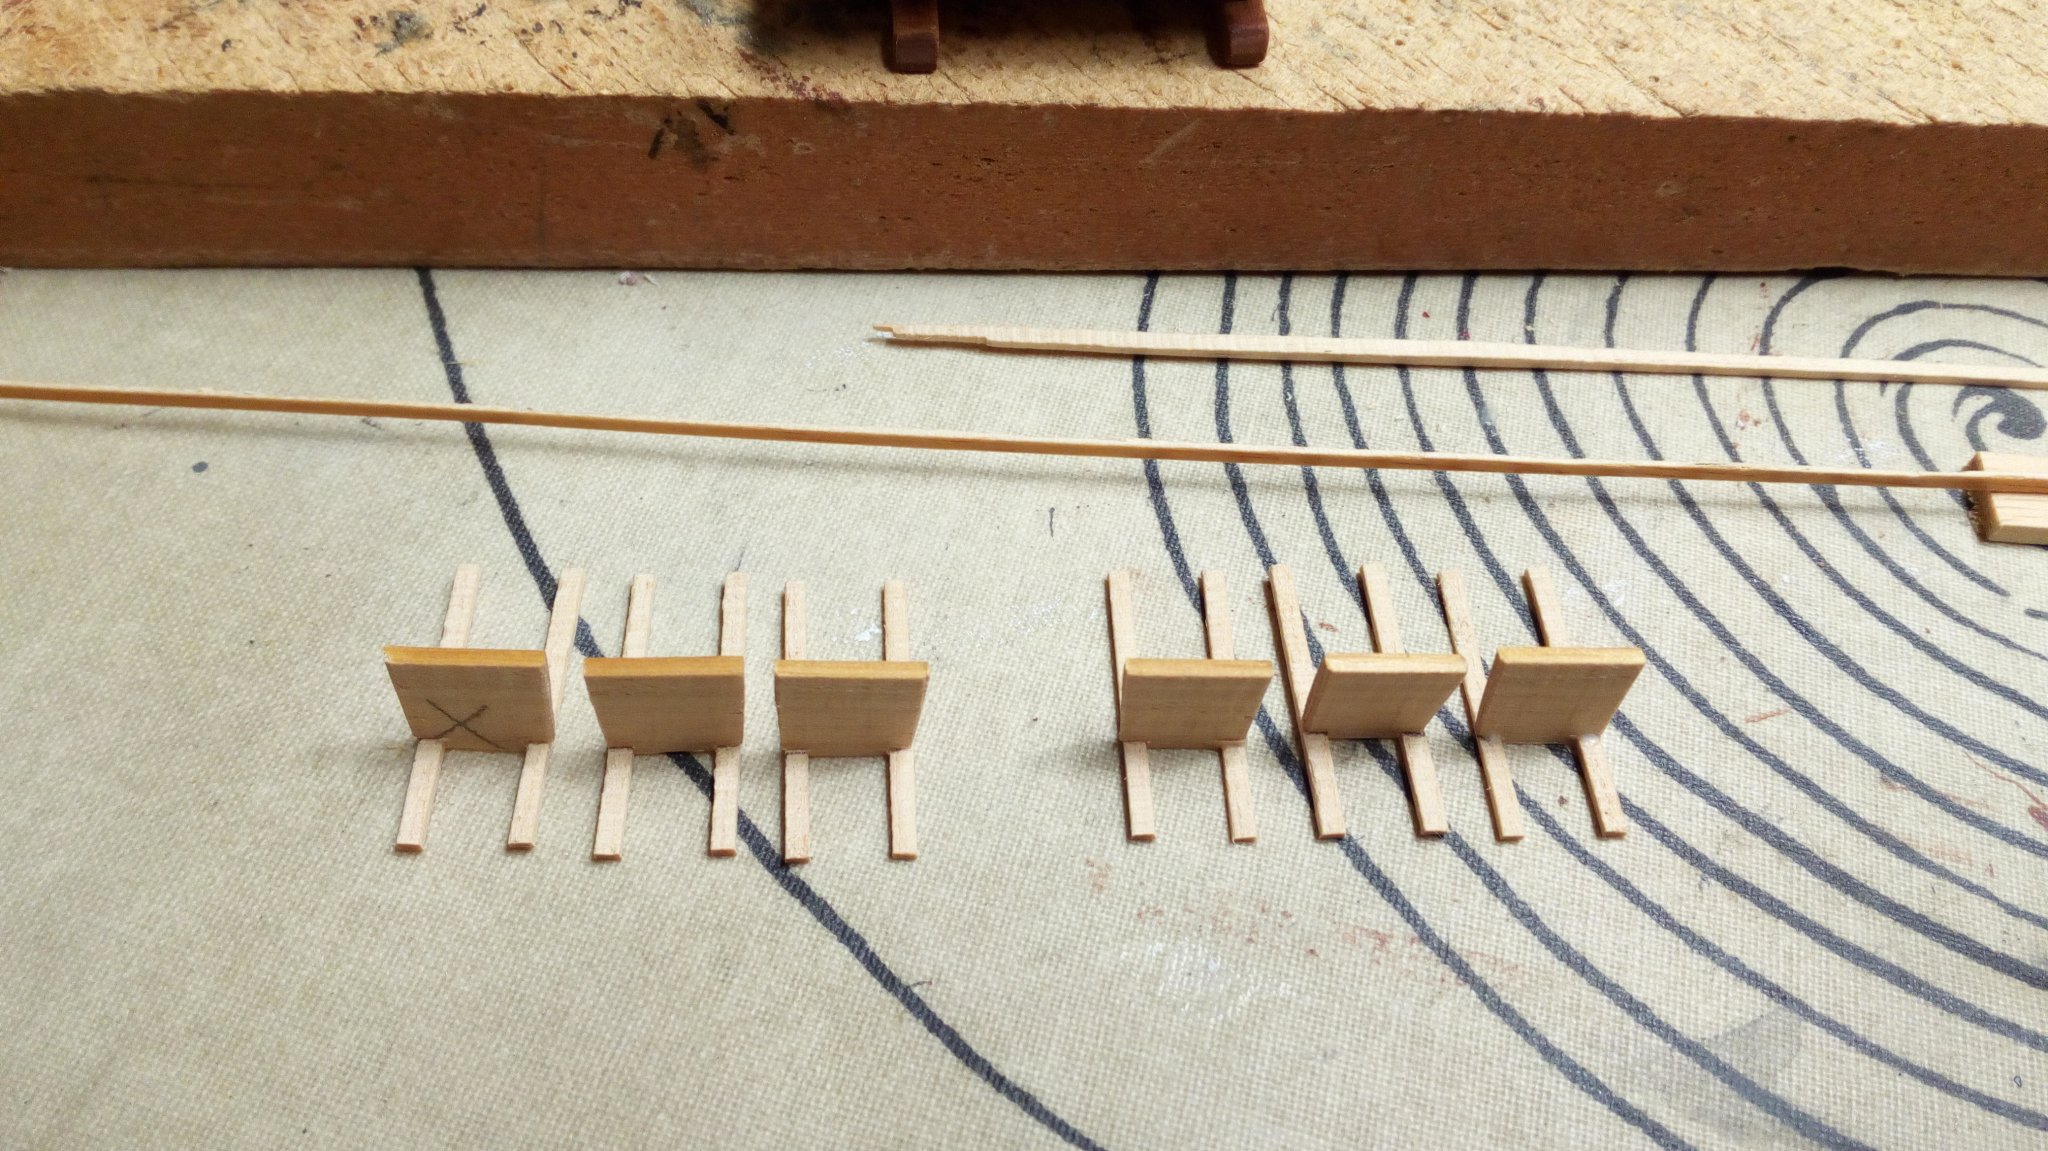
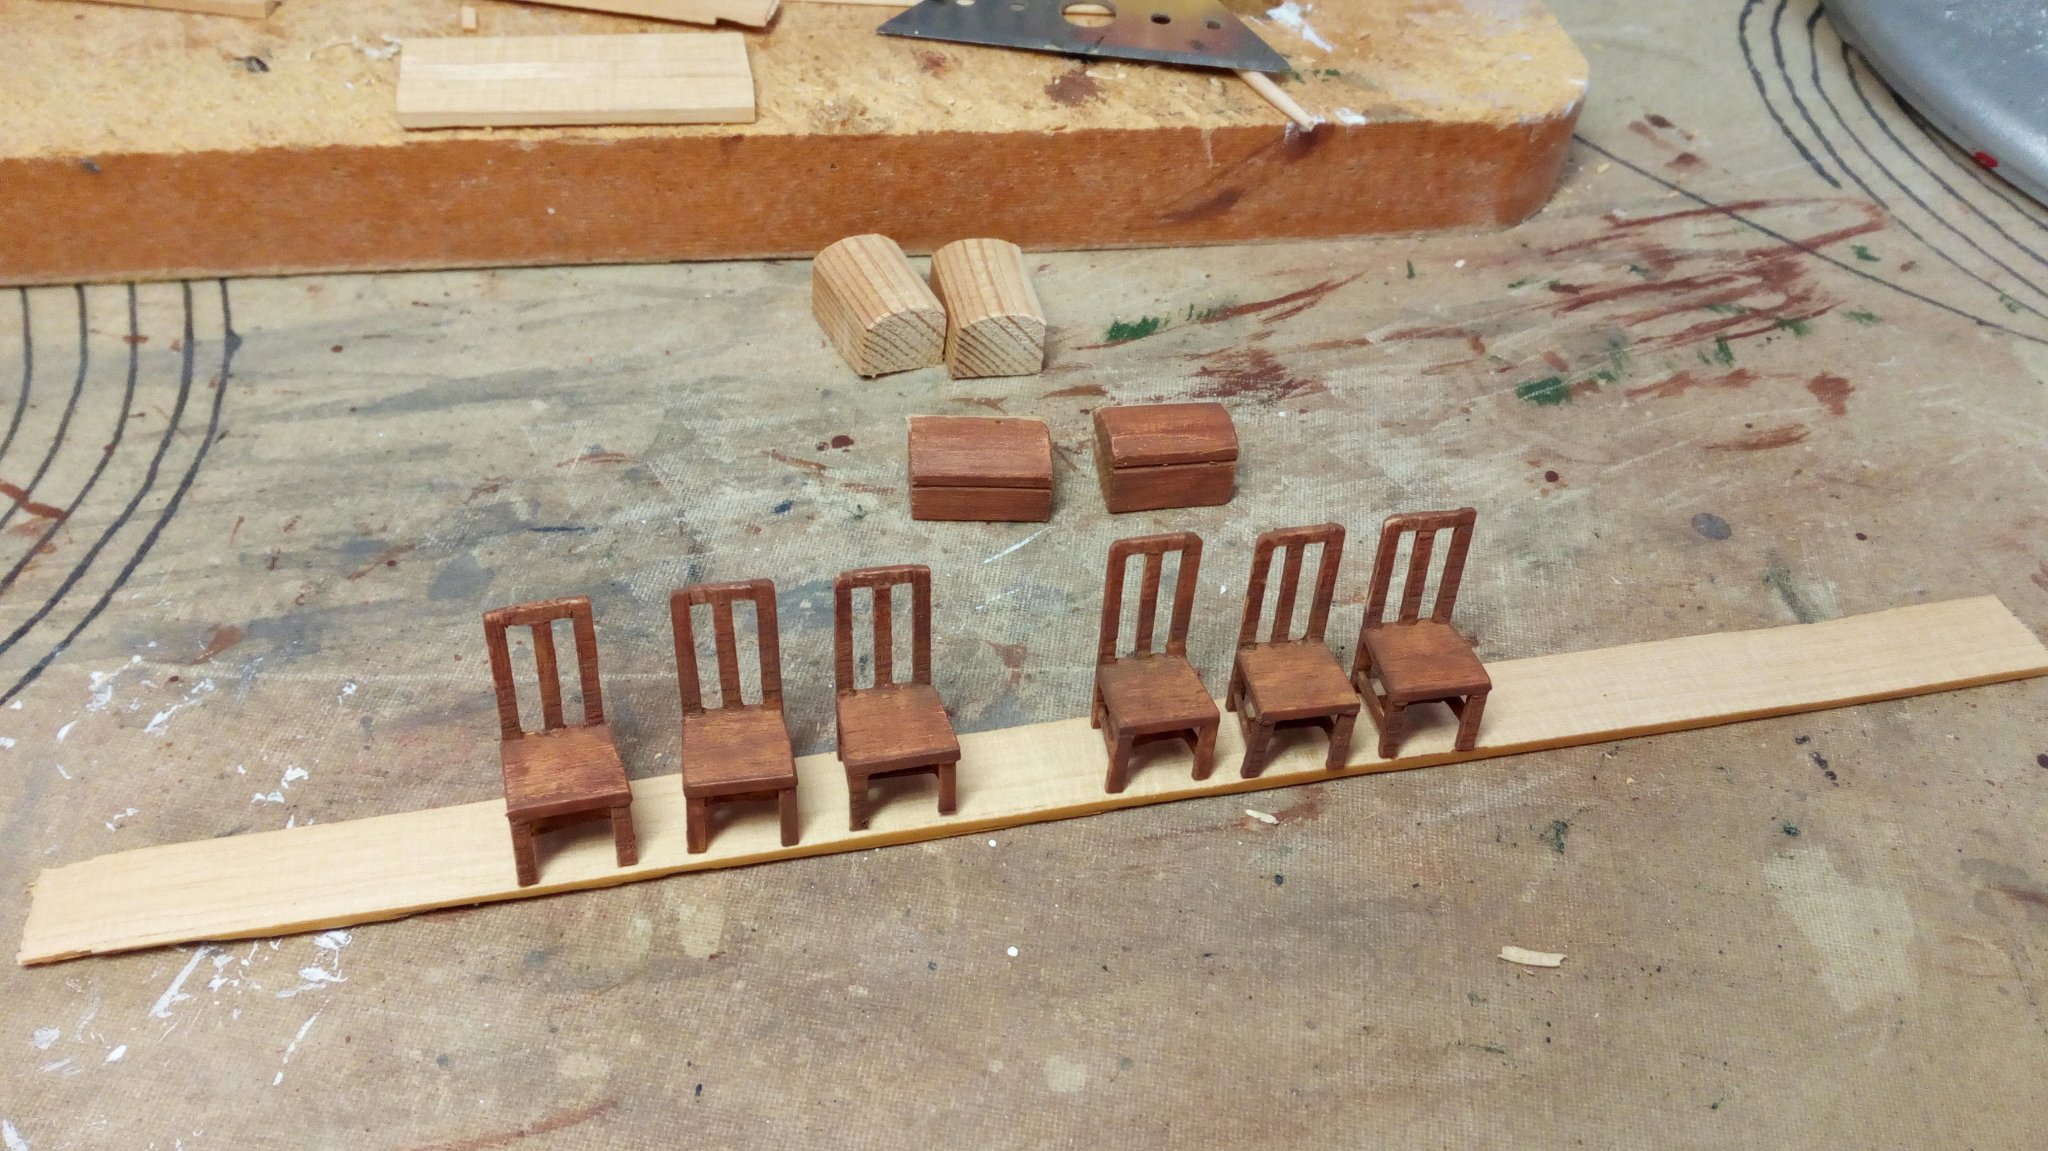
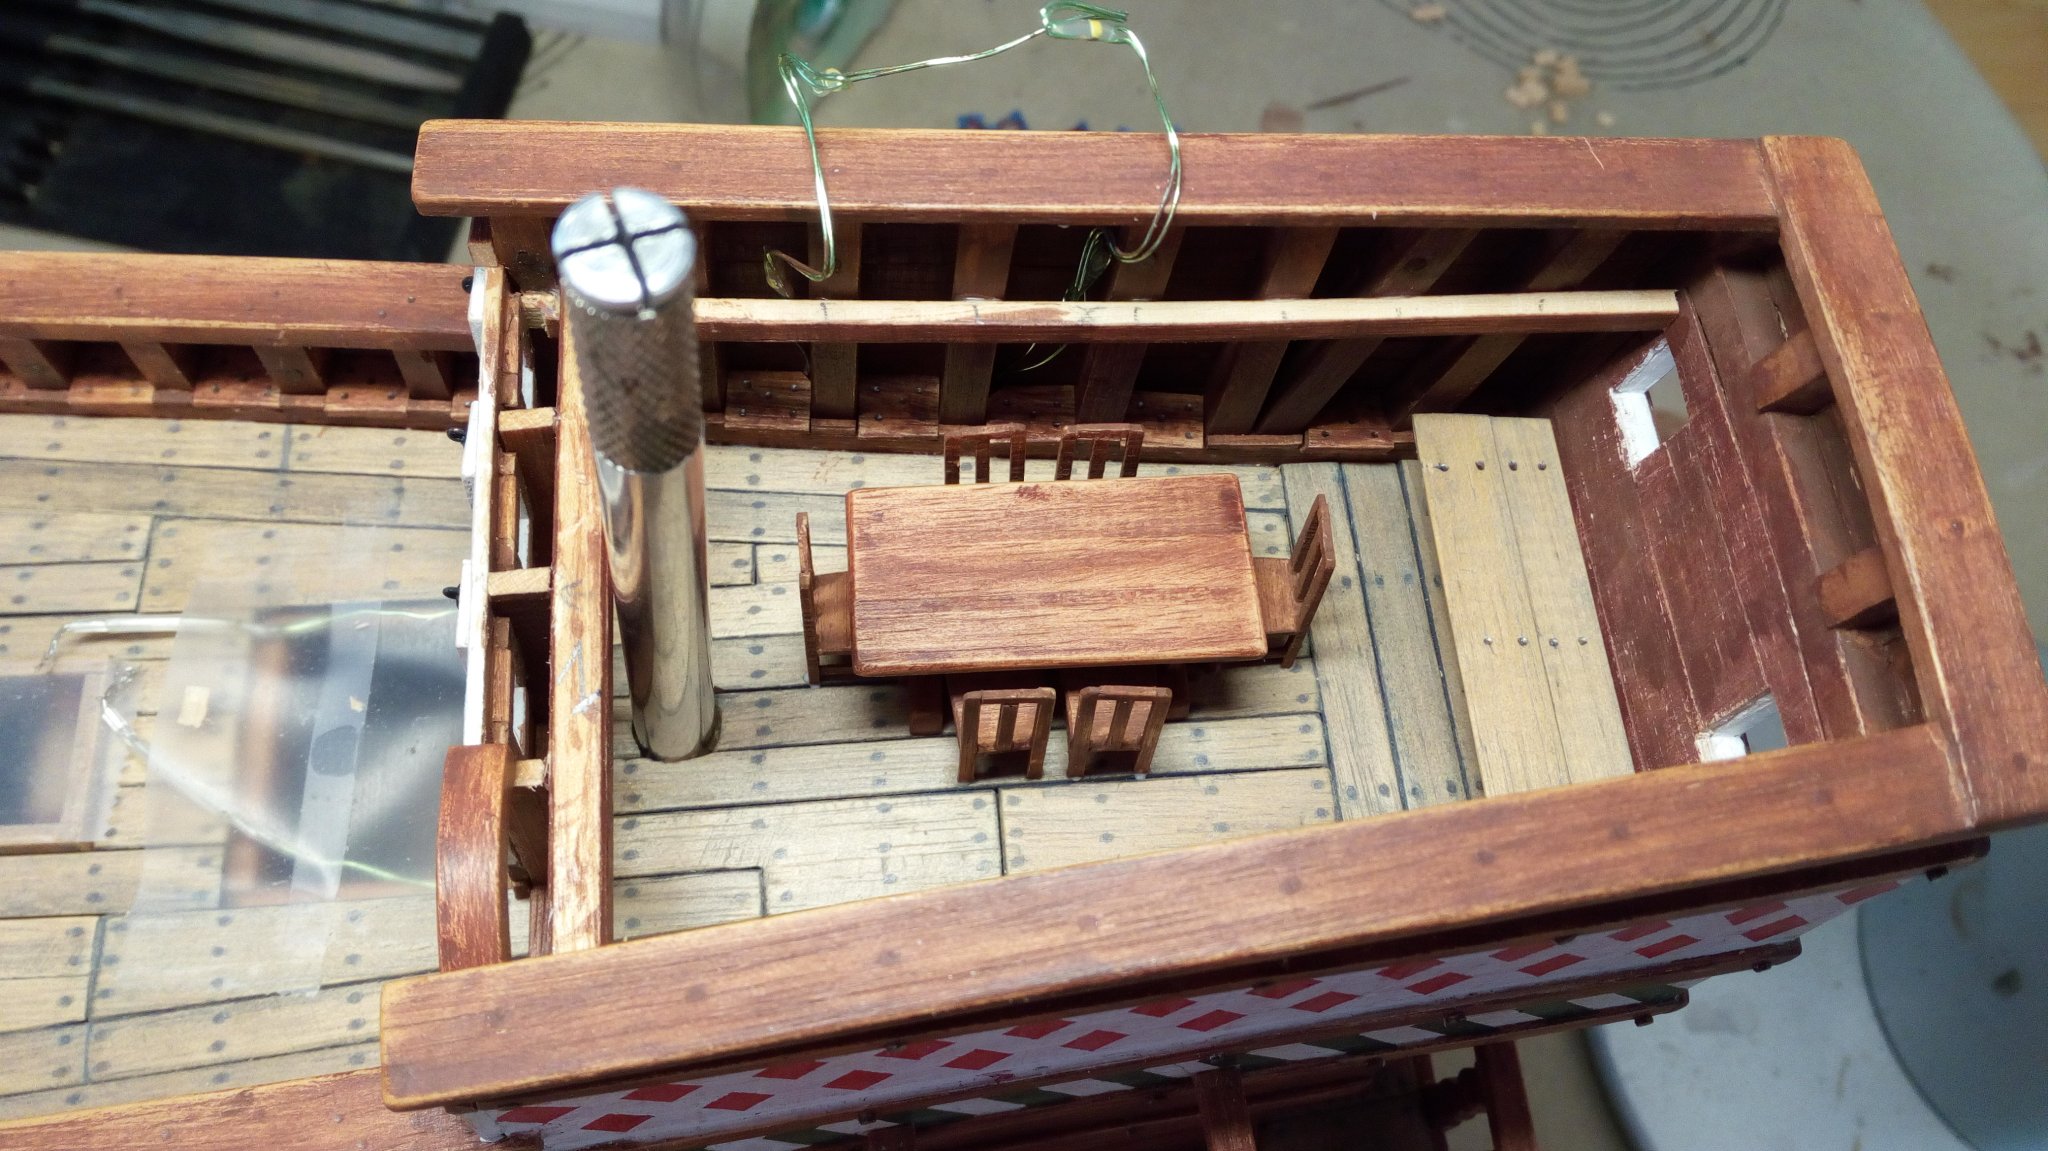
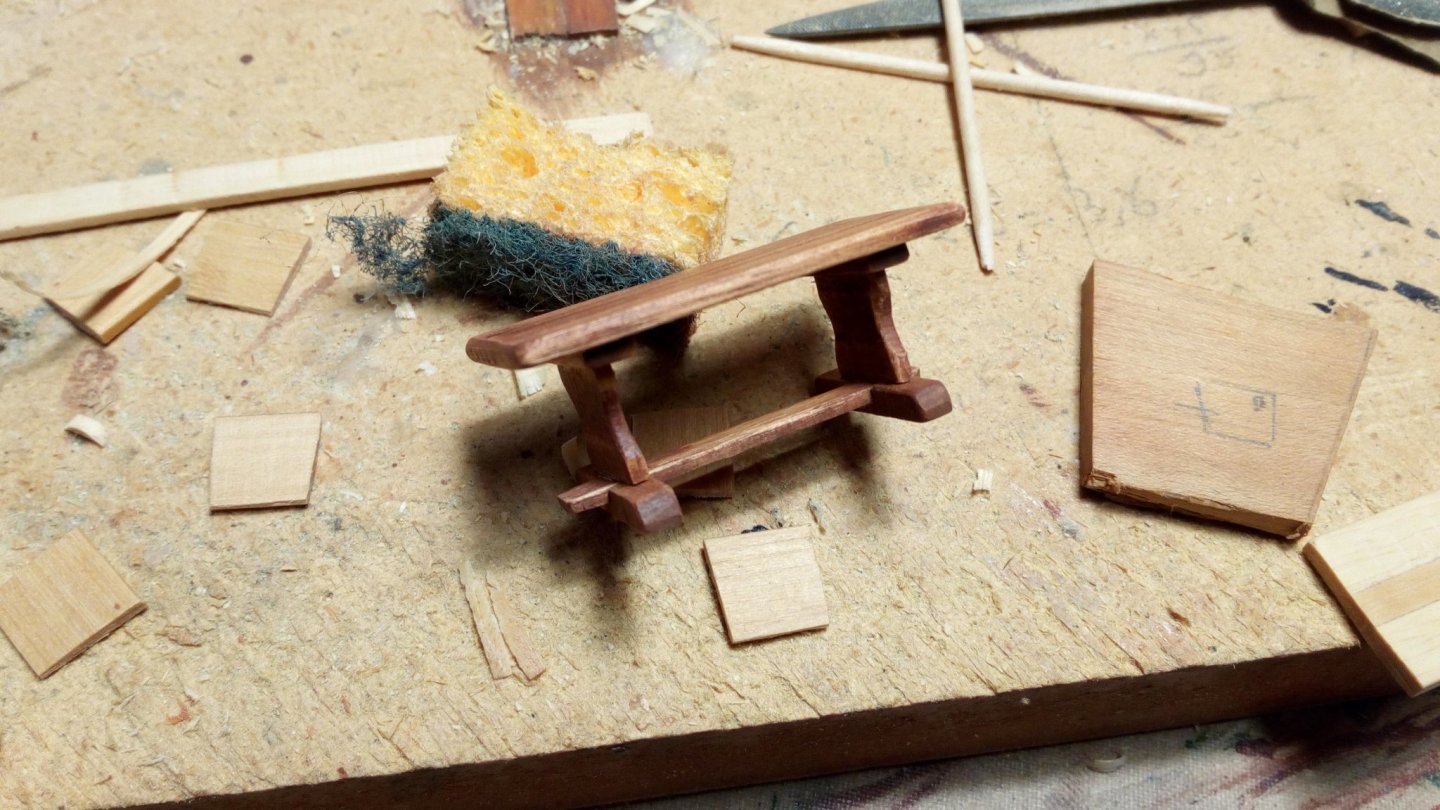
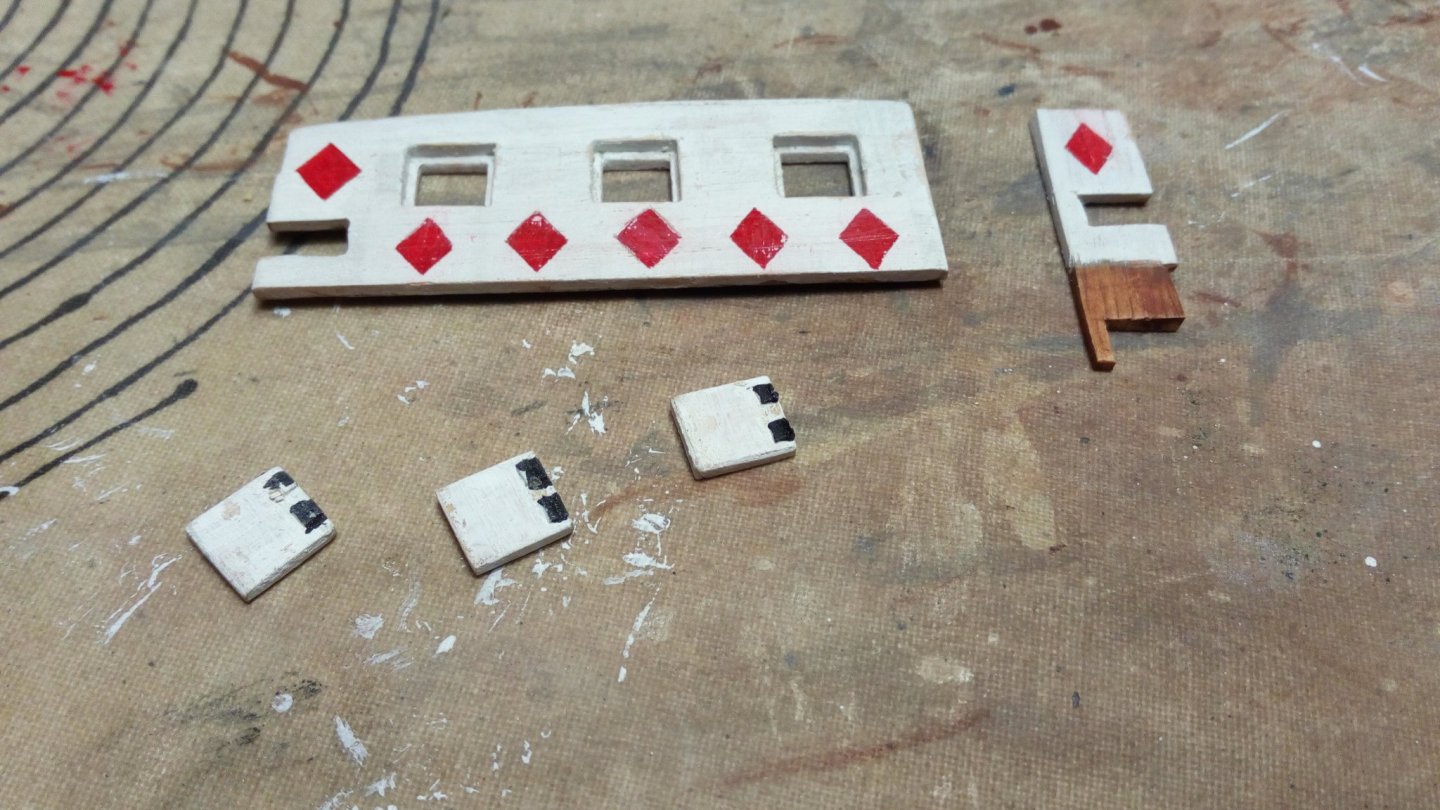
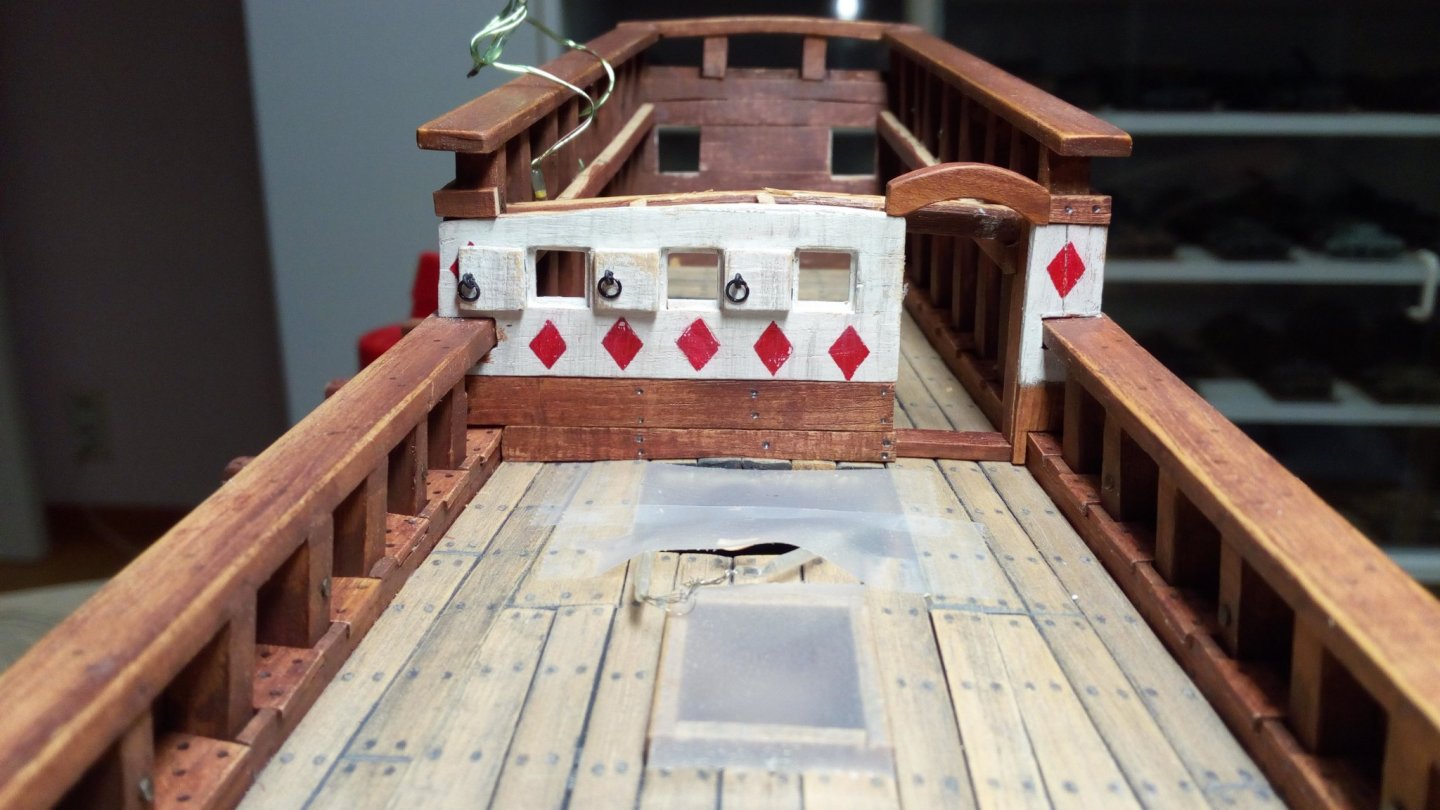
Started with the cabin under the poop deck. This was the captain's cabin. There is one door for access and 3 small hatches. A table with 6 chairs is provided. At the back there is a couch that can also be used as a bed. Am actually not satisfied with the finish of this cabin (interior and exterior). Given the long buildtime of this model, I struggle to stay focused That's why I restarted with military 1/72 modeling ( build log in the shore leaf topic) and later the Bounty project will be restarted again. Building on this model will temporarily be a bit slower in the near future. Thanks for following


- 756 replies
-
- 12
-

-
- galleon
- golden hind
- (and 2 more)
-
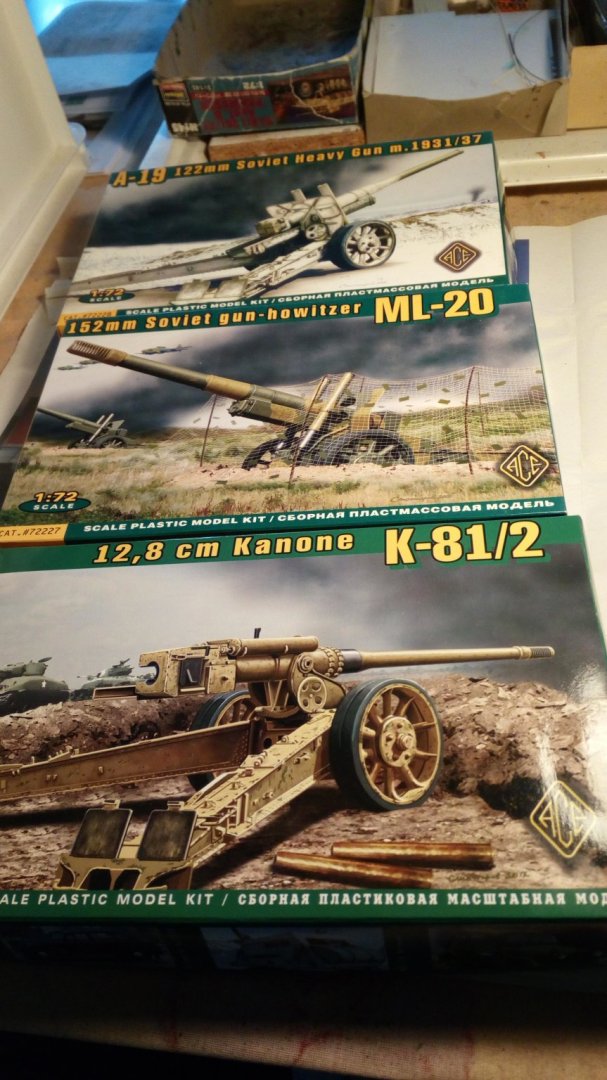
Ace model is still "alive and kicking" http://acemodel.com.ua/en But these 3 models are no longer in production. Every year there is an exhibition of IPMS in Hoboken (Belgium). With a wide range of kits for sale at fair prices. So then it's "shopping time"
-
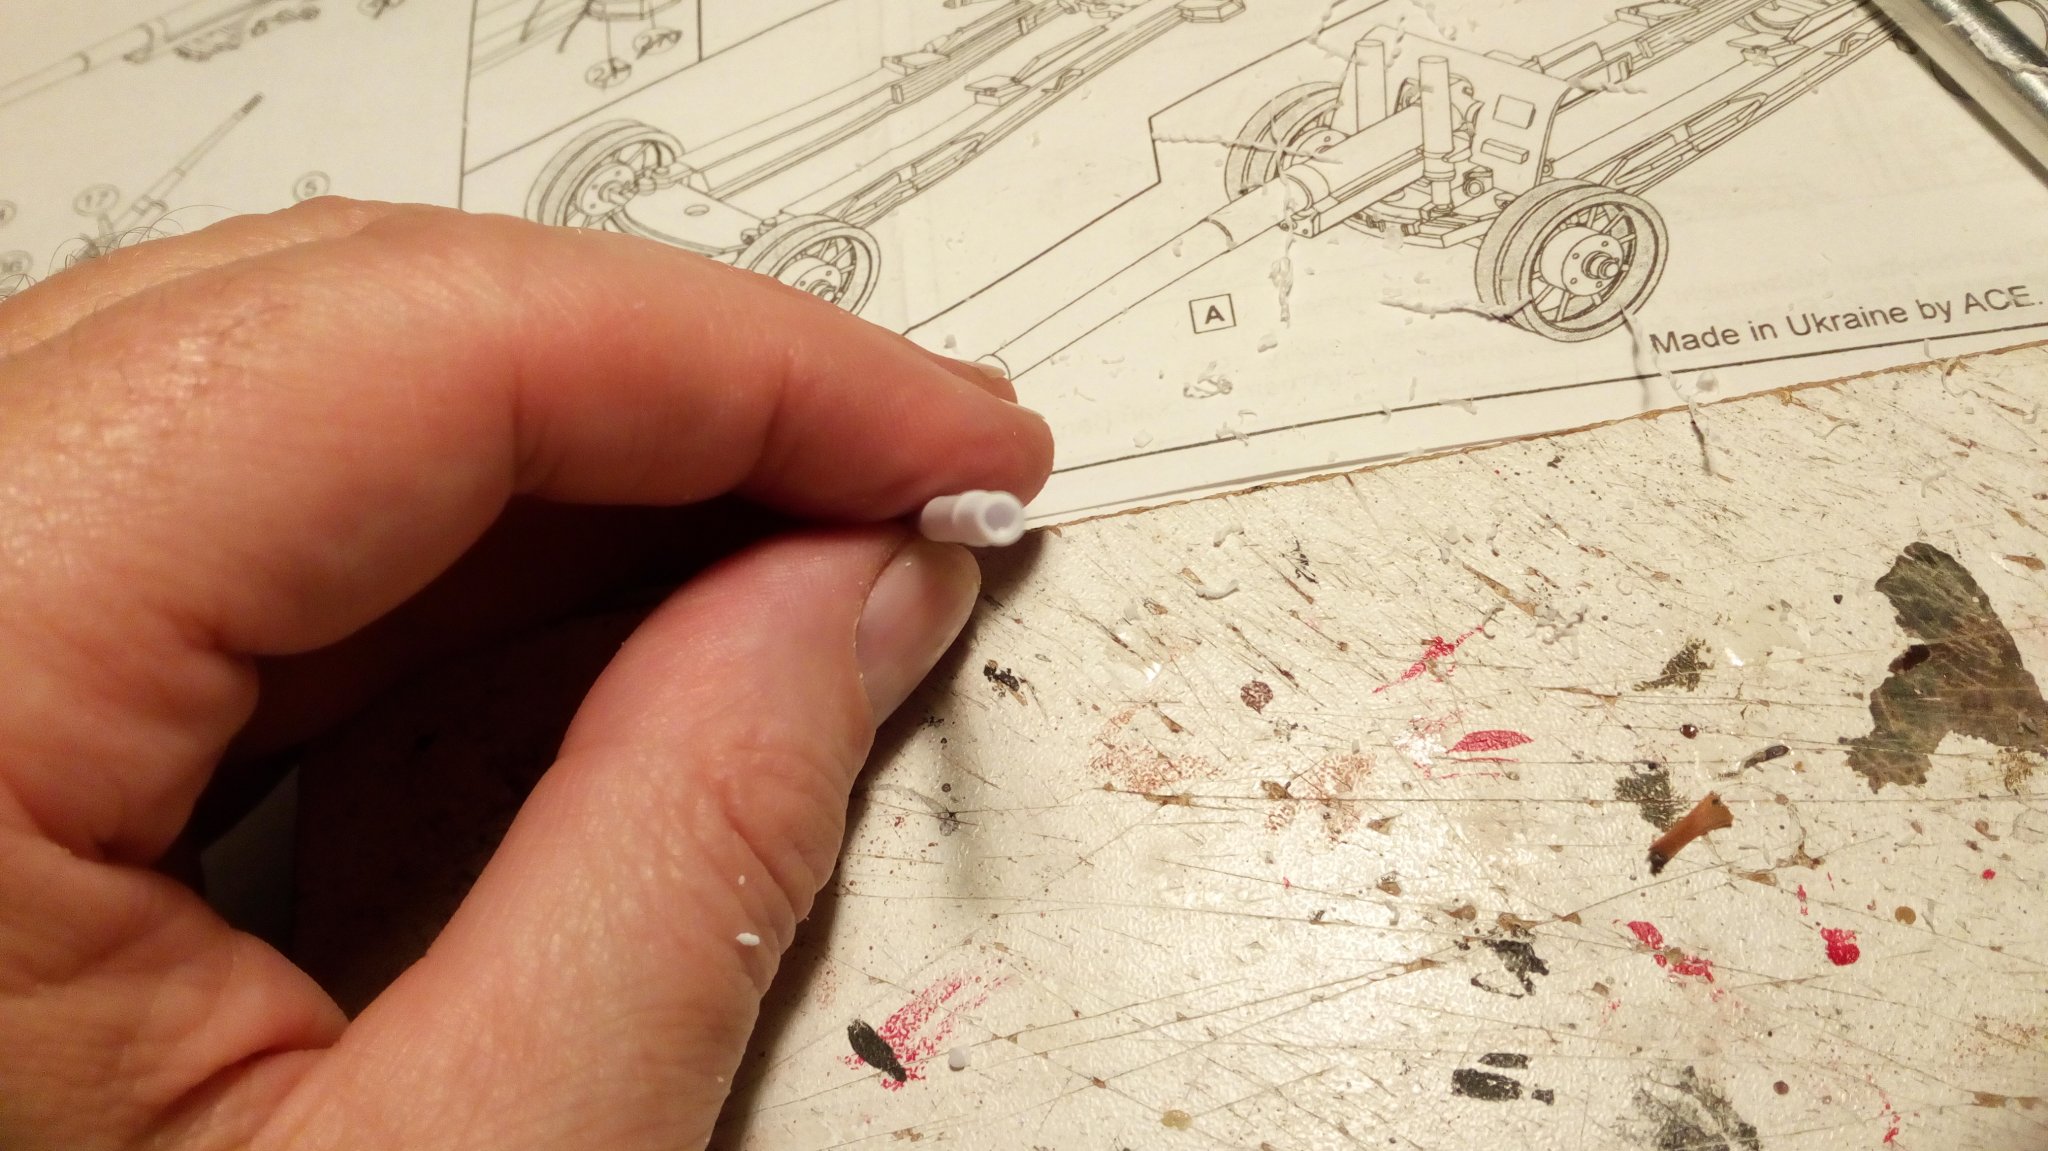
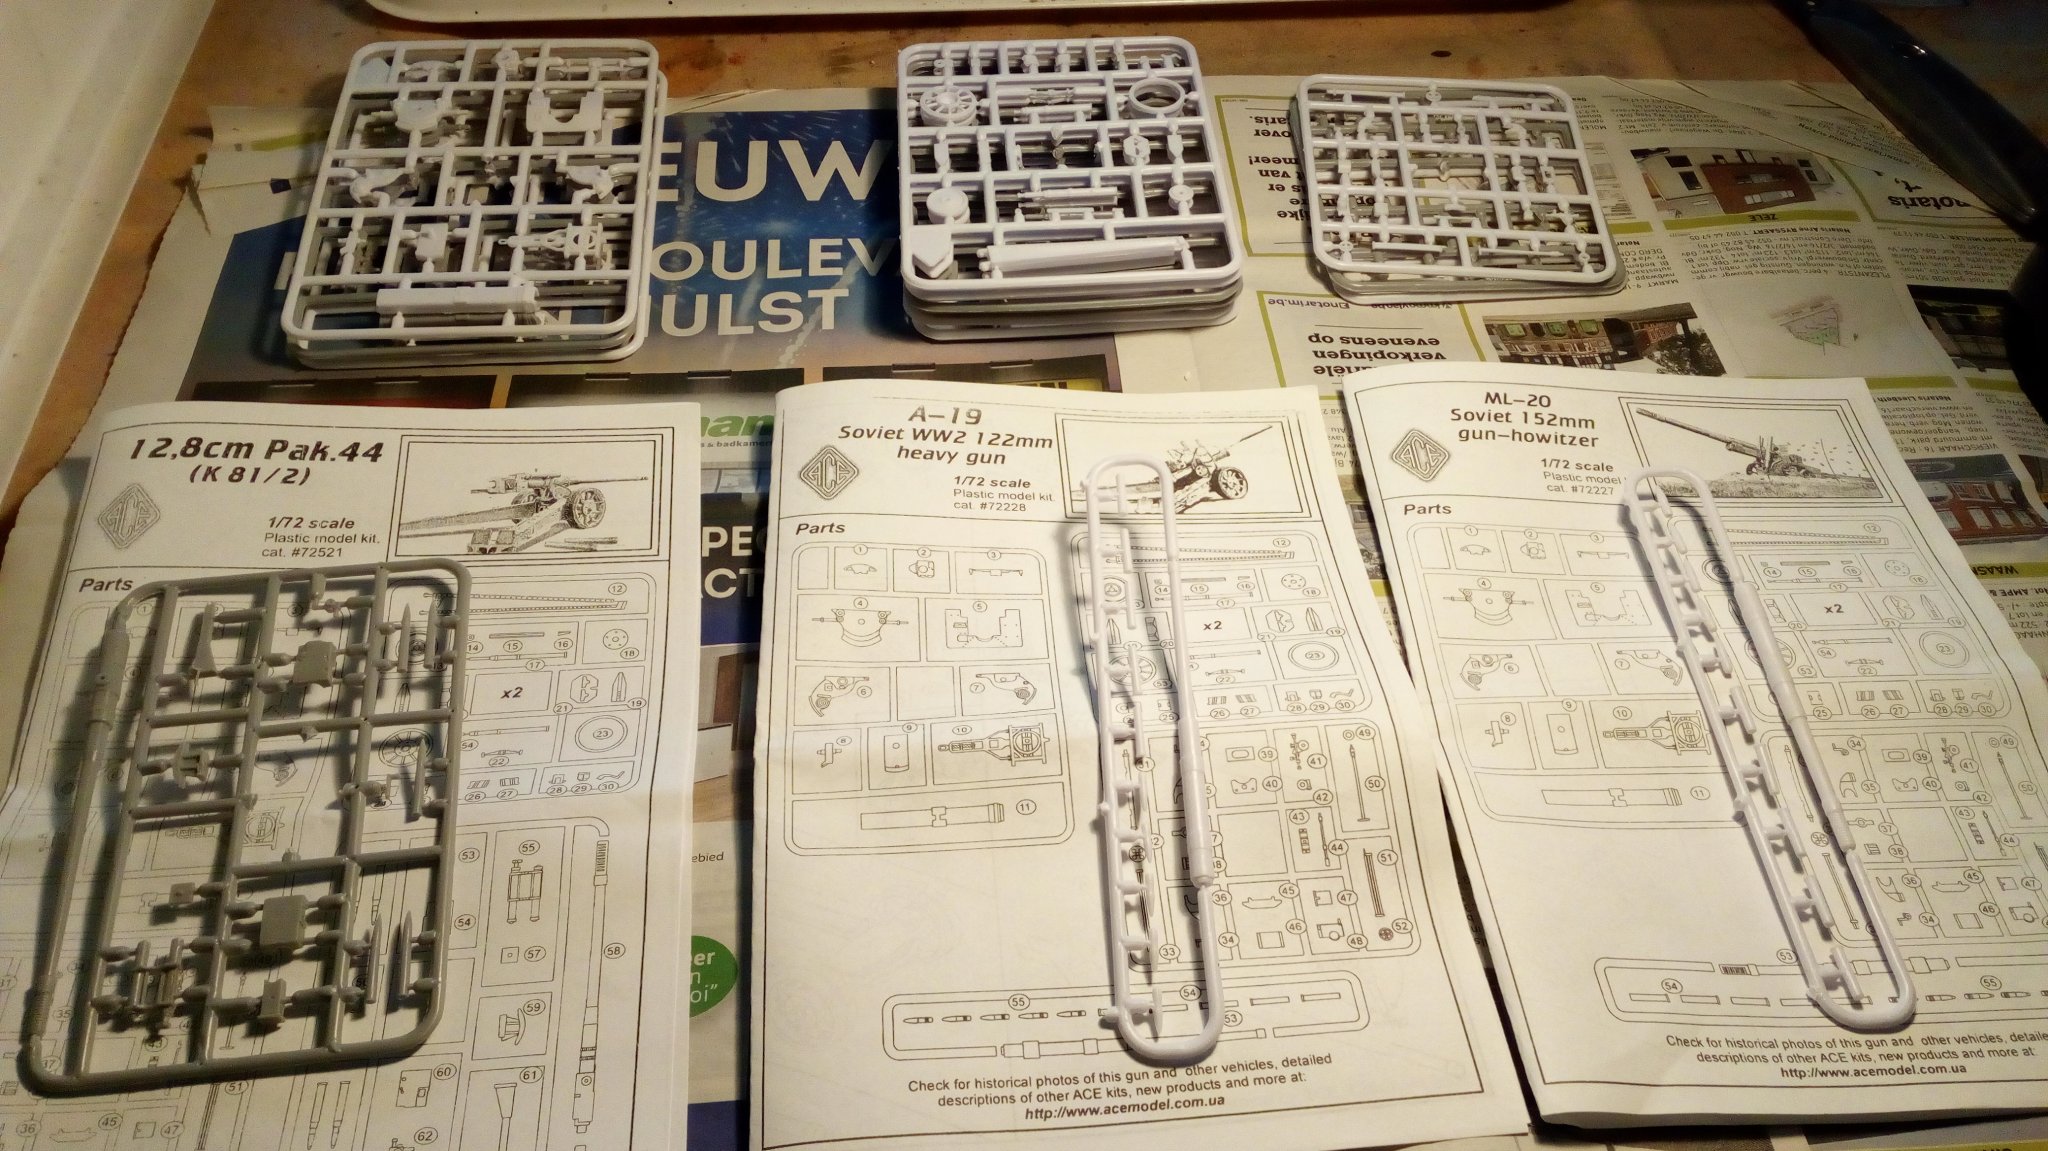
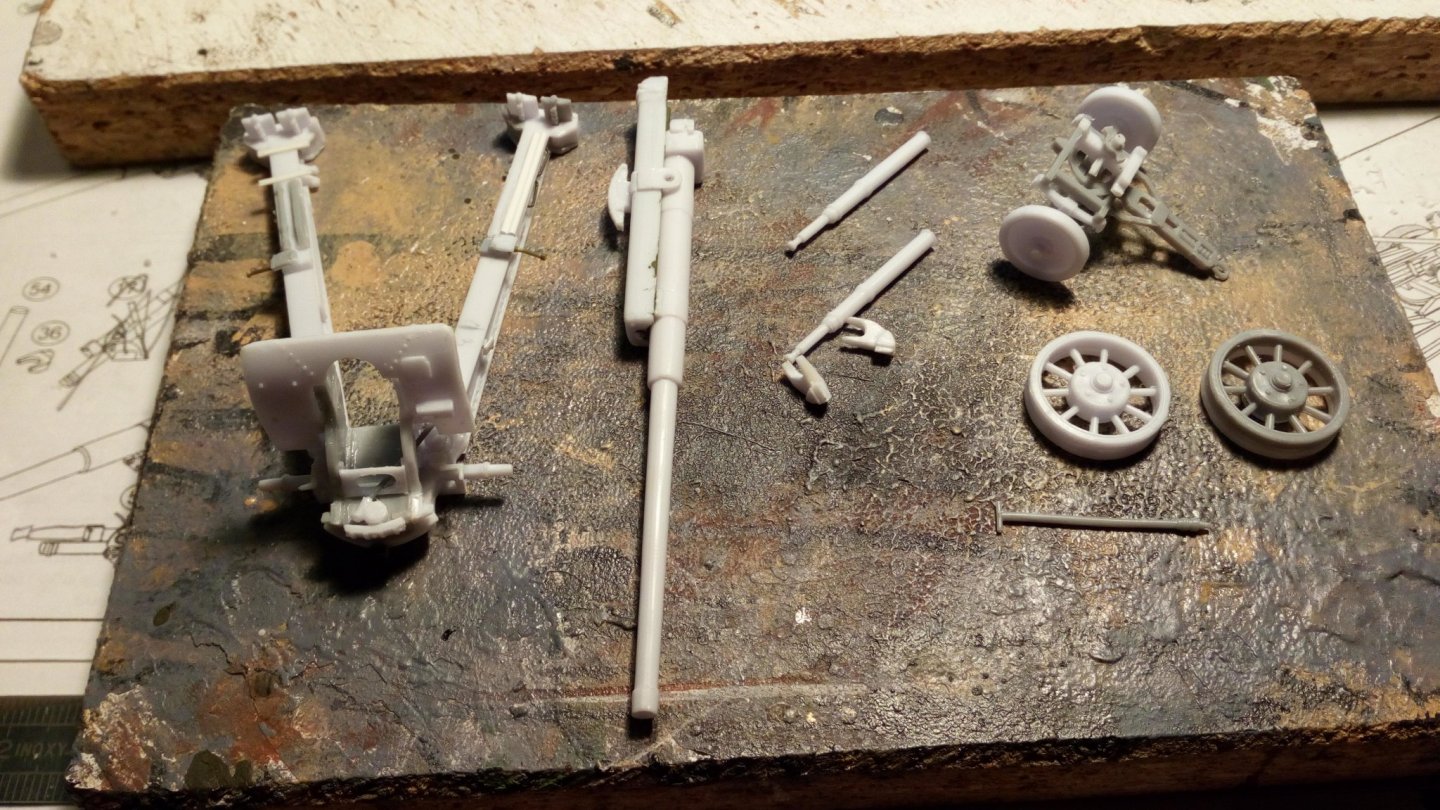
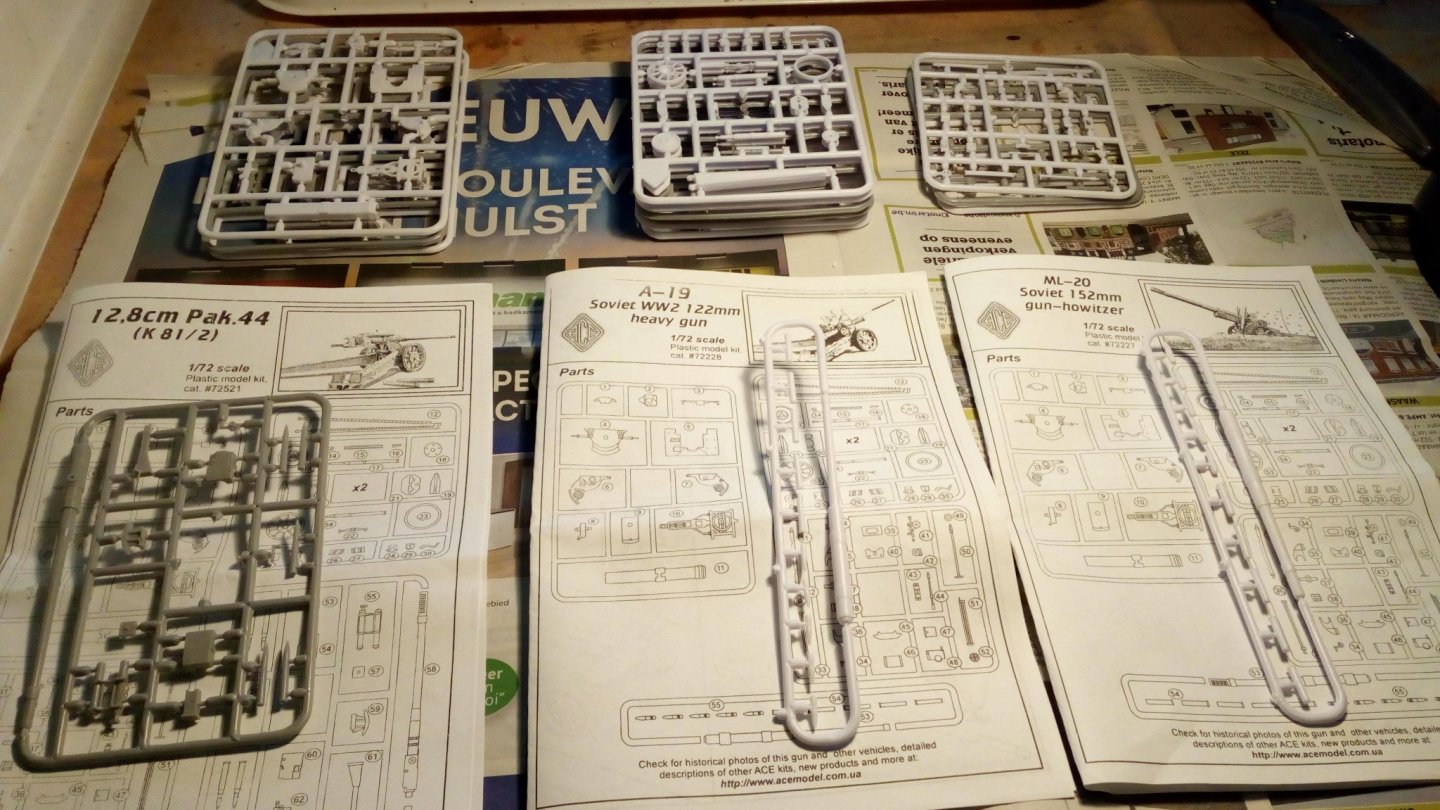
This is the build of 3 cannons on a 1/72 scale The models are from Ace from Ukraine. They produce well detailed models, not always easy to build. but always a pleasant addition to the collection. These models are the so-called short run method. A mold is made, and with this models are made until the mold is worn out. Why build these 3 in a serie, it saves me time and especially thinking about the construction method (once you understand how a certain component is built, then the next 2 to build are easy). We build 3 cannons from WW 2 (All have the same carriage). A 122mm A-19 from Russia https://en.wikipedia.org/wiki/122_mm_gun_M1931/37_(A-19) A 152mm ML-20 from Russia https://en.wikipedia.org/wiki/152_mm_howitzer-gun_M1937_(ML-20) A 12.8 cm Pak.44 (K81 / 2) from Germany https://en.wikipedia.org/wiki/12.8_cm_Pak_44 Step 1 opening the boxes. Most parts are identical. only the parts for the barrels are different. The first part is ready The legs of the carriages are now being made. The first piece is a bit of a puzzle. Drawings from some plastic models are sometimes as simple as those from wooden boats.... to be continued
-
The best way to get answers to these questions is to start a build log.
-
Welcome, and greetings from Belgium.
-
-
and good luck with the Bounty