Baker
-
Posts
4,303 -
Joined
-
Last visited
Content Type
Profiles
Forums
Gallery
Events
Everything posted by Baker
-
Greetings and
-
 Great work on the dry dock (and the cross section of course). The navy sail training ship, was this the Zenobe gramme??
- 219 replies
-
- 3
-

-
- smack
- cross-section
- (and 2 more)
-
Groeten uit Belgie
-
Roter Löwe 1597 by Ondras71
Baker replied to Ondras71's topic in - Build logs for subjects built 1501 - 1750
Congratulations, It is always a relief when all those holes are drilled and filled Beautiful work Ondras -
-
Greetings and
-
Looks like a home made build of The Golden Hind to me.
-
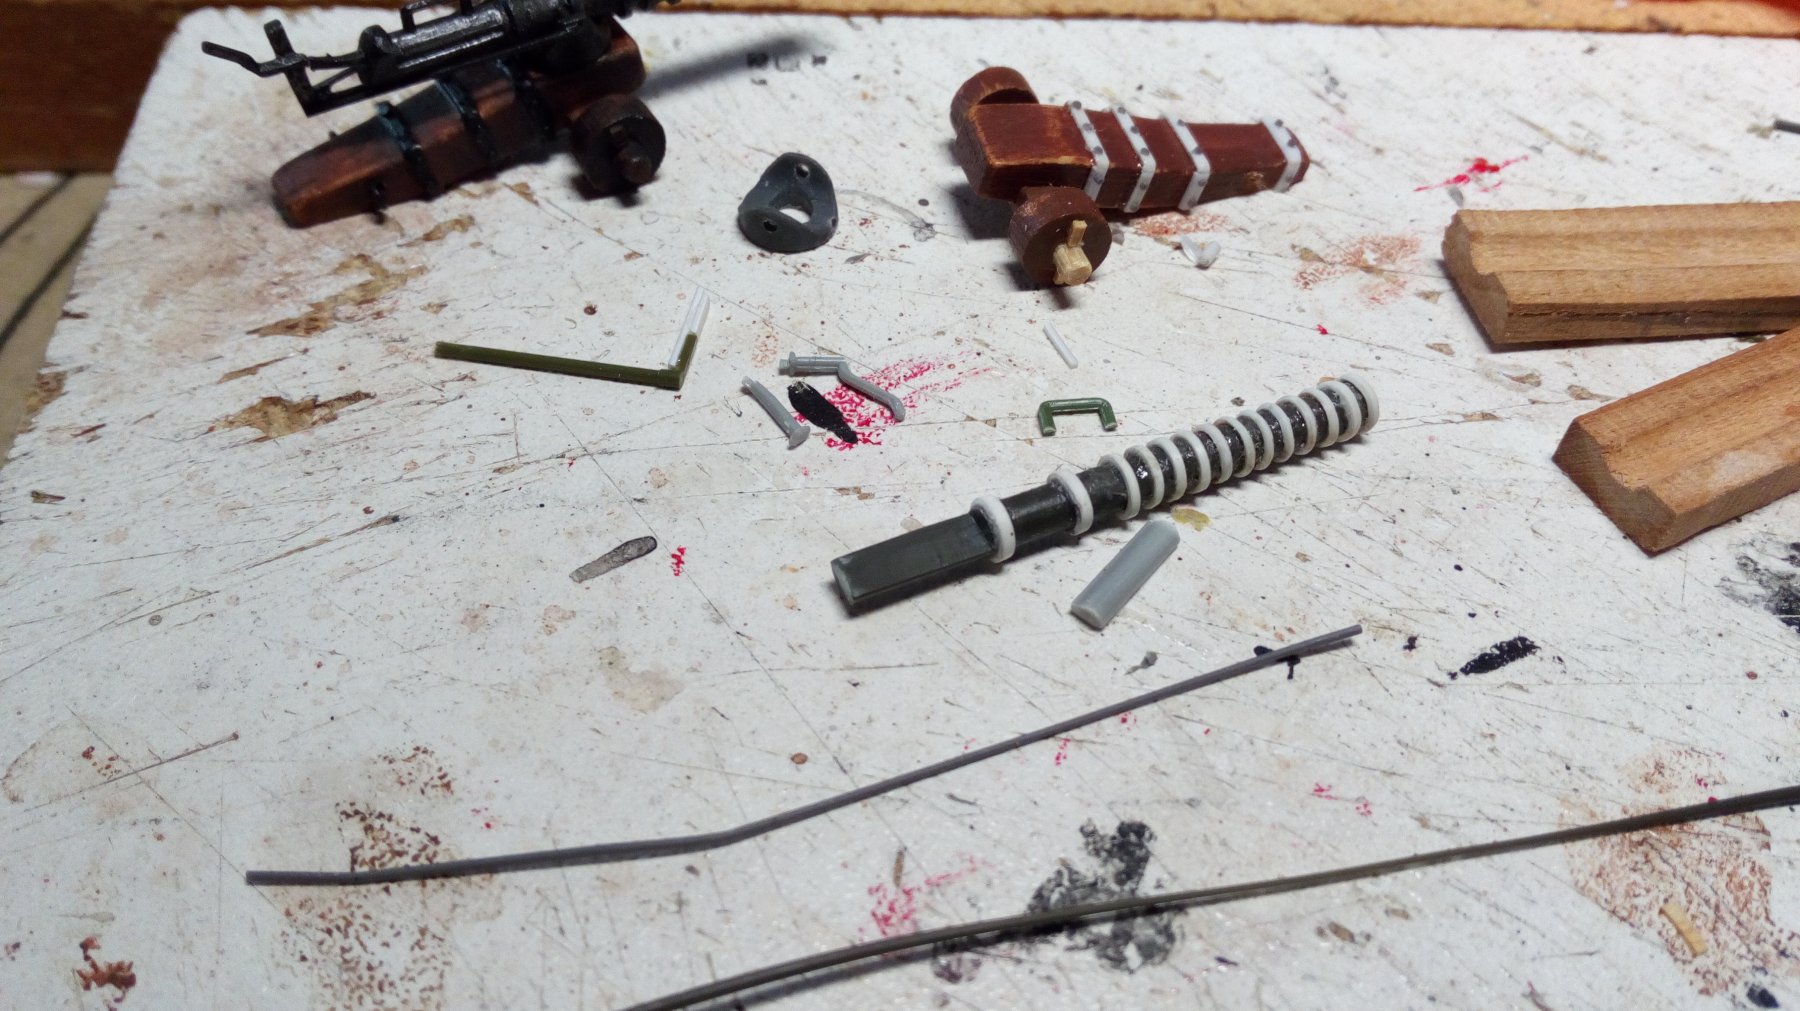
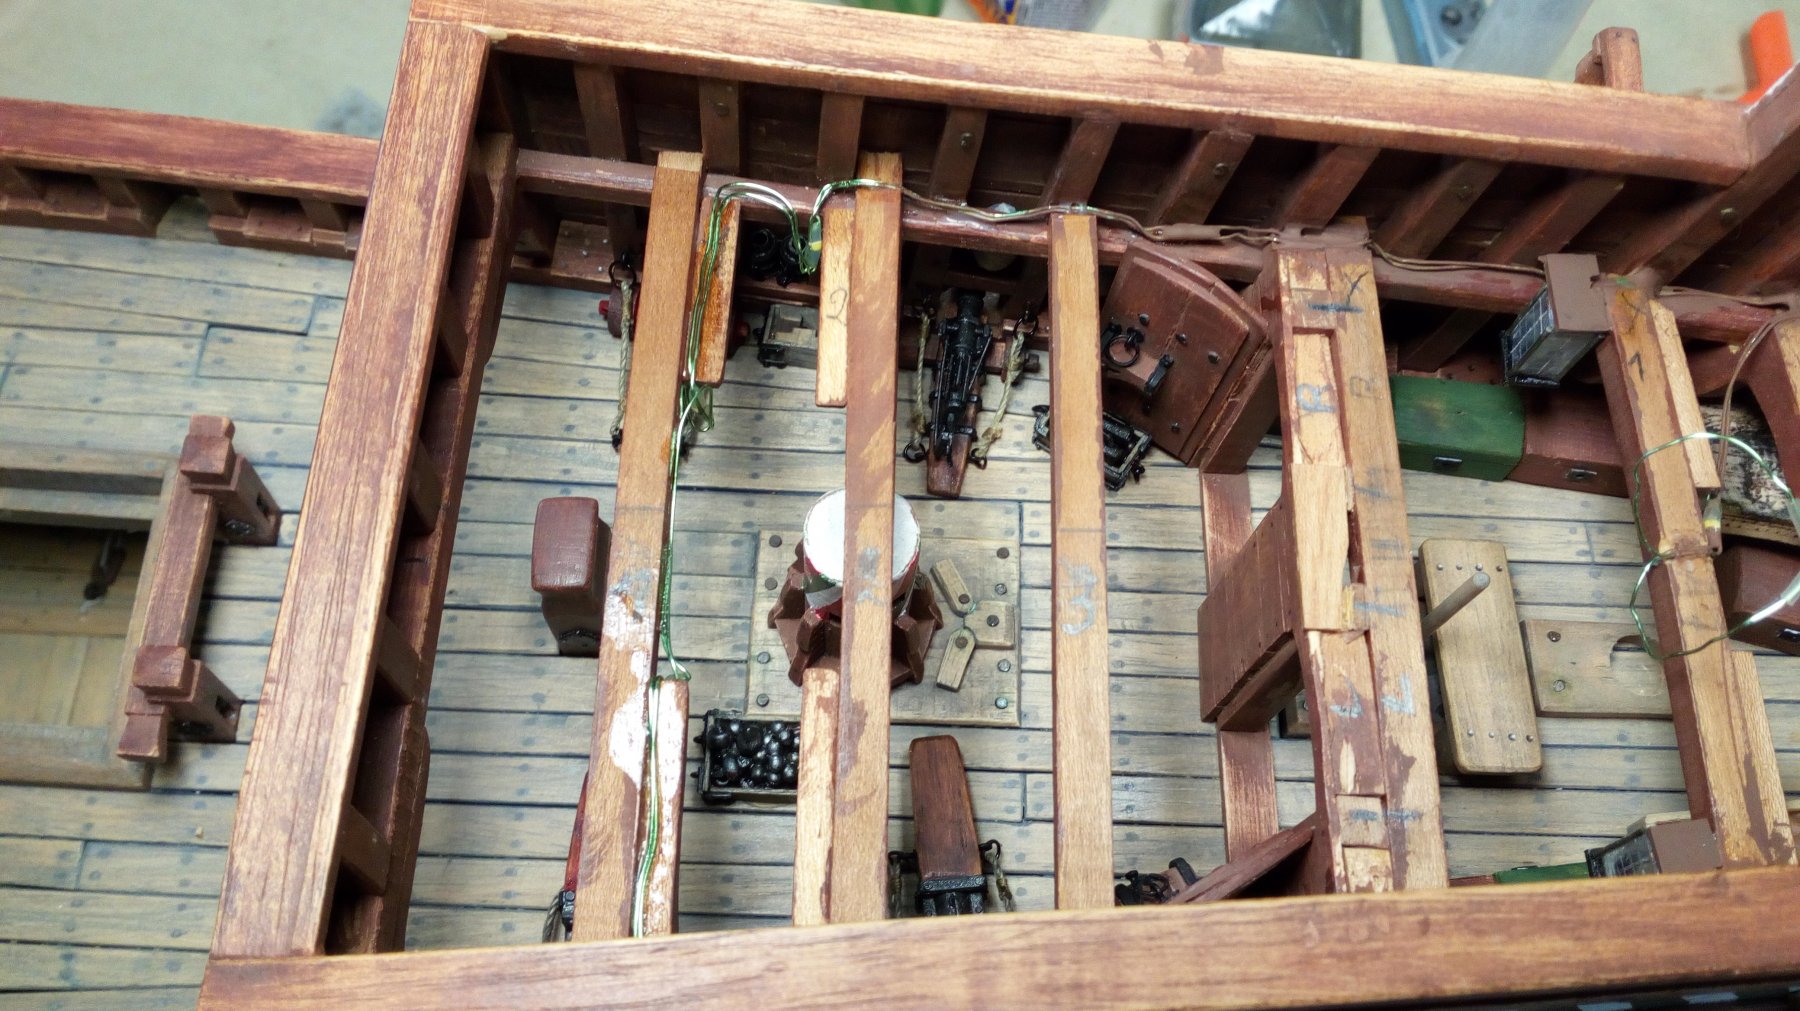
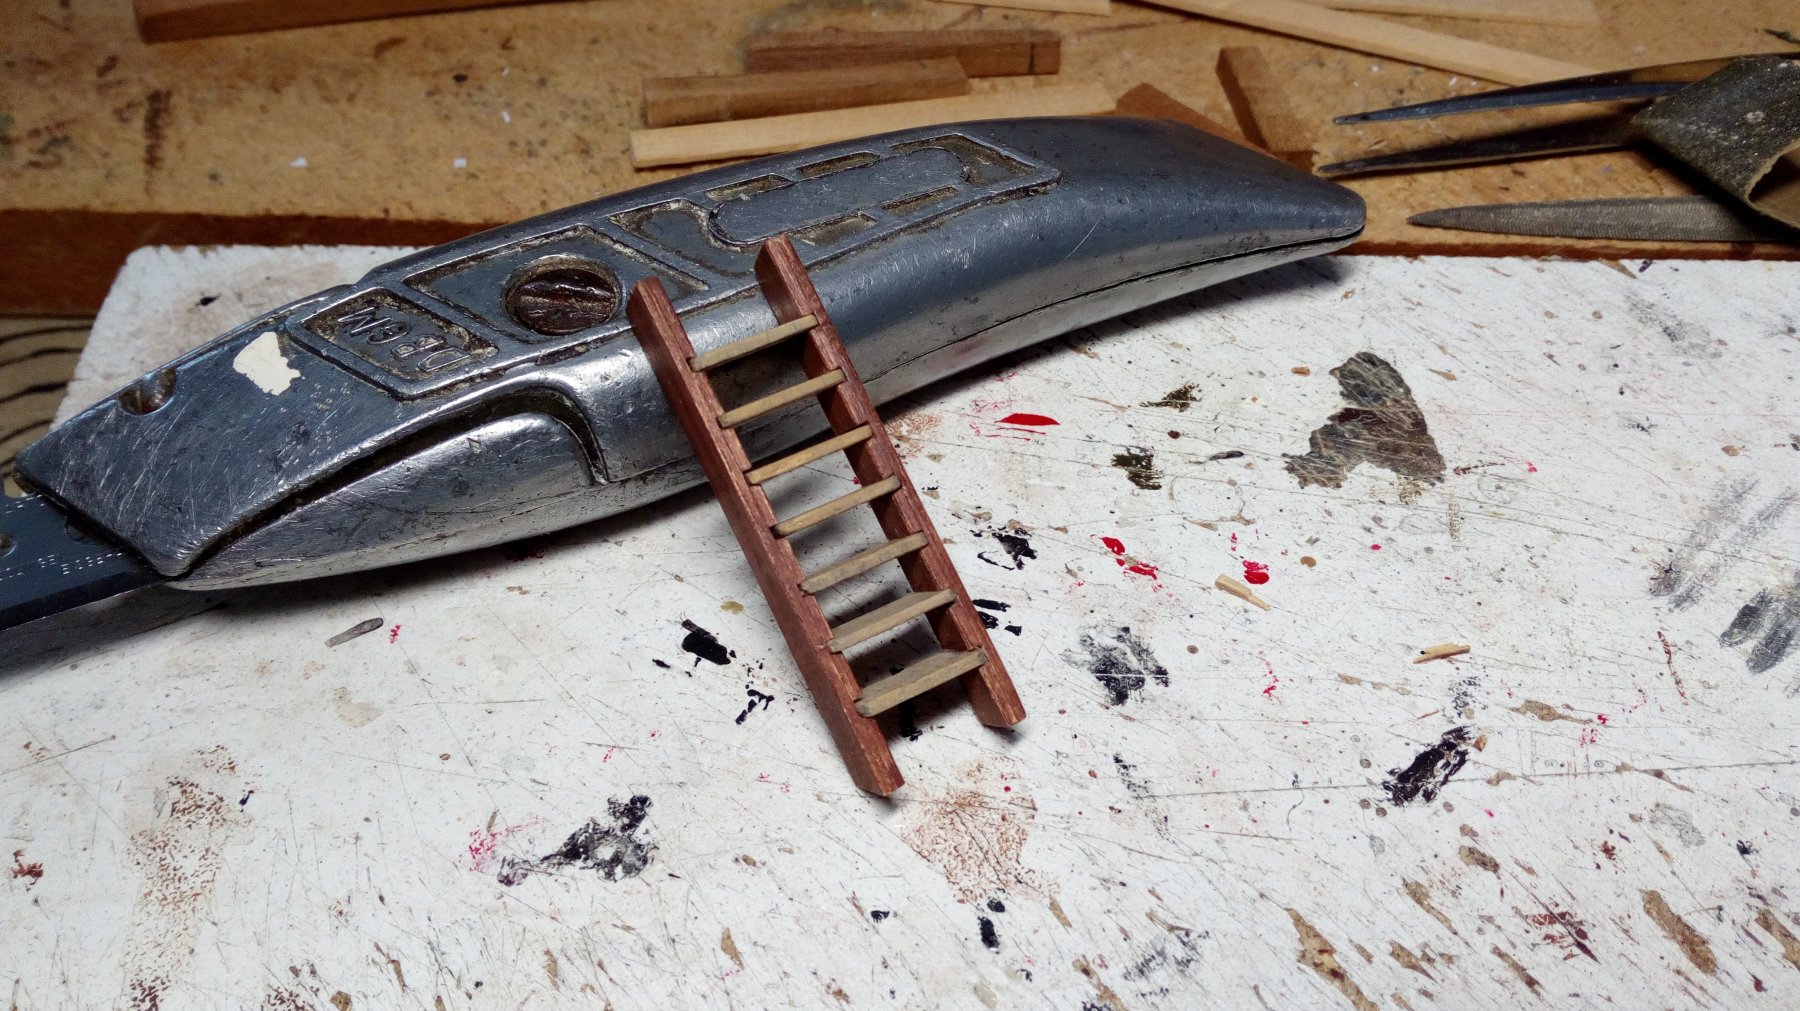
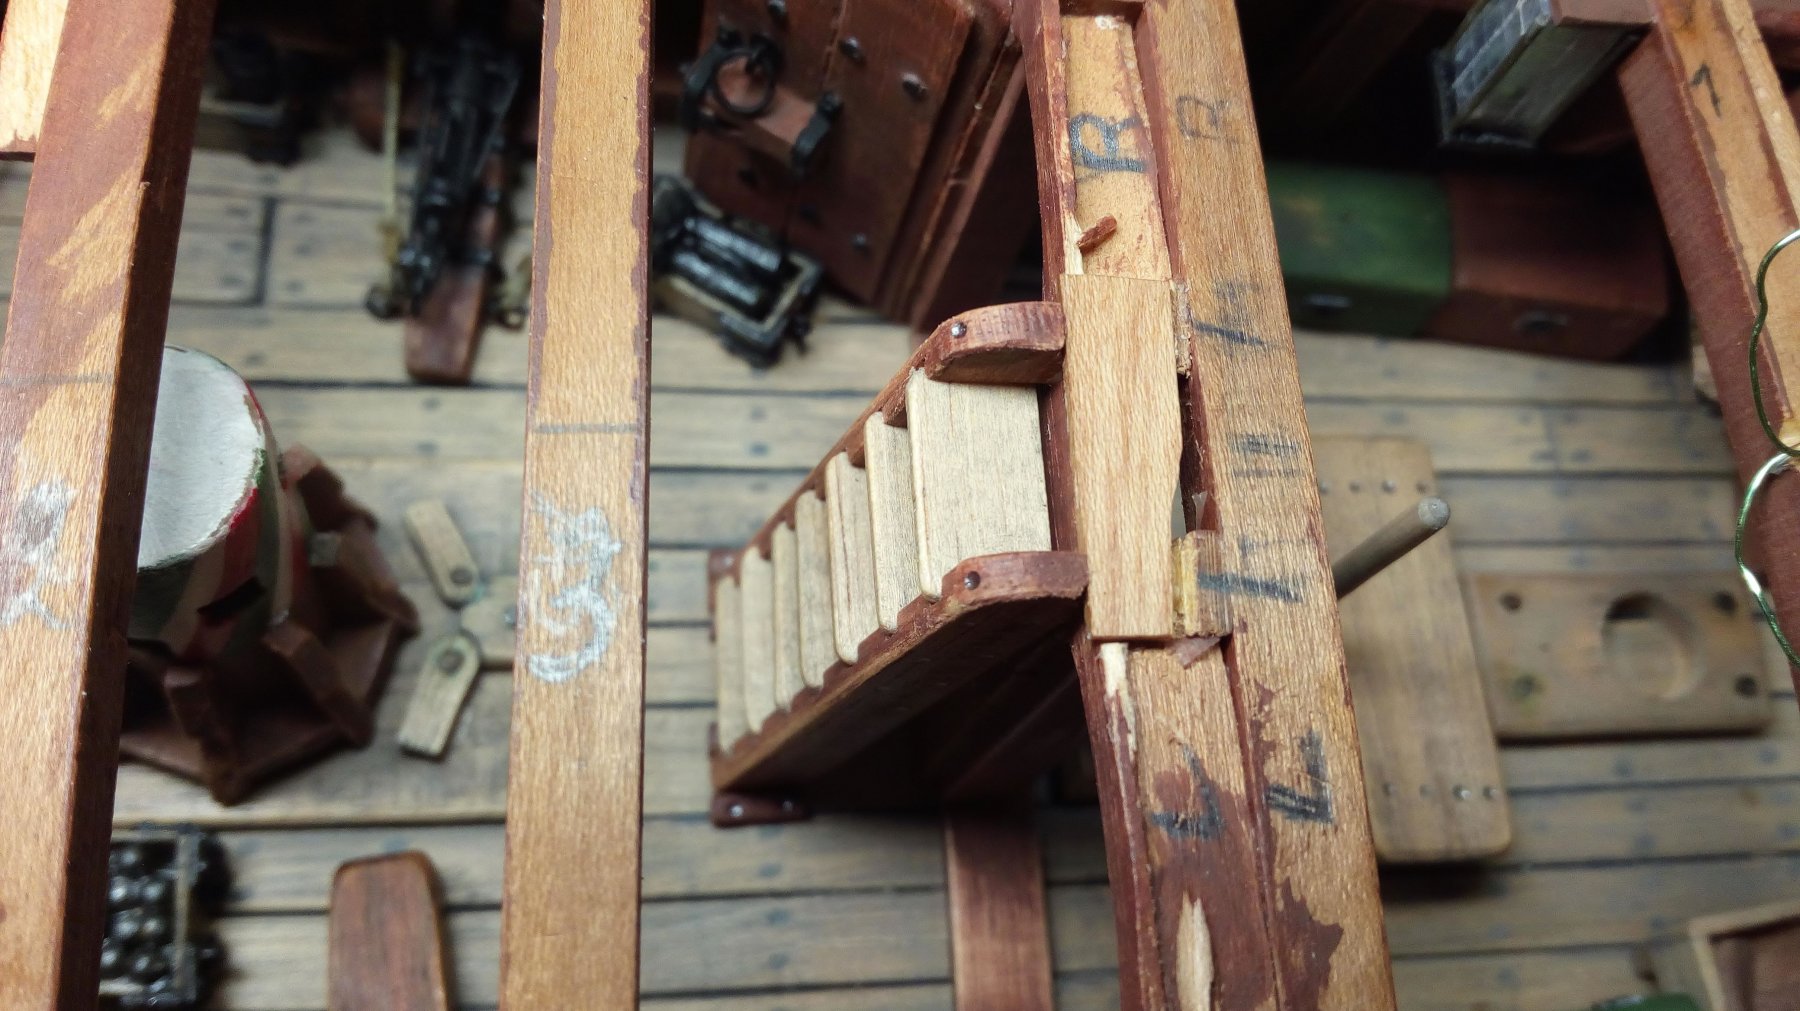
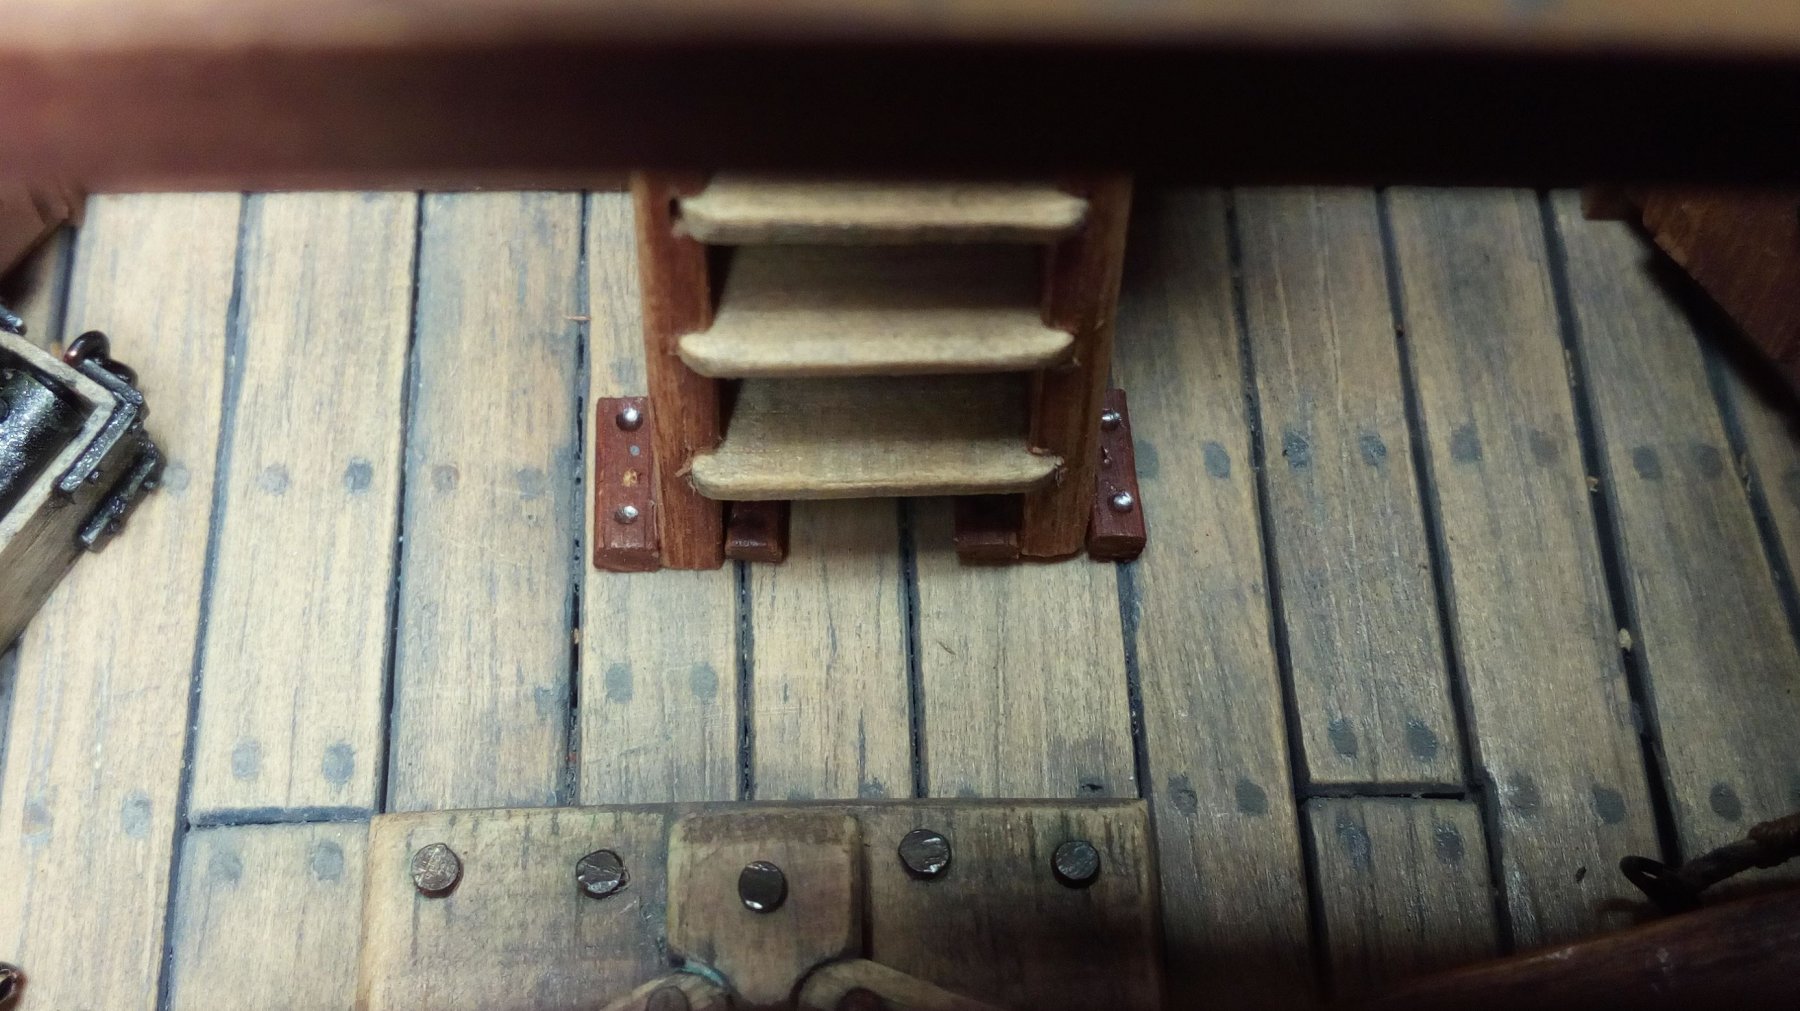
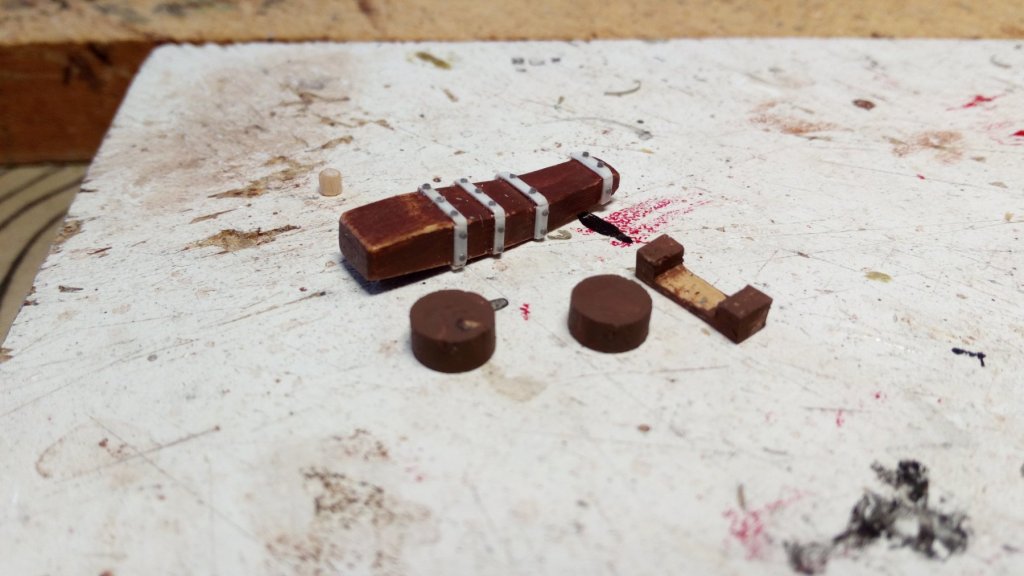
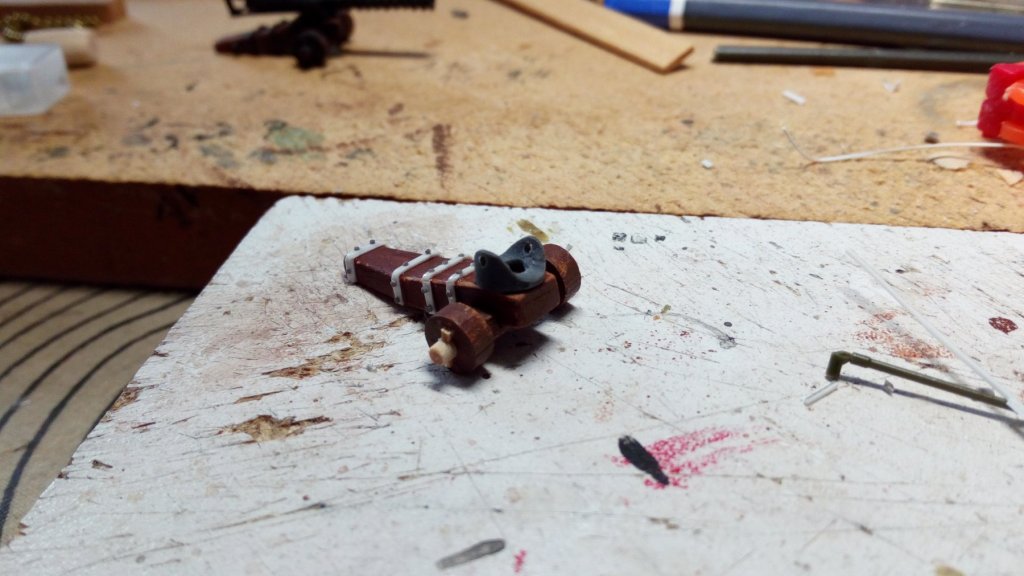
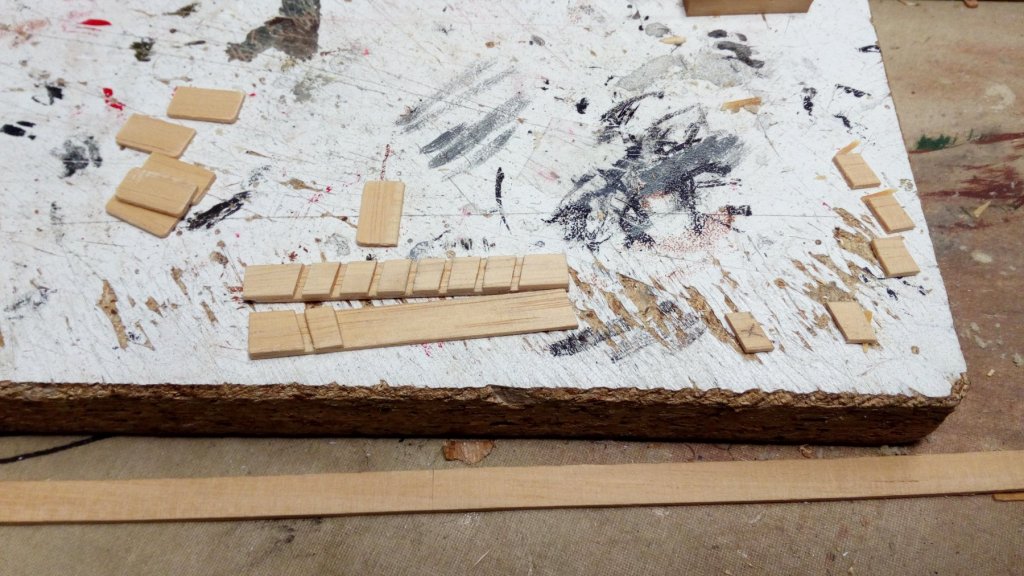
Hello, The 2nd cannon is ready. All plastic parts come from my military partsbox, plastic sprue and strips. cannon installed, together with deck beams and knees. A ladder is also built. There is not much room left therefore she is placed between the 2 doors. And: My painting job on the house is ready. I don't like to work on a ladder, i start sweating and get the shaking in my legs. ( Dutch : Ik begin dan te zweten en krijg dan de bibber in de benen ). Thanks for following


- 756 replies
-
- 9
-
-
- galleon
- golden hind
- (and 2 more)
-
Focke-Wulf Fw 190D-9 by Jörgen - Eduard - 1:48 - PLASTIC
Baker replied to Jörgen's topic in Non-ship/categorised builds
Nice workplace. You still have many models to build. -
Airplanes and Tanks in plastic by Jörgen
Baker replied to Jörgen's topic in Completed non-ship models
Very beautiful models -
Greetings, Patrick
-
Good luck, and welcome to MSW.
-
Good idea to start with a small model. Greetings, and welcome to MSW
-
Very nice work Fabio. In the 15th and early 16th centuries, there were indeed few ships that had a figurehead. And if they had one, then this was minimal and small.
- 197 replies
-
- 2
-
-
- santa maria
- carrack
- (and 1 more)
-
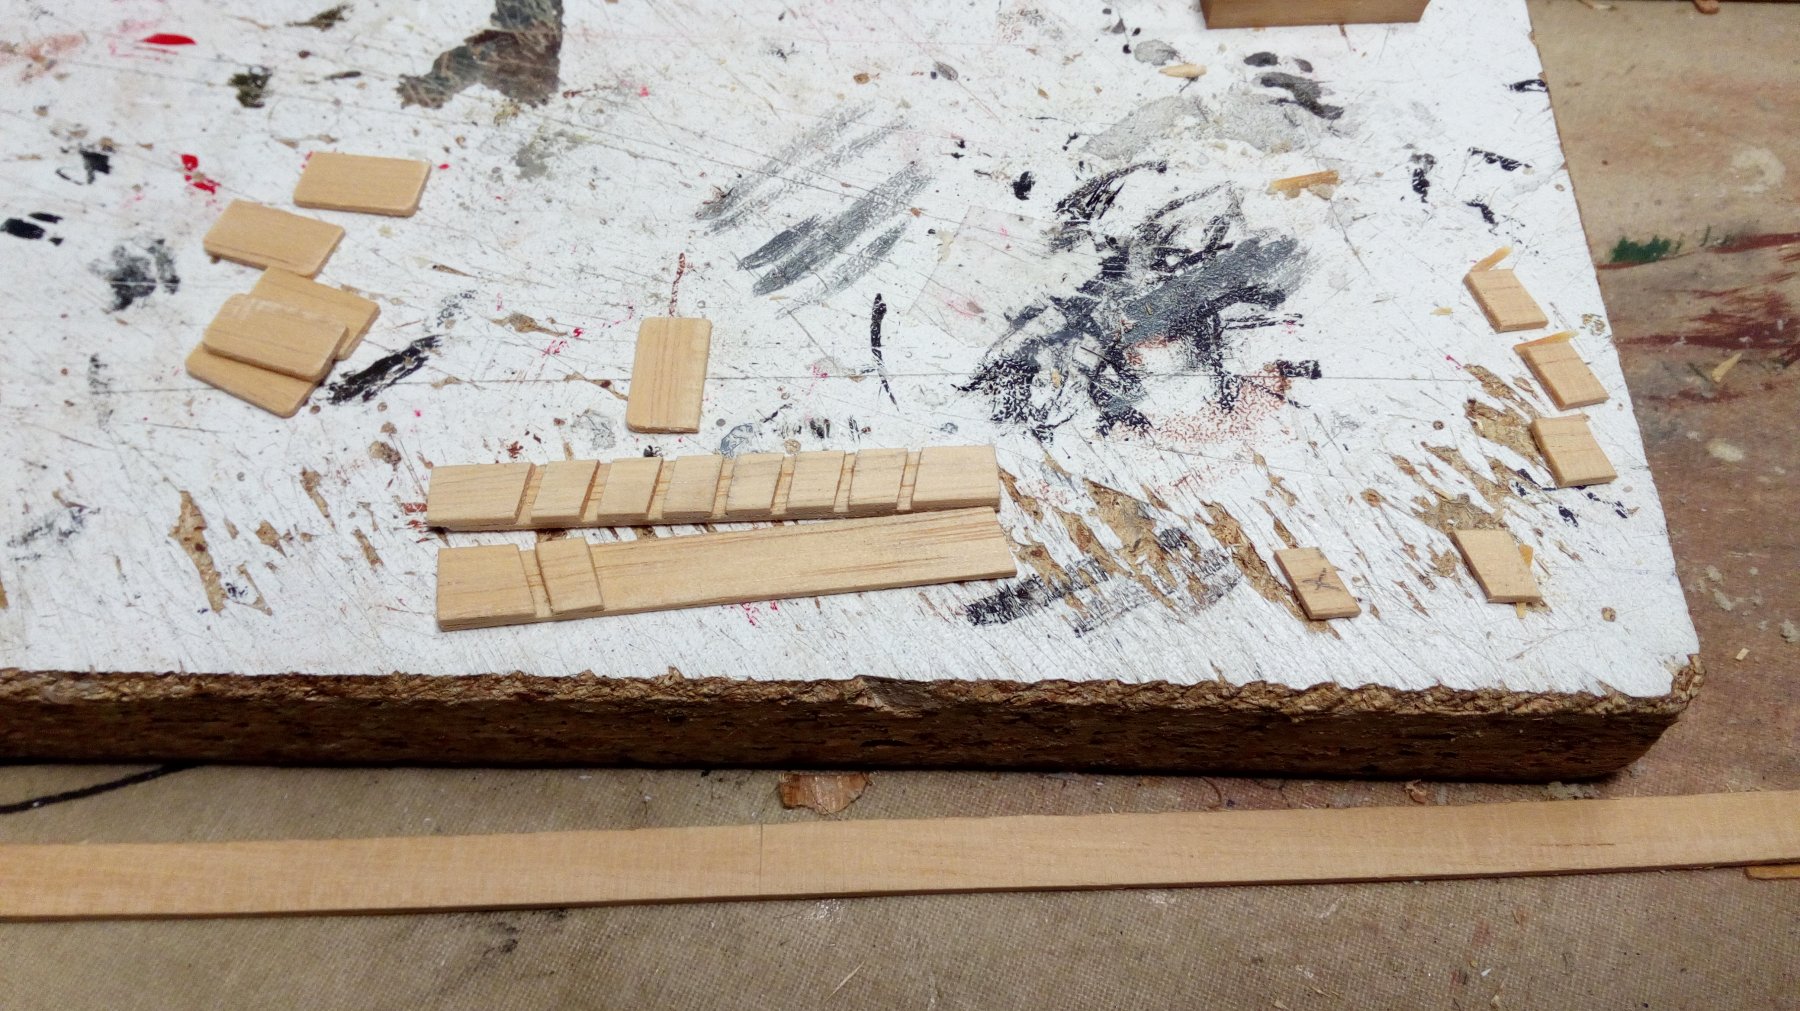
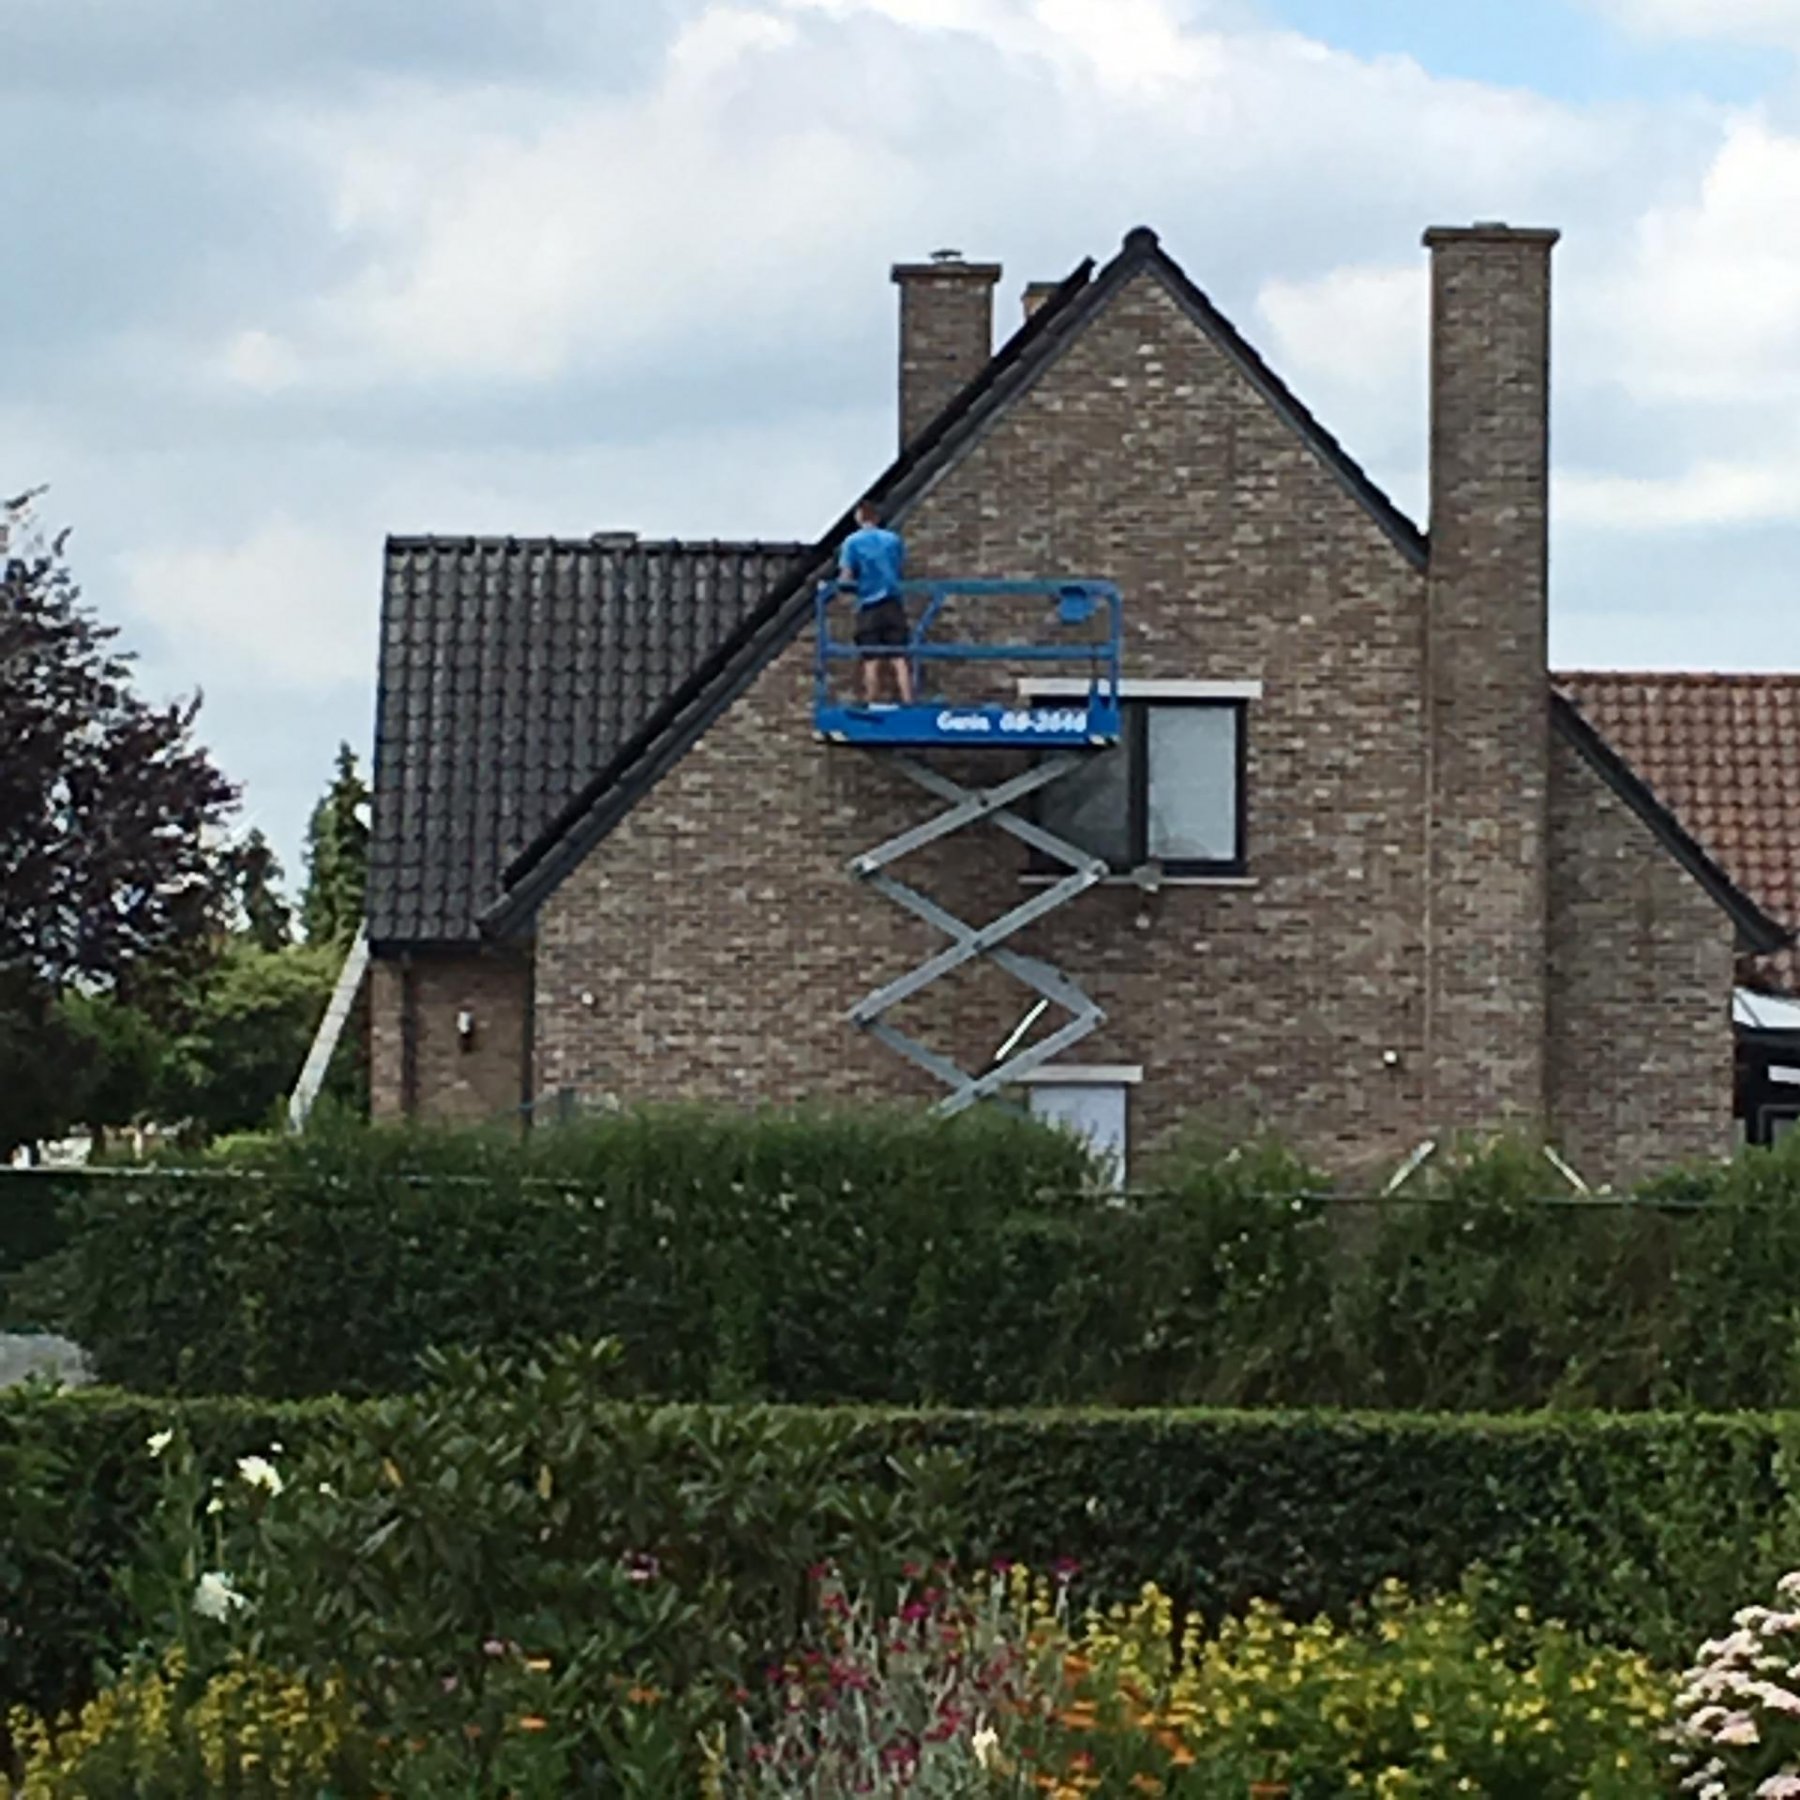
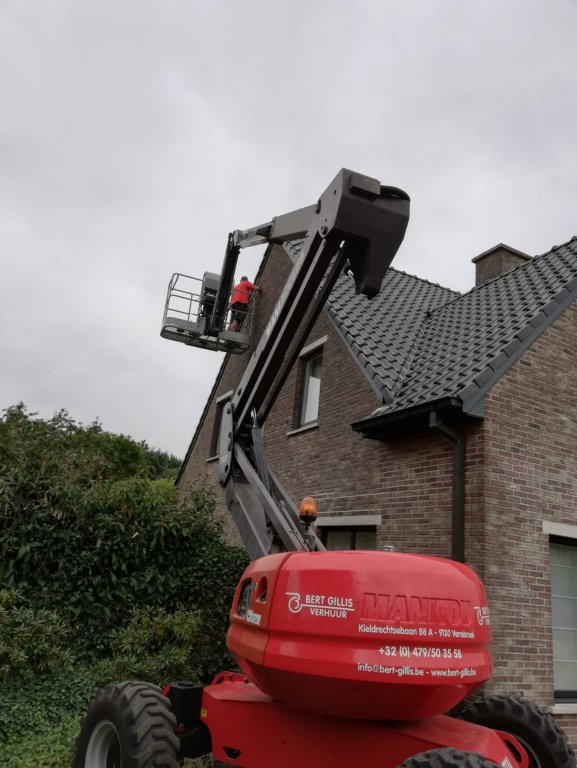
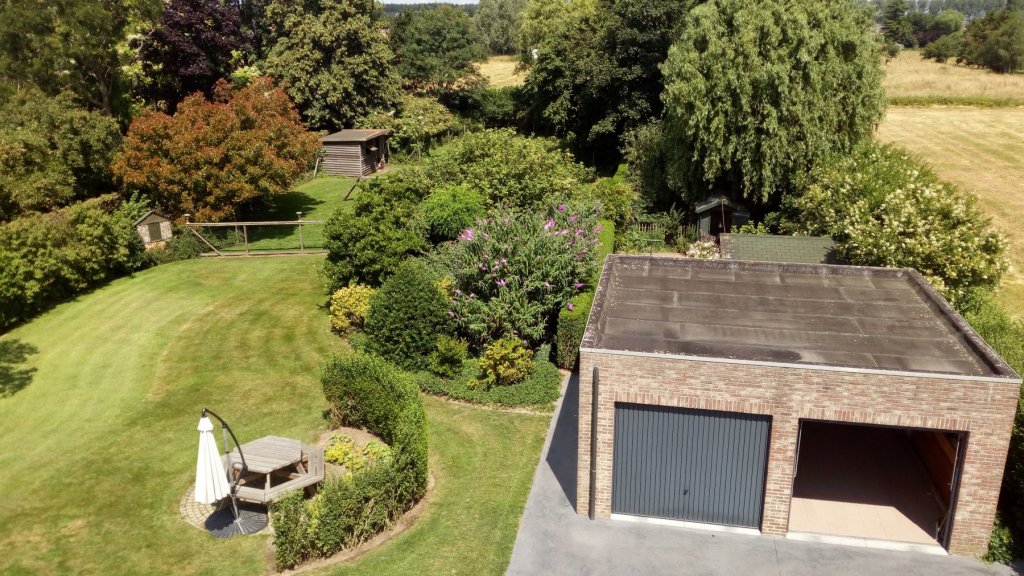
Thanks for the nice comments. I actually wanted to make wooden spoked wheels. In plastic this was possible, but in wood this was beyond my skills. Meanwhile : Backer is busy painting on the house A nice view from a height of about 8 meters

- 756 replies
-
- 7
-
-
- galleon
- golden hind
- (and 2 more)
-
And greetings form Belgium
-
Welcome, and Greetings from Belgium
-
Hello, And
-
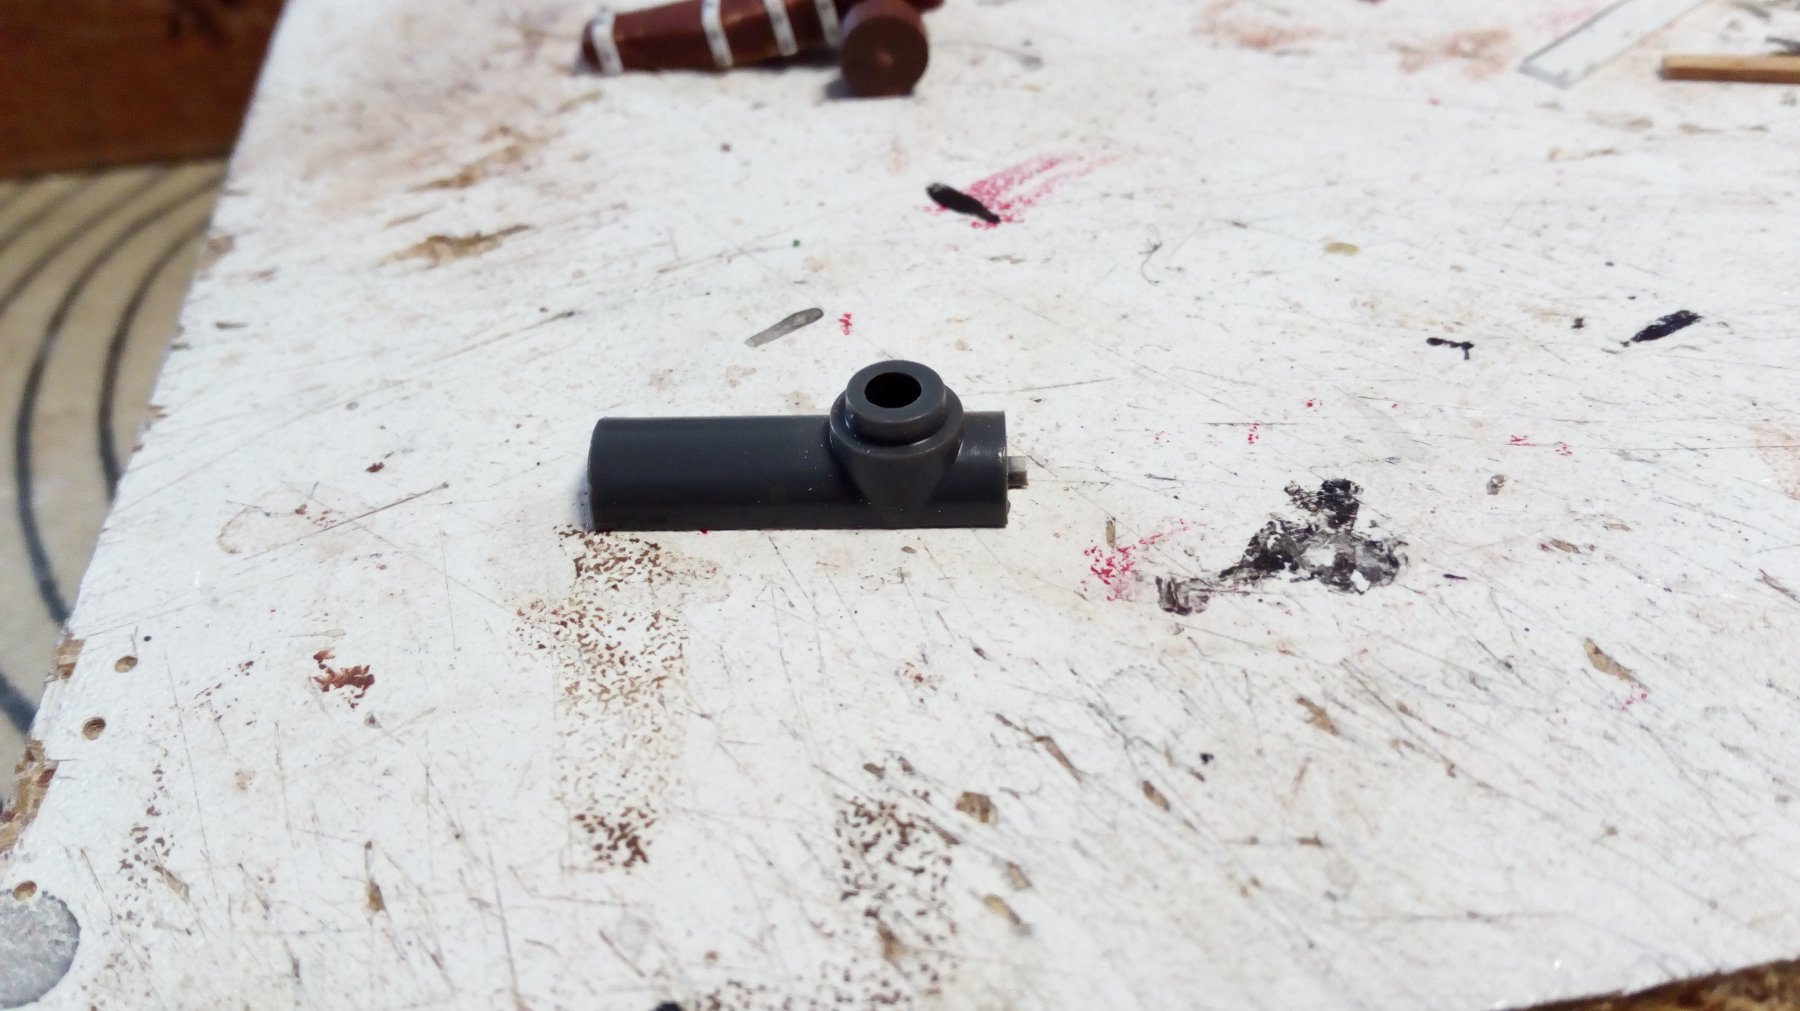
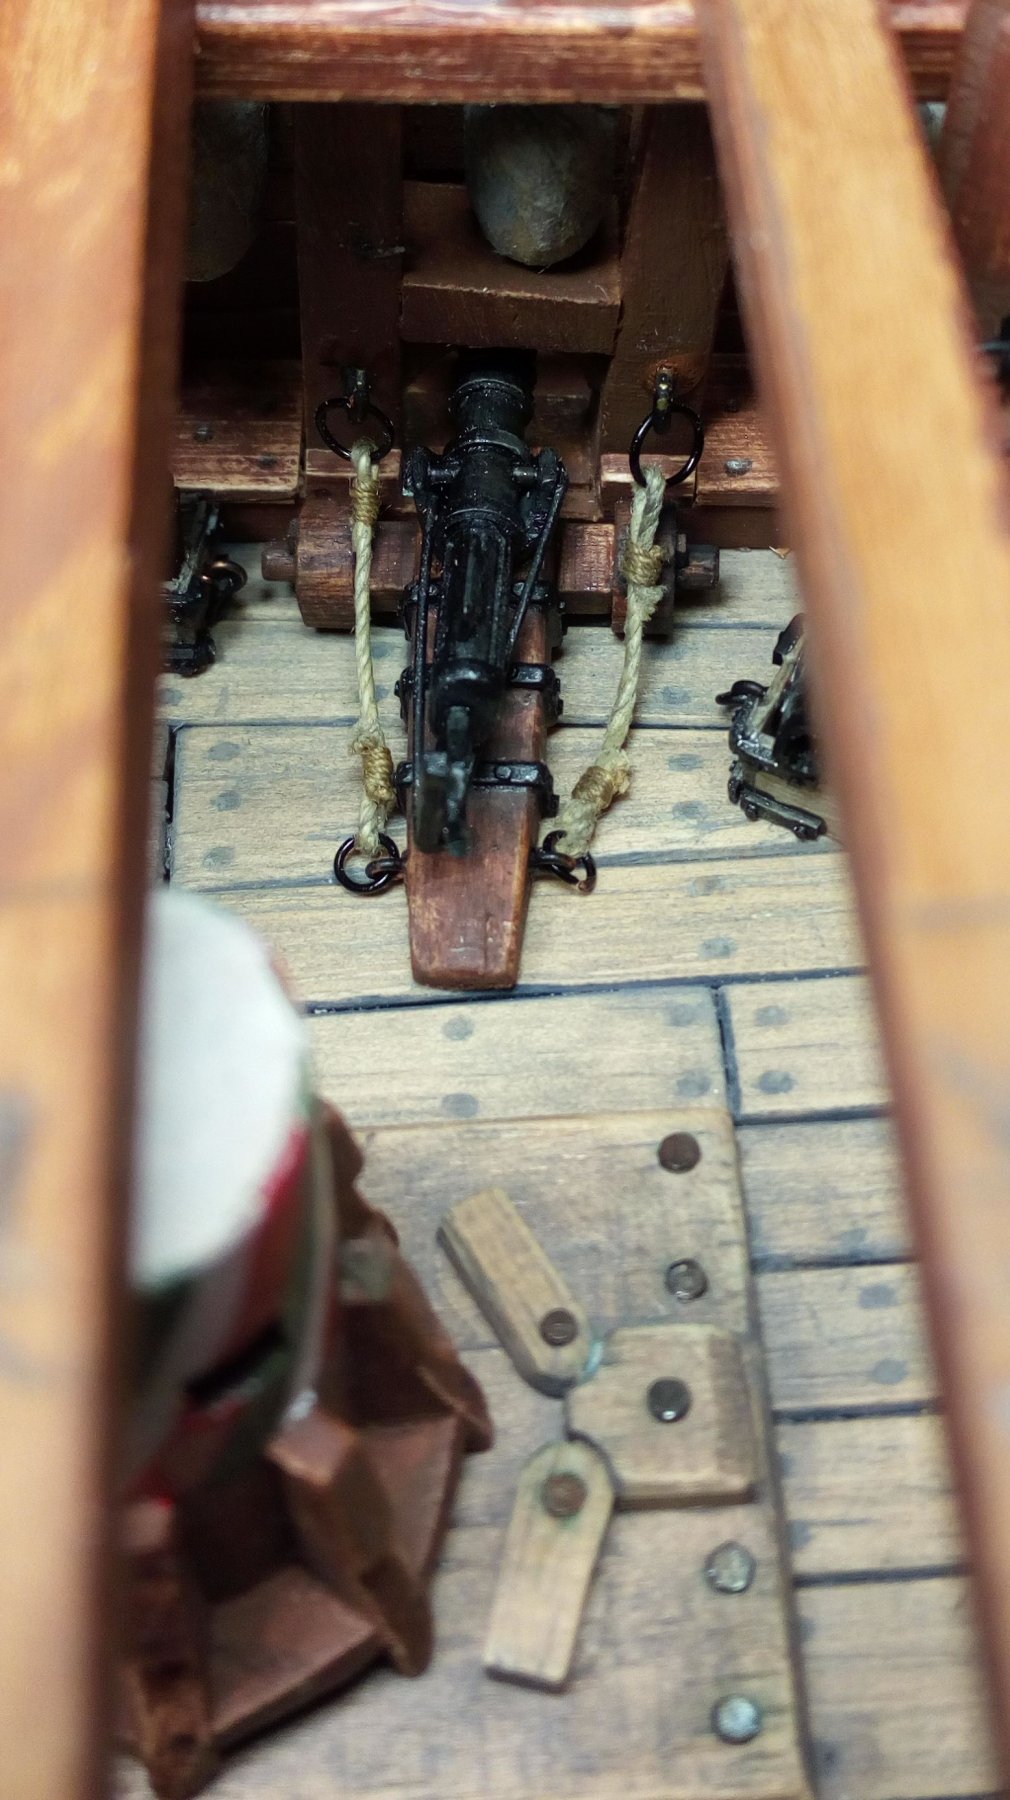
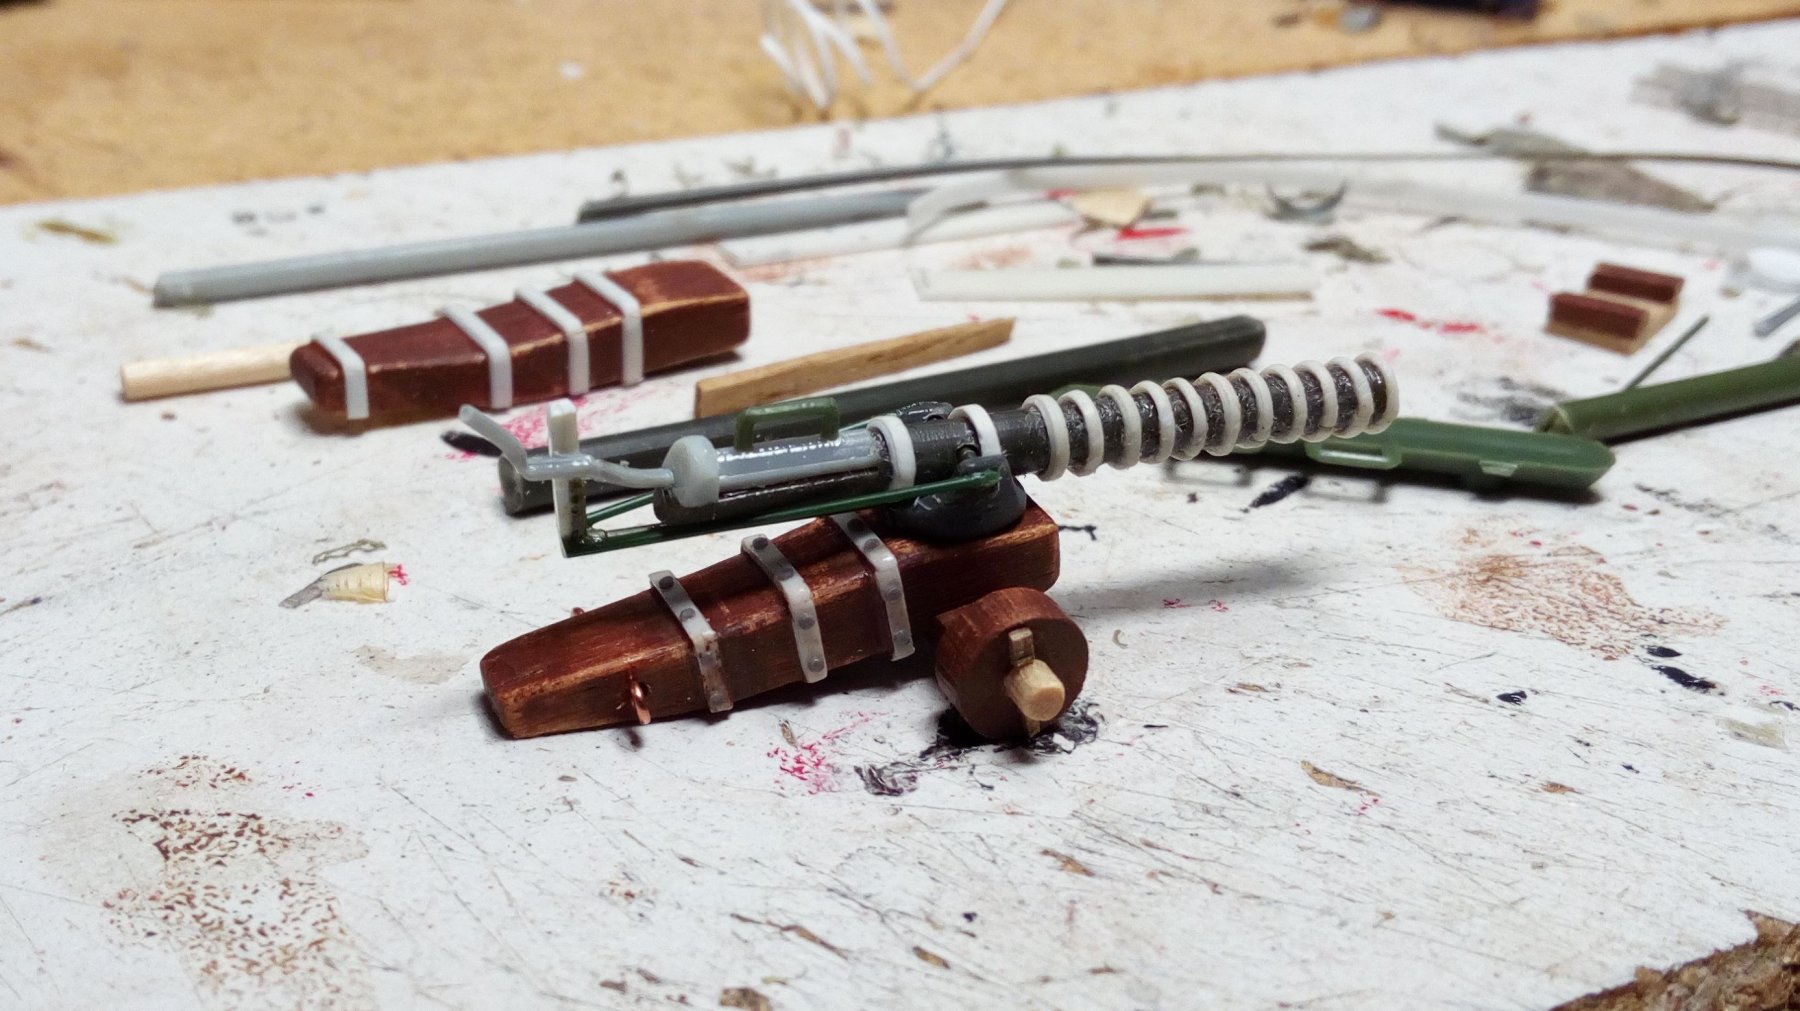
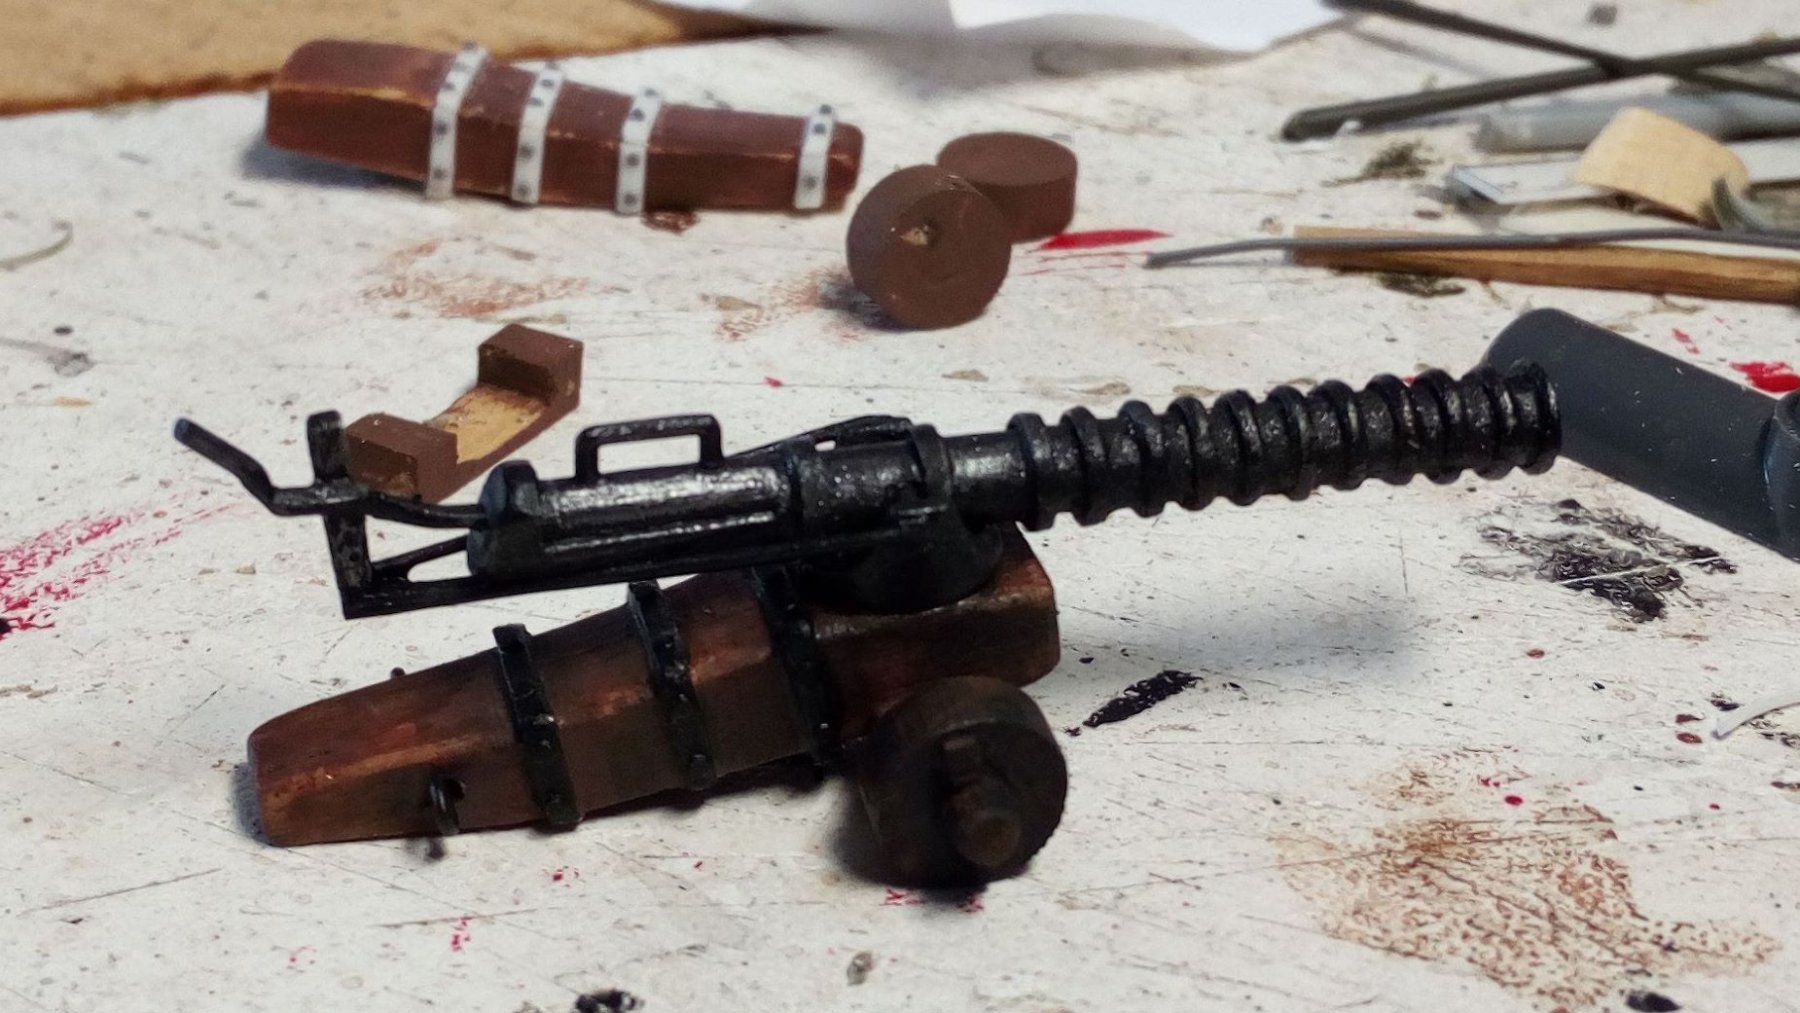
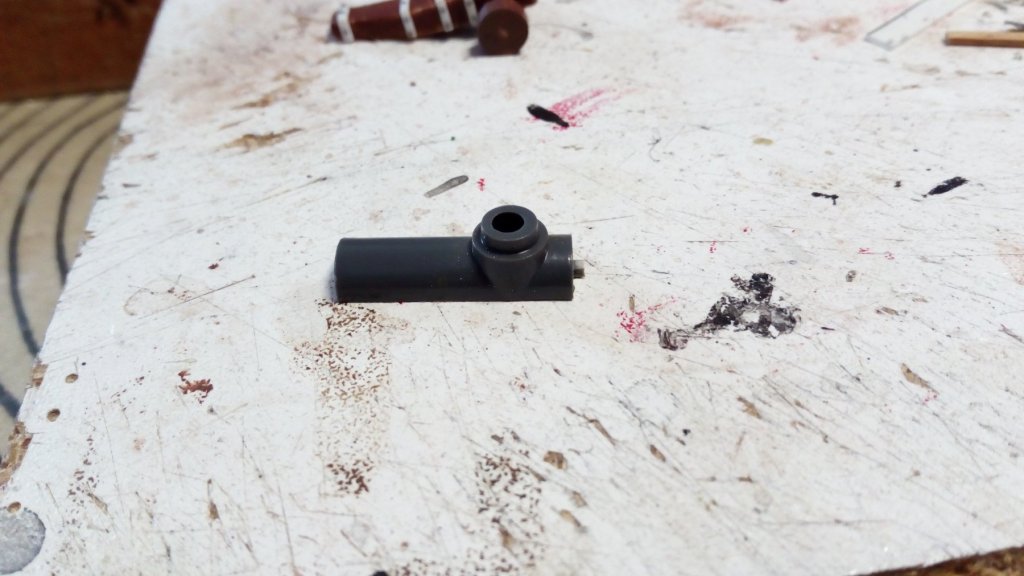
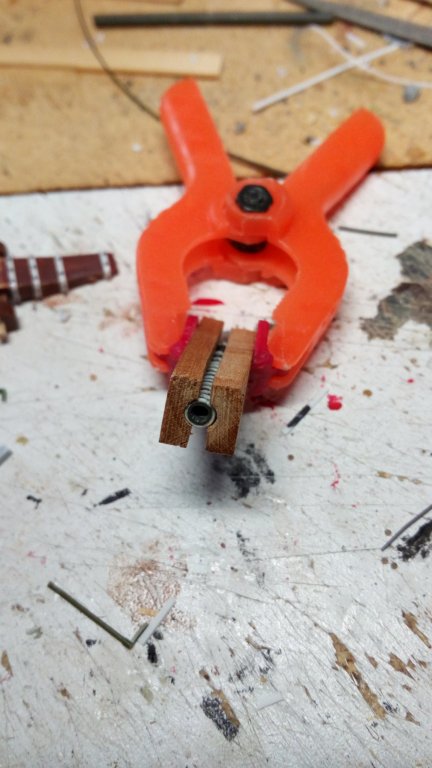
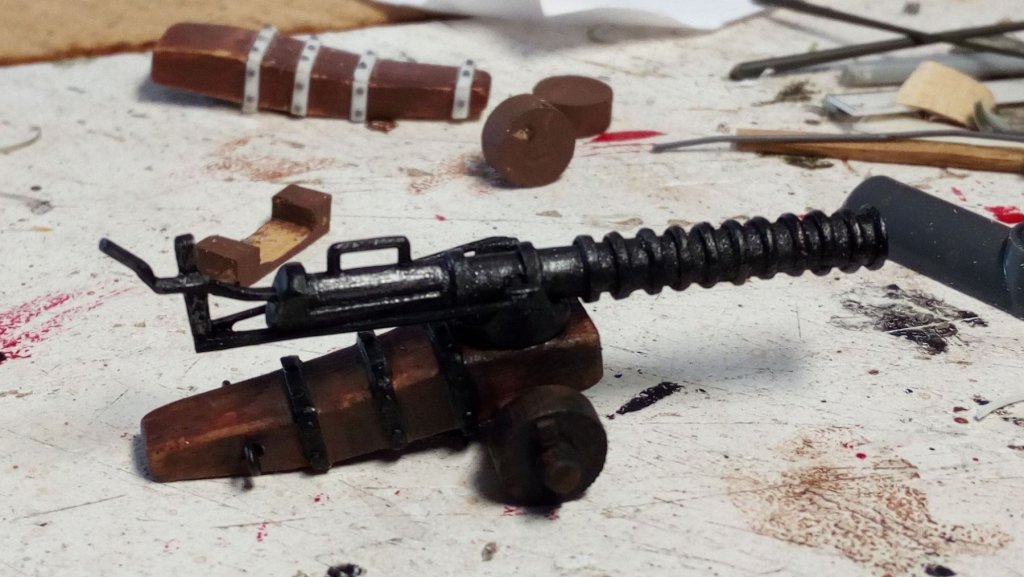
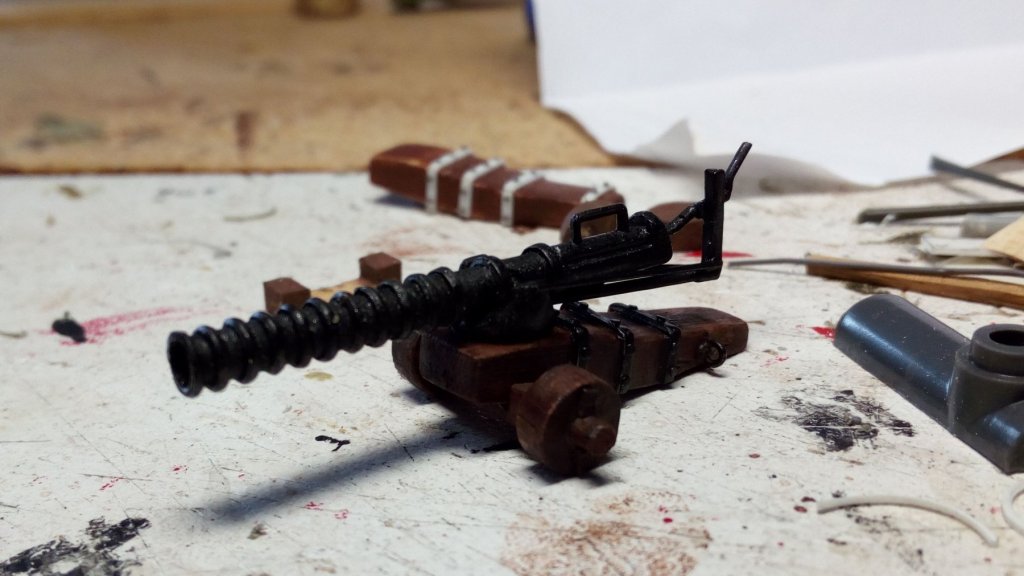
Thanks Marcus After a few weeks of silence, a very short update (it is currently a little to hot to do anything) I finally succeeded in making one cannon (after a few failures) I'm going to make another identical cannon to place in the forecastle. A construction method of this second cannon will follow later. Unpainted cannon painted cannon Thanks for following

- 756 replies
-
- 10
-
-
- galleon
- golden hind
- (and 2 more)
-
Welcome to MSW and greetings from Belgium. Good luck with your first build.