Baker
-
Posts
4,303 -
Joined
-
Last visited
Content Type
Profiles
Forums
Gallery
Events
Everything posted by Baker
-
Great model. Welcome to MSW
-
Welcome to MSW from Belgium
-
Welkom buurman (Welcome neighbor)
-
Greetings, Patrick
-
Nice models. Greetings, and welcome to MSW
-
Welcome to MSM and greetings from Belgium.
-
Welcome to MSW, and good luck with your model.
-
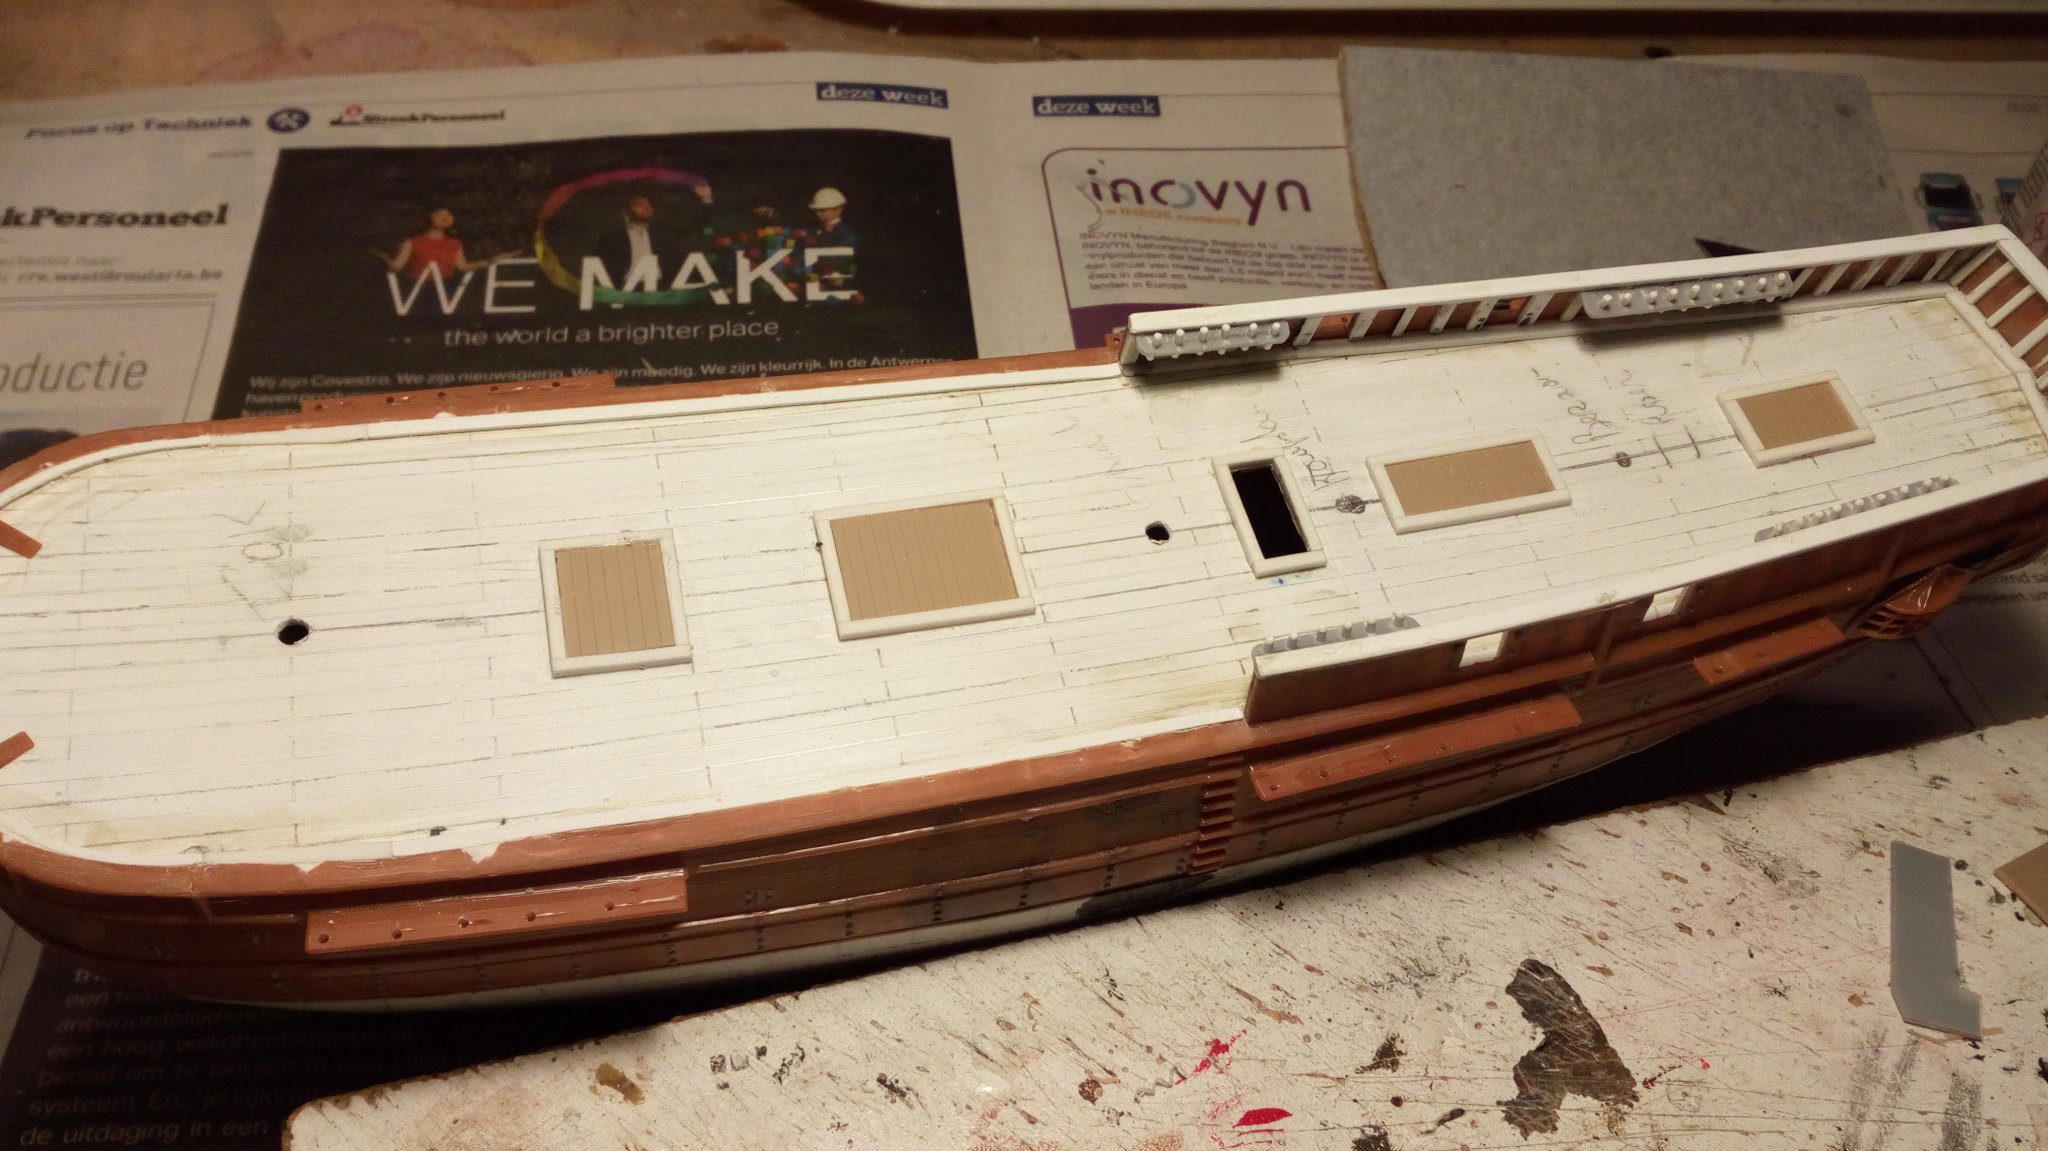
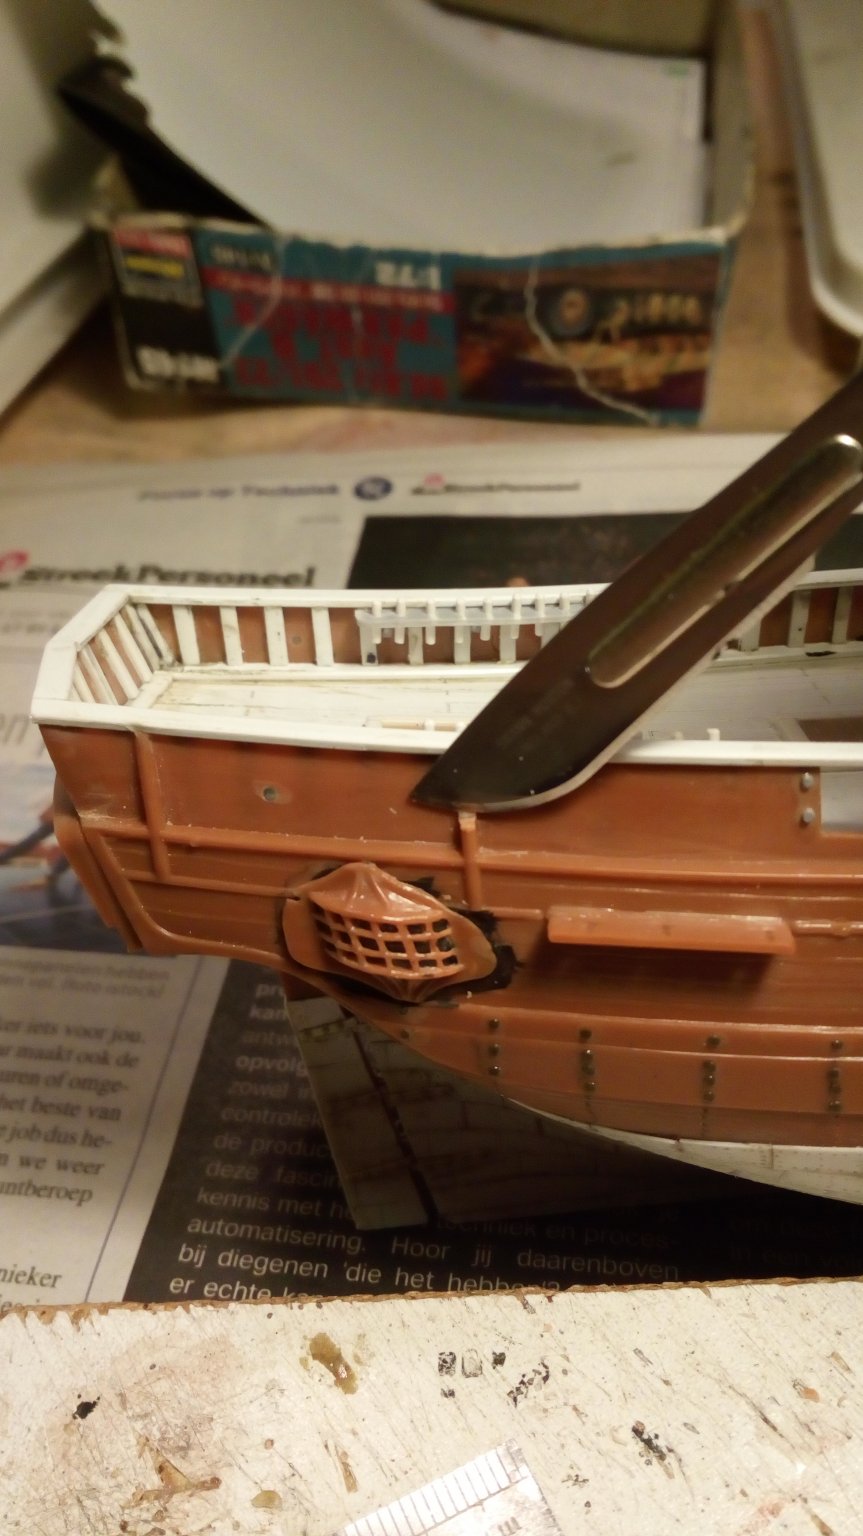
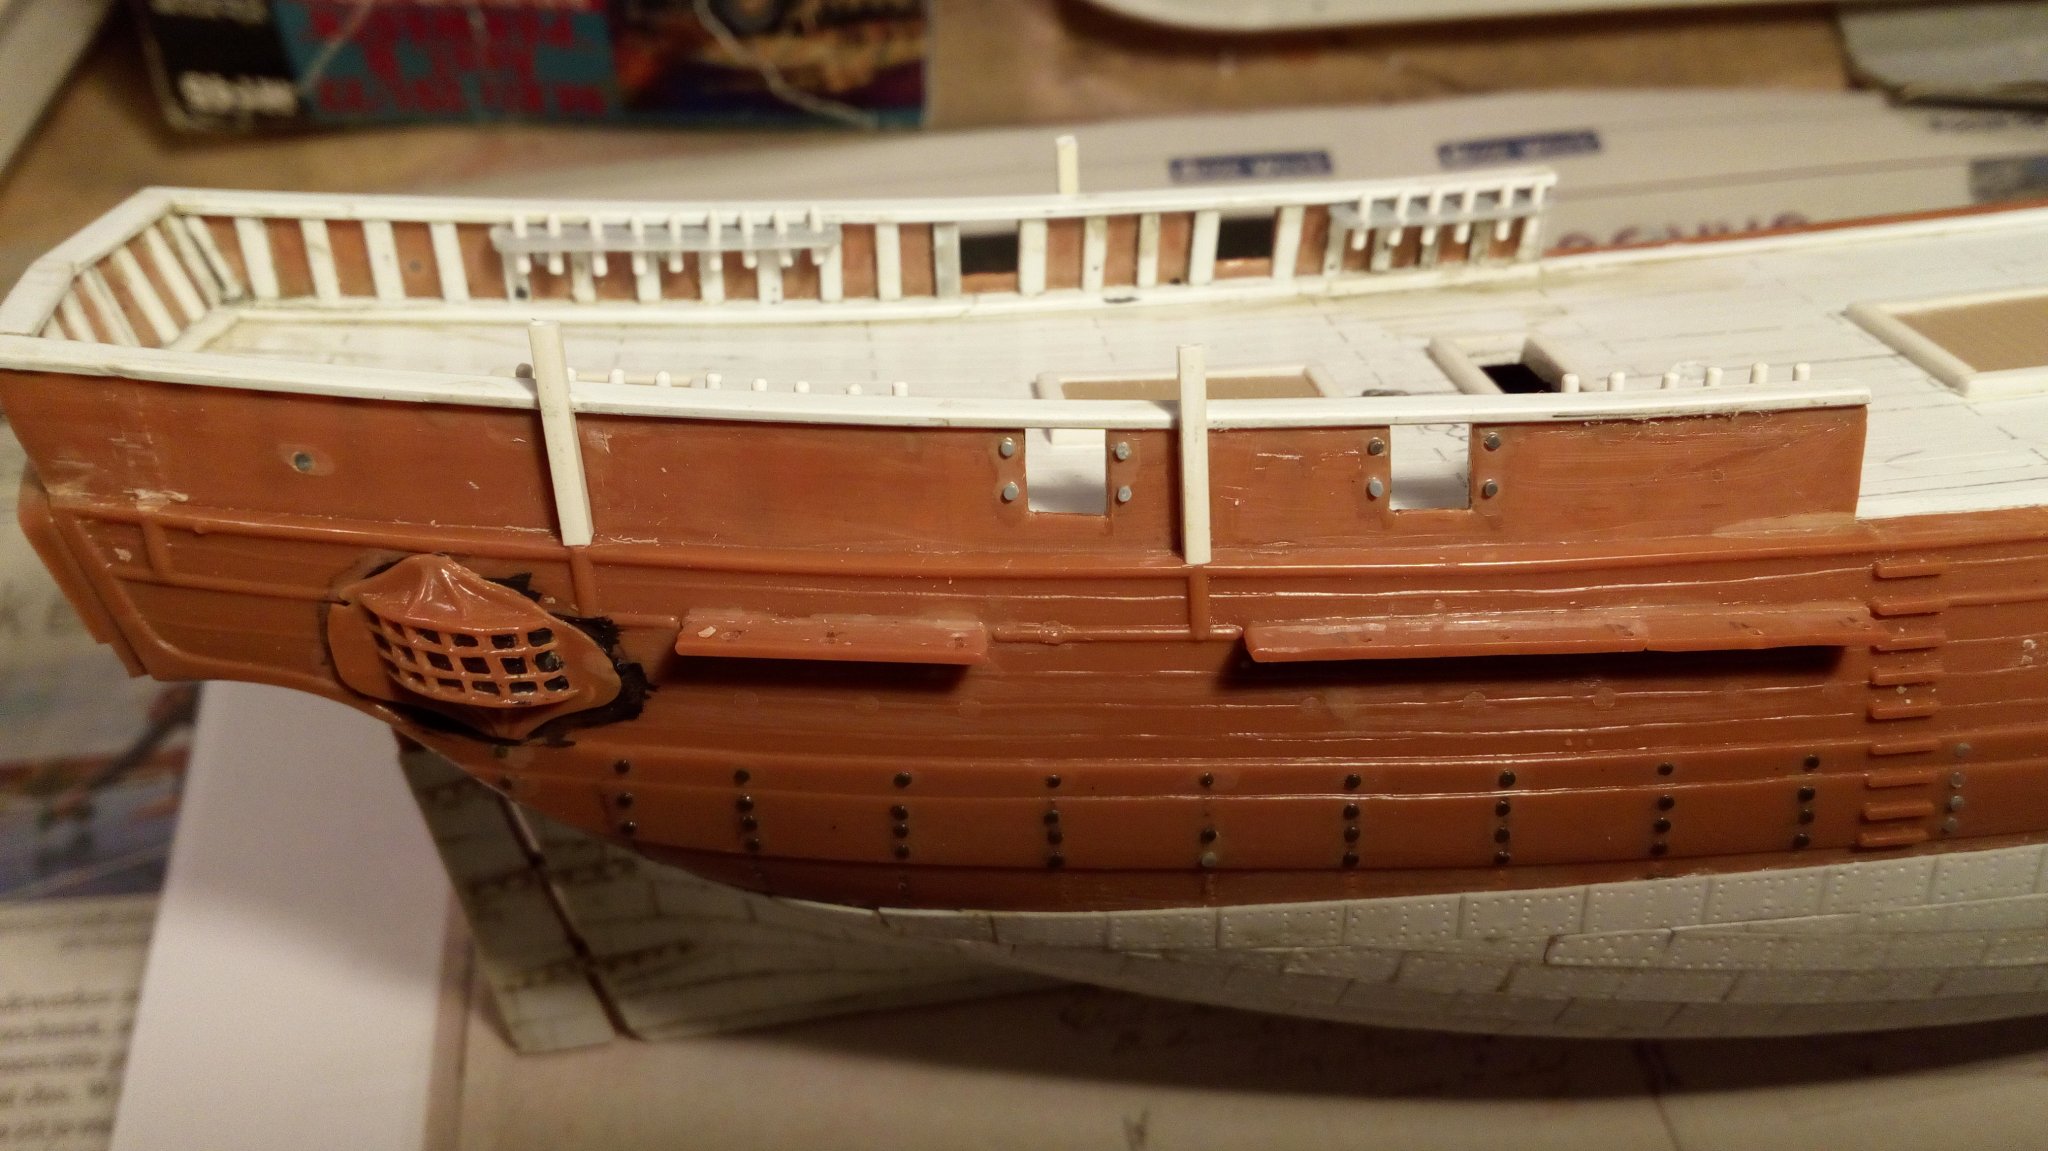
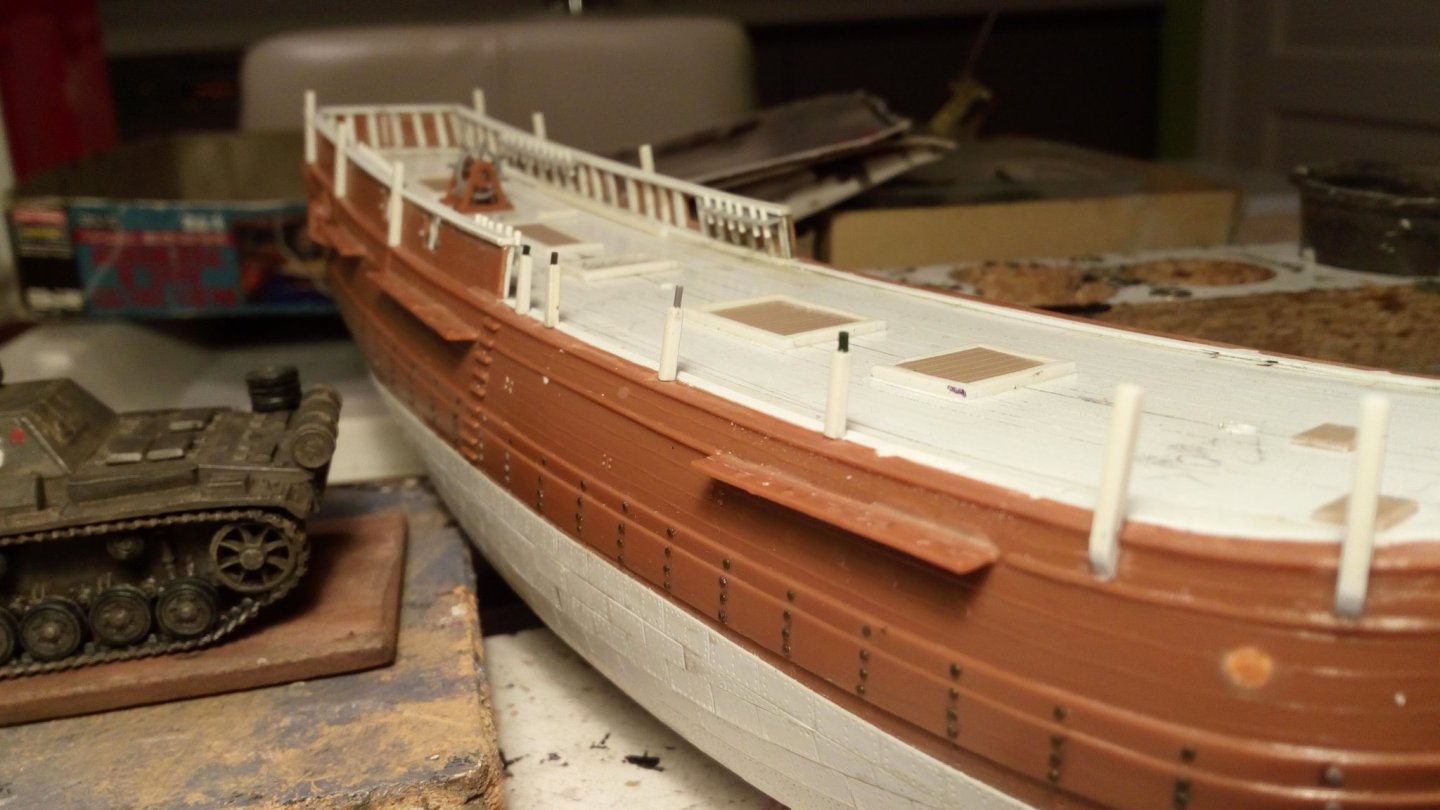
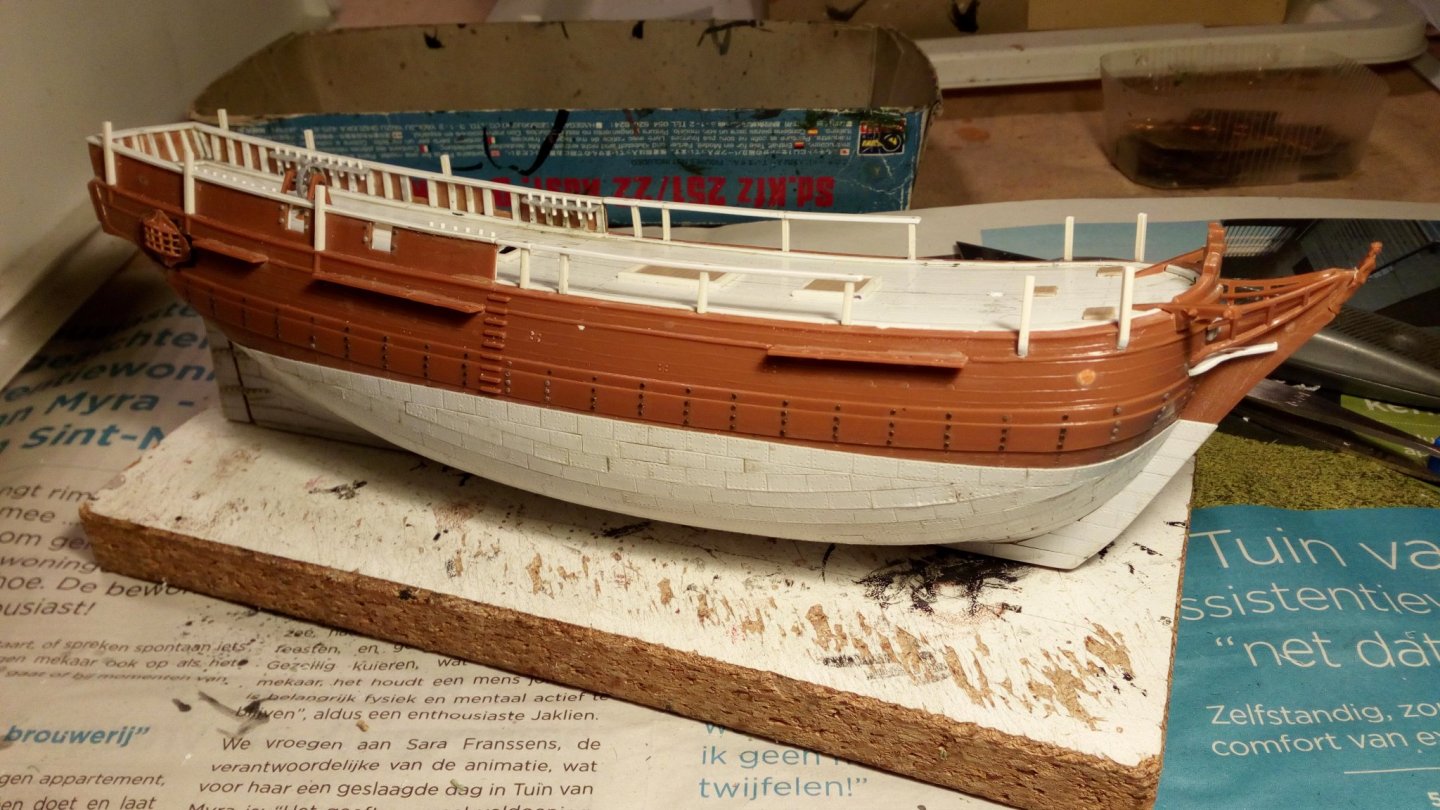
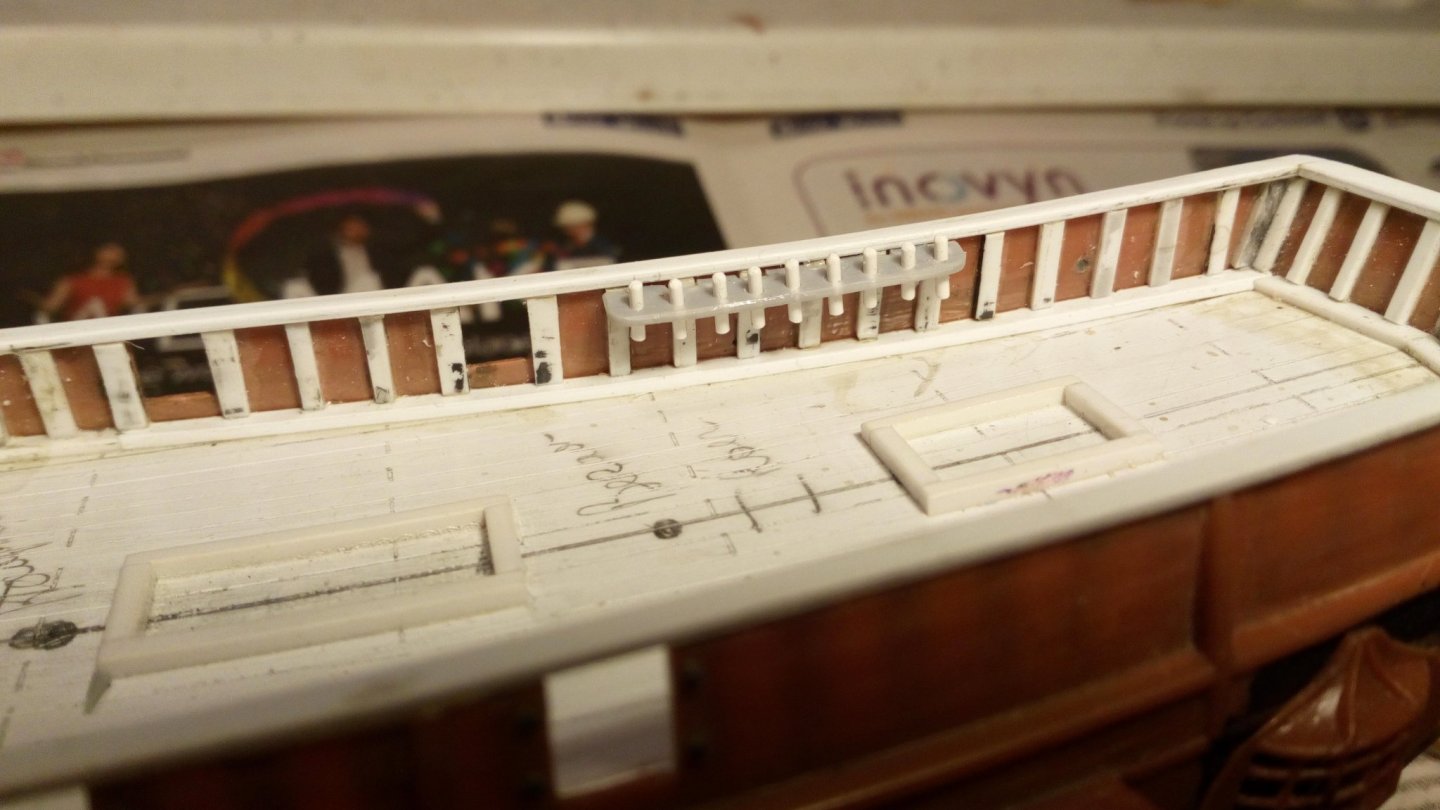
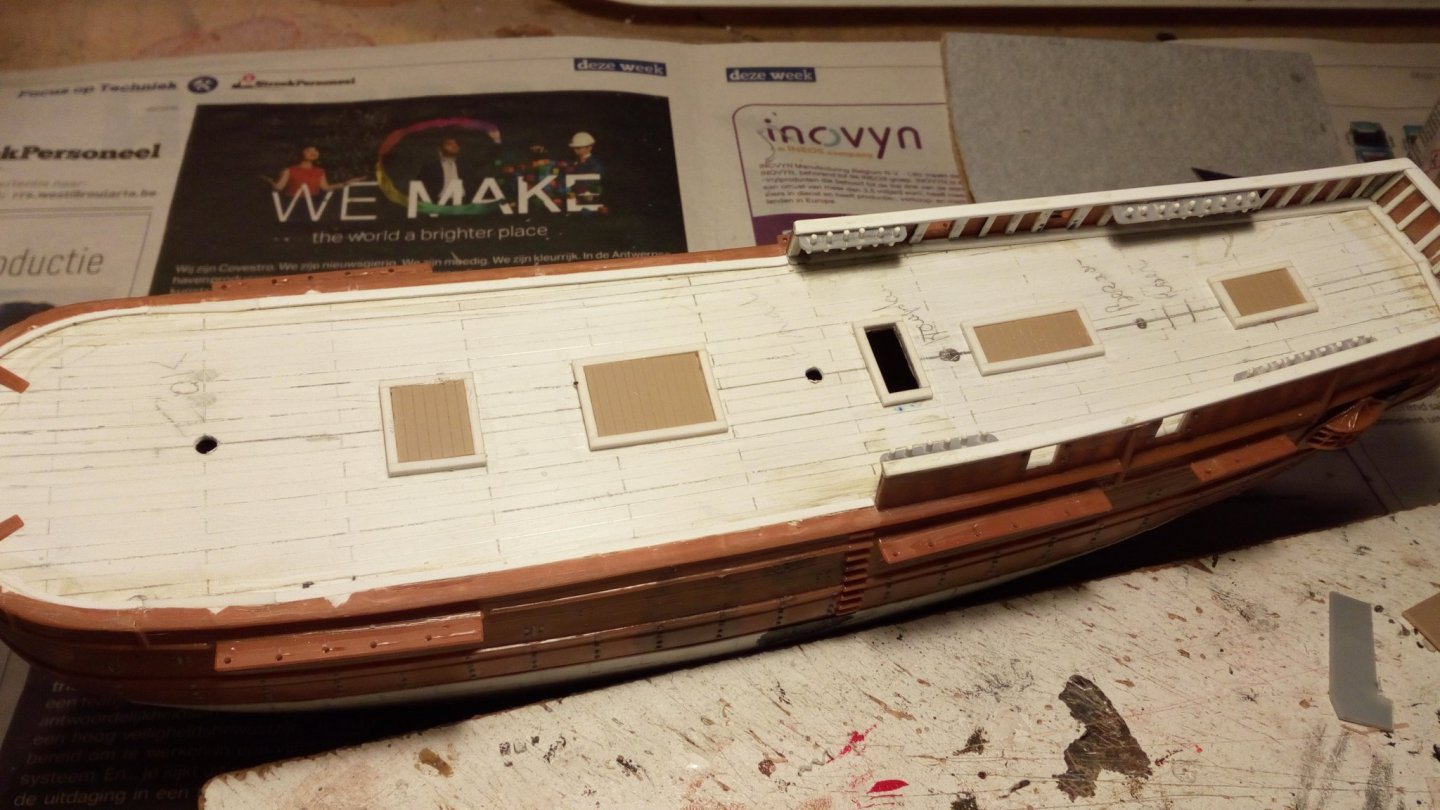
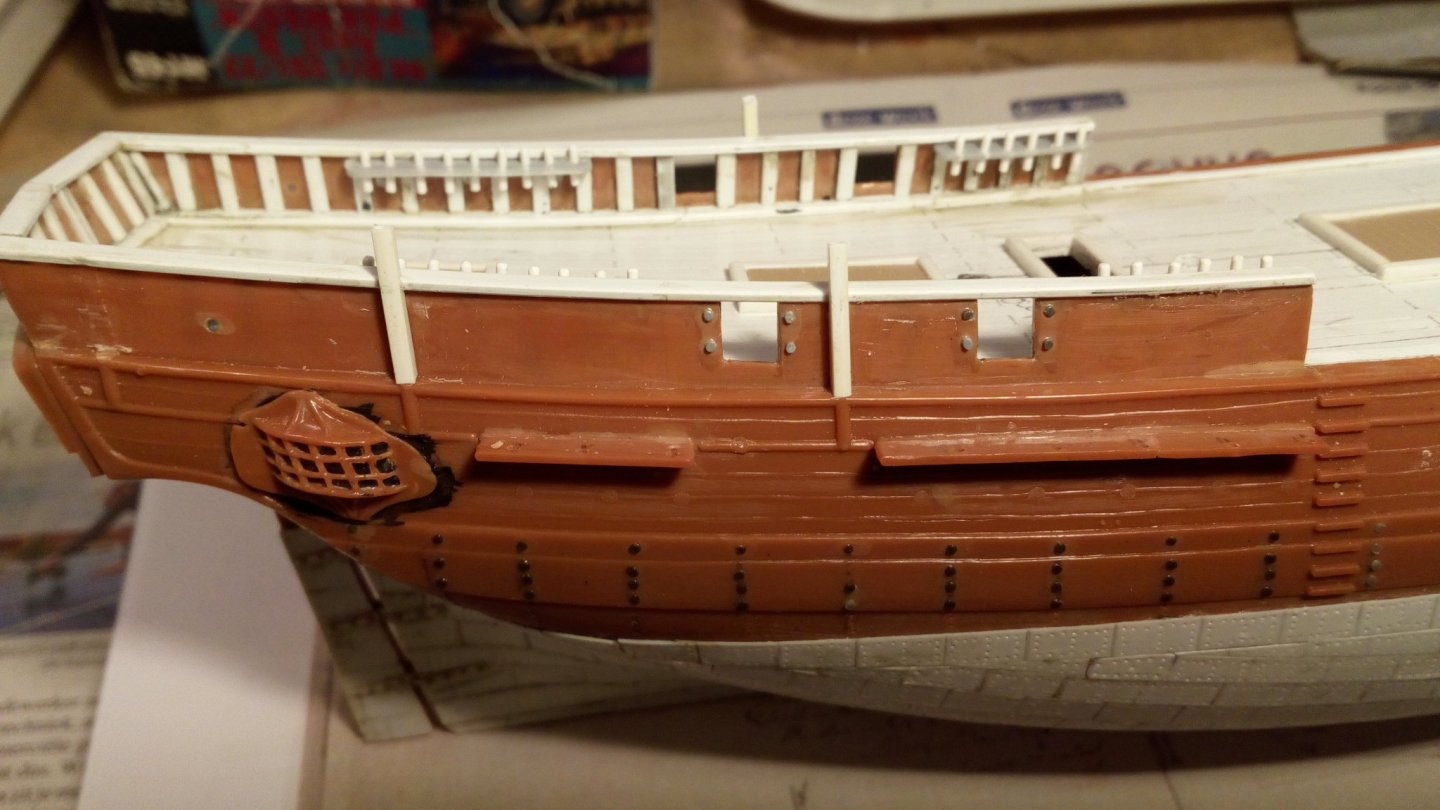
 Installed a new railing and all the cannon supports are in place And also added some extra detail to the beakhead. Thanks for following
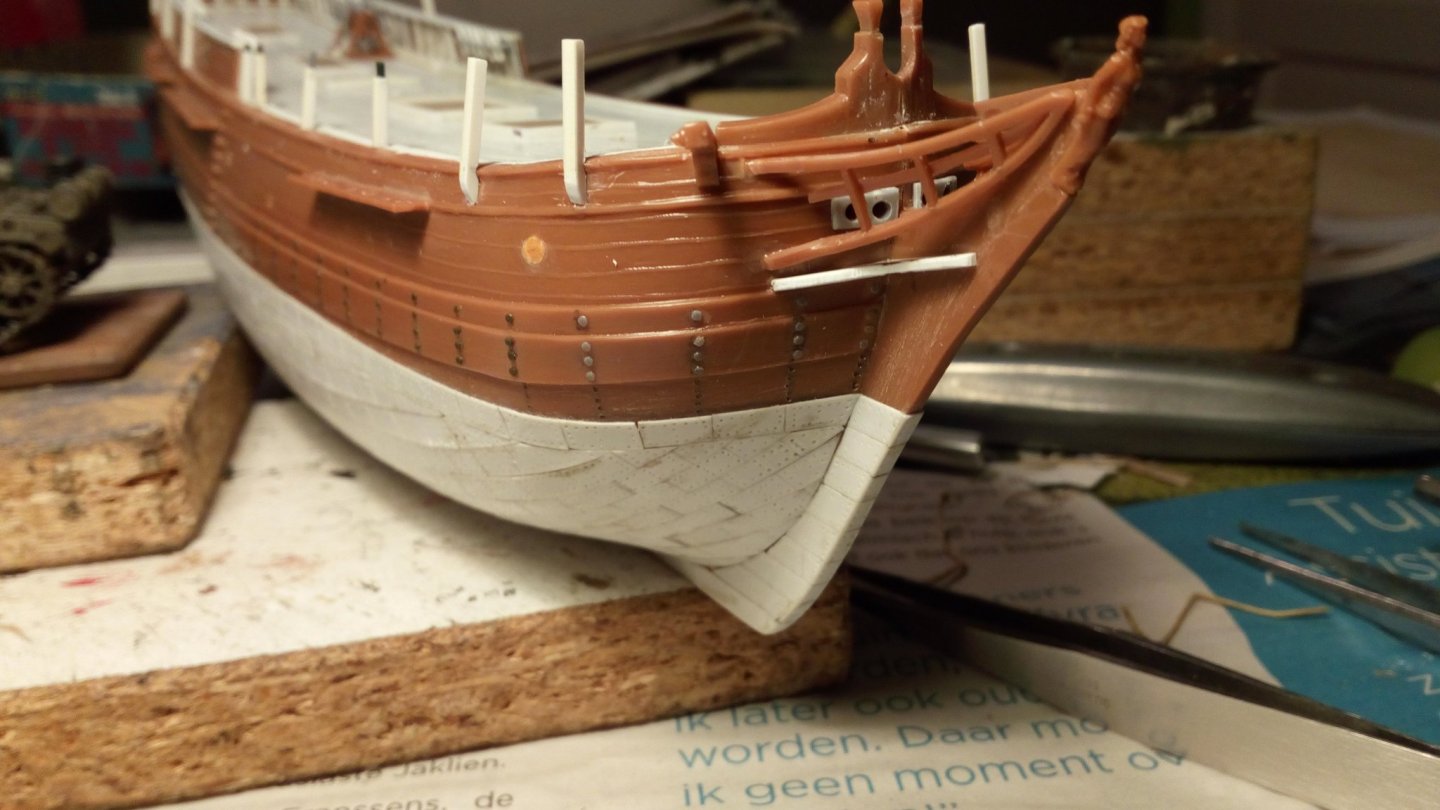
- 173 replies
-
- 14
-

-
Greetings from Belgium and
-
Roter Löwe 1597 by Ondras71
Baker replied to Ondras71's topic in - Build logs for subjects built 1501 - 1750
Great work Ondras. -
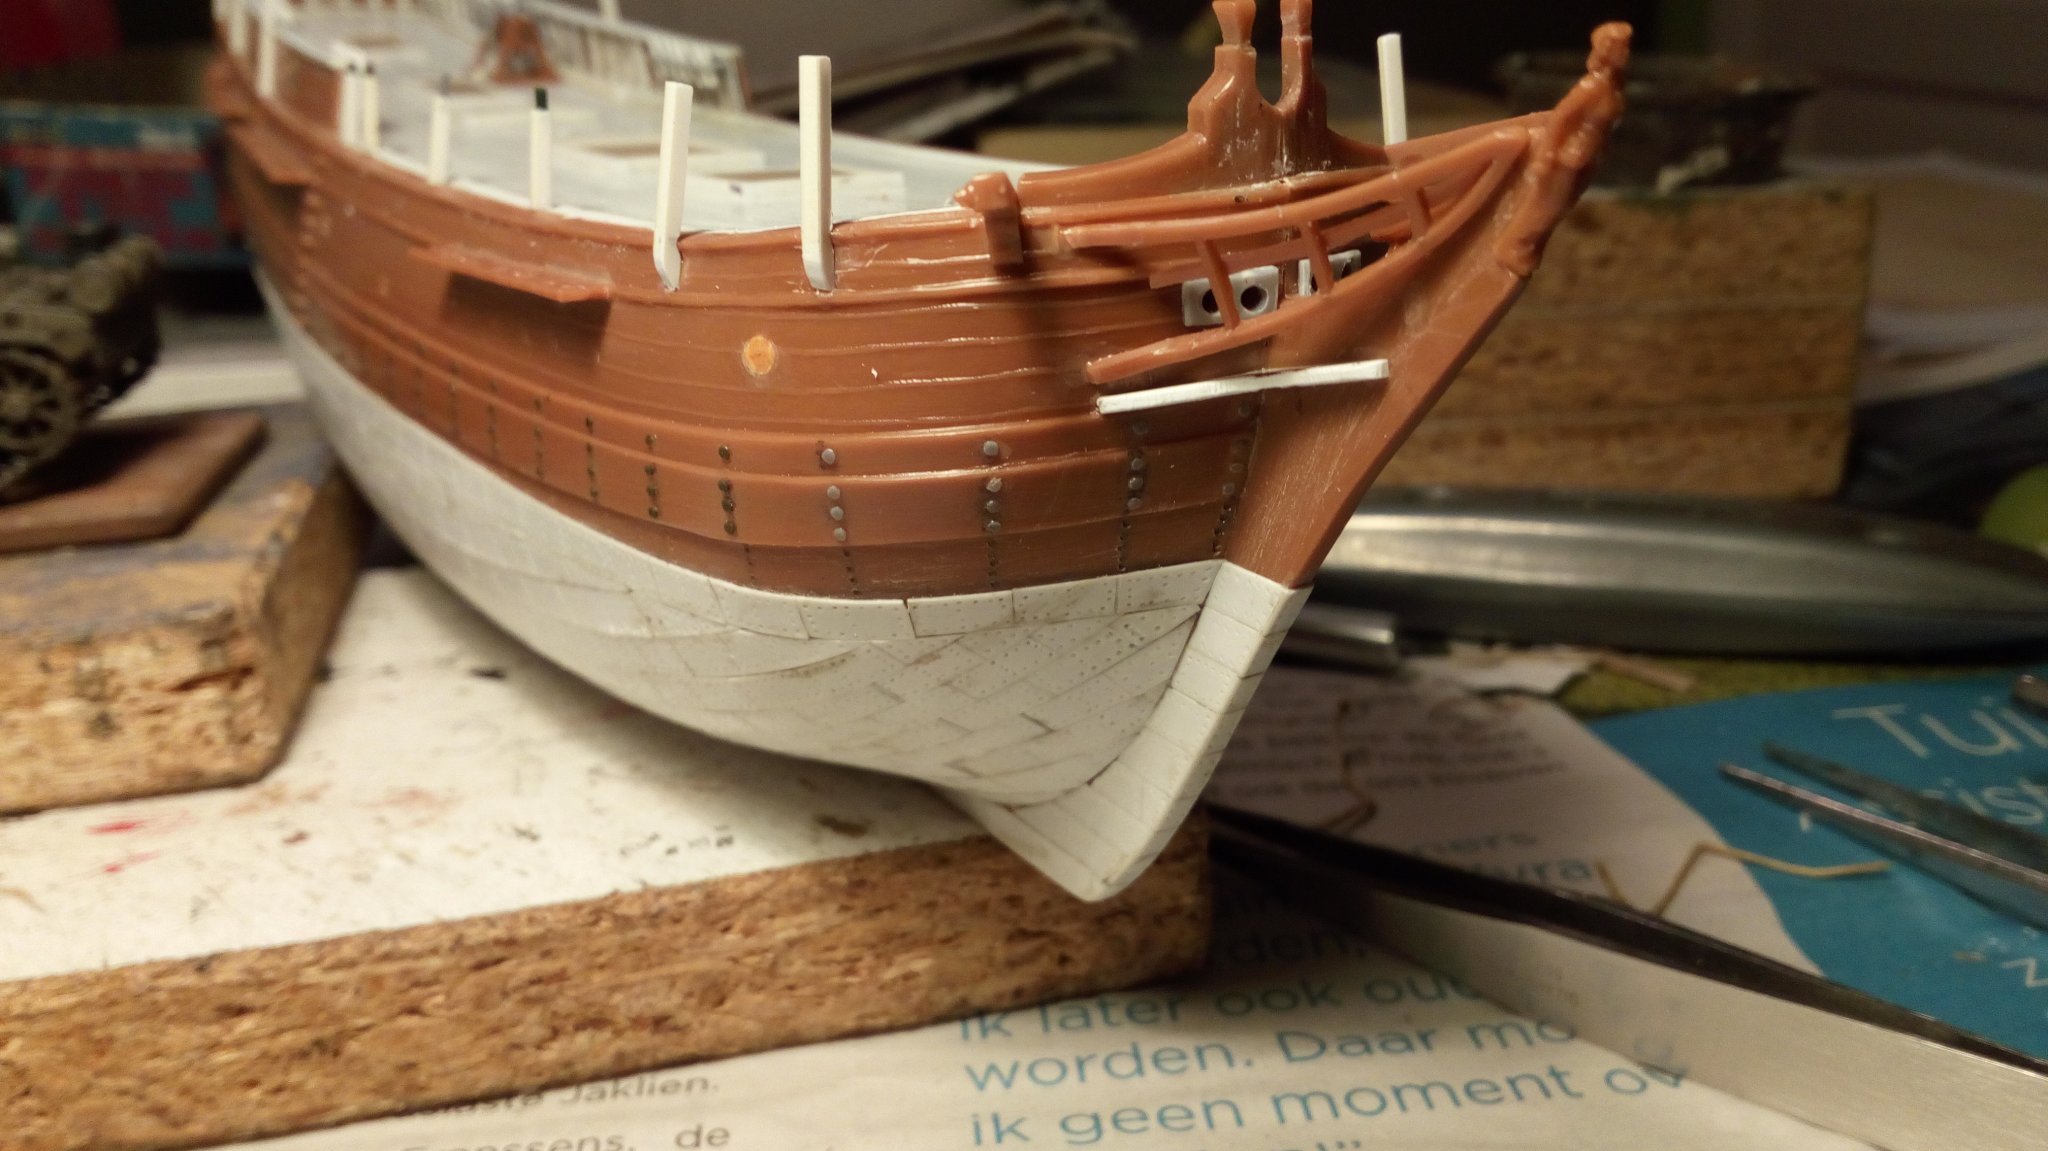
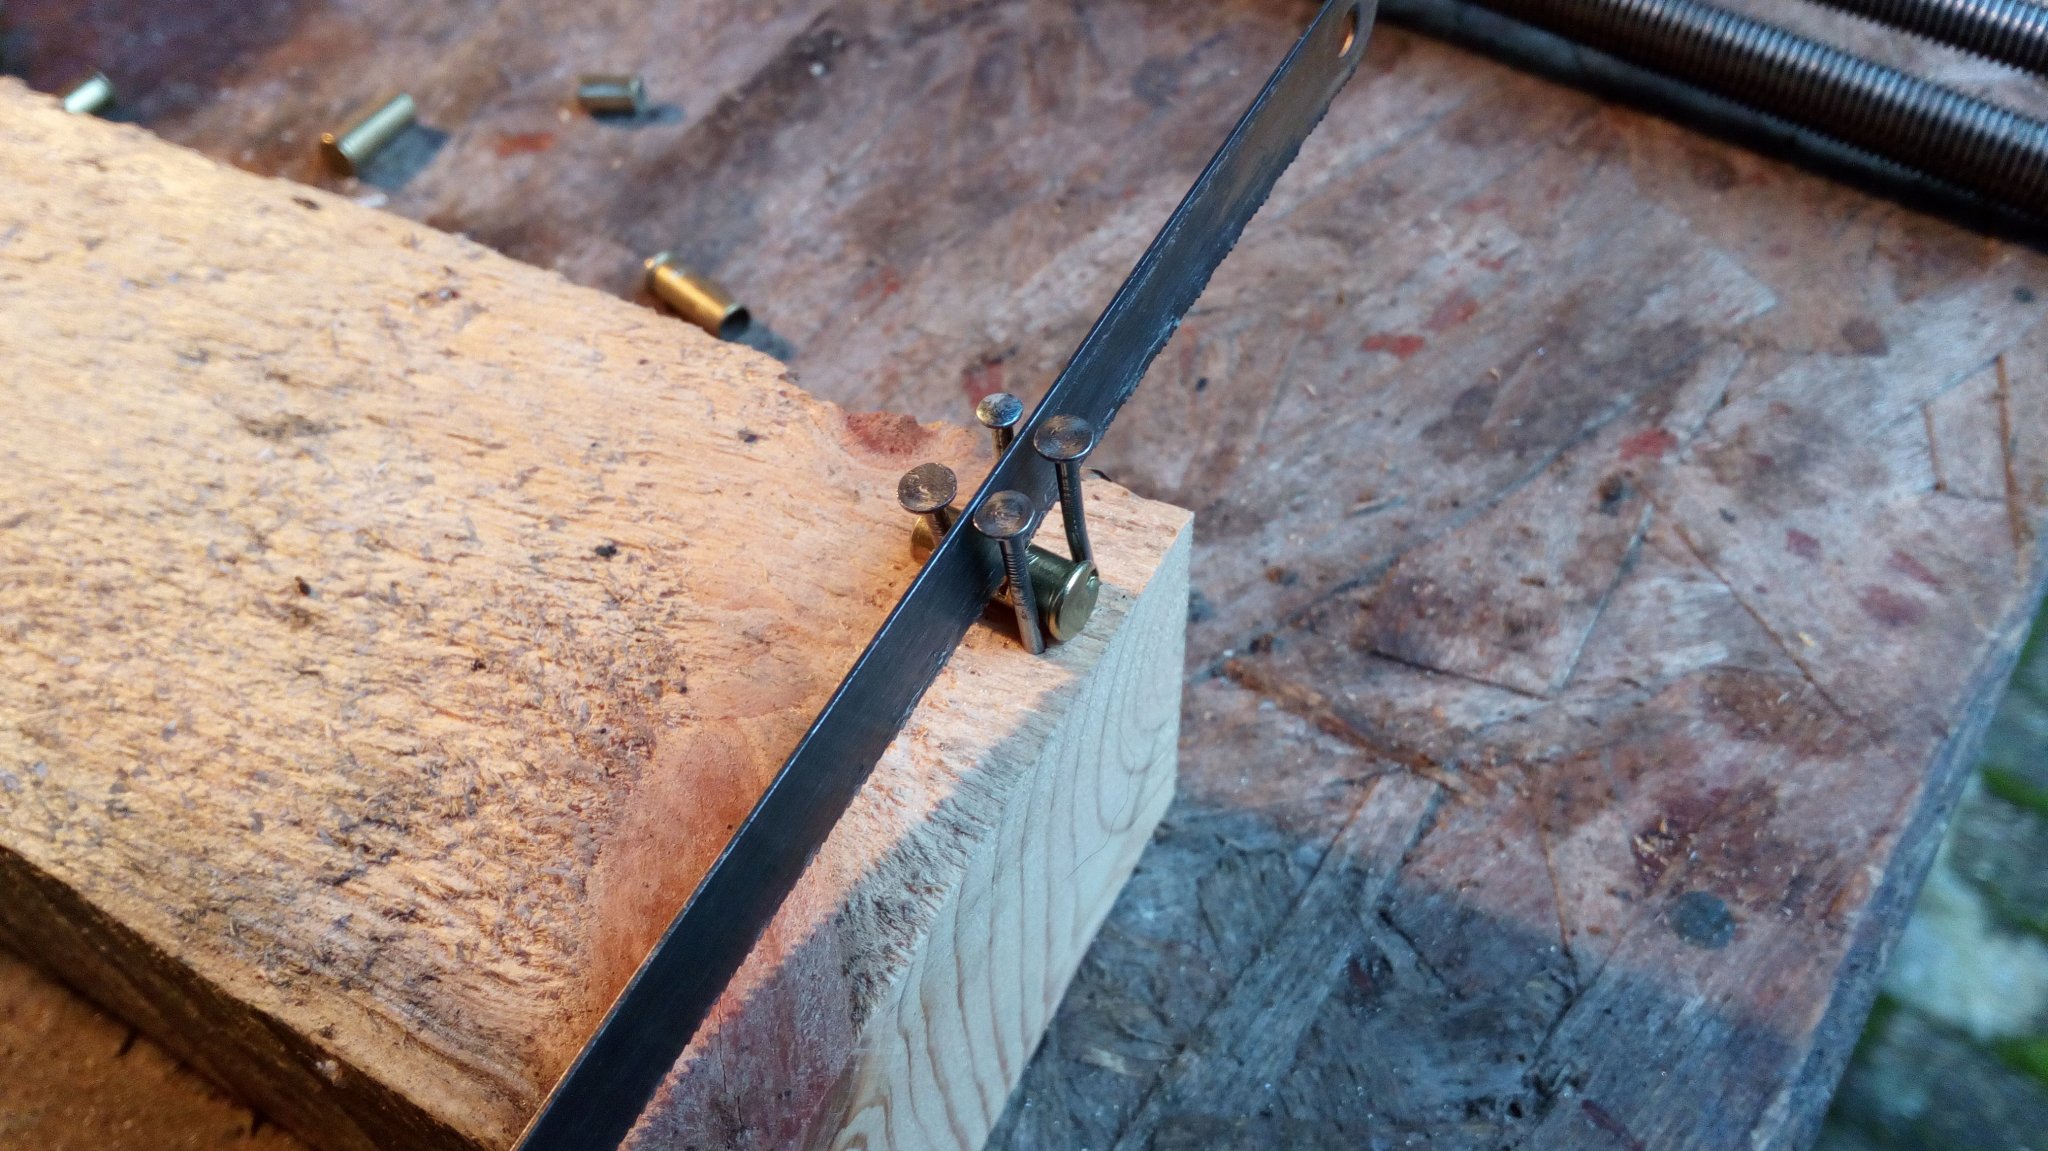
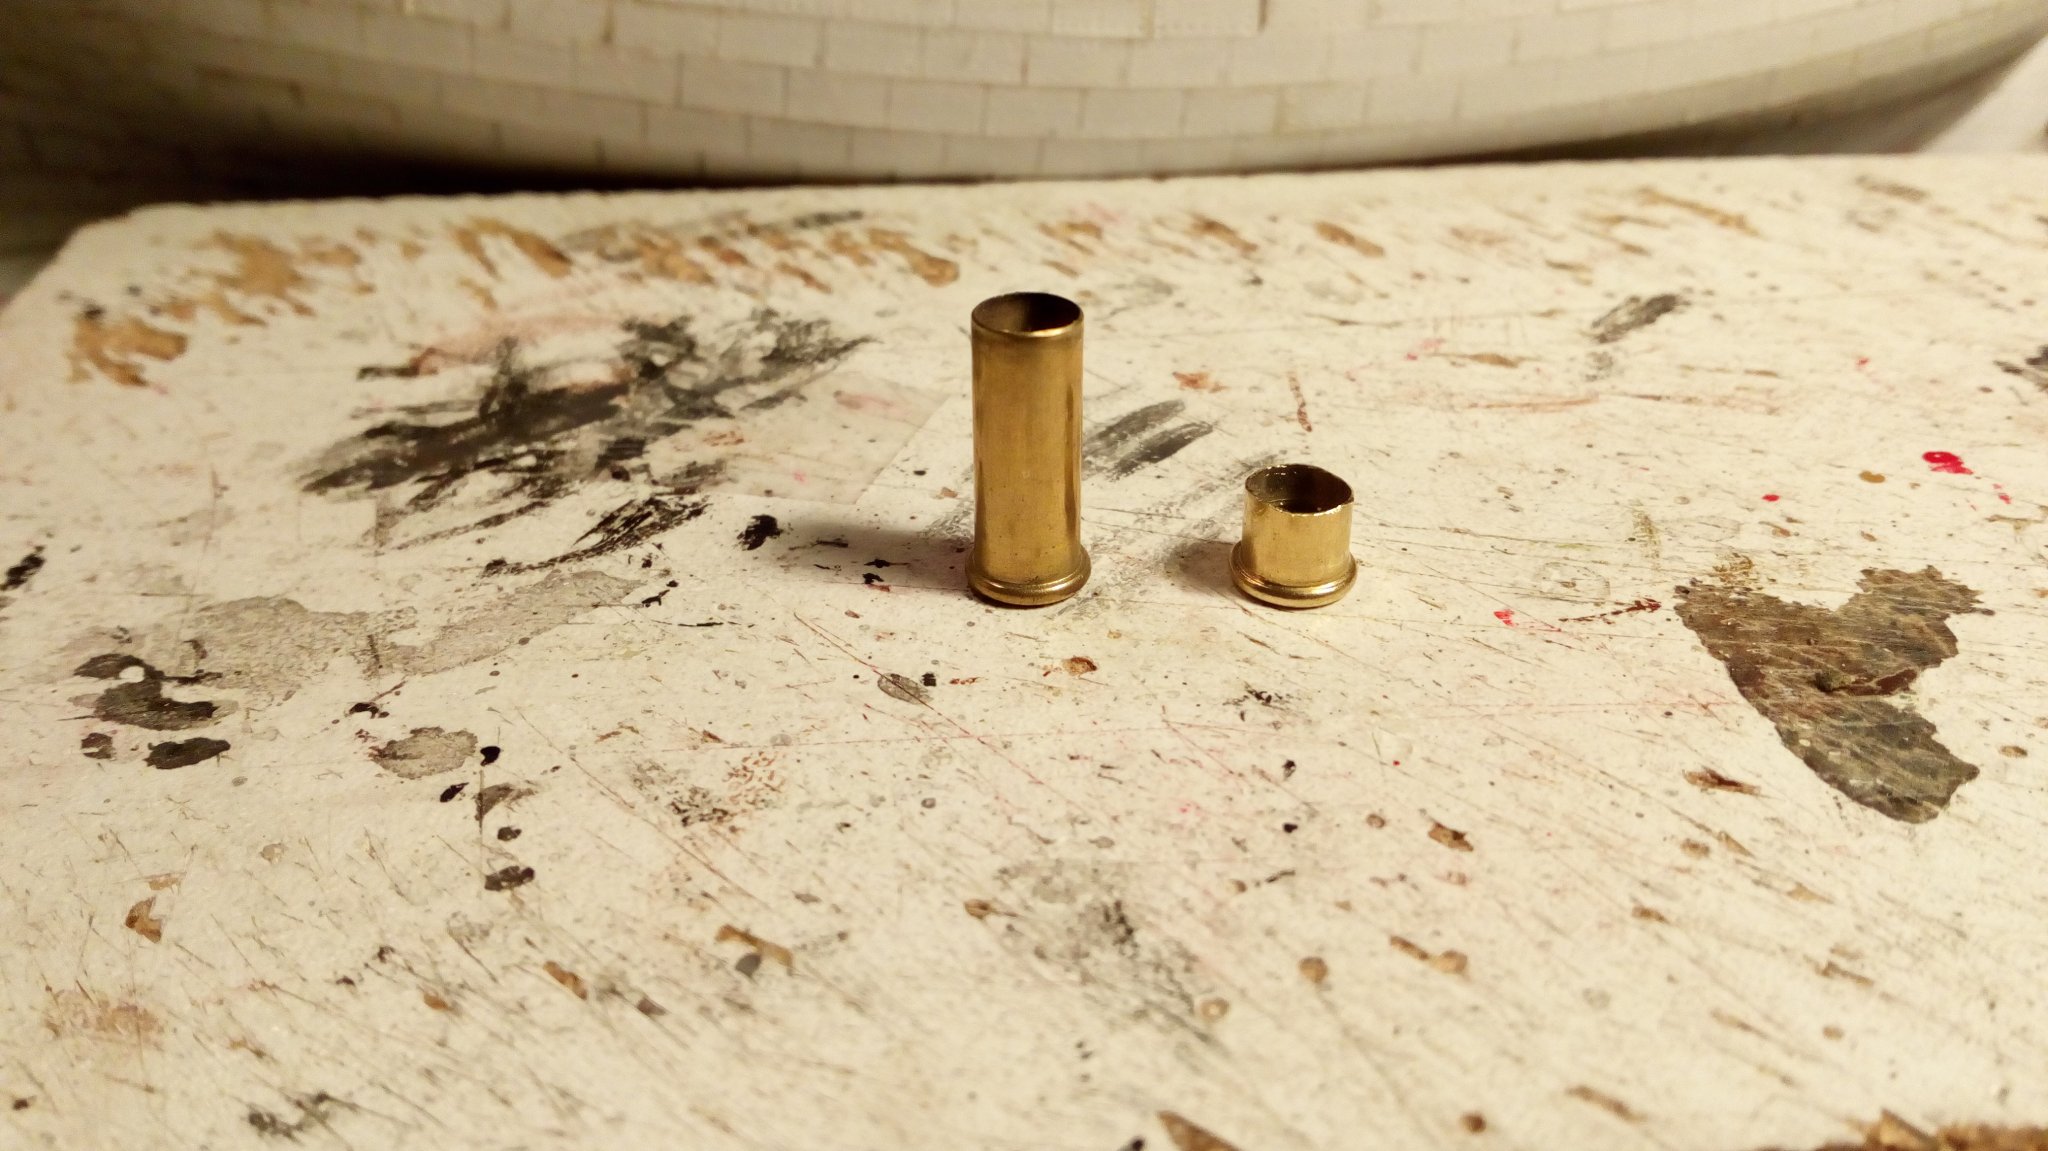
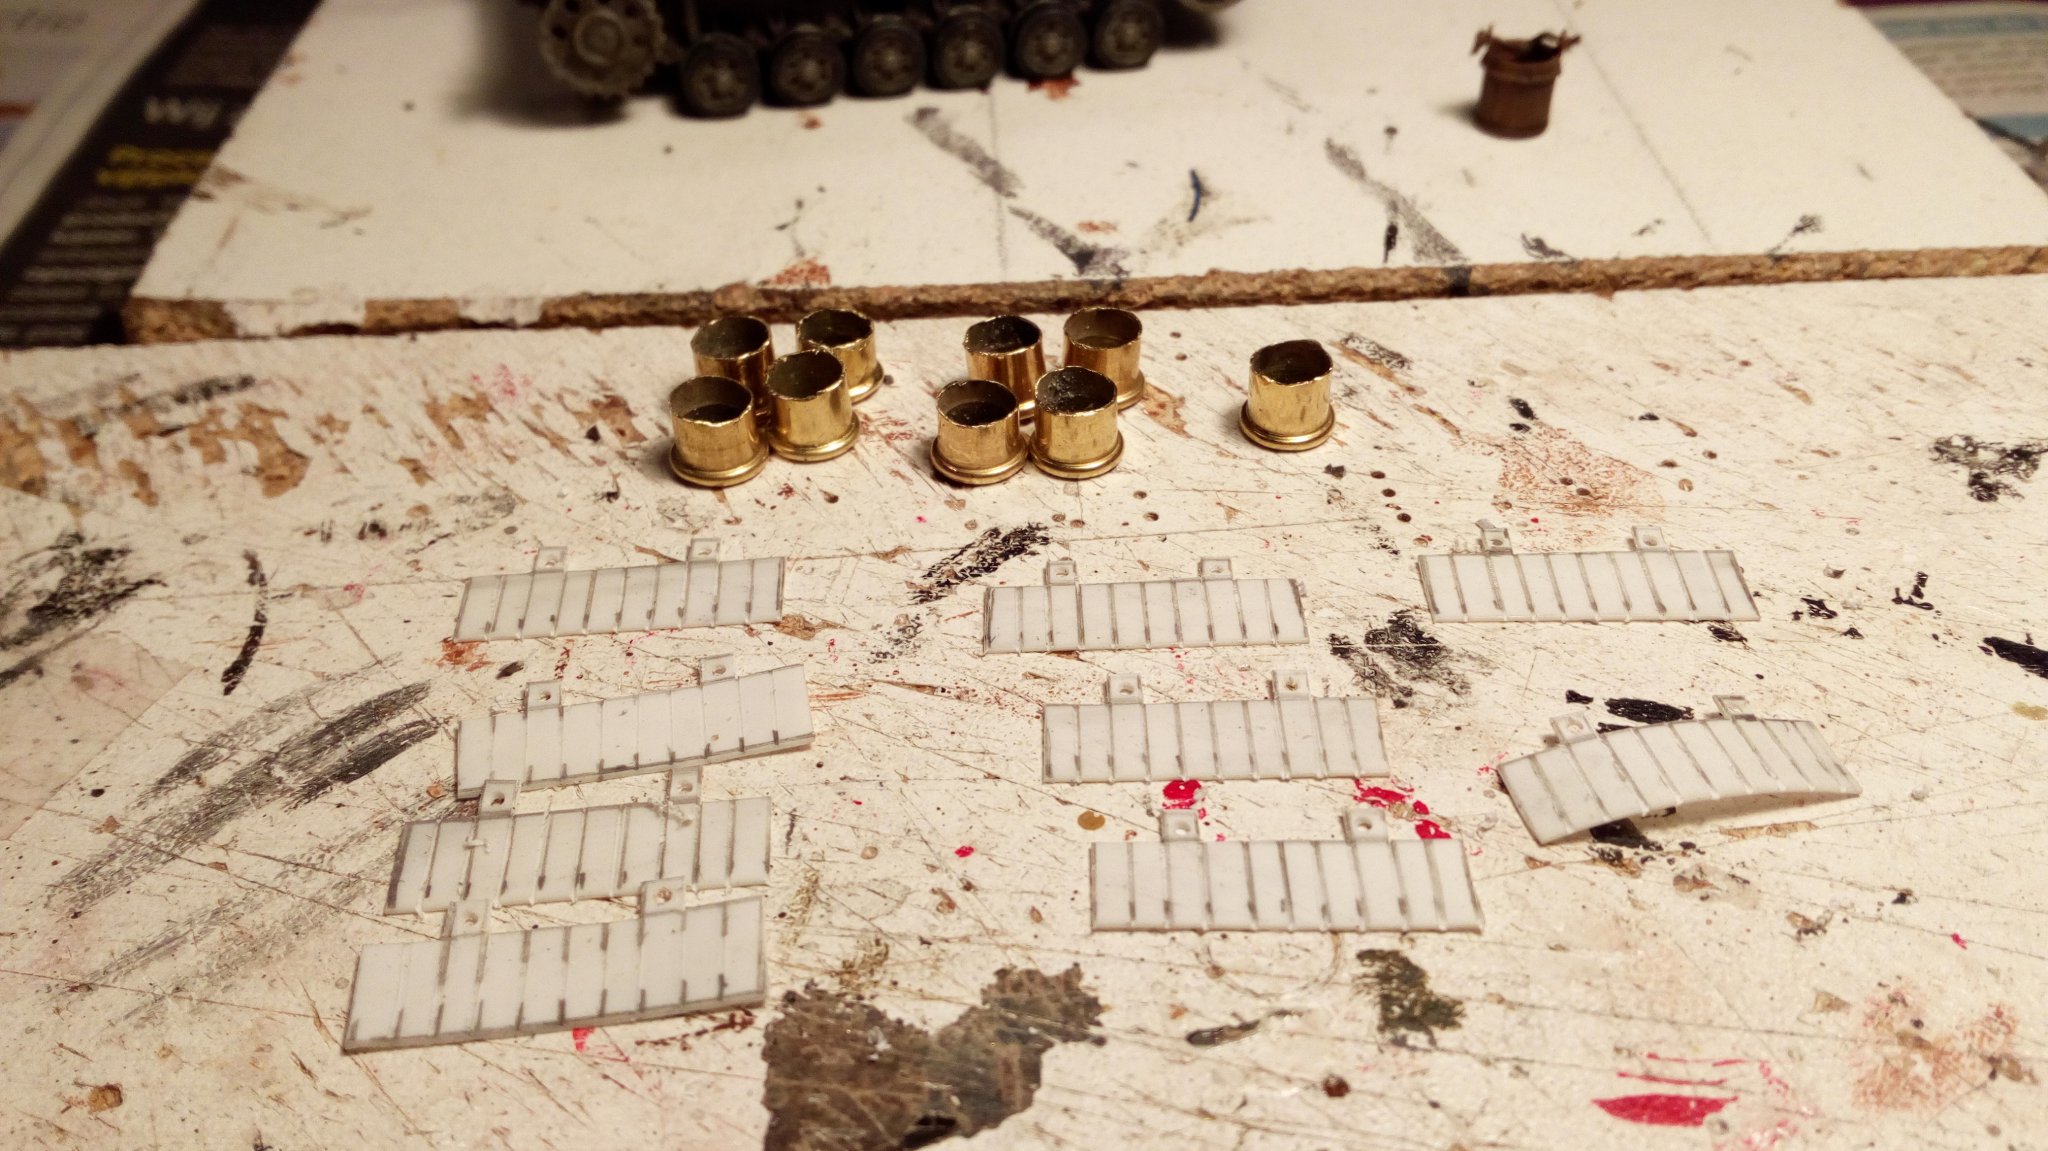
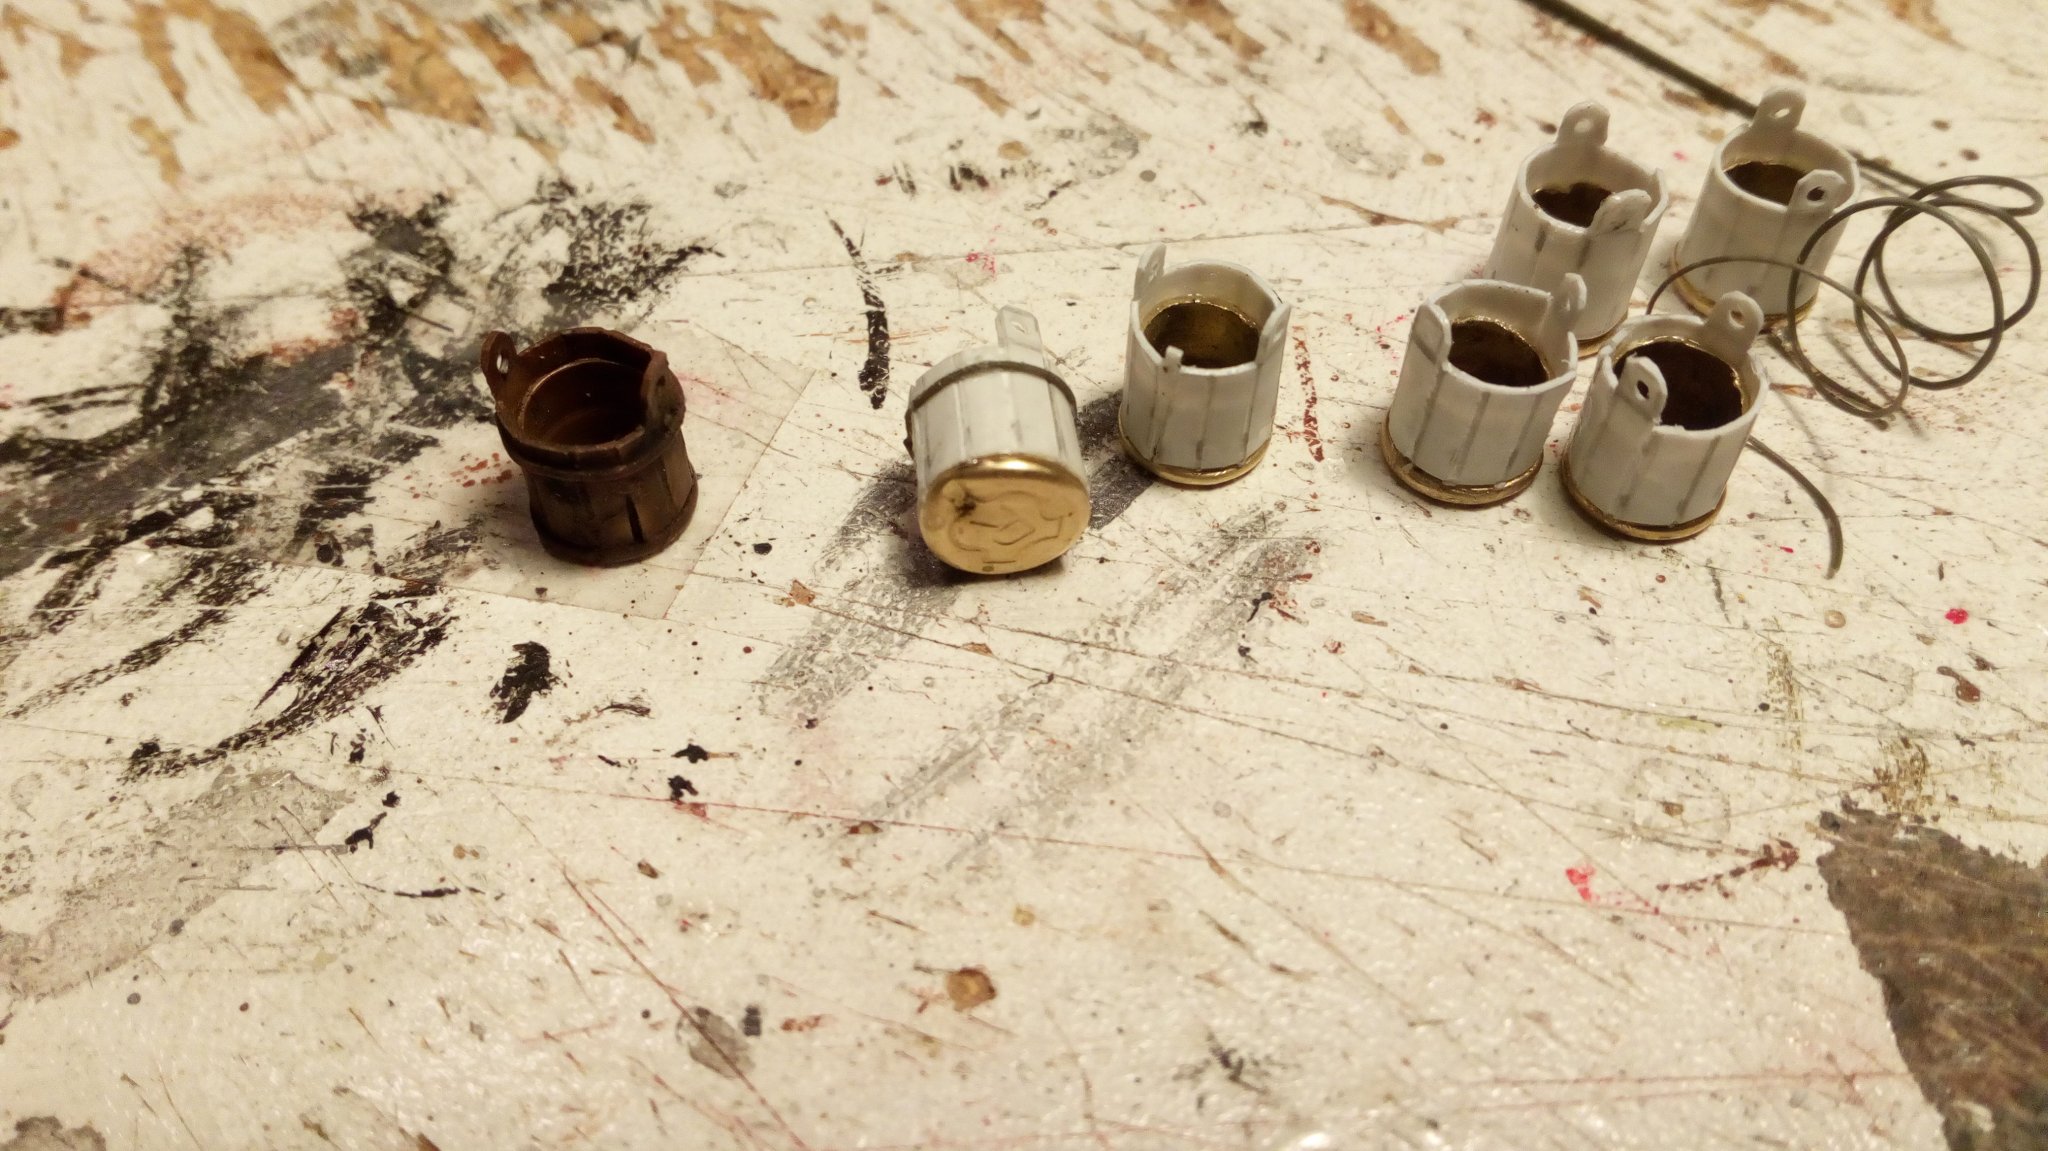
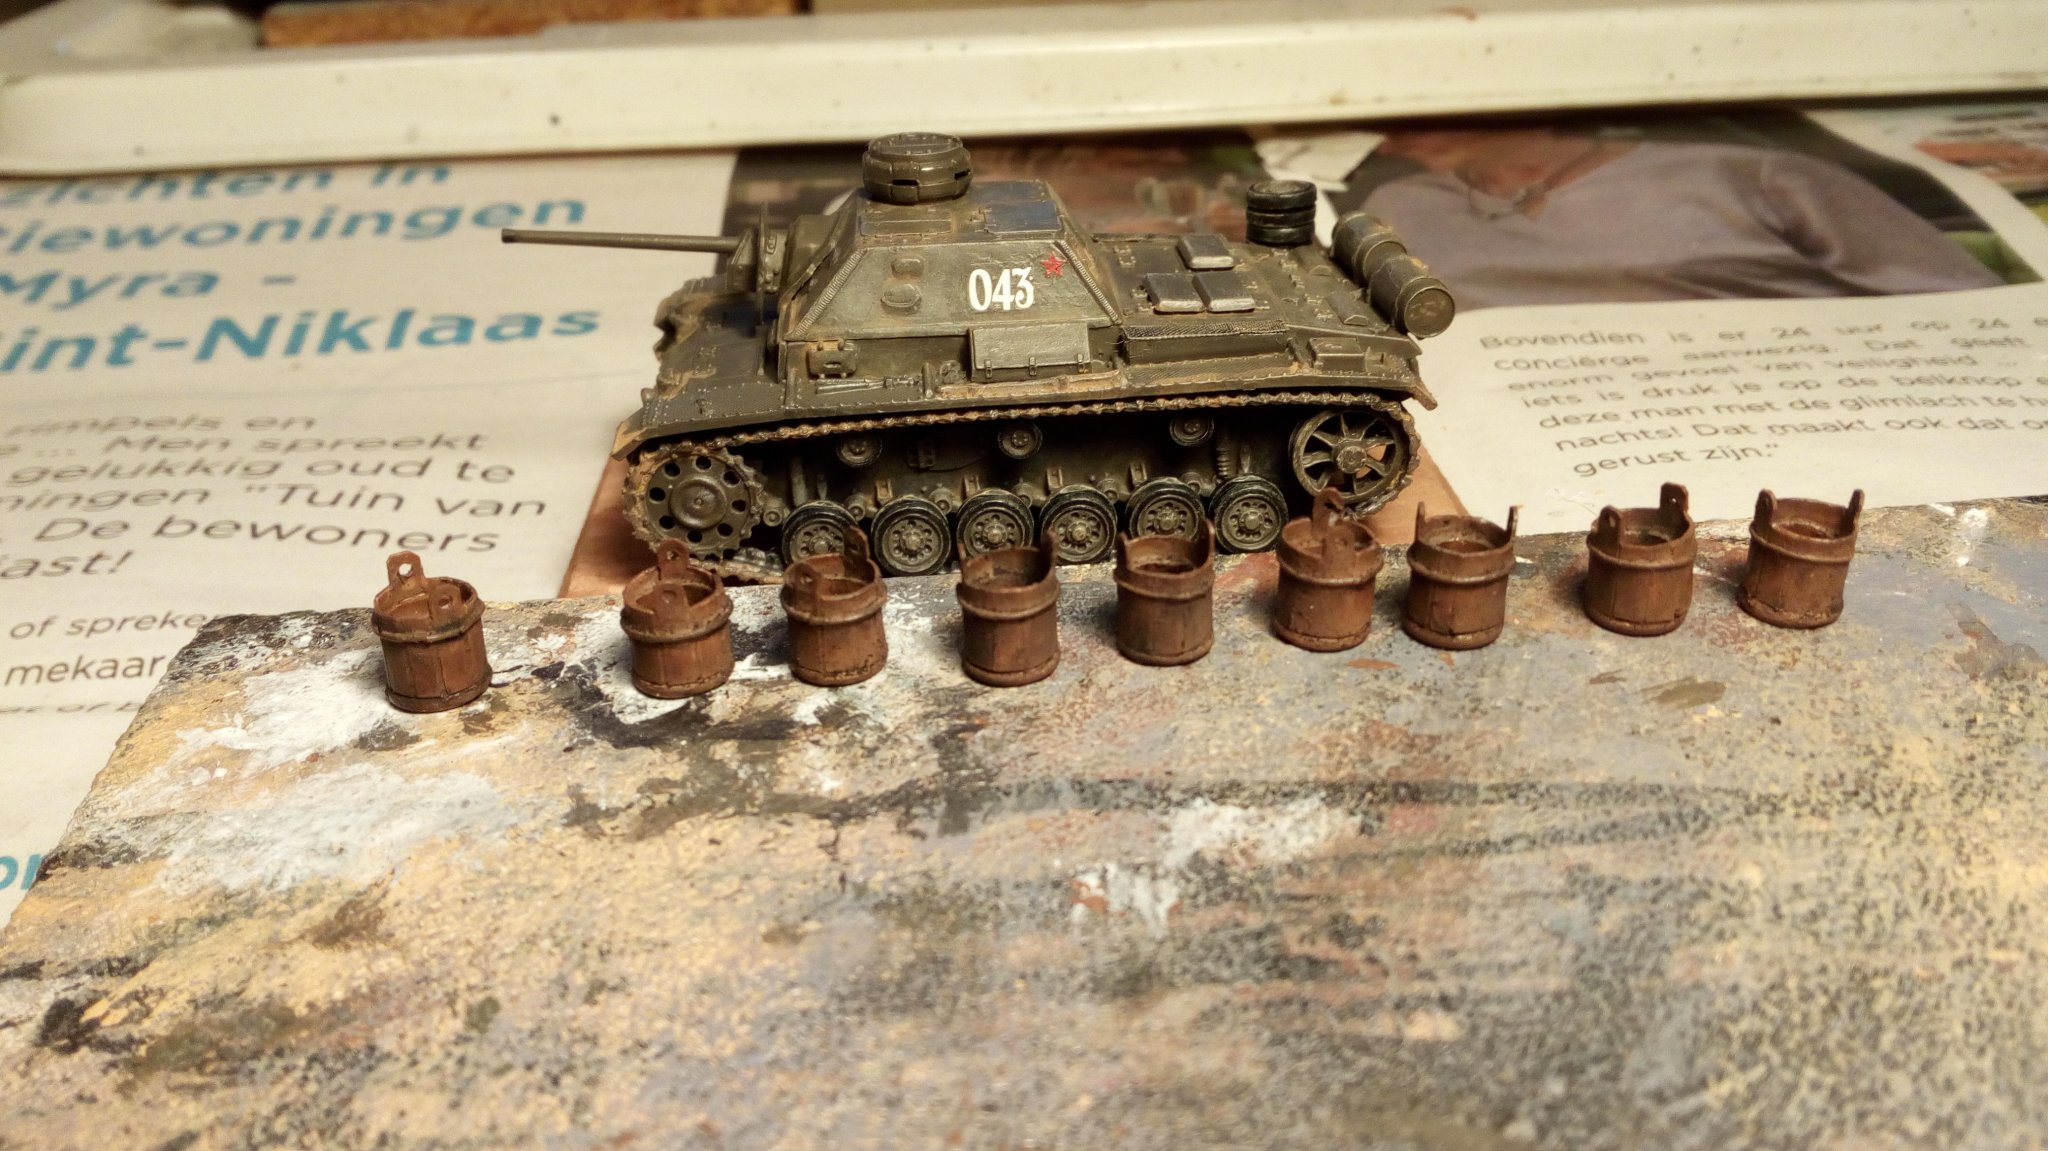
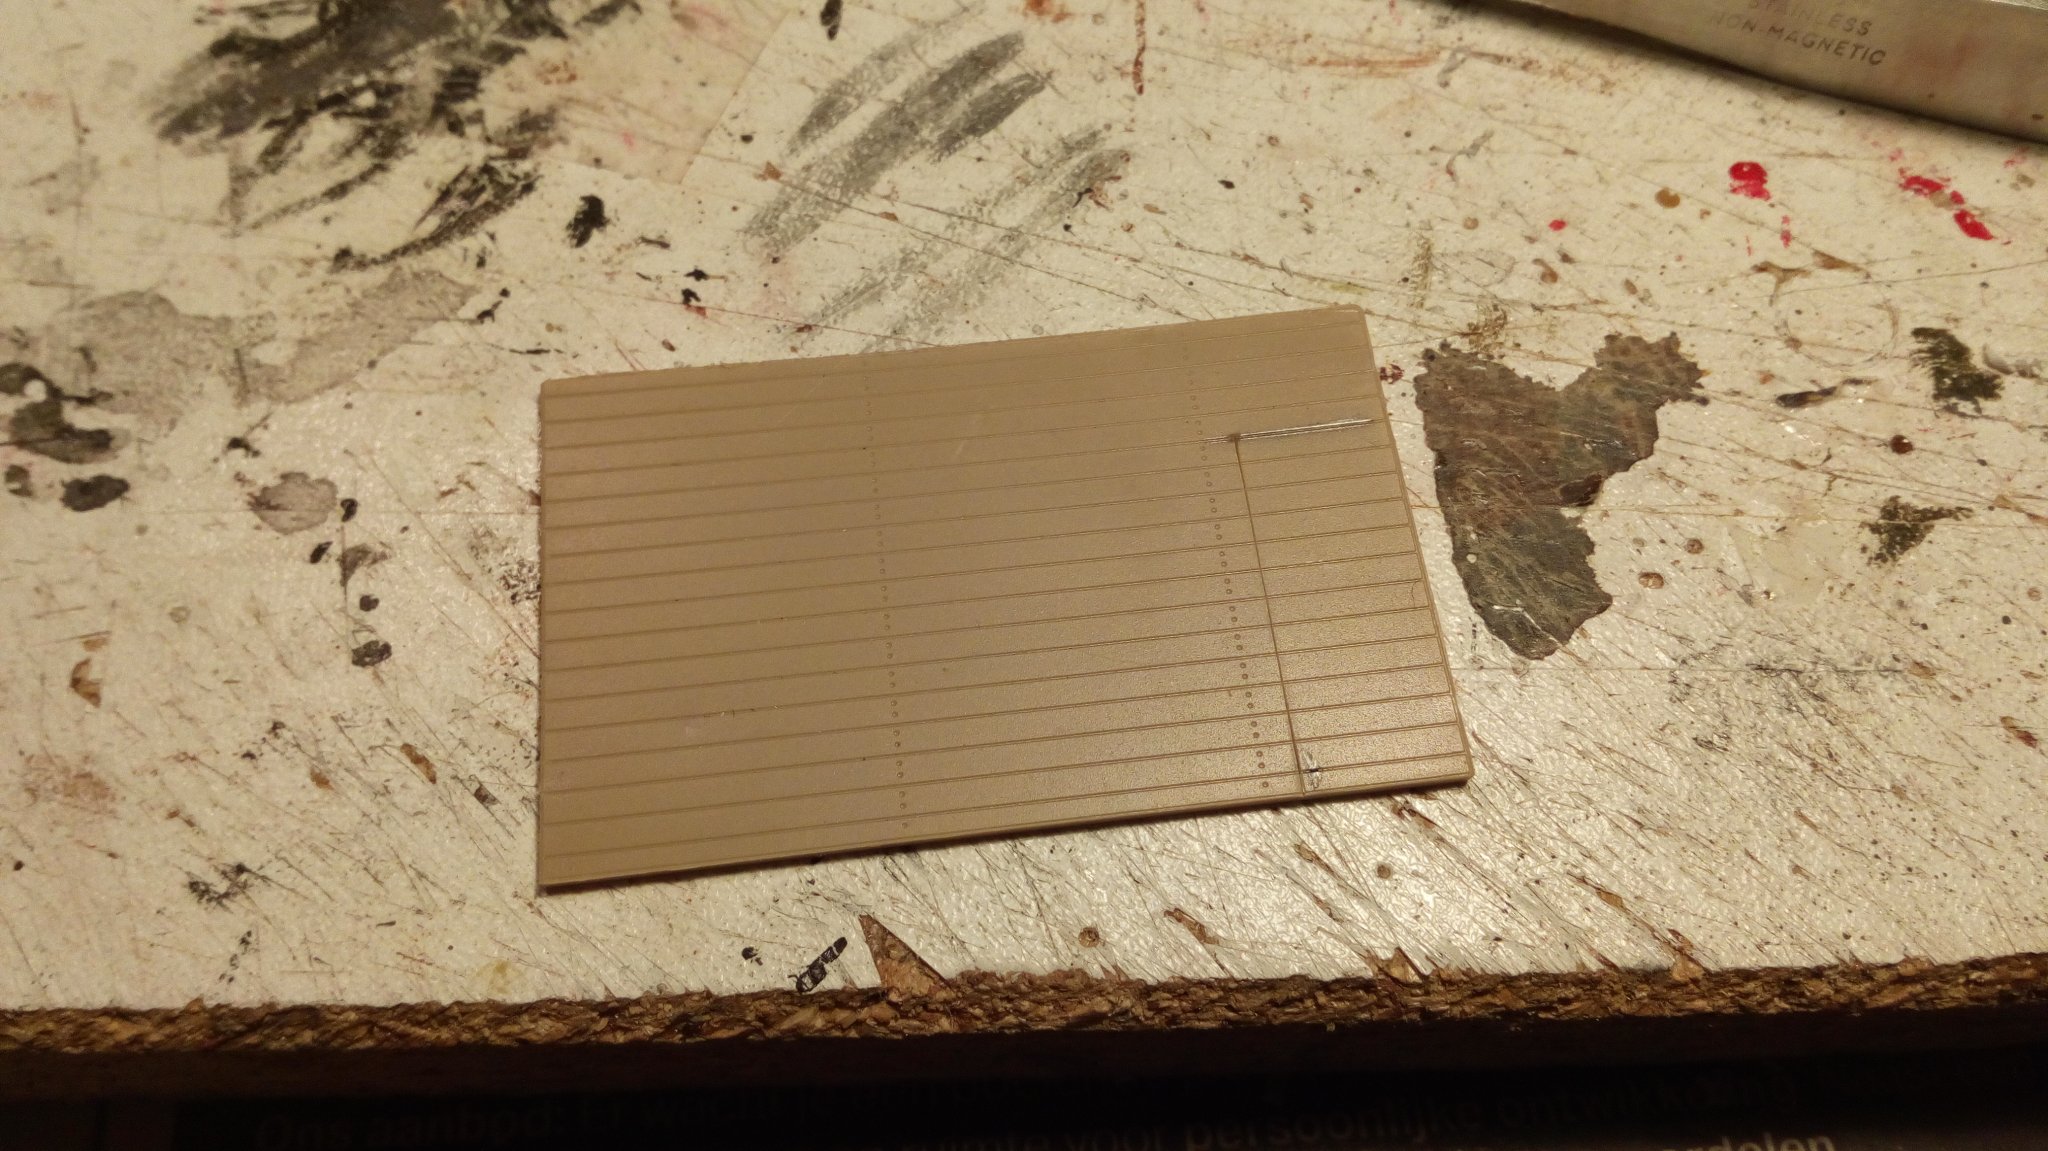
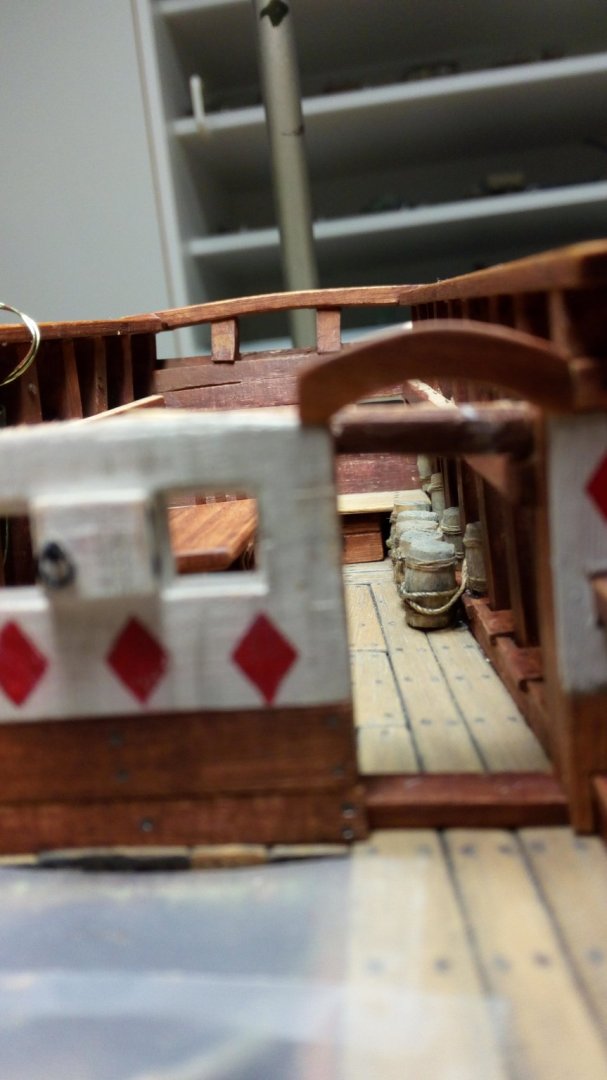
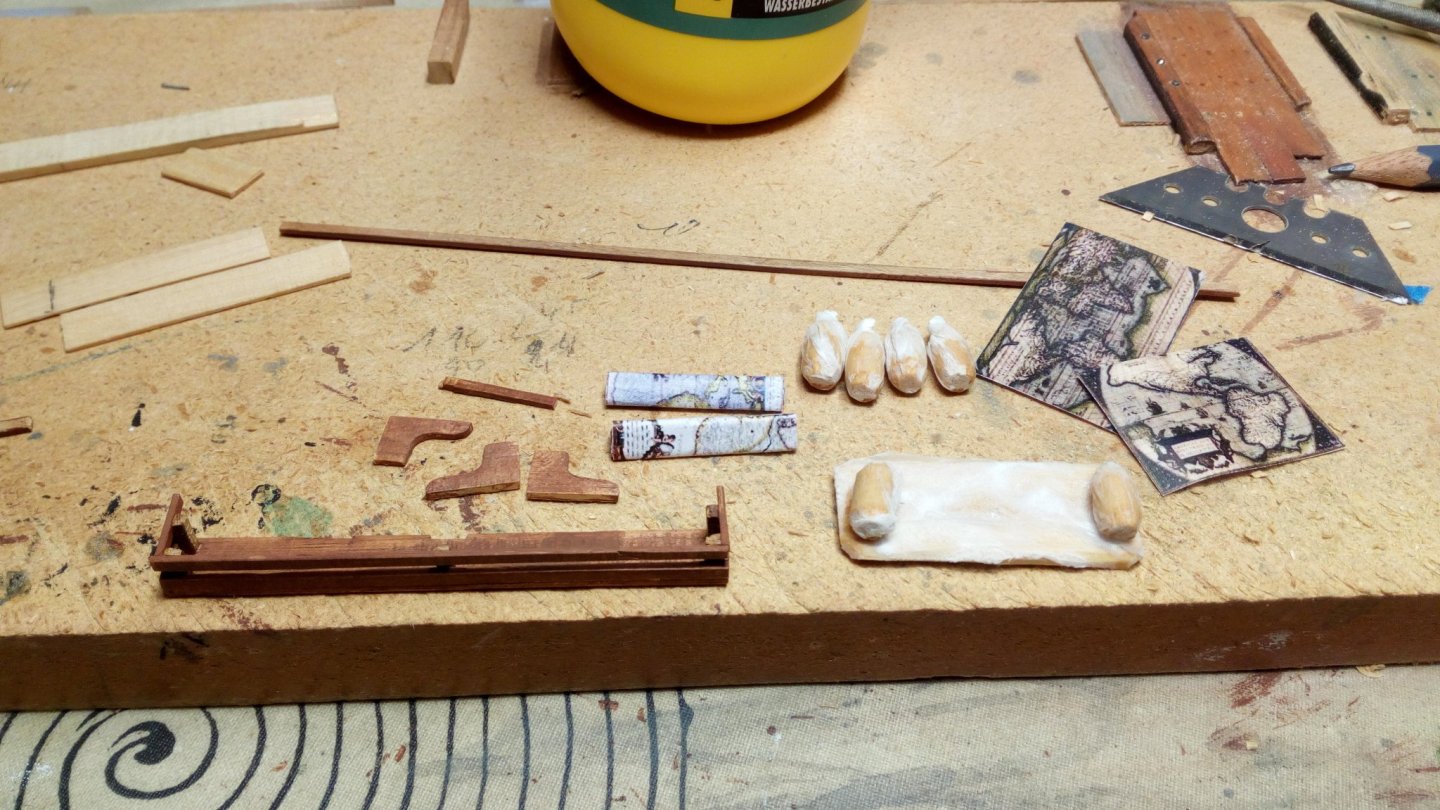
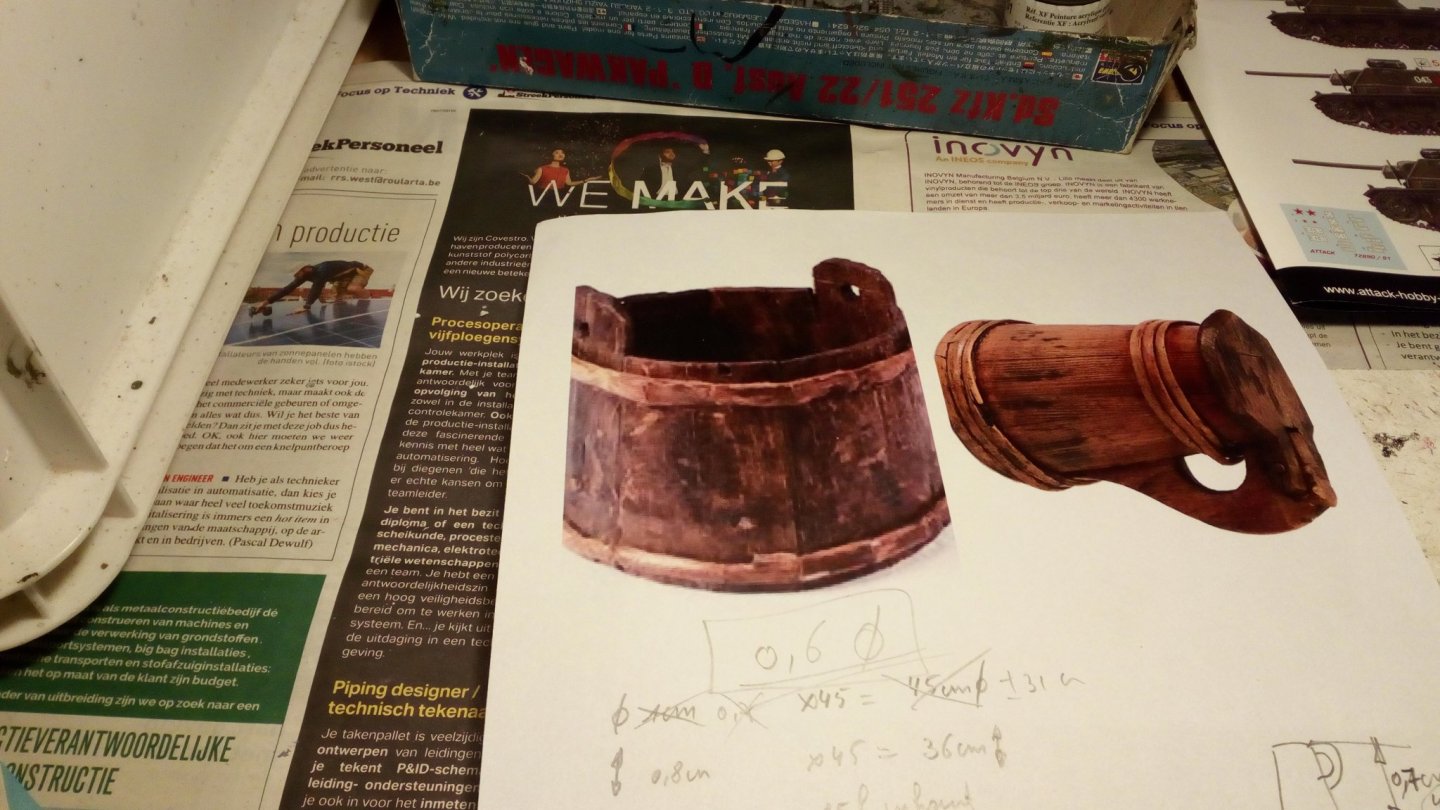
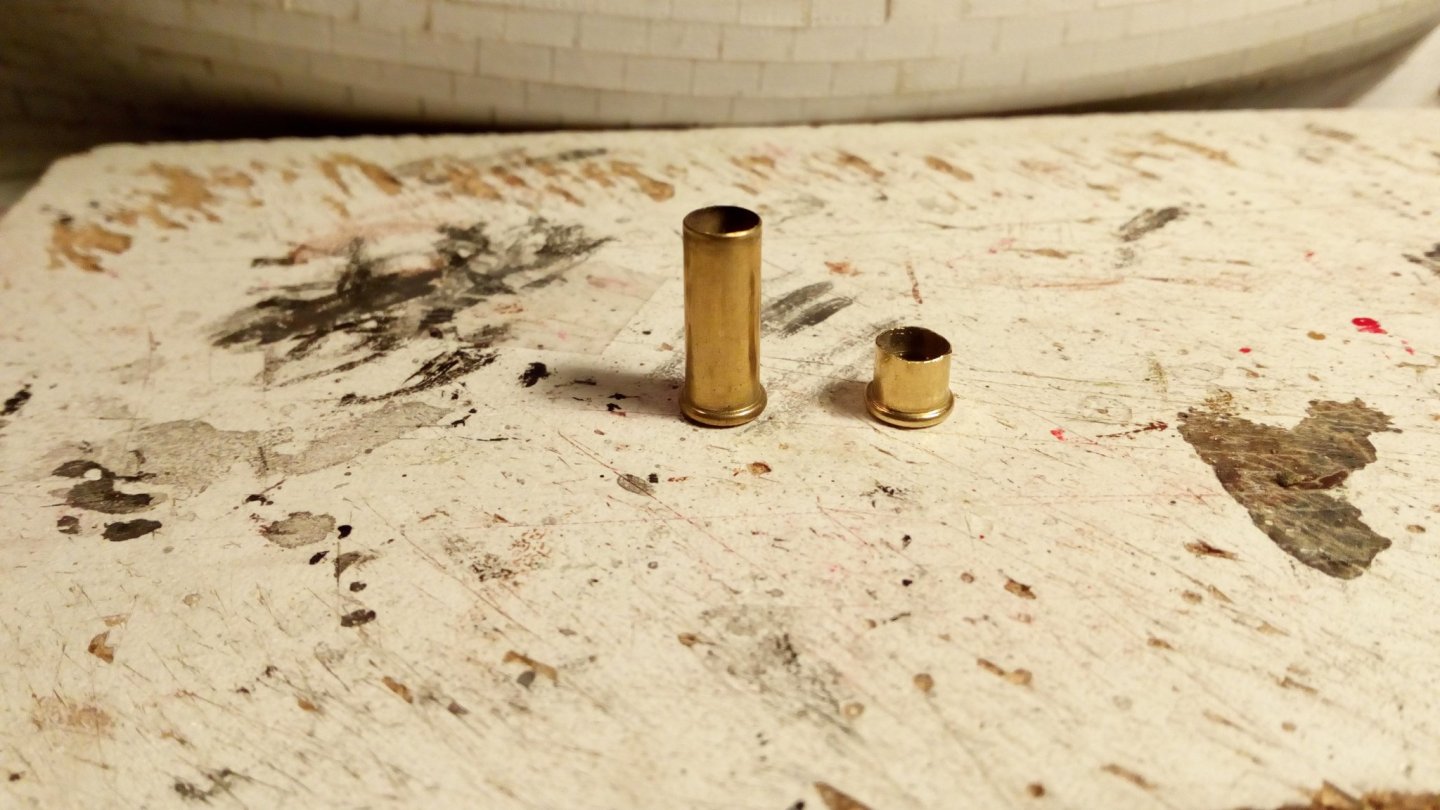
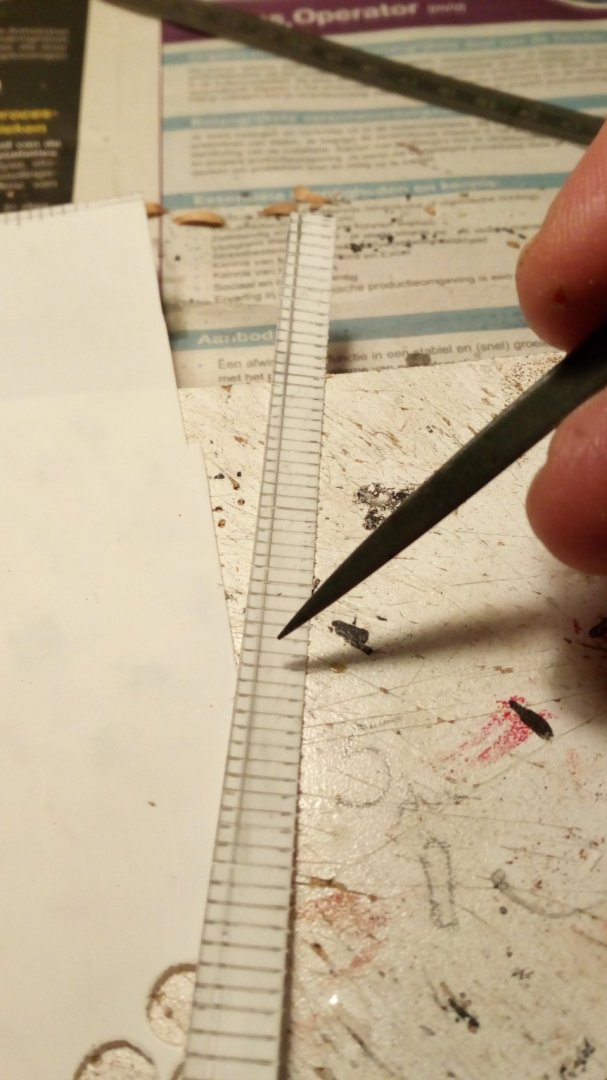
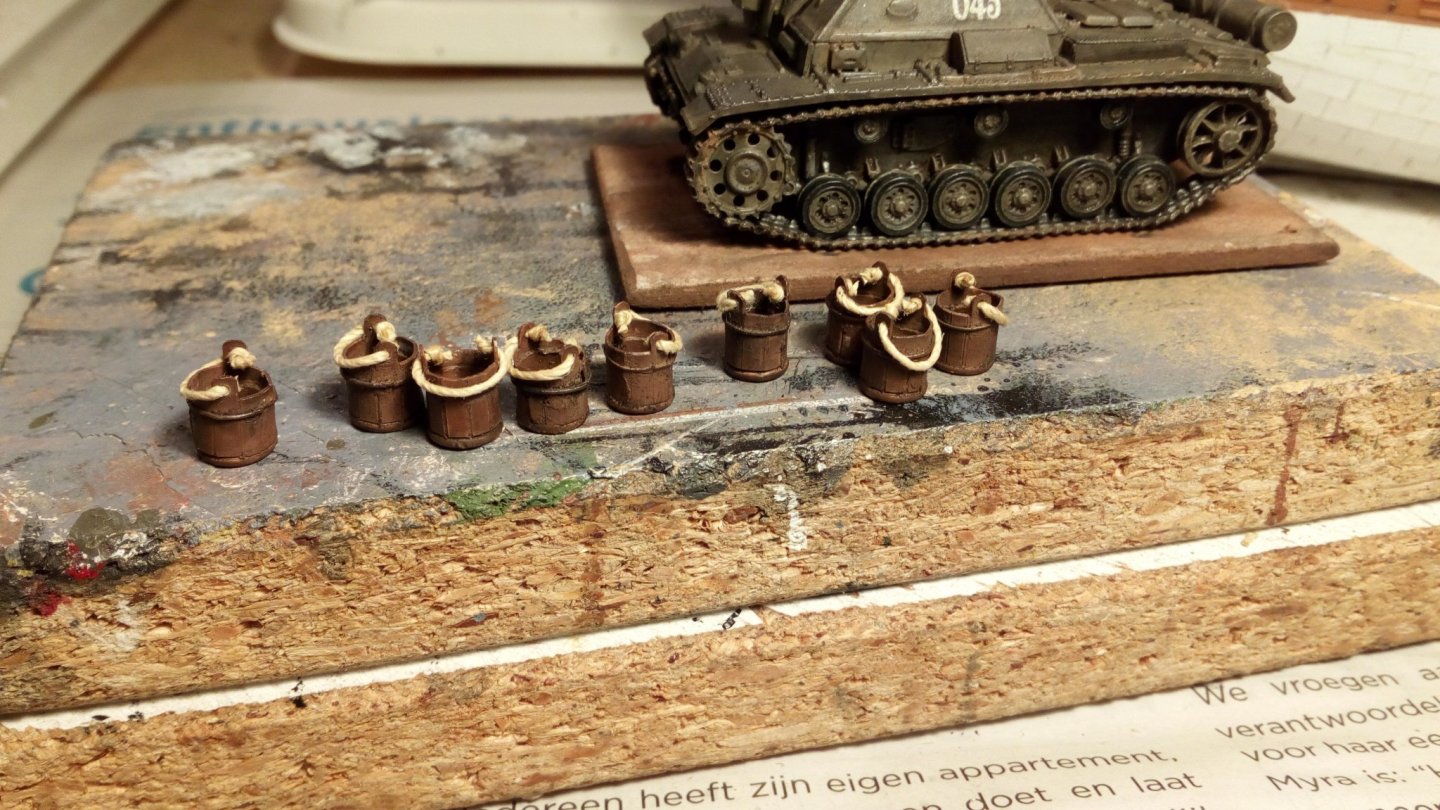
A month later. A small update, Further accessories are installed in the captain's cabin. Crates and small barrels (probably with the personal wine and beer supply of the captain ) A wall rack for nautical charts etc , a mattress, pillows and bags are in progress I also tried to build 16th century buckets. My biggest problem was the thickness of the side from the bucket. A bucket from Mary Rose served as an example After several failed attempts, I made something that comes close to the original The start was an empty .22 LR casing (of course legally obtained according to Belgian law) These are too long, so first i saw tmem to size. A .22 short was better, but I don't have a license for that type of ammunition. The side of the bucket is made of plastic sheet This is glued around the casing with CA glue and a strap of plastic sprue is glued around the bucket Painting and weathering (and a SU76i that is almost finished) Apply a rope, and a batch of 9 is ready. Bucket N° 10 ended up as a scrap (The rope appears thicker on the photo than in reality) Thanks for following


- 756 replies
-
- 15
-
-
- galleon
- golden hind
- (and 2 more)
-
-
This builder is very talented in soldering and working with copper. You may find answers in his logs. BTW as always, nice work Michael
-
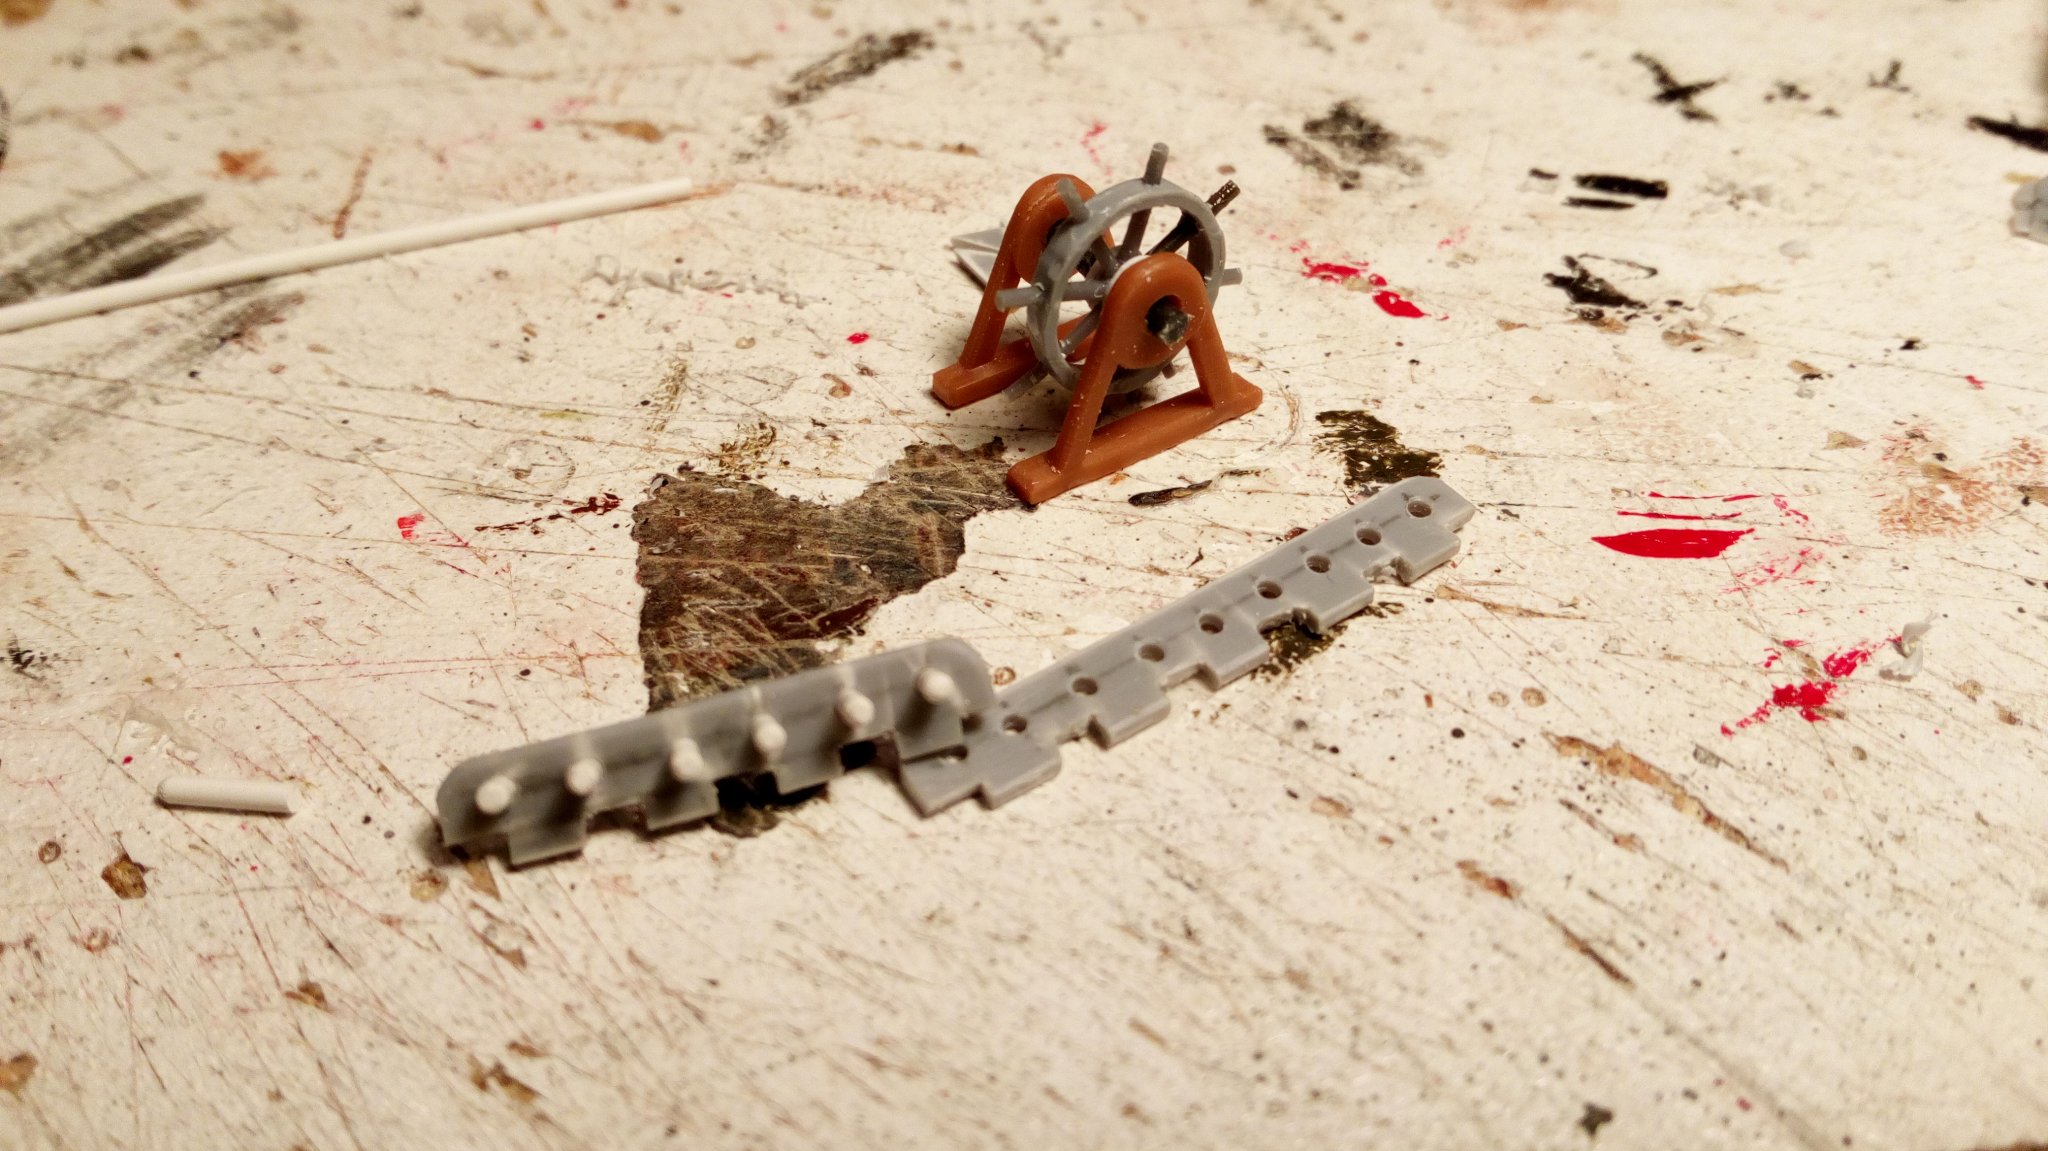
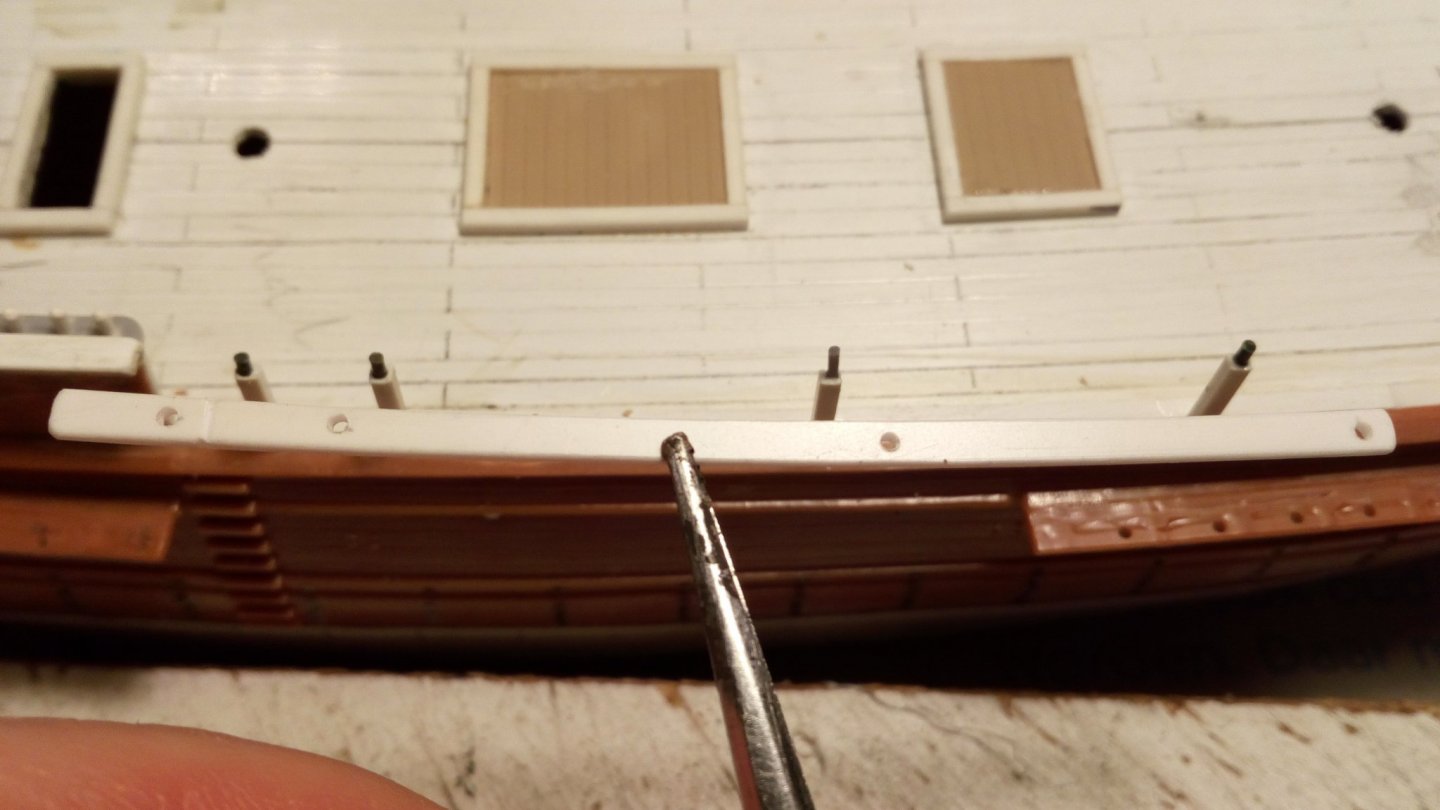
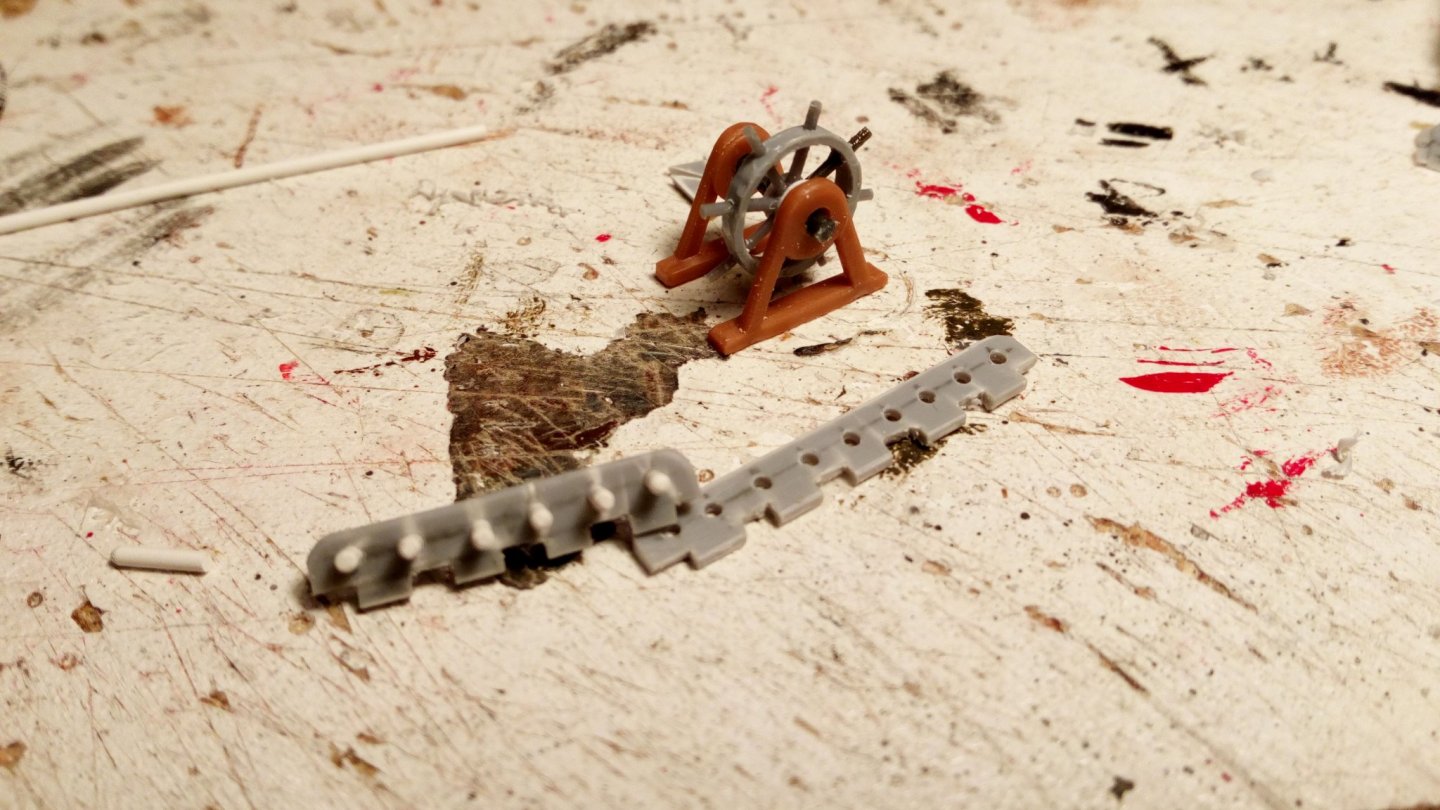
Welcome back to this fun build of a little Bounty. I started reapplying the removed parts. The belaying pins( primitive, but better than the original) and new steering wheel is under construction. A piece of cargo bed from a 1/72 truck is perfect for the hatches on the deck. Removing the supports from cannons and rebuilding them. Thanks for following


-
-
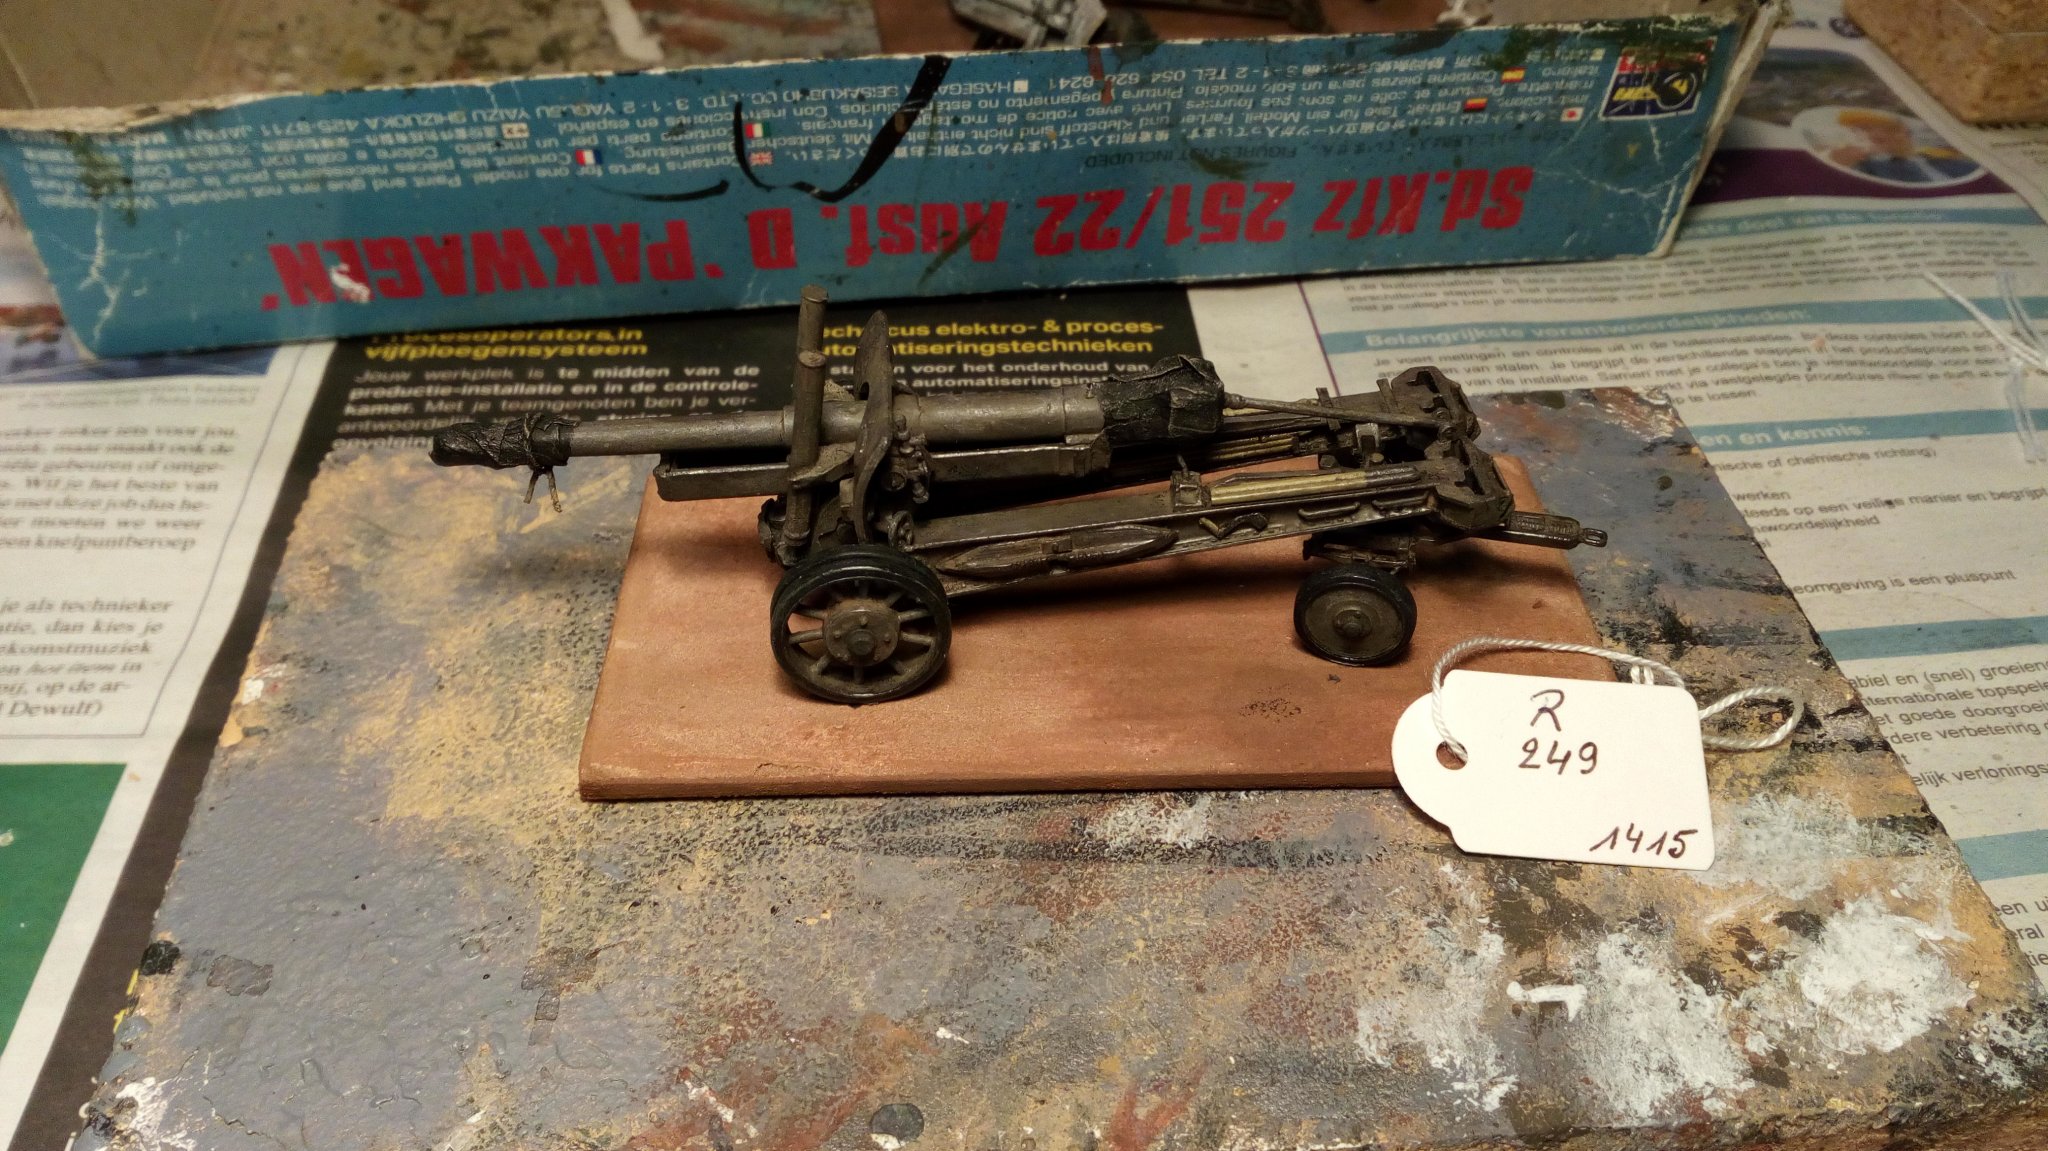
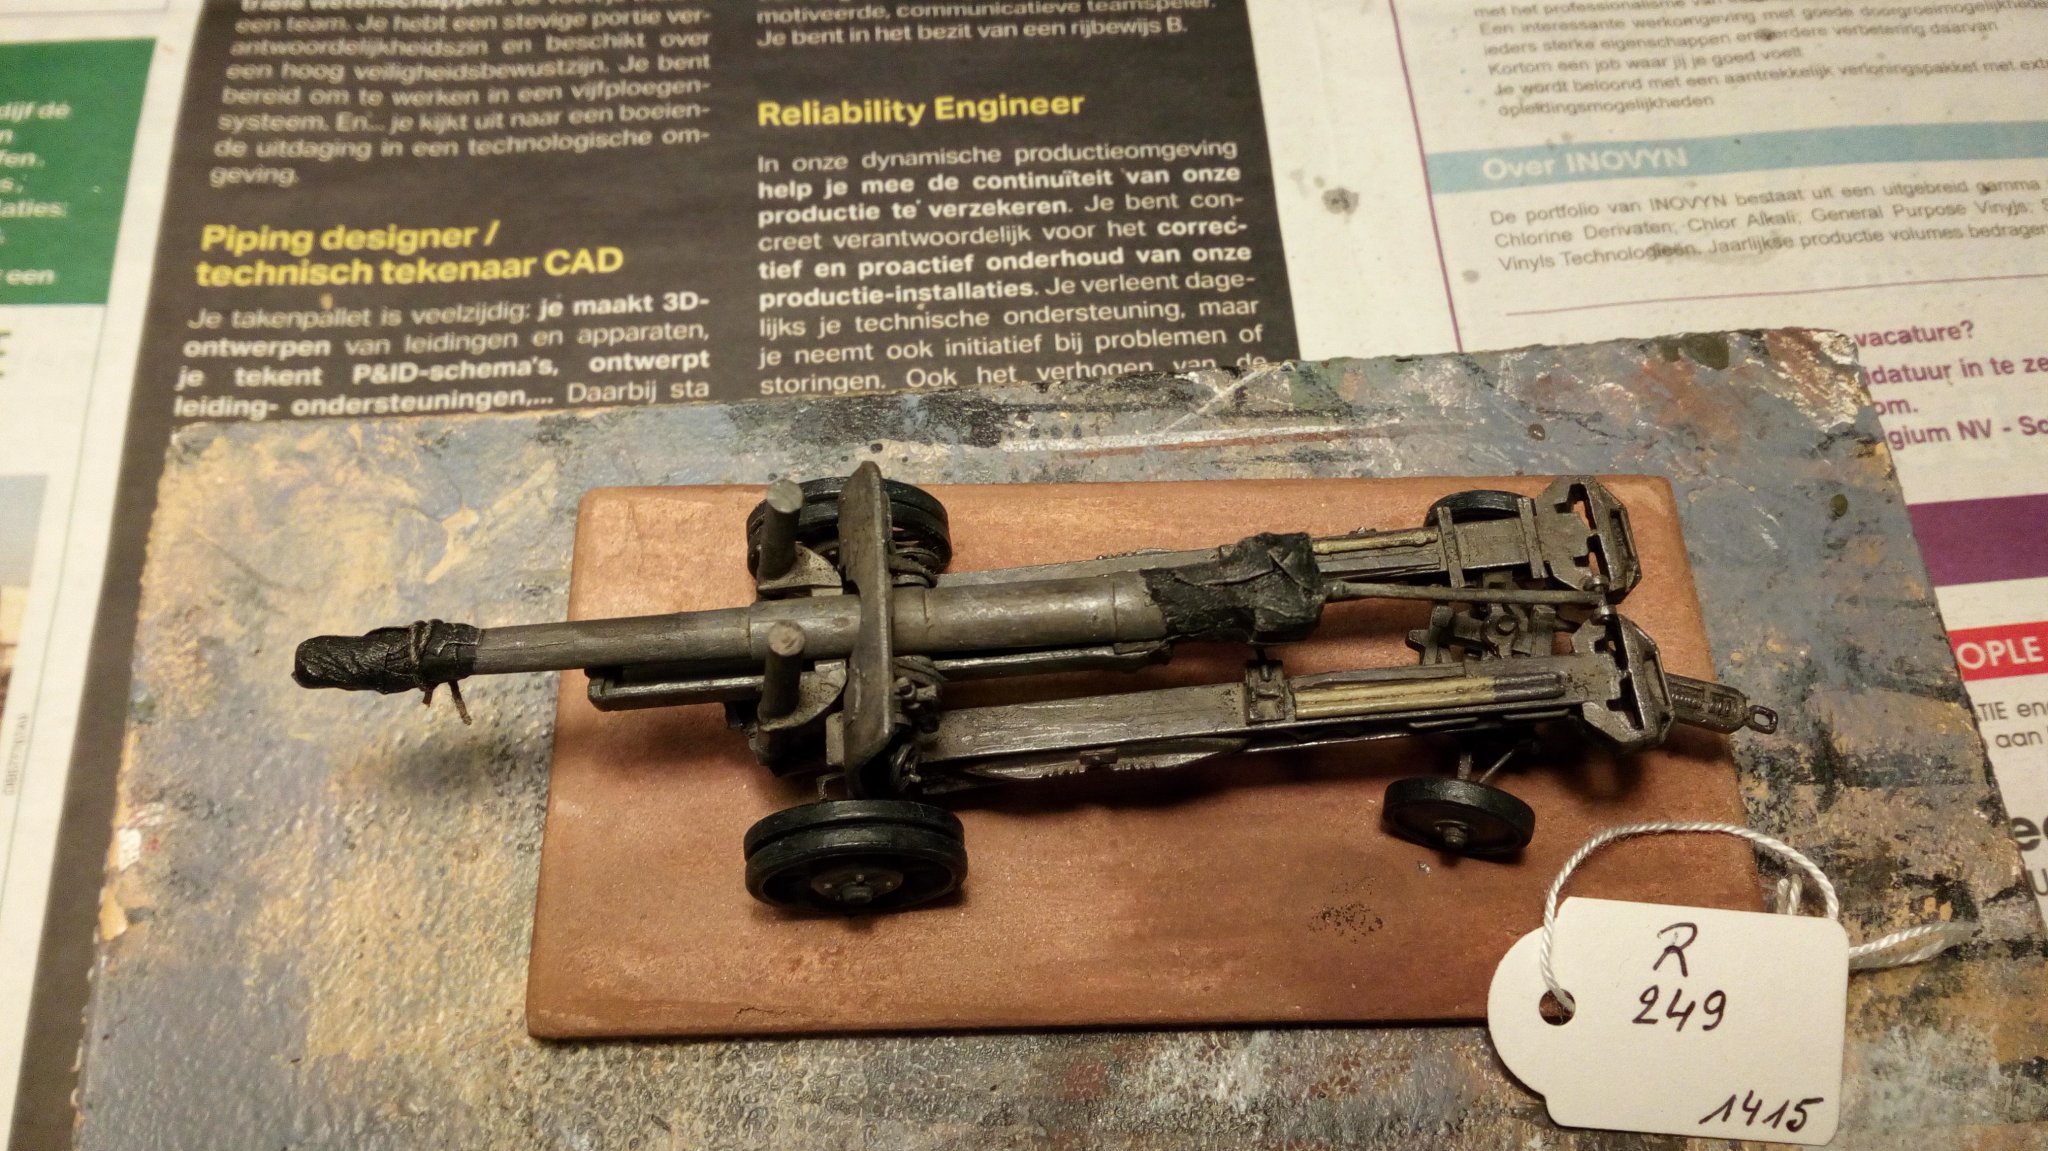
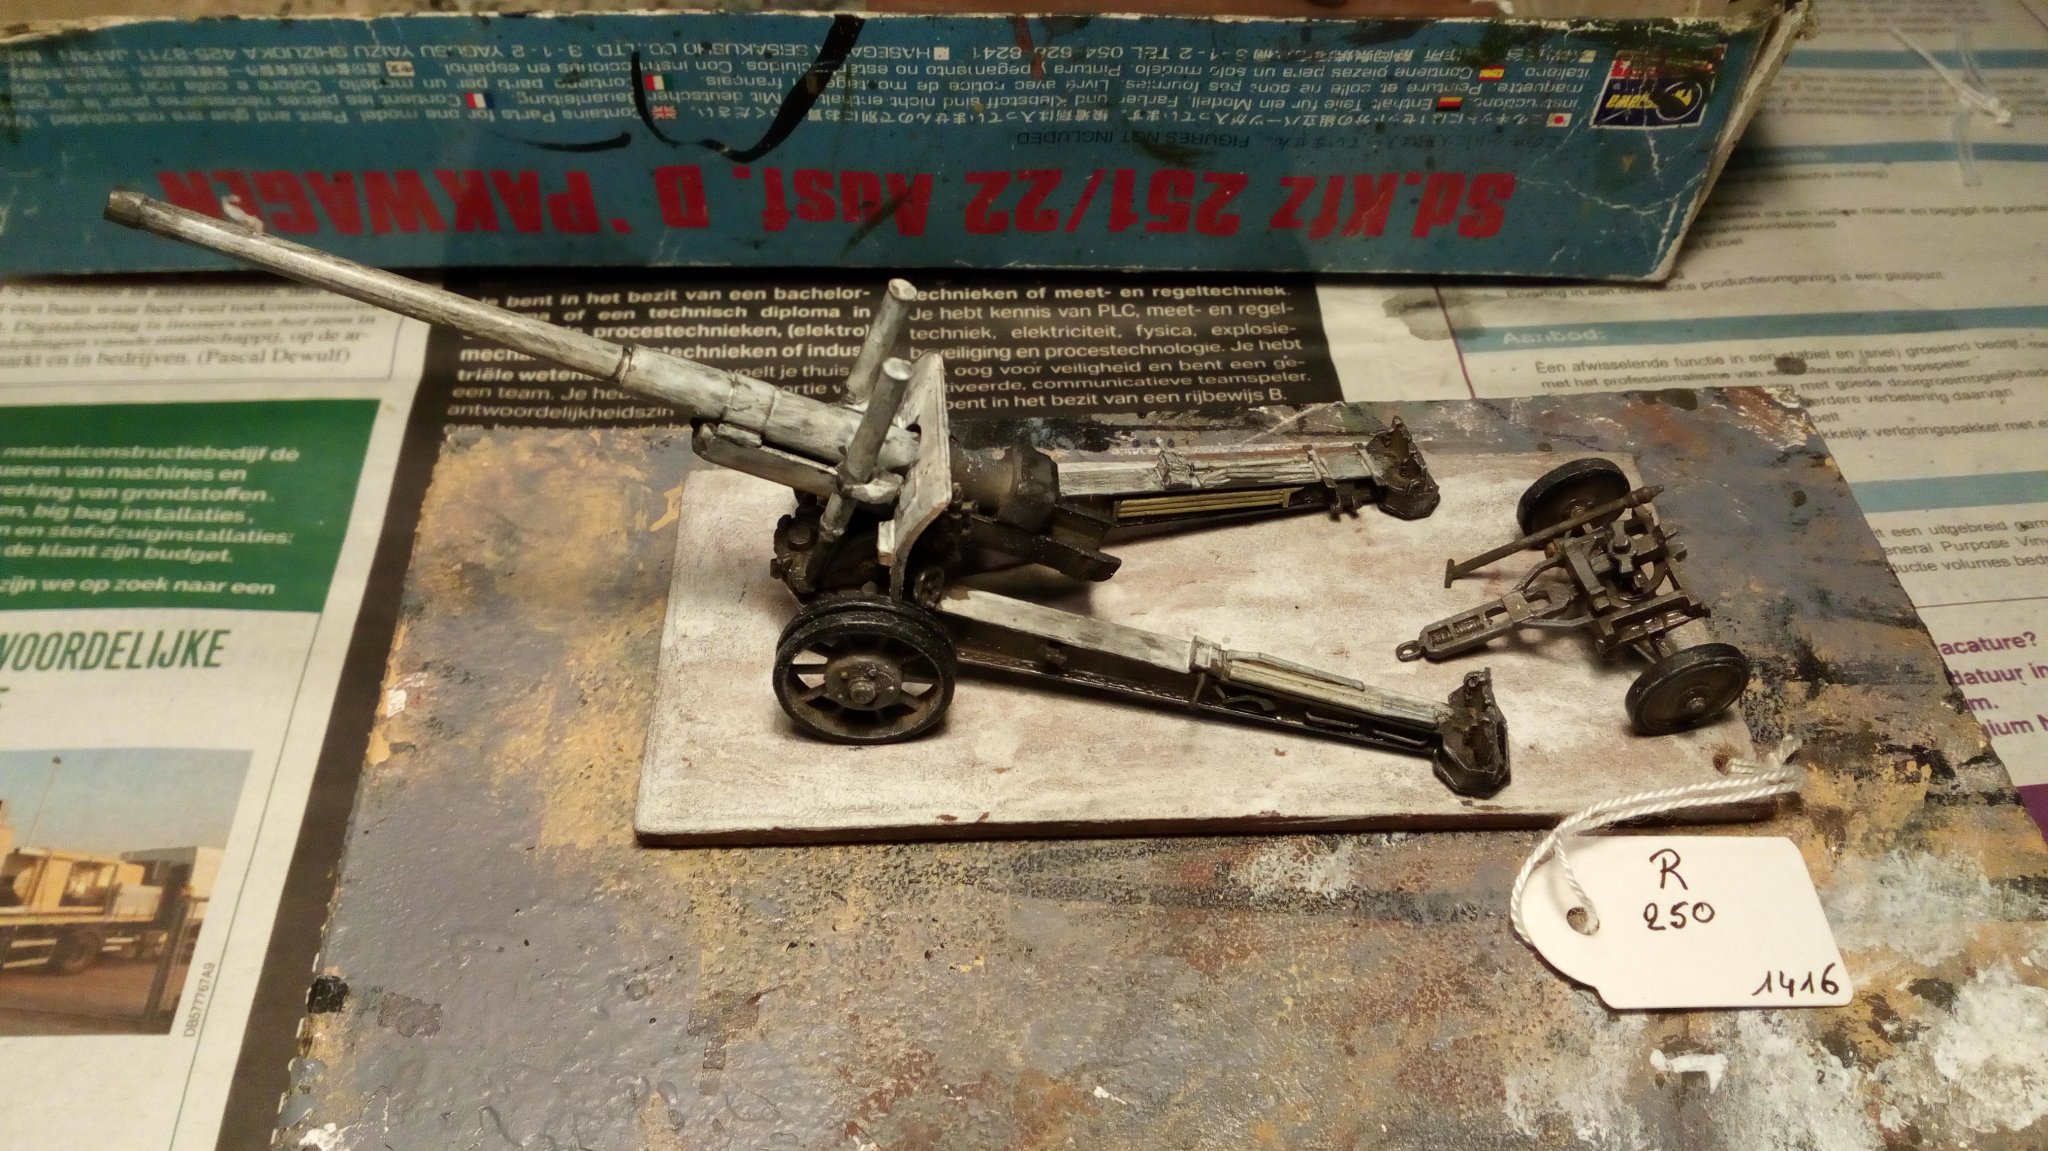
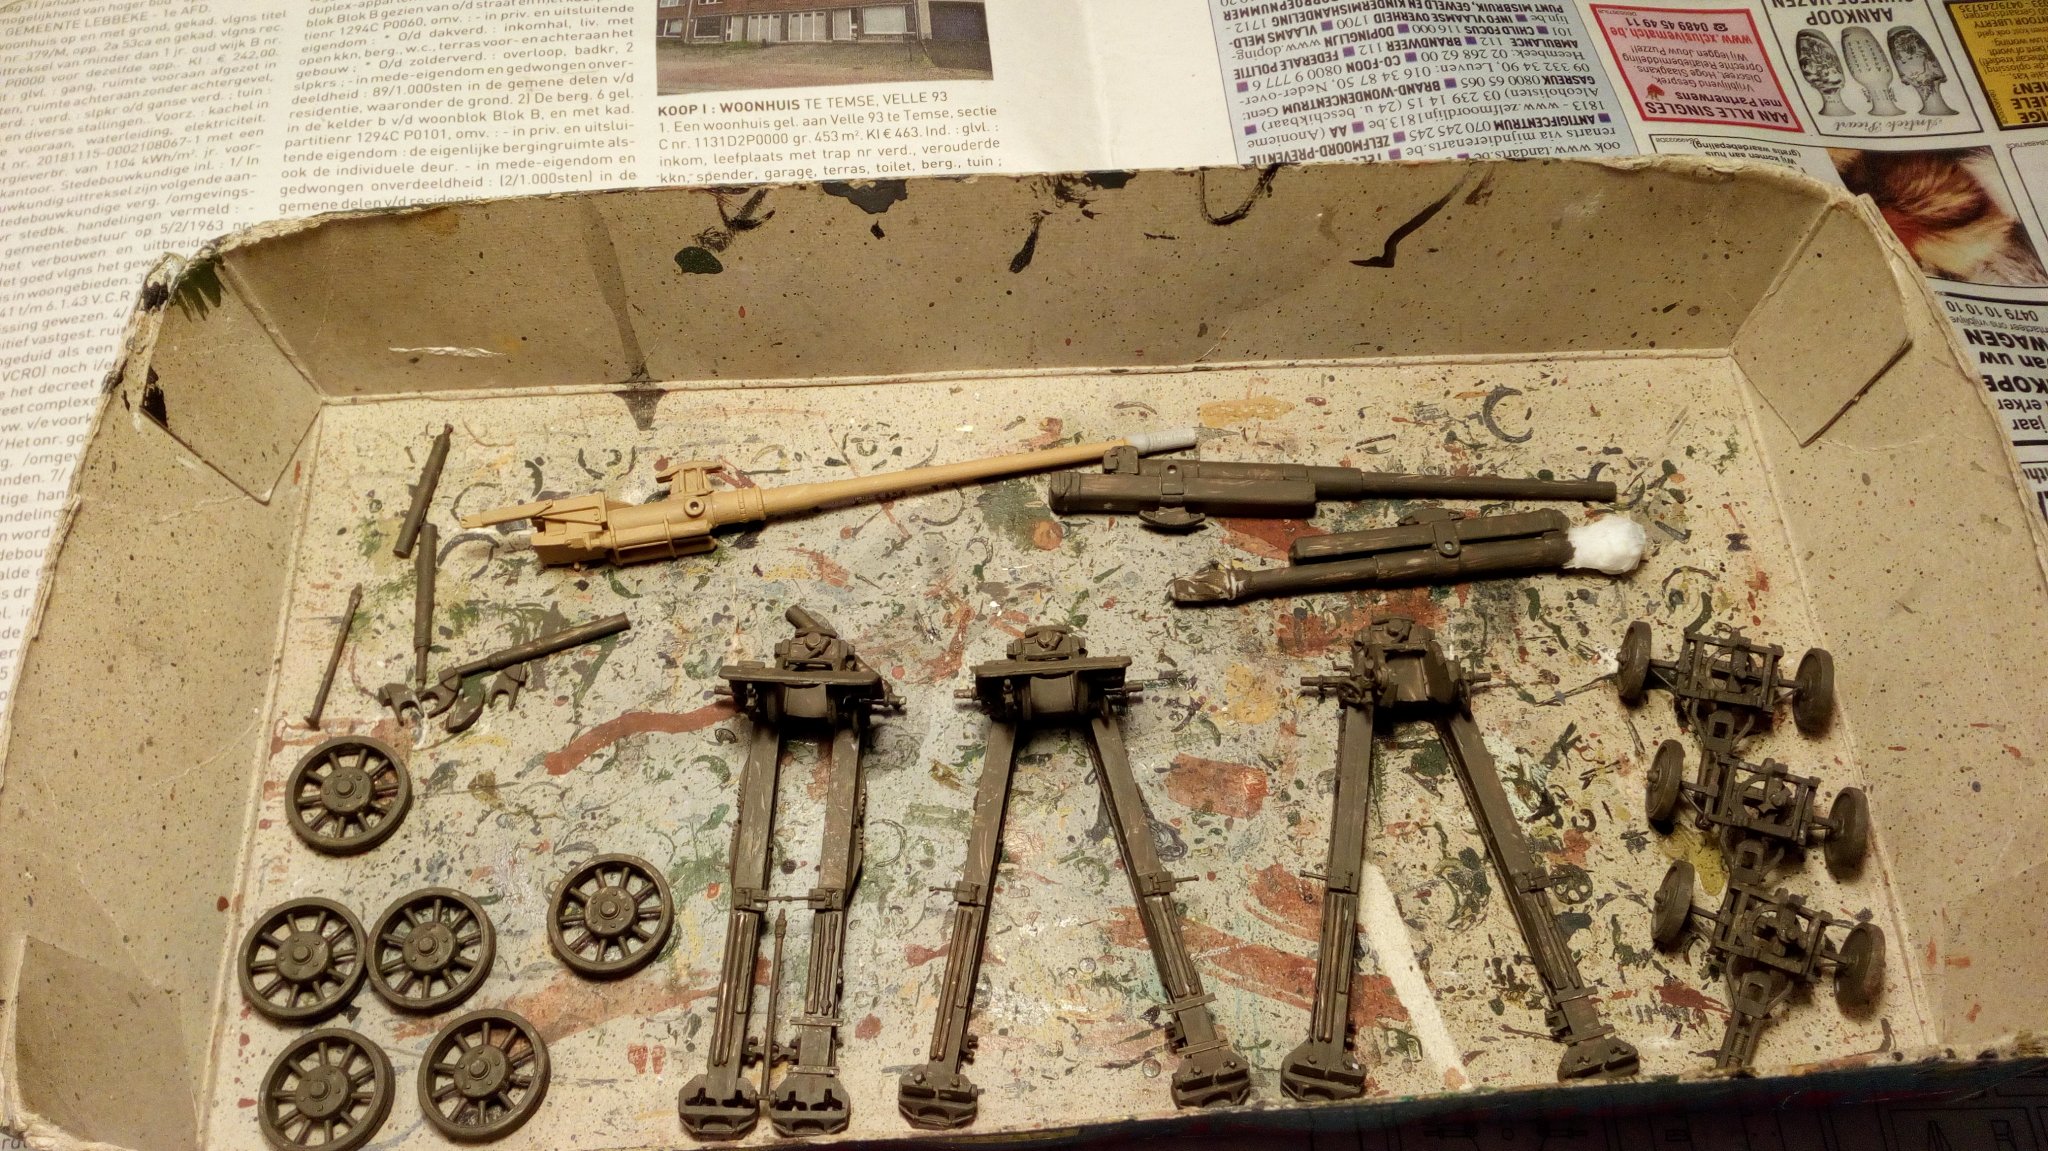
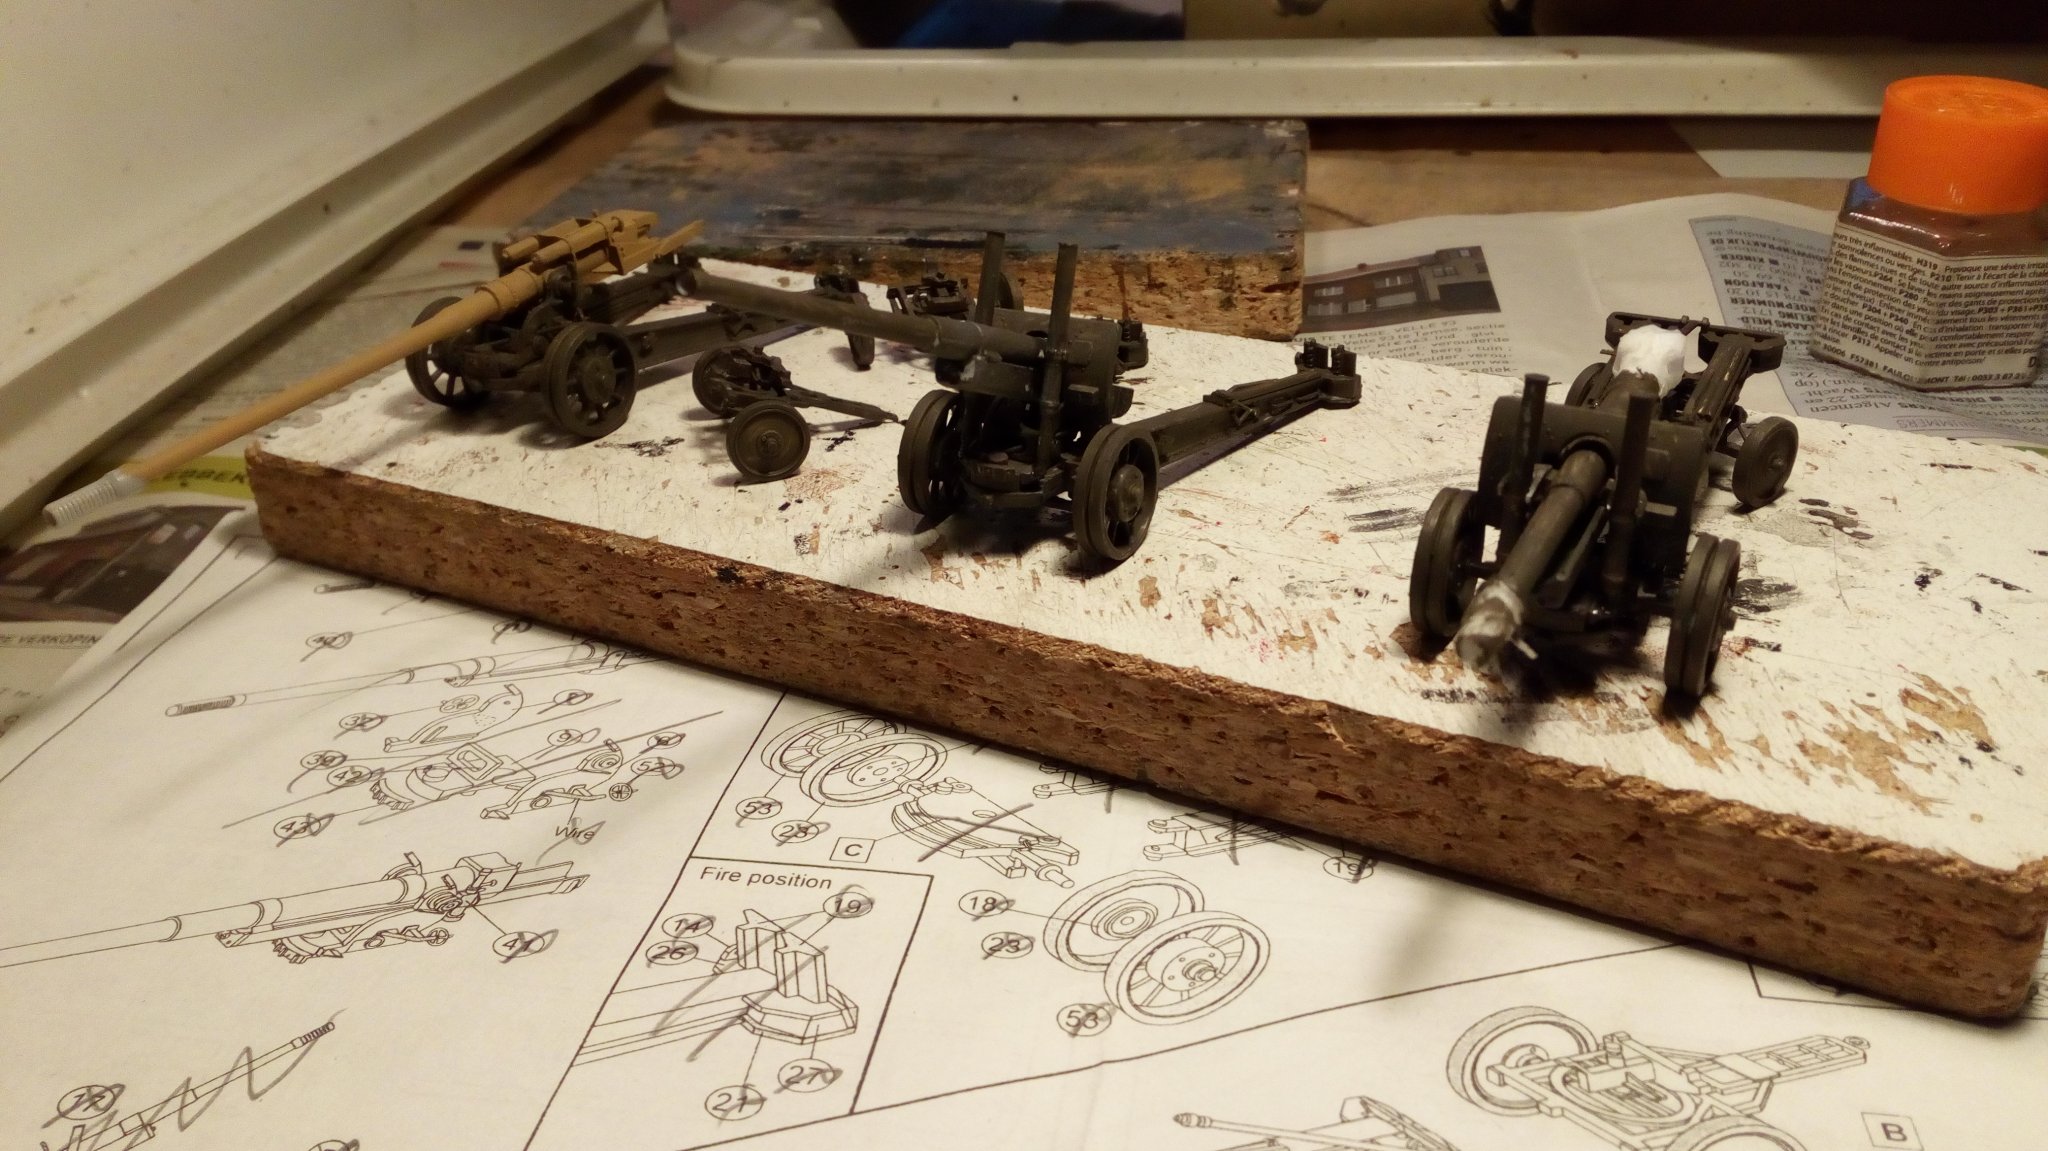
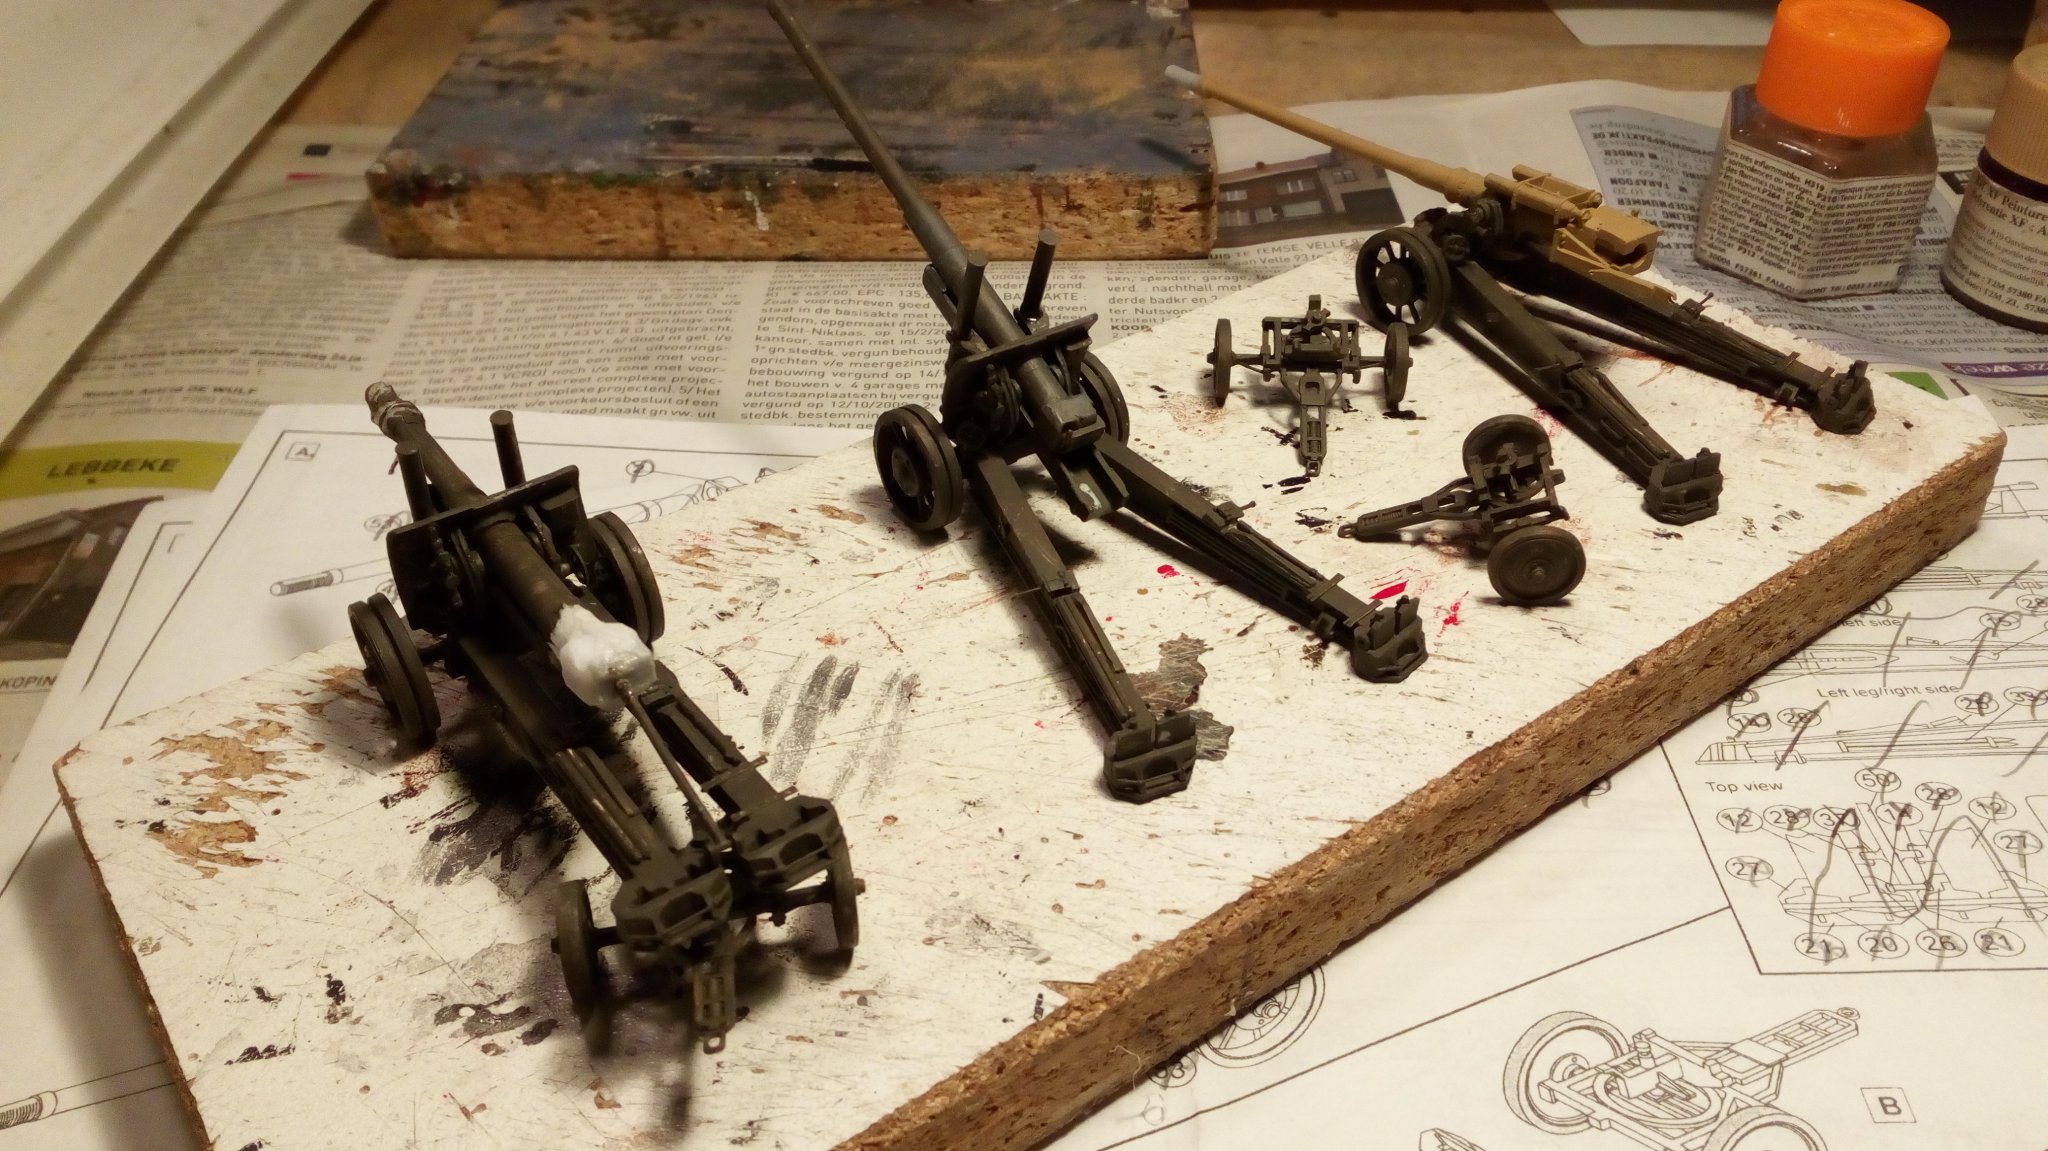
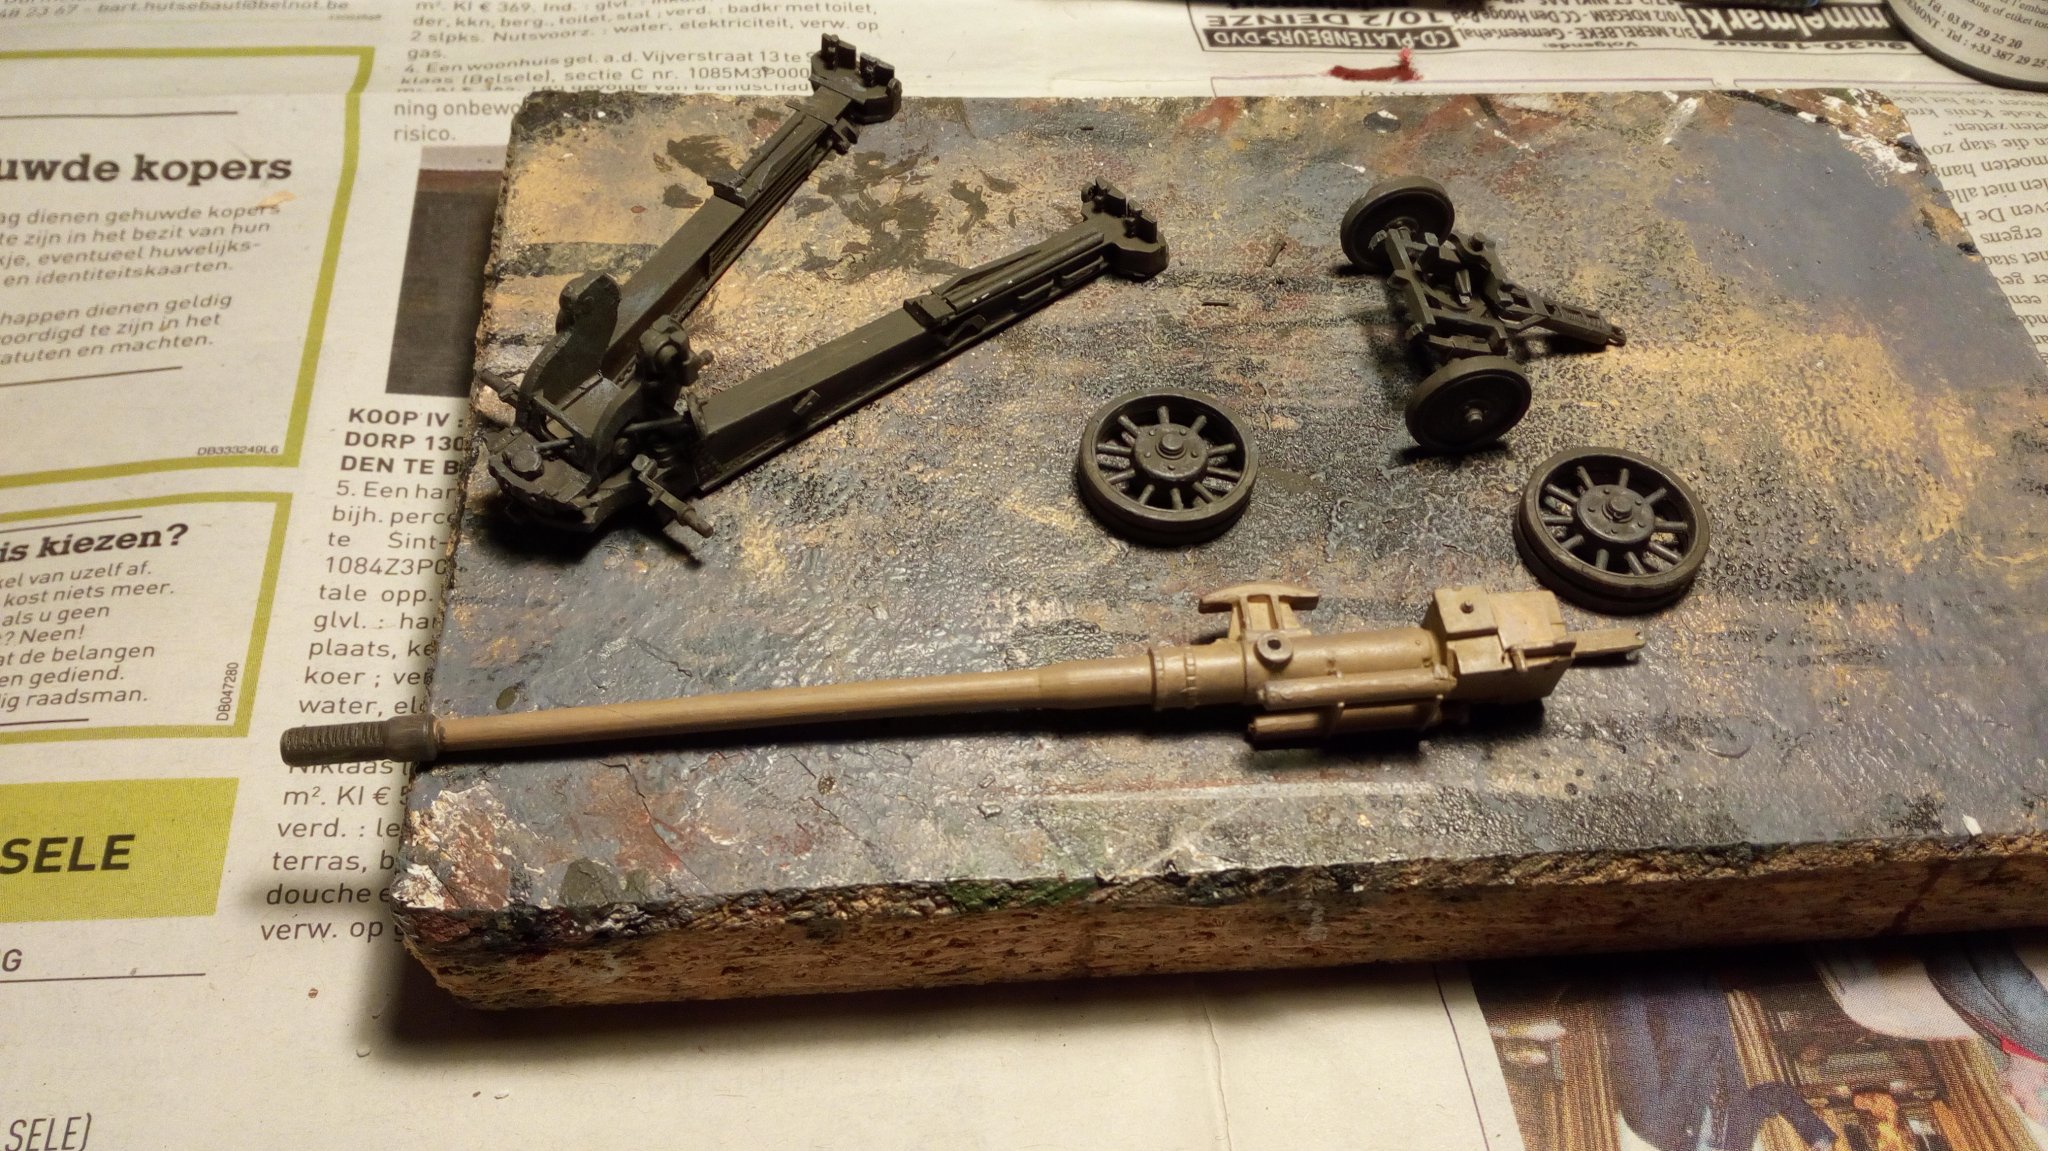
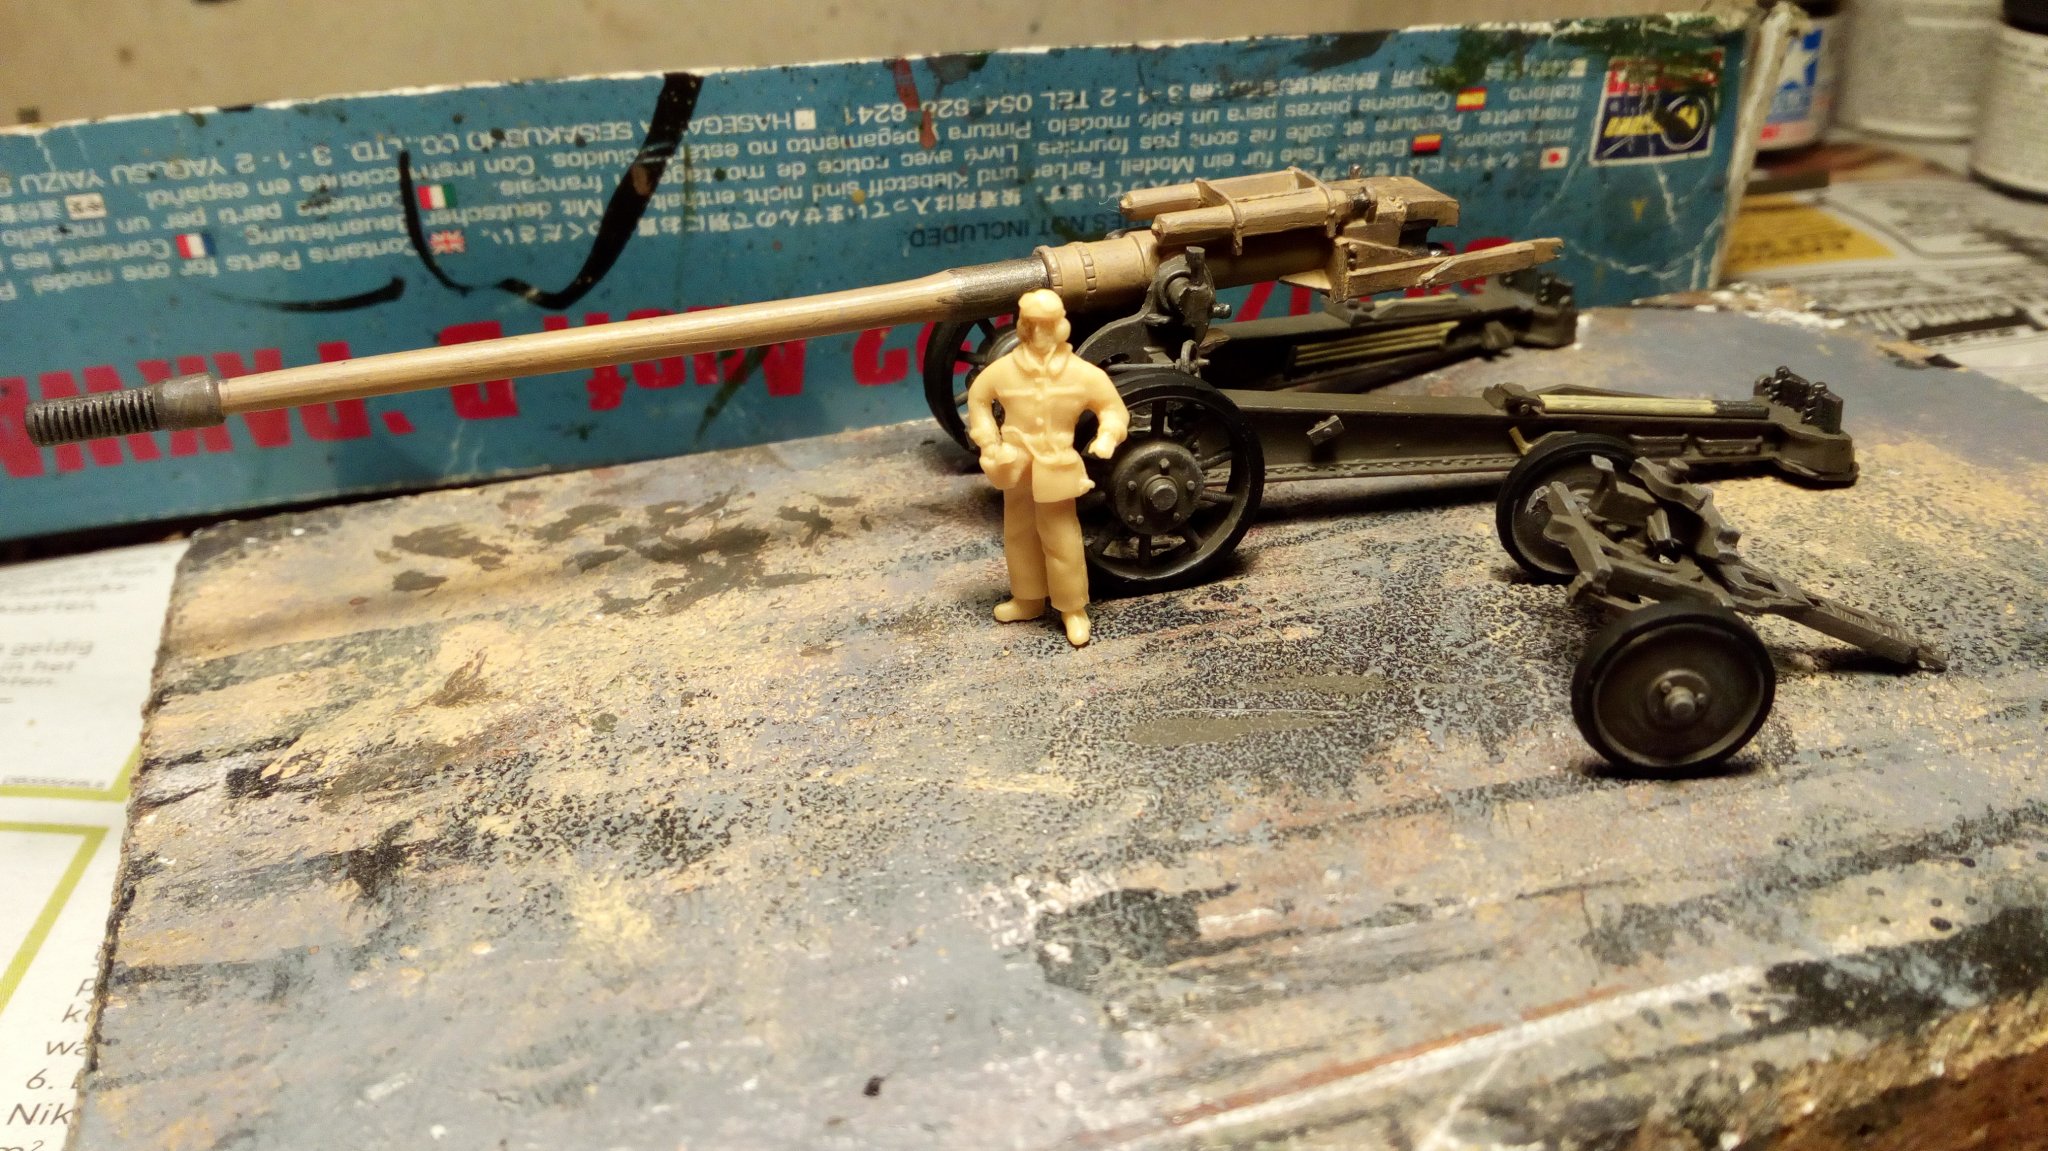
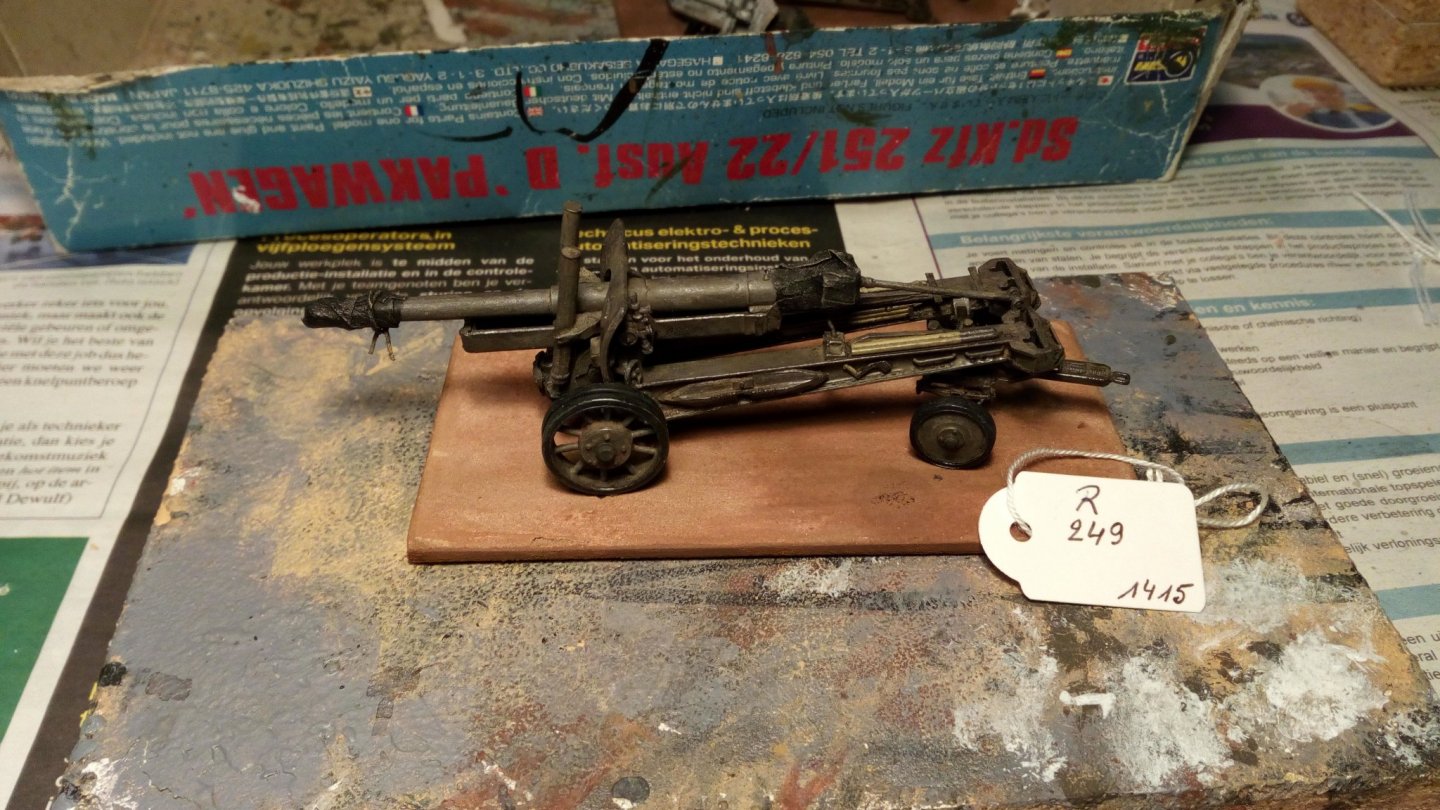
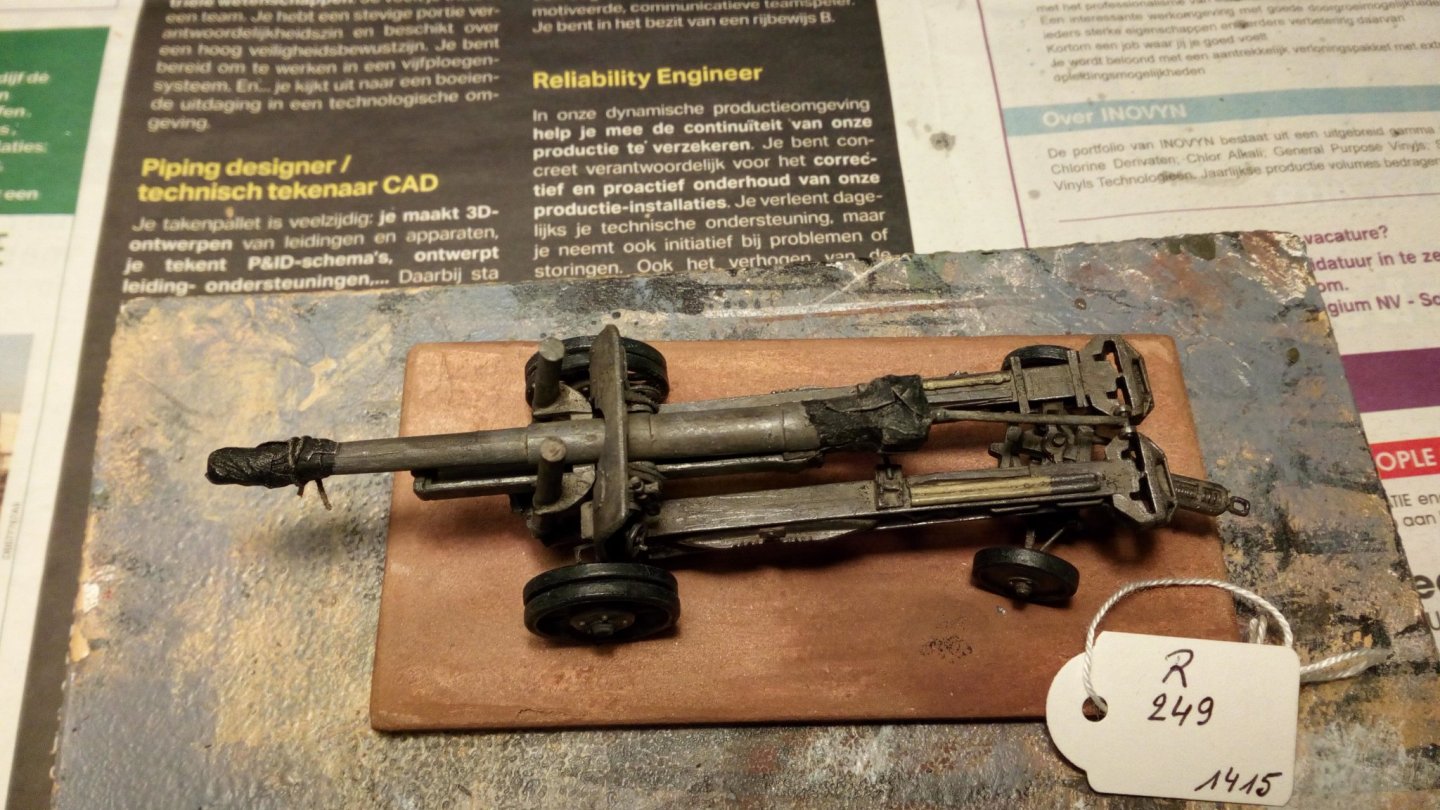
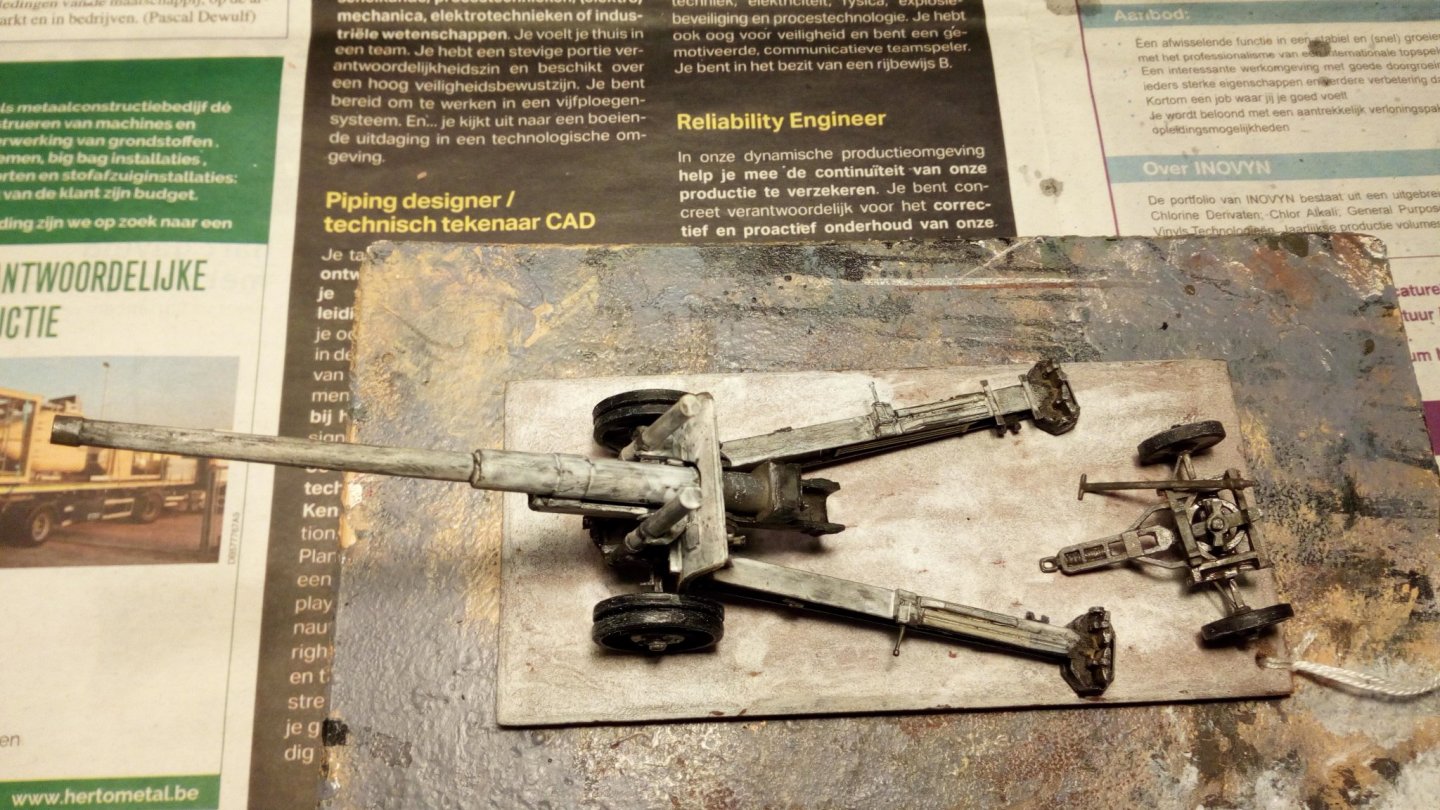
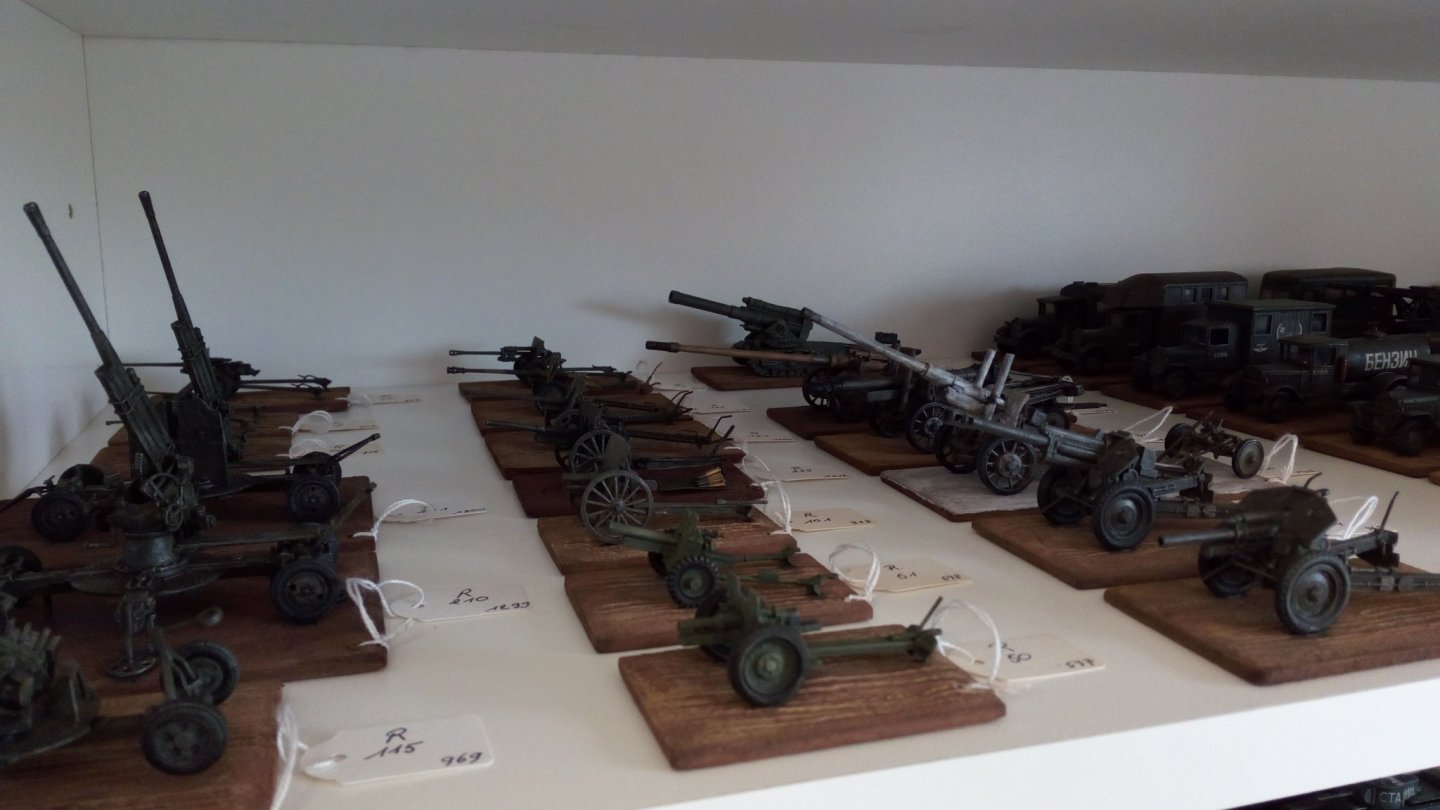
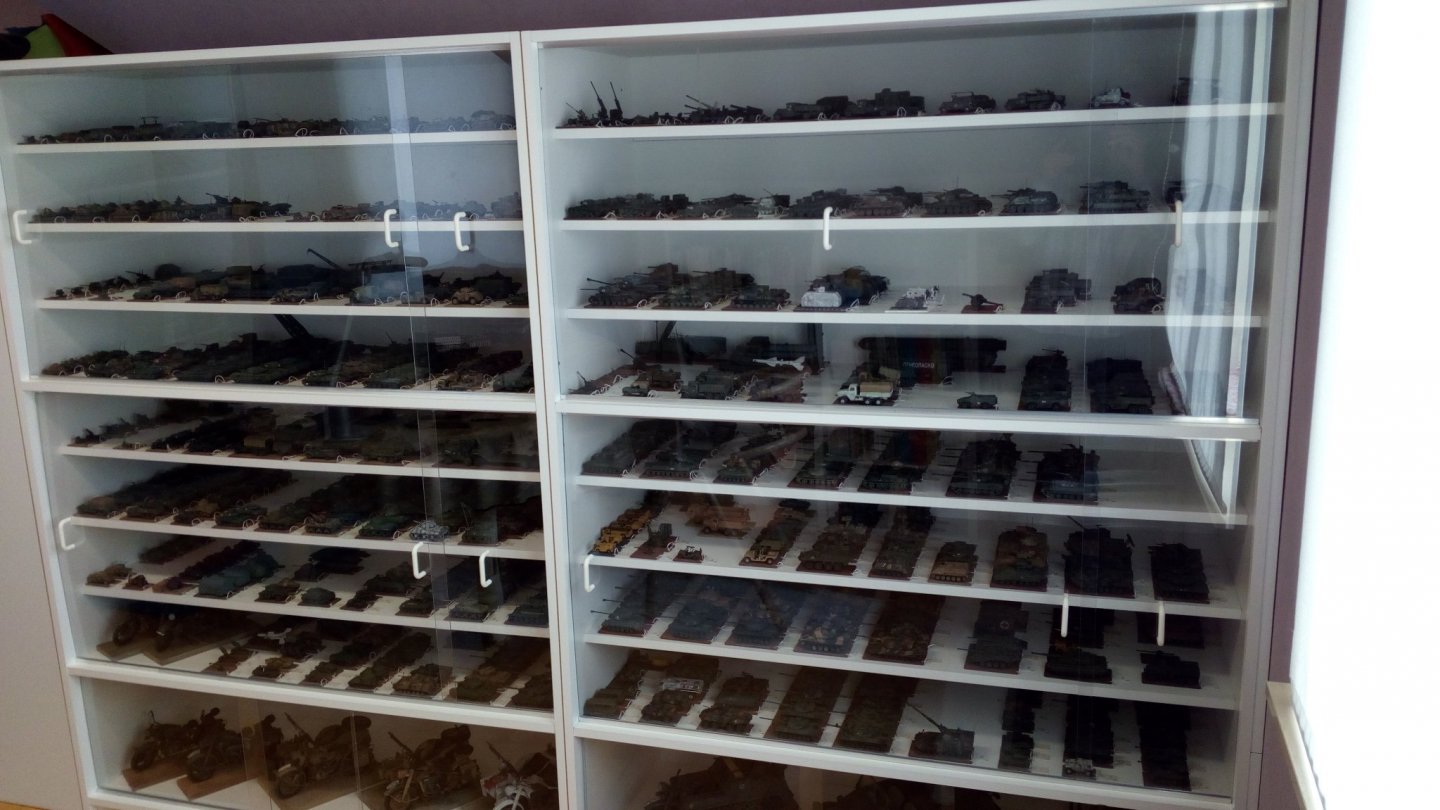
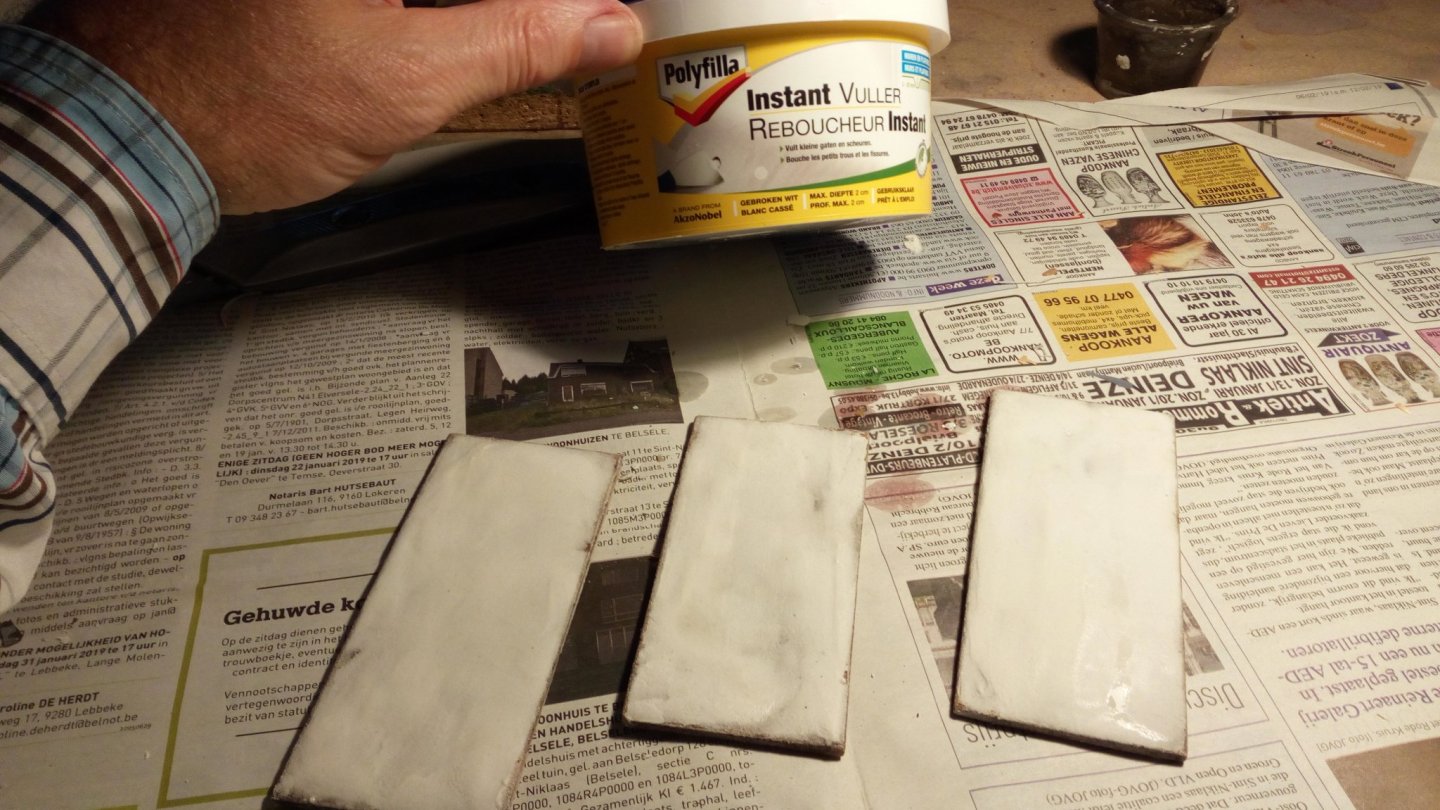
Making 3 base plates. All my 1 / 72nd models are on such plates. Easier to manipulate and numbering The German cannon (spring 1945) has a russian green carriage and a sand-yellow barrel. The green of the carriage is rusty, probably there was not enough paint available, or simply no time enough to repaint it . the 15.2 cm (in the transport version) is in a russich green color. The openings in the barrel are protected against dirt and dust The 12.2 cm partially has a whitewash color. Painting and finishing the models After the basic color I always apply a light gray dry brushing. Then the other colors are painted and then a dry brushing of sand color. After application to the base plate, a wash with diluted matte black is applied. Ready, numbered and stored in the Russian WW2 corner For organizational reasons, the "German cannon" has been placed with Russia. All models with a specific chassis are placed together. This is easier for me to know what I have already built. a total of 1417 models in 1/72 scale on display (started in 1985) Finished. Thanks for following

-
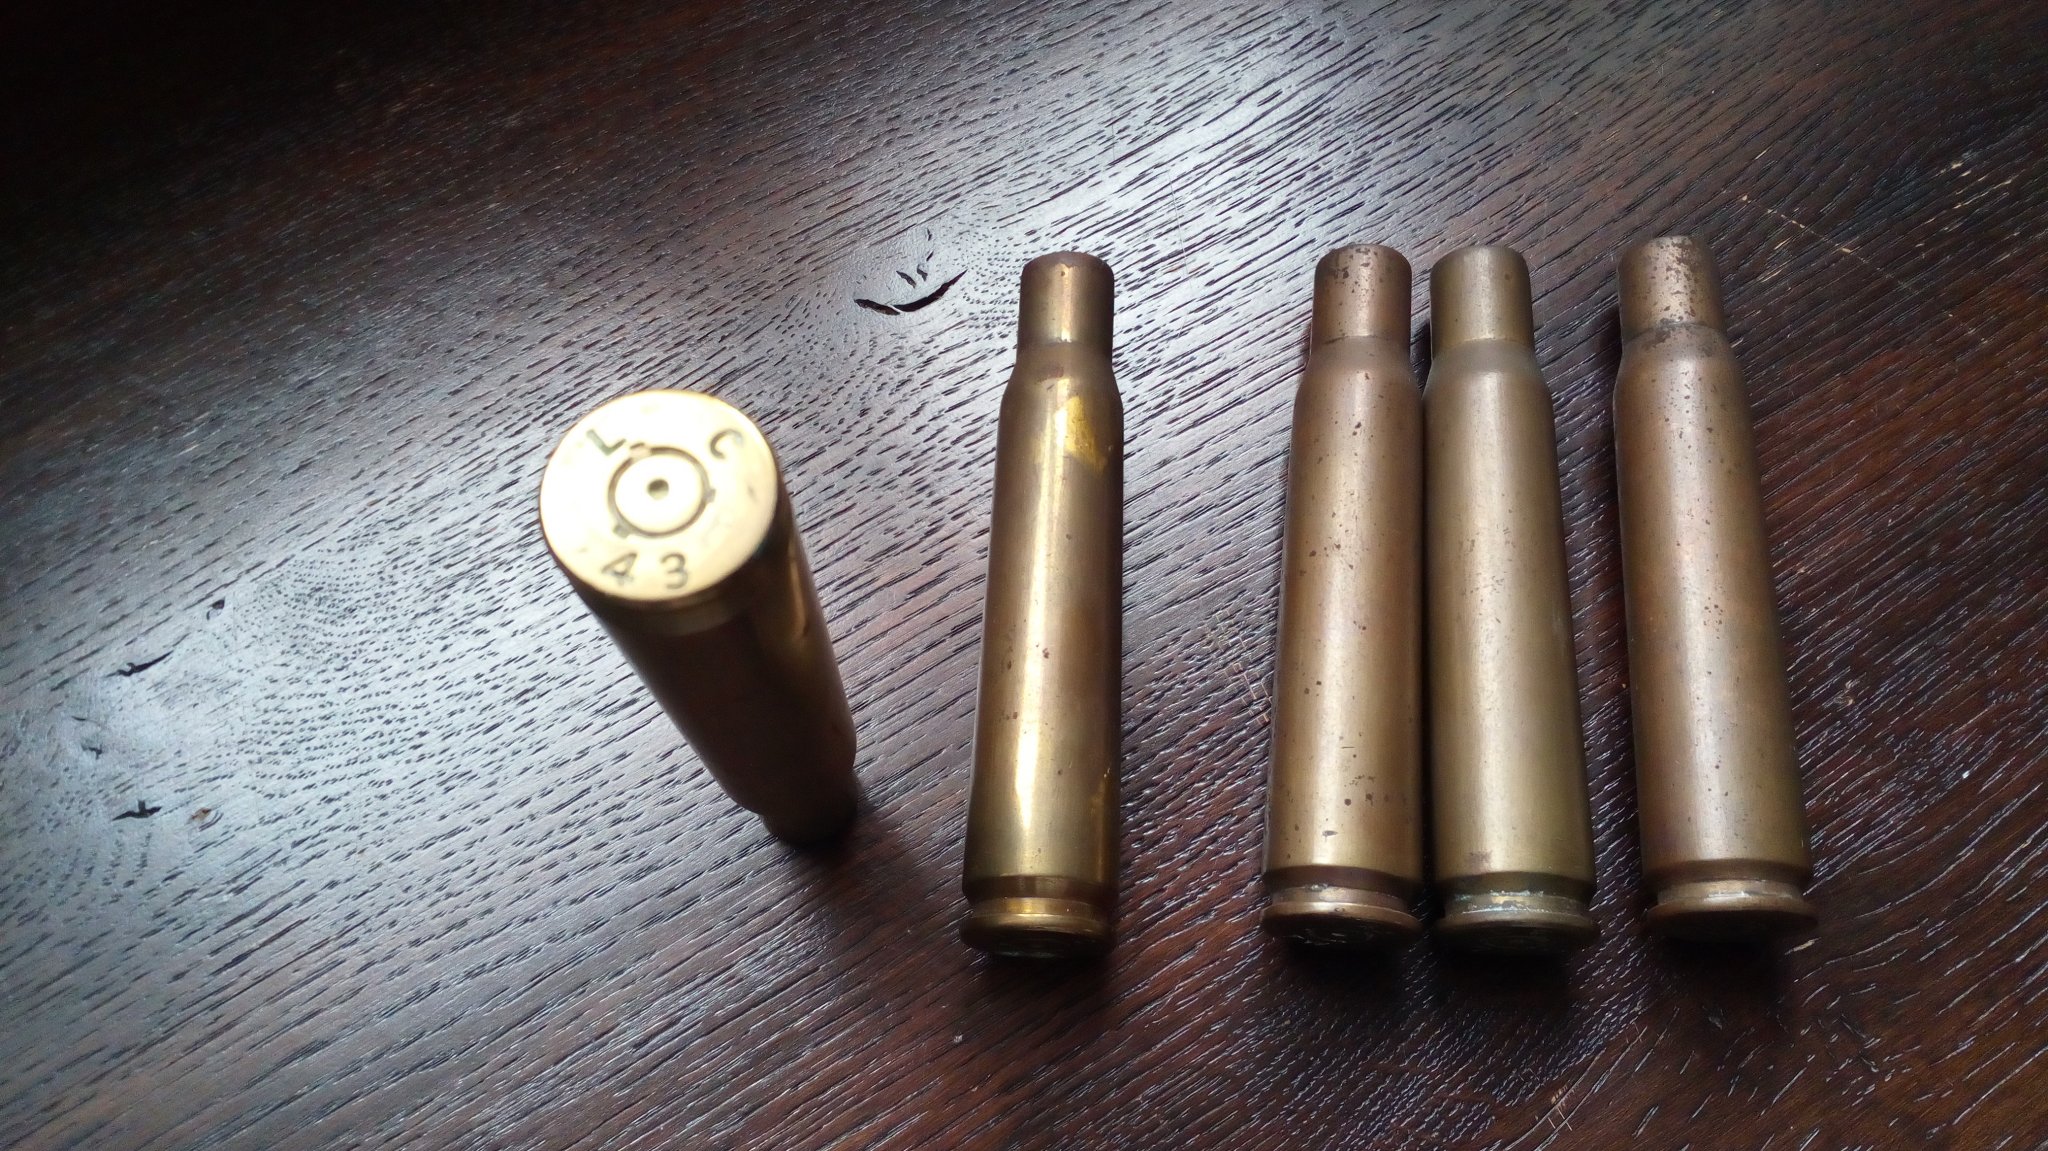
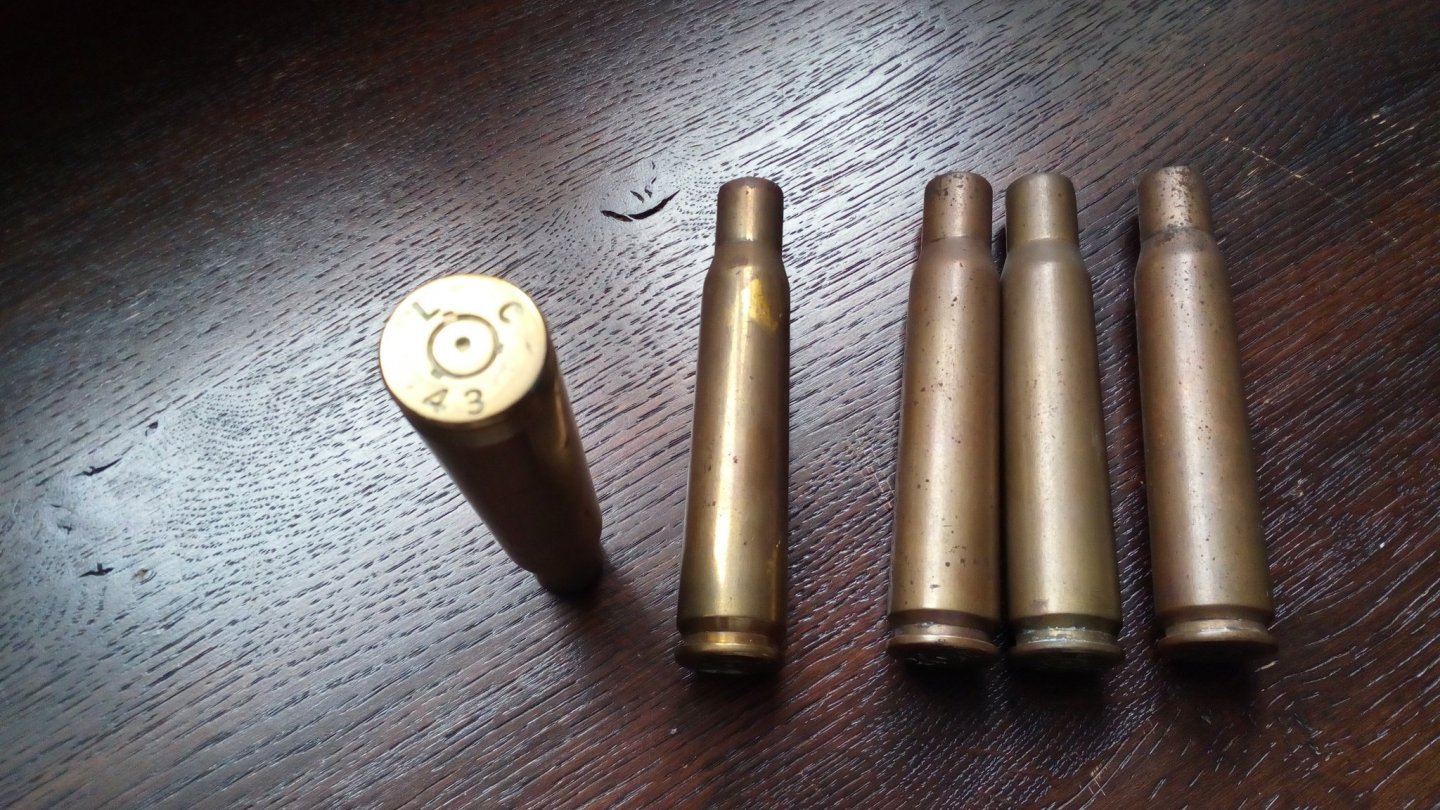
A small story that happened in a big war In 1943 these fell down from the sky (emty 0.50 casings). They were large planes, where other small planes flew around... That's the story my mother always told. My mother witnessed a fight between American B17s and German fighters. And the empty shells fell to the ground next to her. All this happened above Sint Gillis (west of Antwerp). No plains were lost on that moment.
-
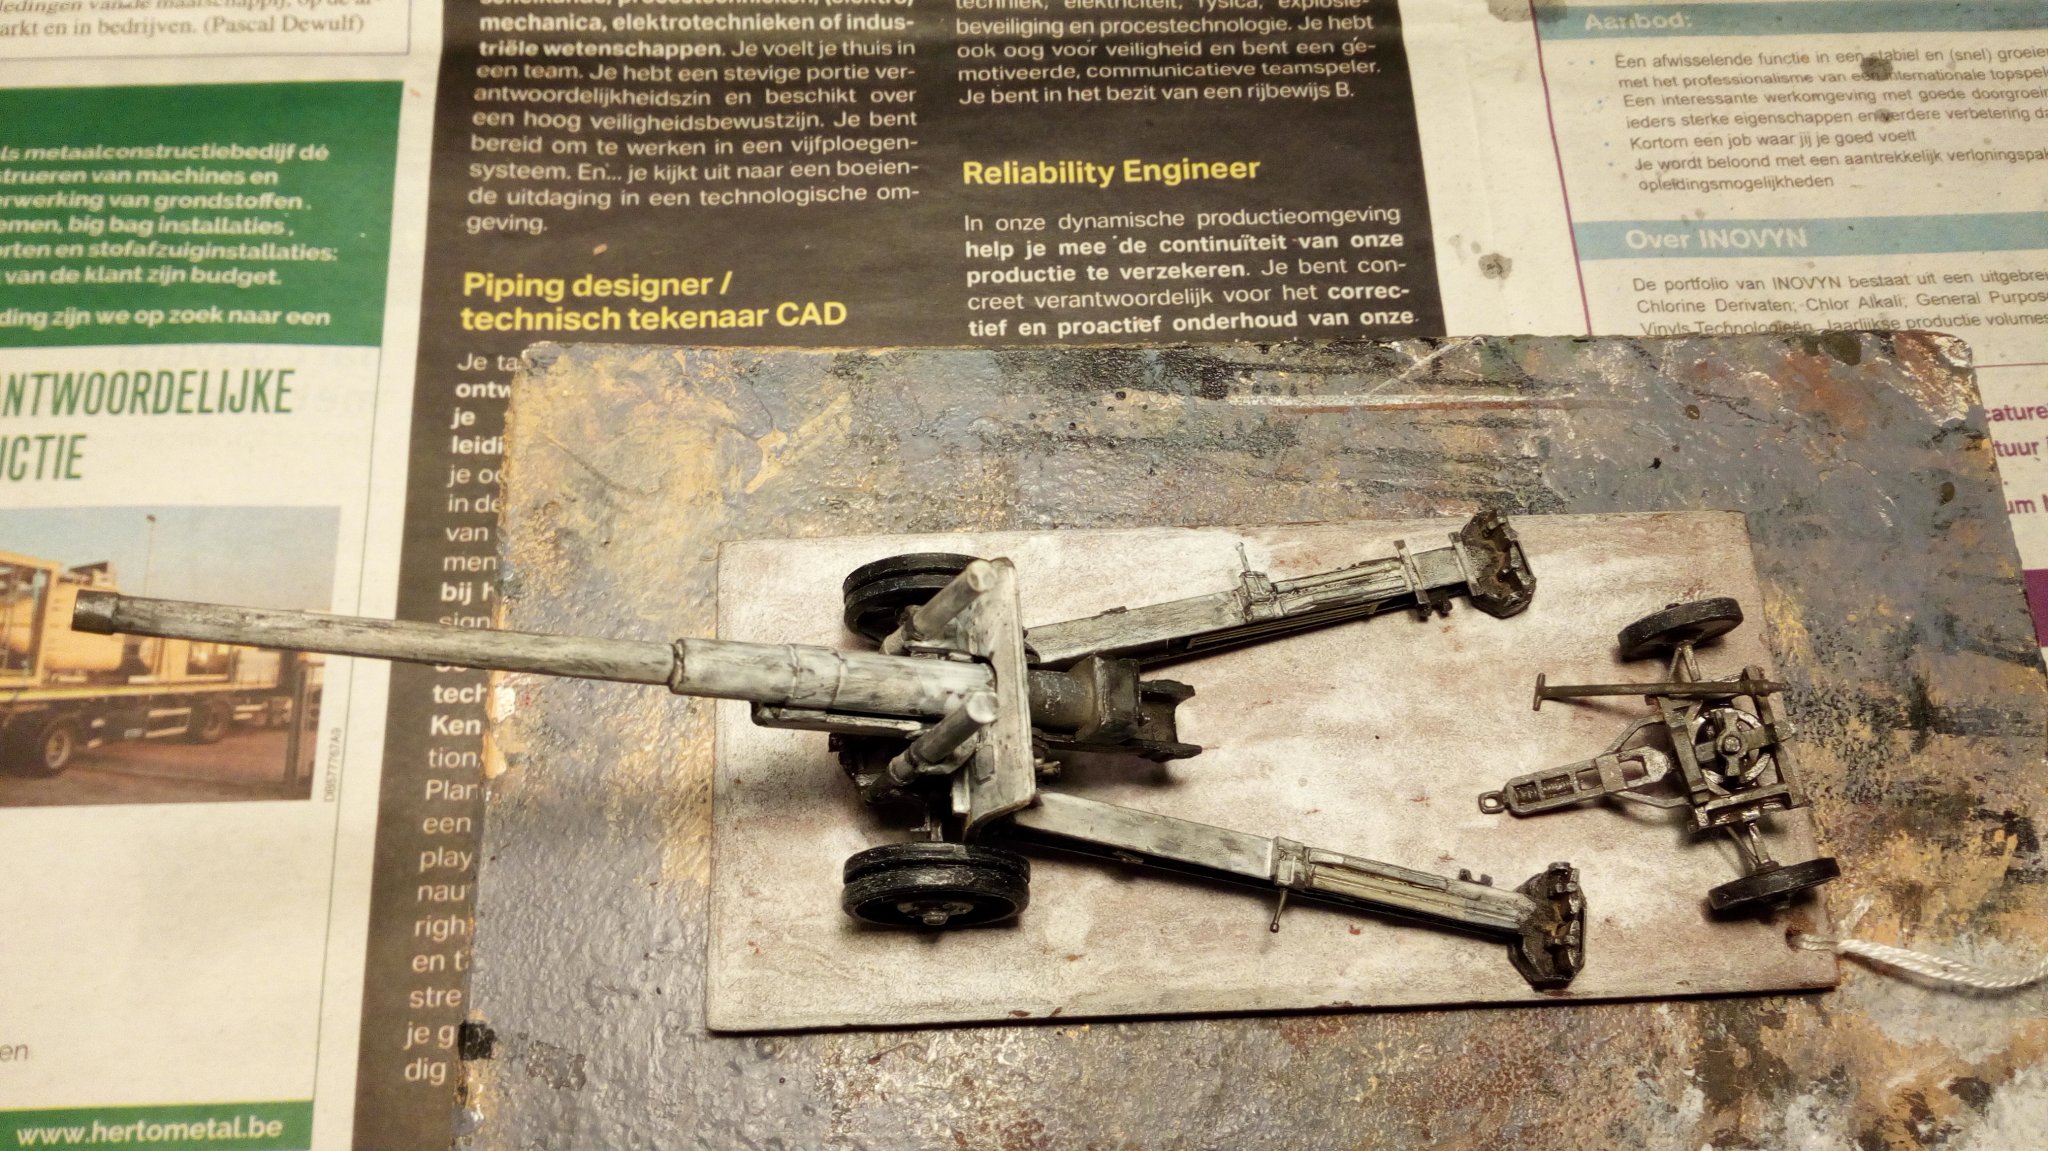
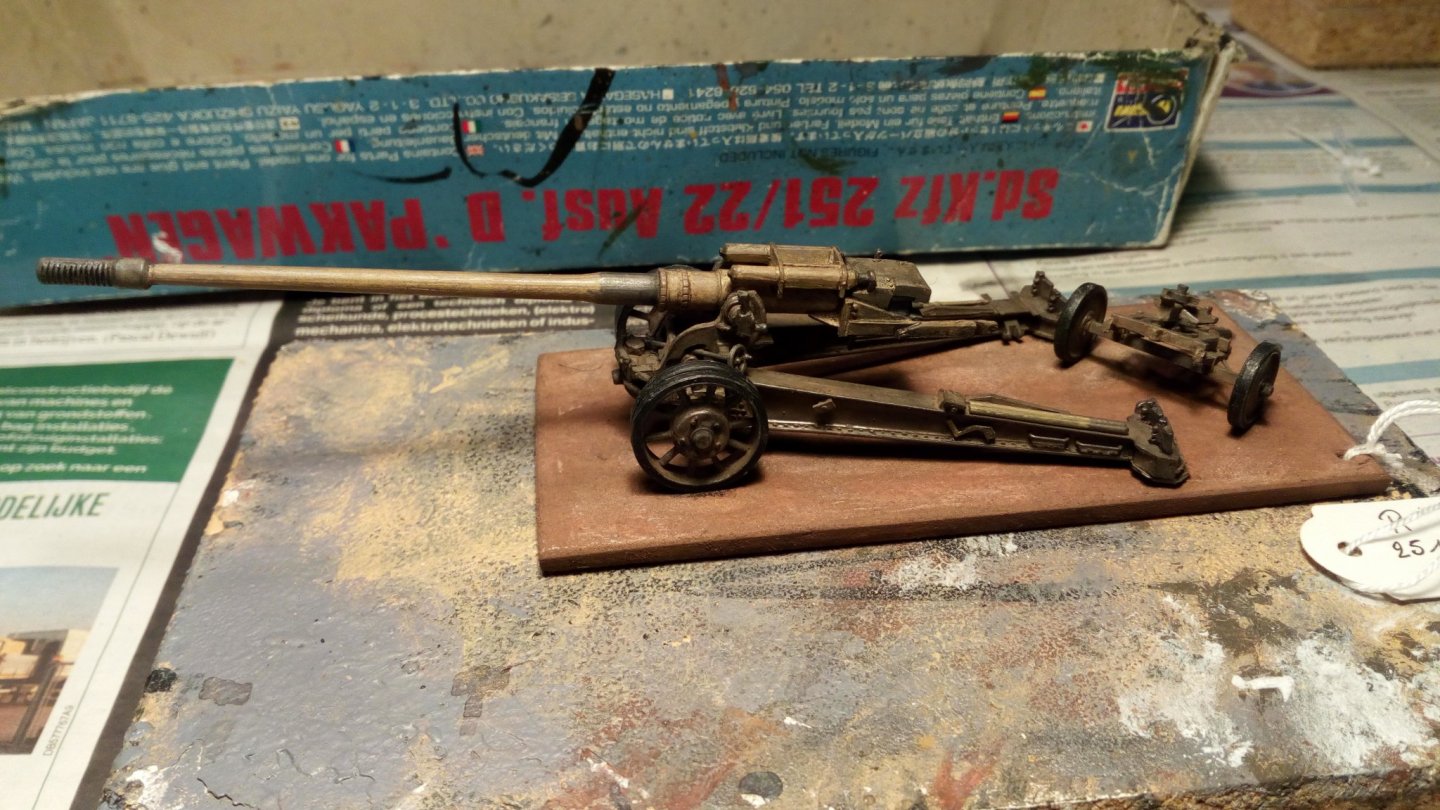
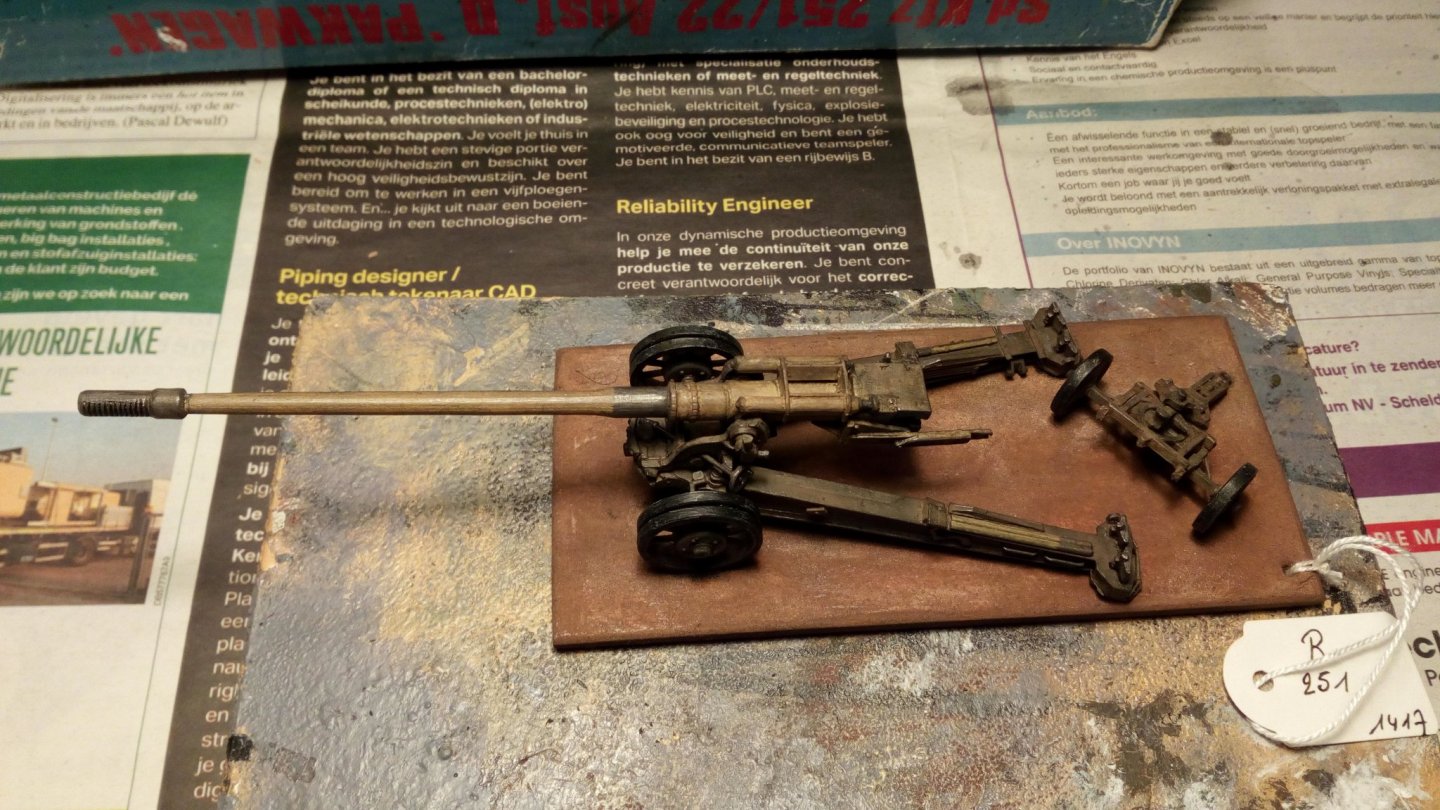
After washing with water and soap, a first layer is painted. further built. Further painting is done by cannon per cannon. First the Pak. Dry brushing with light gray, and further applying colors. (Not ready yet) Next to a figure, an immense anti-tank cannon. Hard to handle Hard to camouflage But probably very effective, when a tank was hit ... Thanks for following