Baker
-
Posts
4,283 -
Joined
-
Last visited
Content Type
Profiles
Forums
Gallery
Events
Everything posted by Baker
-
-
 indeed. But if you have to rebuild an army from scratch. then are 2 light mgs for AA defensie better than nothing
 -
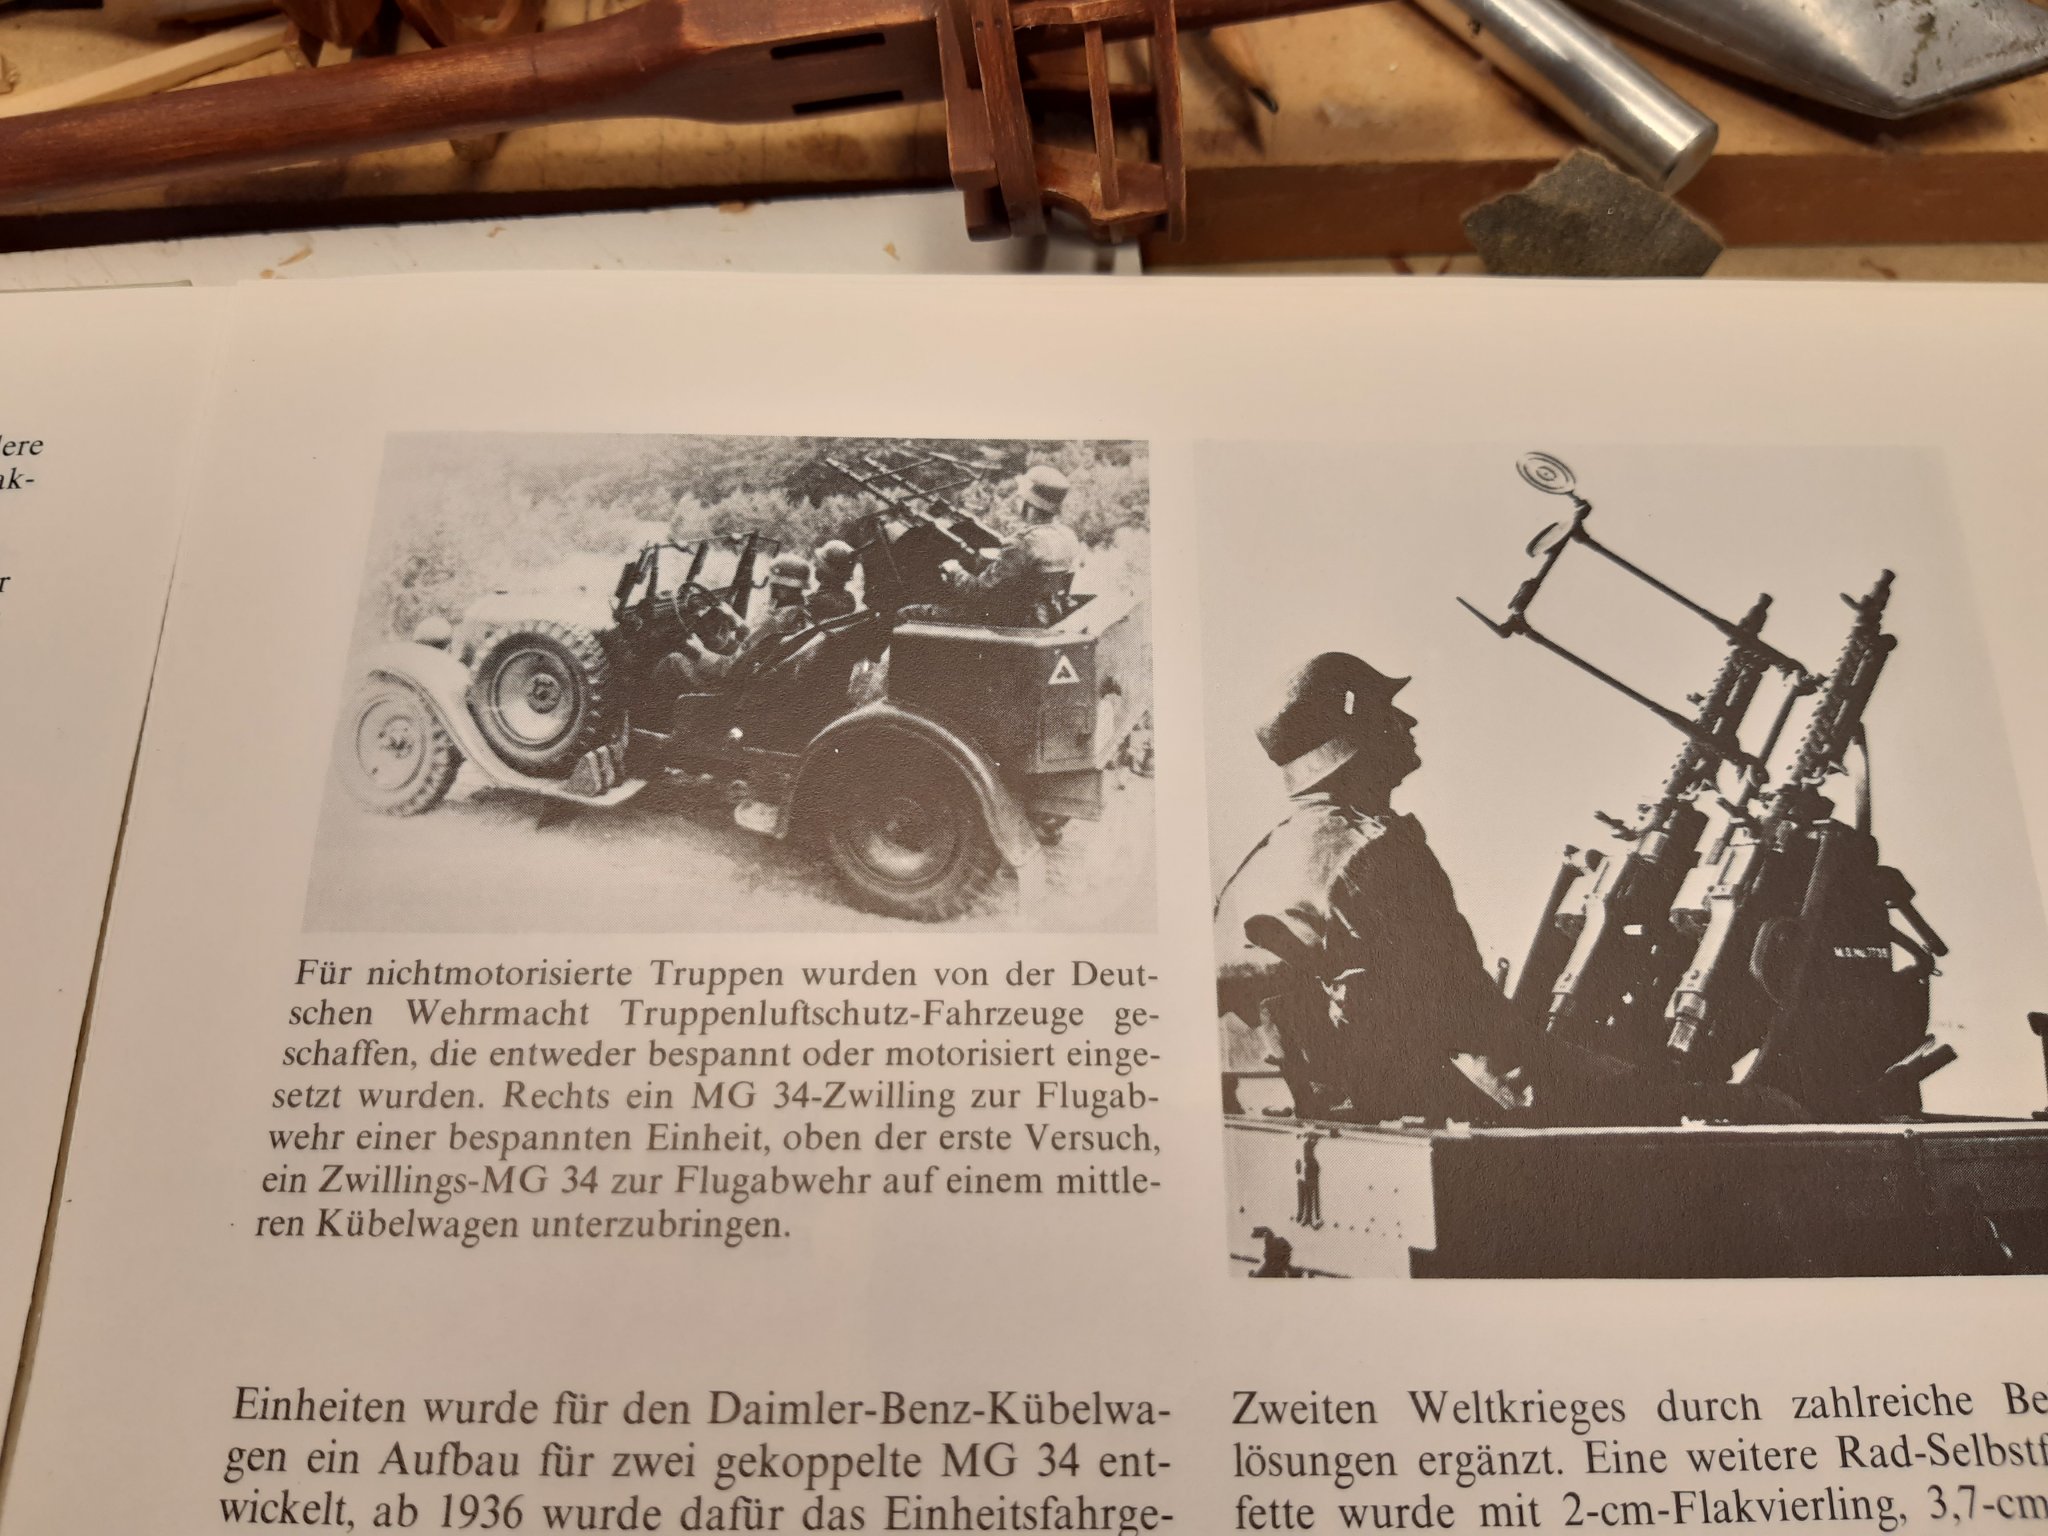
2 MG 34 mounted as a twin (the zwillinglafette 36) .These were only intended as protection for non-motorized troops at the beginning of WW2. a link the horse drawn version http://acemodel.com.ua/en/model/442

-
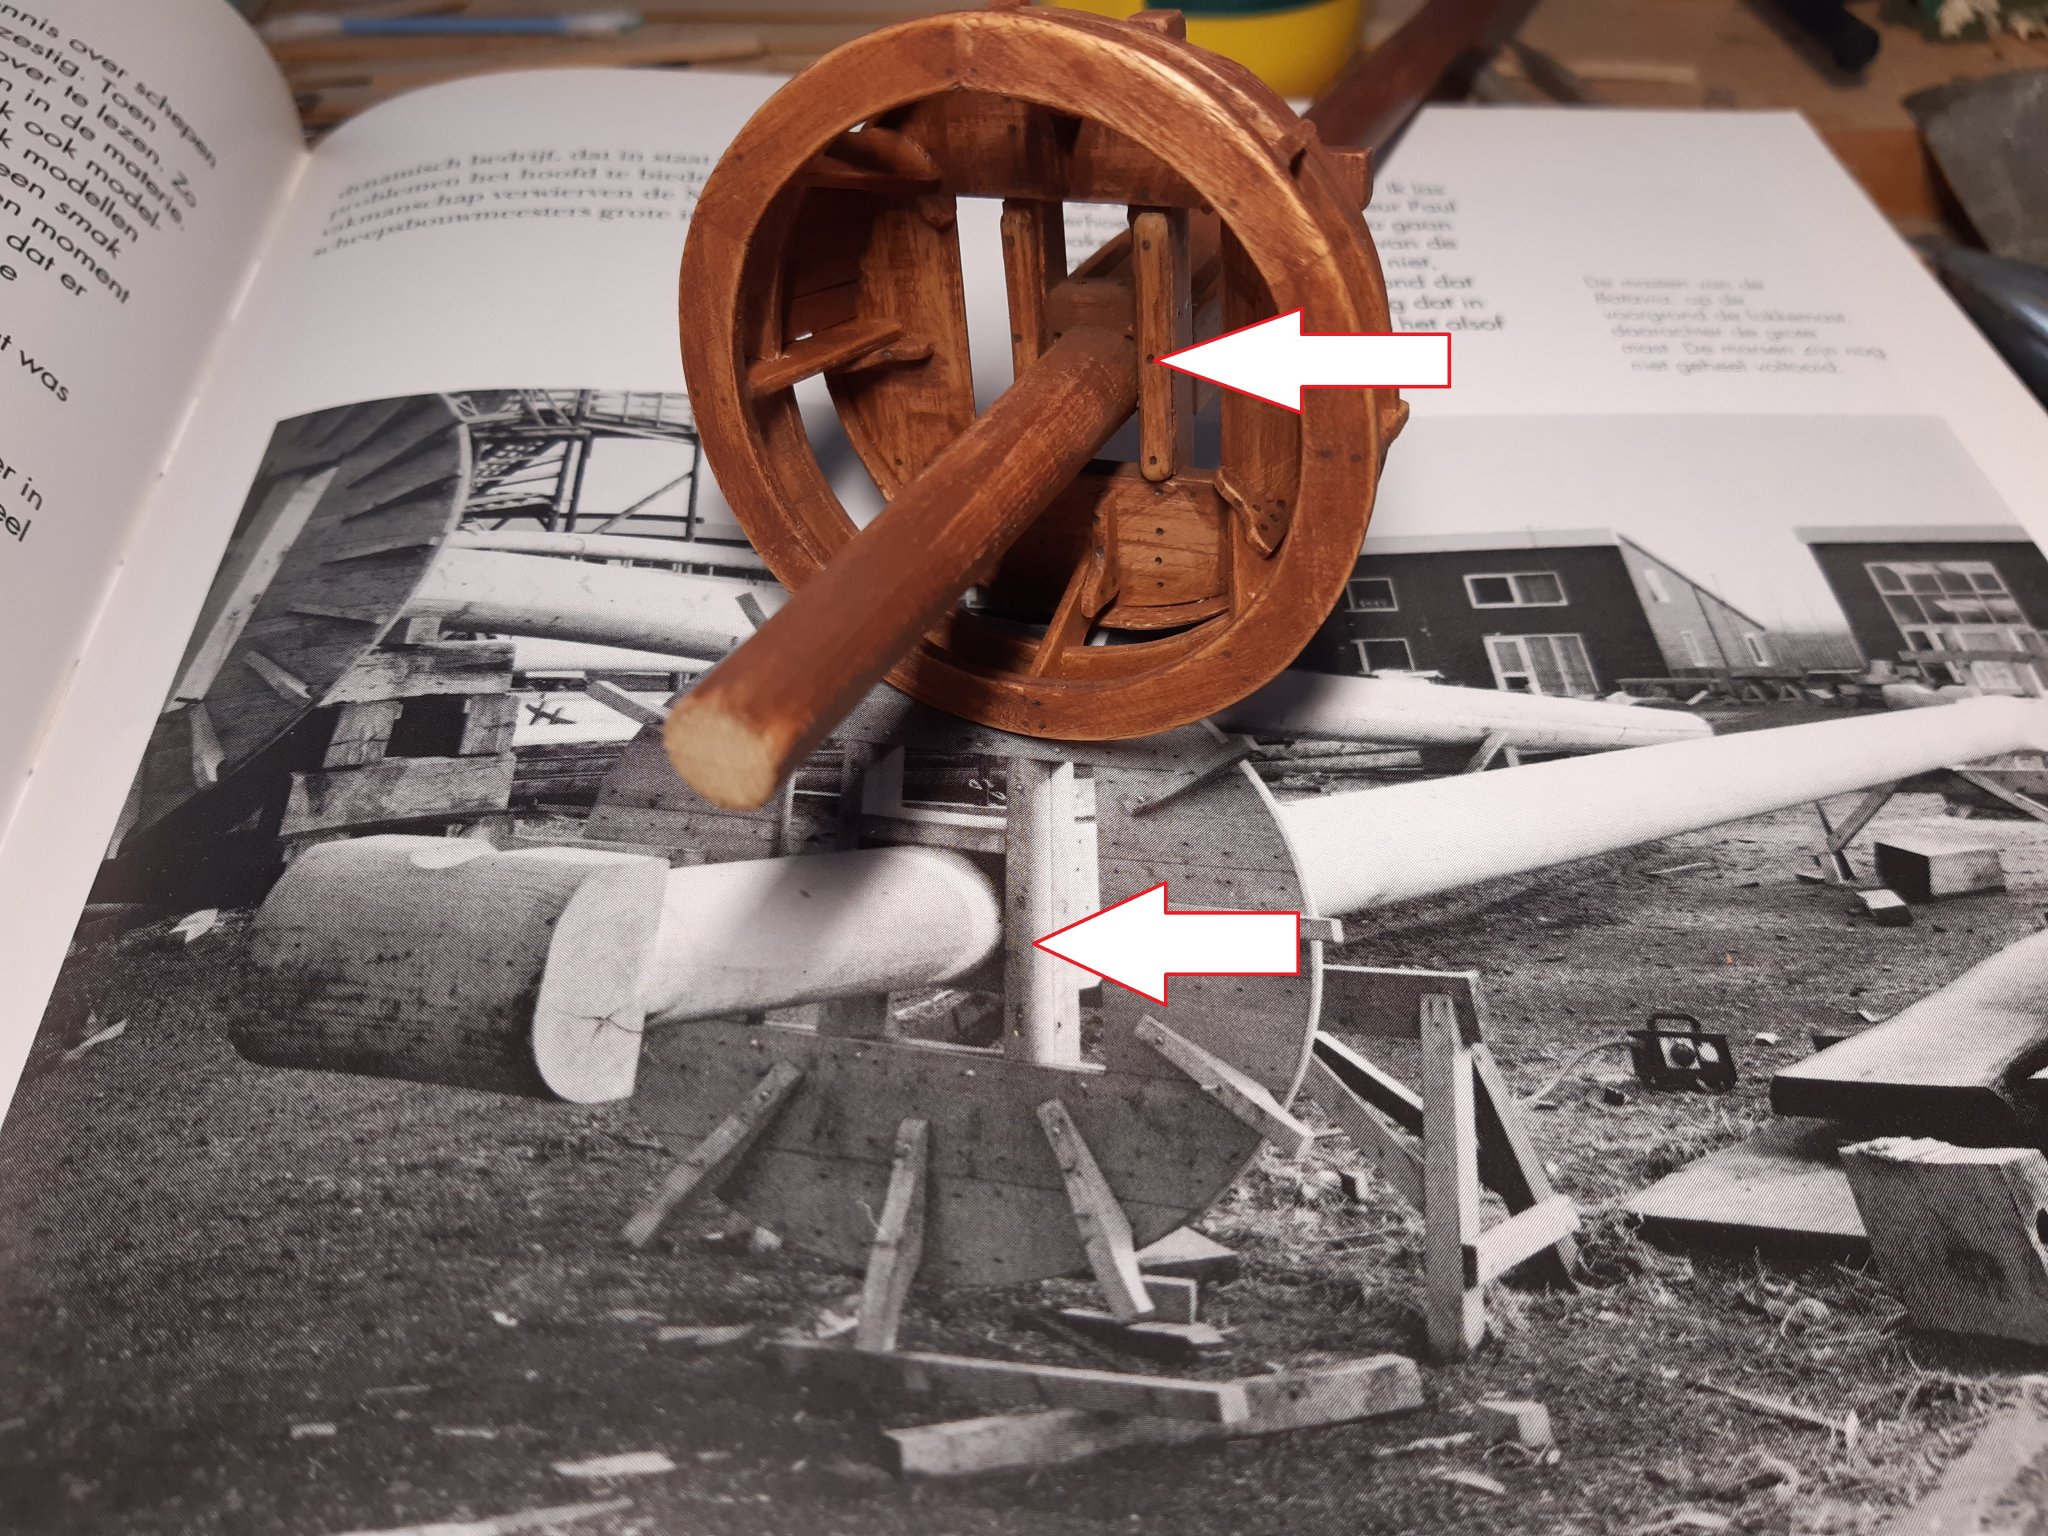
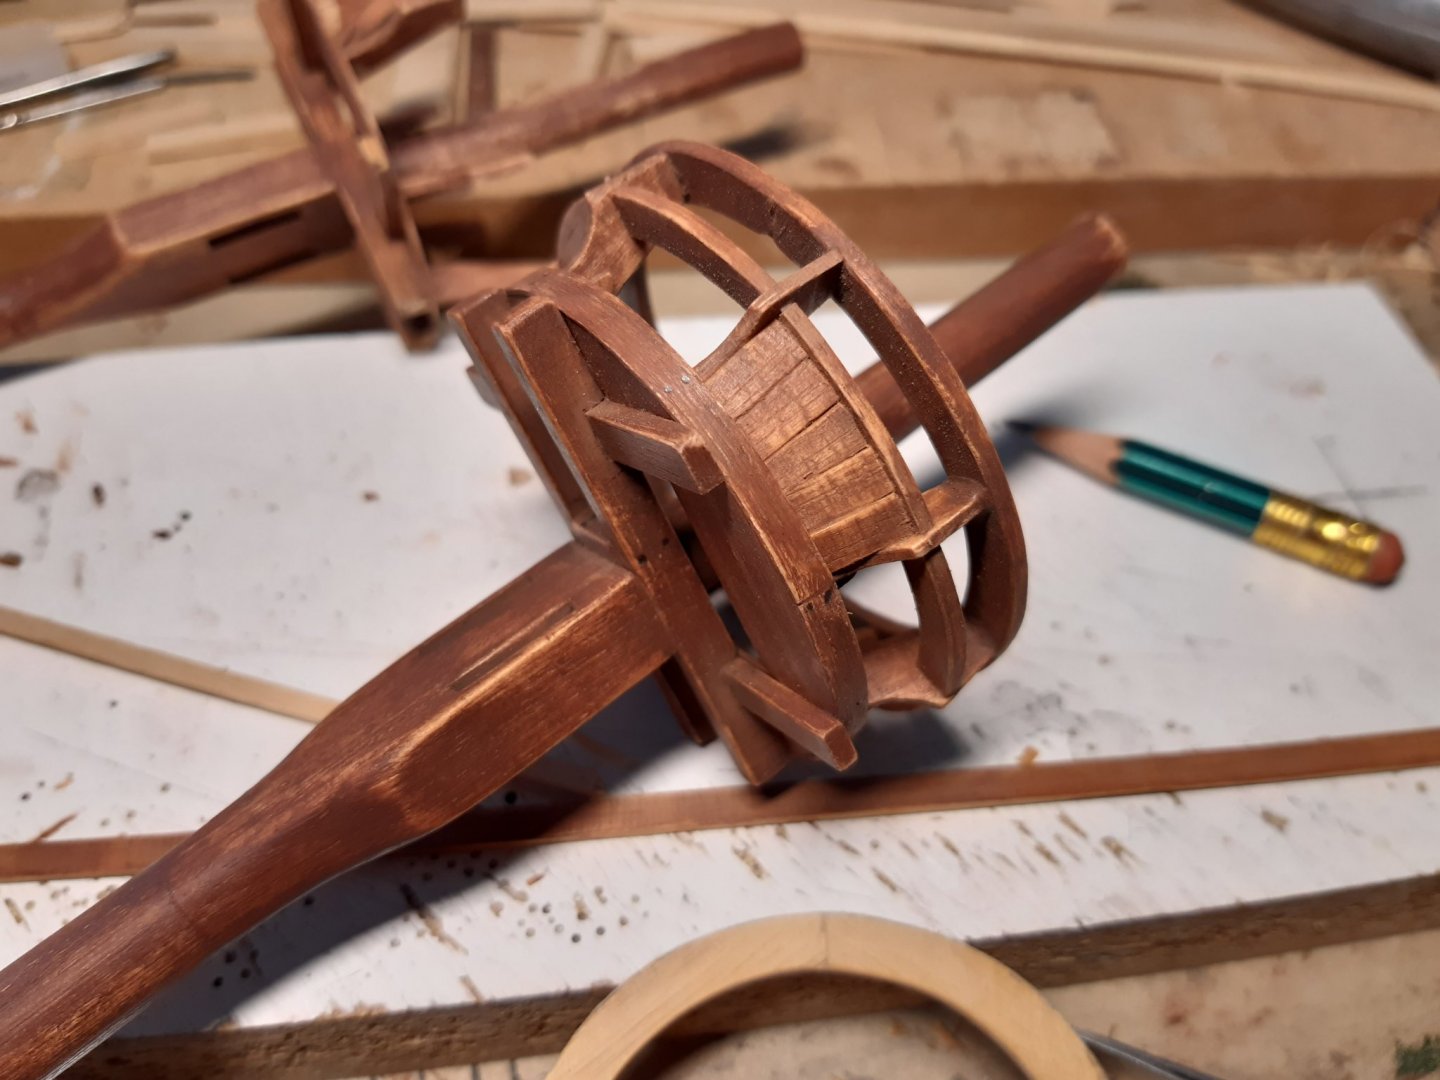
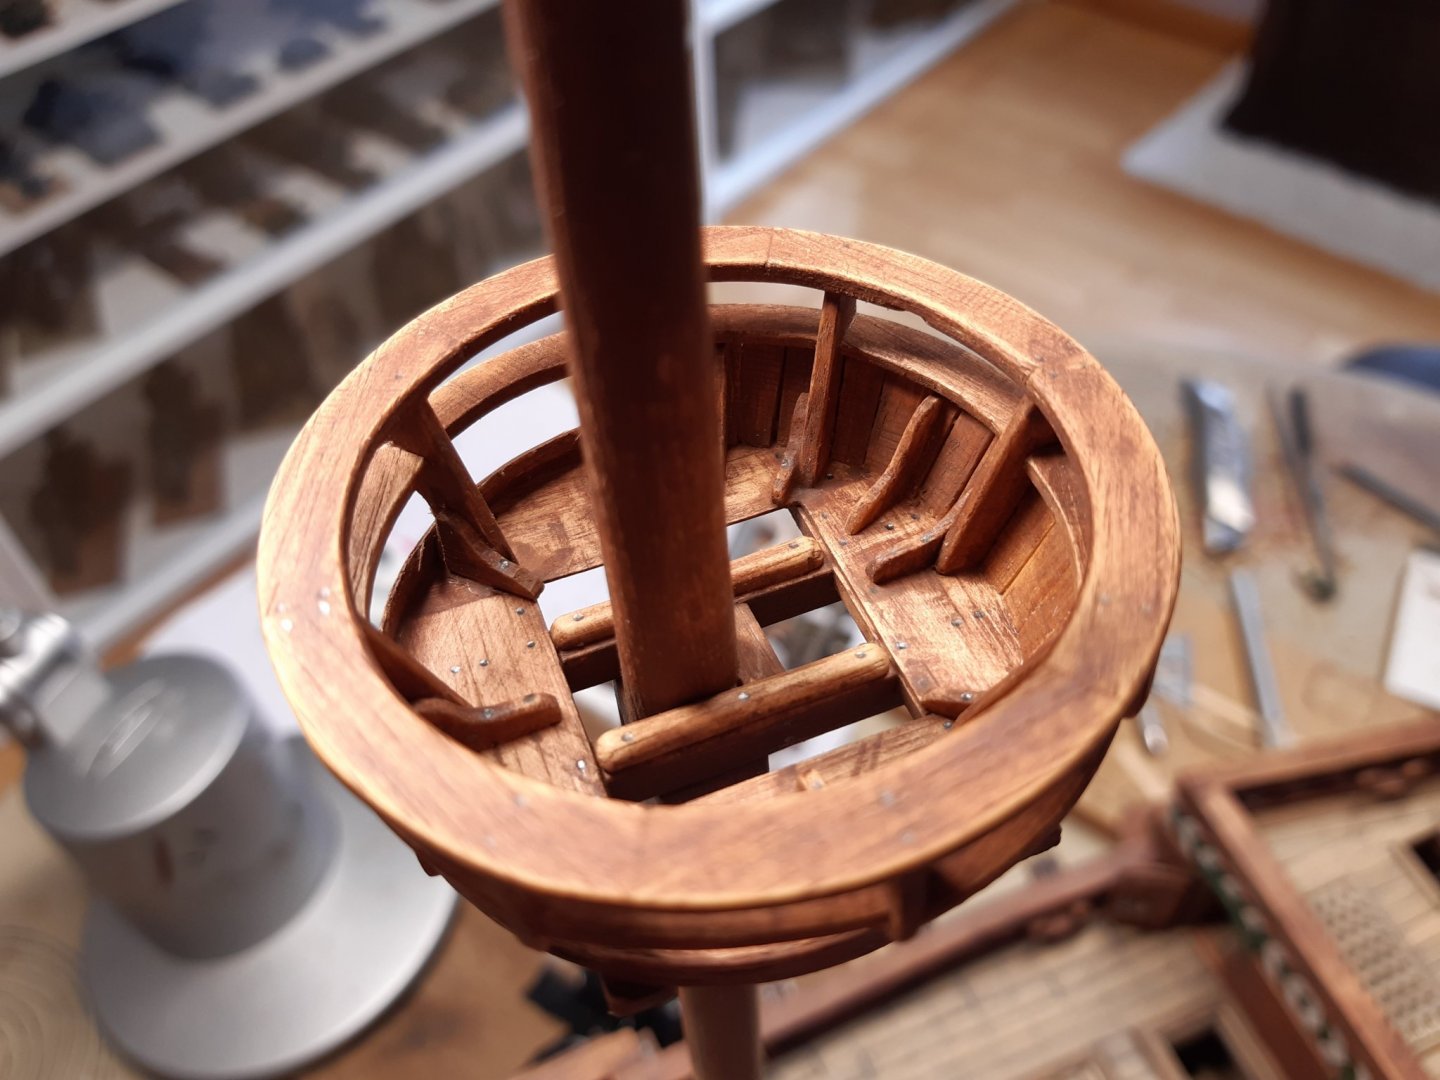
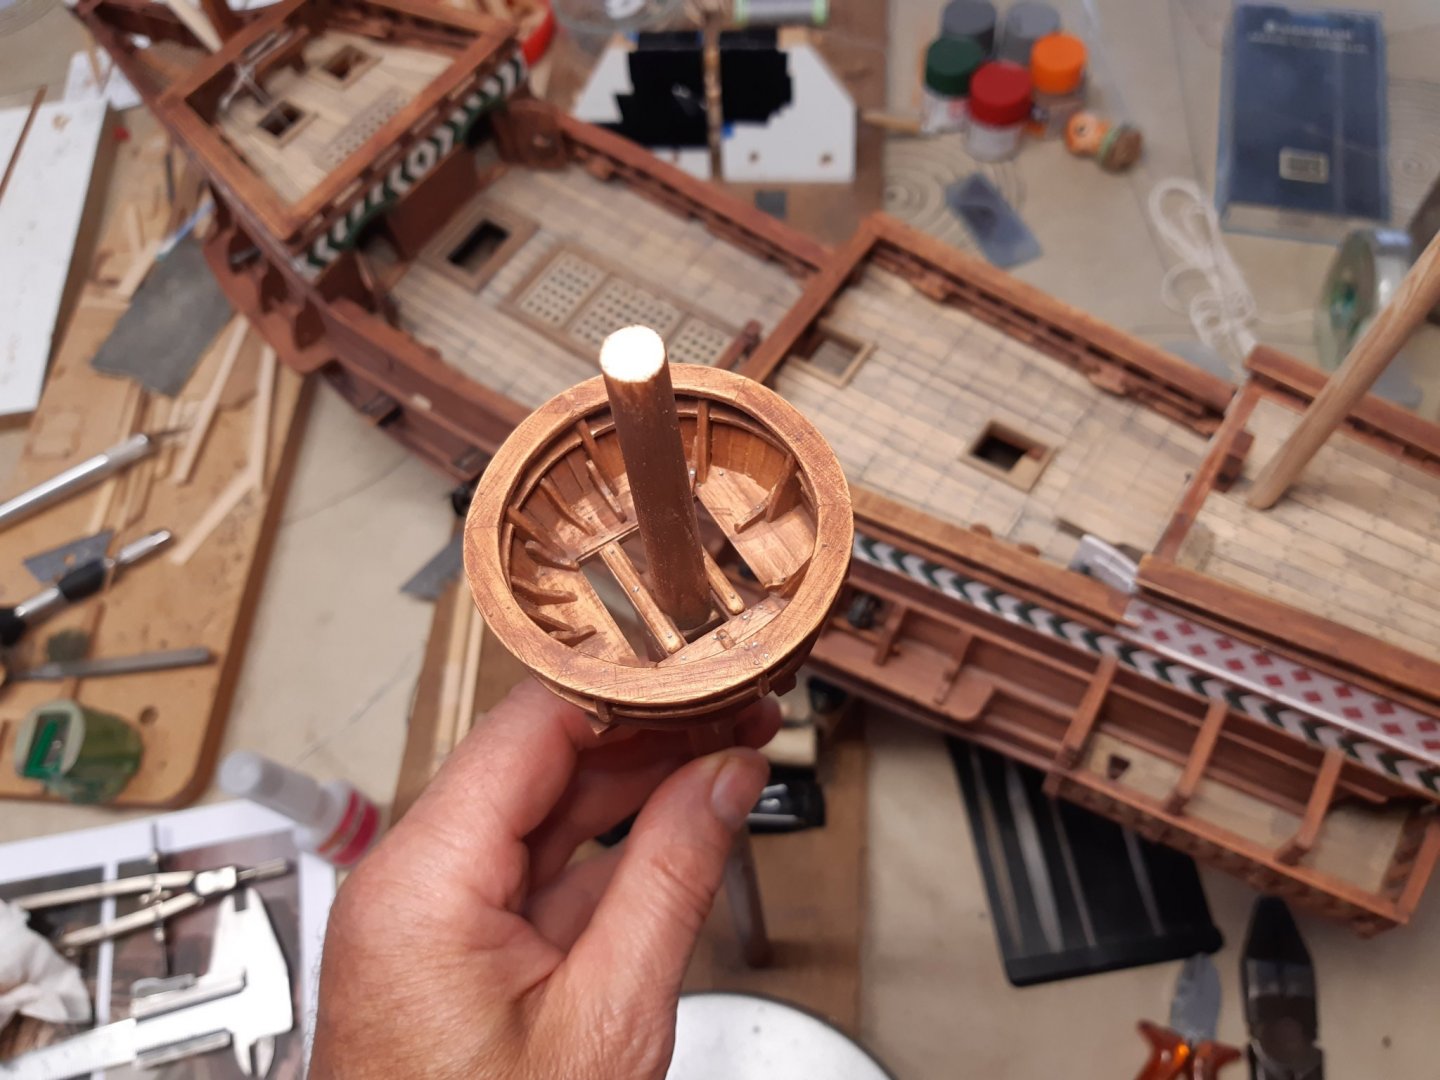
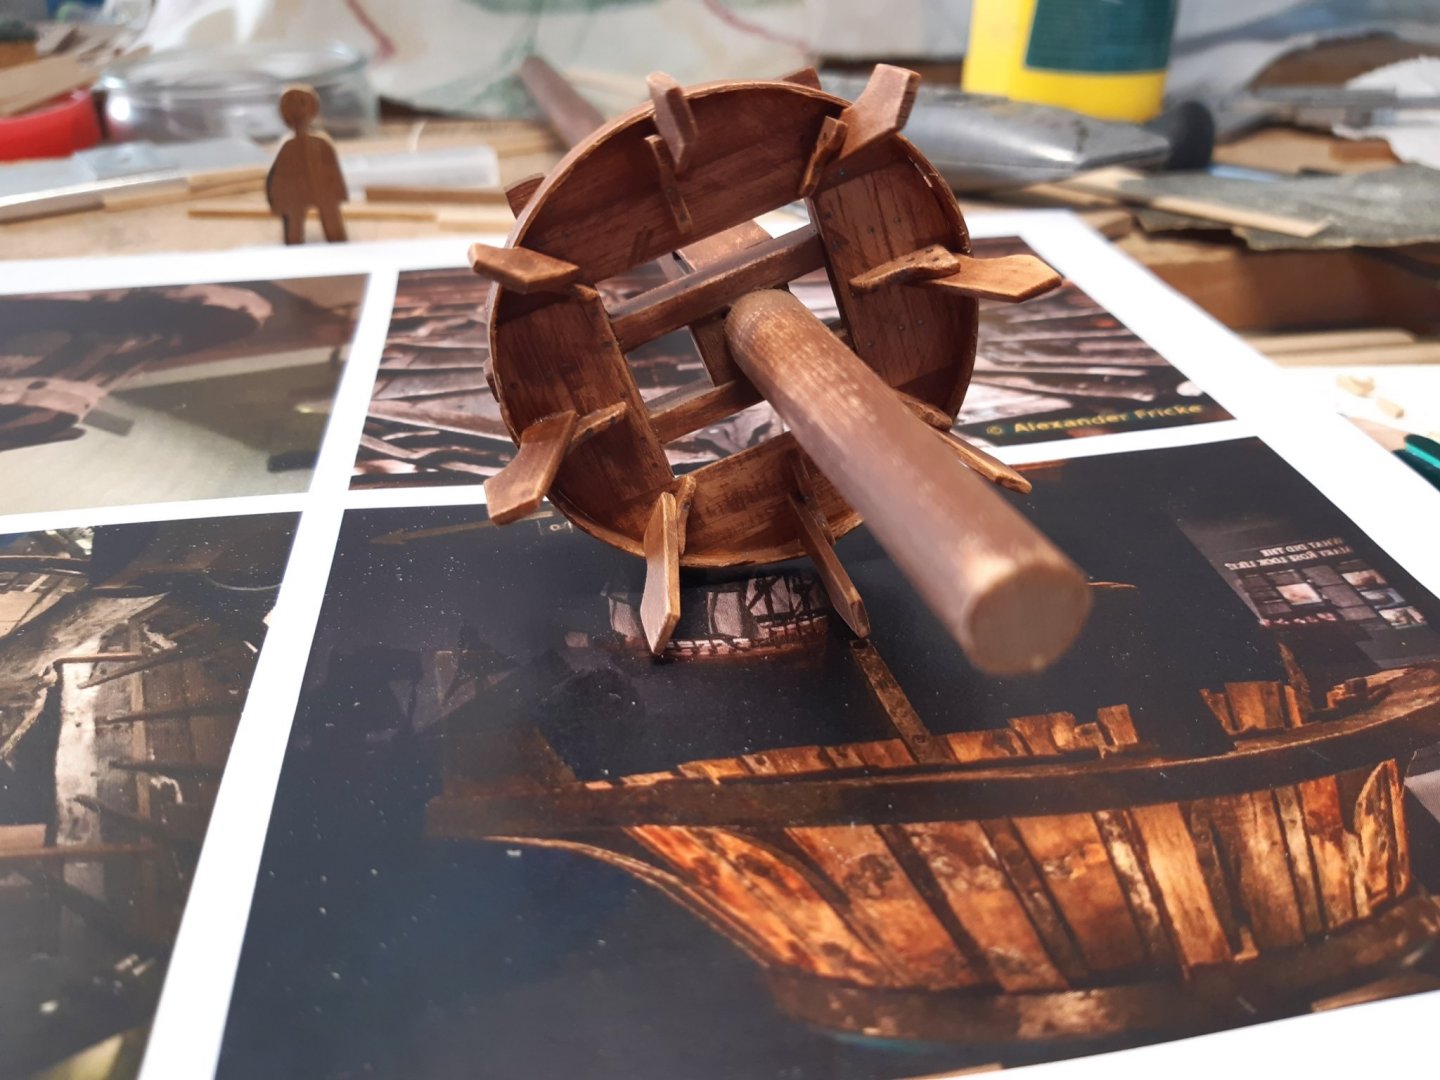
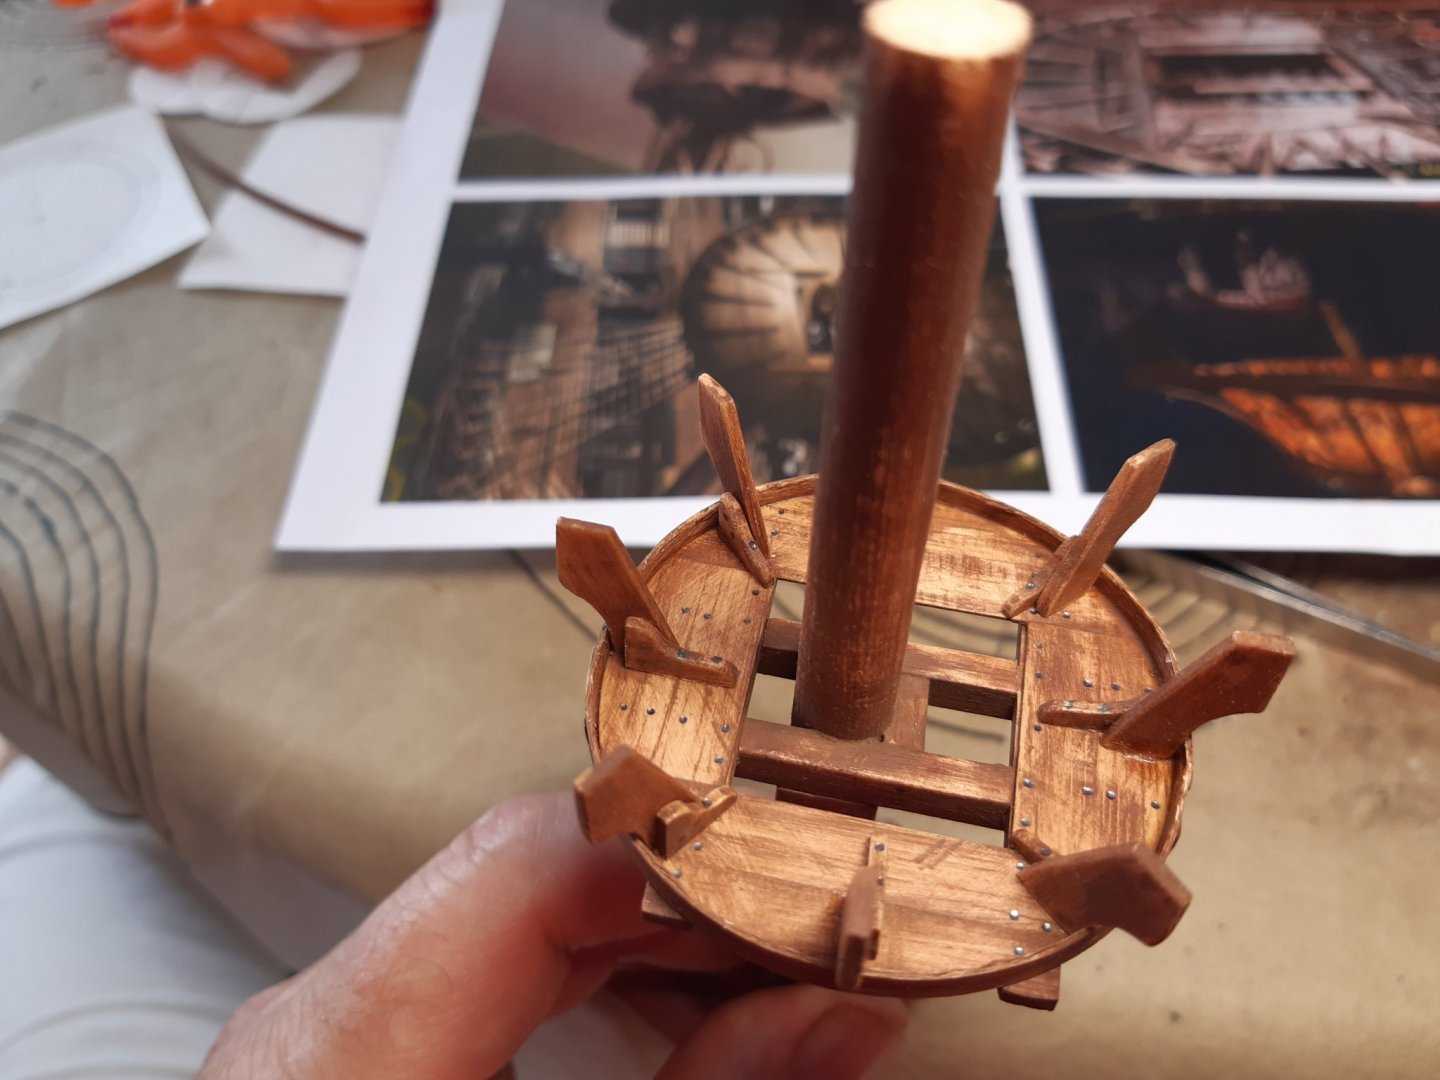
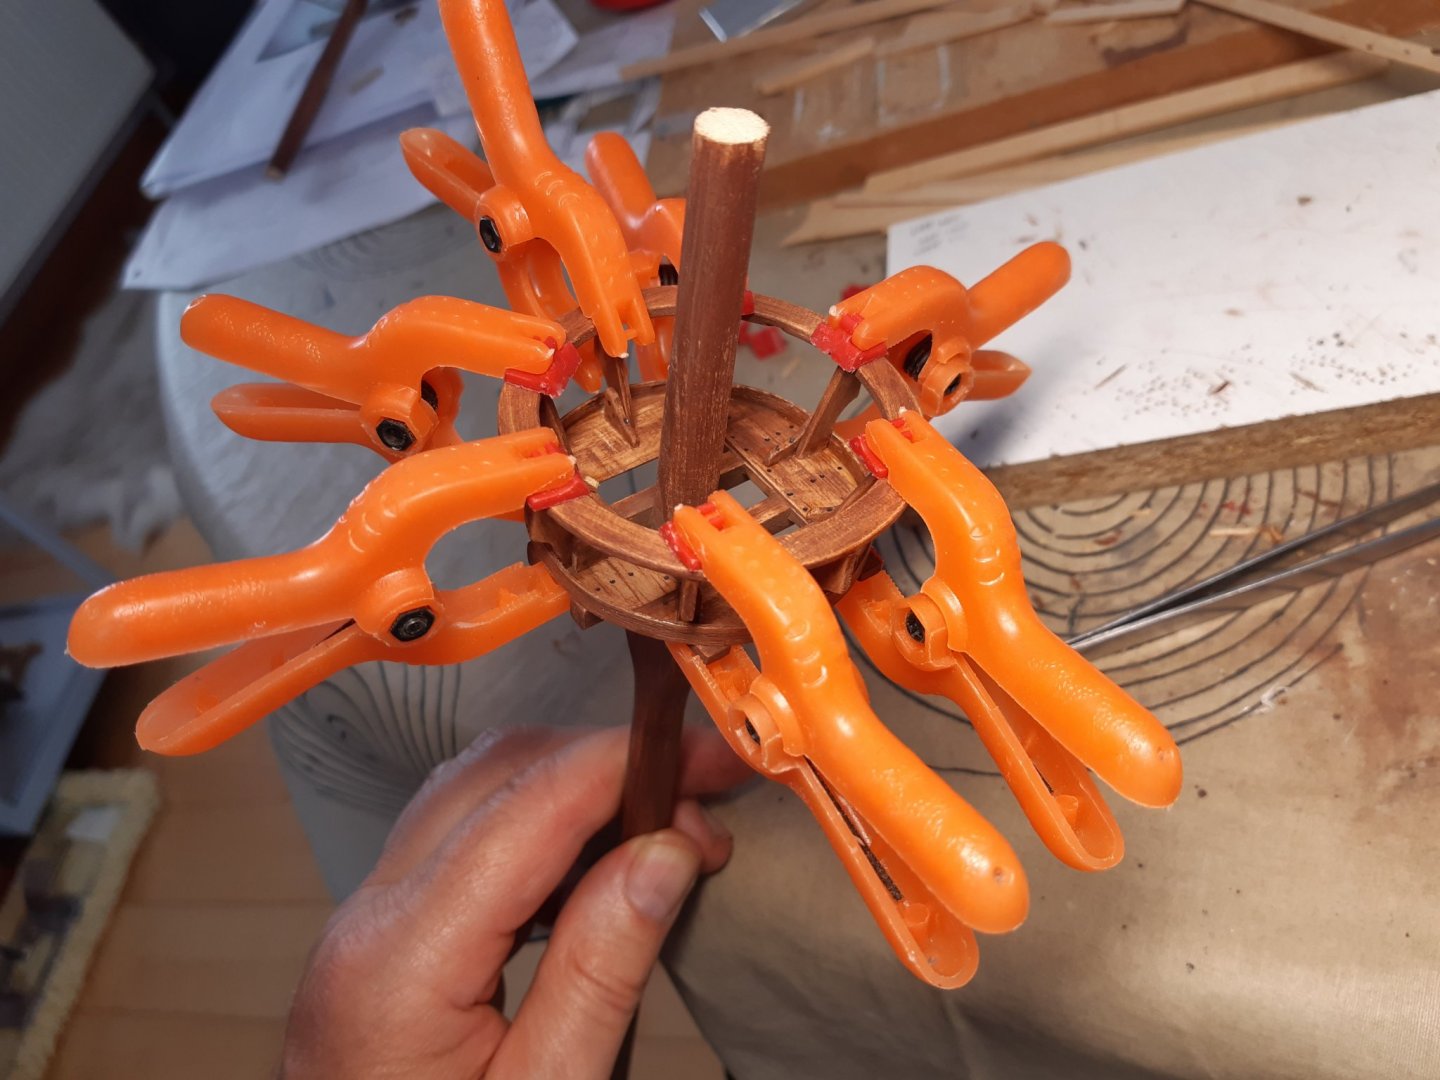
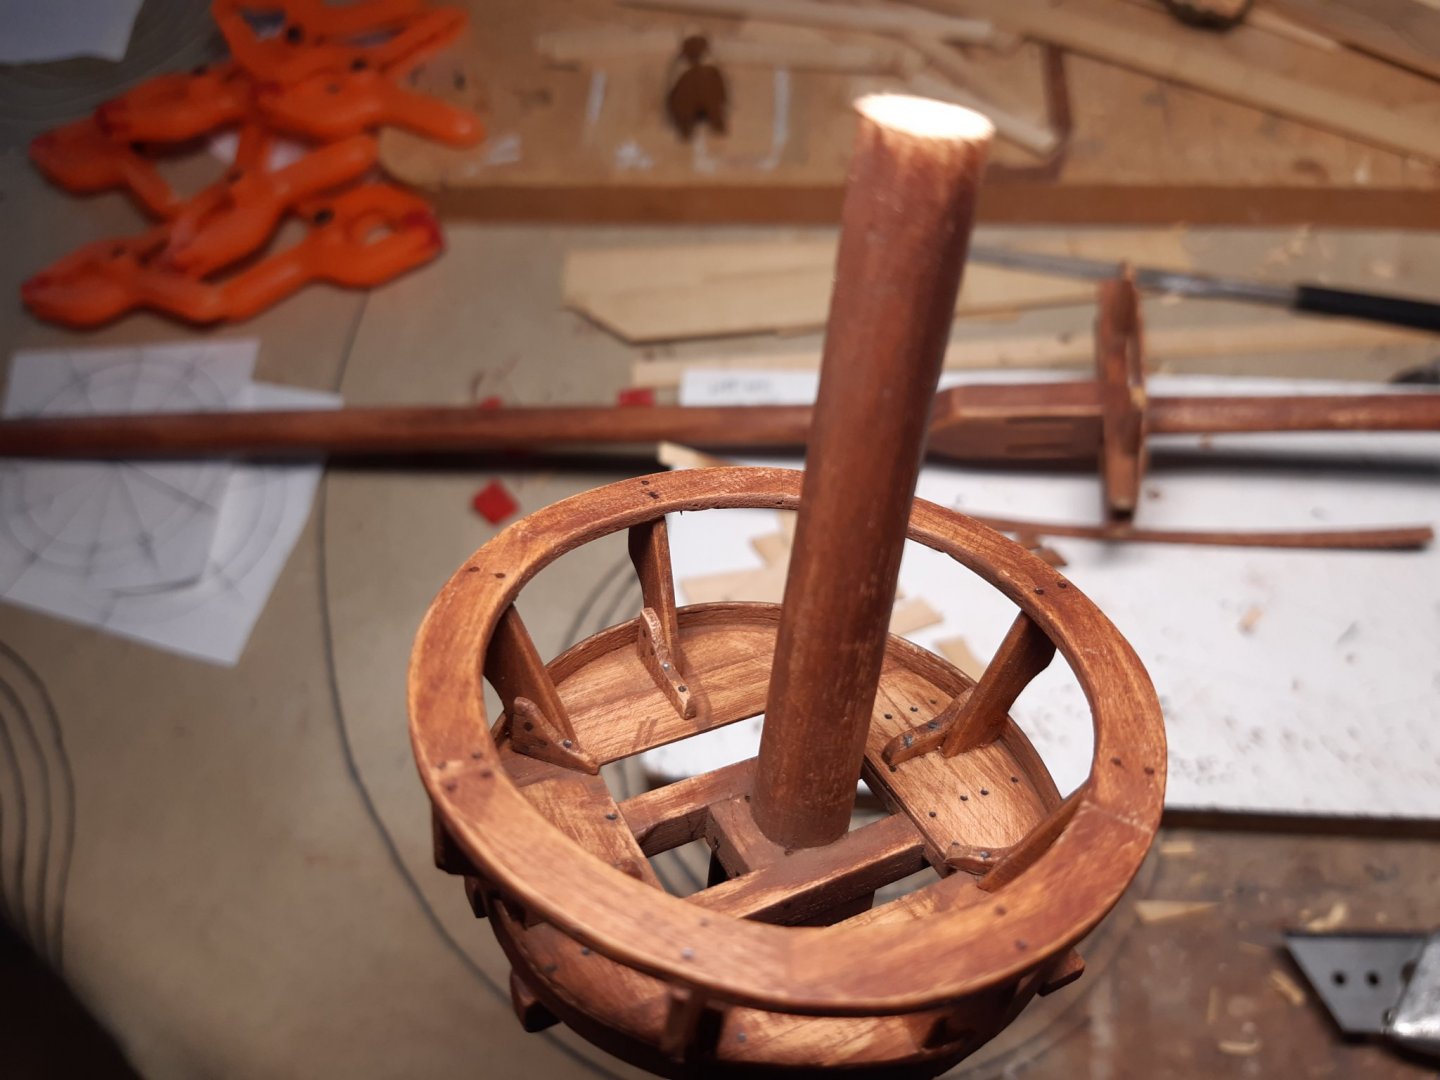
Slow progress Further finishing the 2 mastops. Added these Now I have to make 80 small planks (40 for each masttop) . None of them are identical. And add more knees. Work in progress Thanks for following

- 756 replies
-
- 18
-

-
- galleon
- golden hind
- (and 2 more)
-
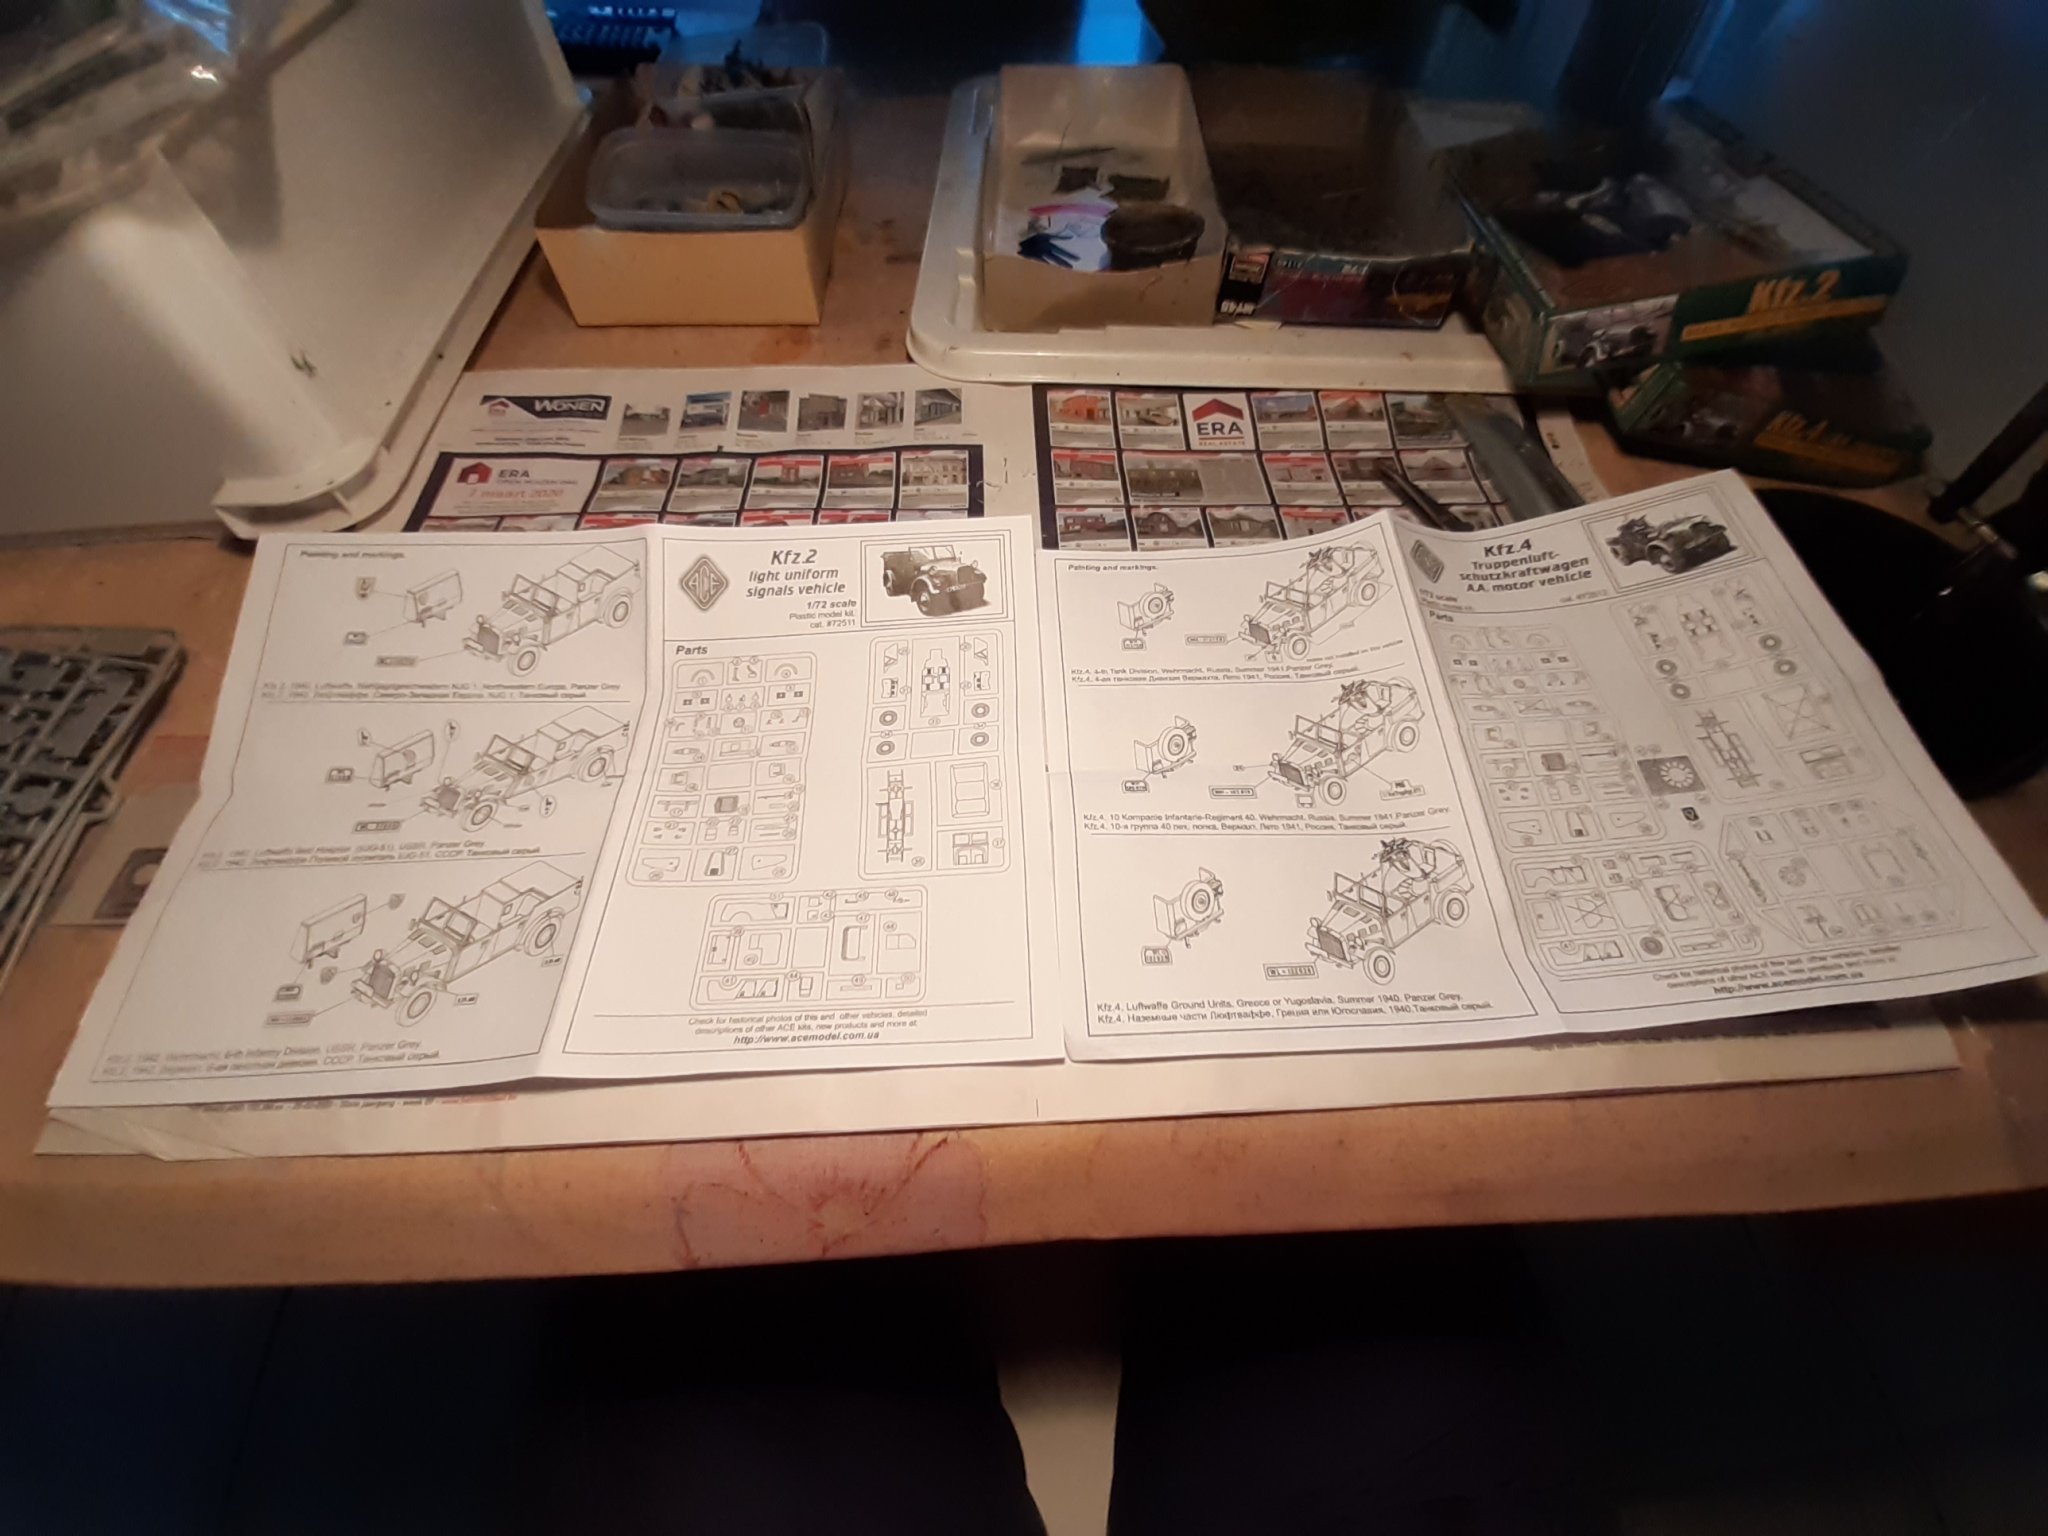
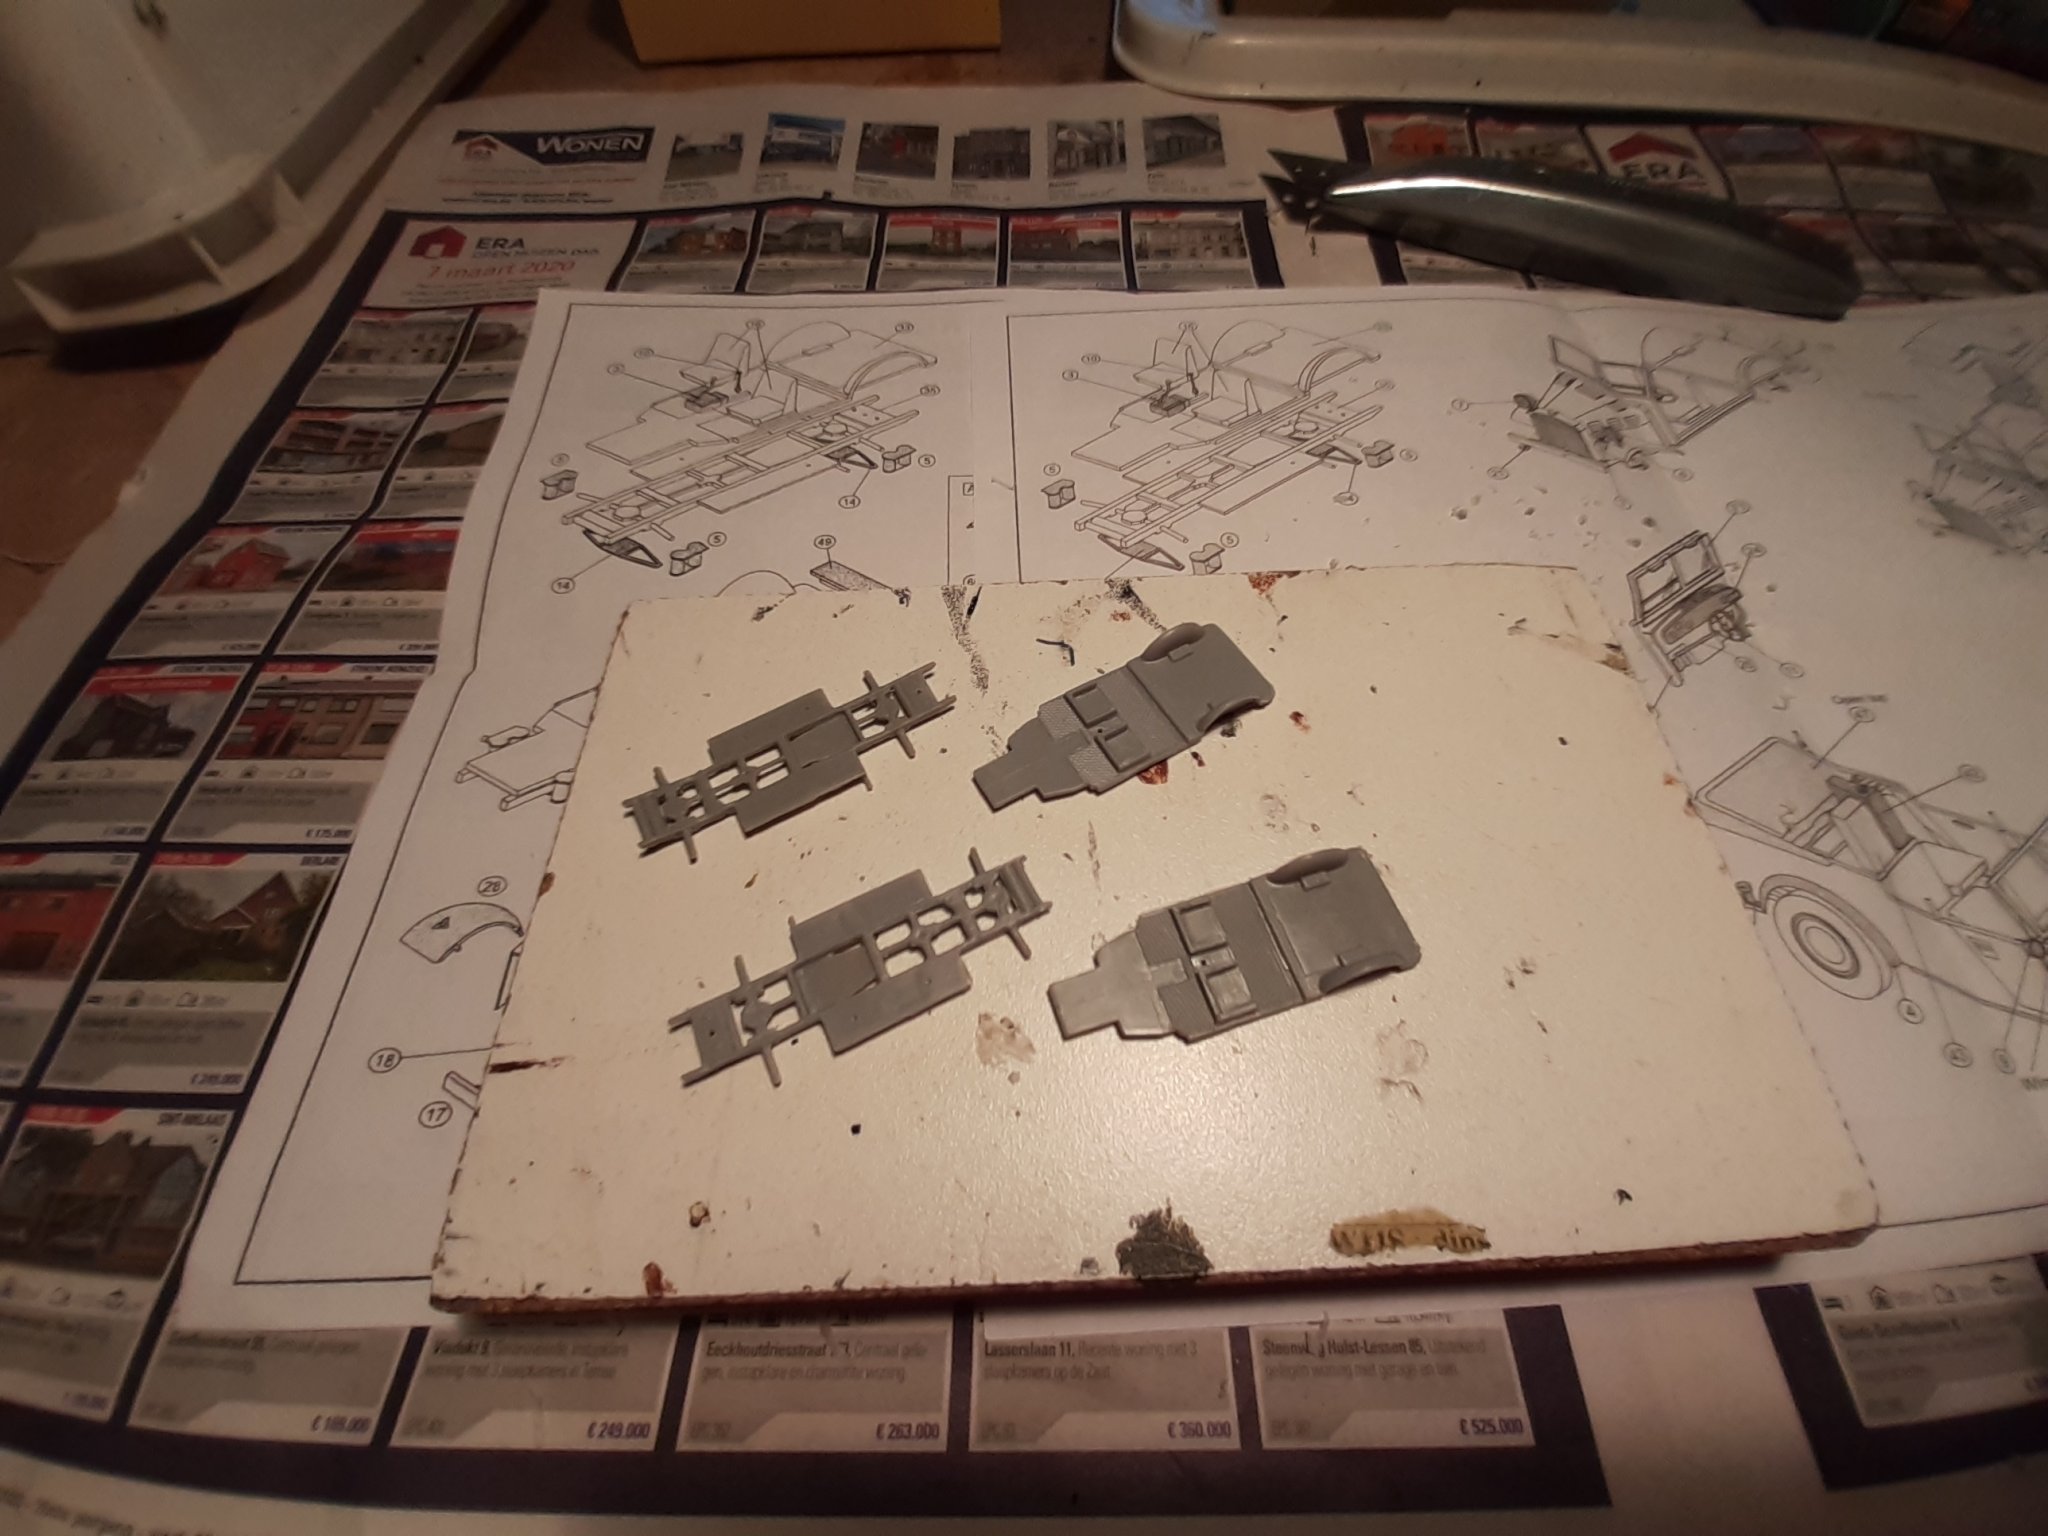
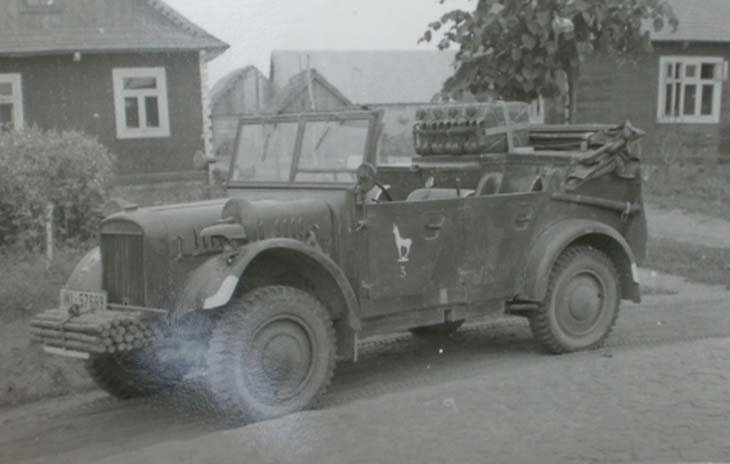
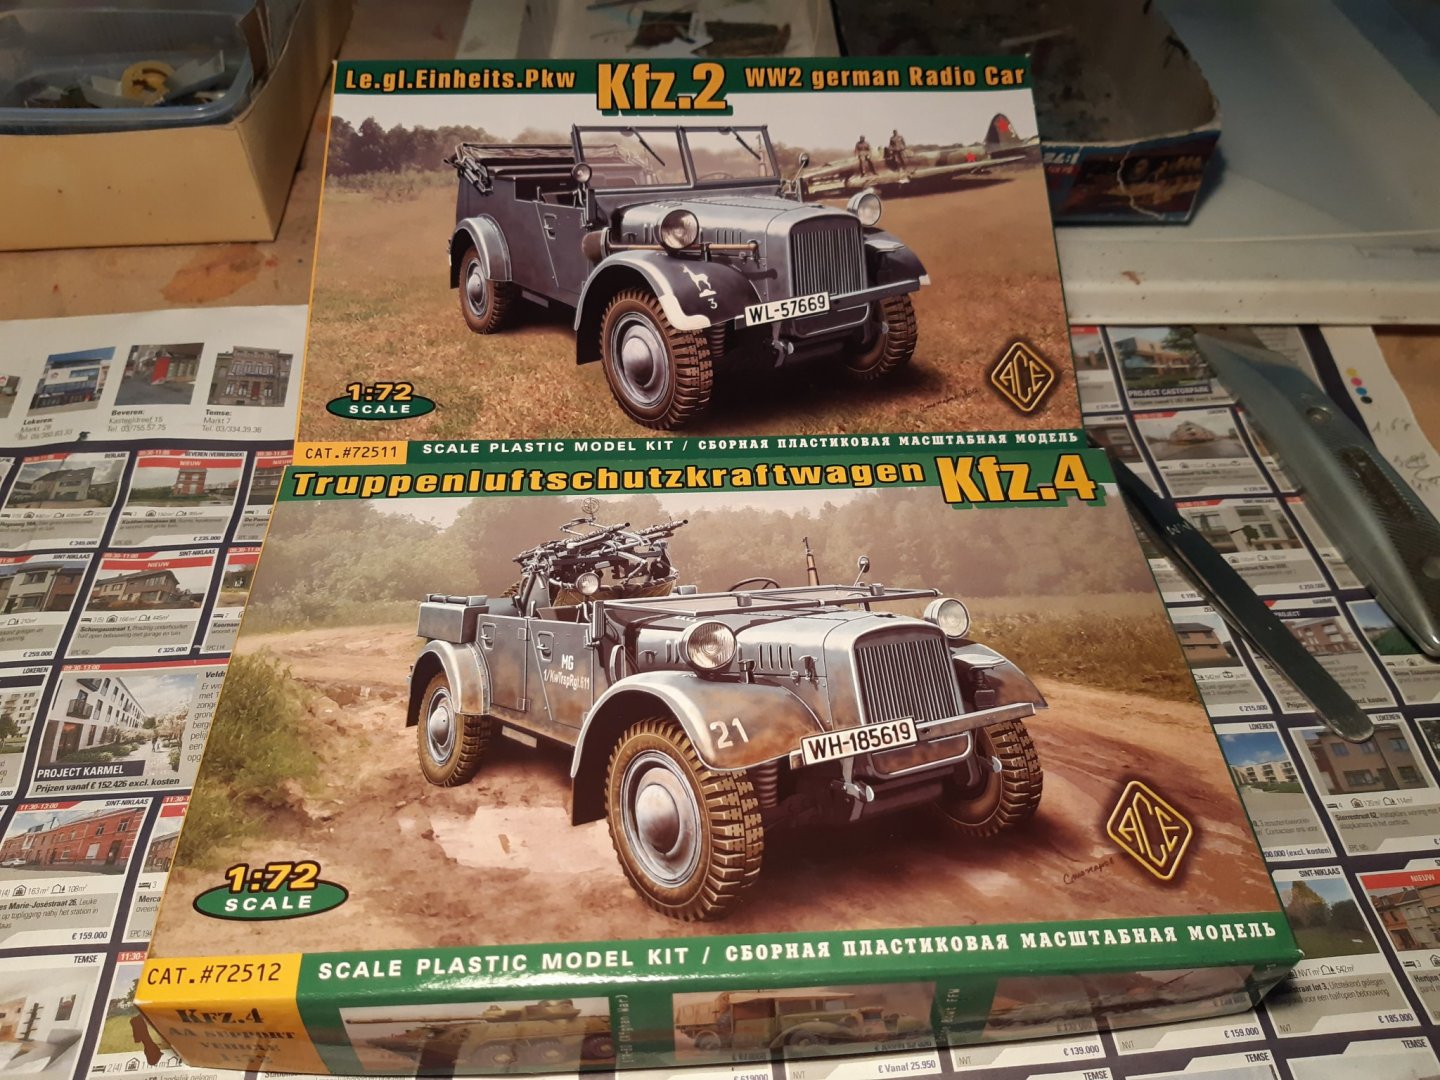
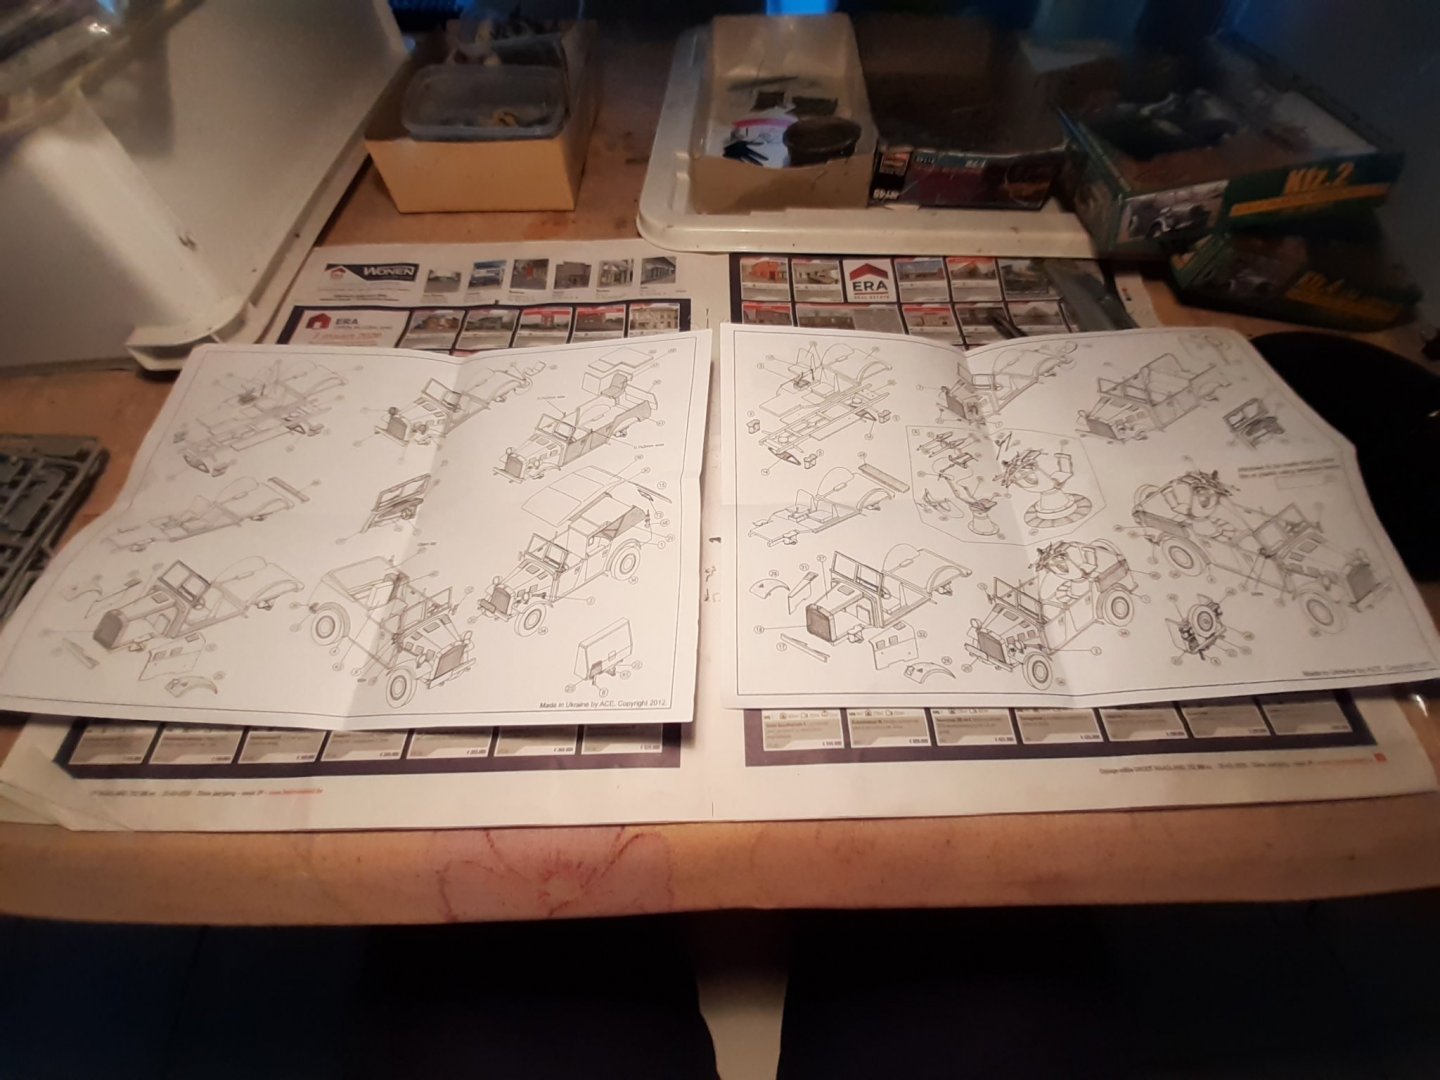
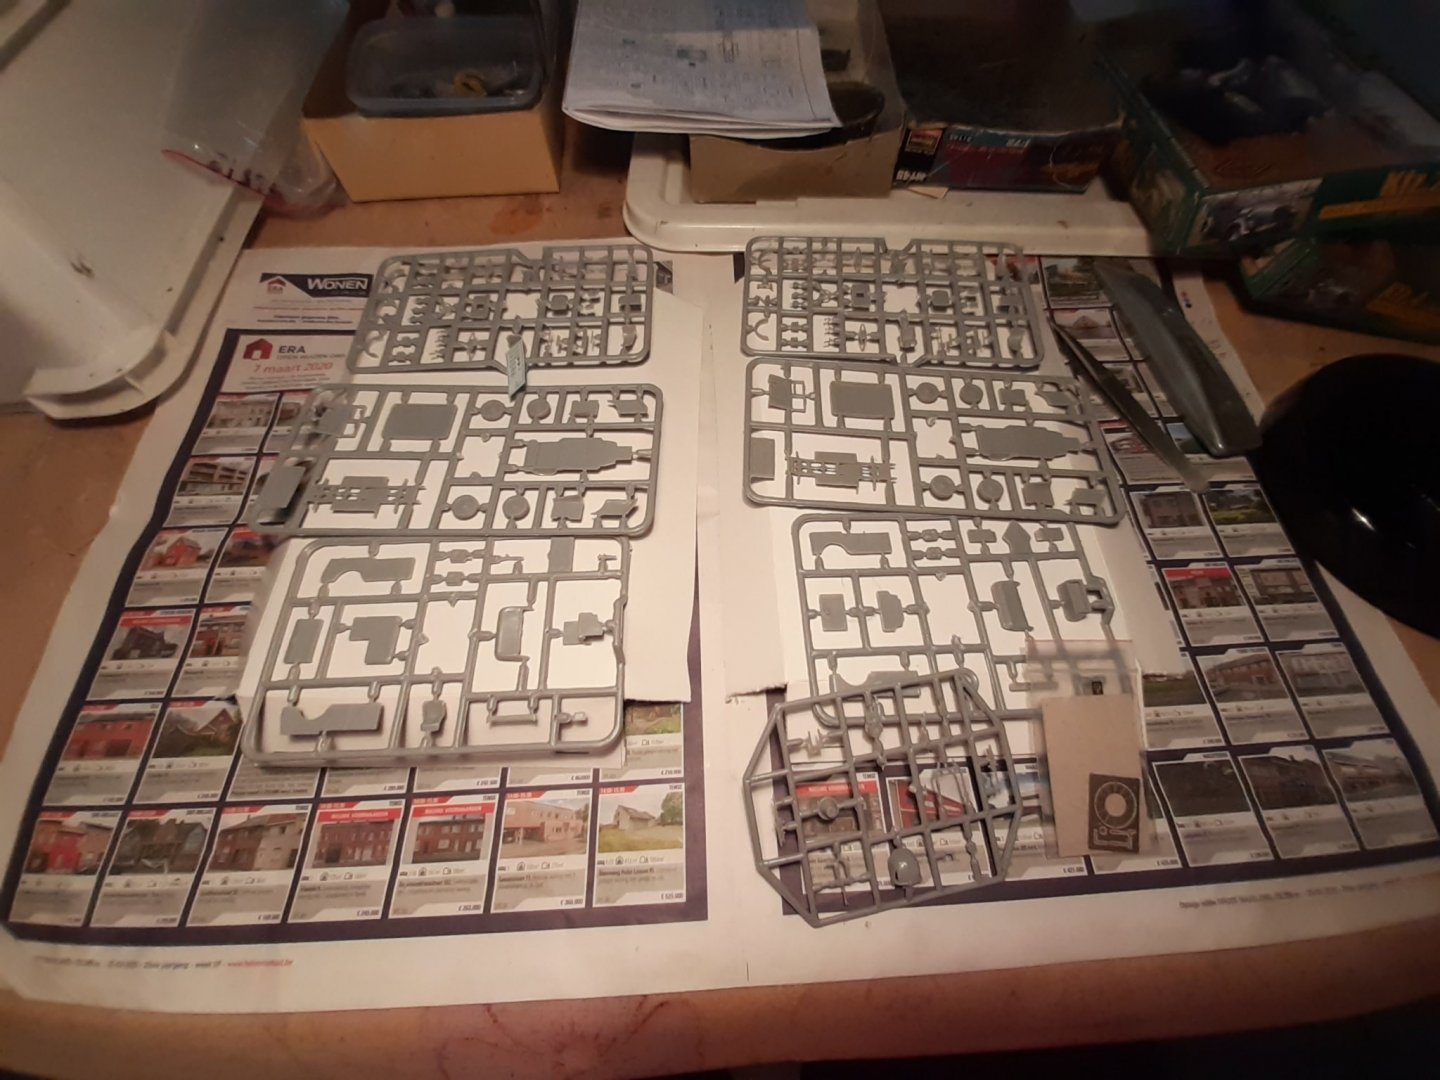
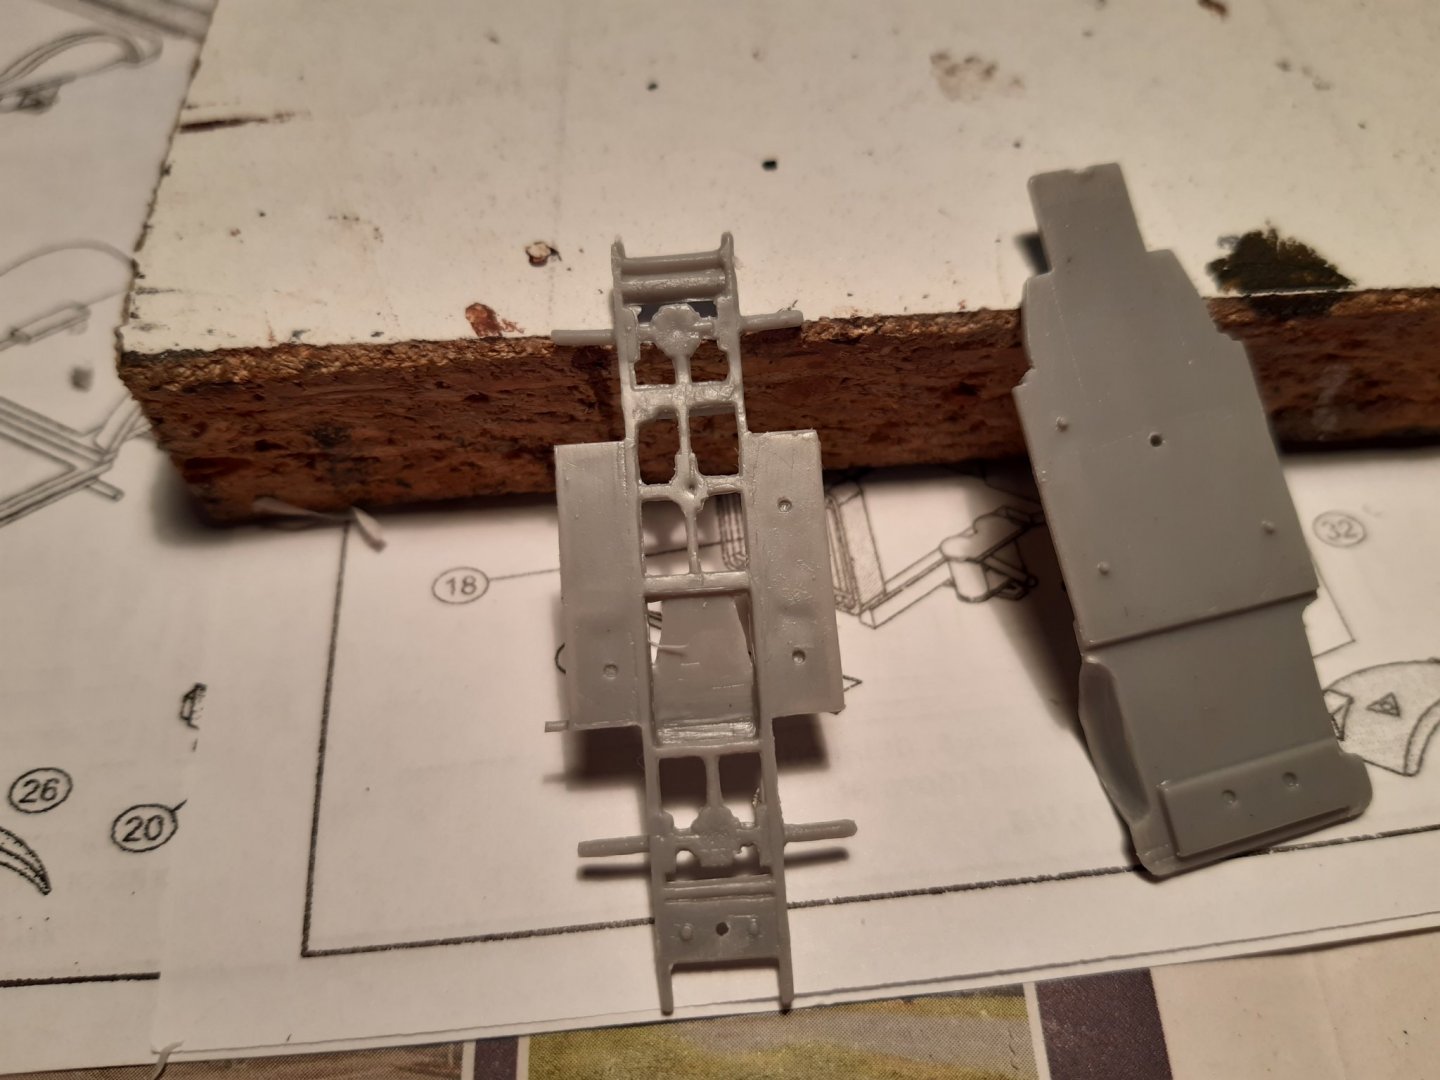
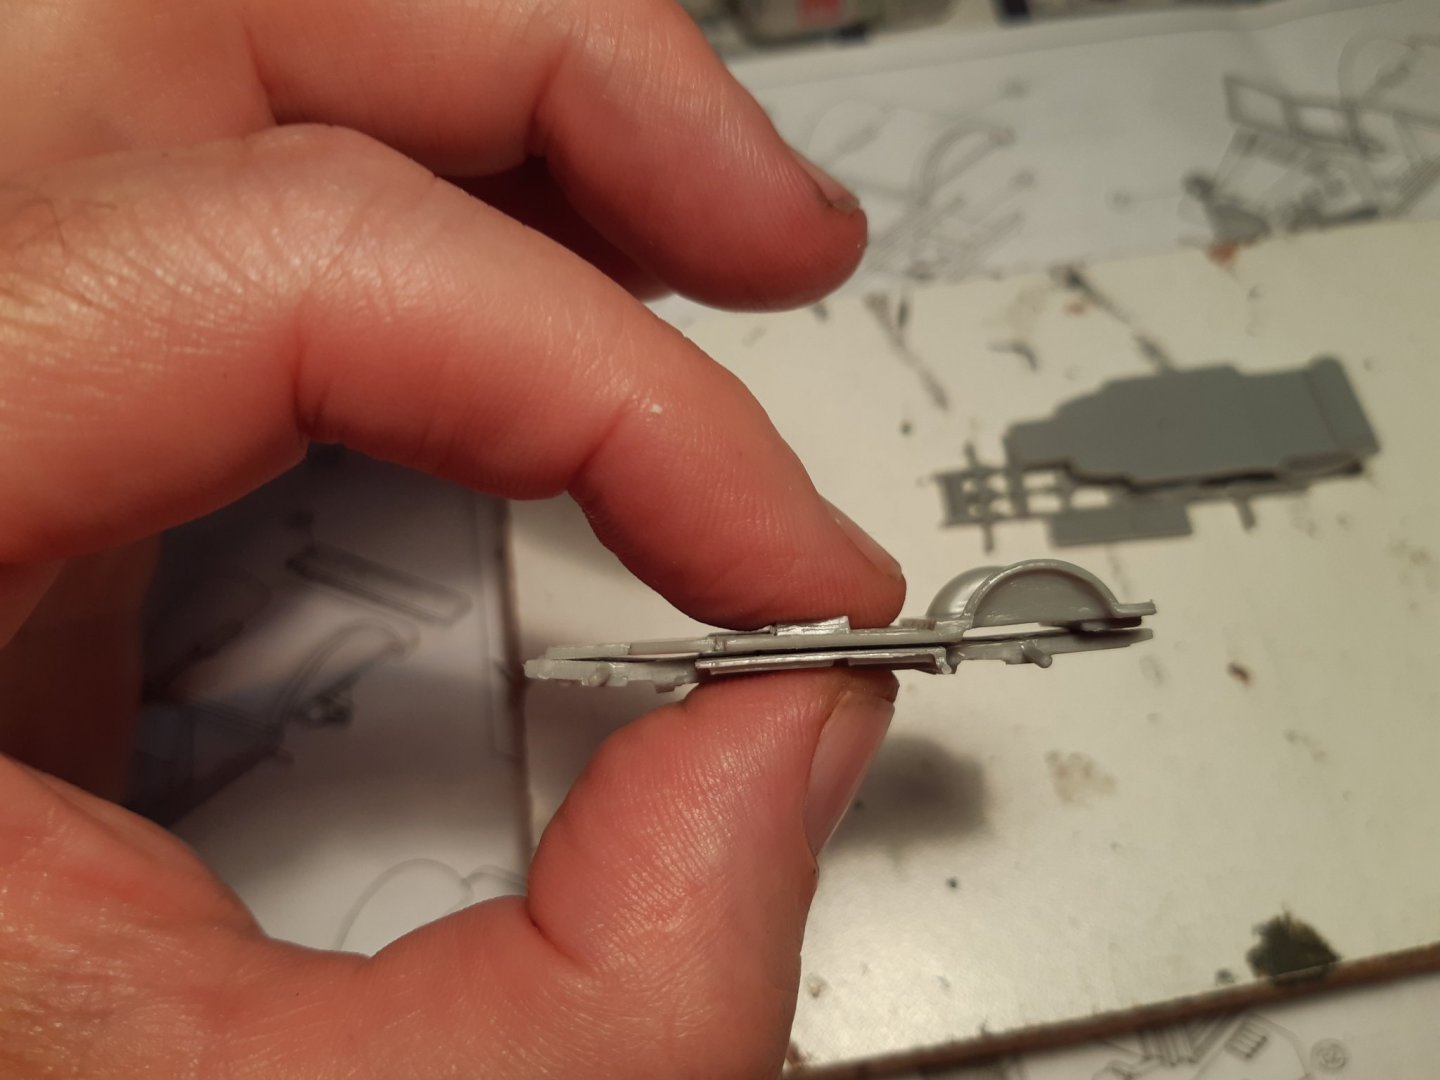
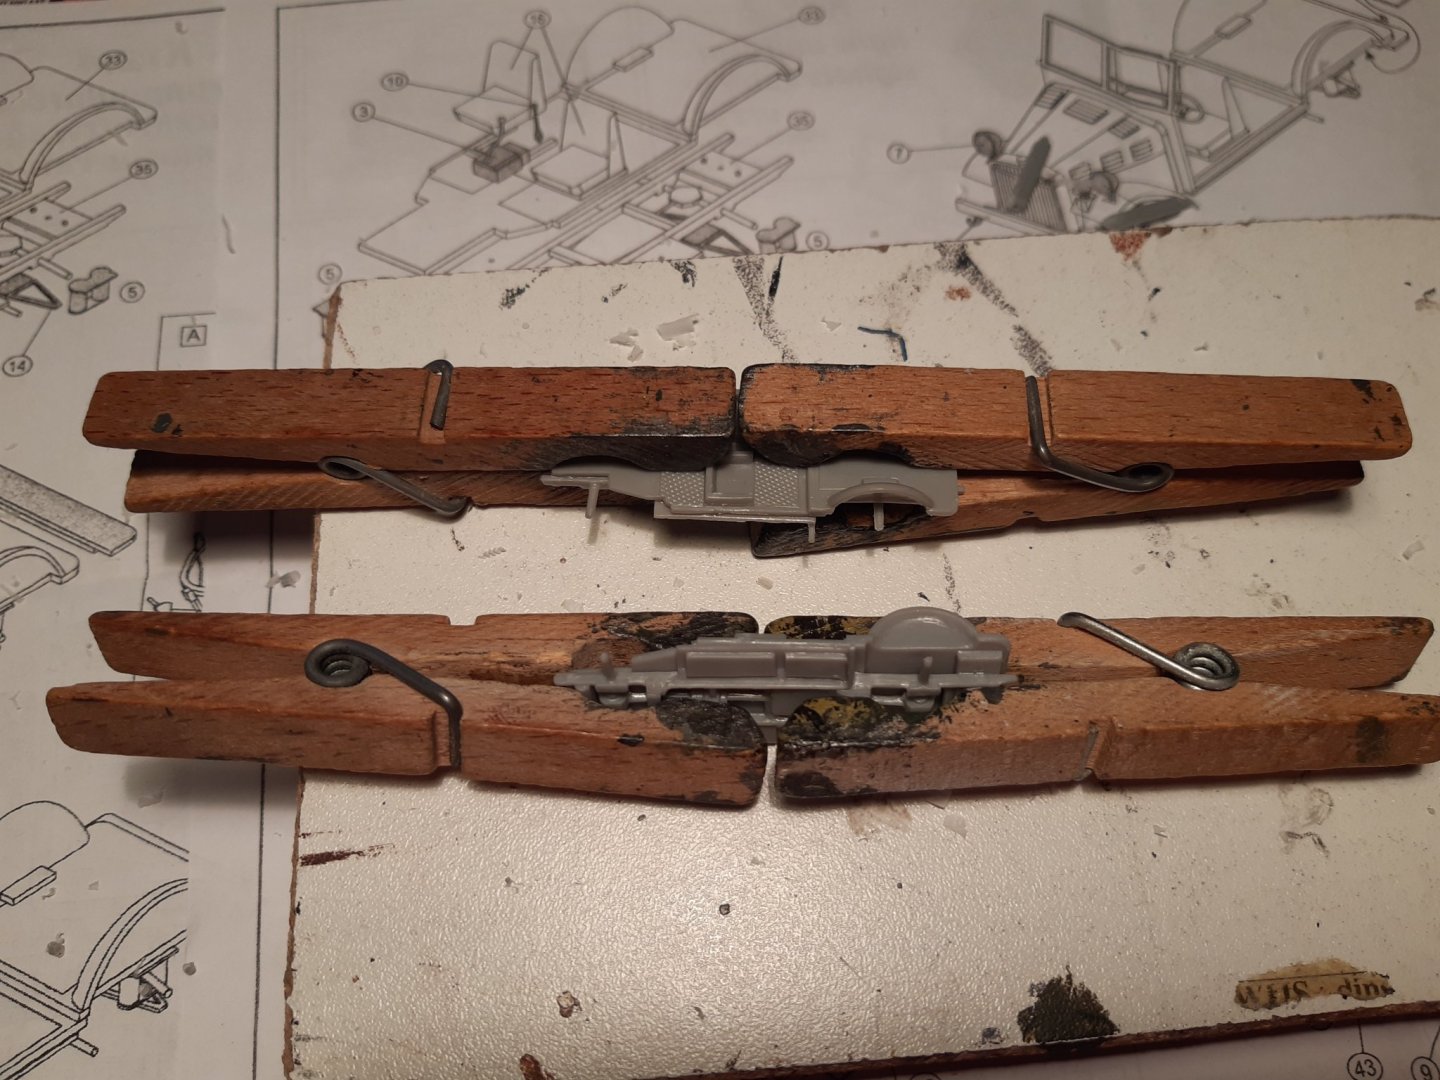
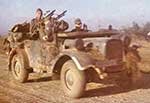
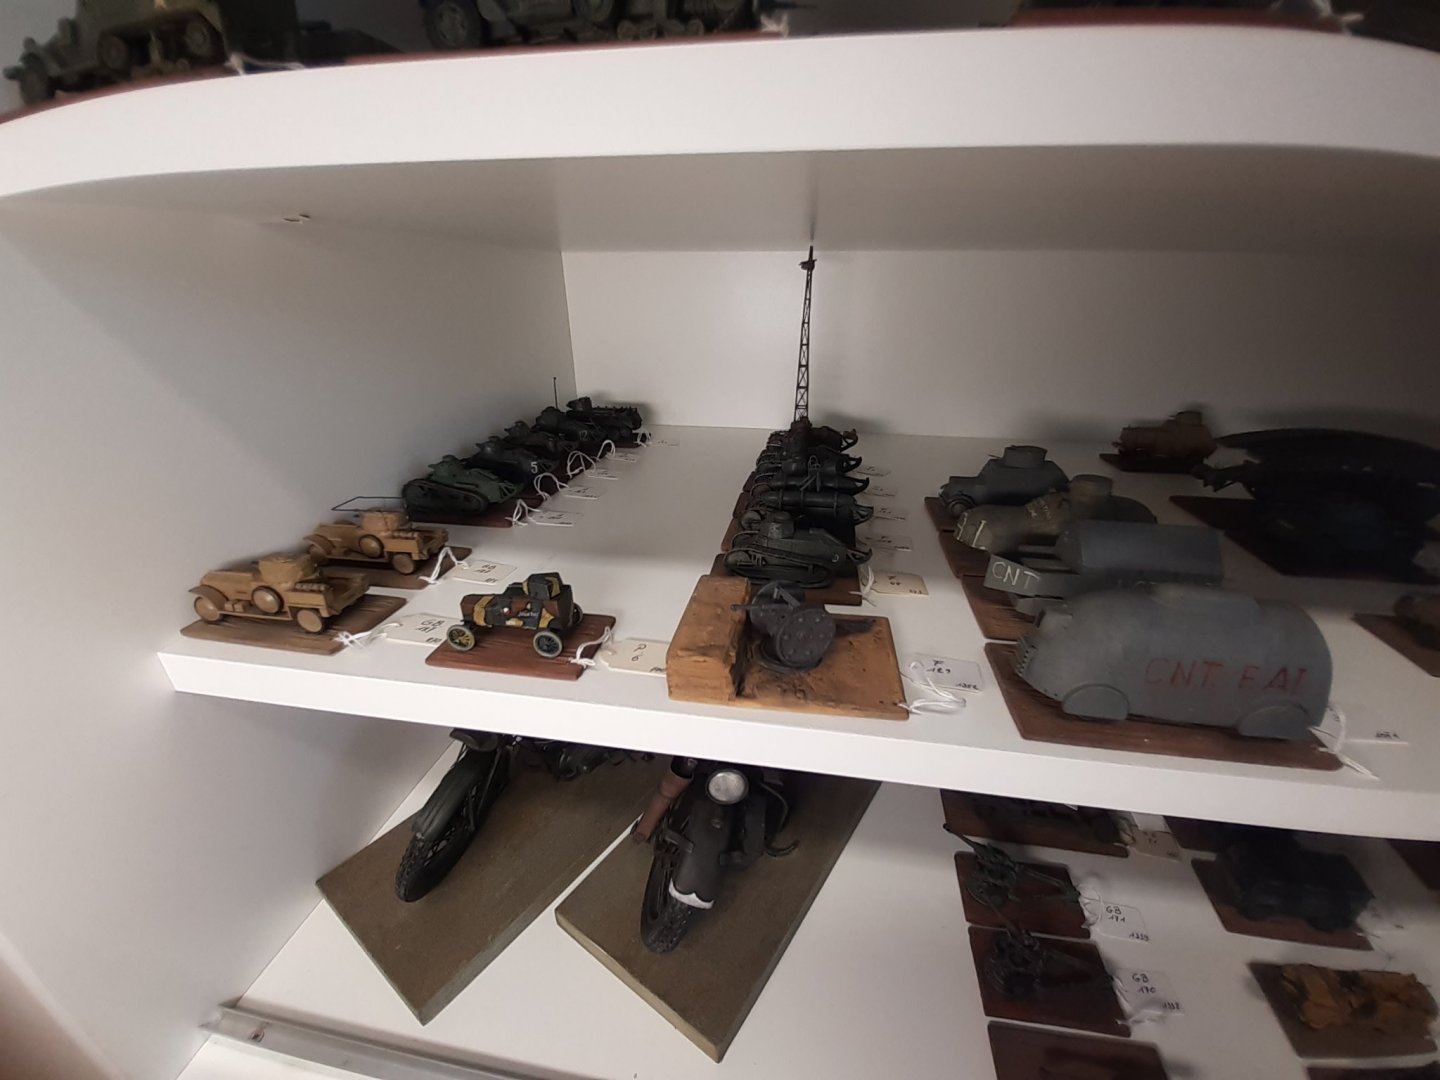
Next build, 2 models from ACE. The Kfz. 2 radio car http://acemodel.com.ua/en/model/448 The Kfz.4 anti aircraft http://acemodel.com.ua/en/model/576 General information http://www.kfzderwehrmacht.de/Homepage_english/Motor_Vehicles/Germany/Einheits-Fahrgestelle/le__Einheits-Pkw/le__einheits-pkw.html Ace makes short run models. So with molds that are worn out after a certain production number. Seeing is buying. Once out of production, the models are almost no longer available. Box, plan and parts. There is already a first problem at the start of building the chassis. The pins and holes do not fit. Pins removed and the parts fit now. Chassis parts glued and clamped.


- 27 replies
-
- 10
-
-
-
Indeed. The Vasa model has found another home (sold). Maybe i make a "2nd edition Vasa" one day
- 756 replies
-
- 2
-
-
- galleon
- golden hind
- (and 2 more)
-
Thanks, I'm going to borrow ft17s from the french army 😉
-
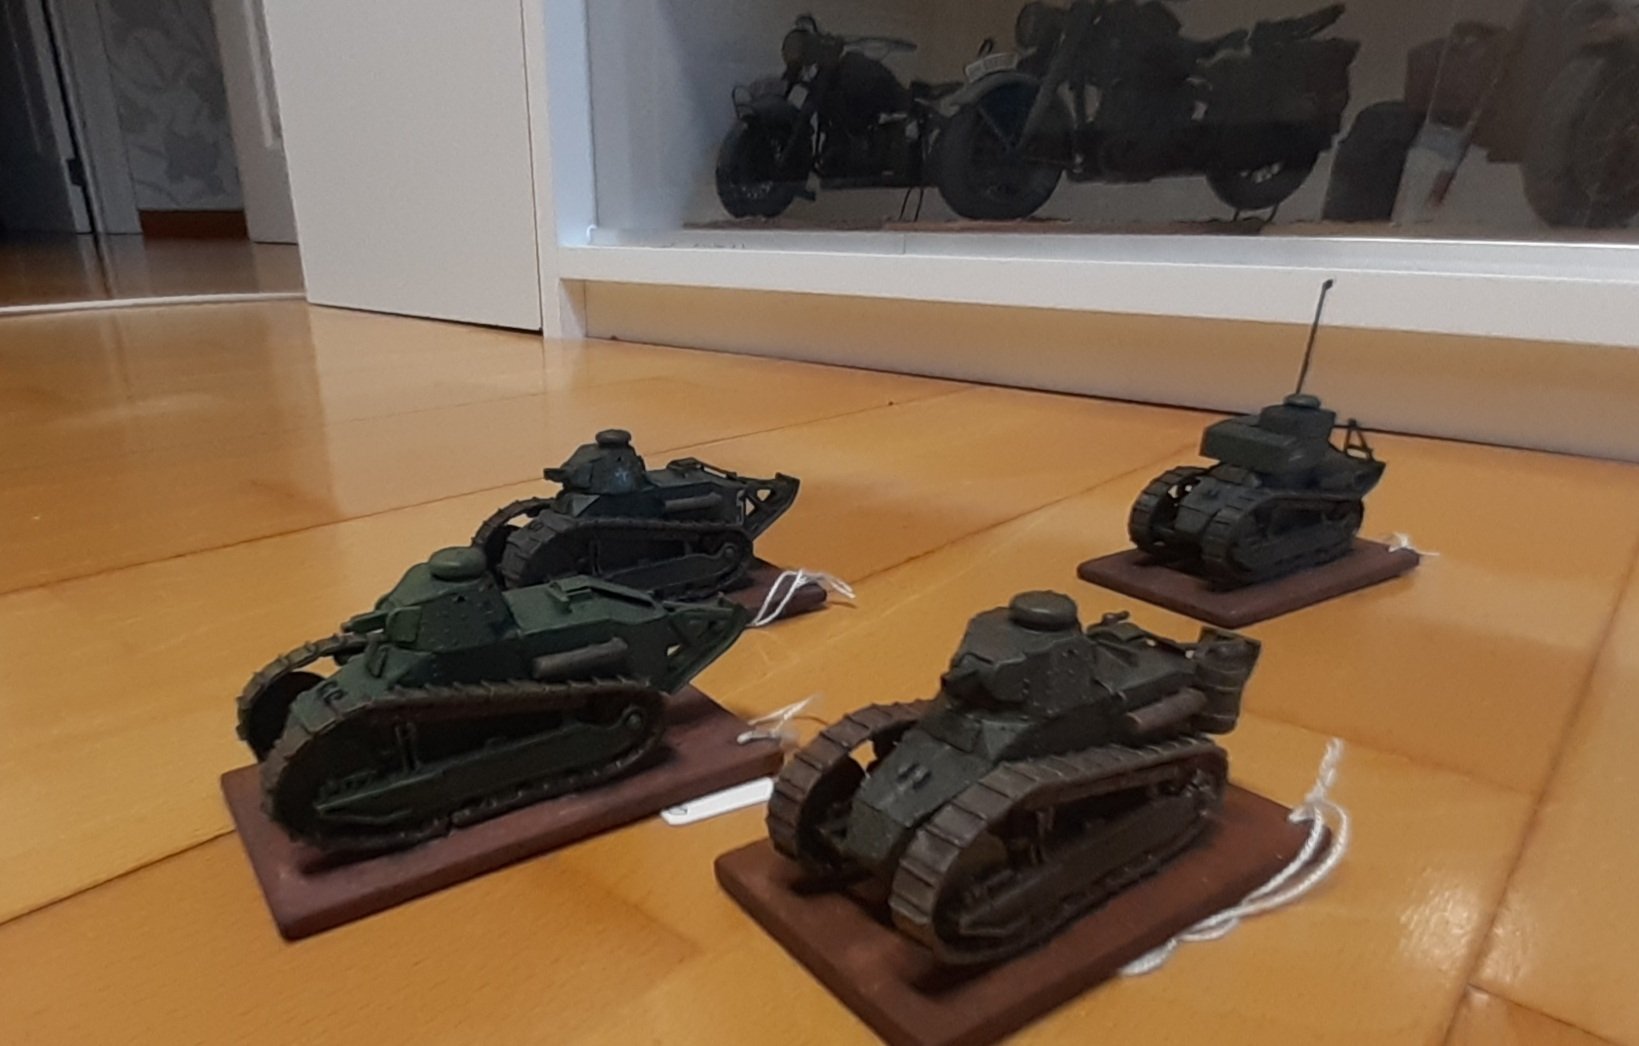
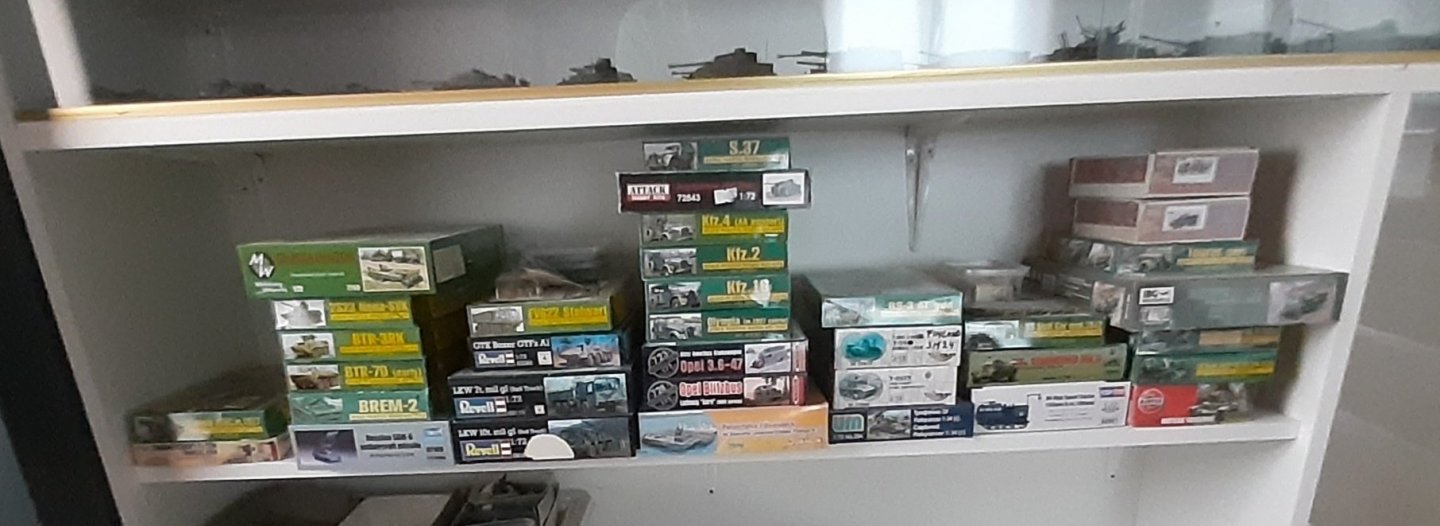
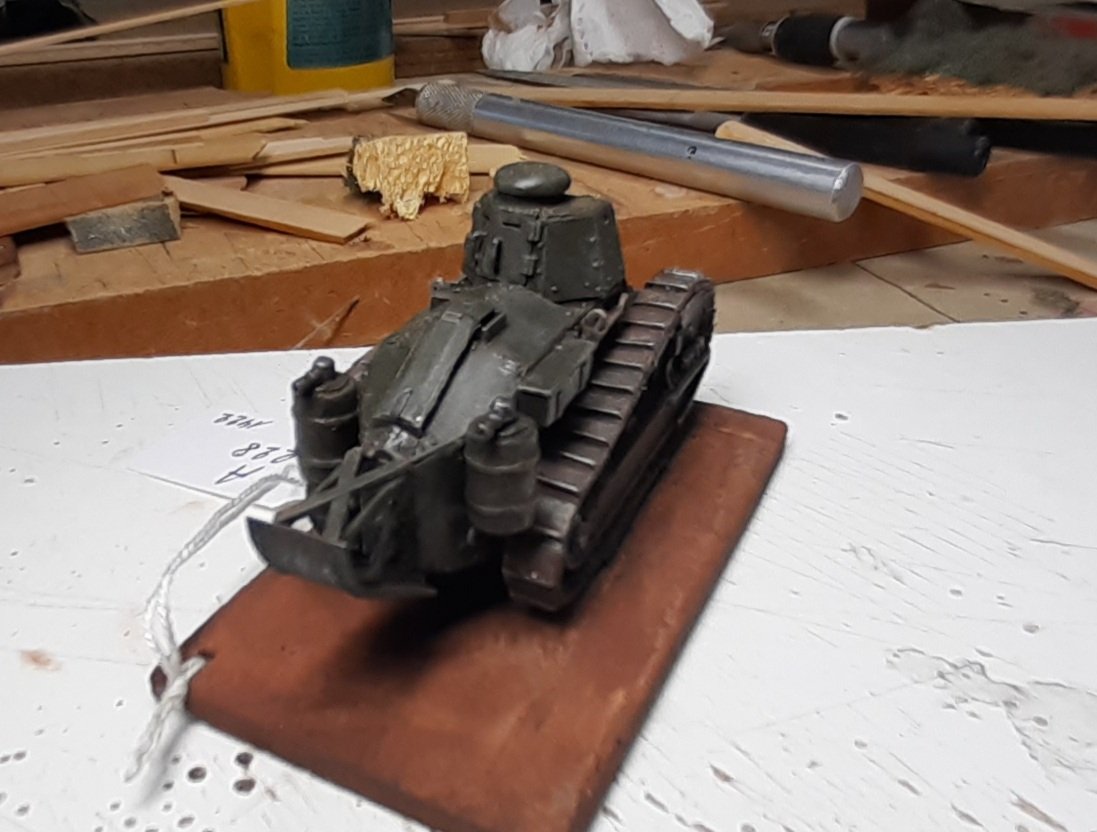
A productive day. Here and there a little pencil and the little smoke tank is ready Armored attack group Three 6 ton tanks at the front and a signal tank in the rear keeps in touch with headquarters (General Patton style ) the 1918-1940 corner what is next?? Thanks for following this build

- 27 replies
-
- 12
-
-
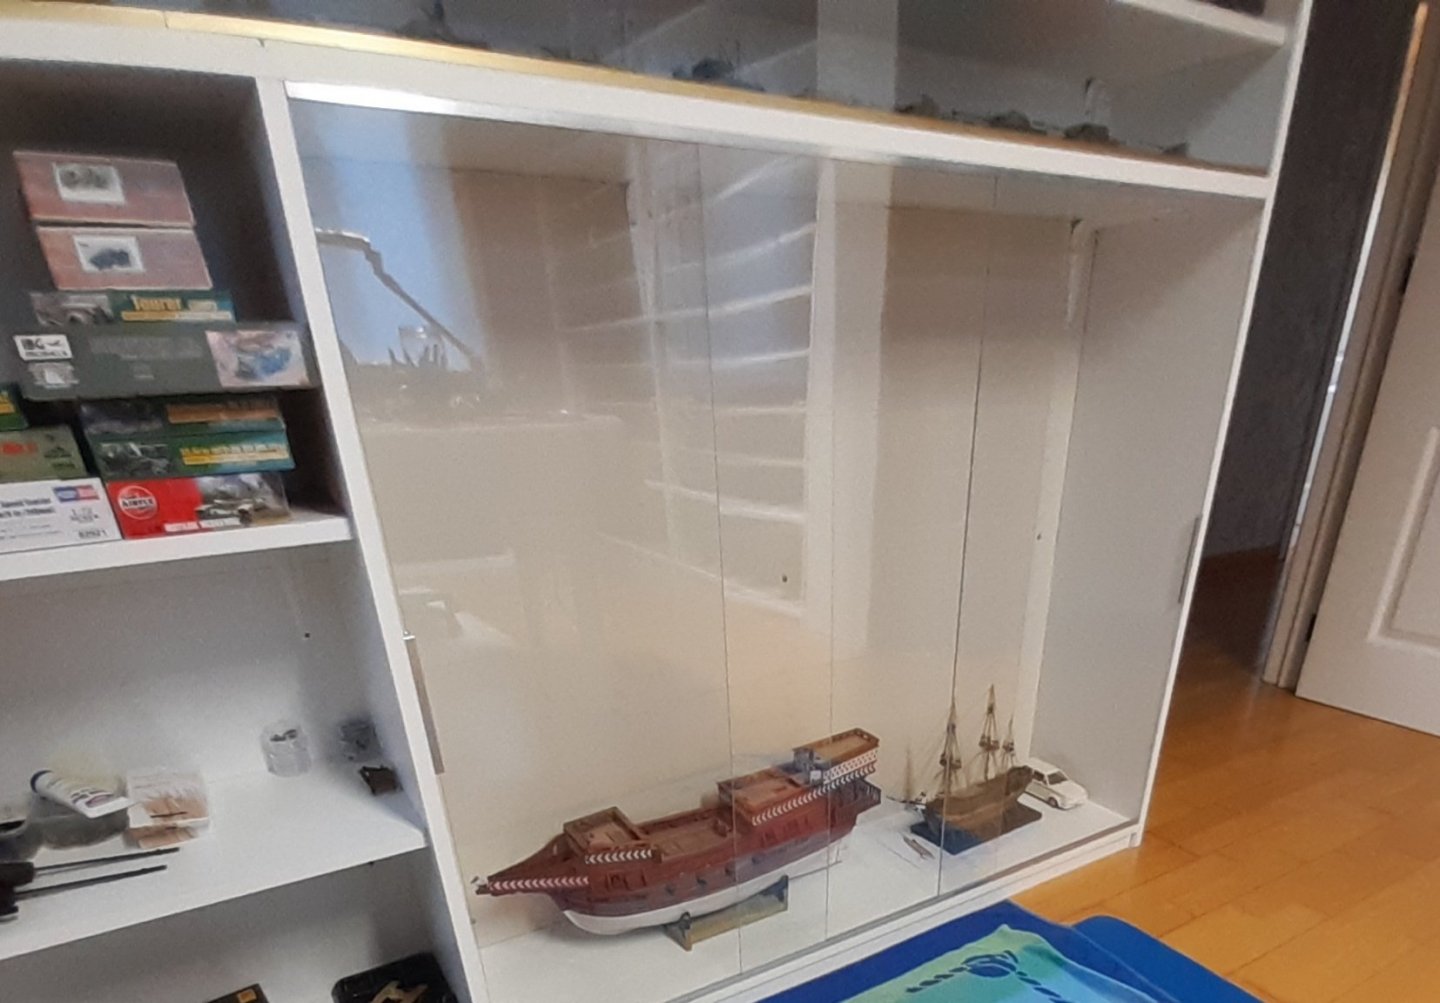
Thanks A Pelican and a Bounty in a "spider proof" area.
- 756 replies
-
- 10
-
-
- galleon
- golden hind
- (and 2 more)
-
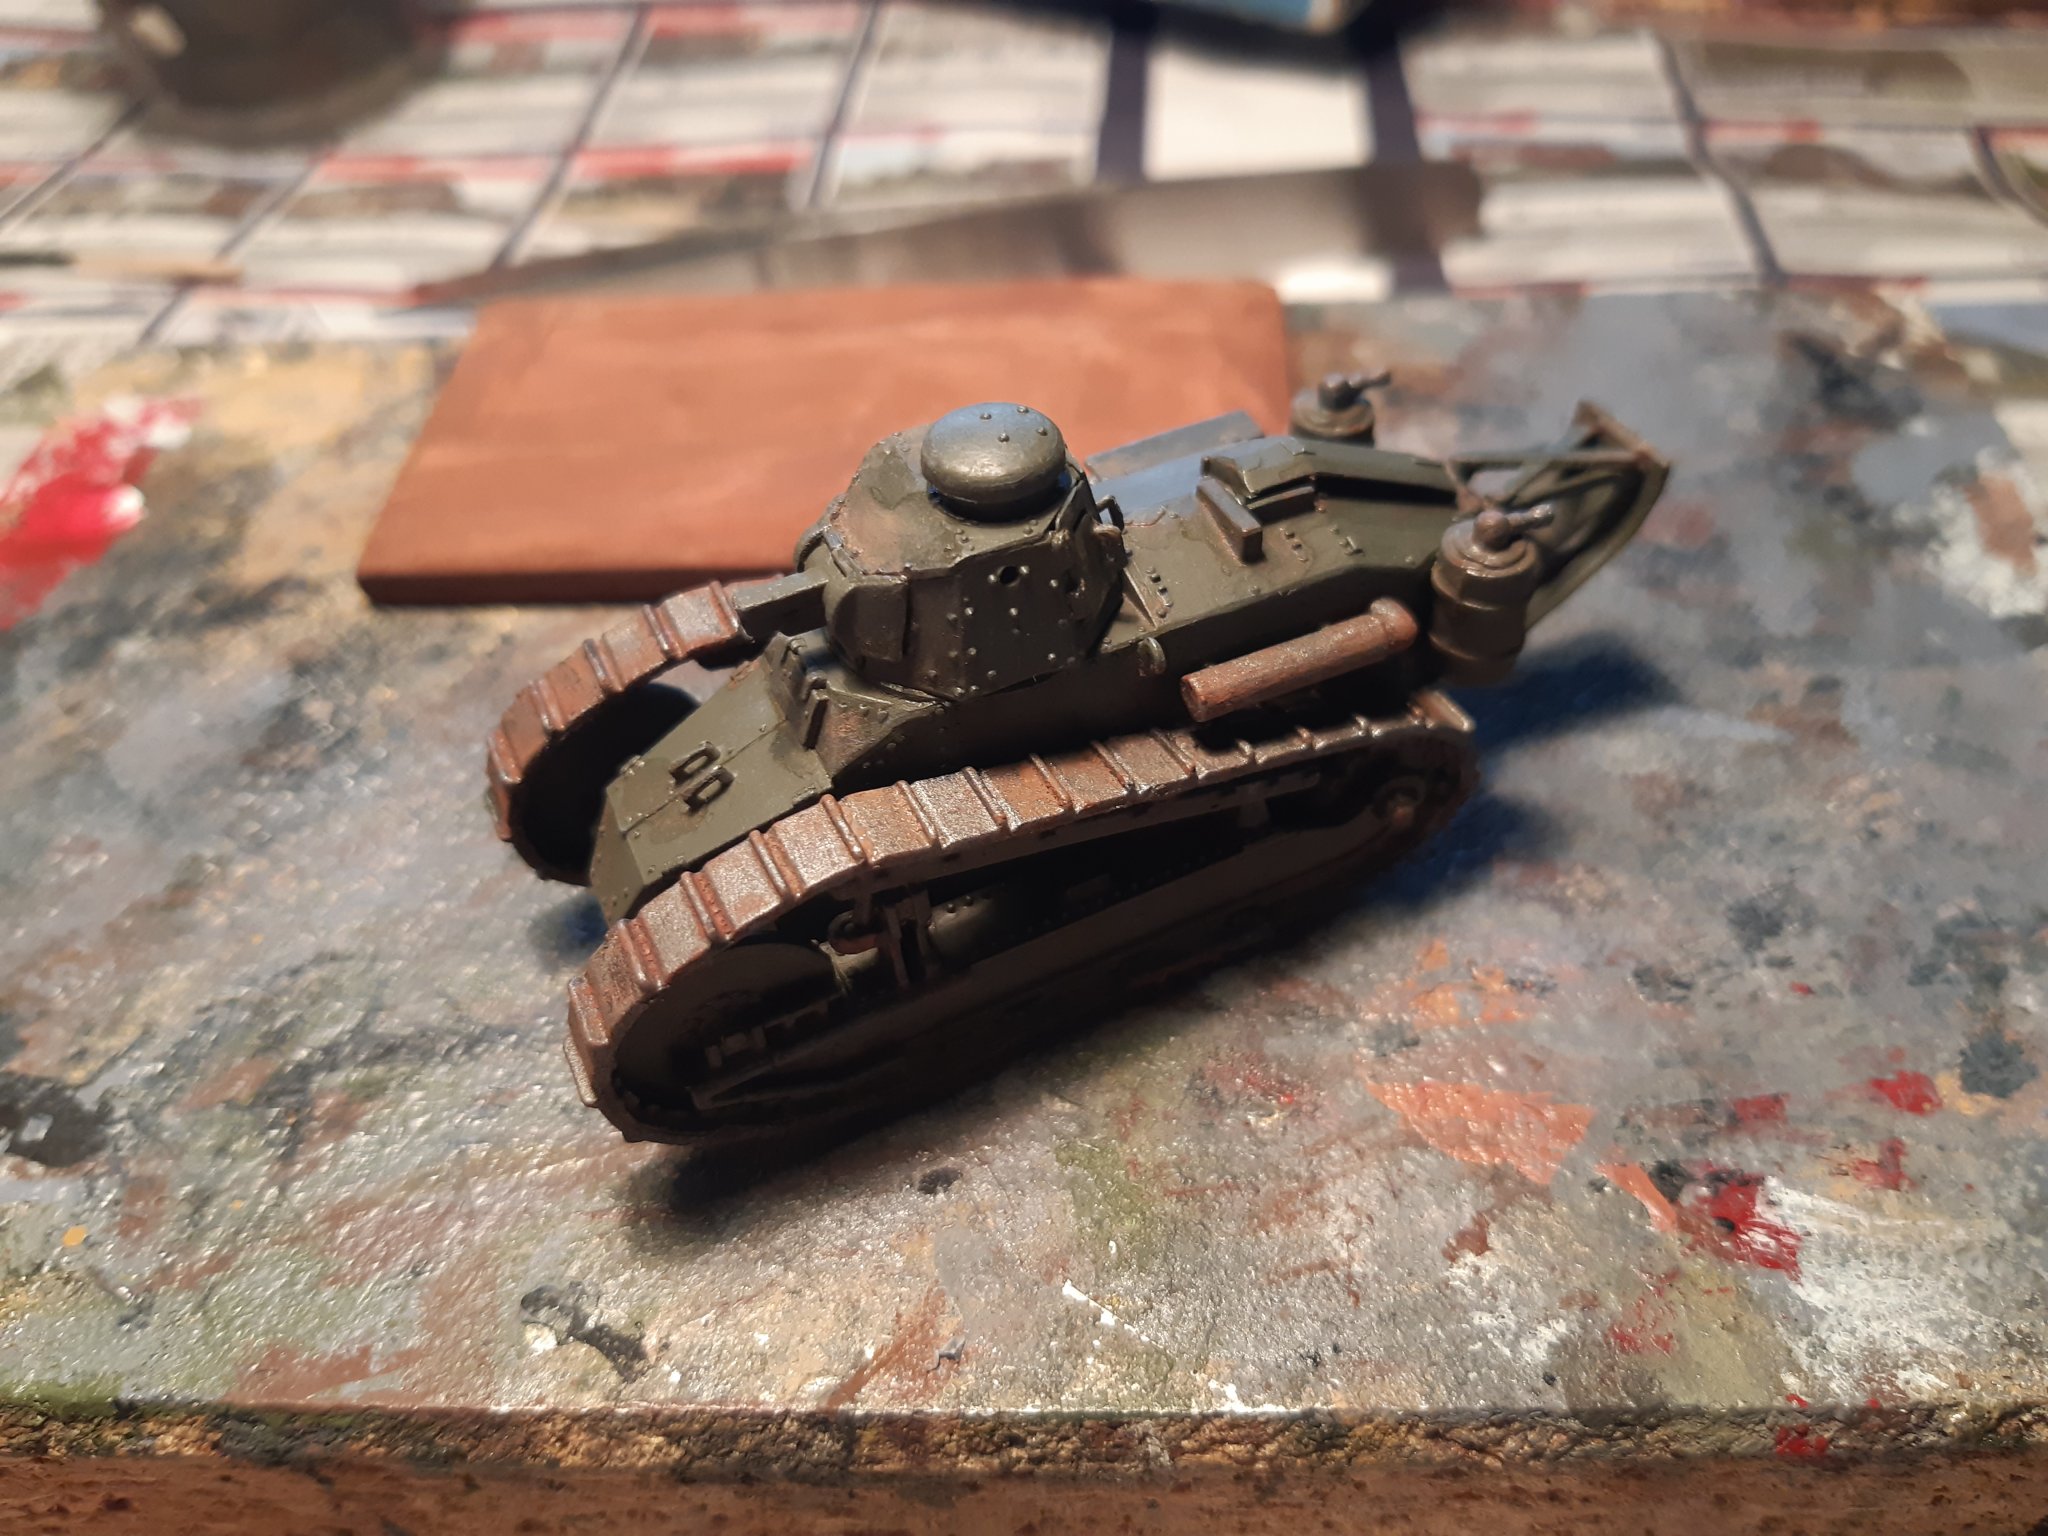
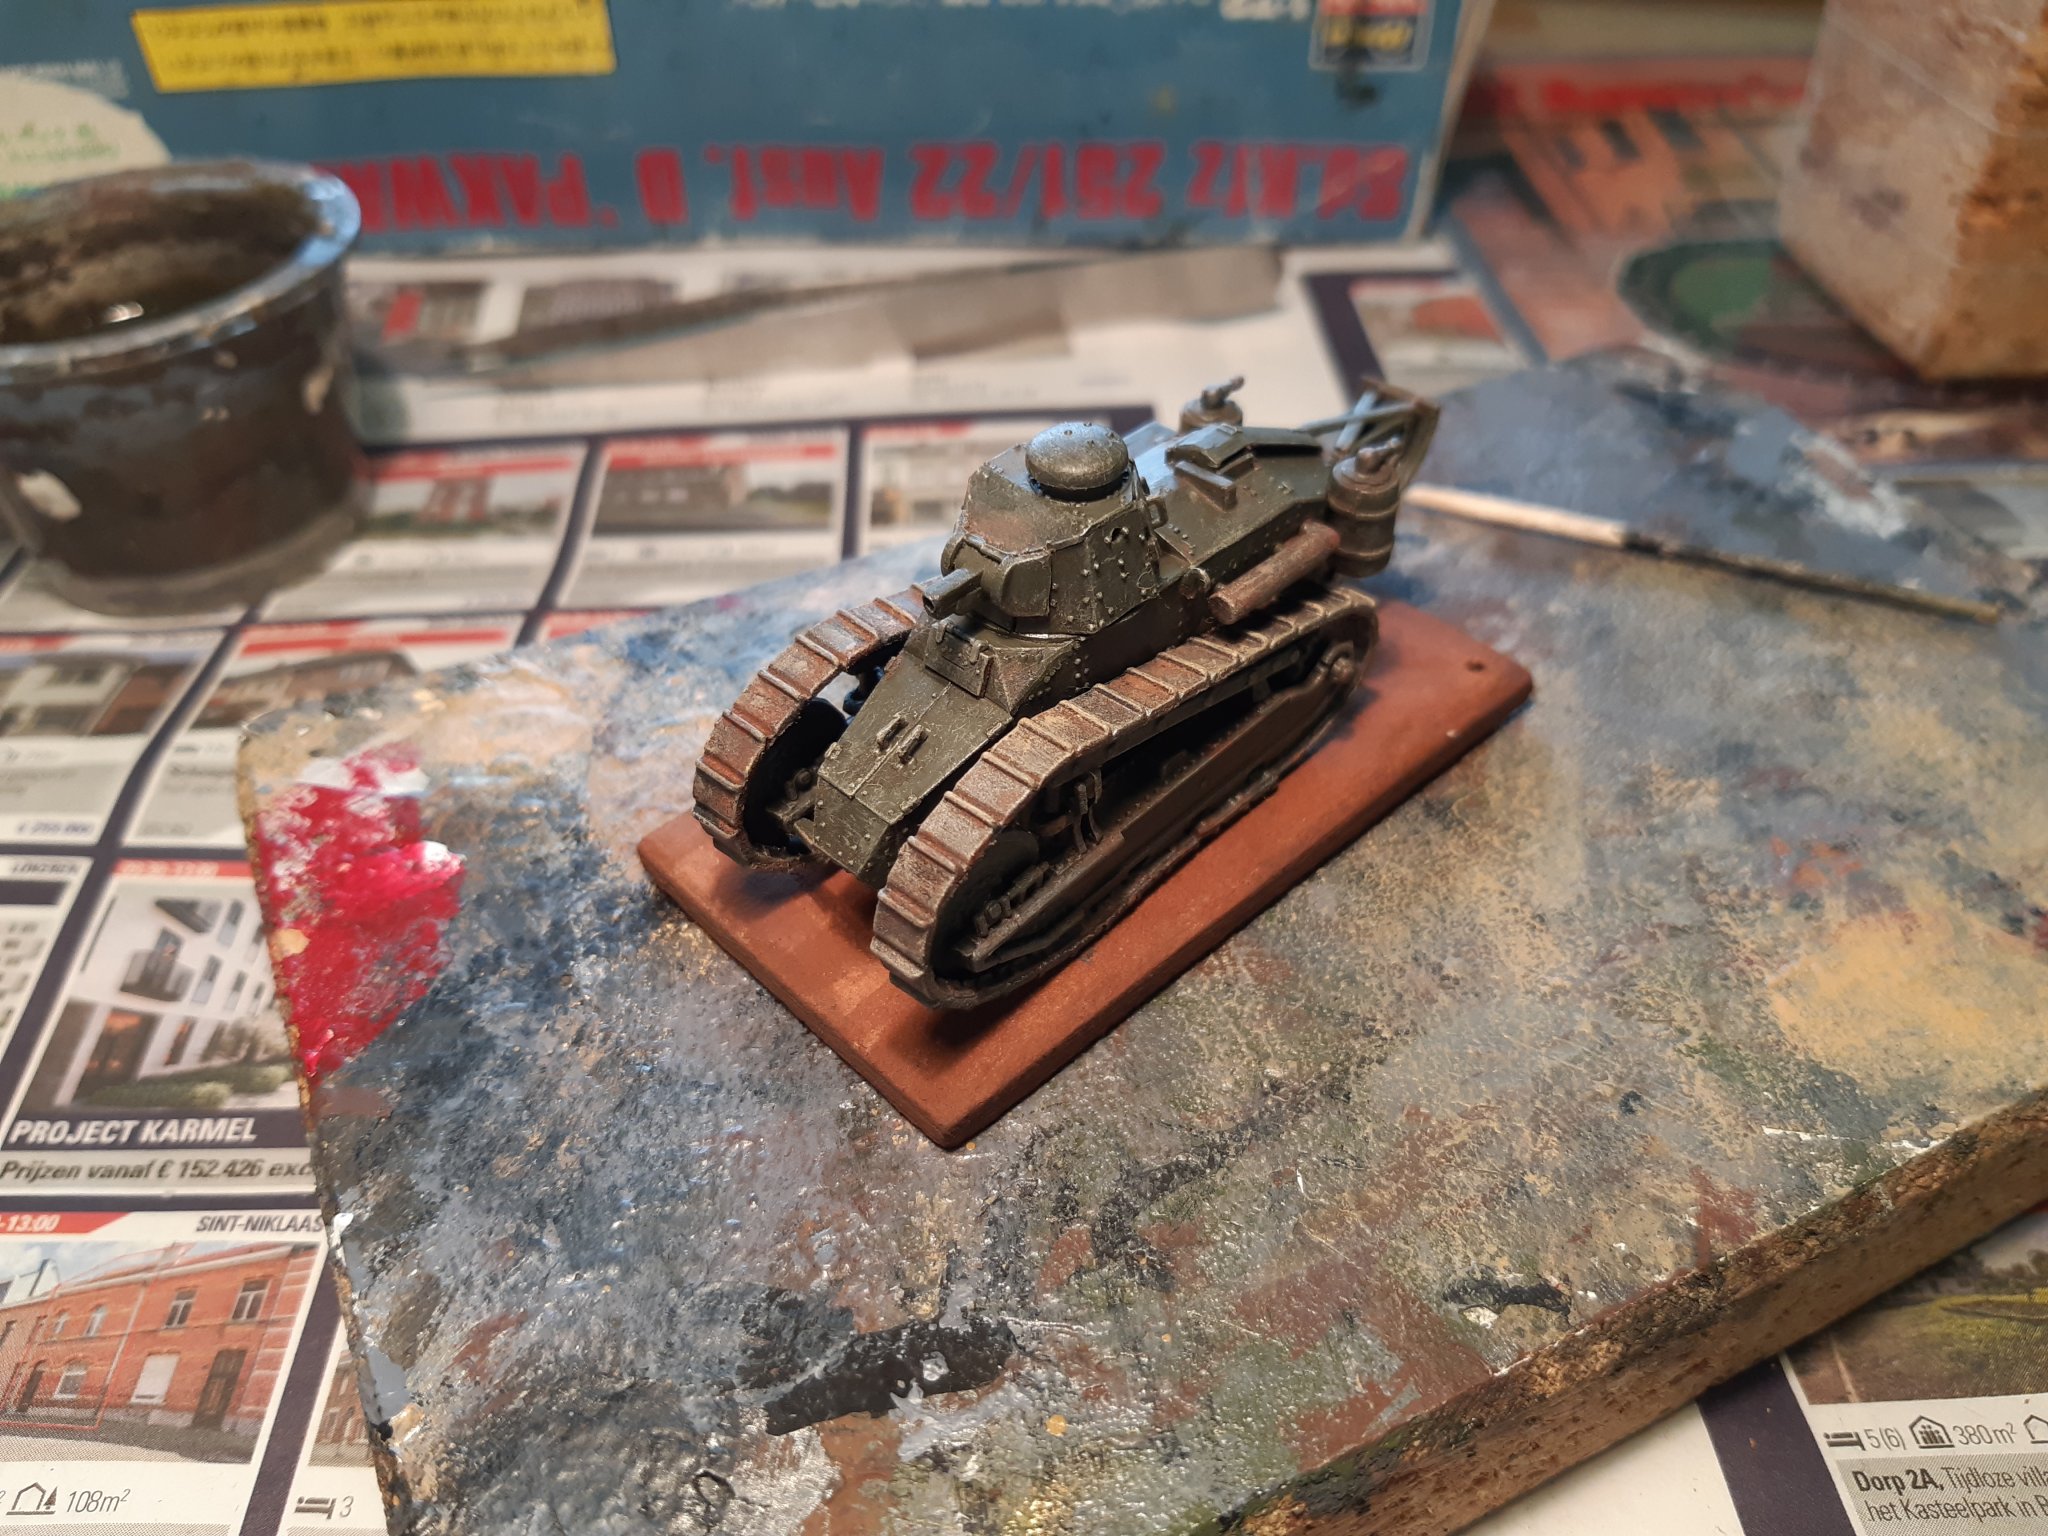
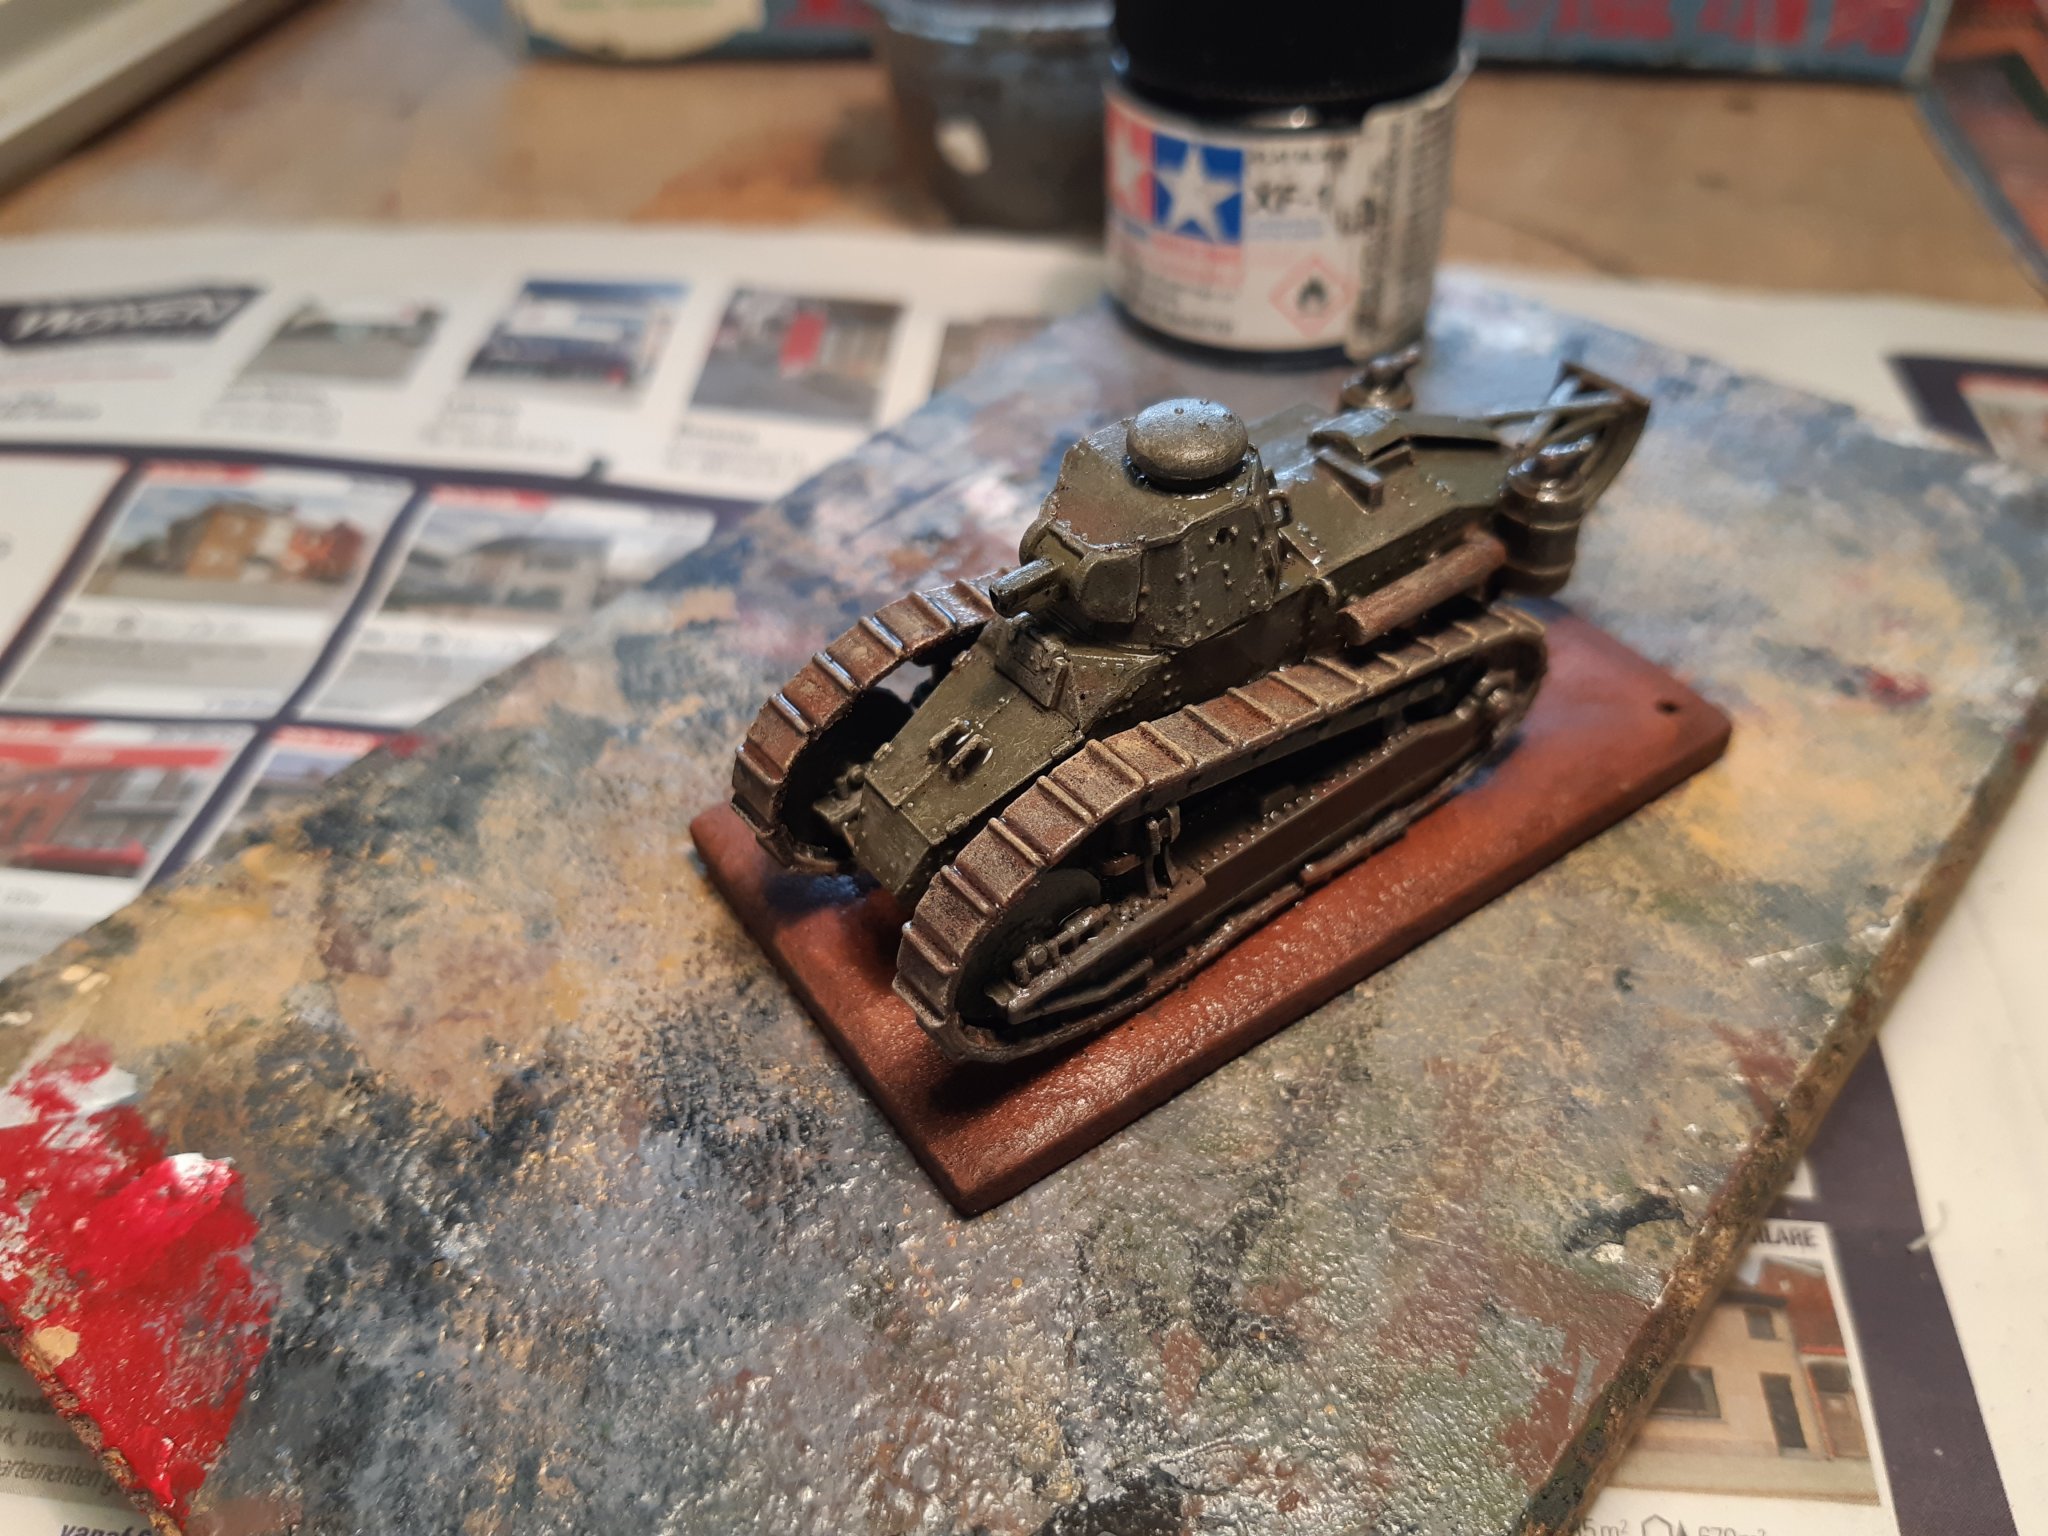
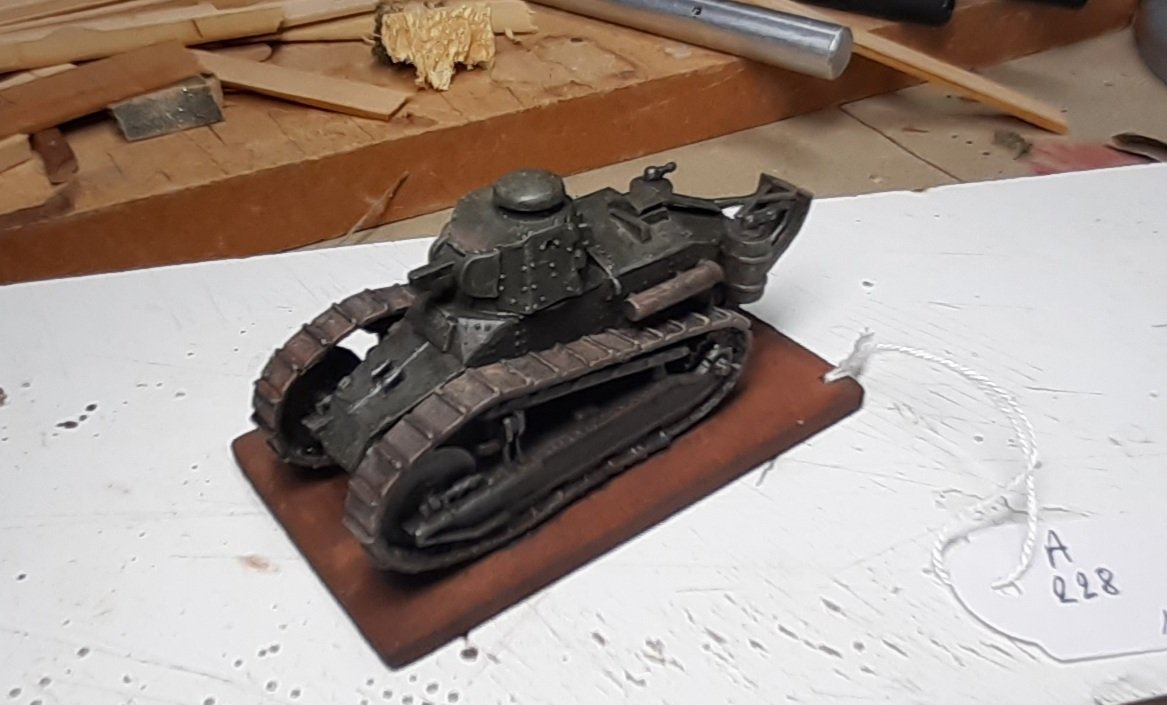
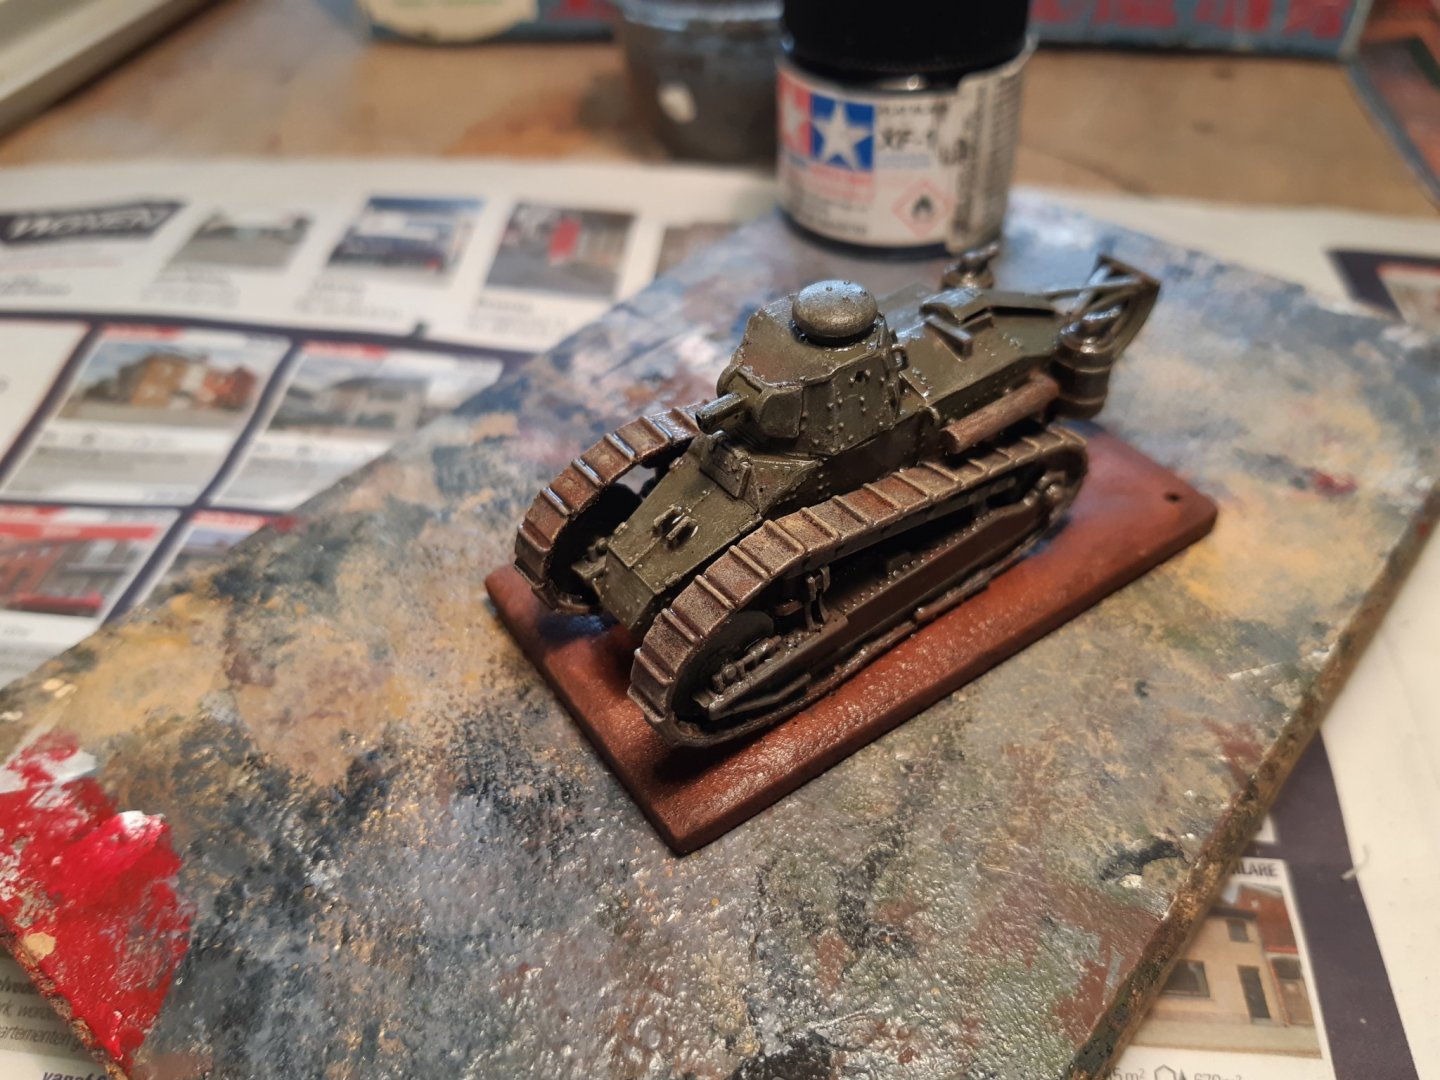
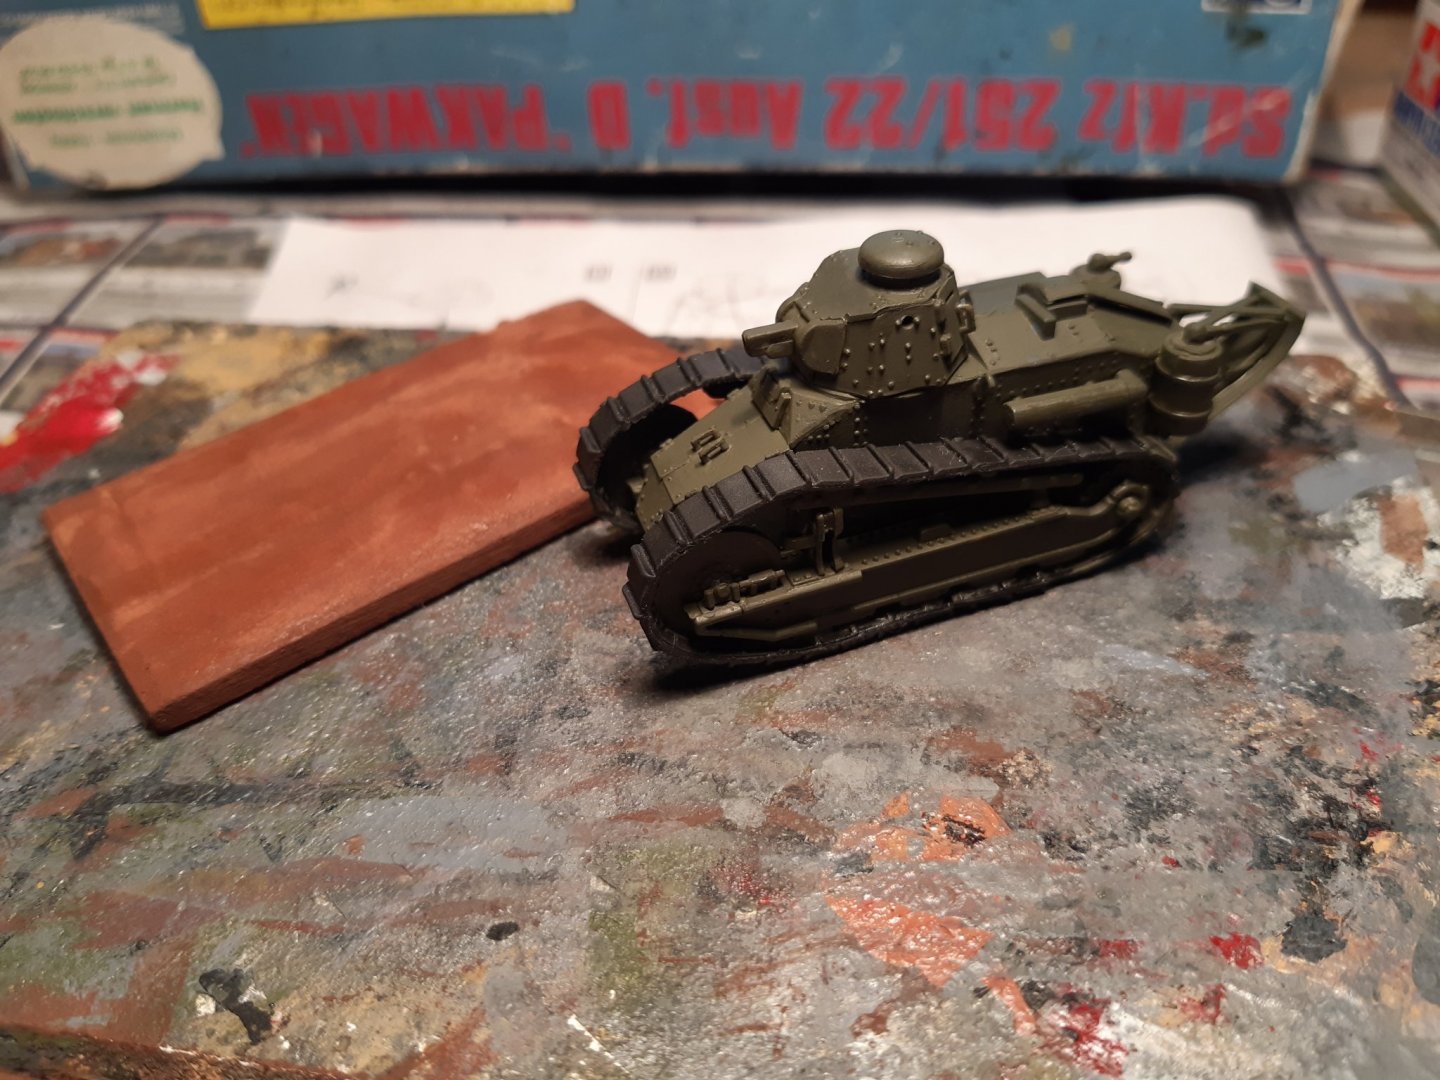
Thanks, Further painting. A light grey dry brushing, painting the metal en wooden parts. Apply "rust " (actually dilute red brown) A light sand dry brushing and glued on the base plate A wash with thinned mat black almost ready


-
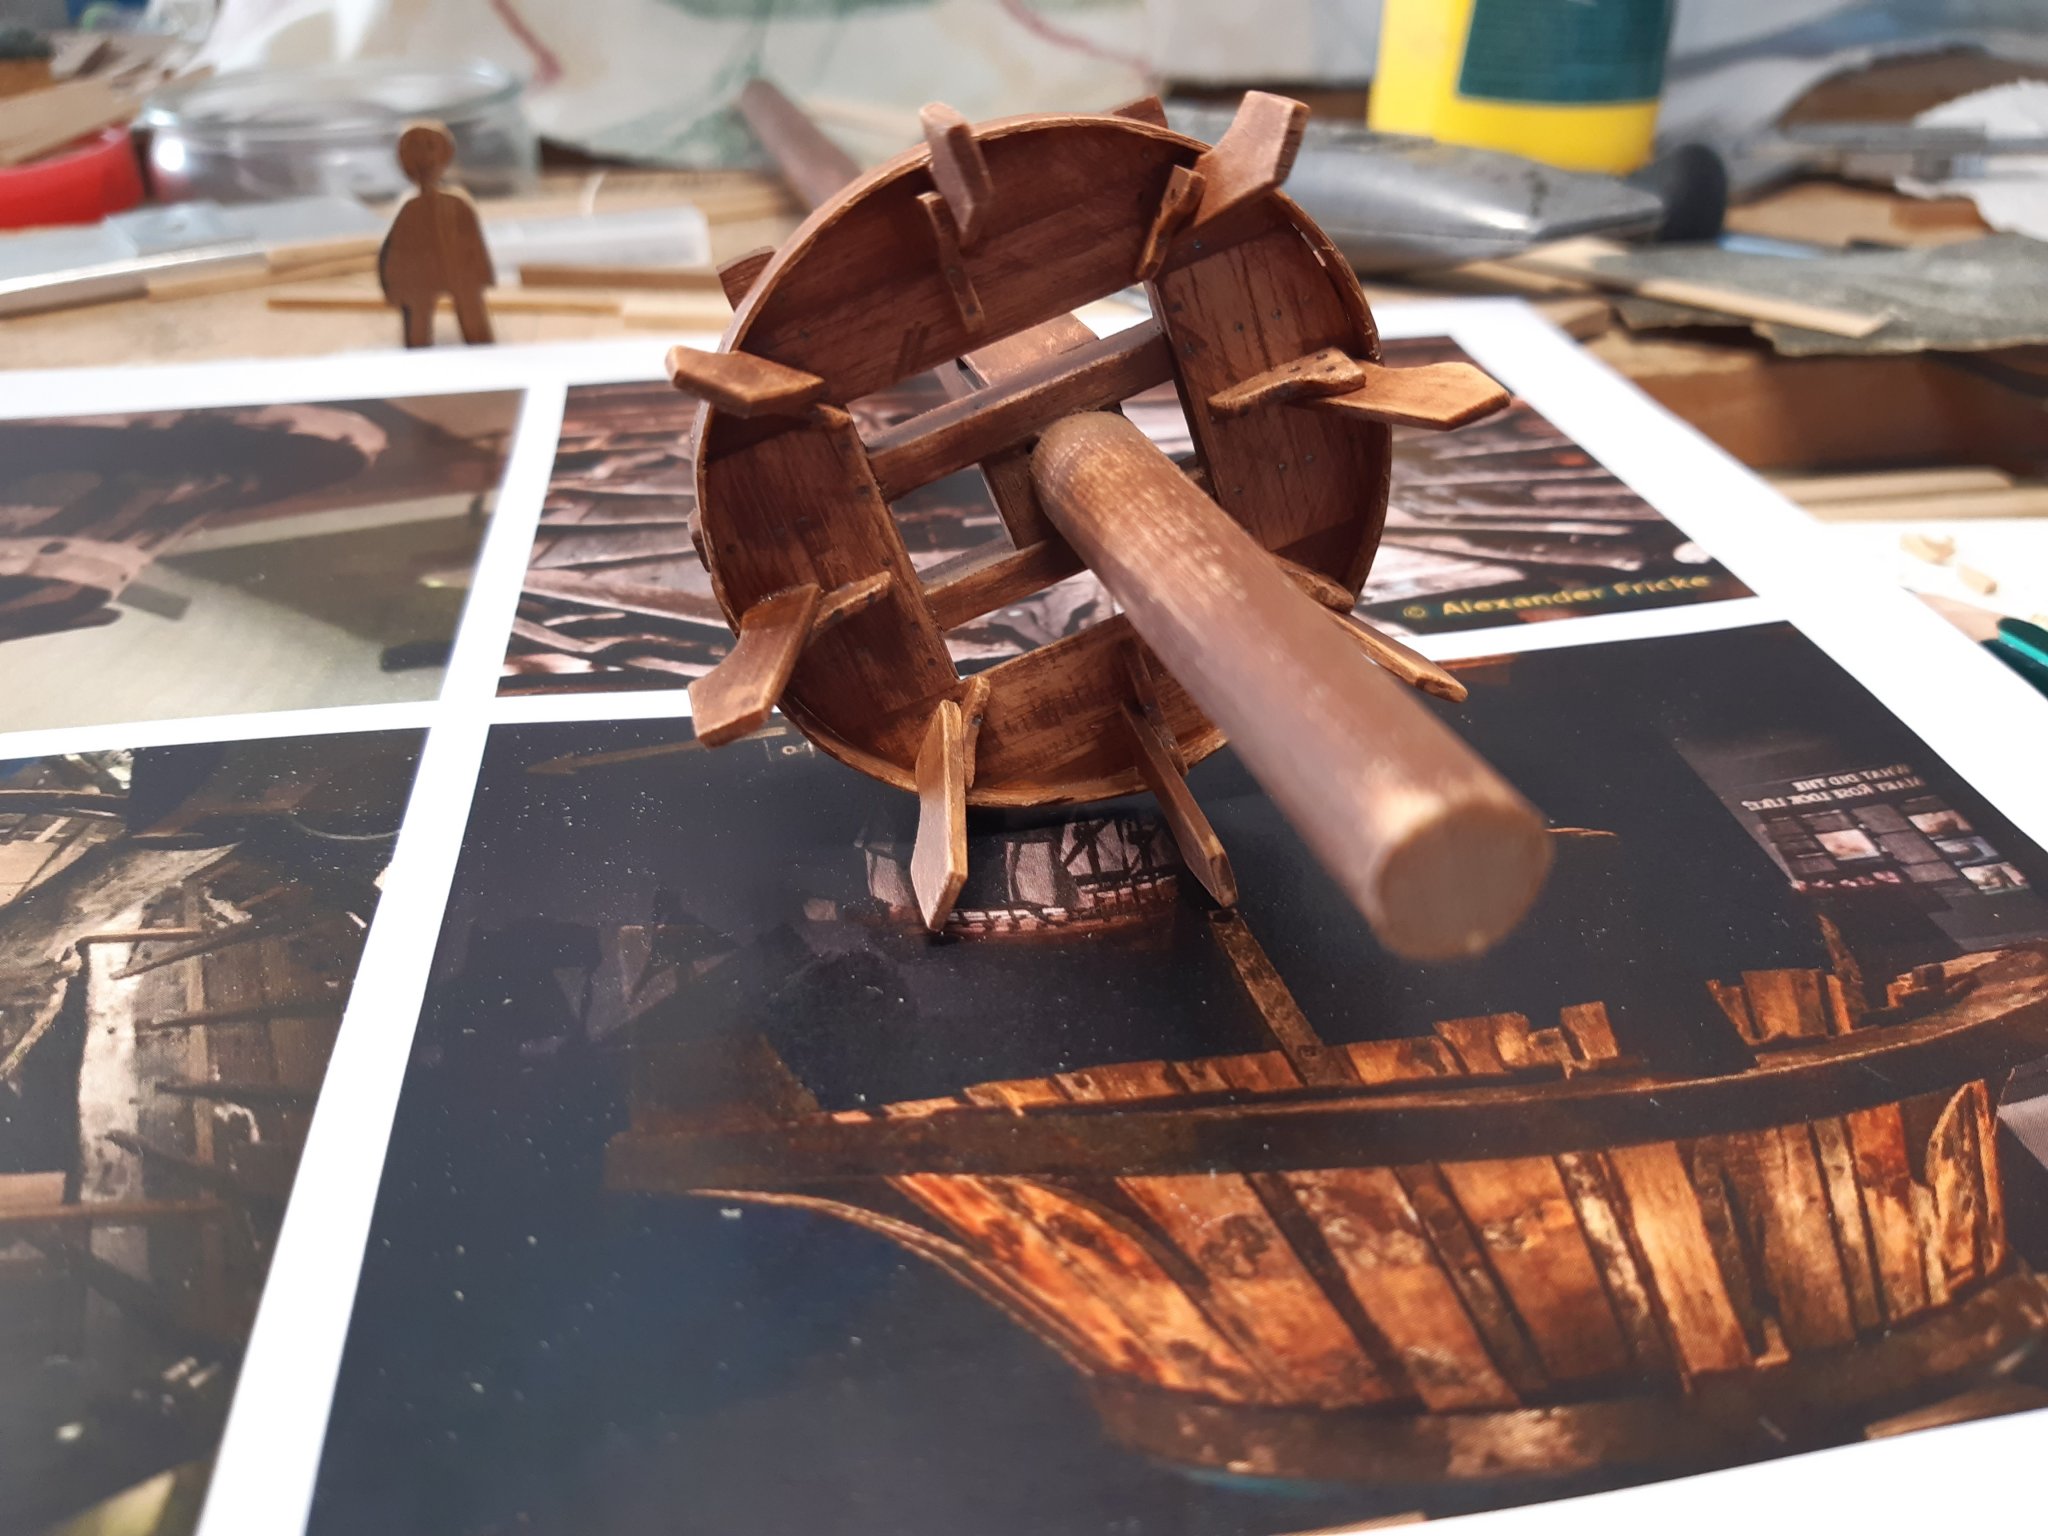
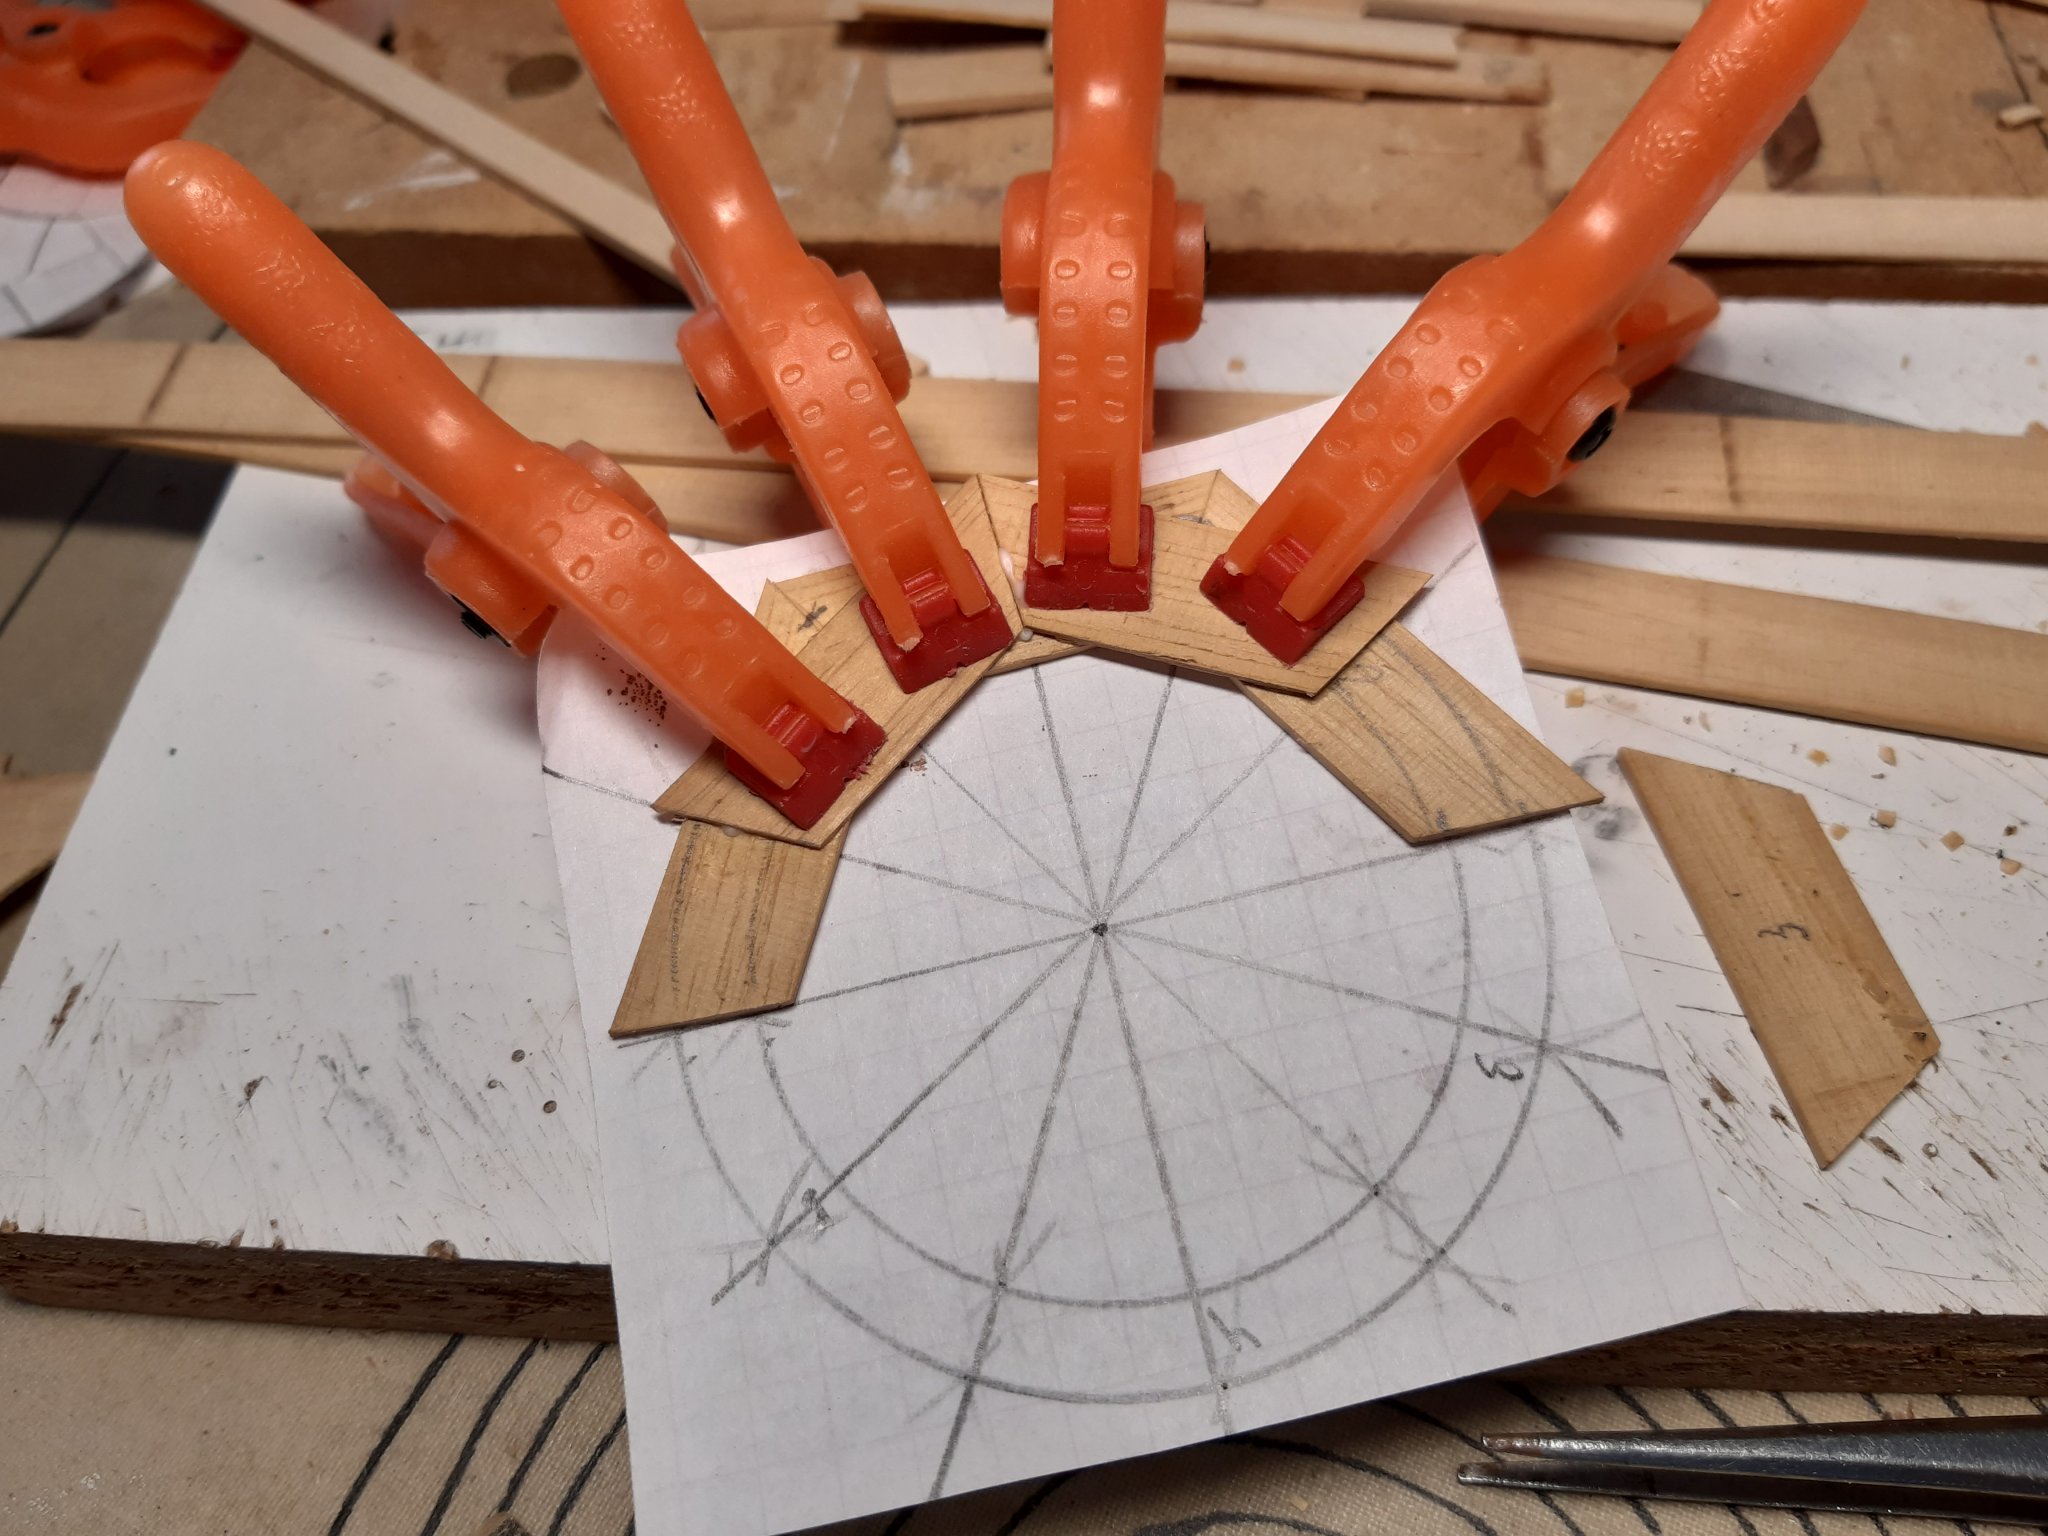
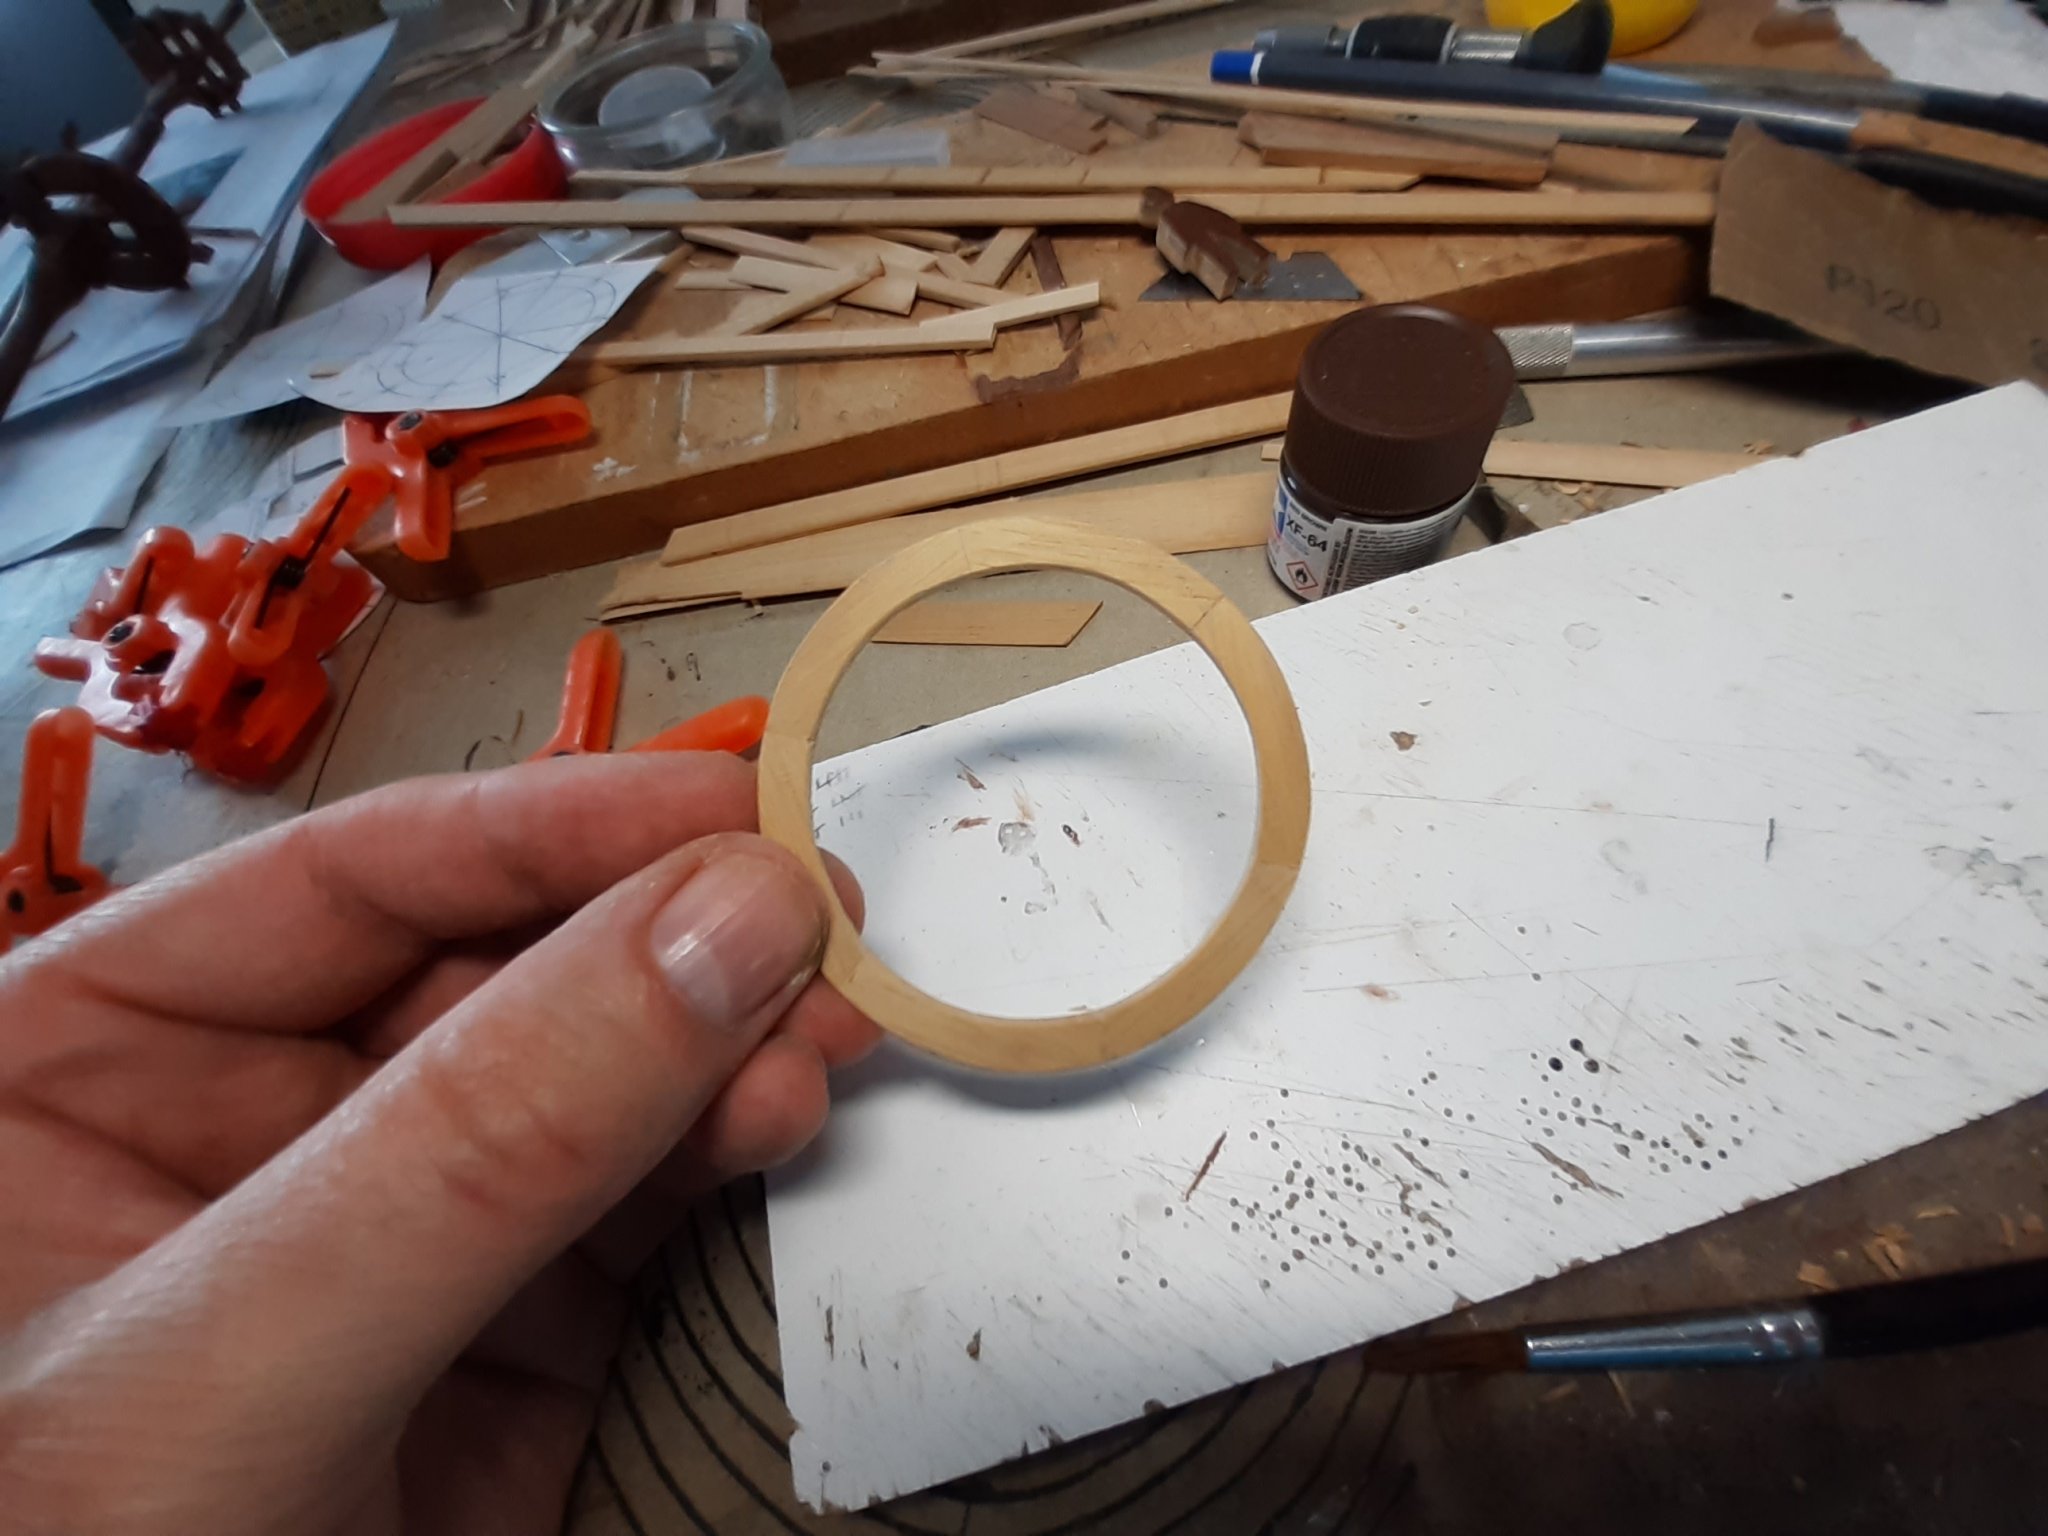
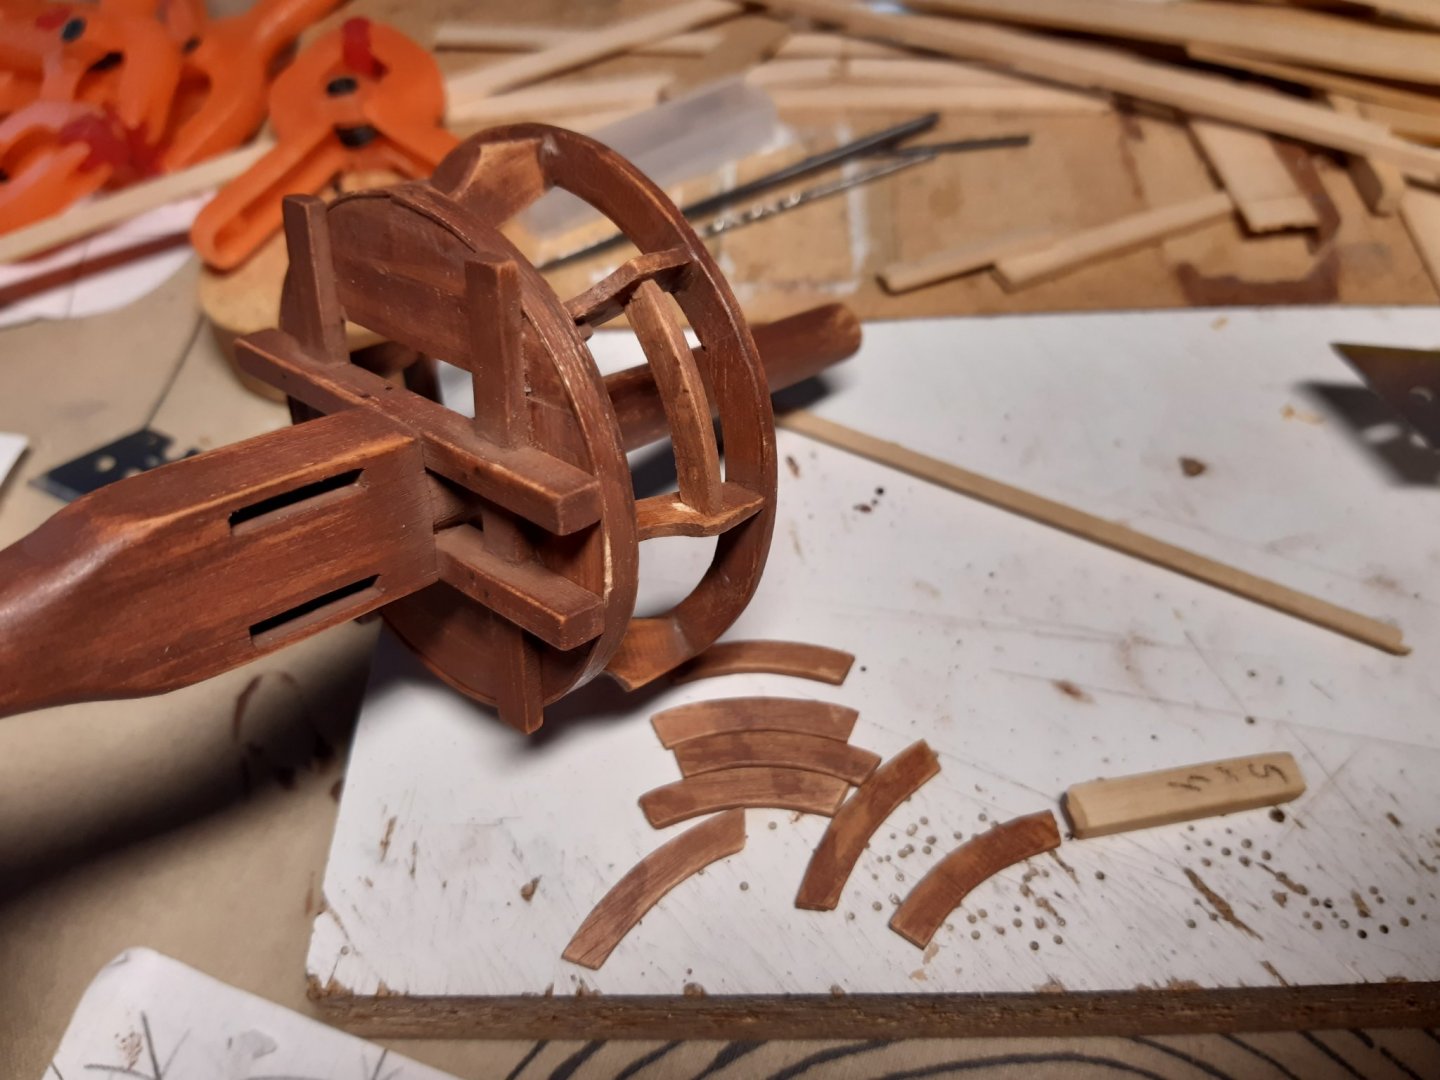
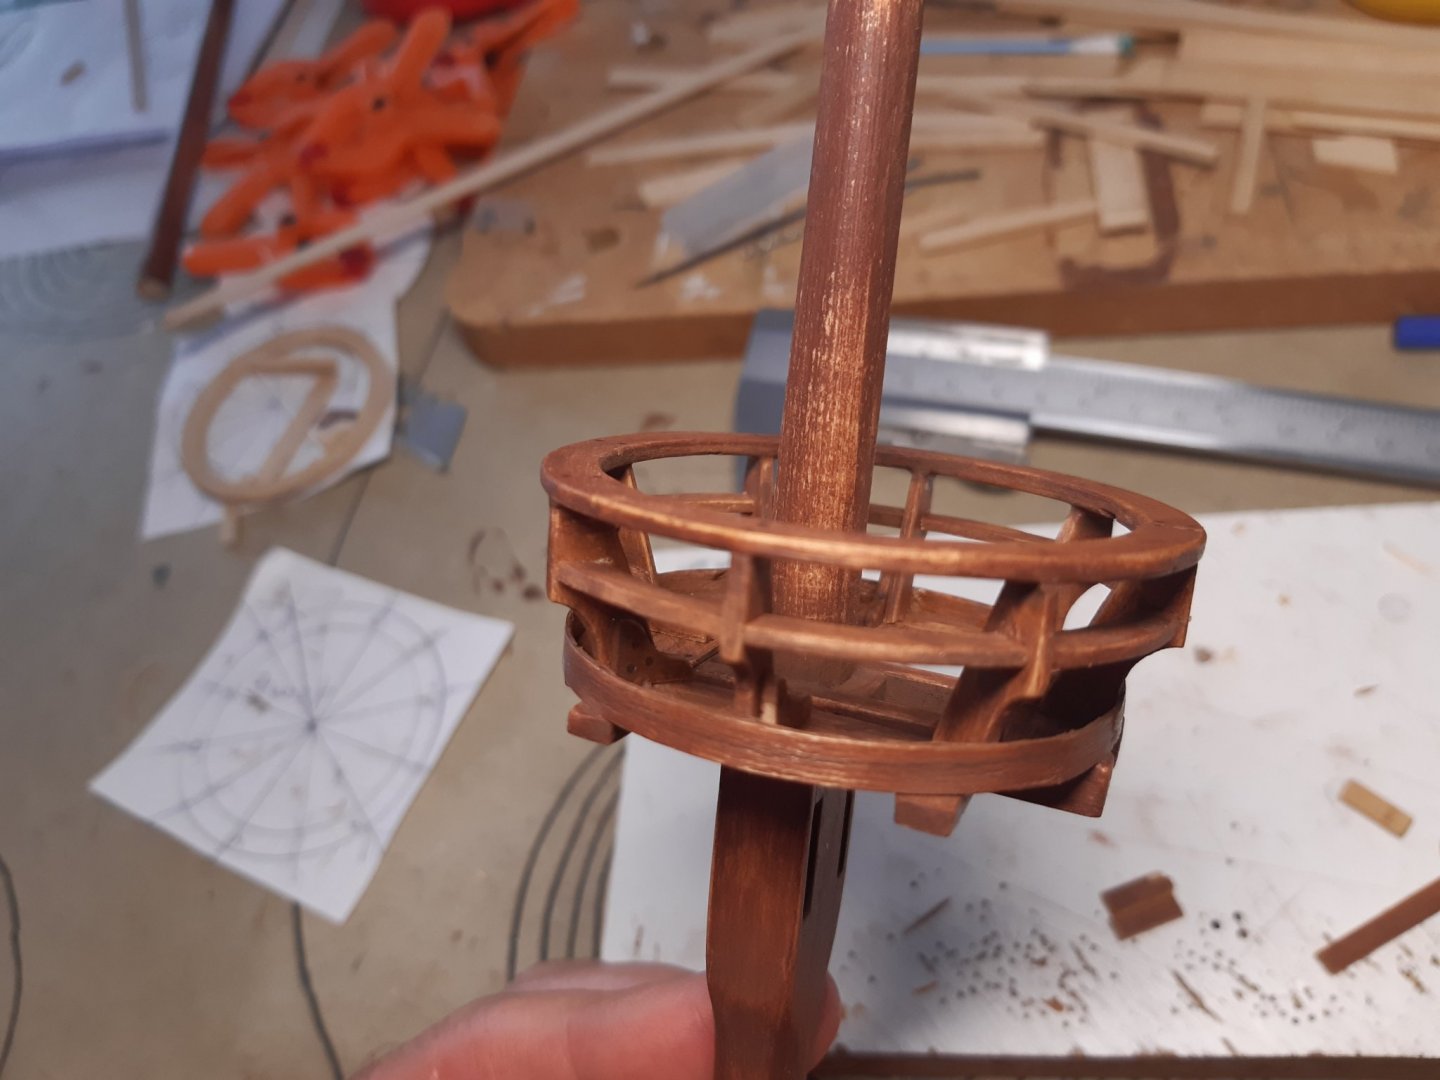
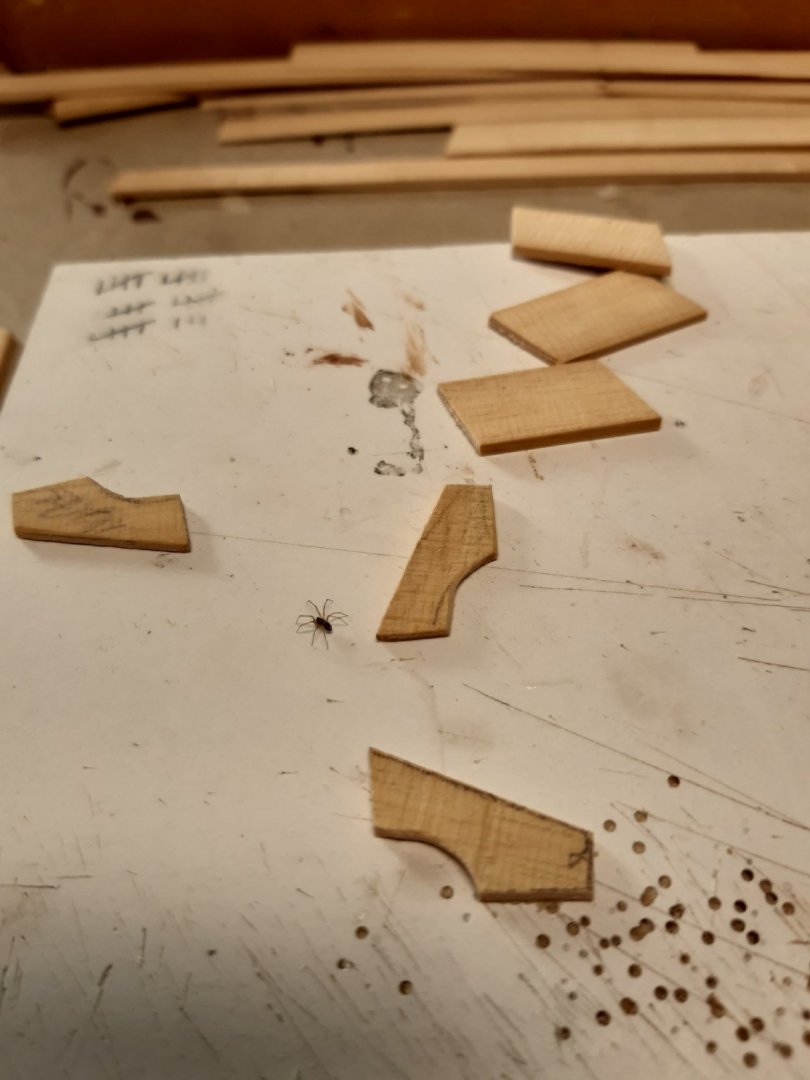
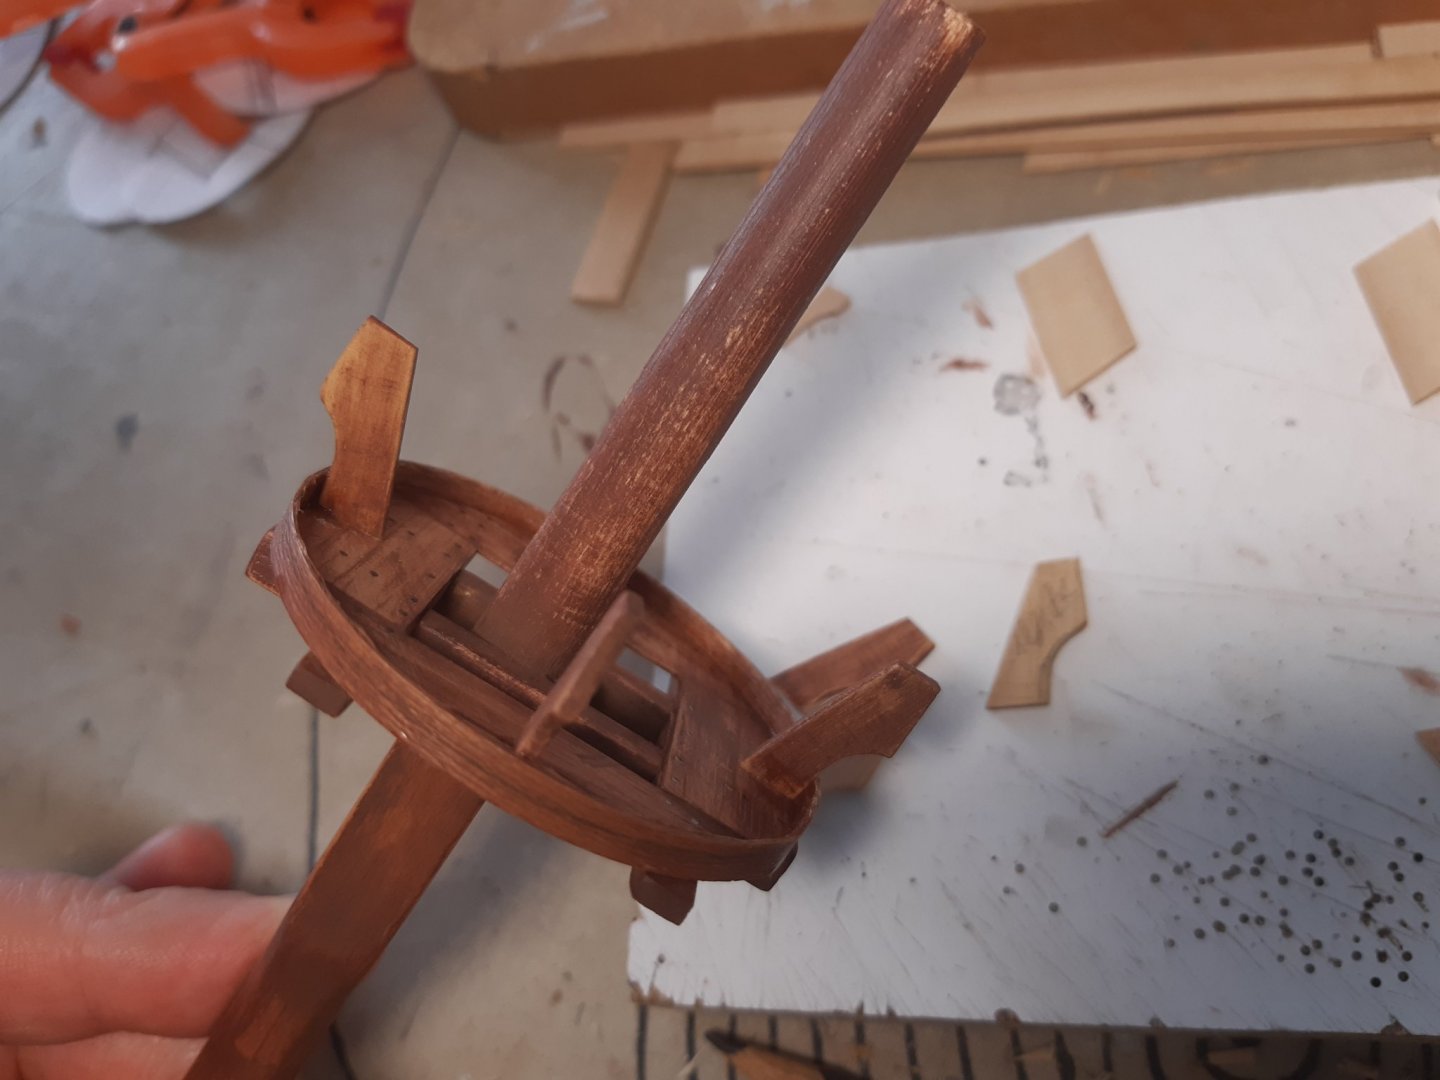
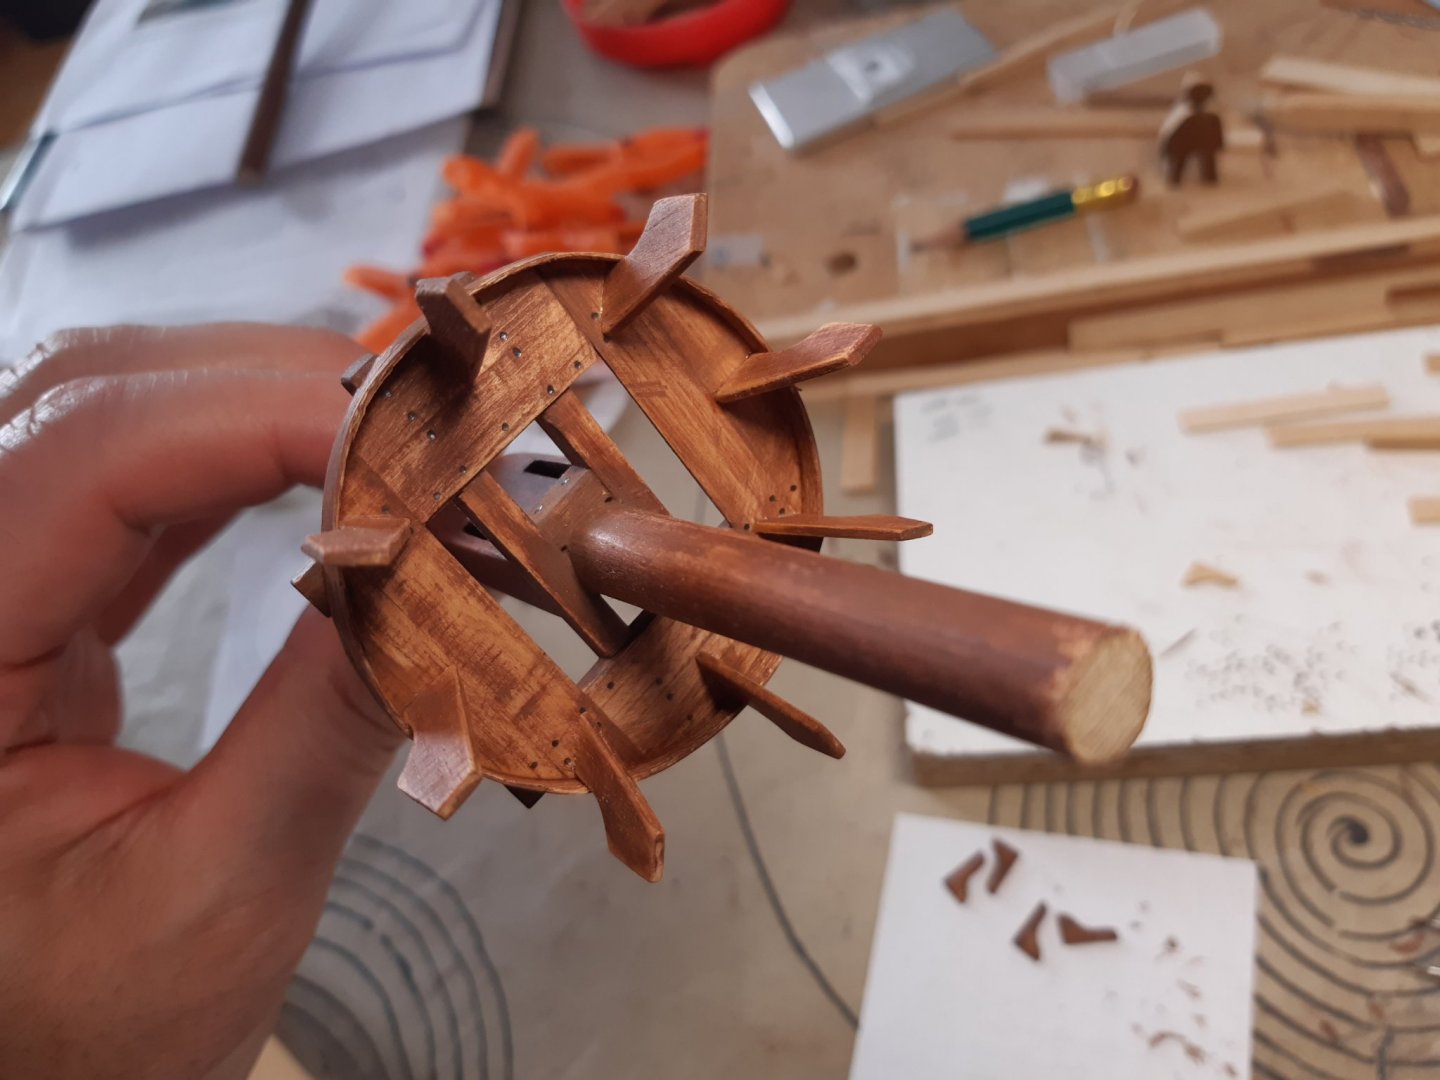
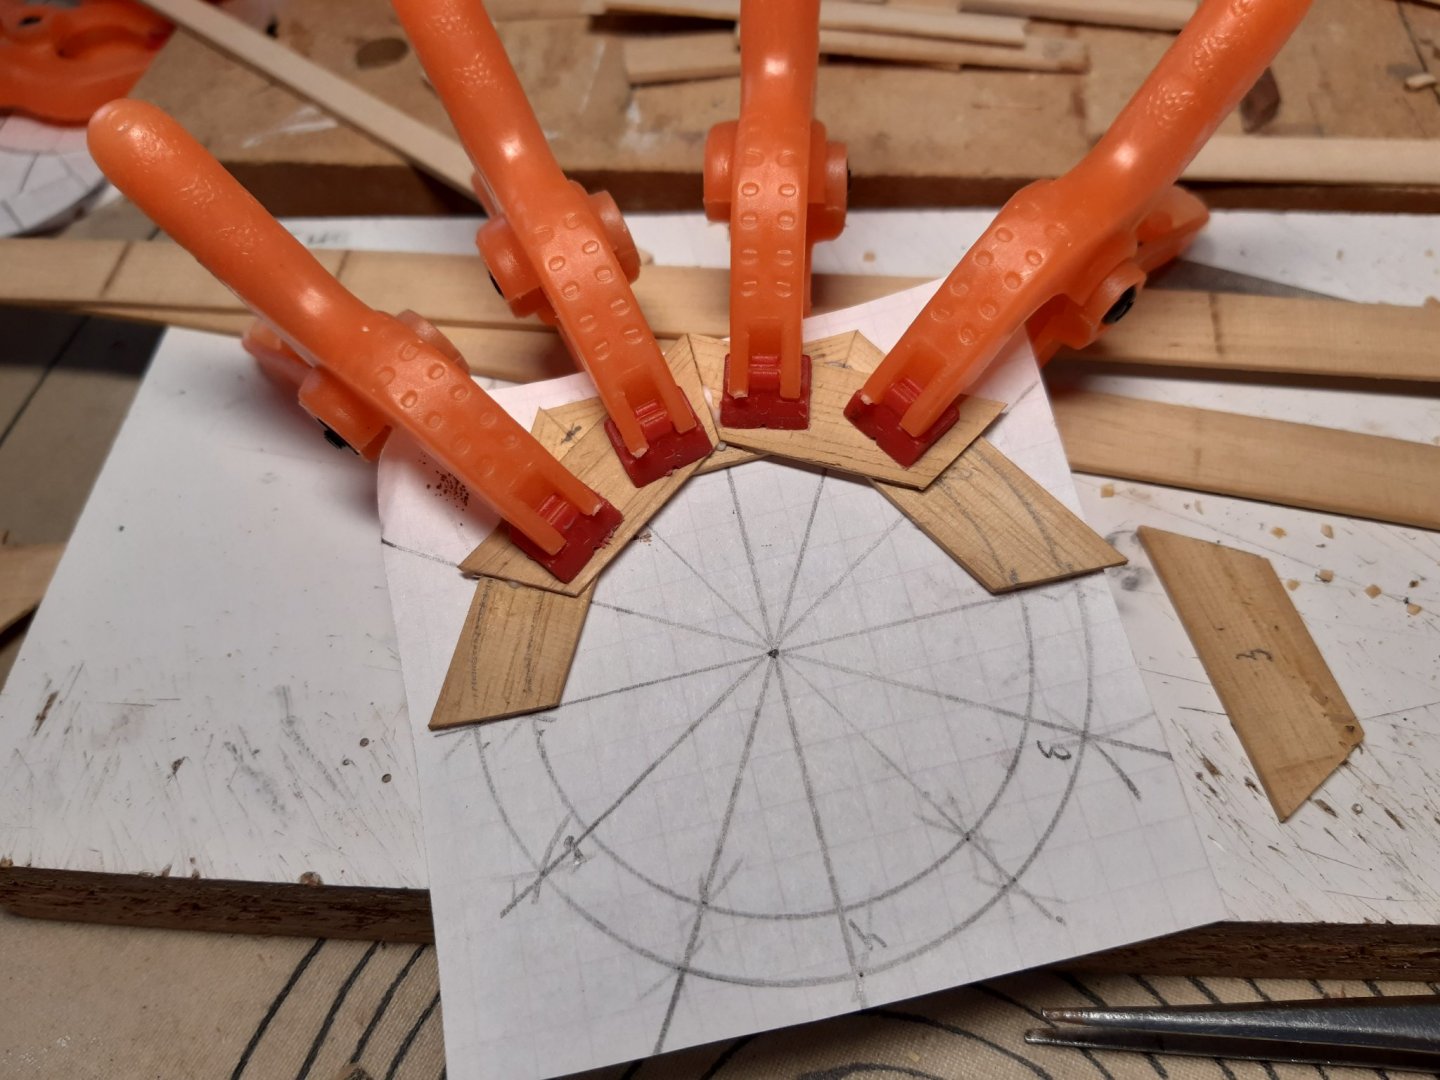
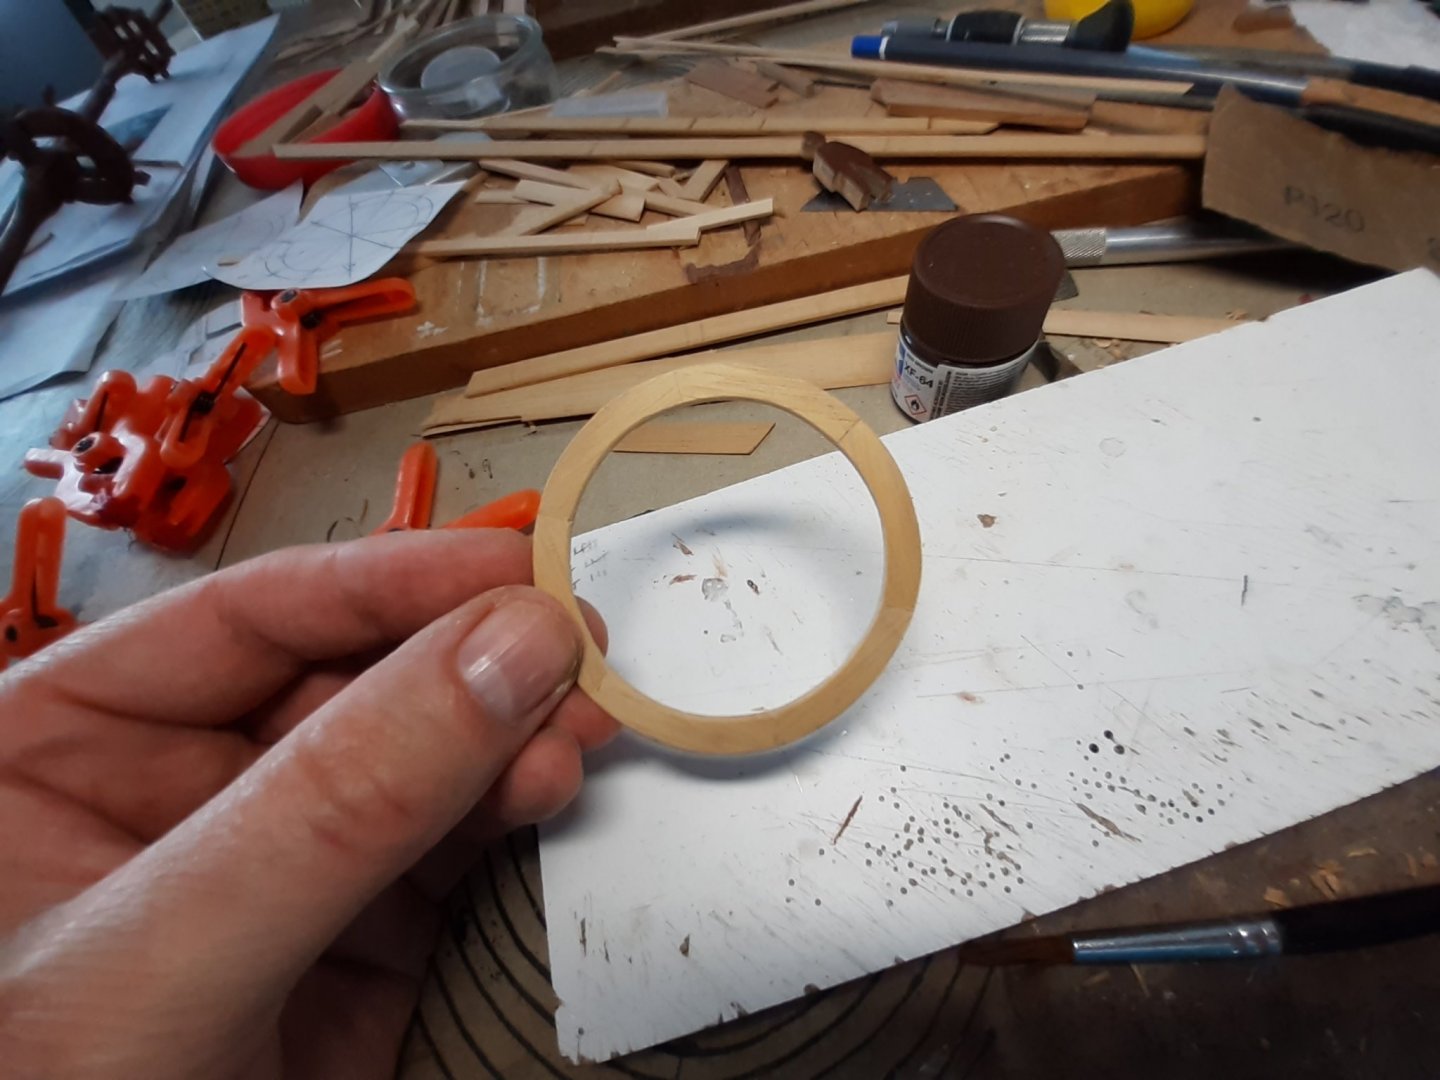
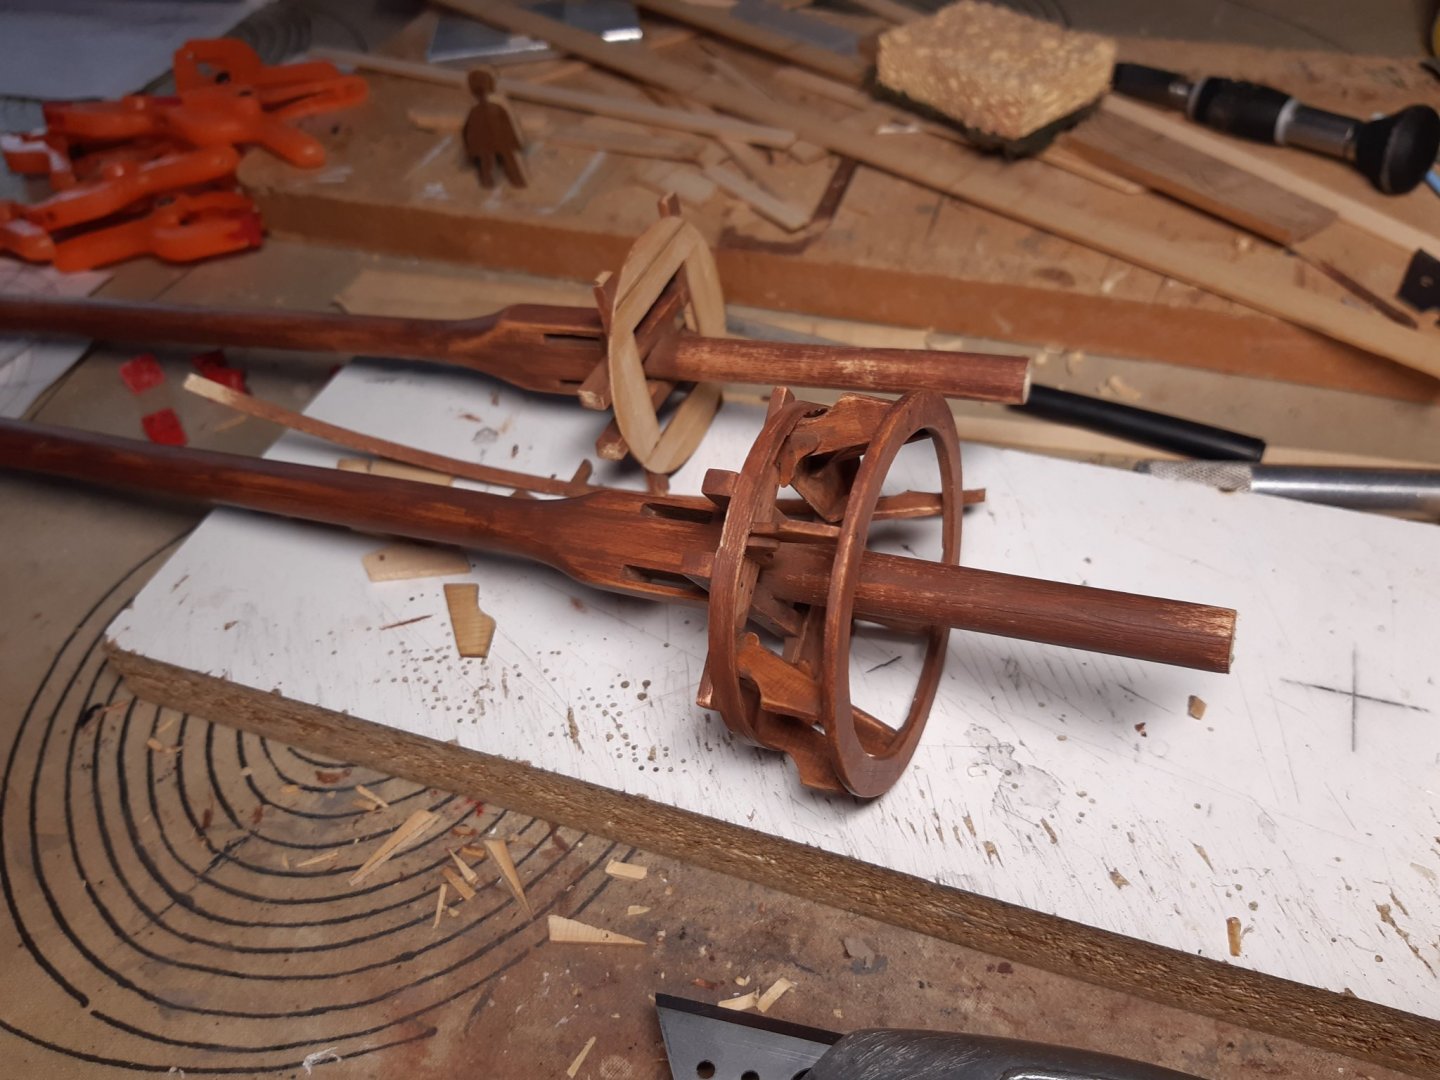
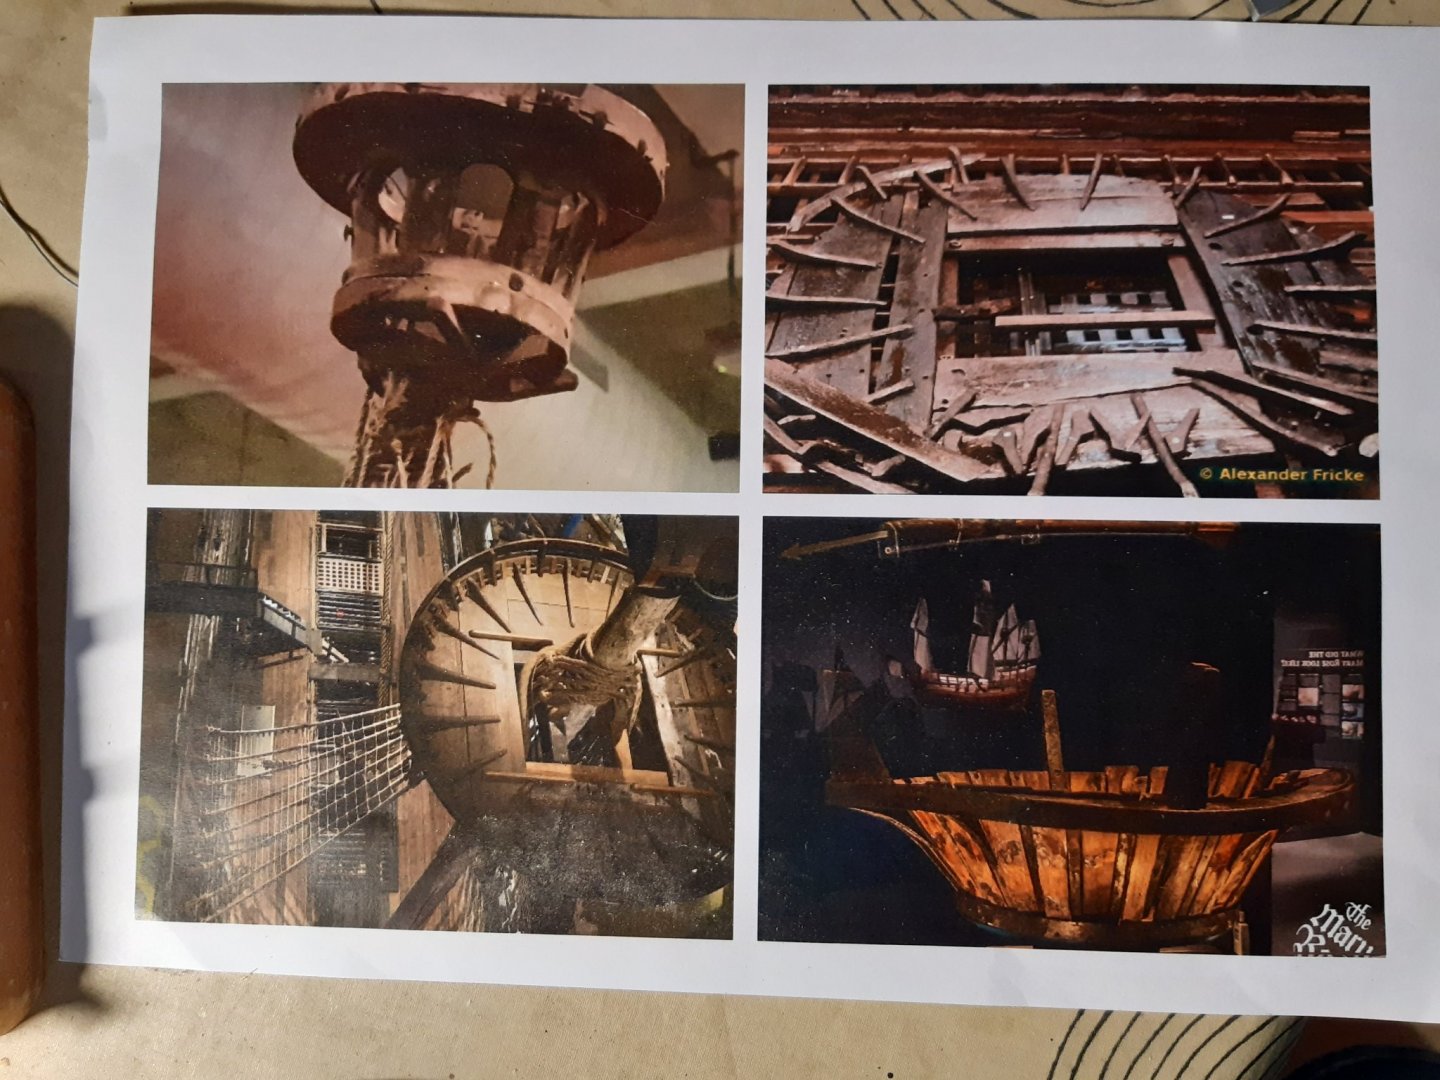
Continue with the construction of the mastops. This is more thinking time than construction time. The intention is to make something with these as examples. (Start at the top left clockwise Mataro model, Vasa, Mary Rose, Vasa) An uninvited guest at the shipyard ... Adding the main "supports" as on the Mary Rose. Making the "upper ring" from several planks Glue the ring to the supports. Still a lot to do Main mast top under construction, fore mast is following. Thanks for following.
- 756 replies
-
- 16
-
-
- galleon
- golden hind
- (and 2 more)
-
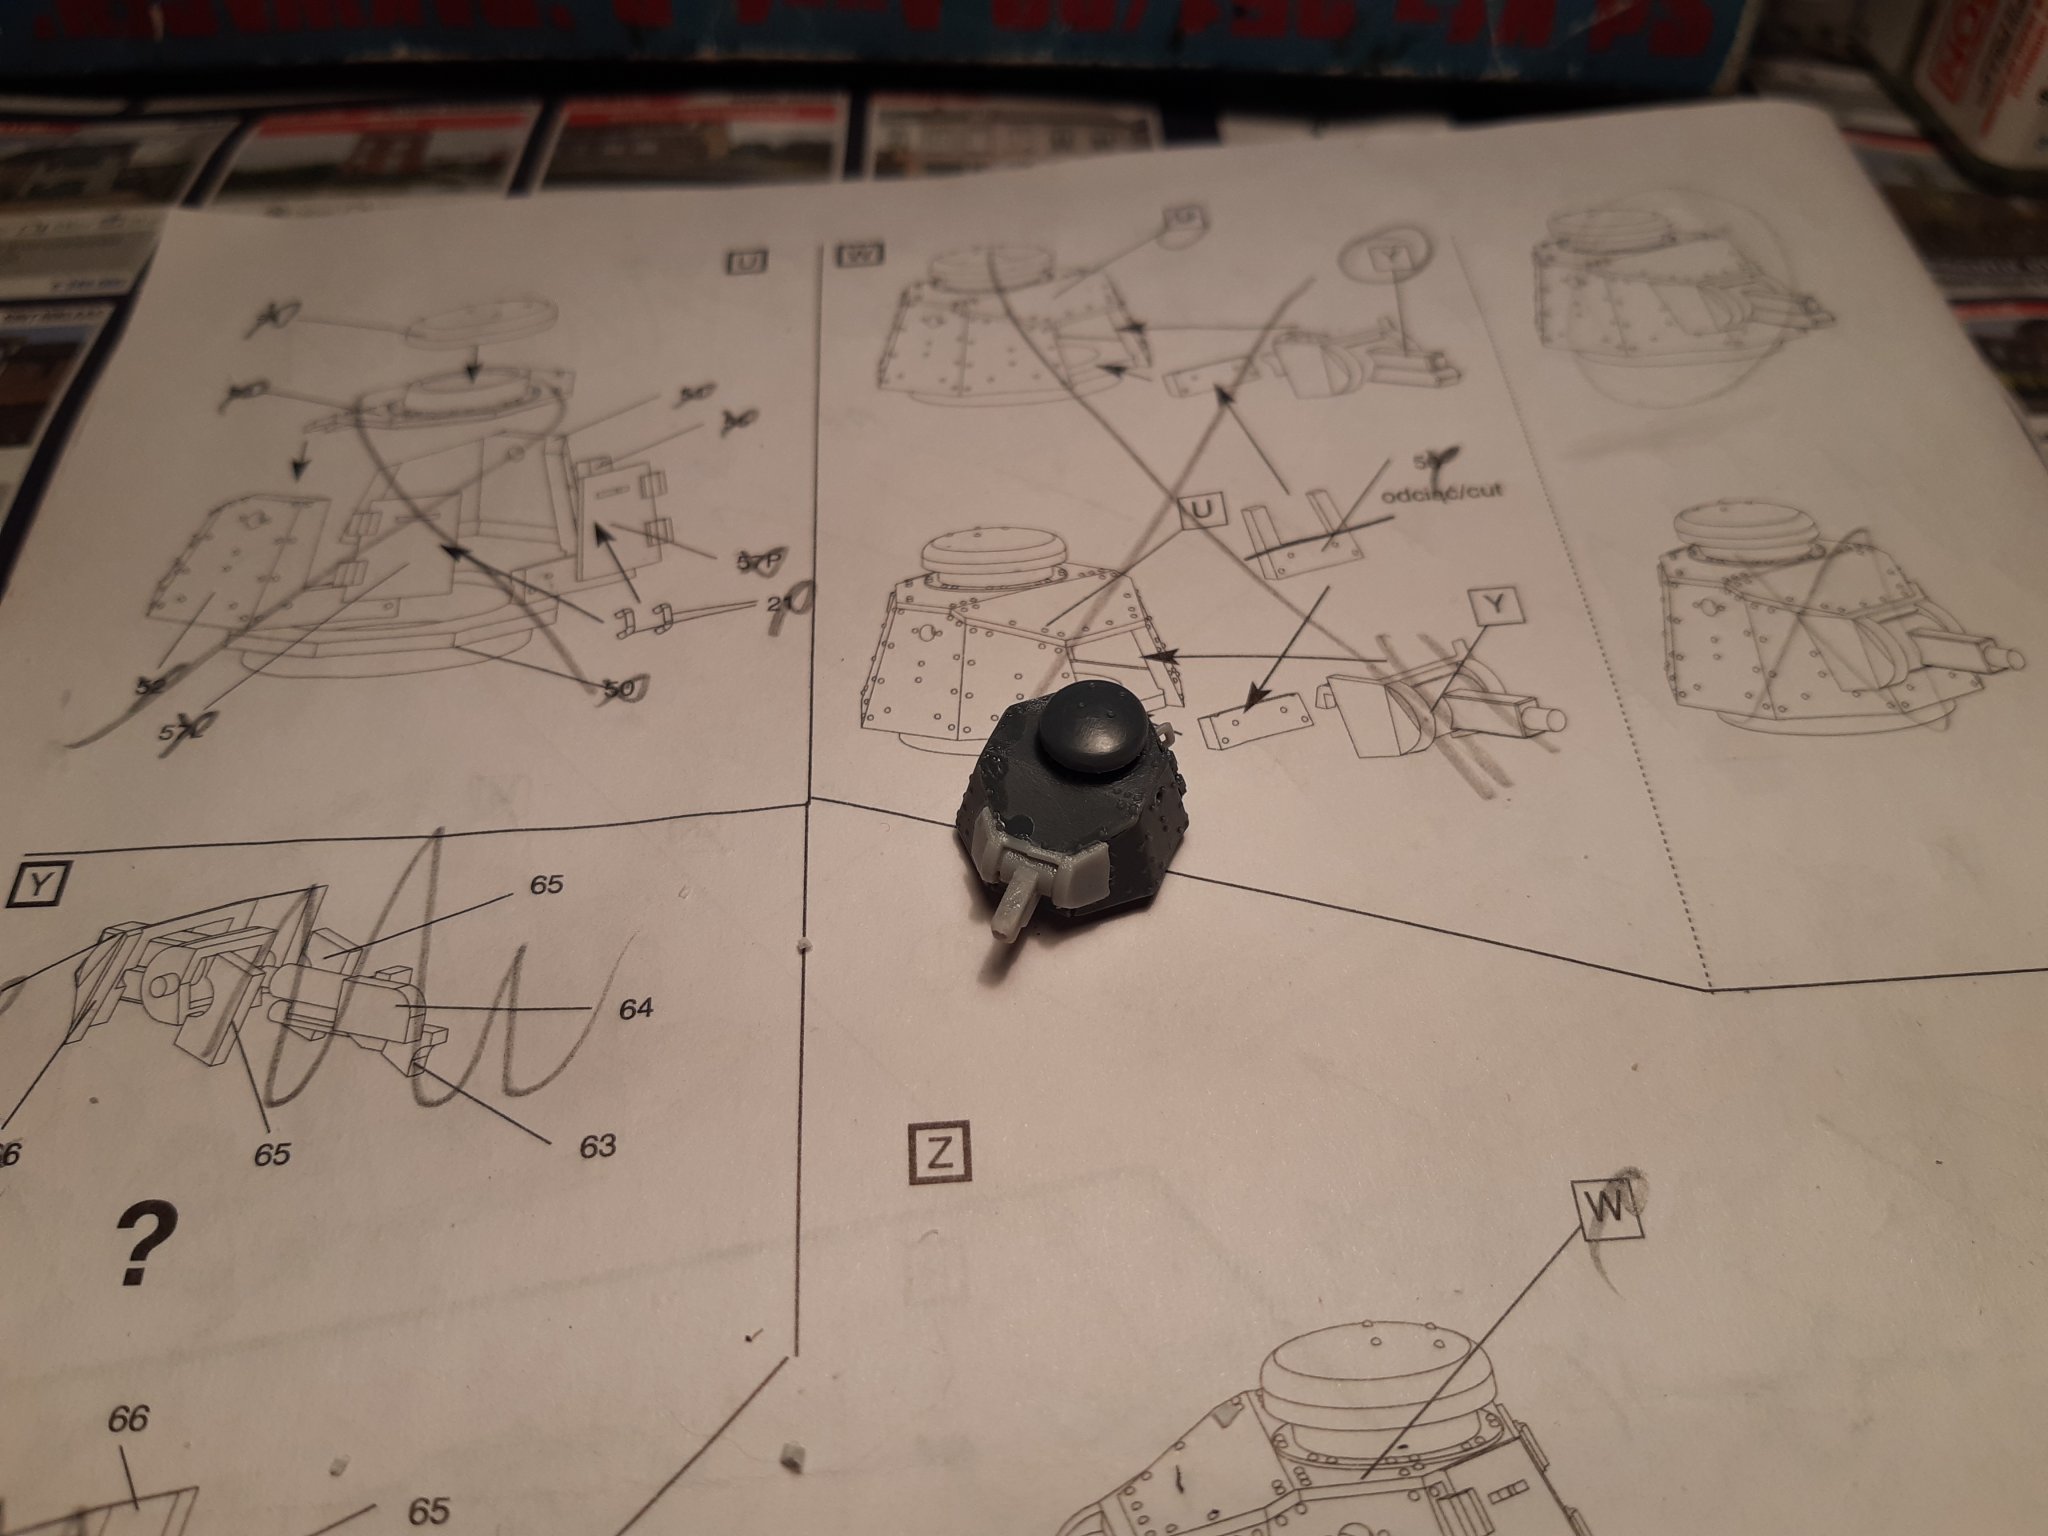
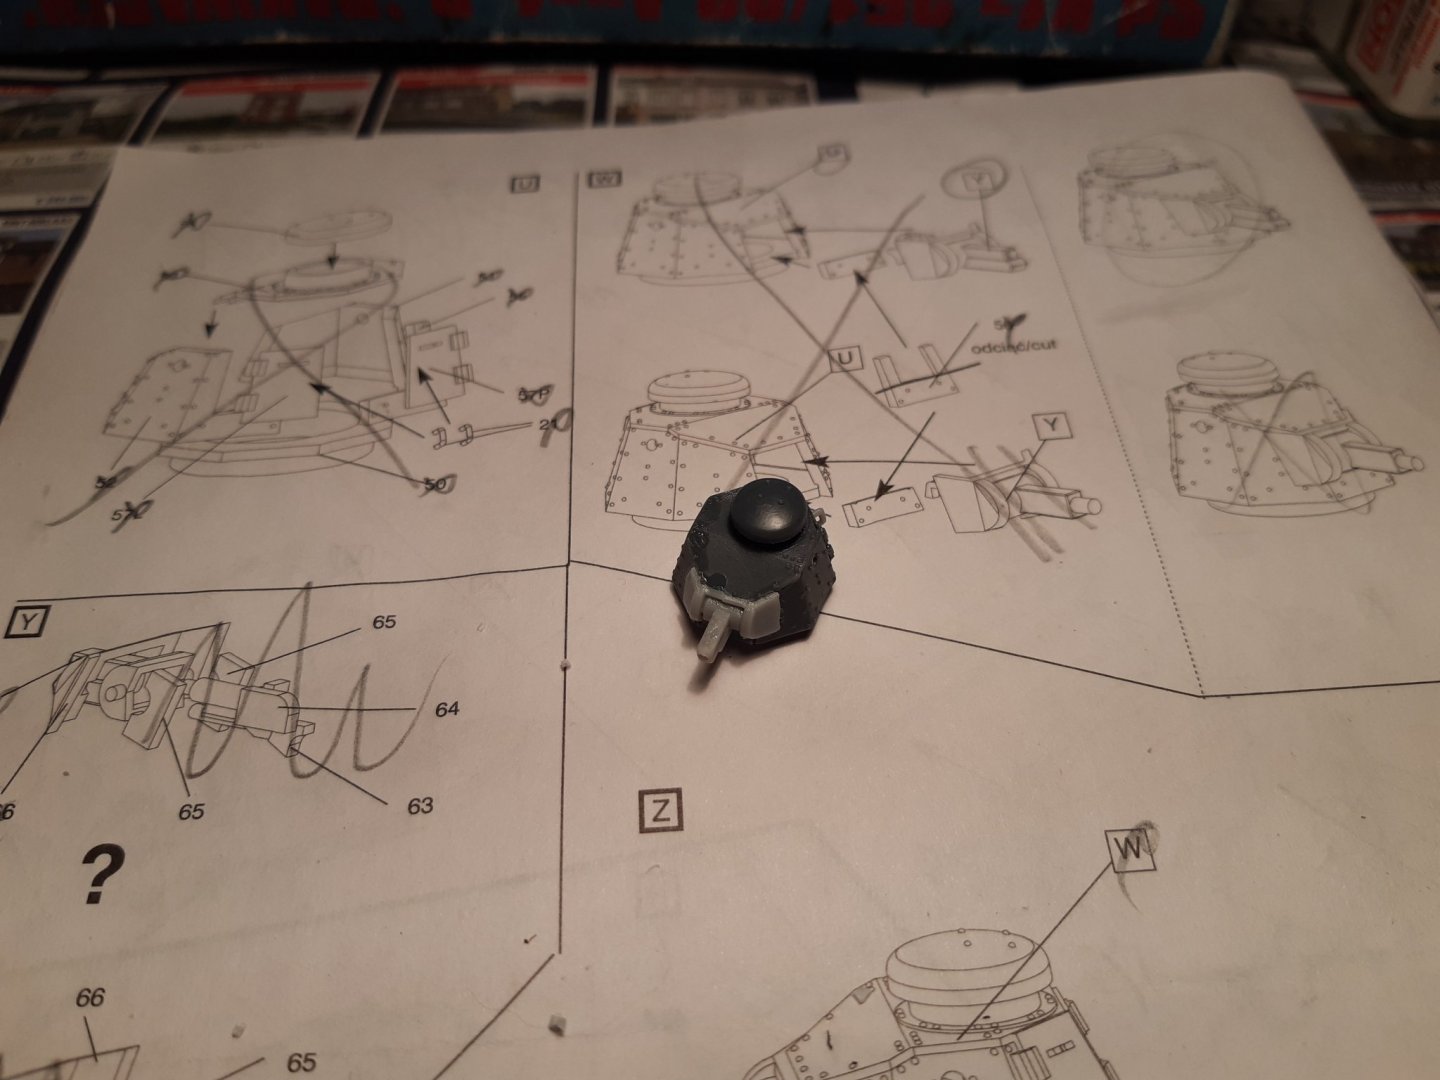
Building the turret (The smoke tank is with the 3.7cm cannon) Model and base plate. Ready for painting Painted in the base collors Thanks for following

-
-
-
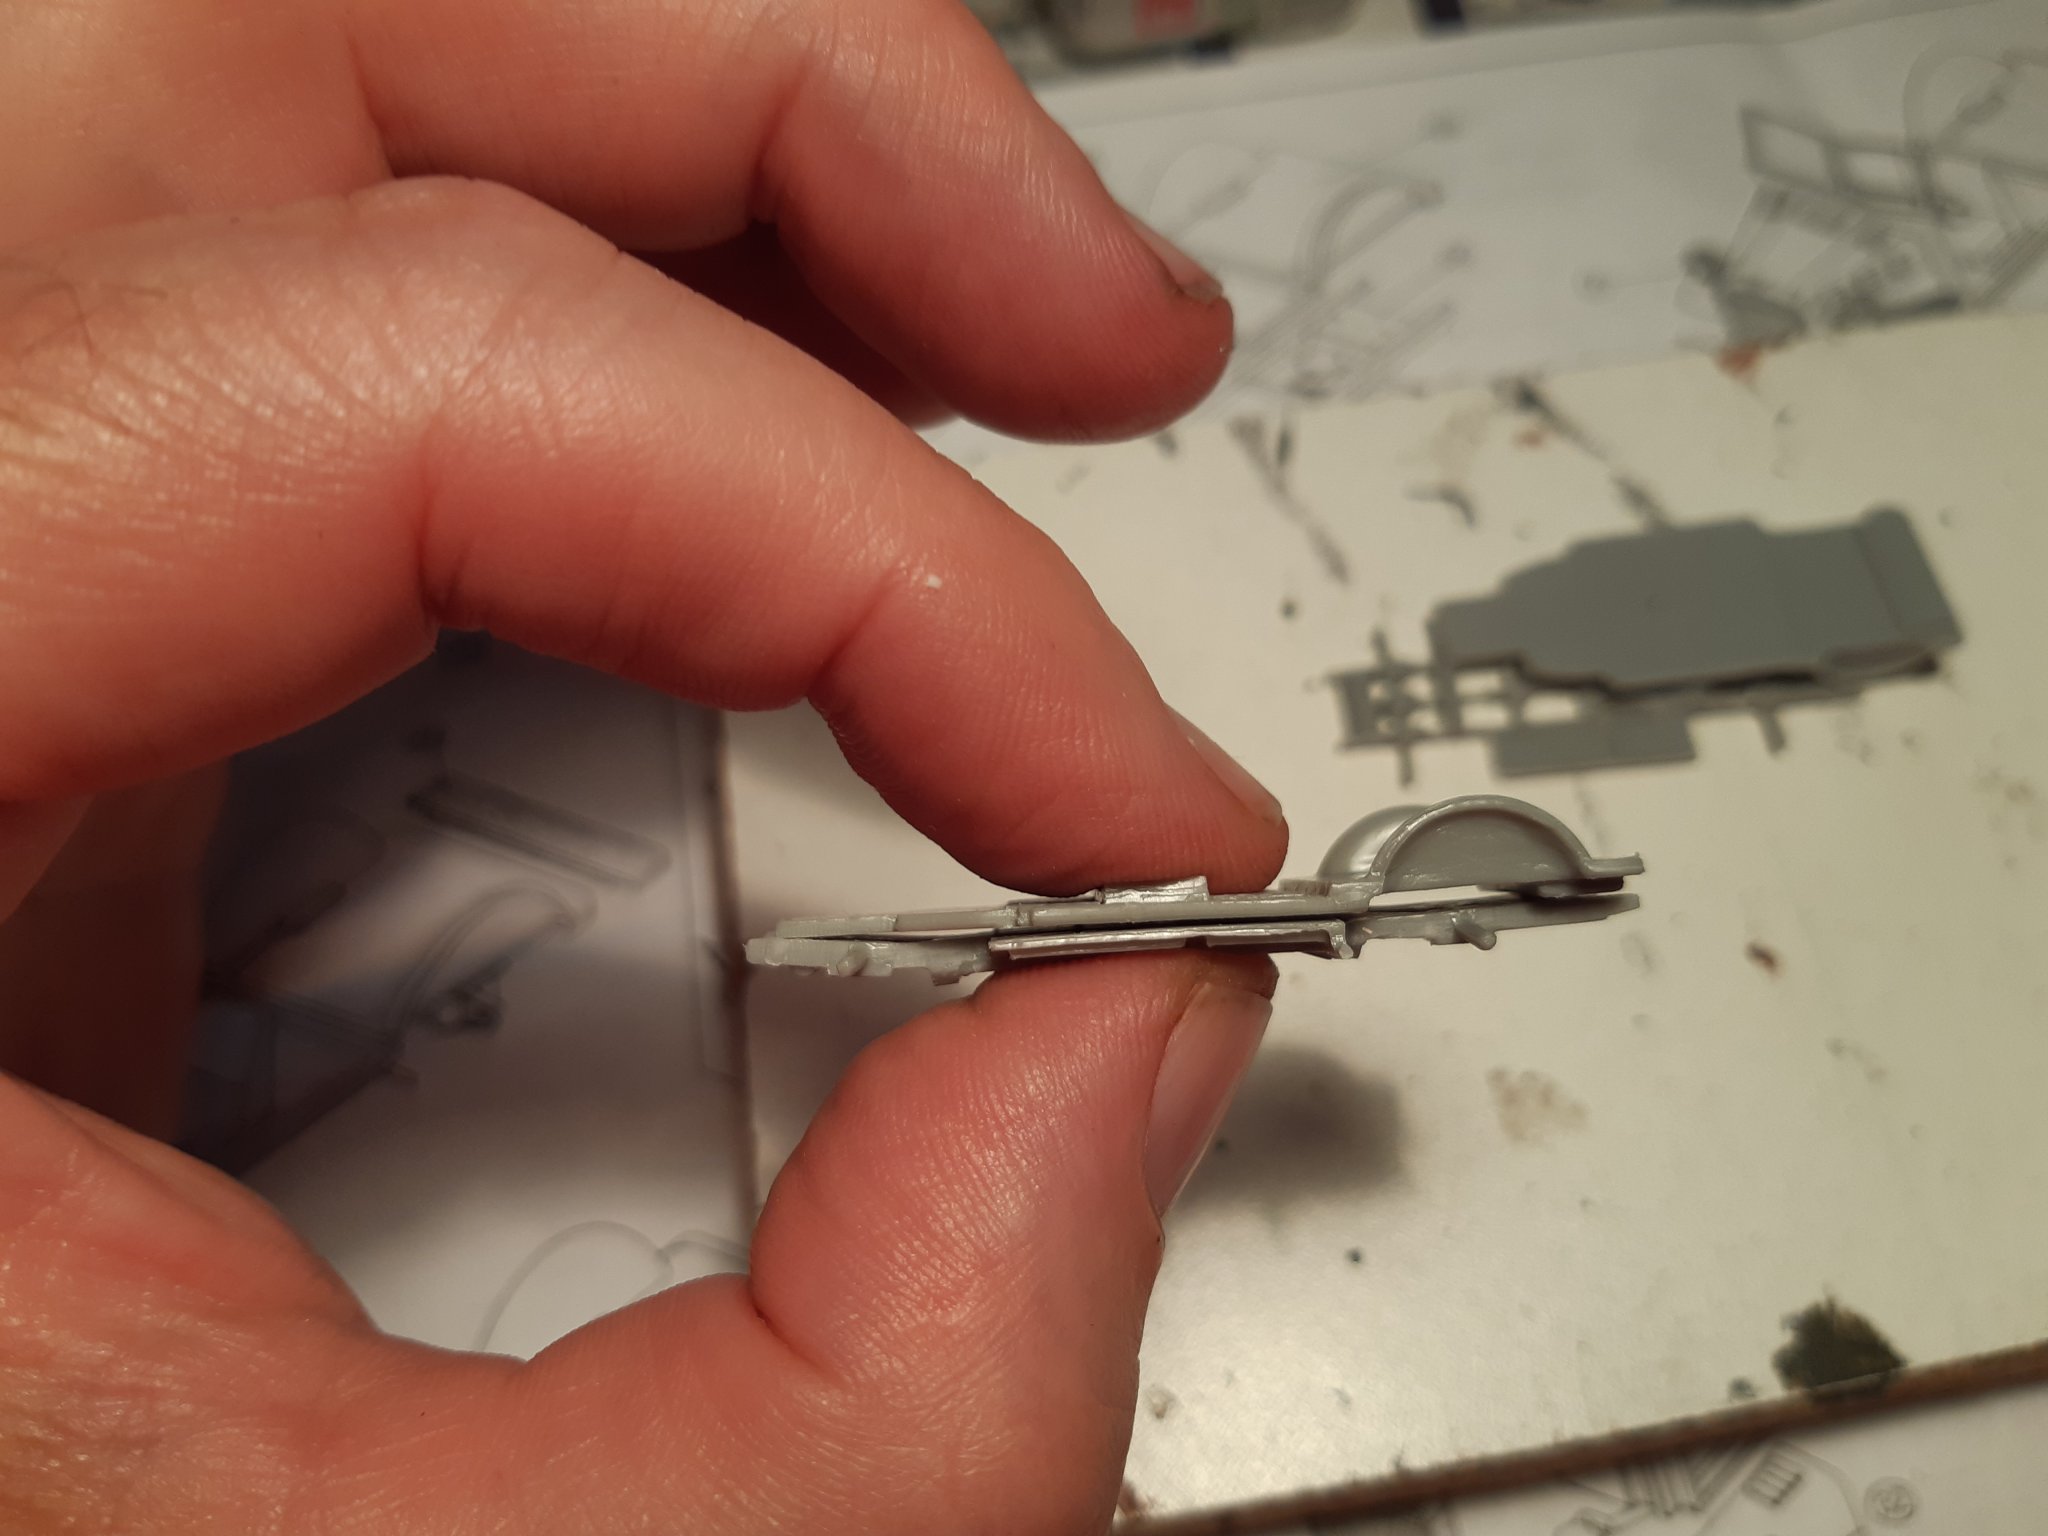
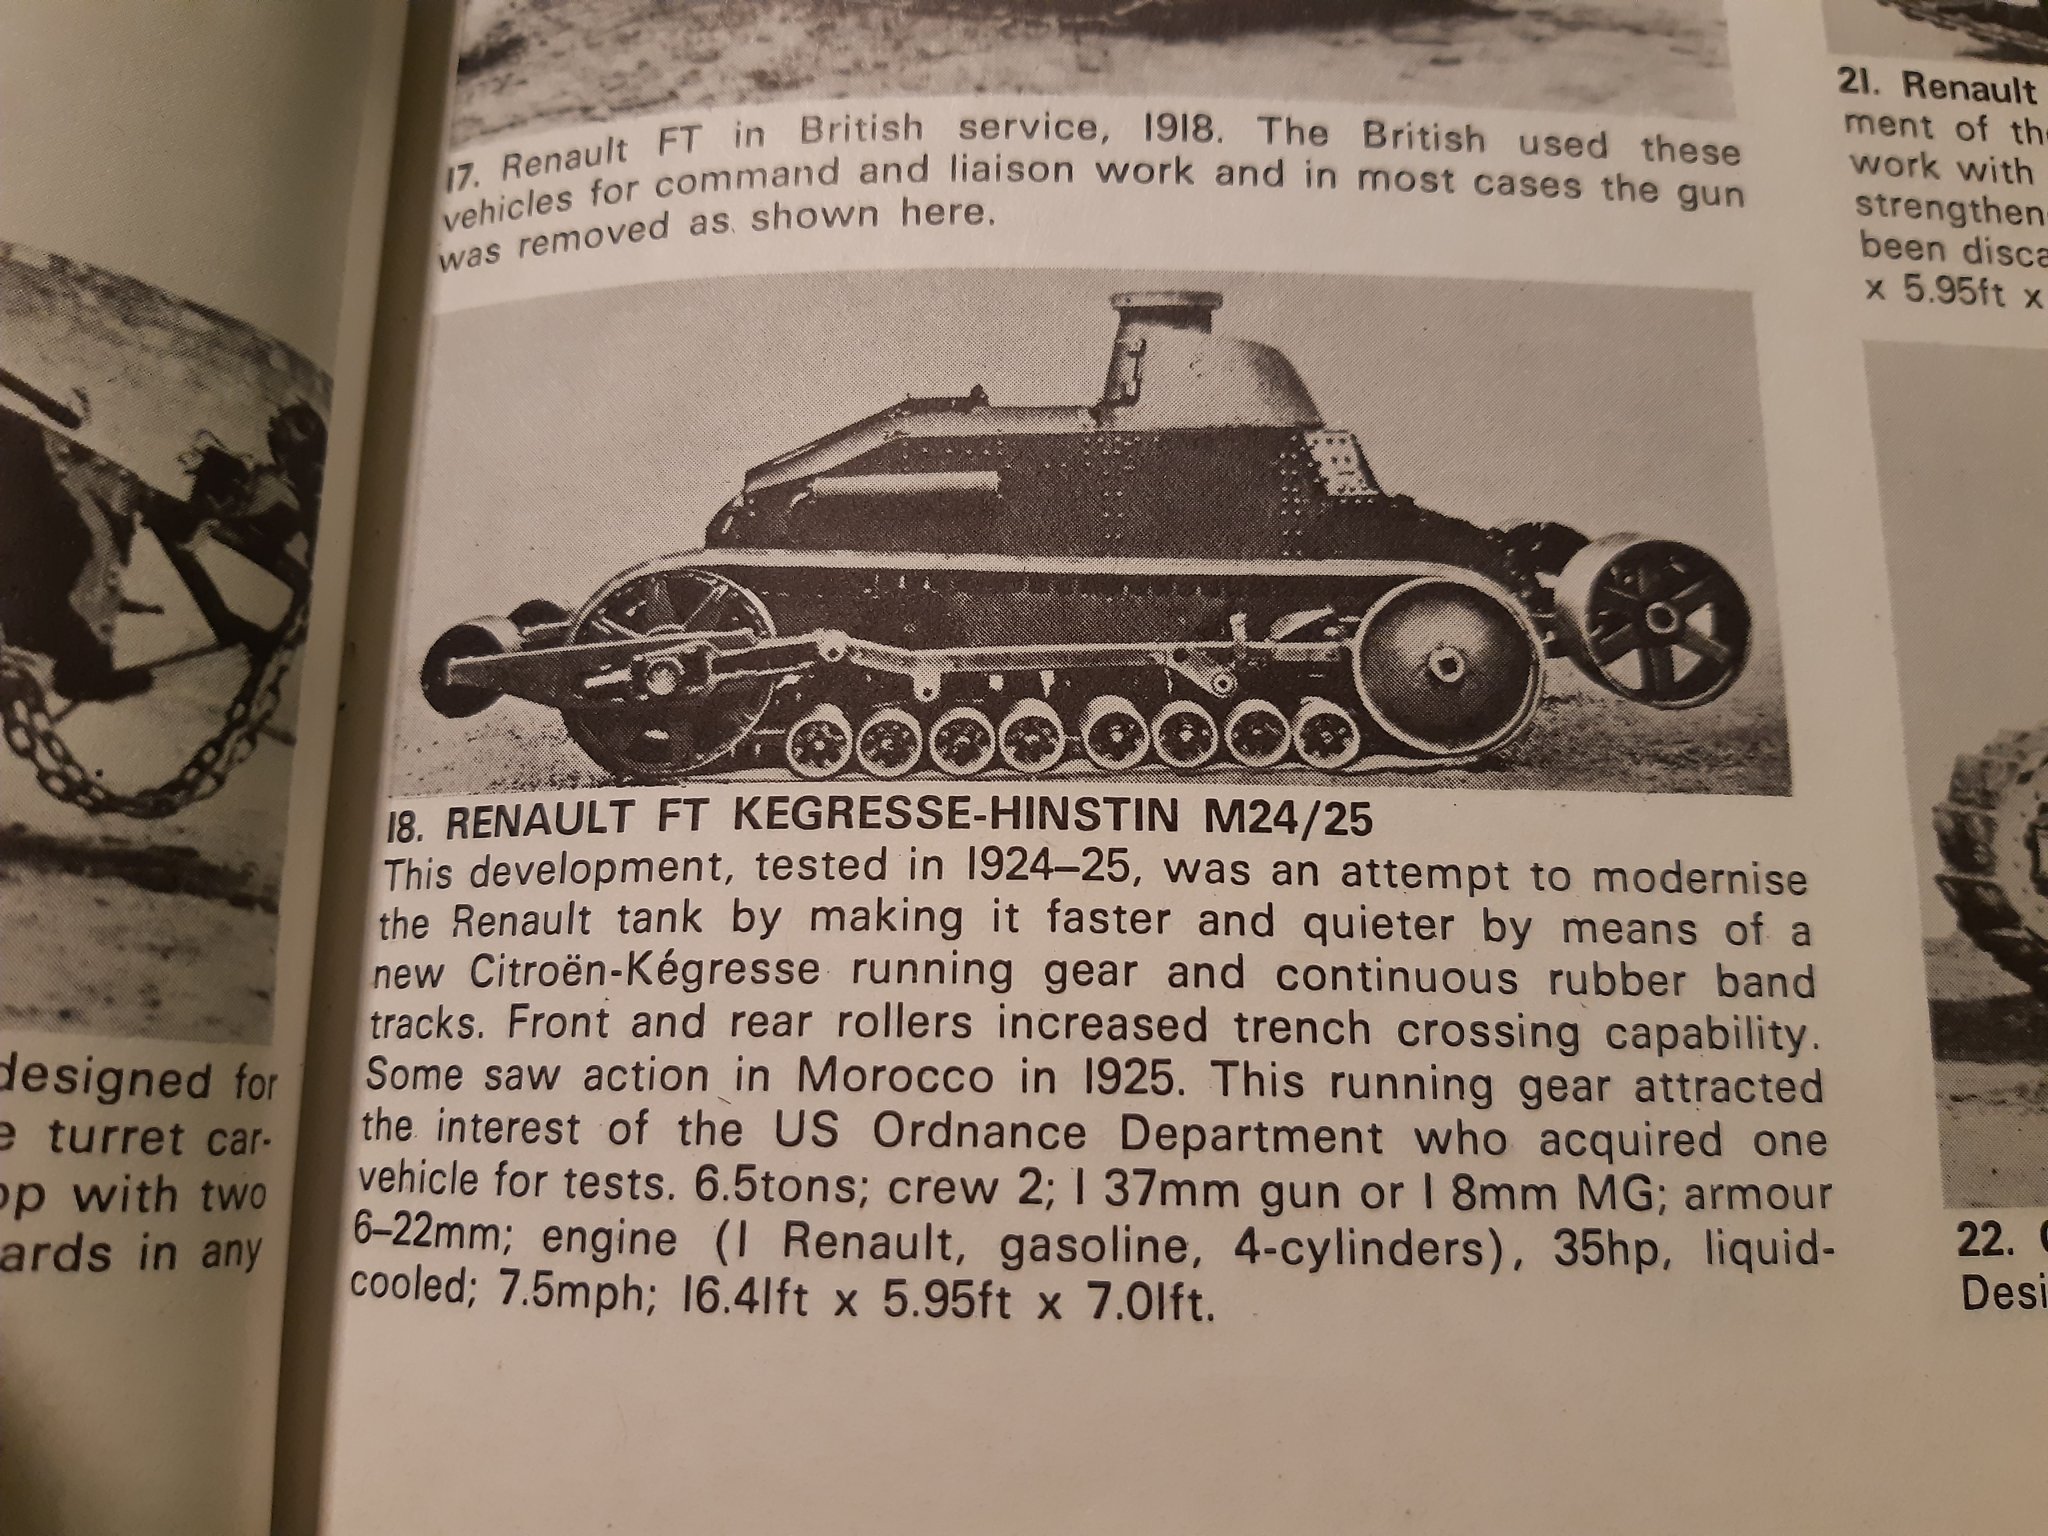
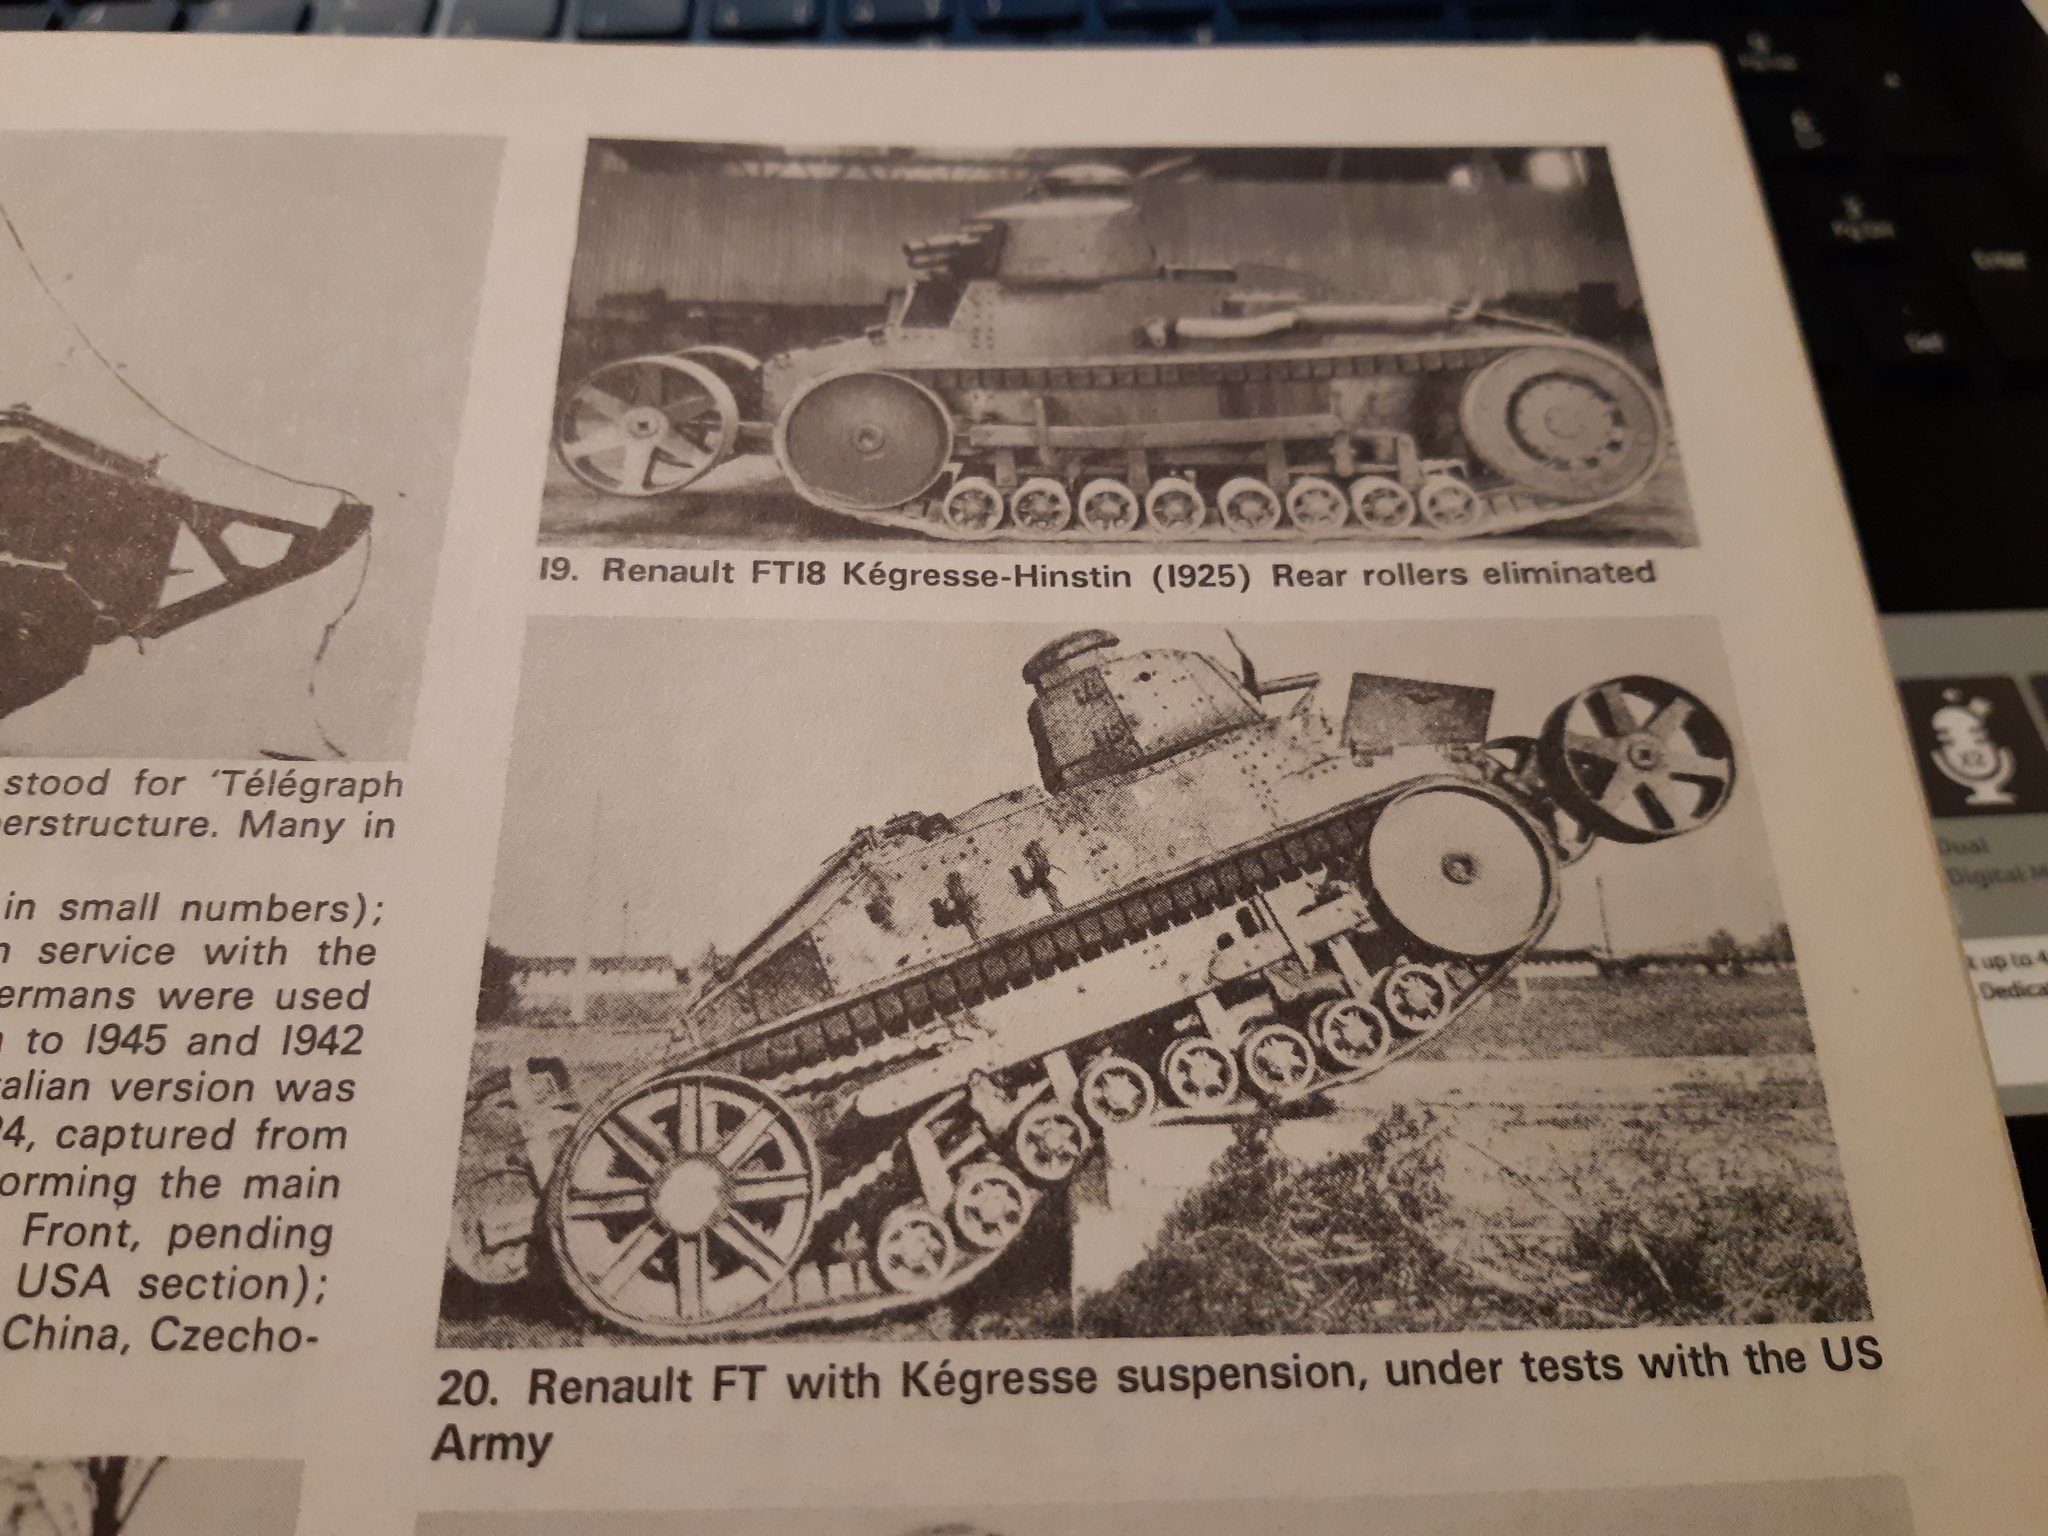
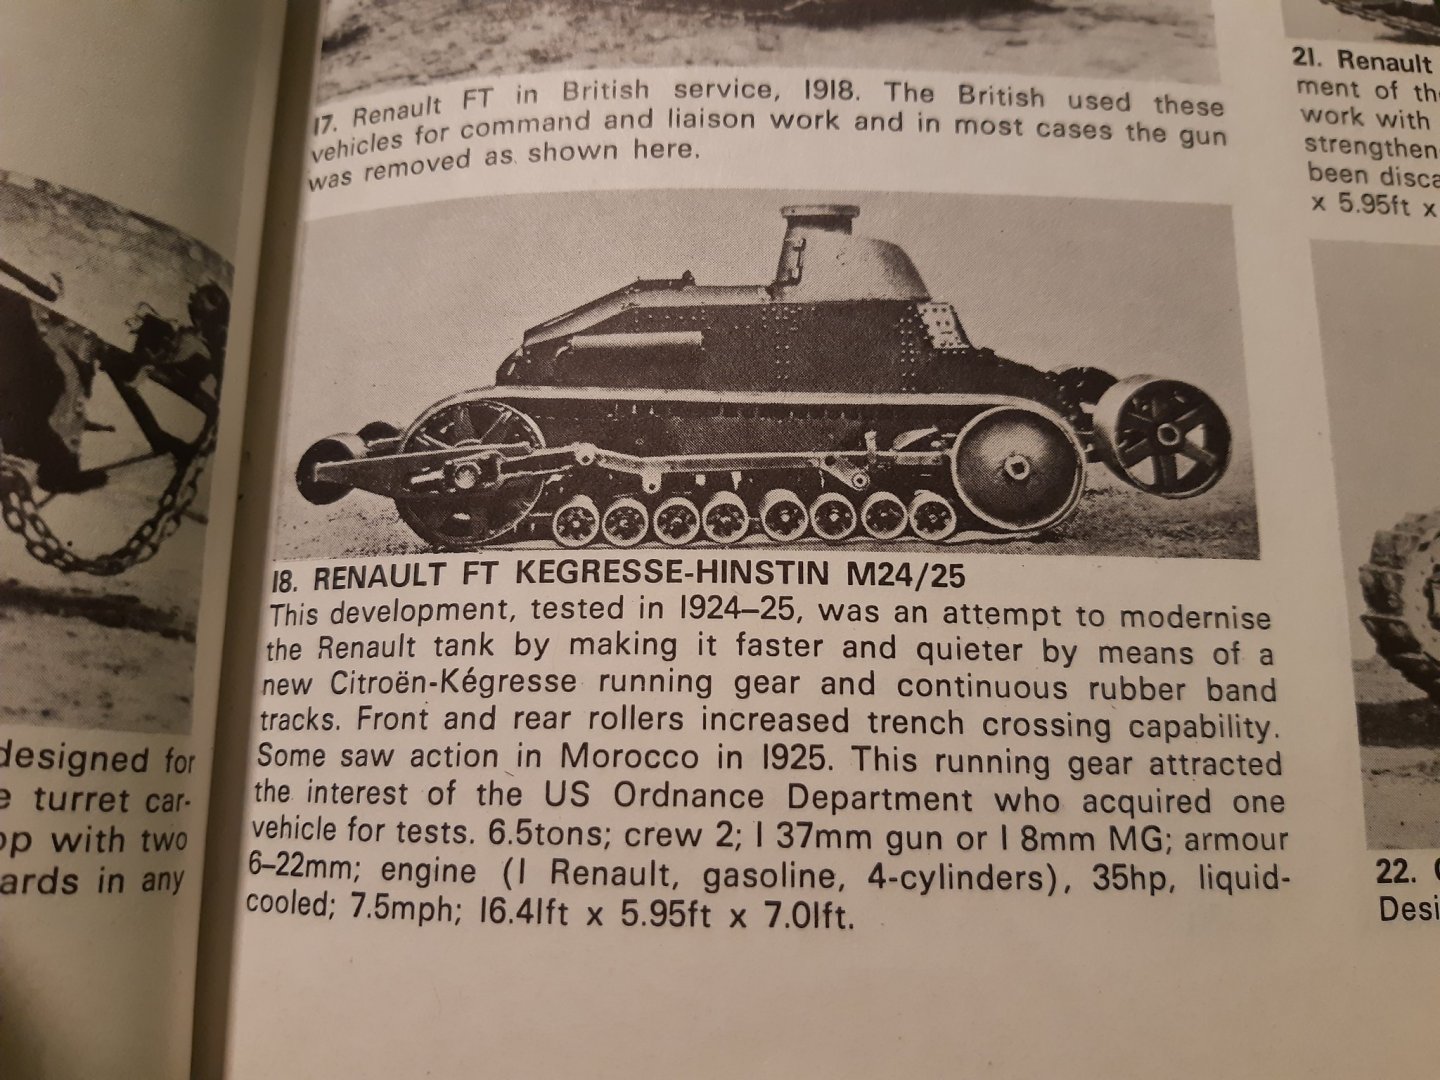
The original tracks of the FT17 (French) and the 6ton (US) were made of steel, no rubber parts Later, after WW1, some test models were made with a new wheel system and rubber "tracks".

-
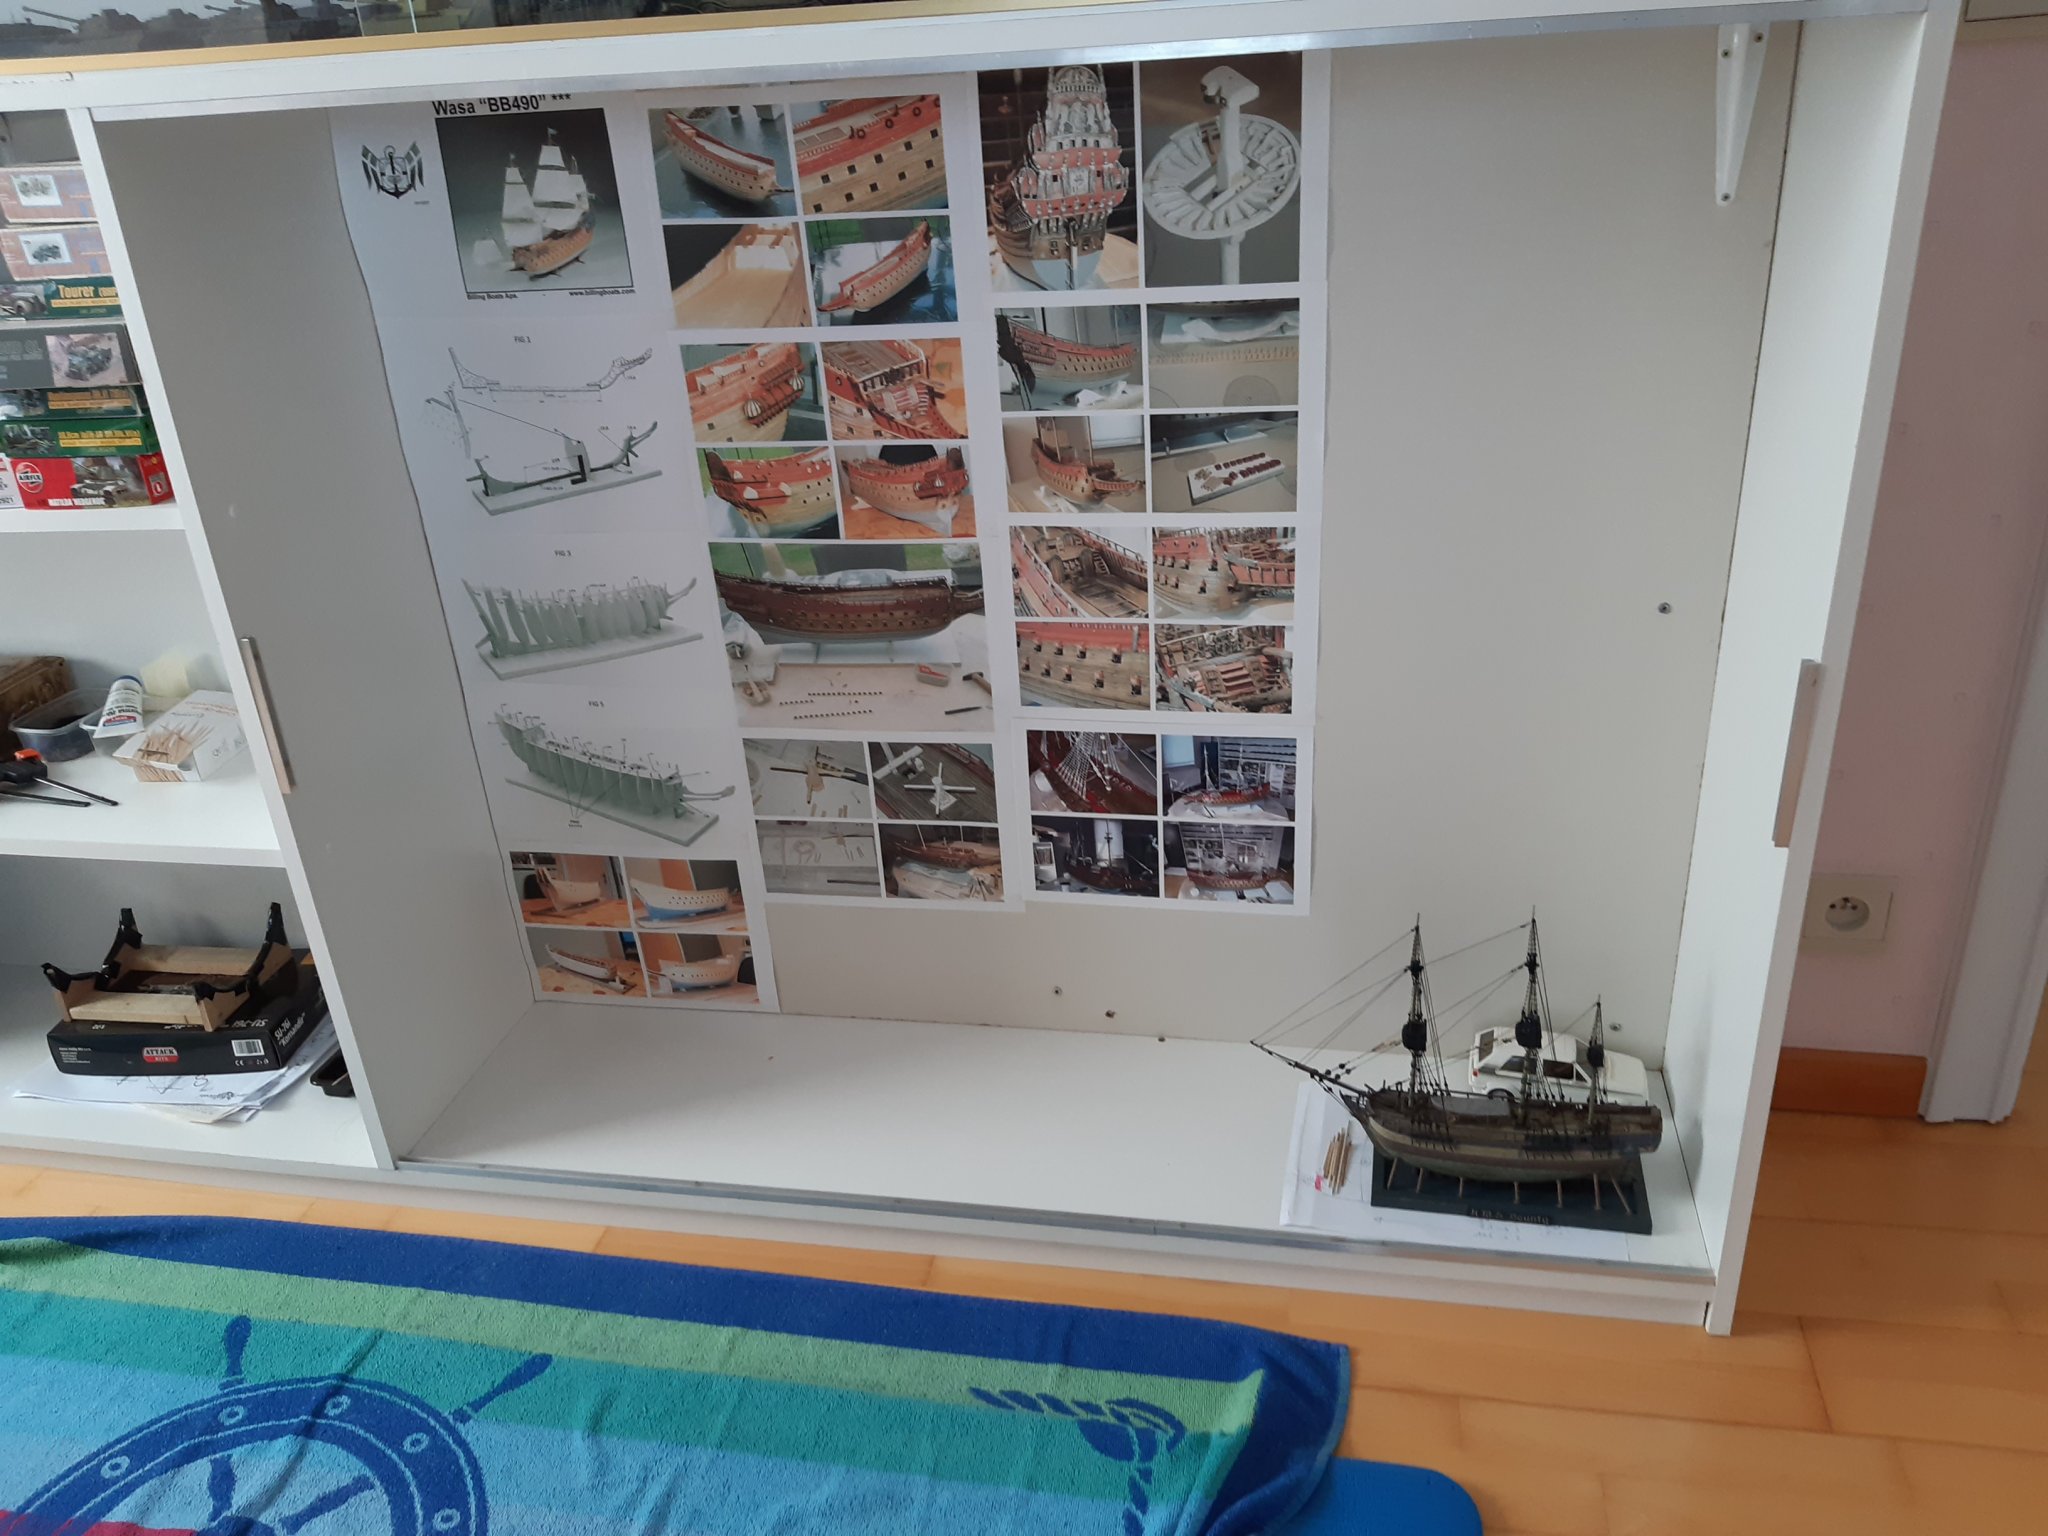
Today a major event. The very last update An empty space ?? Sold the Vasa model due to lack of space in the hobby room (And once a ship model is finished, I lose my interest in it) This model was a very educational experience. Had a lot of fun , and even made money on it. Maybe one day I'll build a second Vasa in scratch. Thanks for following this

- 63 replies
-
- 2
-
-
- vasa
- billing boats
- (and 1 more)
-
Well done, congrats 👍
-
The way to join the ends of these tracks is quite fragile indeed. Much depends on the quality of the rubber. I usually glue them directly to the wheels with CA, and cut them to the correct length at the end of the assembly
-
A beautiful little model. Great work Rodolfo