Baker
-
Posts
4,299 -
Joined
-
Last visited
Content Type
Profiles
Forums
Gallery
Events
Everything posted by Baker
-
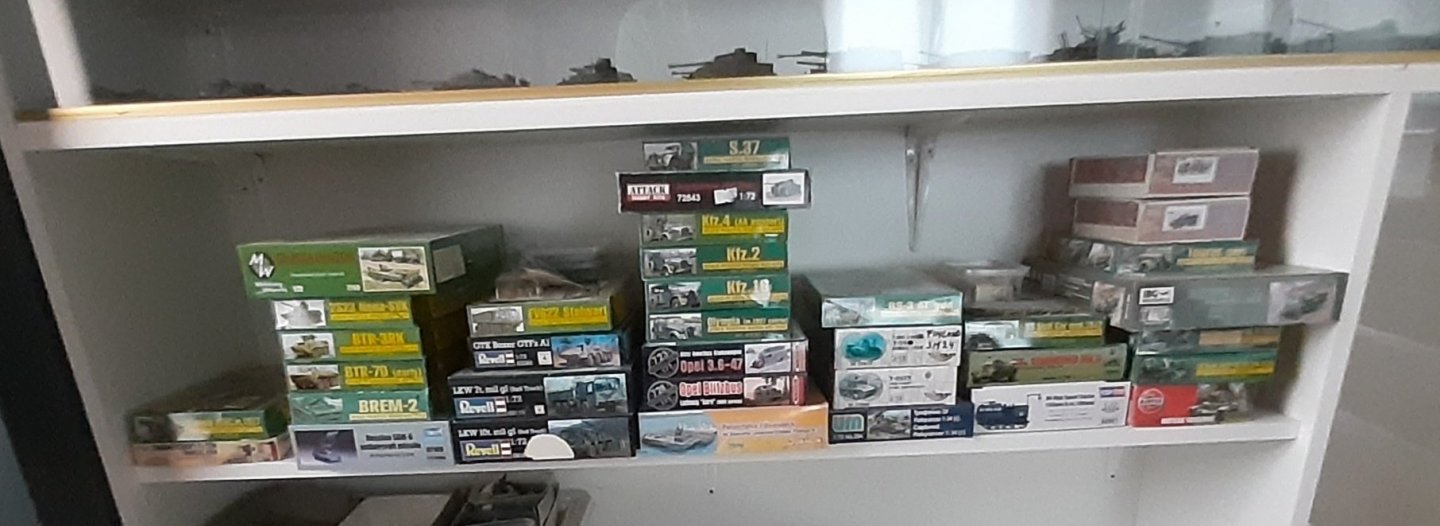
 Thanks, I'm going to borrow ft17s from the french army 😉
 -
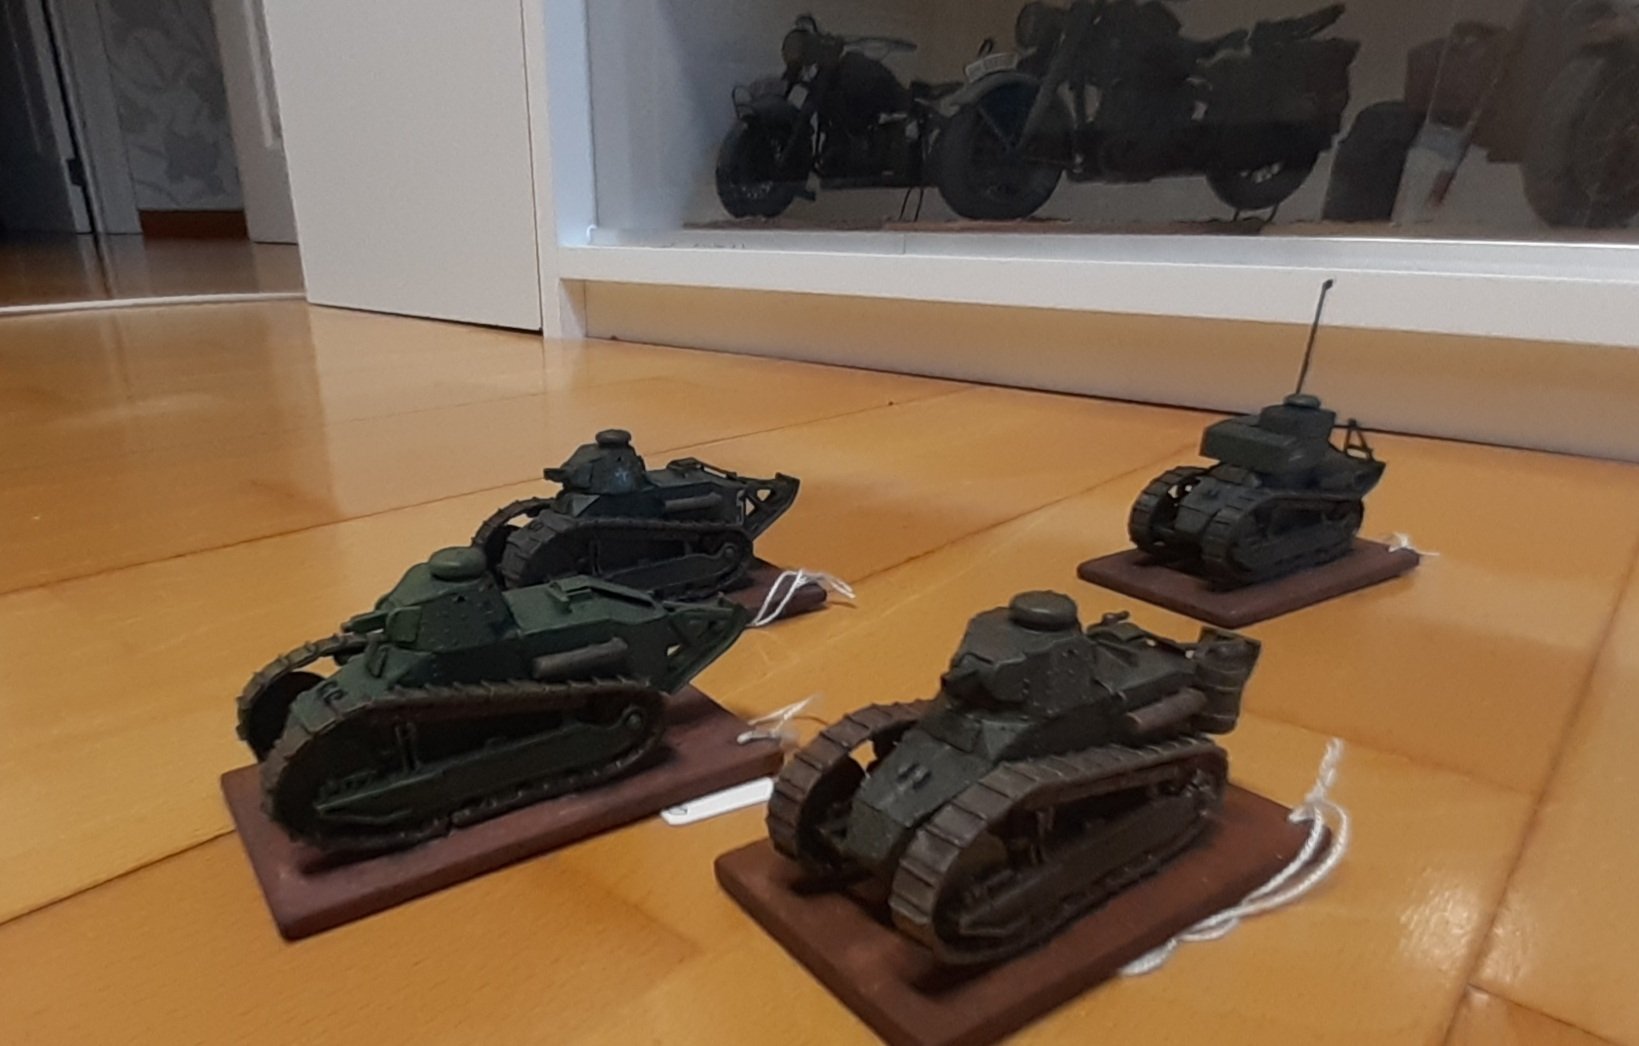
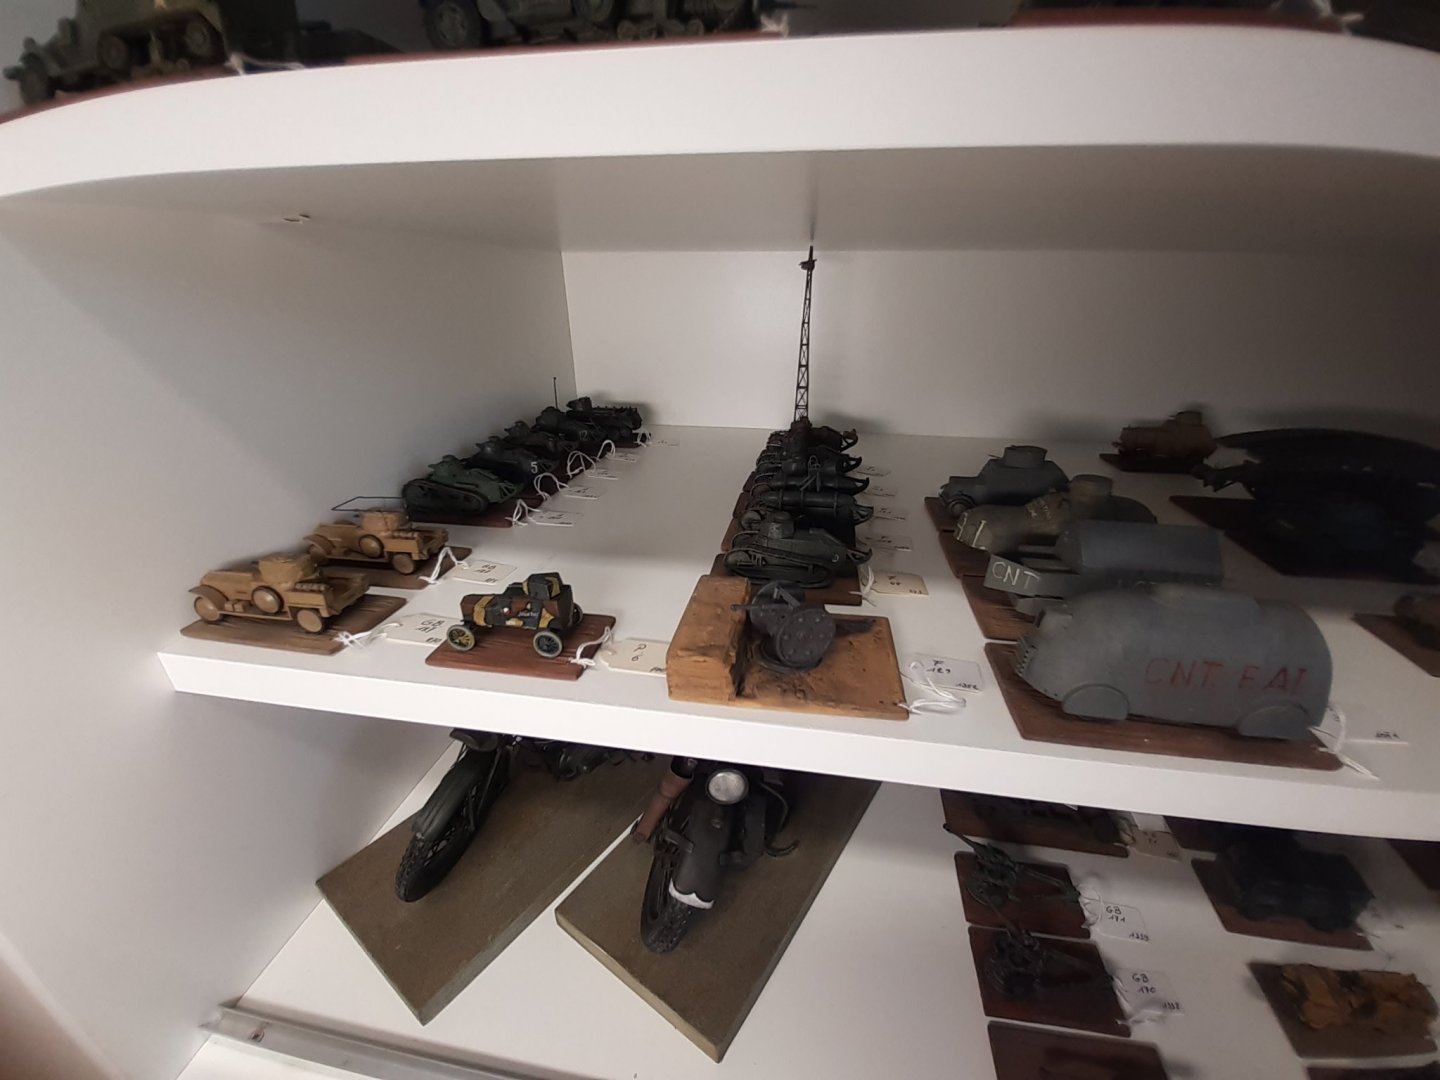
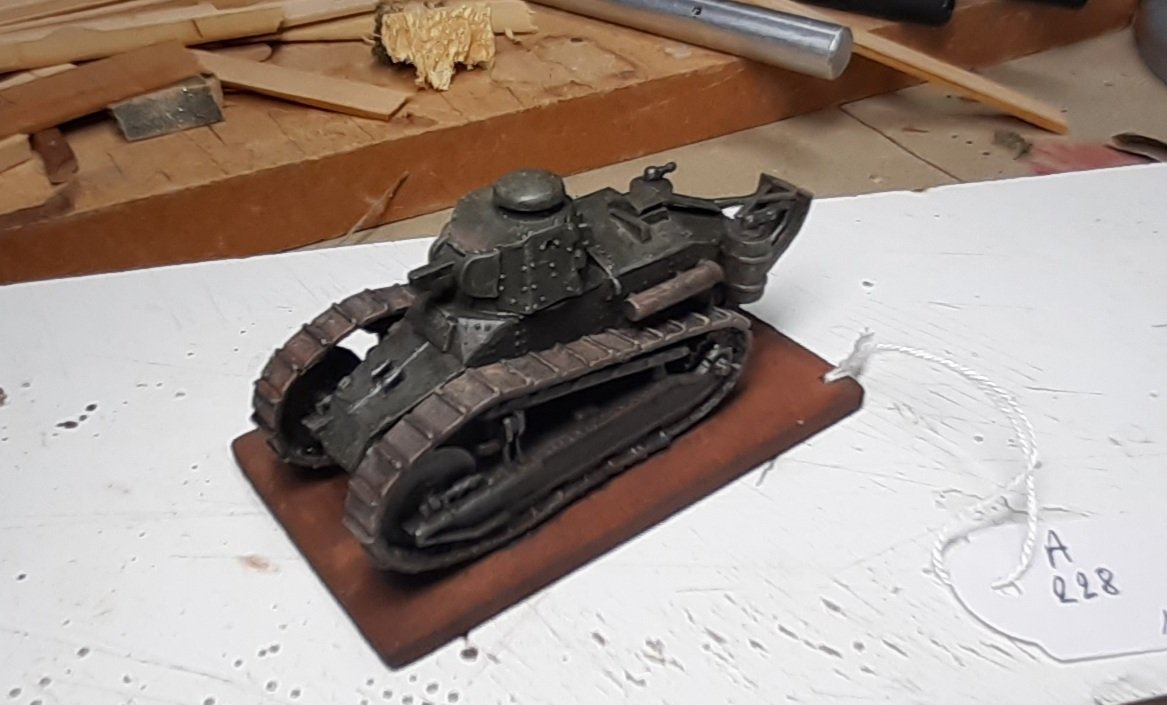
A productive day. Here and there a little pencil and the little smoke tank is ready Armored attack group Three 6 ton tanks at the front and a signal tank in the rear keeps in touch with headquarters (General Patton style ) the 1918-1940 corner what is next?? Thanks for following this build

- 27 replies
-
- 12
-

-
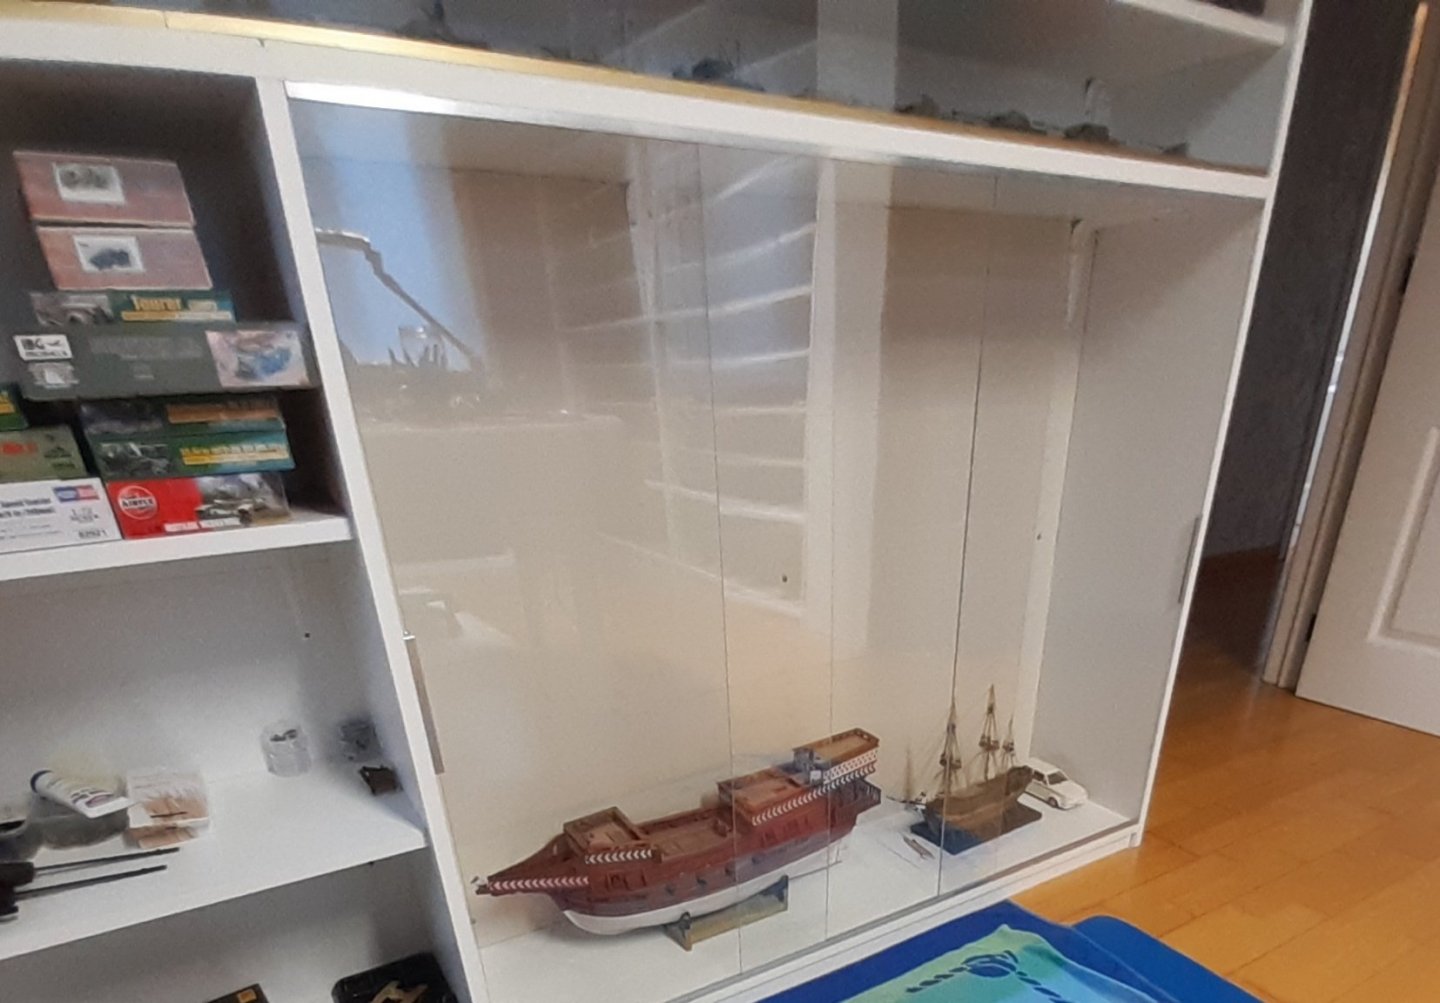
Thanks A Pelican and a Bounty in a "spider proof" area.
- 756 replies
-
- 10
-
-
- galleon
- golden hind
- (and 2 more)
-
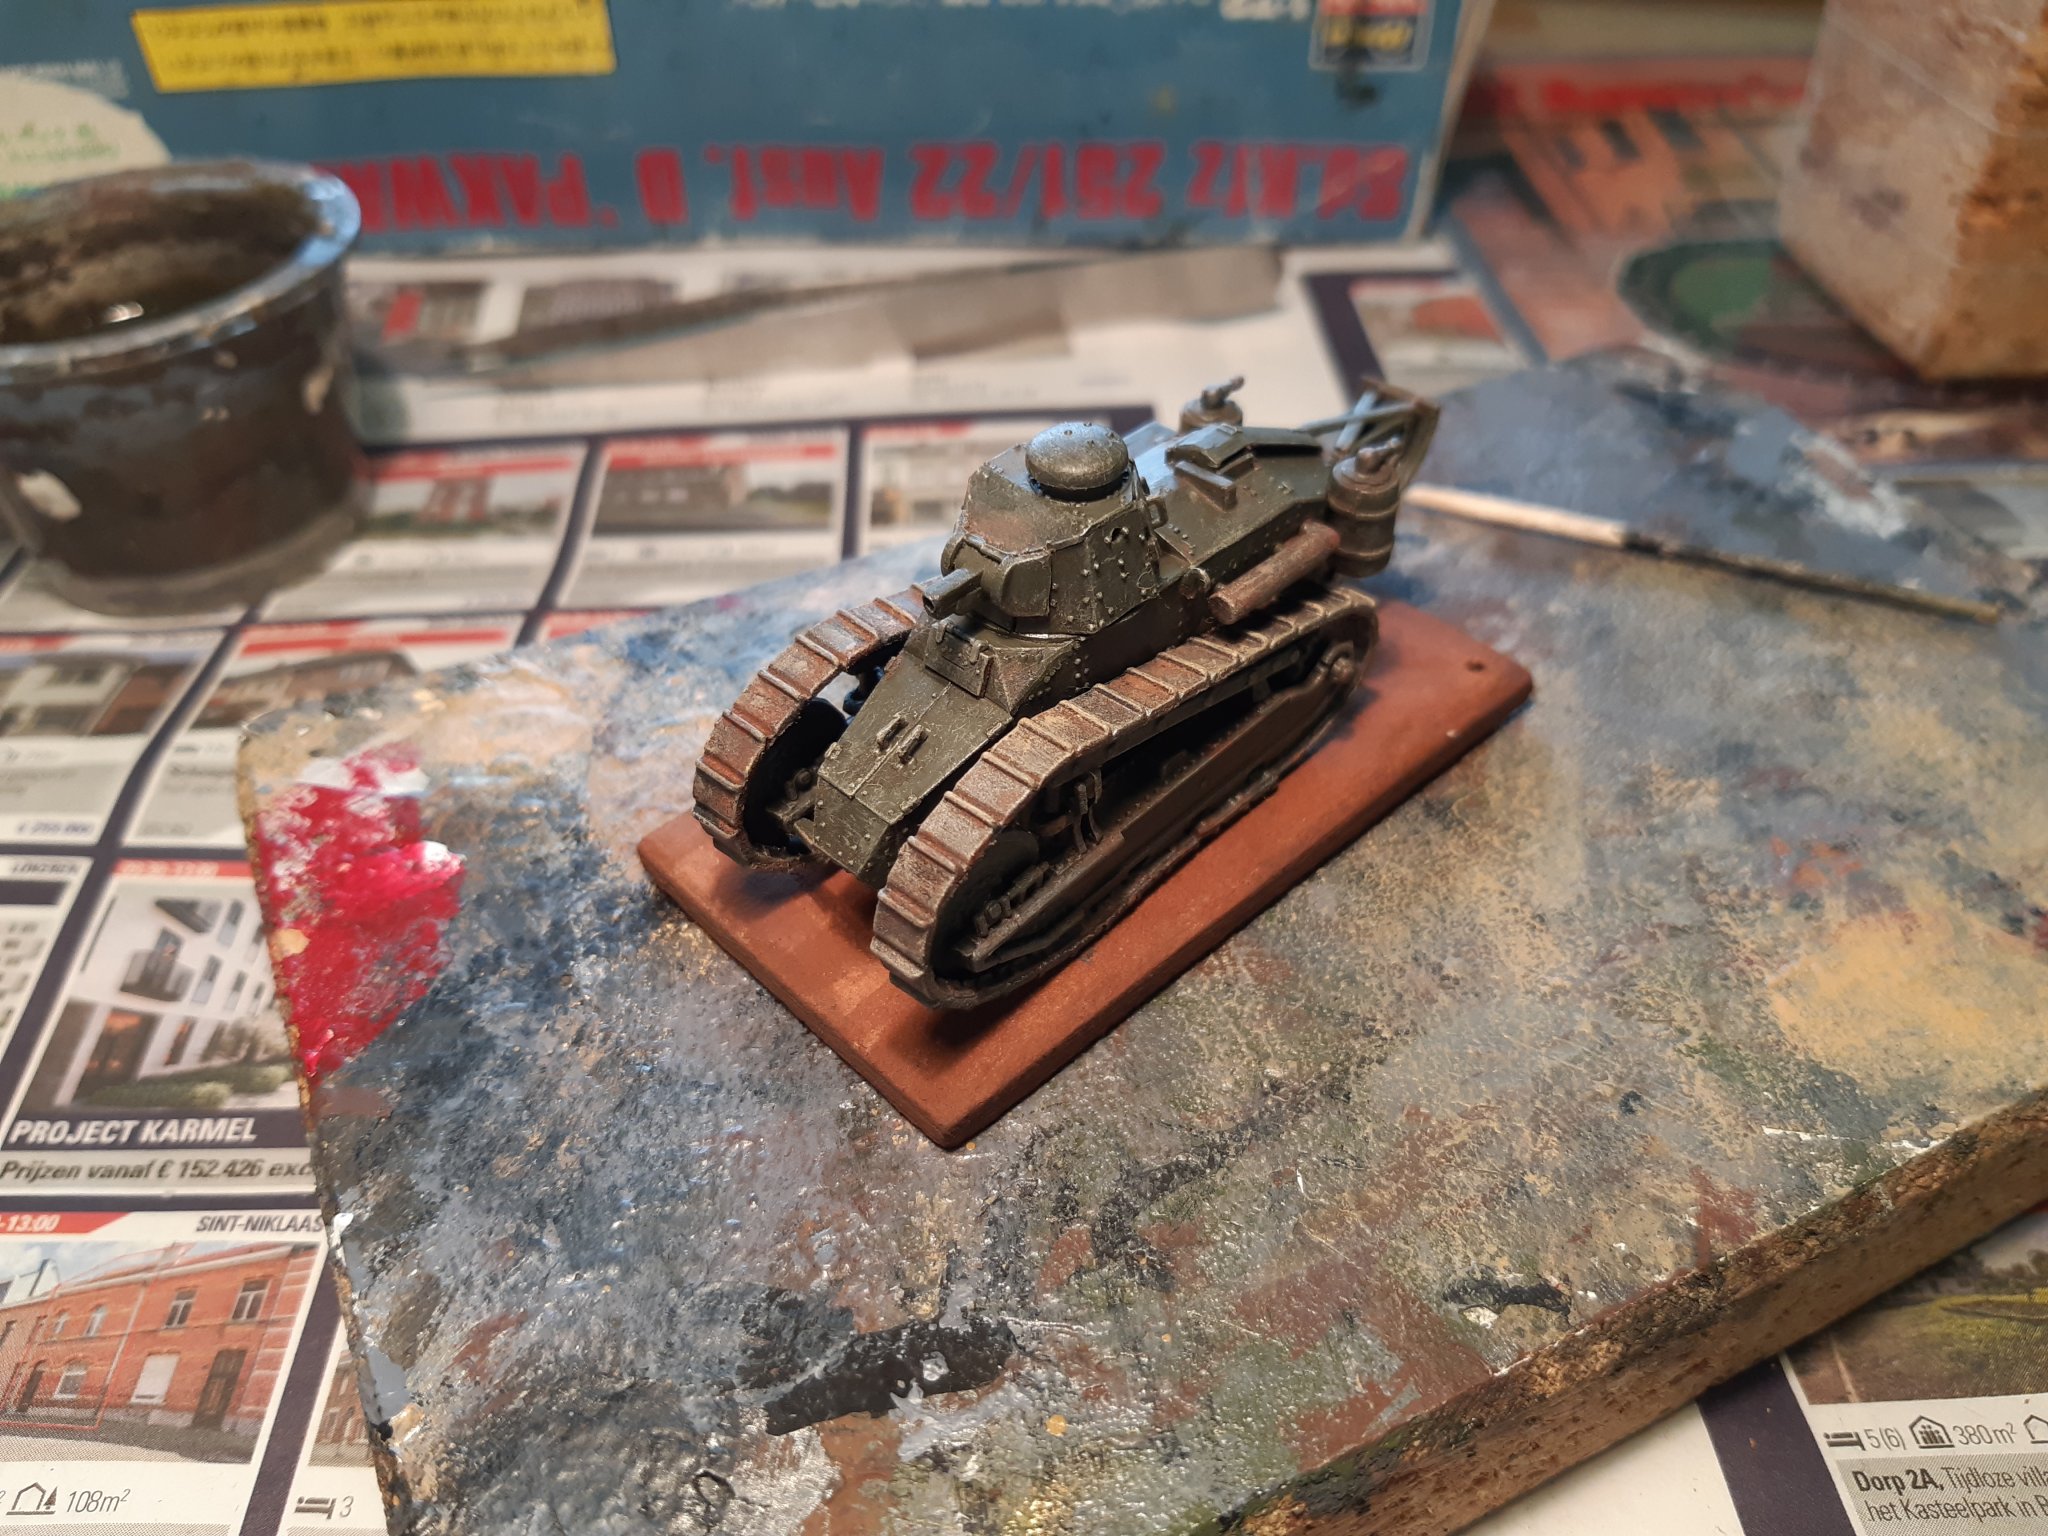
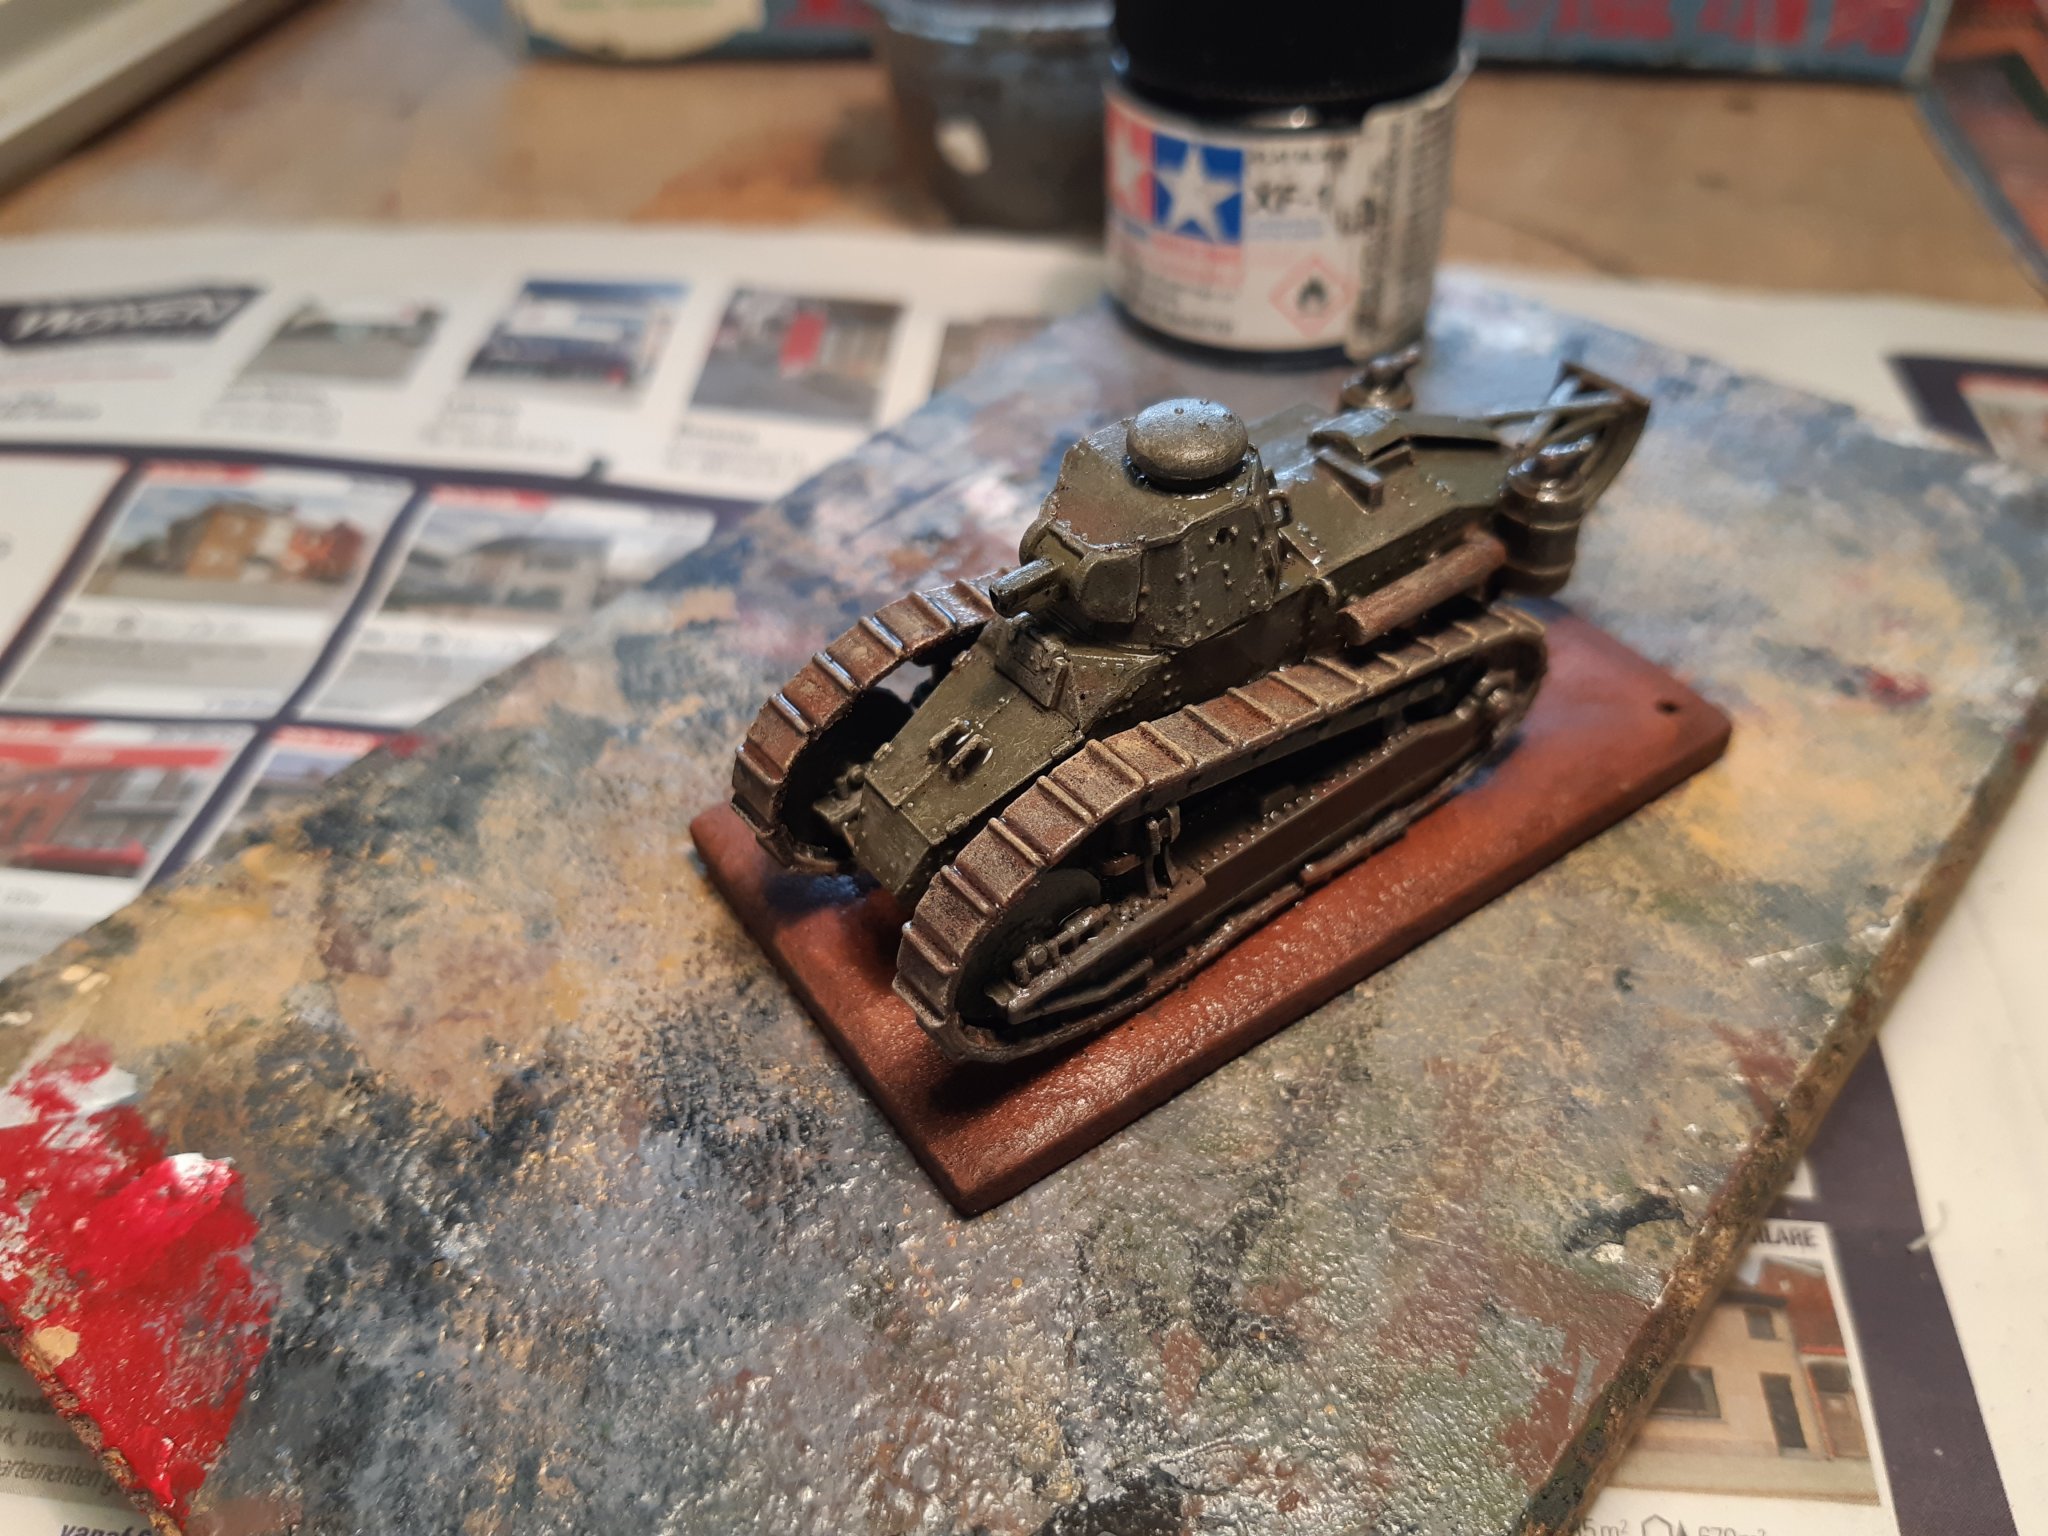
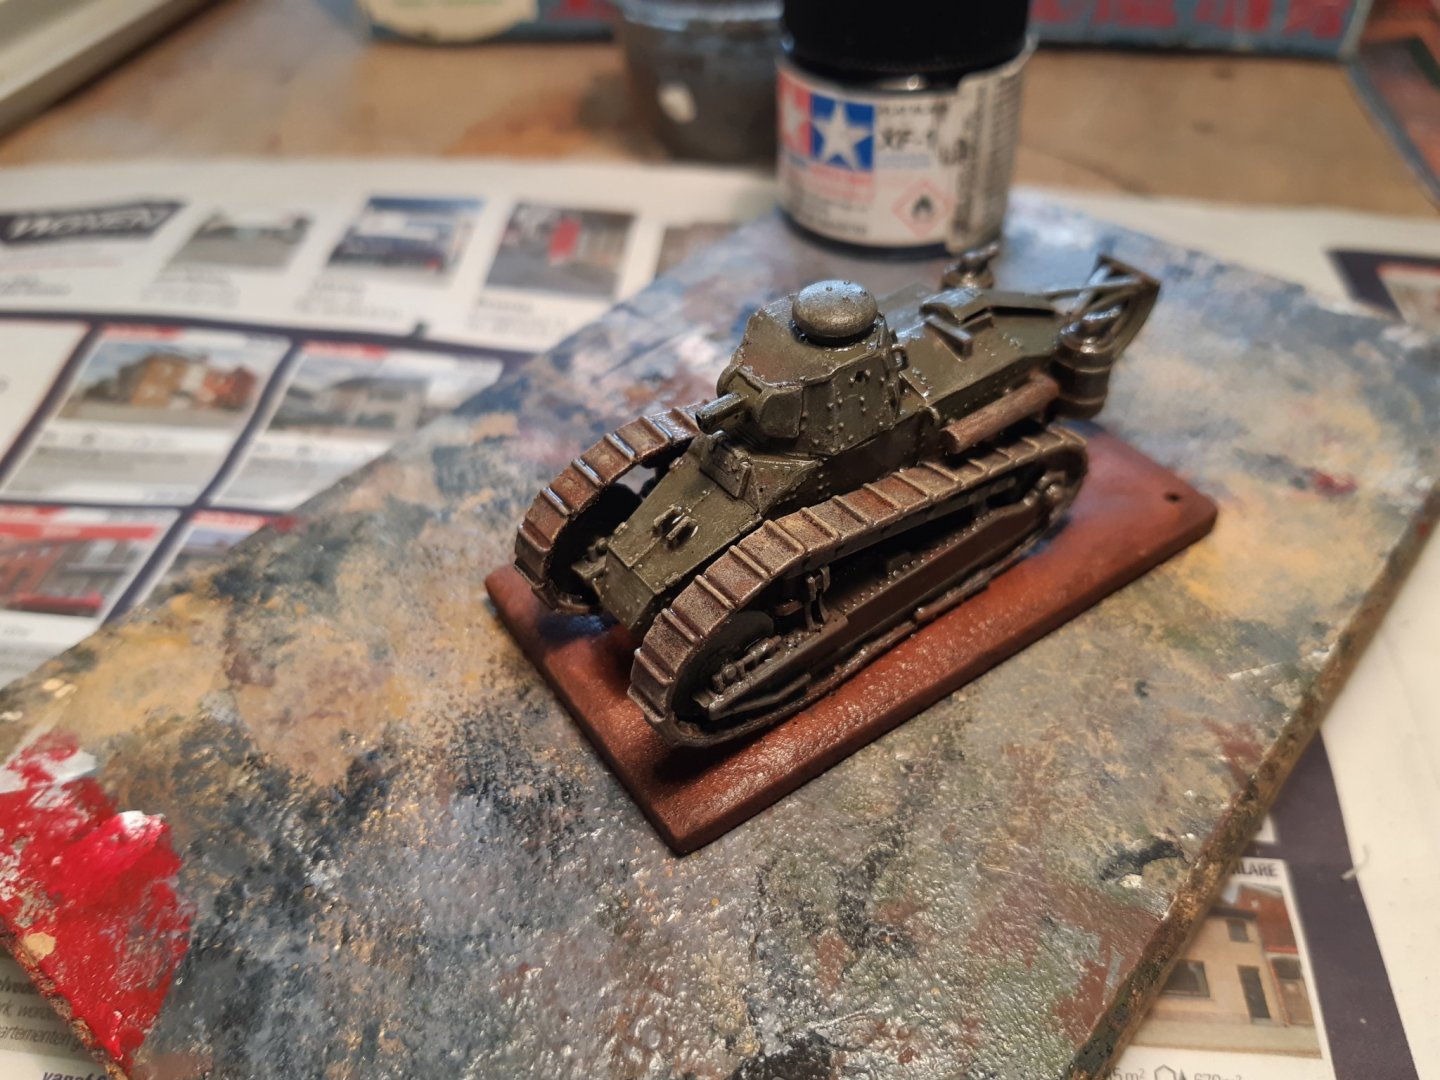
Thanks, Further painting. A light grey dry brushing, painting the metal en wooden parts. Apply "rust " (actually dilute red brown) A light sand dry brushing and glued on the base plate A wash with thinned mat black almost ready


-
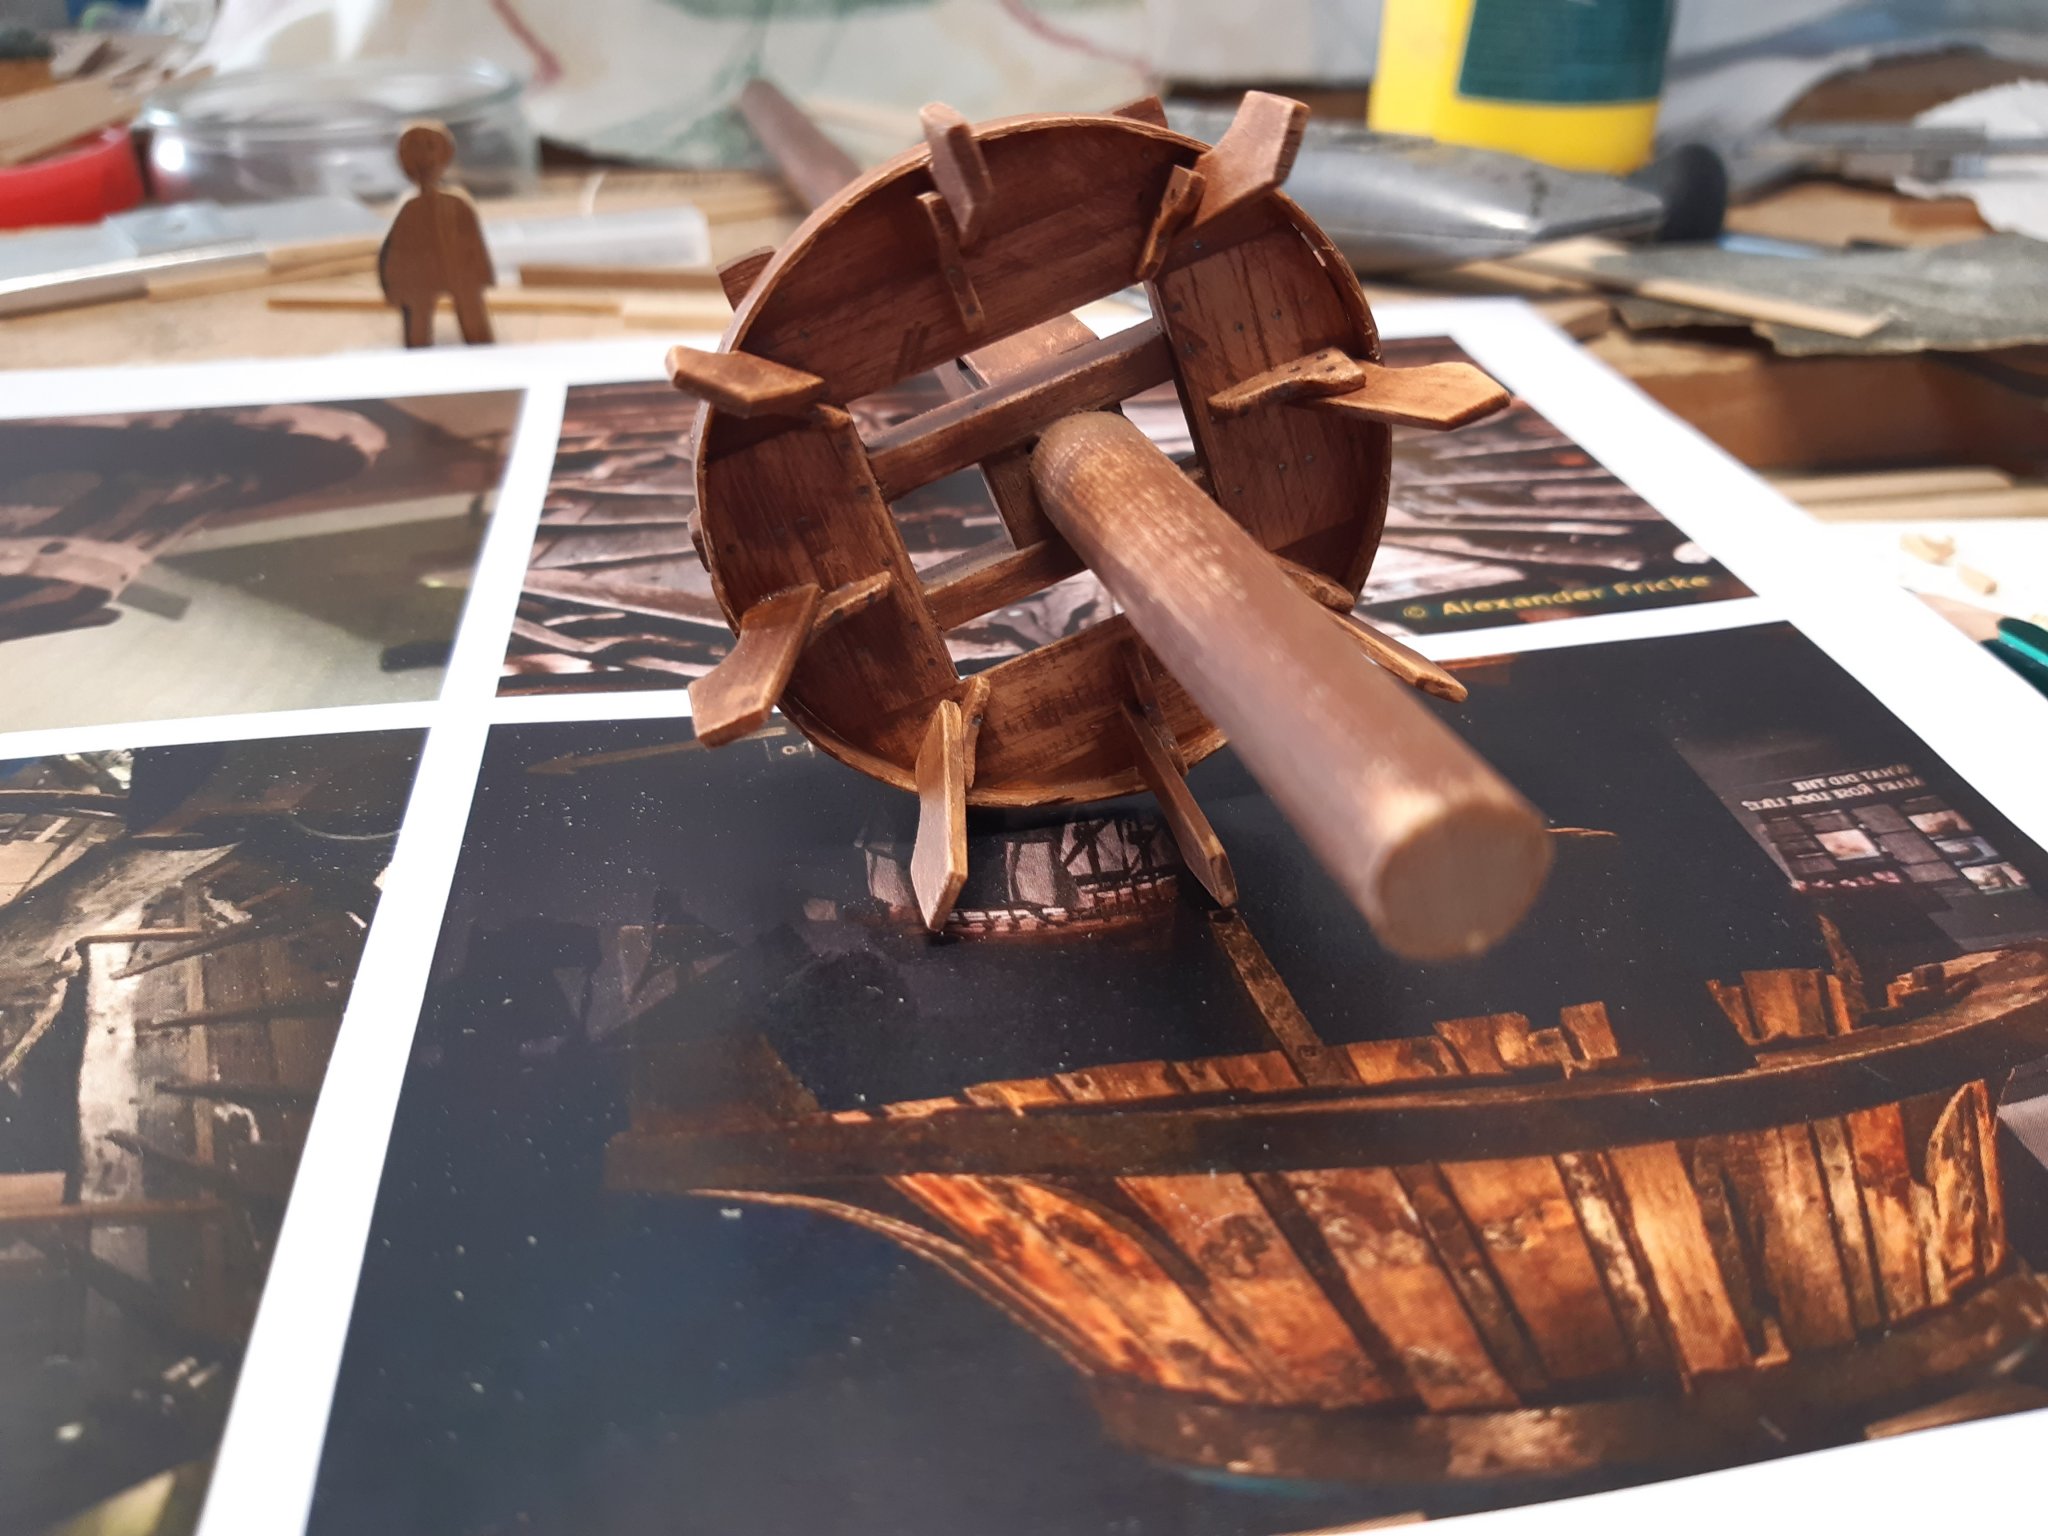
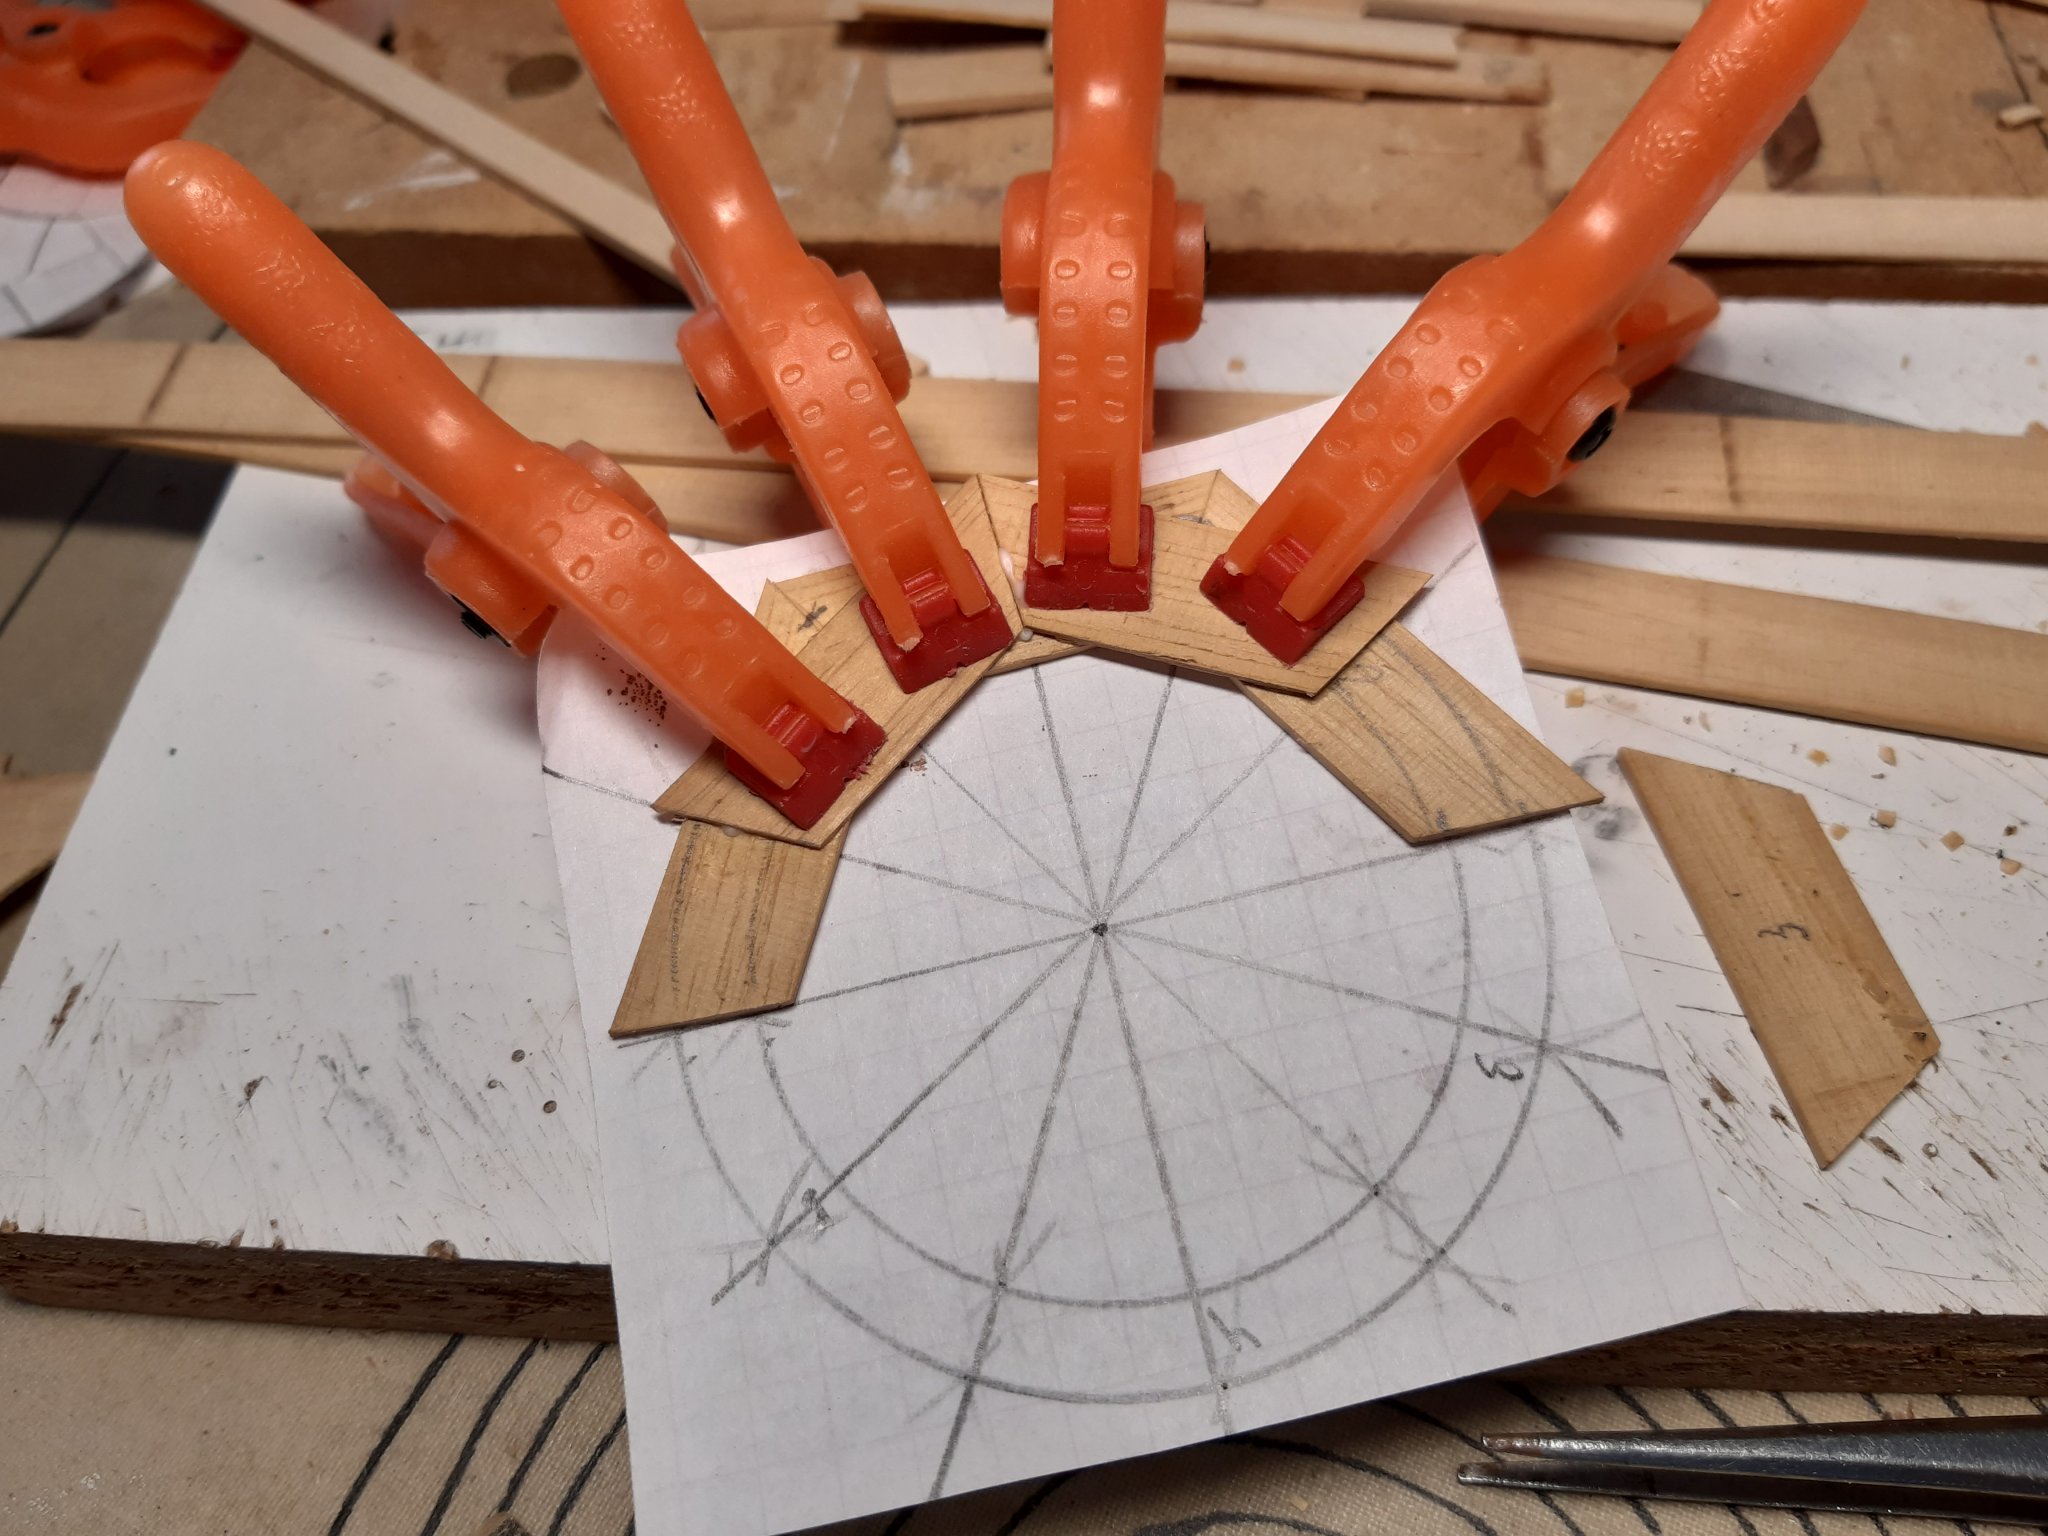
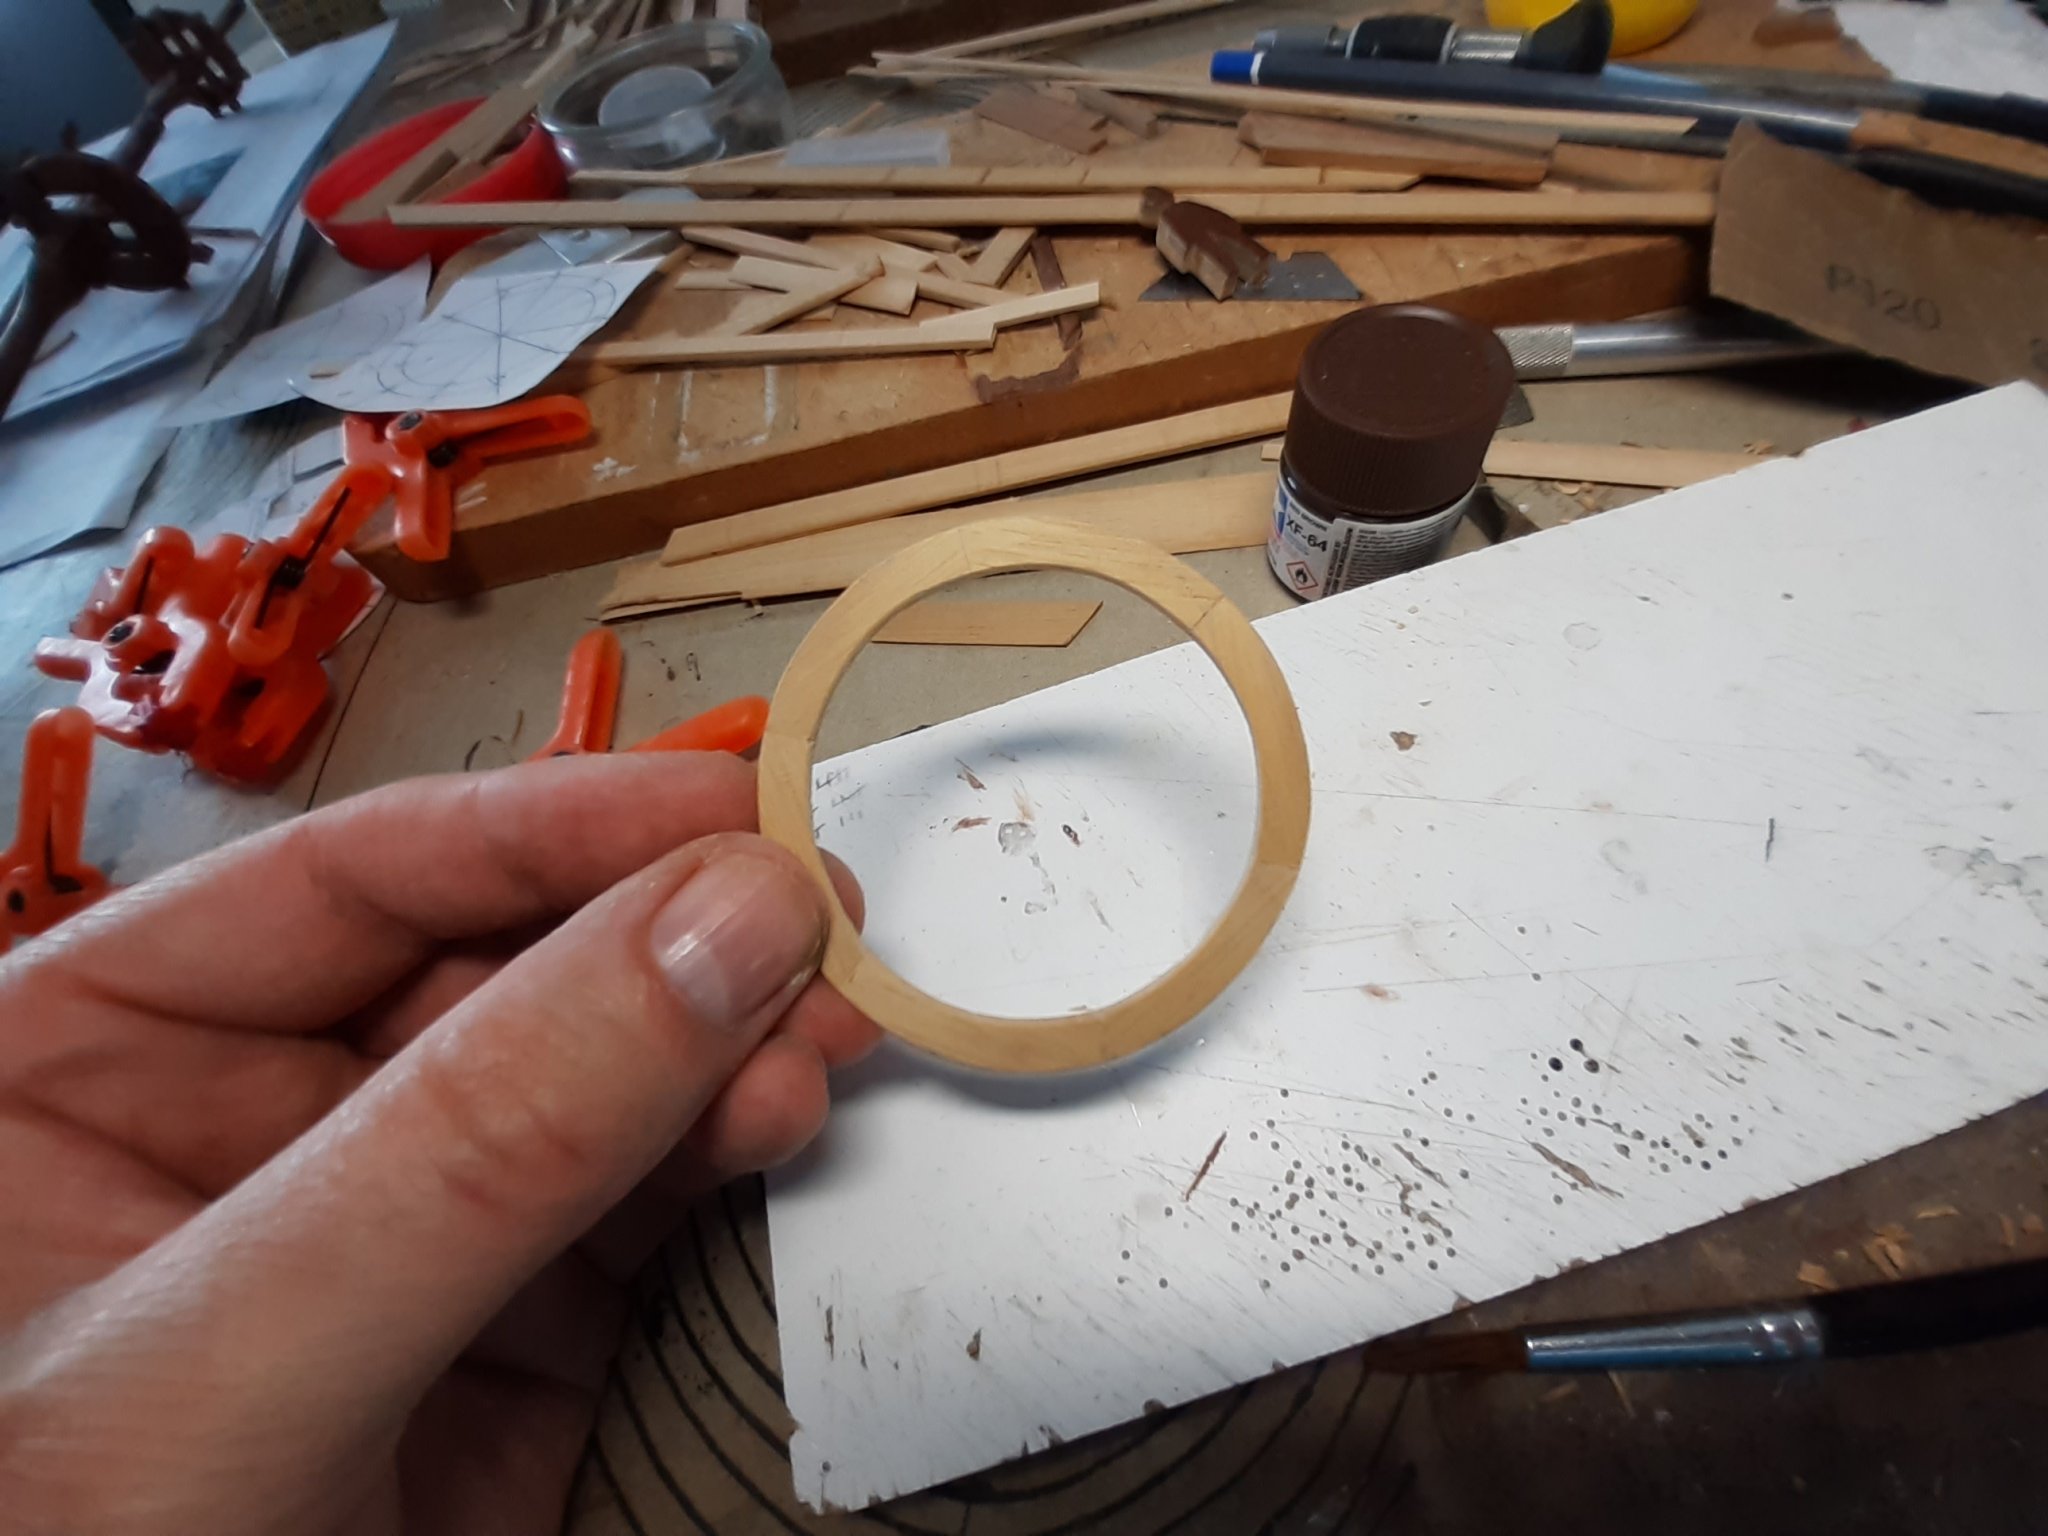
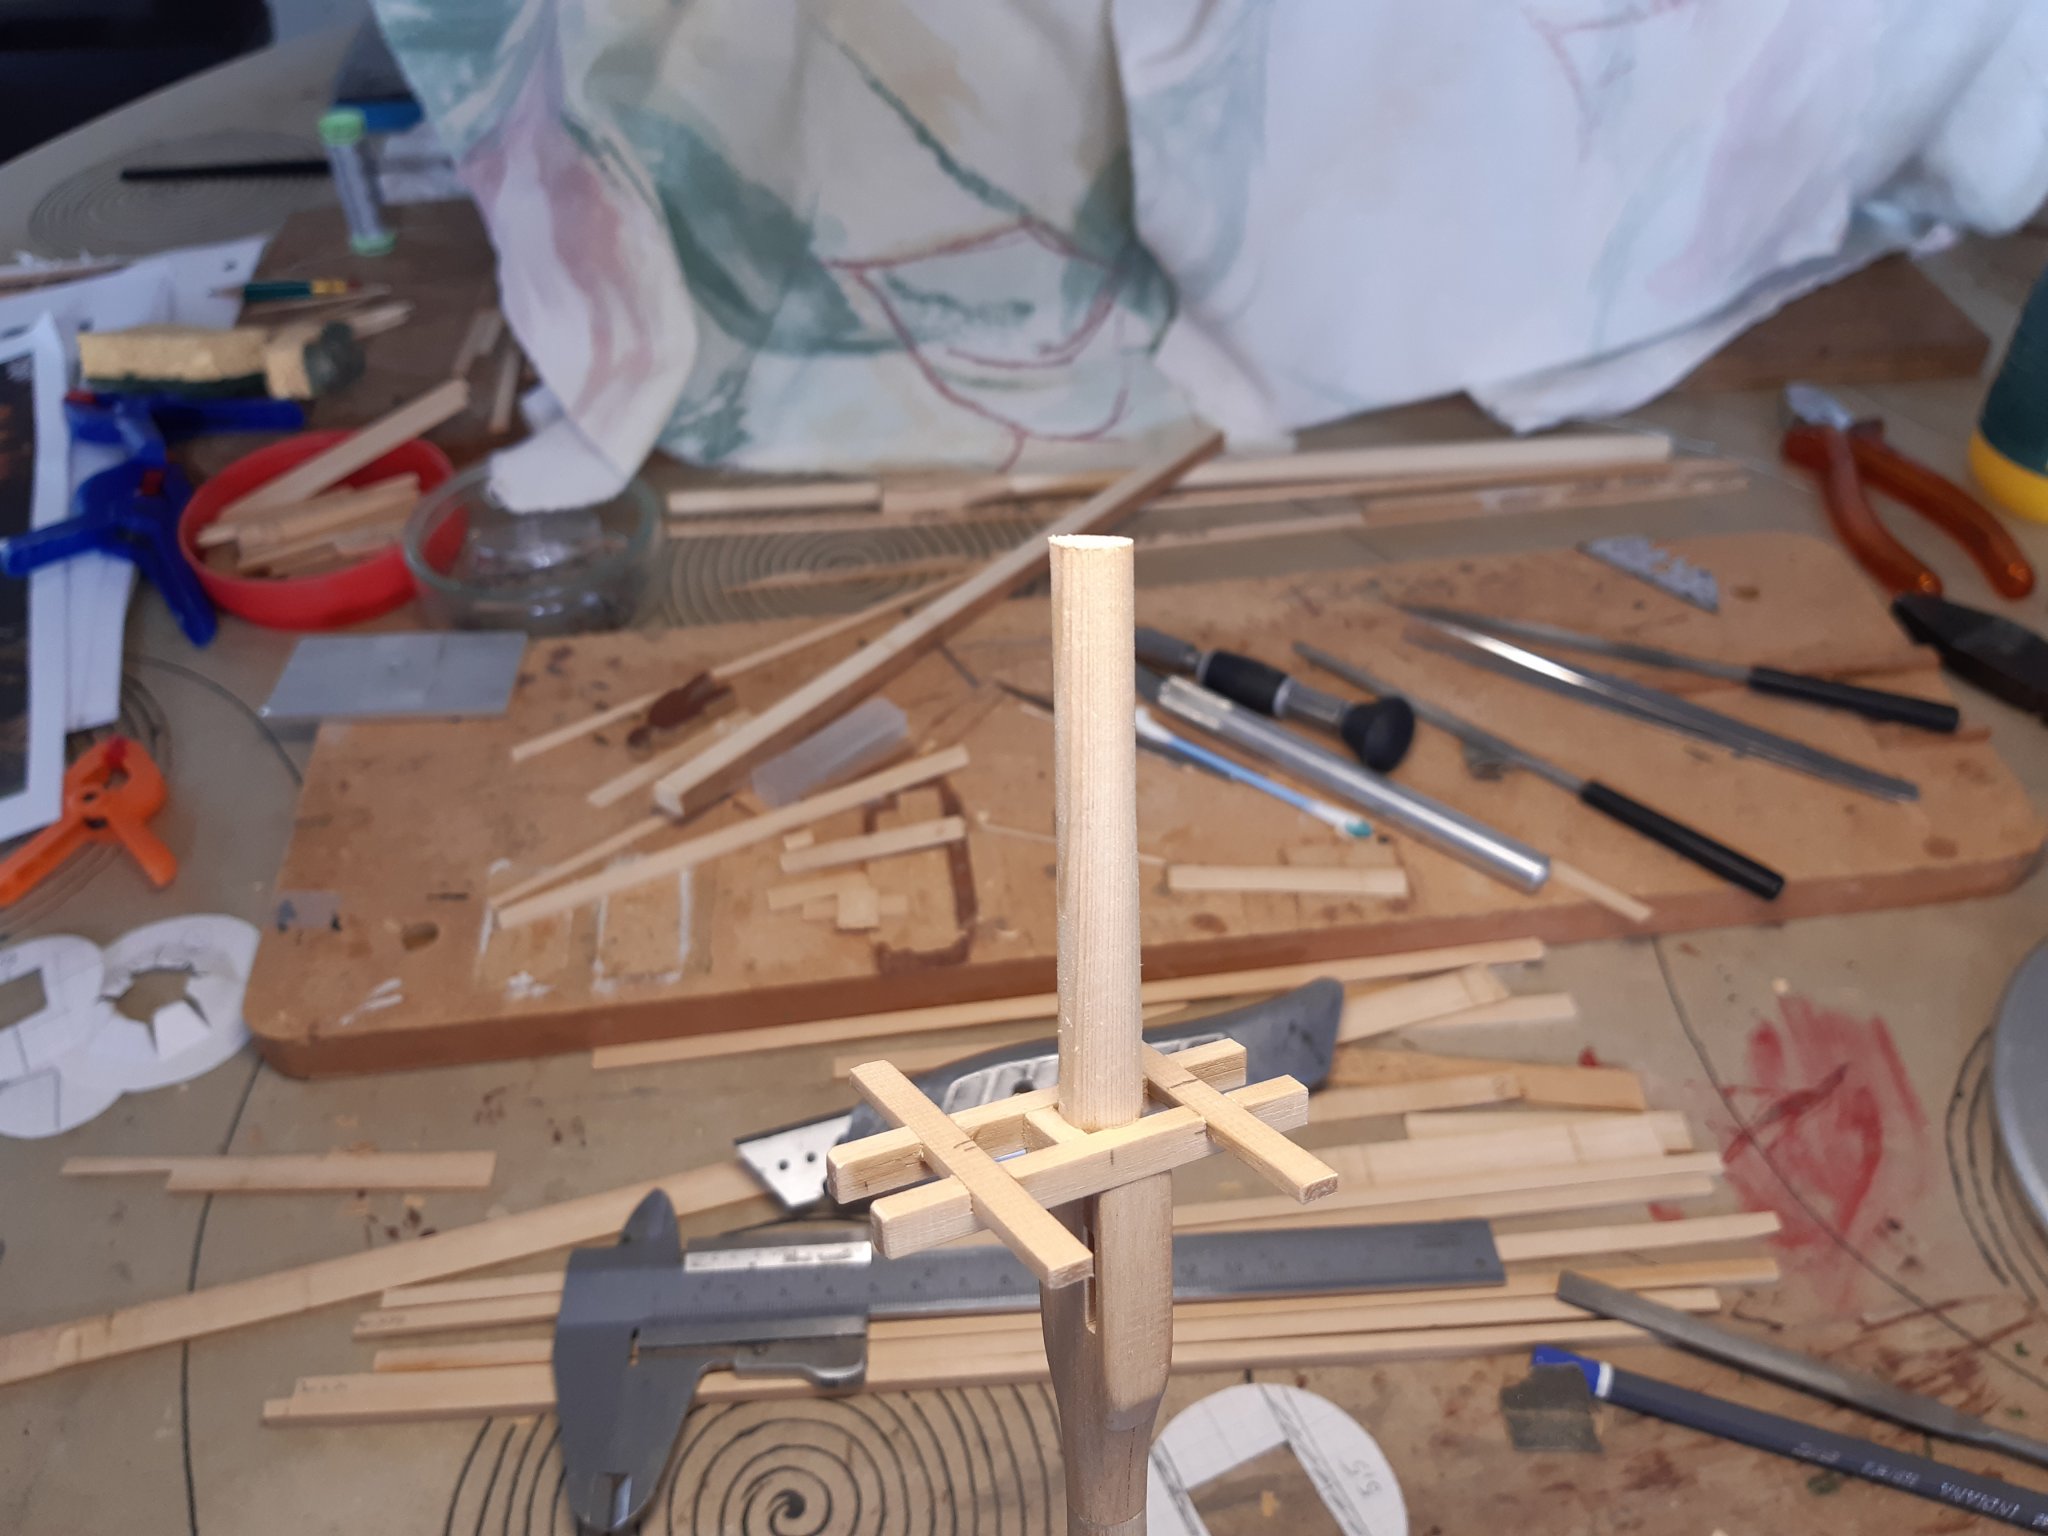
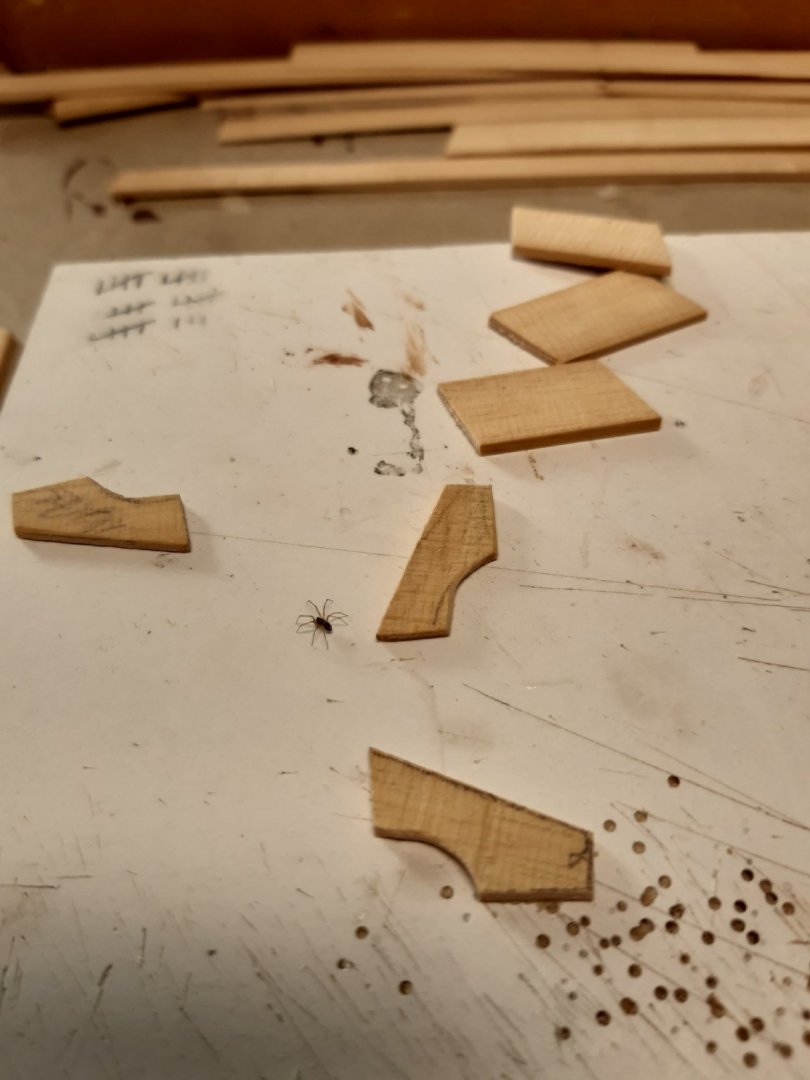
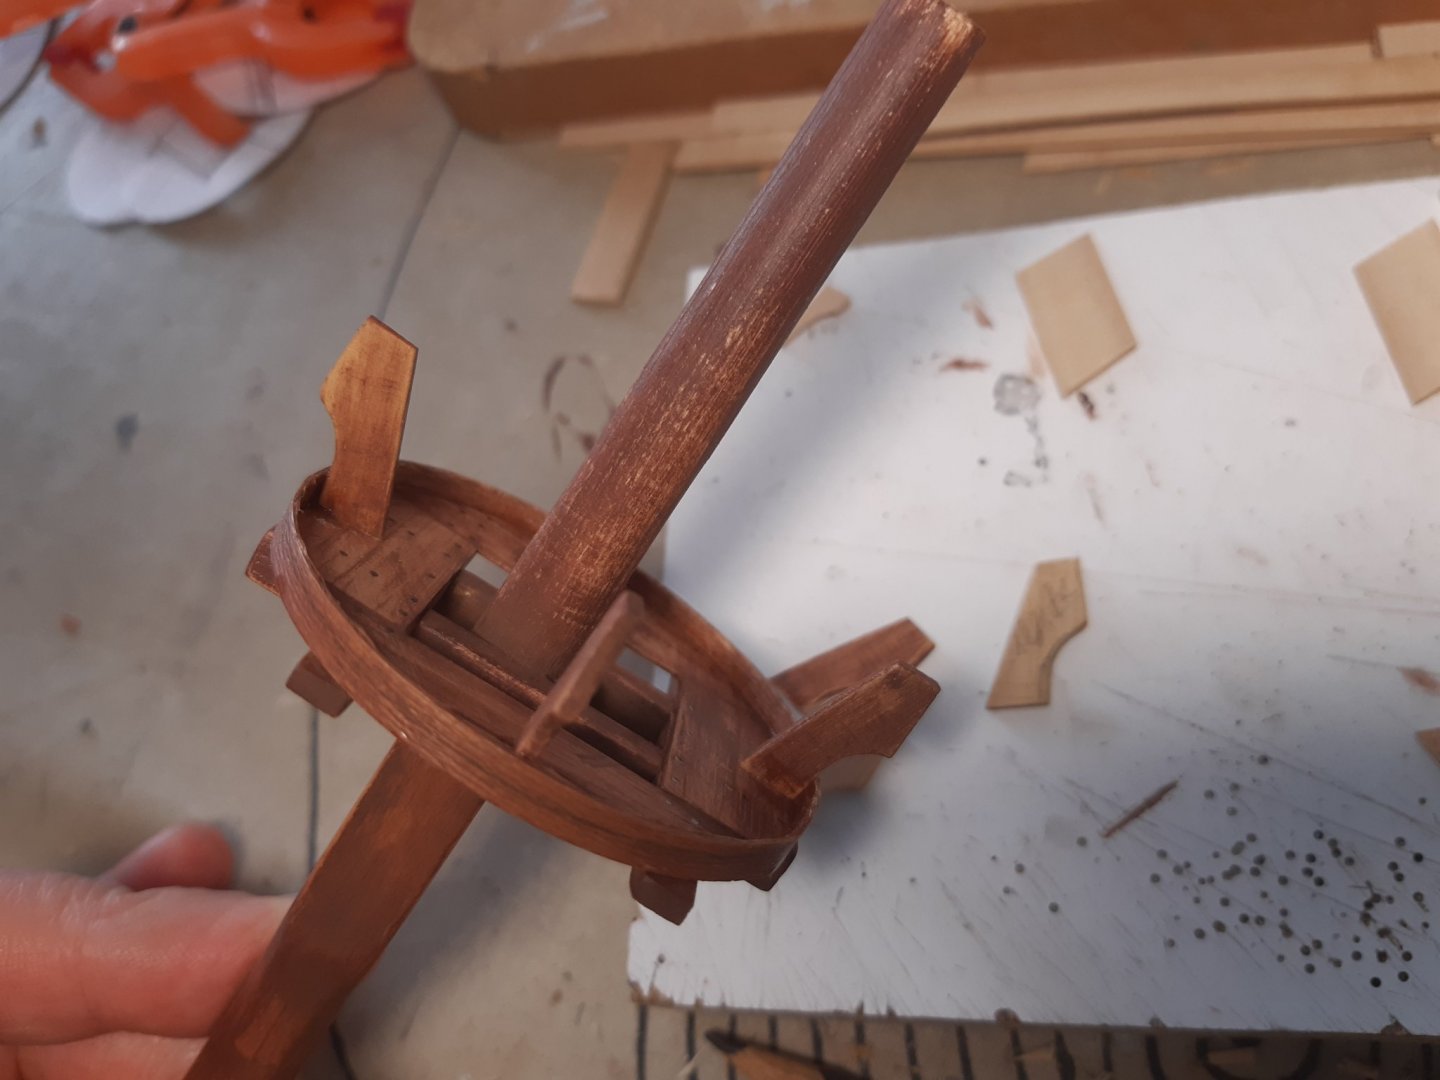
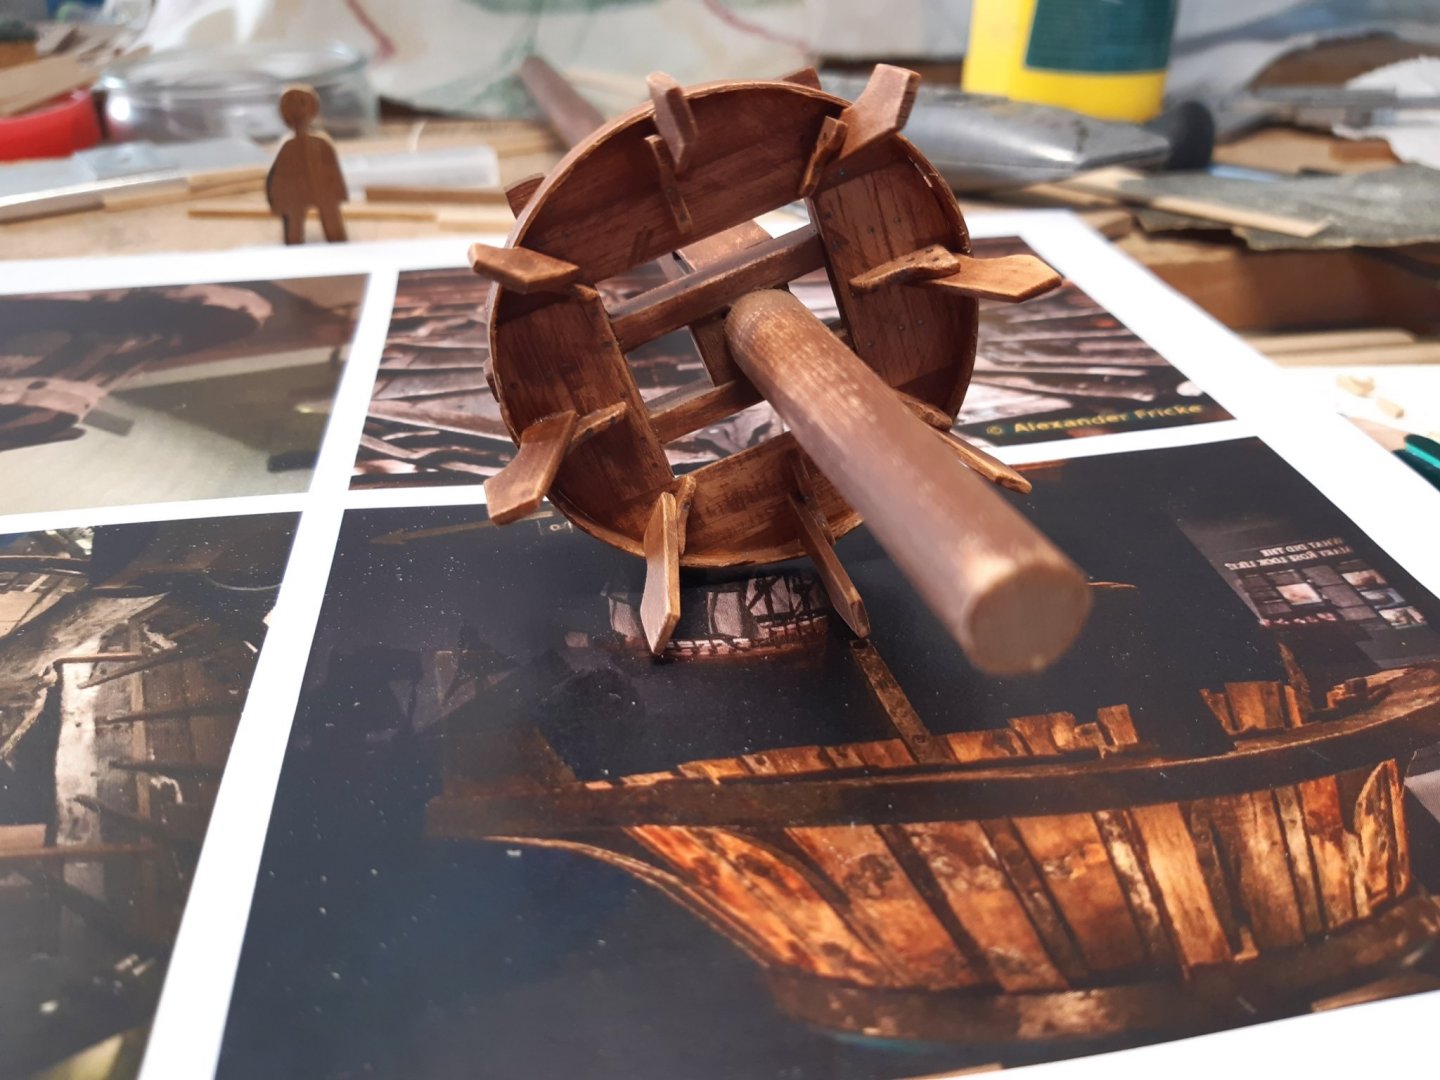
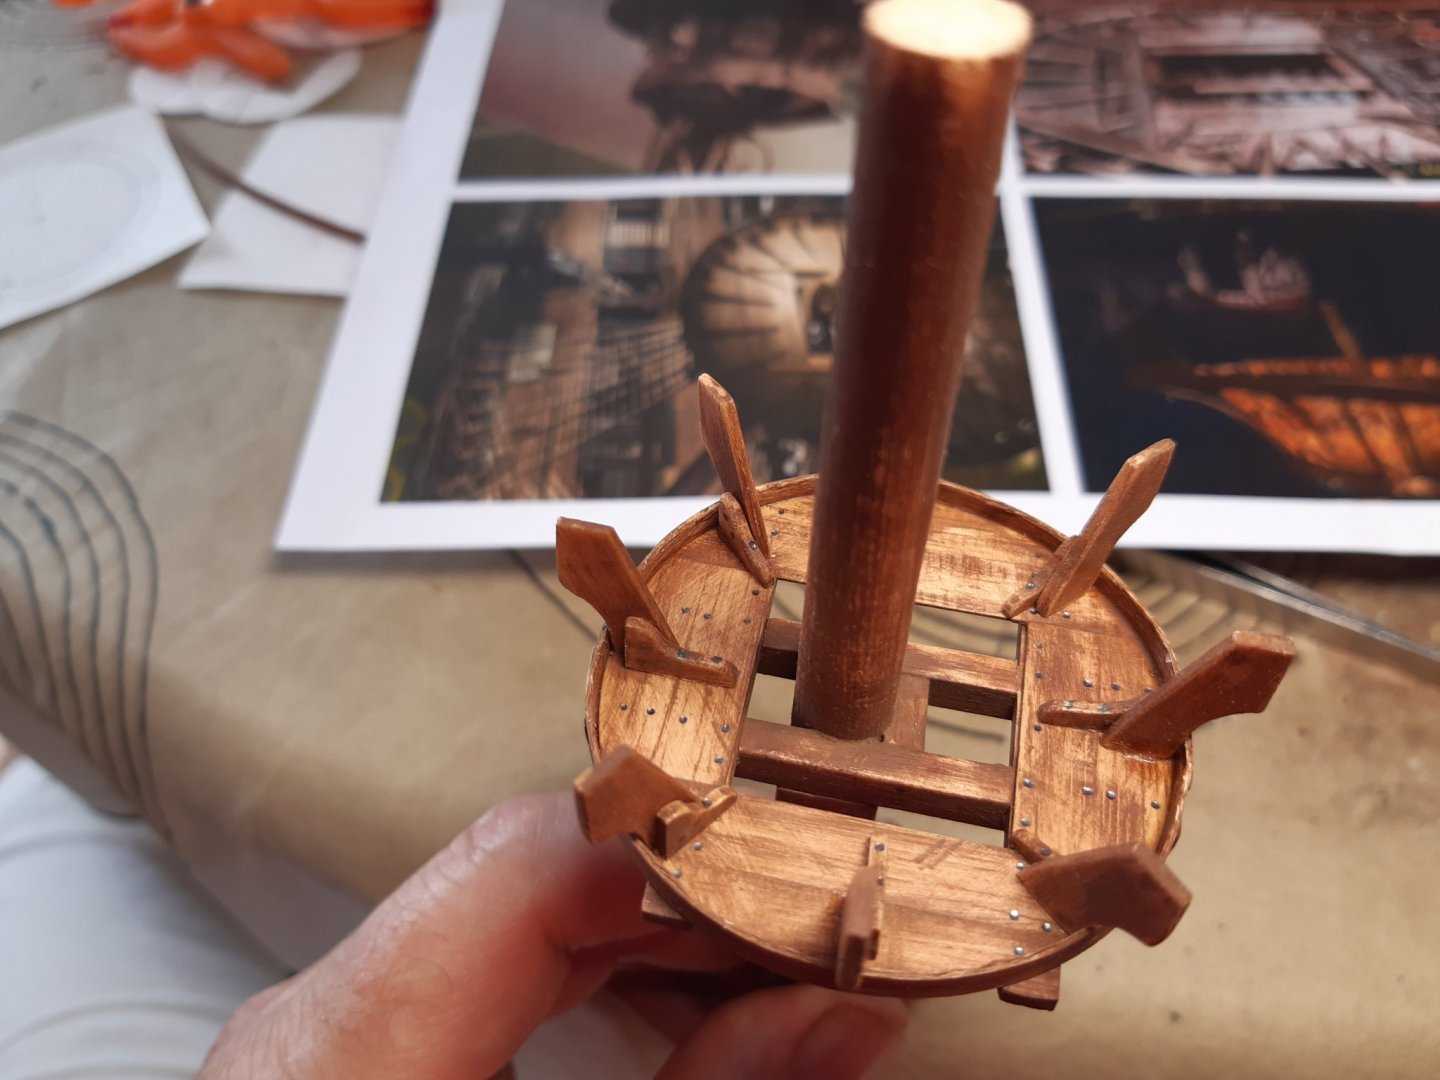
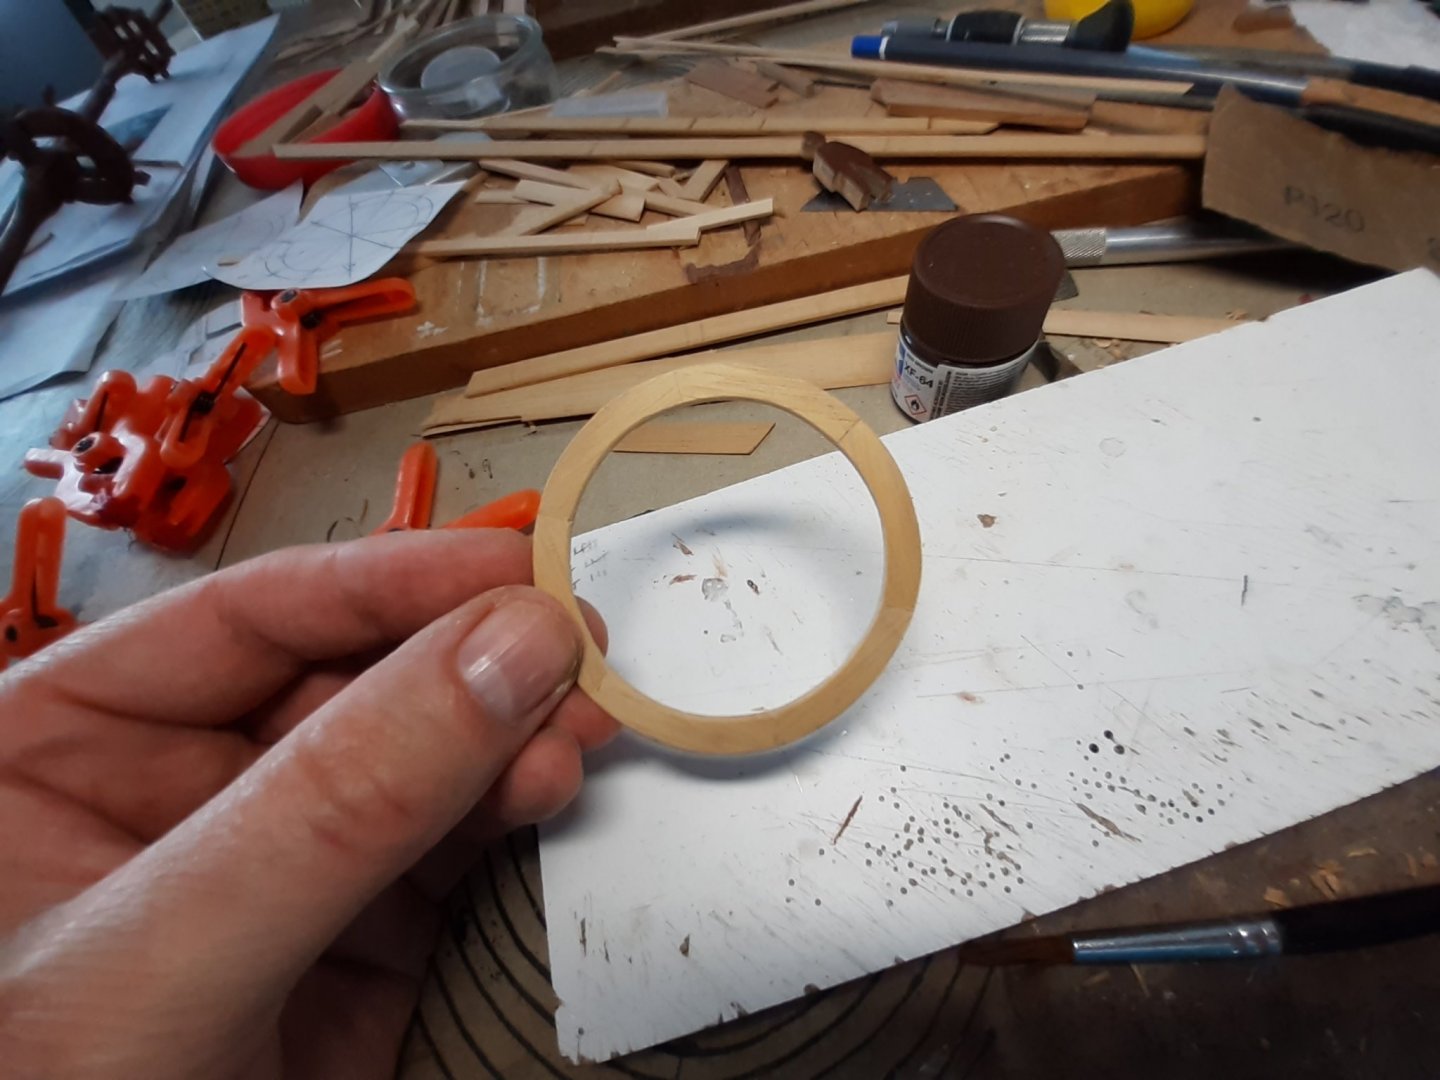
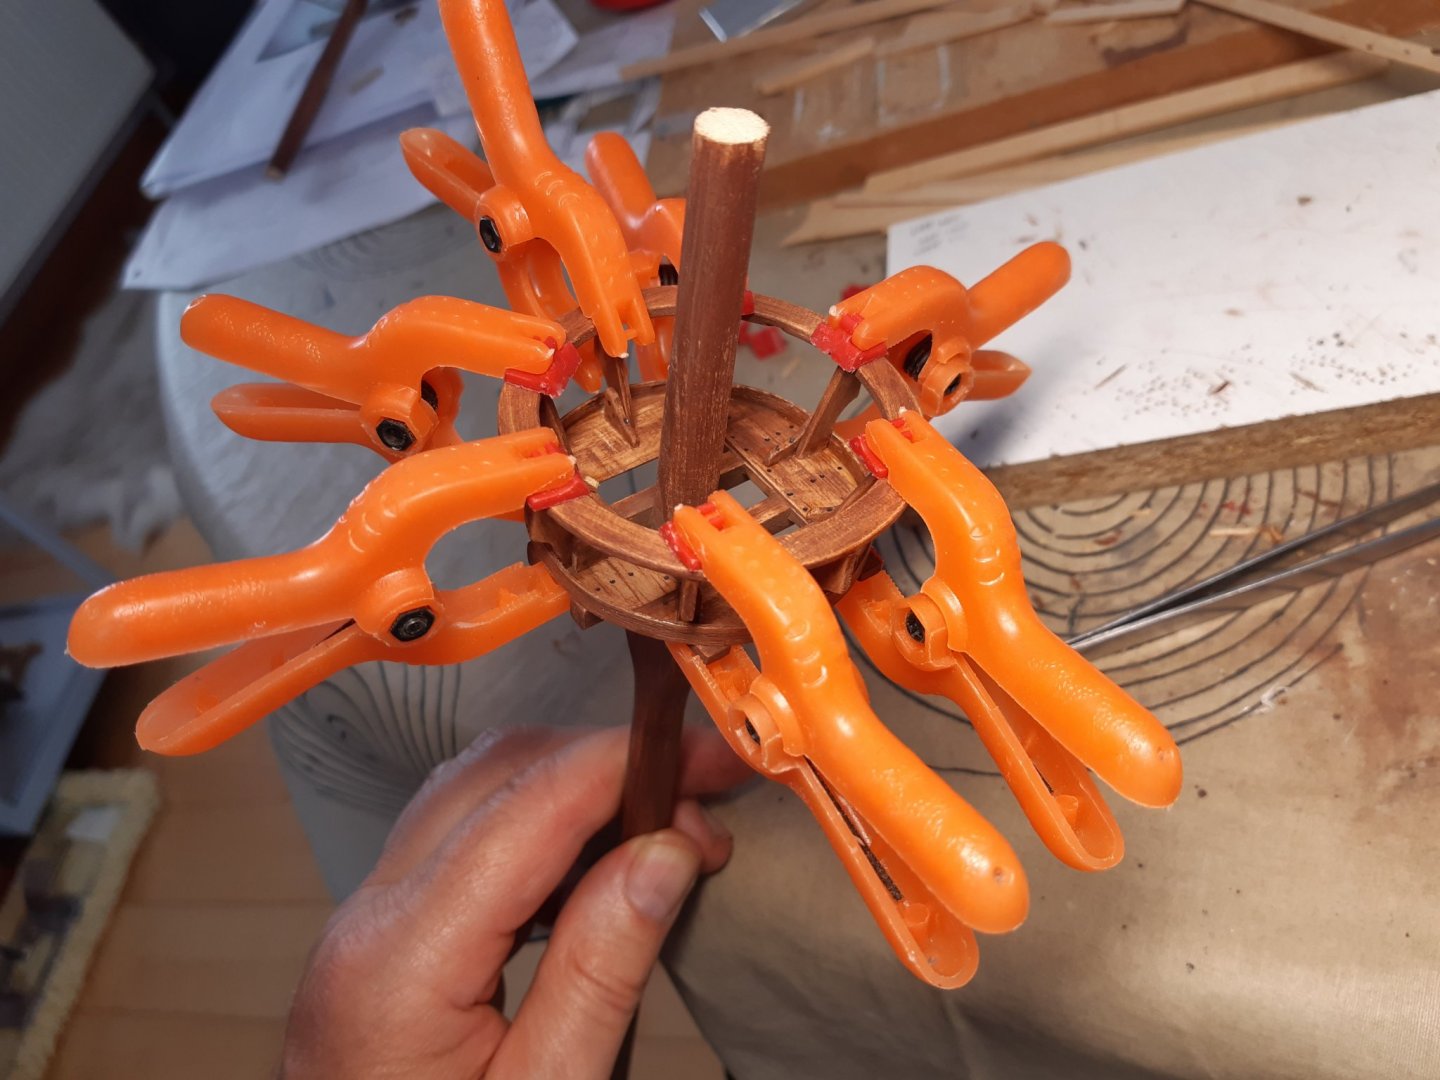
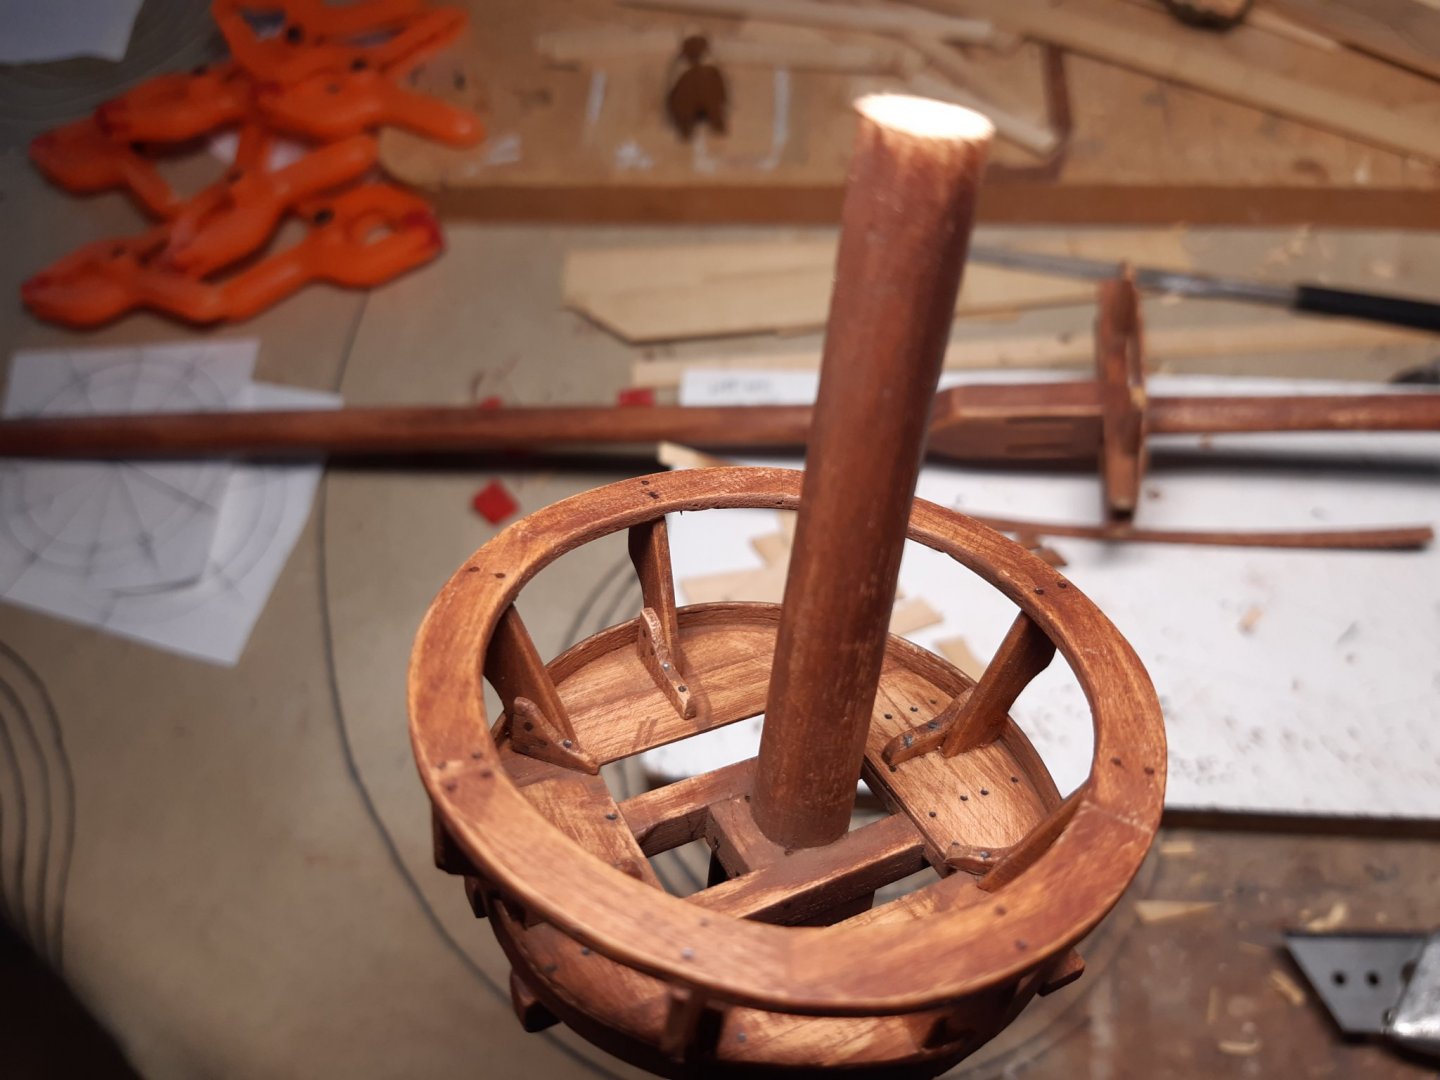
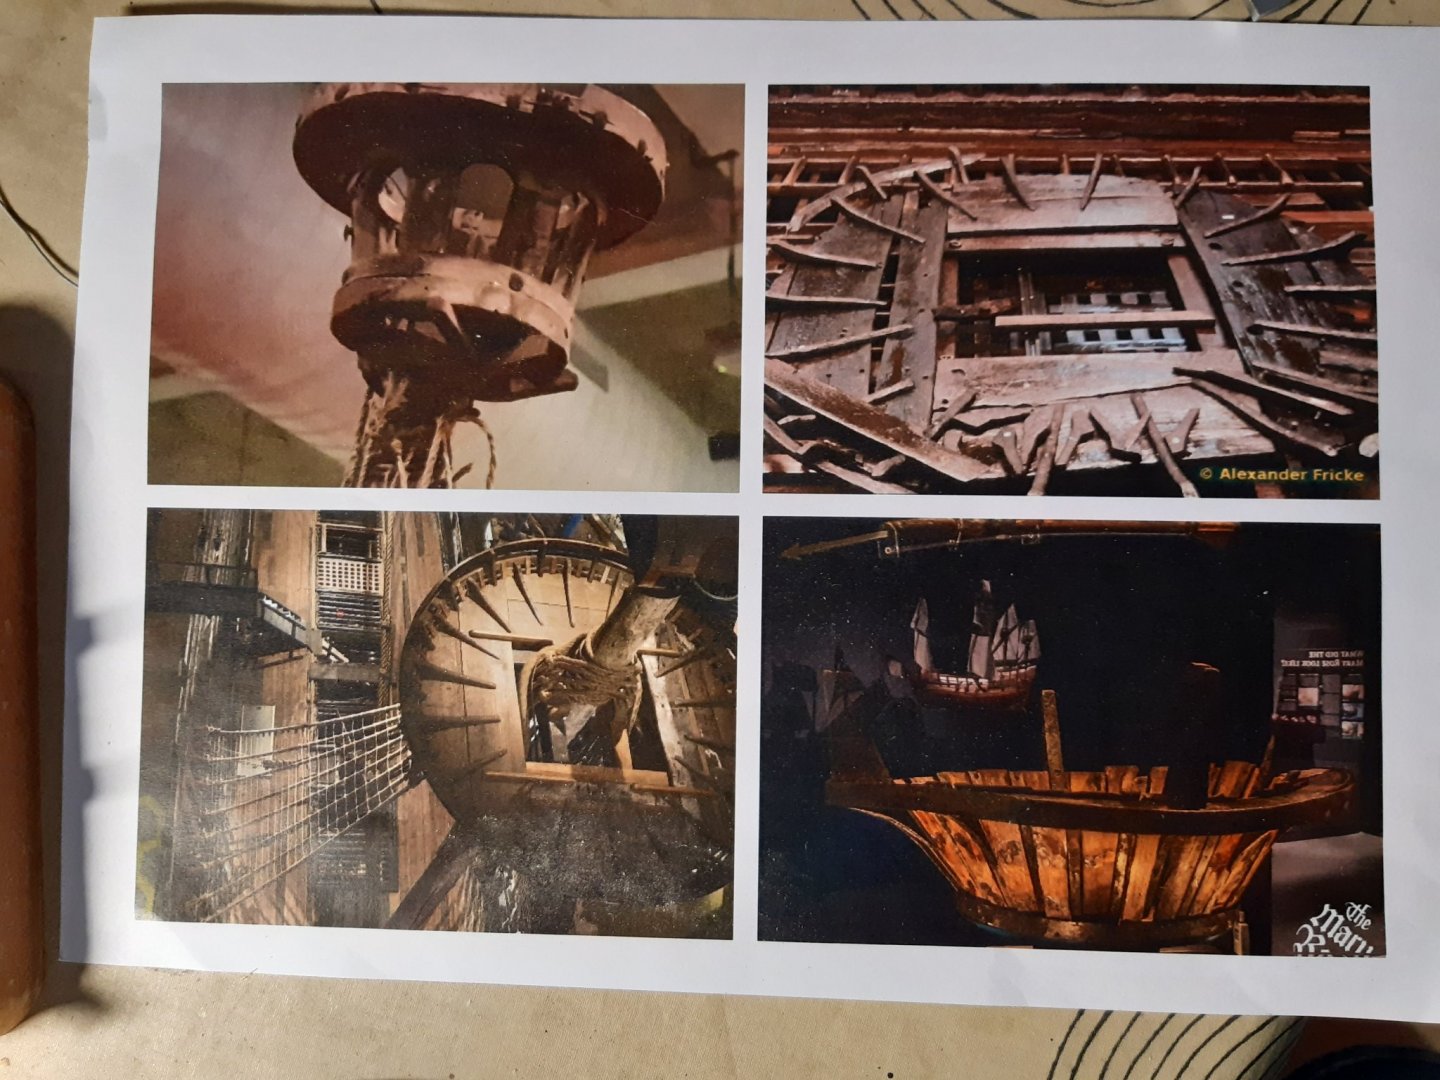
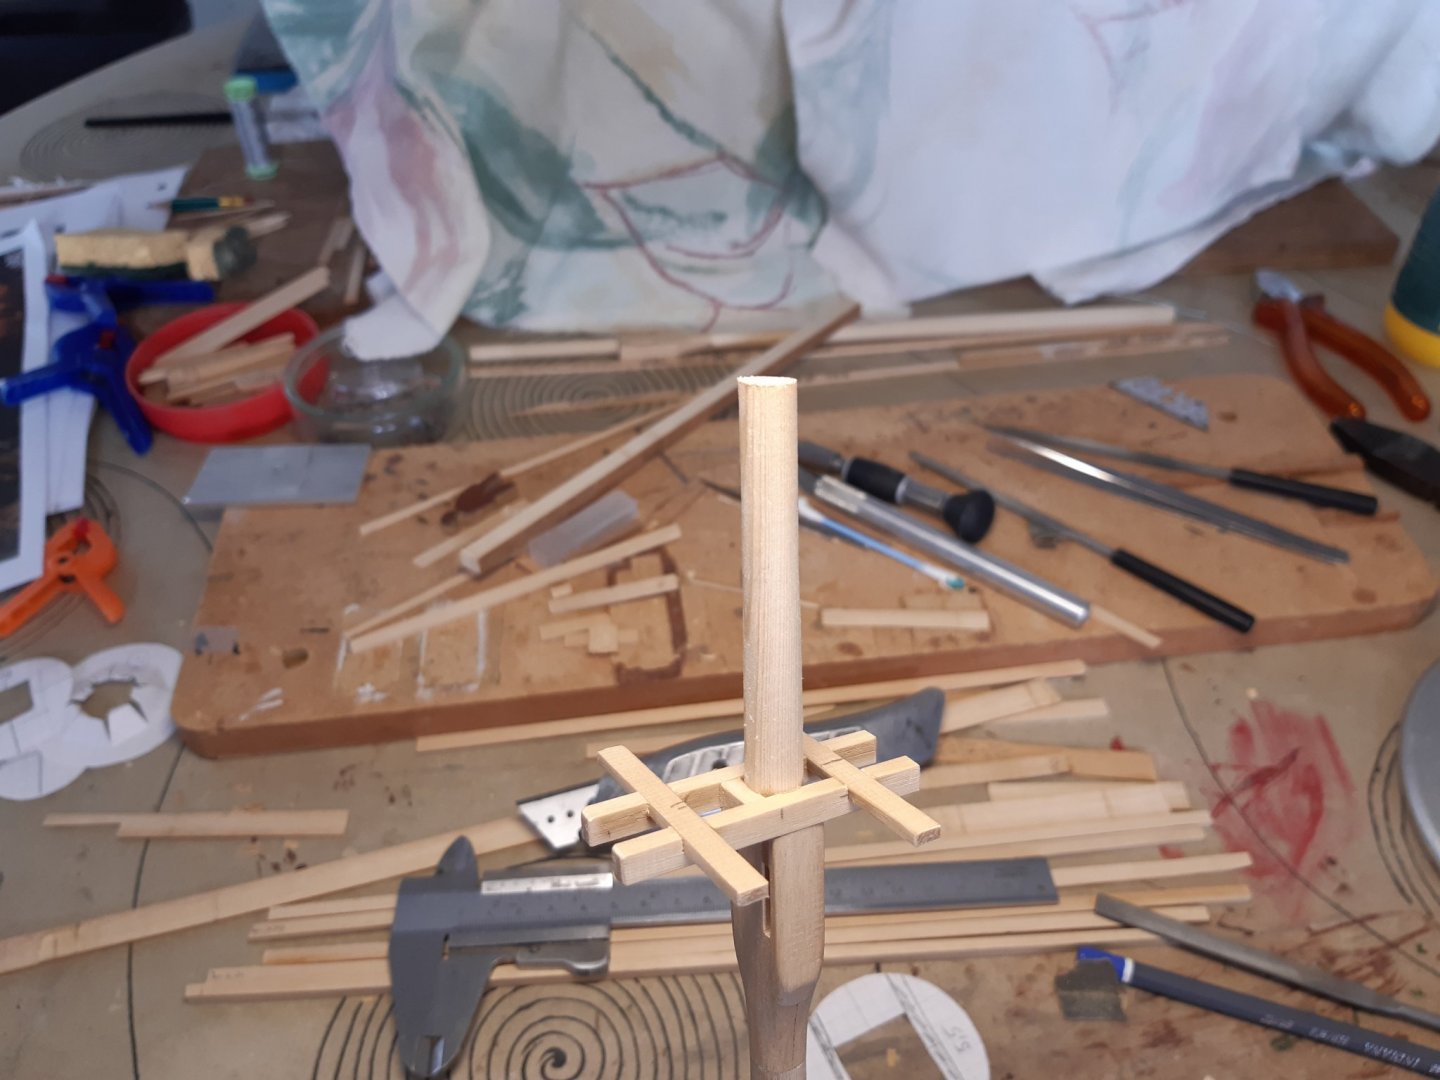
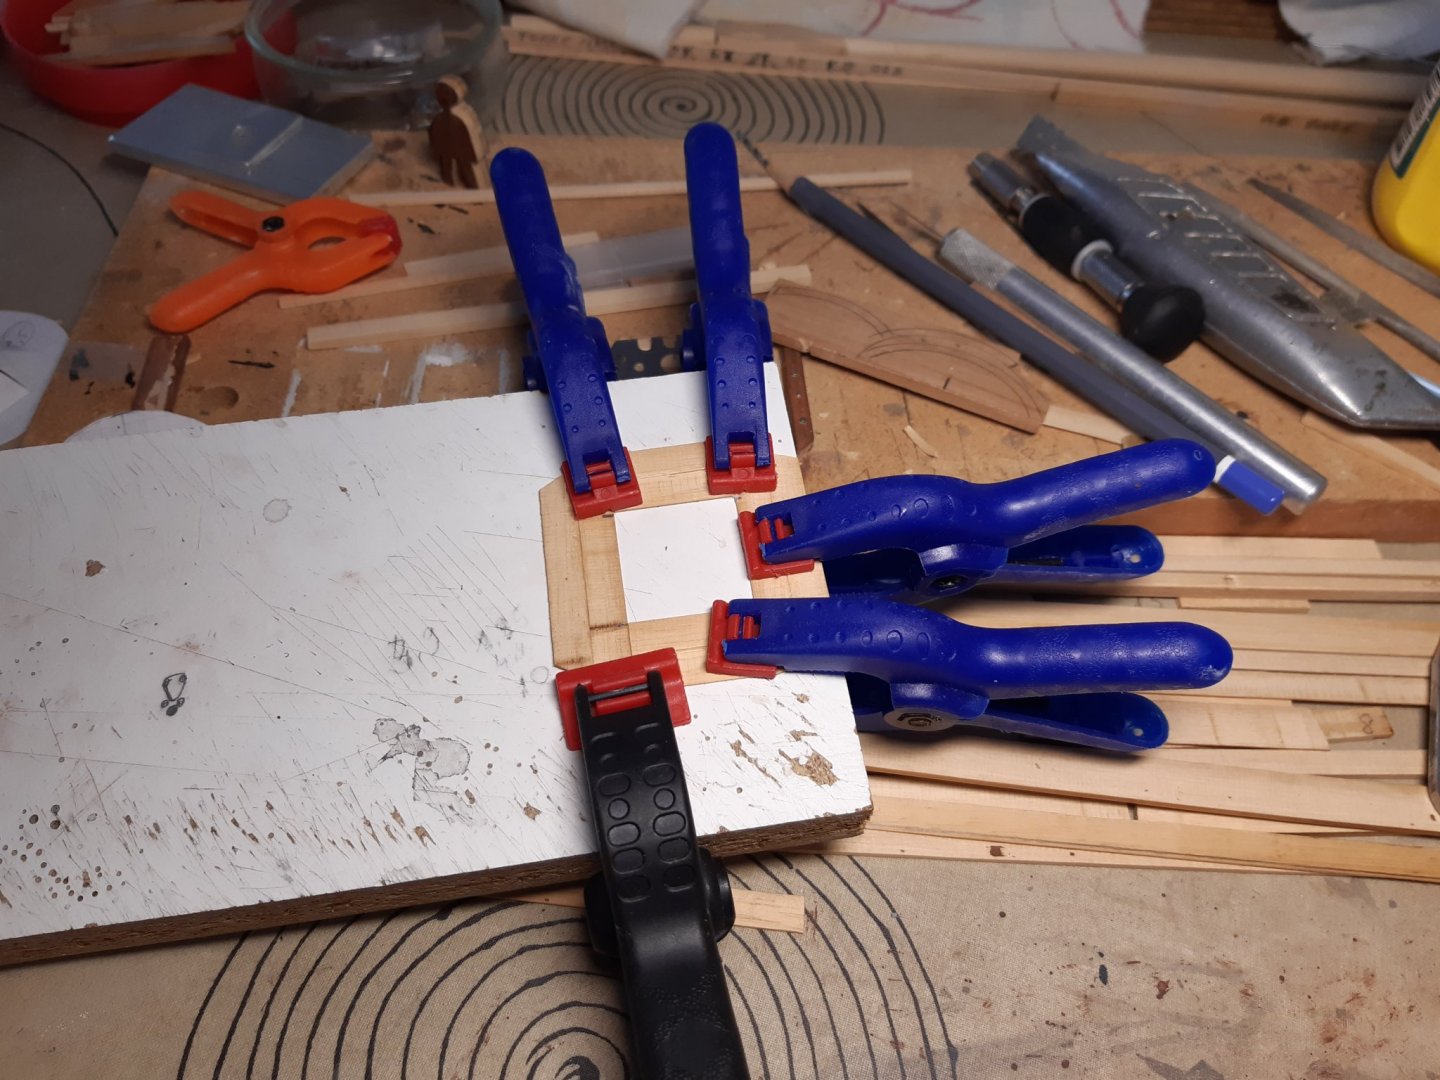
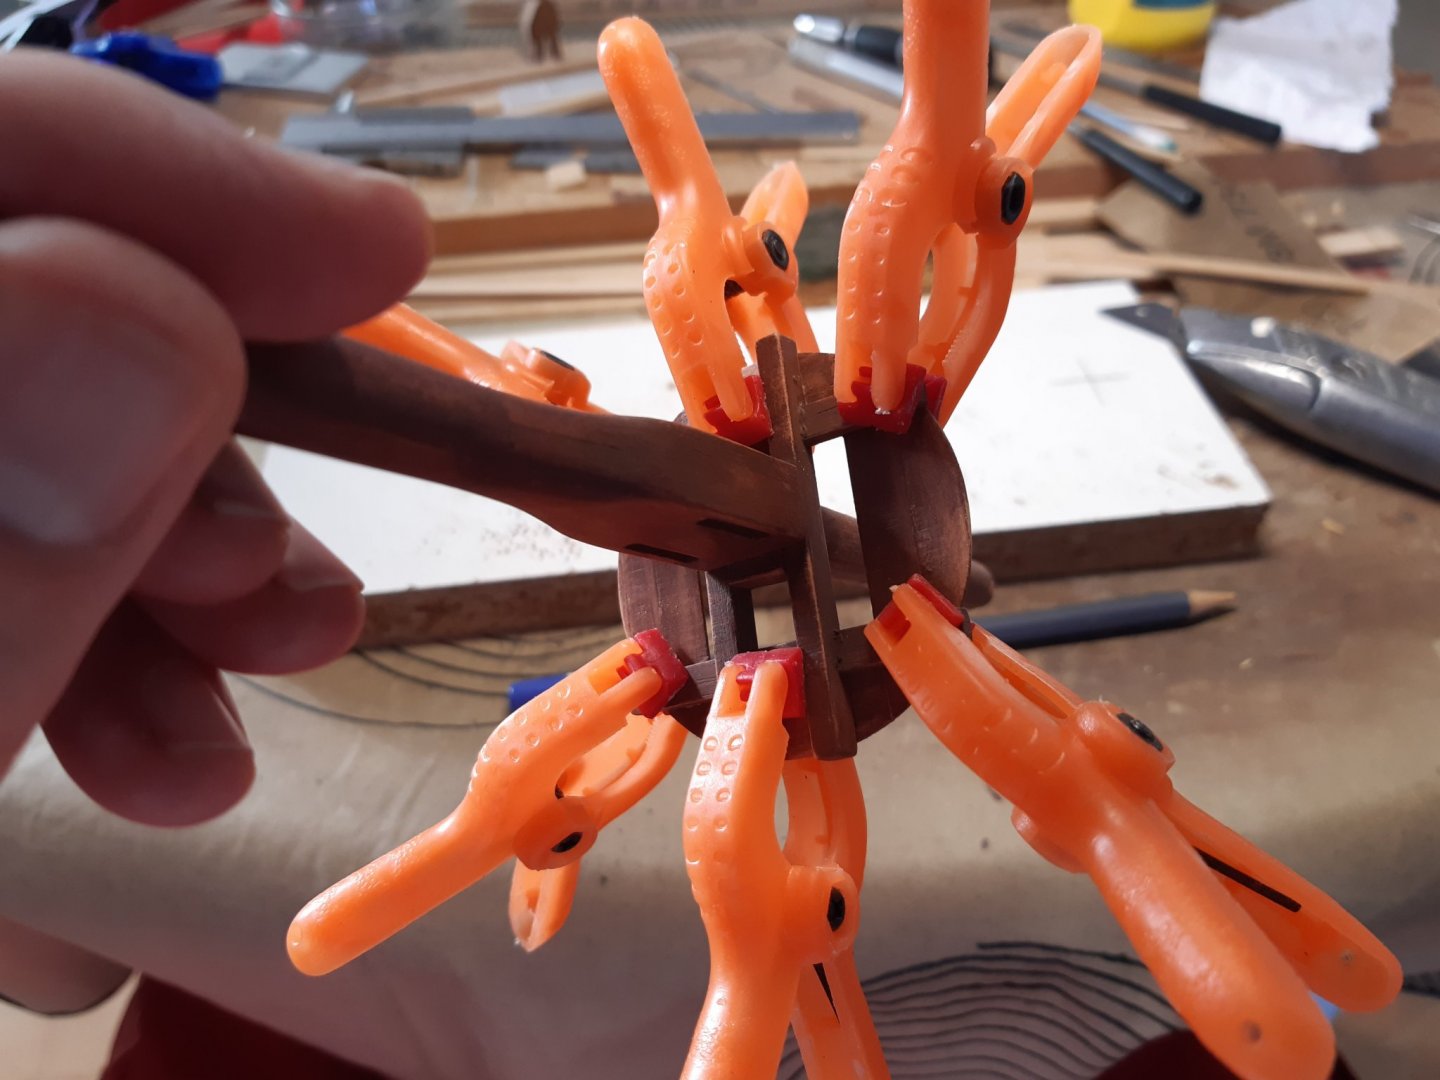
Continue with the construction of the mastops. This is more thinking time than construction time. The intention is to make something with these as examples. (Start at the top left clockwise Mataro model, Vasa, Mary Rose, Vasa) An uninvited guest at the shipyard ... Adding the main "supports" as on the Mary Rose. Making the "upper ring" from several planks Glue the ring to the supports. Still a lot to do Main mast top under construction, fore mast is following. Thanks for following.
- 756 replies
-
- 16
-
-
- galleon
- golden hind
- (and 2 more)
-
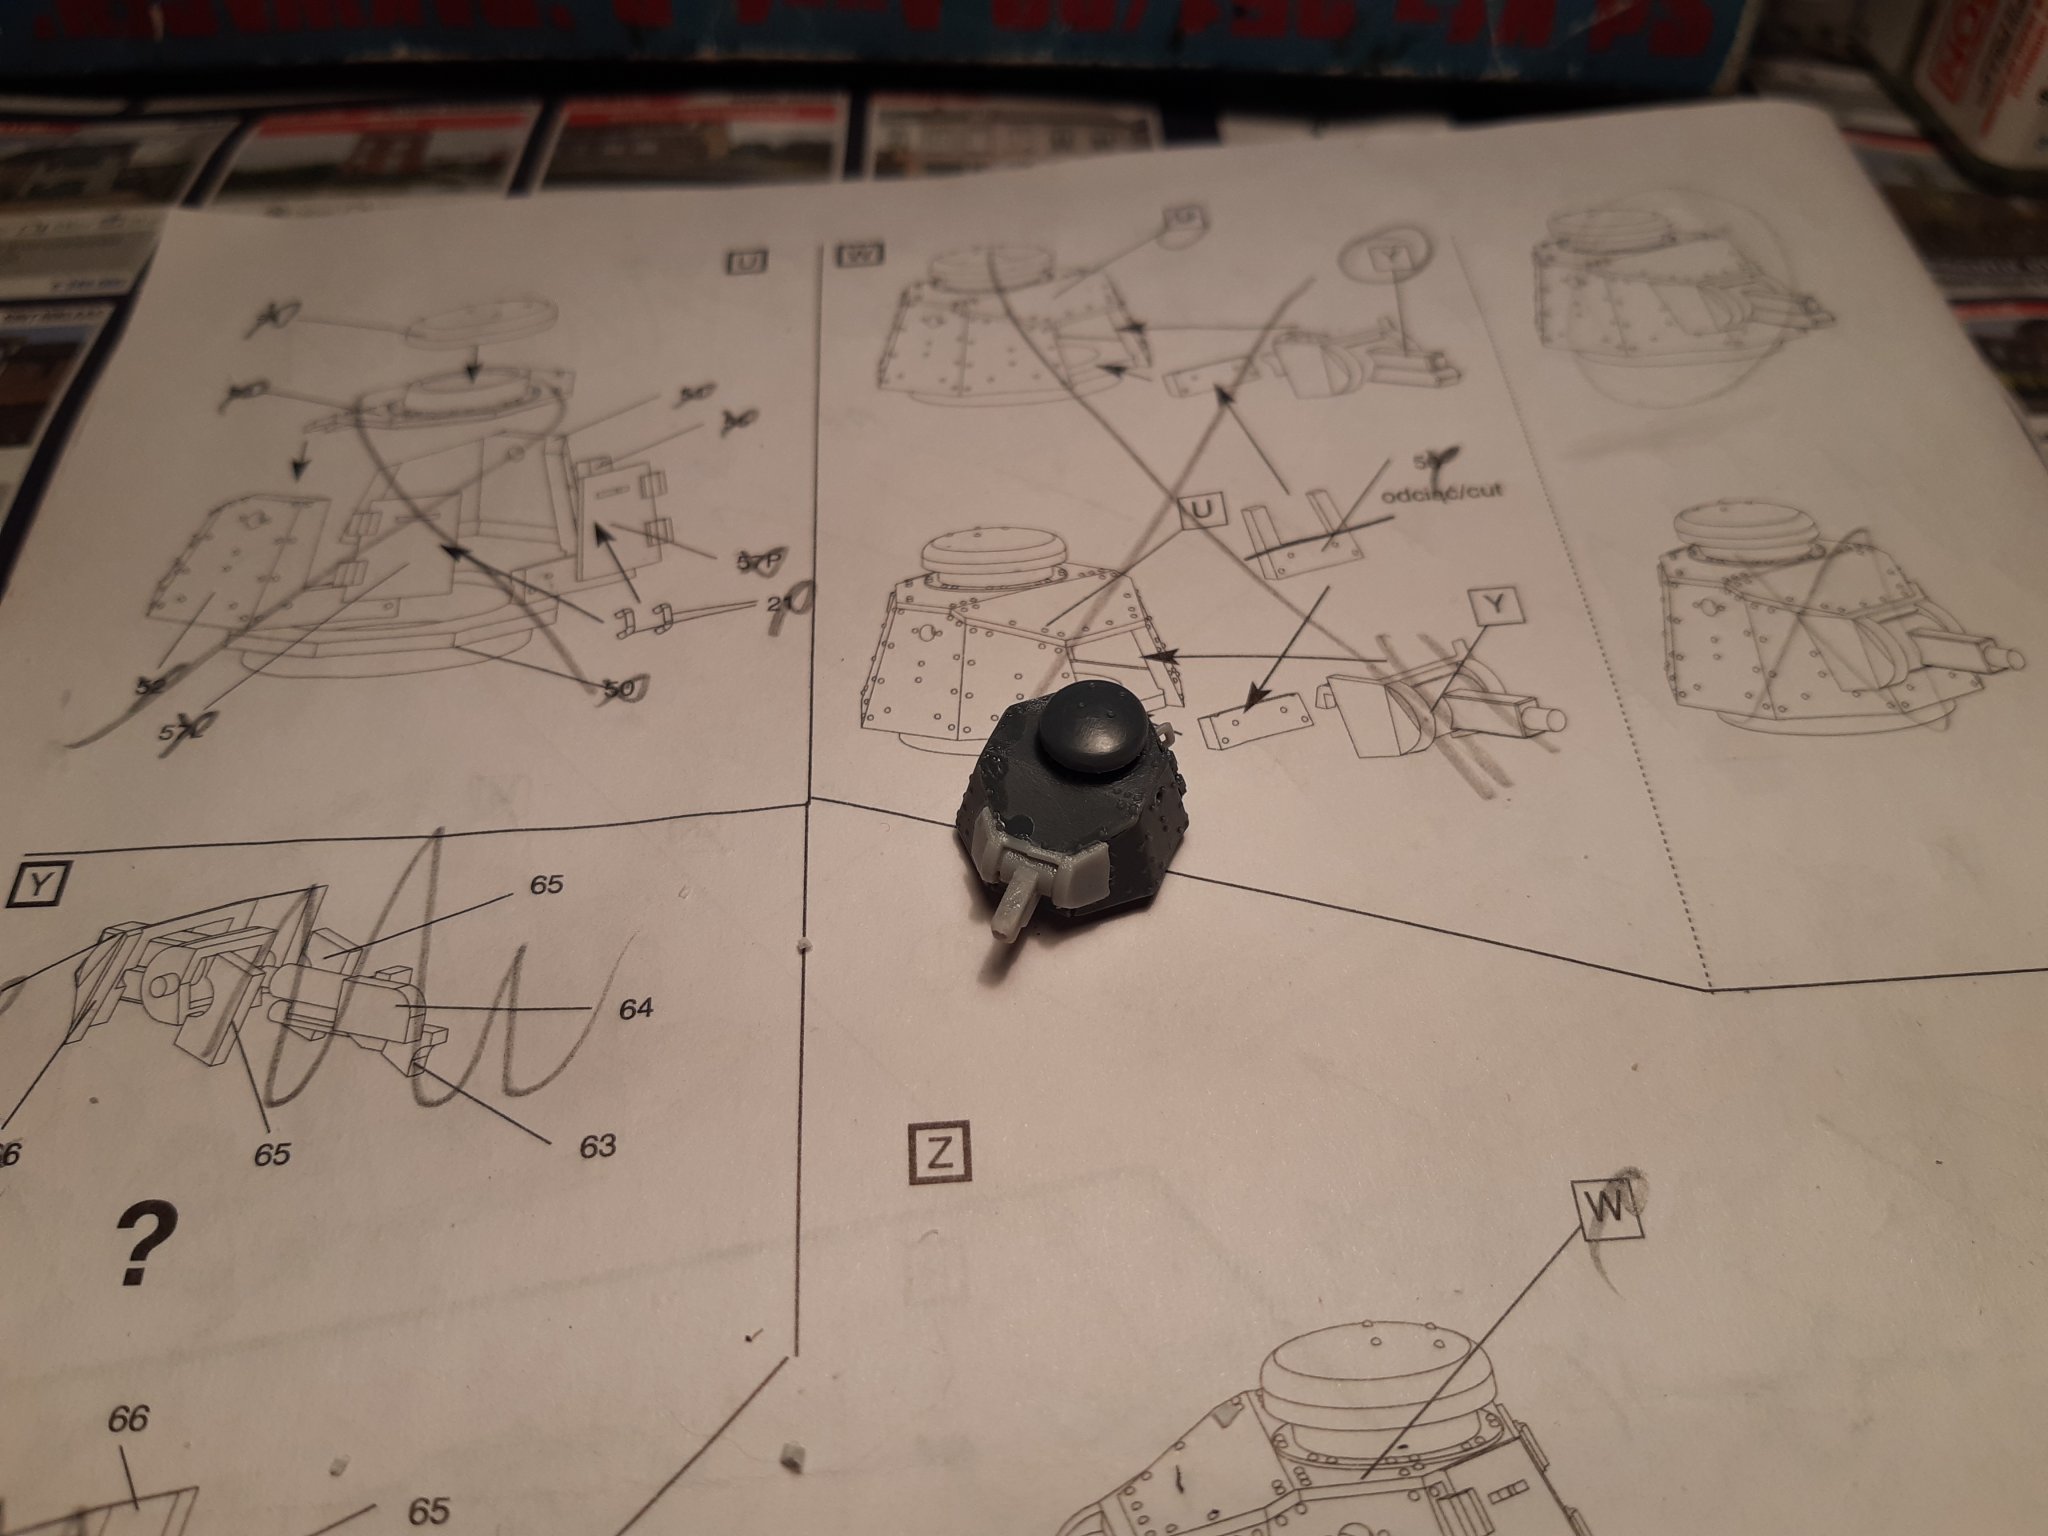
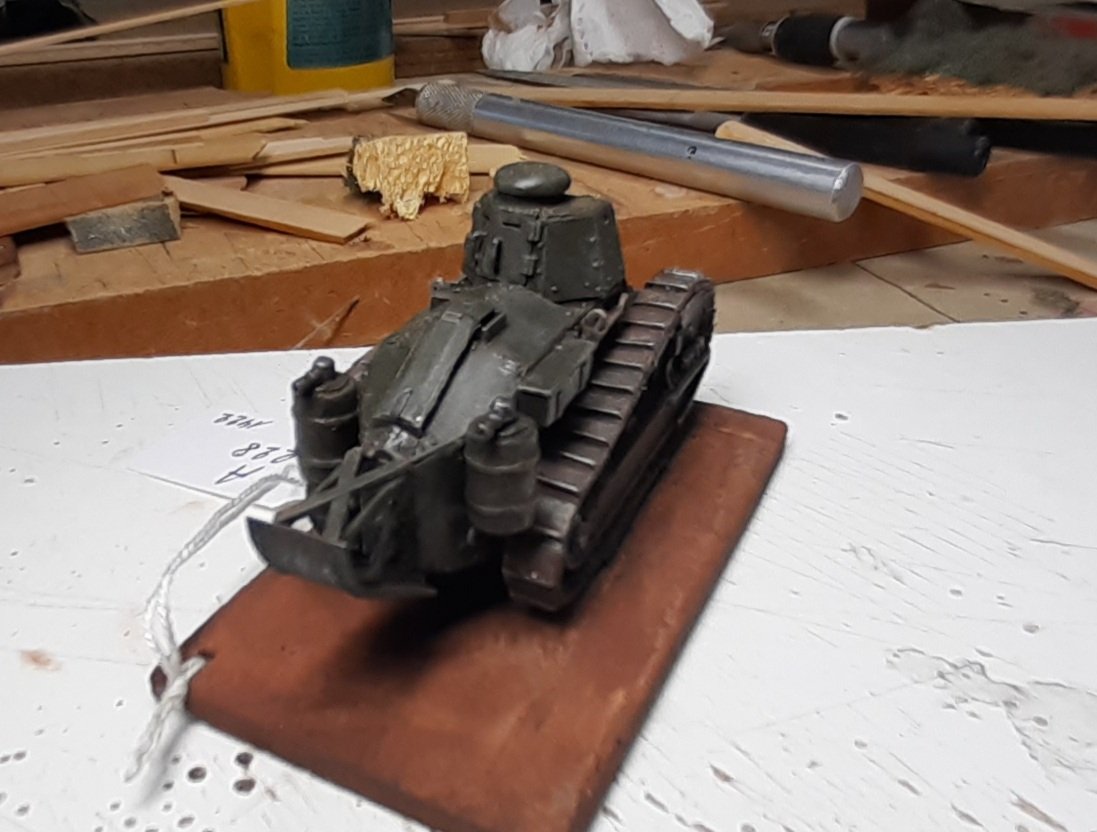
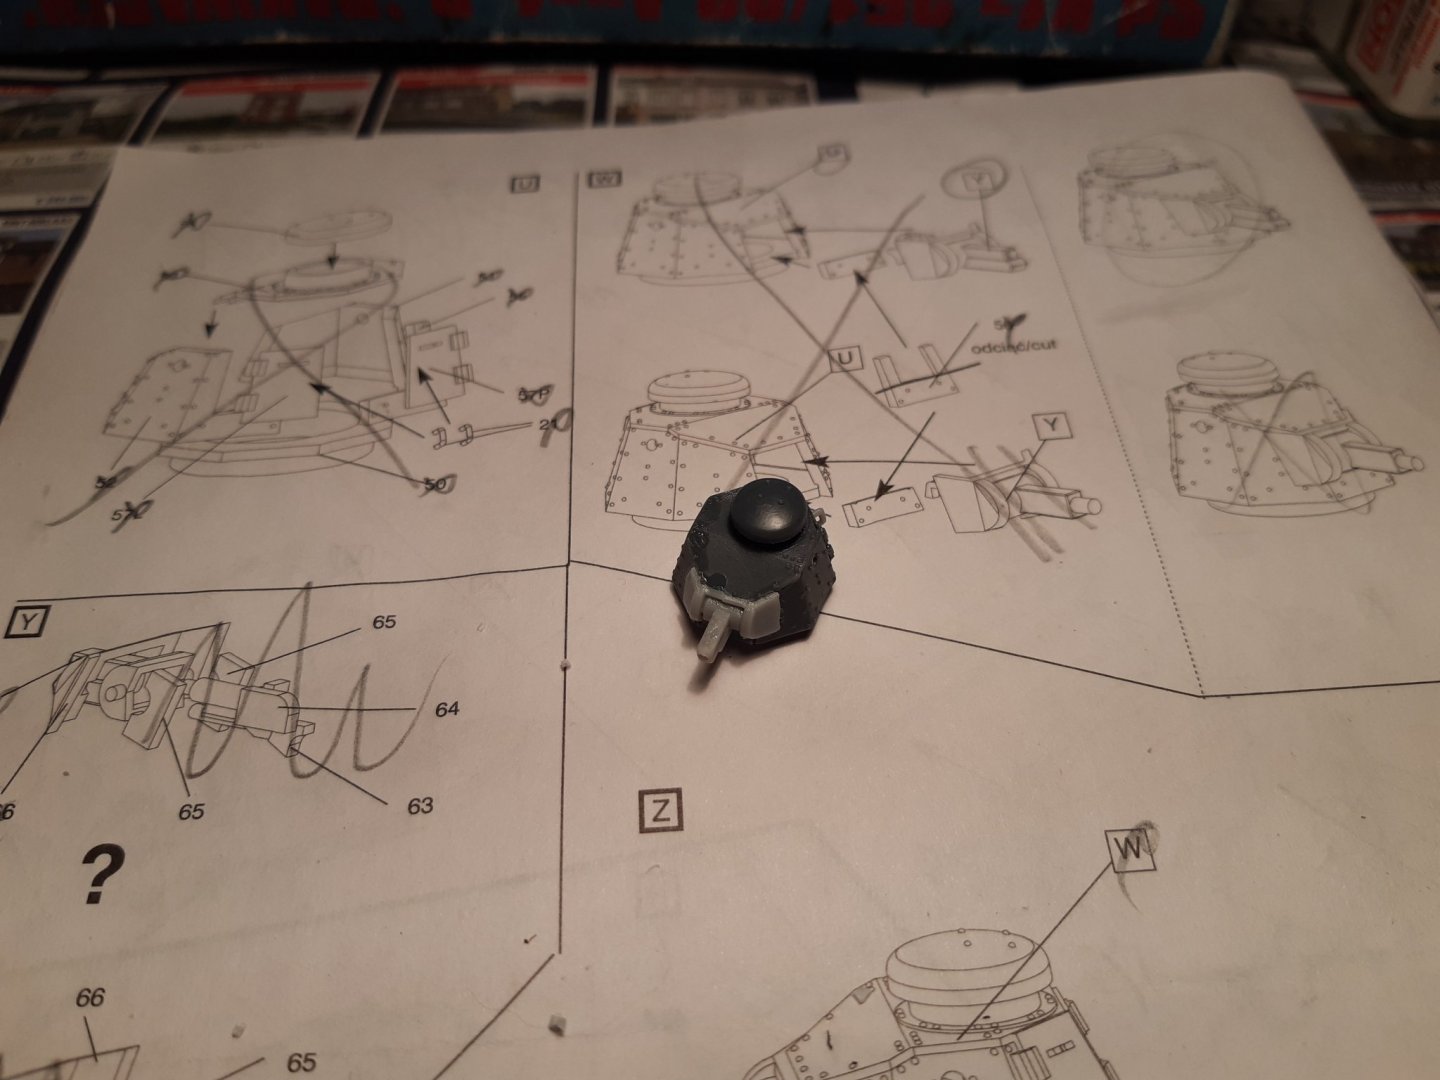
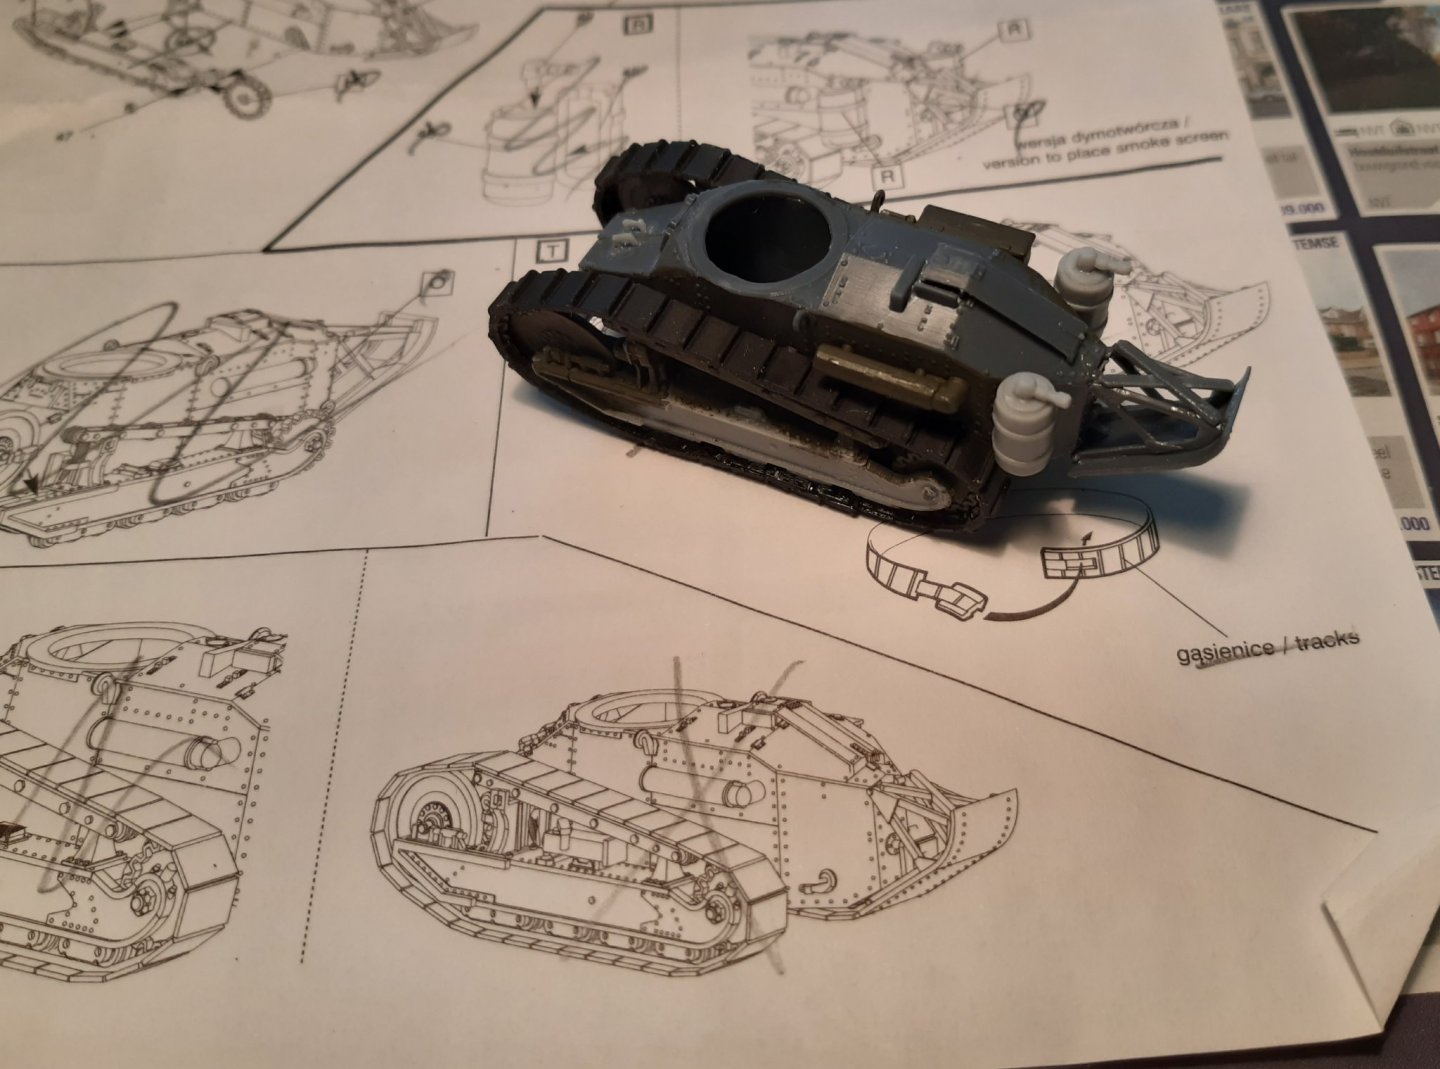
Building the turret (The smoke tank is with the 3.7cm cannon) Model and base plate. Ready for painting Painted in the base collors Thanks for following

-
-
-
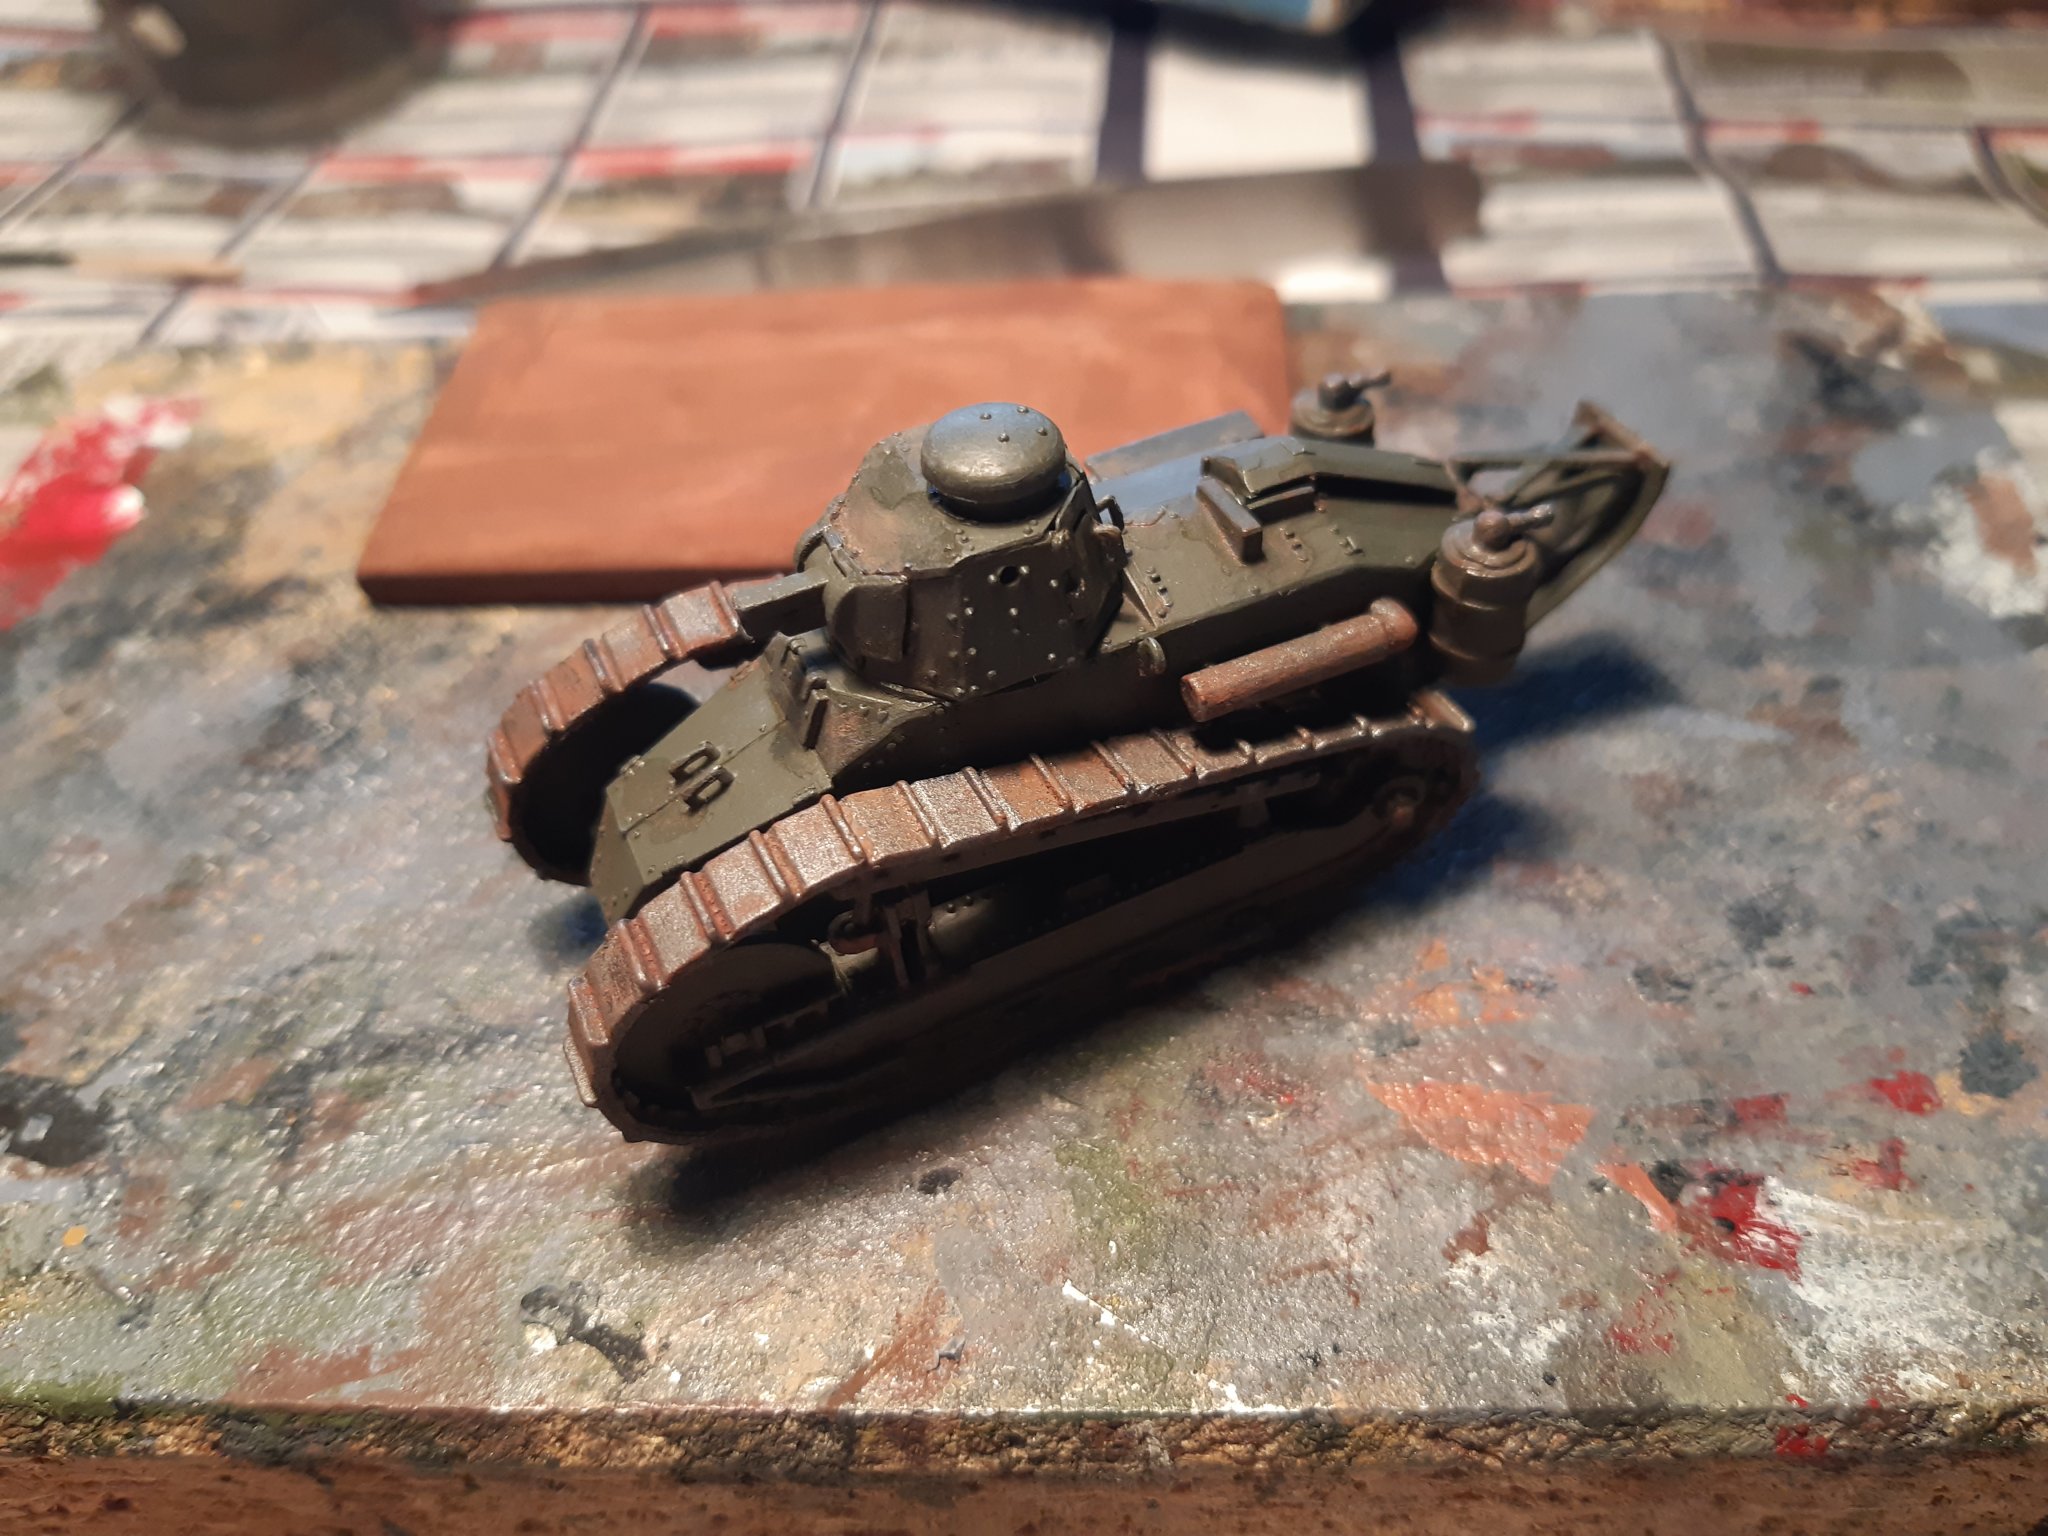
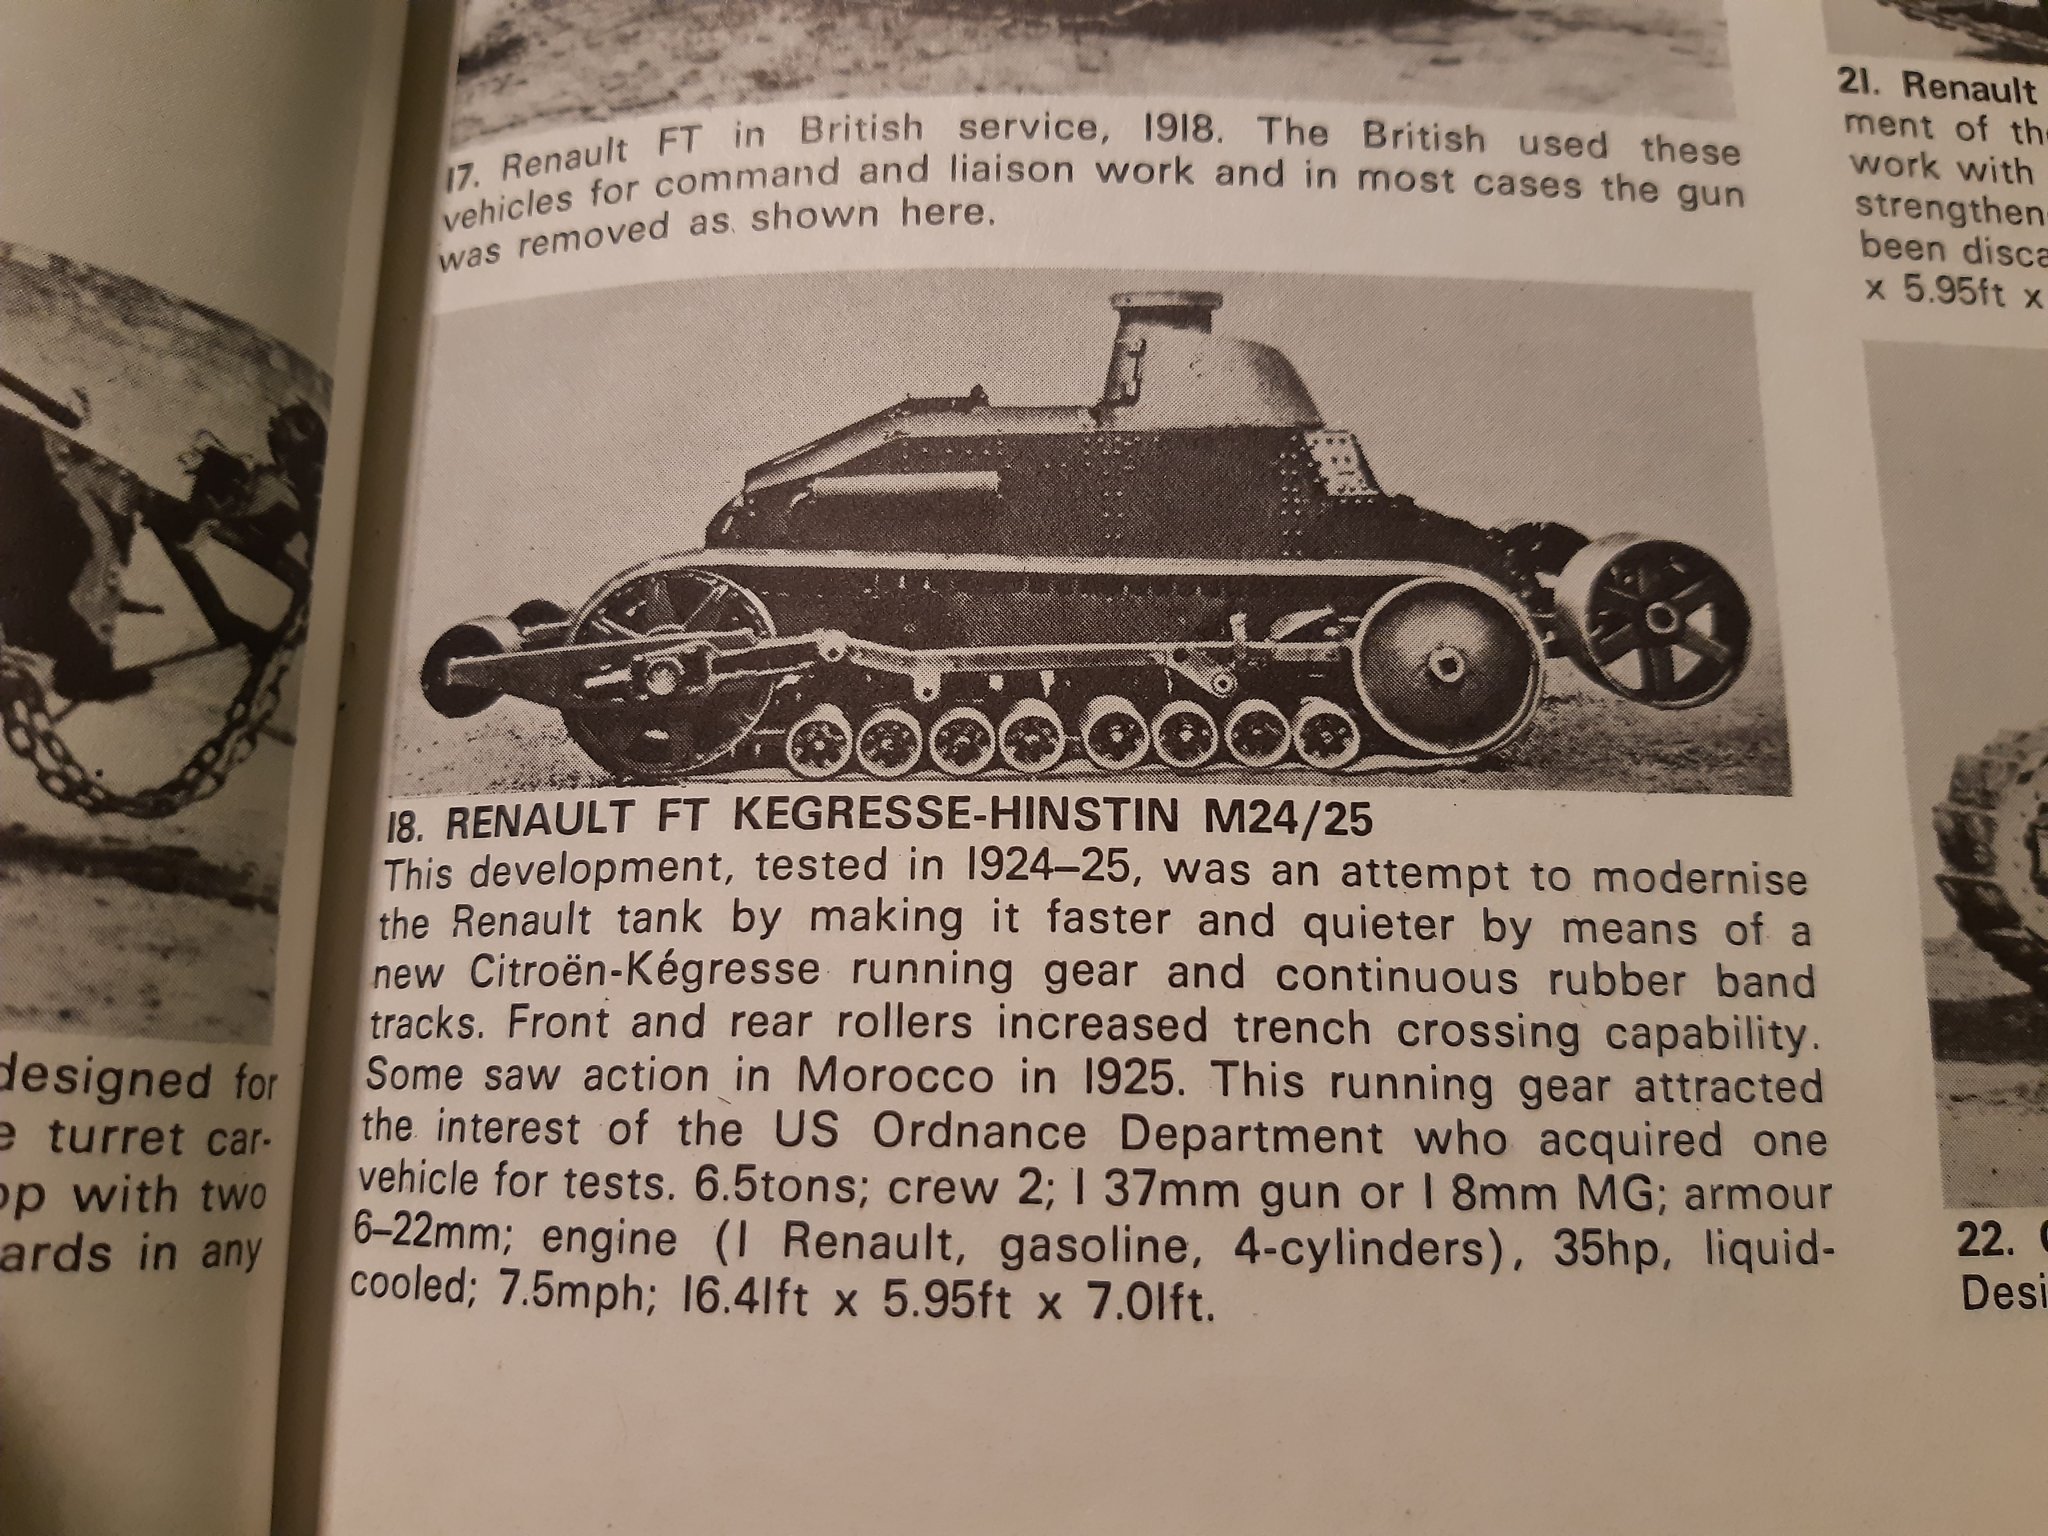
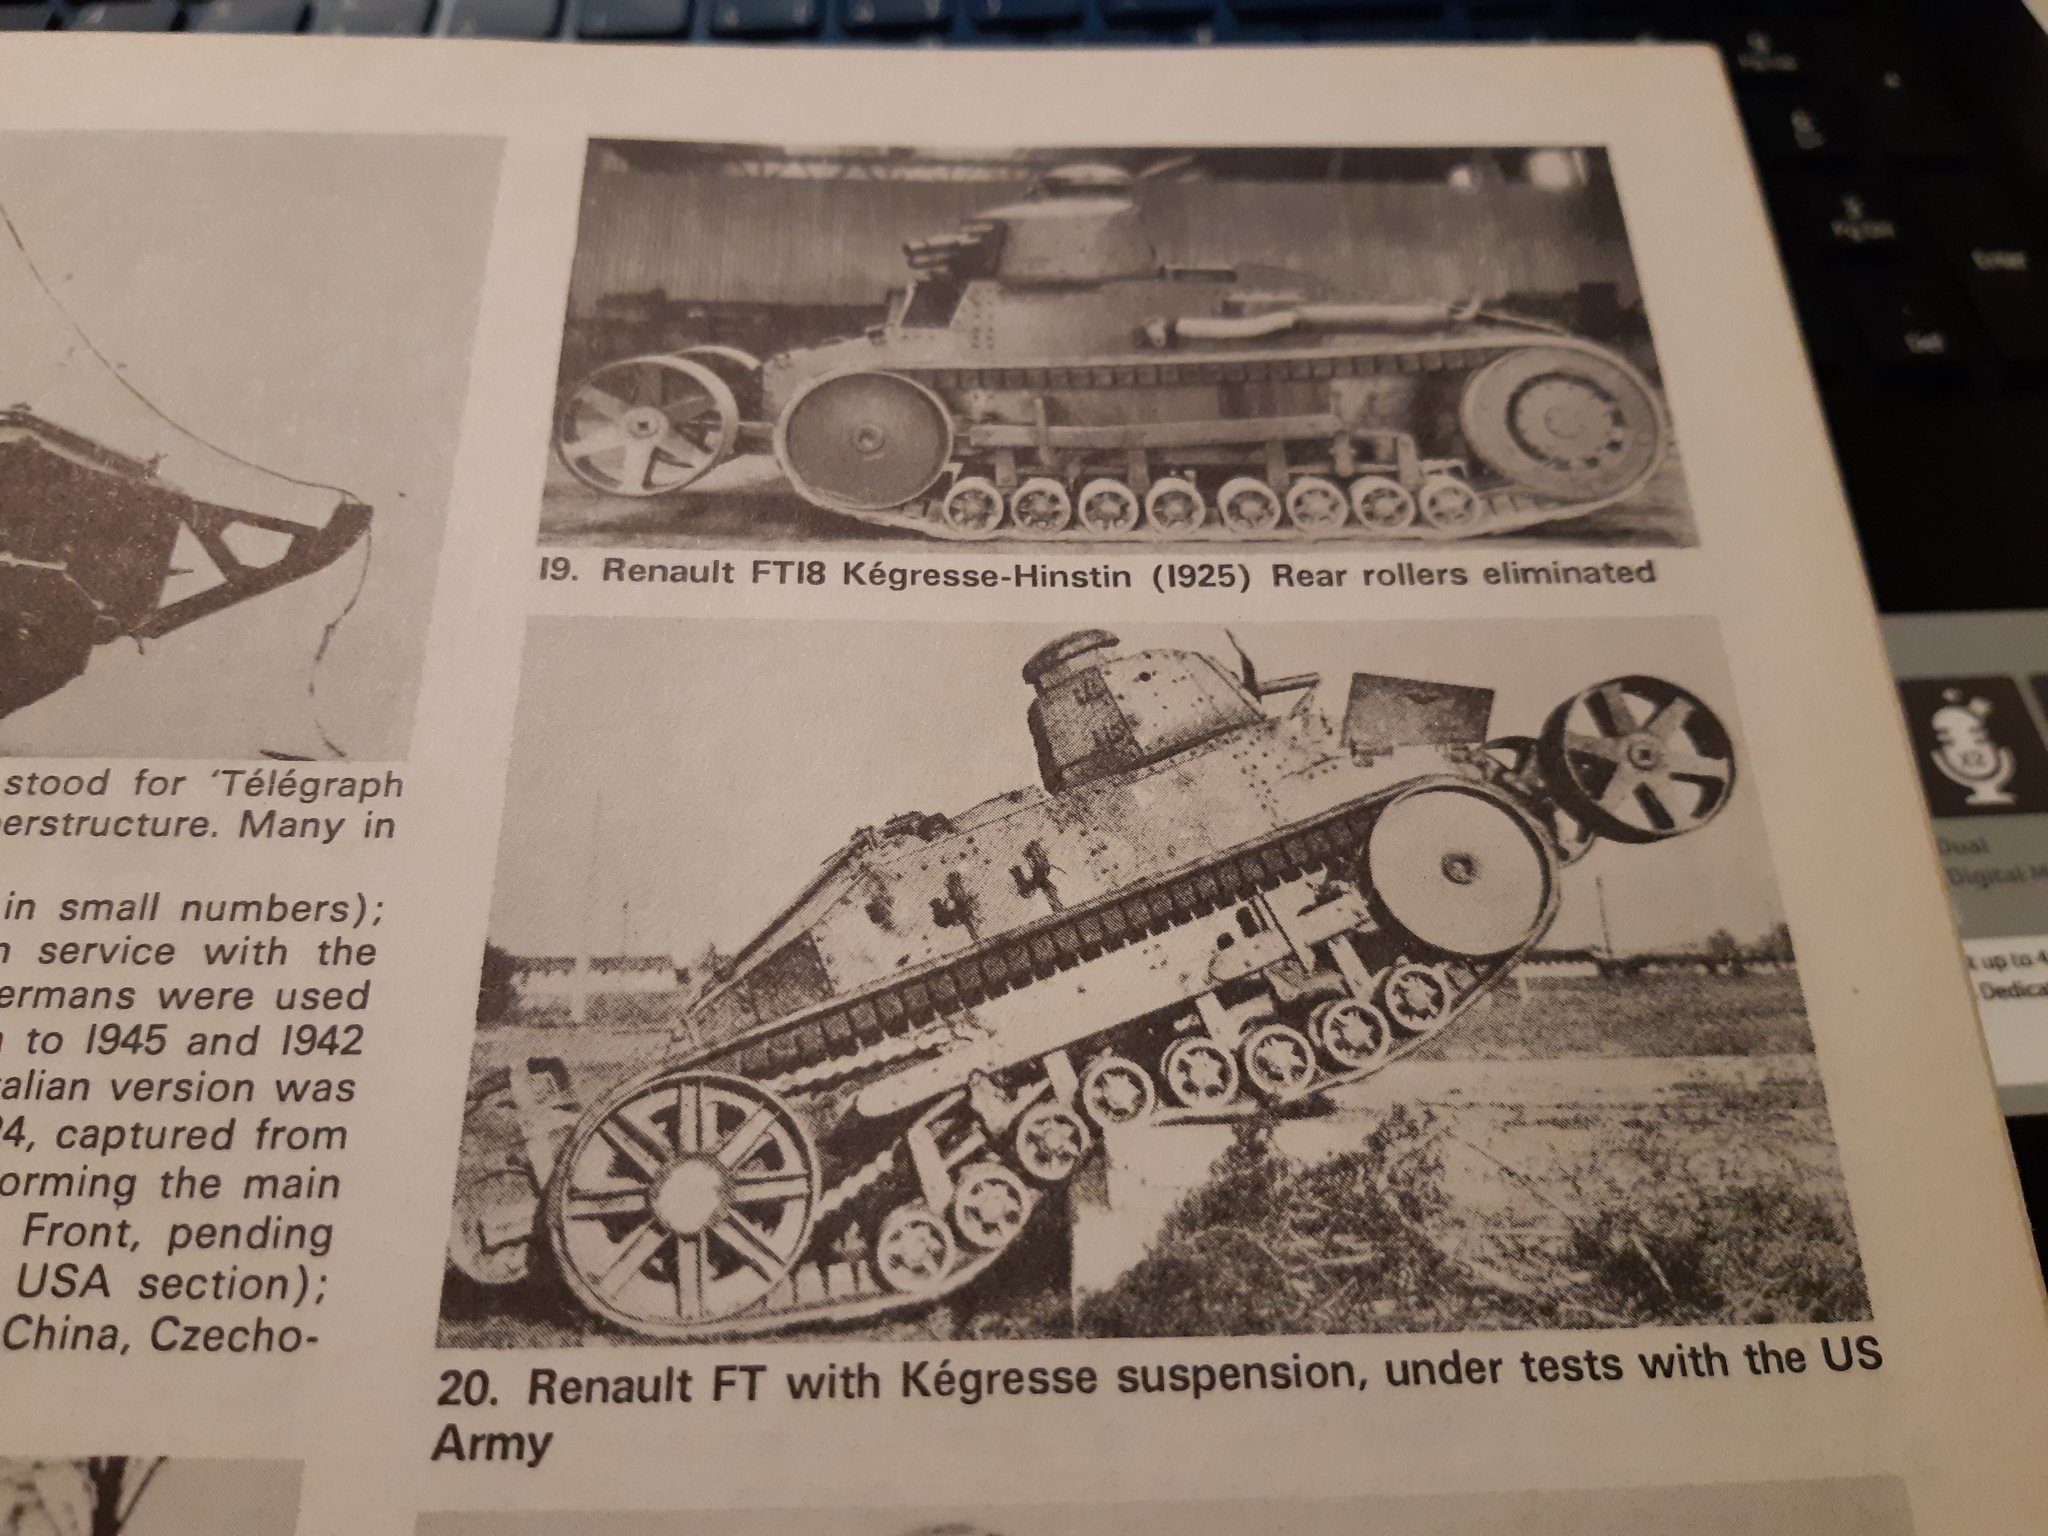
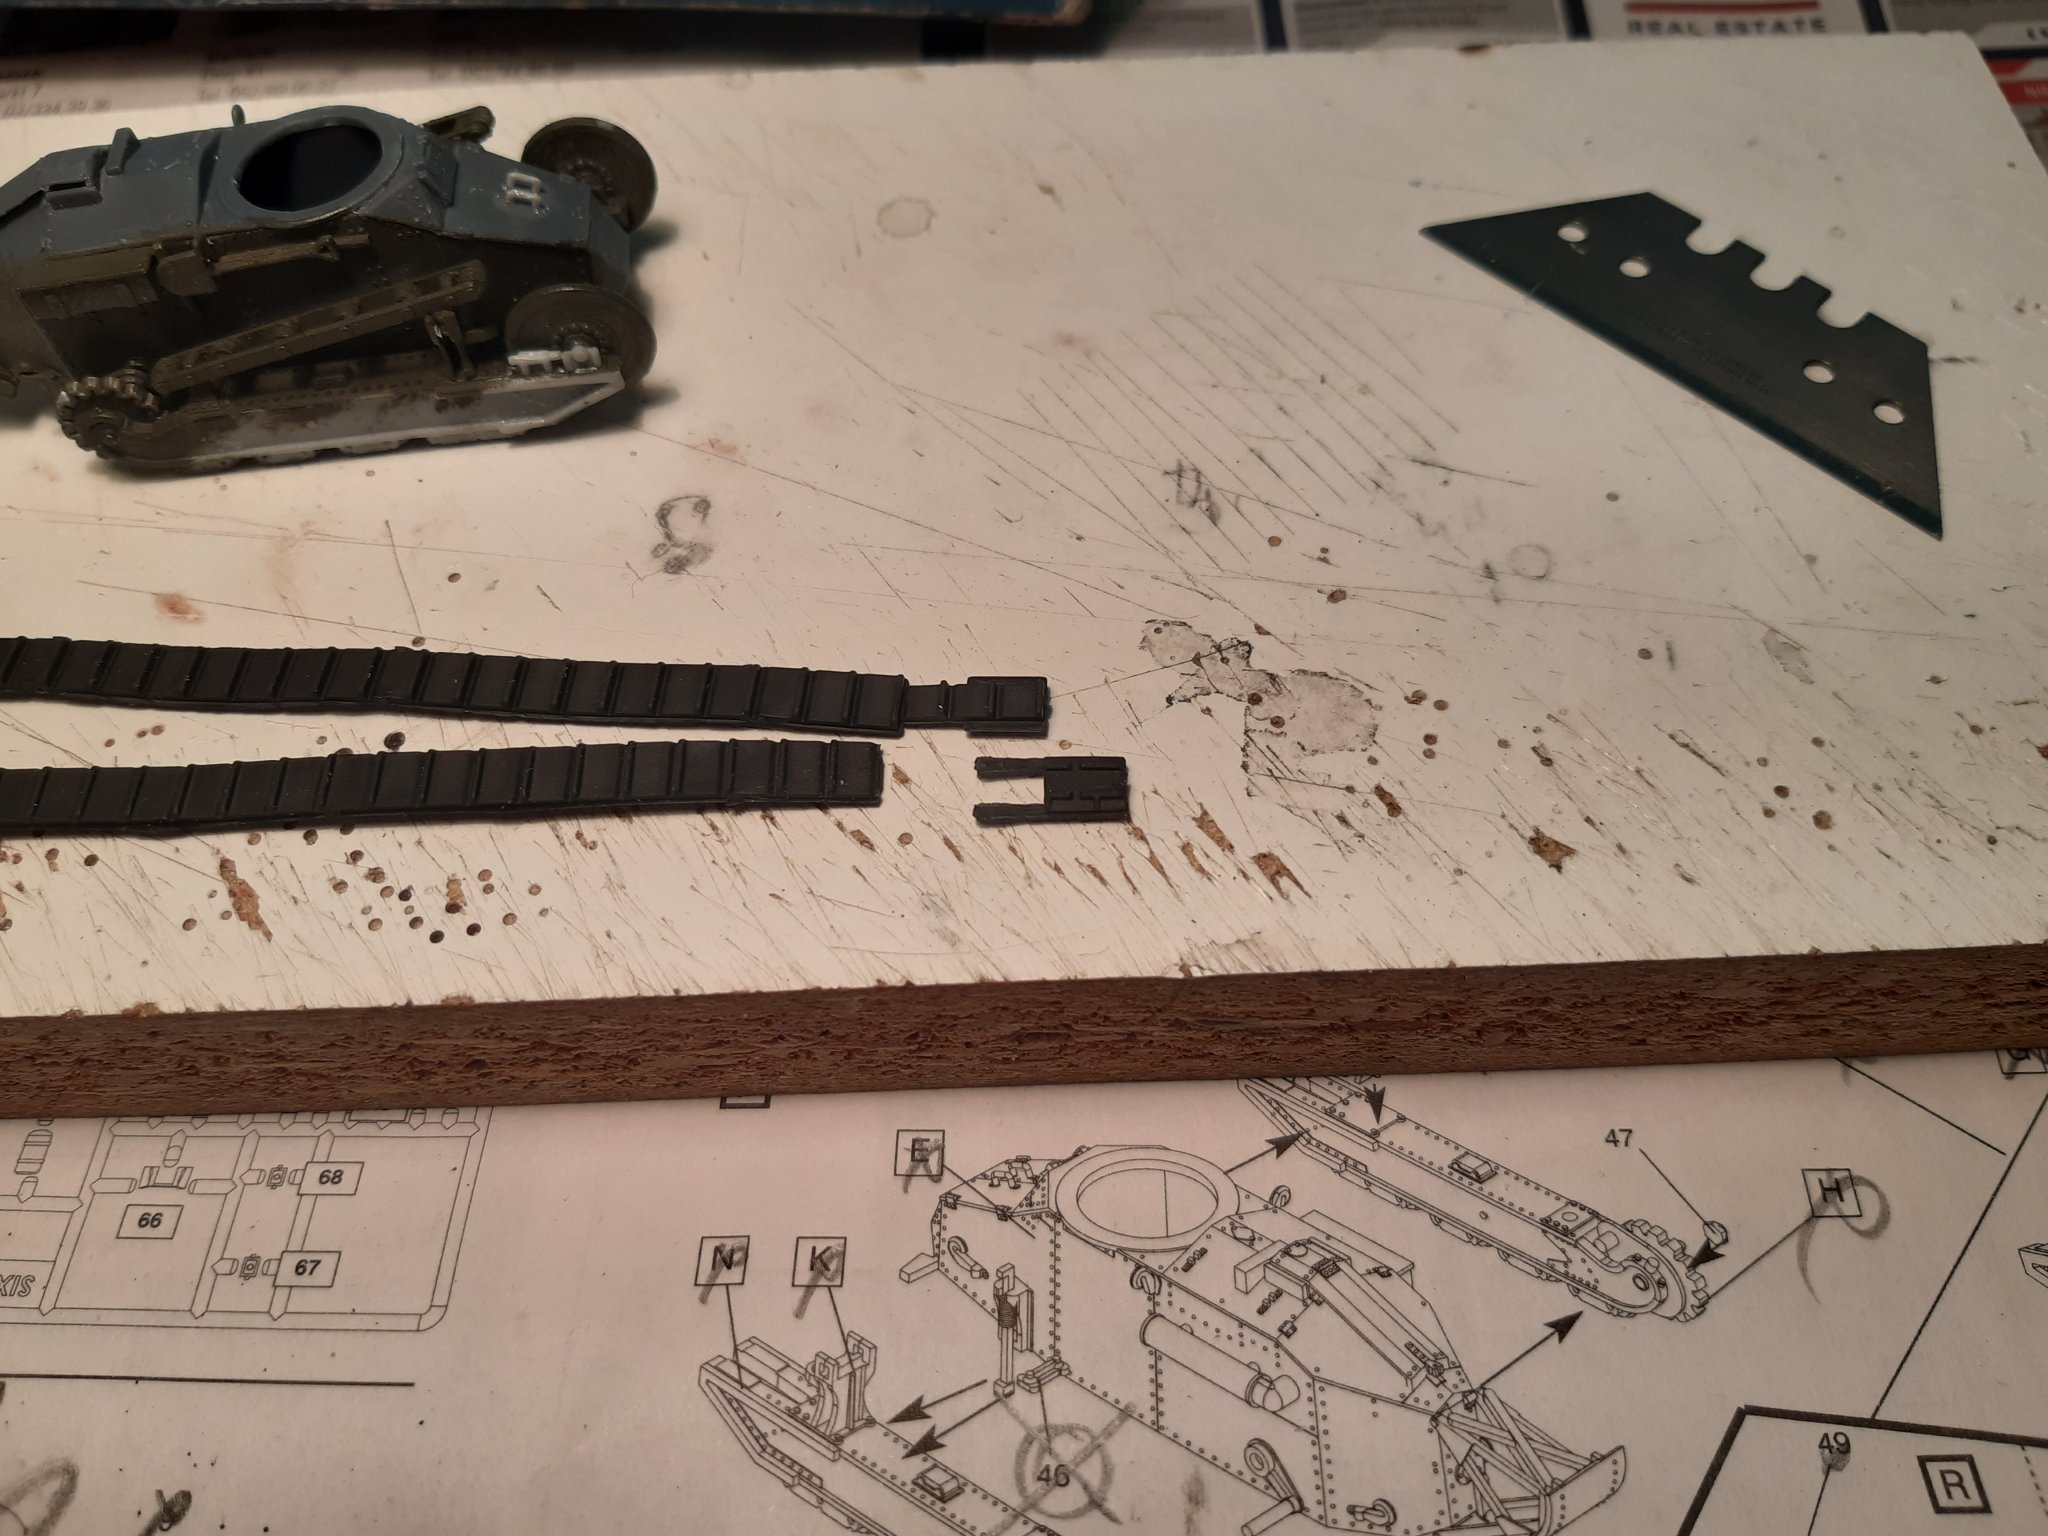
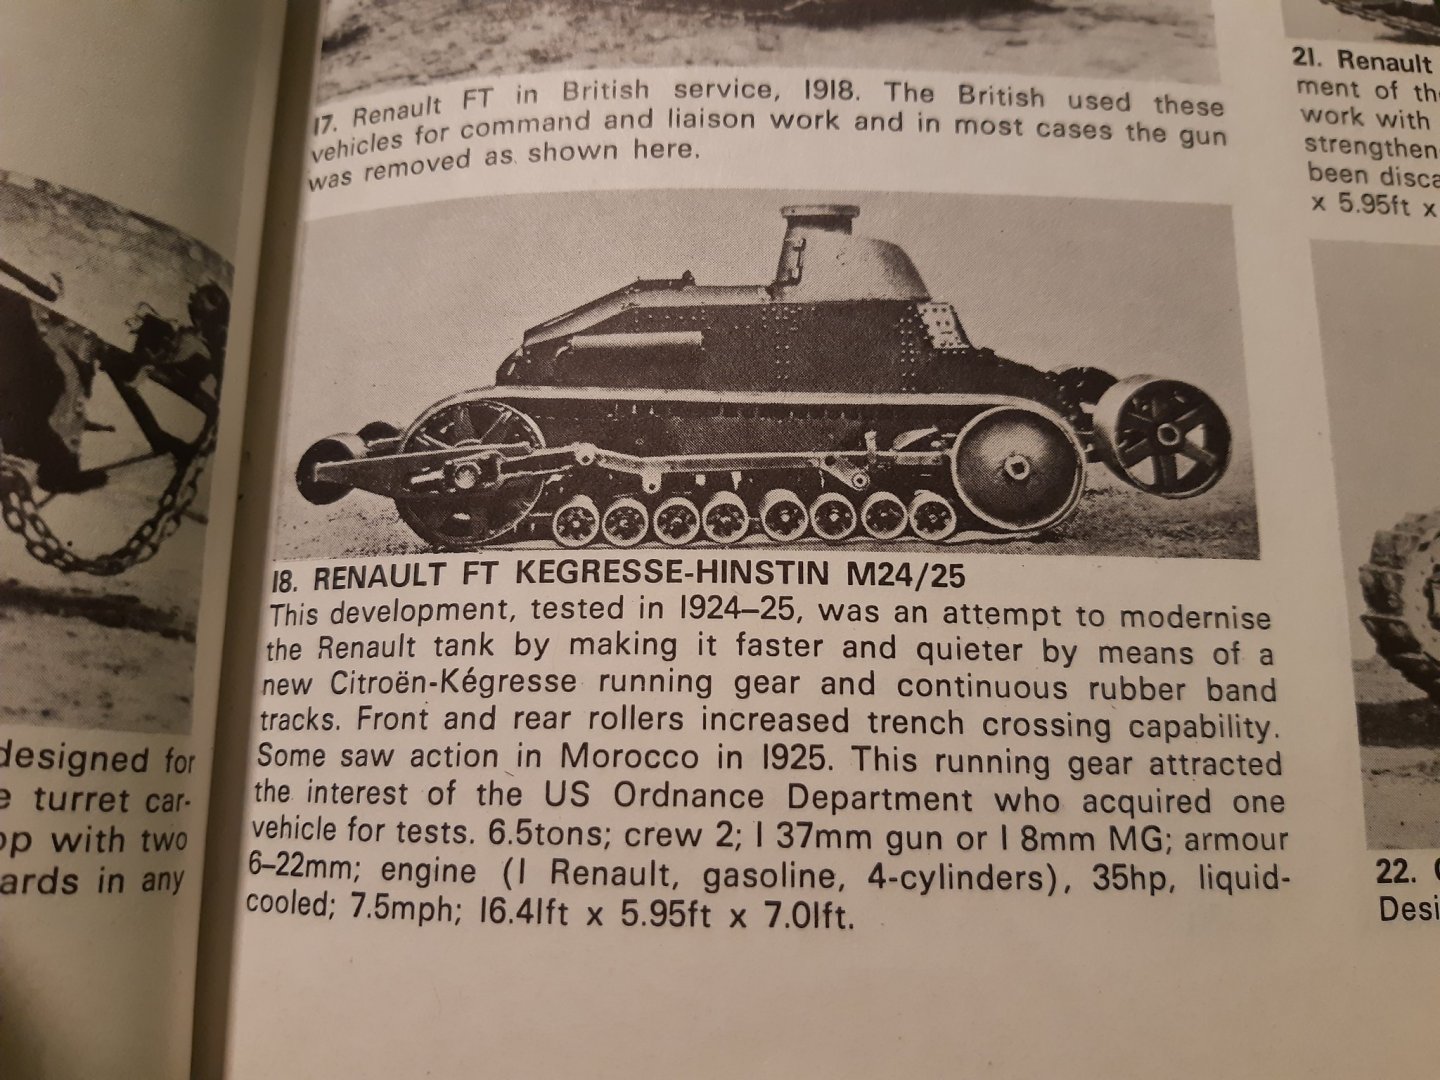
The original tracks of the FT17 (French) and the 6ton (US) were made of steel, no rubber parts Later, after WW1, some test models were made with a new wheel system and rubber "tracks".

-
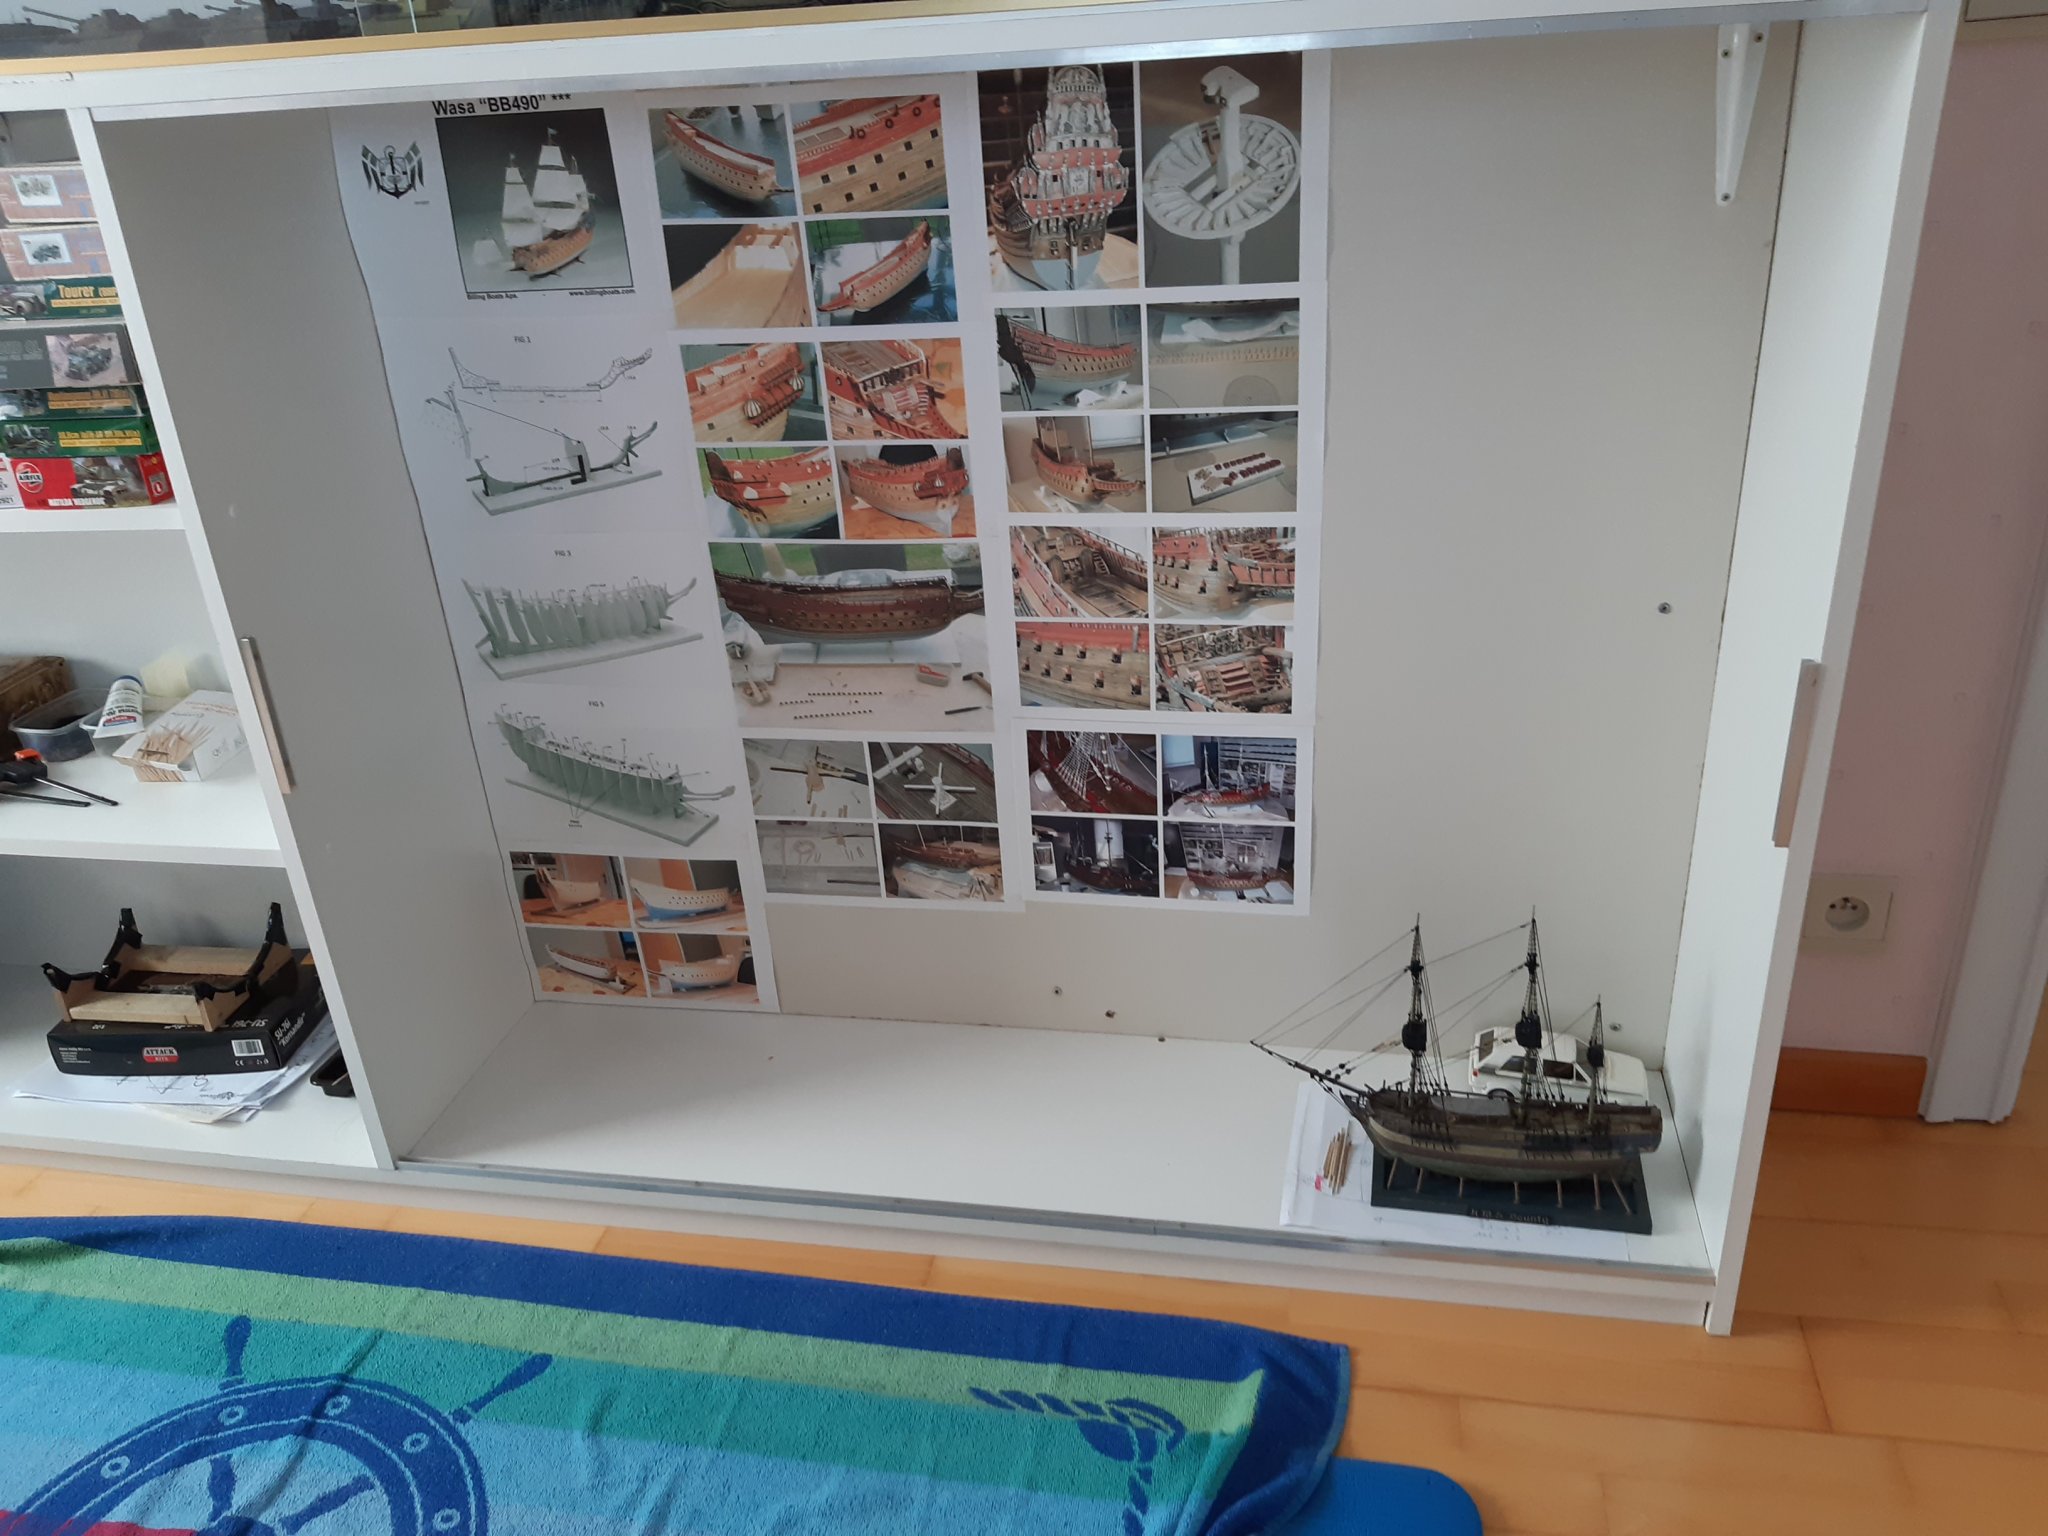
Today a major event. The very last update An empty space ?? Sold the Vasa model due to lack of space in the hobby room (And once a ship model is finished, I lose my interest in it) This model was a very educational experience. Had a lot of fun , and even made money on it. Maybe one day I'll build a second Vasa in scratch. Thanks for following this

- 63 replies
-
- 2
-
-
- vasa
- billing boats
- (and 1 more)
-
Well done, congrats 👍
-
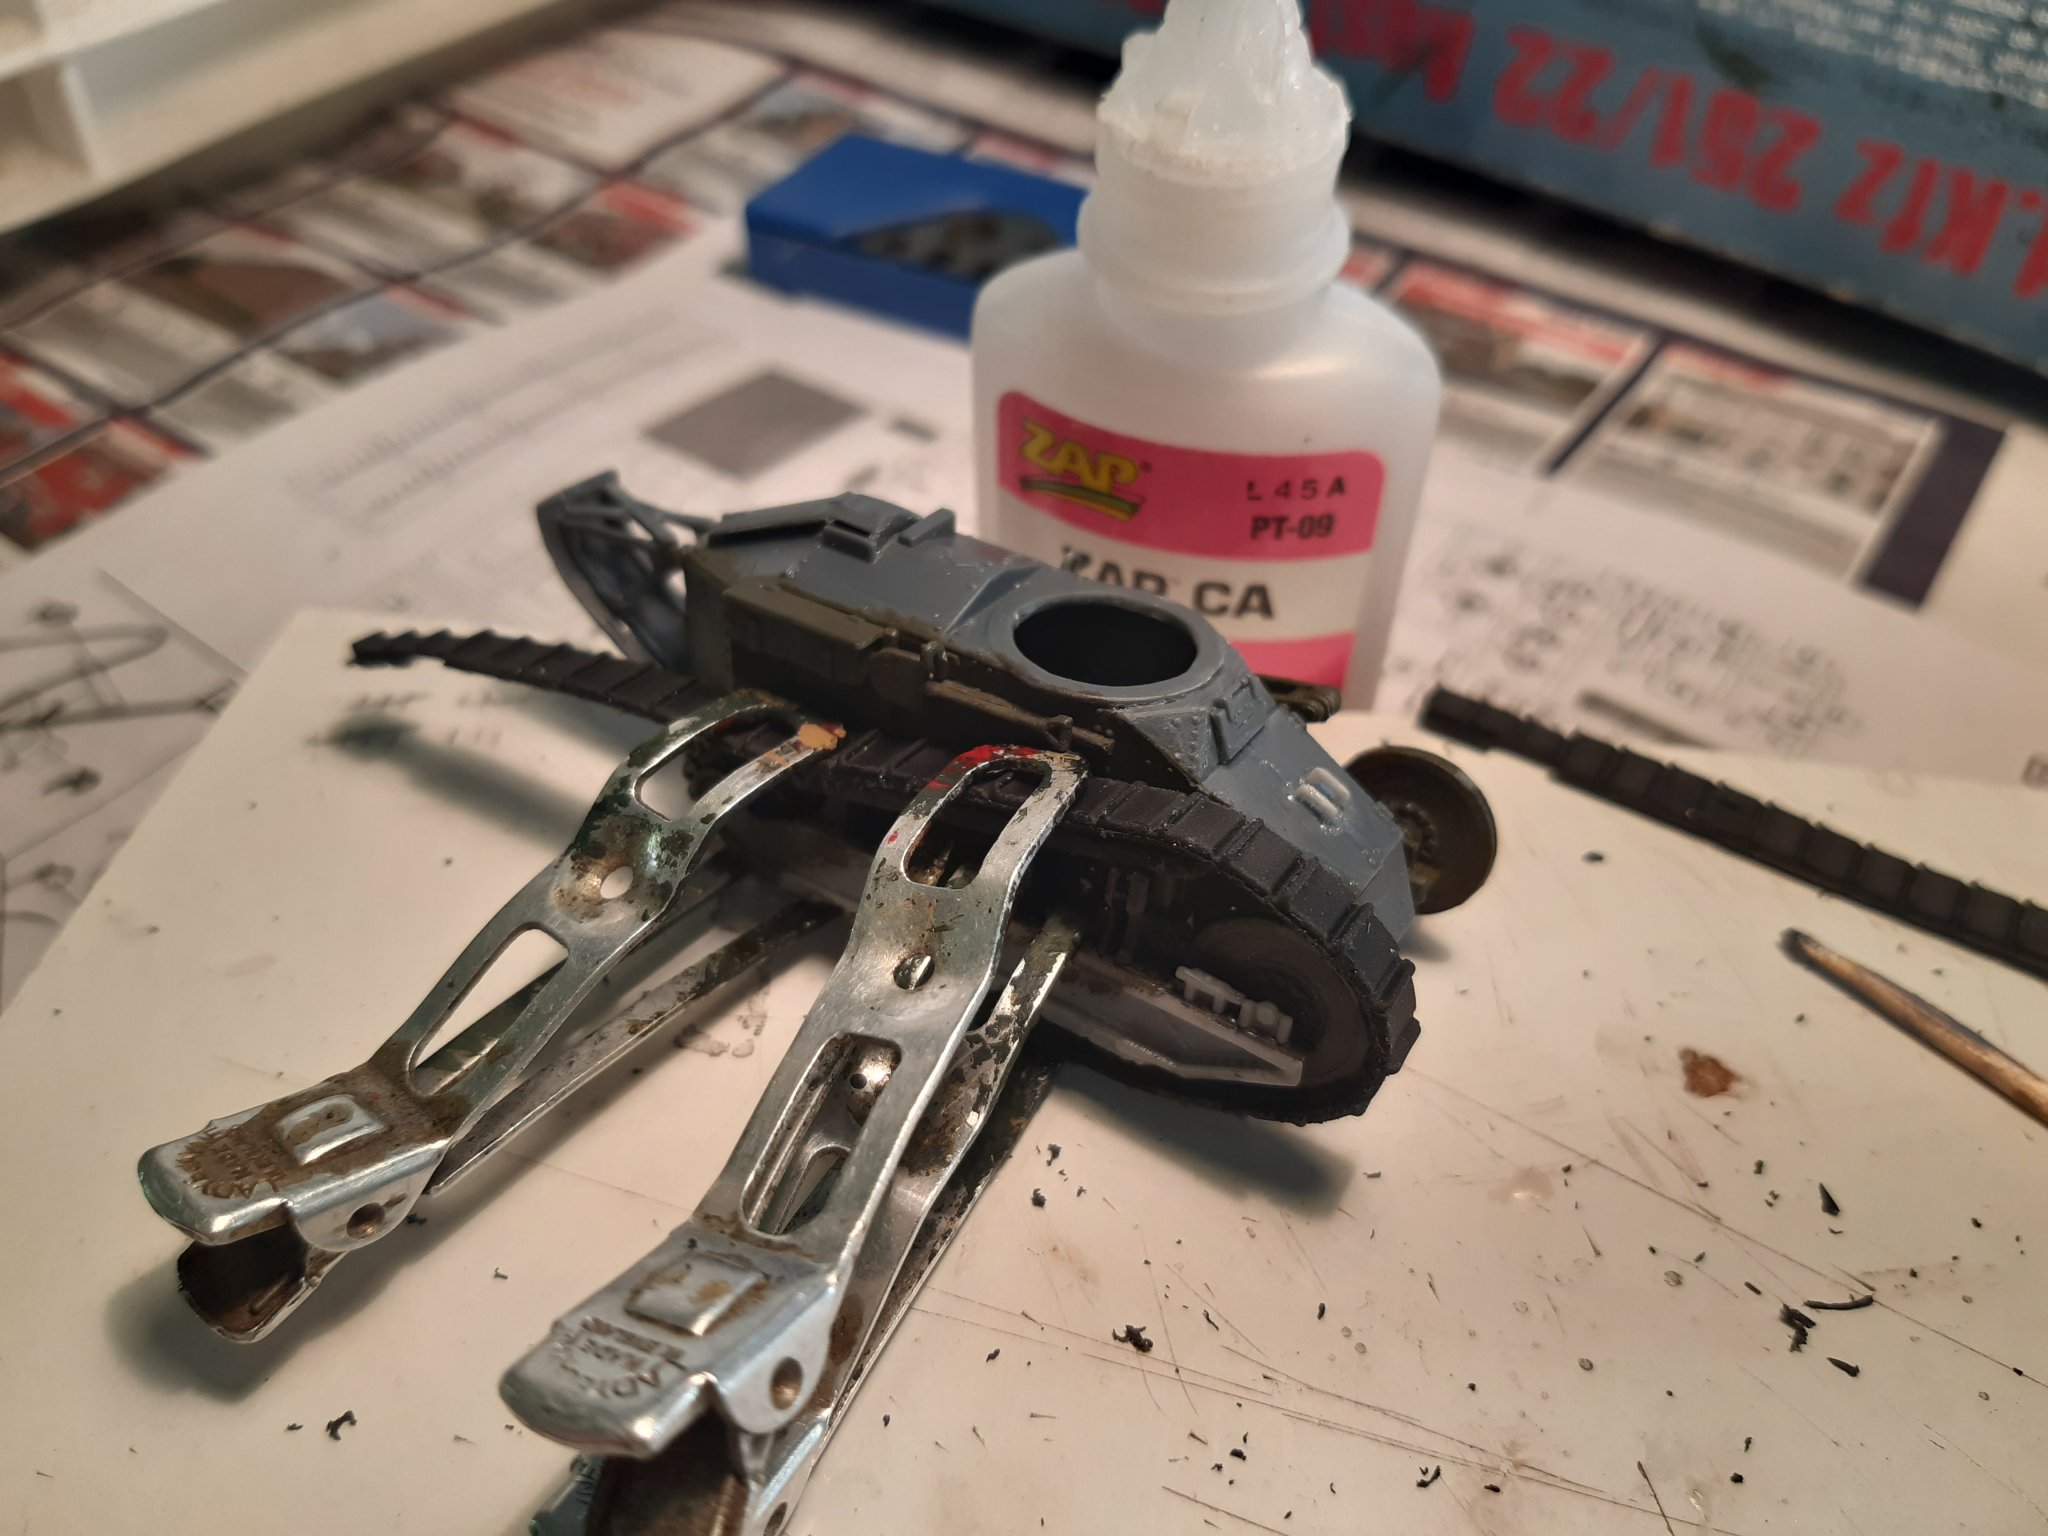
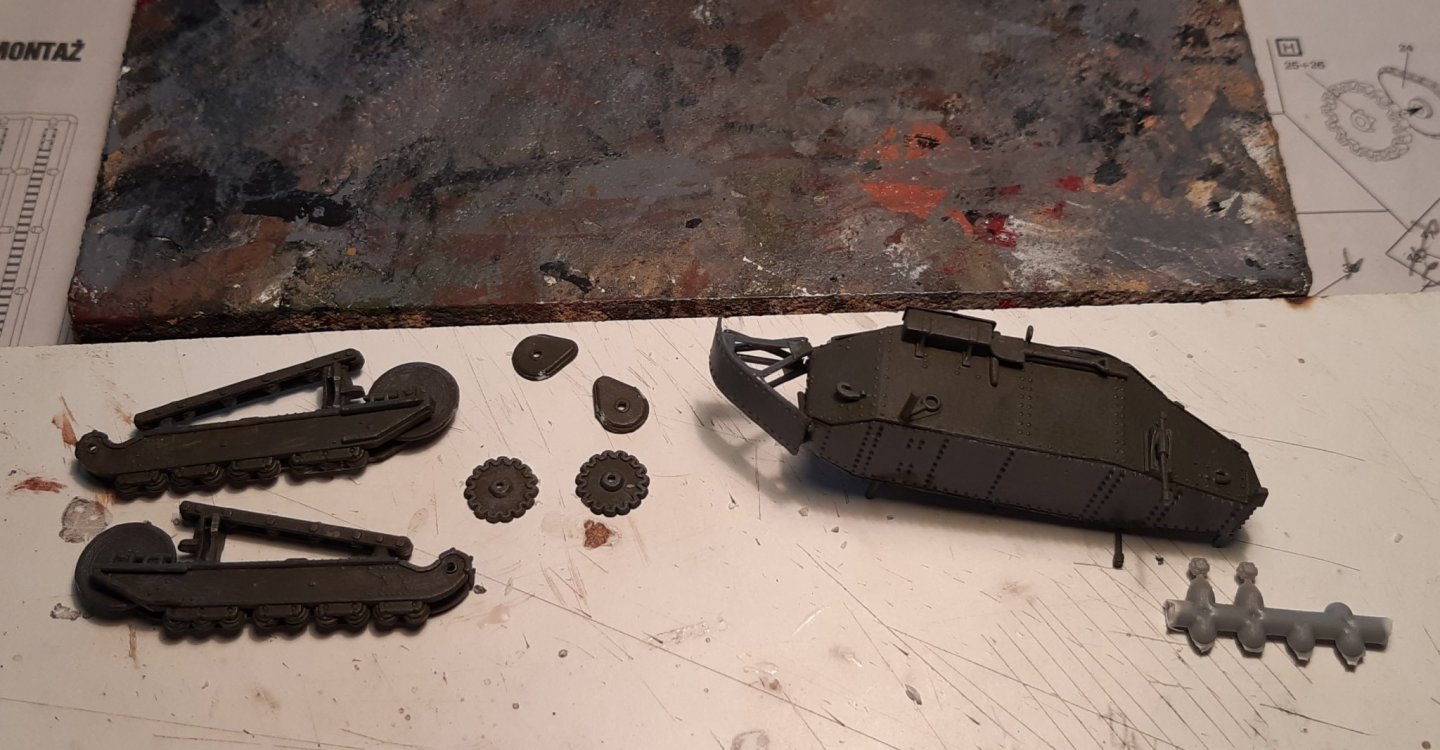
The way to join the ends of these tracks is quite fragile indeed. Much depends on the quality of the rubber. I usually glue them directly to the wheels with CA, and cut them to the correct length at the end of the assembly
-
A beautiful little model. Great work Rodolfo
-
Nog eens welkom
-
Welcome to MSW, and good luck with the models
-
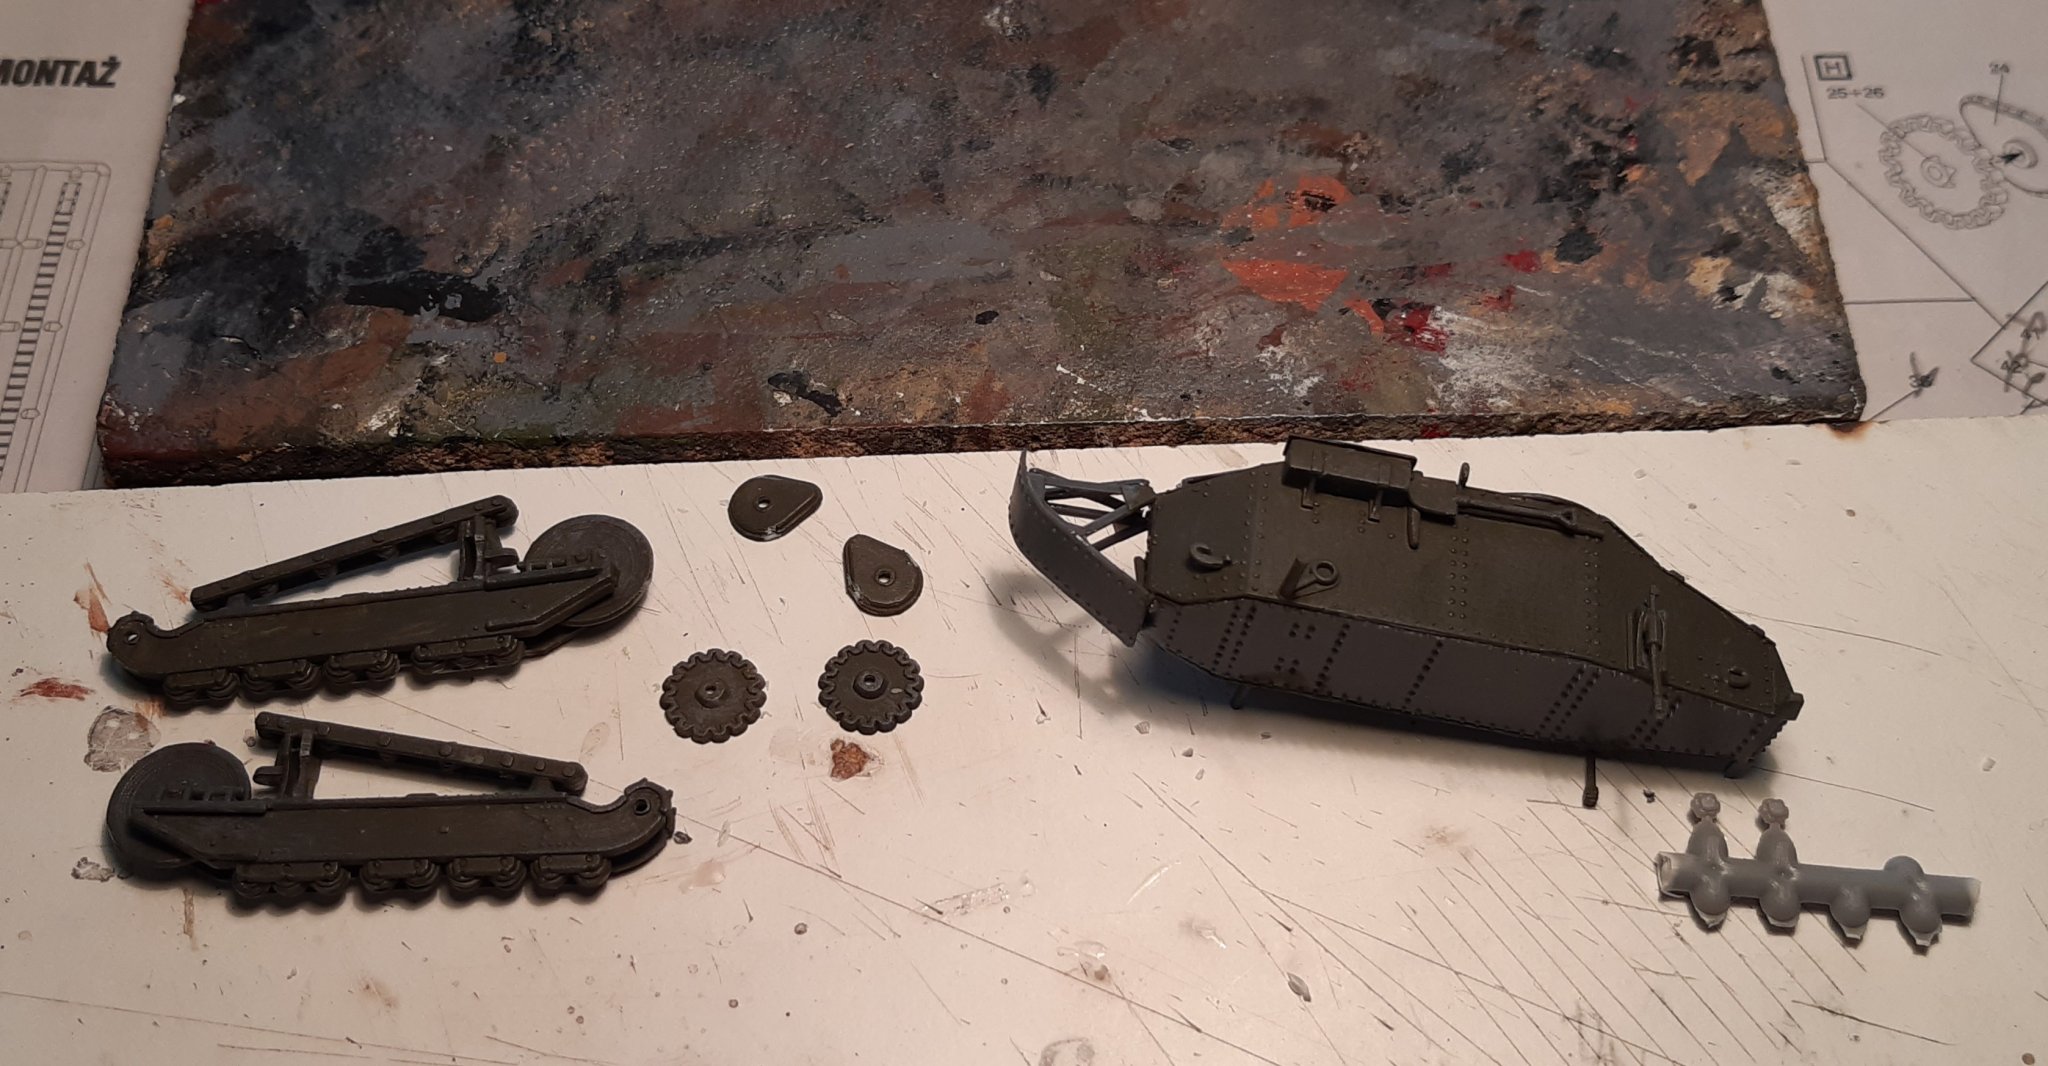
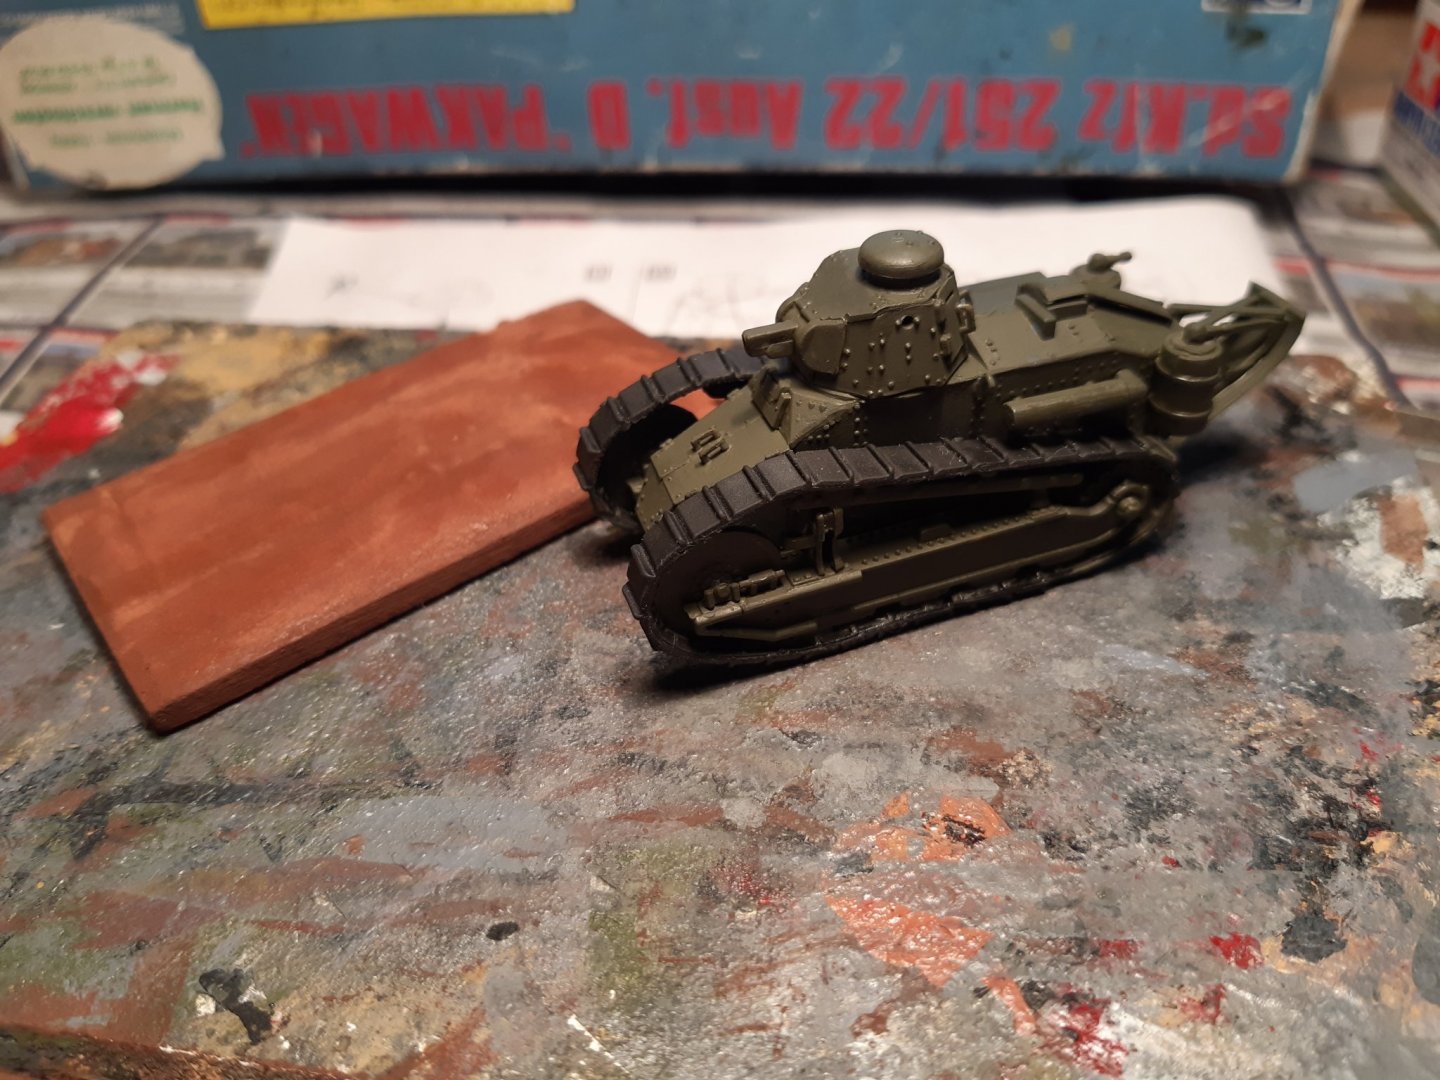
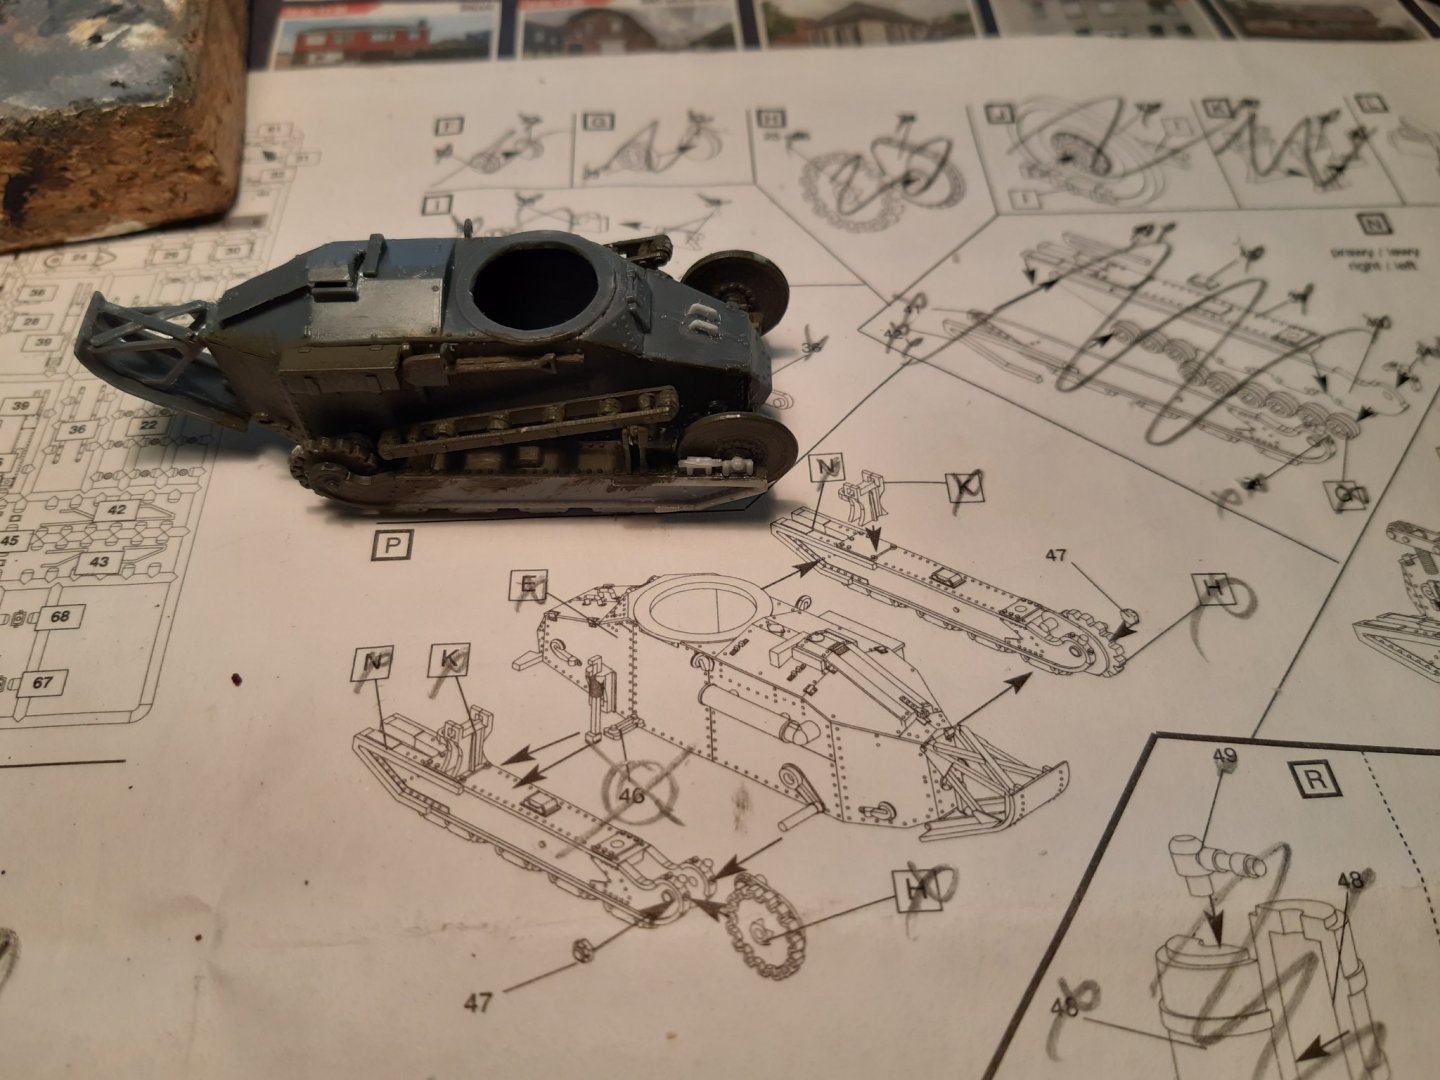
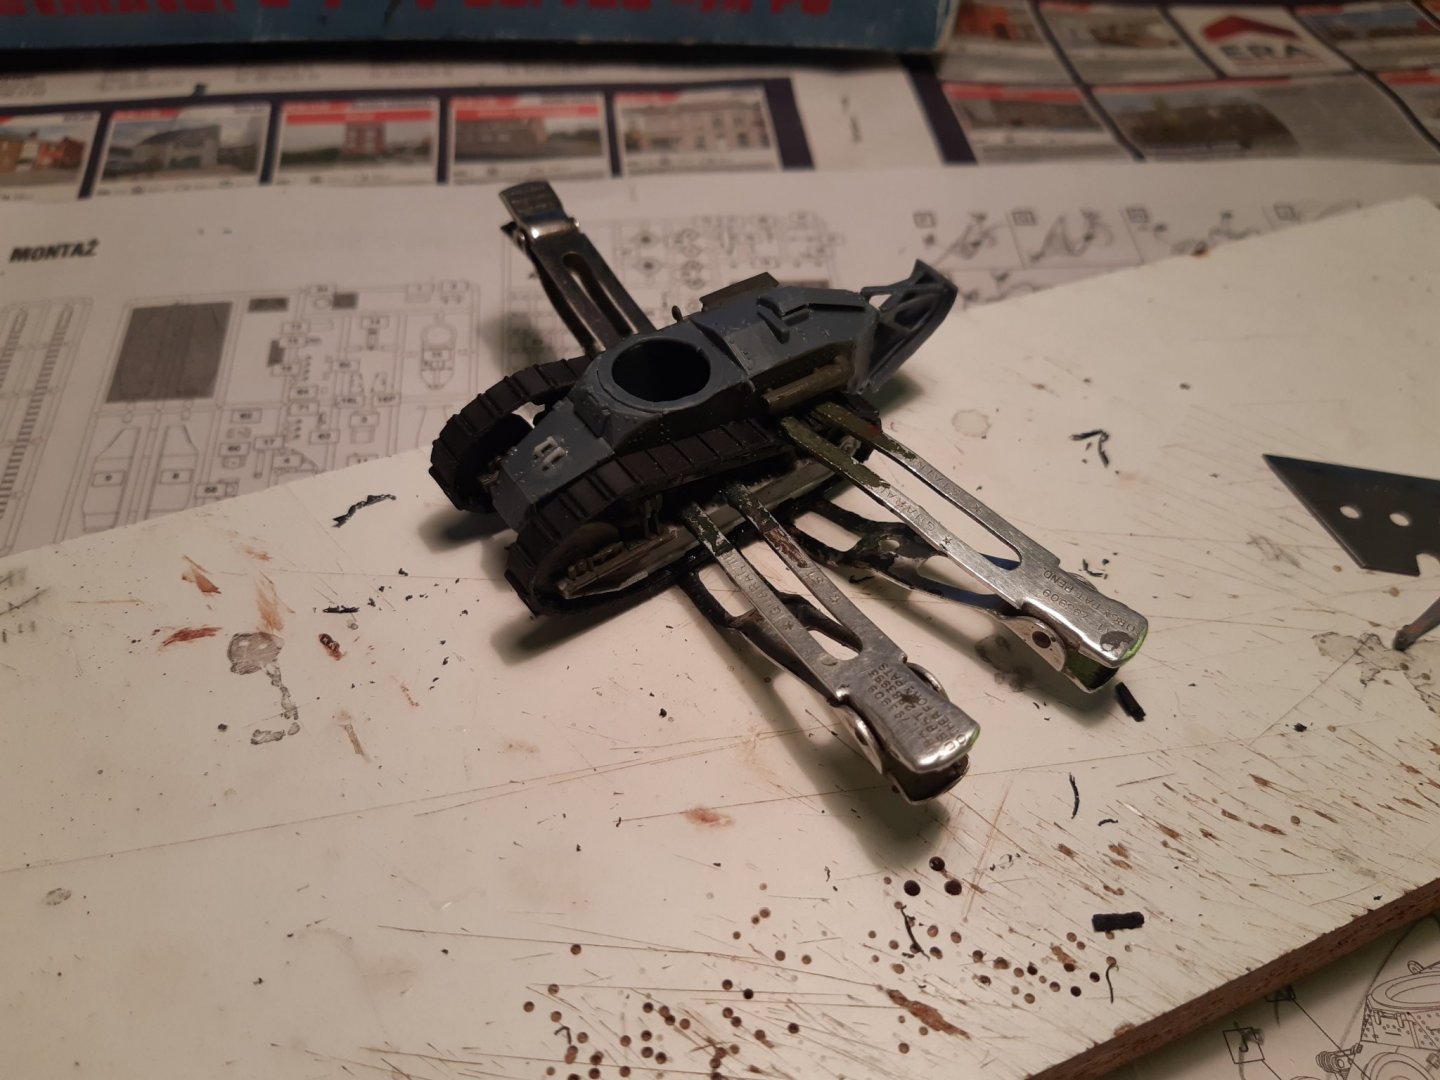
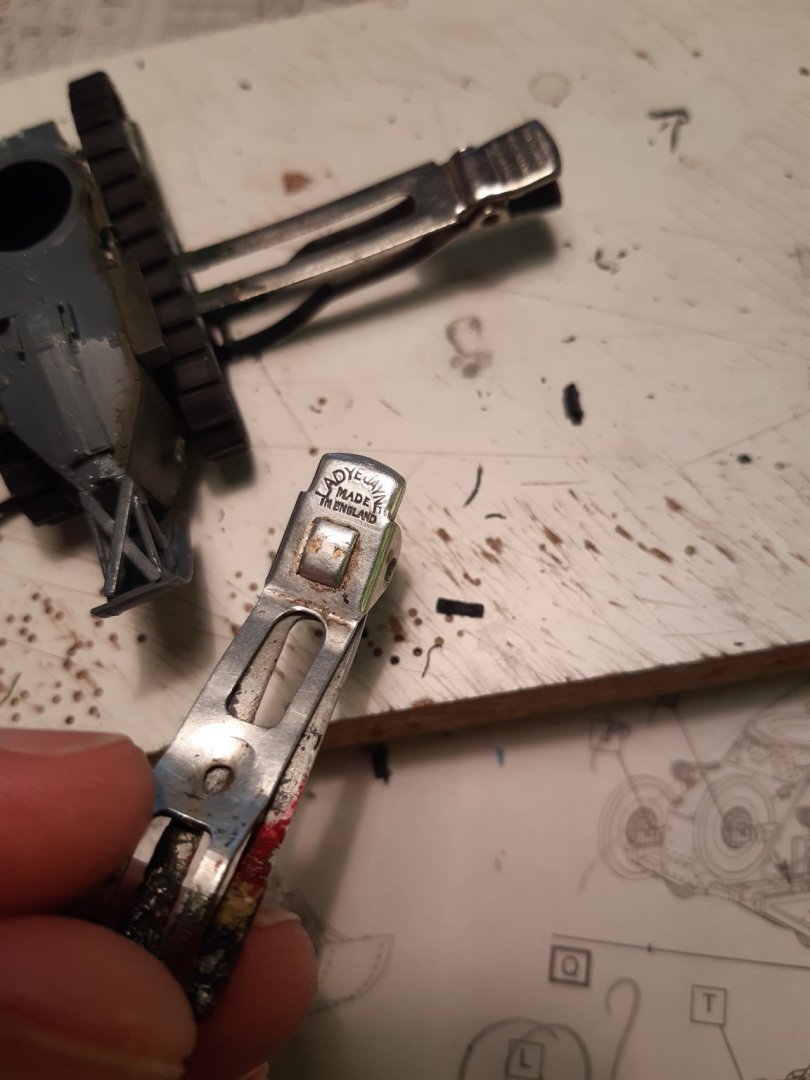
Hello, Apply the wheel assembly and the tracks The parts Glued in place Track trubbels in the tank factory... 🙊 The tracks are glued with CA Once, a long time ago my mother was missing several hairpins (and I had good clamps) Smoke equipment in place and chassis ready for painting Next the turret. Thanks for following


- 27 replies
-
- 11
-
-
Will be great to follow your second build. (From the start of your second build , you are officially no longer a newby. haha 🤣)
-
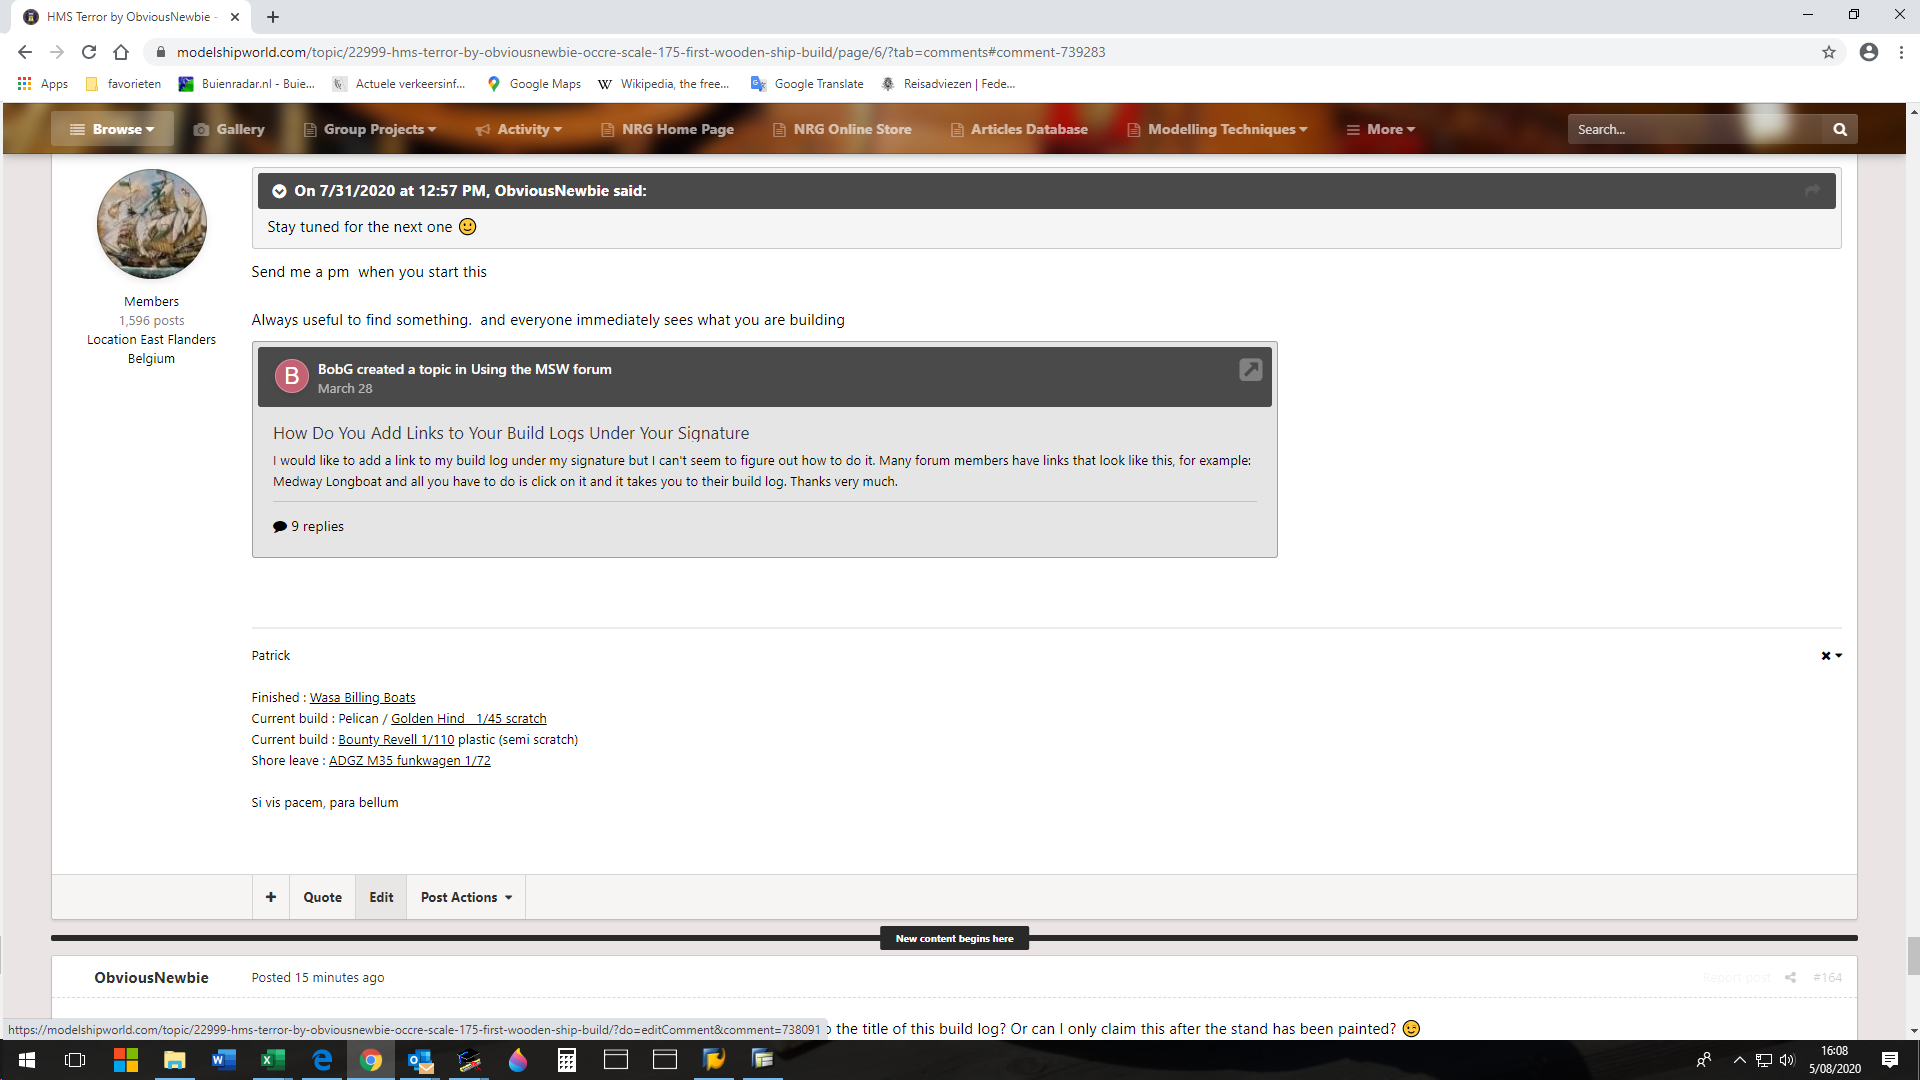
Go to post 1 of your buildlog and look at the bottom. There is : Quote edit post actions (see print screen) Click on edit Now you can "edit" the first post (change the tittle) Add FINISHED in the tittle and then press SAVE Ps Great new link in your signature

-
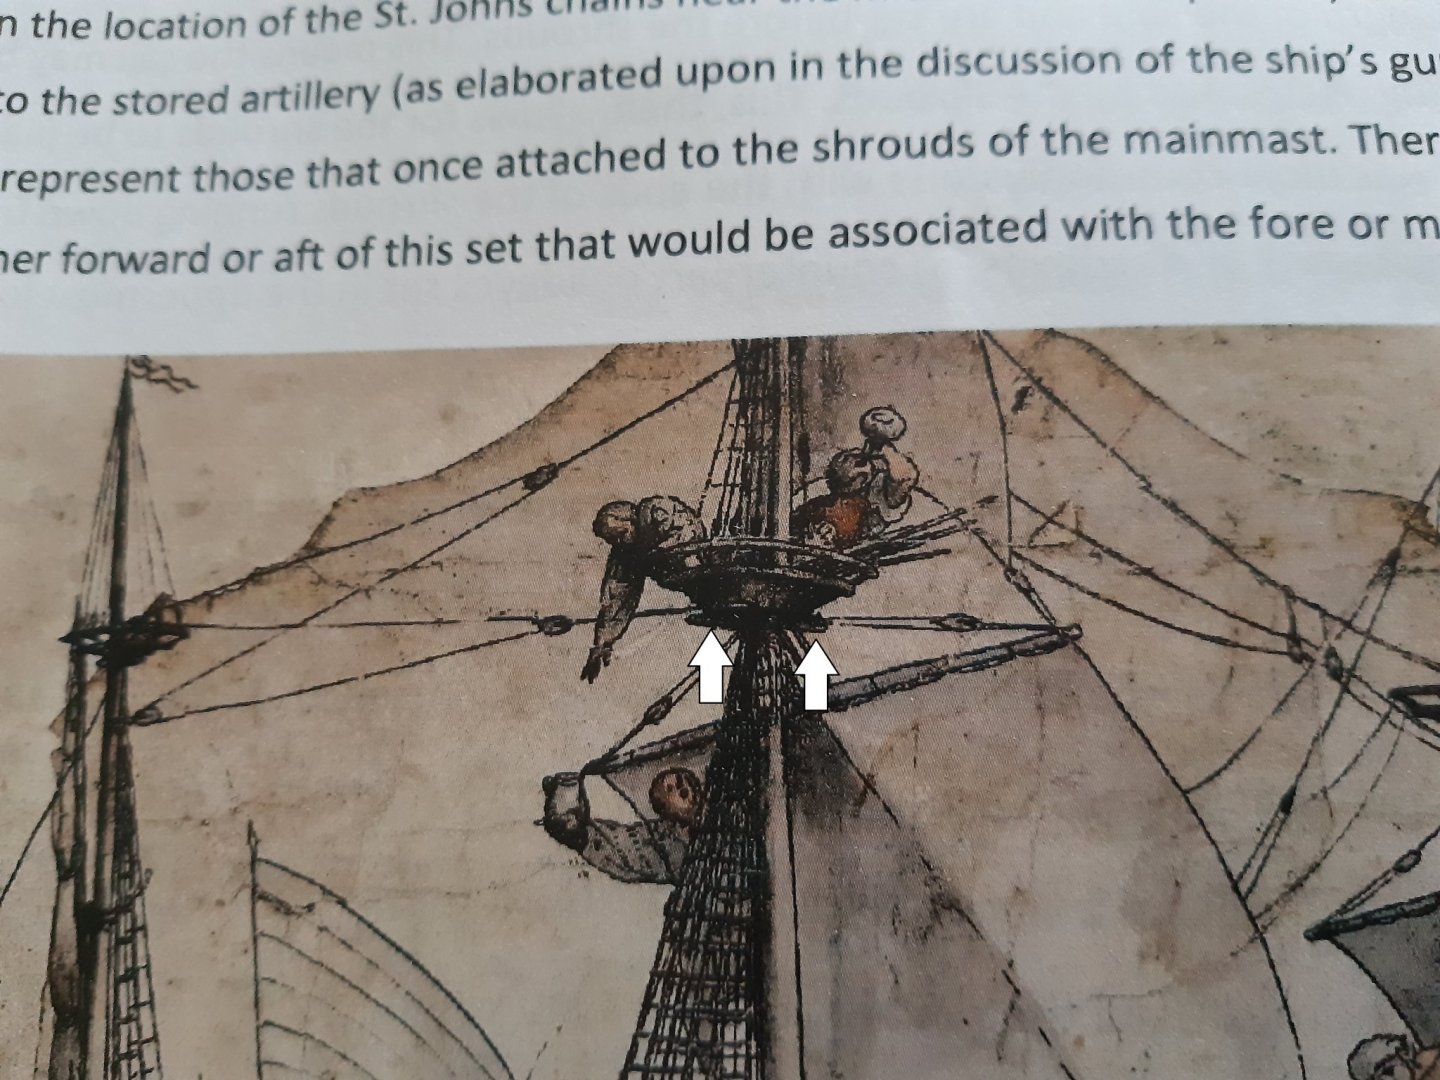
If we look at this complete drawing. Life on board of a 16th century ship was fun.... 🙈 Eating, drinking and the "other pleasures" in life. The only one who looks serious is the captain.
- 756 replies
-
- 5
-
-
- galleon
- golden hind
- (and 2 more)
-
New Member - Ranger, Spruce Goose, Tippecanoe, The Dinghy
Baker replied to Chuck L's topic in New member Introductions
-
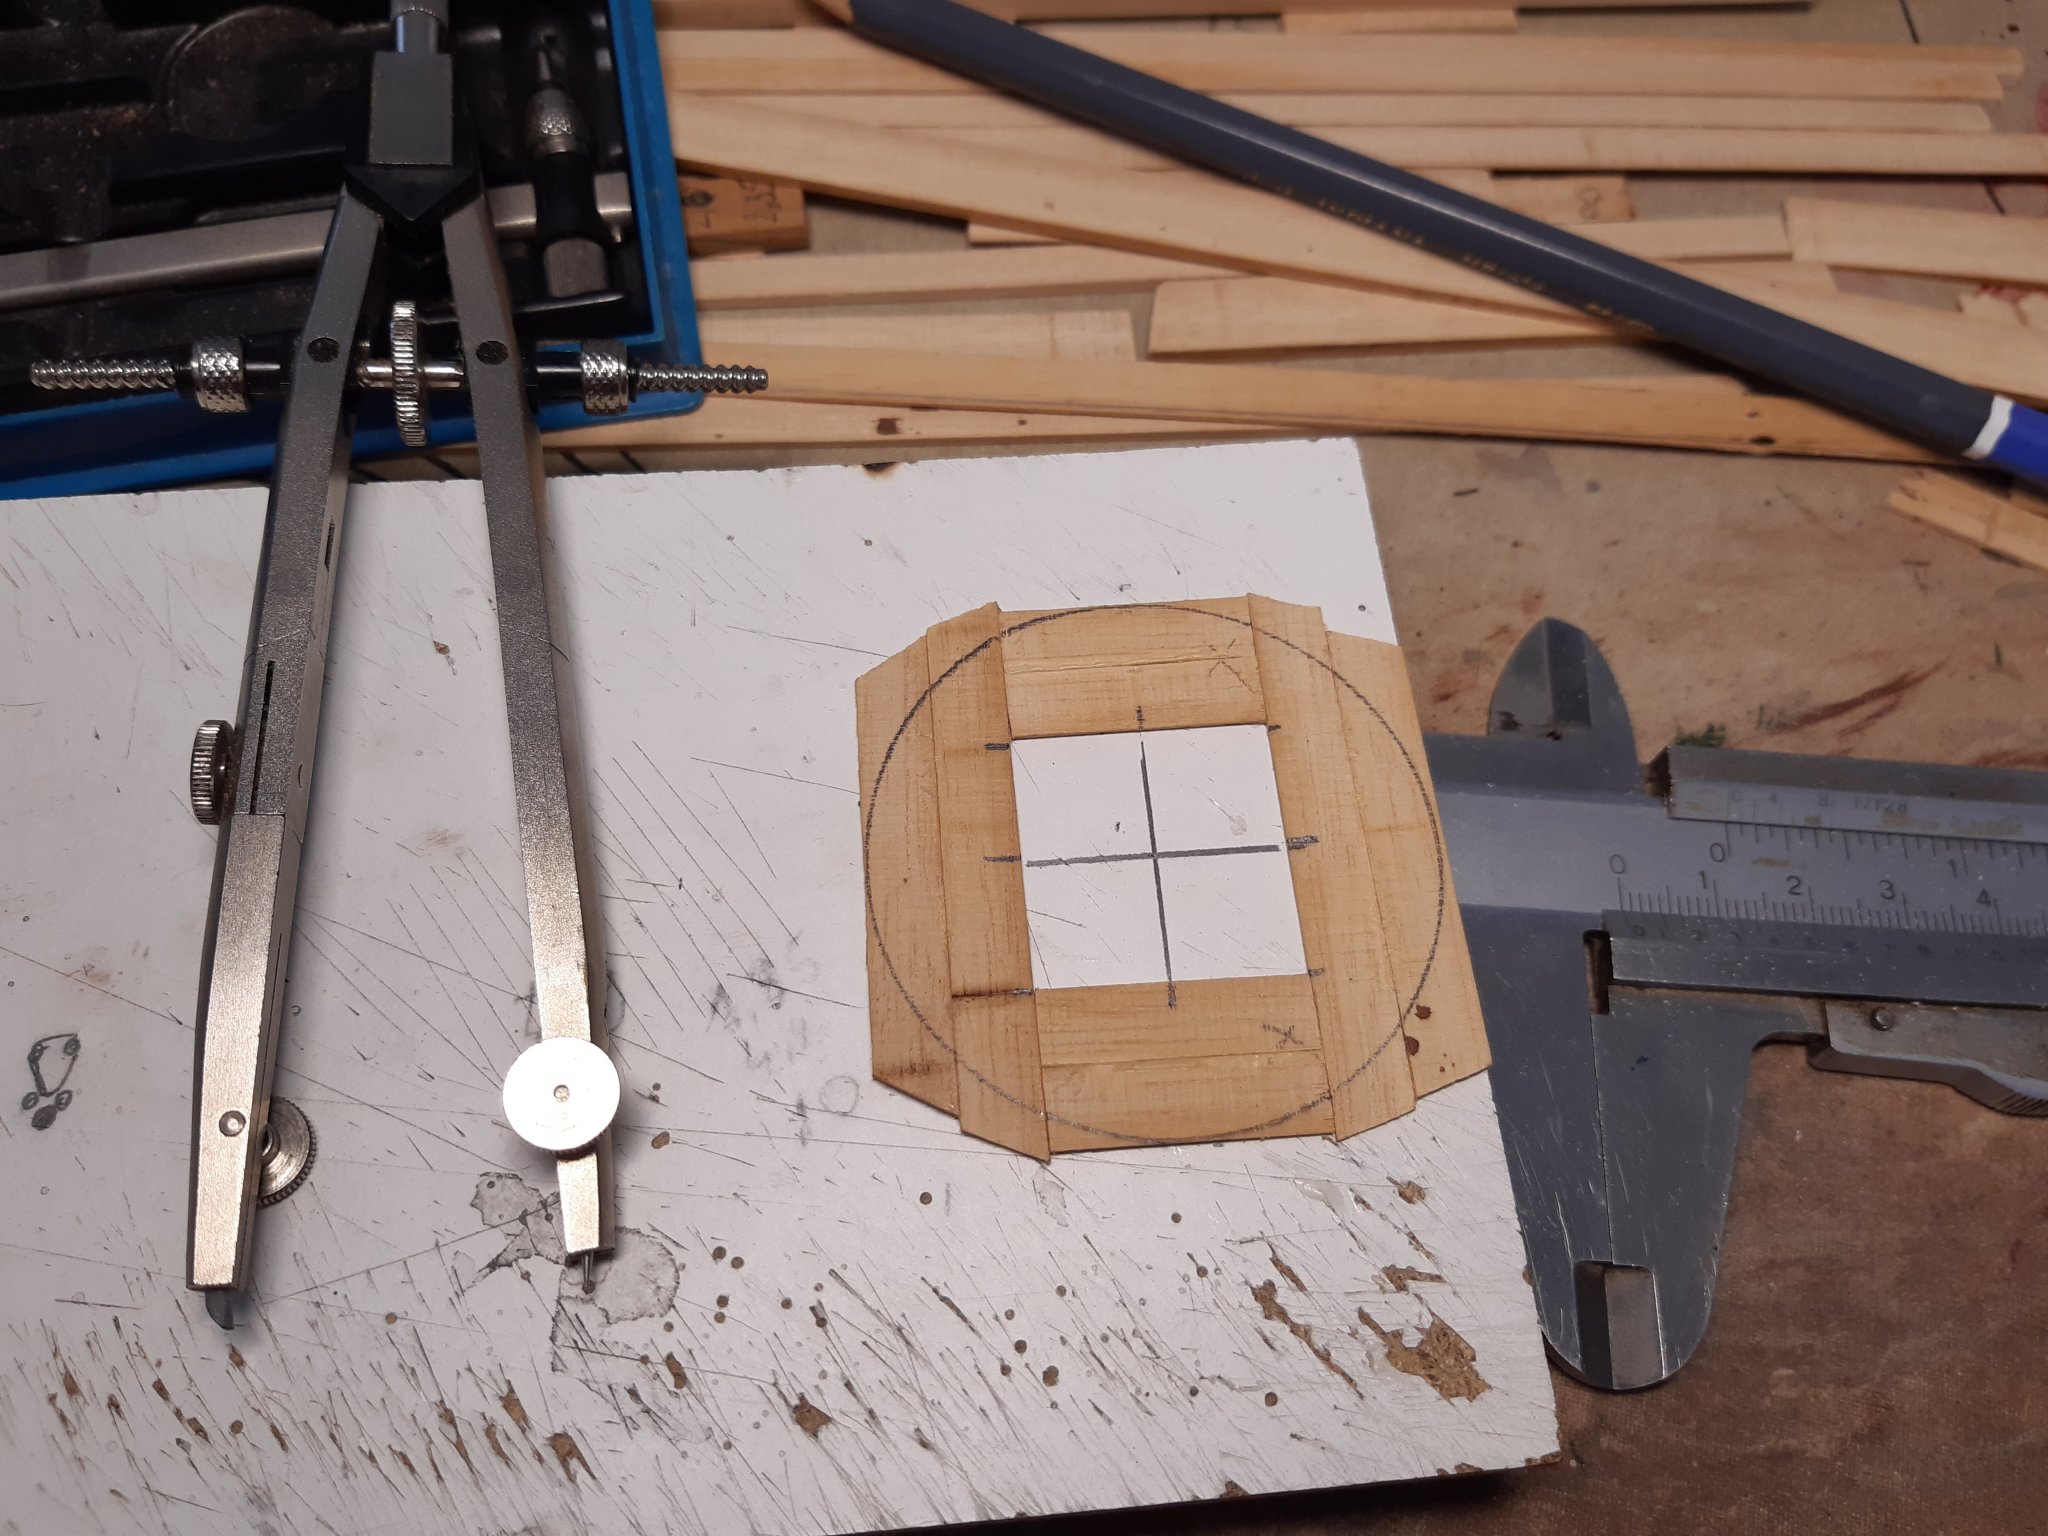
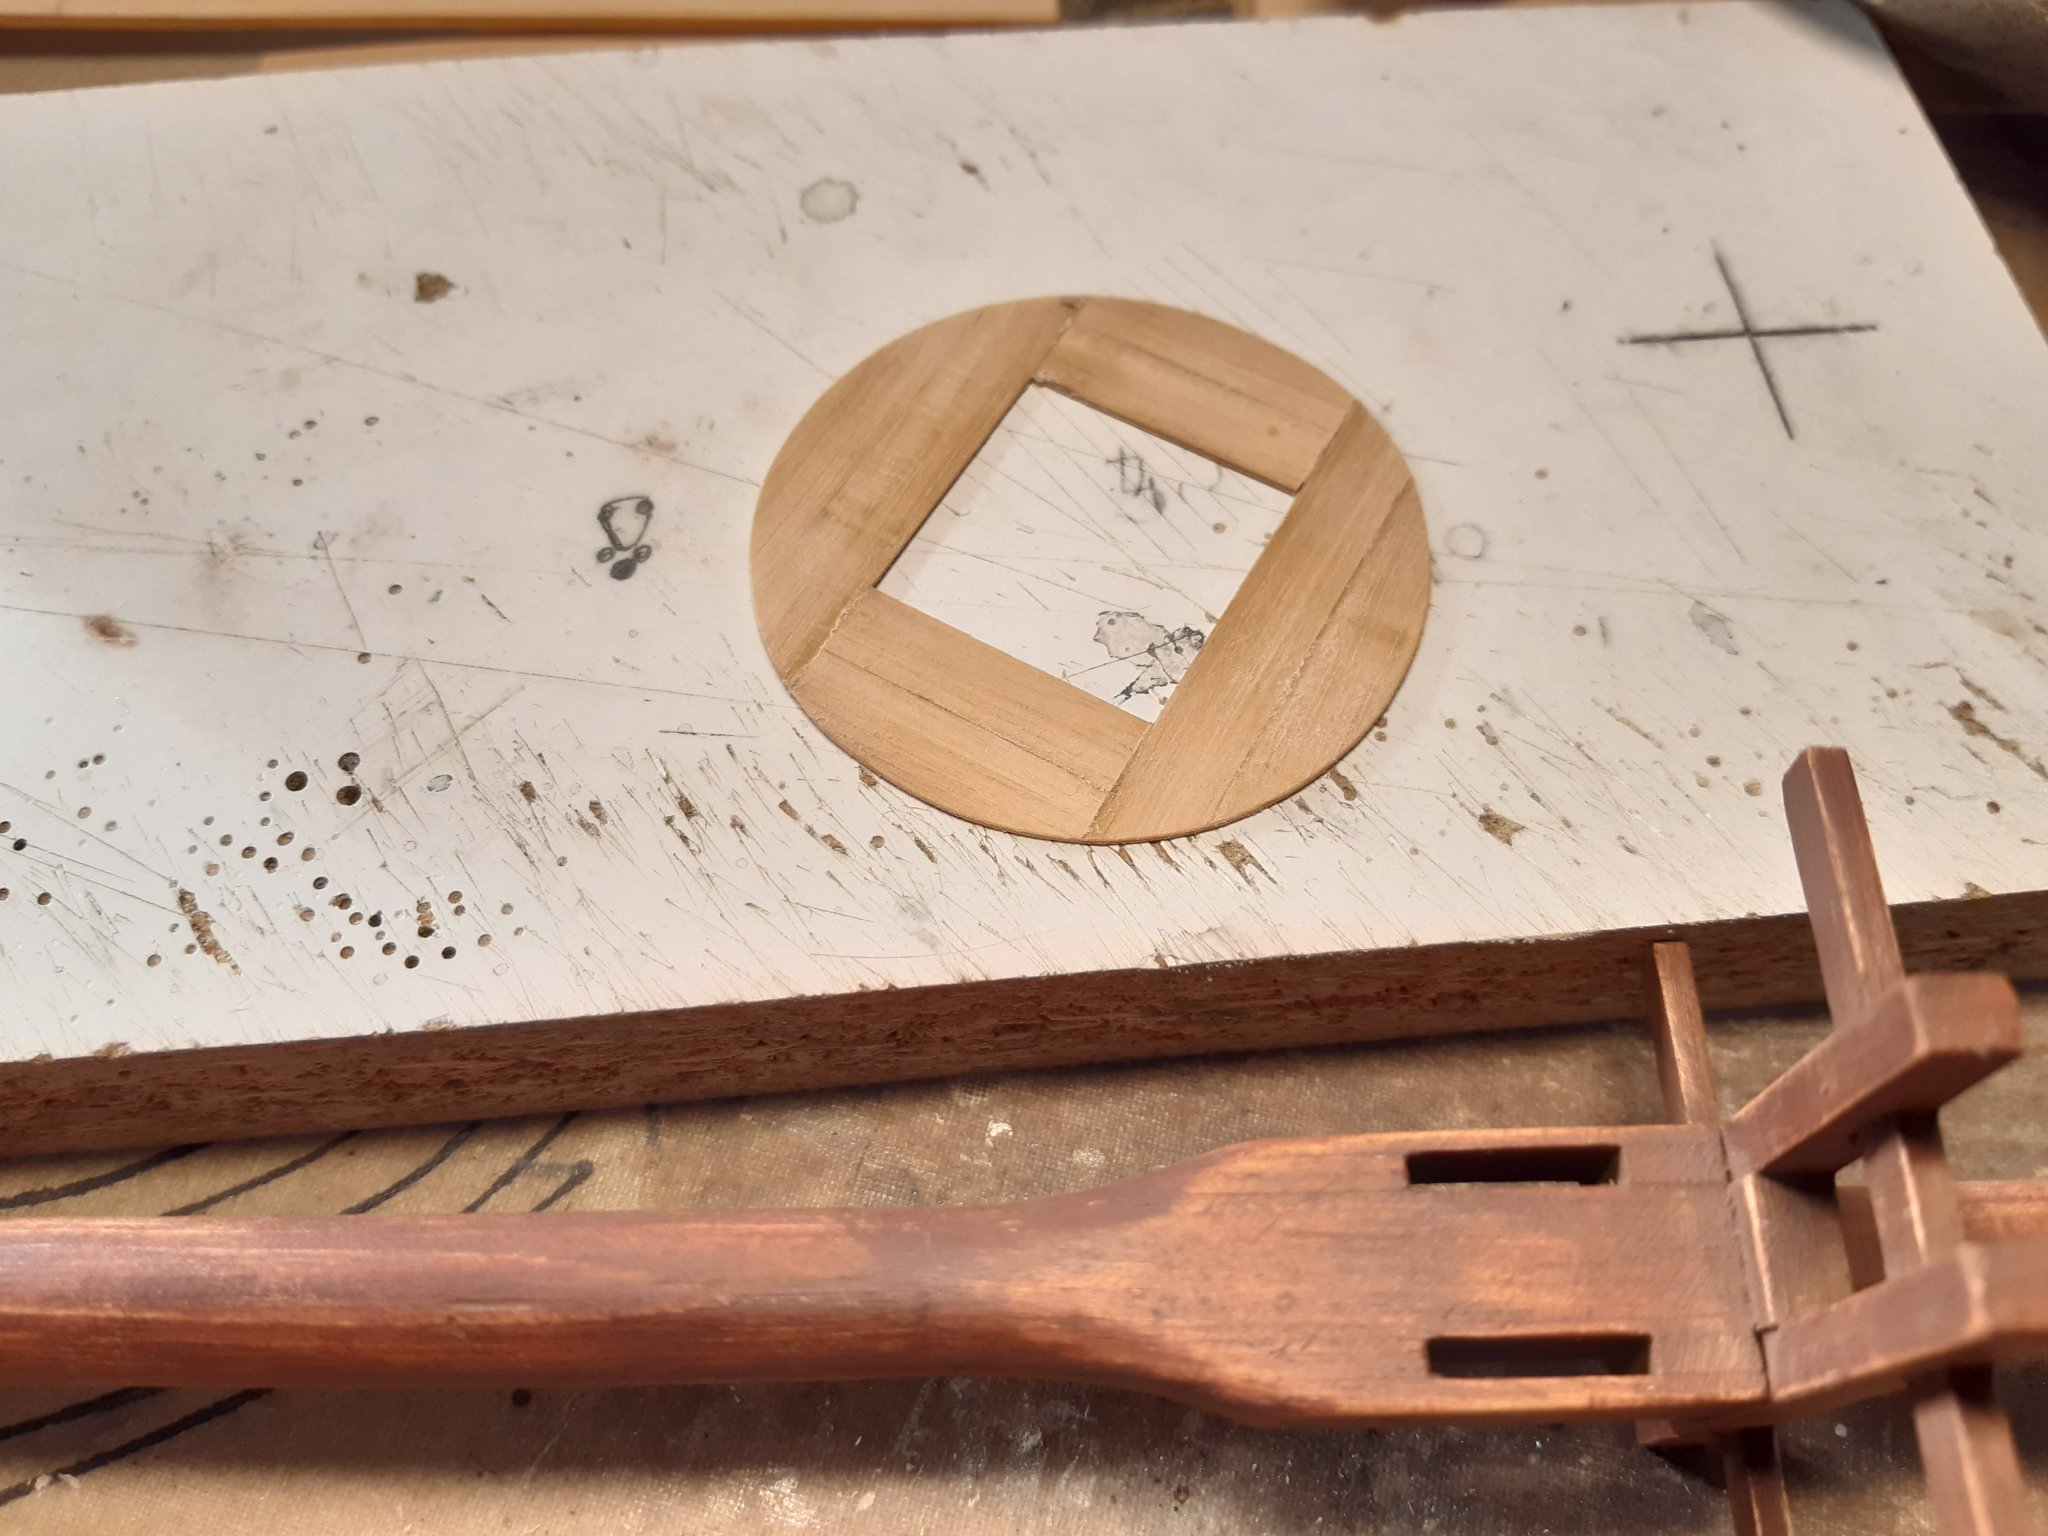
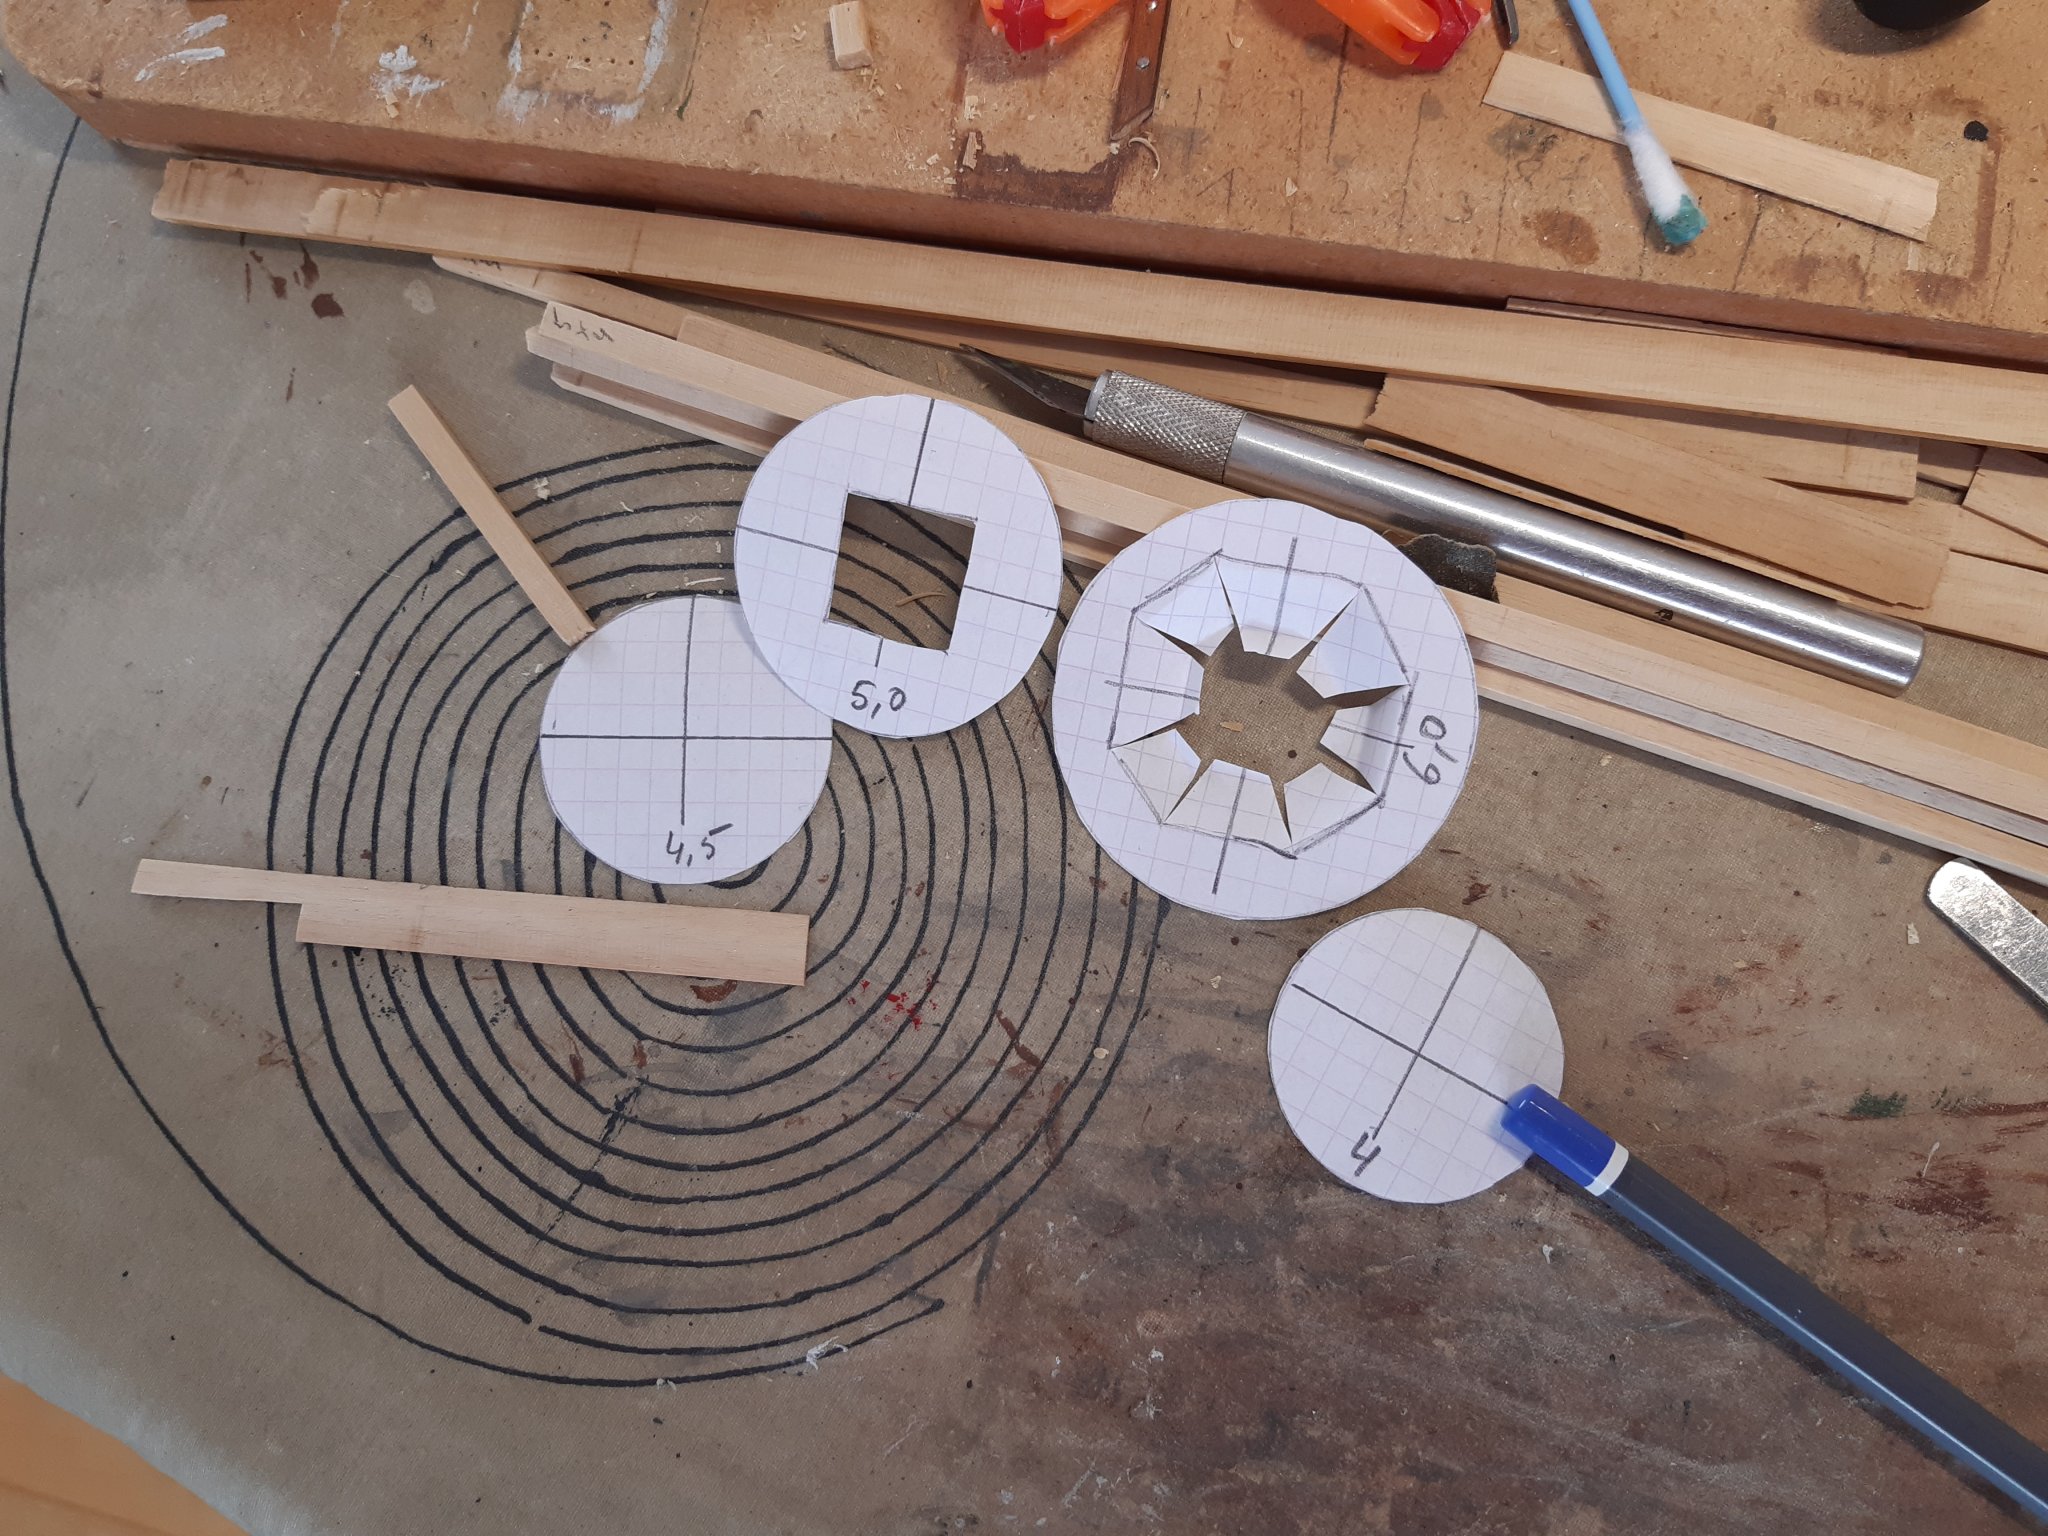
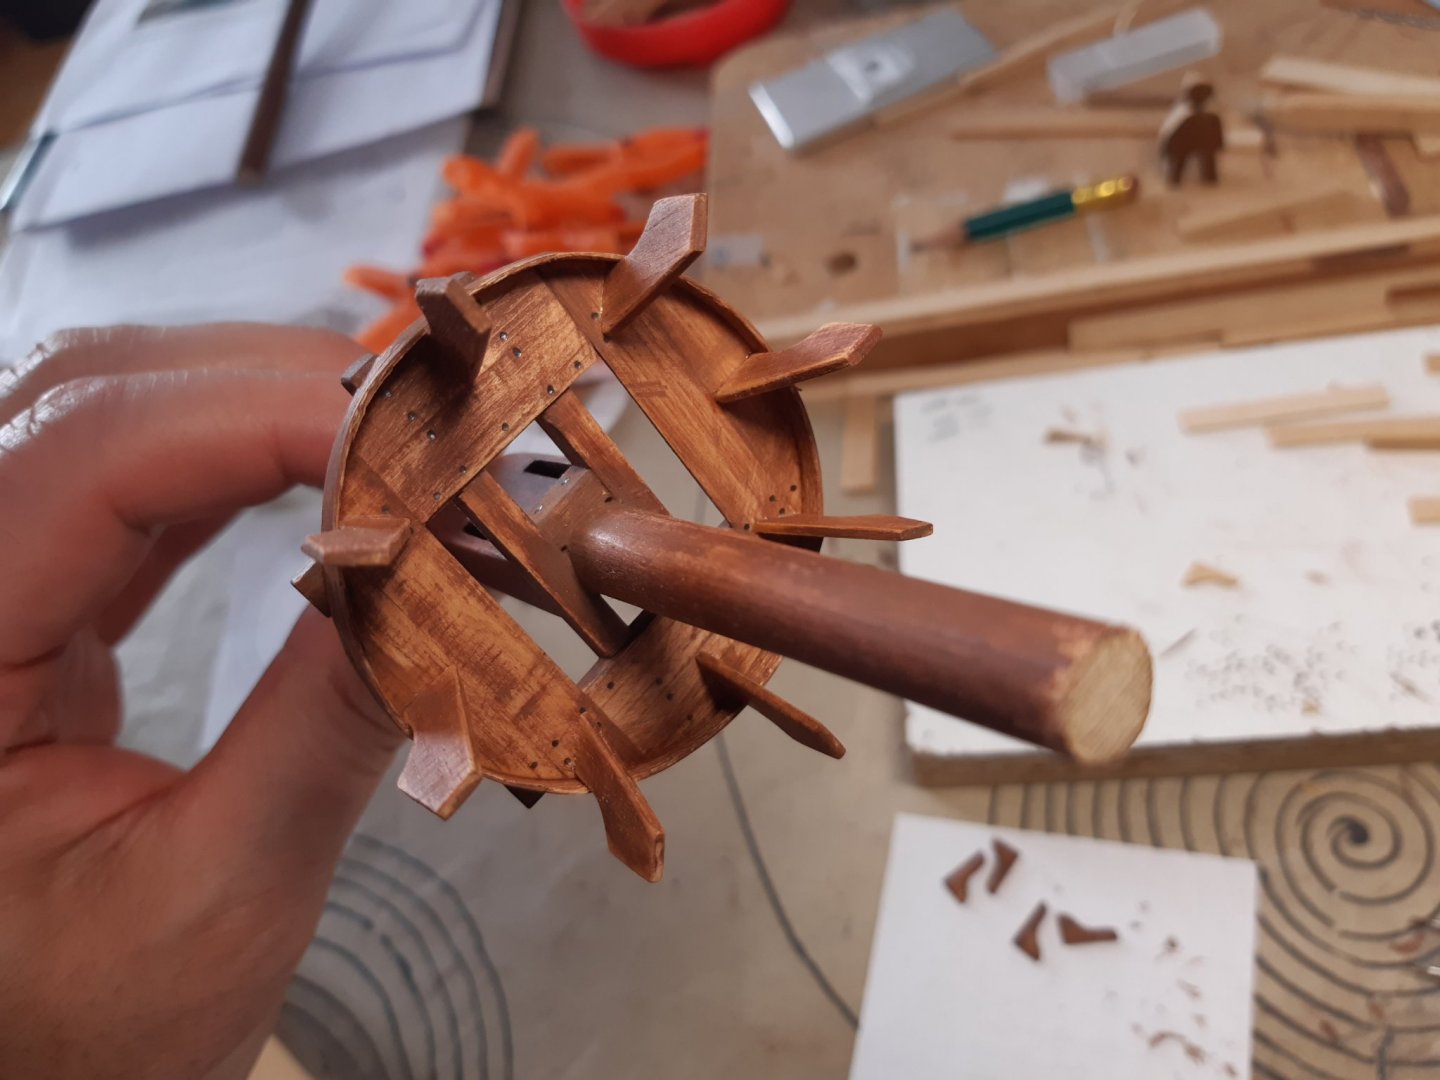
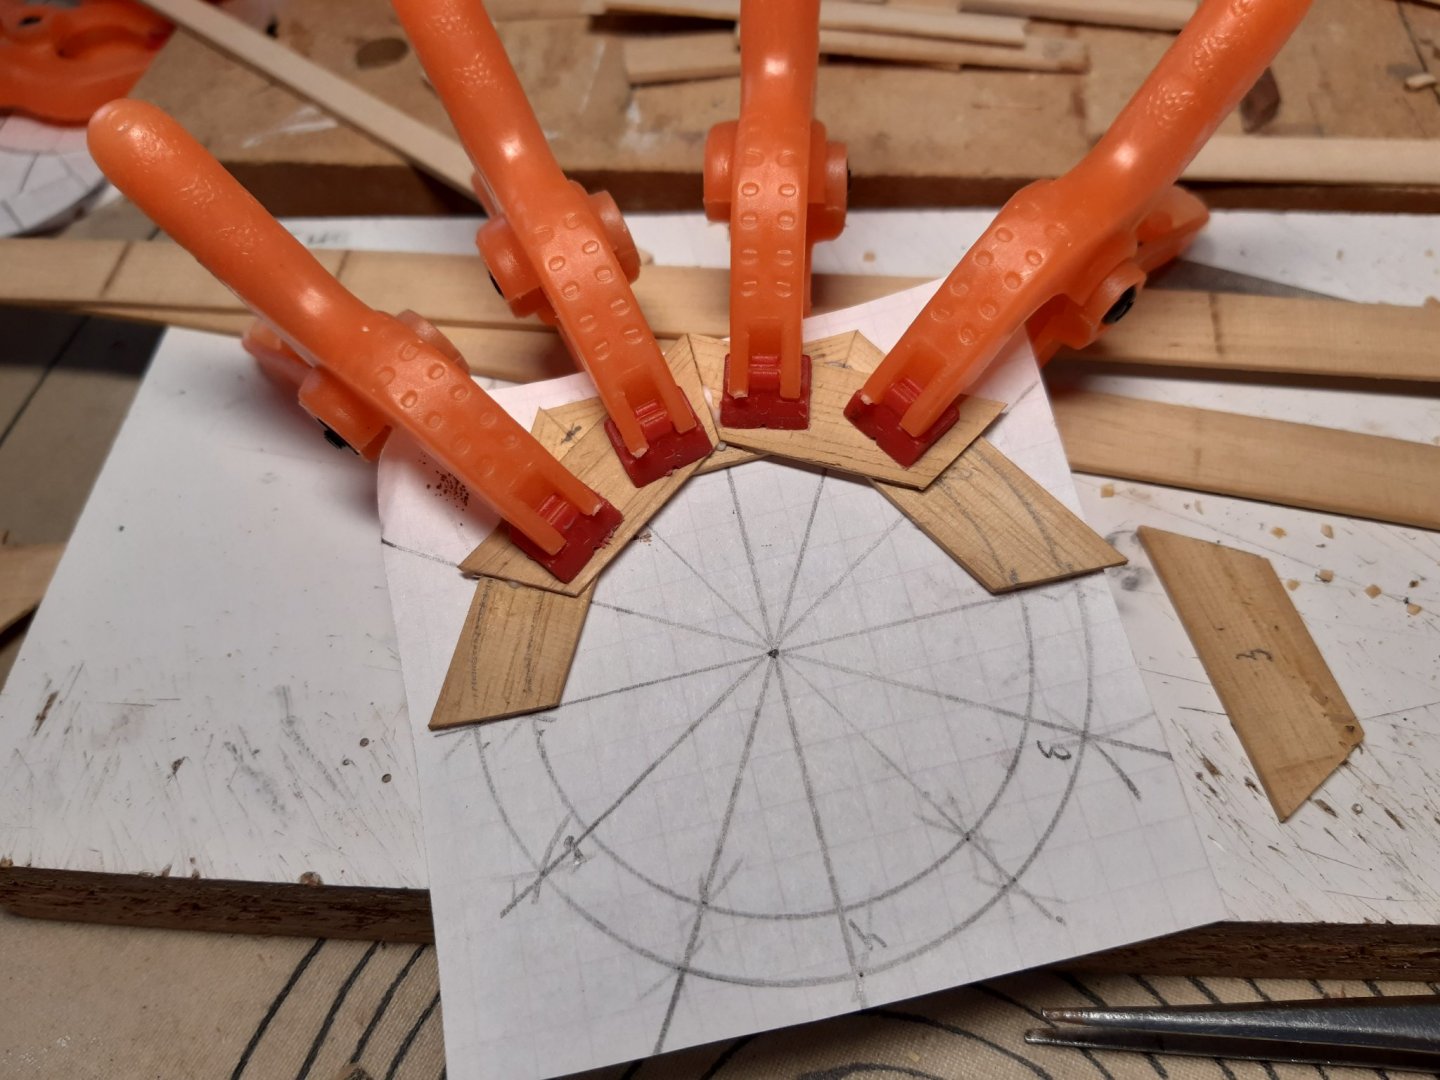
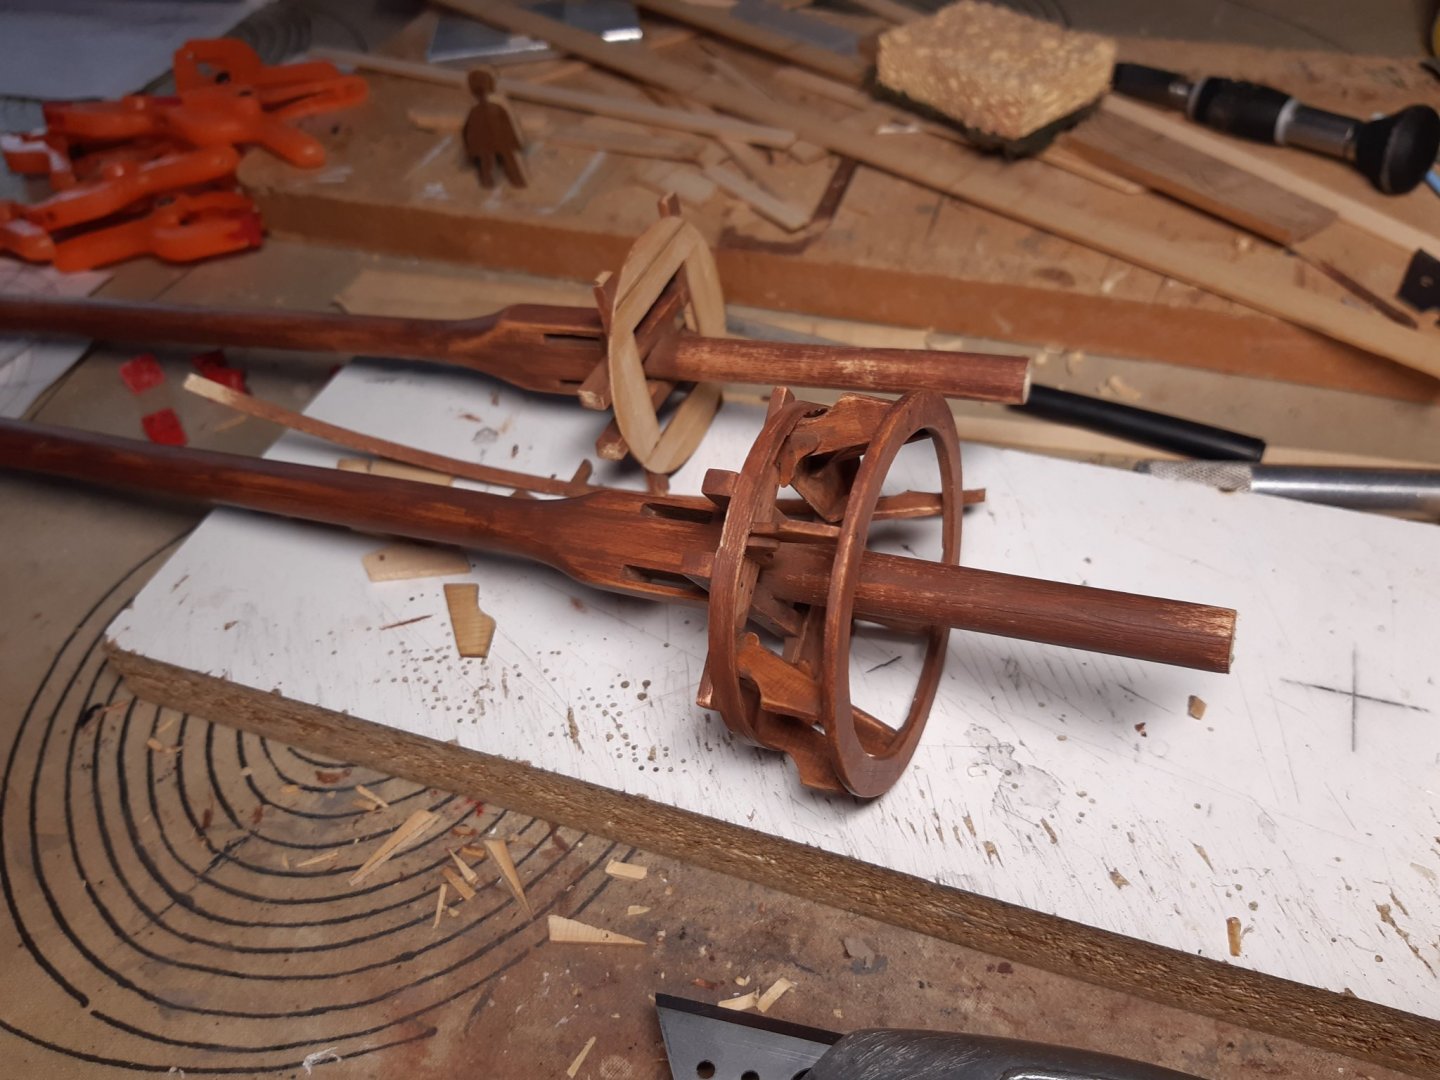
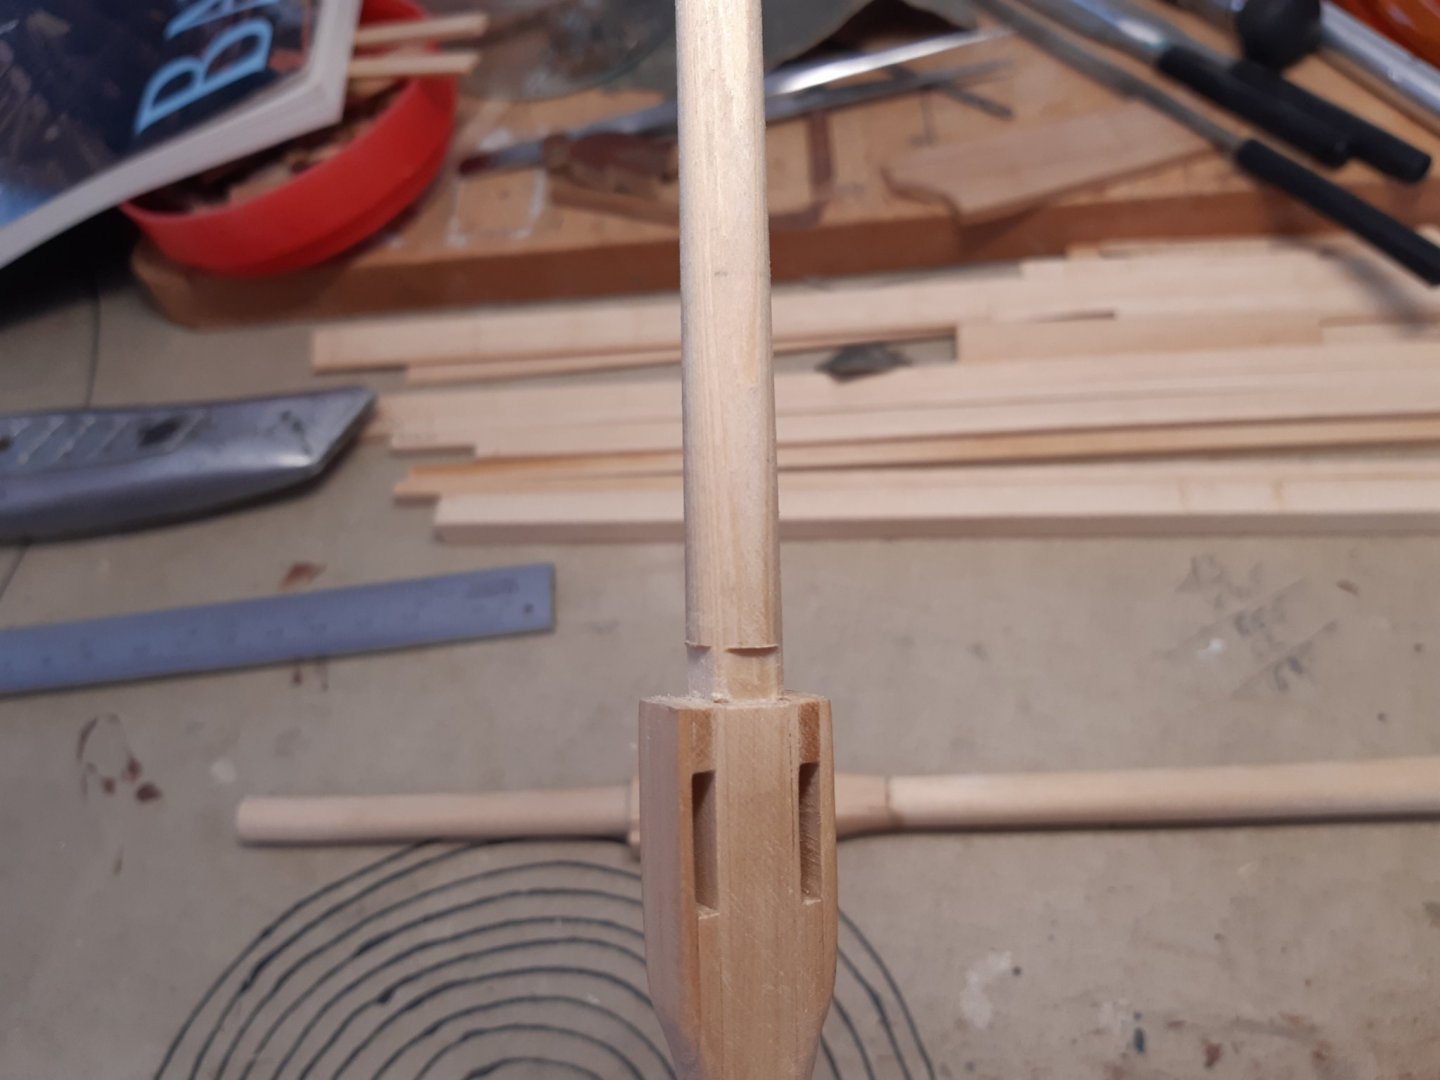
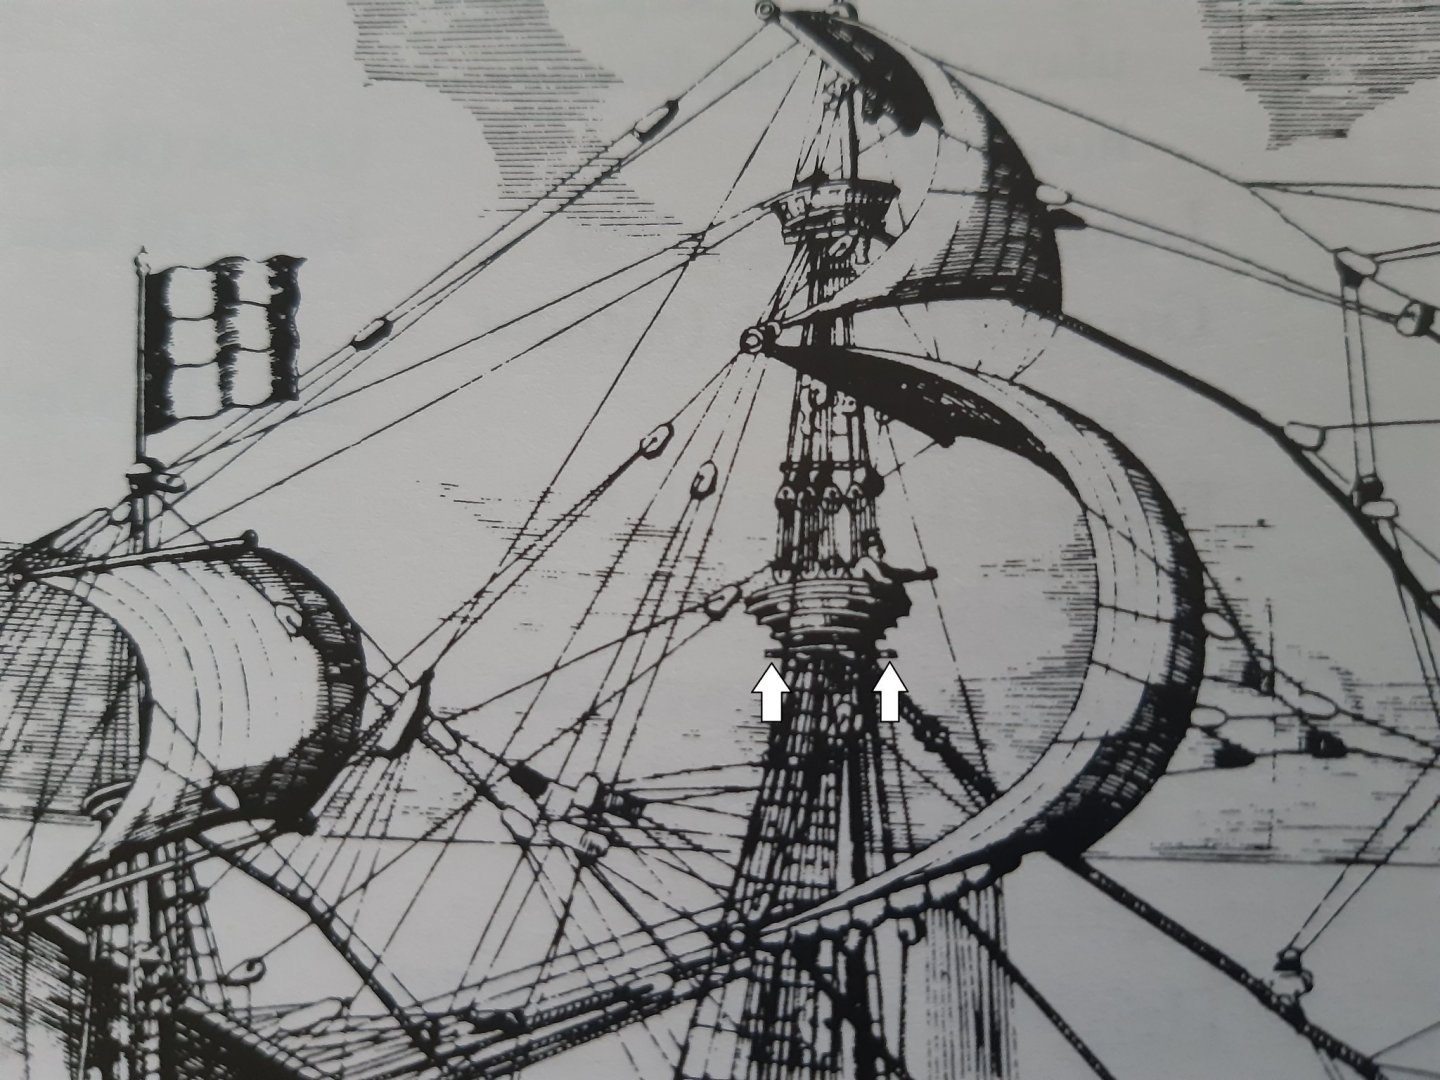
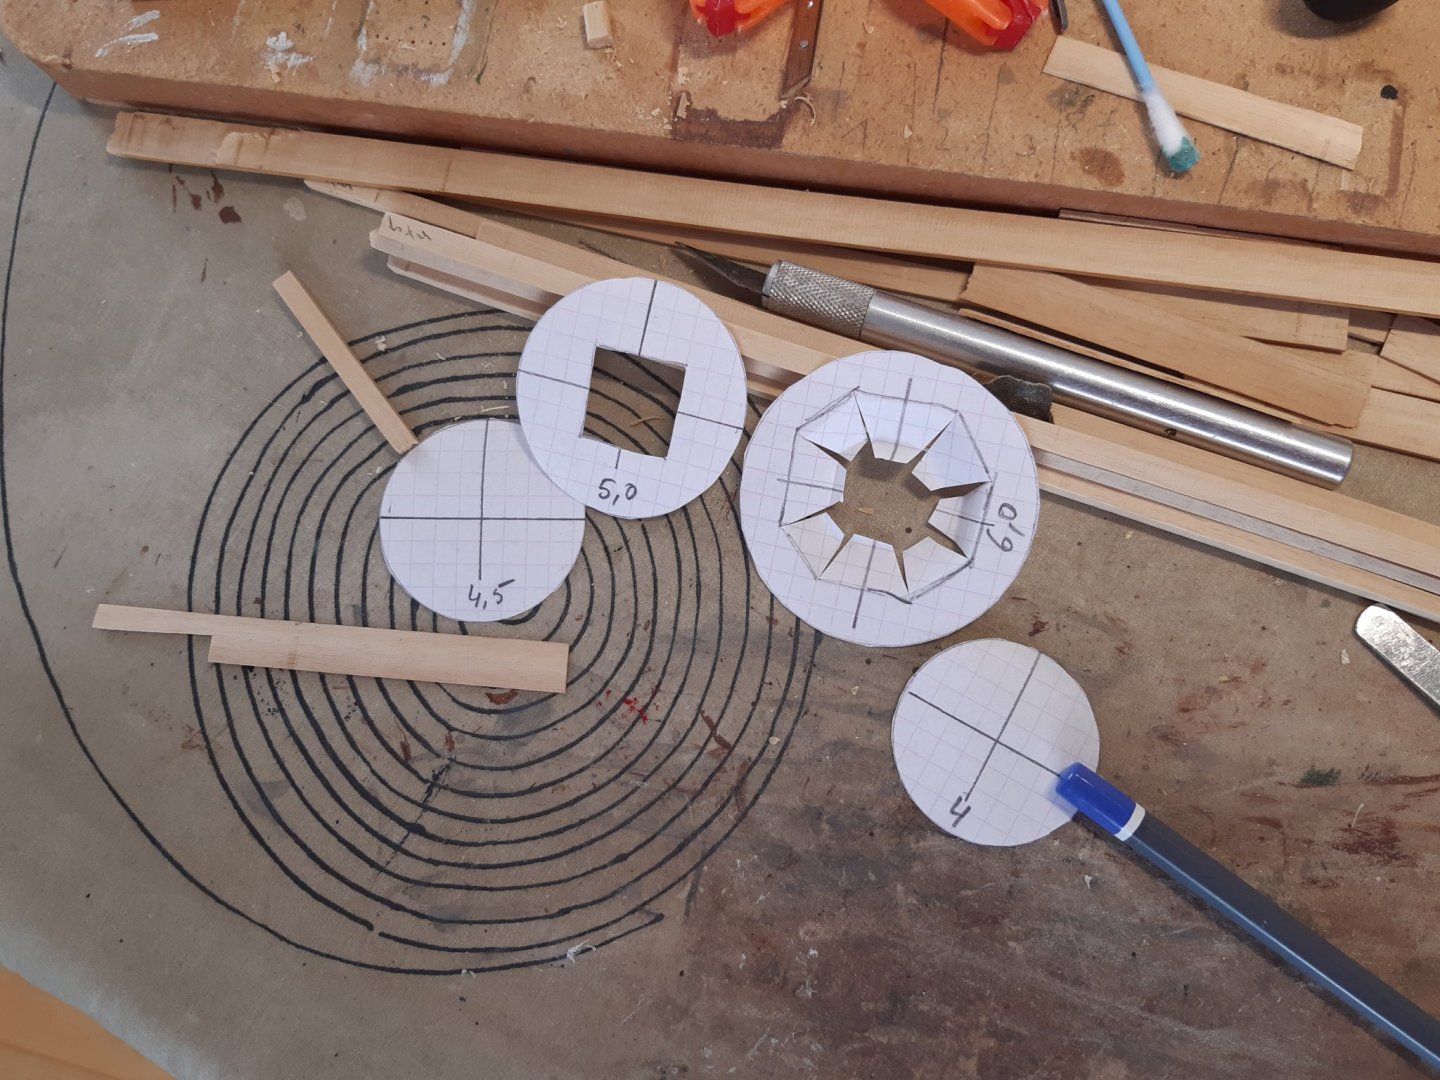
Building the mast tops Mast tops The size ?? In this era you will find all sizes : small, big, high, low. Looks like 2 armed soldiers or sailors should have enough space in it. And the "supports" under the mast top are usually longer than the bottom diameter of the mast top (white arrows) The top of the main mast is usually slightly larger than that of the fore mast. First did some testing with paper before buildig the "baseplate" I first do the main mast until the base plate is ready, and then do the same with the fore mast. Thanks for following


- 756 replies
-
- 14
-
-
- galleon
- golden hind
- (and 2 more)