Tigersteve
-
Posts
1,327 -
Joined
-
Last visited
Content Type
Profiles
Forums
Gallery
Events
Everything posted by Tigersteve
-
 I agree with Per. Seems awfully expensive for the case. Regarding the photos- try placing it near a window with daylight. No flash. Don't shoot the photo towards the daylight though. Steve
- 843 replies
-
- 3
-

-
- niagara
- model shipways
- (and 2 more)
-
Looks good. Don't forget to line the first couple frames and the last couple. Steve
-
Excellent Steve
-
ancre Chebece 1750 by Jeronimo - FINISHED
Tigersteve replied to Jeronimo's topic in - Build logs for subjects built 1501 - 1750
Very nice. Steve -
I hope you're still working on this. Steve
-
MONTAÑES by Amalio
Tigersteve replied to Amalio's topic in - Build logs for subjects built 1751 - 1800
Add another "wow" to the log. Steve -
Excited to catch this from the start! Steve
-
I love your work philosophy. Good choice to rip out and redo. I actually planked mine twice. First time I ruined it with treenailing and model expo sent me replacement parts so I could do it all again. :-) It's a painful decision to redo something but it's always worth it in the end. Steve
-
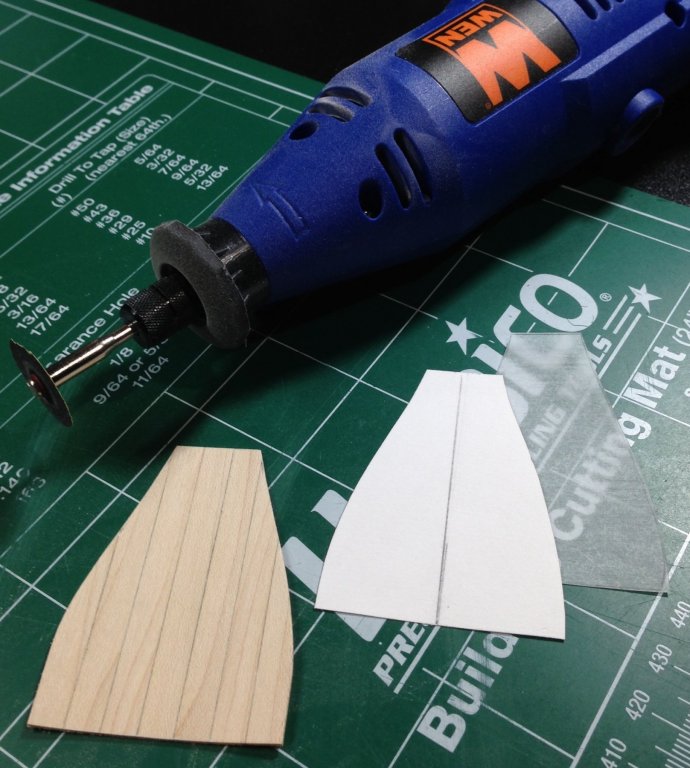
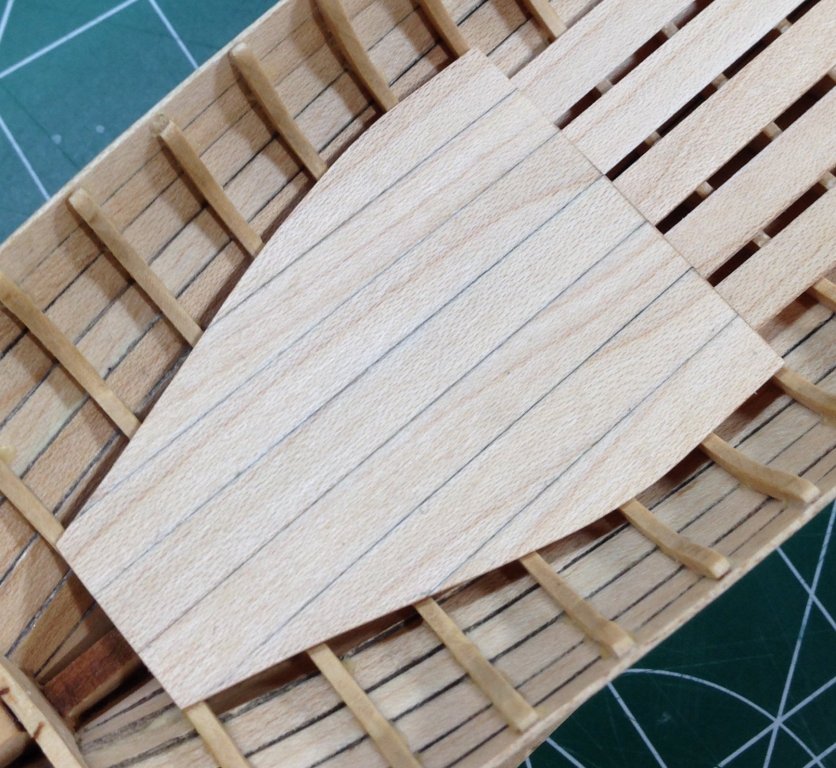
The aft platform was fairly simple to craft. Edge-glued after using a #2 pencil to simulate the caulking. After I was satisfied with the shape of my template I traced it onto my maple strips. Straight cuts were made with several passes of an exact knife for the general shape. The rotory tool with sanding disk got the wood close to the outline so I could fine sand the rest. Since the strips were edge-glued, there was a slight bend. I braced the back with a single strip of wood. One more sanding and coat of finish is needed before it is glued. Steve
- 190 replies
-
- 12
-
-
- pinnace
- model shipways
- (and 1 more)
-
You are correct. Model Expo changed the instructions regarding the thwart dimensions. Plans were the way to go. Nice work. Steve
- 91 replies
-
- 3
-
-
- 18th century longboat
- model shipways
- (and 1 more)
-
Congrats Derek on another ridiculously fast Longboat build! I like this version better than the first. Nice color scheme. Steve
-
Very cool project. Steve
-
Can't you dye the ratlines if you do not like the color? Steve
- 843 replies
-
- 2
-
-
- niagara
- model shipways
- (and 2 more)
-
As long as you line off the hull you should be fine. About the first 4-5 bulkheads the taper starts at the bow. There is also some tapering needed at the stern. Again- Bob F illustrates a good tutorial. Hope this helps. Steve
-
Thank you for the nice comments and likes. There will be a bit of painting. Minimal as possible. Steve
-
That looks good. Don't forget to taper the planks at the bow. I do not see any tick marks in that area. You will soon run out of room. Steve
-
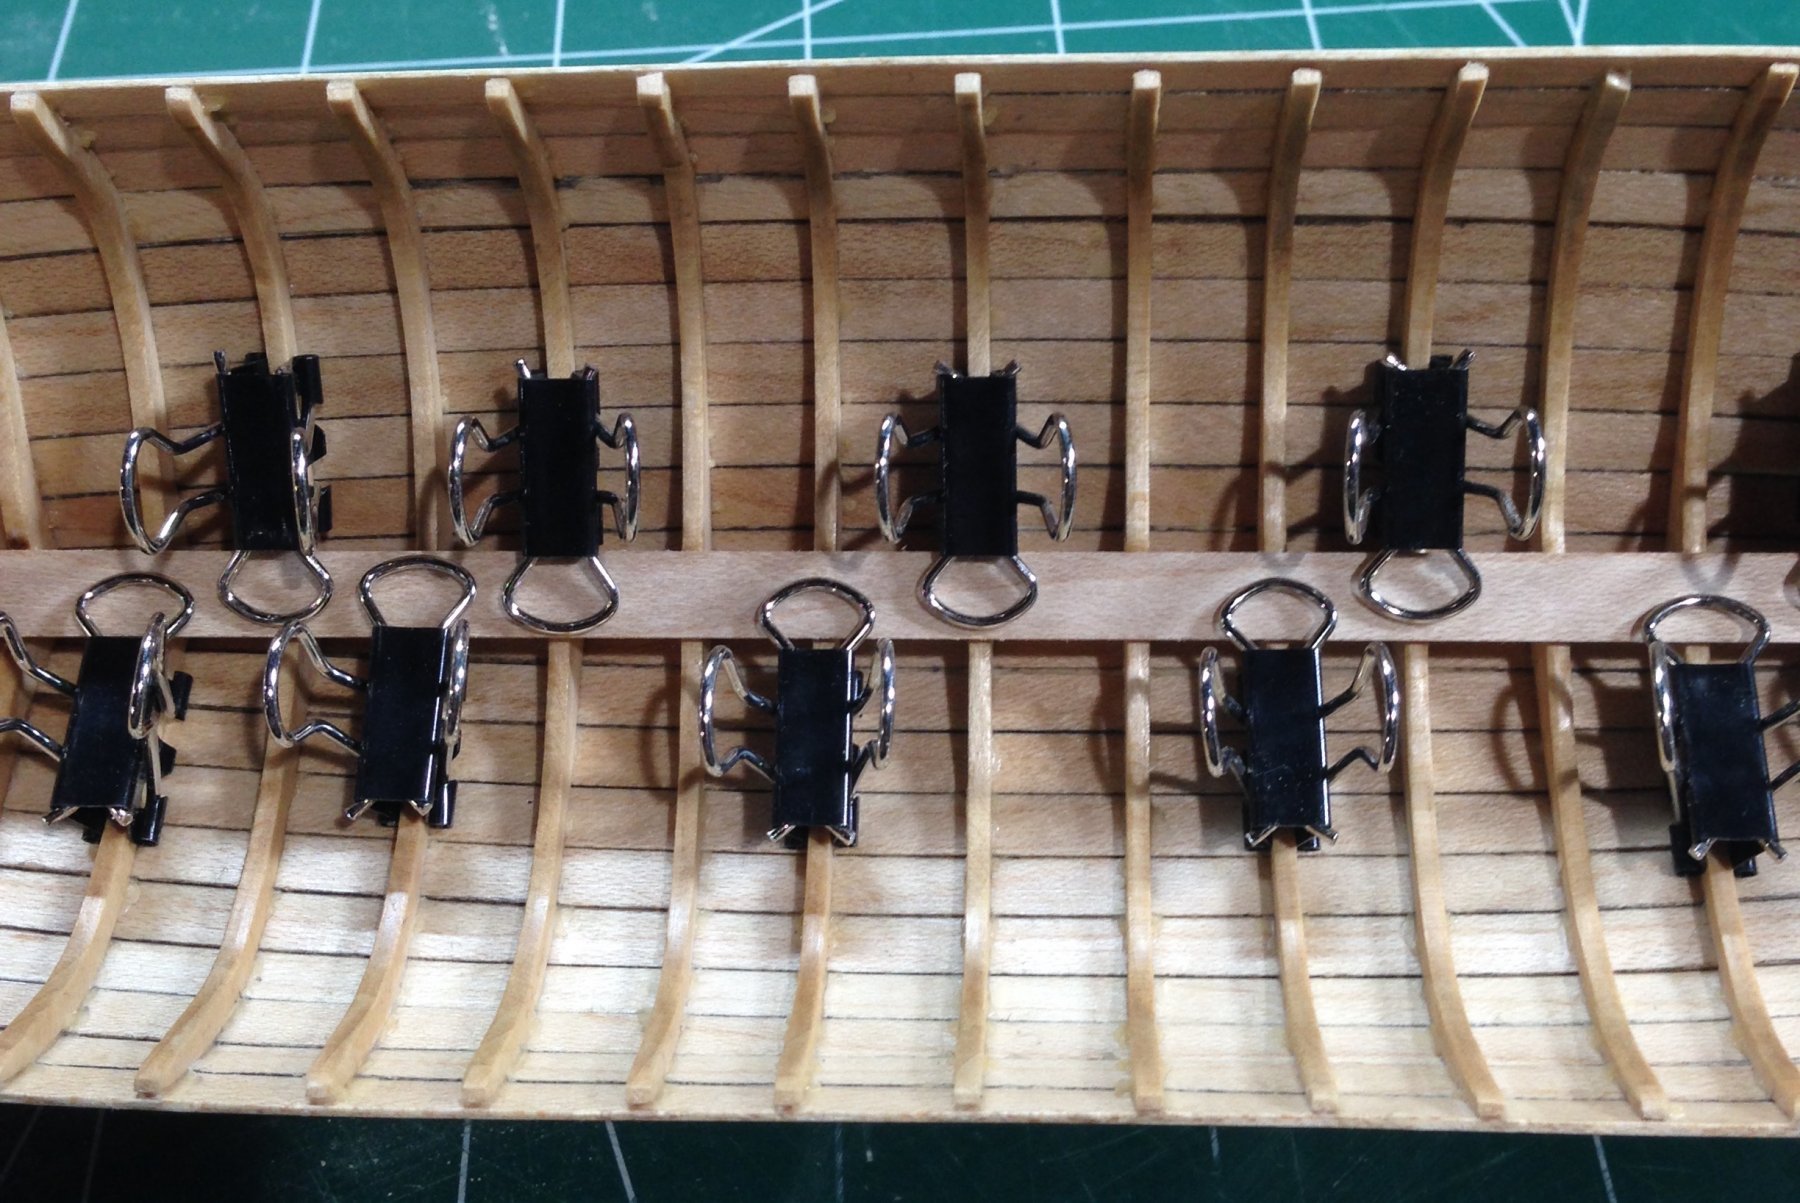
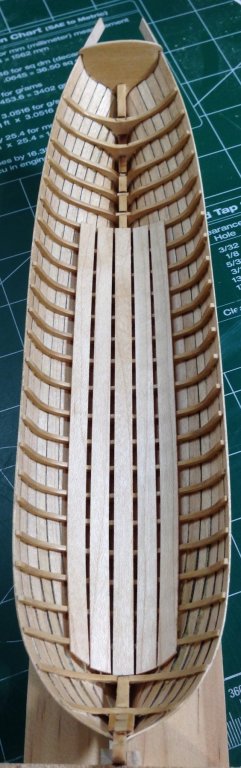
Below are the process photos of the floorboard installation. Shaping the planks was accomplished first. I traced a cap to create the rounded shape at the bow. Next step was to install the middle plank. After this dried, the next two outer planks were glued. Finally, the last two planks were installed. Wipe-on-Poly was applied the following day. Five non-consecutive days to complete this process. After applying the finish I noticed a plank was a bit loose. This will be fastened before the next steps. Steve


- 190 replies
-
- 21
-
-
- pinnace
- model shipways
- (and 1 more)
-
Just take your time with it it's a challenge, but you will learn a lot. There are dozens of longboat logs, but BobF has the most detailed and impressive one. Erik's log is linked below. Another very clean log. His garboard is placed a bit more forward, but his plan worked very well for him. Steve
-
That is incorrect. It is the other way around. Take a long look at BobF's log. It will help you a lot. Steve