HOLIDAY DONATION DRIVE - SUPPORT MSW - DO YOUR PART TO KEEP THIS GREAT FORUM GOING! (Only 72 donations so far out of 49,000 members - Can we at least get 100? C'mon guys!)
×


Tigersteve
-
Posts
1,326 -
Joined
-
Last visited
Content Type
Profiles
Forums
Gallery
Events
Everything posted by Tigersteve
-
 Another photo to illustrate the interior planking process. Midsection planks pre-painted and installed. Steve
- 190 replies
-
- 11
-

-
- pinnace
- model shipways
- (and 1 more)
-
I thought I had already followed this. Oh well- now I am. Steve
- 1,208 replies
-
- 3
-
-
- great republic
- clipper
- (and 1 more)
-
This is an amazing Syren build! Steve
-
Nice! Steve
-
That is a good question. I thought that the basswood was much more flexible and easier to bend and it will be painted anyway. (I had forgotten just how much after working with the maple.) I will use mostly 1/8” x 1/32” for the remaining inboard planking. Steve
-
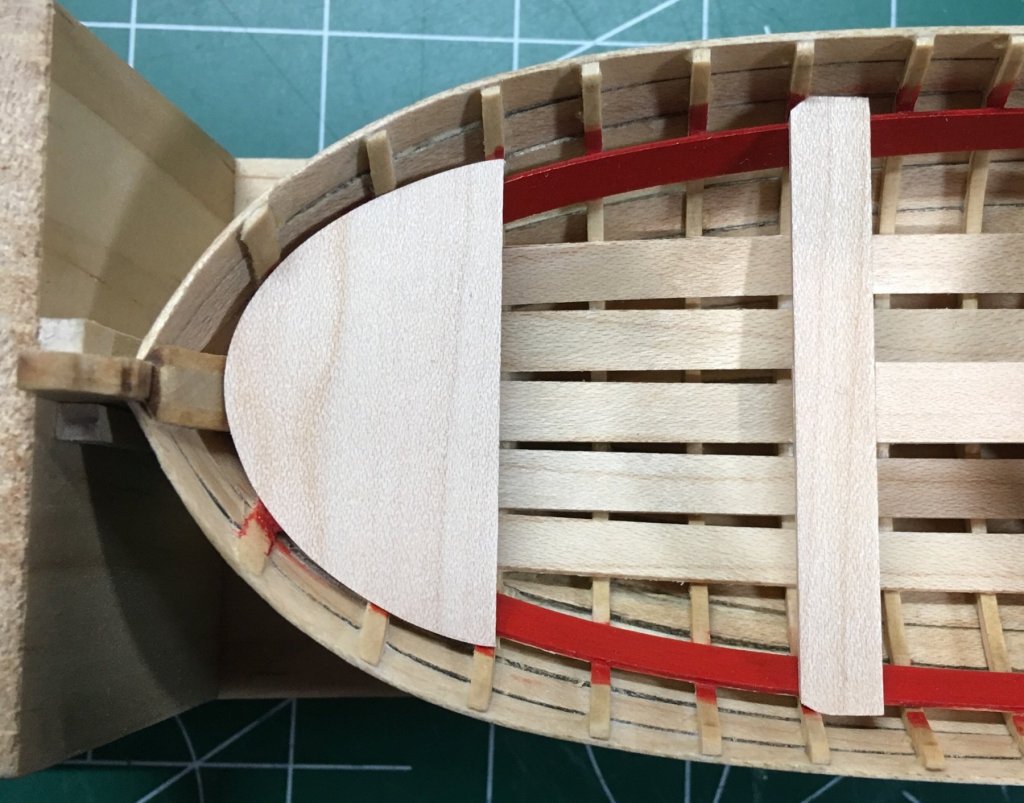
The inboard planking will be completed in sections due to the multiple curves required from bow to stern. I planked the cockpit section with pre-painted 1/16” and 1/8” strips. These will be filled and repainted when the rest of the planking is complete to hide any seams. I am using basswood for this part of the planking. Steve


- 190 replies
-
- 15
-
-
- pinnace
- model shipways
- (and 1 more)
-
Very nice work! Steve
-
The rail looks good. I think photos suffice for these types of updates. Maybe save the video for later on in the build. Steve
-
A newbie...... And yet, not exactly a newbie
Tigersteve replied to Jake's topic in New member Introductions
@xken’s build log is a must see for your project. Best of luck. Steve -
Very well done. Can’t wait to see what’s next. Steve
- 82 replies
-
- 4
-
-
- naval smoothbore
- model shipways
- (and 1 more)
-
Nice work! Steve
-
Correct me if I’m wrong gentleman, but the grain in this photo should run in the other direction? Steve https://modelshipworld.com/uploads/monthly_2018_01/20171228_180325.jpg.2211dd2e286b32fc2fe16e8817d037e5.jpg
-
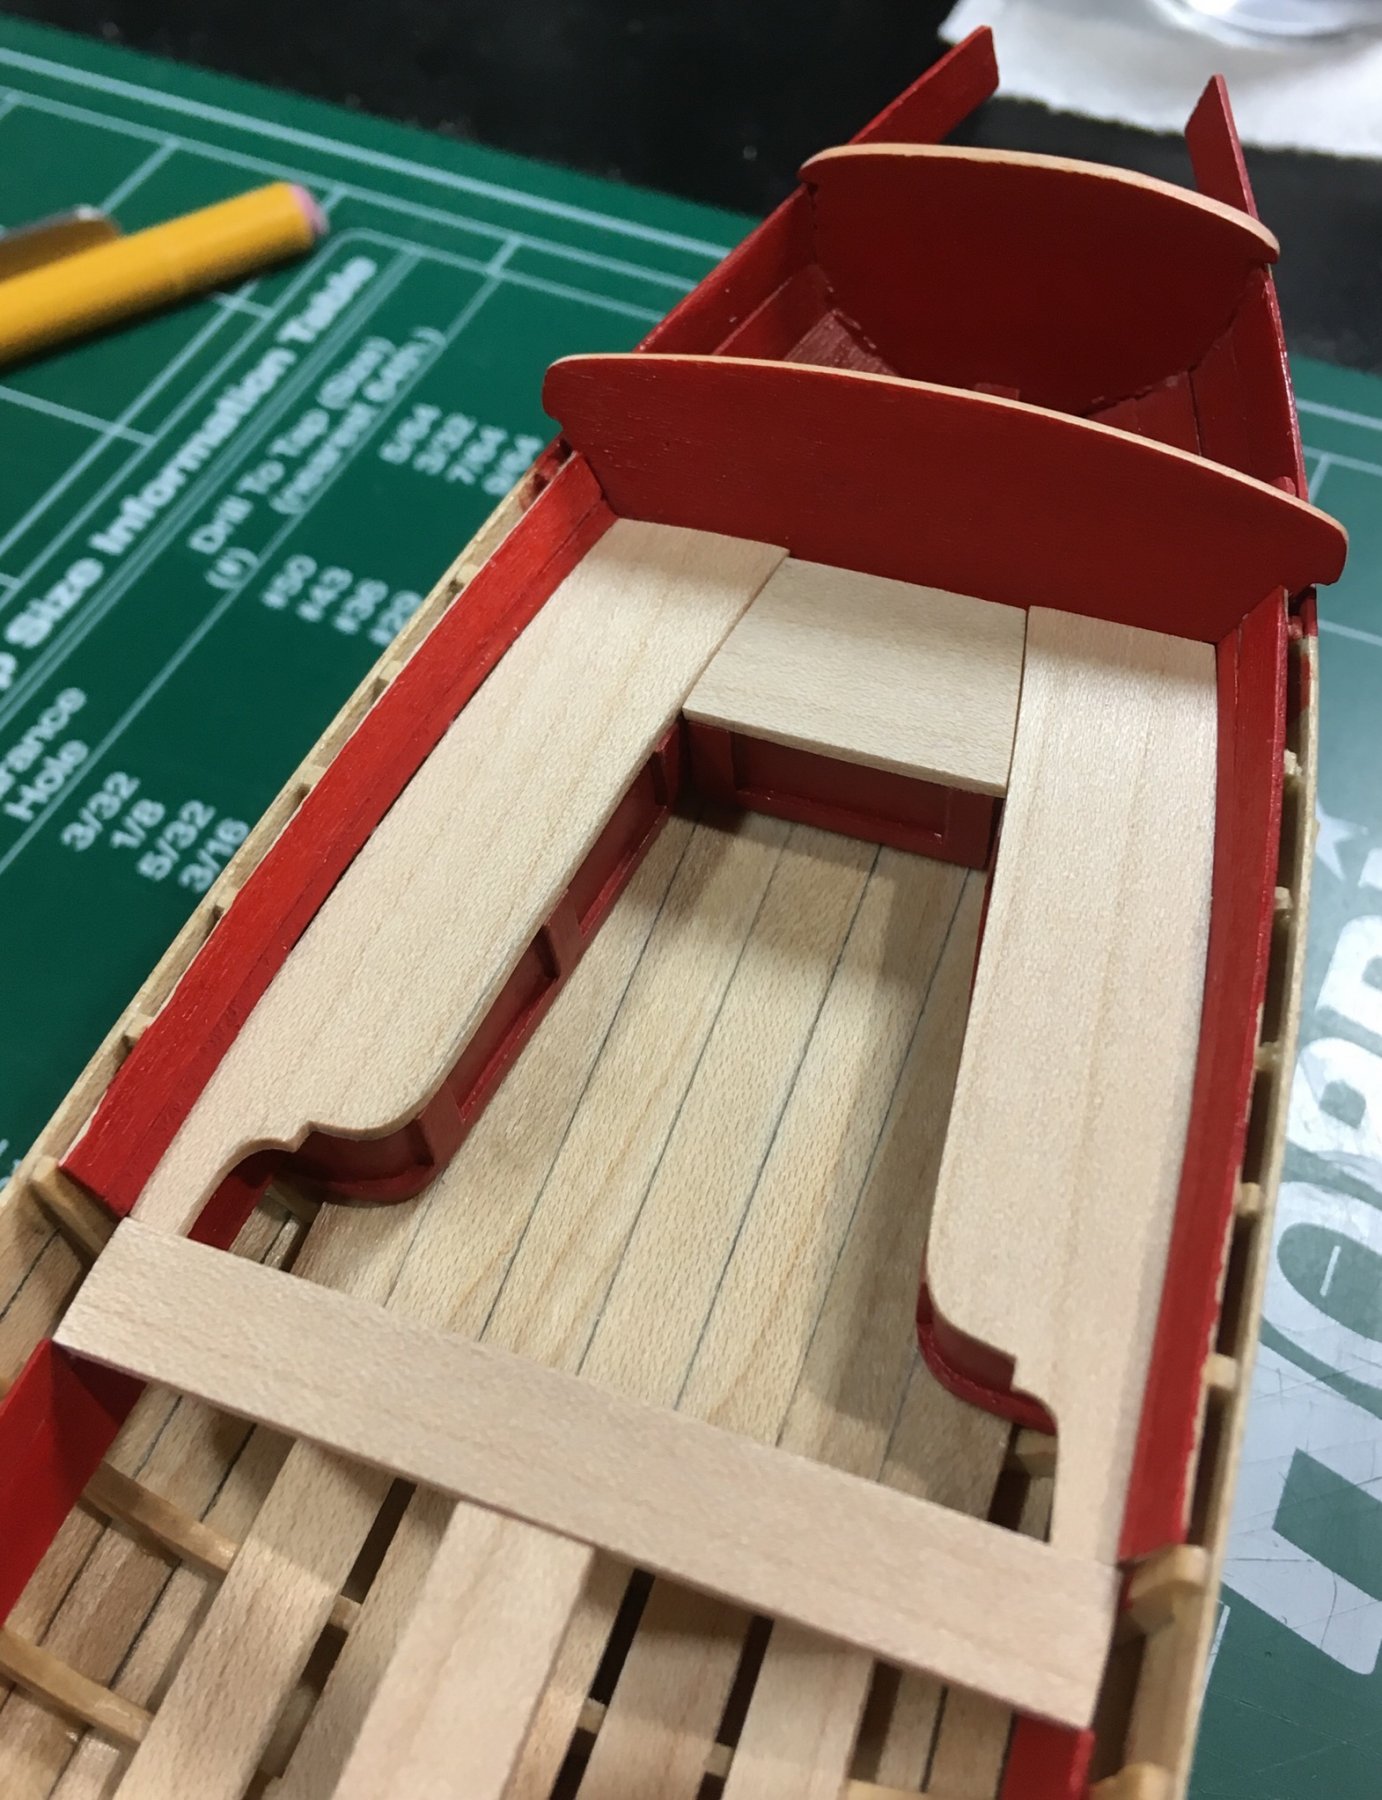
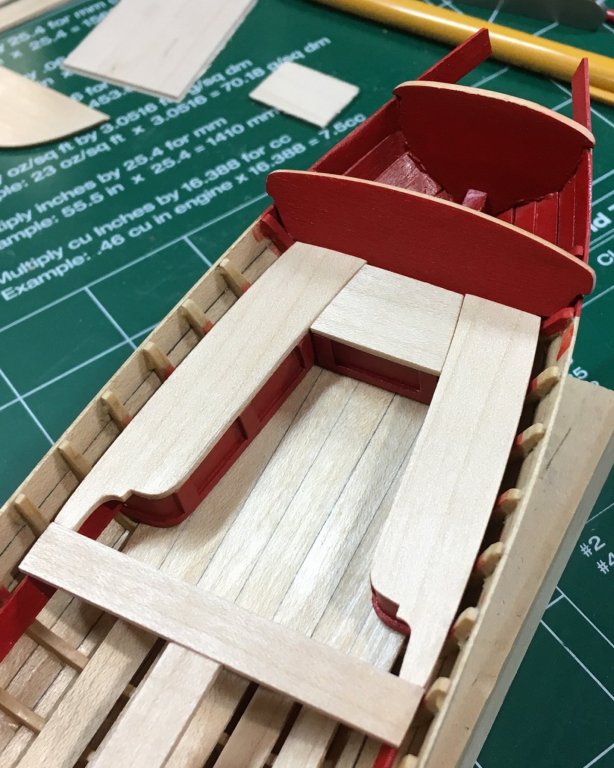
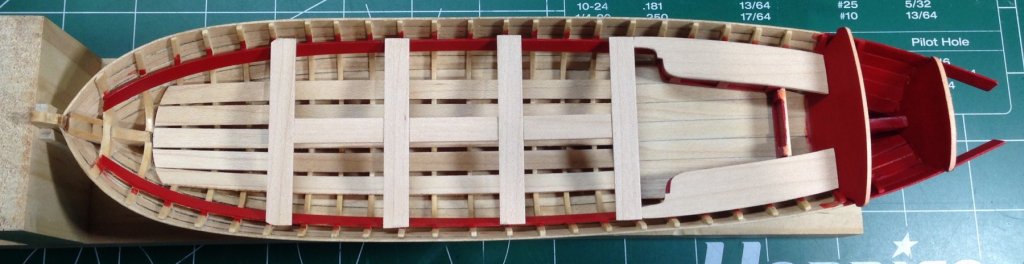
I decided to omit the cockpit trunk and installed seating as per the example I presented in an earlier post. I also completed the forward platform. Inboard planking is next. Steve
- 190 replies
-
- 13
-
-
- pinnace
- model shipways
- (and 1 more)
-
Thanks guys. Yes, but the time consuming part was marking the correct spots and dry-fitting. Steve
- 190 replies
-
- 3
-
-
- pinnace
- model shipways
- (and 1 more)
-
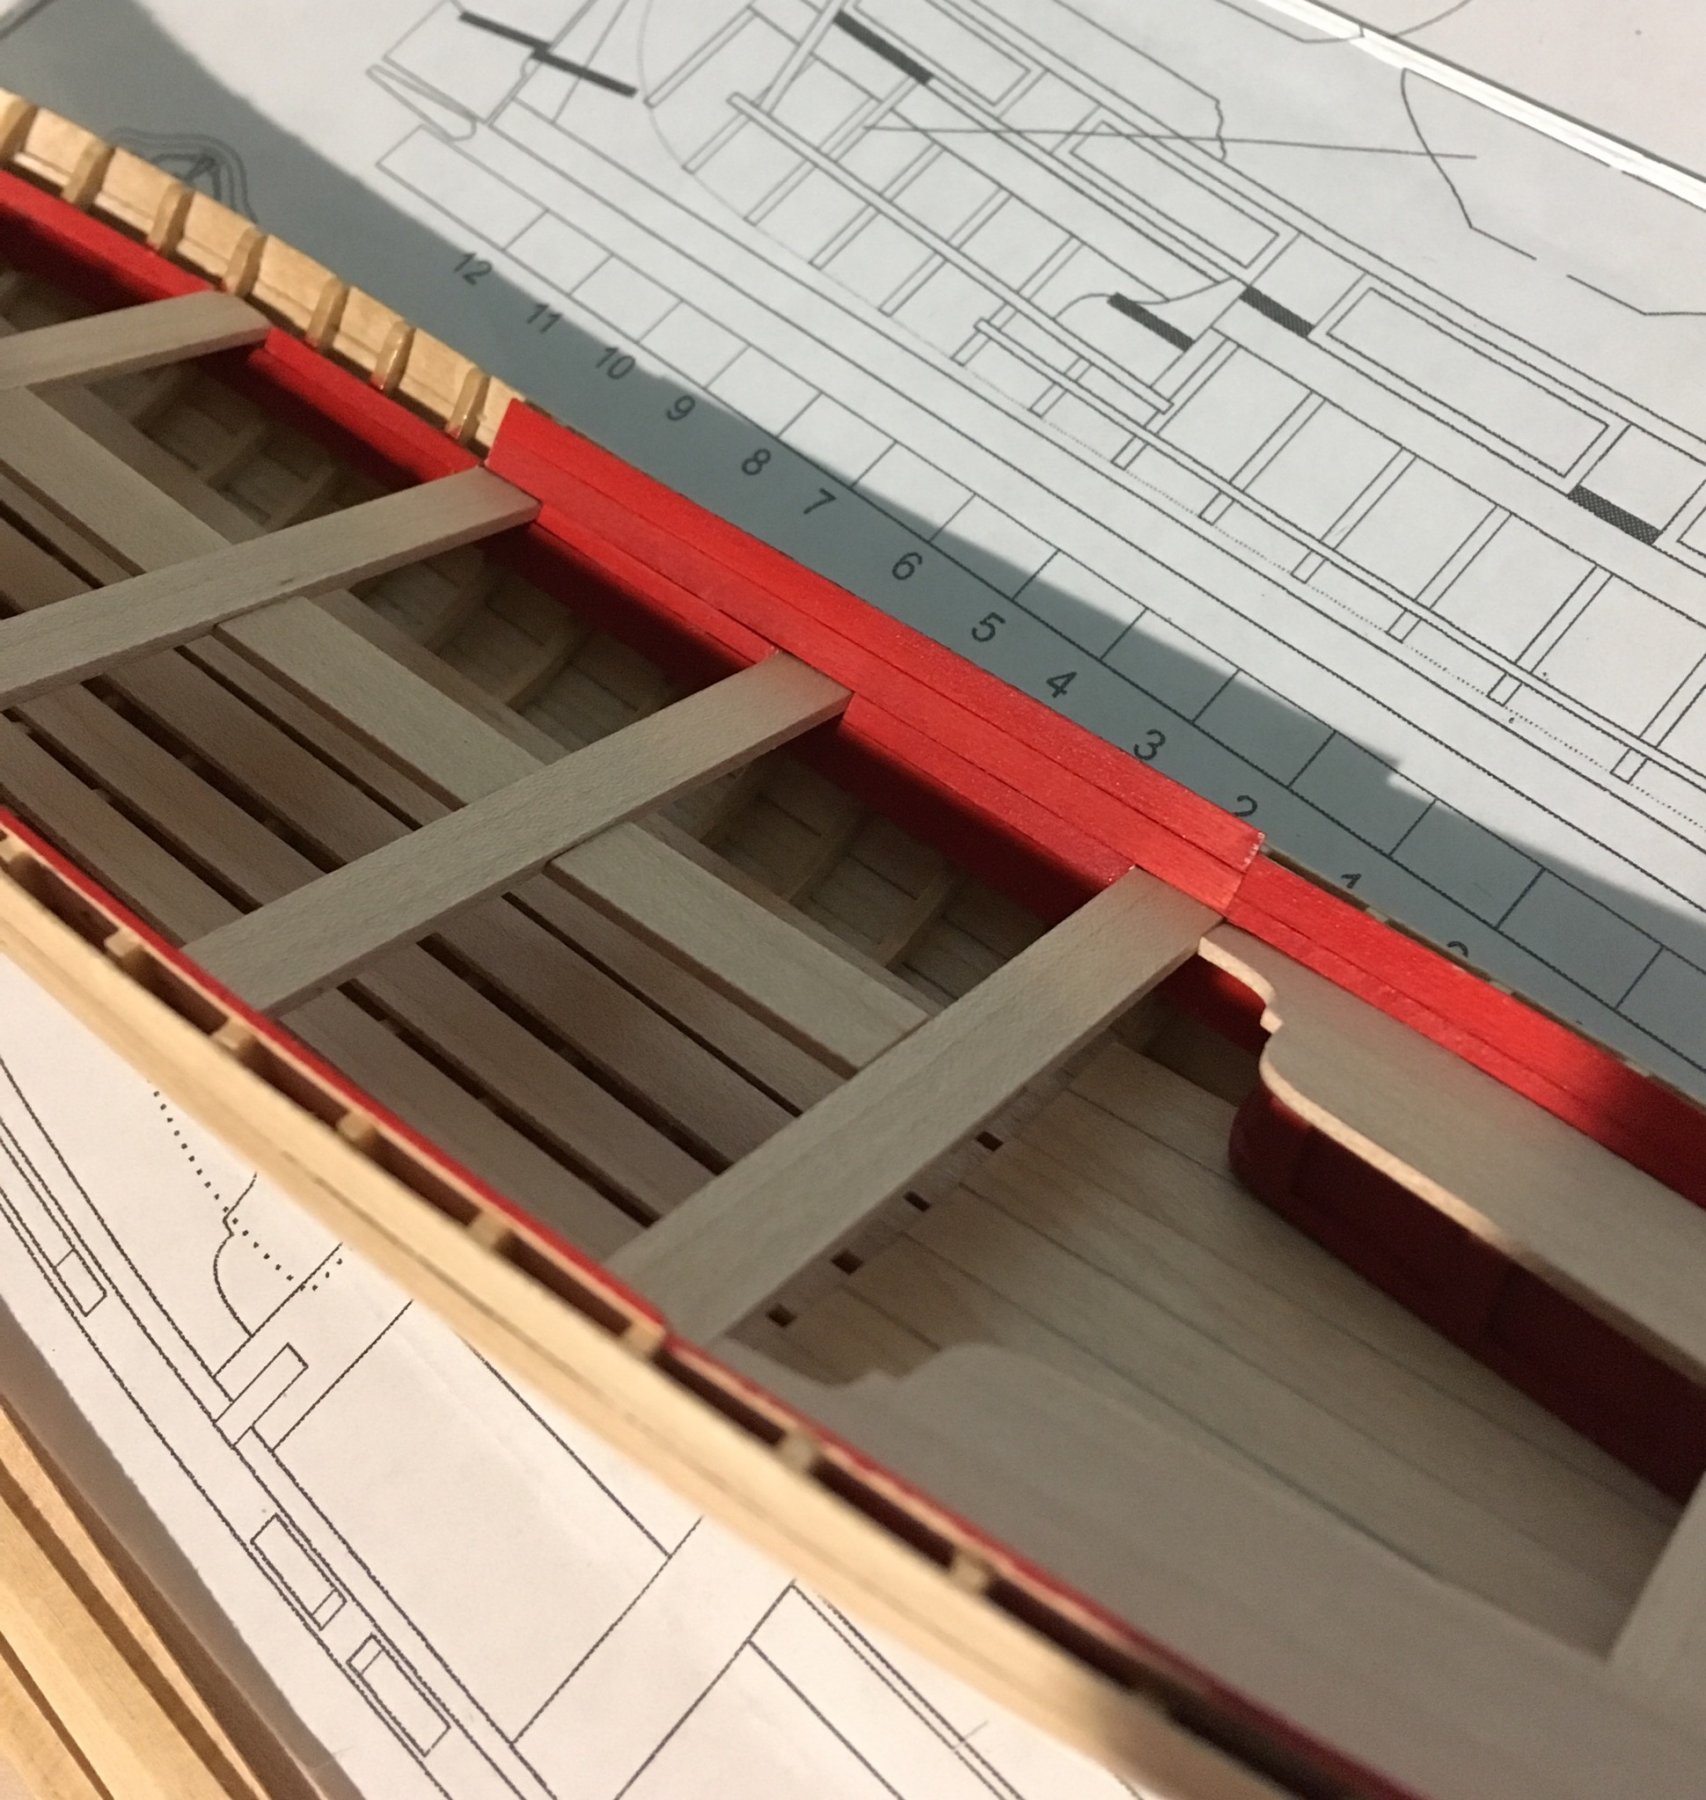
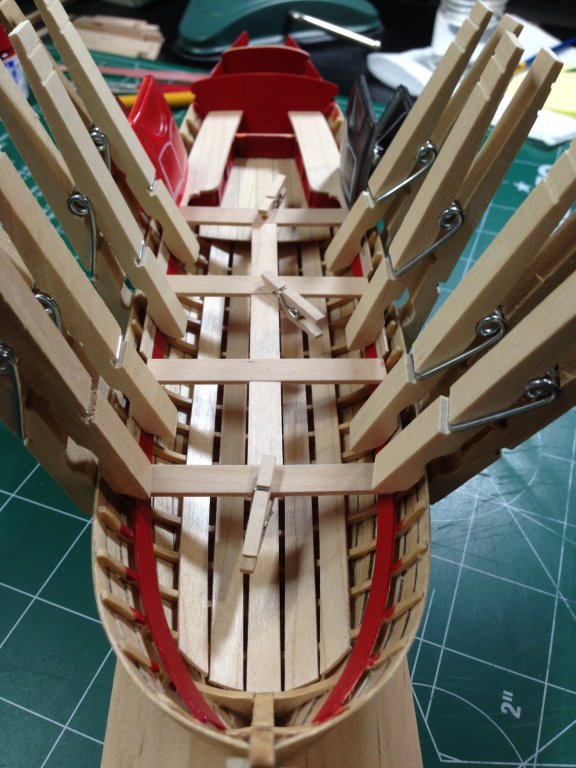
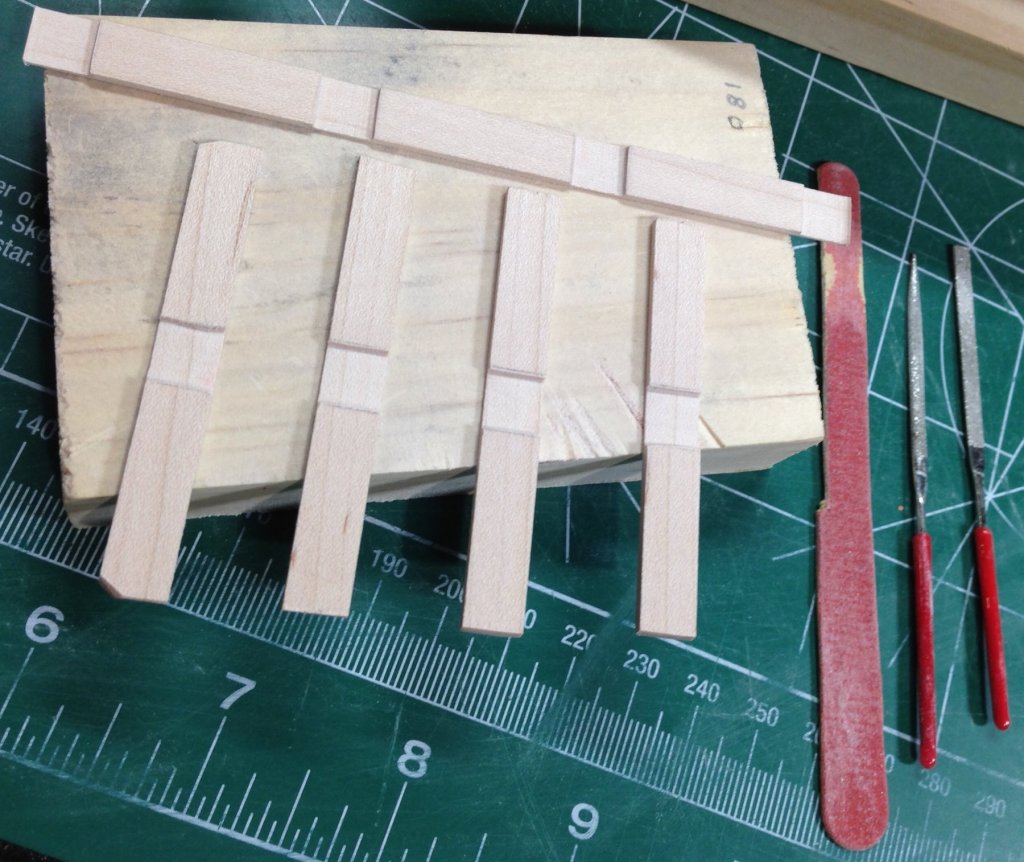
Instead of notching the thwarts to accept sections of the longboard, I decided to notch one long strip where the thwarts would be inserted. This resulted in a straight board. Something I was not able to achieve in earlier attempts. The board was clamped from underneath and marked before filing the notches. The thwarts were also notched to create a flush joining of the pieces. Lots of dry clamping before the final installation. I'm happy with the results and decided not to include the grooves for the sake of a crisp finish. I will have to remake the forward platform without the grooves. Steve
- 190 replies
-
- 14
-
-

-
- pinnace
- model shipways
- (and 1 more)
-
Hi Oliver, I would seriously suggest ripping off those planks and doing some further reading on planking concepts. It looks like the step of "fairing" the hull has been skipped. You need to fair the hull so the planks lay against all bulkheads. I'm no expert by any means, but it's important to take your time and do some research before you get too far into the model. You will have a very difficult time otherwise. Here's one link from the forum: http://modelshipworldforum.com/resources/Framing_and_Planking/plankingprojectbeginners.pdf Steve