


Tigersteve
-
Posts
1,327 -
Joined
-
Last visited
Content Type
Profiles
Forums
Gallery
Events
Everything posted by Tigersteve
-
 Looks great. I agree to your solution of removing the planks. Steve
- 481 replies
-
- 2
-

-
- rattlesnake
- model shipways
- (and 1 more)
-
Gary, Regarding the size of this one v. Brig Syren- I have the same thought! As large as it is, it will still take up less space! Steve
-
Svein, Read the above (Chuck's response to another member's identical issue). Steve
-
Ken- That's very cool. I will definitely follow that one. Steve
-
You're leaving an amazing legacy for Constitution builders with this log. What's your next project? Steve
-
Joining late on this one. Nice job so far. What a learning experience. This is worth following even if just to collect tips and tricks from Dan. Steve
-
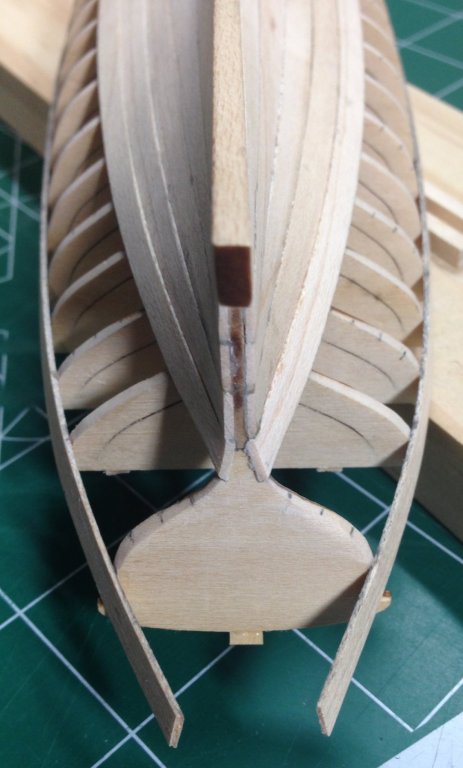
Hi Karl, The planks bend fine with dry heat. The problem is they loose a bit of their curve after a little while. Also, the bends required for this boat and the longboat are pretty severe. Extra fairing was needed at the bow to get the planks to fit properly into the rabbet. I tried boiling water to see how it would affect the hard maple, but I didn't like what it did to the wood. Steve
- 190 replies
-
- 4
-
-
- pinnace
- model shipways
- (and 1 more)
-
Interesting. Must join the audience on this one. Steve
-
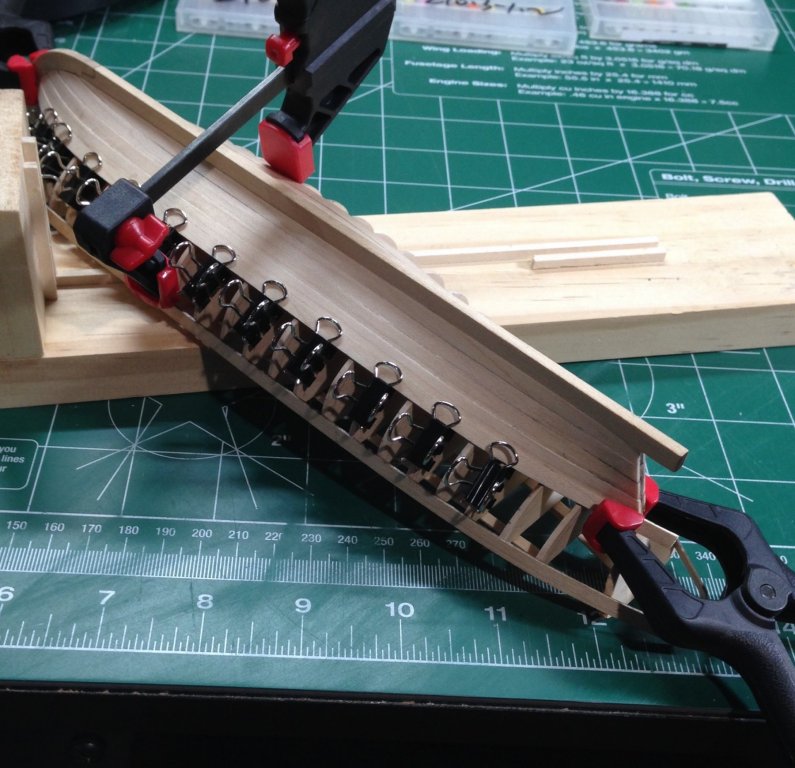
Two more planks installed. You can tell by the clamping methods that the struggle is real! I'm hoping the additional photos will be helpful to other Pinnace builders. I'm very tempted to sand, but I will wait until the hull is fully planked. After sanding, I will be collecting the hard maple sawdust to create the wood filler for any visible seams. Steve
- 190 replies
-
- 17
-
-
- pinnace
- model shipways
- (and 1 more)
-
That's looking very good. Your lettering seems off centered to me in the photo. Steve
- 1,135 replies
-
- 1
-
-
- model shipways
- syren
- (and 2 more)
-
I'm in. Steve
-
I think do what looks better to you. You have to live with it. Glad you're back at this. Steve
- 66 replies
-
- 1
-
-
- bounty launch
- model shipways
- (and 1 more)
-
Your treenailing came out great. It will pop when you add the finish. Chuck did add this detail to his model. You can tell in his build log. Steve
- 156 replies
-
- 5
-
-
- pinnace
- model shipways
- (and 1 more)
-
Pandora by marsalv - FINISHED - 1:52
Tigersteve replied to marsalv's topic in - Build logs for subjects built 1751 - 1800
What Dirk said! How did you darken the brass? Steve -
I really don't know. I would say test on some scrap strips but I don't know how accurate that test would be. If it were my ship I would sand it until it's very smooth and pretty consistent color. You might not need more stain. If you plan to finish it with Wipe on Poly, even that finish will make the colors in the wood pop darker. Steve
-
Another Syren build to follow. Sure, I'm in. Steve
-
Pre-stain prepares the wood to accept an even coat of stain, hopefully avoiding blotchy spots. I agree you should keep your expectations high. There's no reason to settle for anything less. Steve
-
Looking nice and clean. I like the presentation you're preparing. Steve
- 67 replies
-
- 1
-
-
- philadelphia
- model shipways
- (and 1 more)
-
It's coming along, Rich. This one looks difficult to plank. I'm assuming you're not planning to paint if you're going for a second layer? Steve
-
I forgot to mention that using pre-stain will help before staining next time. Steve
-
The planking looks good. As for the stain- just do some sanding and it should lighten it. Steve

