Tigersteve
-
Posts
1,327 -
Joined
-
Last visited
Content Type
Profiles
Forums
Gallery
Events
Everything posted by Tigersteve
-
 Best of luck with this one. I’ll follow along. Steve
 -
Thank you all for the positive comments and likes! I’ve certainly been taking my time with this project. I just realized I started this log in April! The panels should be fun. Who knows how long that will take... 😜 Steve
- 190 replies
-
- 3
-

-
- pinnace
- model shipways
- (and 1 more)
-
Oh well, Mike, I was looking forward to seeing the cherry version of this, but I am still happy to follow the construction of your boxwood version. Steve
- 607 replies
-
- 6
-
-
- winchelsea
- Syren Ship Model Company
- (and 1 more)
-
Helmsmen seating completed. This task was trickier than I thought, but that’s to be expected at this point. Steve

- 190 replies
-
- 25
-
-
- pinnace
- model shipways
- (and 1 more)
-
Looks like you’re getting there. Steve
-
nitehawk, start a log of your build please. Steve
-
Thanks for the comments and likes. I do plan on adding knees made from hard maple after the panels are done. Steve
- 190 replies
-
- 1
-
-
- pinnace
- model shipways
- (and 1 more)
-
The interior and cap rail painting is complete. Roughly twenty coats later with light sanding between some coats. One coat of Wipe-on-Poly applied. Looking forward to seeing how it looks with the mouldings added. Before that tedious job, I will craft the seats for the helmsmen. Steve

- 190 replies
-
- 13
-
-
- pinnace
- model shipways
- (and 1 more)
-
Nice tutorials Chuck. You mentioned glue in the first video, but didn’t use it. What is the glue for- the ends of the rope? Steve
- 22 replies
-
- 1
-
-
- ropewalk
- rope rocket
- (and 1 more)
-
Beautiful work as usual. The amount of work on the yards/spars alone is so extensive. Amazing! Steve
- 3,618 replies
-
- 2
-
-
- young america
- clipper
- (and 1 more)
-
Thanks guys. I added a revised photo in my previous post. Had to remove the cap rail behind the seat back. The shapes were loosing symmetry after more sanding and filing. Those sections of the cap rail were recreated and will be installed after I touch up the paint in that area. Steve
- 190 replies
-
- 6
-
-
- pinnace
- model shipways
- (and 1 more)
-
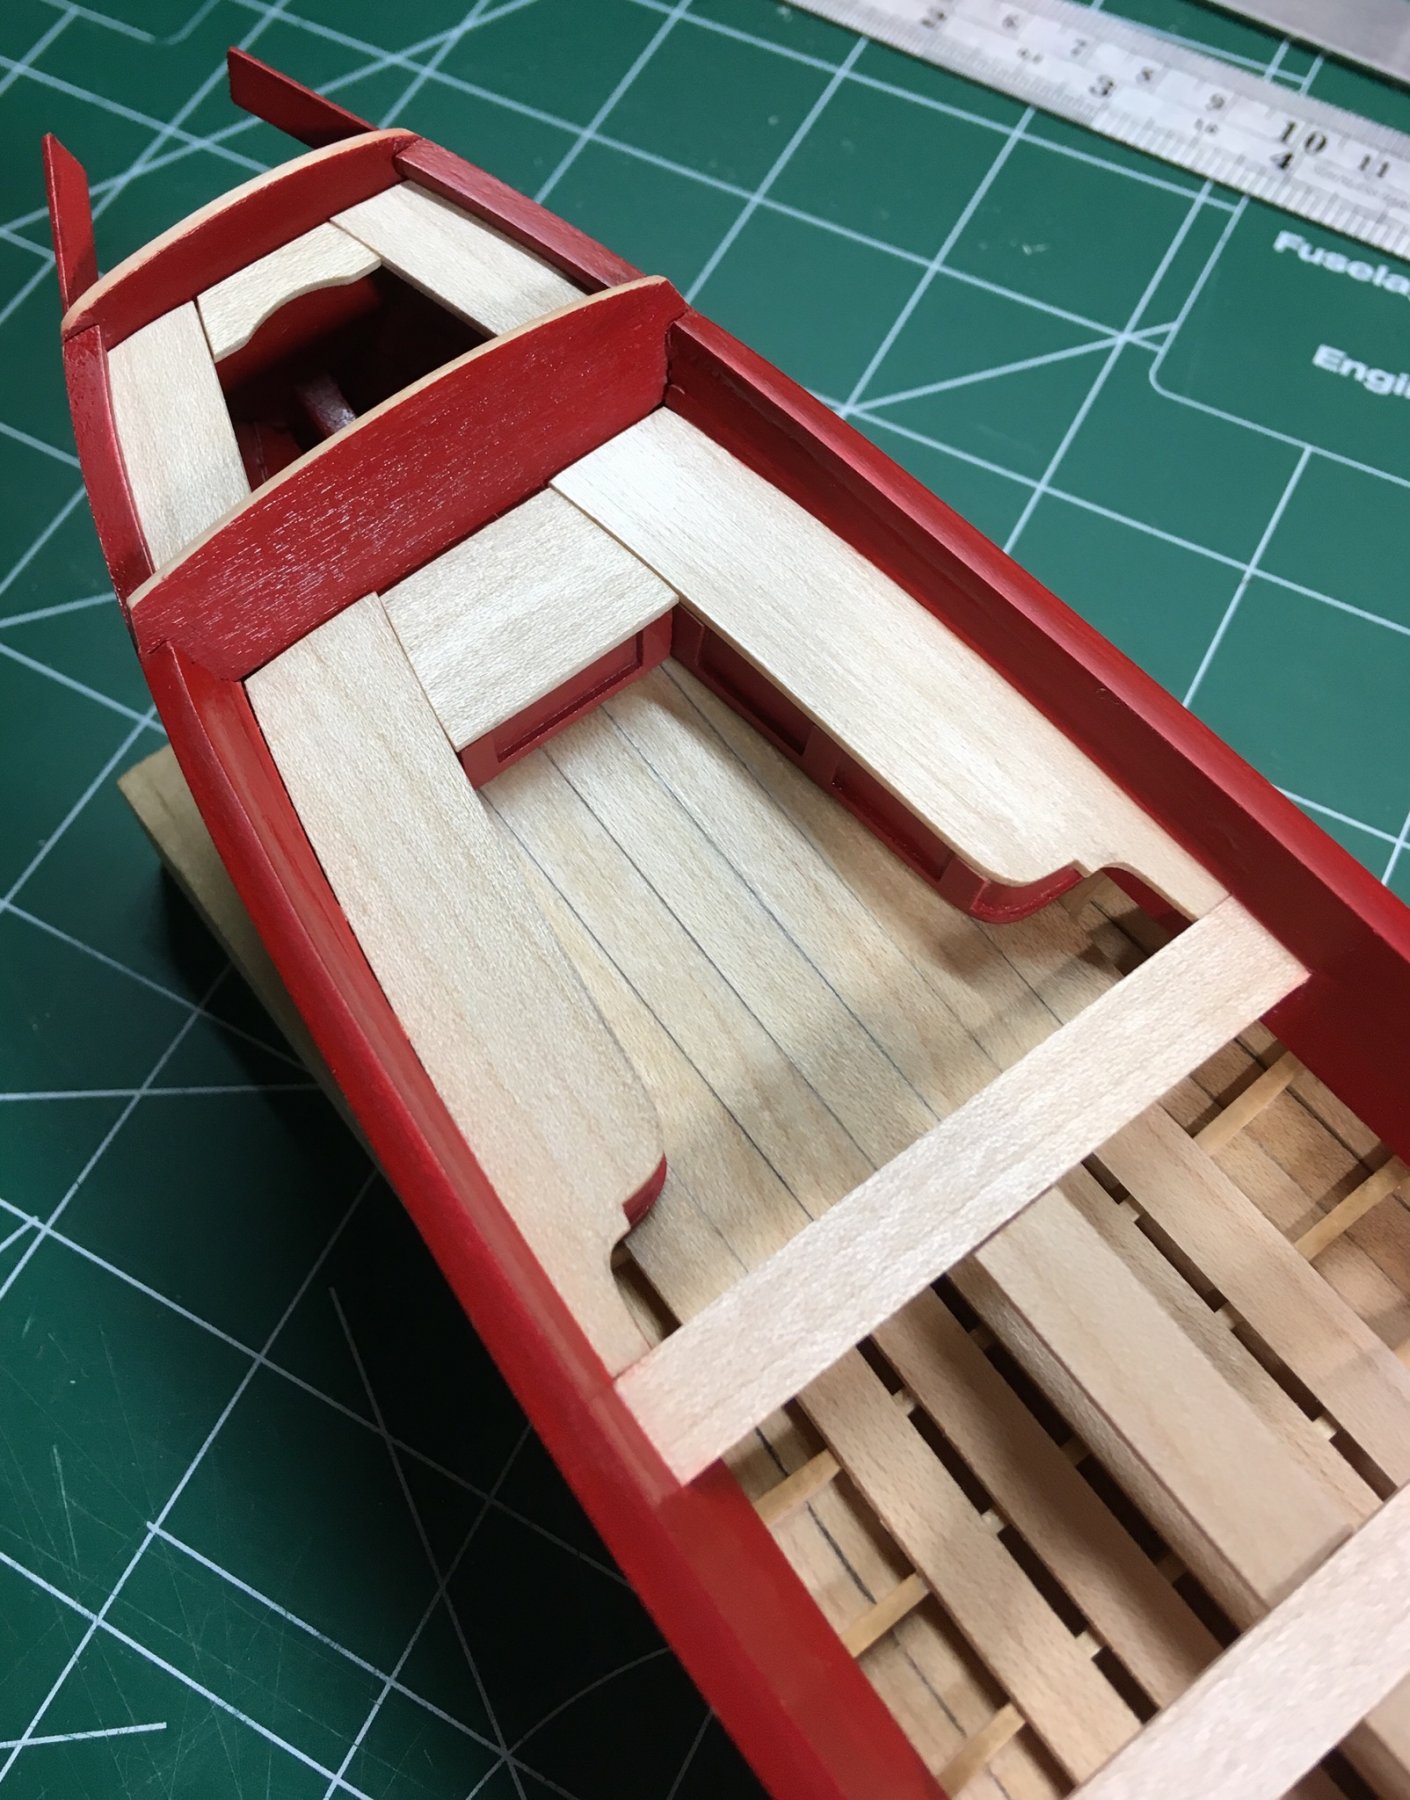
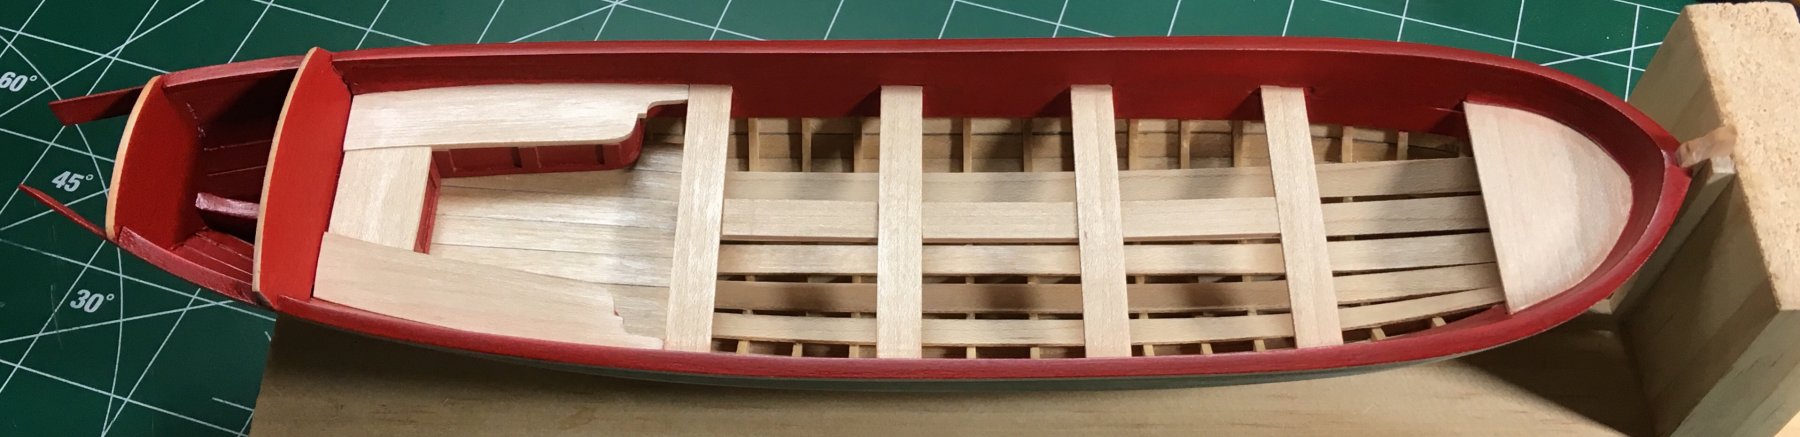
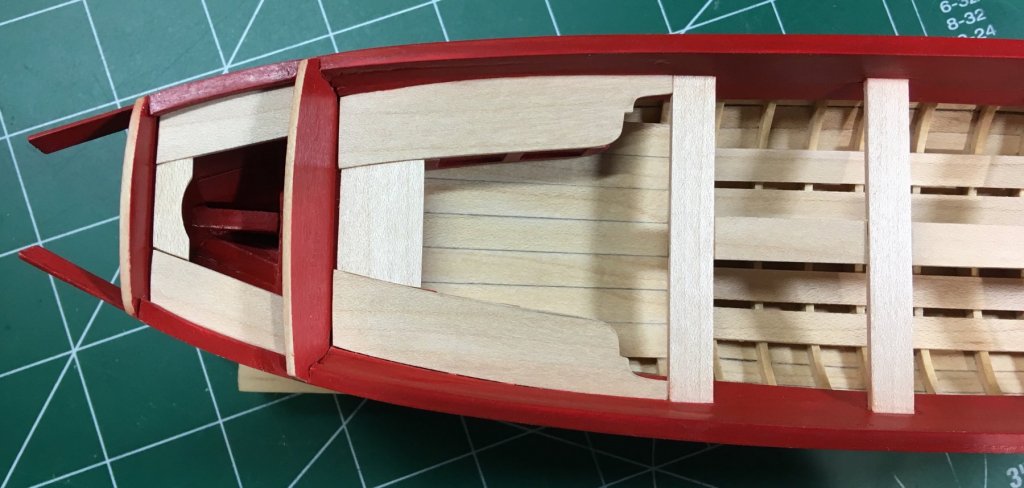
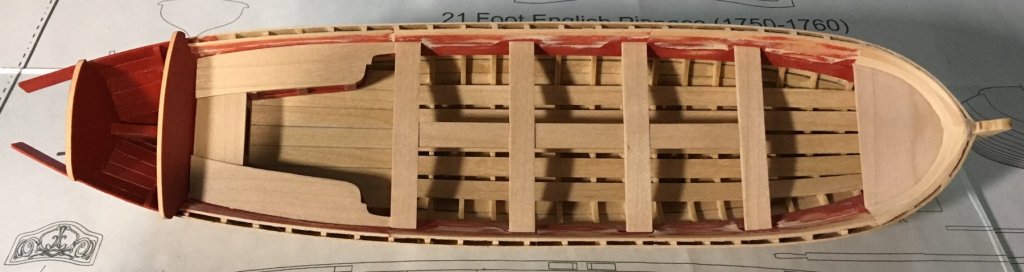
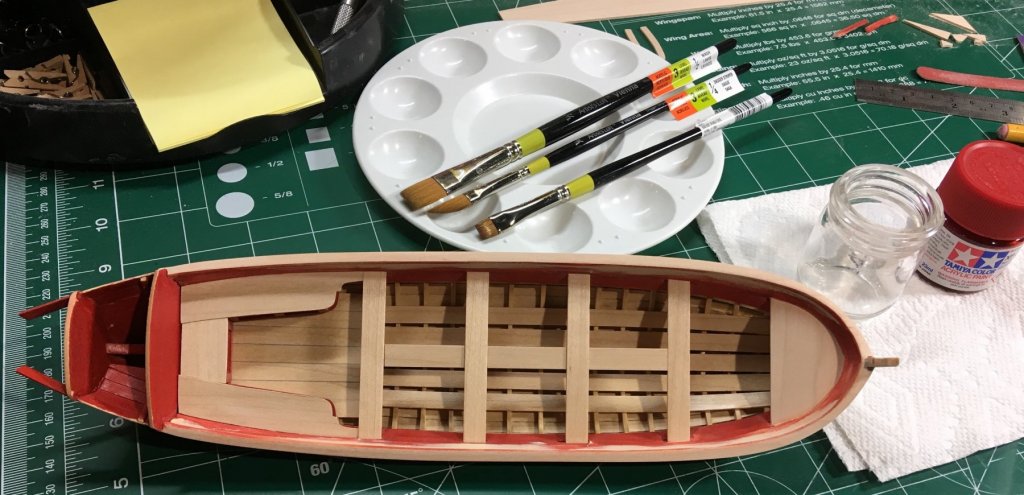
The inboard planking at the bow was completed by cutting pieces to shape. The curves needed were too extreme to edgebend. My paint job went to hell during the sanding of the cap rail. It is necessary to get the rail as thin as possible to avoid looking bulky. The overlap of the rail outboard is 1/32”. My original plan was to leave the cap rail natural, but it looks unfinished without paint now that I see it installed. It will take some time to paint so here are some photos in the meantime. Steve

- 190 replies
-
- 15
-
-
- pinnace
- model shipways
- (and 1 more)
-
Following along, David. Steve
-
Strong start. Hope this log sticks for you! Steve