HOLIDAY DONATION DRIVE - SUPPORT MSW - DO YOUR PART TO KEEP THIS GREAT FORUM GOING! (Only 13 donations so far - C'mon guys!)
×


Tigersteve
-
Posts
1,323 -
Joined
-
Last visited
Content Type
Profiles
Forums
Gallery
Events
Everything posted by Tigersteve
-
 How long is the bull at this point, Dave? Nice work throughout. Steve
- 742 replies
-
- 5
-

-
- constitution
- frigate
- (and 1 more)
-
A really superior Niagara model! I think I remember you using Syren rope, but did you also use Syren blocks or the kit blocks? Also- what type of wood did you use for your project? Sorry- I’m sure it’s mentioned in your log somewhere. Look forward to the boats you craft! Steve
- 648 replies
-
- 2
-
-
- niagara
- model shipways
- (and 1 more)
-
Agreed! Steve
-
It’s going to be a very popular project. Steve
- 1,784 replies
-
- 4
-
-
- winchelsea
- Syren Ship Model Company
- (and 1 more)
-
Thanks, Mike! The maple is much harder than the basswood, but I didn’t invest much time into making a scraper so my attempts at this detail were short lived. I decided in the end to move forward. I think you were the only one to successfully reproduce Chuck’s results. Steve
-
Generic Sharpie by DocBlake
Tigersteve replied to DocBlake's topic in - Build logs for subjects built 1851 - 1900
I’m in too. This looks like a nice project. Steve -
Coming along nicely. Is it rope from the kit? Steve
- 1,306 replies
-
- 5
-
-
- syren
- model shipways
- (and 1 more)
-
B.E.- Looks good. Nice call on the scale lengths. Kurt- Open a build log? Steve
- 574 replies
-
- 2
-
-
- cheerful
- Syren Ship Model Company
- (and 1 more)
-
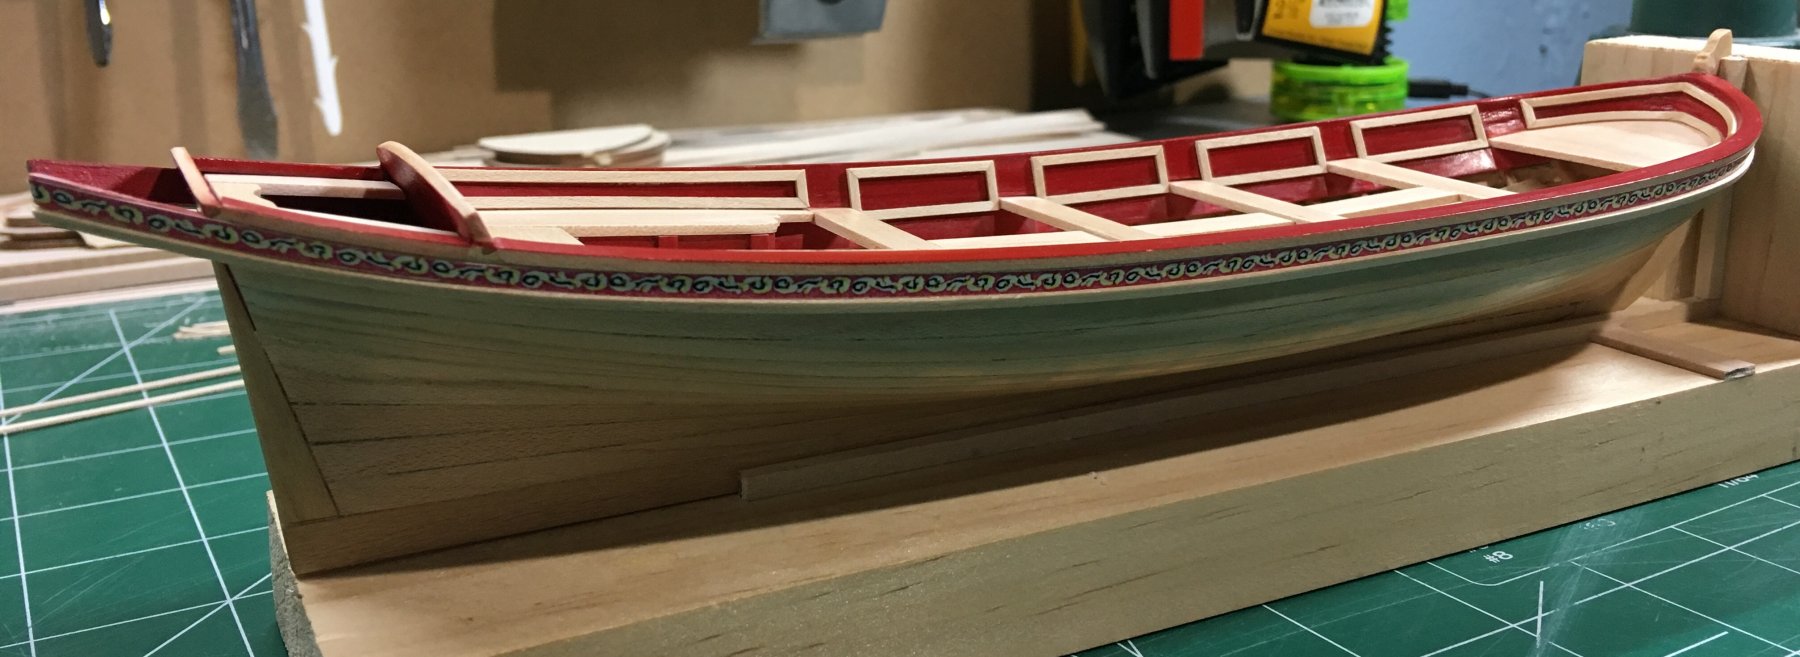
The friezes were treated with Minwax Polycrylic before using a glue stick to apply. The difficult part was cutting the friezes off the sheet. The mouldings were edge-bent with dry heat to conform to the shape of the hull. Gluing these was a challenge. After the glue dried, the mouldings and hull were sanded. Wipe-On-Poly was applied to the entire outer hull including the friezes. Steve

- 190 replies
-
- 26
-
-
- pinnace
- model shipways
- (and 1 more)
-
Thank you. I appreciate that guys! I installed the friezes last night. It really makes the boat “pop”. After I install the mouldings I will post photos. Steve
- 190 replies
-
- 3
-
-
- pinnace
- model shipways
- (and 1 more)
-
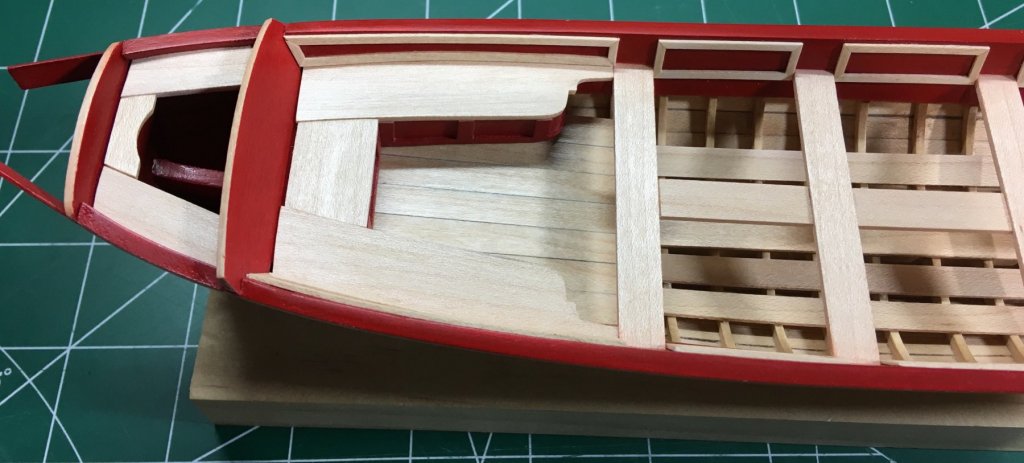
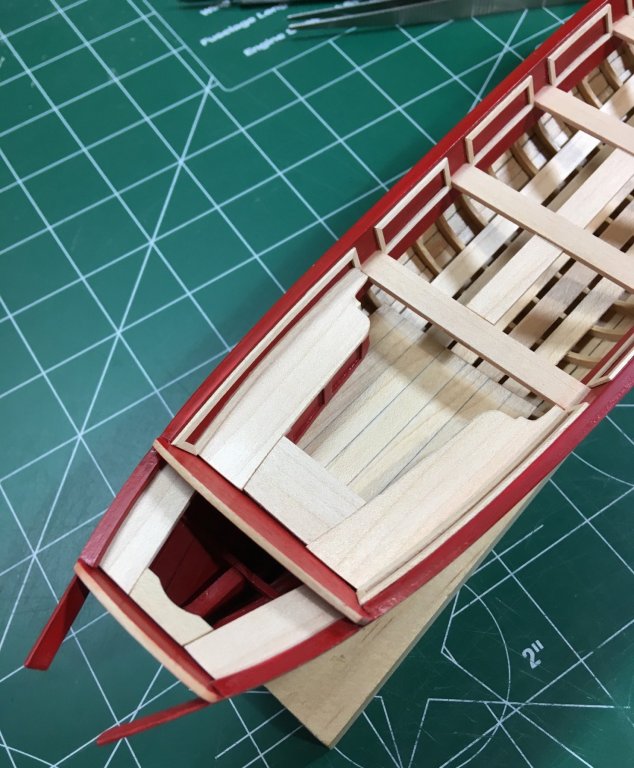
Thanks everyone for the positive feedback. The last and most difficult of the paneling is complete. Strips were edge-bent after soaking in hot water to create the curvature. One continuous panel was created to take the place of the knee at the bow. Not as crisp as the other panels, but this issue should fade as the knees are added. Steve
- 190 replies
-
- 21
-
-
- pinnace
- model shipways
- (and 1 more)
-
Yes- it’s too bad he’s on a really long break! Steve
- 574 replies
-
- 2
-
-
- cheerful
- Syren Ship Model Company
- (and 1 more)
-
What was the experimental wood? Any clue why Wood Project Source’s store is “closed for maintenance”? Steve
-
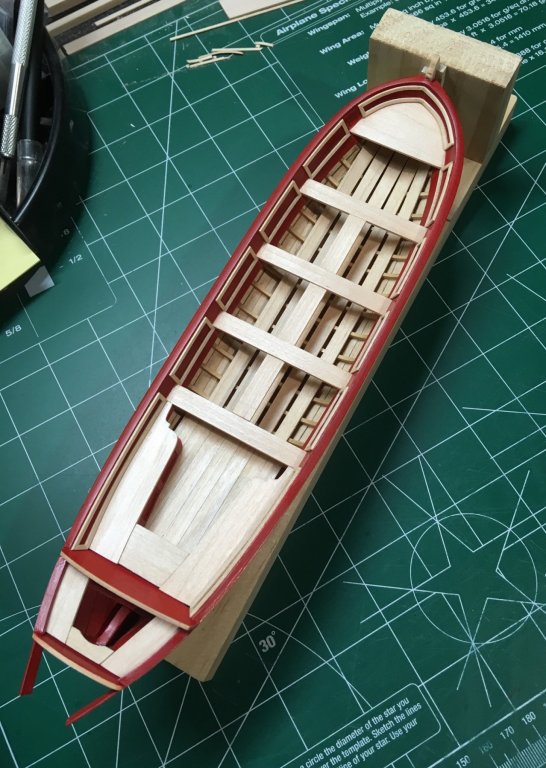
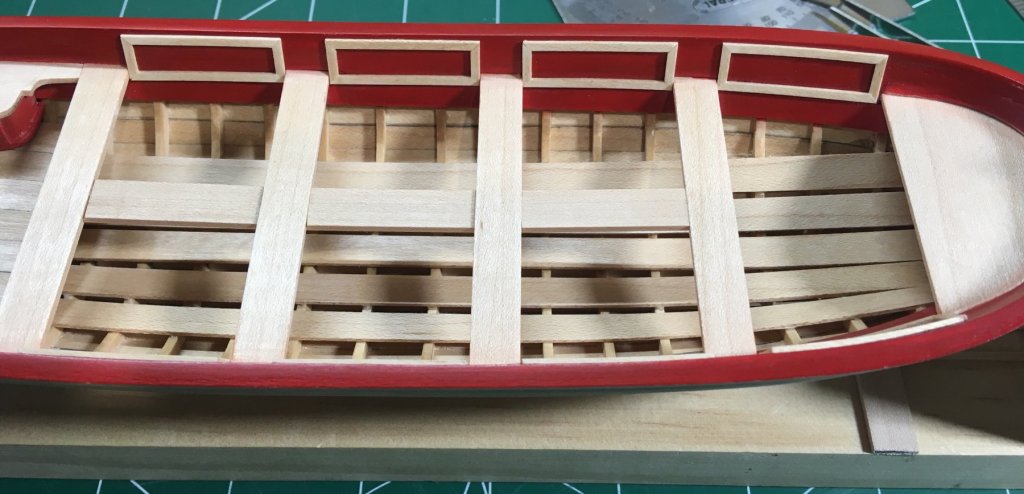
The rear panels were fitted and installed one piece at a time onboard. The bottom strip of each panel was slightly edge-bent to follow the curve above the cockpit seats. I skipped making the template and jumped right into this. I think the single panels change it up a bit. The panels really should be somewhere in between 1/16” and 1/32” wide in my opinion. Unfortunately, mine are not. ;-) Steve
- 190 replies
-
- 21
-
-
- pinnace
- model shipways
- (and 1 more)
-
I’m sure there are many solutions to completing these tasks. Your metal work is mind-blowing though. An art in itself. Steve
- 3,618 replies
-
- 6
-
-
- young america
- clipper
- (and 1 more)
-
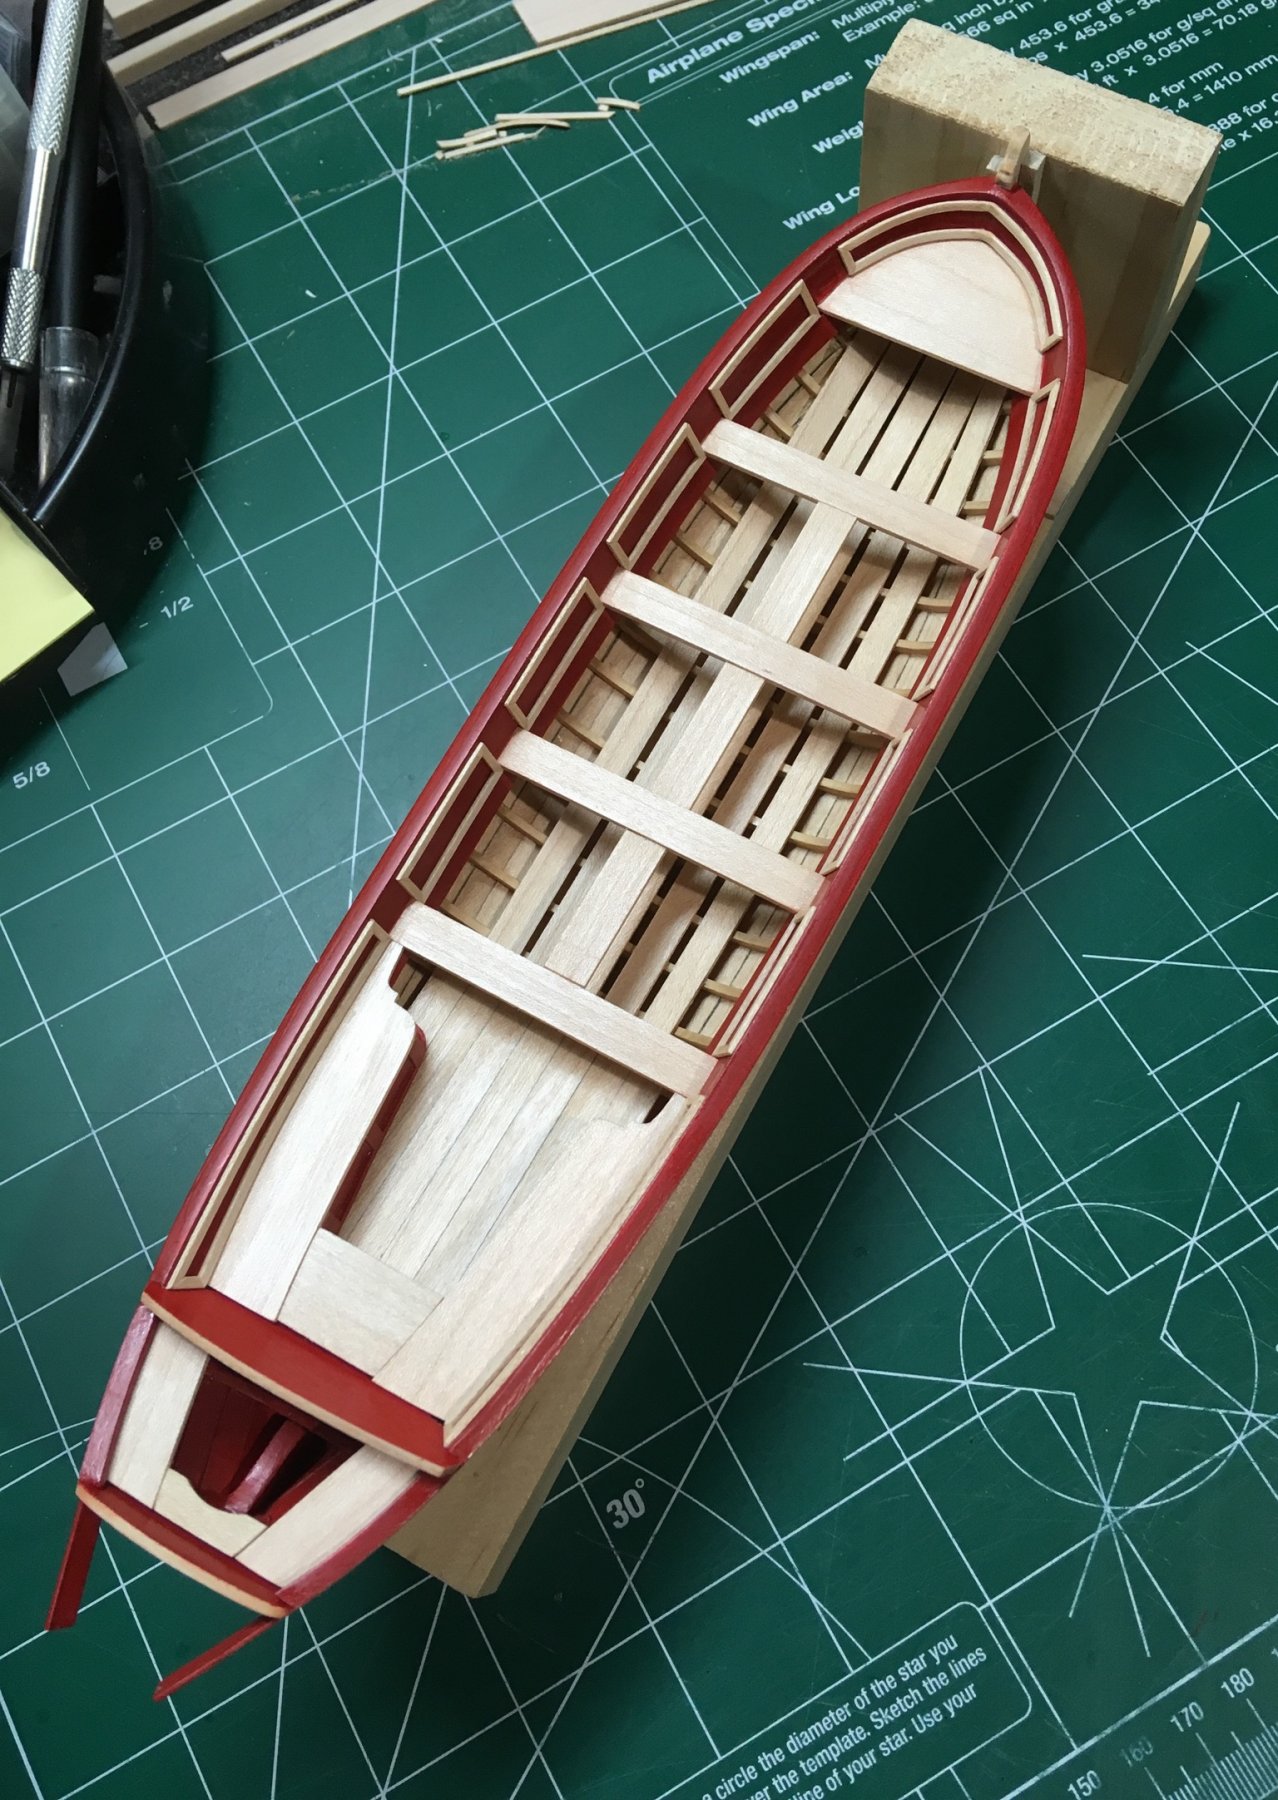
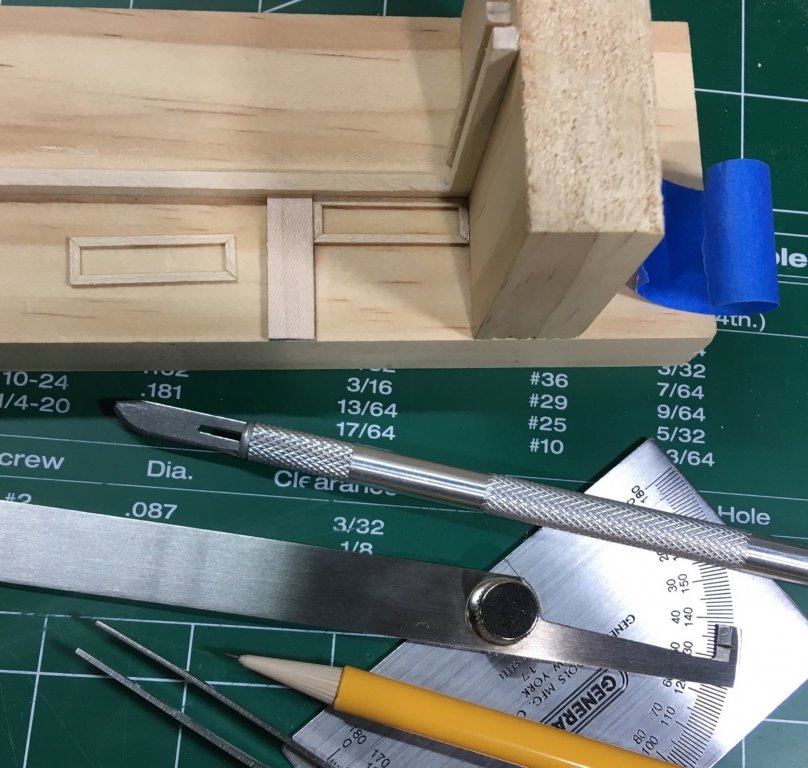
The eight midship panels are completed. To accomplish this I created a template to capture the correctly sized rectangle. 1/16” wide maple strips were sanded and coated with Wipe-On-Poly prior to cutting the mitors. A jig was created to size, assemble, and glue the panels. After they were assembled, another sanding and coat of WOP was applied. The “fancy” profile was omitted. Many logs I viewed showed folks adding this detail, but at 1/32” thick almost none could produce a profile as clean as in Chuck’s prototype. Mike Y had the cleanest profile, btw. I created a scraper and tried it out, but even with hard maple it was difficult. I decided to save the hours on this detail and move forward. (It’s extremely tiny with the naked eye, but looks huge in photos.) Next task is to figure out the configuration of the rear panels. I will try a modification: one longer panel instead of two shorter panels. Another template will be made to see how it looks. Steve
- 190 replies
-
- 23
-
-
- pinnace
- model shipways
- (and 1 more)
-
Gary, that sounds like solid advice. Ship looks great. Steve
-
Best of luck with this one. I’ll follow along. Steve
-
Thank you all for the positive comments and likes! I’ve certainly been taking my time with this project. I just realized I started this log in April! The panels should be fun. Who knows how long that will take... 😜 Steve
- 190 replies
-
- 3
-
-
- pinnace
- model shipways
- (and 1 more)