HOLIDAY DONATION DRIVE - SUPPORT MSW - DO YOUR PART TO KEEP THIS GREAT FORUM GOING!
×


JpR62
-
Posts
699 -
Joined
-
Last visited
Content Type
Profiles
Forums
Gallery
Events
Everything posted by JpR62
-
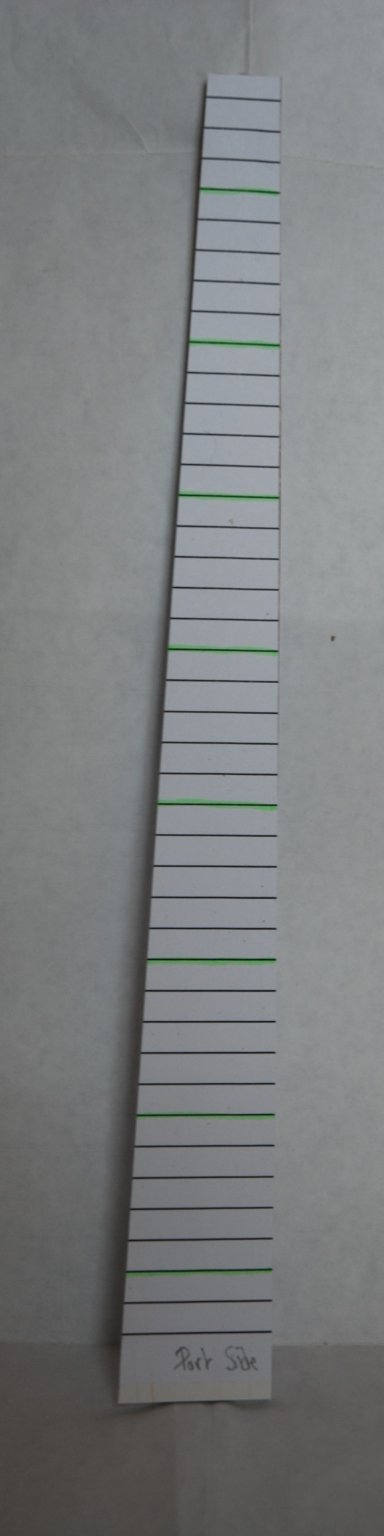
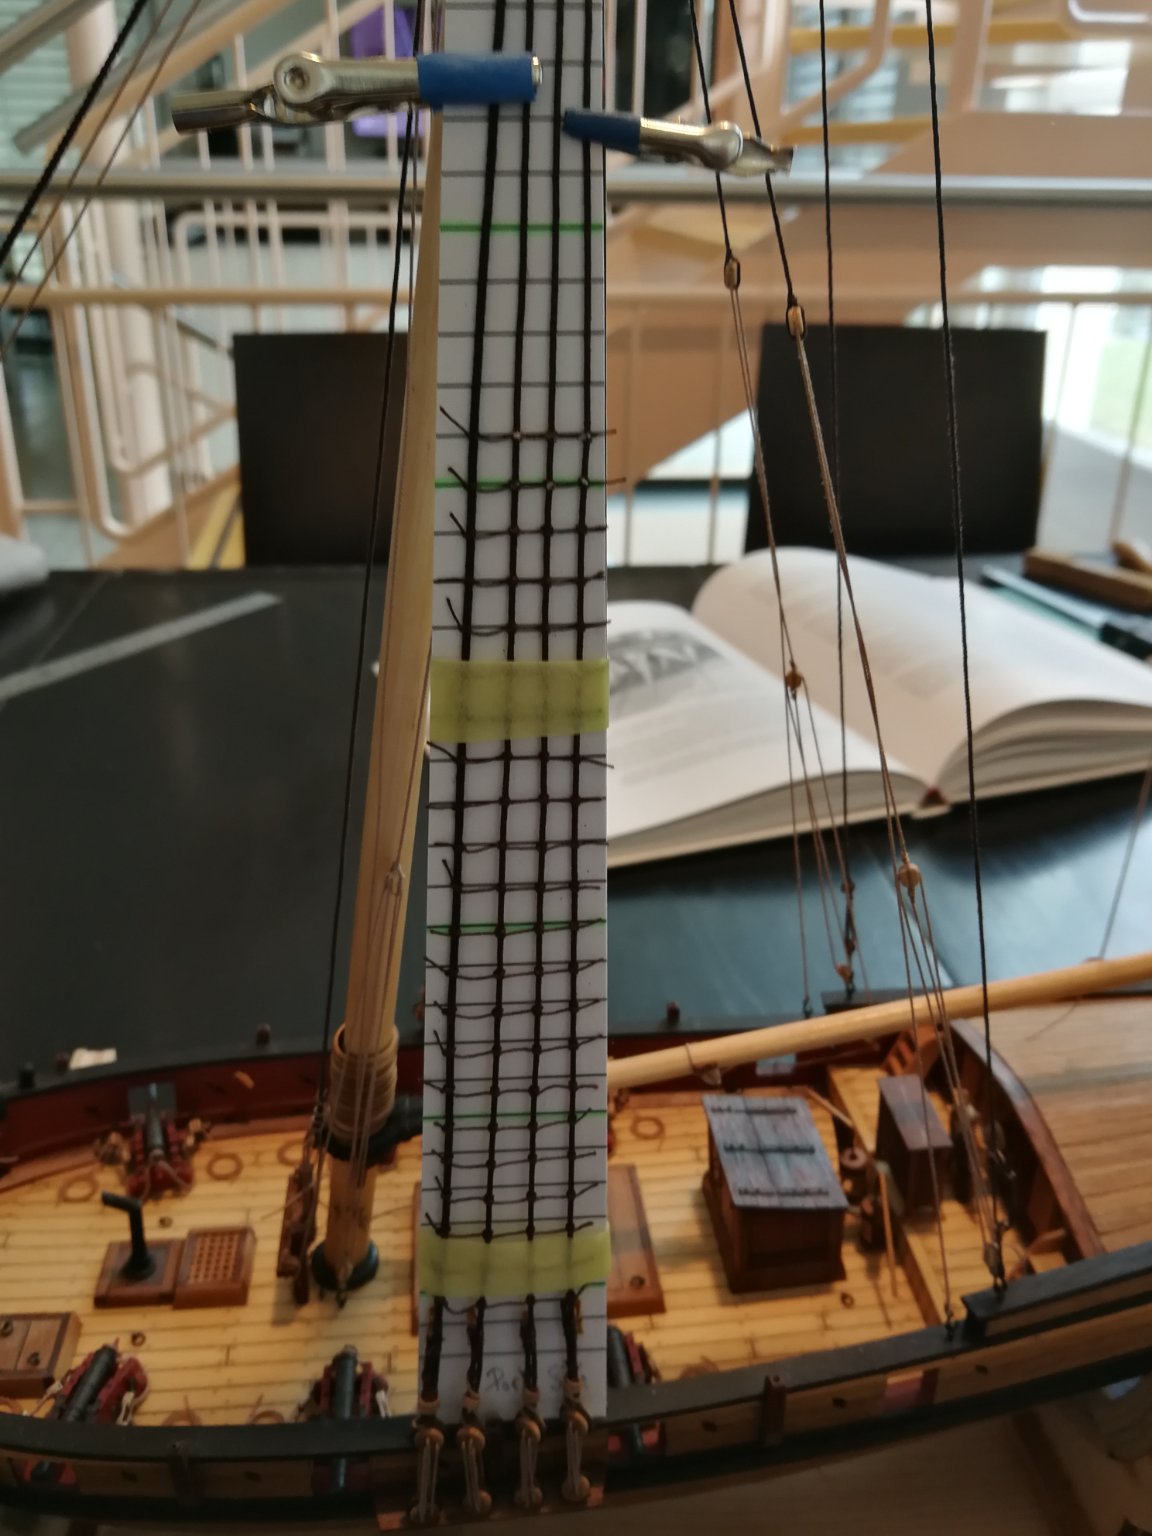
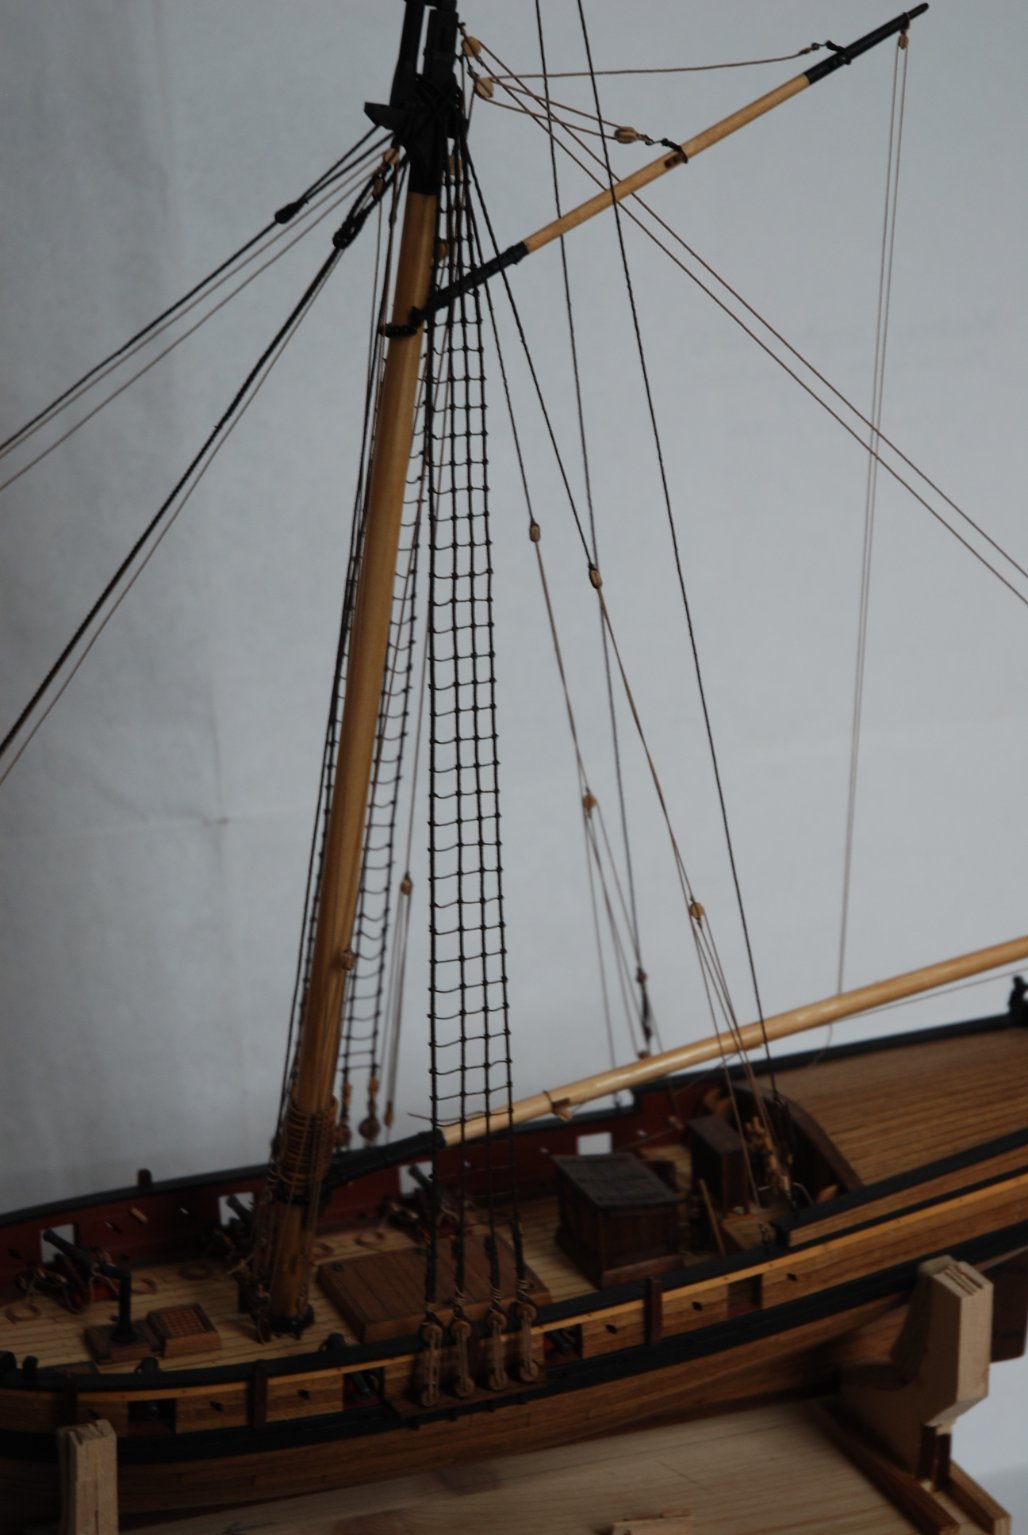
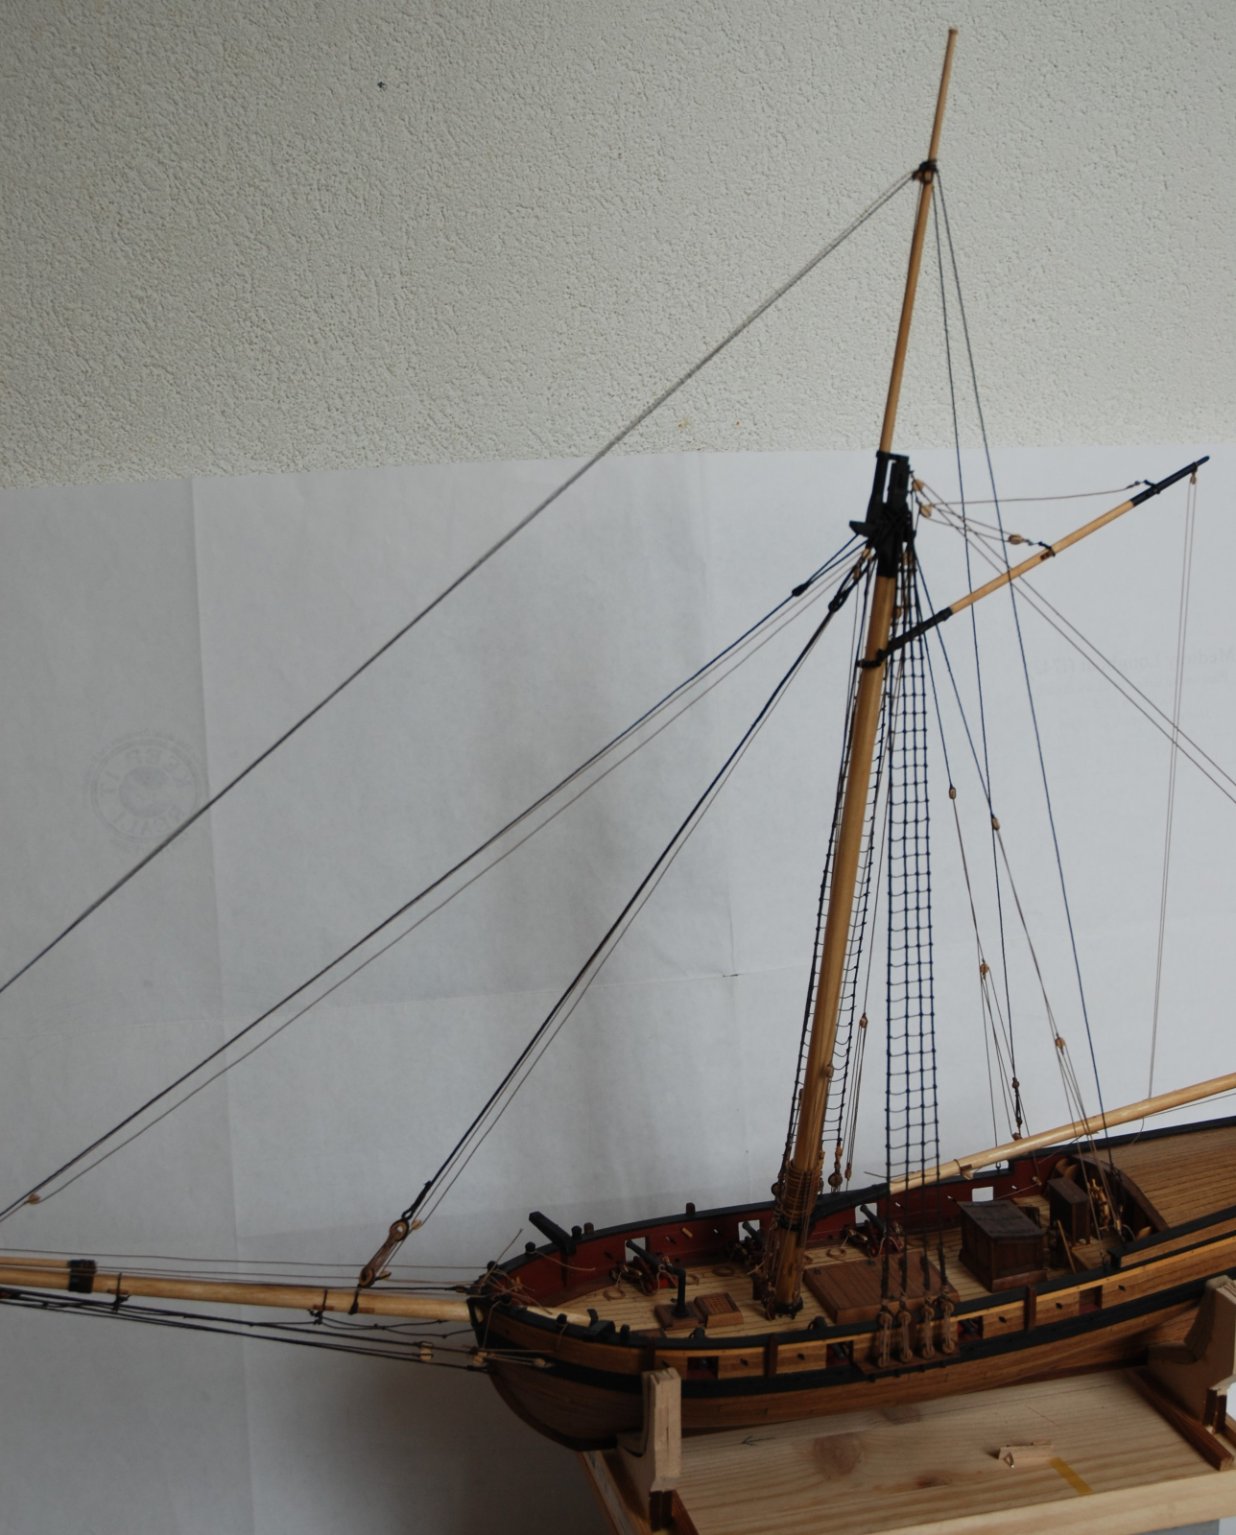
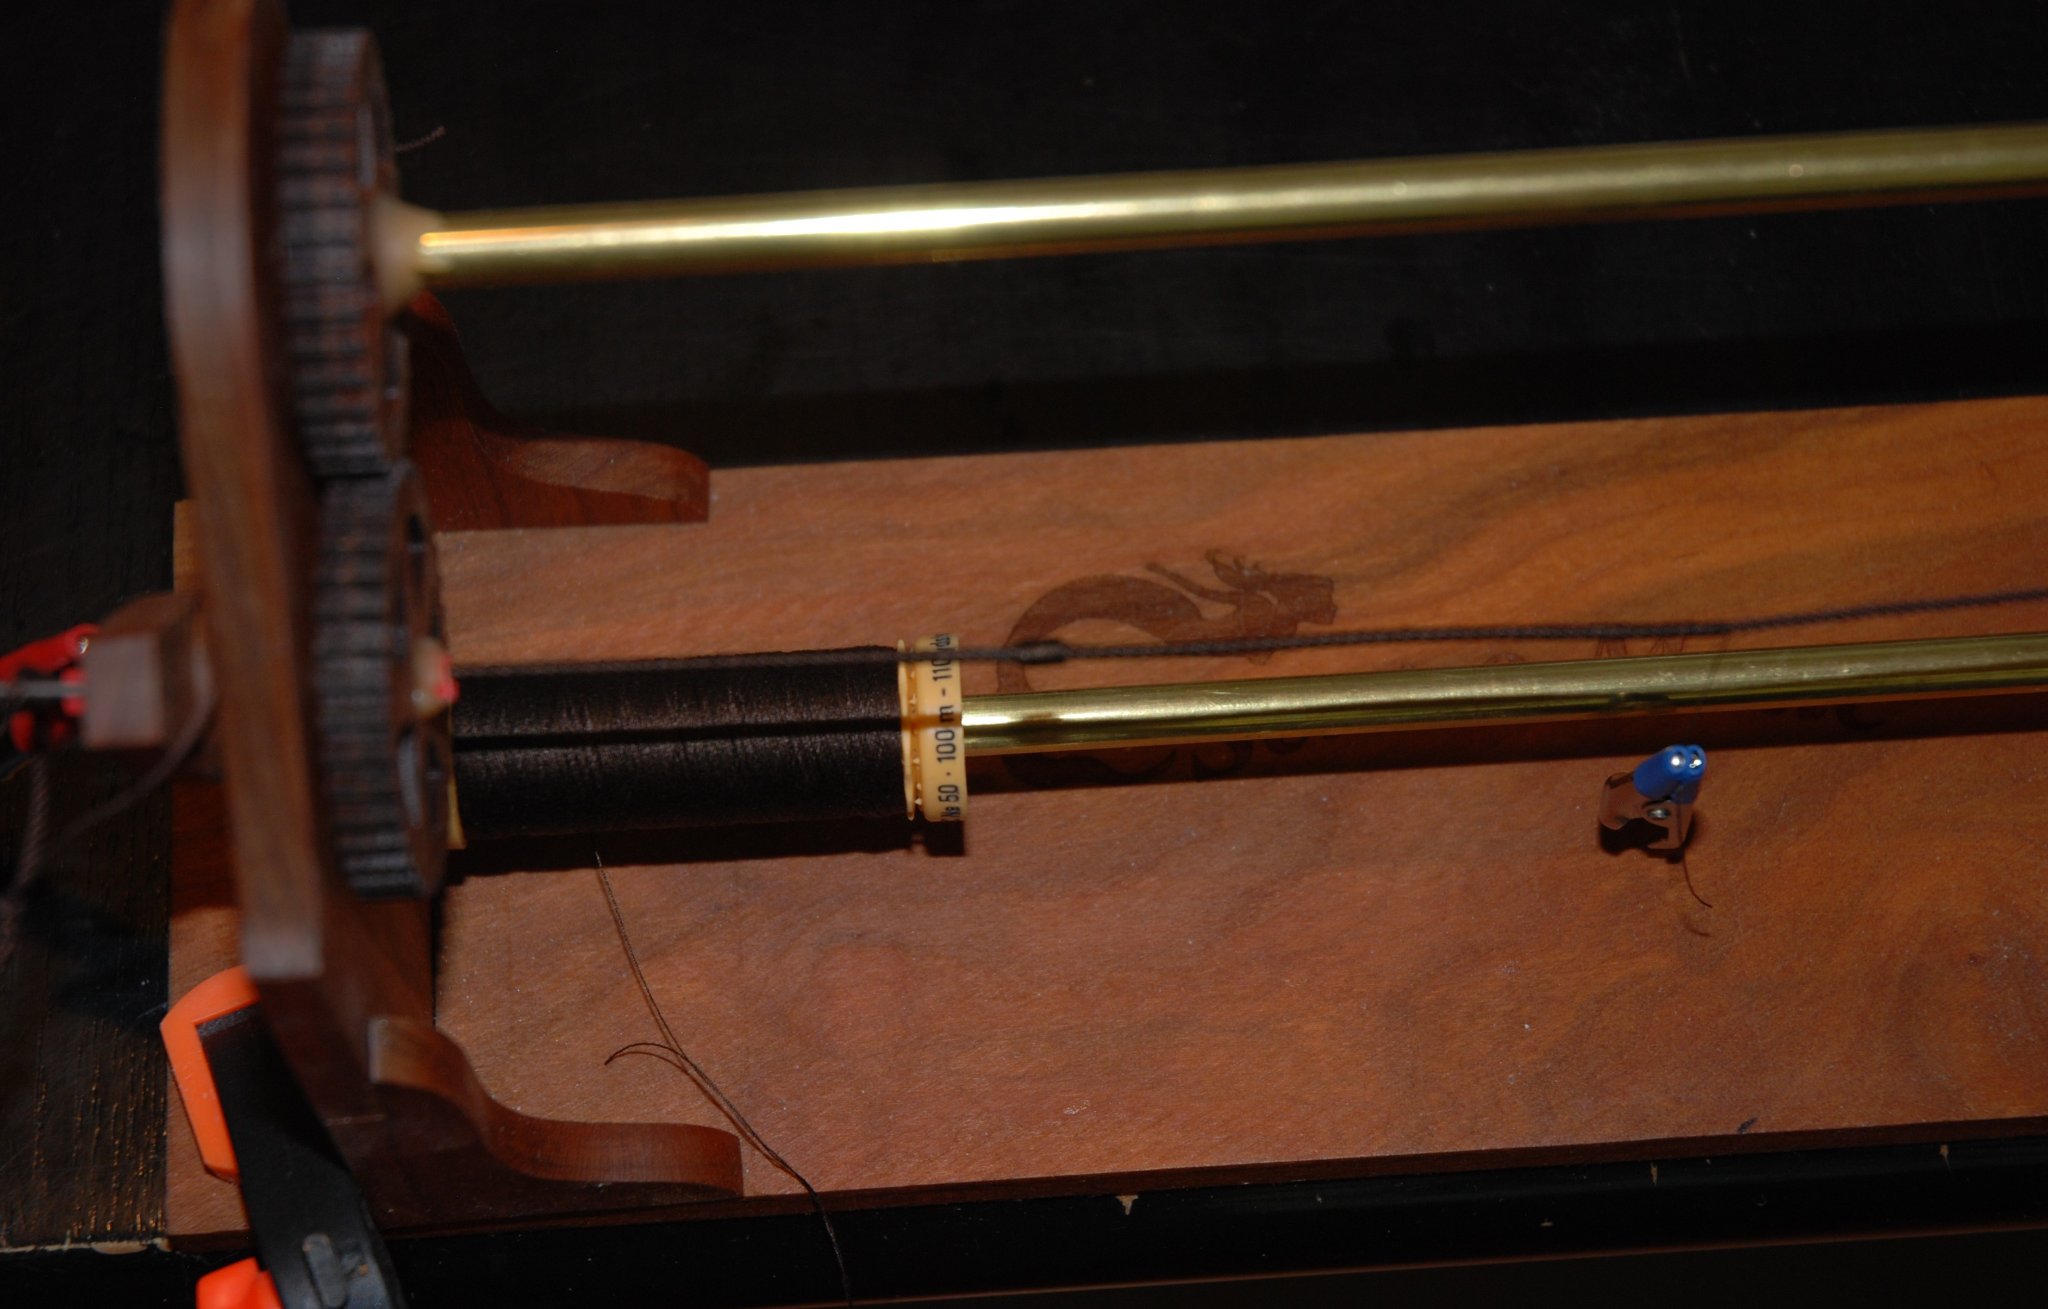
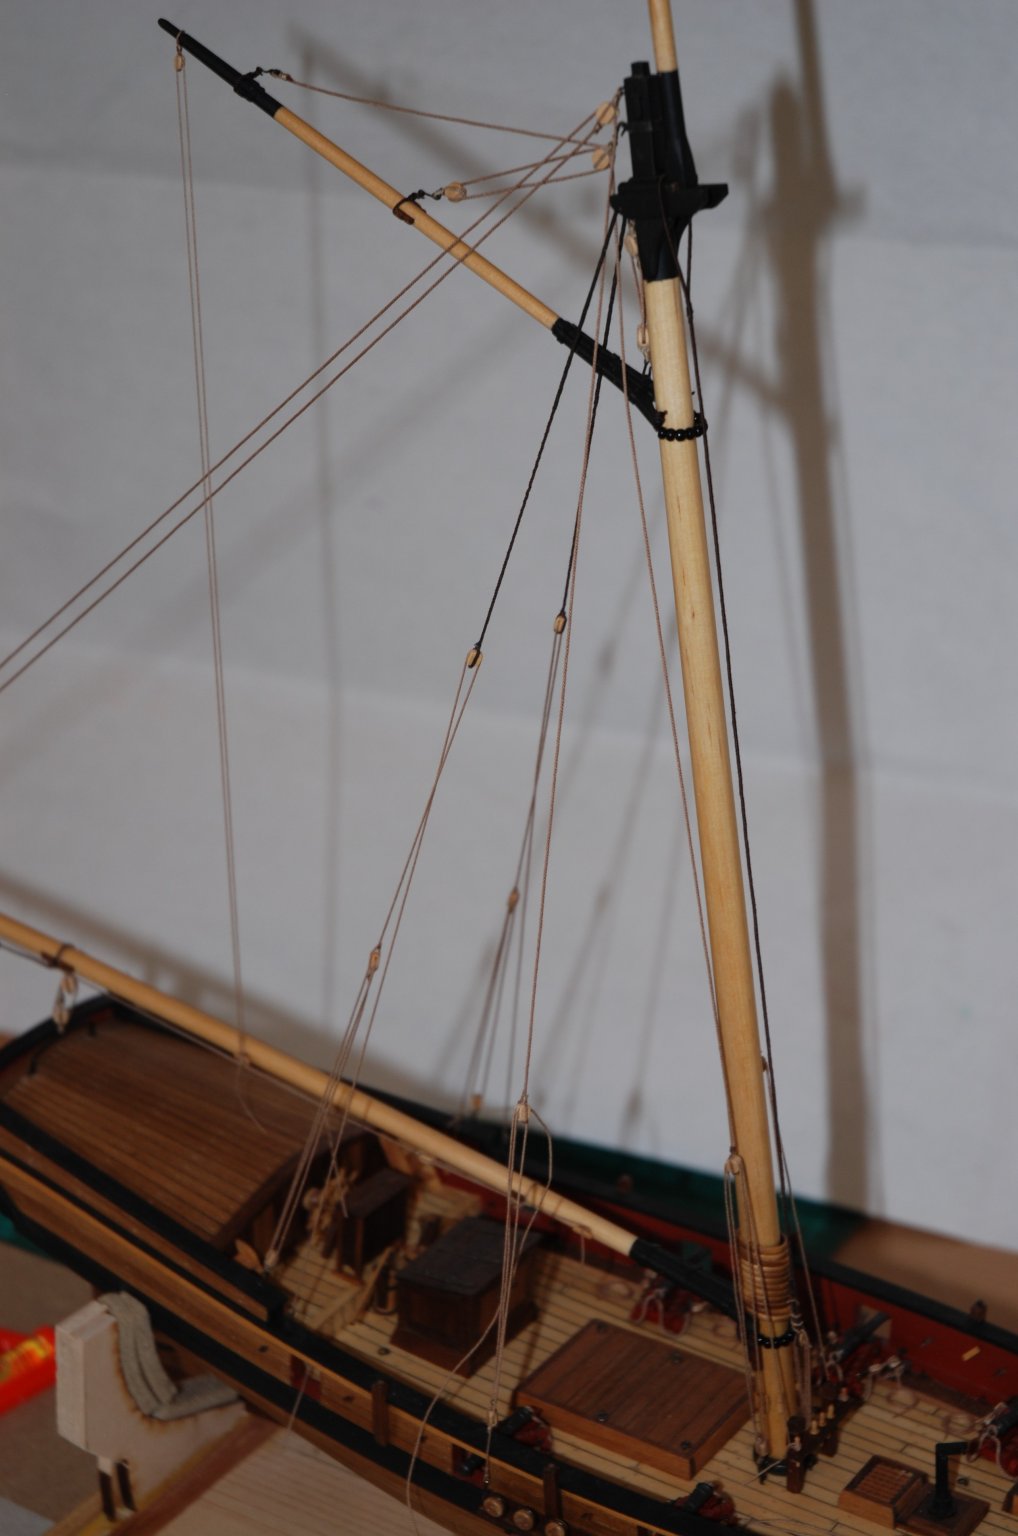
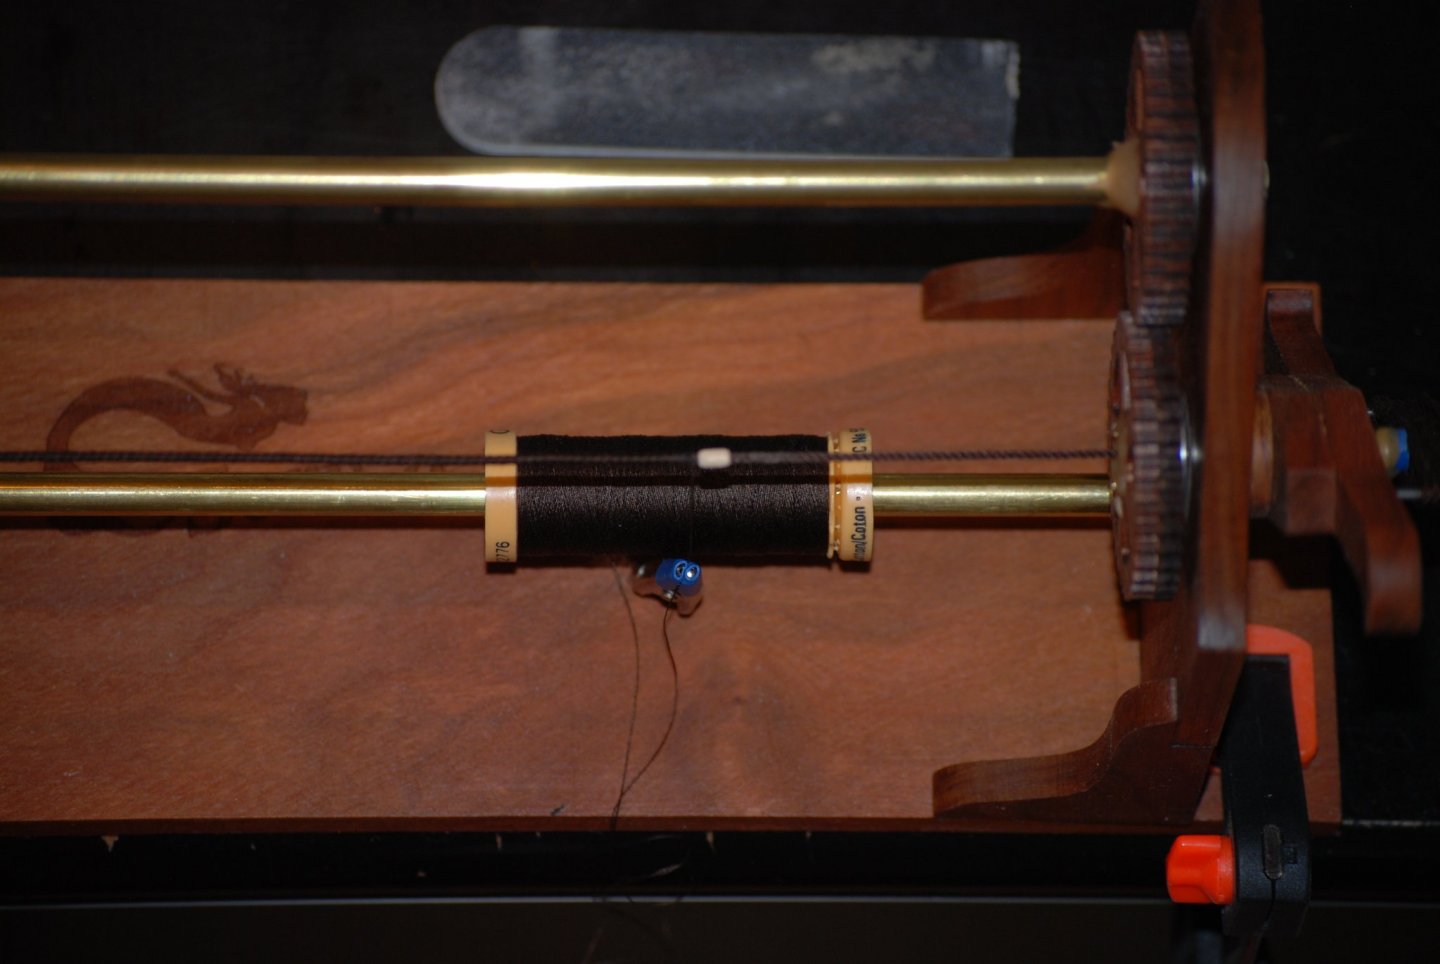
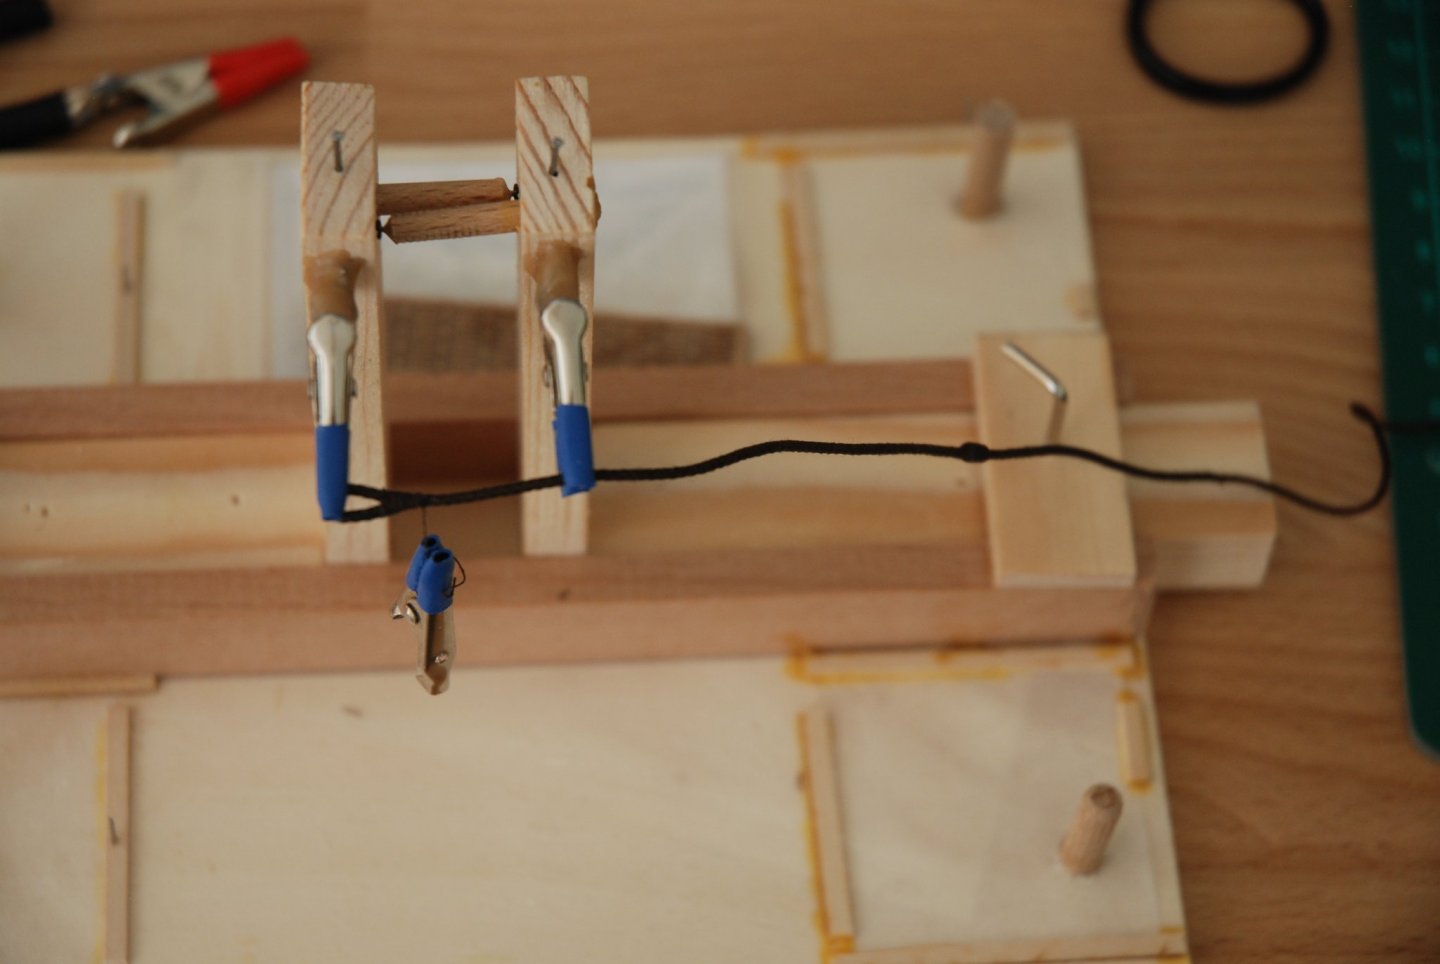
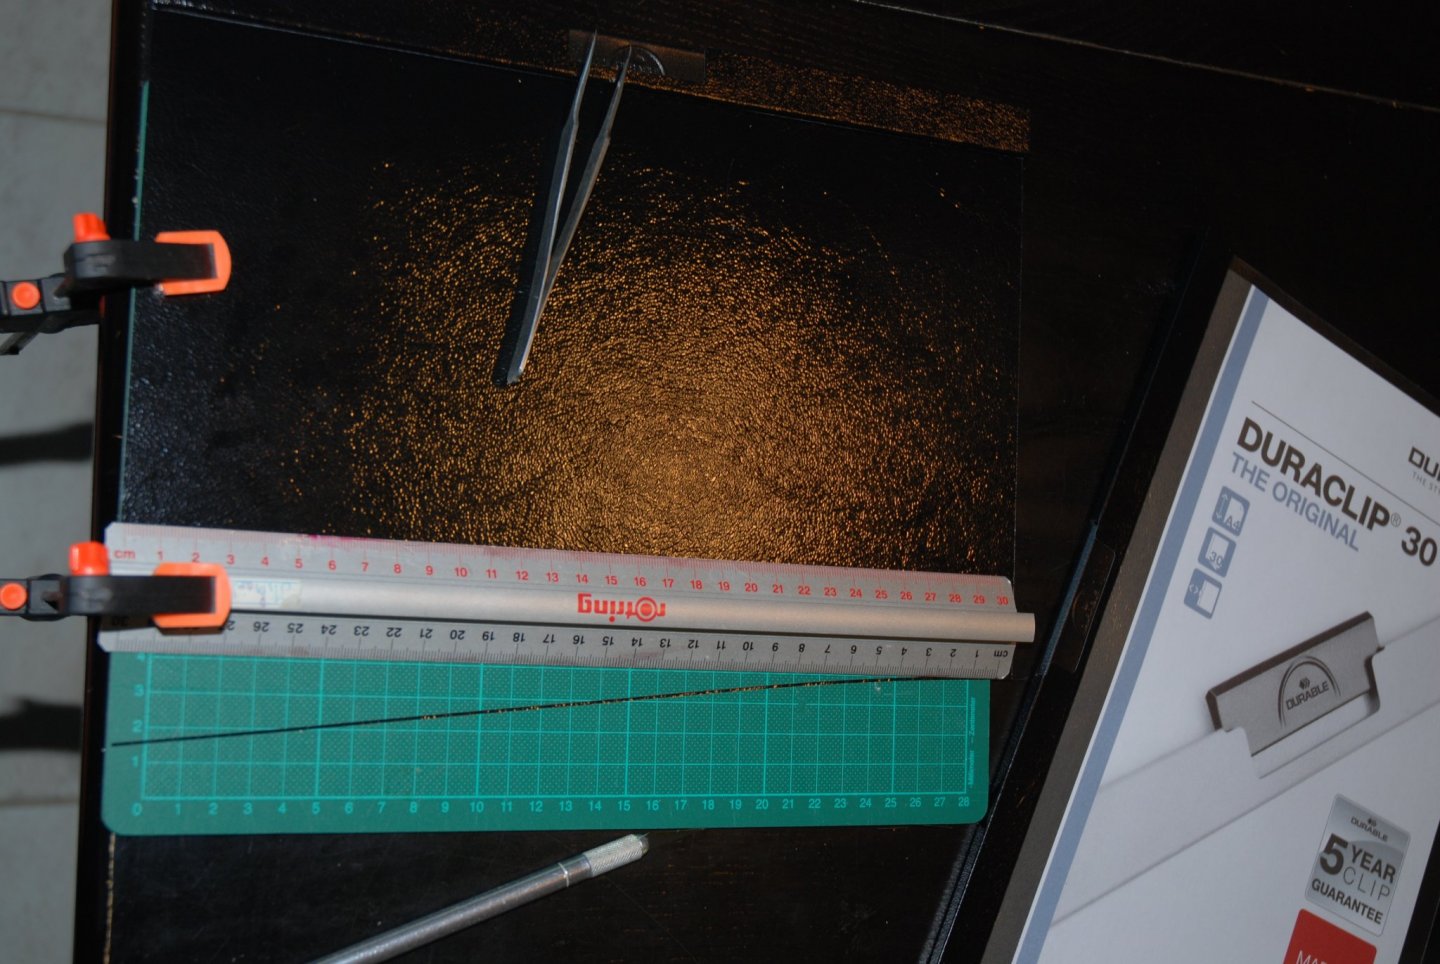
 Thank you Bob for your kind words and thank you to all the 'Likes'. The repetitive work on the ratlines is done... I first printed parallel lines (spacing 7mm) on a white sheet using Excel software. I then glued this sheet onto card stock and cut two shapes based on the plan, one for port side and one for starboard. The two pieces were then glued back to back by inserting a thin wooden stick in order to stiffen the whole. I can thus use the same jig for both sides. Then it's just a matter of patience ... One clove hitch after another ... Then finally the job is done All the lines concerning the mast and the bowsprit are now in place. I can switch to rigging the yards
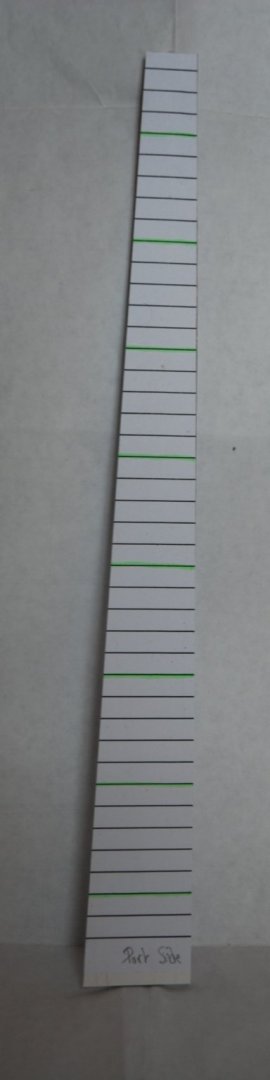


- 164 replies
-
- 8
-

-
- first build
- model shipways
- (and 2 more)
-
Wonderful result ! The time invested on the carvings is well worth it. The barge is absolutely magnificent.
- 221 replies
-
- 4
-
-
- queen anne barge
- Syren Ship Model Company
- (and 1 more)
-
Super work. This frigate is a wonderful ship model. You really did a wonderful job with these carvings.
-
Really well executed paint job. Well done. I like the choice of colors a lot and especially this red.
- 261 replies
-
- 1
-
-
- muirneag
- vanguard models
- (and 2 more)
-
Superb ! The choice of the different wood species is excellent. Nicely done !
-
Thank you for all the 'Likes' Thank you Chuck. I'm trying to gain experience so I can finally start my Cheerful. And luckily it is getting closer .... I quietly continue my rigging work it's starting to take the form of a ship...


- 164 replies
-
- 9
-
-
- first build
- model shipways
- (and 2 more)
-
Superb work, Bob. You are always an inspiration for me !
-
Superb work and the video is very informative. It's always interesting to see the 'tours de main' (tricks) used. Thank you Ohla for sharing your know-how !
-
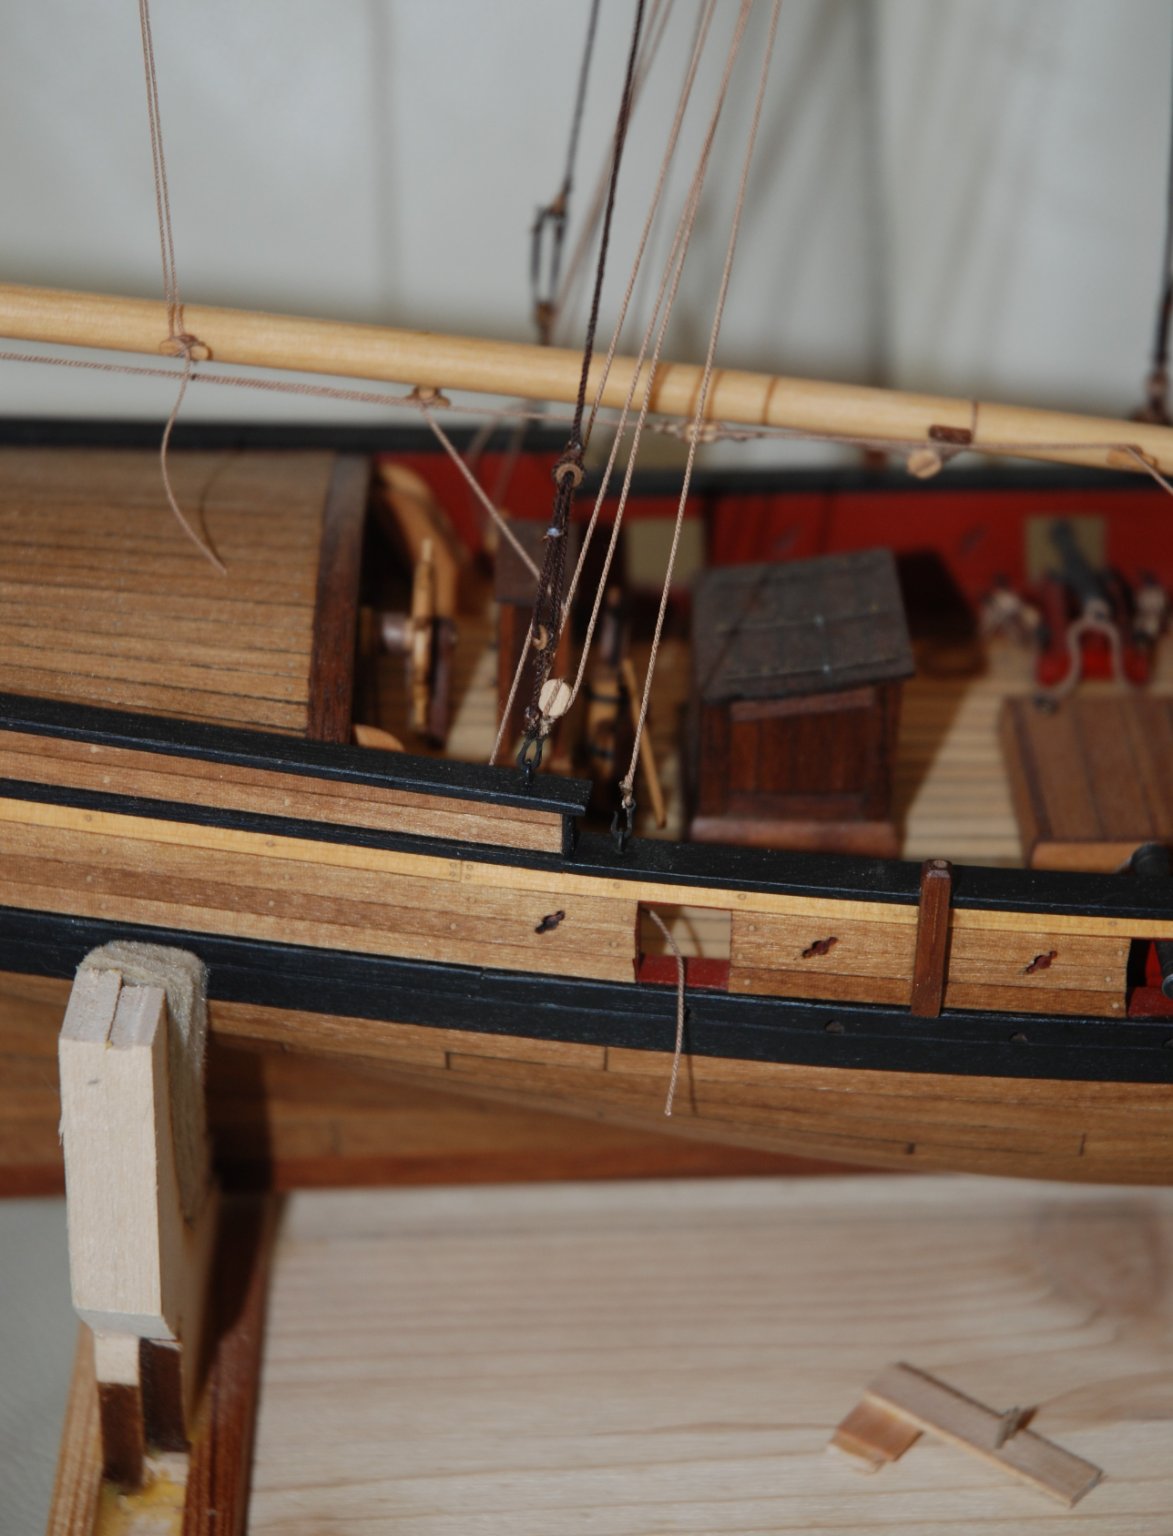
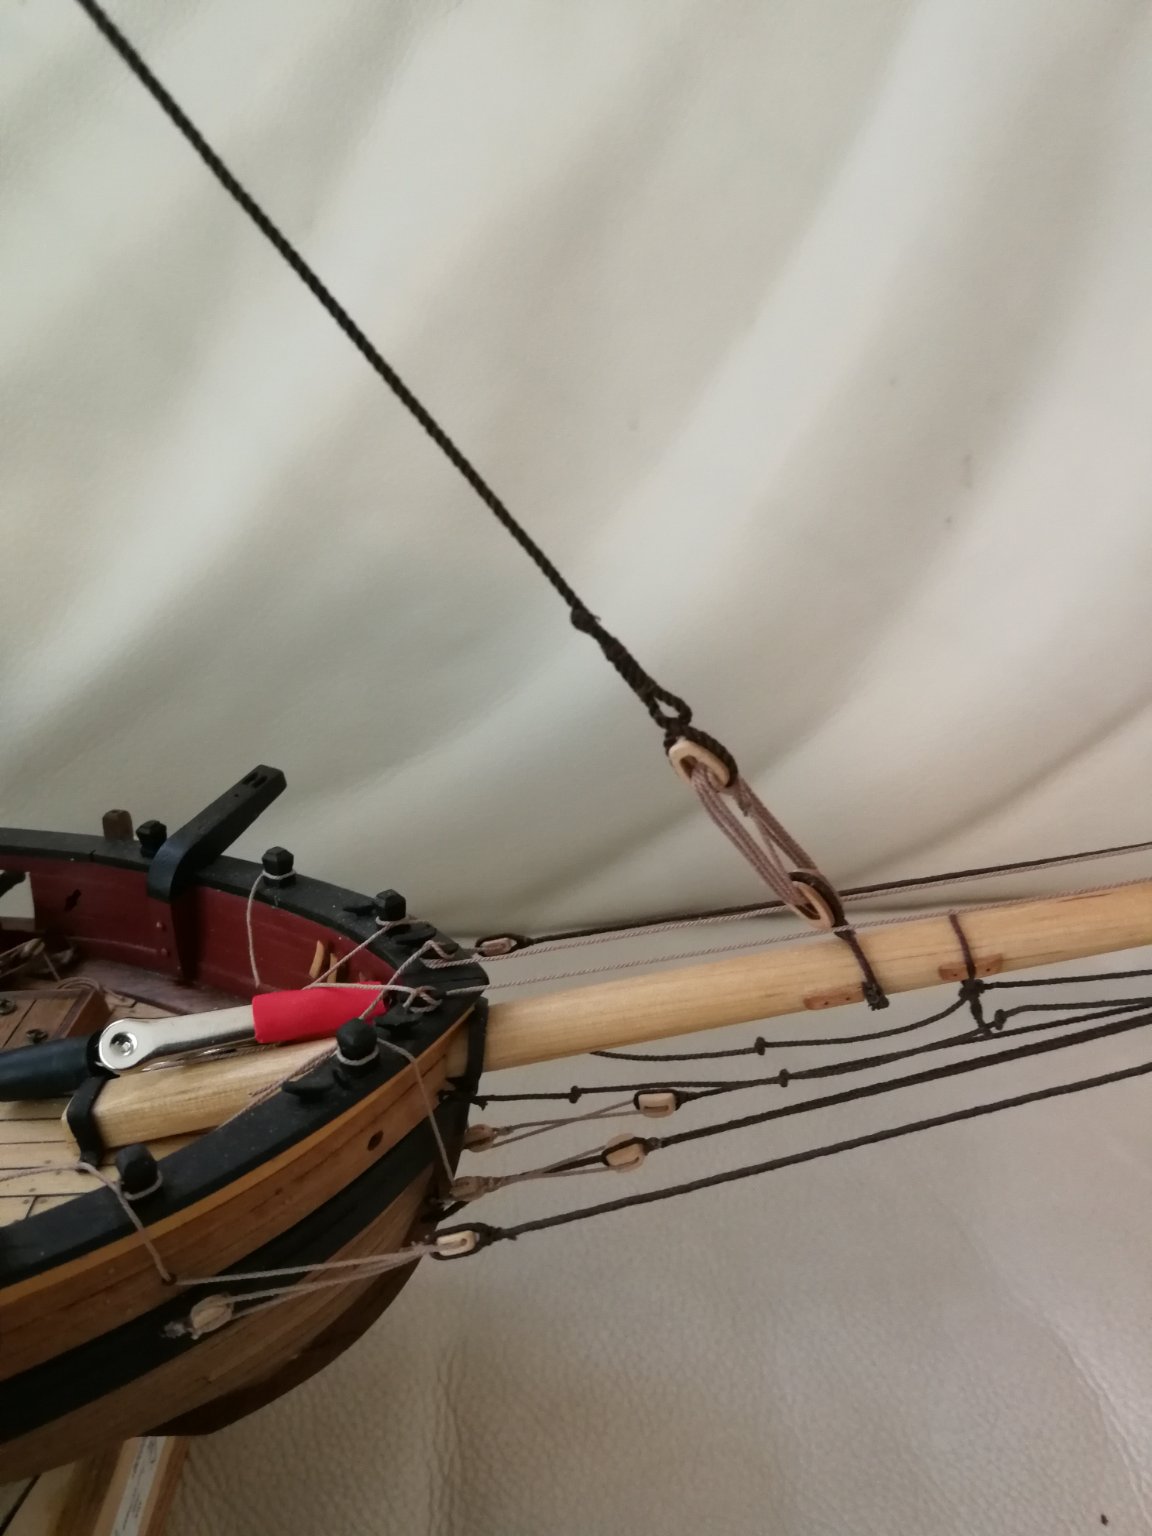
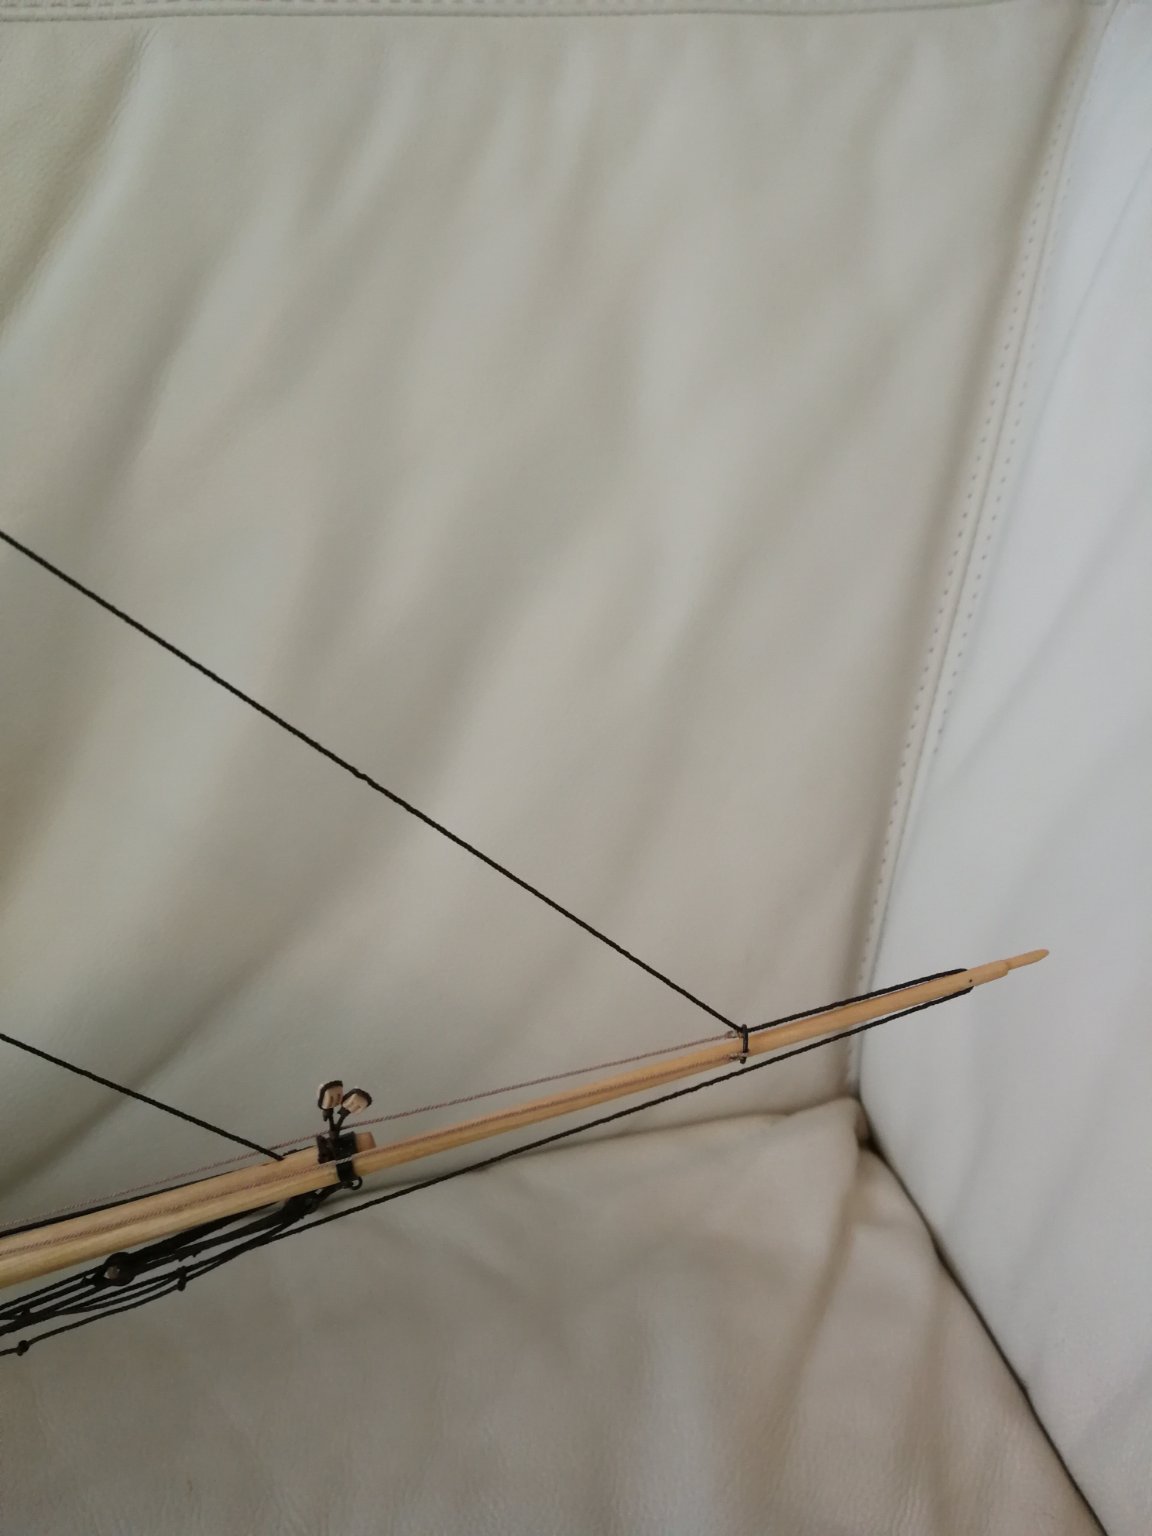
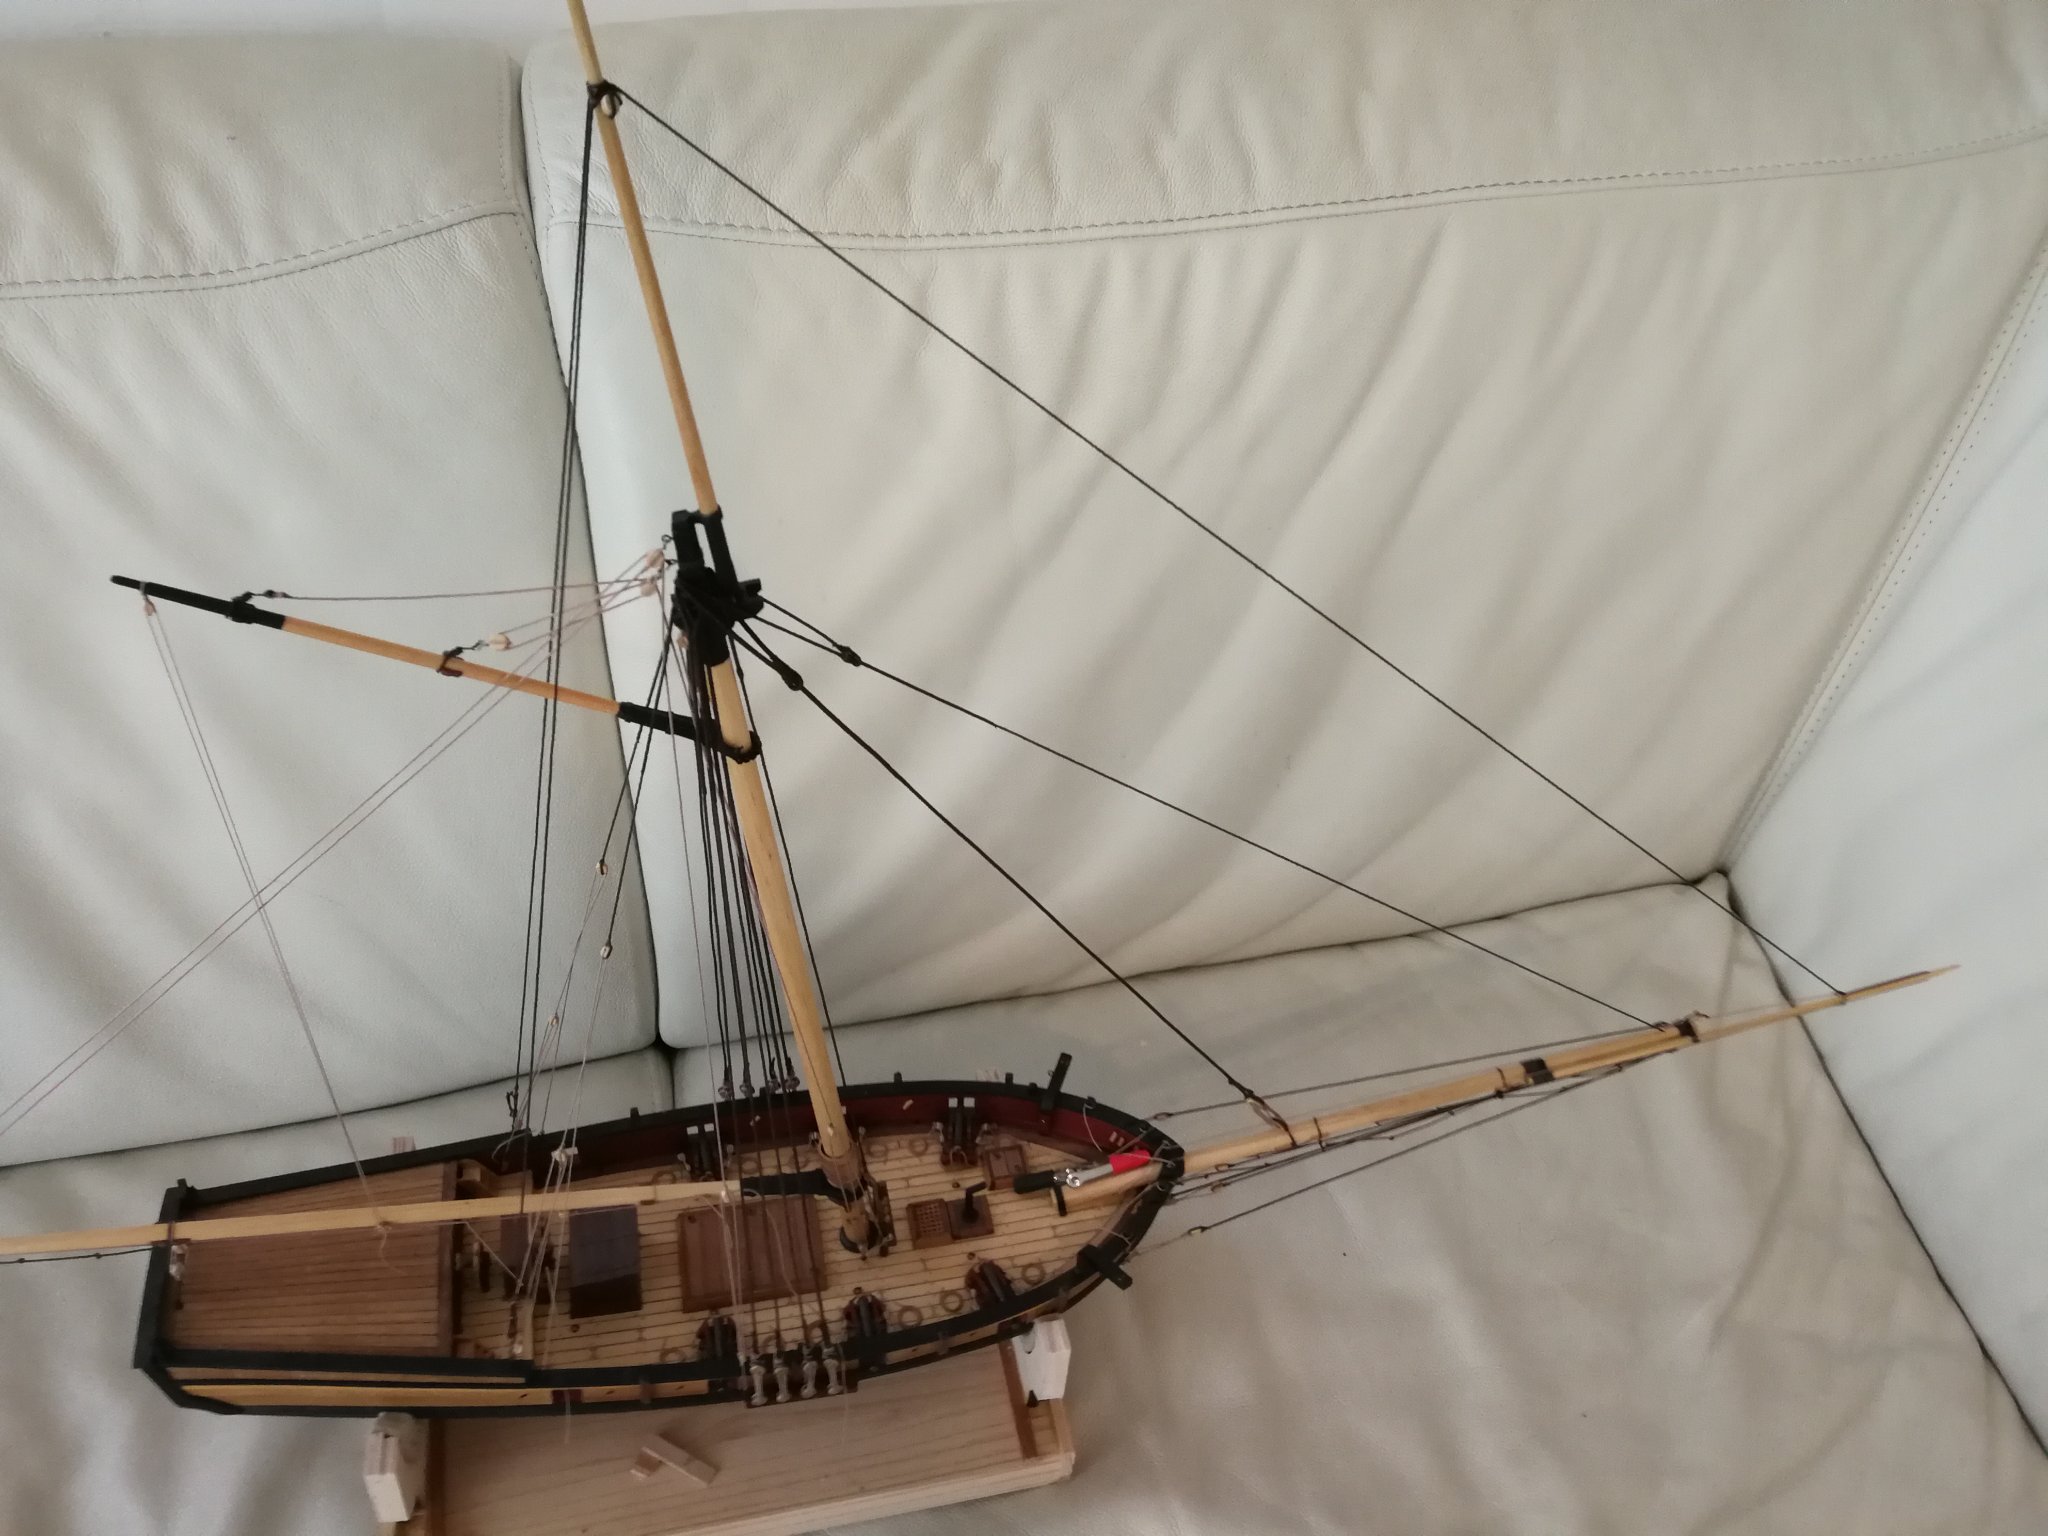
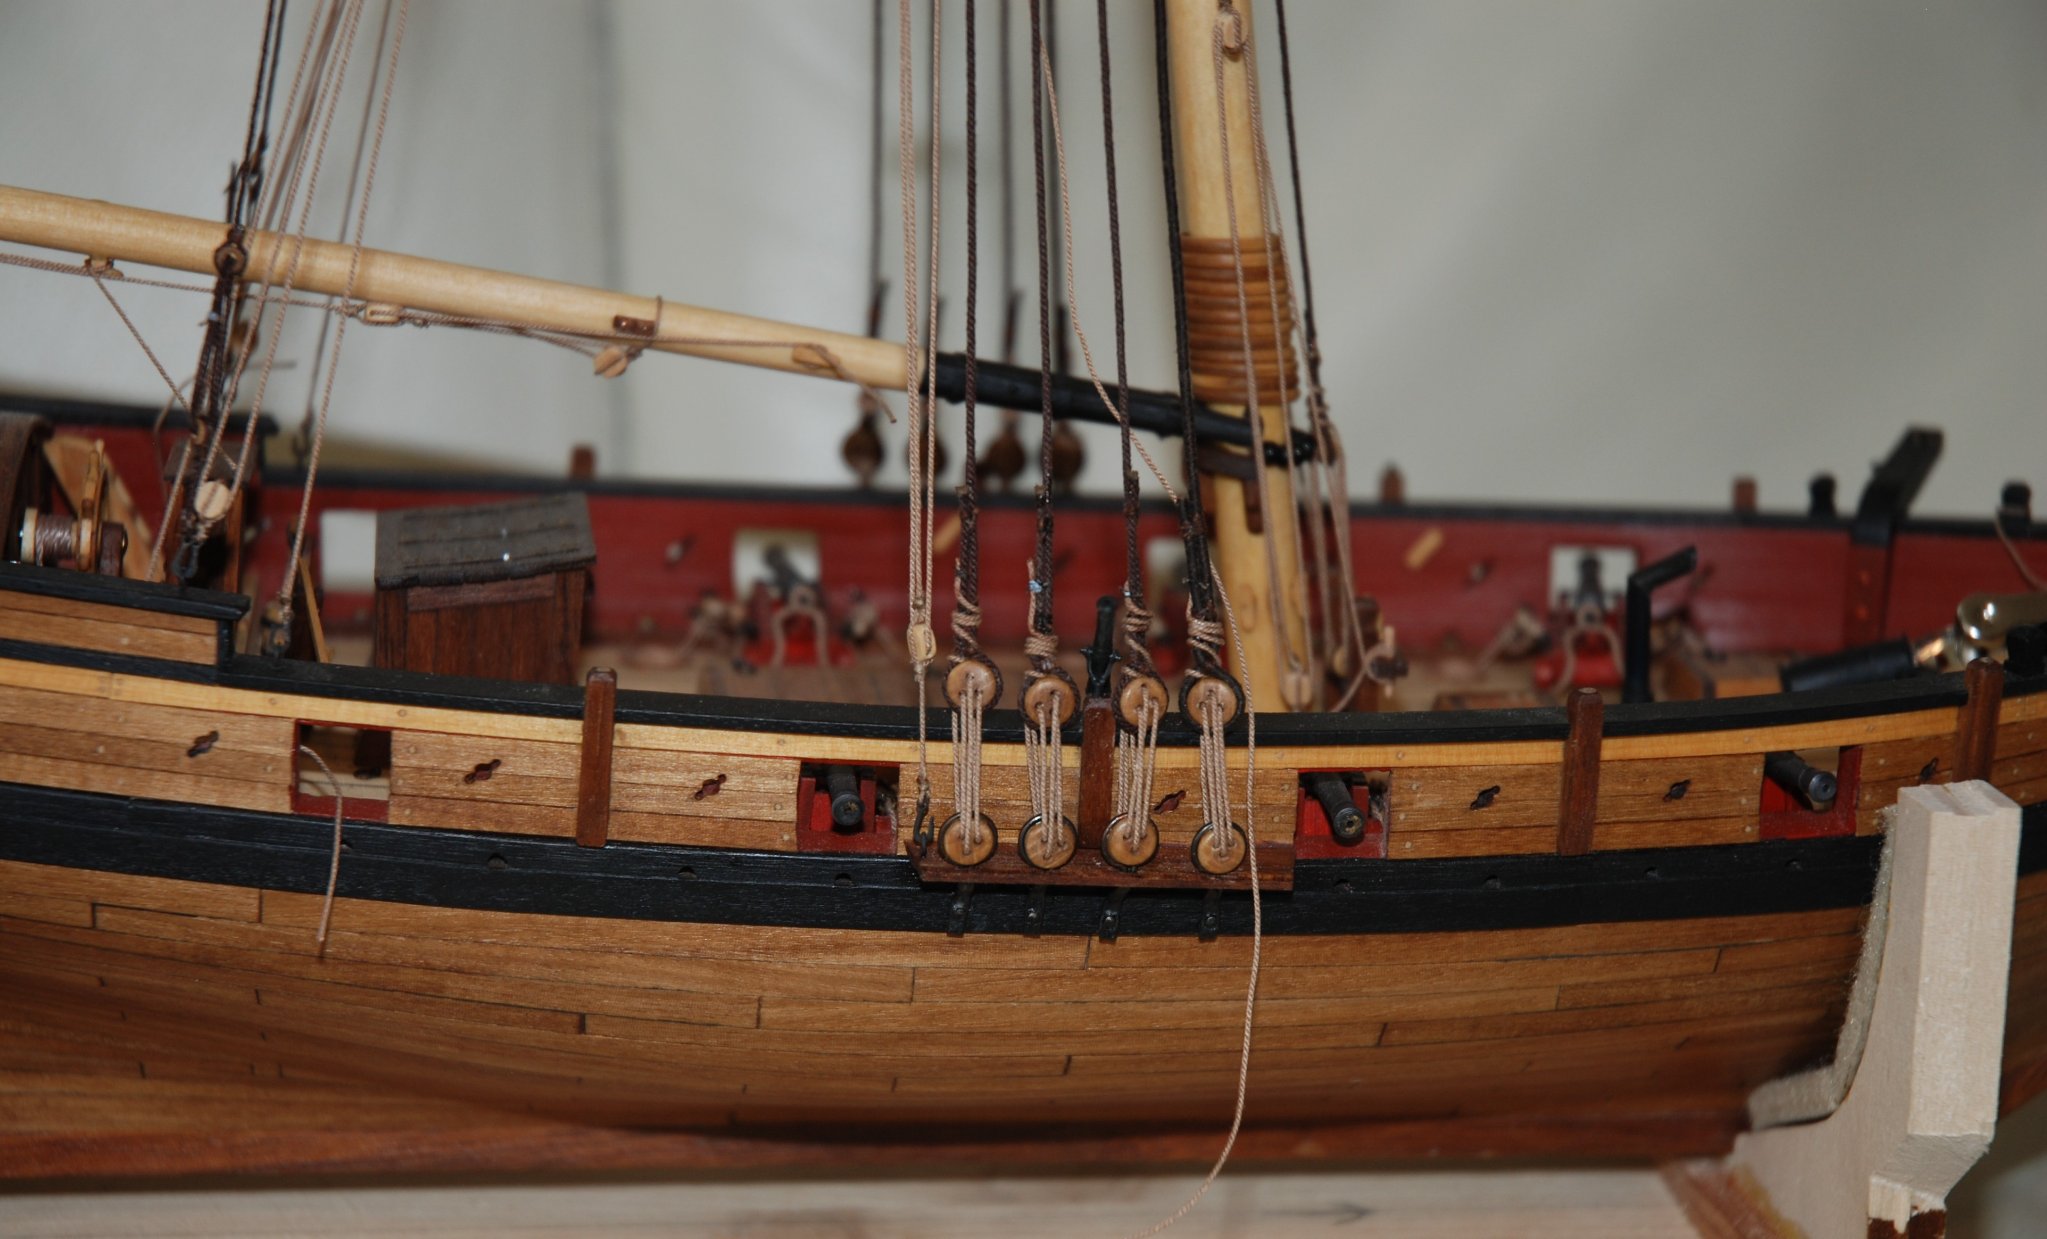
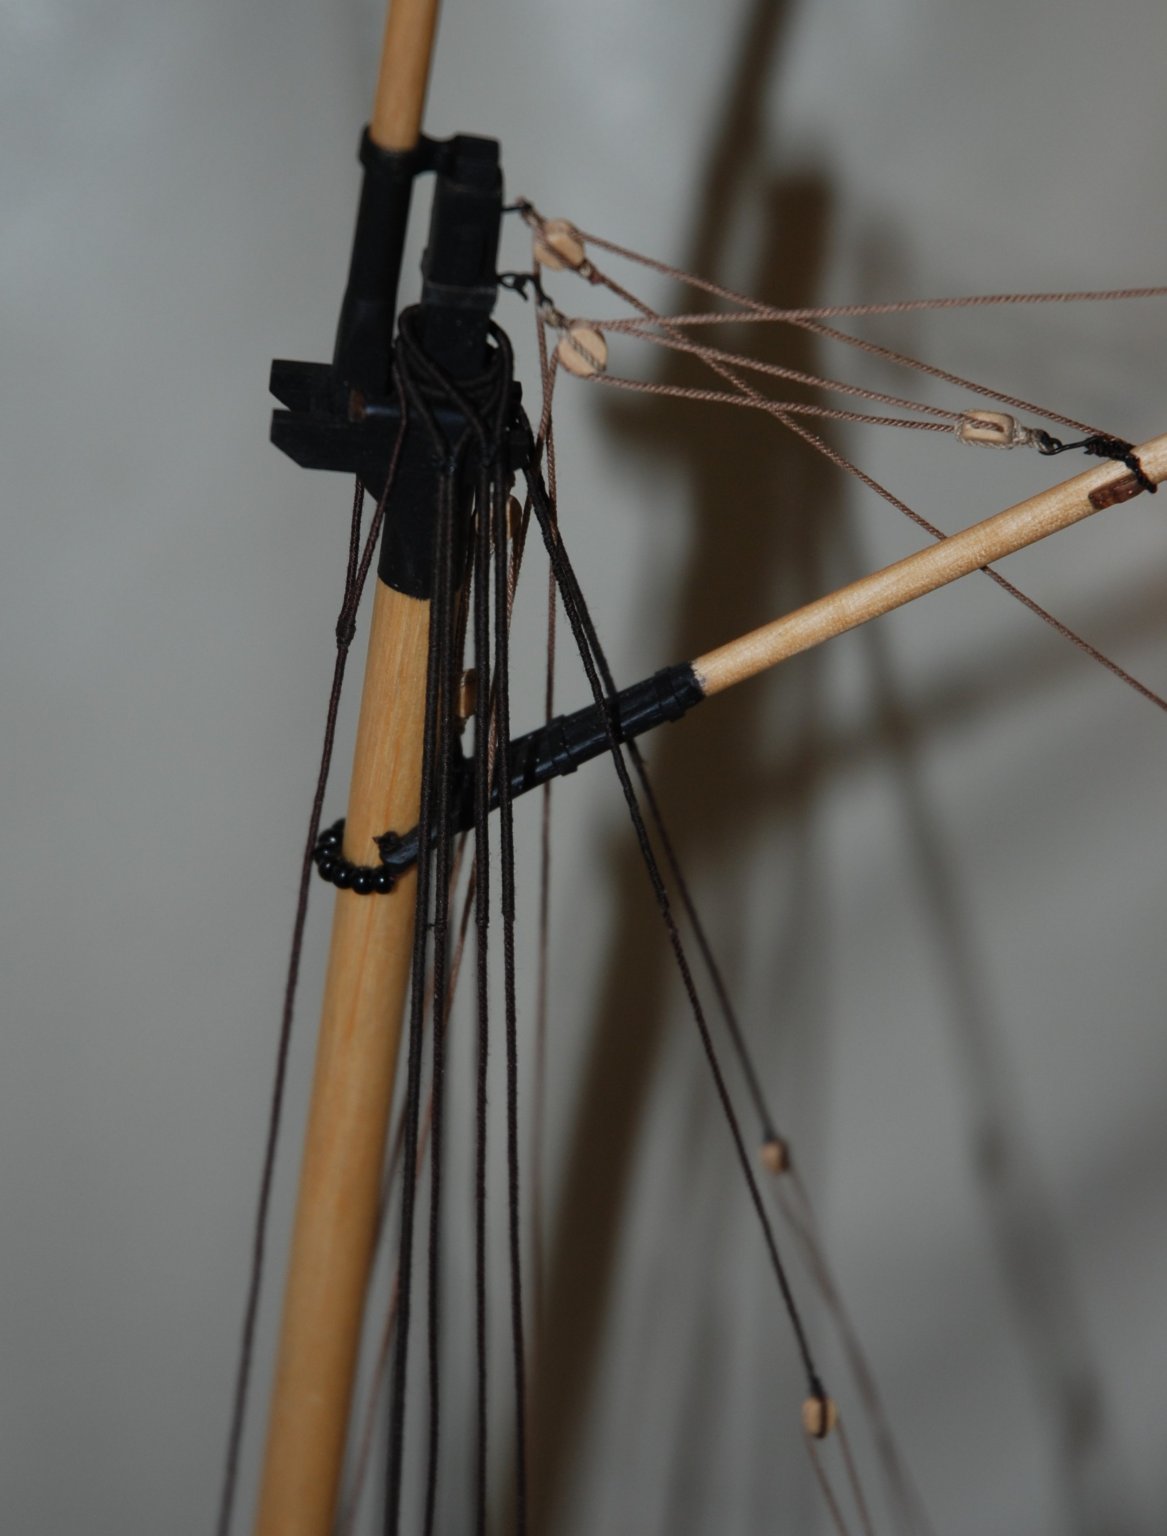
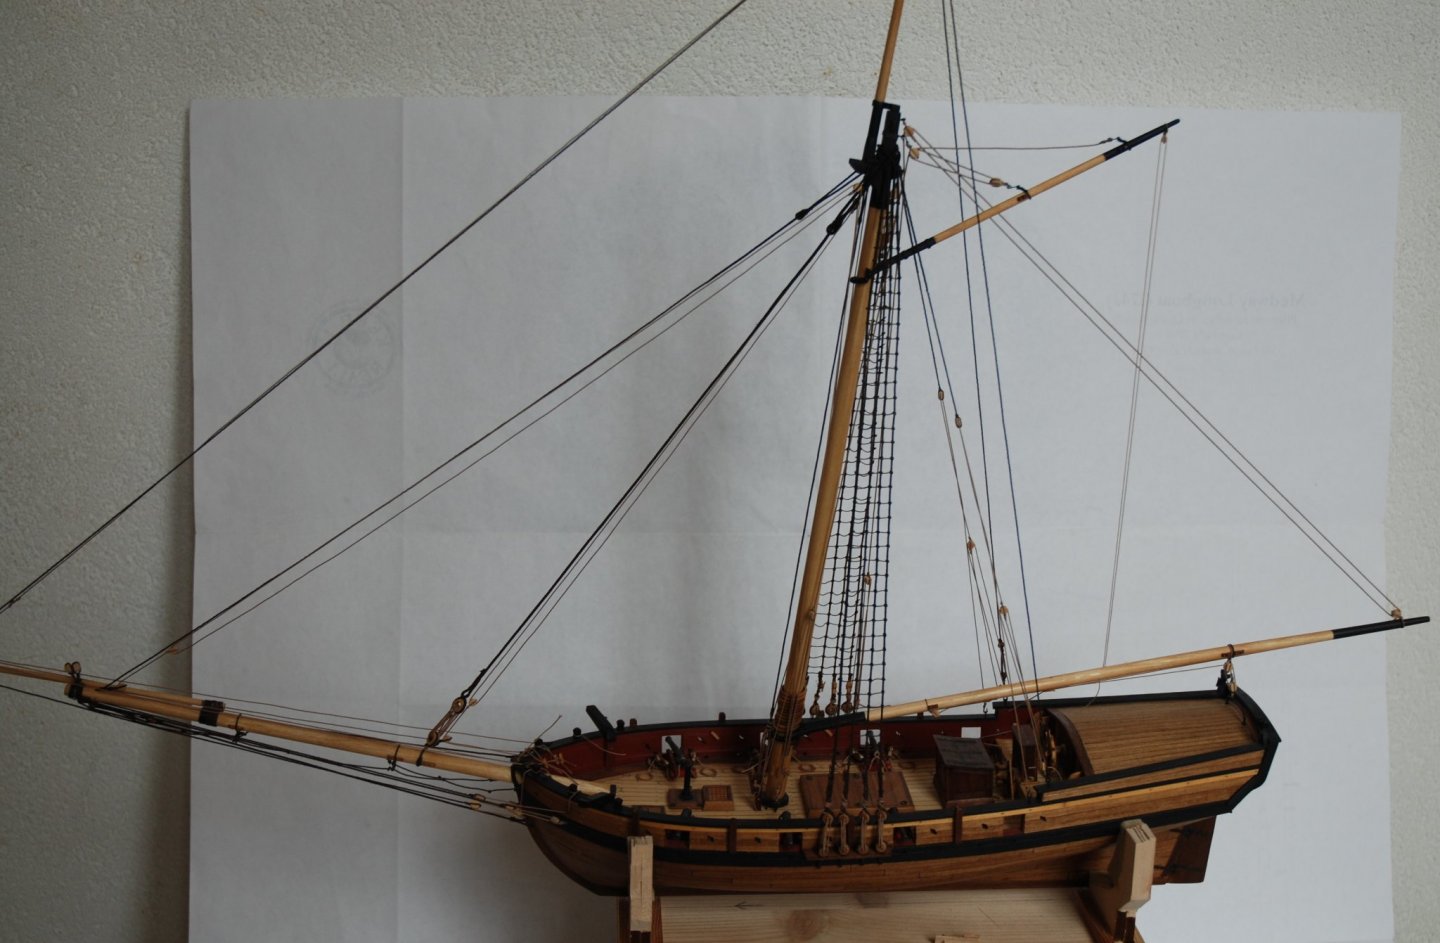
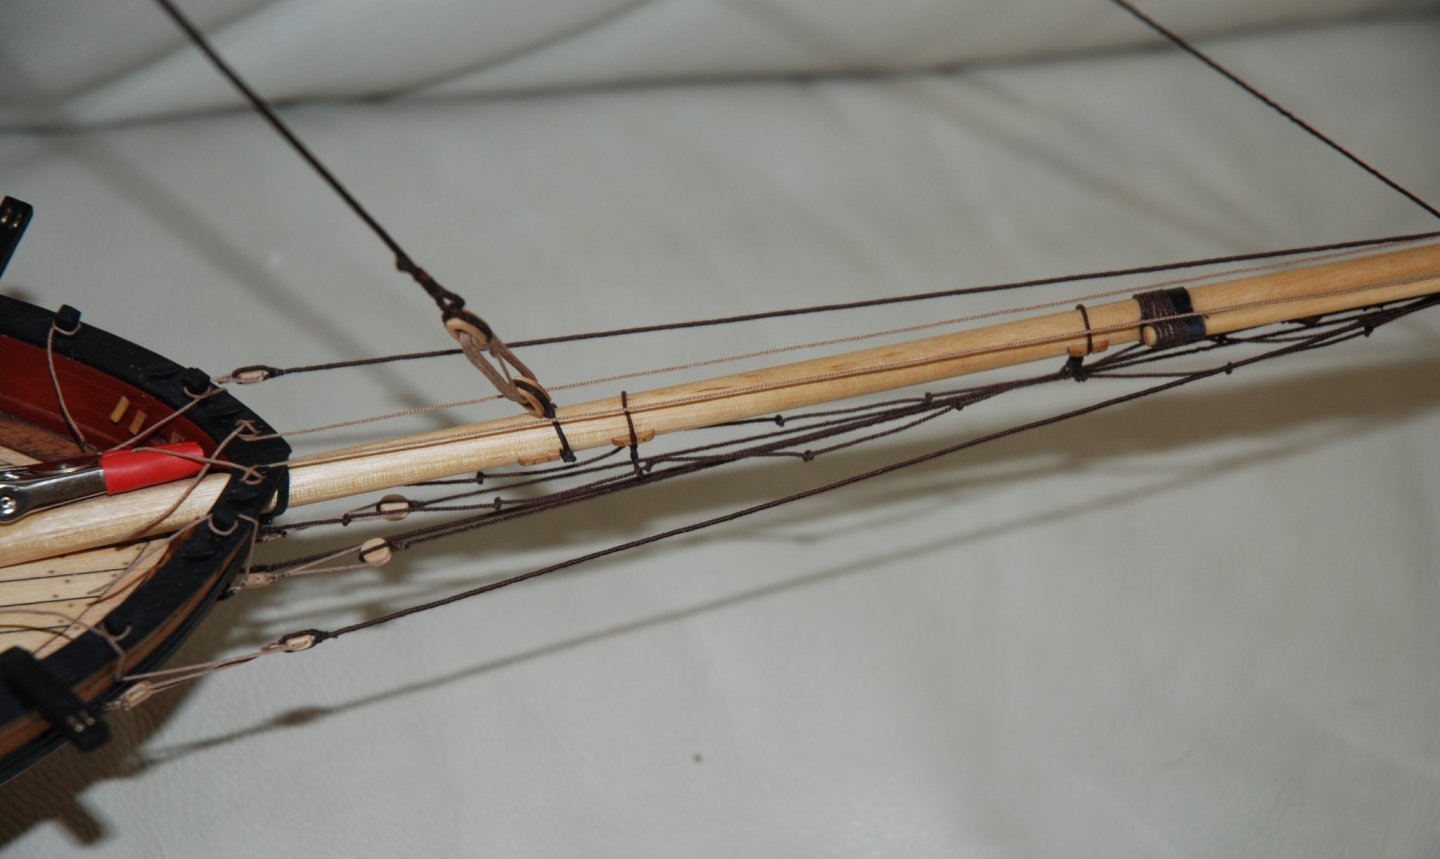
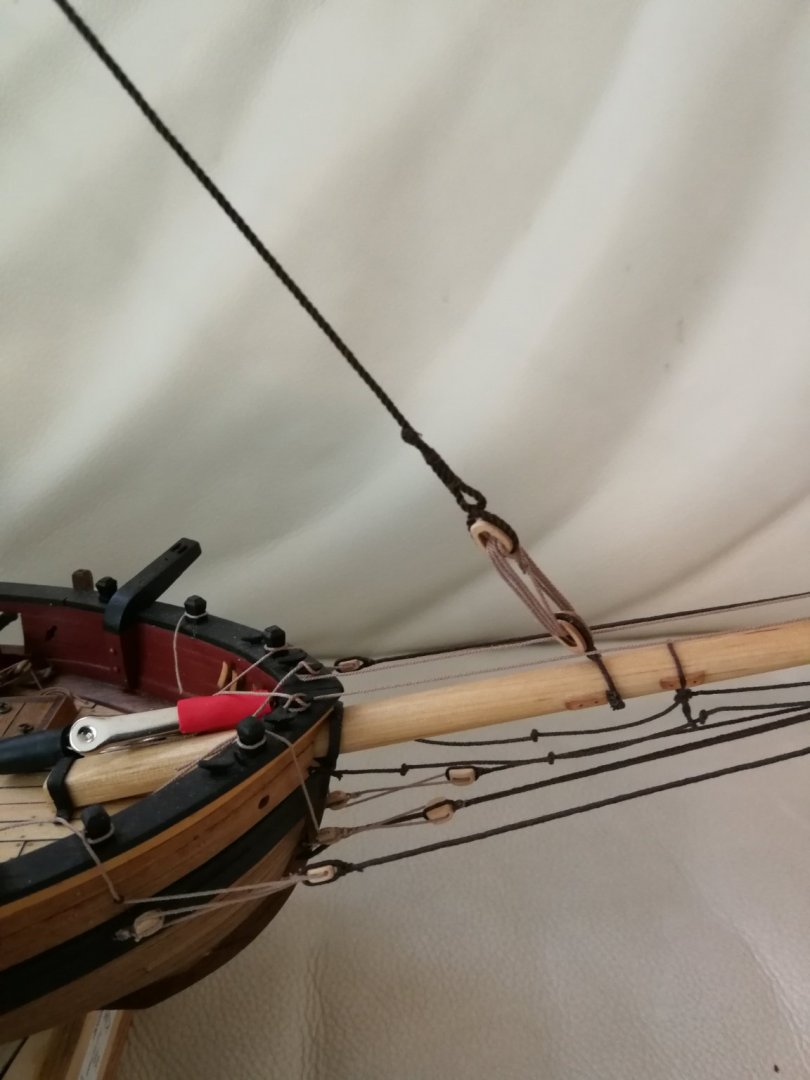
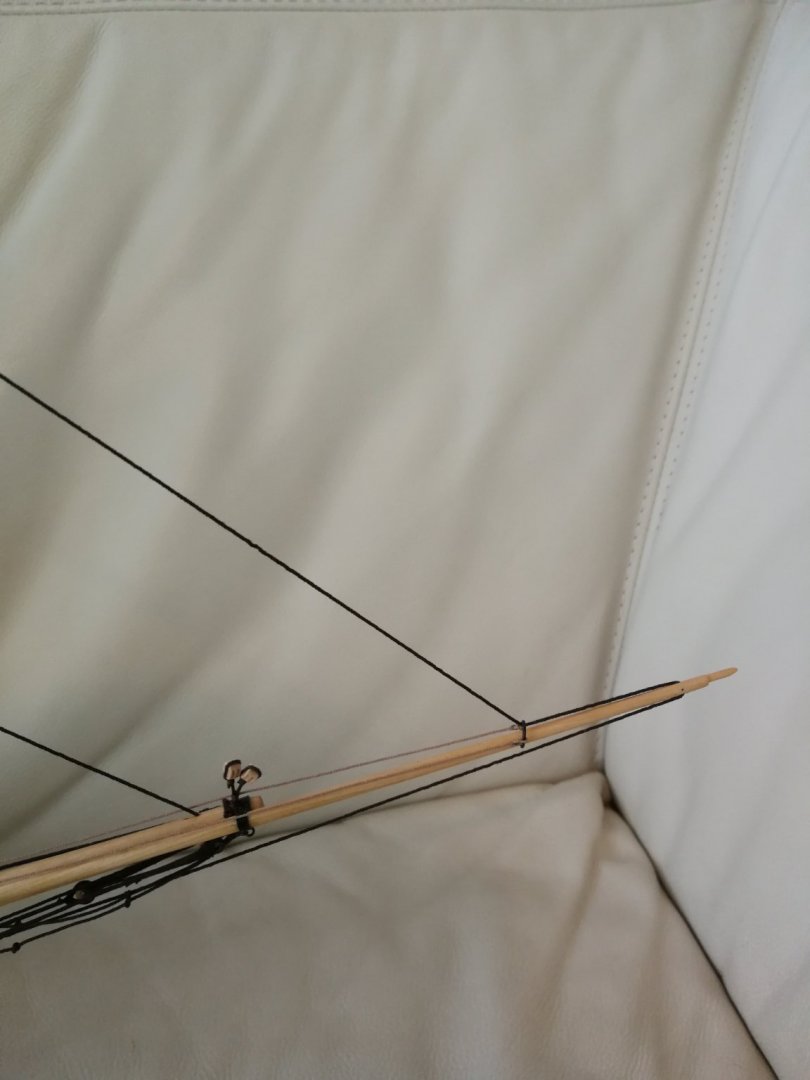
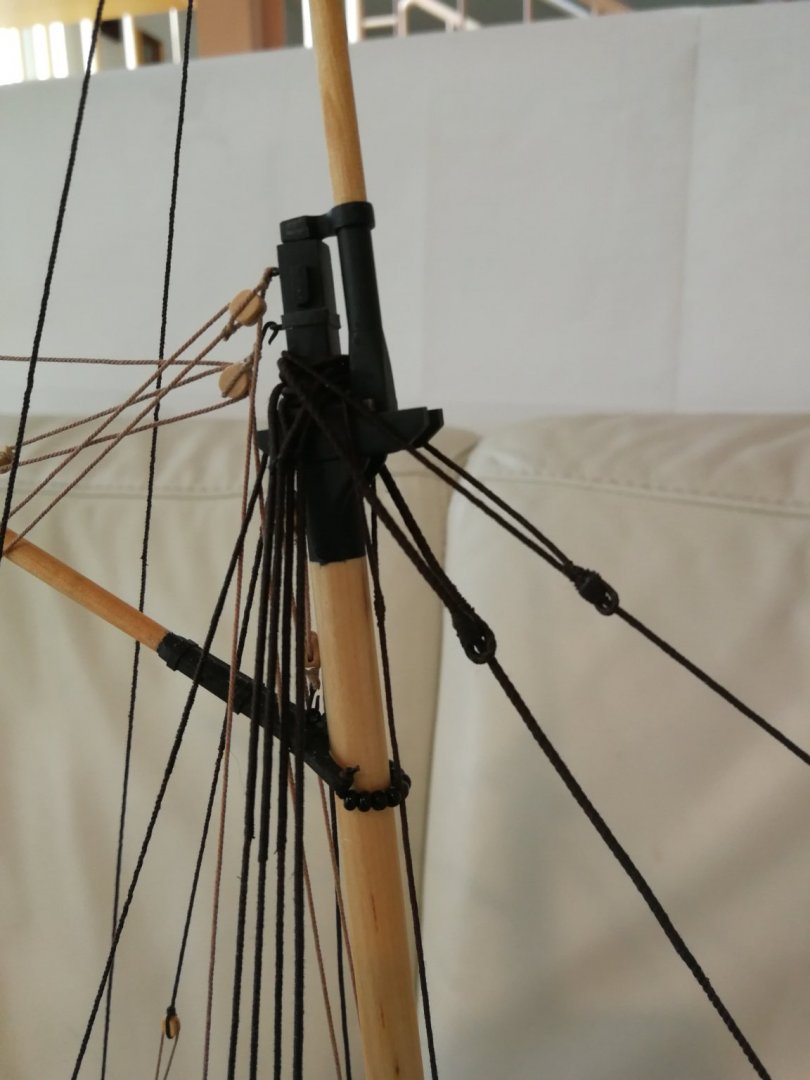
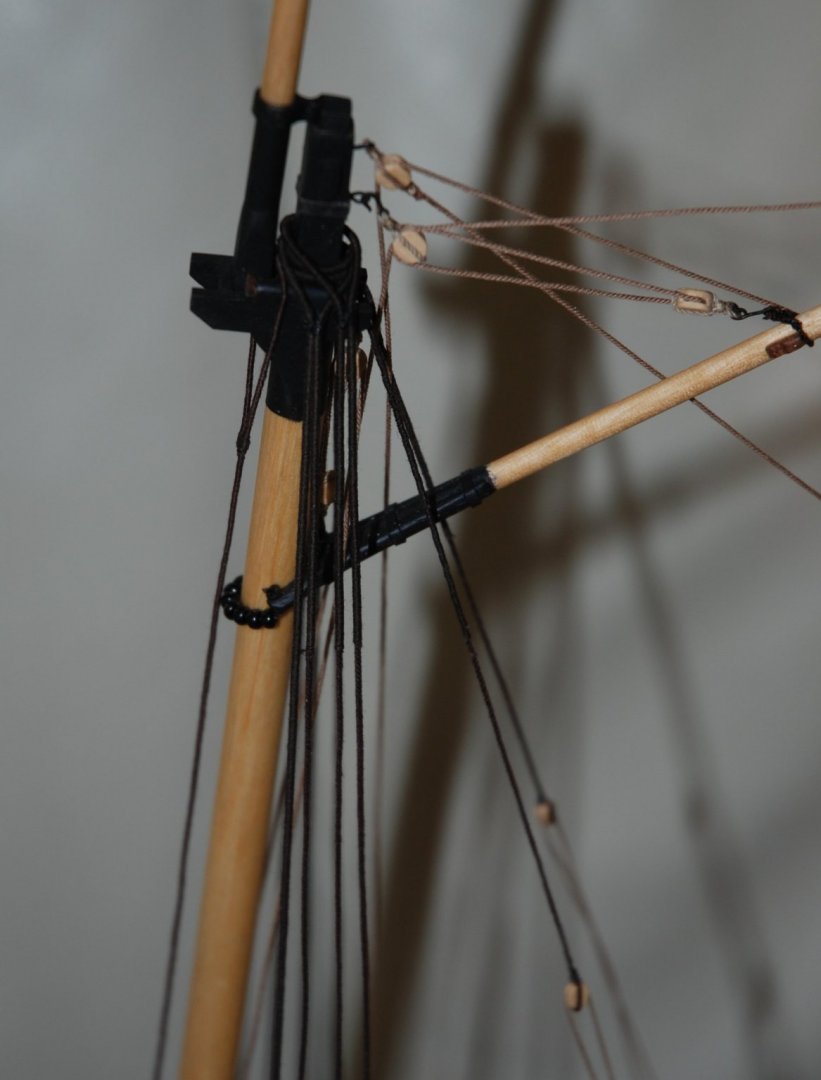
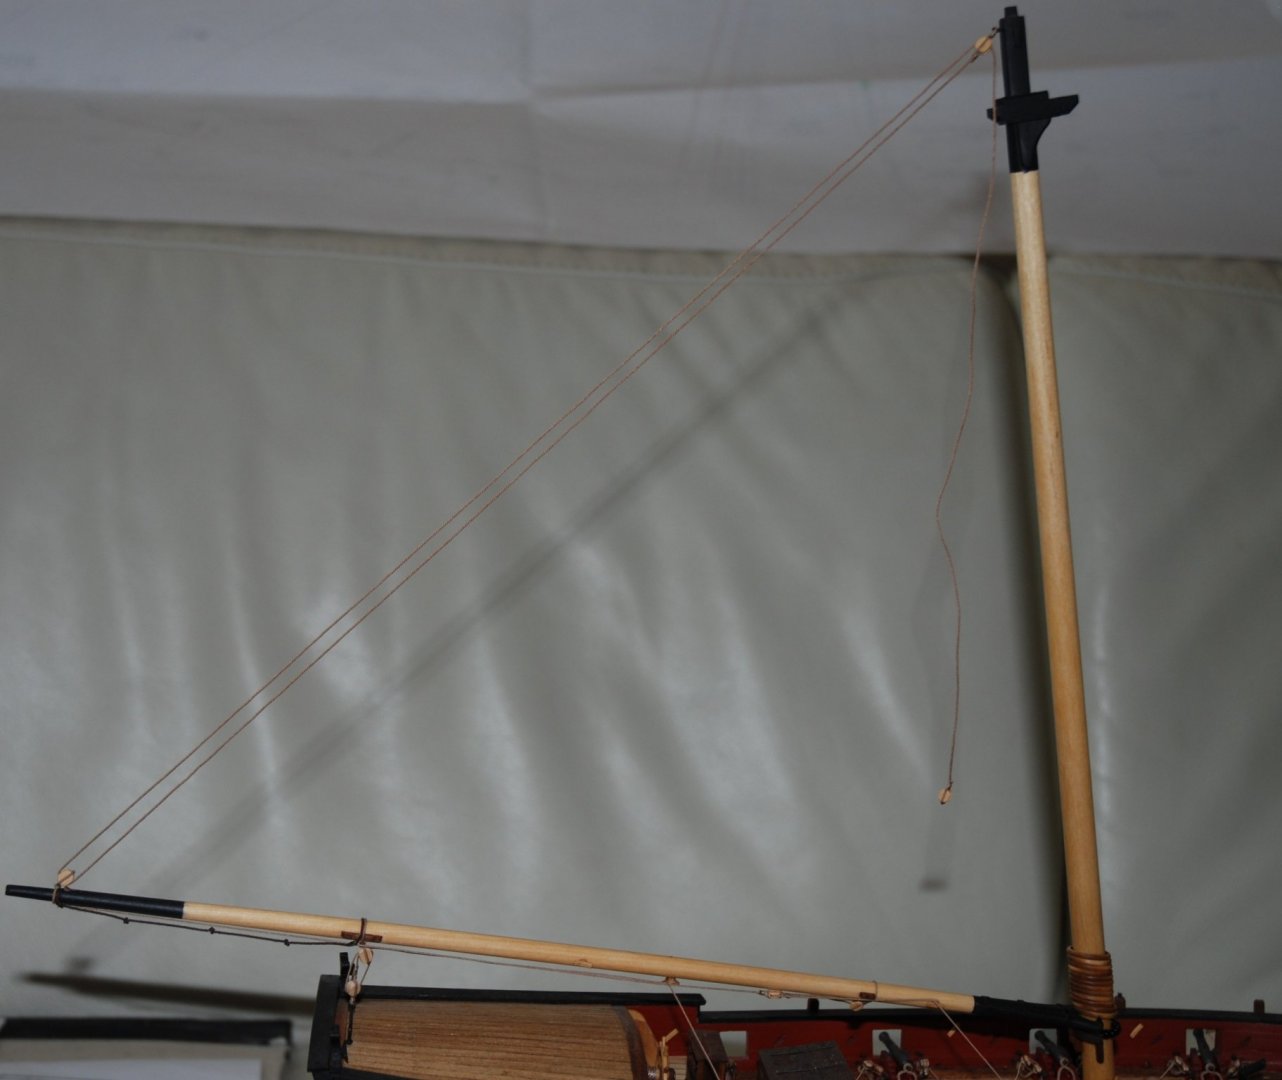
Thank You Justin, Brian, Captain_Hook and all the 'Likes' I know that one of my swivel-gun supports is slightly off-center from the two shrouds. But that does not prevent laying the swivel-gun. It's just that he can turn less to one side. It is probably the case of half a millimeter ... I still hesitate to move it ... I finished laying the forestay and the jibstay. For the mouse, I used the method described in Brian's excellent build-log Syren's Serv-o-matic is really practical and efficient. And so easy to use. Another purchase that I do not regret. I really like this part of the construction.

- 164 replies
-
- 14
-
-
- first build
- model shipways
- (and 2 more)
-
This search for perfection and innovation always impresses me. It is superb ! Thank You
- 1,784 replies
-
- 3
-
-
- winchelsea
- Syren Ship Model Company
- (and 1 more)
-
Very nice work. Precise and clean. It will be a very beautiful little ship model !
- 40 replies
-
- 2
-
-
- sherbourne
- caldercraft
- (and 1 more)
-
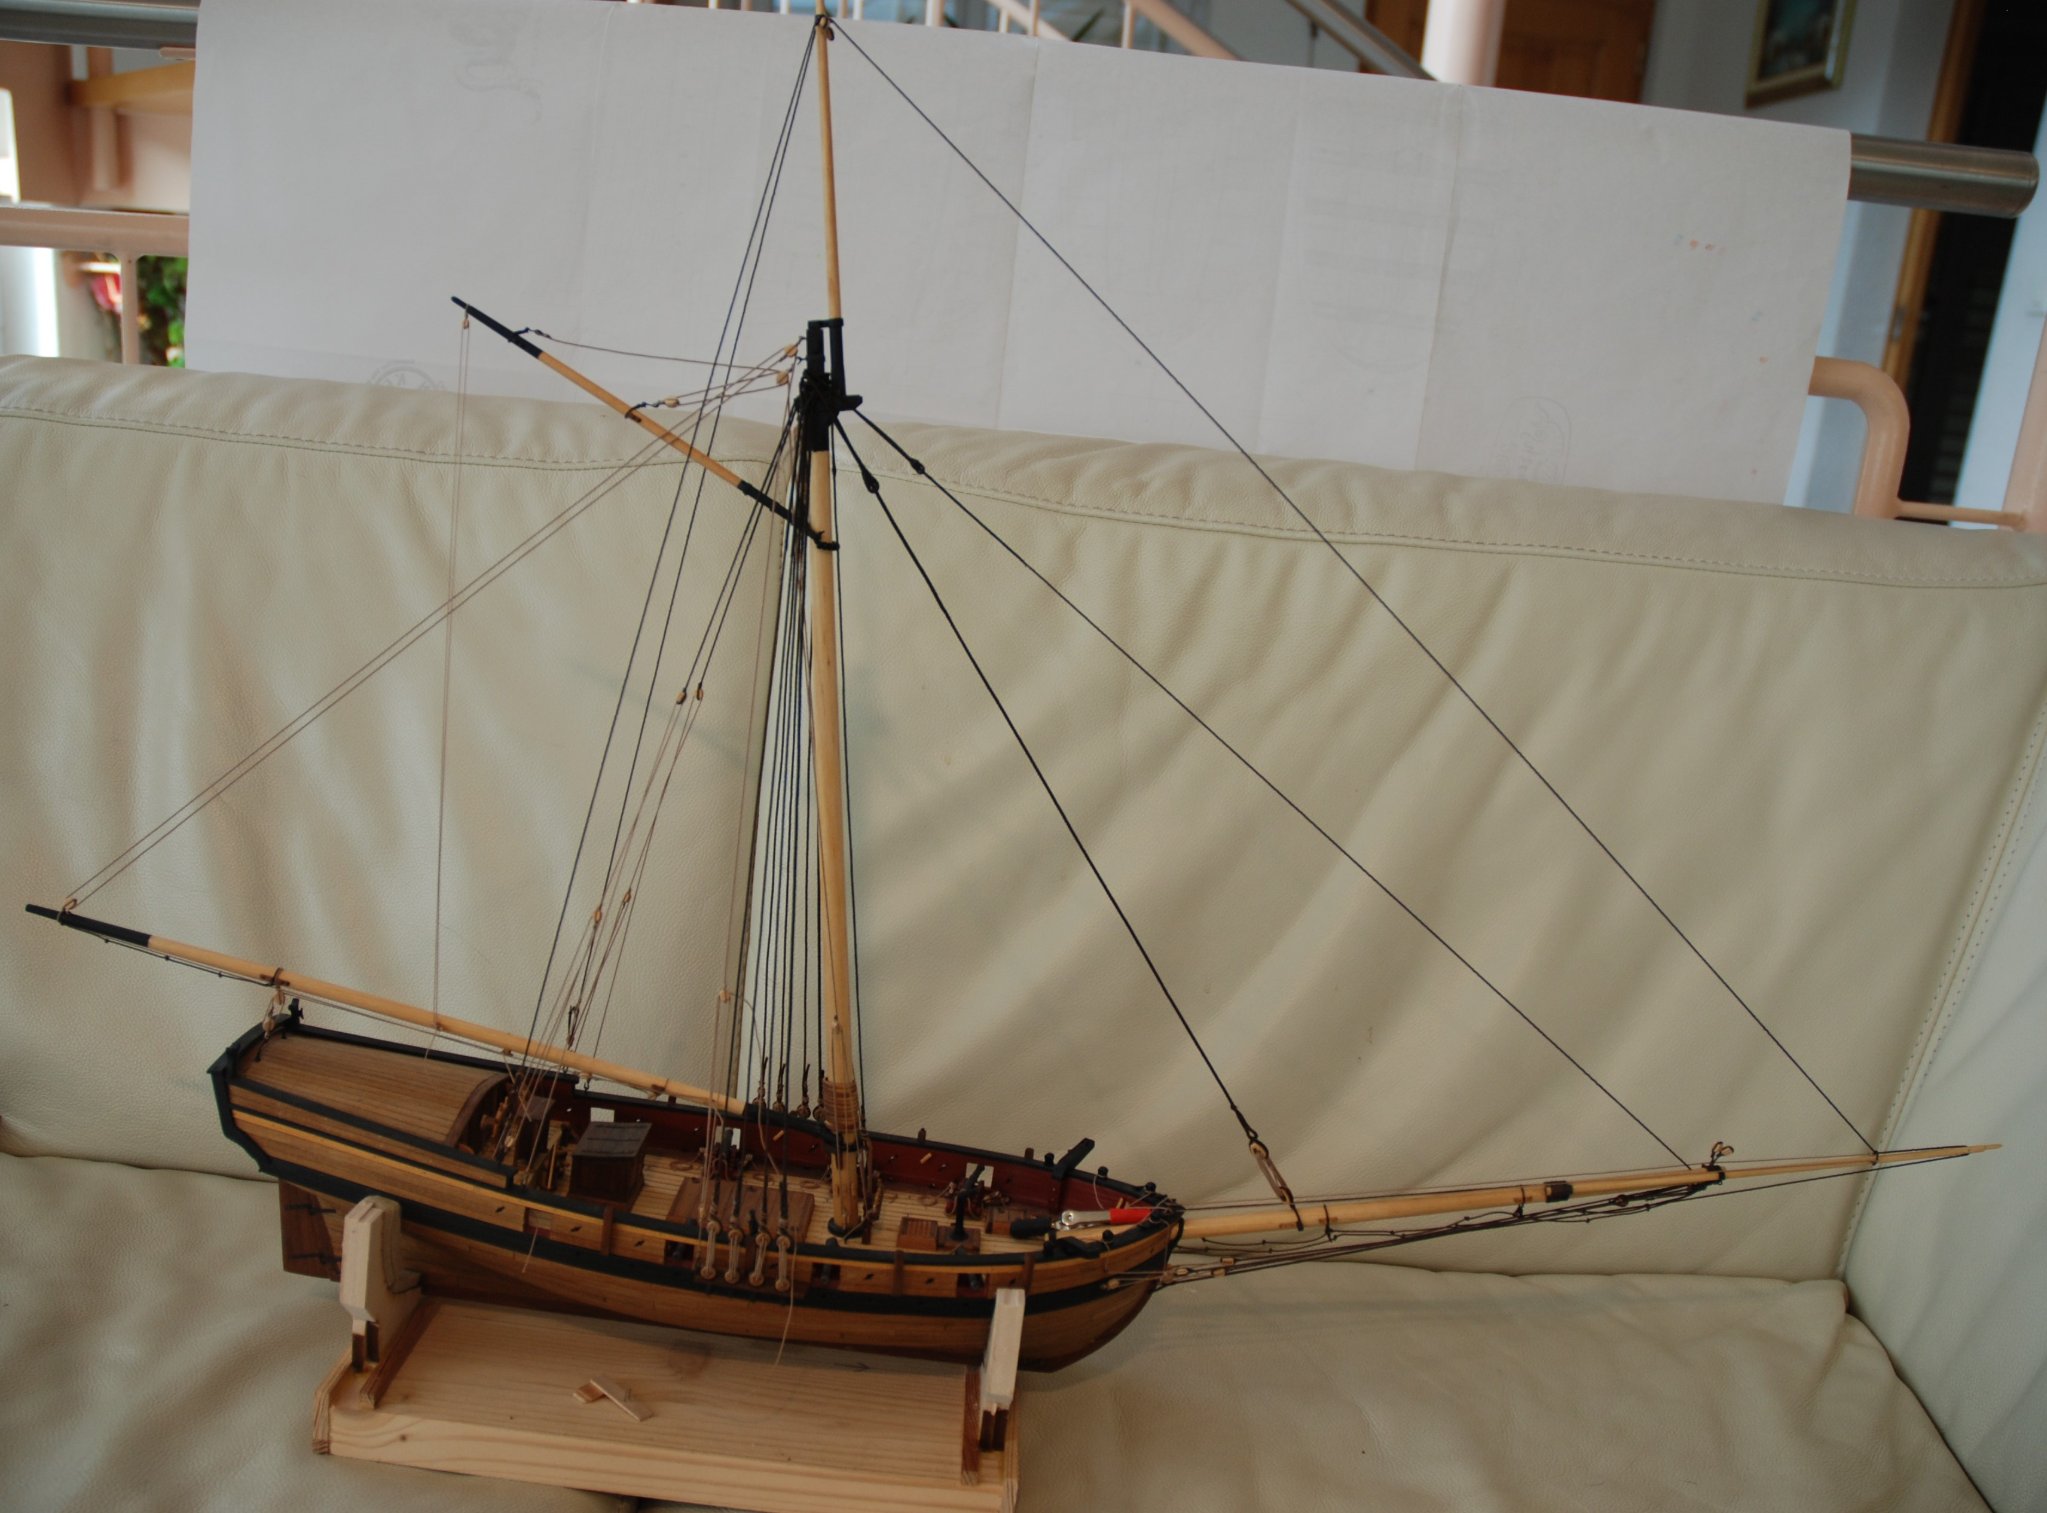
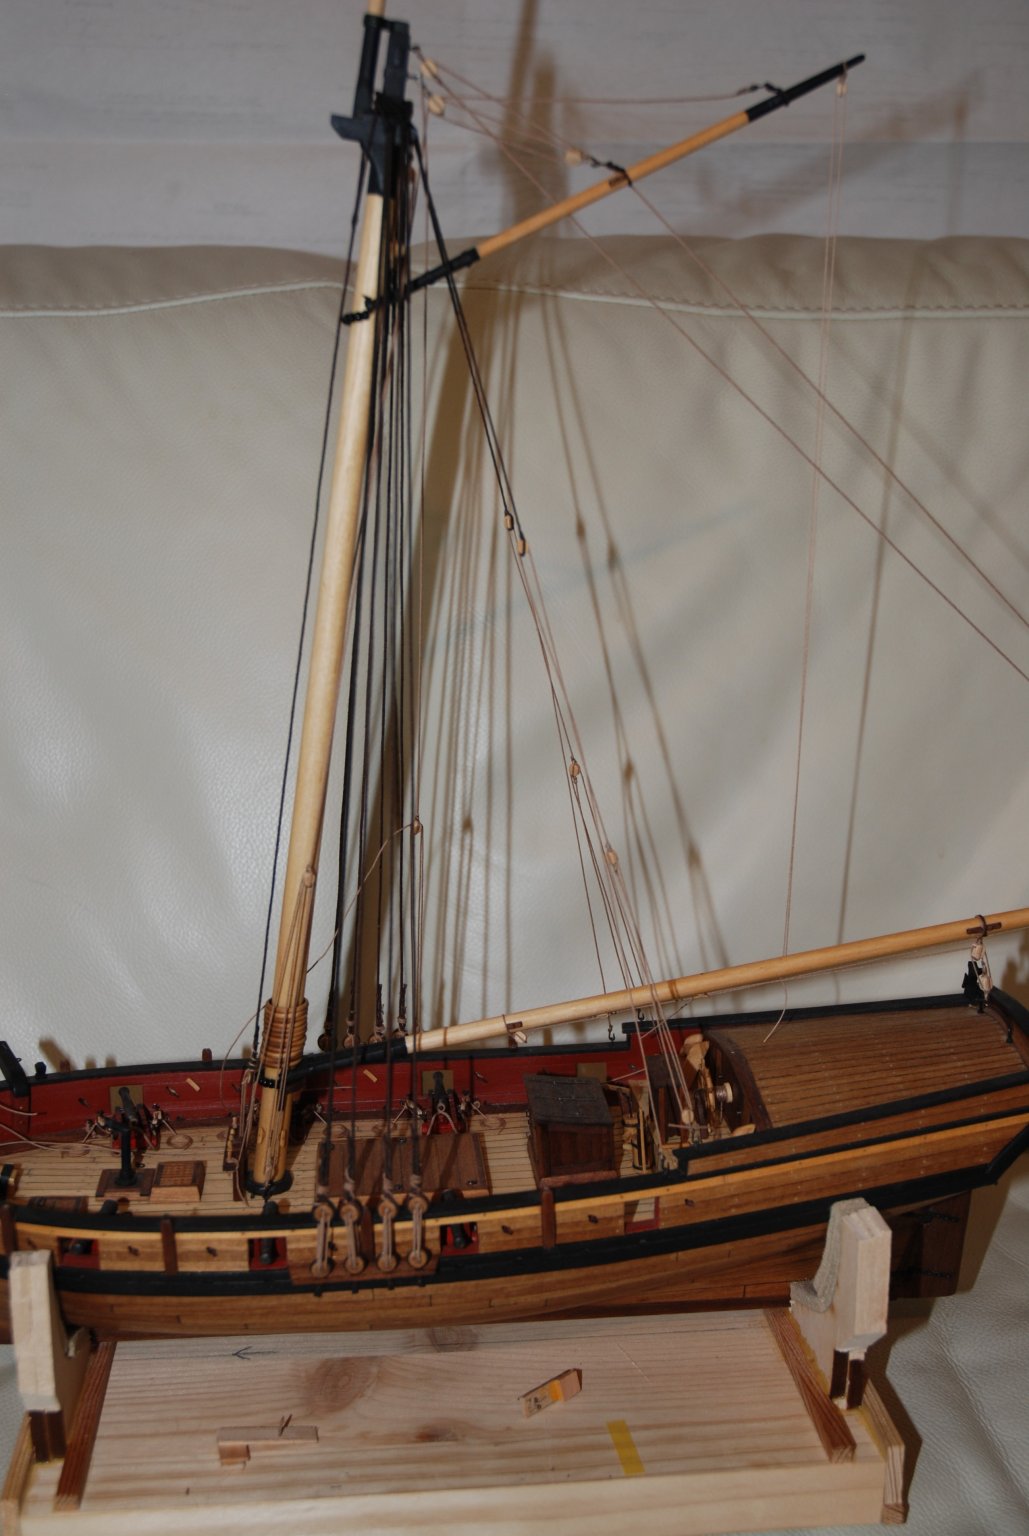
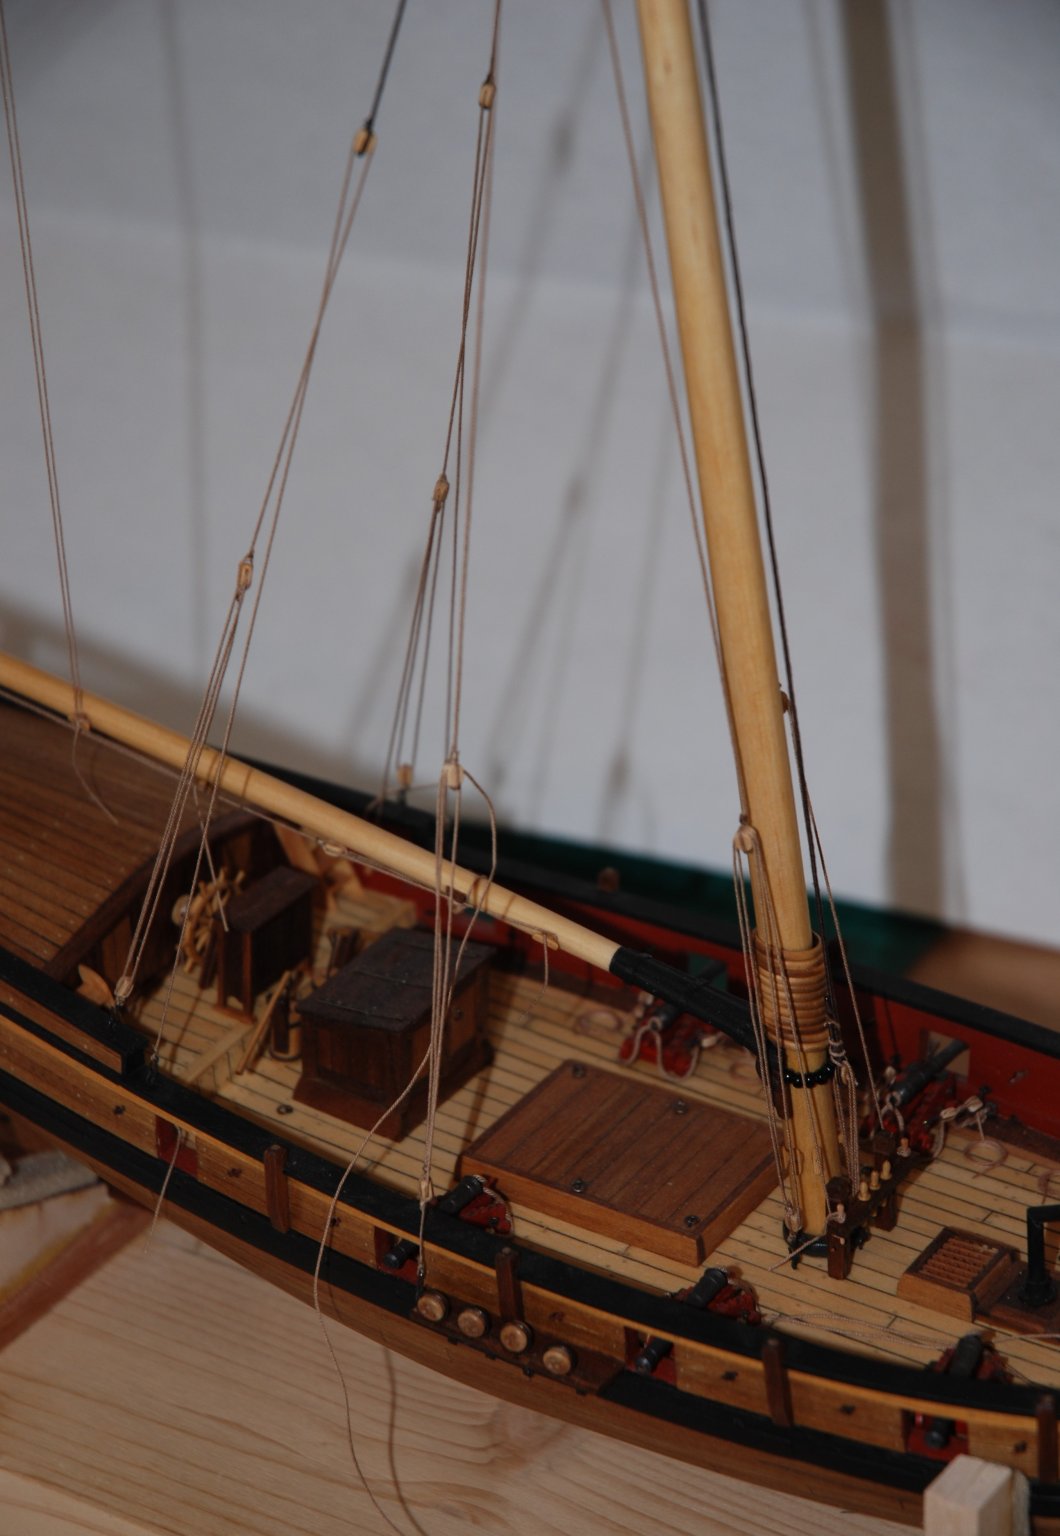
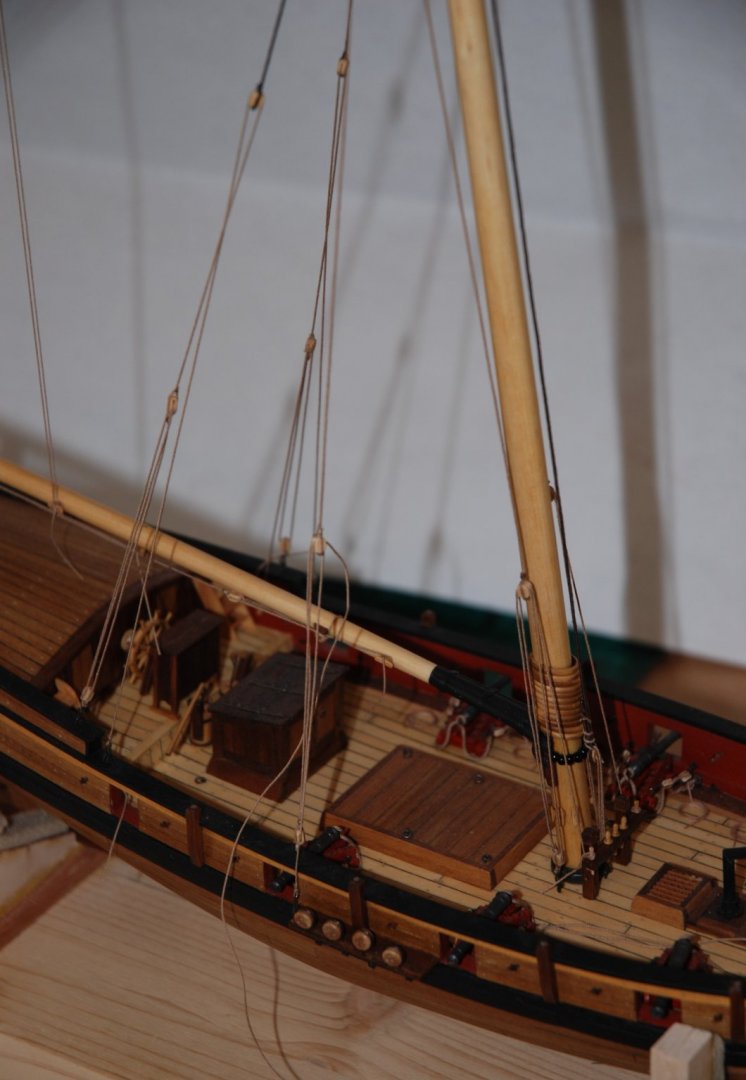
Thank you to all the 'Likes'. Rigging continues. The shrouds are done and rigged. Next step: rig the ratlines. I really like this phase of building. The model is really starting to become a replica of a ship.


- 164 replies
-
- 10
-
-
- first build
- model shipways
- (and 2 more)
-
Very interested by the two following books : HMN Swan Class 1767-1780 Vol. 1 by Antscherl ISBN 0-B755772-1-2. - $20.00 HMN Swan Class 1767-1780 Vol 2 by Antscherl ISBN 0-9755772-3-9 - $20.00 Shipping costs to Switzerland
-
Wonderful work as usual. Weathering techniques are really mastered ! Can't wait to see the final result !
-
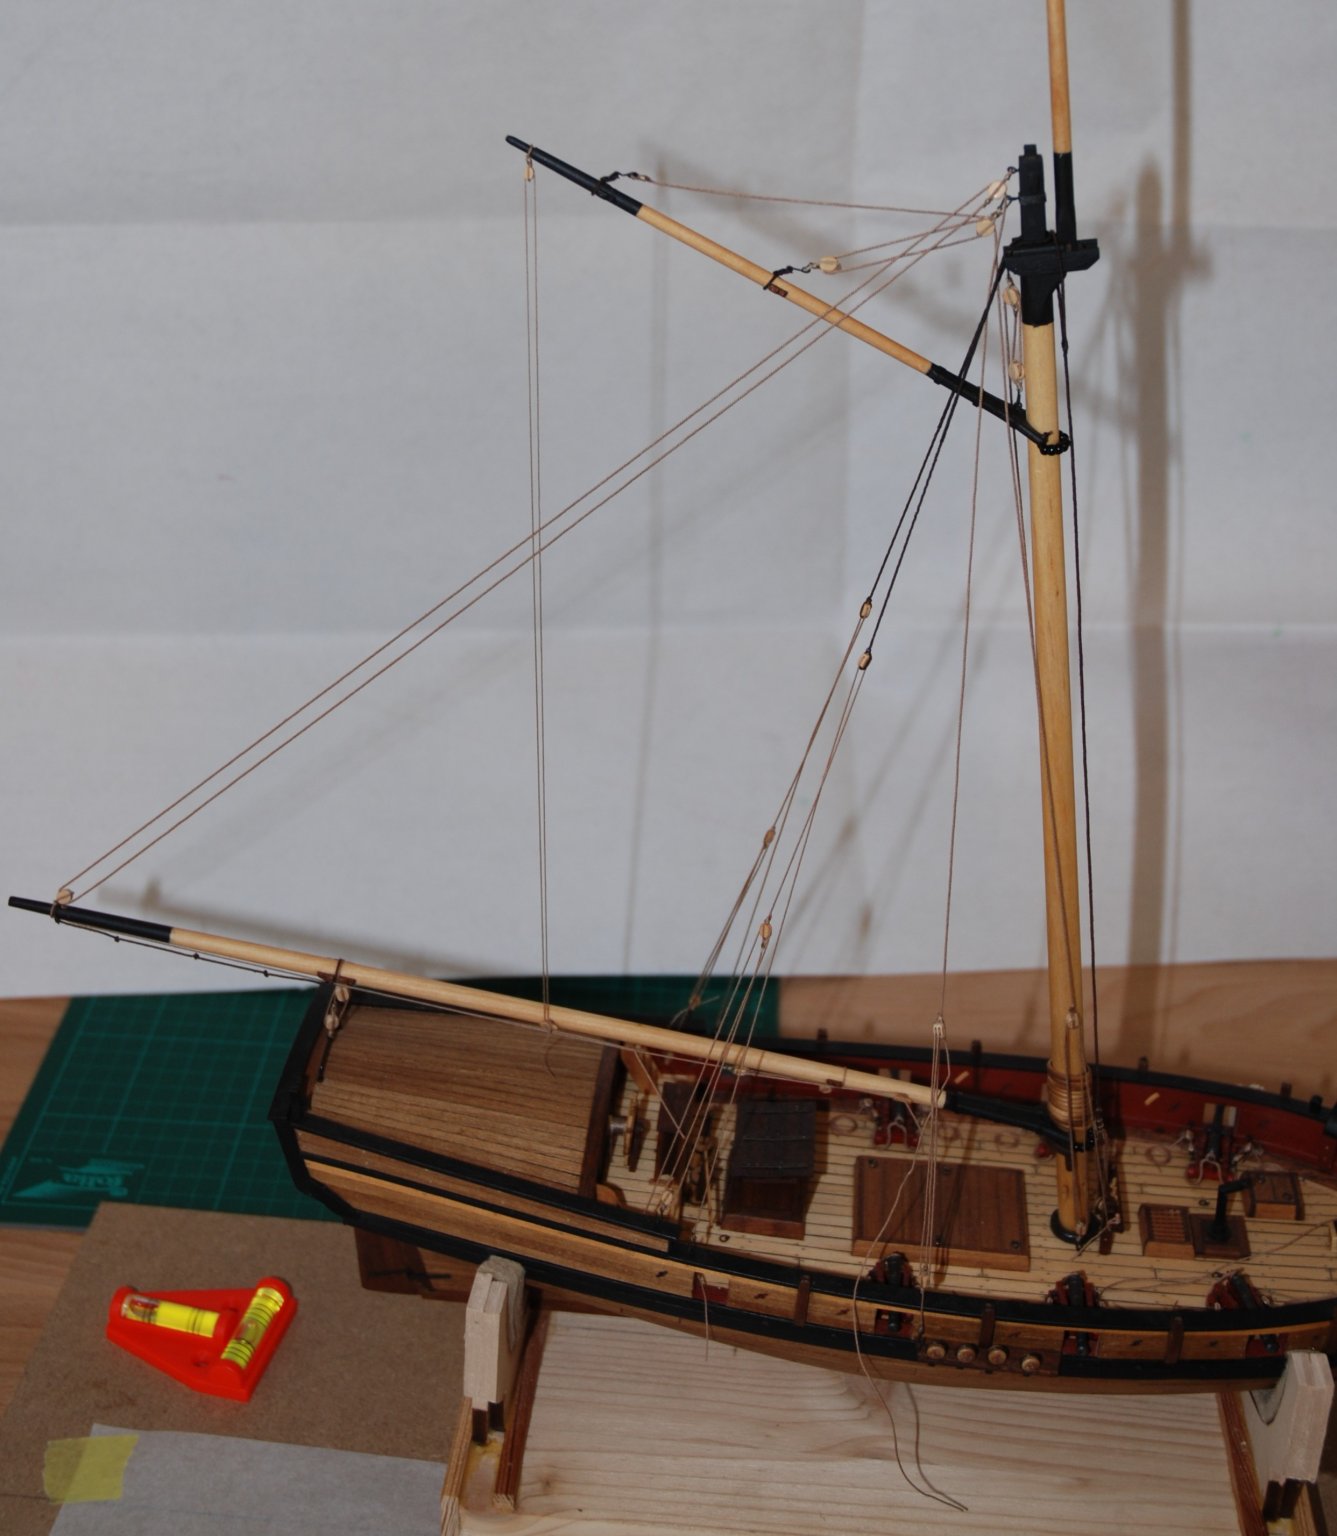
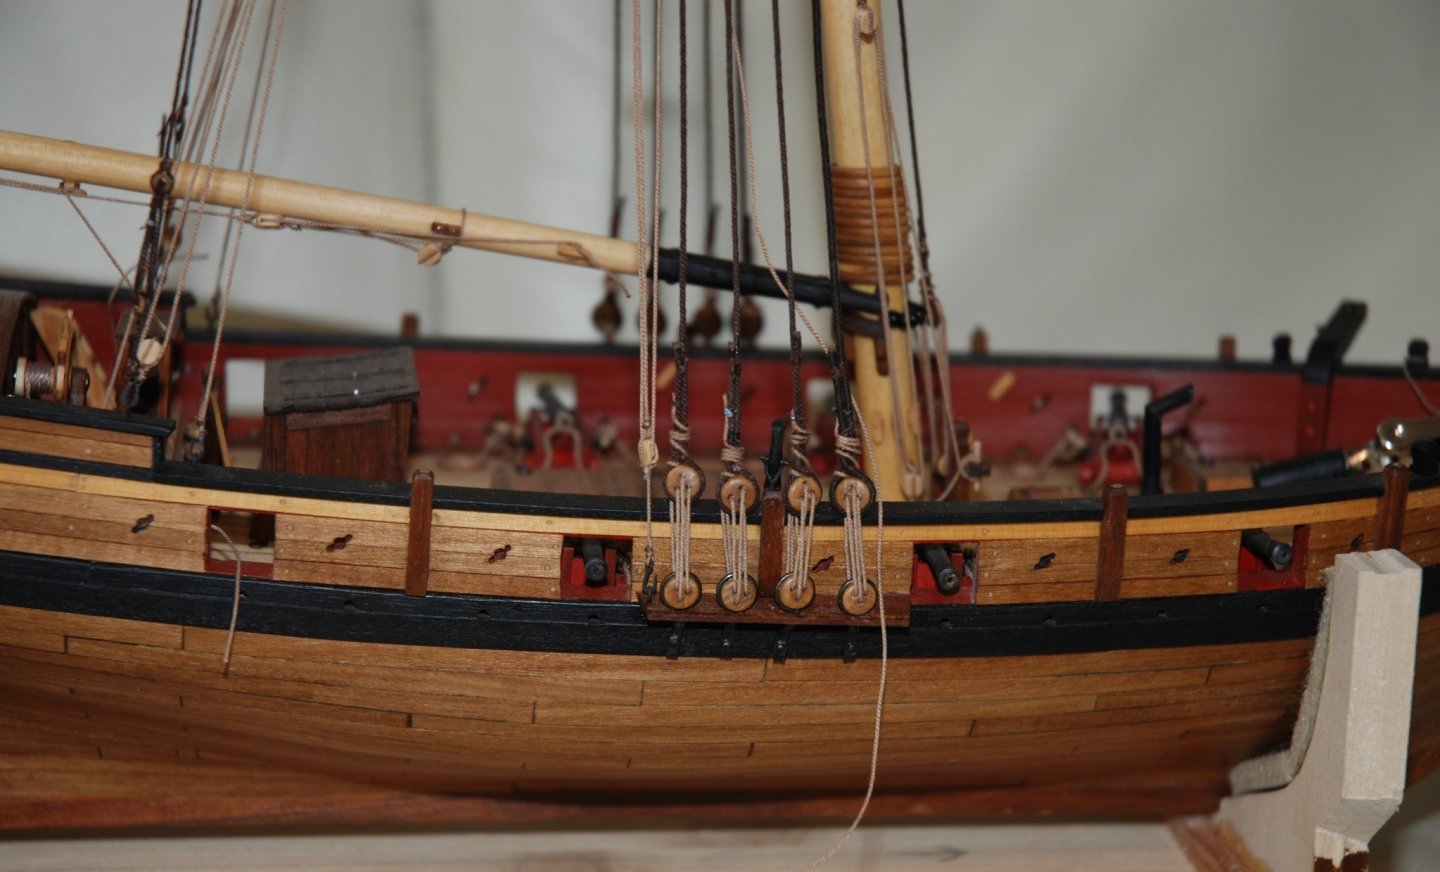
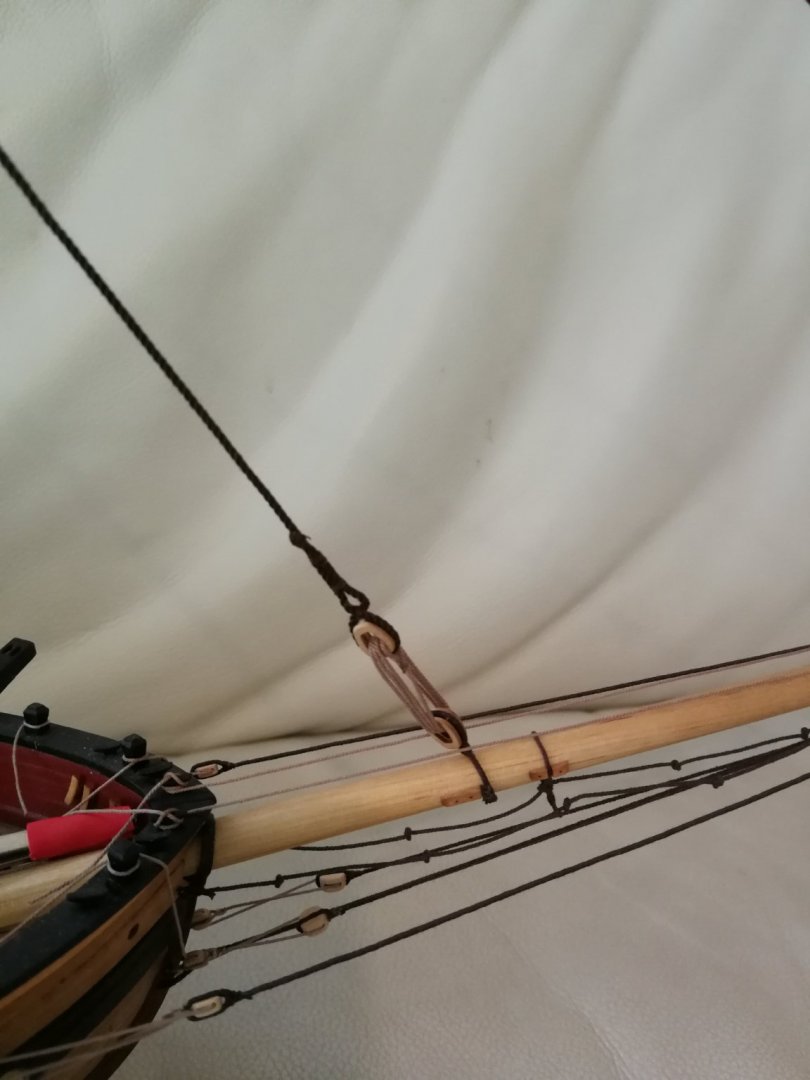
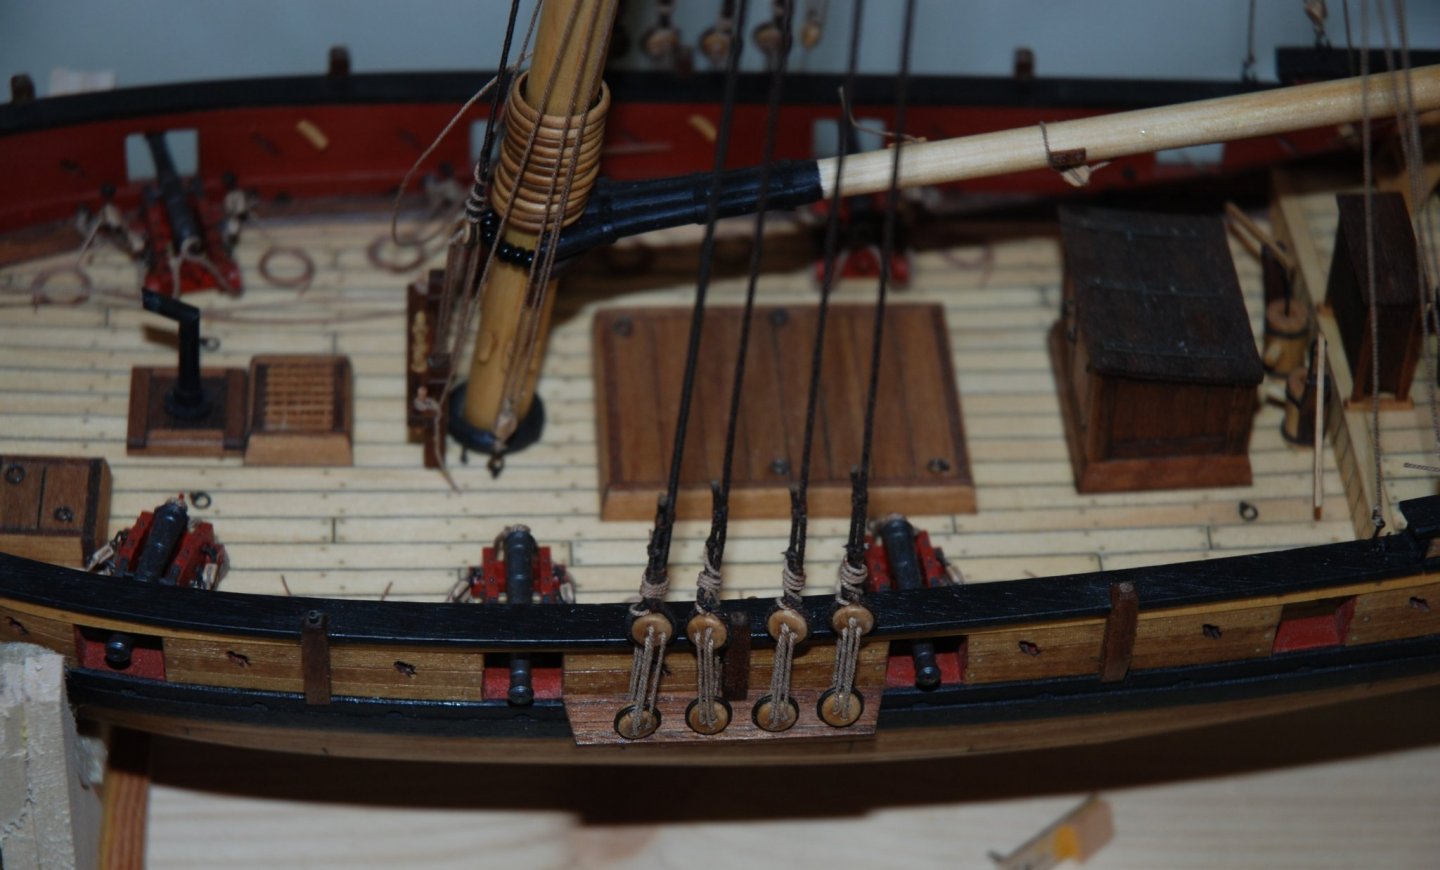
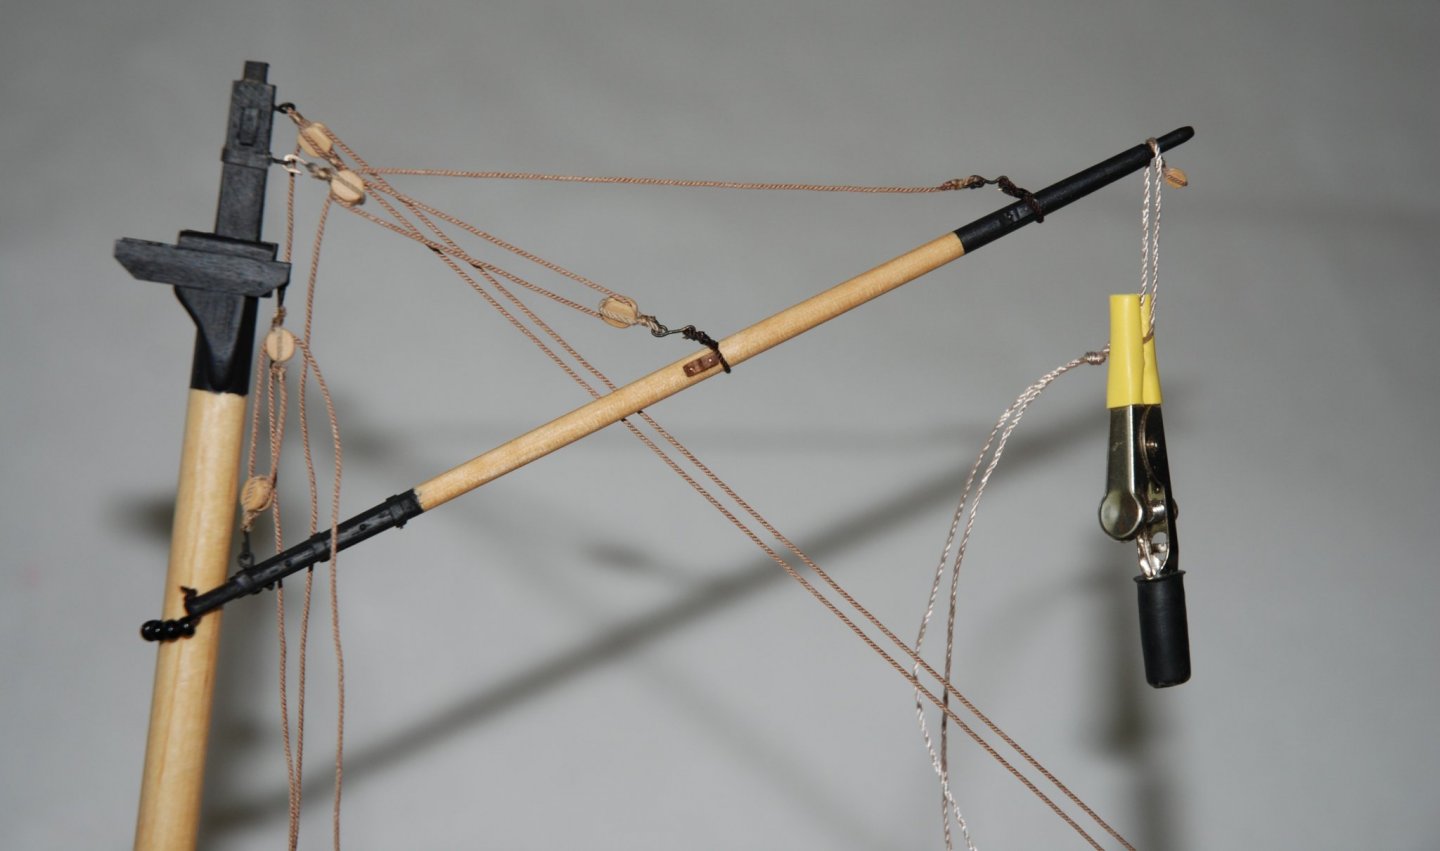
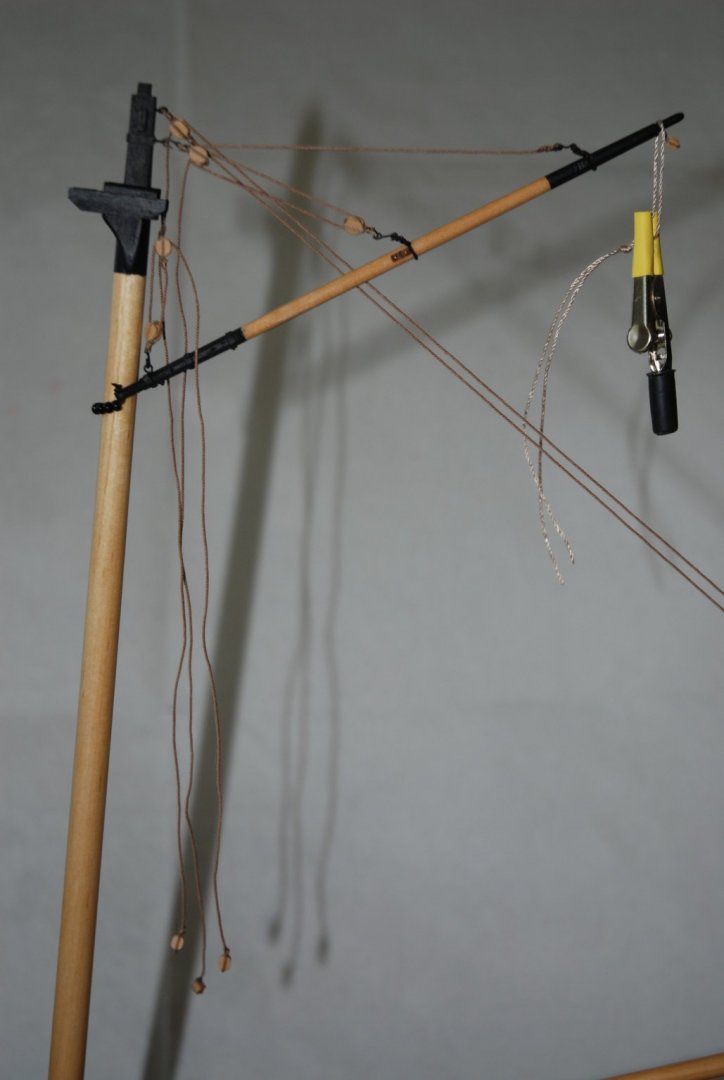
Thank you to all the 'Likes'. The boom topping lift, the gaff throat halliard and the gaff peak halliards are now finished. I also added the spreader yard horse. Time to install the shrouds...


- 164 replies
-
- 4
-
-
- first build
- model shipways
- (and 2 more)
-
Thank you Bob for your kind words and thank you to all the 'Likes'. I take out my brushes with a little trepidation ...
-
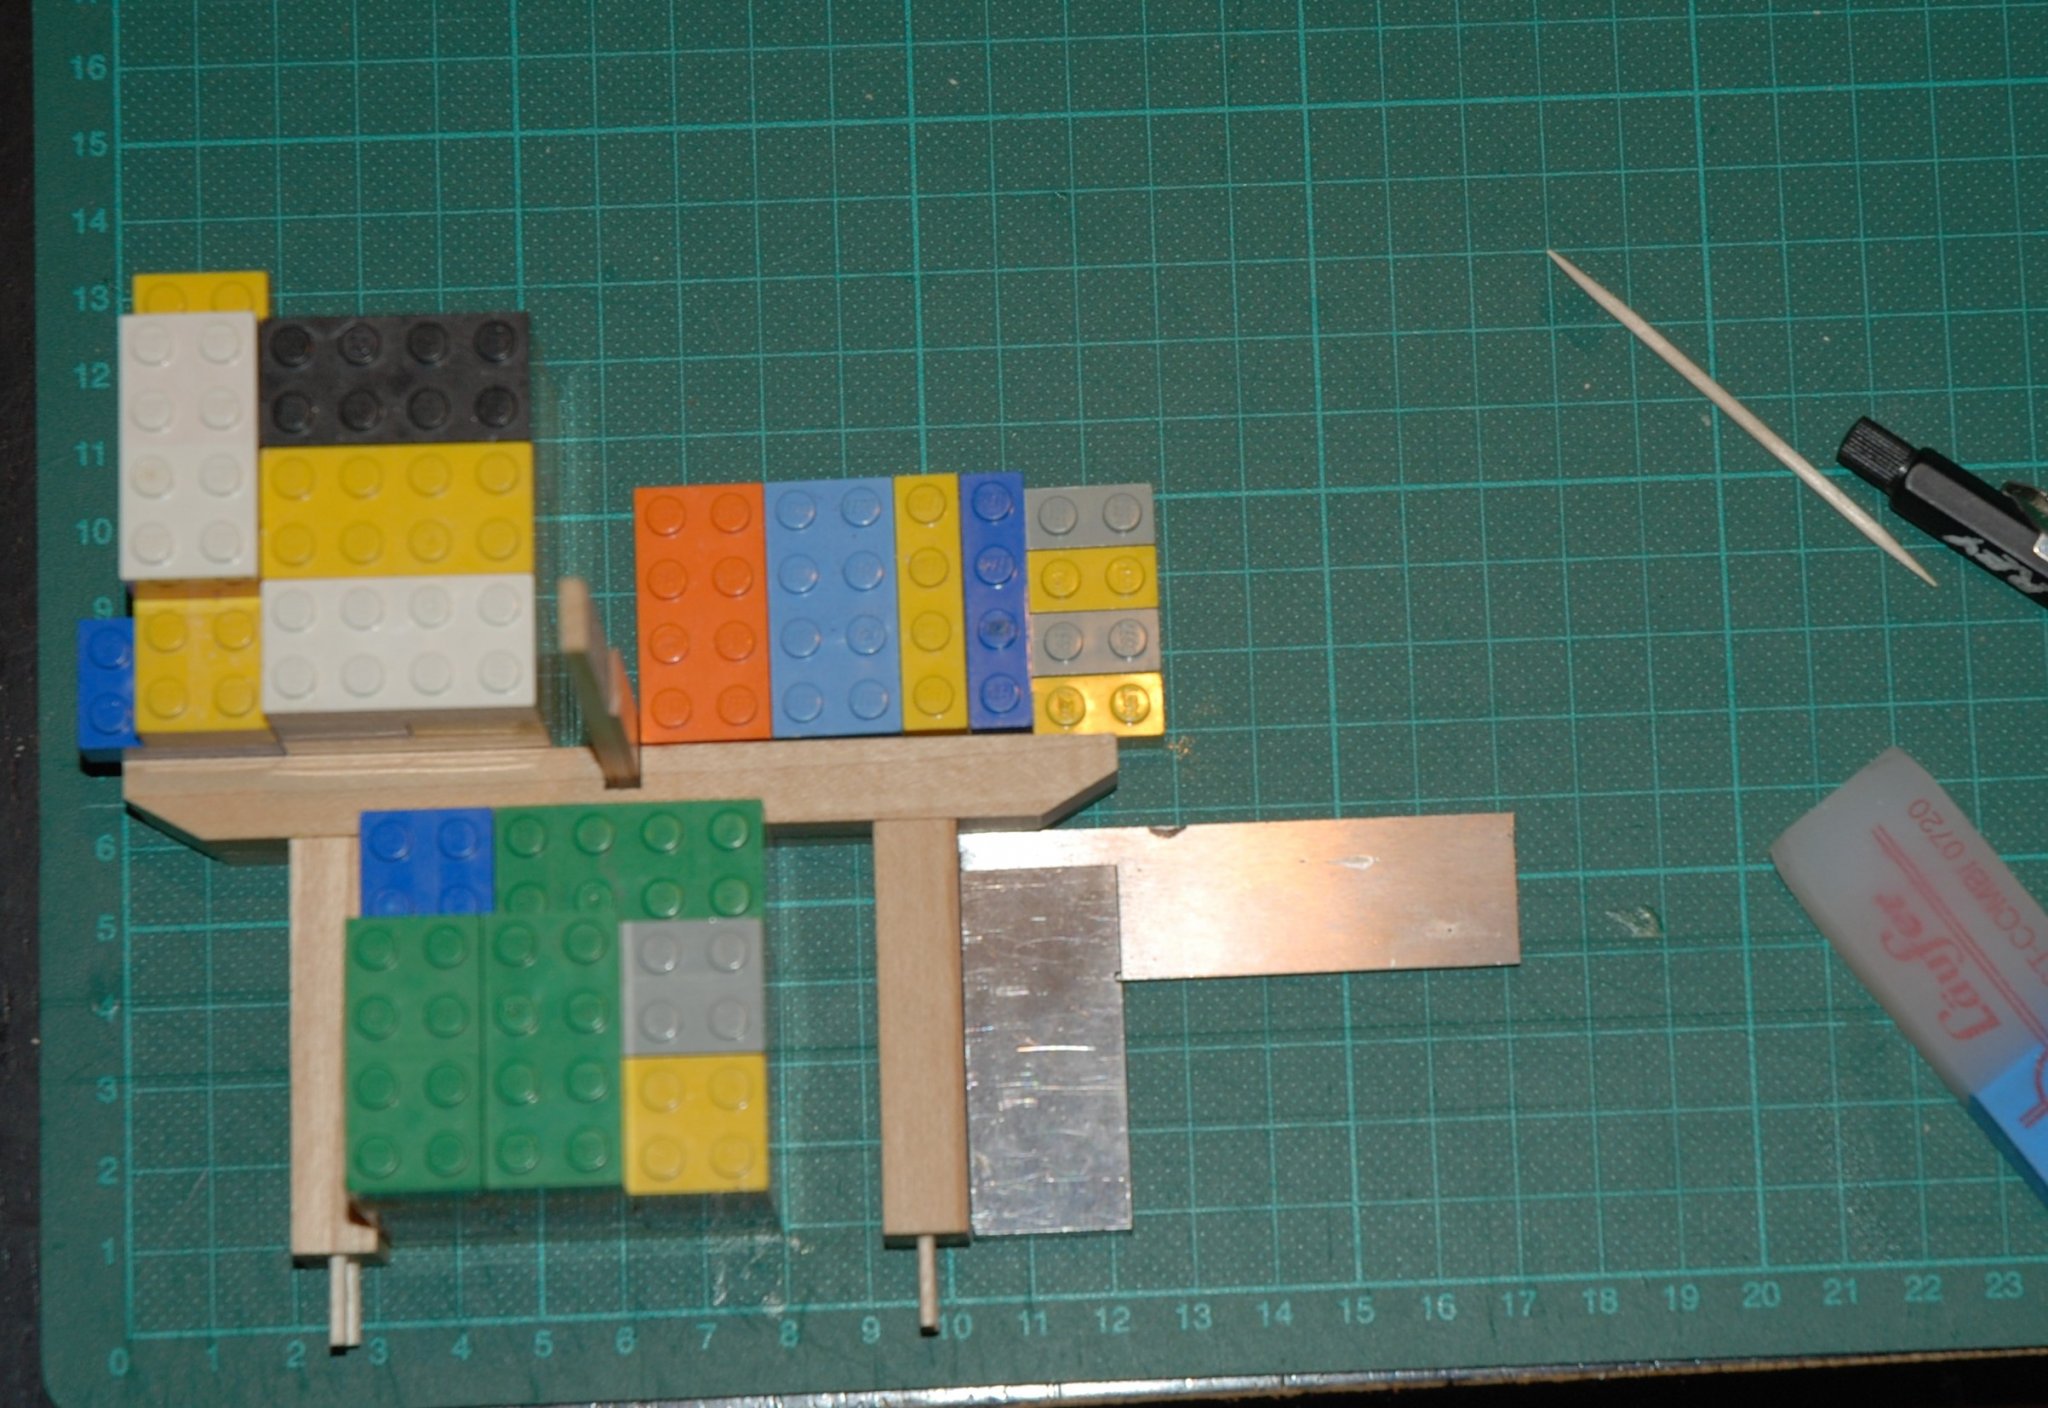
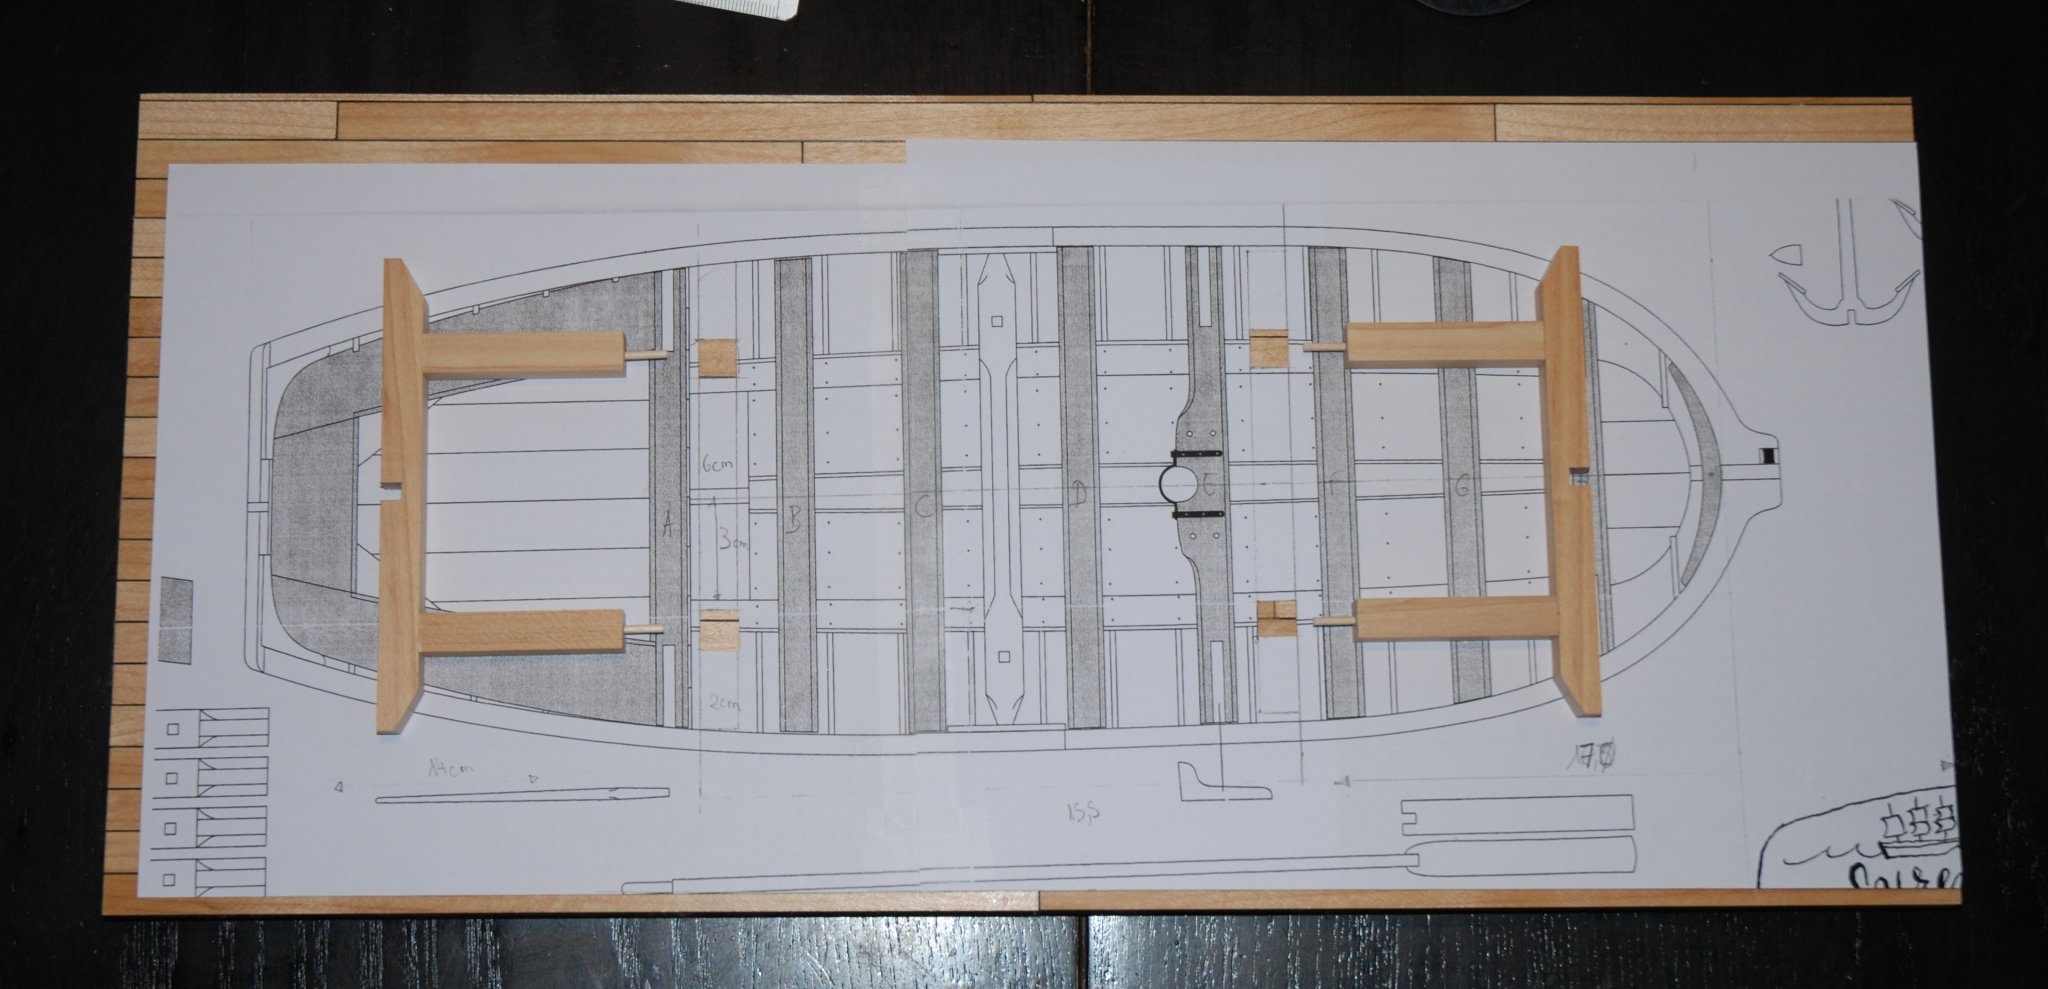
As maple seems to have won unanimous support, it is therefore this species of wood that will be used. Legos blocks and a piece of wood slipped into the gap provided to receive the keel ensure perfect symmetry of the two pieces. A photocopy of the plan is used to aid in the placement of pieces on the base. The extra keel copy is used to properly align the two pieces when gluing. The base is finished. More than to apply one last layer of teak oil. Provisional test of placement. It's time to start working on painting friezes.


-
Last moment to make my choice. I prepared the pieces in the 2 types of wood. First version with pear wood Second version with american maple (same wood as the deck) and I still don't know which one to choose ...


-
I find the version with the single-sheet cellulose more subtle ... Always a real pleasure to follow the progress of this log !
- 64 replies
-
- 2
-
-
- badger
- caldercraft
- (and 1 more)
-
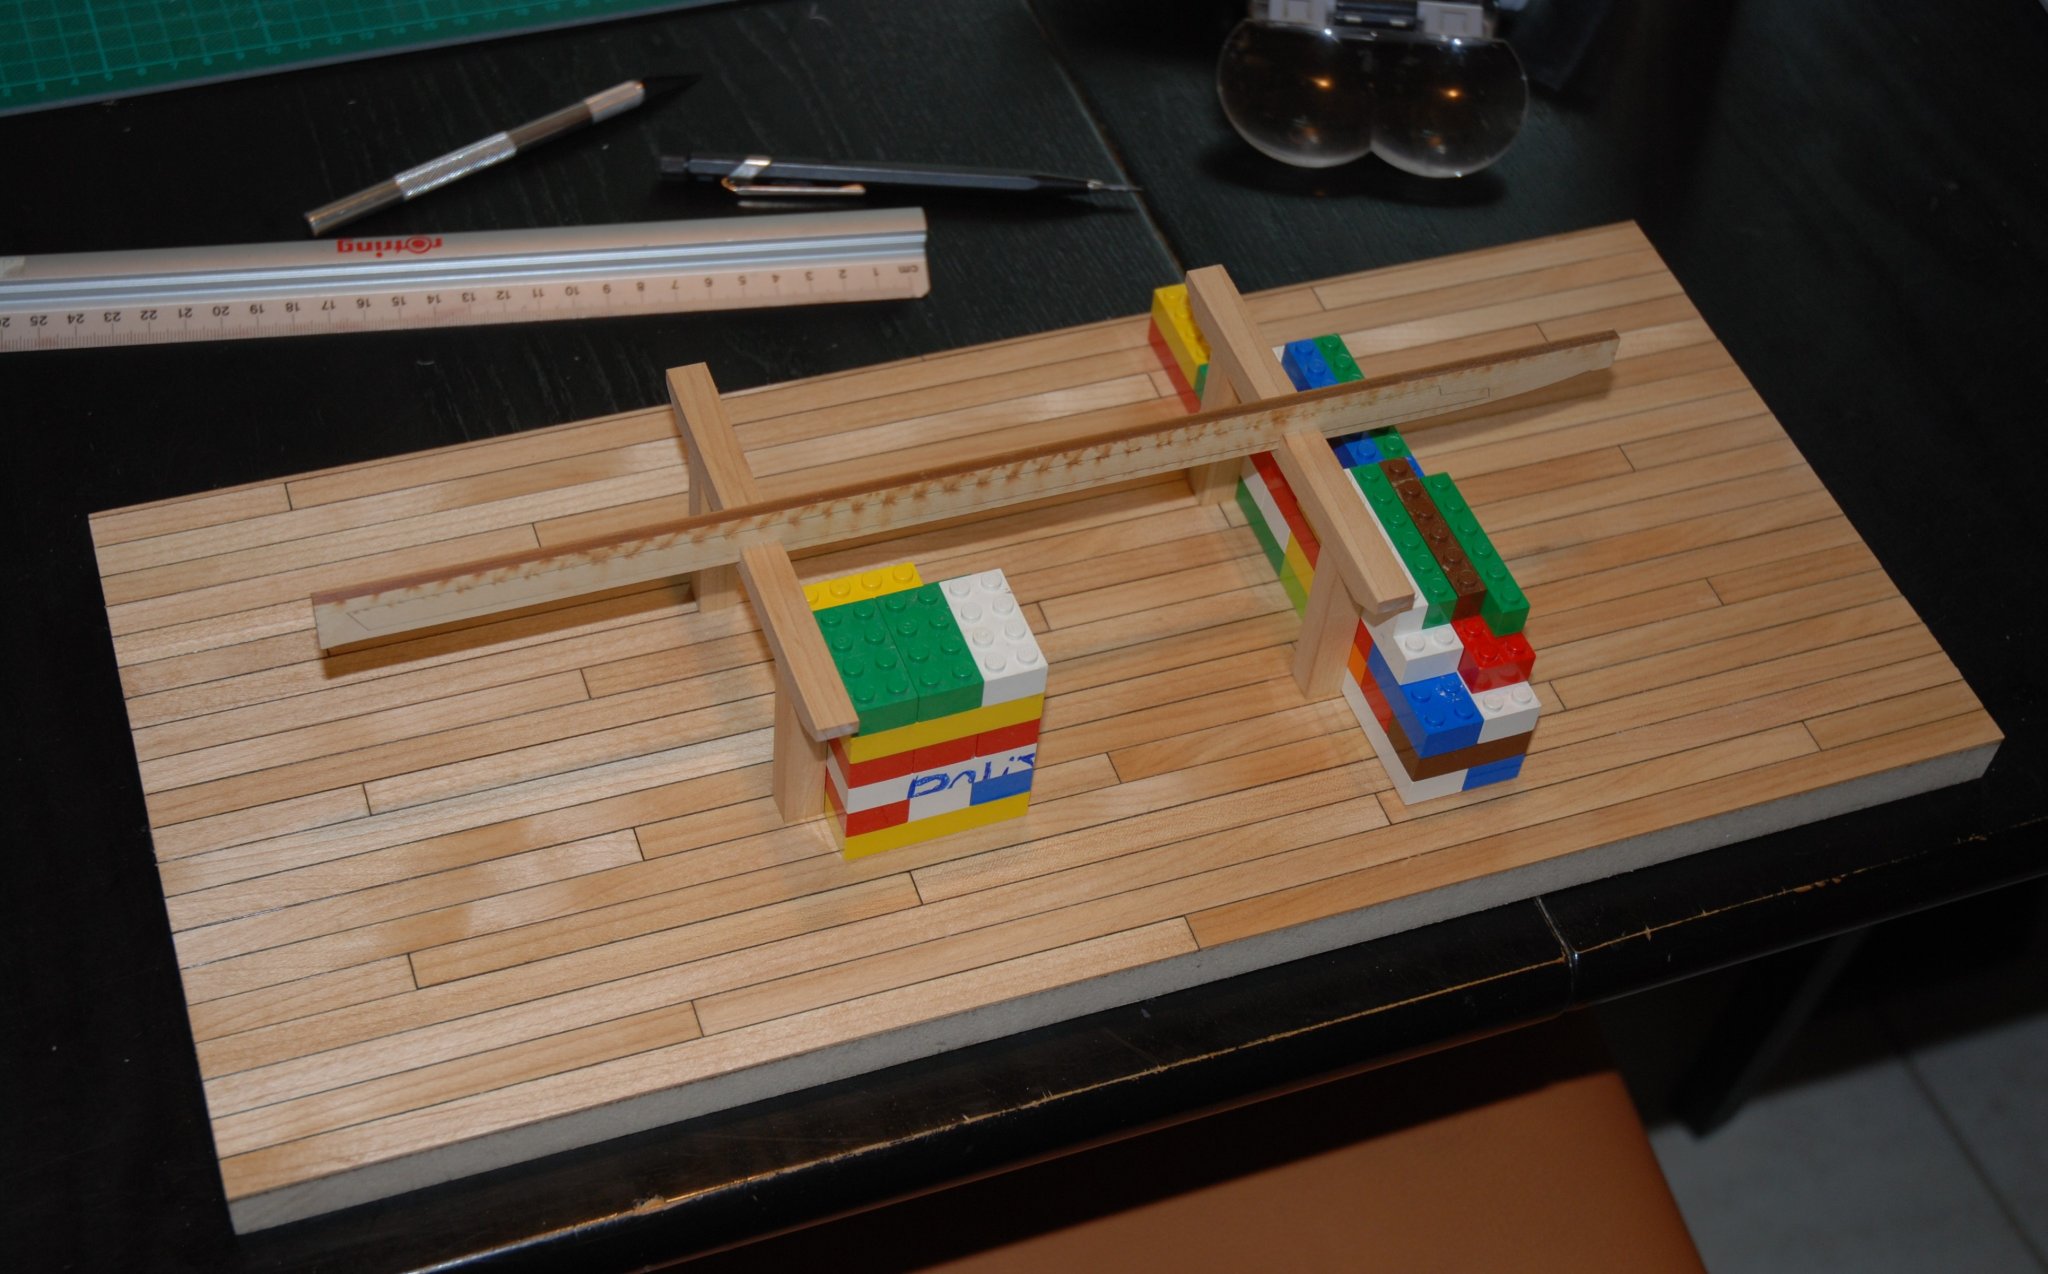
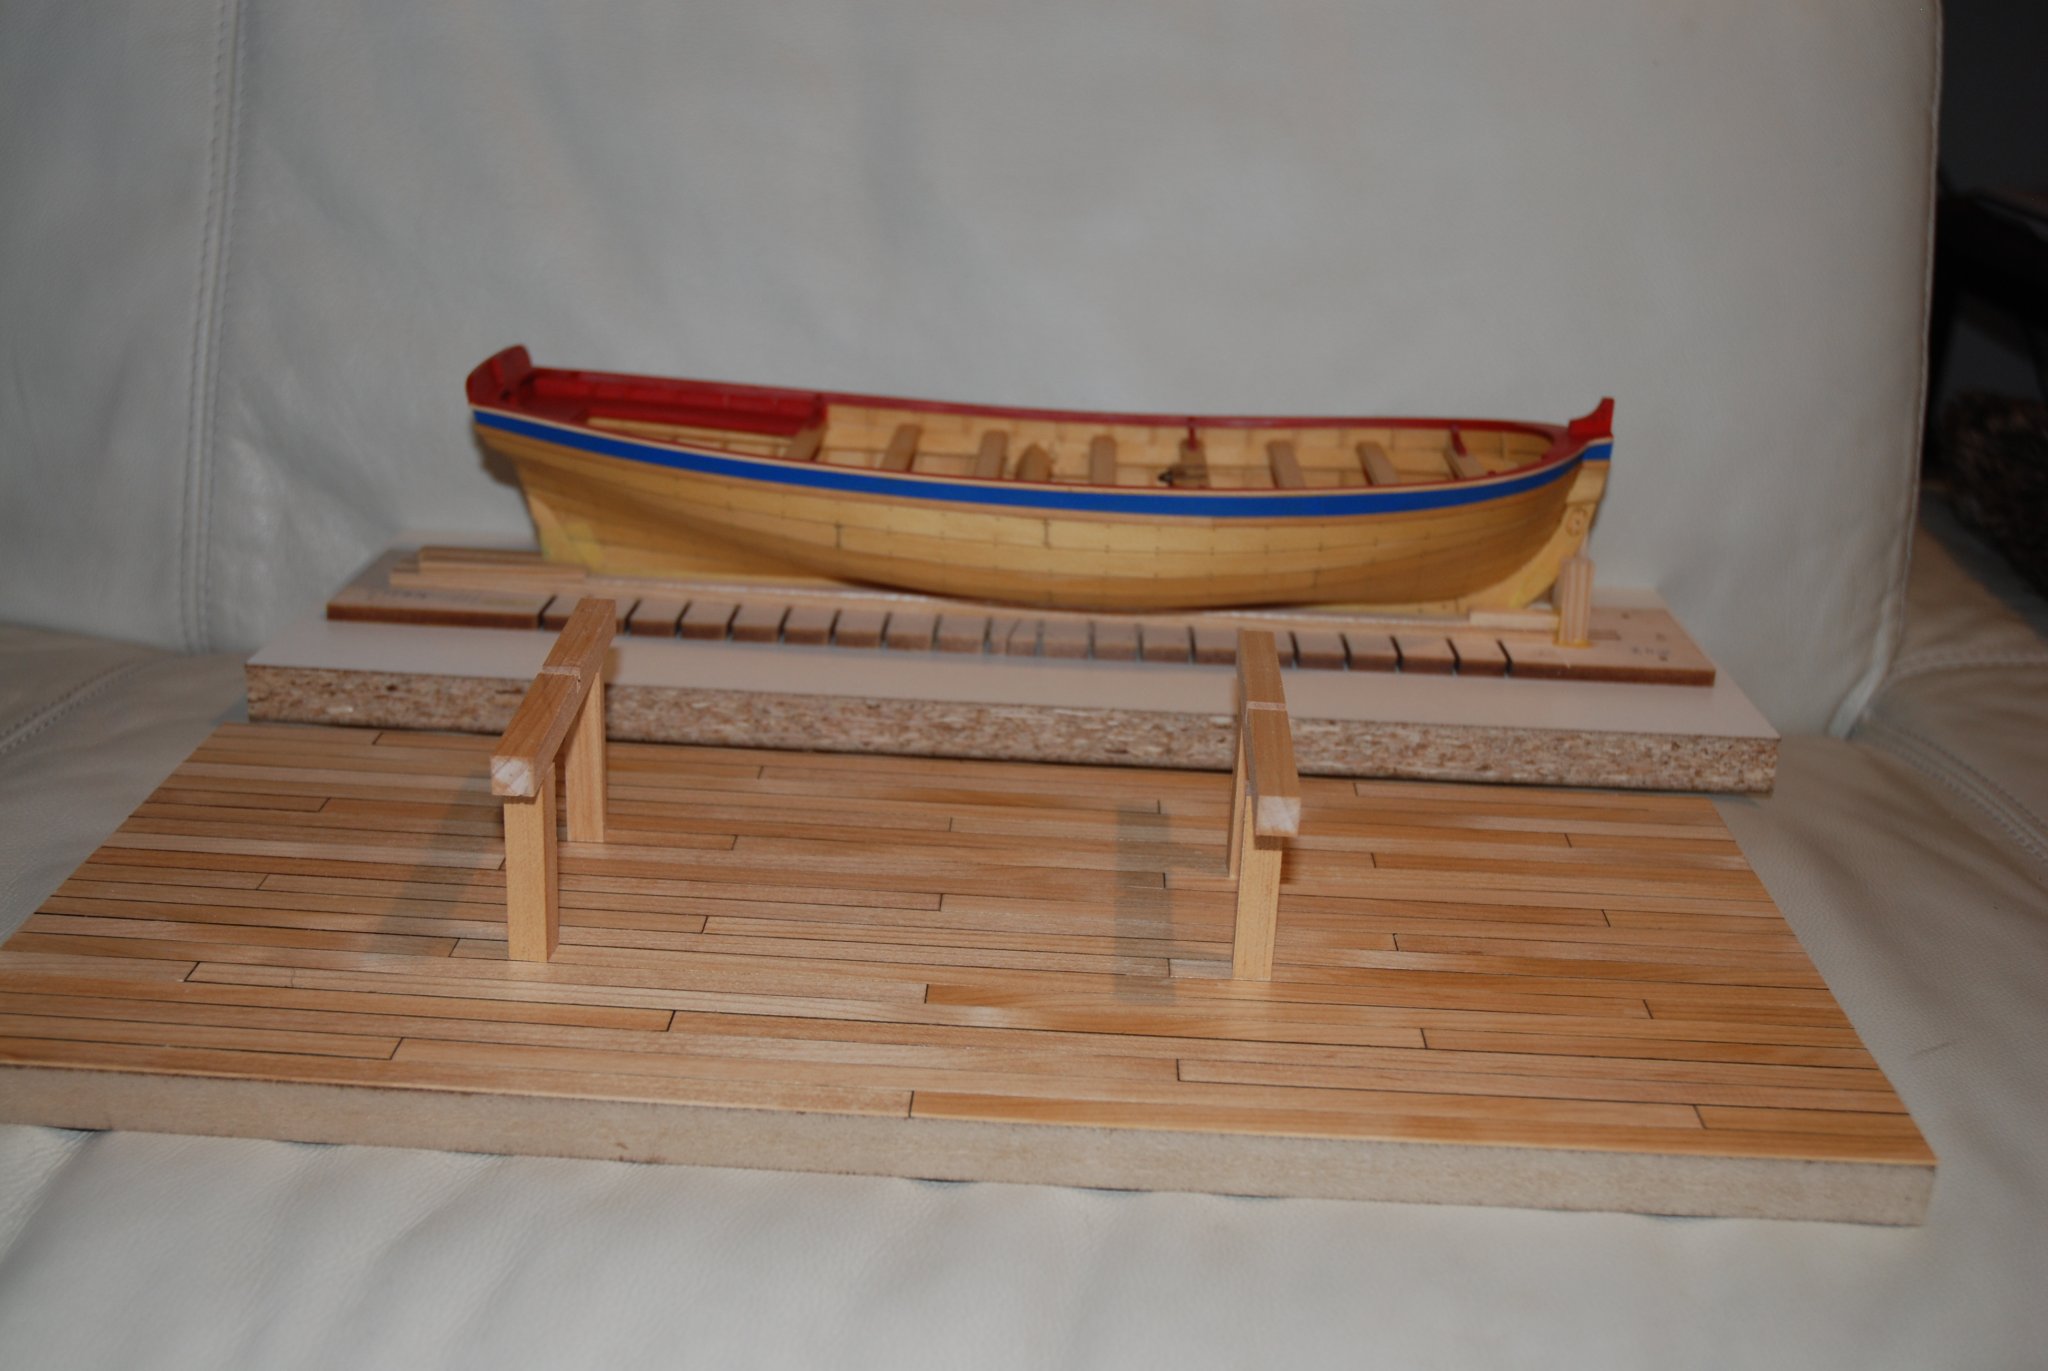
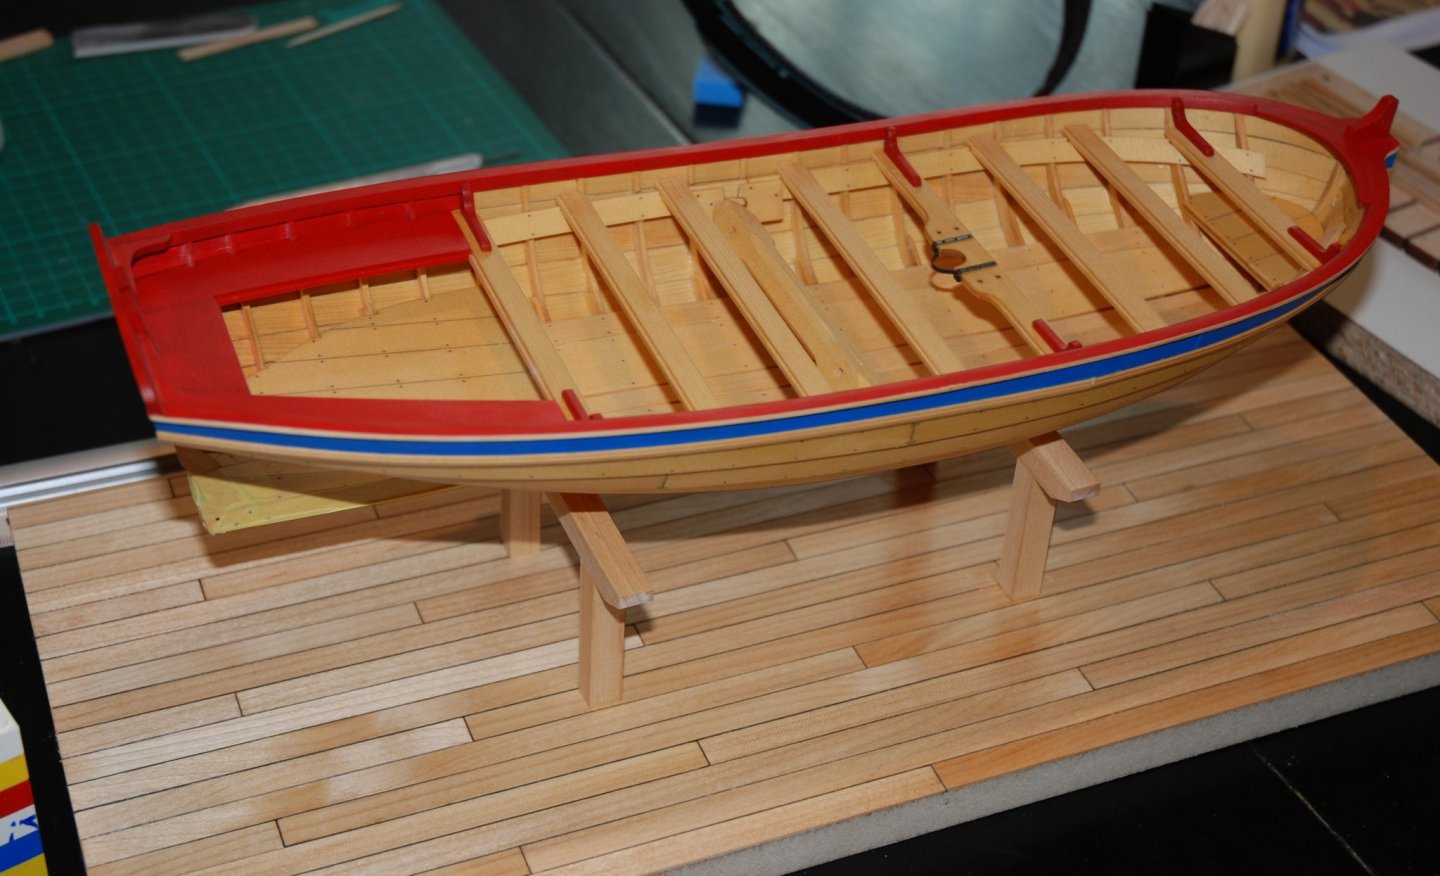
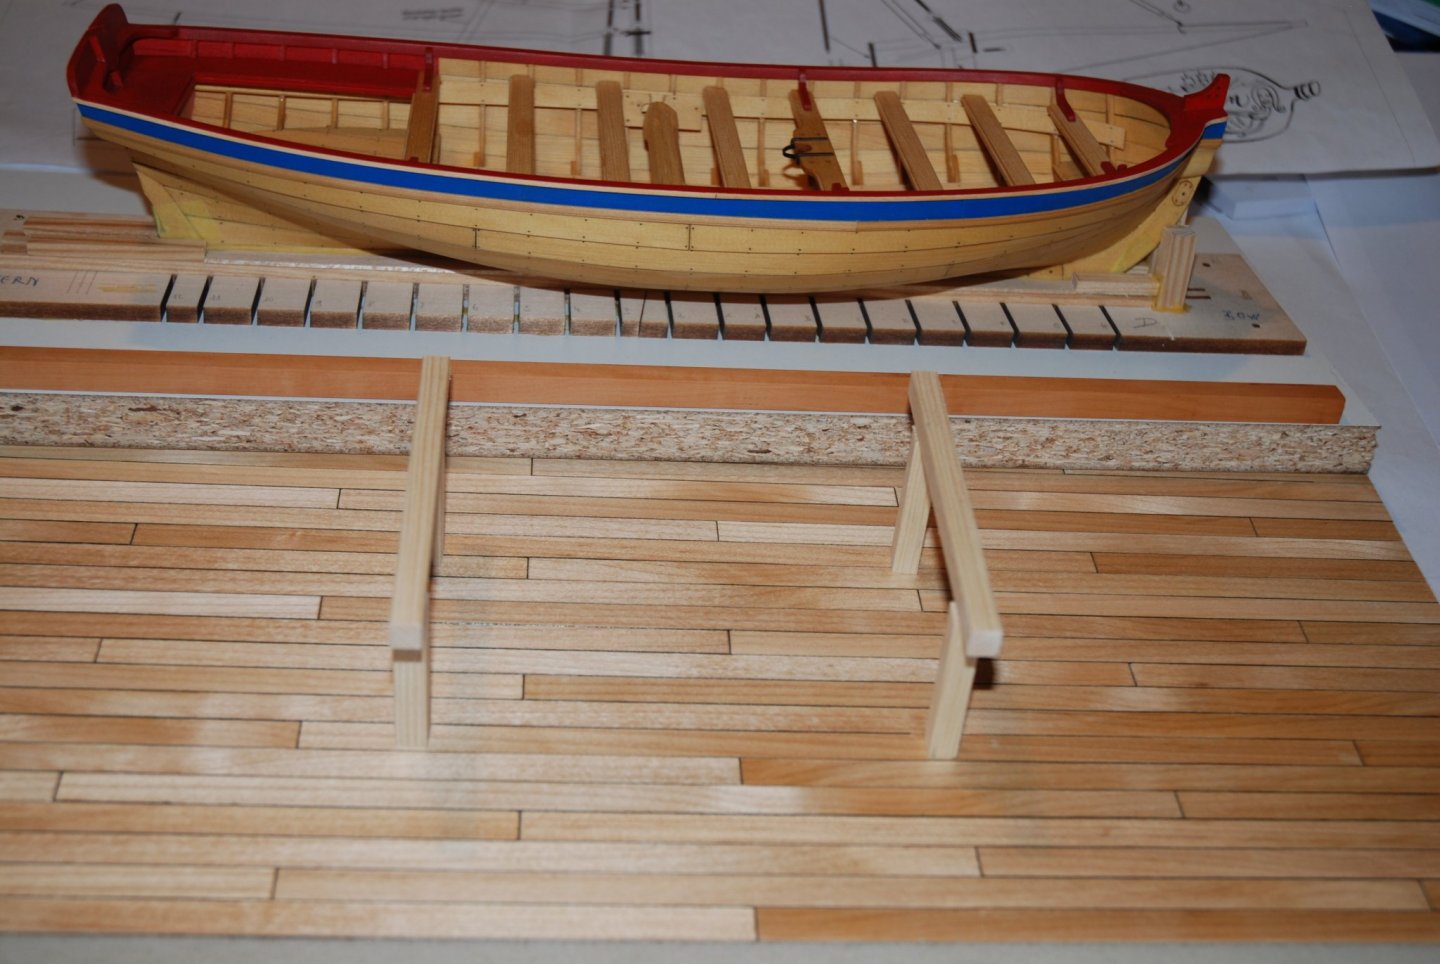
Yes, the decision is not easy. Finally, as there are only 6 pieces to cut, I will prepare the two sets and make my decision with the longboat in situation... I would repost two photos once the supports are ready.
-
Holly is too light. For me pear is too similar to the hull. My heart swings between the cedar and the boxwood. But perhaps, with AYC the contrast will be too pronounced ? Boxwood seems to me to be the right choice. But that's only my opinion...
- 642 replies
-
- 2
-
-
- winchelsea
- Syren Ship Model Company
- (and 1 more)
-
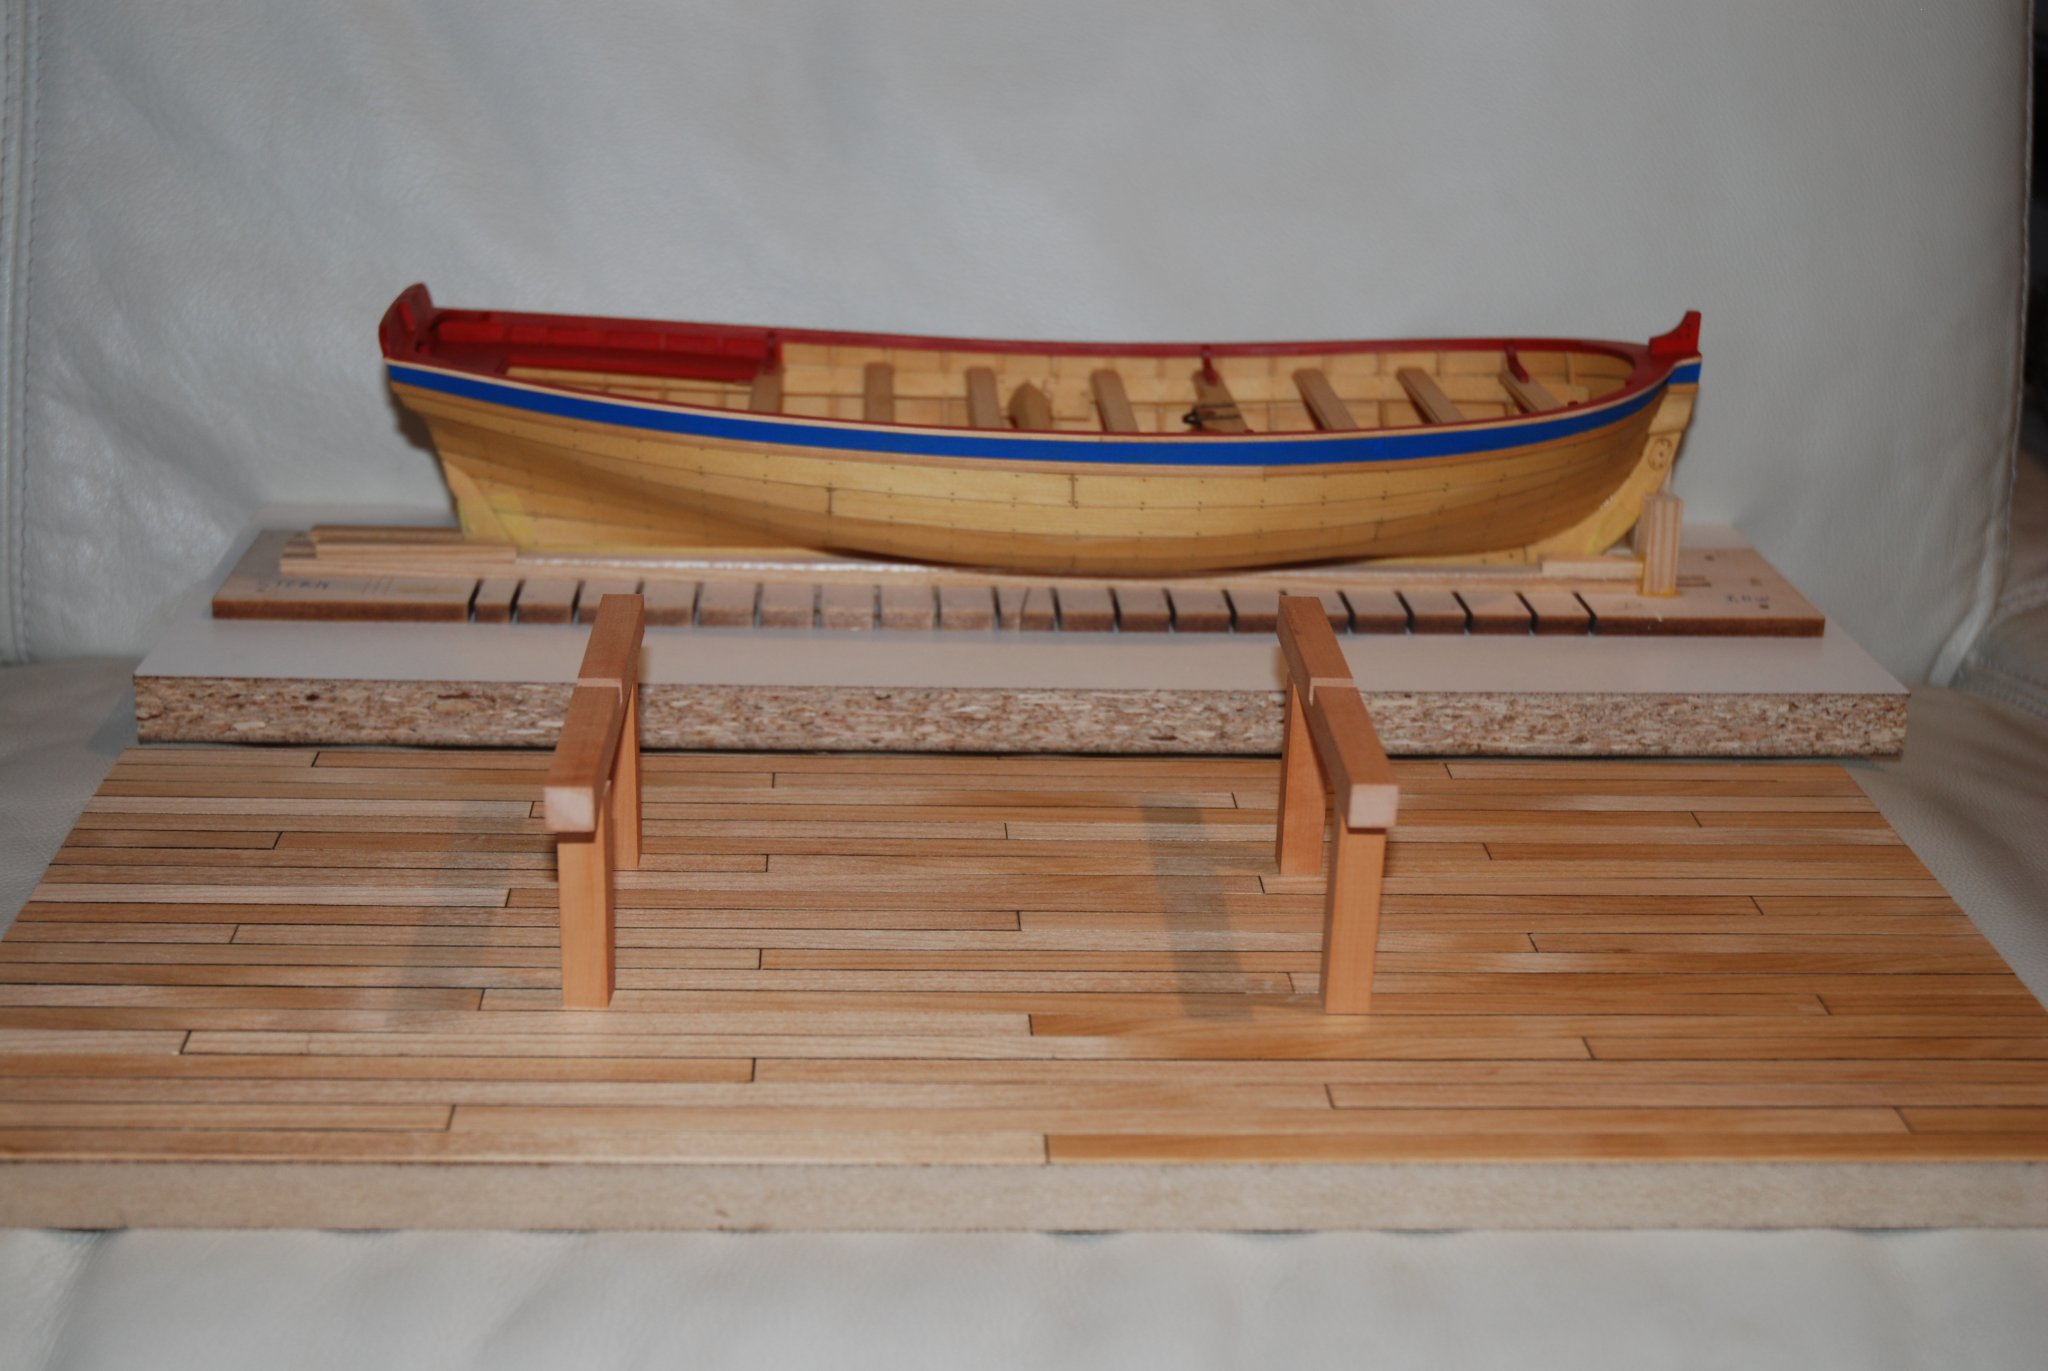
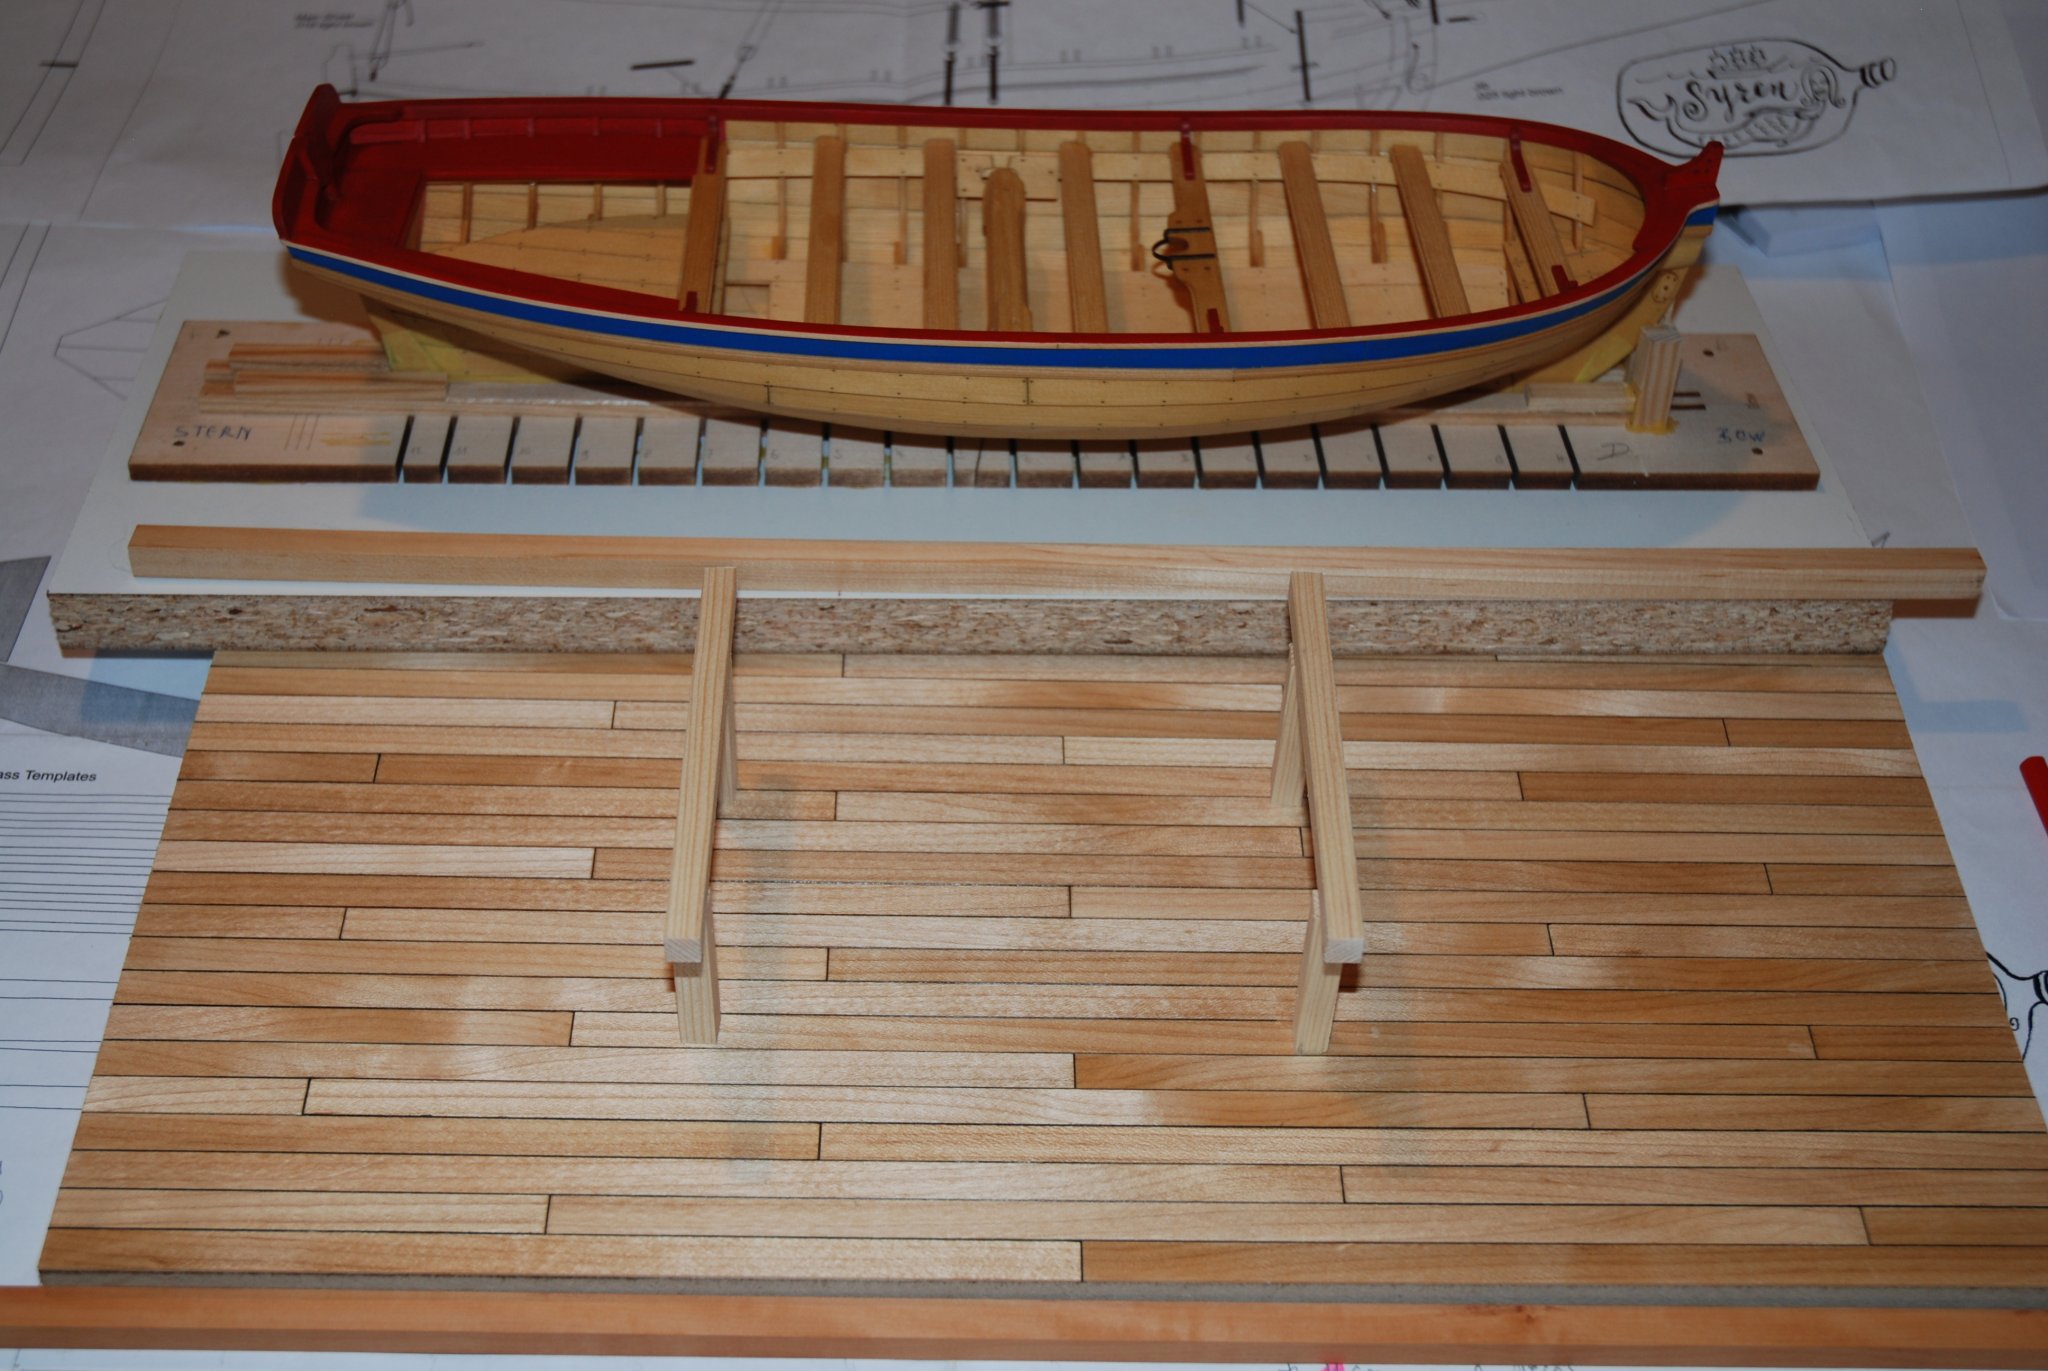
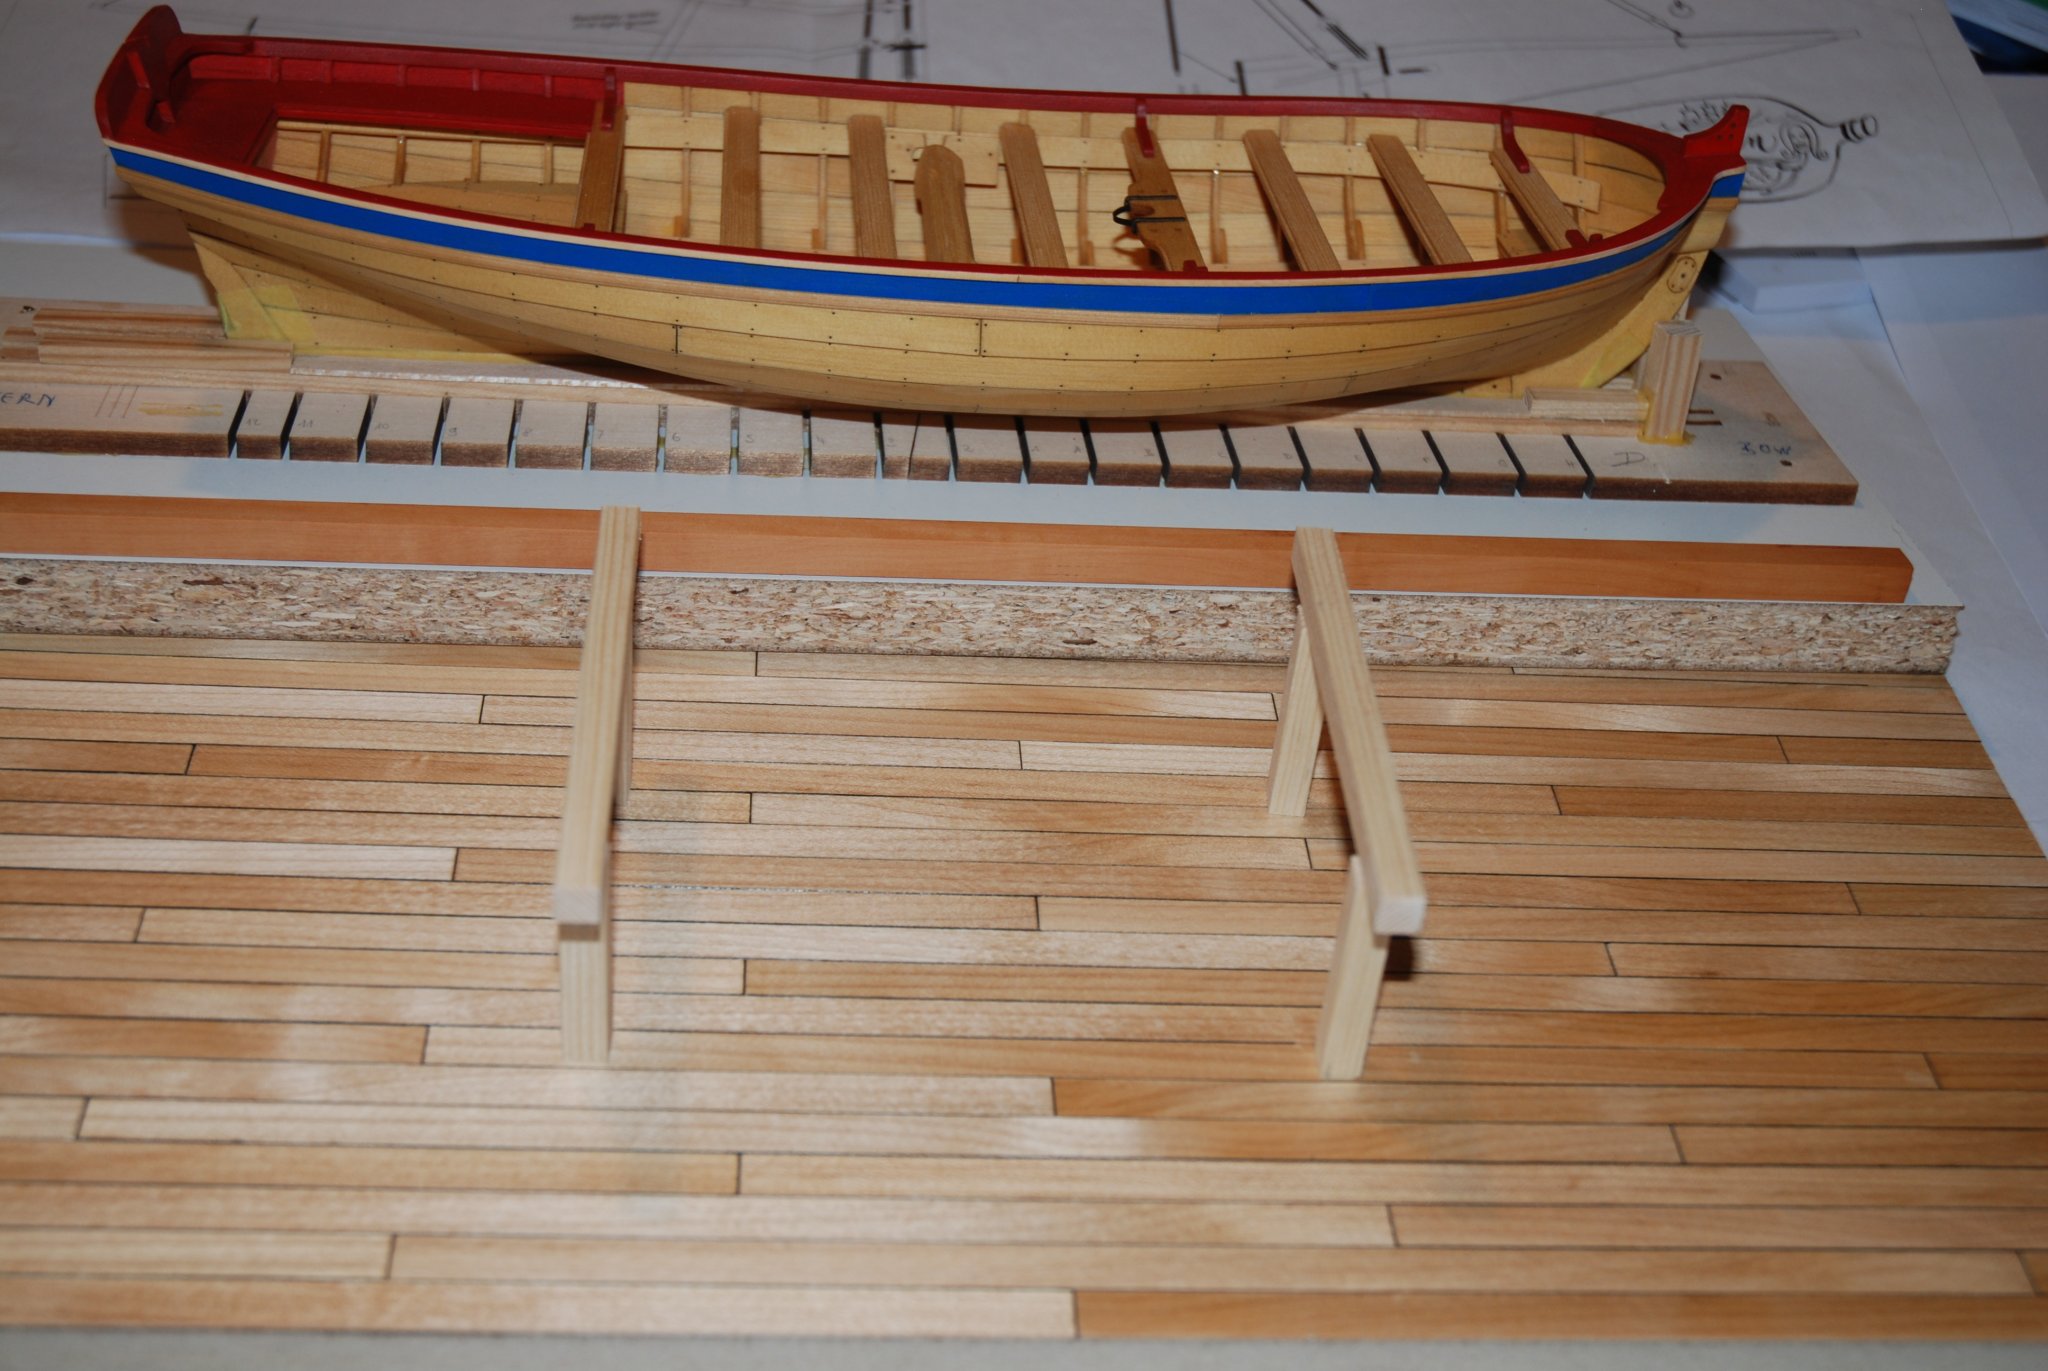
Thank you Bob for your opinion. To help me in my choice, I quickly cut out an example of the future structure (some pine scrap wood) and positioned the longboat in the background. In the first photo, a maple piece is placed between the base and the longboat while in the second photo it is a pear wood. It seems to reinforce my first idea of a better contrast if I use pear wood.

-
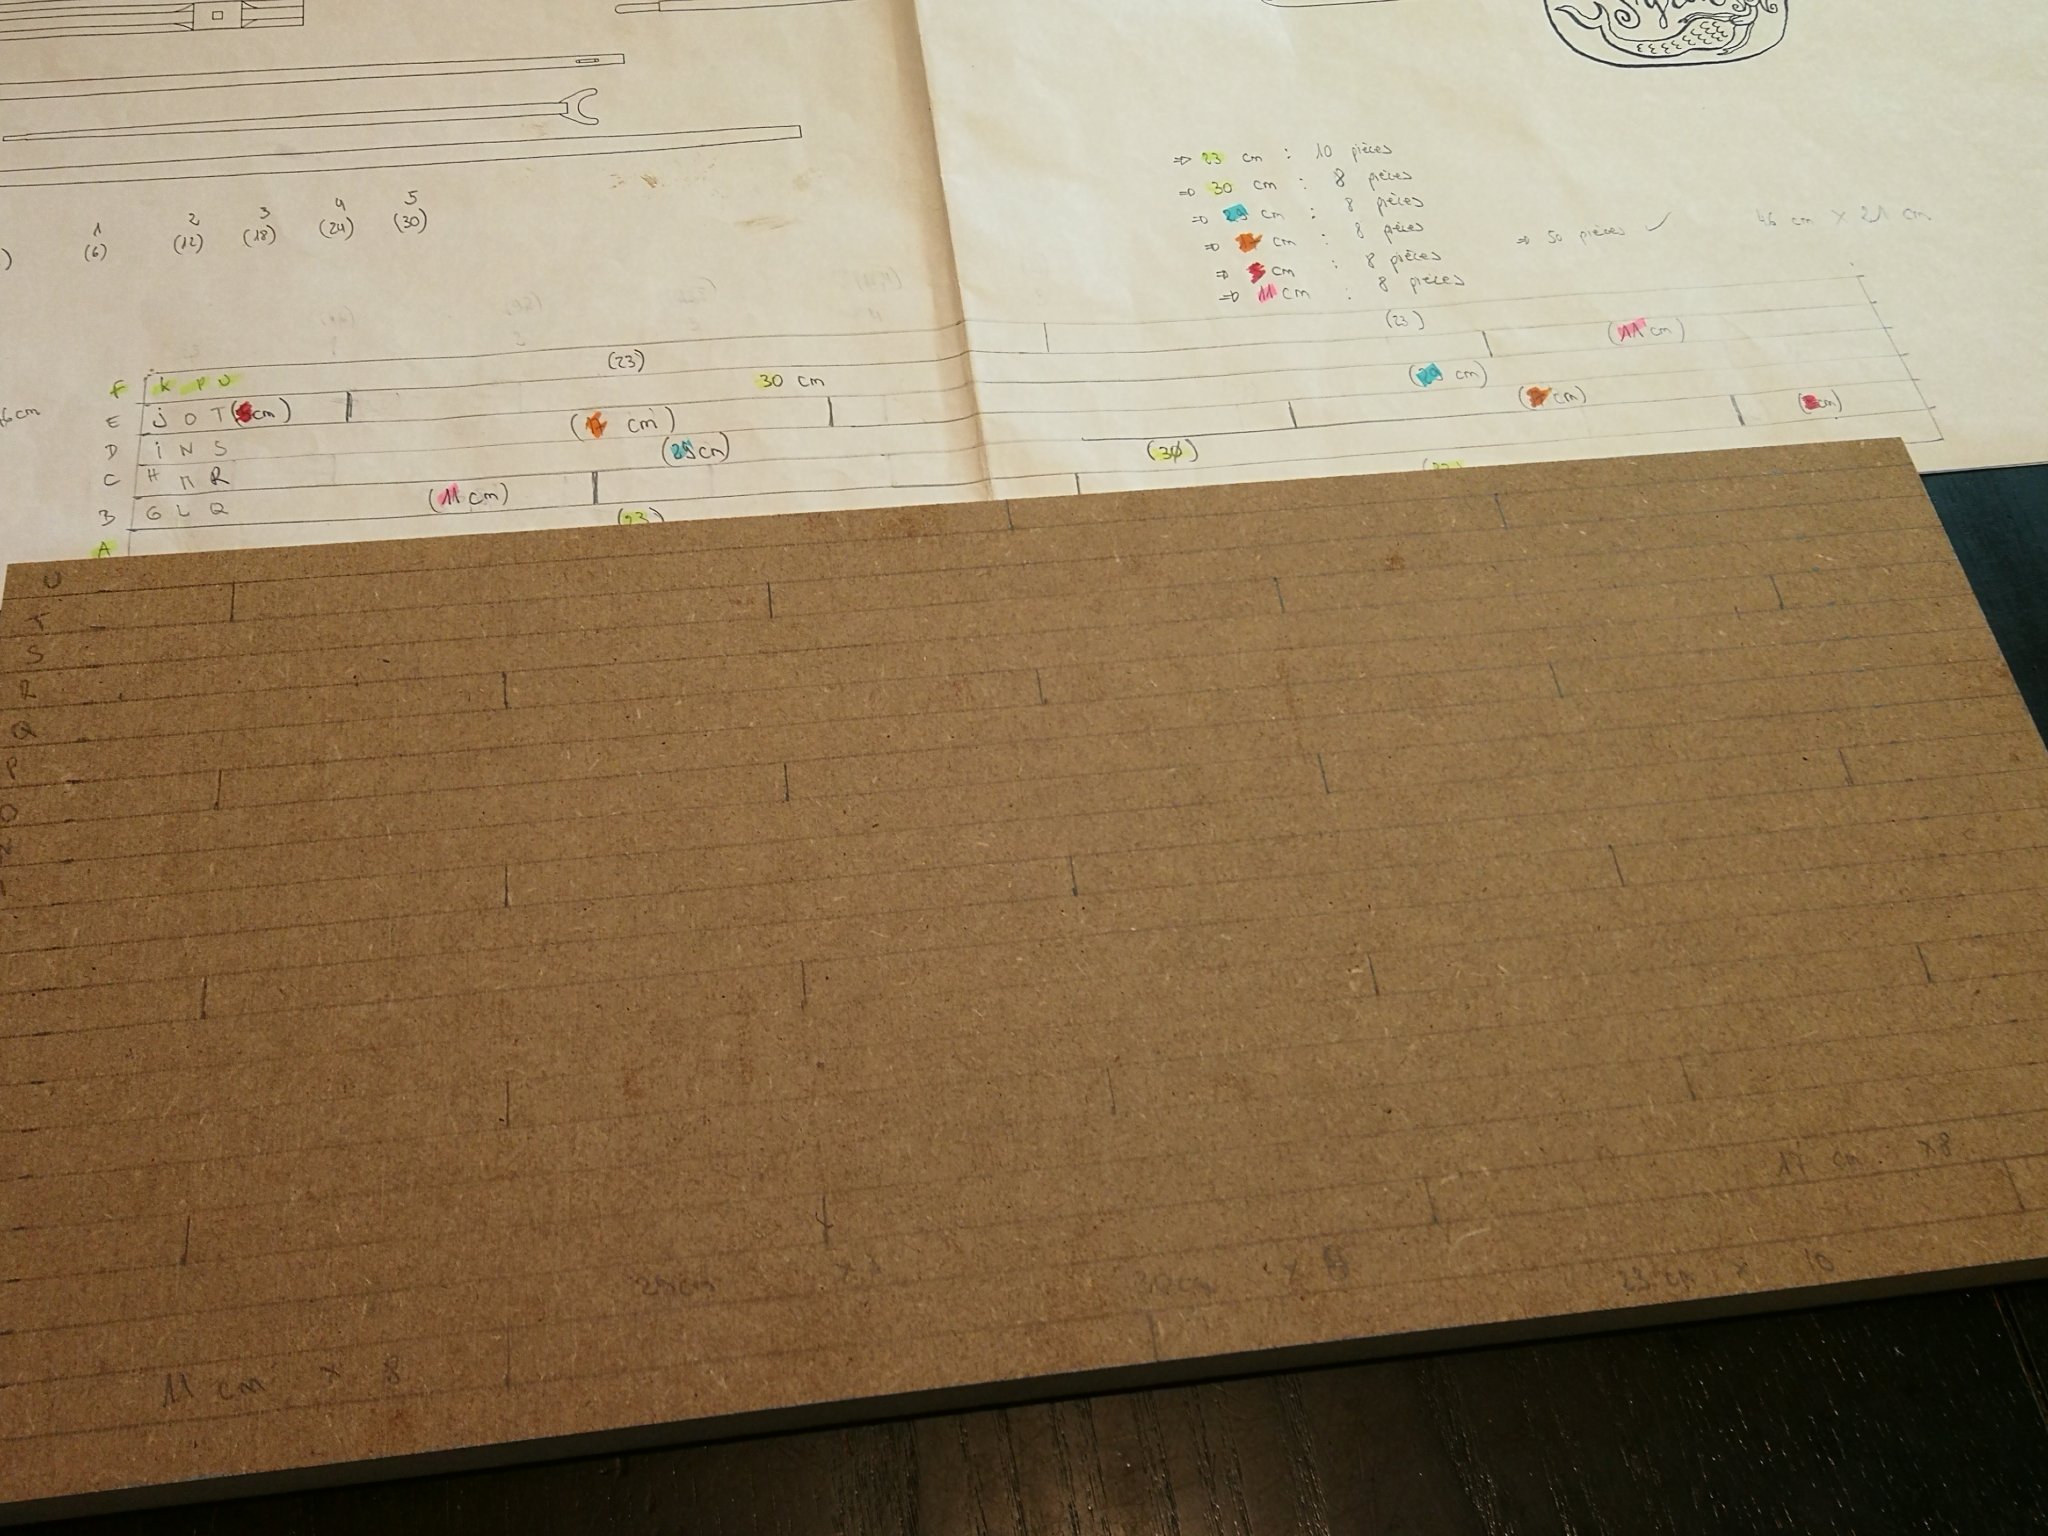
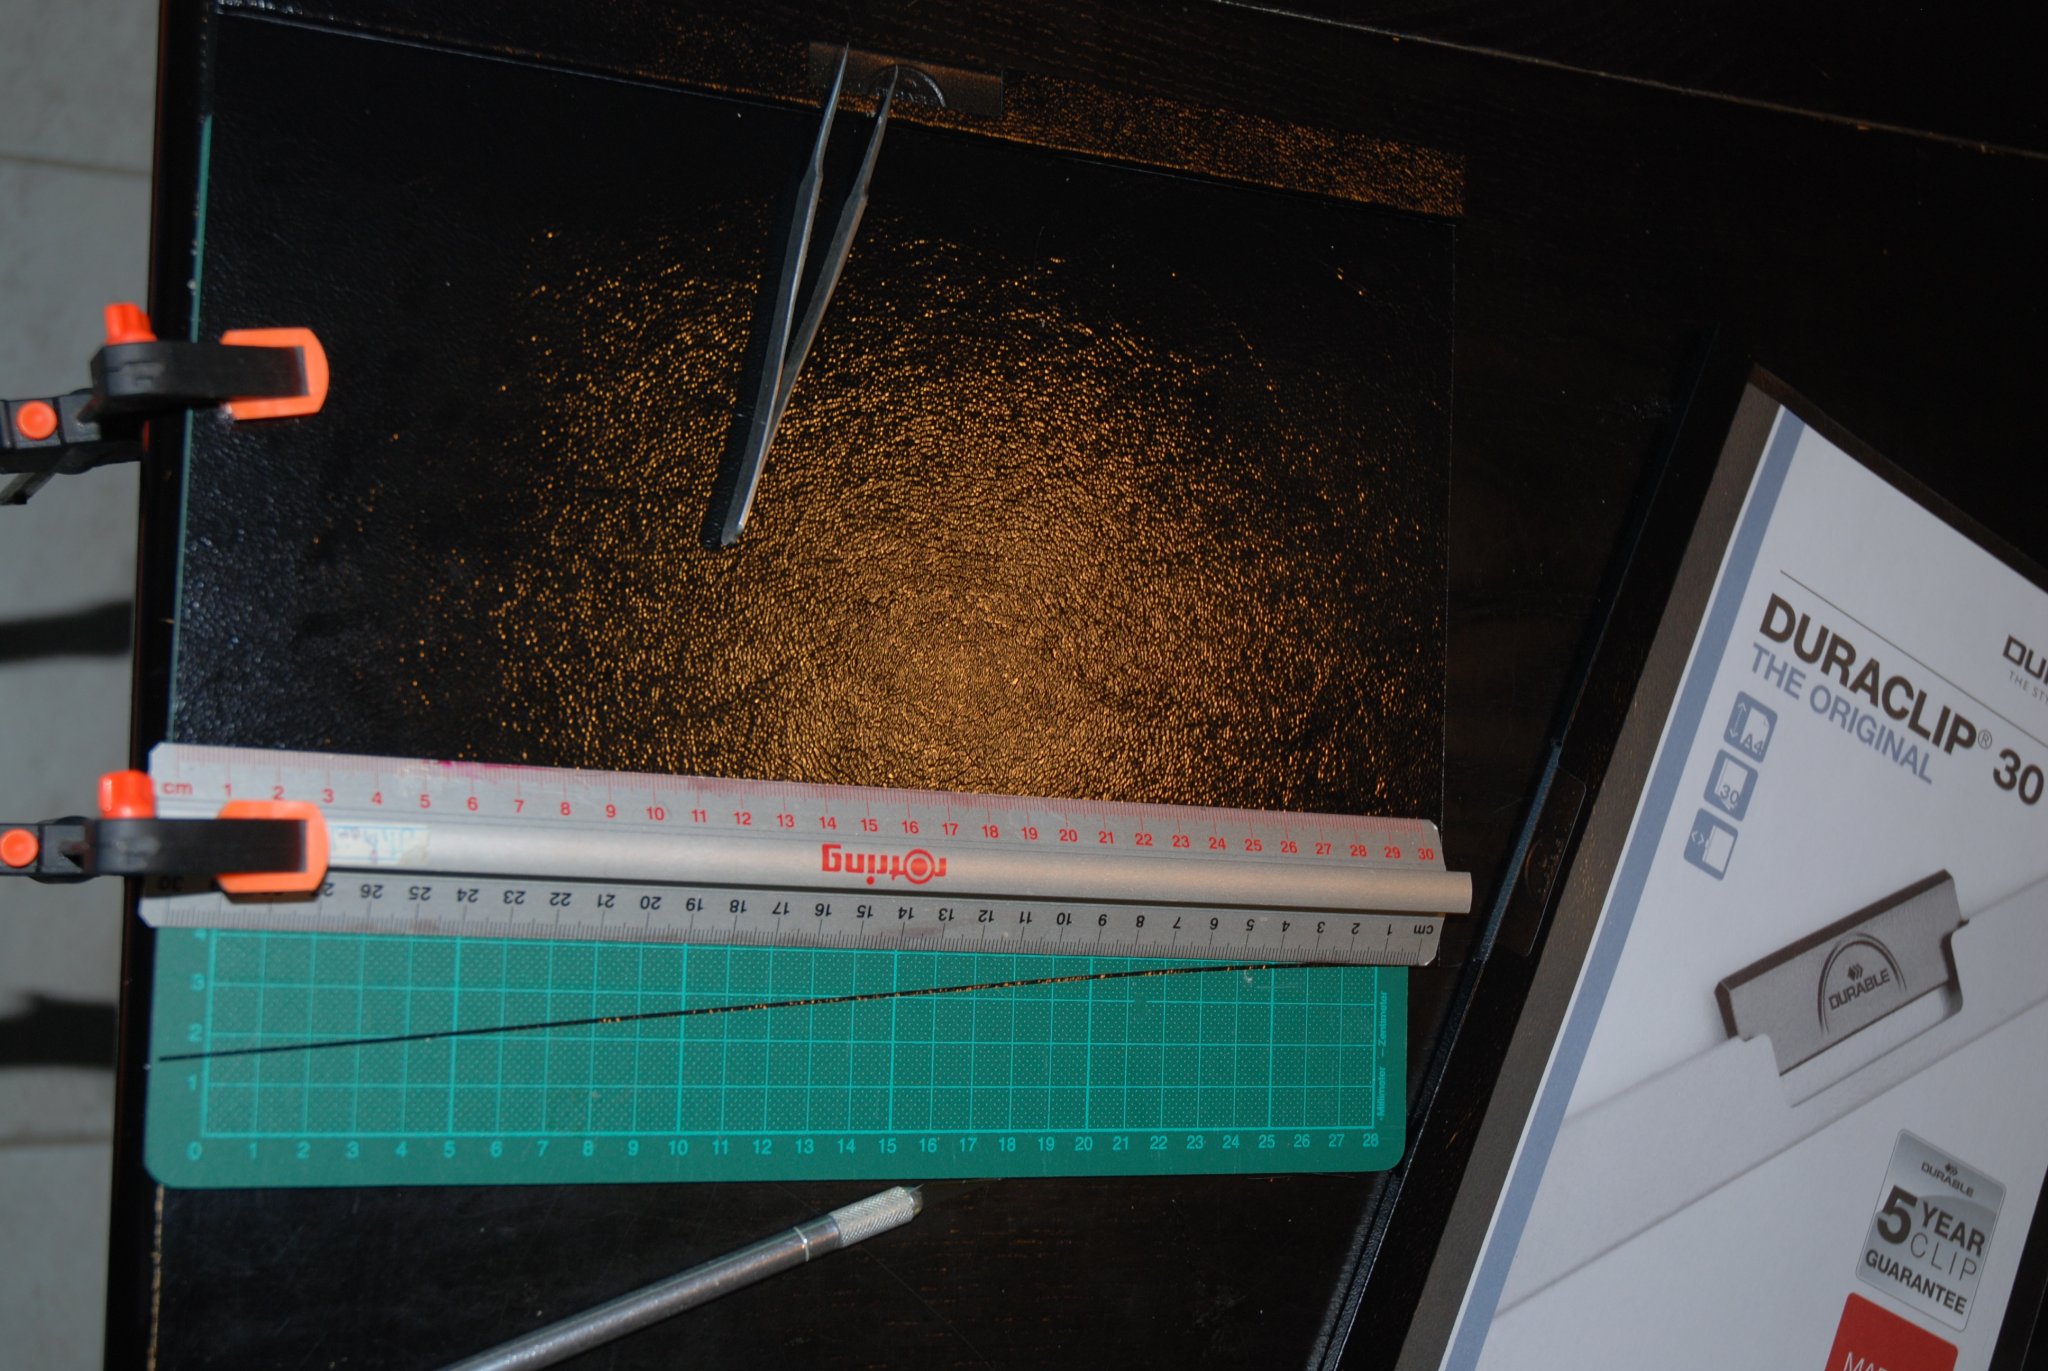
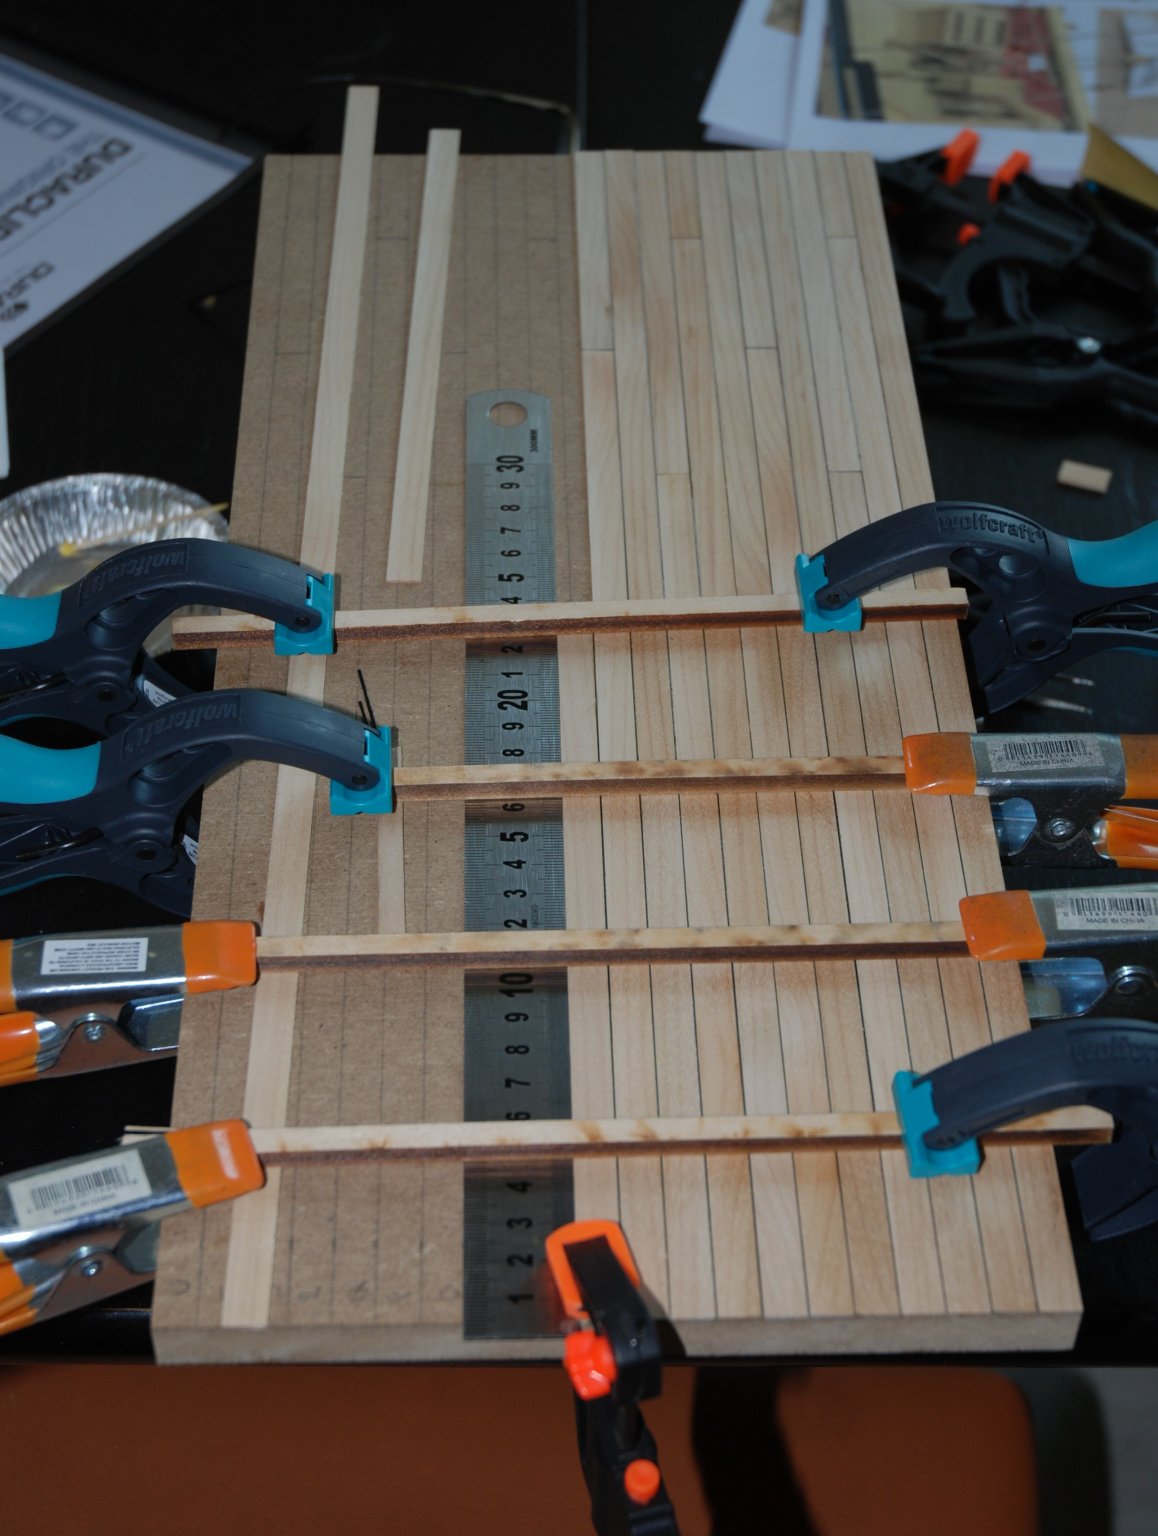
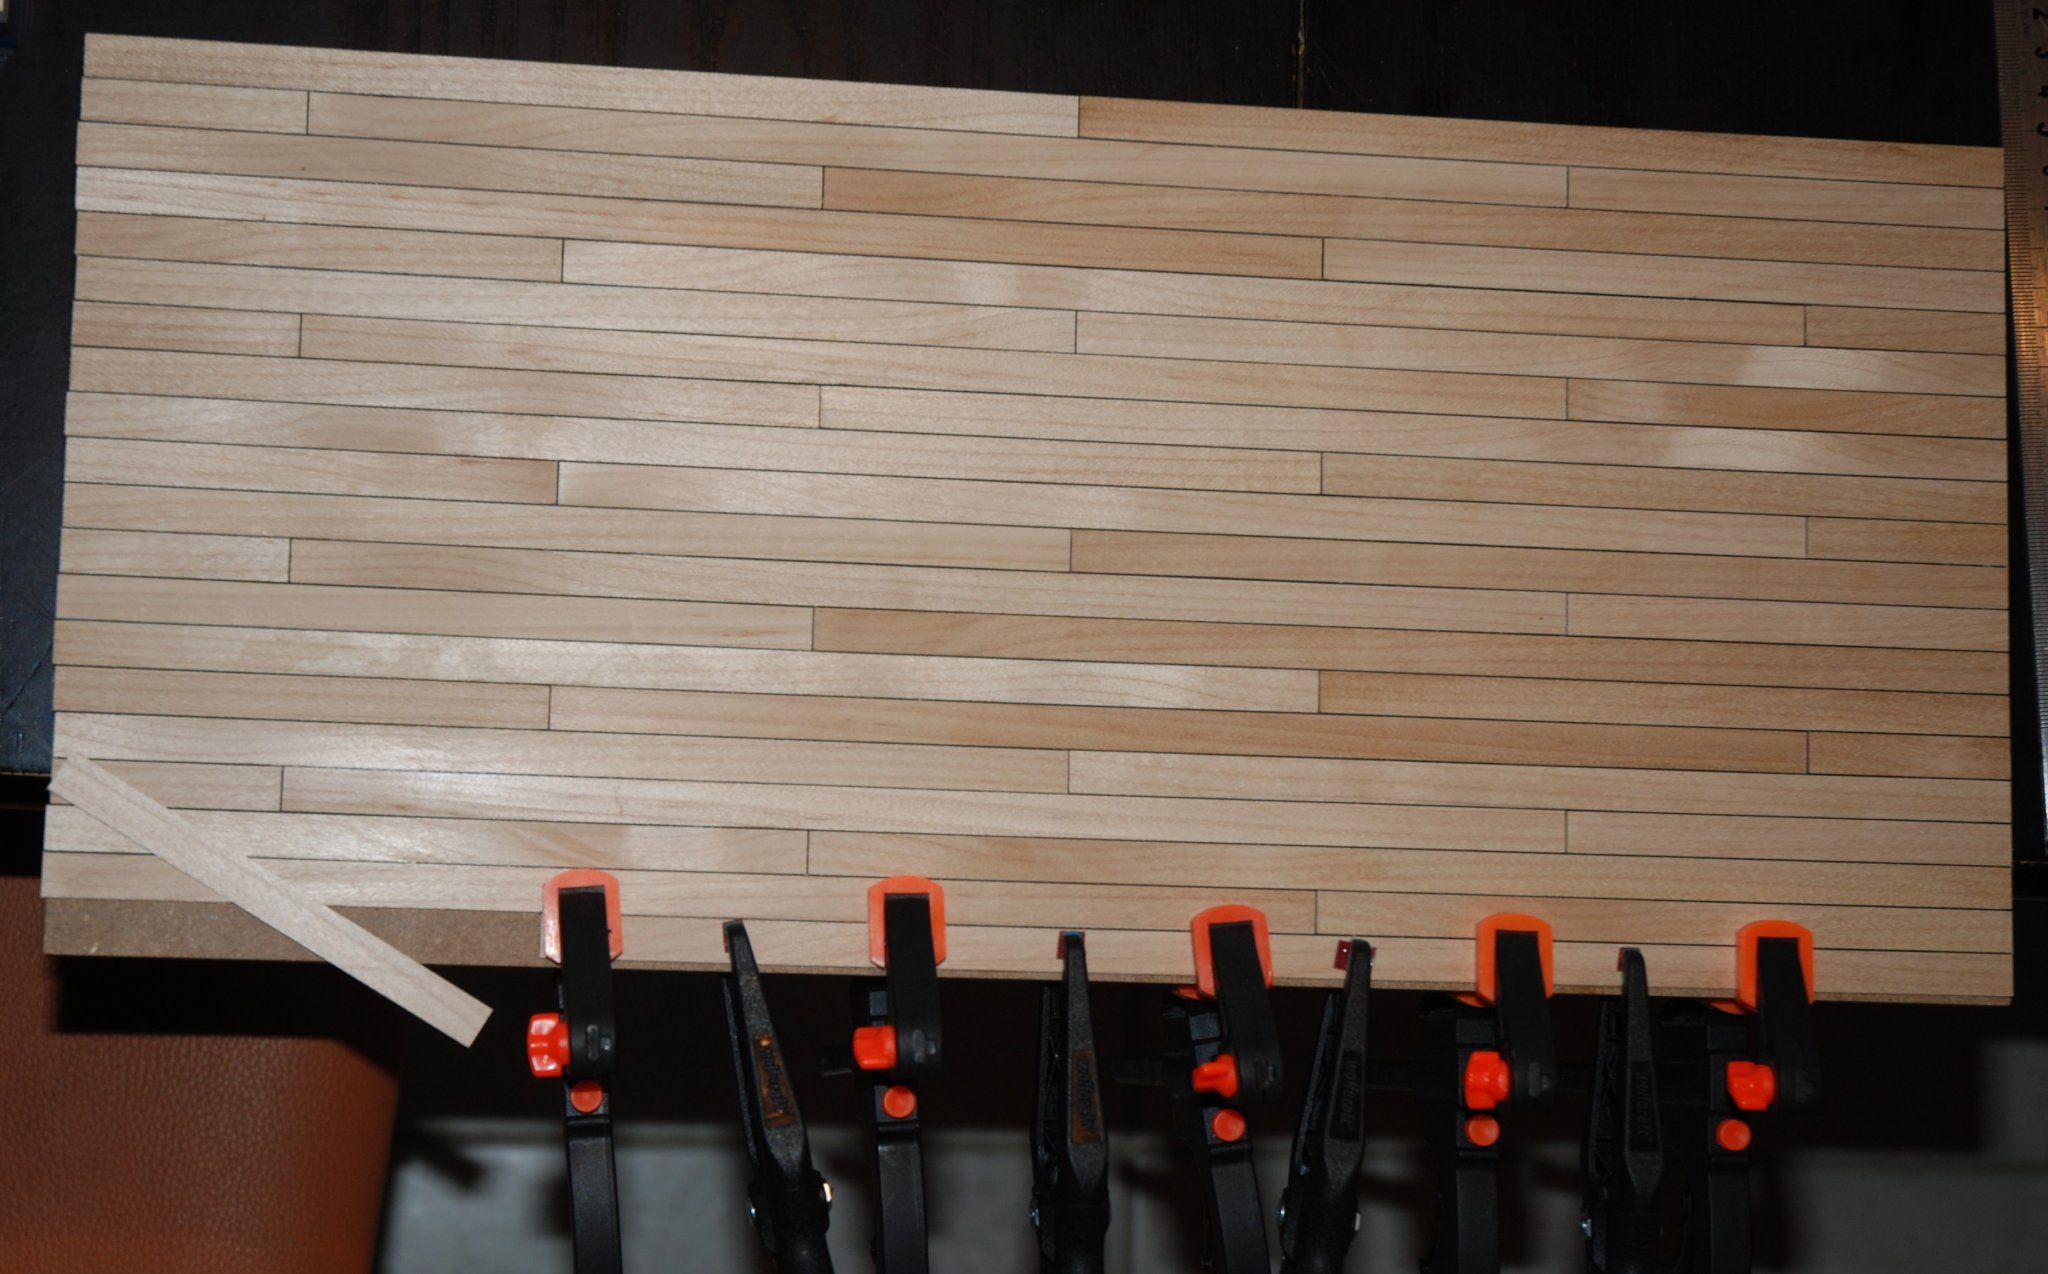
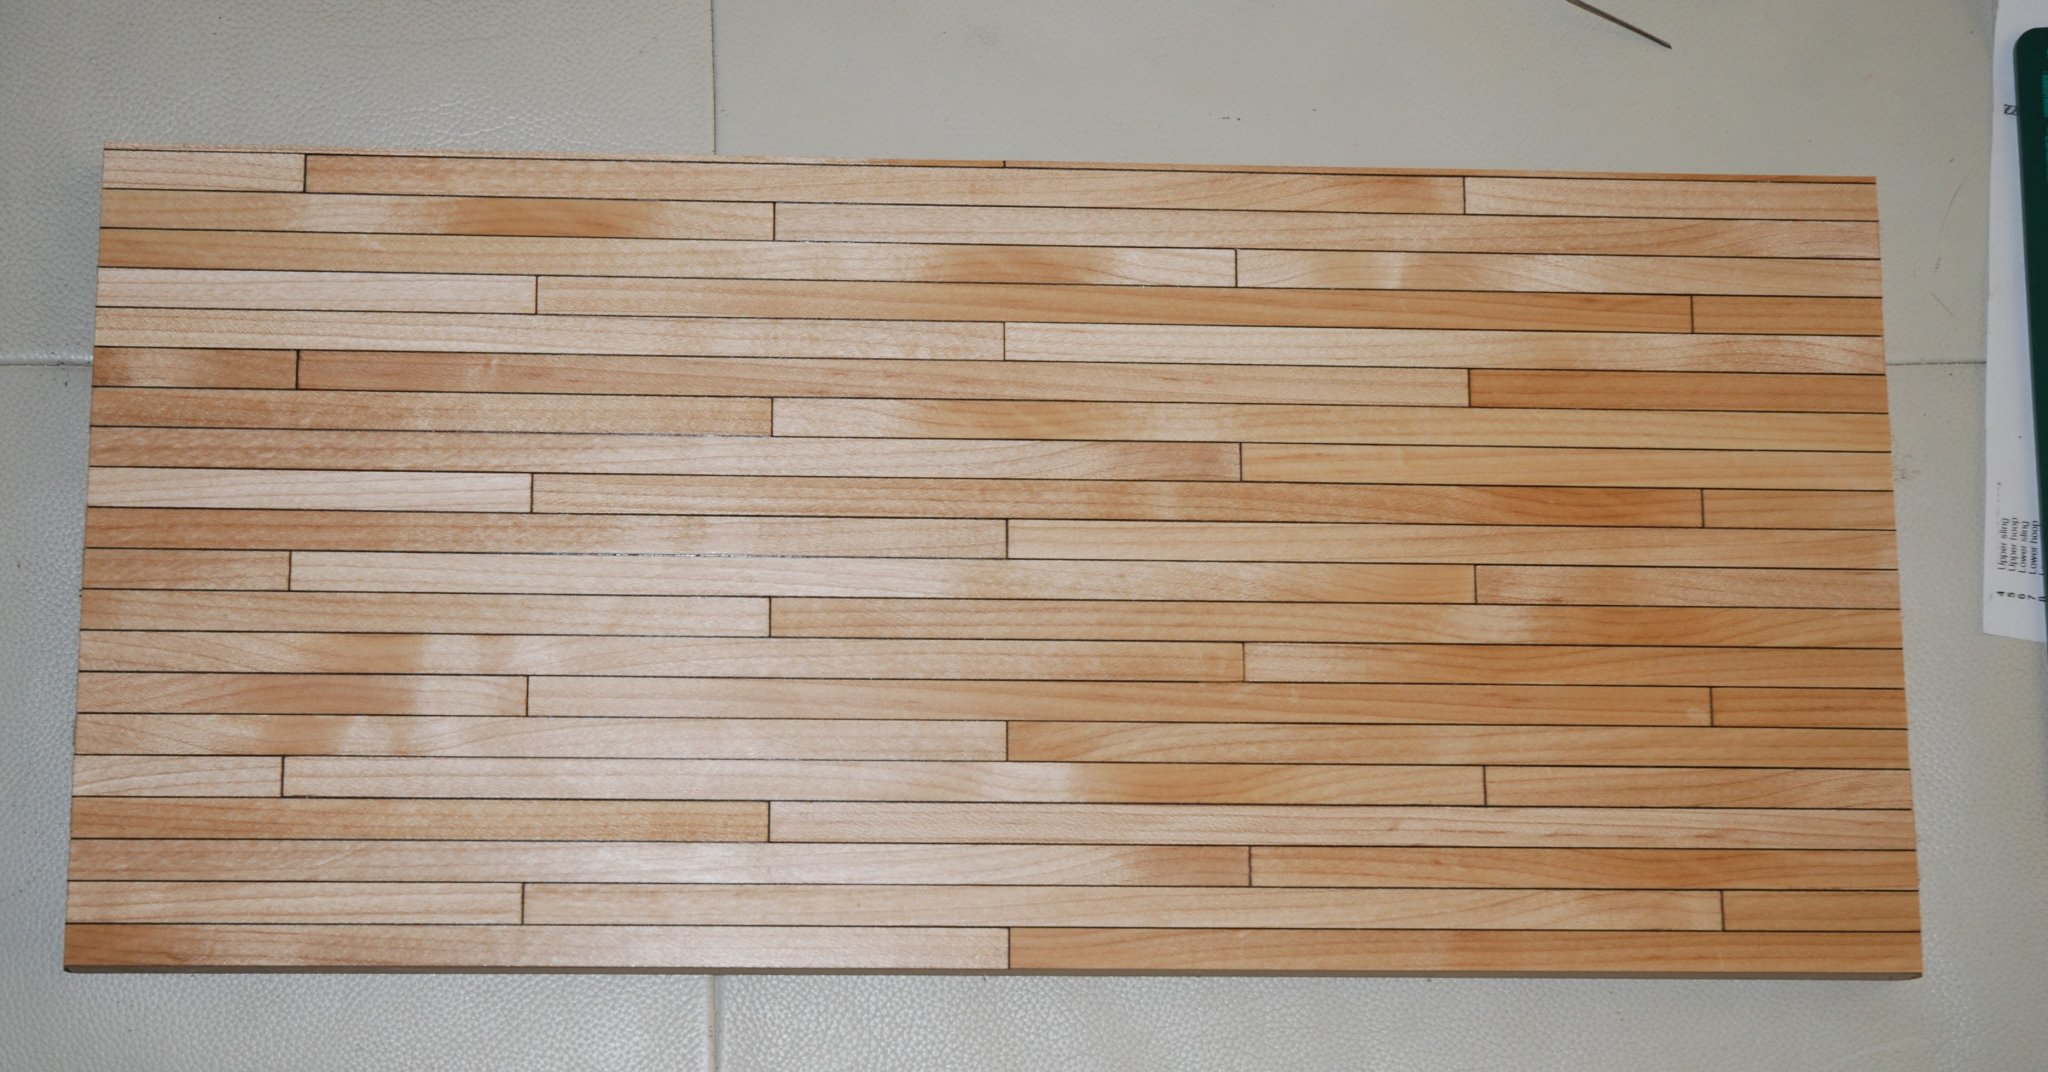
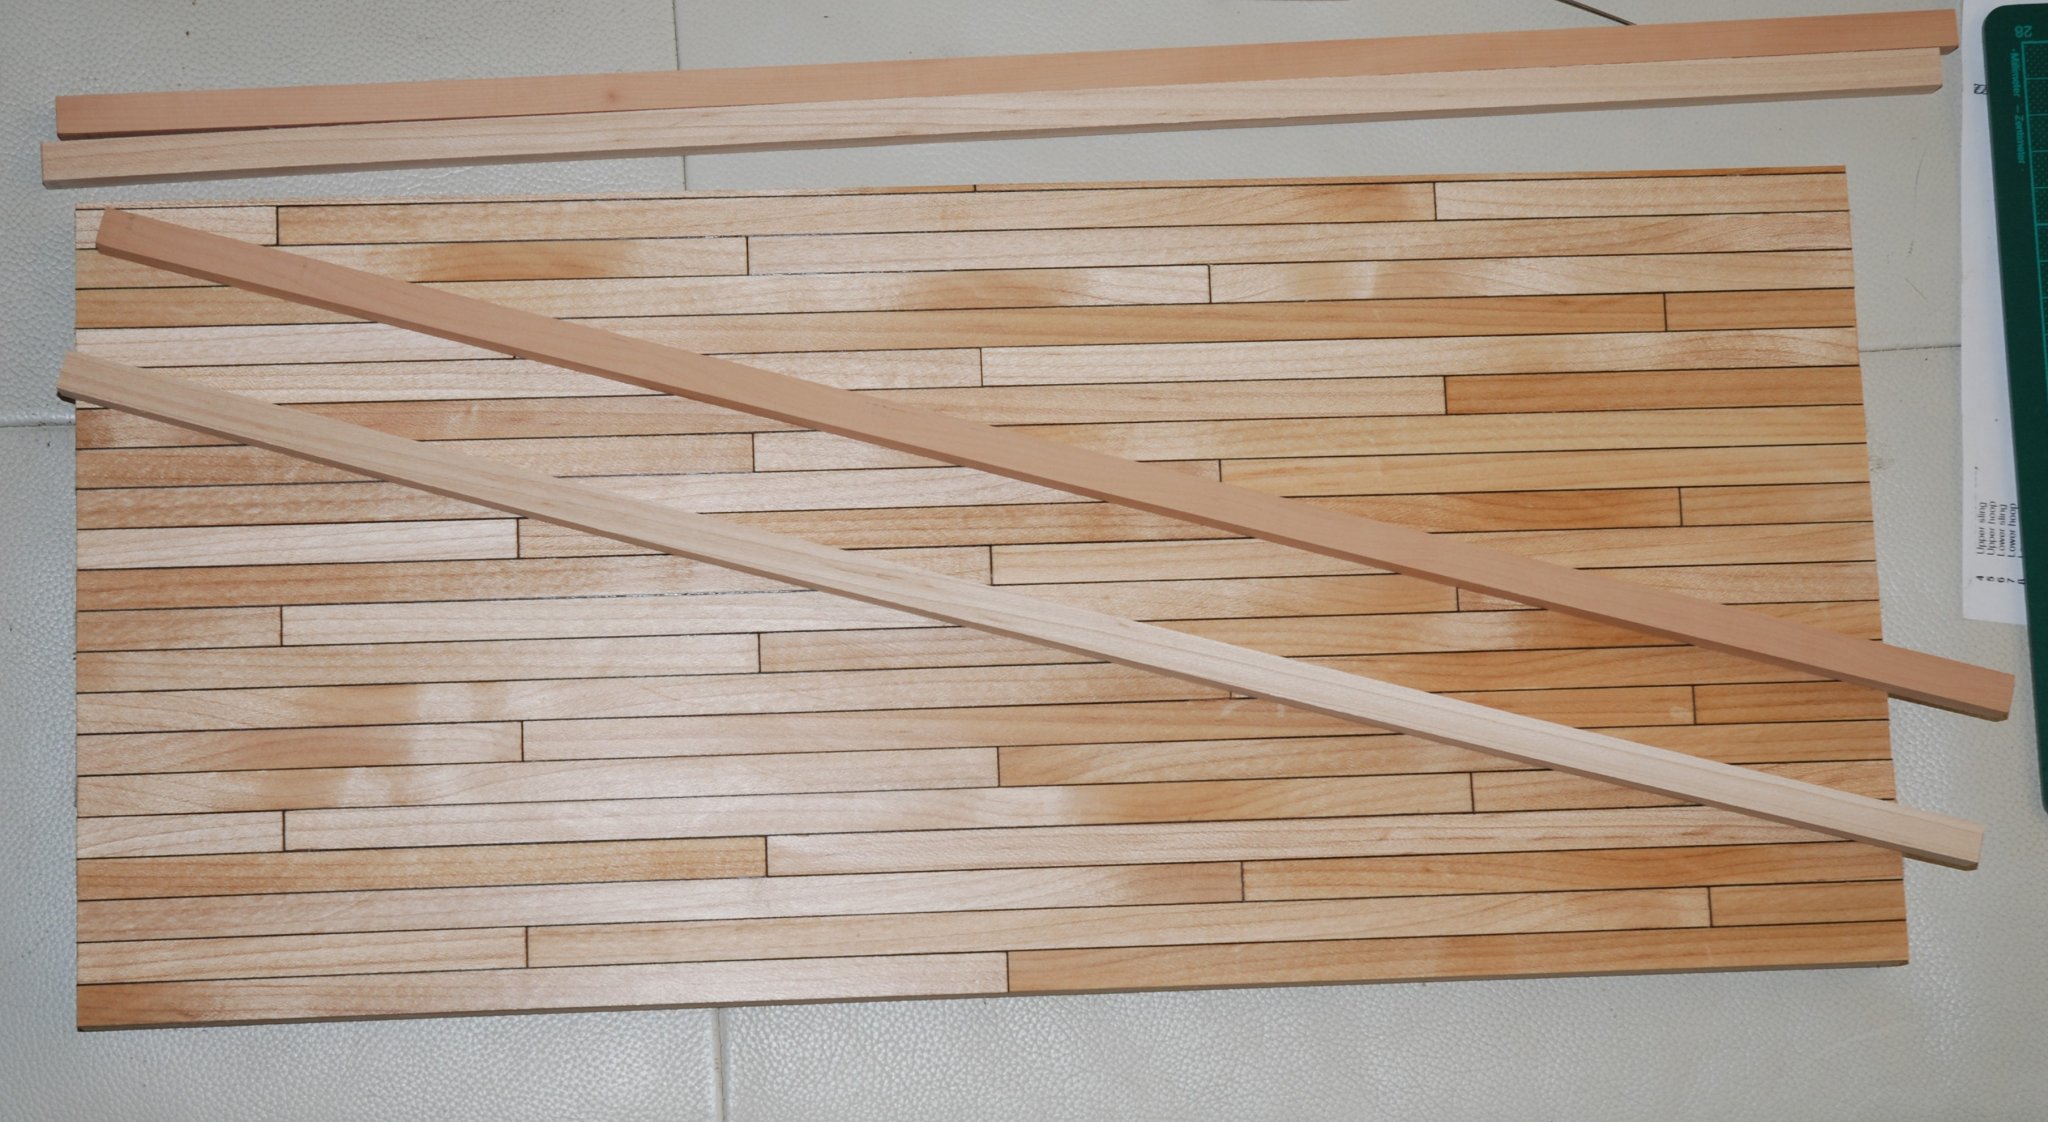
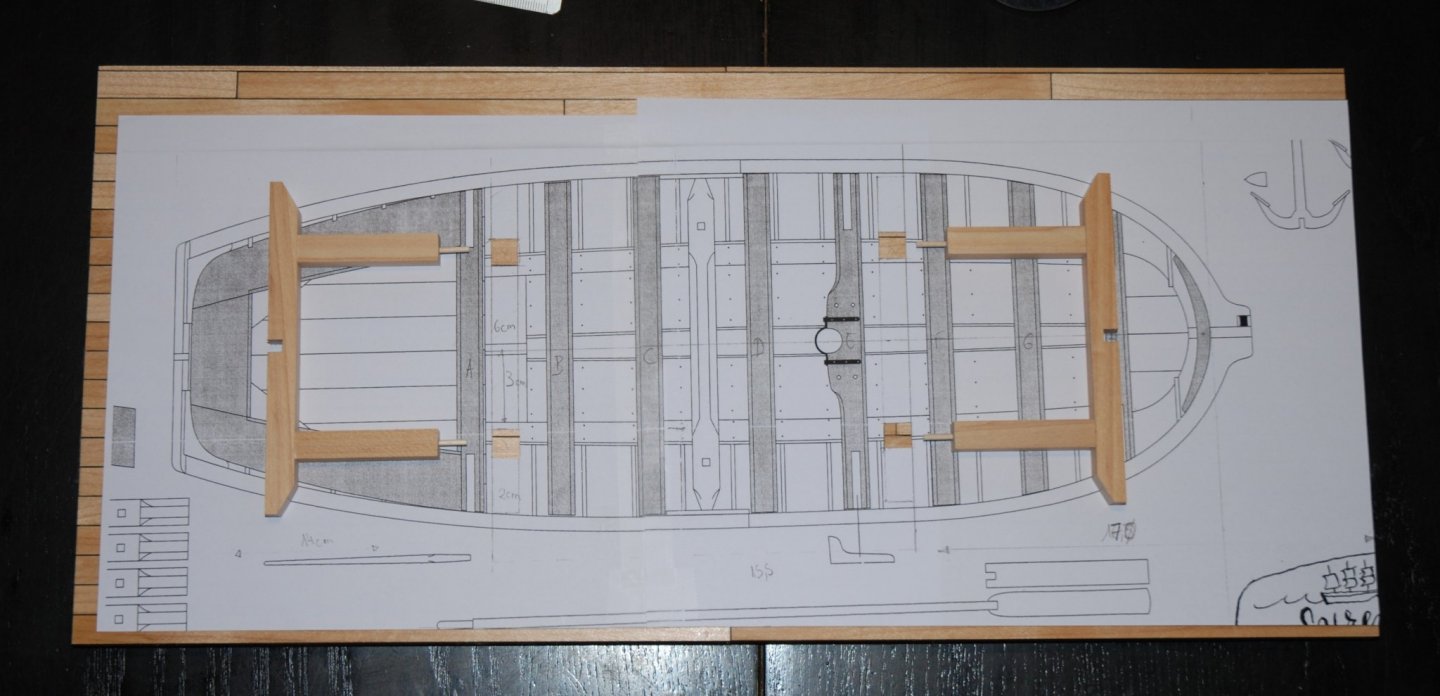
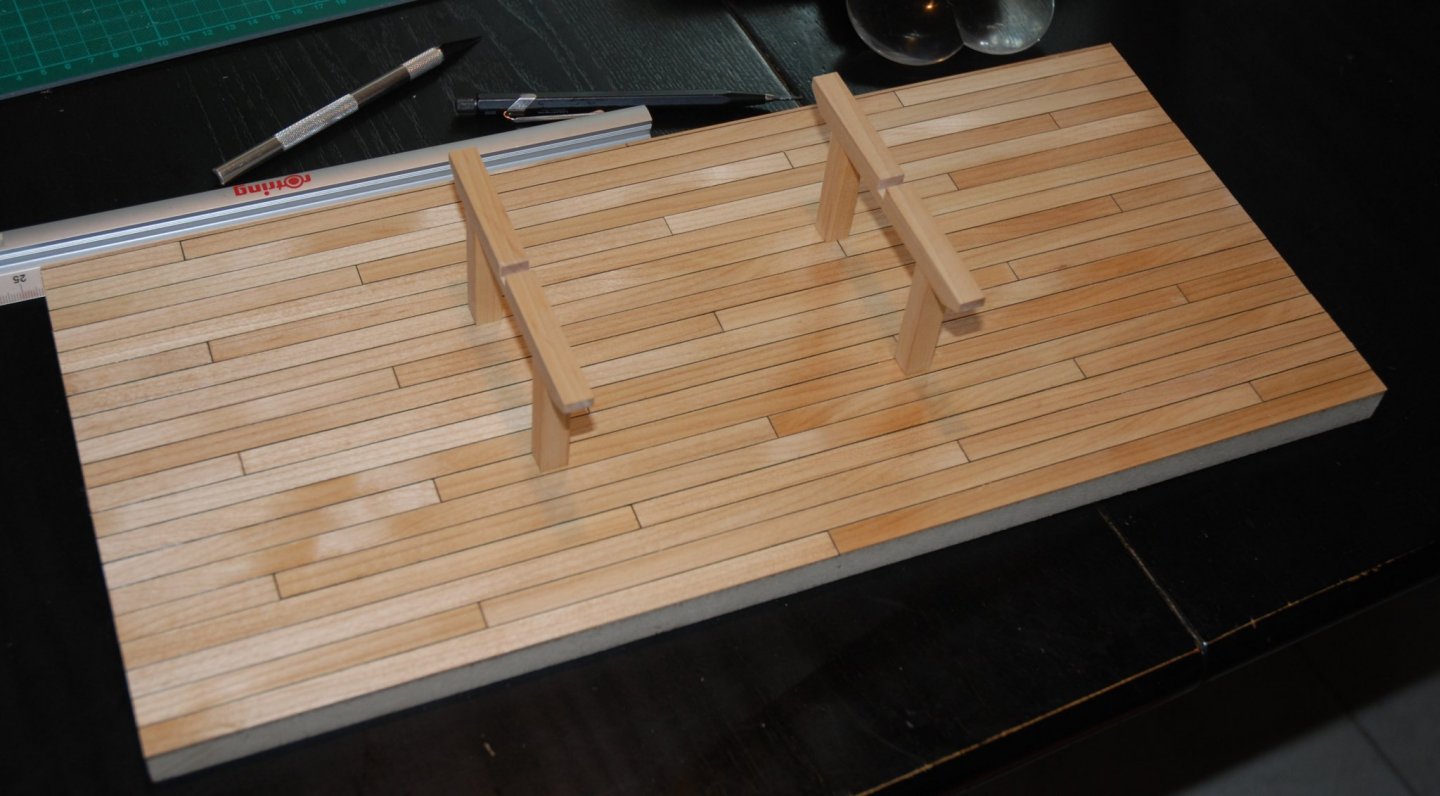
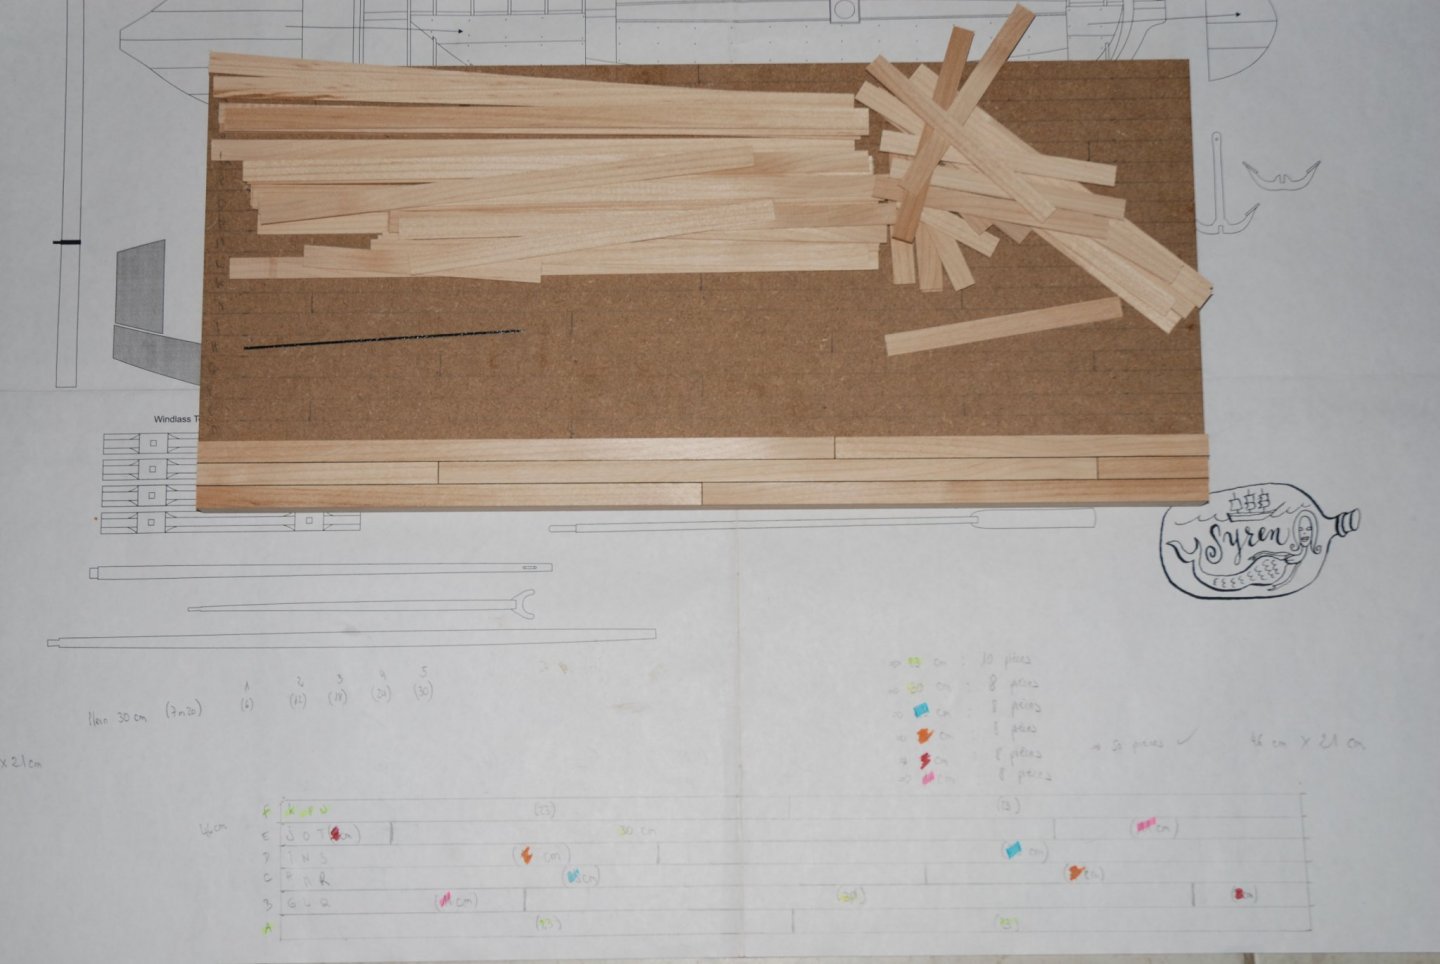
Thank you Gary for your kind words. Your work is a reference for me and motivates me enormously. Thank you to all the 'Likes'. I want to finalize the base for my longboat. I will try to reproduce part of a ship's deck. It will not be a faithful reproduction but rather an inspiration. First, I draw the laying plane in order to determine the length of the different segments. All the planks are then cut. My new Byrnes table saw really makes my job easier 😁 I simulate the caulking using the black plastic sheet found at the back of the folders to store paper documents. It suffices to precisely cut strips of the width corresponding to the thickness of the planks and then glue them between each row. As the gluing is done with wood glue, I spread my work over 2 weeks because you have to wait until each row is completely dry before proceeding with the installation of the next one. The left edge will need to be sanded to equalize the length... A first coat of teak oil is applied. I will need your advice on the species of wood to use for the small support on which the longboat will be placed. There are two options: use the same wood species as that of the deck, in that case: american mapple (strip of wood located below in the photo) or use swiss pear (strip of wood located above). It seems more judicious to me to use pear wood in order to better distinguish the two different elements: the ship's deck and the longboat support. But I still hesitate ... What do you think?


-
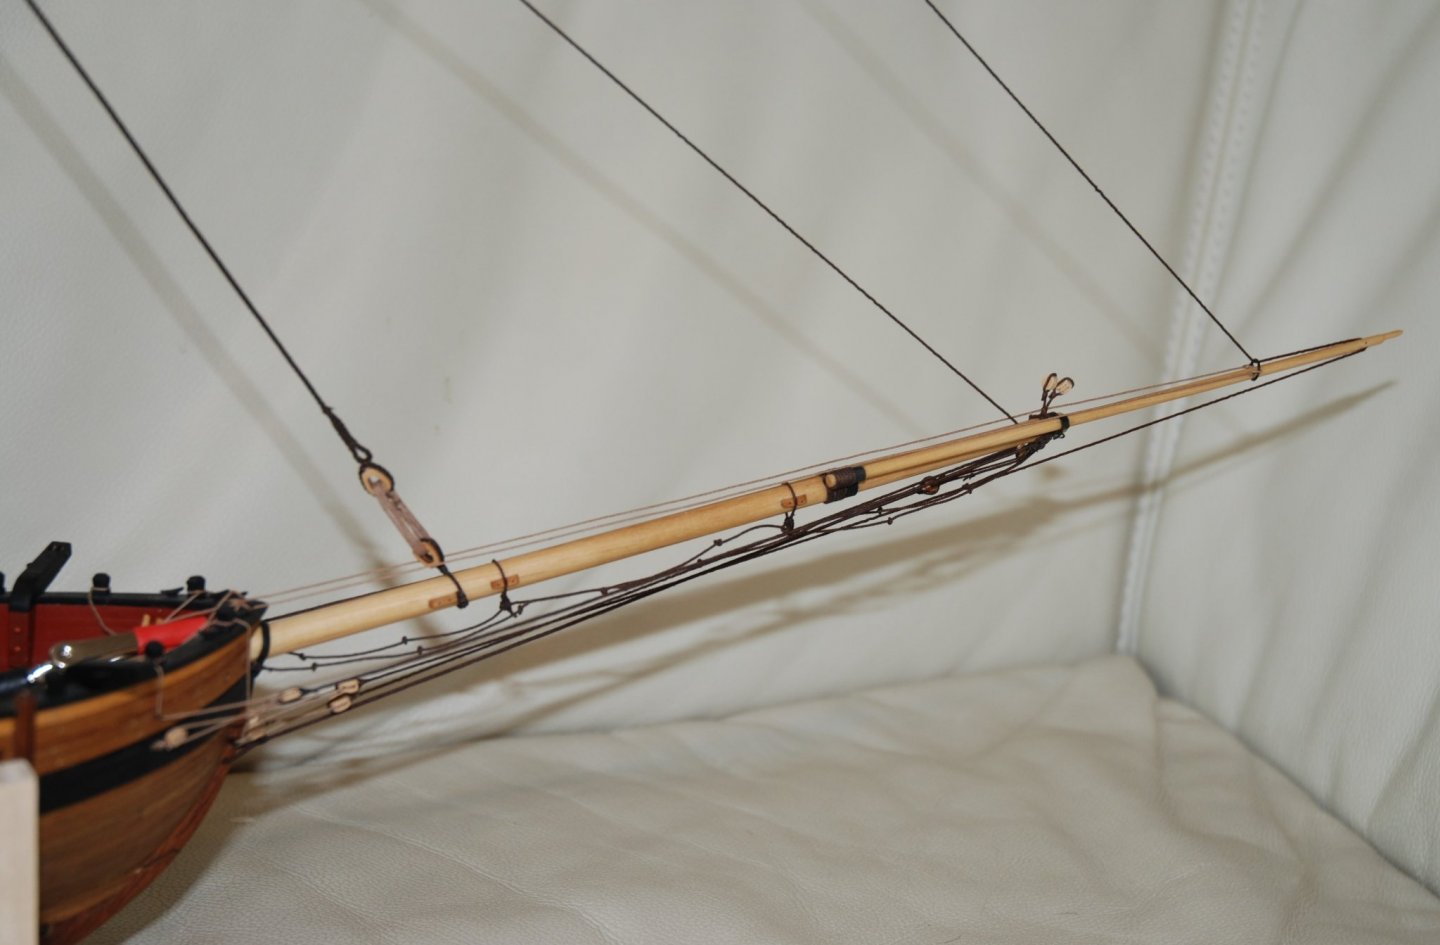
The rigging work continues. Nothing is finished because I was expecting an order for some ropes from Syren. The boom topping lift, the gaff throat halliard and the gaff peak halliards are being installed. Luckily, in one week my order arrived and I will be able to finalize these different lines.

- 164 replies
-
- 3
-
-
- first build
- model shipways
- (and 2 more)