HOLIDAY DONATION DRIVE - SUPPORT MSW - DO YOUR PART TO KEEP THIS GREAT FORUM GOING! (Only 36 donations so far out of 49,000 members - C'mon guys!)
×


Mirabell61
-
Posts
7,407 -
Joined
-
Last visited
Content Type
Profiles
Forums
Gallery
Events
Everything posted by Mirabell61
-
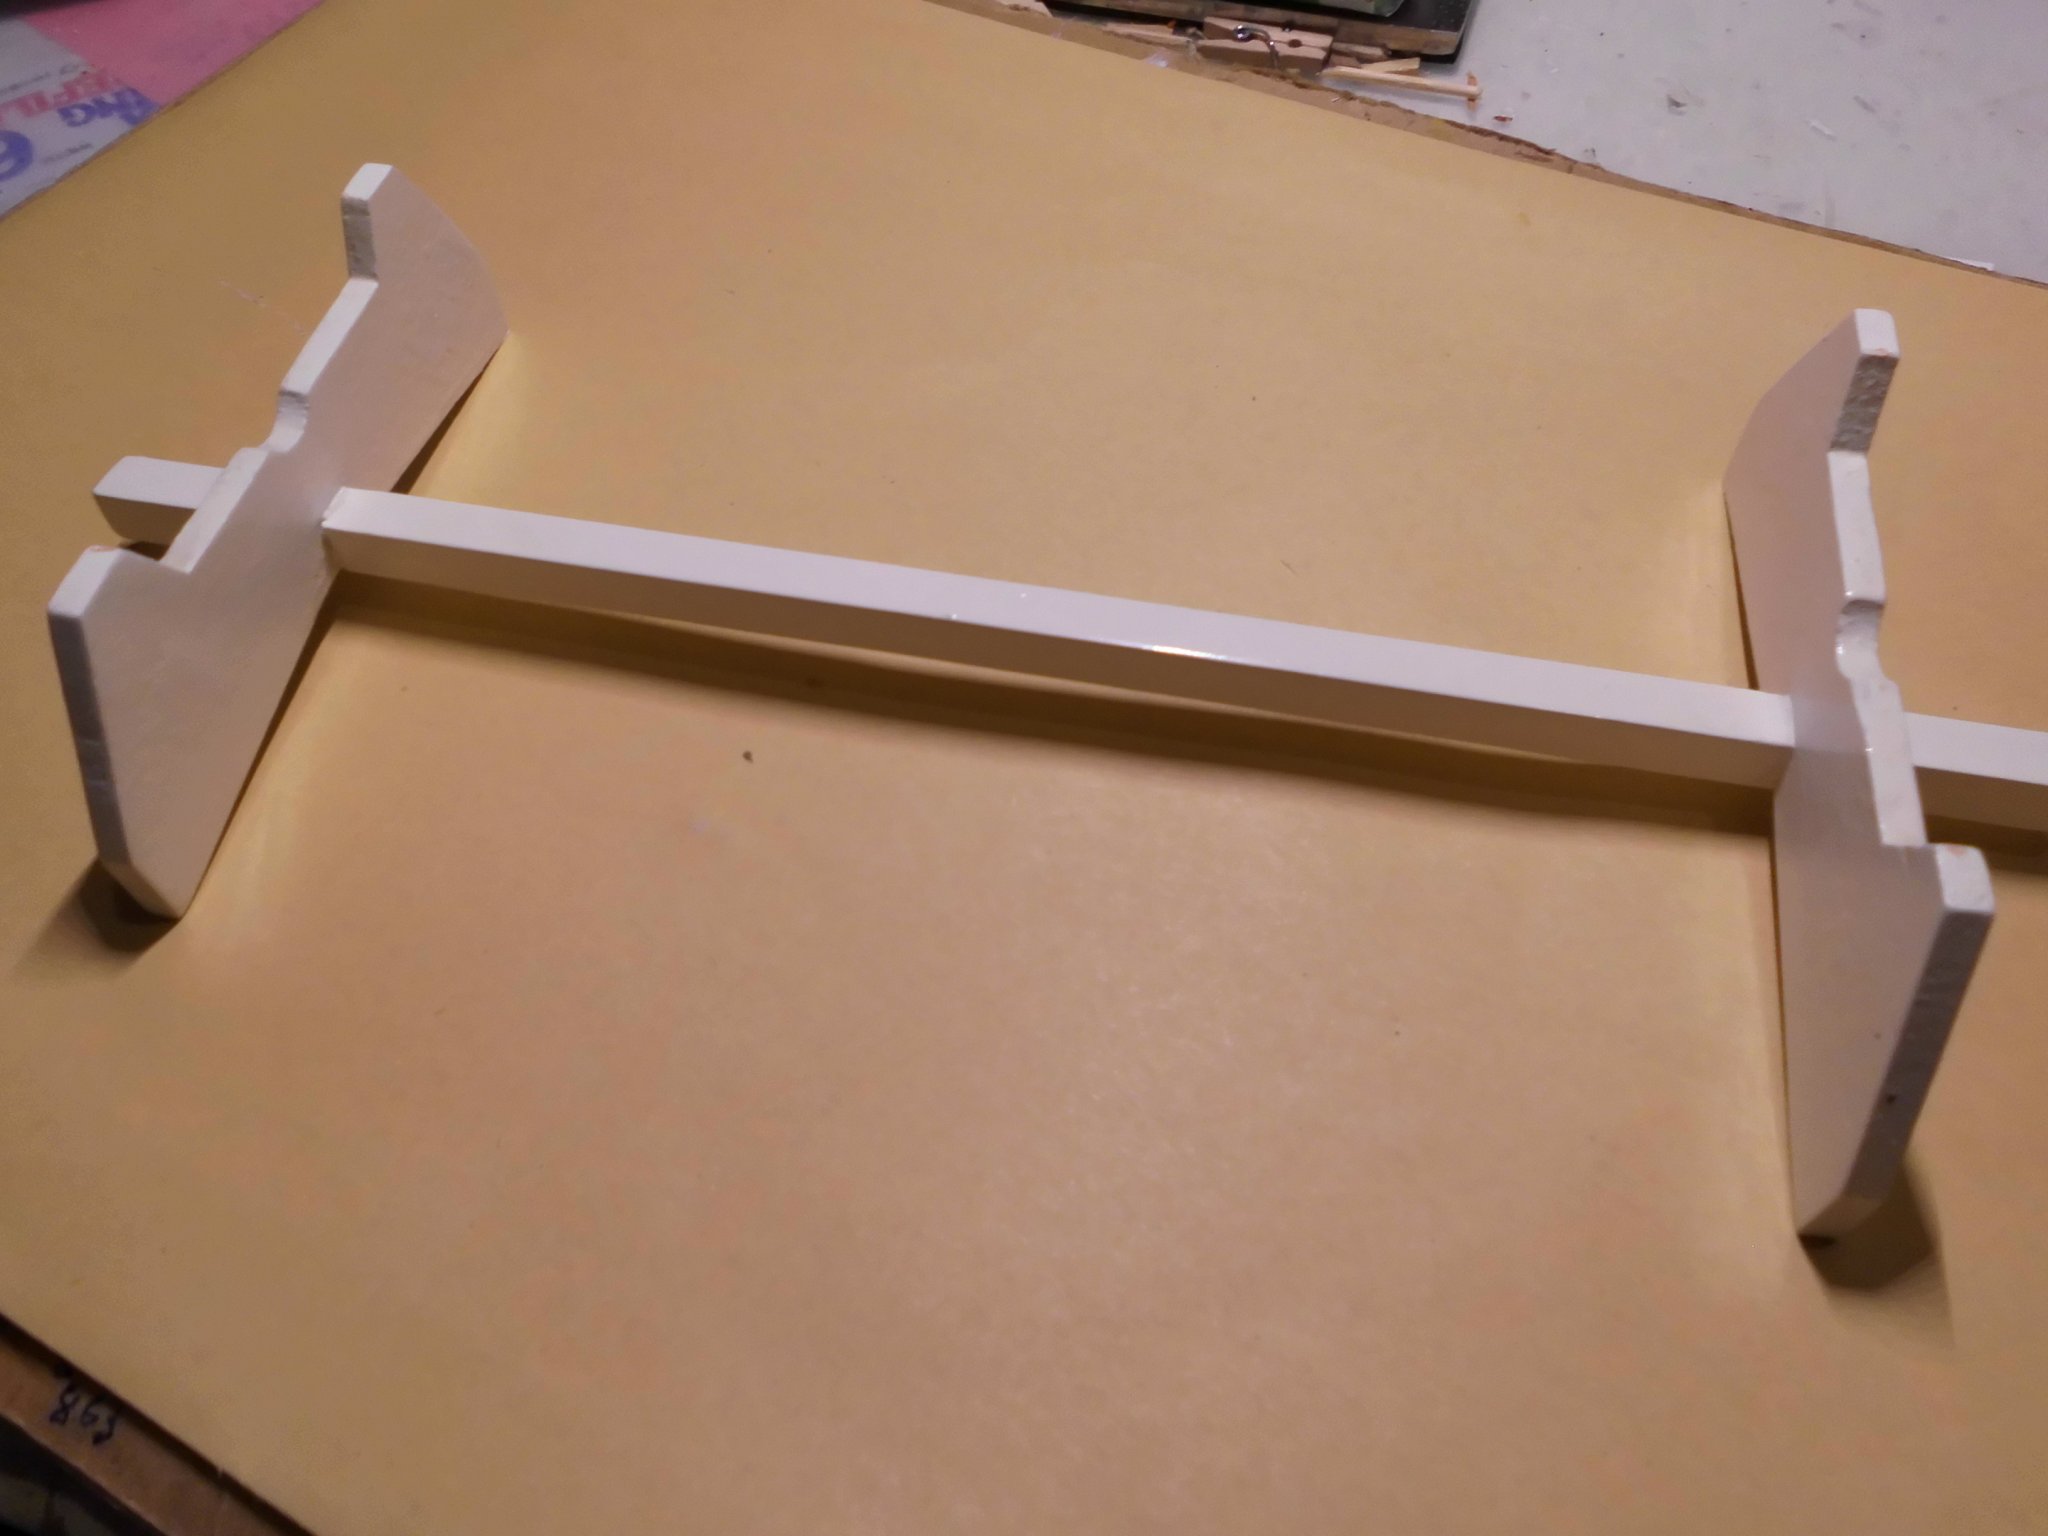
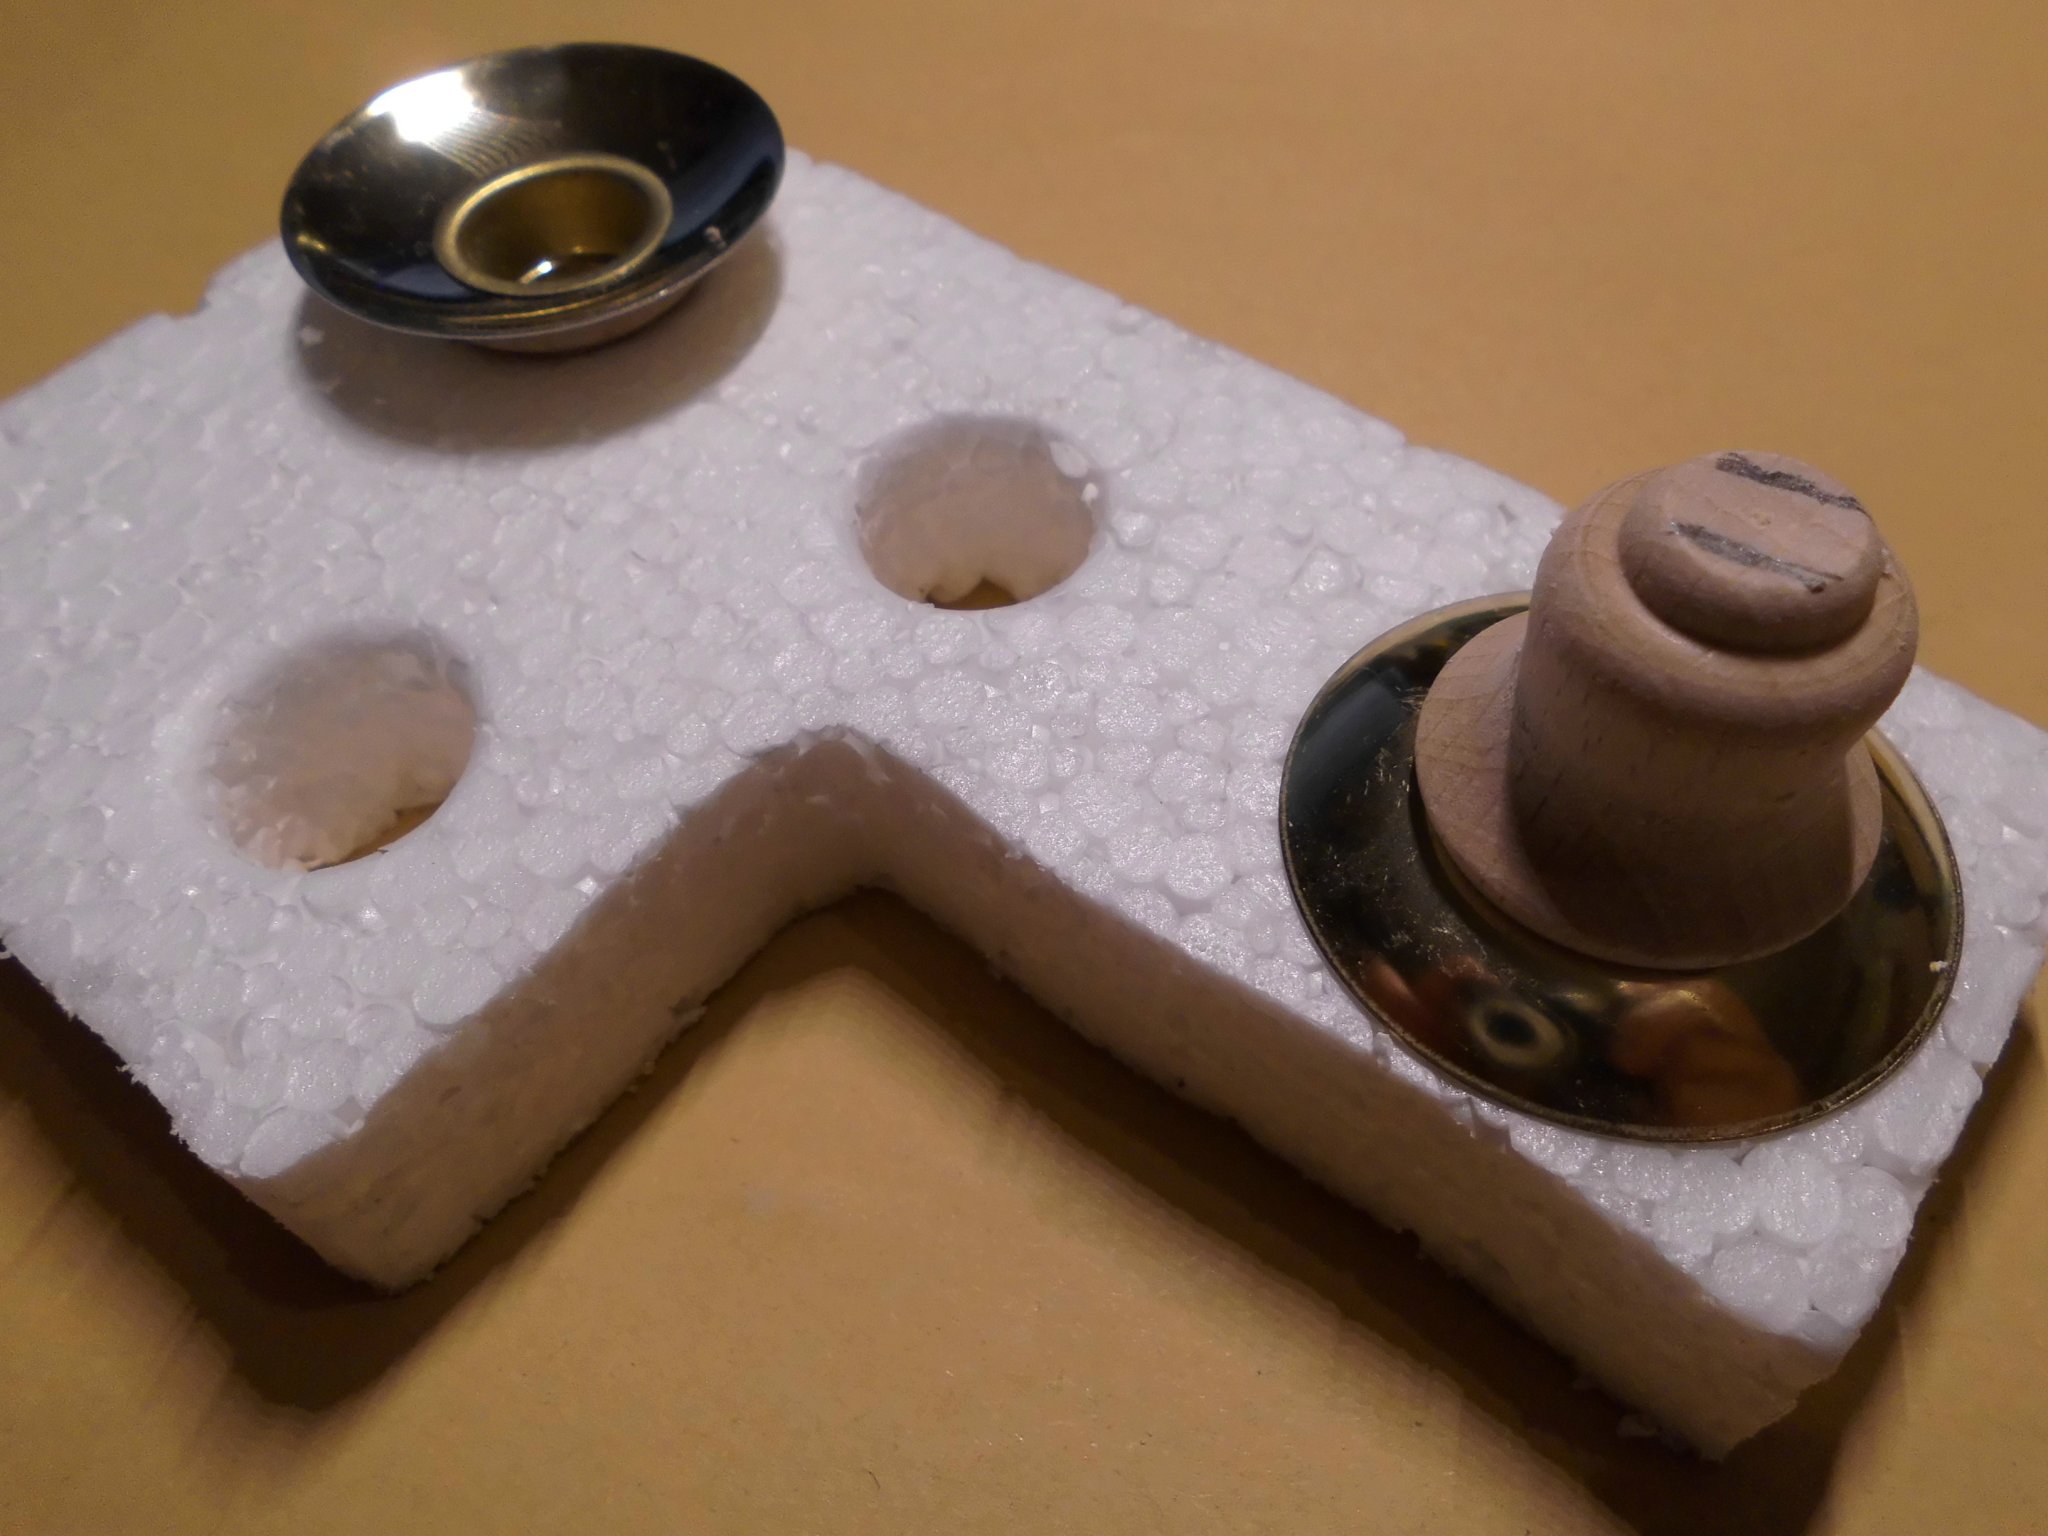
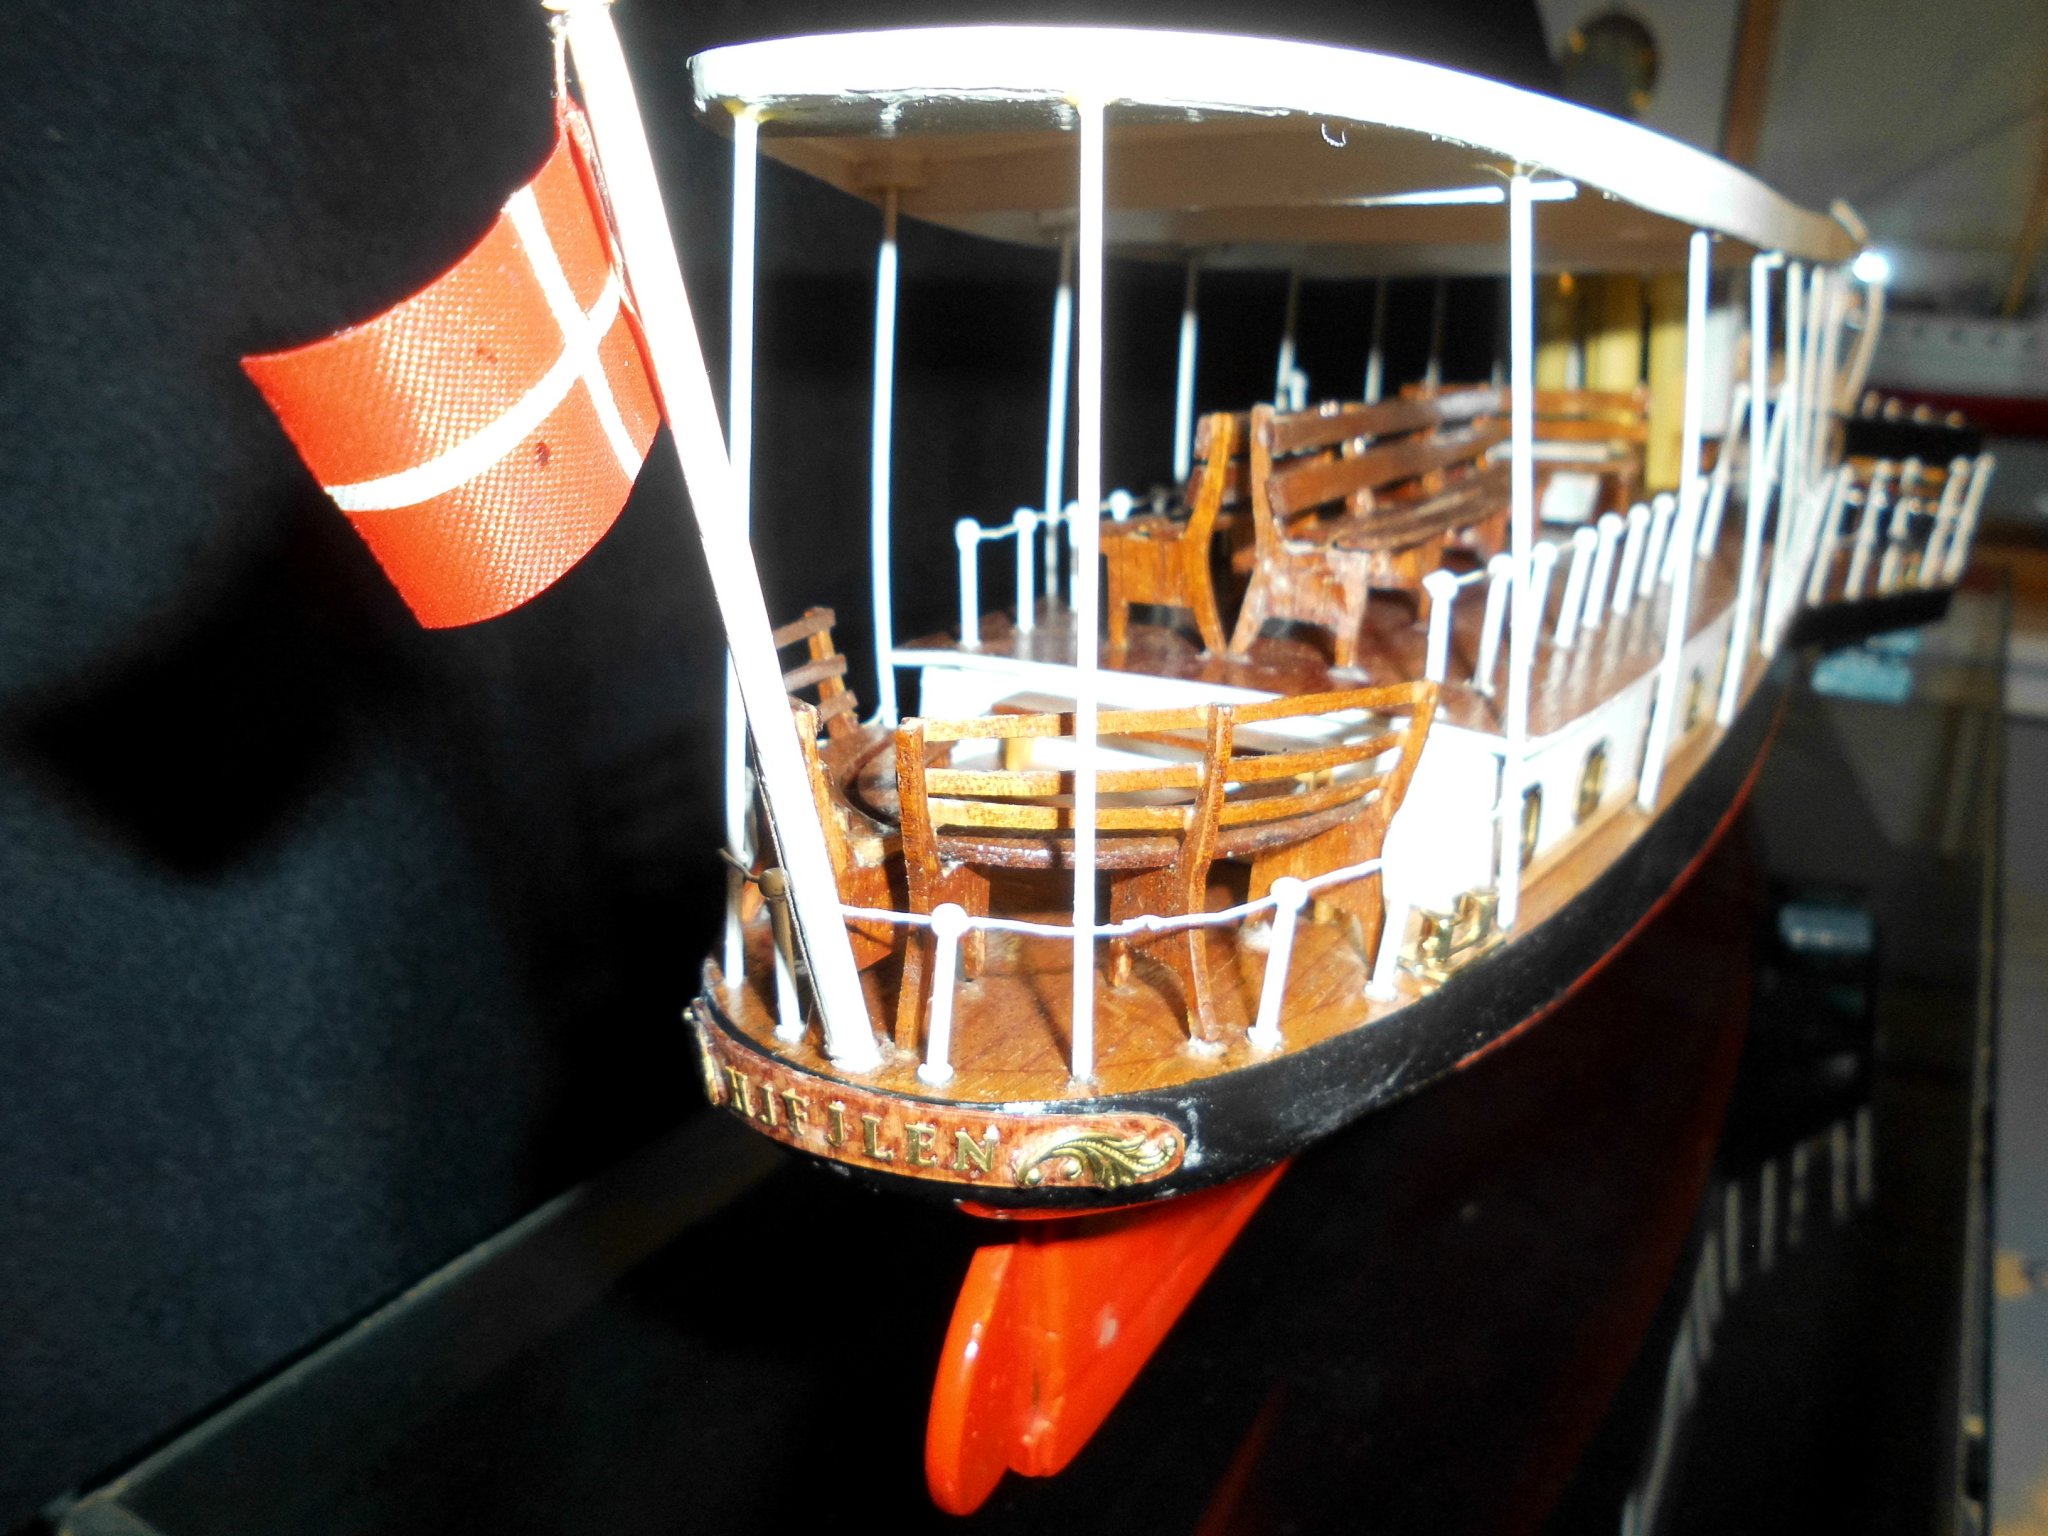
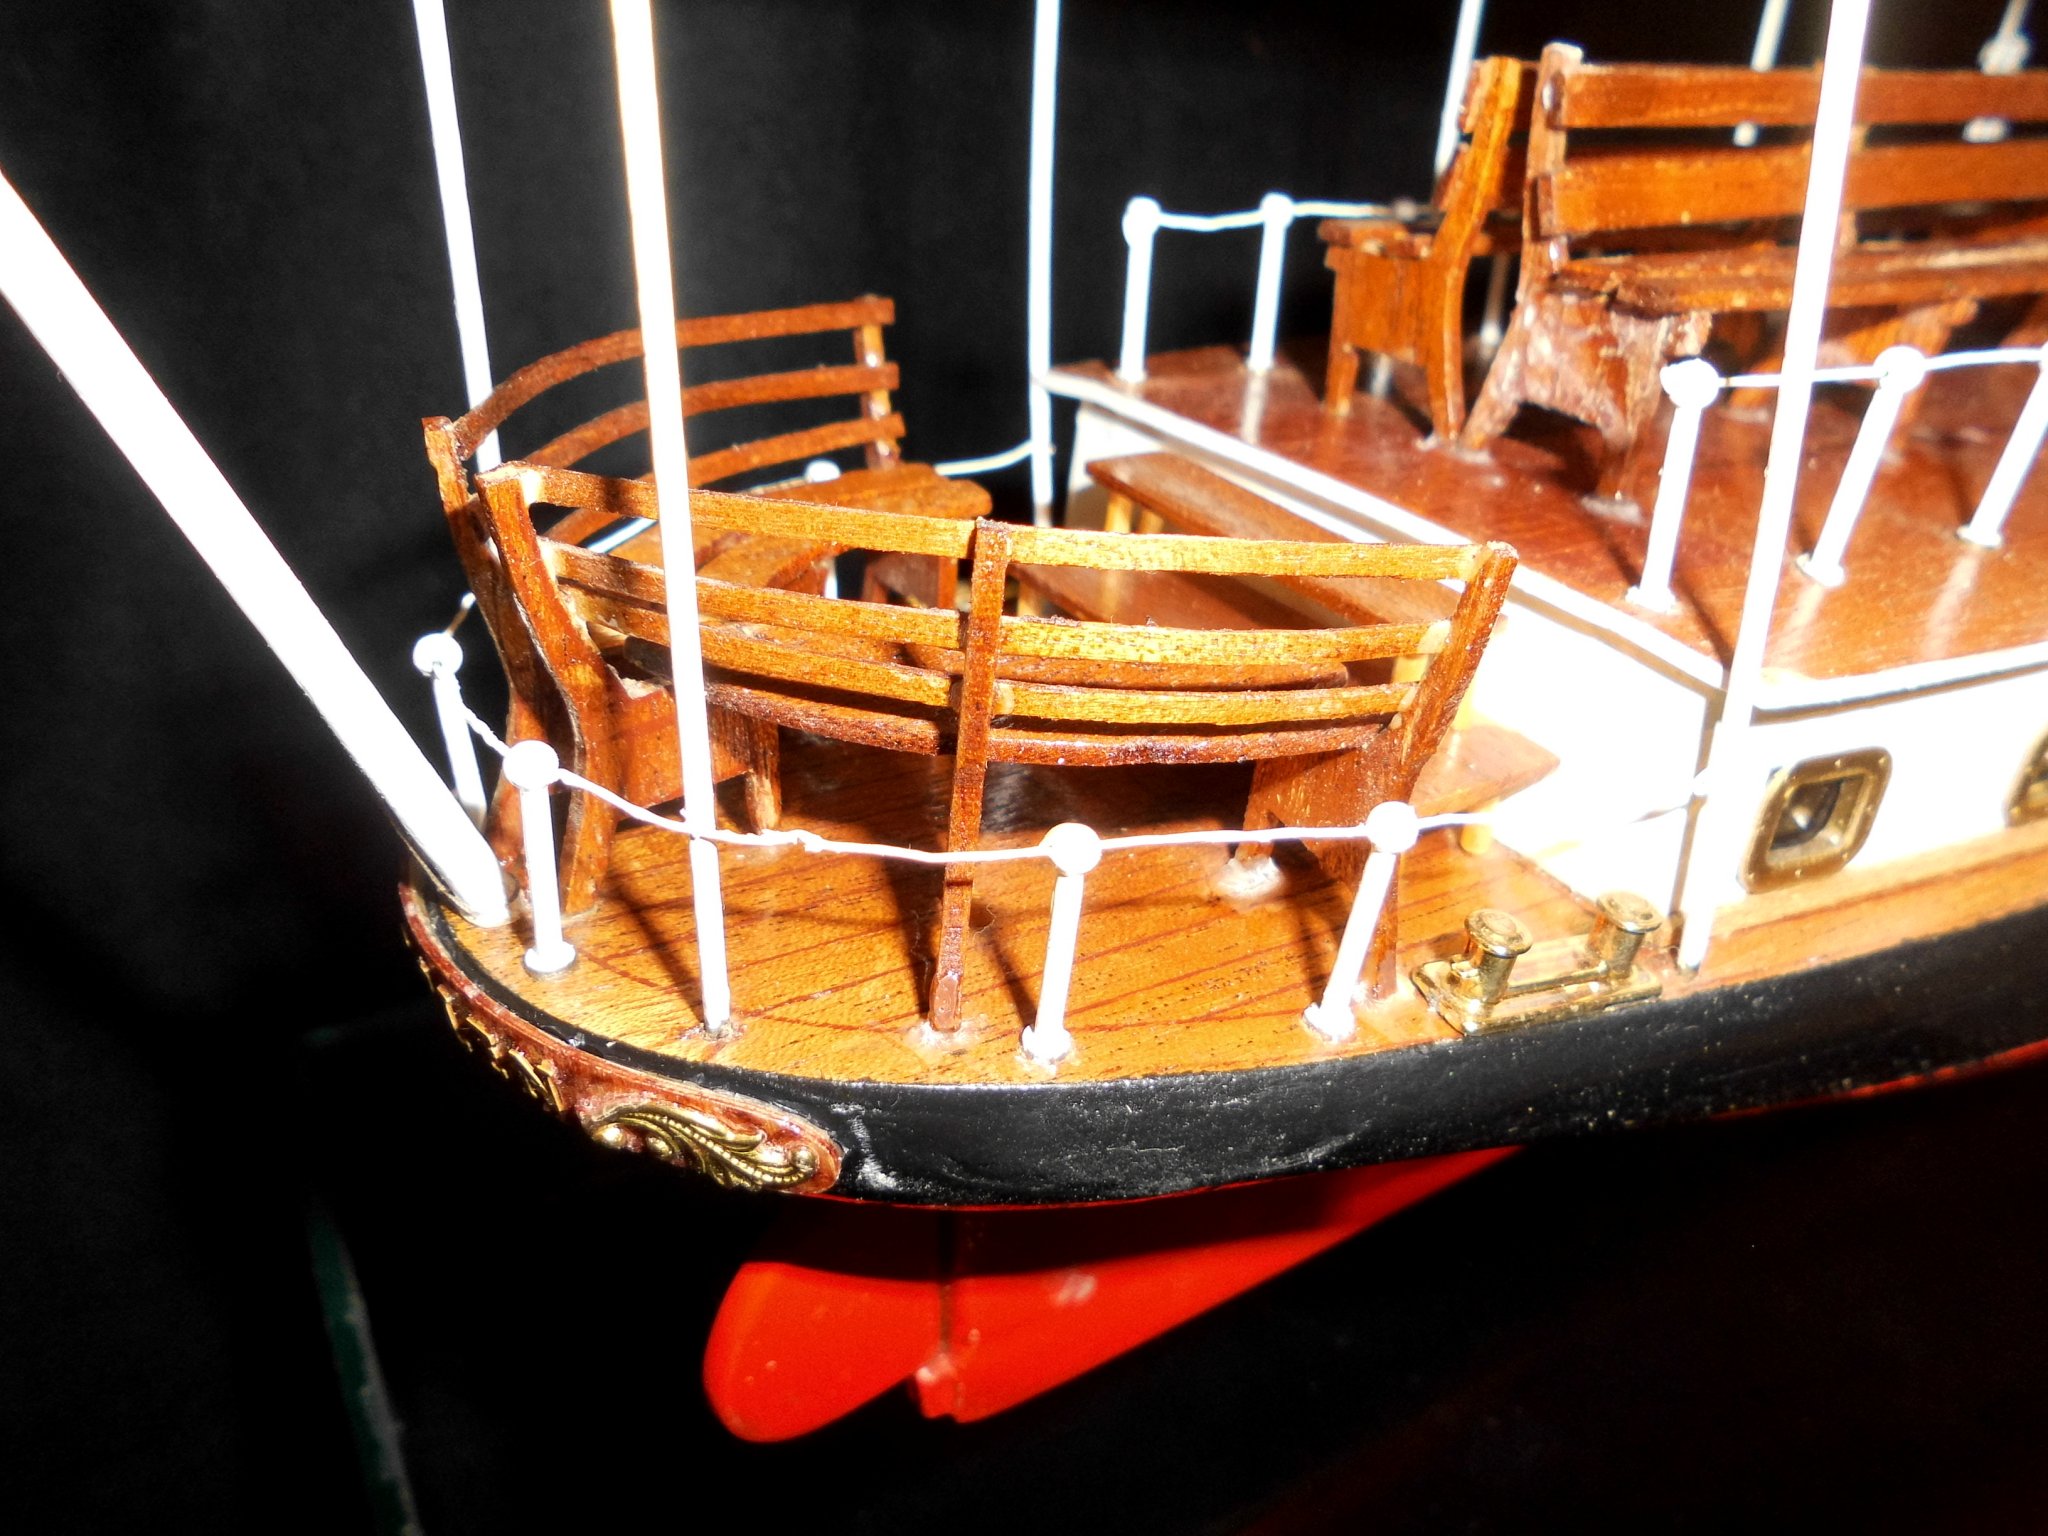
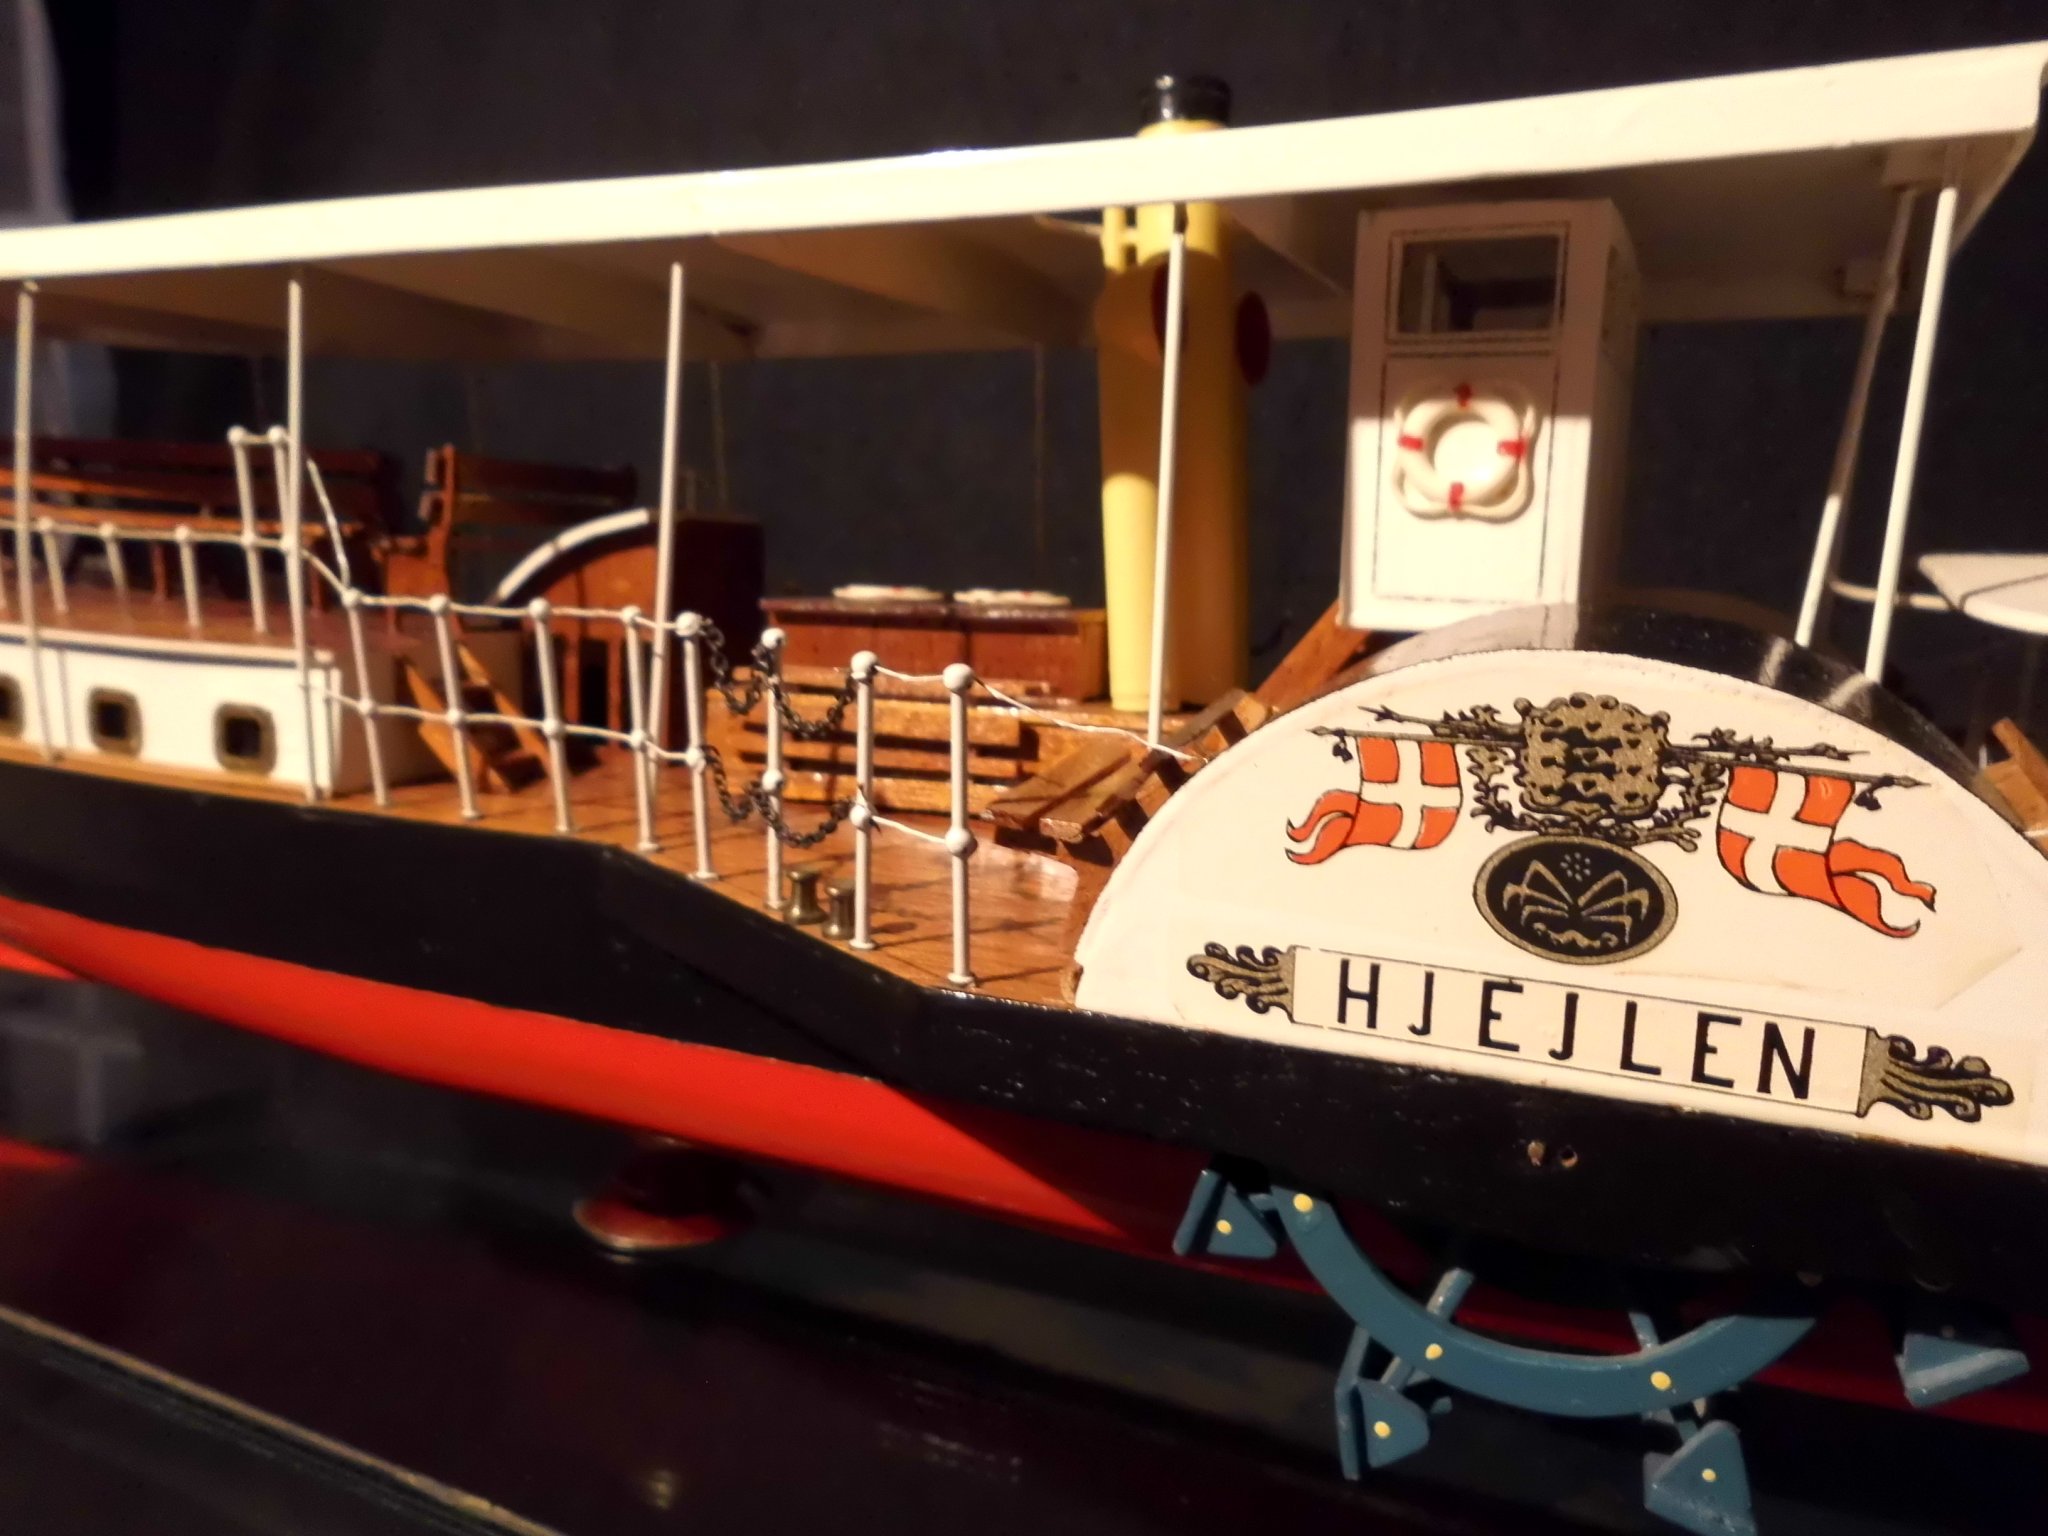
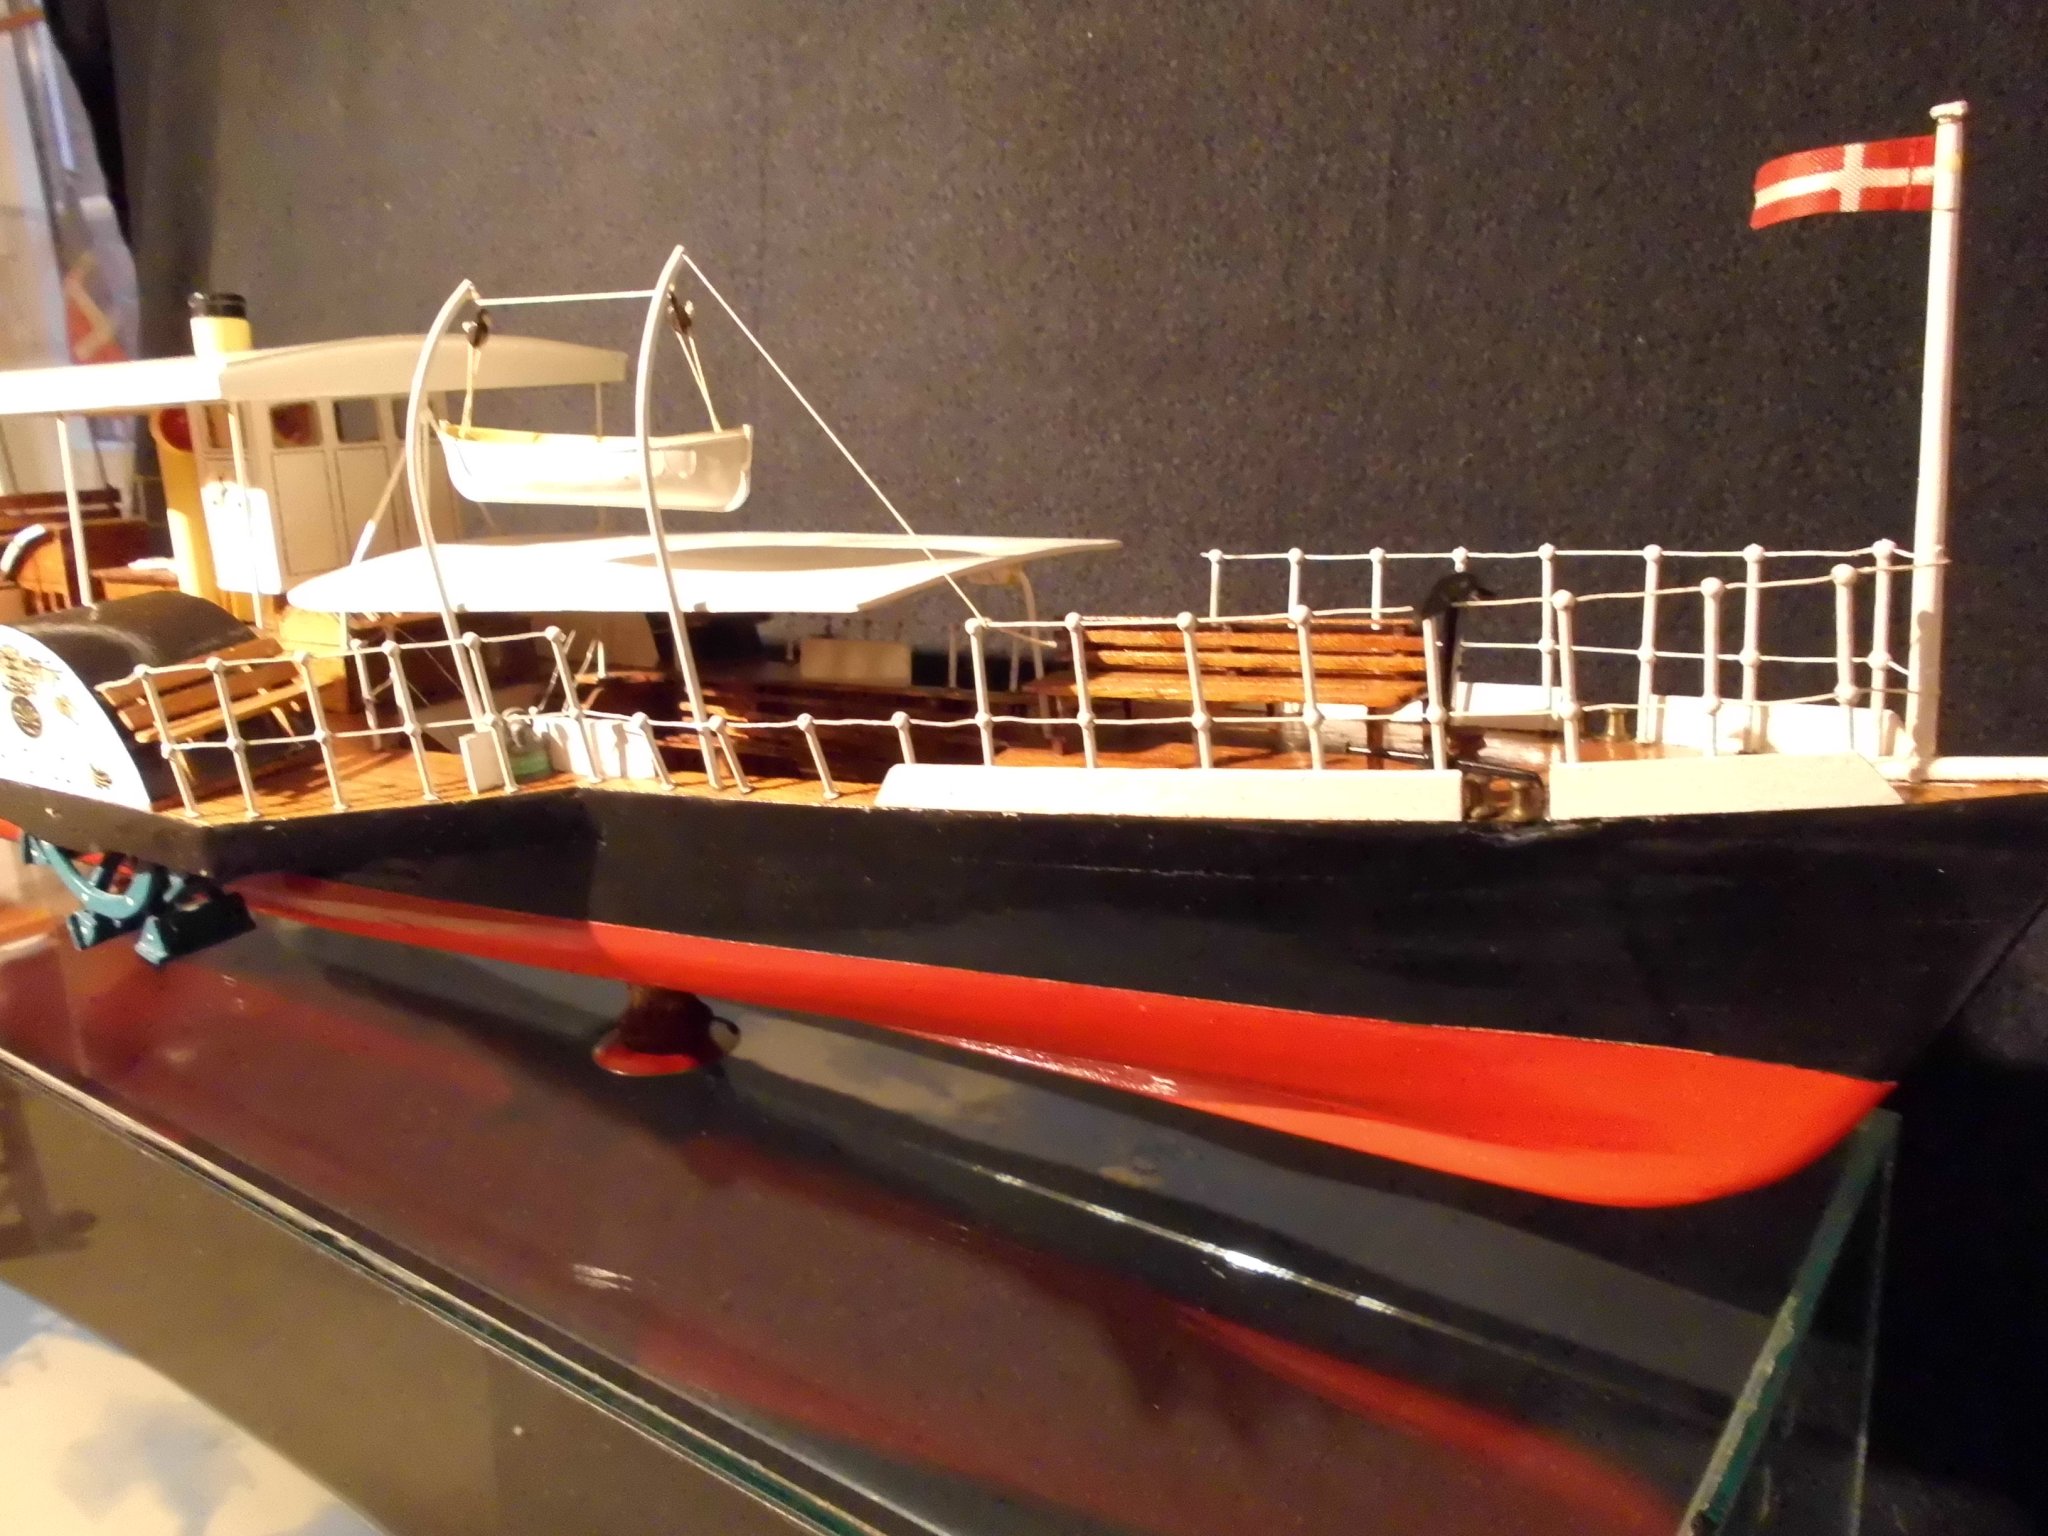
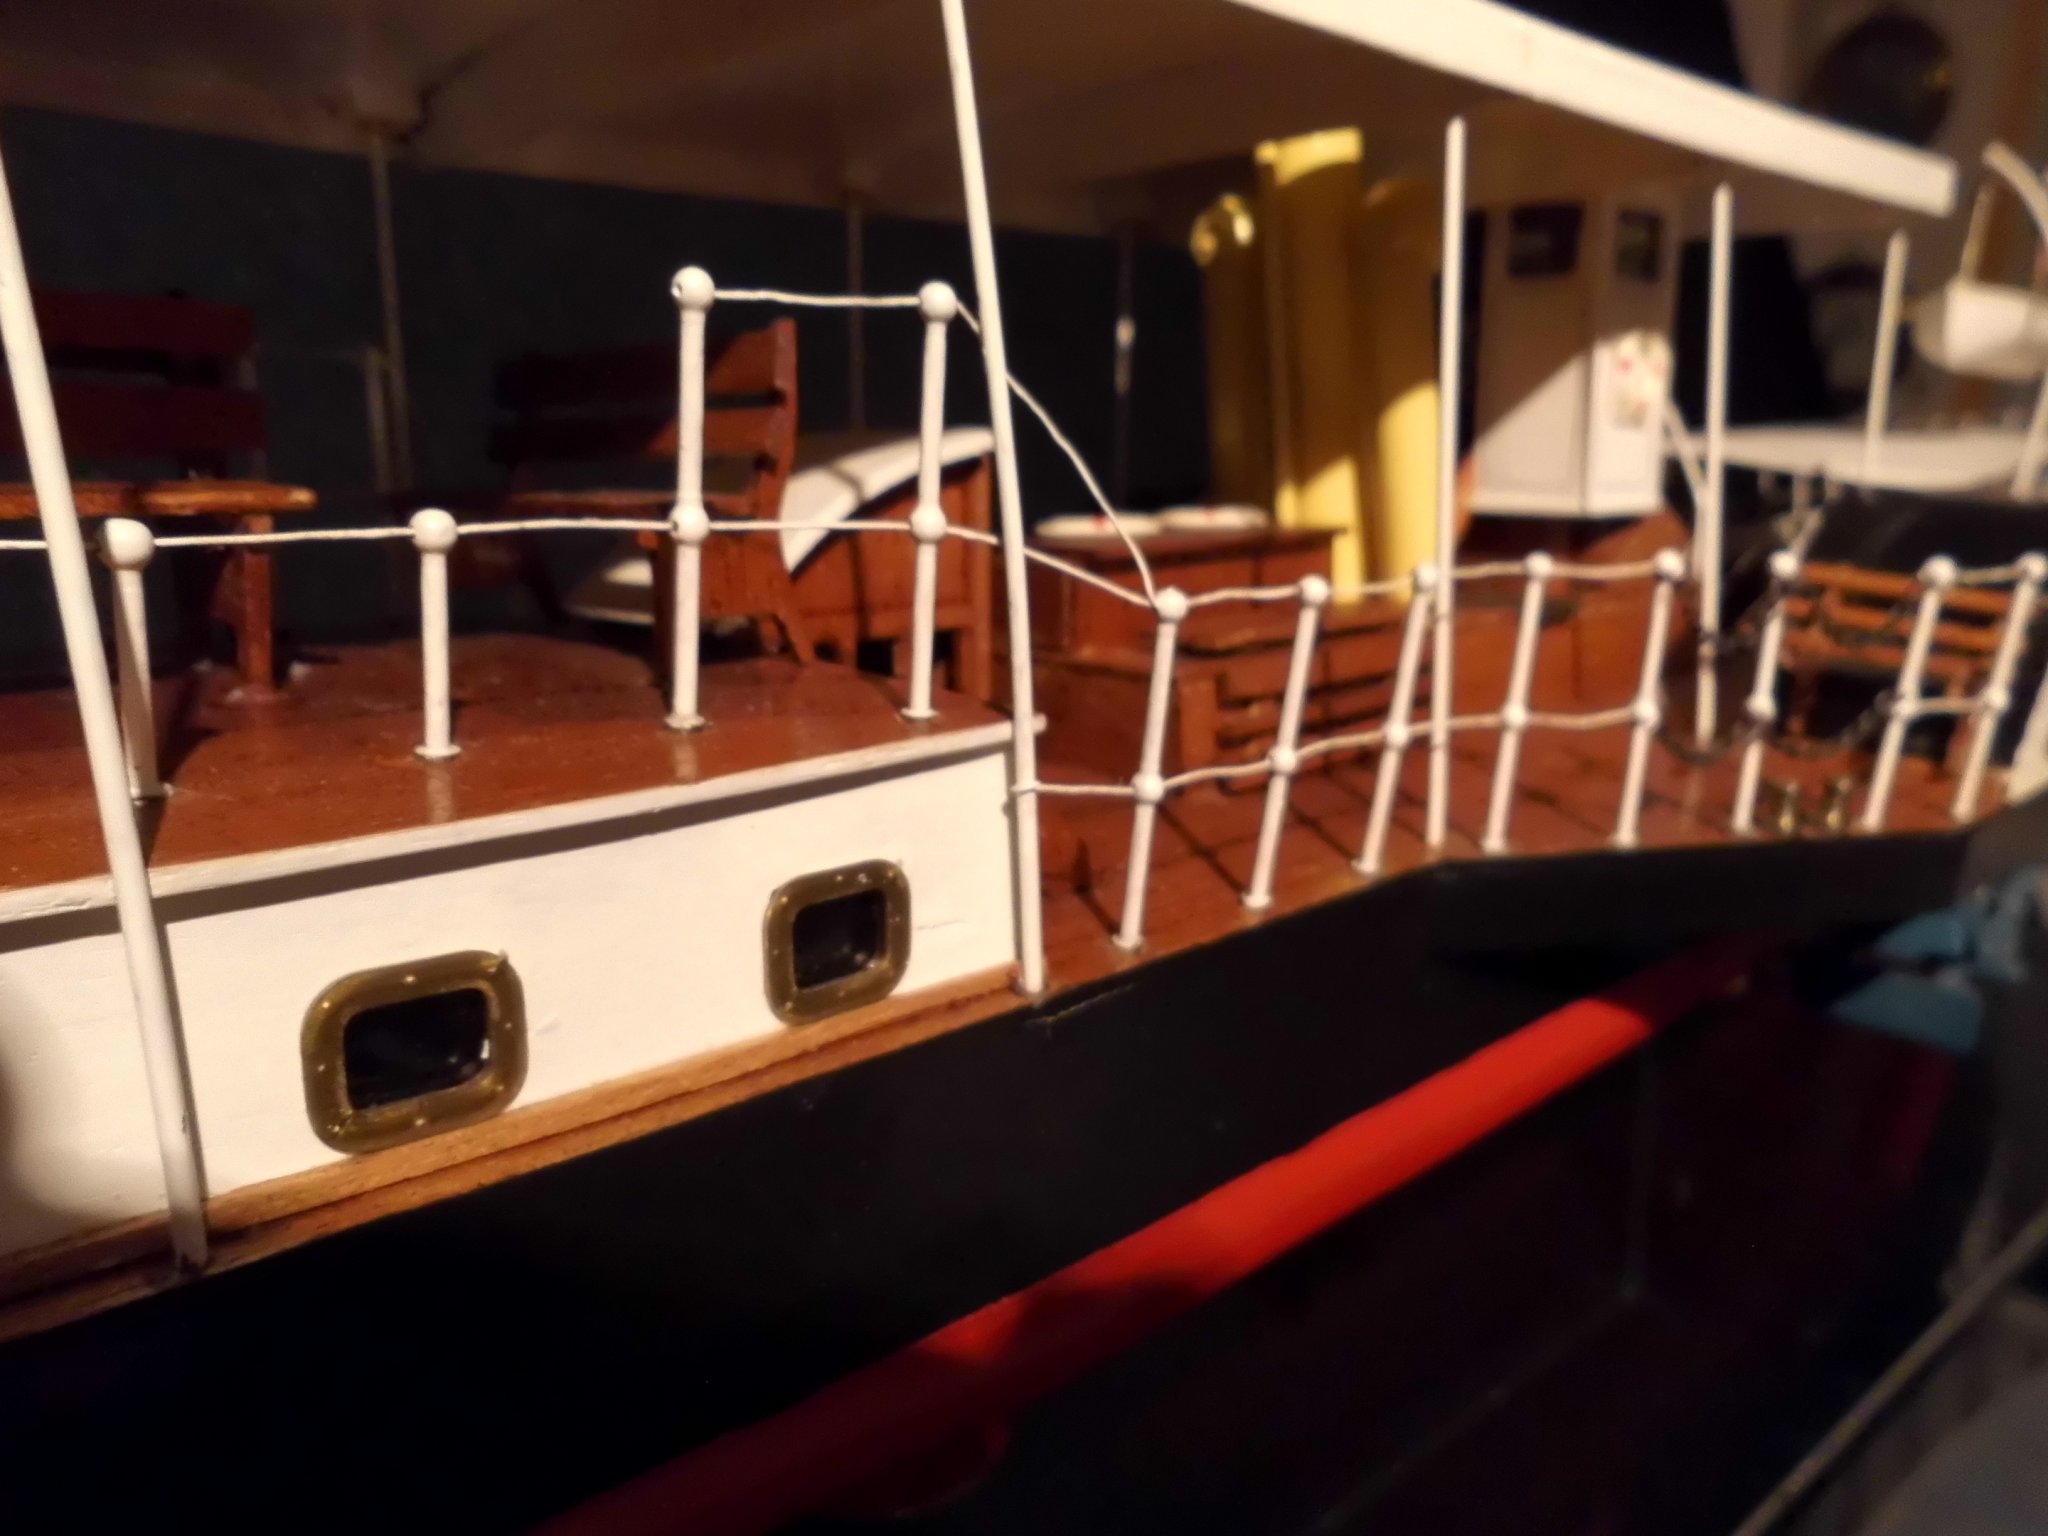
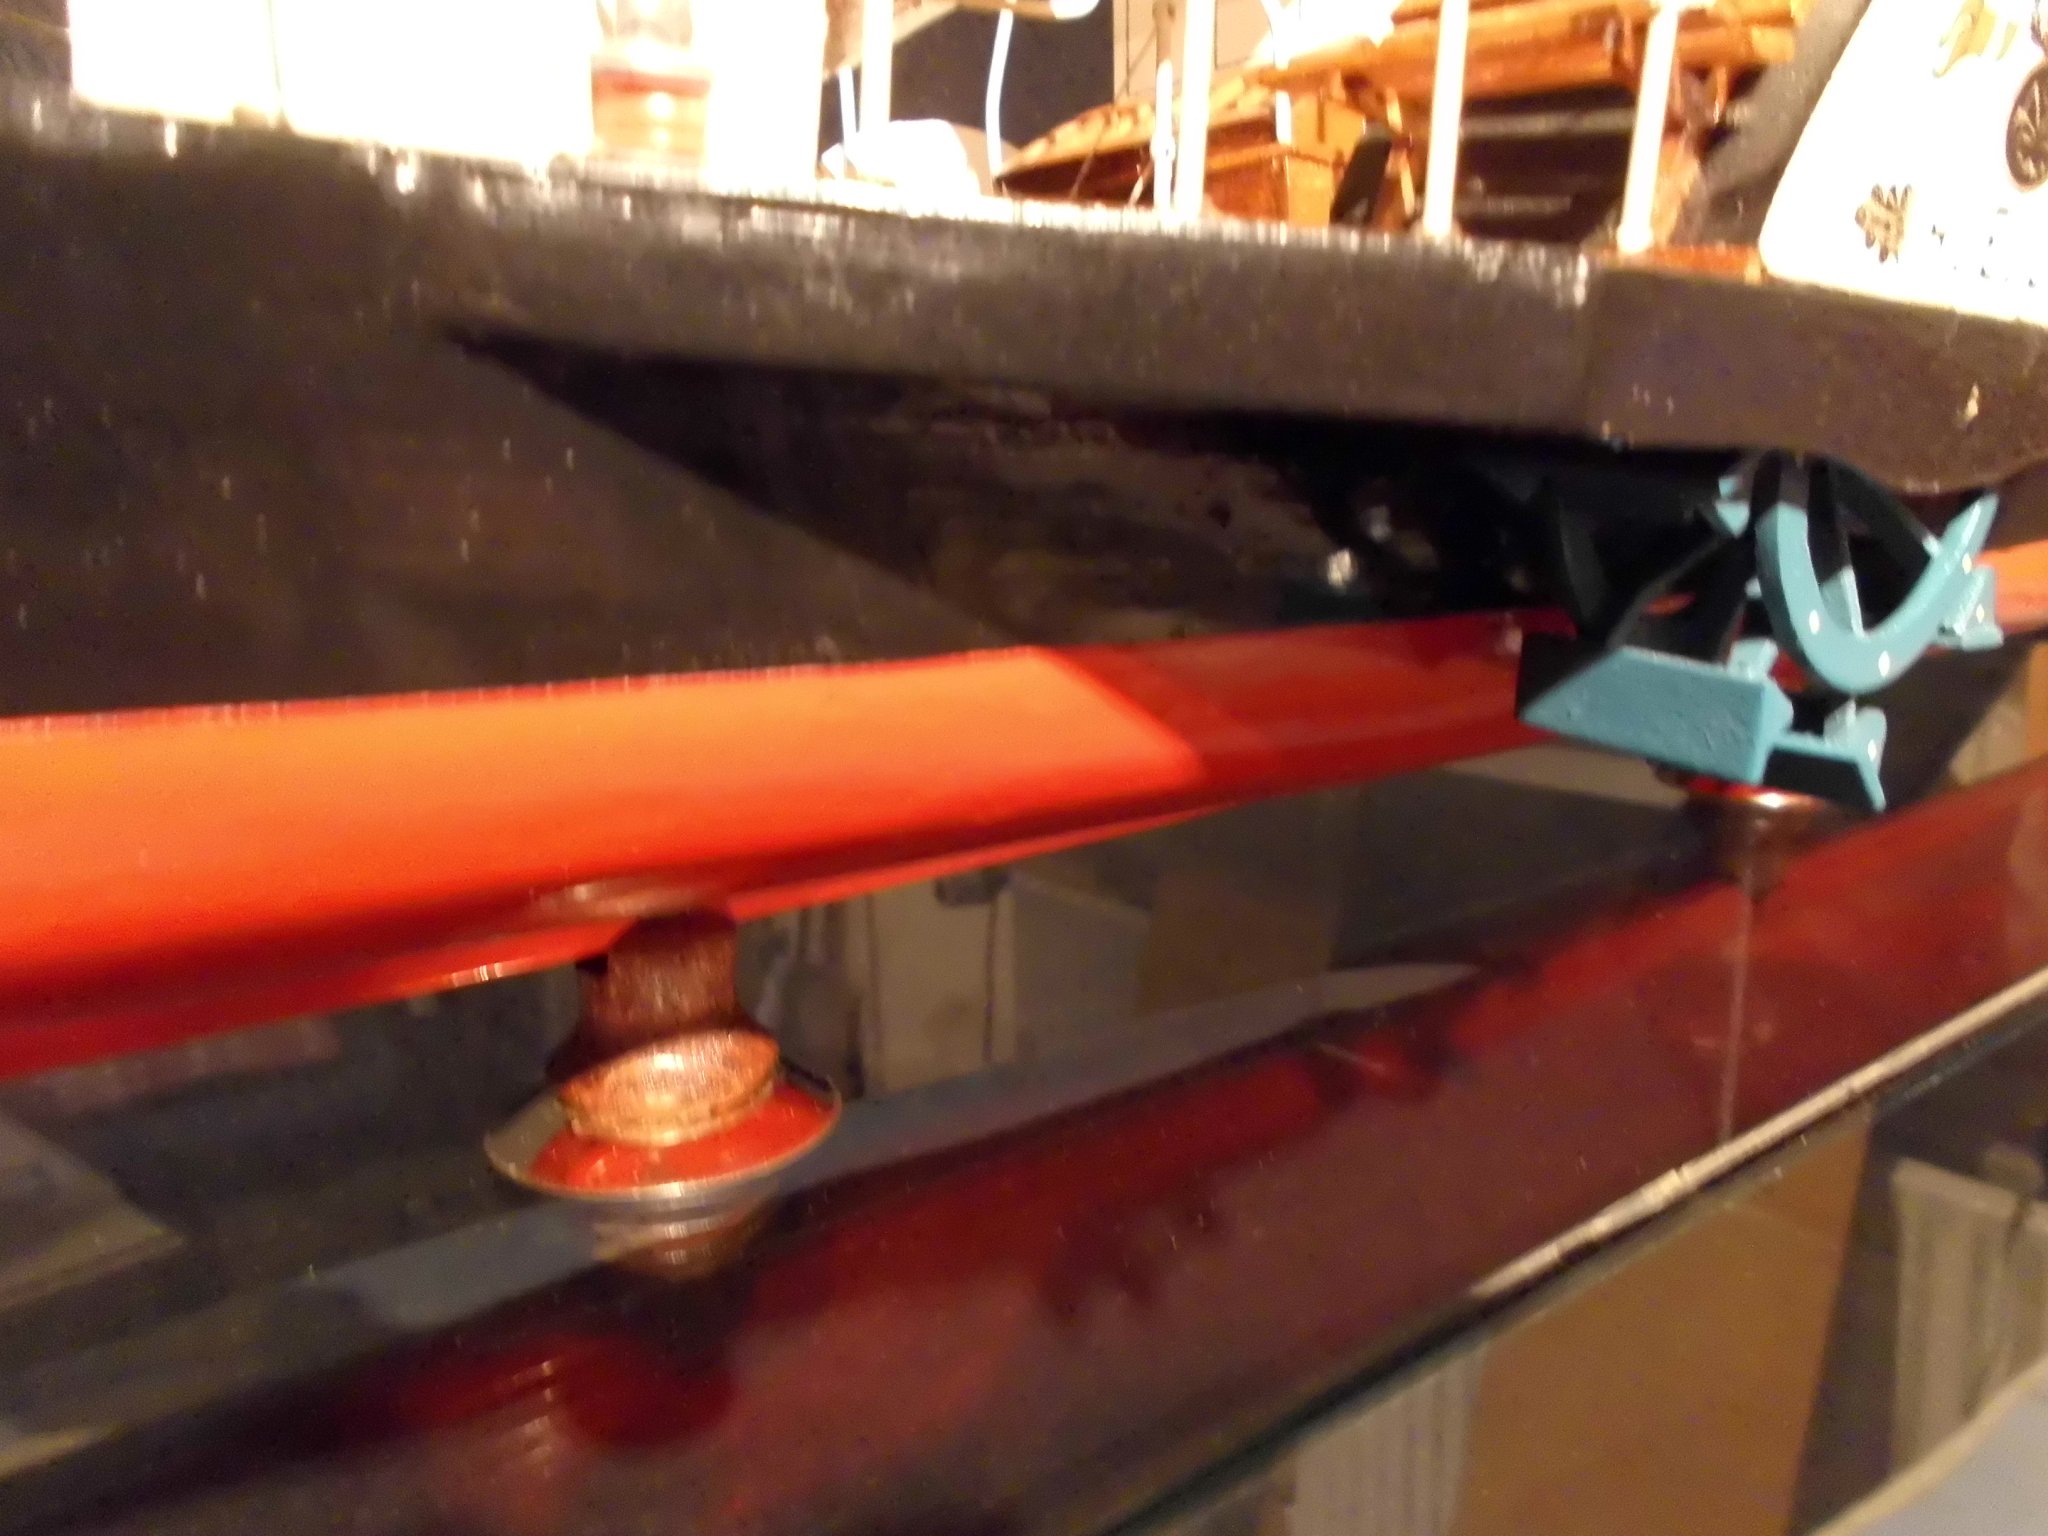
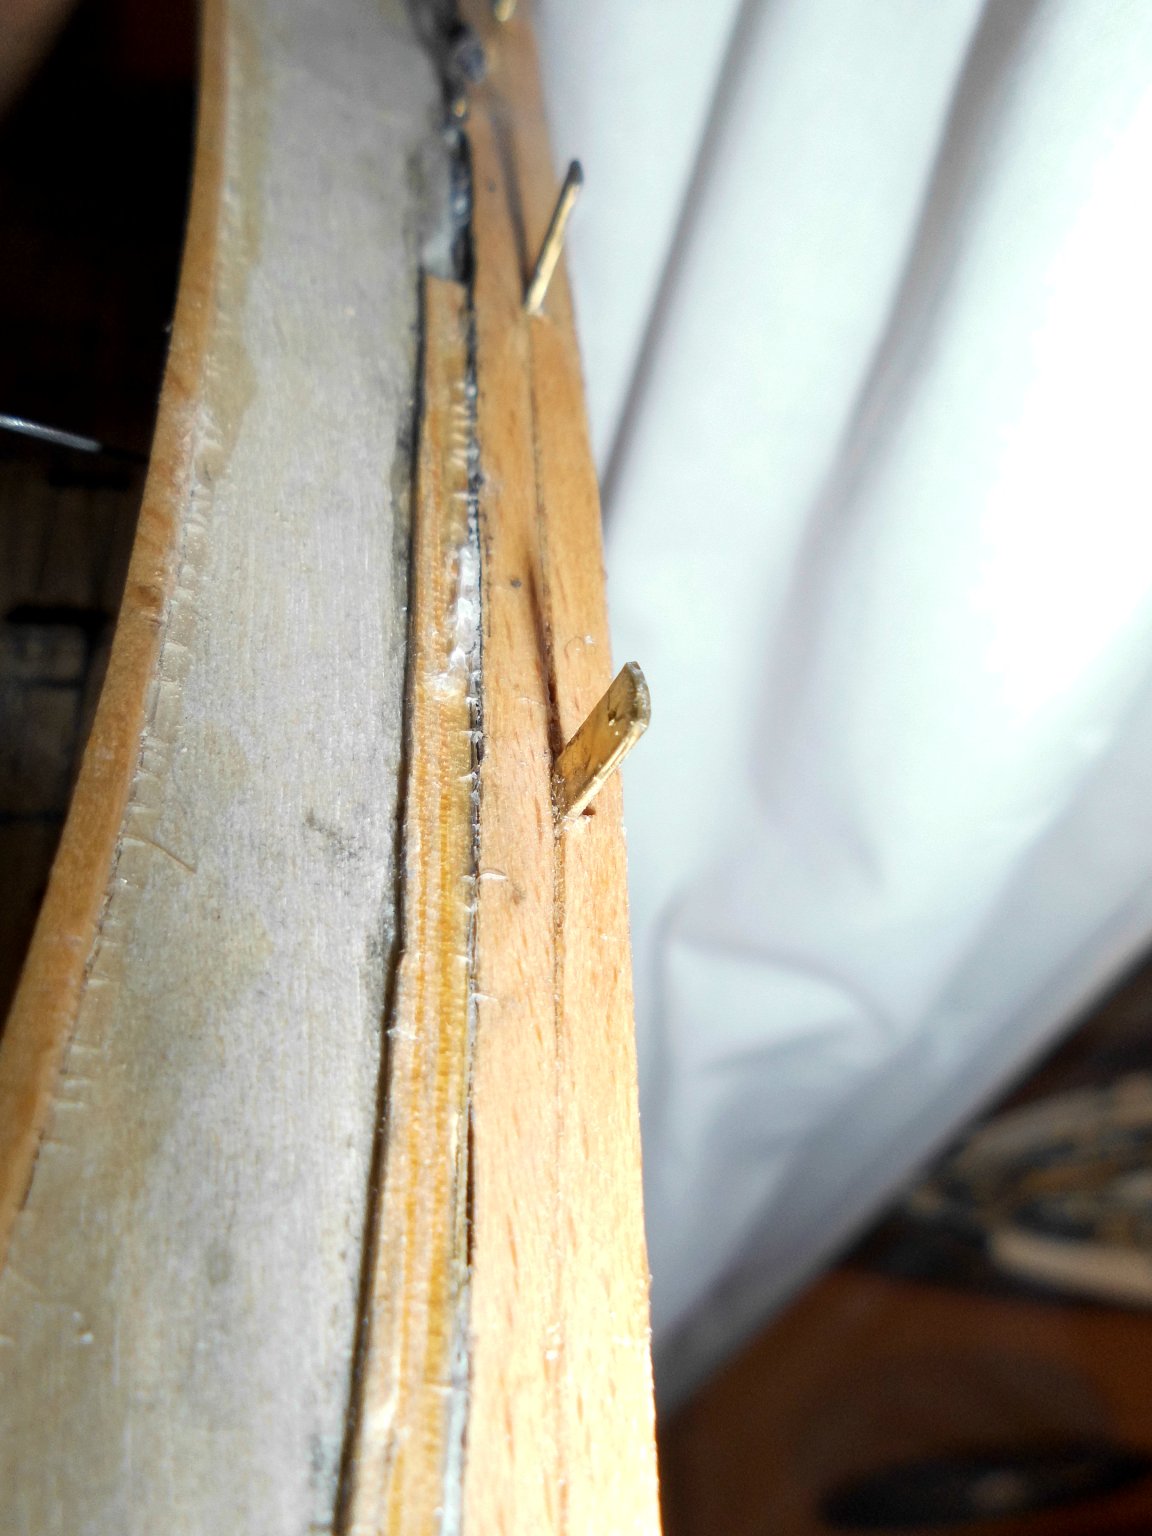
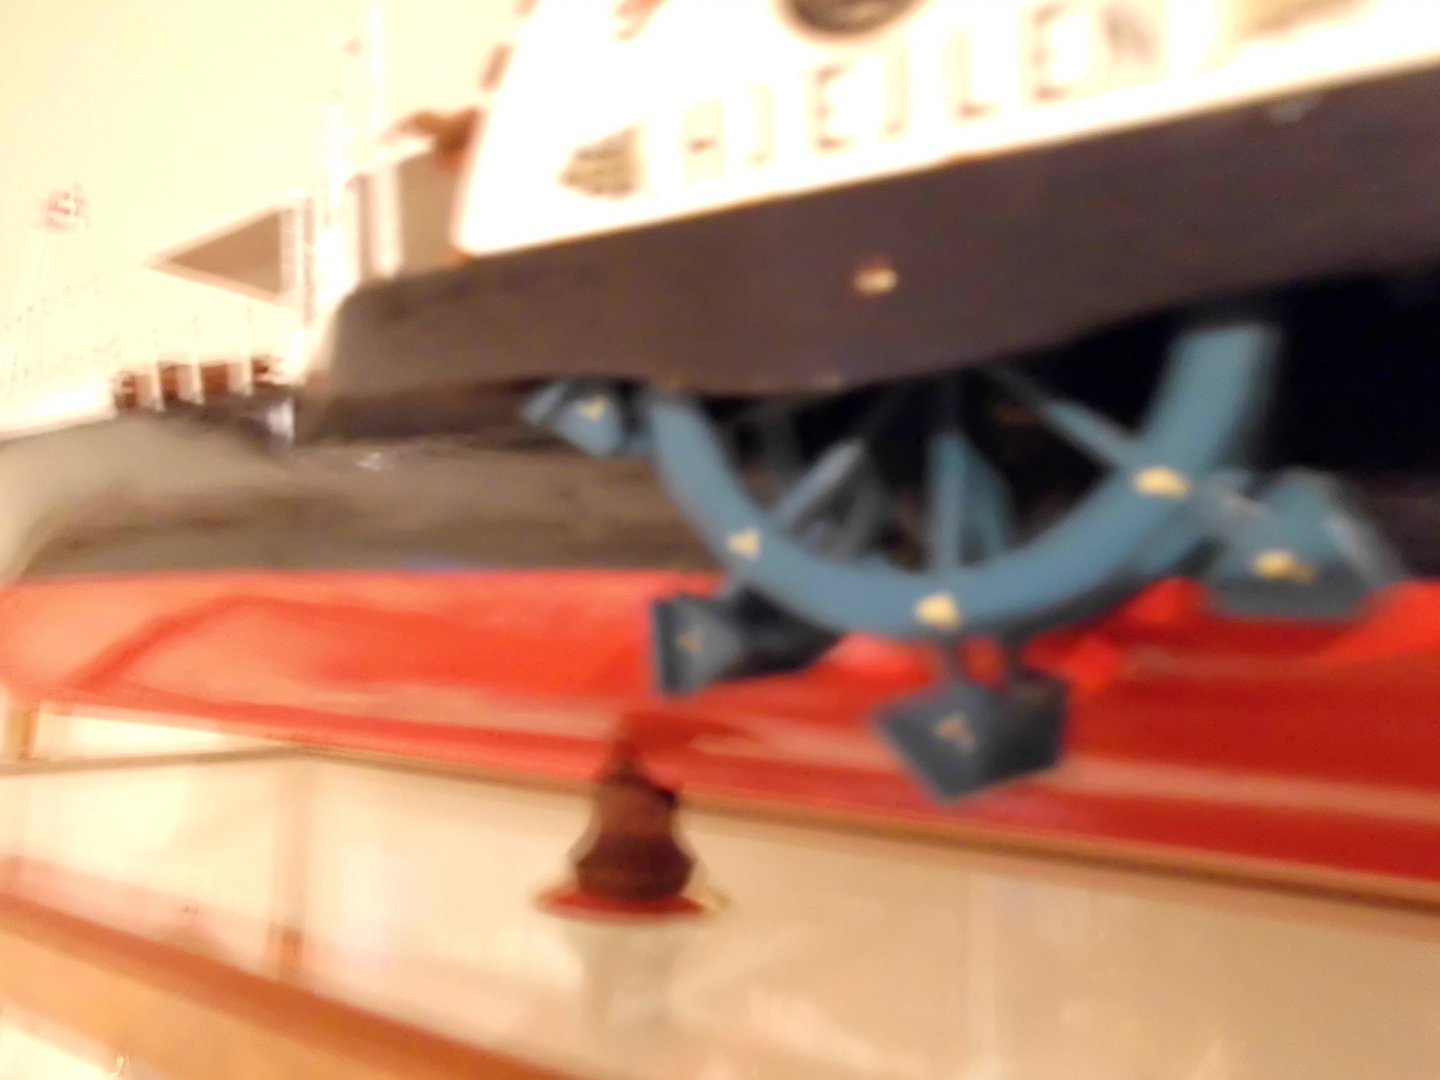
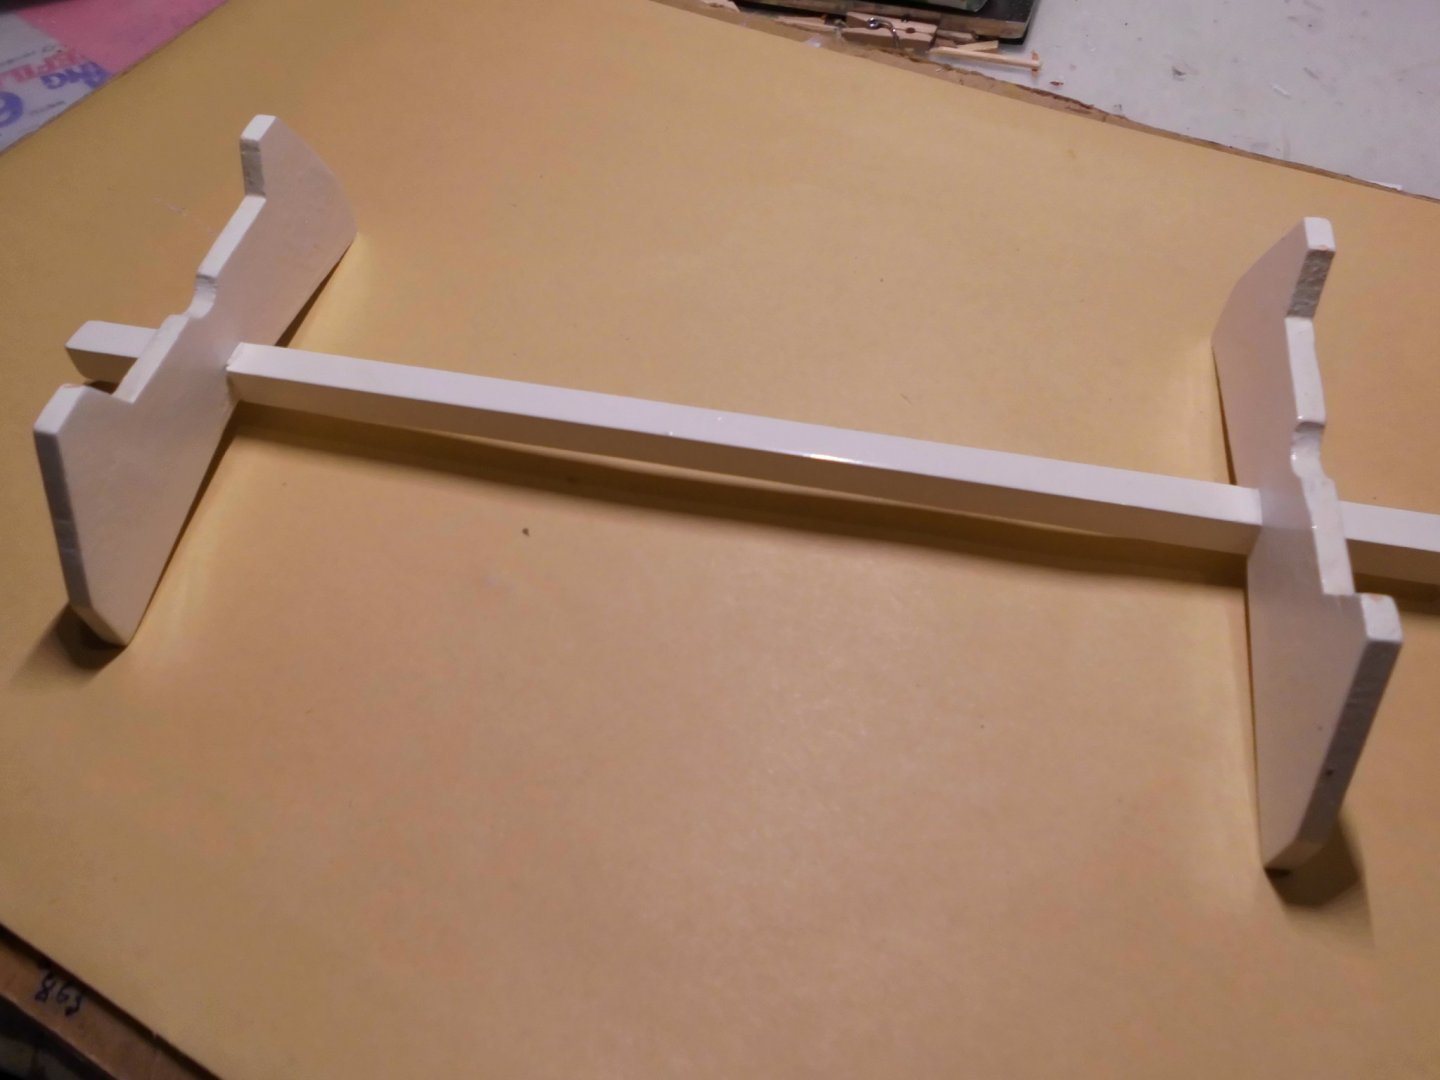
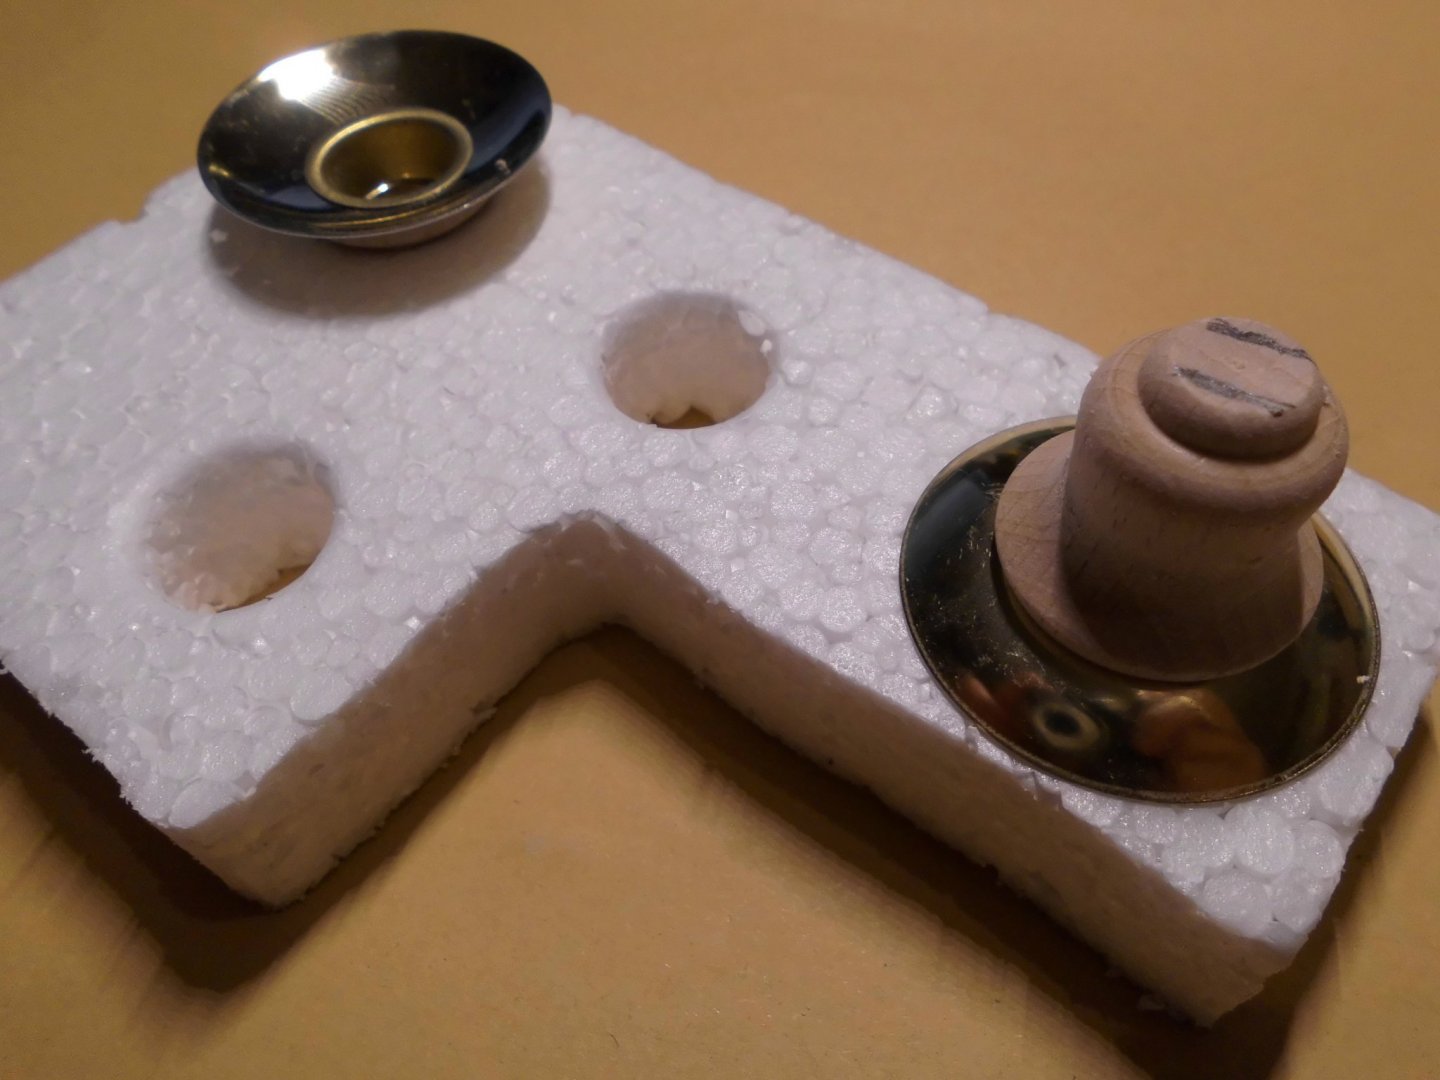
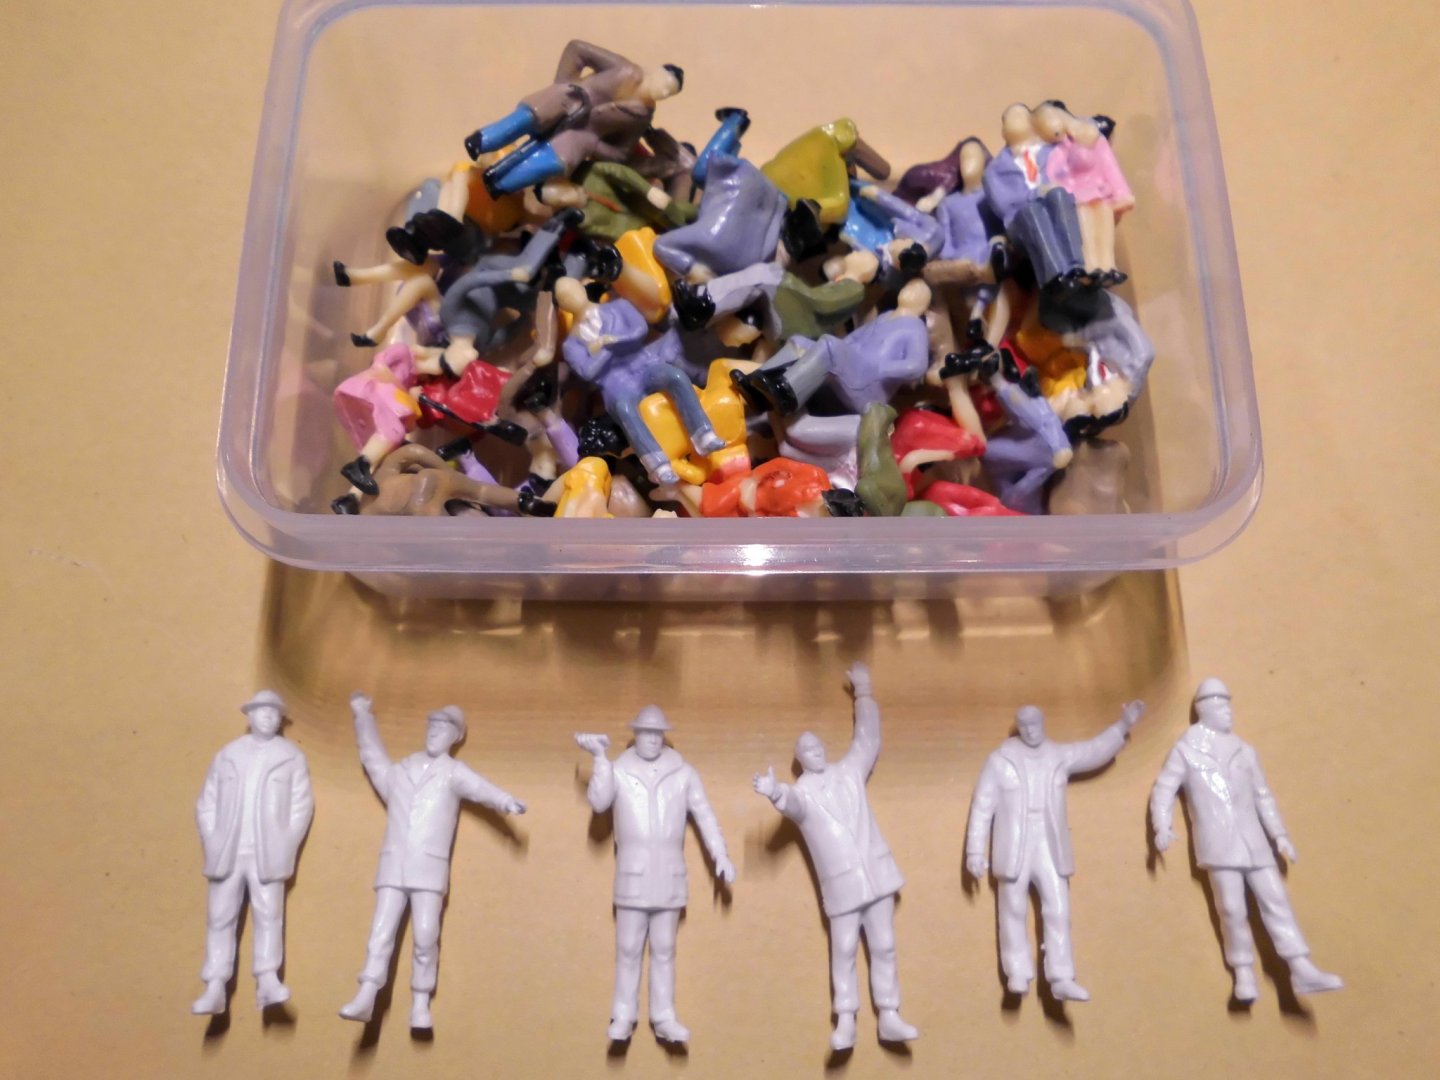
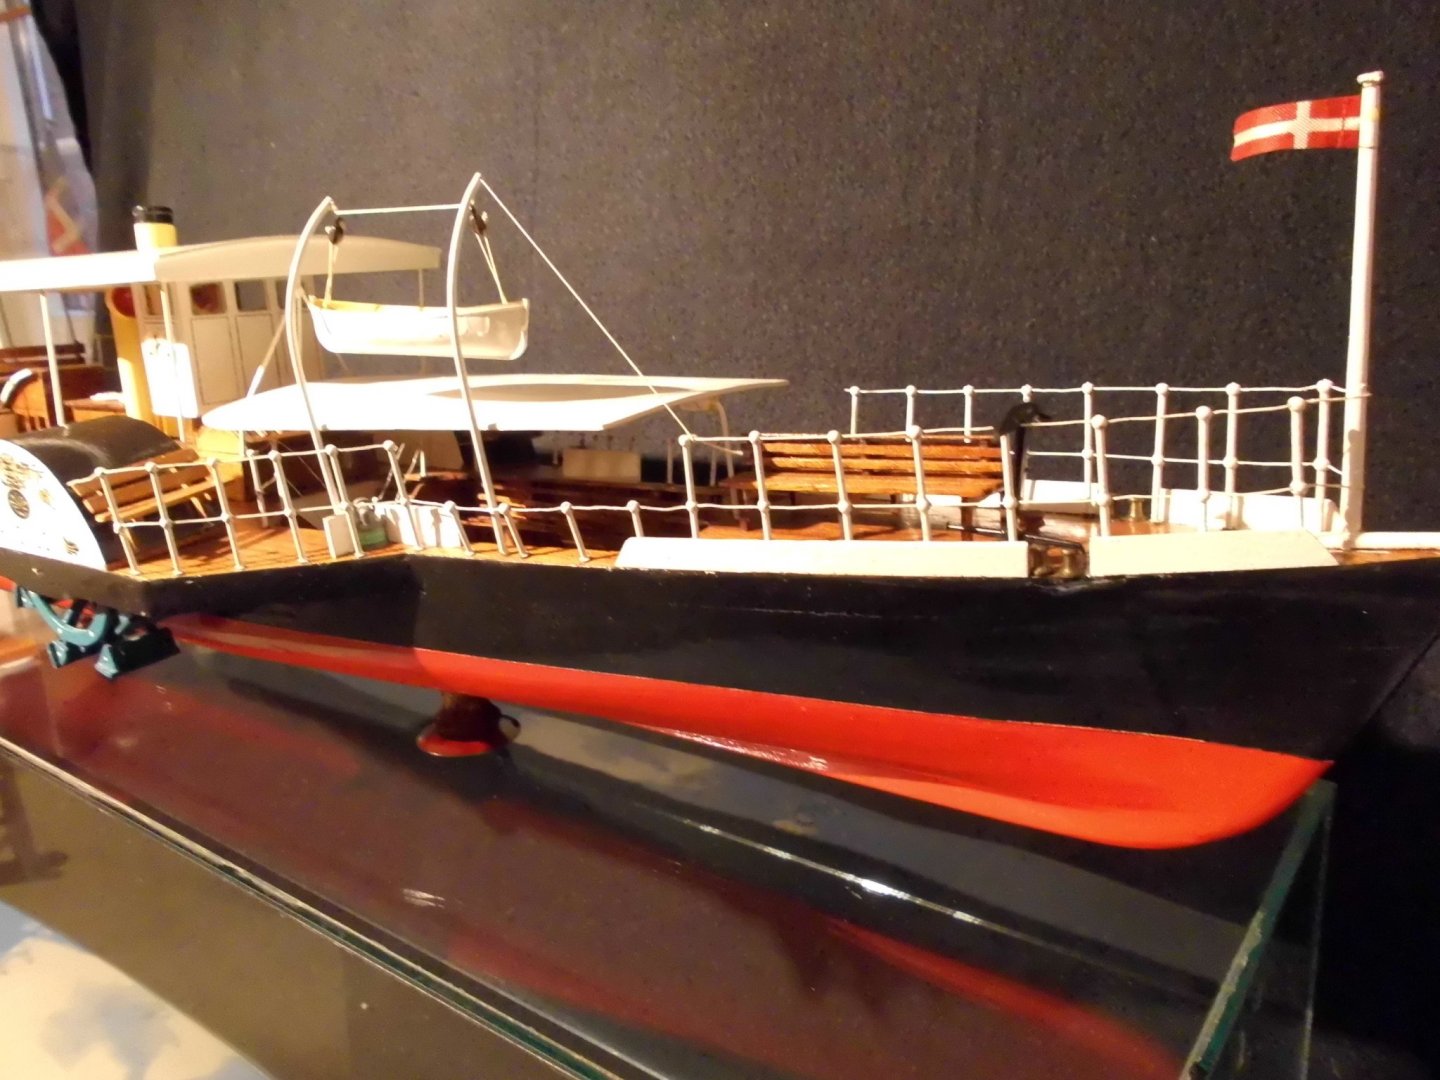
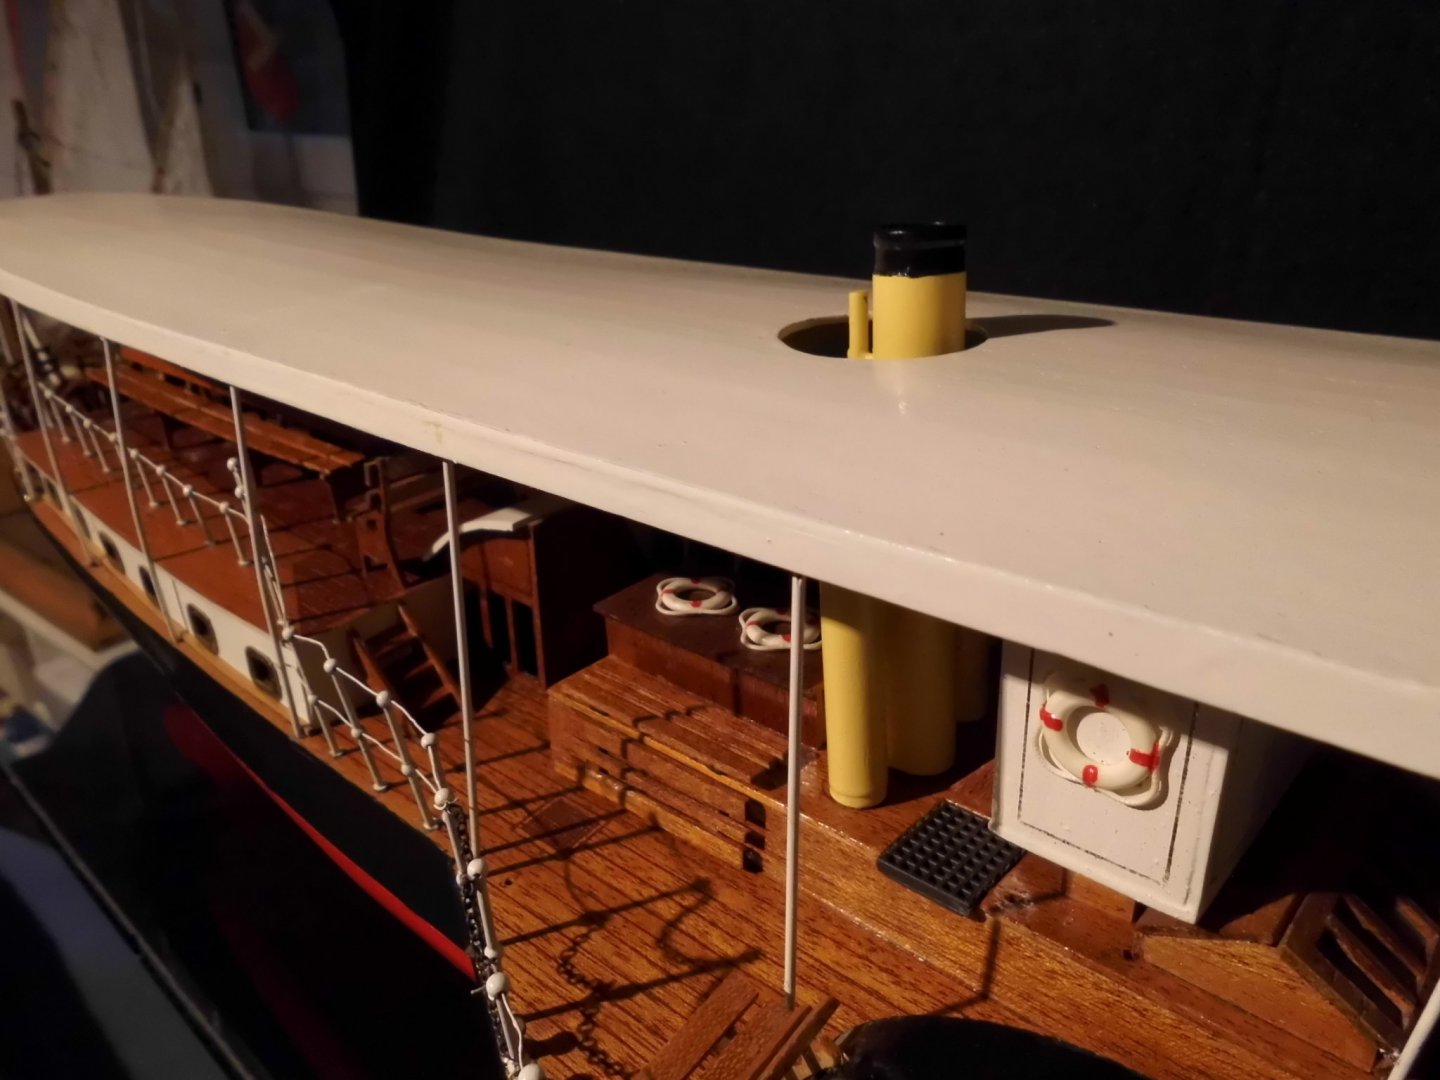
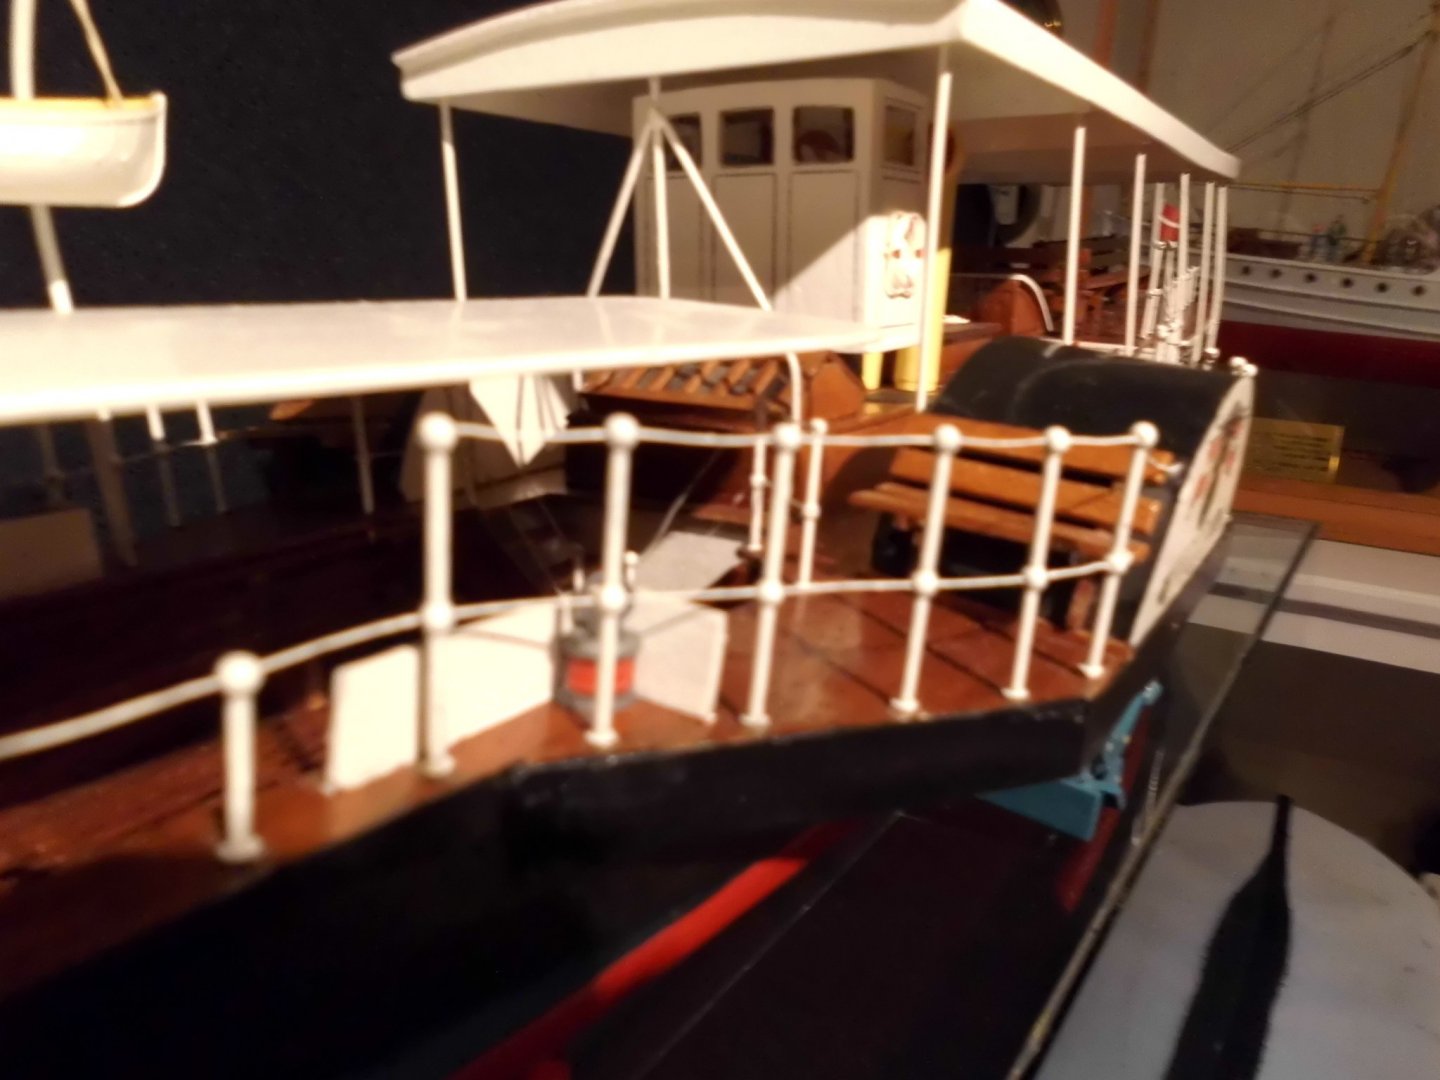
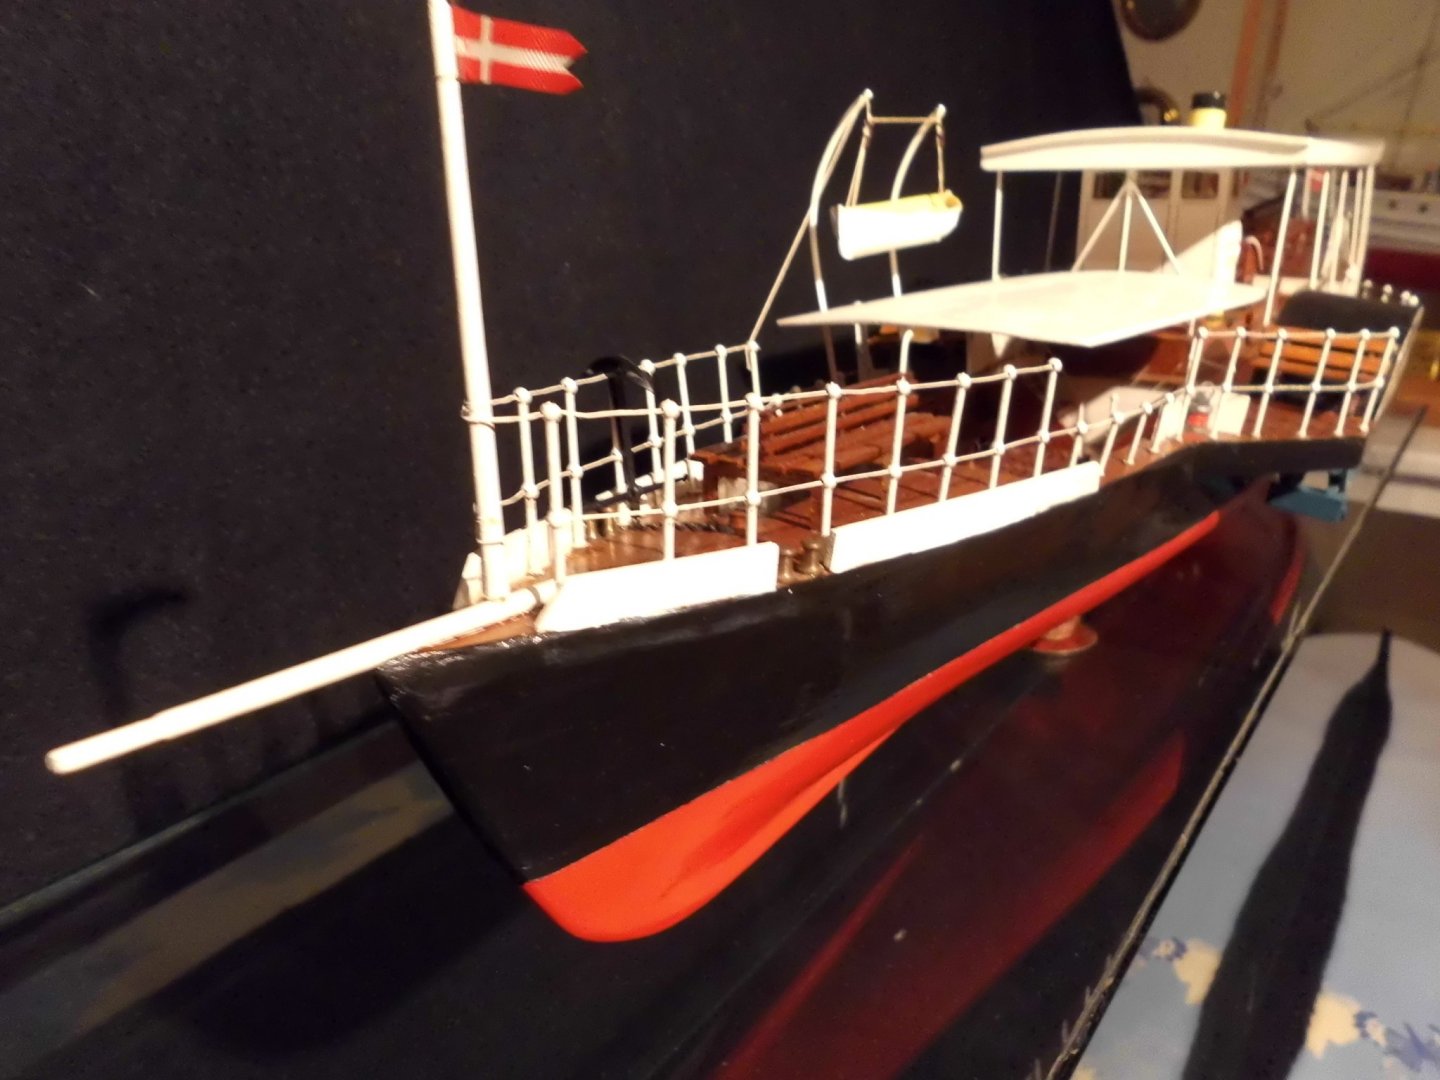
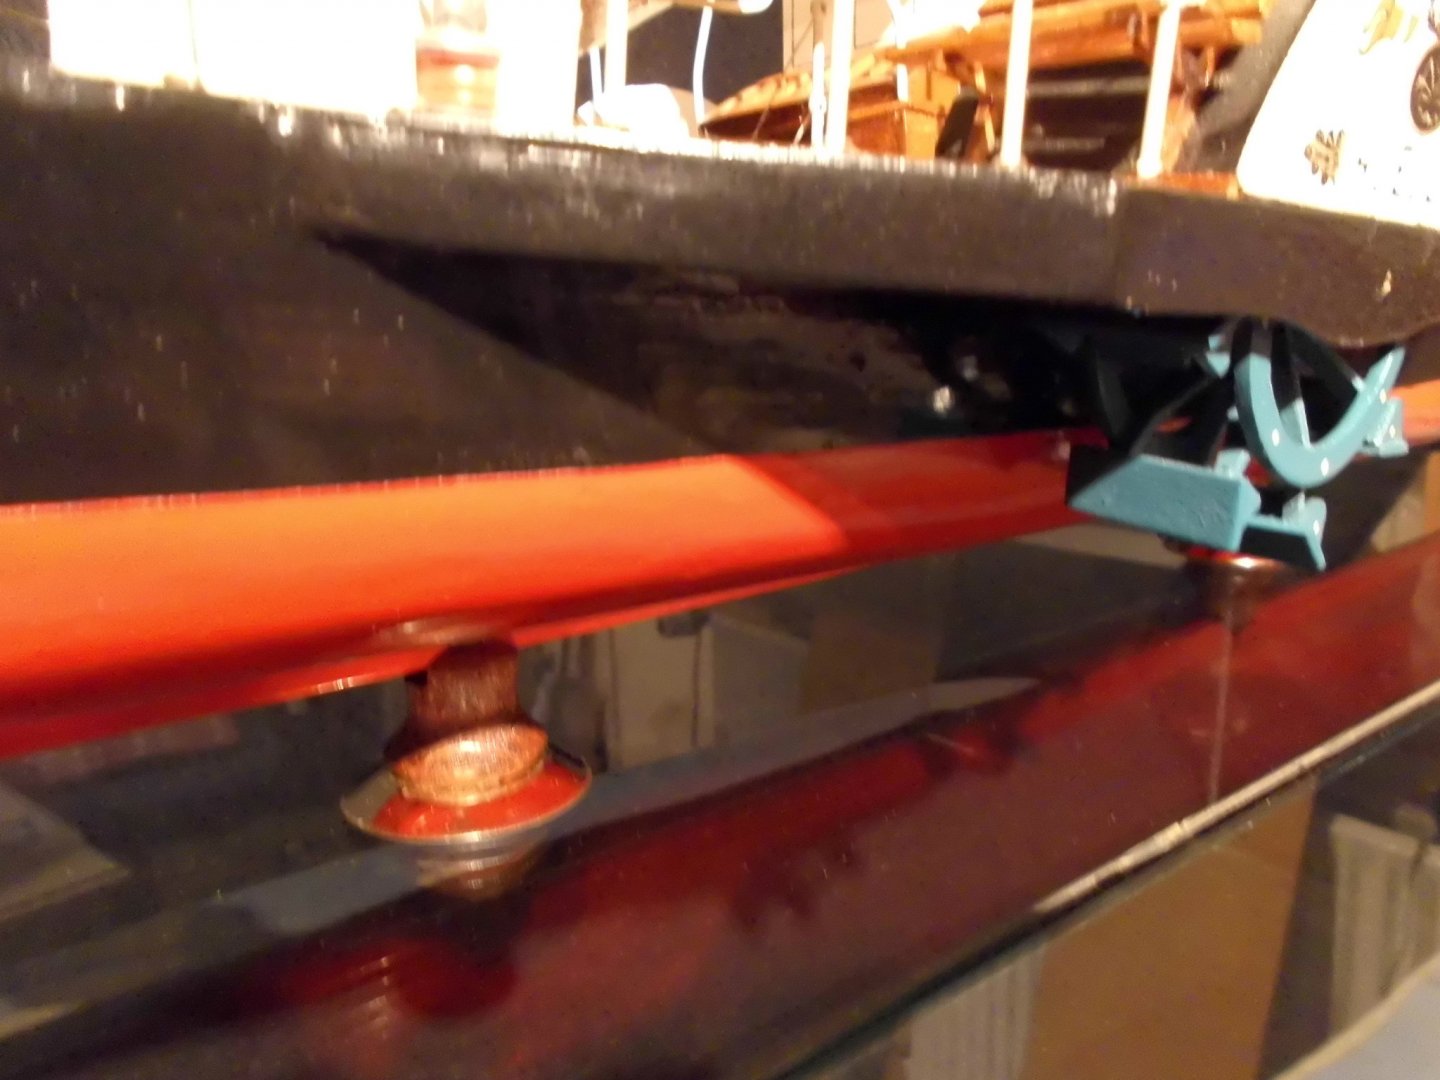
 Welcome to this topic Mark and Lars/Peter, and B.E. and many thanks for your kind comments. Also thanks to the "likes" For this kit I`m missing the 2 bullseyes for sidewise in the front section of the hull, and the golden plover figurehead for the upper bow post. Alternative parts are now ordered. The stand looks quite flimsy, so I decided to make pedestals from brass / wooden candle holders with a shaped outcuts for the keel to fit into. Small M3 screws hold these pedestals firmly to the keel. they will fit directly to the baseplate of the glass casing. The two ( meanwhile come loose) paddle wheels were glued to the hull. Now both paddle wheels have become an brass axis between outside spashguards segments and the hull. I am intending to place crew and passengers on board, like I did wth the Bohuslän steamer. Its not easy to find the right scale figures, and there are so many non occupied benches. I placed the benches on the upper aft deck, turned around, now back to back 180°, so that the passengers will face the water side of the rivers and lakes for a better view. The roof of the front well also requires some additional holding posts, as the current ones are quite flimsy, and therefore the roof quite instable Also the ships boat is not in correct scale, so there will be an alternative boat fitted under the davits.... Nils this is the "old" stand the wood / brass new pedestals New pedestals fitted to the keel (they had to be low in hight, due to the limited glass case hight ) the new brass axis for the paddle wheels, also to make them turnable crew and passenger figures, prior to painting job
- 38 replies
-
- 11
-

-
- billing boats
- hjejlen
- (and 2 more)
-
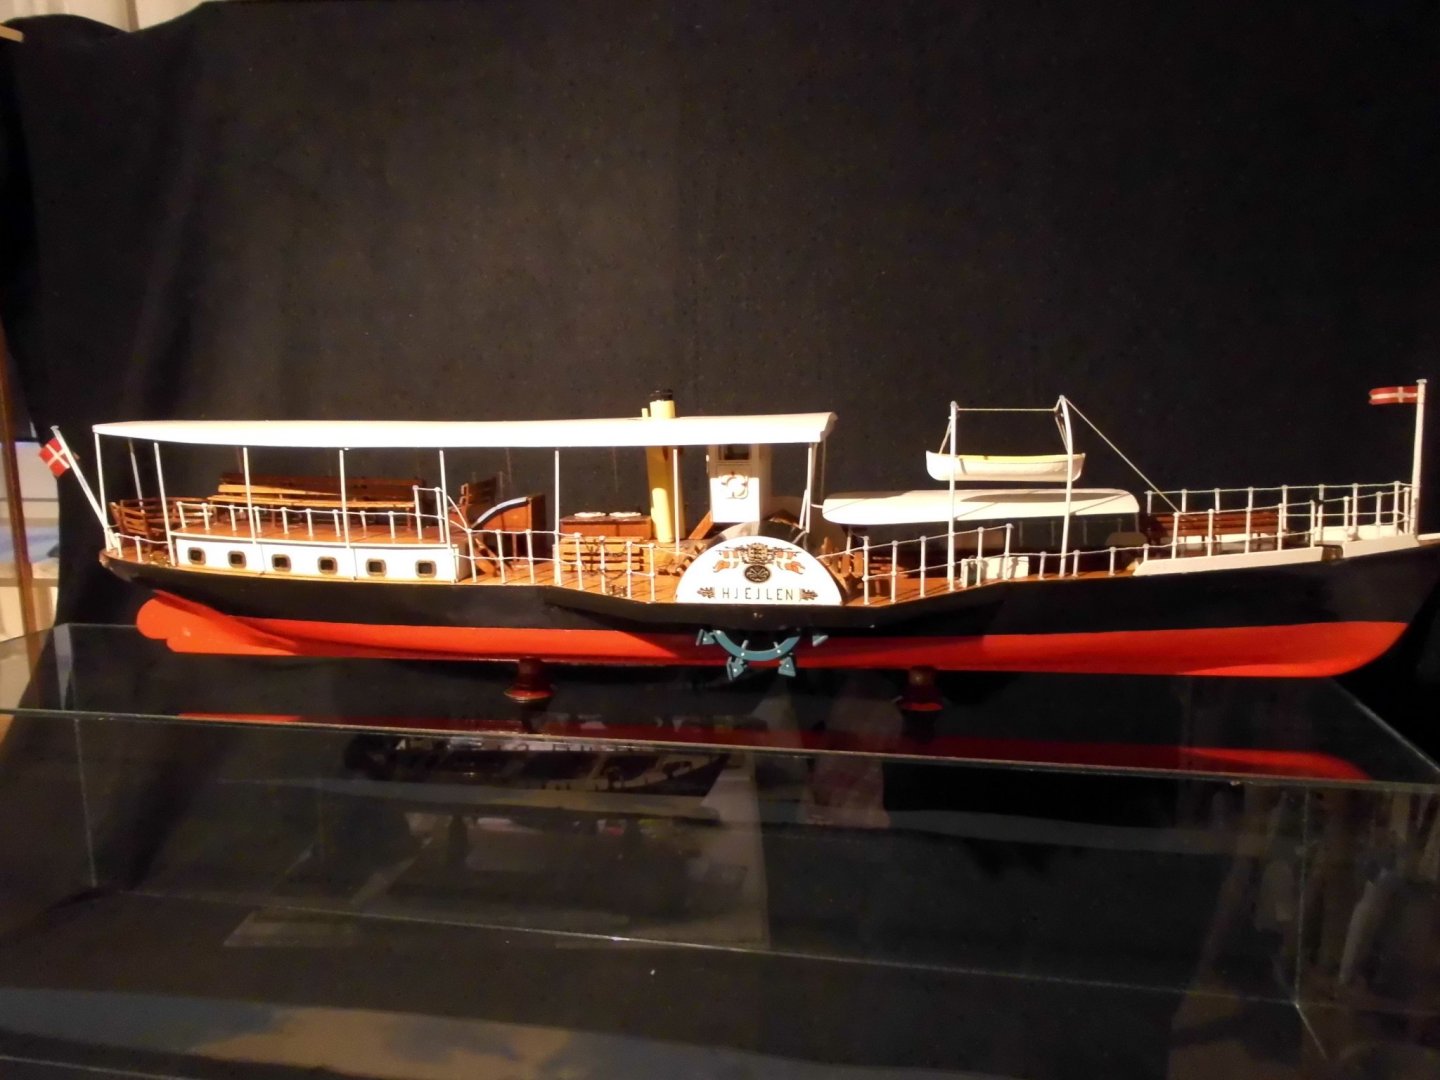
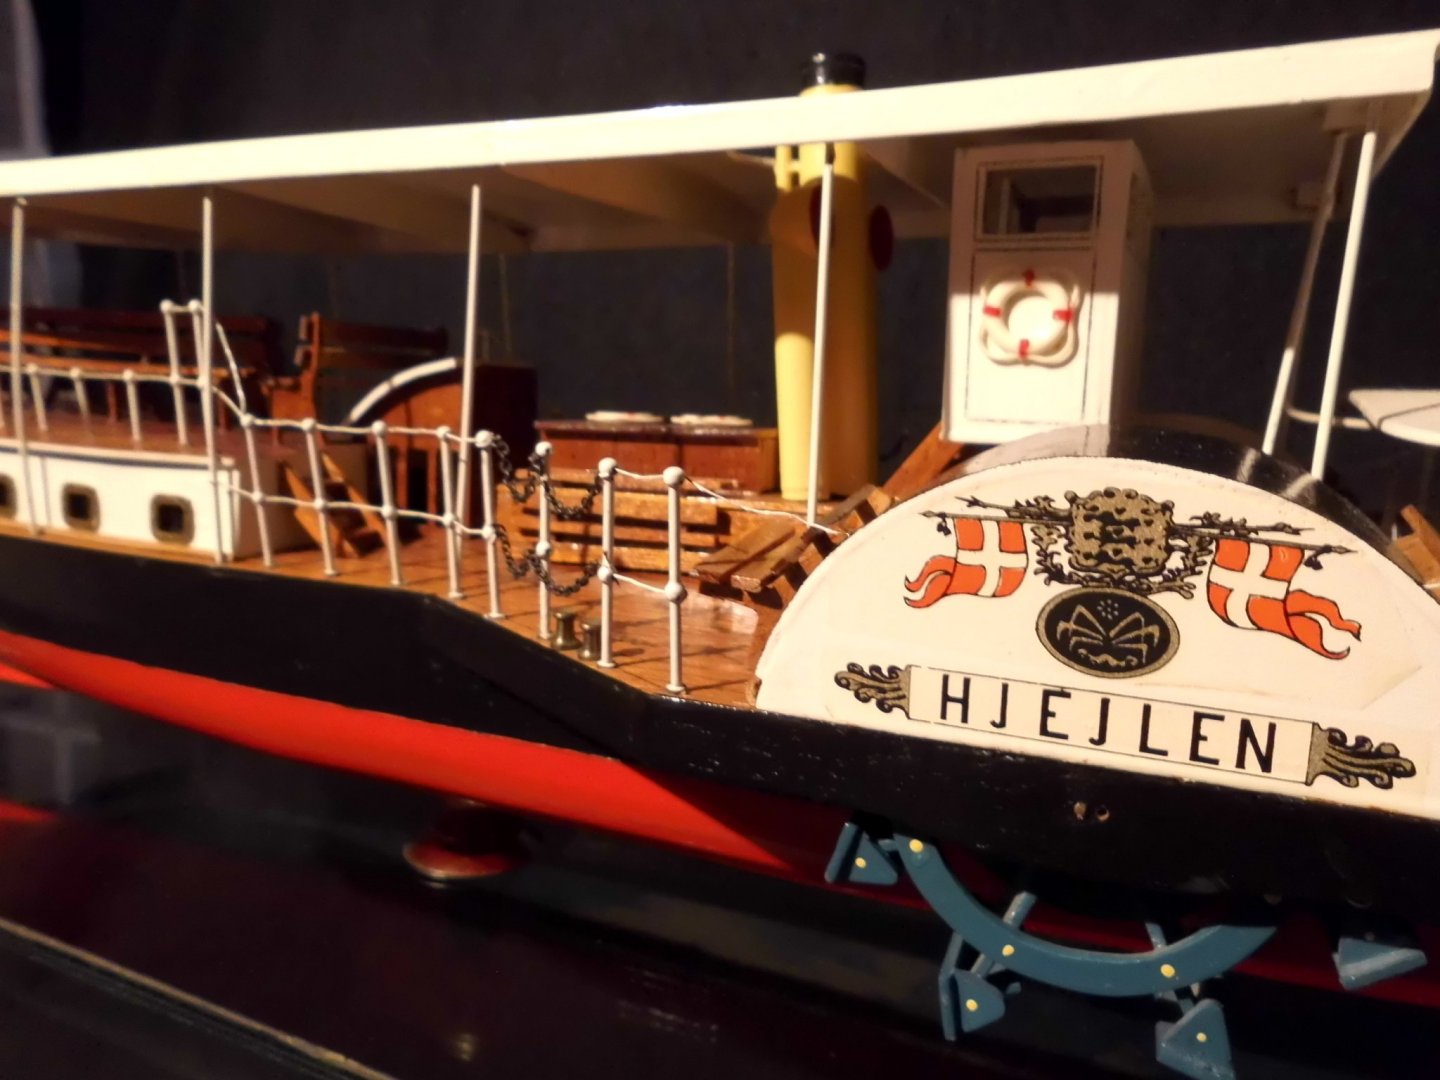
Hi there, all you steam-paddle-boat lovers since I was a teen I had an eye on this lovely boat. It is the long time already out of production vintage Billing Boats kit named "HJEJLEN" Golden Plover, German : Goldregenpfeifer. A few days ago I could hardly believe my luck in finding this offered complete kit-built boat, on Ebay, a bit damaged, together with a suit-taylored glass case, so I invested a drive to the seller in the region of Bremen area, and picked it up. After thorough inspection back home I determined the minimum of parts and components required to restore and overhaul the charming old lady. I shall show the sequences of recovery and restoration in the next weeks to come, here in this tread. As this will be no complete new build, but certainly worth an shorter thread on this forum, as I`m sure that there is interest for this model by the one or other fellow member. Credit goes to the late father of the seller who built this steamer many years ago. It is known to be the oldest live steam, still cruising boat with passengers in the waters of Silkeborg in Denmark Nils name giver birdie, Hjejlen, Golden plover, Goldregenpfeifer


- 38 replies
-
- 19
-
-
- billing boats
- hjejlen
- (and 2 more)
-
Hi Mike, congrats, you did a very nice job on the vintage Paddle steamer Nils
-
Beautiful work Peta, also your pictures are wunderbare quality..... Nils
- 315 replies
-
- 1
-
-
- master korabel
- avos
- (and 1 more)
-
Fantastic ornamentation Doris, The best I`ve ever seen on a model..... Have a nice and enjoyable Christmas with your family Nils
- 1,035 replies
-
- 10
-
-
- royal katherine
- ship of the line
- (and 1 more)
-
Doris, your work is fantastic, its a pleasure to follow.... Nils
- 1,035 replies
-
- 3
-
-
- royal katherine
- ship of the line
- (and 1 more)
-
Lovely Toolmaker`s work Michael, you`re doing a fantastic job !! Nils
-
Congrats Bob, a great looking Boat..... Nils
- 78 replies
-
- 1
-
-
- medway longboat
- Syren Ship Model Company
- (and 1 more)
-
A very good looking plating job Svein Erik just a question, how thick is the carrier copper tape you have chosen ? (without paperback, without glue film) Nils
-
Excellent rigging and sail making Peta, wunderbar ! Nils
- 315 replies
-
- 1
-
-
- master korabel
- avos
- (and 1 more)
-
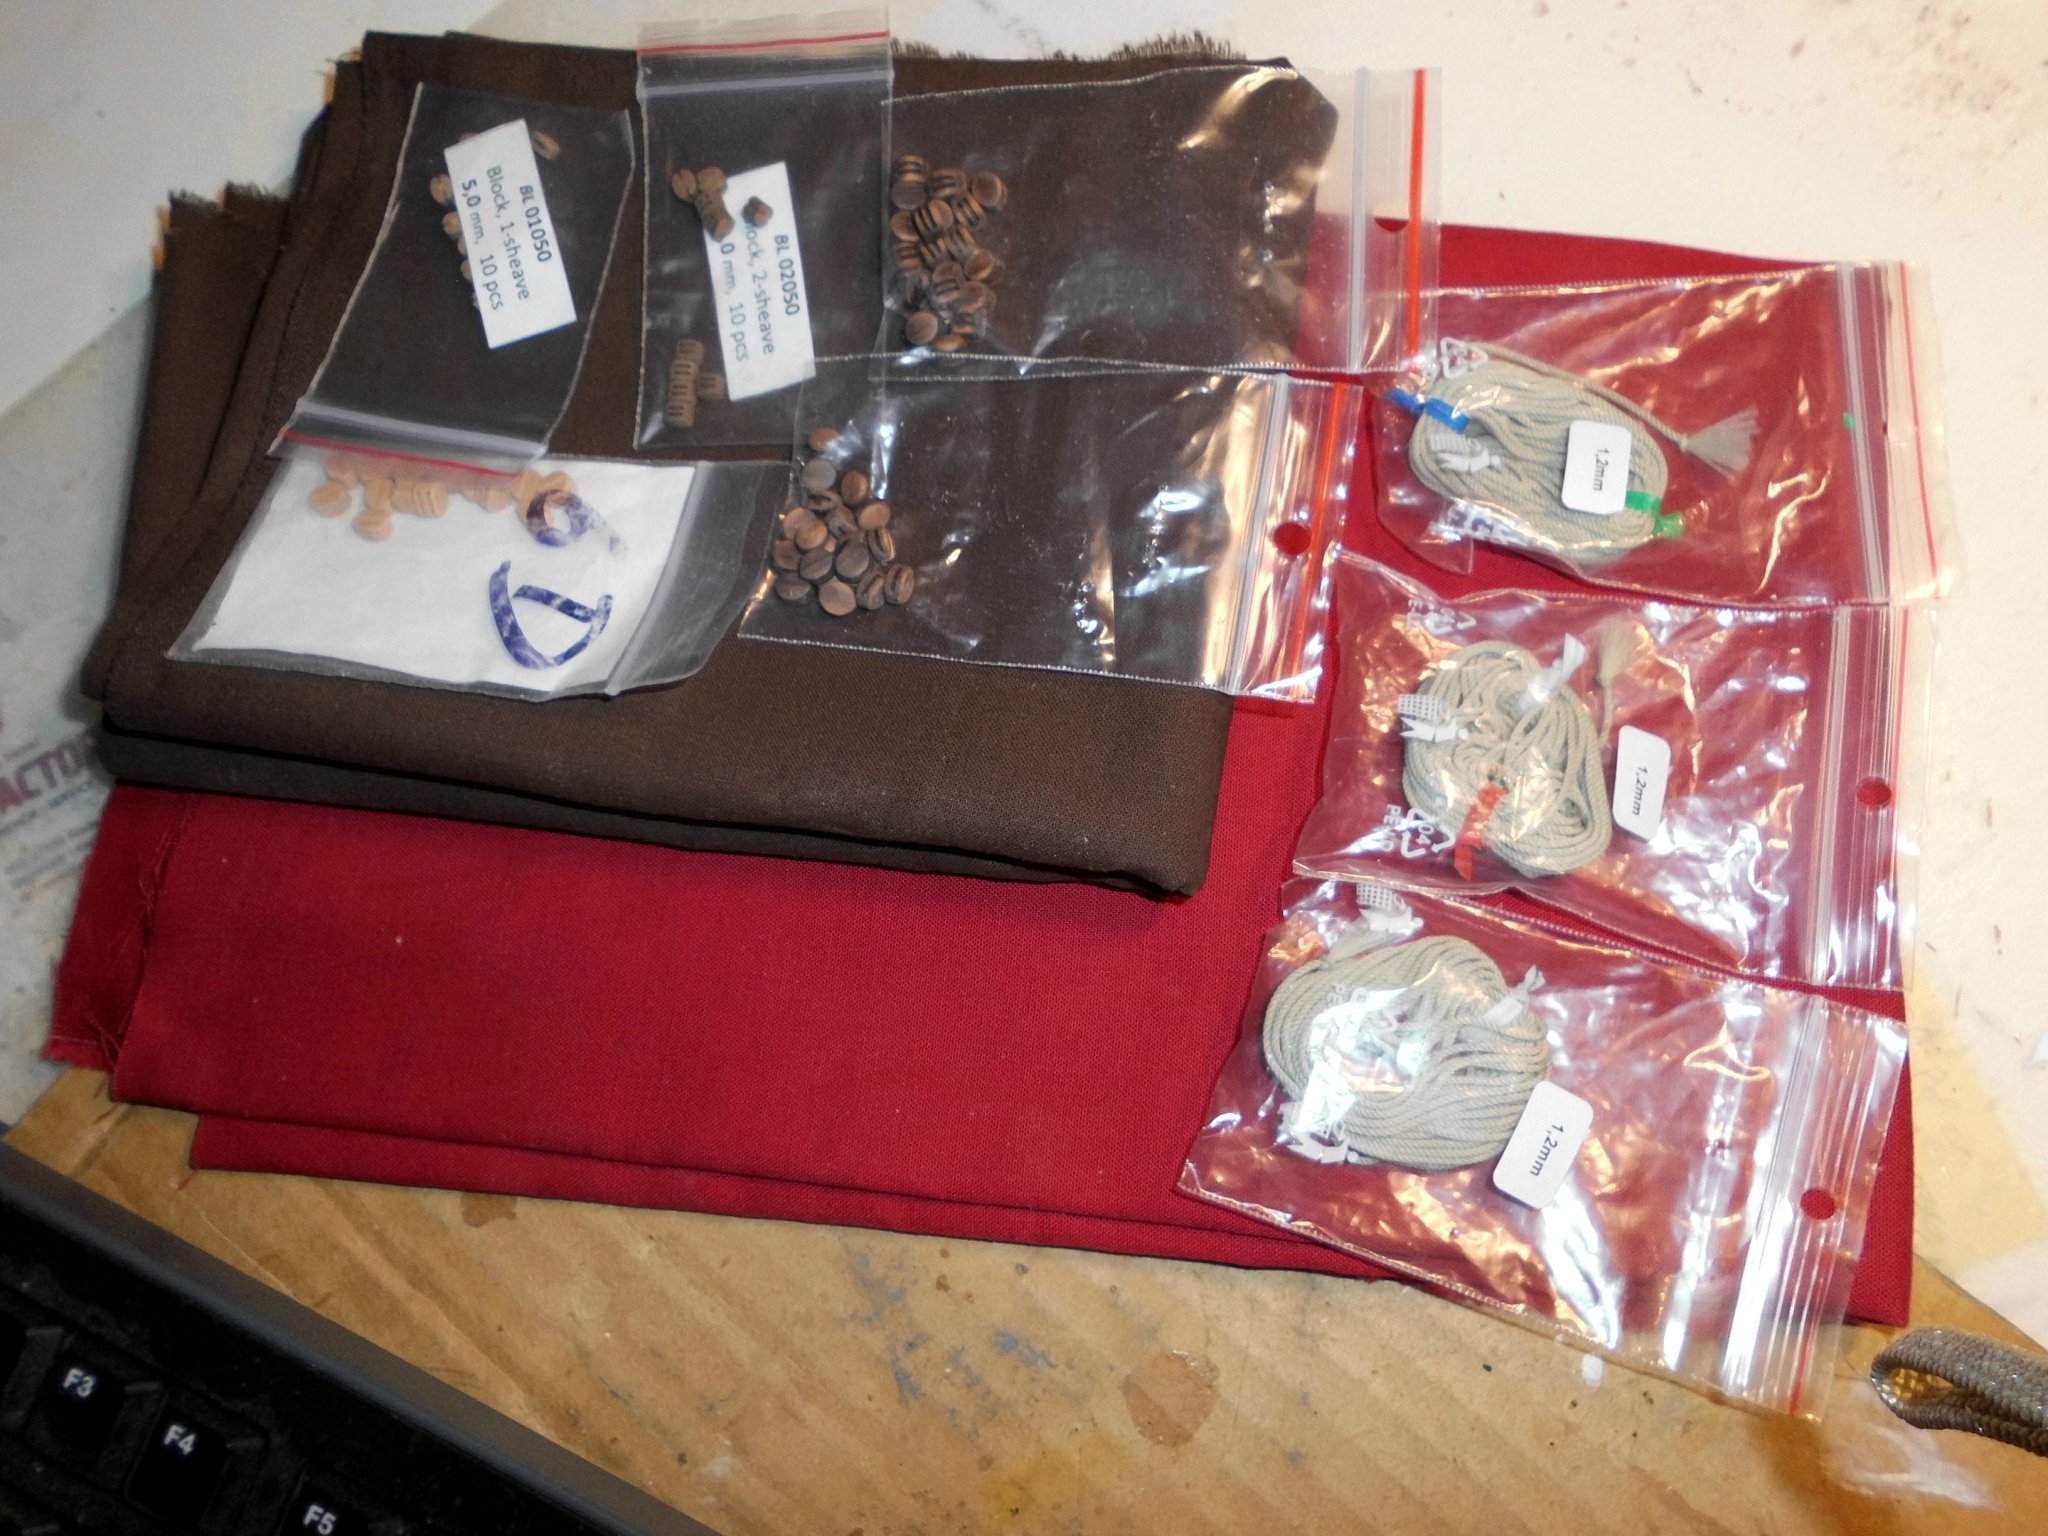
Hi Pete, thats the impression, after the vacum cleaner was at work, you should have seen it before and an angry wife, just after a sanding and table saw session. All shoeprints all over the carpets ! Meantime I have received some blocks and cotton cloth for sewing the sails, brown and red, or will do two of the five sails in red. I still have some Morope for the bolt ropes Nils

-
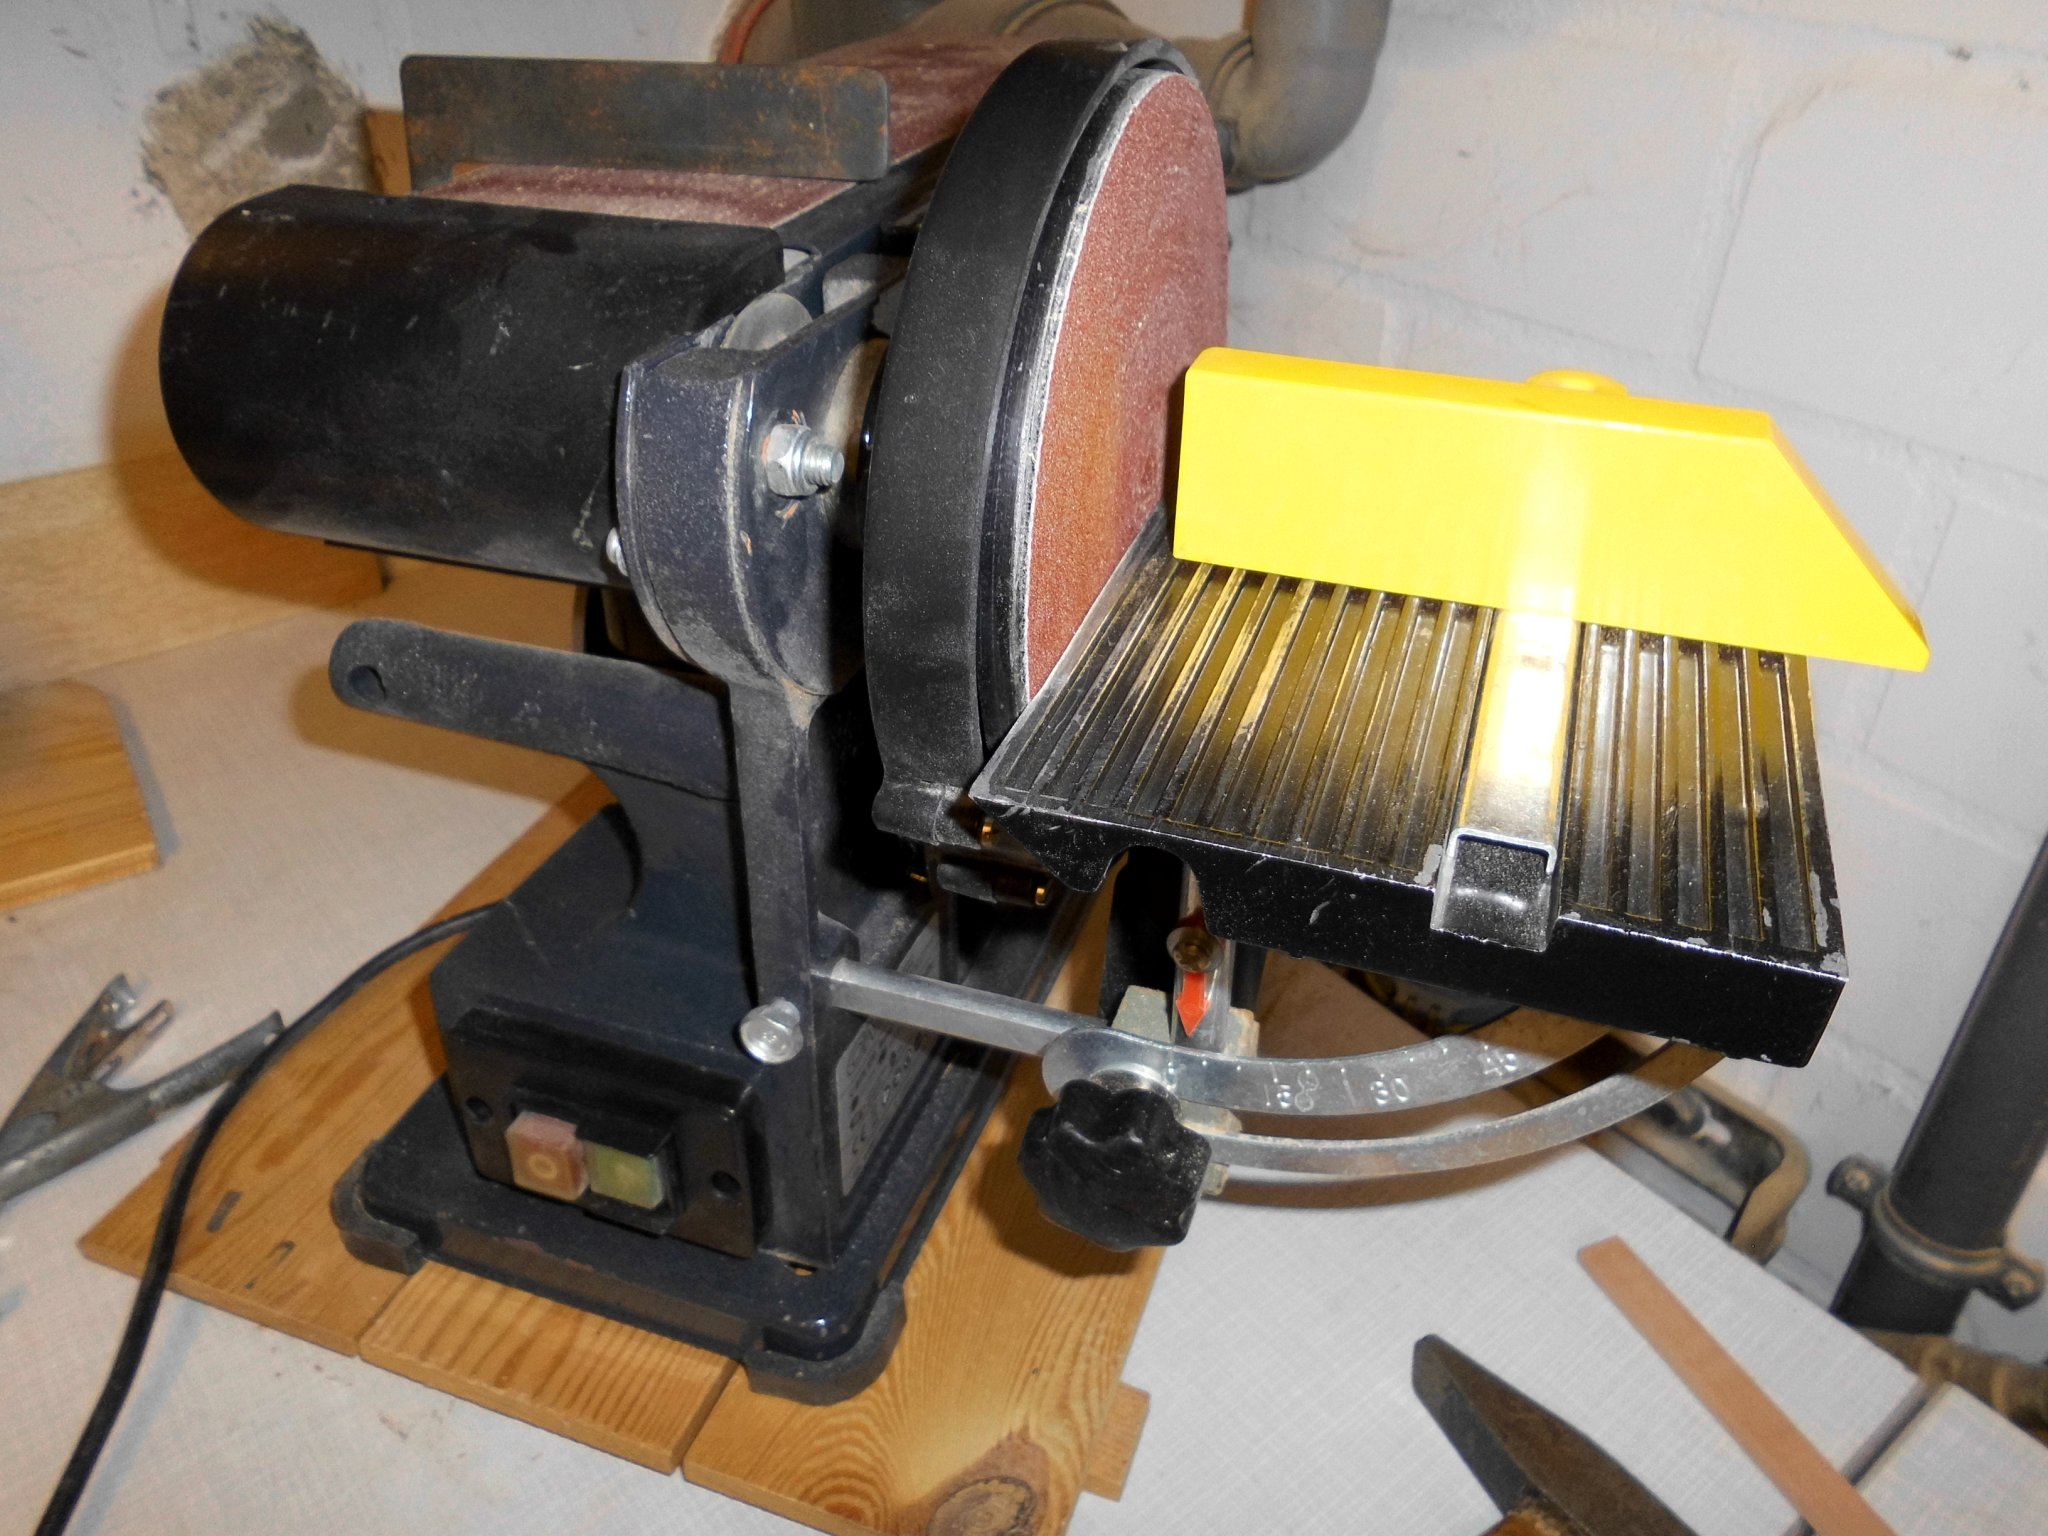
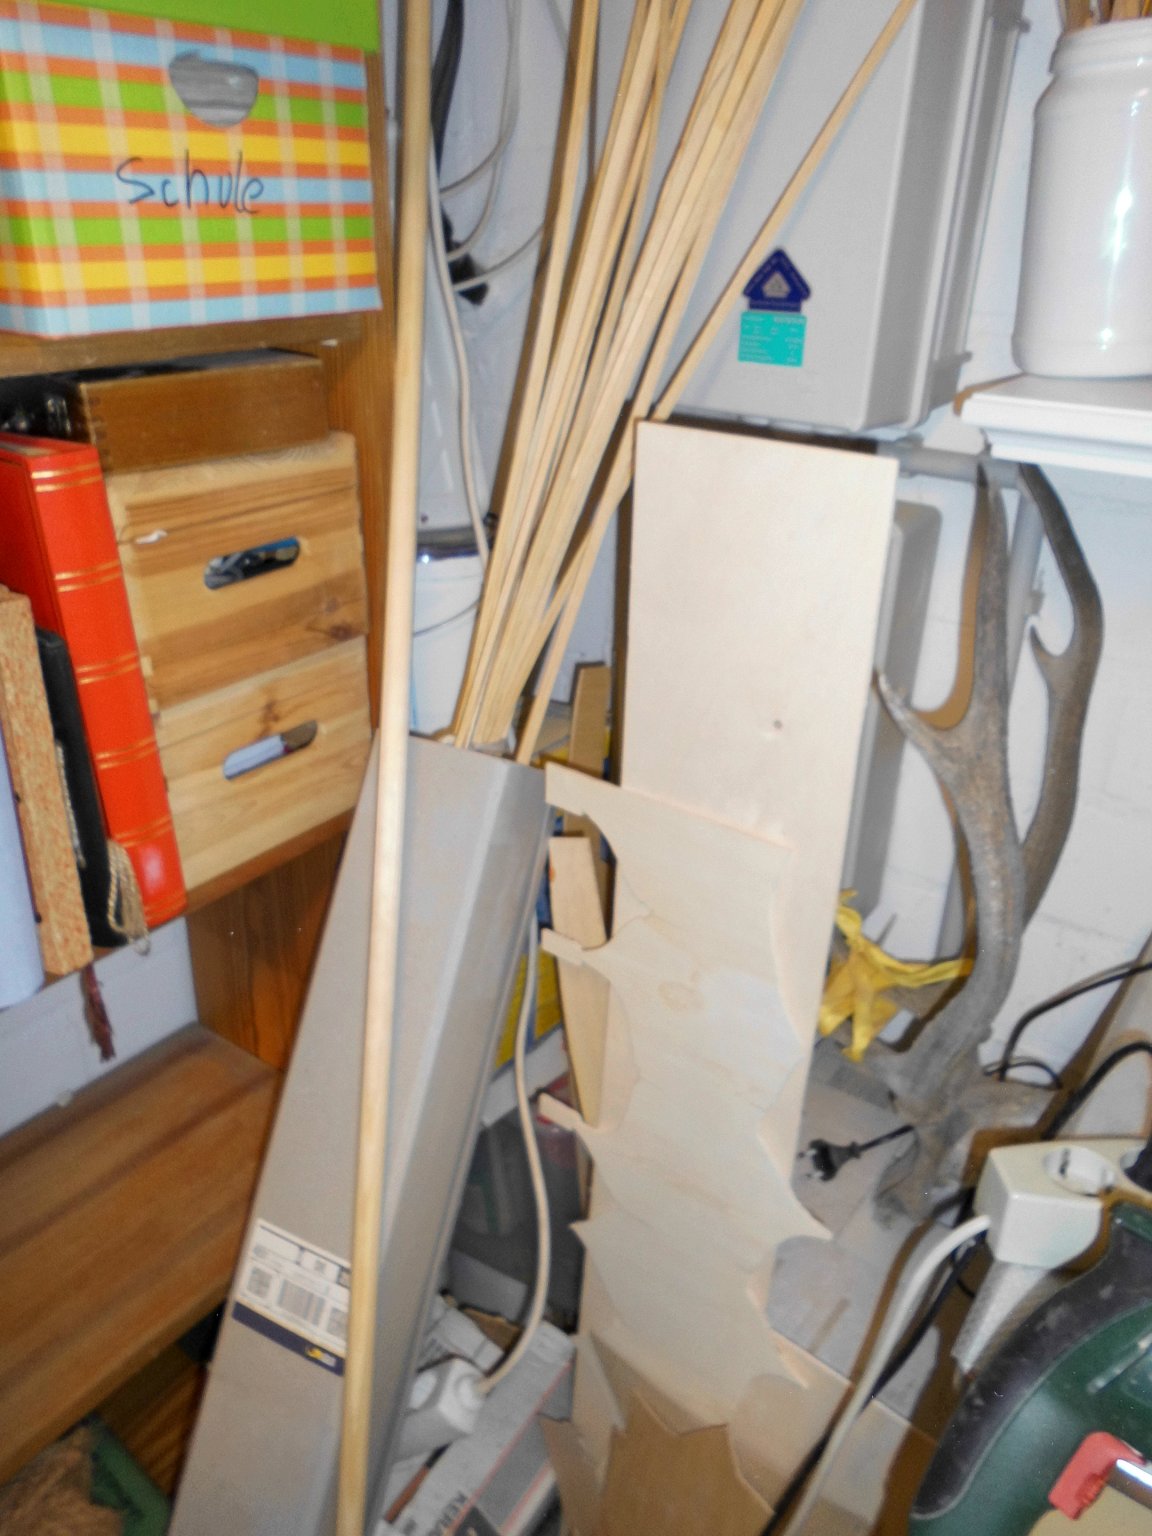
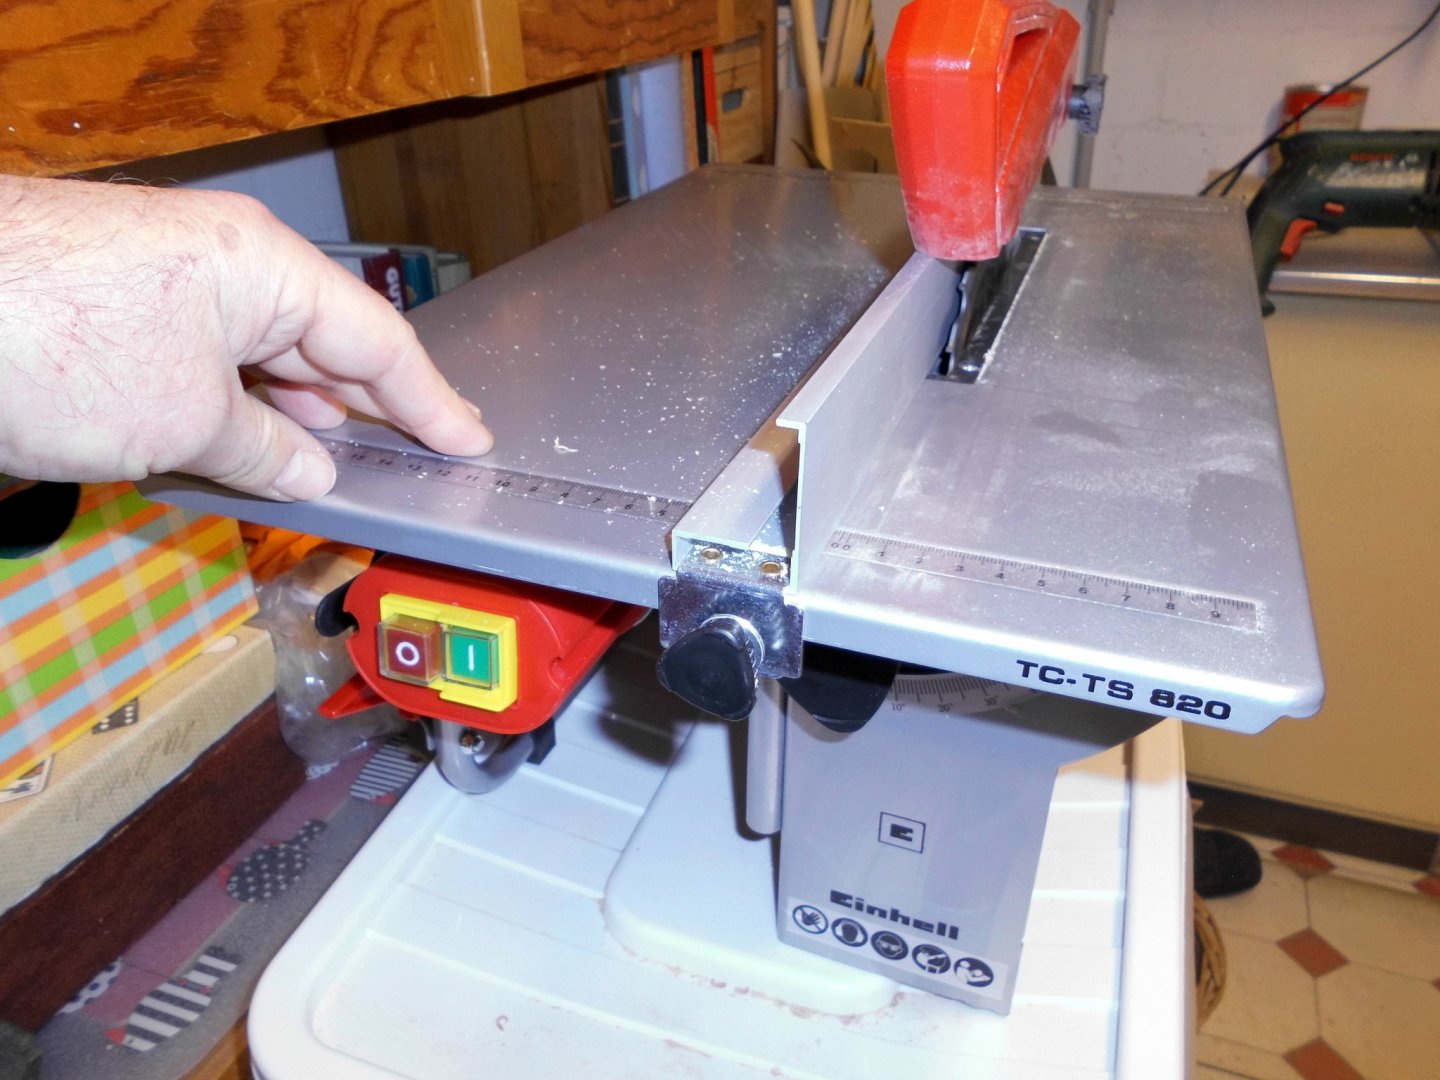
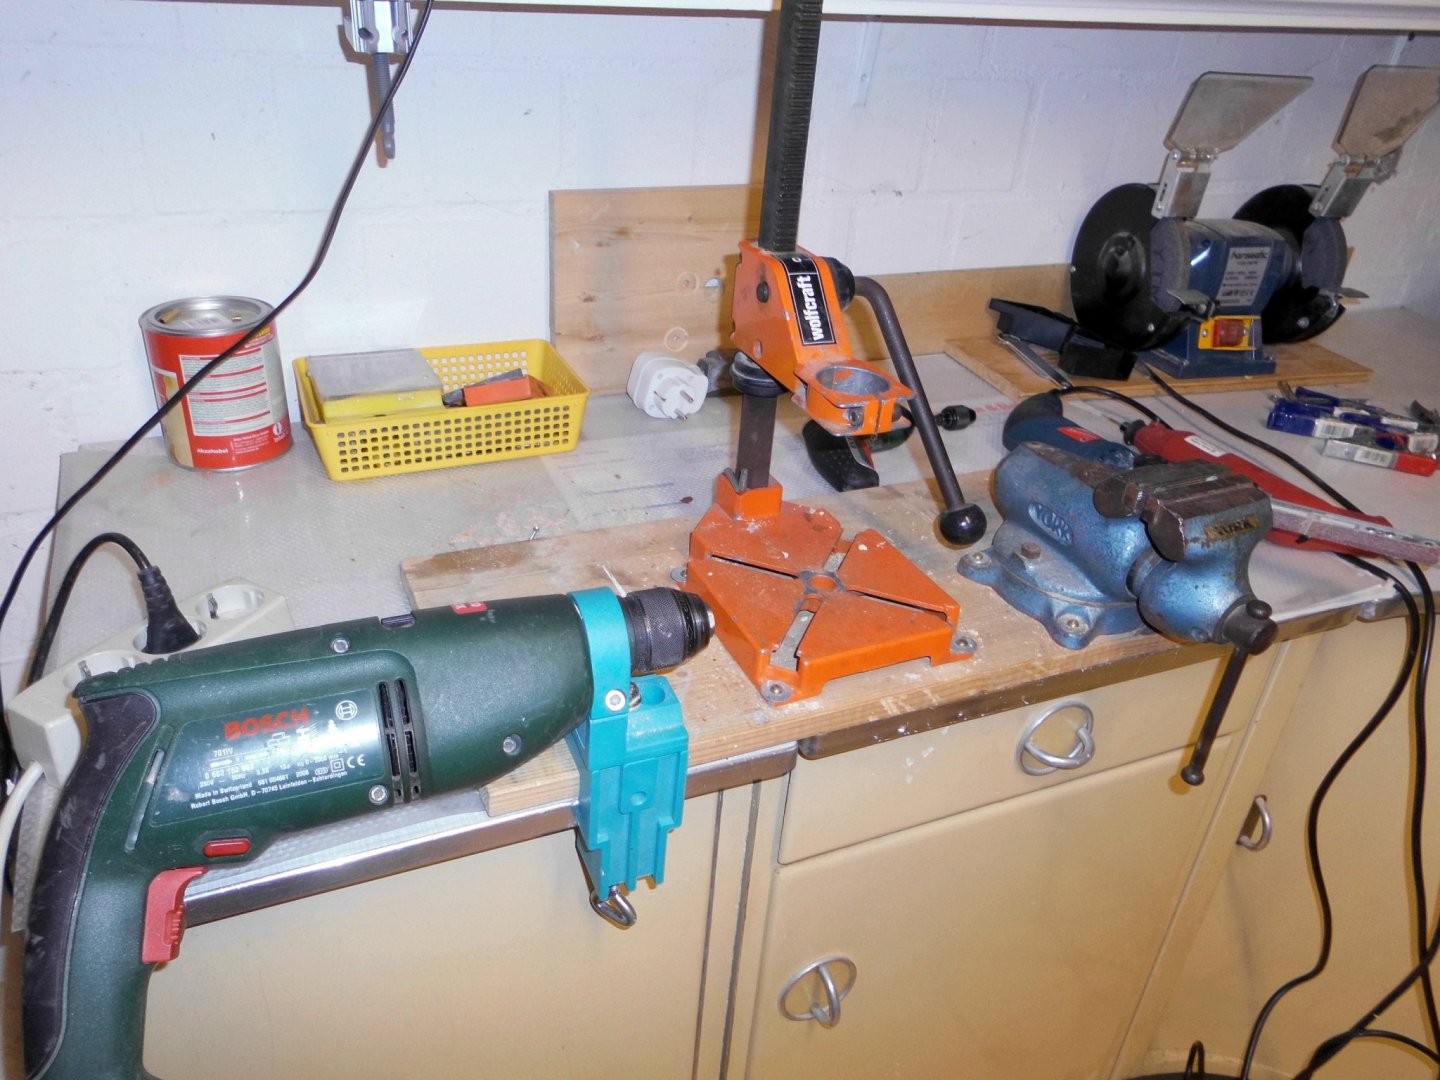
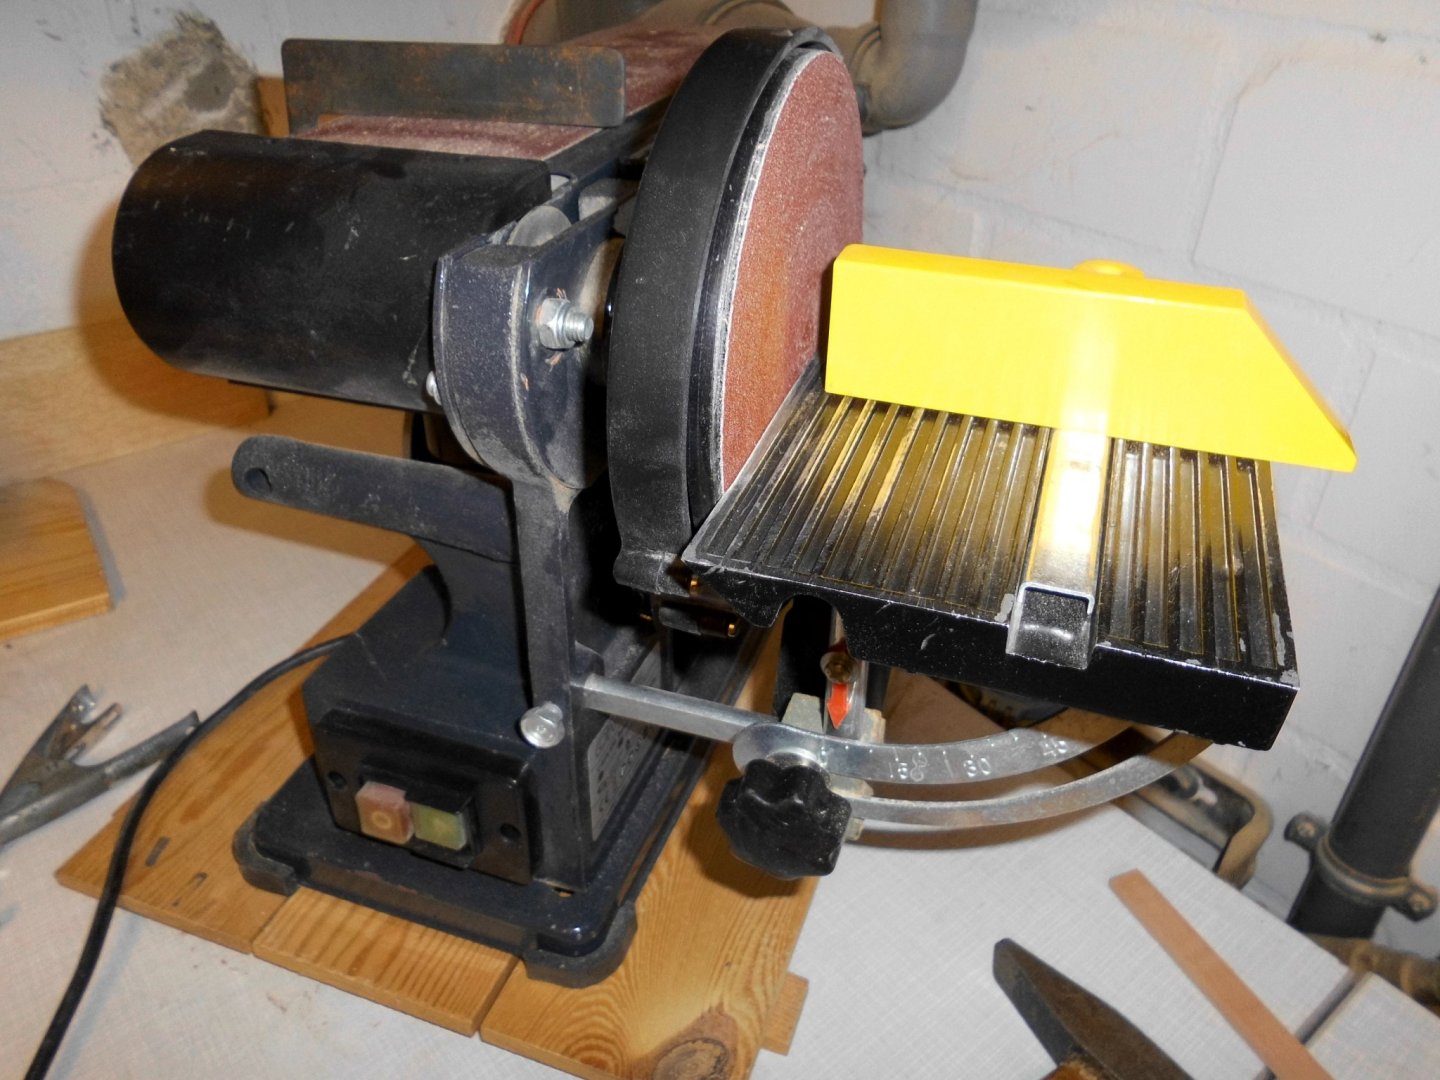
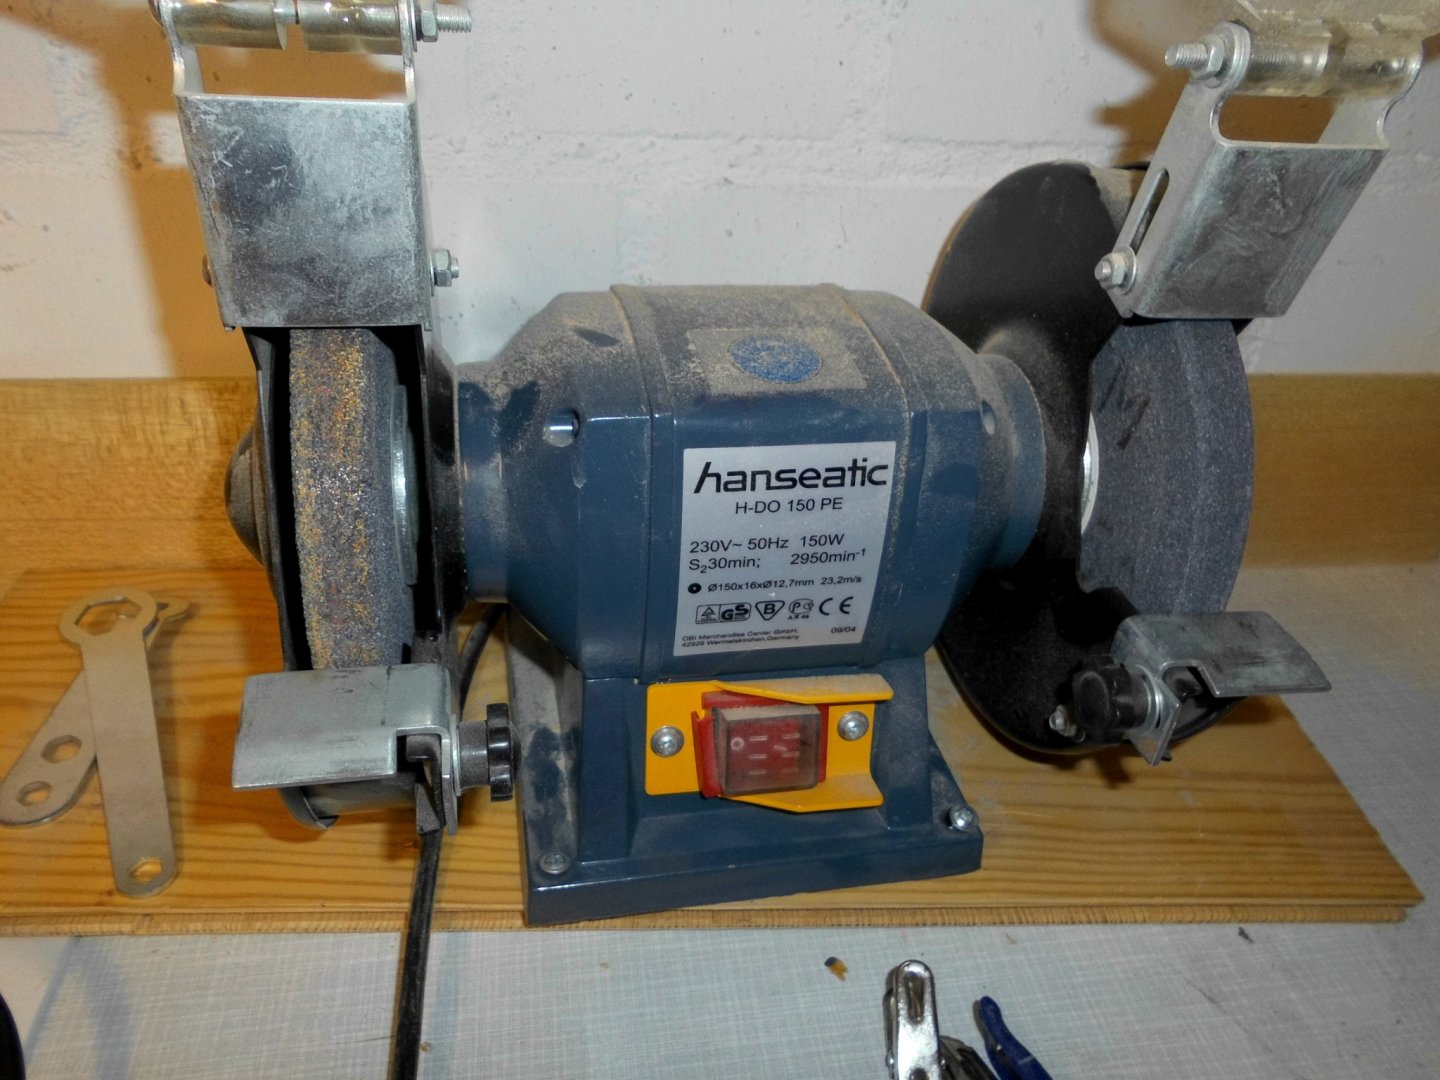
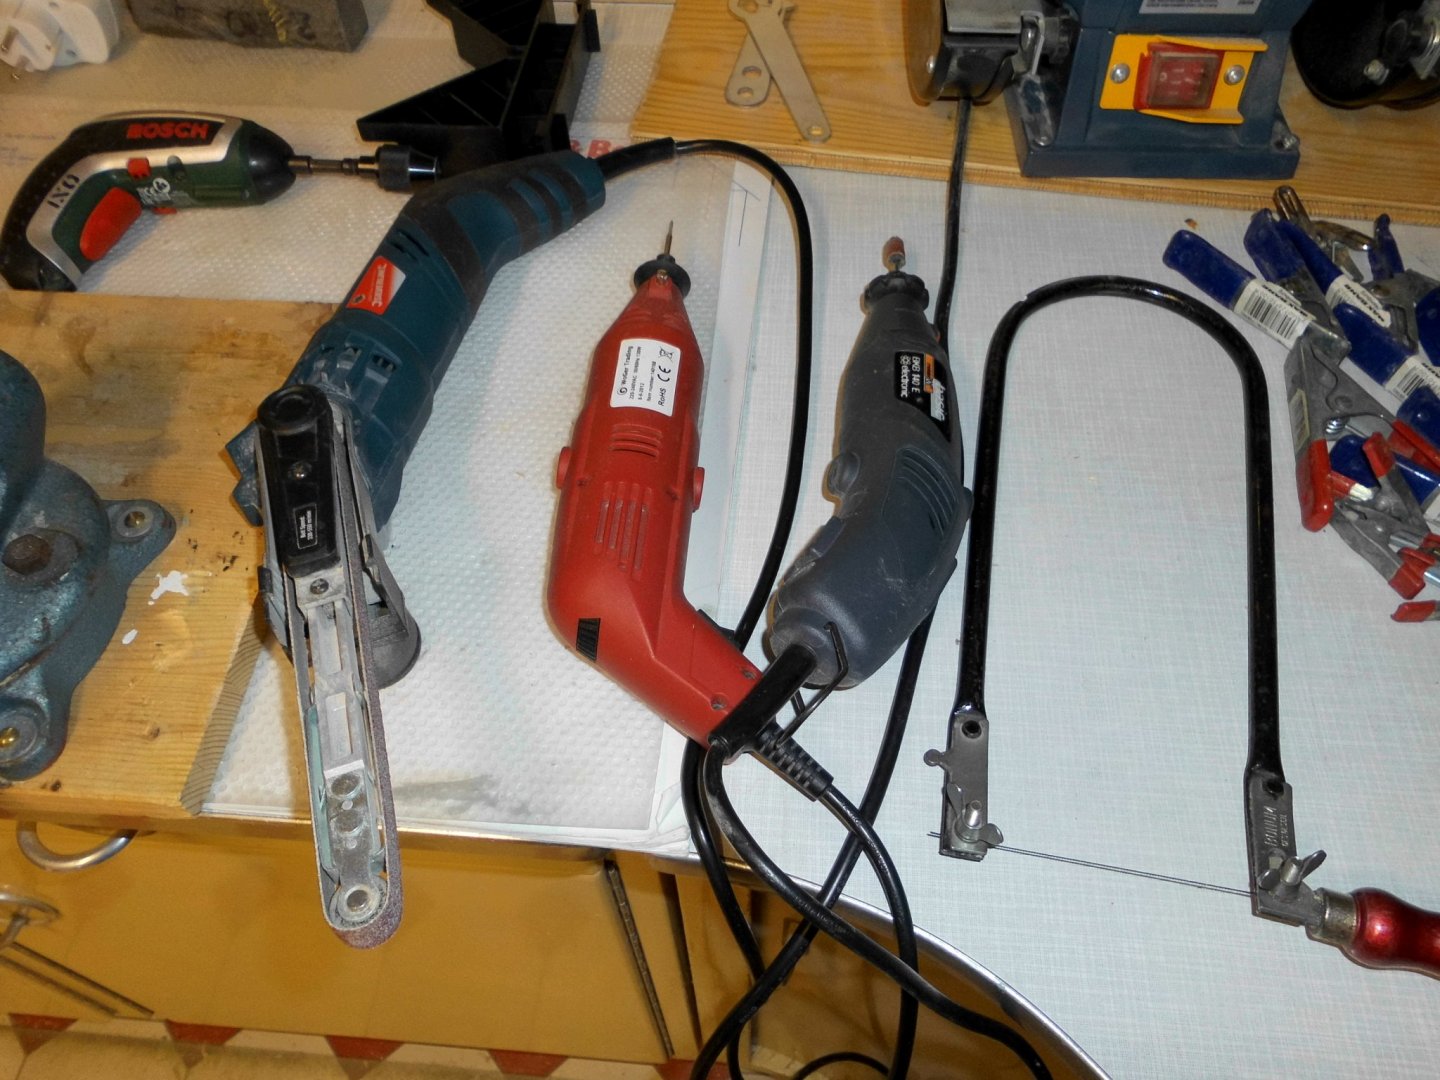
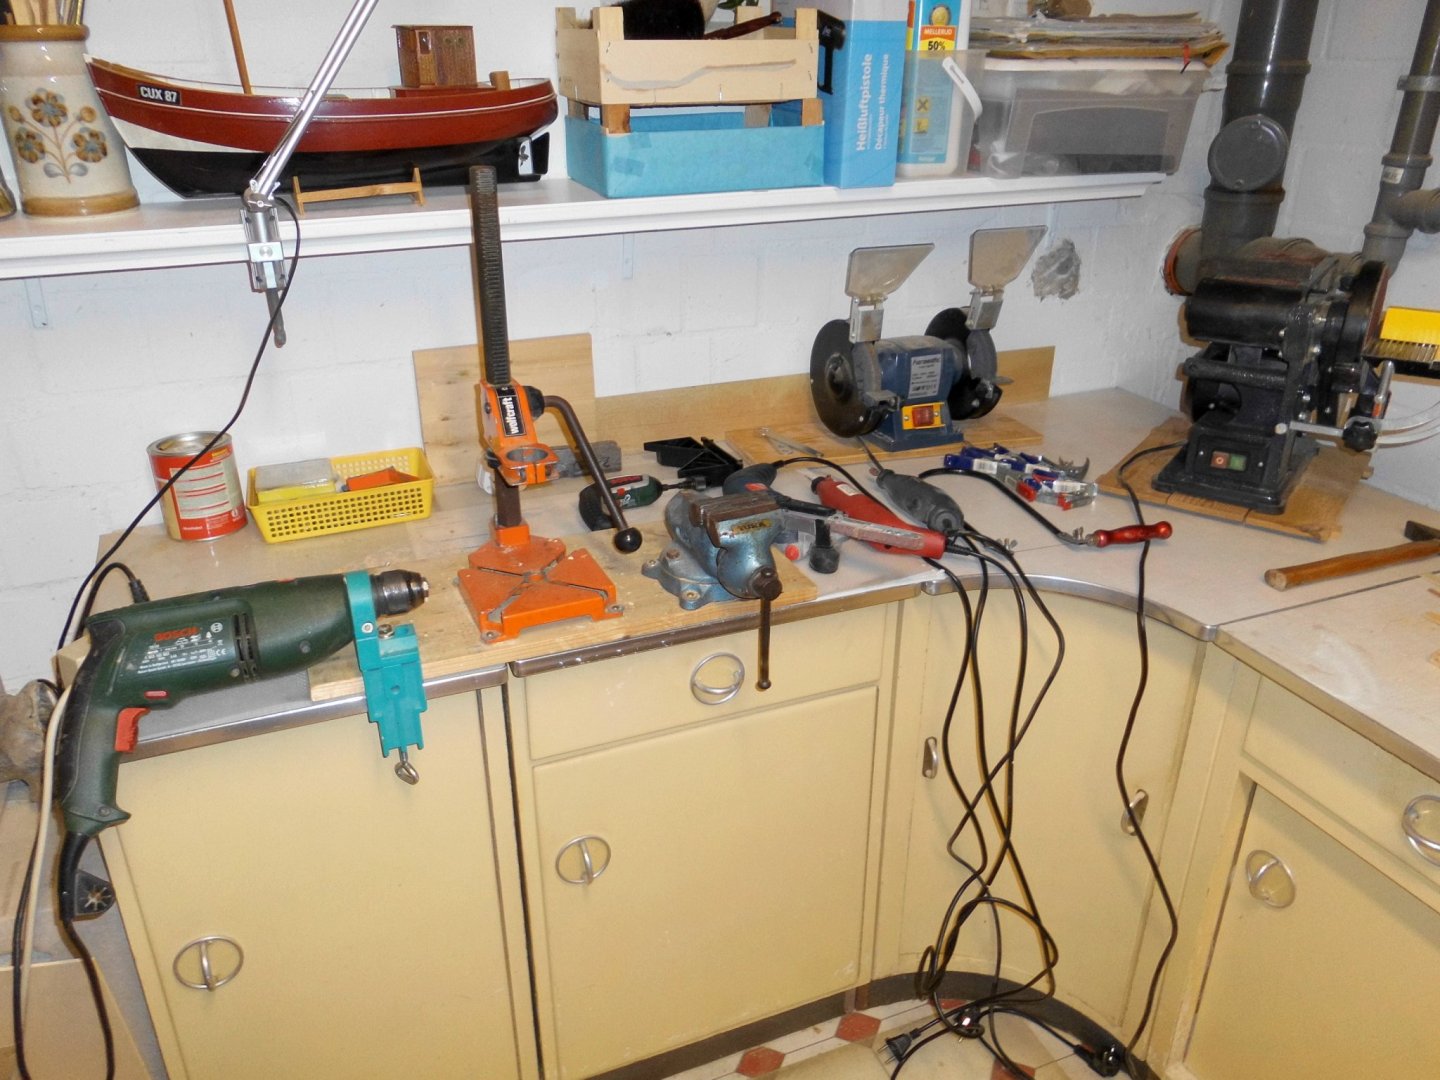
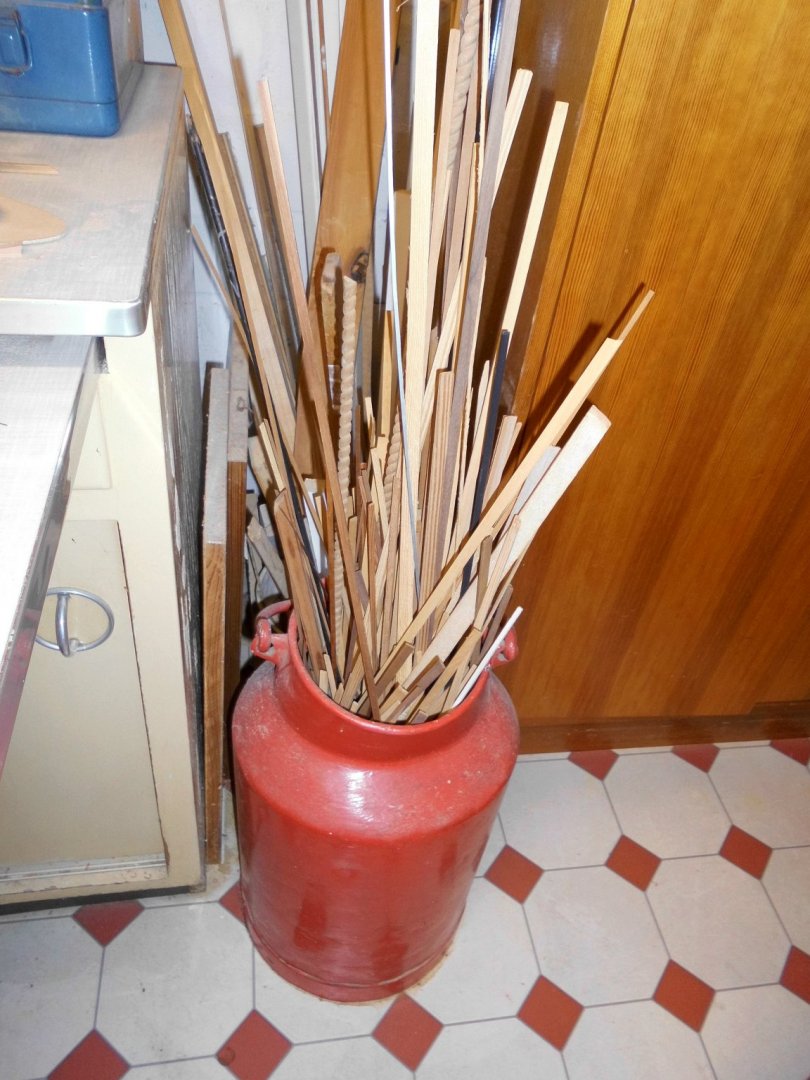
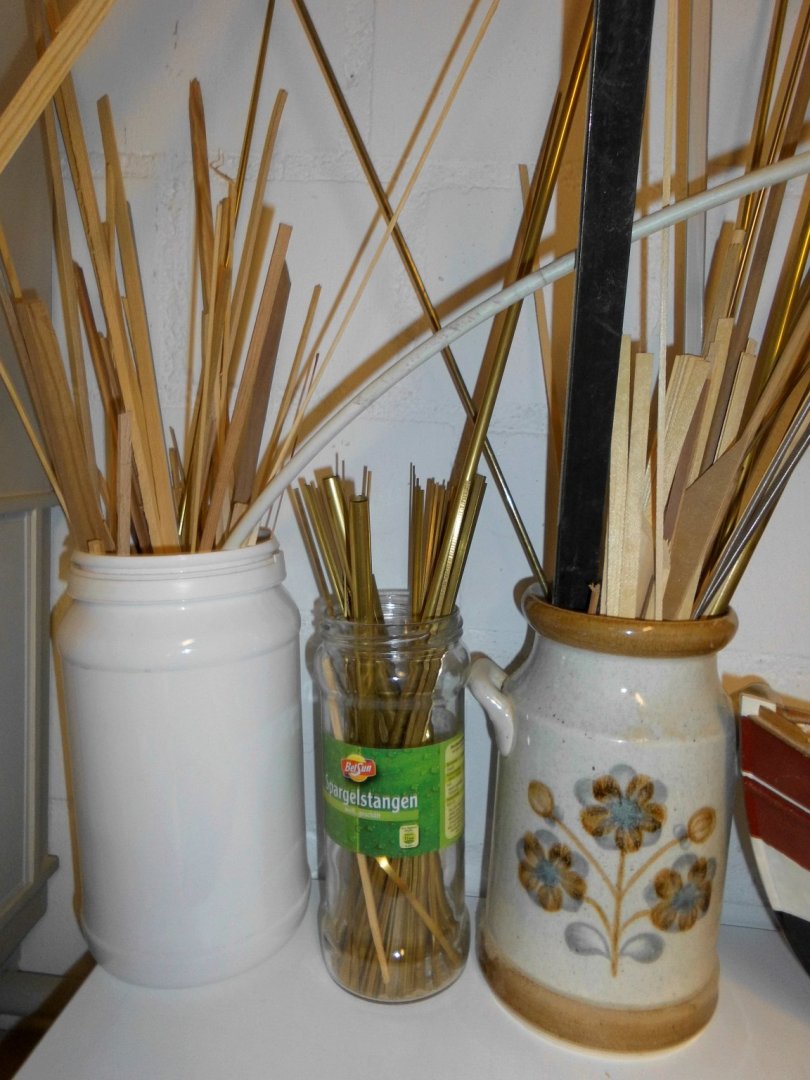
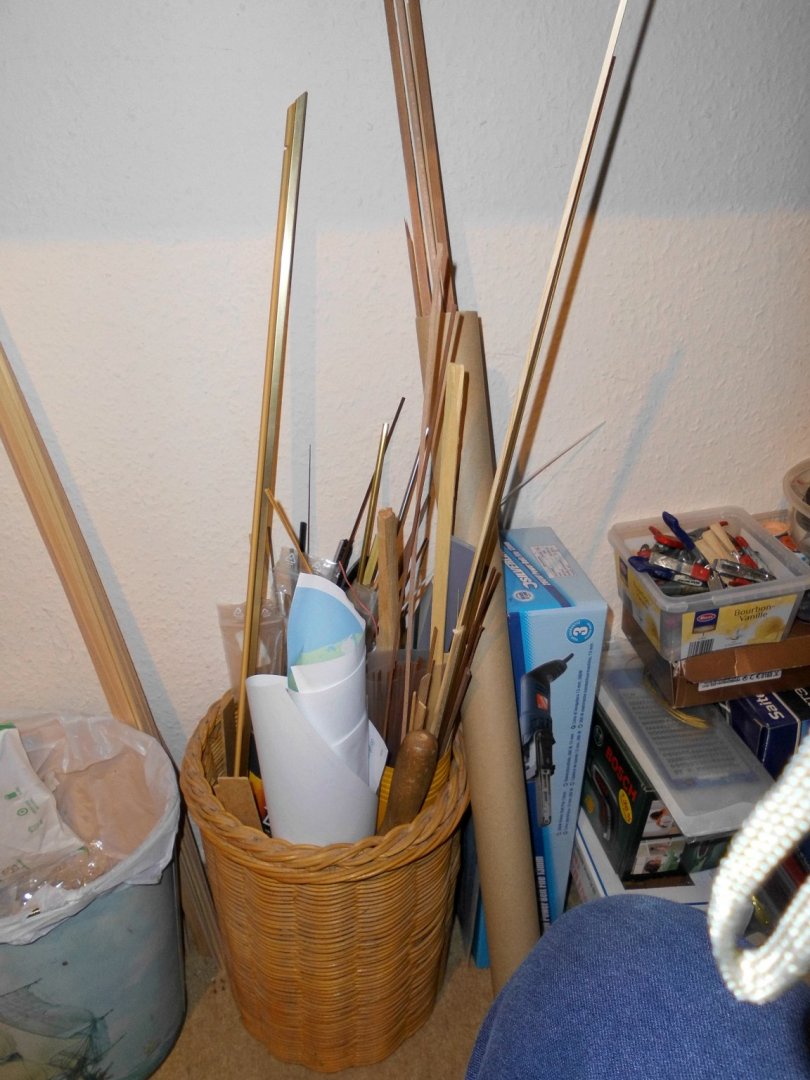
Many thanks to Steve, Johann, Denis and Piet, also thanks to all the "likes" for looking in It must have been two weeks or more since I posted last, and your kind comments encourage me to carry on, the steam was a bit out of the kettle, and I do`nt realy know why.... Instead I spent some hours with my Trainz 2009 train simulator, a program I have on my PC. There is a favourate download add-on I have saved there, it is a historic logging line, down in breathtaking Murchison county, New Zealand. This is covering standard gauge- and narrow gauge tracks in mountains, over many scary wooden threstles over rough canyons with animated waterfalls, and along flowing rivers to get to the logging camps, with interactive log-loading and dumping functions. Best of all are (amoungst many other vehicles in the train park), the old geared puffing locomotives, like Shay, Climax, Heisler, etc. Steve, a very nice comment of yours, much appreciated. Yes, much is with hand tools, and because I neigther own a lathe nor a milling machine, I always have to evaluate how the job can be done altrnatively. With pleasure I`ll provide a little overview of my favorate tools in use....... (ref. to the enclosed pics) Johann, thank you very much for nice comment, much appreciated, am pleased you like the details... Denis, thanks for your nice comments, am pleased you like the details. I`m stuck a bit with the deck in the moment, but will groove myself in and carry on.... Piet, thats a very nice comment, and I`m pleased you like the workboat... Nils Pictures: I have a small room in our cellar which I use for rough-work cutting, sawing, grinding, glass casing assembly, and wood storage. The assembly work, designing, soldering, and finer fitting sub assemblies is done in my other, more office-like hobby room, where I also display the finalized models in glass casings this is very old kitchen furniture that could be saved from dumping many years ago, here are my favourate tools this table saw is my latest achievement, a birthday present of my son in Oct. this year this multy use sander is very much in use, and I ca´nt miss it anymore... for sharpening chissels and drills the small IXO Bosch Drill is very much in use, i`ts usualy for taking up hexogonal headed bits, and here also a bit for spanning small drills 0,5 - 6 mm for all purposes... further a a sander belt ( cost much less than a Proxon or so), but is a pofessional tool further two grinder / sanding tools for appropriate range of bits And of course the good old hand jig-saw odd plankes and dowels, bits of wood, ply bits and remaining plate rests, etc. are saved for future purposes.... also all sorts of brass profiles and tubes are saved drawings, design evaluations etc. are saved in card tubes


- 401 replies
-
- 12
-
-
Nice build Pete, also the truck looks great Nils
-
I love the precision of your work Daniel, The wonderful framing work combined with top accuracy of your (single planking !! ) hull skin is high skill artwork Nils
-
Super build Dan ! those boats, rafts, davits and all those fine detail look great, very nice work Nils
- 238 replies
-
- 5
-
-
- leviathan
- troop ship
- (and 2 more)
-
Many thanks Pete and B.E. for your nice comments... also thanks to all the "likes" for pressing the thumb up icon... Nils
-
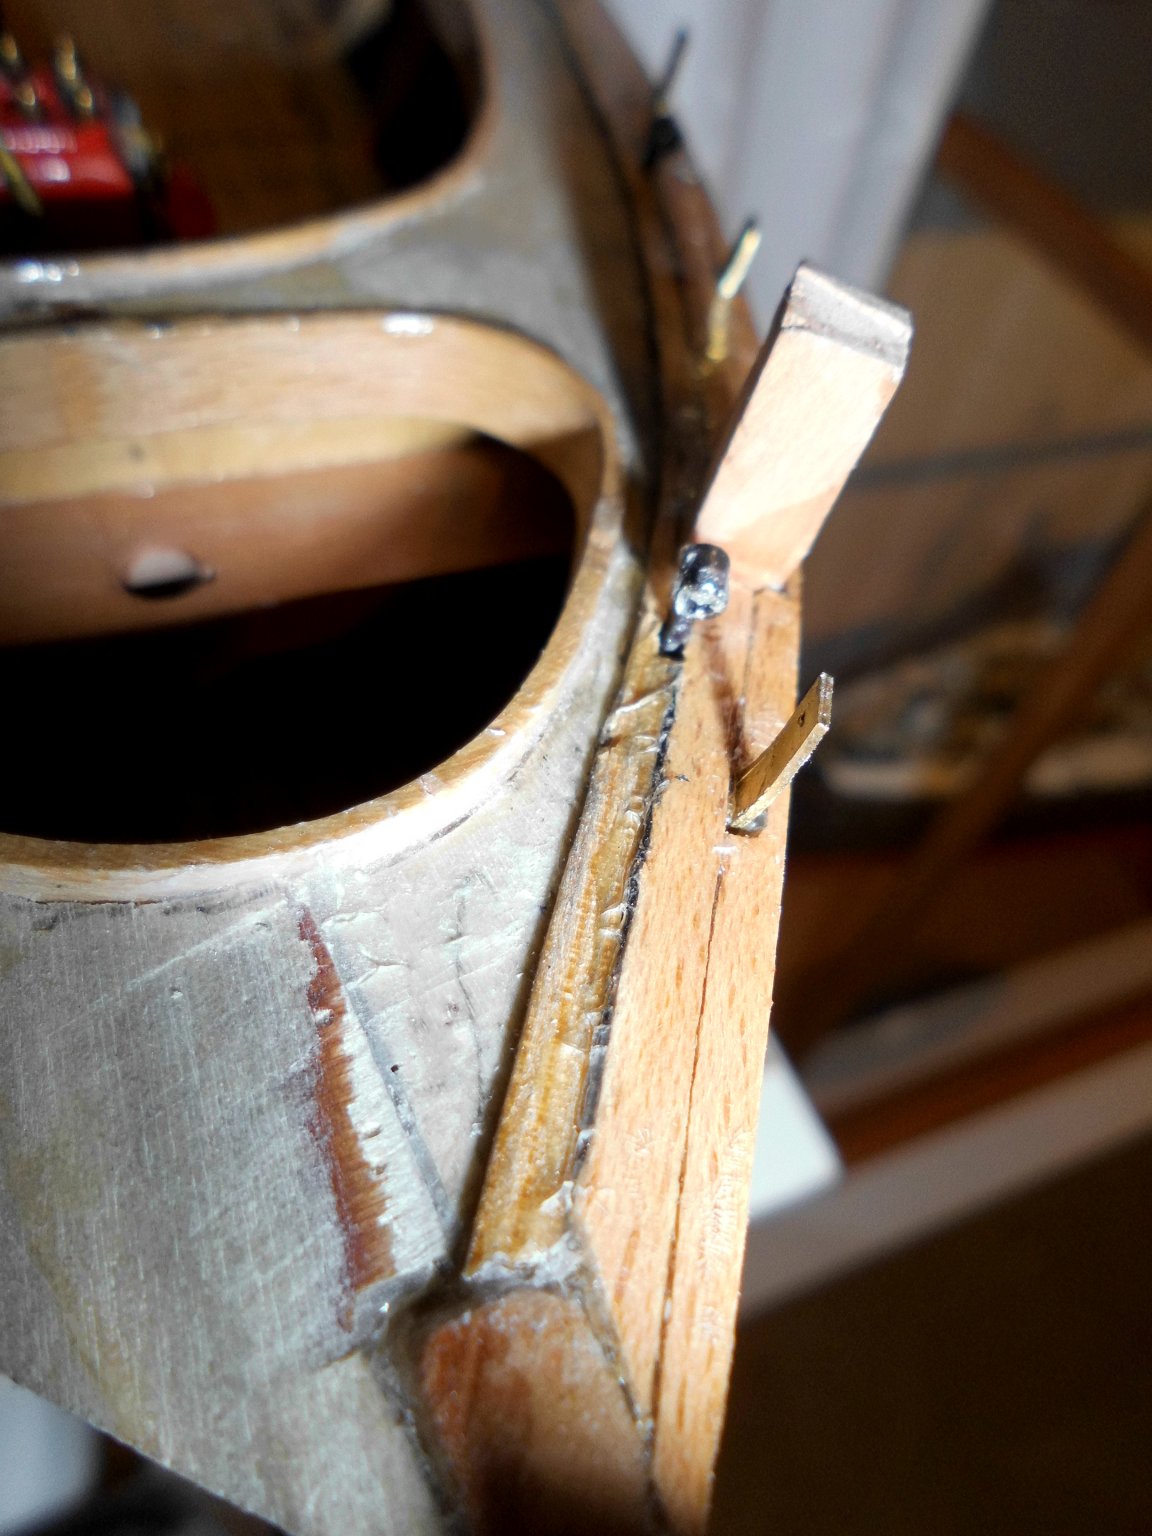
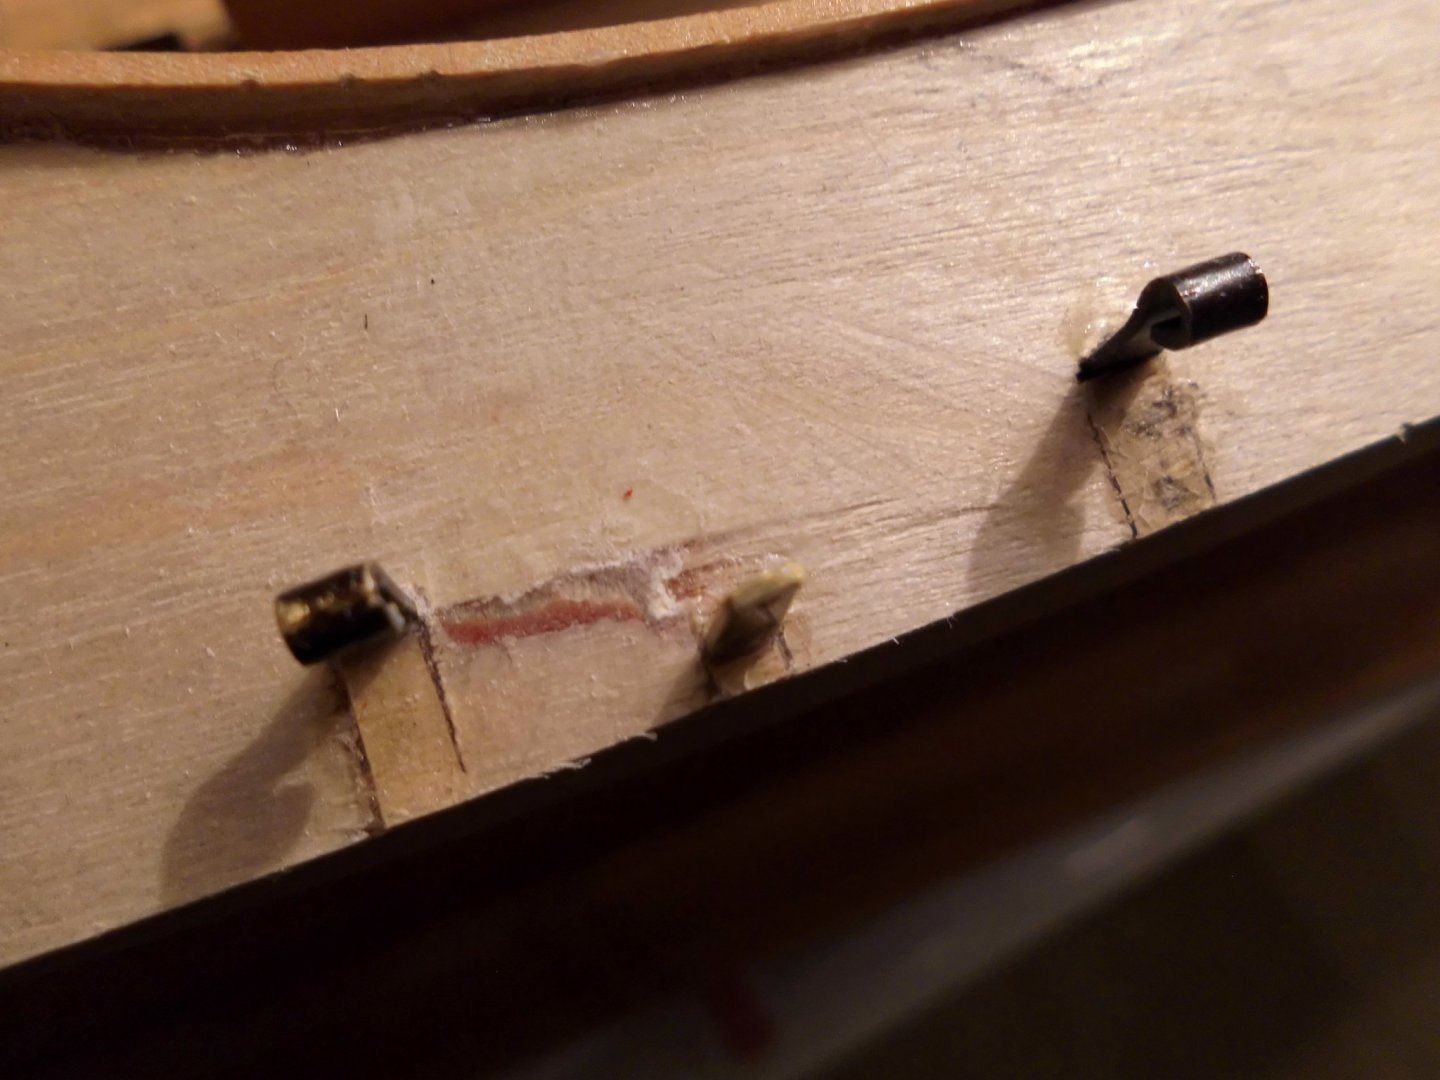
thanks for catching up Pete... I`ve been tied in with so many other things the last days, so the decking of the Zeesboot was cooking on small flame. Now on stb. are fitted the edge planks and the first regular plank, beginning from stern. It looks a bit untidy in the moment, due to the cured out CA used, because of the tensions through the curving, but sanding and scraping will be done at a later point in the process. I have to work around the flat brass members sticking upwards from the ply deck, and I have a good feeling that they are safely anchored to the supporting deck structures below. Caulking is done with a soft HB pencil Nils the blackened Fittings hold the shrouds, the ones momentarily still in brass hold the foot-rails leaving a horizontal gap to the deck, to hawse the overcoming water quickly the 3 mm wide edge planks (1,5 mm thick) are from beechwood, they come out a bit darker after varnishing, and the 3 mm wide deck-planks will be of 0,7 mm thick pine The little gaps in the deck, next to the brass fittings are closed with little ply bits


- 401 replies
-
- 13
-
-
Thanks for showing your work at a early stage with aquarell paintings..... Nils
-
Good work B.E., Those 29 mm barrels of RB look just right to the eye !! Nils
- 335 replies
-
- 3
-
-
- alert
- vanguard models
- (and 1 more)
-
Very nice work Denis, Nils