BANYAN
-
Posts
5,958 -
Joined
-
Last visited
Content Type
Profiles
Forums
Gallery
Events
Everything posted by BANYAN
-
 Hi Mark, won't bending it change the shape of the notch? Perhaps that is recoverable though as if it is in the centre there should not be much bend there? cheers Pat
 -
Thanks Druxey - I need my wake up pills I completely missed that - thanks for the pointer Remco cheers Pat
-
Hi again Remco, Would you be able to identify the soldering block and pin jig you use (see a copy of your photo below) - Is this home made (drilled) from a solder block or is it a commercially available product please? It looks commercial, but with your skills I would not put this past your abilities It looks a very useful jig for such jobs. Many thanks Pat
- 1,215 replies
-
- 8
-

-
- sloop
- kingfisher
- (and 1 more)
-
soldering torch vs iron
BANYAN replied to rtropp's topic in Metal Work, Soldering and Metal Fittings
I apologise upfront if this is slightly deviating from topic as it was titled torch vs iron - sorry if I am hijacking your thread Richard. If thought necessary, I will move this discussion to a new thread but I thought it sort of fits here? Recently I have been investigating resistance soldering and would appreciate any feedback/experience of users. There are some uTube and other threads out there on the web that show that resistance soldering provides sufficient heat for hard (silver) soldering (for smaller jobs). One major advantage being that you can solder several small bits close to each other without damaging the other joint even without using different melting point temps. As I will only be using this for small work such as eyebolts, chainplates and some photoetch joints, I think the power (thermal output) is sufficient with a 250Watt set. My main concern though is when doing longer seams in photoetch etc in that as the heat is very localised , whether you can draw the solder far enough through wicking along the joint even by dragging the probe (electrode) along the joint. Anyone have any experience with this? While this aspect might be problematic for this type of soldering activity, it is very beneficial (near perfect) for spot soldering of eyes and closely located parts on a small job such as a spider band etc. Of particular benefit is that by testing and selecting the appropriate temp it is even possible to solder white (Britannia) metal - try that with a torch cheers Pat -
Hi Daniel, I can't offer any advice WRT cabin positioning etc, but agree with Druxey that nothing should impede, or potentially impede the tiller arm and associated tackle. This begs the question of how on earth they worked those guns especially when not run out. The men would have been ducking and weaving with a constant eye on the tiller arm which would have distracted from their primary duties Is the photo deceptive (foreshortening) or is the tiller arm well above the level of the gun and the heads of the gunners? Would this also have governed the height of any canvas partition? Sorry to complicate your question cheers Pat
-
Mark, thanks for that wiki reference - that is the best and most concise summary of the rating system I have read. I may have to pay more attention to wiki I usually avoid Wiki for reference due to much of the material not being fully cited etc. cheers Pat
-
Hi Keith, I somehow missed the start of your new build - a great subject and a very good log! She is coming along very nicely mate - might see her at a meeting soon? cheers Pat
-
Very nice finish to that planking Rusty, well worth the effort. cheers Pat
-
soldering torch vs iron
BANYAN replied to rtropp's topic in Metal Work, Soldering and Metal Fittings
Ditto. For hooks, eyebolts and small parts I use a micro torch with the tip. For anything larger, in ship modelling tasks, I use the flame and not the tip of the micro torch. I find the placement of the flux, solder pellet and the tip/flame point very important in controlling the direction of flow. cheers Pat -
Looks great Greg - end in sight now! cheers Pat
-
Good to see you back Rusty - thanks for the PVC coupling tip . cheers Pat
-
Very nice work Remco; that is incredibly fine joinery and metal work. Ditto on the assembly/soldering board - can you provide name/type and purchasing details please? cheers Pat
-
Thanks for the feedback folks; I will email John to see if he can help. In the meantime I have found a couple of potential veneer printing and laser cutting businesses here in Australia which are set up for the artist community, not specifically modellers but they may prove helpful. I will post the results of my search when I have investigated a little further. cheers Pat
-
I hope the Moderators will forgive me posting this here but it is the place where it may get most views and I thought not quite a Traders post. I am investigating having some 1mm wood veneer printed with the pattern of the deck planking, margin planks etc for a build the club is doing. The scale requires 2.2mm planks which would not only be tedious to do but very time consuming and very prone to errors. Does anyone have information or contacts that may be able to print the deck plank pattern onto wood veneer if we provide the artwork? Is this even possible? regards Pat Edit: I have just found this (a possibility?) http://www.cardsofwood.com/store/inkjet_veneer_builder.asp?estore_itemid=7352
-
For consideration - as pointed out many of the prints/paintings are for ships entering harbour. As a ship came to anchor it is the practice to 'out booms and boats' in a seaman like manner which meant that if it was not synchronised with the anchor being let go, the skipper and his "jimmy" would leave a forceful foot imprint somewhere . The salute is usually made on entering harbour as the entering ship passes the Governor's or senior Officer's residence/ship and before anchoring. Therefore, it is quite likely that if these ships are preparing to come to anchor the boat and boom tackles may have been rigged ready for use? cheers Pat
-
Incredible and very inspirational scale joinery Remco. cheers Pat
-
Australian Heritage (Victoria/Tas) question.
BANYAN replied to Rick01's topic in Nautical/Naval History
Thanks Bob - that answers the copyright then Karl was the member I was referring to. cheers Pat -
Australian Heritage (Victoria/Tas) question.
BANYAN replied to Rick01's topic in Nautical/Naval History
Hi Terry, a very interesting subject you have raised and perhaps if there is interest it should be raised in a new thread rather than hijacking this one? A quick search of the NMM showed several watercolours and illustrations of the Rattlesnake but no plans (see http://collections.rmg.co.uk/collections.html#!csearch;searchTerm=HMS_Rattlesnake_1822;start=0 ). I would suggest a search of the NMM plans under each ship in the class (as well as Atholl Class) if you have not already tried that option. As these ships were not built in or for Australia (or the colonies back then) there will be little or no information in the usual sources we used for the Victoria (Colonial Office in London, and the Parliamentary Records of Victoria). Of interest: according to Robert Gardiner in his book "The Sailing Frigate: A History in Ship Models " [page 119] he states that these vessels (6th Rates) were subject to much variation due to experimentation in design with the ships of the Atholl Class being constructed of different timbers for comparative purposes. Good luck on this one as it would be an interesting build. cheers Pat p.s. Have you seen this: http://collections.rmg.co.uk/collections/objects/66667.html (Rainbow) and http://collections.rmg.co.uk/collections/objects/66666.html (Samarang)? -
Australian Heritage (Victoria/Tas) question.
BANYAN replied to Rick01's topic in Nautical/Naval History
Rick, the Enterprise replica is Melbourne based and could be used for reference - I have a few photos somewhere. More to the point, the replica was constructed to plans drawn up by one of our club's members. If there is sufficient interest, we could ask whom has the copyright to those plans and maybe produce a model. The club is currently researching and building a model of another ship of significant historical interest to Victoria and Tasmania (having transported the roe from Melbourne to Tasmania to start the very successful Salmon industry they now have - the HMCSS Victoria. Perhaps the Enterprise may be of interest to our club for a future build if no one takes it up? Thanks for raising this. cheers Pat -
That'll make a nice model Iain; a great subject. The Wattle is currently on the hard undergoing some 'refurbishment' but should be back in the water in the not too distant future. See http://www.sorrentosteam.com.au/story.htm for some further info on her. cheers Pat
-
These are miniature masterpieces mate; a truely outstanding addition of detail to your wonderful diorama. cheers Pat
-
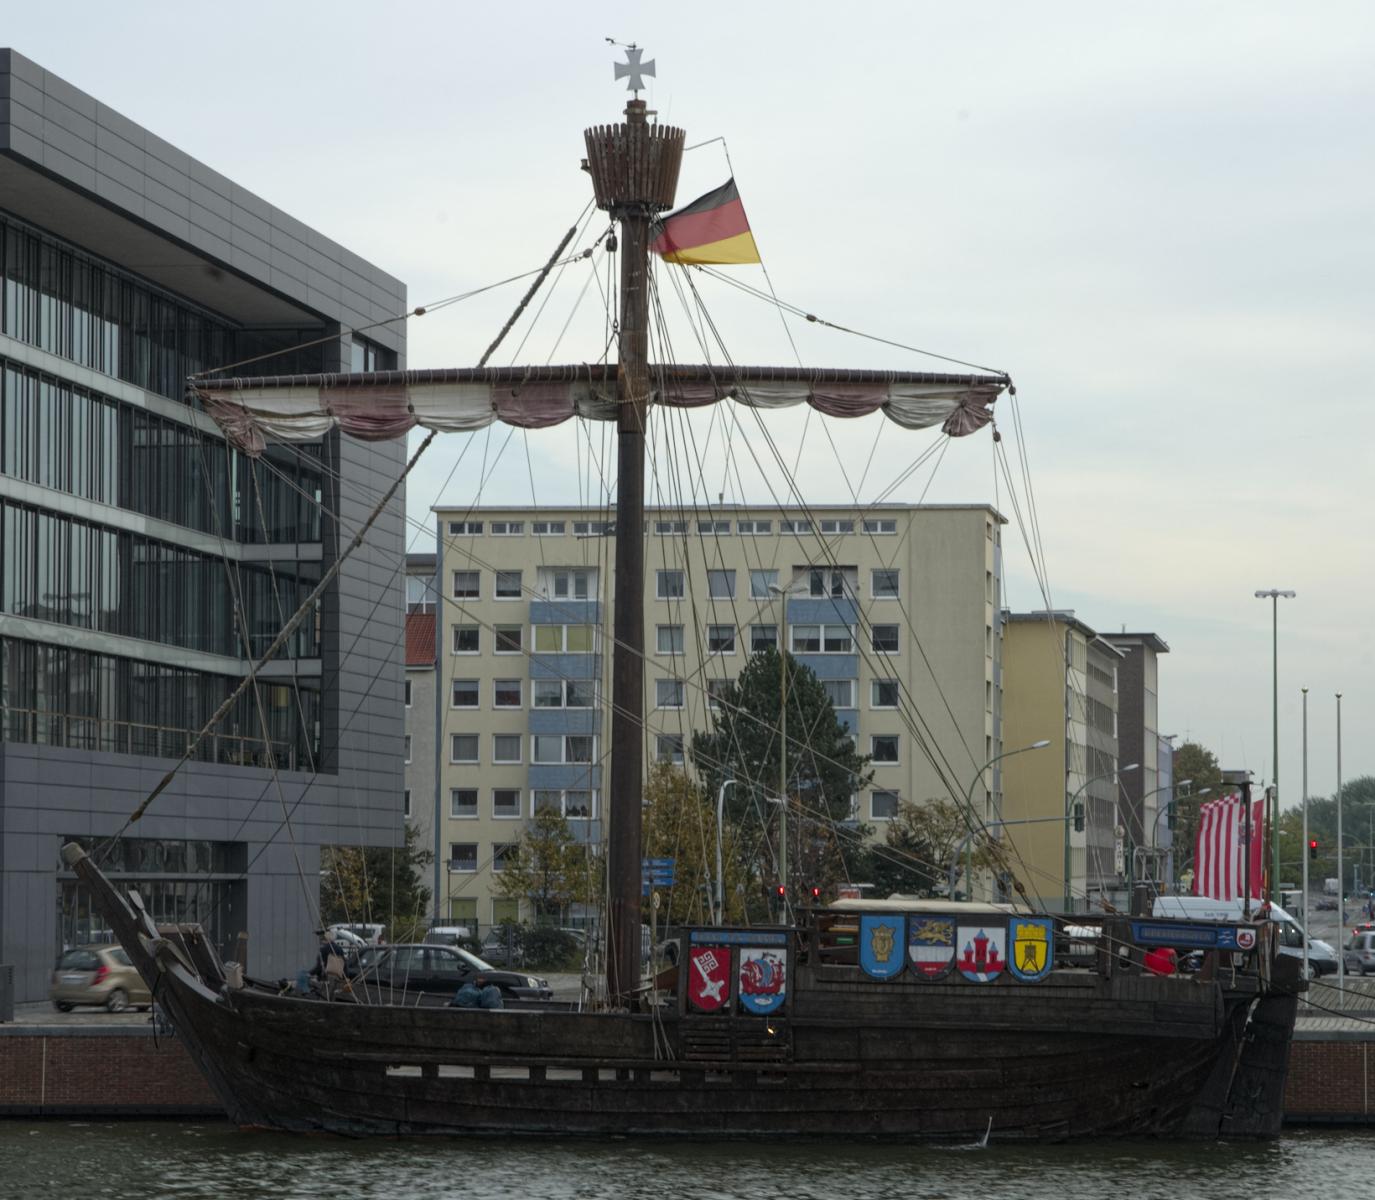
Hi Mercator, Attached is a shot of the cog (about 400m) as promised. I will place some shots of the actual cog in the Museum Ships area when I have processed them in the next week or so but they will not help you much with the rigging. As I said, this is a long distance shot taken with a tele-zoom at 70mm so the detail is not great. If you zoom the pic it provides some detail on how this ship is rigged.. I hope it helps cheers Pat

-
Look forward to the update Rusty, but have a great vacation in the interim - I am just back from a two week flit around Germany. cheers Pat
-
Coming along very nicely Ron; you'll have her fully rigged before you know it cheers Pat