BANYAN
-
Posts
5,951 -
Joined
-
Last visited
Content Type
Profiles
Forums
Gallery
Events
Everything posted by BANYAN
-
 Very nice work and well worth the reworked bits Mark; she is looking really nicely symmetrical even without final fairing. cheers Pat
 -
Simply STUNNING Alex; I really look foward to your more frequent updates now that you will have more time for modelling. this is a very fine exemplar of a master modeller at his craft! cheers Pat
-
She's coming along beautifully John; that's good progress noting the disruptions. Enjoy your holiday also. cheers Pat
-
She is looking superb Greg. No fear mate, I won't ever catch up with you - how else would I know what to do with my rigging - lead on with your fine artistry good sir! cheers Pat
-
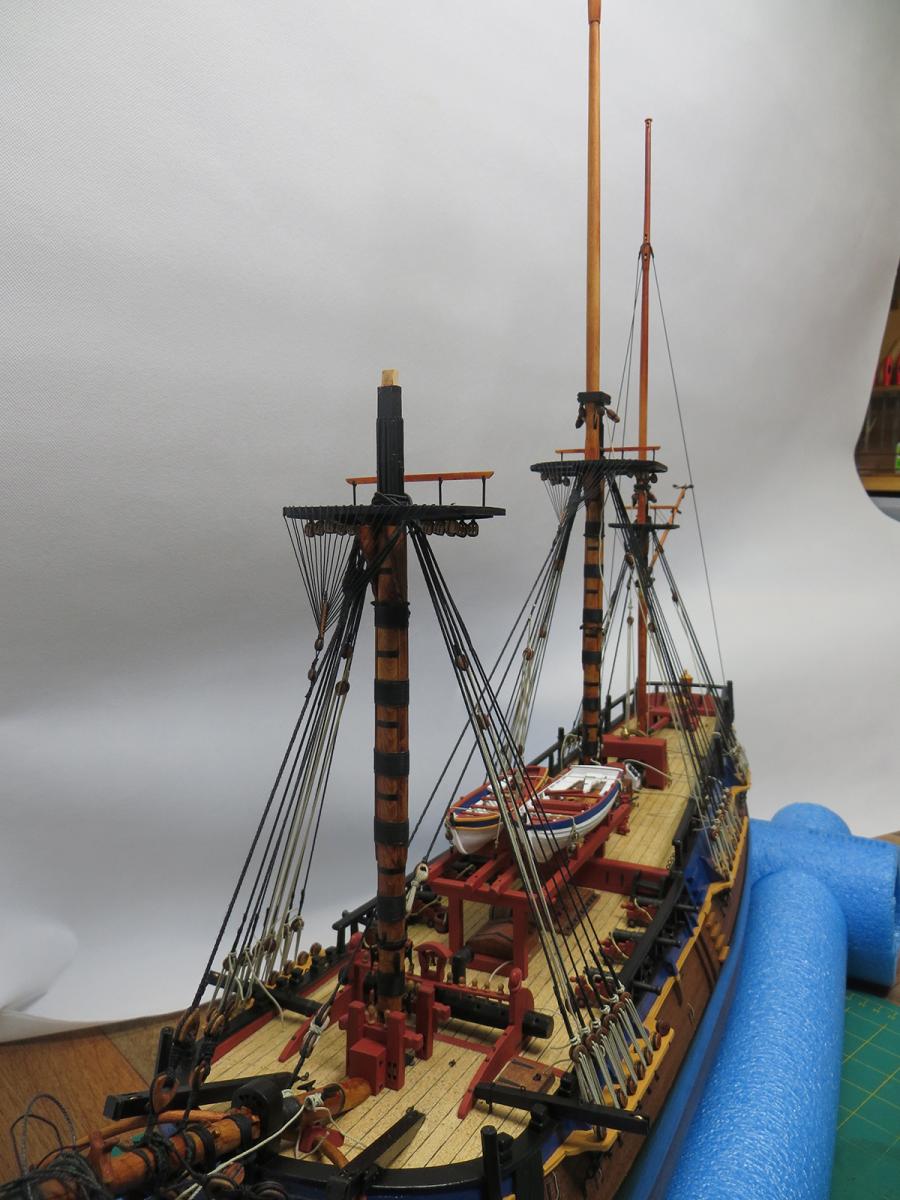
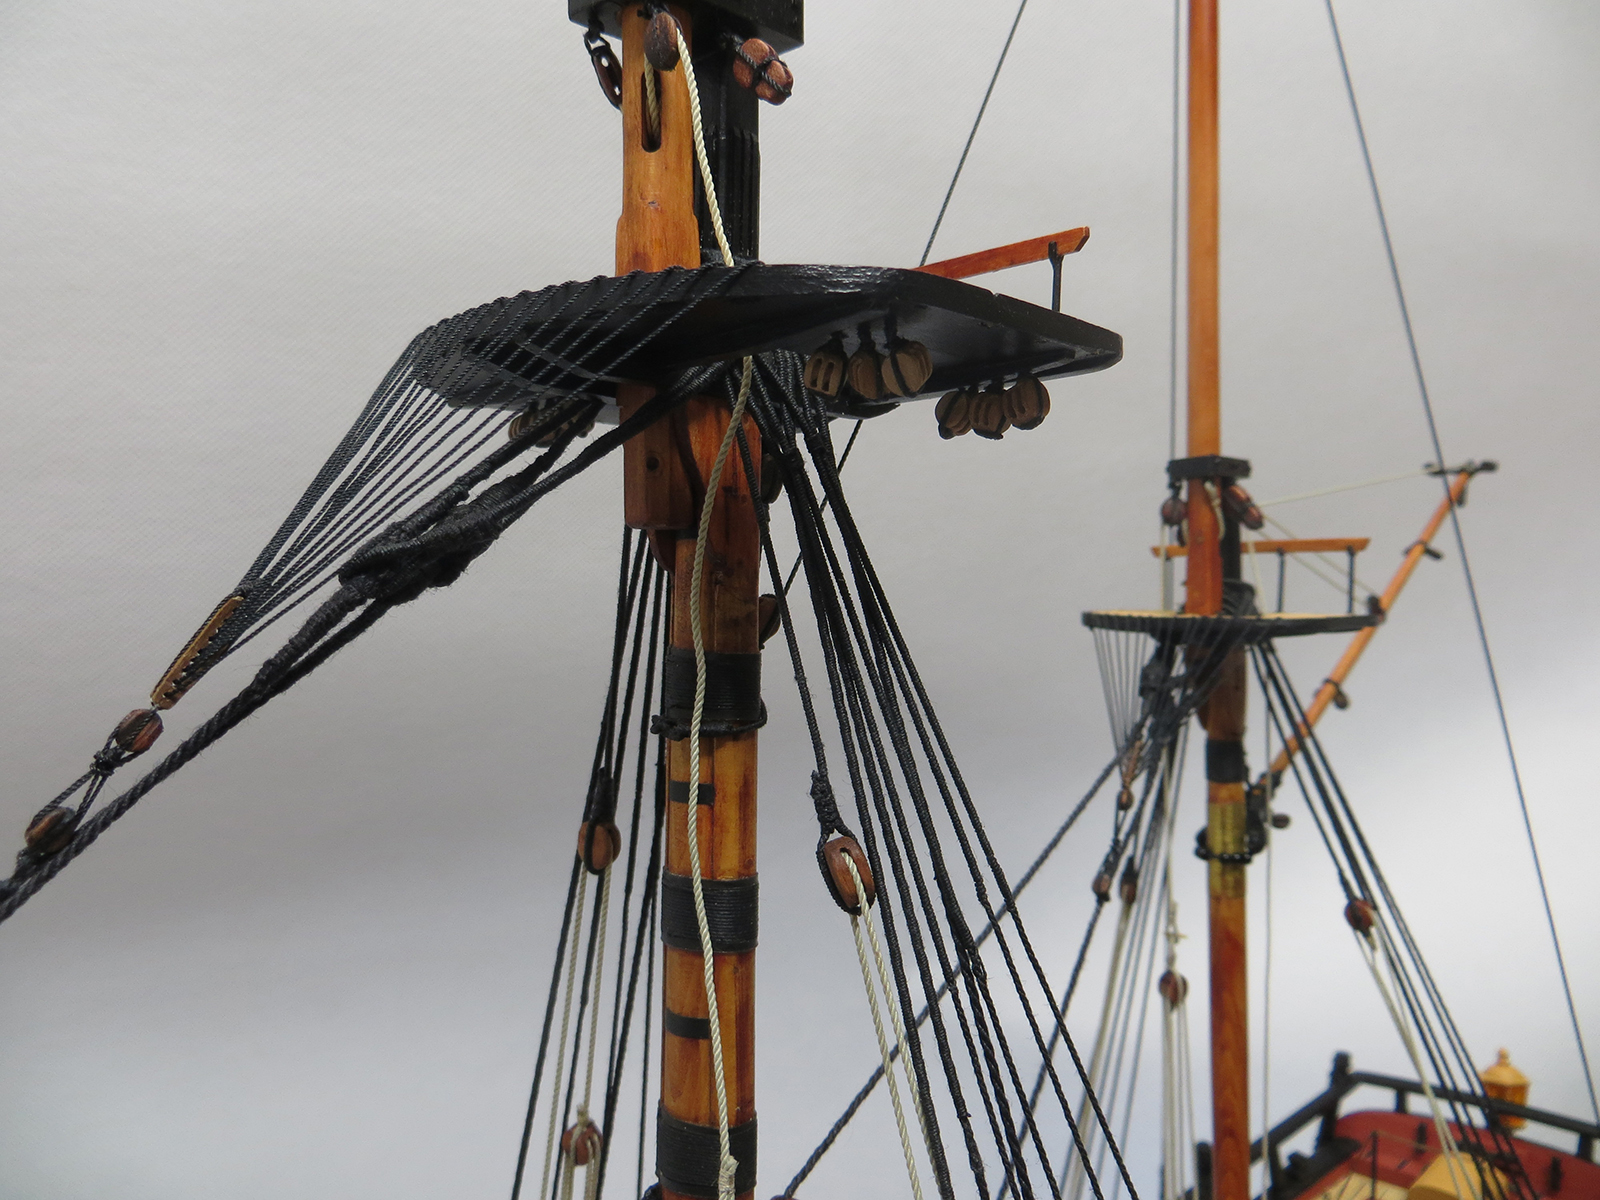
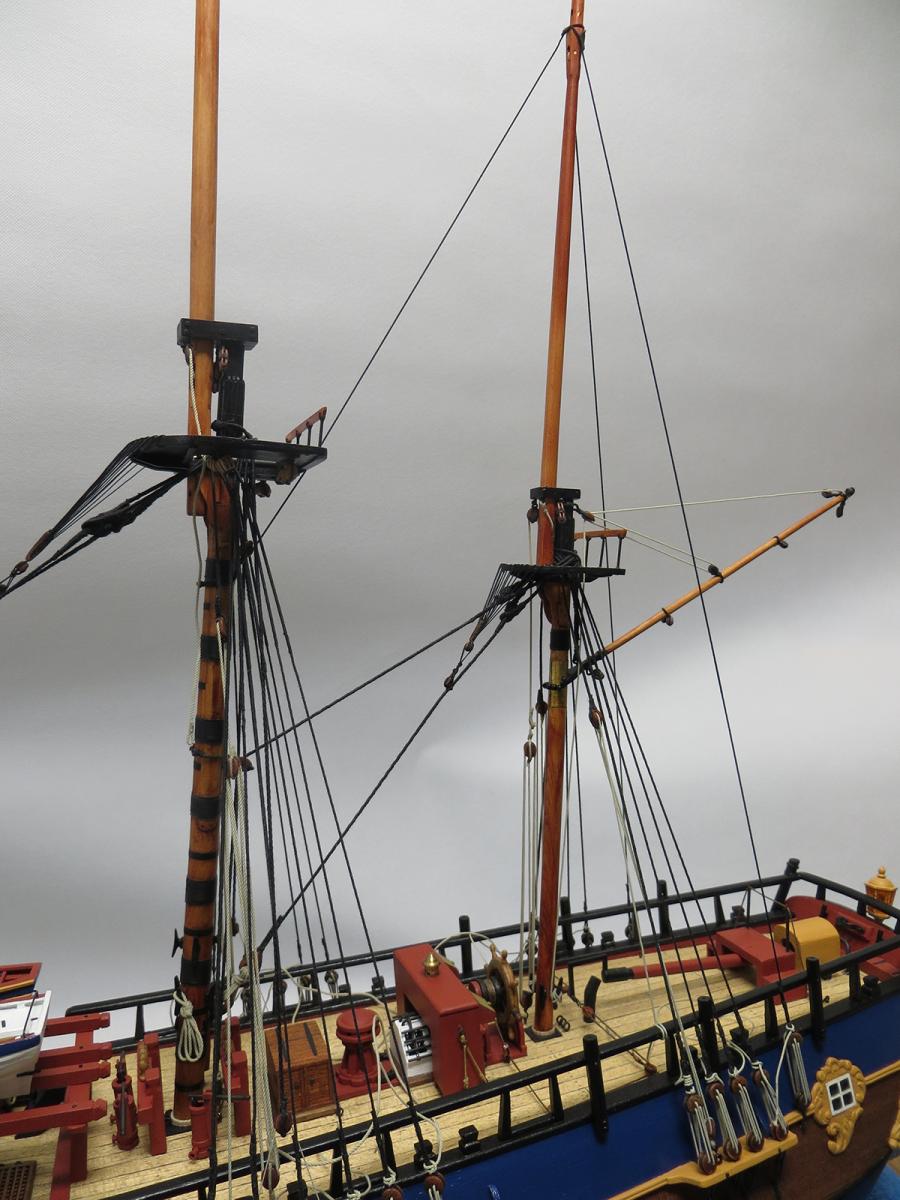
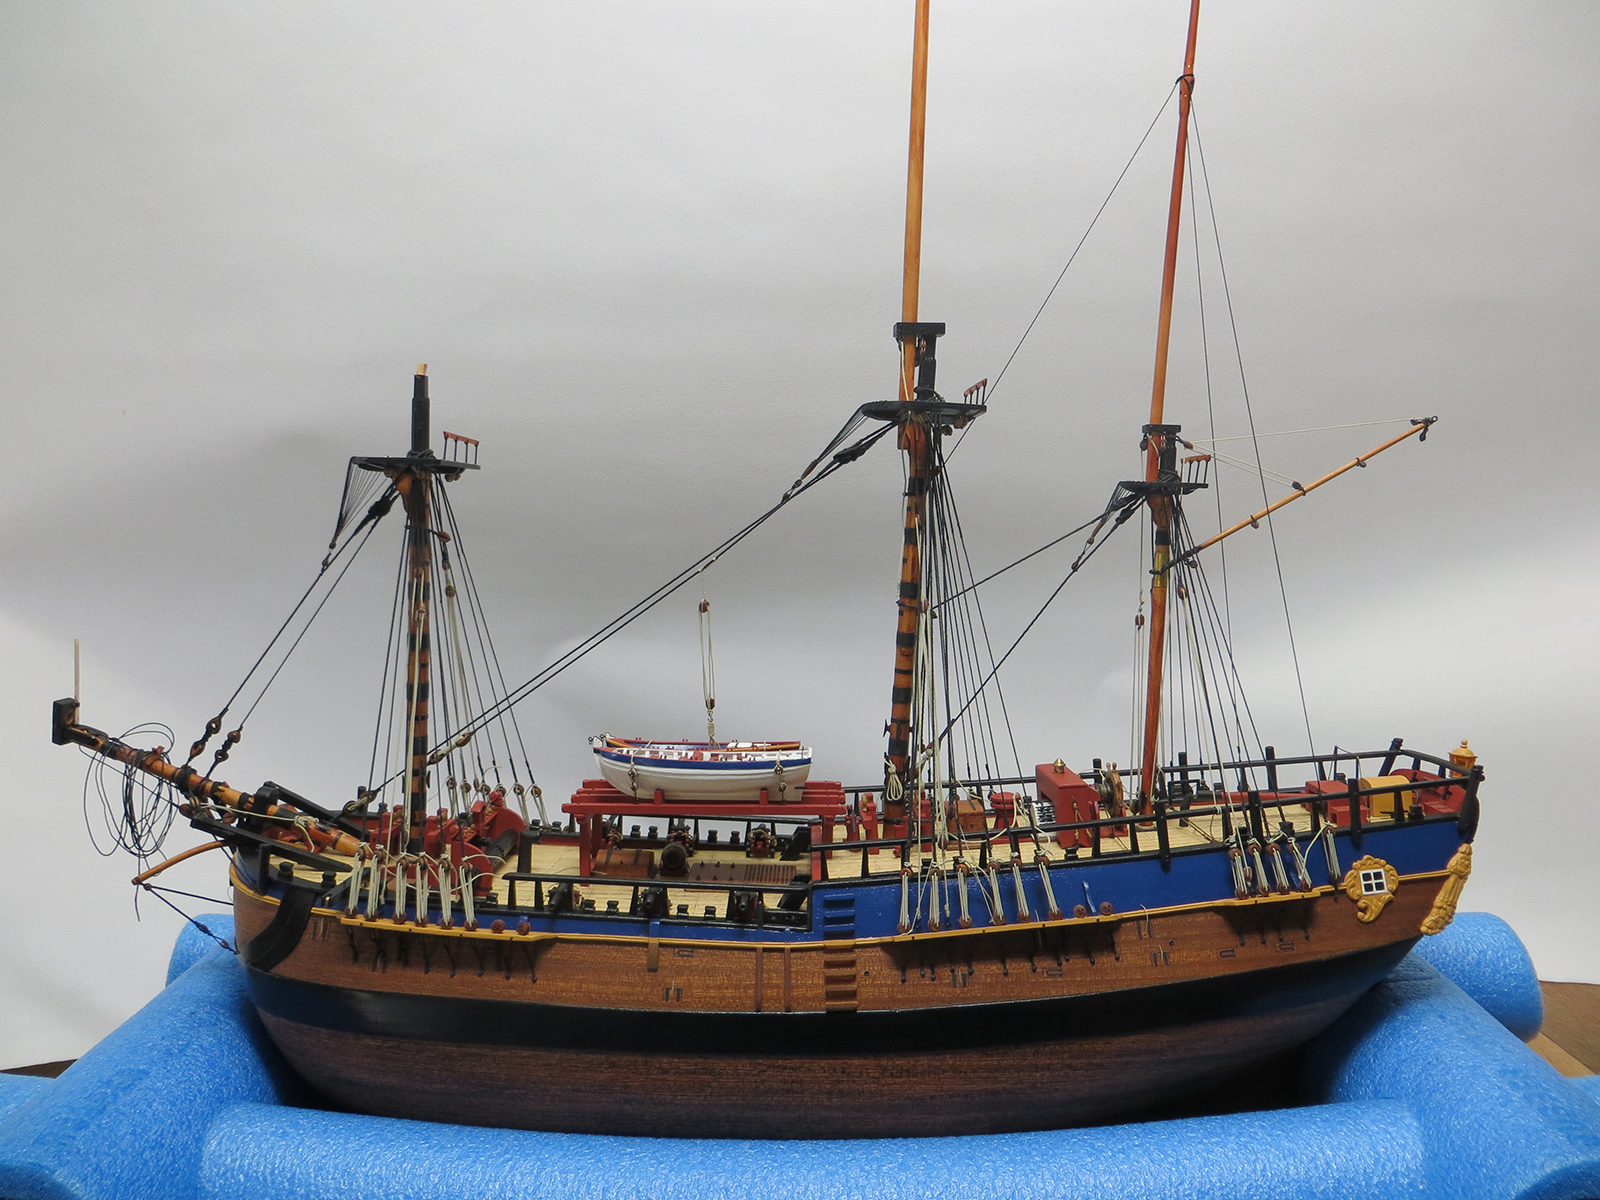
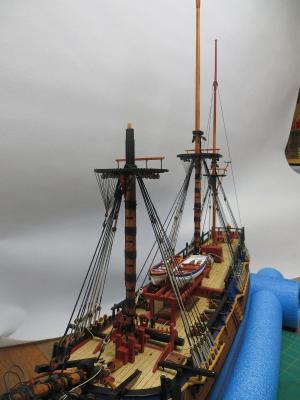
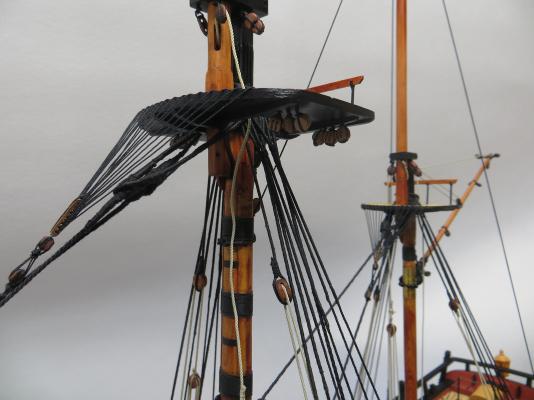
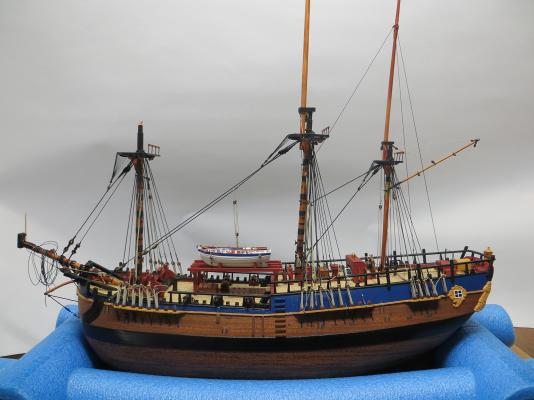
Hi and thanks to all whom have looked in and offered encouragement; much appreciated. Mike, I have used a combination of scale rope that I have made (standing rigging which is LH laid) and MoRope for the running rigging (the beige coloured stuff). Chuck did not have his rope available at the time I purchased the MoRope, otherwise I would have used that, until I get to grips with making 'consistently' good RH laid on my Byrnes ropewalk. The standing rigging varies between 1.2mm to 0.5mm for the standing rigging depending on purpose and position (smaller dimensions as I go upwards in the rigging), and between 0.8mm down to 0.25mm for the running rigging. I will probably use 0.15 scale rope for the rattlin. I use Gutterman cotton (appropriate colour) for my seizings. With this model scaled at 1:60, I think these sizes are generally right. I used the excellent spreadsheet produced by Danny and Jim Lad to calculate the rigging sizes but I have 'generalised' some rigging so that I did not have to have a lot of different sizes. Basically, I have rounded to the 'nearest' size in my inventory of scale rope available, but ensuring sizes change in accordance with purpose etc as stated earlier. I hope that answers all your questions Mike? It may be a few days between looking in for the next couple of weeks so bear with me please if I do not respond overnight cheers Pat
-
Thanks guys, I'll certainly enjoy the break. cheers Pat
-
Hi folks, I am about to head off on some holidays so I thought I had better post an update of my latest additions to my Endeavour. the rigging is proving to be a challenge in determining what goes where as this is my first rigged model. cheers Pat

- 517 replies
-
- 16
-

-
- Endeavour
- Artesania Latina
- (and 1 more)
-
I know that feeling (frustratio0n only too well also mate - keep plugging away and you will get there (it has only taken me 8 years so far ) cheers Pat
-
Nice clean work on those masts Danny. cheers Pat
-
Hey Chuck, that's why you need to get a set of 'ship's curves' - slightly different lines cheers Pat
-
You have a real talent for 'smithing' Danny; must be something in your genetics? cheers Pat
-
Nice to see another update Russ; she is progressing slowly (like my Endeavour) but with a lot of "class" cheers Pat
-
Hey Rusty, welcome back and a very nice start - I am sure you will get into the 'groove' of it fairly quickly as Chuck suggests. I will follow along with interest . cheers Pat
-
Very clean David; she will come up a treat. cheers Pat
-
Robin, I would not be surprised that, as Greg has indicated, it is a technique rather than a type of anchor - specifically, I would also not be surprised that he did not have a kedge anchor ready to 'let-go' from the quarterdeck/aft to assist with hauling the ship off a sandbar or the like when exploring uncharted waters. This would have been prepped ready to drop very quickly at the first inkling of the ship potentially grounding. It could also be just a smaller anchor prepped to 'let go' from the standard (forward) positions while in costal waters (not requiring as much time/effort to let-go?)? Cook also used the term stream-anchor quite separate from coasting anchor, which to my mind indicates a different purpose for the coasting-anchor. For example: "On the 4th of December, they stood into the Typa, and moored with the stream-anchor and cable to the westward." Narrative of the Voyages Round The World, Performed by Captain James Cook That said however the following indicates it would have also been prudent to have a stream anchor ready to use at short notice should a sudden storm or other conditions require temporary anchorage with little warning during coastal navigation/surveying: Stream cable, a hawser or rope, smaller than the bower cables, to moor a ship in a place sheltered from wind and heavy seas. I have not been able to locate anything definitive. cheers Pat
-
She's really taking on the her true shape now John, nice work. cheers Pat
-
Very nice details Danny, filing the square in the spanshackles must have been 'fun' cheers Pat
-
Coming along very nicely Rowand cheers Pat
-
Very nice work Greg, a lot of blocks but they are sitting quite nicely. cheers Pat
-
The amount of 'pretty work' depended on the era/state of hostilities. In peace time, especially when showing the flag in foreign ports, a lot of pretty work was done to the ships with superstructure portholes polished, along with any other brass fittings (including fire hose nozzles and the like); even bollards and fairleads were painted white to get that 'pristine' dressed up look. That all changed during wartime where any polished surface was a source for reflections that at the right angles could attract unwanted eyes (from aircraft, submarines or other ships). All white and polished surfaces were painted over with grey and minimal (read only essential maintenance/ship's husbandry was undertaken when operational. We would even cover the porthole/window glass with a coat of black paint sometimes. If you are depicting a ship in its operational role then the minimal contrast/minimal reflective surface approach would be correct. As the Bismark was launched in 1939 and was operational almost immediately, this supports Brian's comment re painted surfaces? cheers Pat
-
Very neat and clean finish to those cross-trees Danny. cheers Pat
-
Hi Ilhan, I had wondered where you had disappeared, but it appears you were tucked away finishing this gem of a build. very nice finish, cleanly built and presented - an all round beautiful model mate. cheers Pat
-
Dave, I think that is an issue with the AL kit as I had the same problem. I have drilled upwards also but it did not look right so I have covered the deck penetrations with a 'margin plank' and I will just glue the anchor cable in place but not have it run on deck - wrong but not much choice. cheers Pat