allanyed
-
Posts
8,149 -
Joined
-
Last visited
Content Type
Profiles
Forums
Gallery
Events
Everything posted by allanyed
-
 Found this book for free on the net today about the HMS Centurion (60) . HMS Centurion 1733-1769 by Shirley Fish. I just read a few pages and it looks to be a good read. She spent four years researching and goes into explanations on her build to the 1719 Establishment and then on to her adventures at sea. It is available on Kindle for about $4 so I will probably get it to read in more comfort. Google the book and author and it should come up. Google.books.com Allan
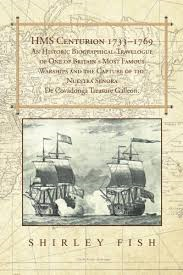
-
- 10
-

-
Johann For the linen, what thread count did you use? There are cotton fabrics with very high thread count that may be closer to scale. Regardless, your work is of the highest quality. Allan
-
Bill, At that scale, I would think the English dimensions would be workable and un-noticed if not exactly correct by even experienced modelers. Lees gives the following information on page 168 of his Masting and Rigging English Ships of War 1625-1860. I paraphrase -> The lower yards had three rows of trucks and the others two rows. Except for the sprit topsail and topgallant yards, the length of the ribs on the lower parrels were one and a half times the diameter of the diameter of the yard. For the sprit topsail and topgallant yards they were twice the diameter of the yard. The depth of the ribs was equal to the diameter of the trucks, and the width of the ribs was a quarter the diameter of the trucks. The trucks' diameter was one fifth the ribs length on parrels of three rows and one third the length of parrels of two rows. The length of the trucks was one and a quarter times their diameter. Hope this is of some help. Allan
-
Mark Fabric glue may work, but I would worry that the bolt rope would start to part after some time. The fabric glue is a great way to hold the rope in place while the sewing is done, so a good idea one way or another. Thanks Allan
-
I would really be concerned about glued bolt rope parting from the sail. Any good luck from anyone out there just gluing and what glue did you use? No CA Please. I would feel much better using micro thread of some kind even if does wind up not being noticed. Lagartun, Benecchi, Wapsi and Roman Moser fly tying threads come as small as 0.028-0.033 mm diameter which is smaller than 1/4" at 1:48 scale. Maybe a tad large for 1:96 scale. Is it worth the trouble? If it secures the bolt rope better than glue, maybe....... The problem I see with this fine thread is a needle small enough to stay close enough to the edge of the sale without tearing out the edge or leaving relatively large holes that would be unsightly. Allan
-
Walt To what scale are you building? One source of very fine material is fly tying thread available where such fishing materials are sold. They come in different sizes and many colors. Allan
-
The silk span sail article was quite detailed and brought a whole new perspective to me on sail making. Never in a hundred years would I have thought to use my CAD program and printer as part of sail making. Even if one is not using CAD, the description of making the actual piece of sail itself was very informative. Allan
-
The pictures deserve much higher praise than just a "like" check mark. Beautiful- something to be very proud of. Allan
-
Please add me to the "I just found it too" list. Great job Tadeusz. Allan
-
Launched in 1756 - July 10, 1778 HMS Lively (20) (Gibraltor Class) got lost in the fog and wound up in the middle of the French fleet near Brest and was captured. I did a little search on this ship and she had quite a busy life. Wound up being recaptured by the British and finished her 28 year career in 1784. Allan
-
Gaetan Your posts bring a smile to my face. Brilliant work! You show nine carved pieces to fit in the small carved pieces. Were there many that wound up in the scrap pile in order to get the nine good ones? Of all the woods you have tried for carving, what are your favorites? Sorry if you commented on this earlier in the log, but I had not seen if you had commented before on this. Allan
- 728 replies
-
- 1
-
-
- le fleuron
- 64 gun
- (and 1 more)
-
Great presentation on what could be a fun project on its own. I can see something in the lines of a 1/12 scale or larger for a nice desk display piece. Beautiful work Greg Allan
-
Welcome to the fray! And yes, please do post the display case building using the old door frame materials. Allan
-
Ship lettering
allanyed replied to piperck's topic in Building, Framing, Planking and plating a ships hull and deck
Chris What vessel is your model? For the actual British ships and many other nations the lettering was painted, not carved, if you want to stay with what they did in actual practice. There may be exceptions, but I am not aware of them. There is a great little treatise on page 50 in Volume II of TFFM by David Antscherl. The lettering normally followed the curve of the planking of the upper counter so the letters all lie at slightly different angles so stick-on lettering may not look right. Allan -
Determining thread size by model scale
allanyed replied to David Goulden's topic in Masting, rigging and sails
Hi John, I looked at your practicum and would like to say that is very nice work that you are sharing with everyone! I noticed that the blocks in the photos look to have metal external stropping which I have not seen before. I thought the blocks on BN2 were internally stropped so am I correct in thinking that's what the kit offers? Thanks again for sharing your site information. Allan -
Determining thread size by model scale
allanyed replied to David Goulden's topic in Masting, rigging and sails
David, Chappelle in his American Fishing Schooners book gives a list of line sizes for running and standing rigging for several schooners. There are typically about 10 different circumferences which are more than would be noticeable at your scale. Also, keep in mind color. If there are to be wire stays and shrouds these will be different than manila or hemp in color. Two sizes of standing and perhaps three sizes of running rigging would be a good compromise to using all the sizes found on the real deal. Wire rigging for the Grampus for example was from 2 1/4 to 4 1/2" circumference. Running rigging was from 1 1/2" to 4 1/2". I imagine the Blue Nose will be in the same neighborhood of sizes. I totally agree, err on the side of being too small. For me, the proper methods and neatness in installing the rigging is far more noticeable than the actual rope size unless it is obviously too small or too large in circumference for a given line. Allan -
Ahhhhhh, now I get it Glad it's Friday....... Allan
-
Greg, The Byrnes saw is top of the line, but thickness of the planks can still vary. Check with a micrometer or good caliper. A thickness sander is a great way to get the sawn planks to an even thickness +/- 001. If your kit supplied wood sat flat, I am sure it is not the glue thickness, at least not as much as you show in the photo for the cypress. Could be cypress (first I heard of using cypress for planking) could be a lot of things mentioned here or a combination. Again I would measure your planks; thcknesses first, then check that your bulkheads are fair. If you still doubt the glue, any aliphatic should be OK. That is what the majority of members here use I'm sure and it does not cause problems with the planking laying unevenly. Allan
-
Hi Carl, You mentioned a plastic kit so am I correct to assume PE is polyethylene? If that is the case, using Blackin It on plastic is a new one for me. Never knew that worked on anything other than brass, copper and bronze. Always something new and interesting here :D Both HDPE and LDPE rate in the mid range for resistance to acetone. No problem with resistance to acetic acid or alchol, but I have doubts that vinegar, which is usually 5 to 18 percent acetic acid will etch polyethylene. Allan
-
Hexanol I do not think there should be eye bolts in the sprit either. Allan
-
Holly for the decks is my choice in most cases, but poplar serves well if clean pieces without the green often found in it. Aspen is about like polar but I find it cleaner in color. Lowe's used to carry Aspen rather than poplar. If you use holly, be sure it is white, not greenish which happens when not cut when the sap is down and kiln dried immediately after being cut into billets, or so I was taught. Some of the wood experts can expand or correct if I have it wrong. Allan
-
First naval engagement US versus British
allanyed replied to allanyed's topic in Nautical/Naval History
Wayne, I will not argue with you as I have great respect for your knowledge and library. Just picked that one up off the internet and as we can see, we should not believe everything we read on the internet. Thanks for the correction! I hope their parade and celebration was a really fun time! Allan -
June 11, 1775 the American sloop Unity engages and defeats the HMS Margaretta in Boston in the first naval engagement between the Americans and British. Allan
-
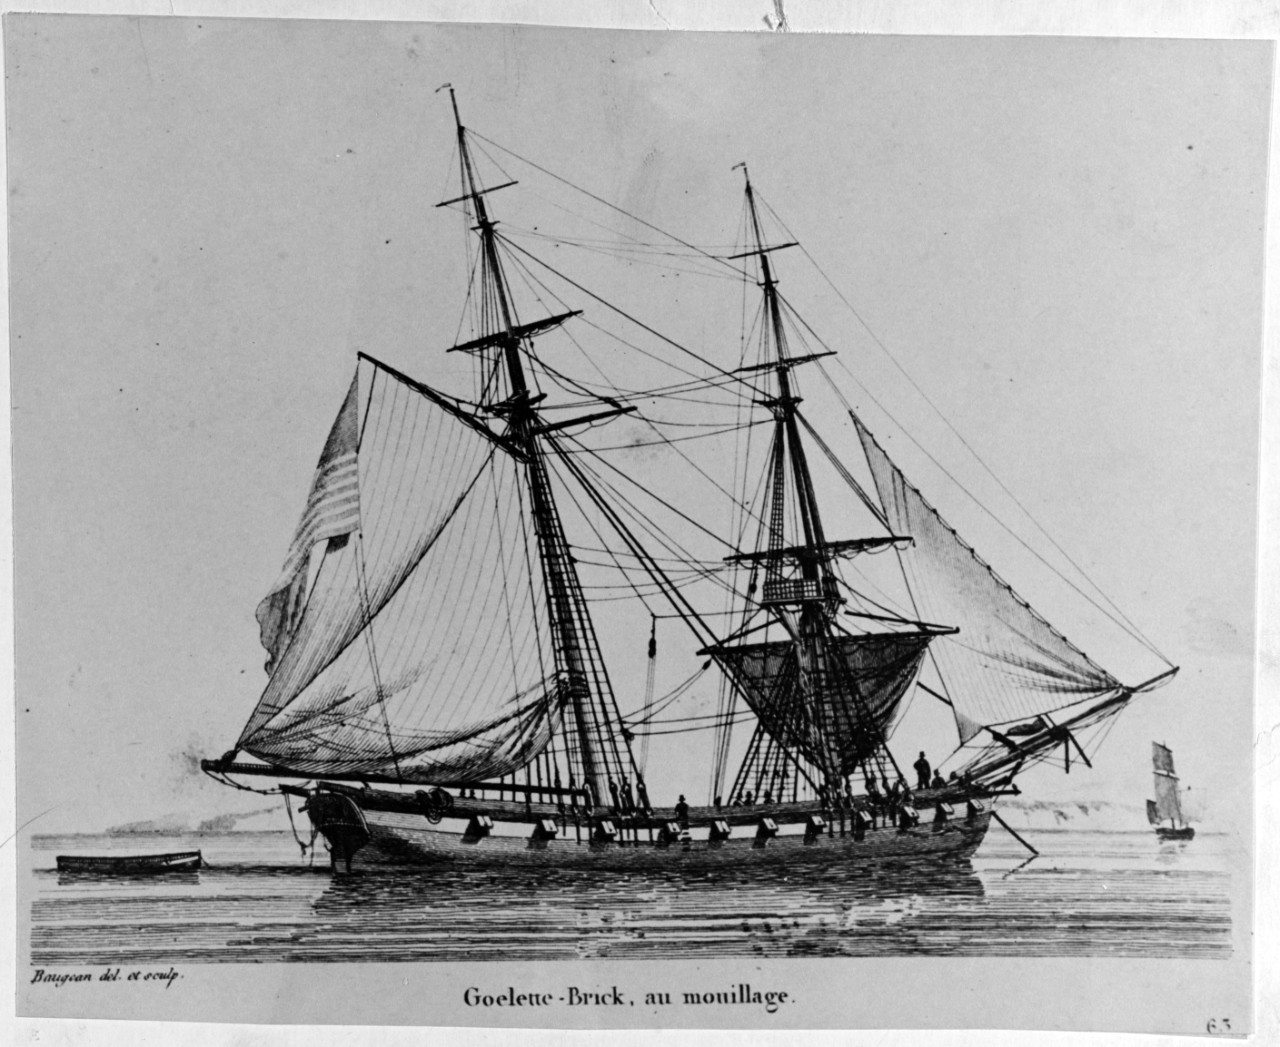
Sam, I got curious after seeing your post. I found the attached by Jean Jerome Baugean in the US Naval History and Heritage Command Collections website. The first is when she was schooner rigged. This drawing is from 1806. The next is a sketch of her Brigantine rigged in 1812. The last is a print from an engraving based on the sketch made in 1812. Allan
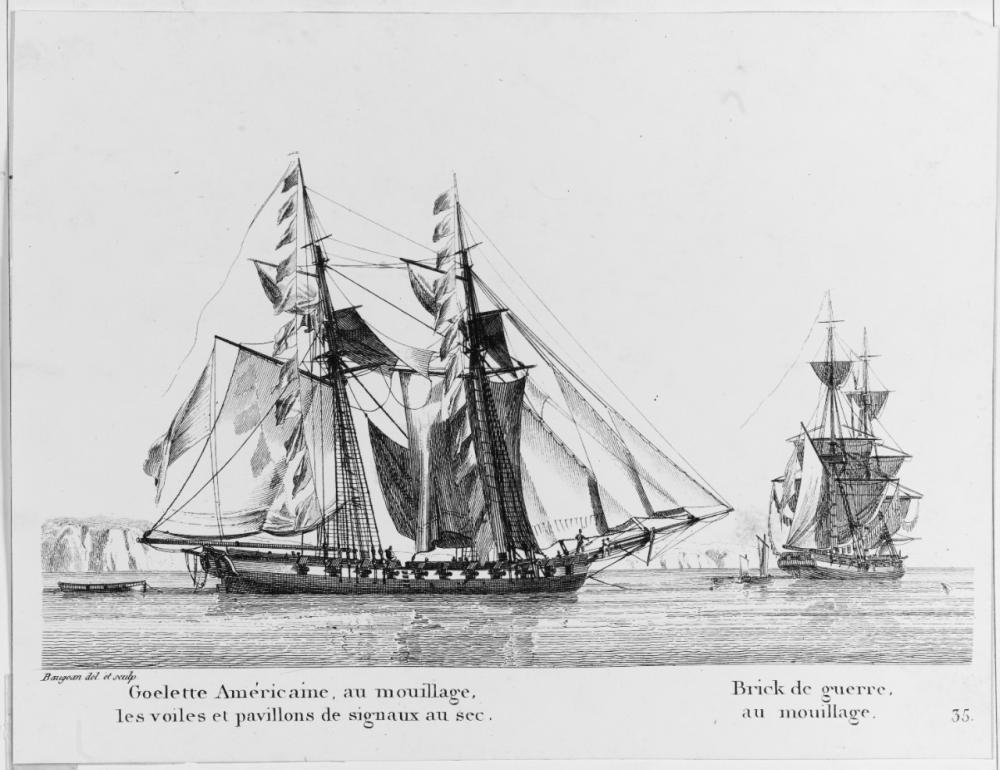
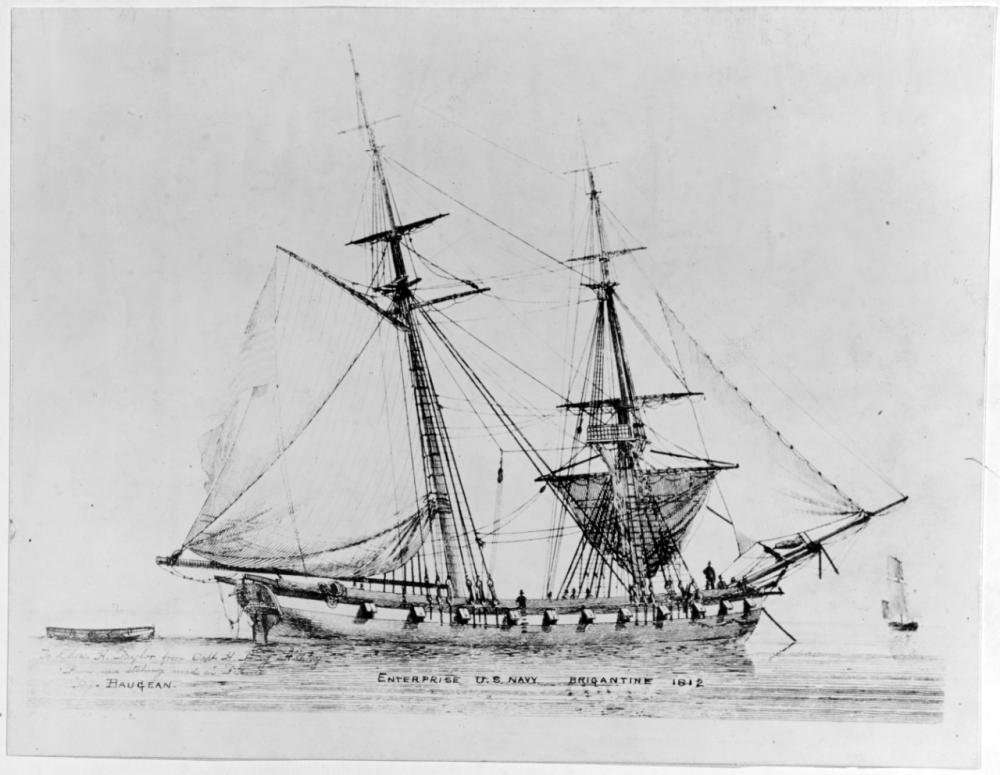

-
It seems there are as many suggestions for a vessel or type of vessel as there are responses, thus the problem. There may not be enough buyers for a company to invest in designing and putting together the plans and materials for a kit. Scratch building opens up the door to hundreds of vessels, but there are the downsides - more tools (toys for grown ups) more space. Back to the positive side of scratch, there are some top wood and parts suppliers now so one can put together a kit of his/her own, including blocks, cannon, deck furniture and more. That is really just one step past kit bashing so maybe another solution to the problem. It would also give the builder a project to build a vessel that has not been done a thousand times before. Just some rambling thoughts that I had. Allan