allanyed
-
Posts
8,149 -
Joined
-
Last visited
Content Type
Profiles
Forums
Gallery
Events
Everything posted by allanyed
-
 Hans This is the first I have checked in on your build. Your work is excellent. Your history is also interesting. I see that you are from near Eindhoven and I know that town has an extreme historical story, especially during WWII, and I believe is the original home of Phillips Electronics. I look forward to following your build. Allan
 -
Ed Your metal work is every bit as exceptional as your wood work. Allan
- 3,618 replies
-
- 5
-

-
- young america
- clipper
- (and 1 more)
-
Ron, I am in agreement with Jud, Gun ports on the QD, forecastle or even in the waist, had no lids. The bulkhead and cap rail indicates that this is probably one of those areas. Lids in these areas would serve no purpose, so the money would not be spent to put them (or anything else that is not needed) on most ships. Allan
-
Wales
allanyed replied to -Dallen's topic in Building, Framing, Planking and plating a ships hull and deck
Dallen As mentioned by Druxey, the country and era would help a lot. If for British ships, there is quite a bit of information available. The 1719 Establishment gives the depth, thickness, mention of hook and butt construction of the main and channel wales and also the thickness and number of diminishing strakes above and below the wales. The Shipbuilders Repository (1788) and Steel's, Elements of Naval Architecture (1805) give the height of the lower edge of the main wales at the stem, dead flat, and after timber as measured from the upper edge of the rabbet for all rates. It also gives how broad, the number of strakes and thickness. It gives distance from the upper edge of the main wales to the lower edge of the channel wale in midships as well as the thickness, etc. of the channel wales. They also give thickness of the strakes above and below the main wales. All of the above dimensions can be found in Scantlings of Royal Navy Ships. Allan -
Ed, You continue to bring smiles to many faces here at MSW, not to mention a high bench mark for all to reach for. Is there a future home already determined for this beauty? Next time someone asks for a definition of museum quality on one of the forums here, I will respond that they should look at your build log as a prime example. Allan
- 3,618 replies
-
- 6
-
-
- young america
- clipper
- (and 1 more)
-
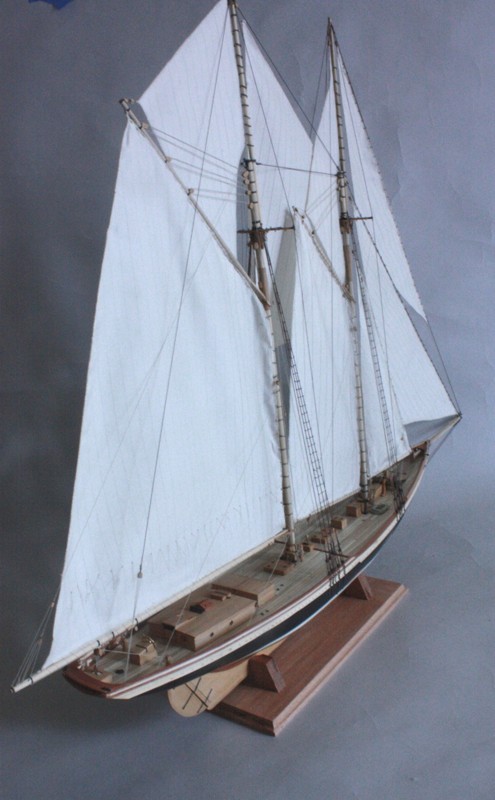
Hamilton, Any scratched fishing schooner build and I am there. Love those vessels and watching you delve into the dark side is a treat. Keep up the great work. Allan
-
Chuck You took what many find to be an overly complicated adventure and showed that it only takes a little patience and commonly owned tools. Cudos Allan
- 1,051 replies
-
- 8
-
-
- cheerful
- Syren Ship Model Company
- (and 1 more)
-
If you are a premium member on Linked In, you can send an in-mail to Chris as he belongs to Linked In. Allan
-
Brig USS Enterprise 1799 info gathering
allanyed replied to CharlieZardoz's topic in Nautical/Naval History
Charlie Fiddler's Green is a broker, and a very good one IMHO, but be aware that the owner does not have the models in his place thus cannot take more pictures if he does not already have them on hand. He may be able to put you in touch with the model builder though and then the model builder hopefully can help you out. Good luck Allan -
Rather than just painting the copper, and alchemy aside, can you measure and draw the piece you have, then use the drawing as your guide to make the piece from wood? If you can post a picture of this piece to give an idea of what you are trying to copy I am sure you will get some useful responses. If you are just wanting to paint the copper a wood color, be sure to clean the copper with acetone or some other solvent to be sure there is no mold release residue still on the copper and maybe even give it an acid bath to give a little texture to the piece before painting. As to painting itself, you can mix some paints to try to match the surrounding wood on the model. Not sure what paint would be appropriate to go over copper though. Making a wood copy would probably take no more time than treating and painting the copper and no worries of paint chipping off. Allan
-
Keelson material
allanyed replied to MESSIS's topic in Building, Framing, Planking and plating a ships hull and deck
Thanks Messis I got curious and did a little digging on Viking ships construction (see picture below) and metallurgy. They certainly appeared to have copper, iron, and other metals, so maybe it was copper. I would bet on wood, but that is just a guess, nothing more. Based on the drawing I found, the piece in the photo you posted looks like the mastfish in the foreground. Sorry this was probably of little help, but I find it interesting none-the-less. Allan
-
Keelson material
allanyed replied to MESSIS's topic in Building, Framing, Planking and plating a ships hull and deck
Messis The kits are not always accurate in many respects. I have seen a number of them where the decorations and moldings are metal as well and those were not made of metal on the ships. These are the areas where a lot of folks go into kit bashing and replace such parts with pieces they make themselves. I am curious about what ship/kit you are building. This may be a simple matter of Amati using the wrong term. I was under the impression most, if not all, Amati and most other kits were plank on bulkhead, thus it would not be possible to put in a keelson. The false keel under the keel makes sense to me but I cannot picture a keelson which goes on top of frames. Allan -
Had no idea you were going through this. I truly hope all is going to turn out well for you! Lots of good thoughts and prayers from me for you. Allan
-
aluminum planking clamps
allanyed replied to umeckt's topic in Building, Framing, Planking and plating a ships hull and deck
Terry These are not very good clamps and yes they break easily. I threw them out years ago. Check out Et Tosti's log on the Naiad. If I remember correctly he shows clamps that he has made. Better, pages 213 to 218 in volume I of his book on the Naiad shows how to make some excellent clamps for all types of situations. Allan -
Ed, Just one of our new neighbors in the avatar photo. Keeps away pesky solicitors. I like your idea on the rigging box, especially with the removable sides. I will be staying tuned. Allan
- 3,618 replies
-
- 4
-
-
- young america
- clipper
- (and 1 more)
-
Thanks Ed I have not done so since our move to Florida, but in NJ I had the roll on a metal pipe attached to a wall in the basement. I ran down the paper to the floor and out when I needed a large shot, them rolled it back up. Couple diffused spot lights were used to minimize shadows behind. For a long session I took it outside and shot midday with a north light. Pain in the neck but only done now and then. No shadows to worry about. For photographing small objects I built a photo box from a corrugated box with most of the top and the sides cut out then and covered with a nearly transparent paper to allow in diffused light from simple spot lights. The back "wall" and "floor" were set up with a piece of the back drop paper and mini studio resulted. The opening was about 18" X 18" so small and light enough to put up on a shelf when not in use. I don't remember where the idea came from, but it worked nicely. Being cardboard, it did not survive the move, but it was a simple project. You are the point on the clipper where none of these would be convenient, but I trust you will find a way! Allan
- 3,618 replies
-
- 3
-
-
- young america
- clipper
- (and 1 more)
-
Nils and Ed You can buy rolls of backdrop paper in white, black, grey, and many other plain background shades. I usually tape the top of the sheet as high as needed on a wall, then roll it down and onto the floor and let it run out 5 or 6 feet with a wide radius where it goes from vertical to horizontal. Photos below show what I mean on this. Allan

- 3,618 replies
-
- 14
-
-
- young america
- clipper
- (and 1 more)
-
Bob, I think most of the members that have been here more than a few months are aware of who Druxey is, but it's good that he has been officially outed. I would much rather address him by name and had nearly done so a dozen times over the past few years. Thanks for doing this project with him. Allan
- 3 replies
-
- 10
-
-
Dave Your hull is absolutely lovely but your shop are is far too clean. If my admiral ever saw the picture you posted I would never hear the end of how it IS possible to have such a clean work area. To the subject at hand. For schooners that I built I have been giving the hulls 5 to 6 coats of sprayed Minwax gloss poly. I personally prefer a semi gloss or even less shiny finish but I was chastised by a client years ago that the hull looked dull and they wanted a shiny finish. Eye of the beholder and all that. If spraying, I find that many light coats is better so there are no runs or orange peel effects. I rub the hull with Scotch Brite pad between coats. Allan
-
Mark are you using English/European boxwood for the decks or Castello? The more yellow European box would be interesting to see. Allan
-
Keith Have you contacted the Mary Rose Museum? They have a website that is pretty extensive including contact information. From a photo of a model at NMM I cannot see a cat or a fish davit, nor an opening where a davit would come through the hull, unless the gun port opening was used for this purpose when raising the anchor. Allan
-
Spare Spars
allanyed replied to BANYAN's topic in Discussion for a Ship's Deck Furniture, Guns, boats and other Fittings
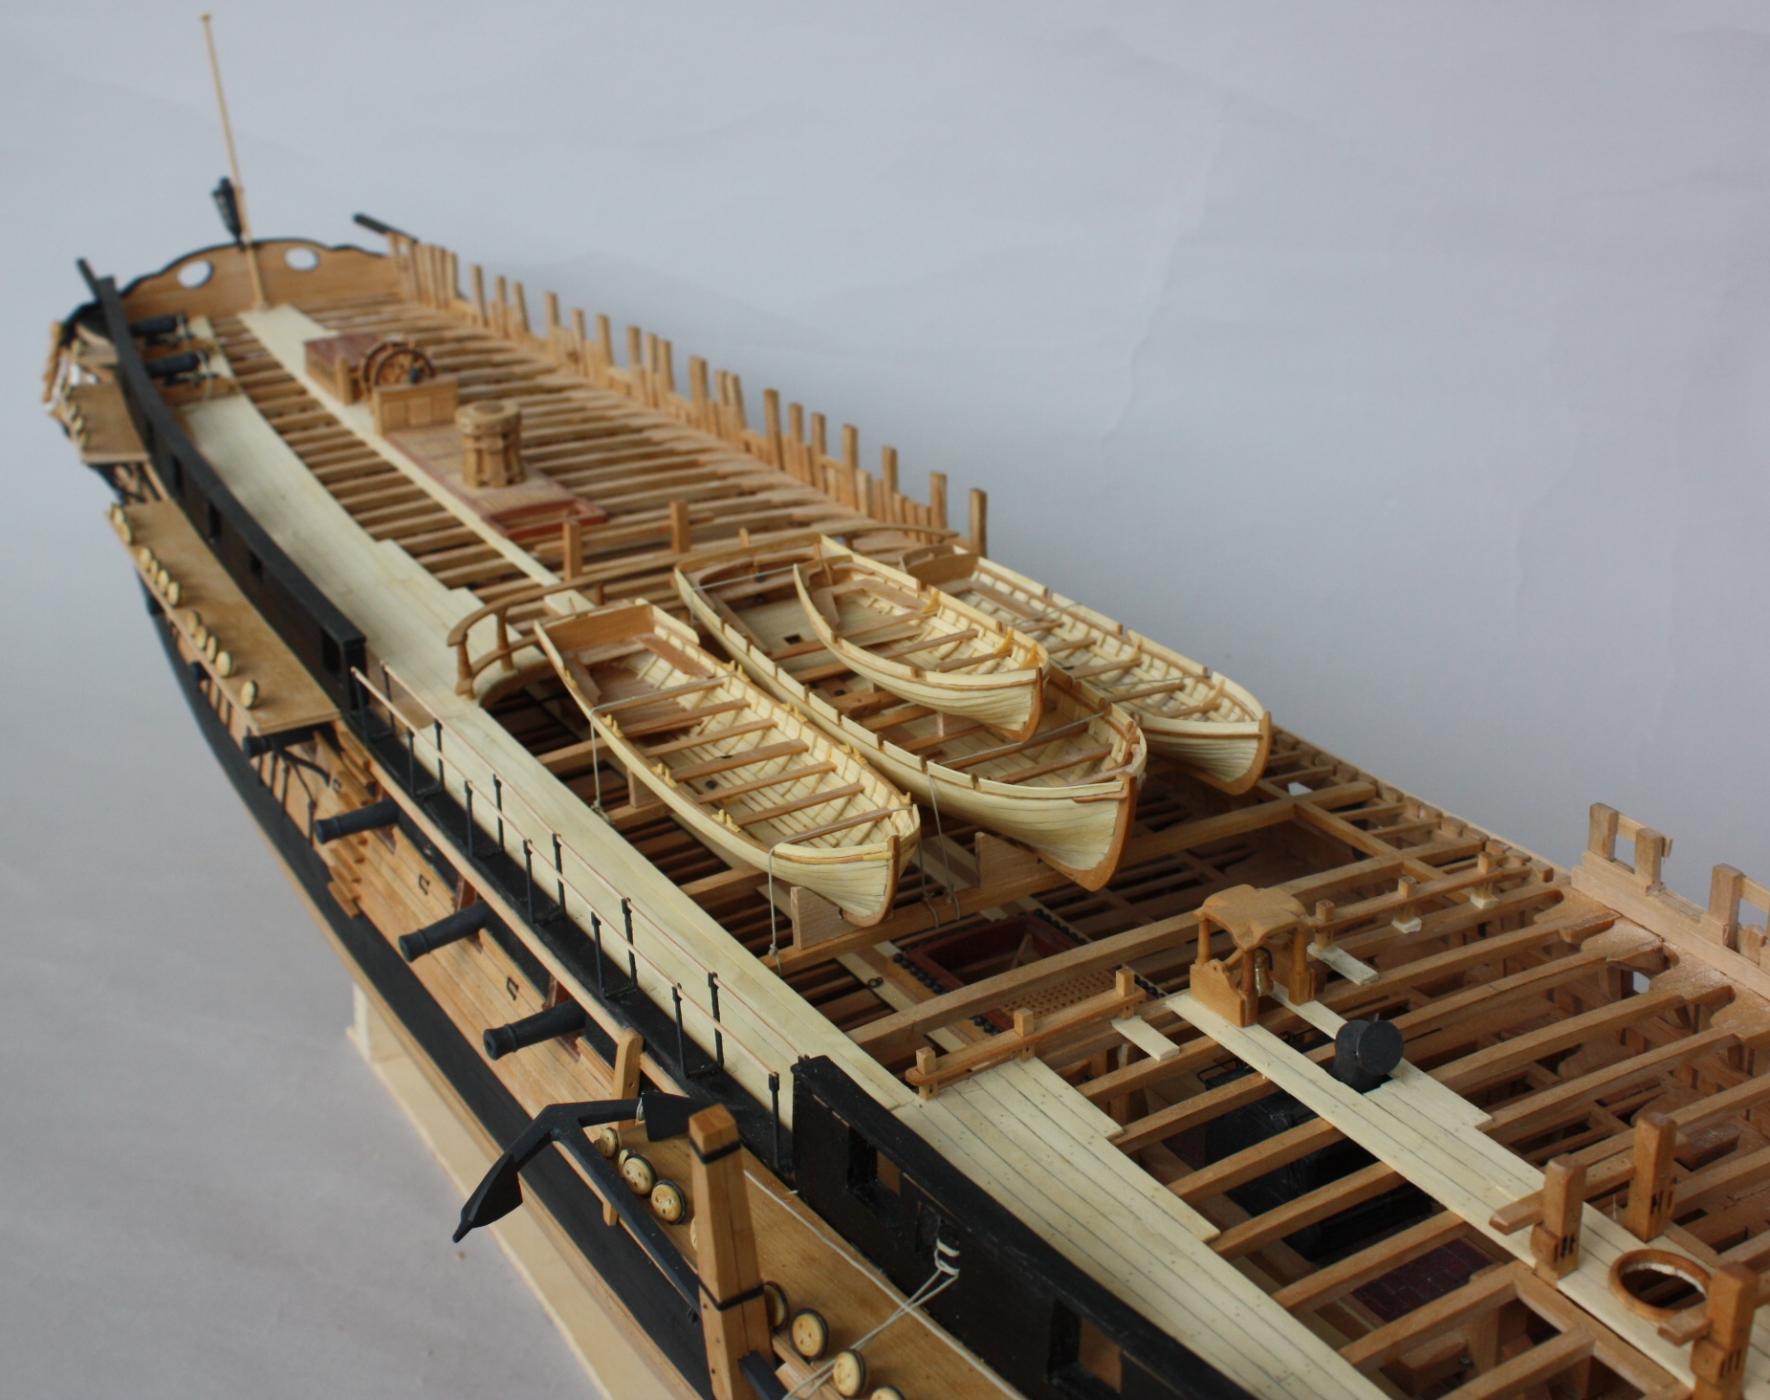
Pat, I have no idea if this can lead to help, but there are a couple photos of a model of the Endeavor in the area of the ship's boats and spare spars beneath them in James Lees' Masting and Rigging The caption says the model was made at the NMM and rigged by Lees, so MAYBE there is someone there that can get you answers. There looks to be a top mast amongst other spare masts or spars but that is about the only thing I can see. This is an interesting subject for any vessel. I went through the 1745 Establishment page by page and it gives the dimensions of the masts and spars for the different size warships, but I found nothing there on spares to be carried. Same for the Shipbuilder's Repository, nothing on spares to be carried that I could find. I hope someone has an answer. Allan -
Druxey, Sorry to jump in on Jaxboats detailed explanation. My understanding from WAYYYY back when I worked in the paint industry, the paint referenced above is thixatropic. If it is agitated, sheared or otherwise stressed, the viscosity drops temporarily. It will thicken up again when at rest and of course it will dry if left exposed to air so the vehicle (water and other solvents) evaporate. The brush is shearing the paint which is causing it the thin, thus flows more readily. This is a rather basic explanation, I am sure there is a lot more detail that can explain how and why the physical properties change temporarily. I THINK some or perhaps most modeling clays are thixatropic. As they are kneaded they are more easily worked, at least in my experience. Allan
- 269 replies
-
- 7
-
-
- Queen Anne Barge
- Syren Ship Model Company
- (and 1 more)
-
THE 74-GUN SHIP by Jeronimo
allanyed replied to Jeronimo's topic in - Build logs for subjects built 1751 - 1800
Karl, You made my morning a good one as I went through your entire log once again. It is a joy to follow your build Allan -
Tools and Supplies for My "Shipyard"
allanyed replied to daveward's topic in Modeling tools and Workshop Equipment
To Philly777 What's plegaliston? What's your name? I quit use tools for plank bending and never looked back. Once the plank is cut to shape (spiled) it is soaked for a while in my "fancy" soaking device (piece of 1" plastic pipe with a cap on one end) then bent to shape and heated over a hot rod (soldering iron) or with a hair dryer (if she is out of the house) while being held in the bent position until dry. If you are using strips from a kit, you can still do the same thing for bending but will have to edge set each plank. Allan