HOLIDAY DONATION DRIVE - SUPPORT MSW - DO YOUR PART TO KEEP THIS GREAT FORUM GOING! (78 donations so far out of 49,000 members - C'mon guys!)
×


yvesvidal
-
Posts
3,607 -
Joined
-
Last visited
Content Type
Profiles
Forums
Gallery
Events
Everything posted by yvesvidal
-
 What a beautiful collection of heavy weight ships. Yves
- 136 replies
-
- 3
-

-
- strasbourg
- finished
- (and 2 more)
-
Beautiful kit. I am looking forward to following your progress. Yves
-
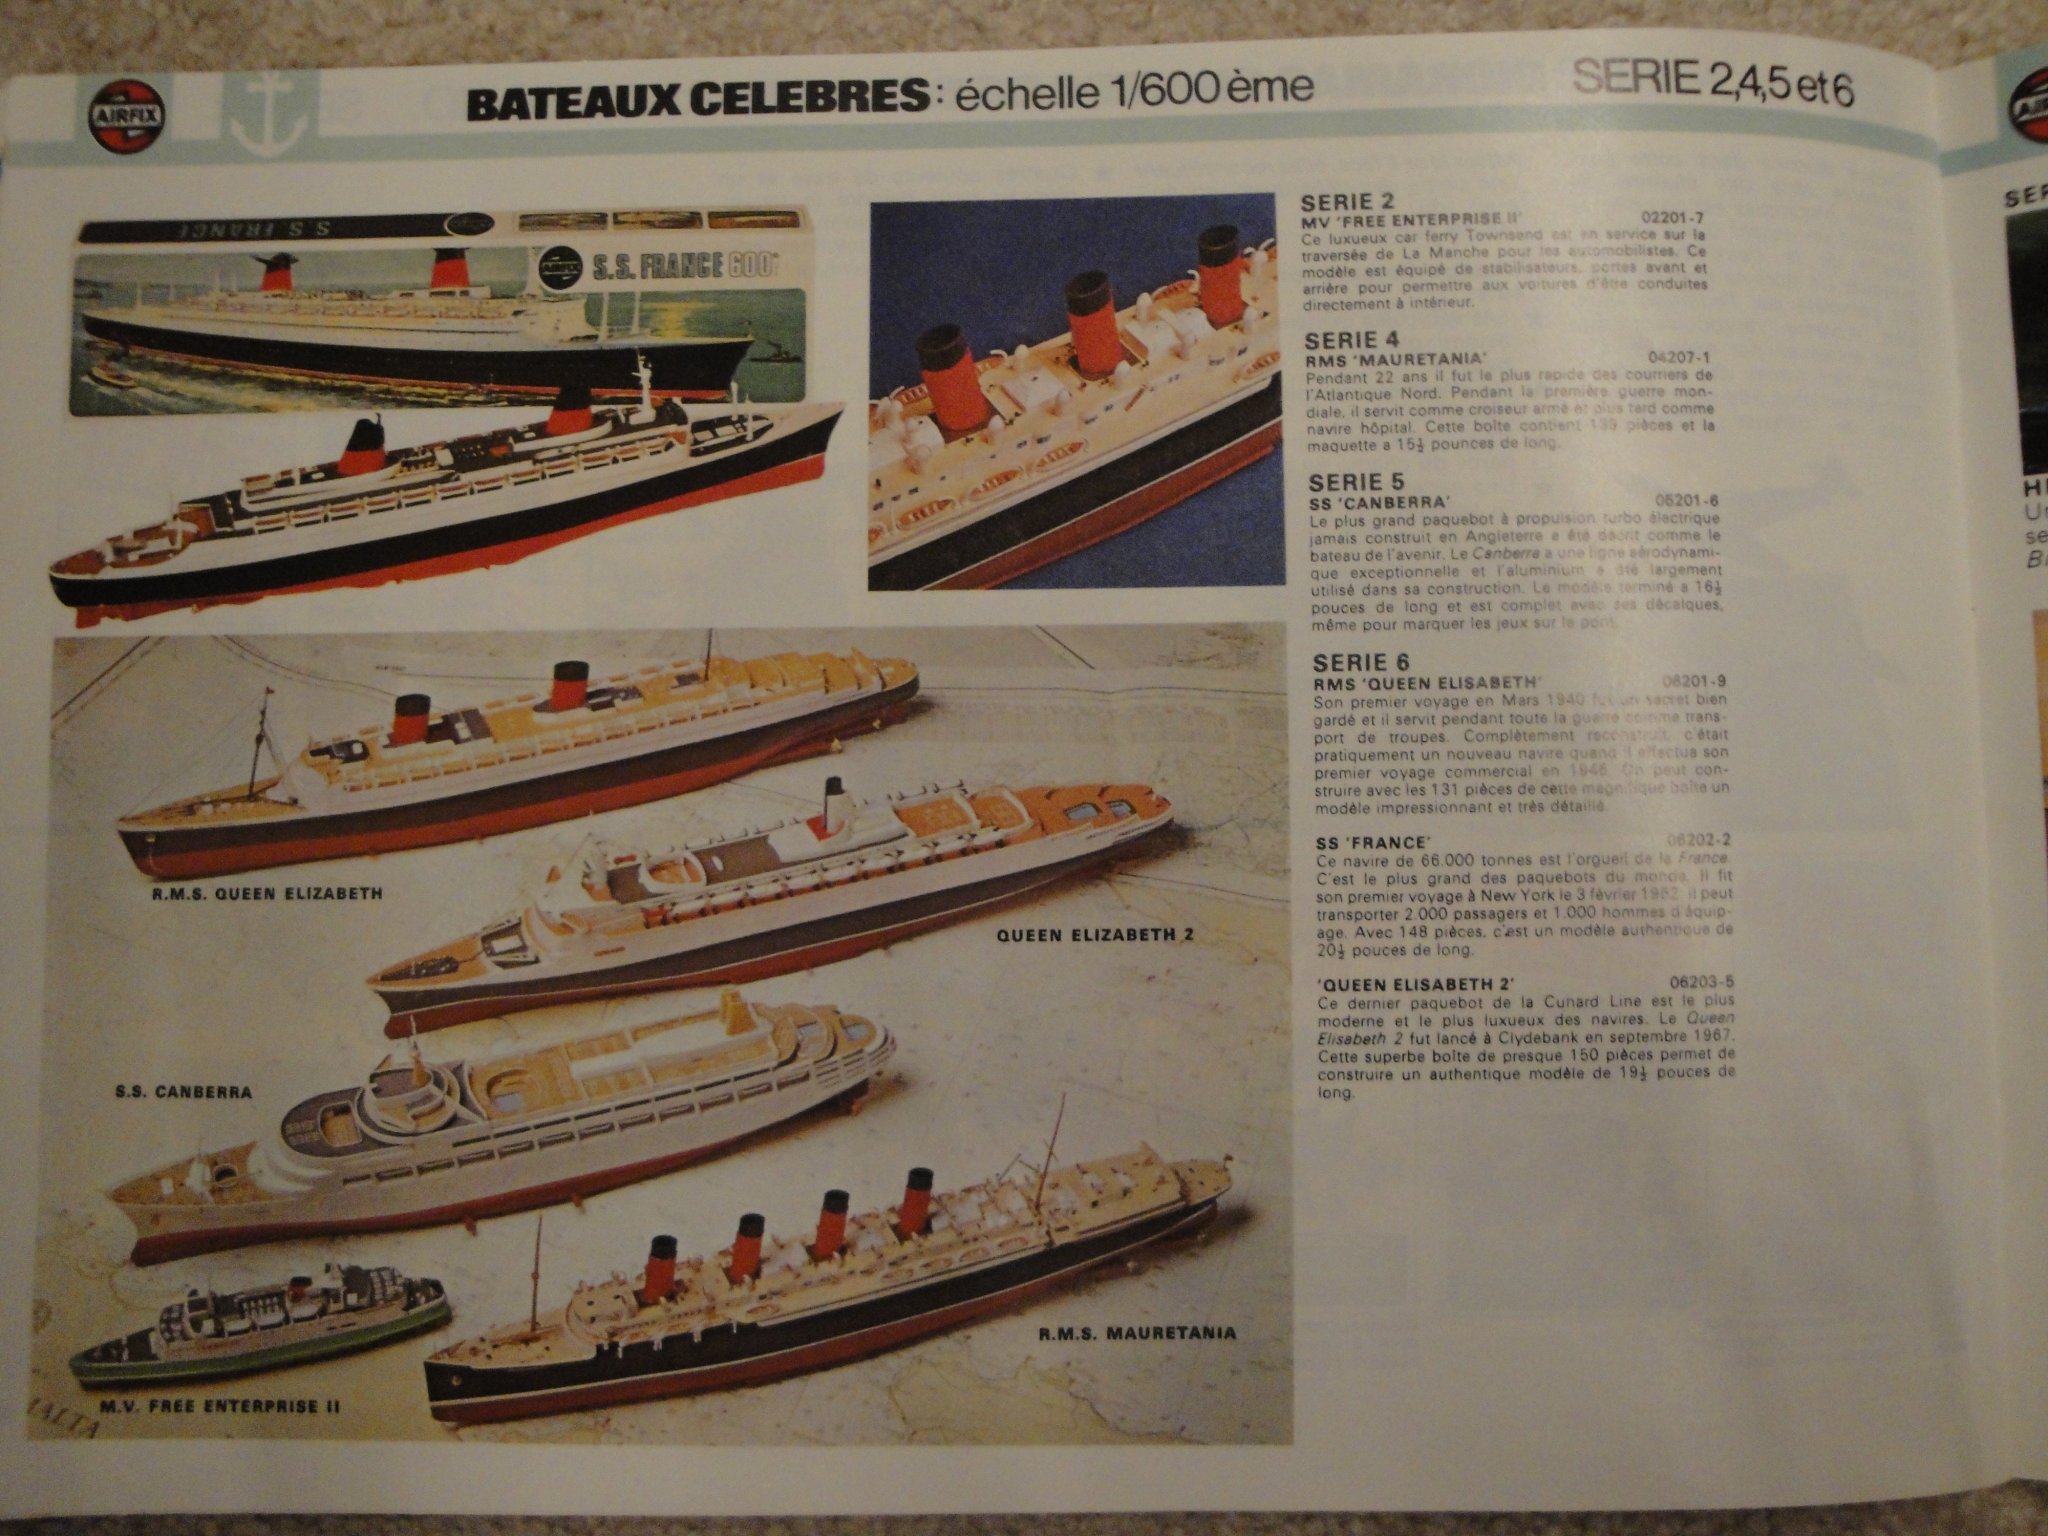
Chris, Here is a picture of a 1976 French Airfix catalogue, showing all liners available at 1/600: My next AIRFIX catalog is from 1990 (quantum leap there...) and the liners are no longer available. They were all dropped from production, sometime in between. Yves

-
Another nice project of a legendary ship. You are building yourself a very nice collection of 1/600 scale liners. Yves
-
It takes a lot of guts to do that. The result is worth (no pun intended) it. Yves
-
There are quite a few Build Logs of the Saint Elme, on the French forums. Below are a few links and you may have to register to be able to display the pictures: - This one is very detailed and brings a lot of additional details: https://www.laroyale-modelisme.net/t23693-replique-du-saint-elme-au-1-20?highlight=St+Elme - Another one with a different color scheme: https://www.laroyale-modelisme.net/t12507-saint-elme-echelle-1-20e?highlight=St+Elme - Nice pictures of a finished model: https://www.laroyale-modelisme.net/t24969-chalutier-st-elme?highlight=St+Elme Overall, you have made a lot of great progress and are ahead of most Build Logs. Yves
-
Both boats are splendid. I love these hull shapes. Yves
- 261 replies
-
- 3
-
-
- muirneag
- vanguard models
- (and 2 more)
-
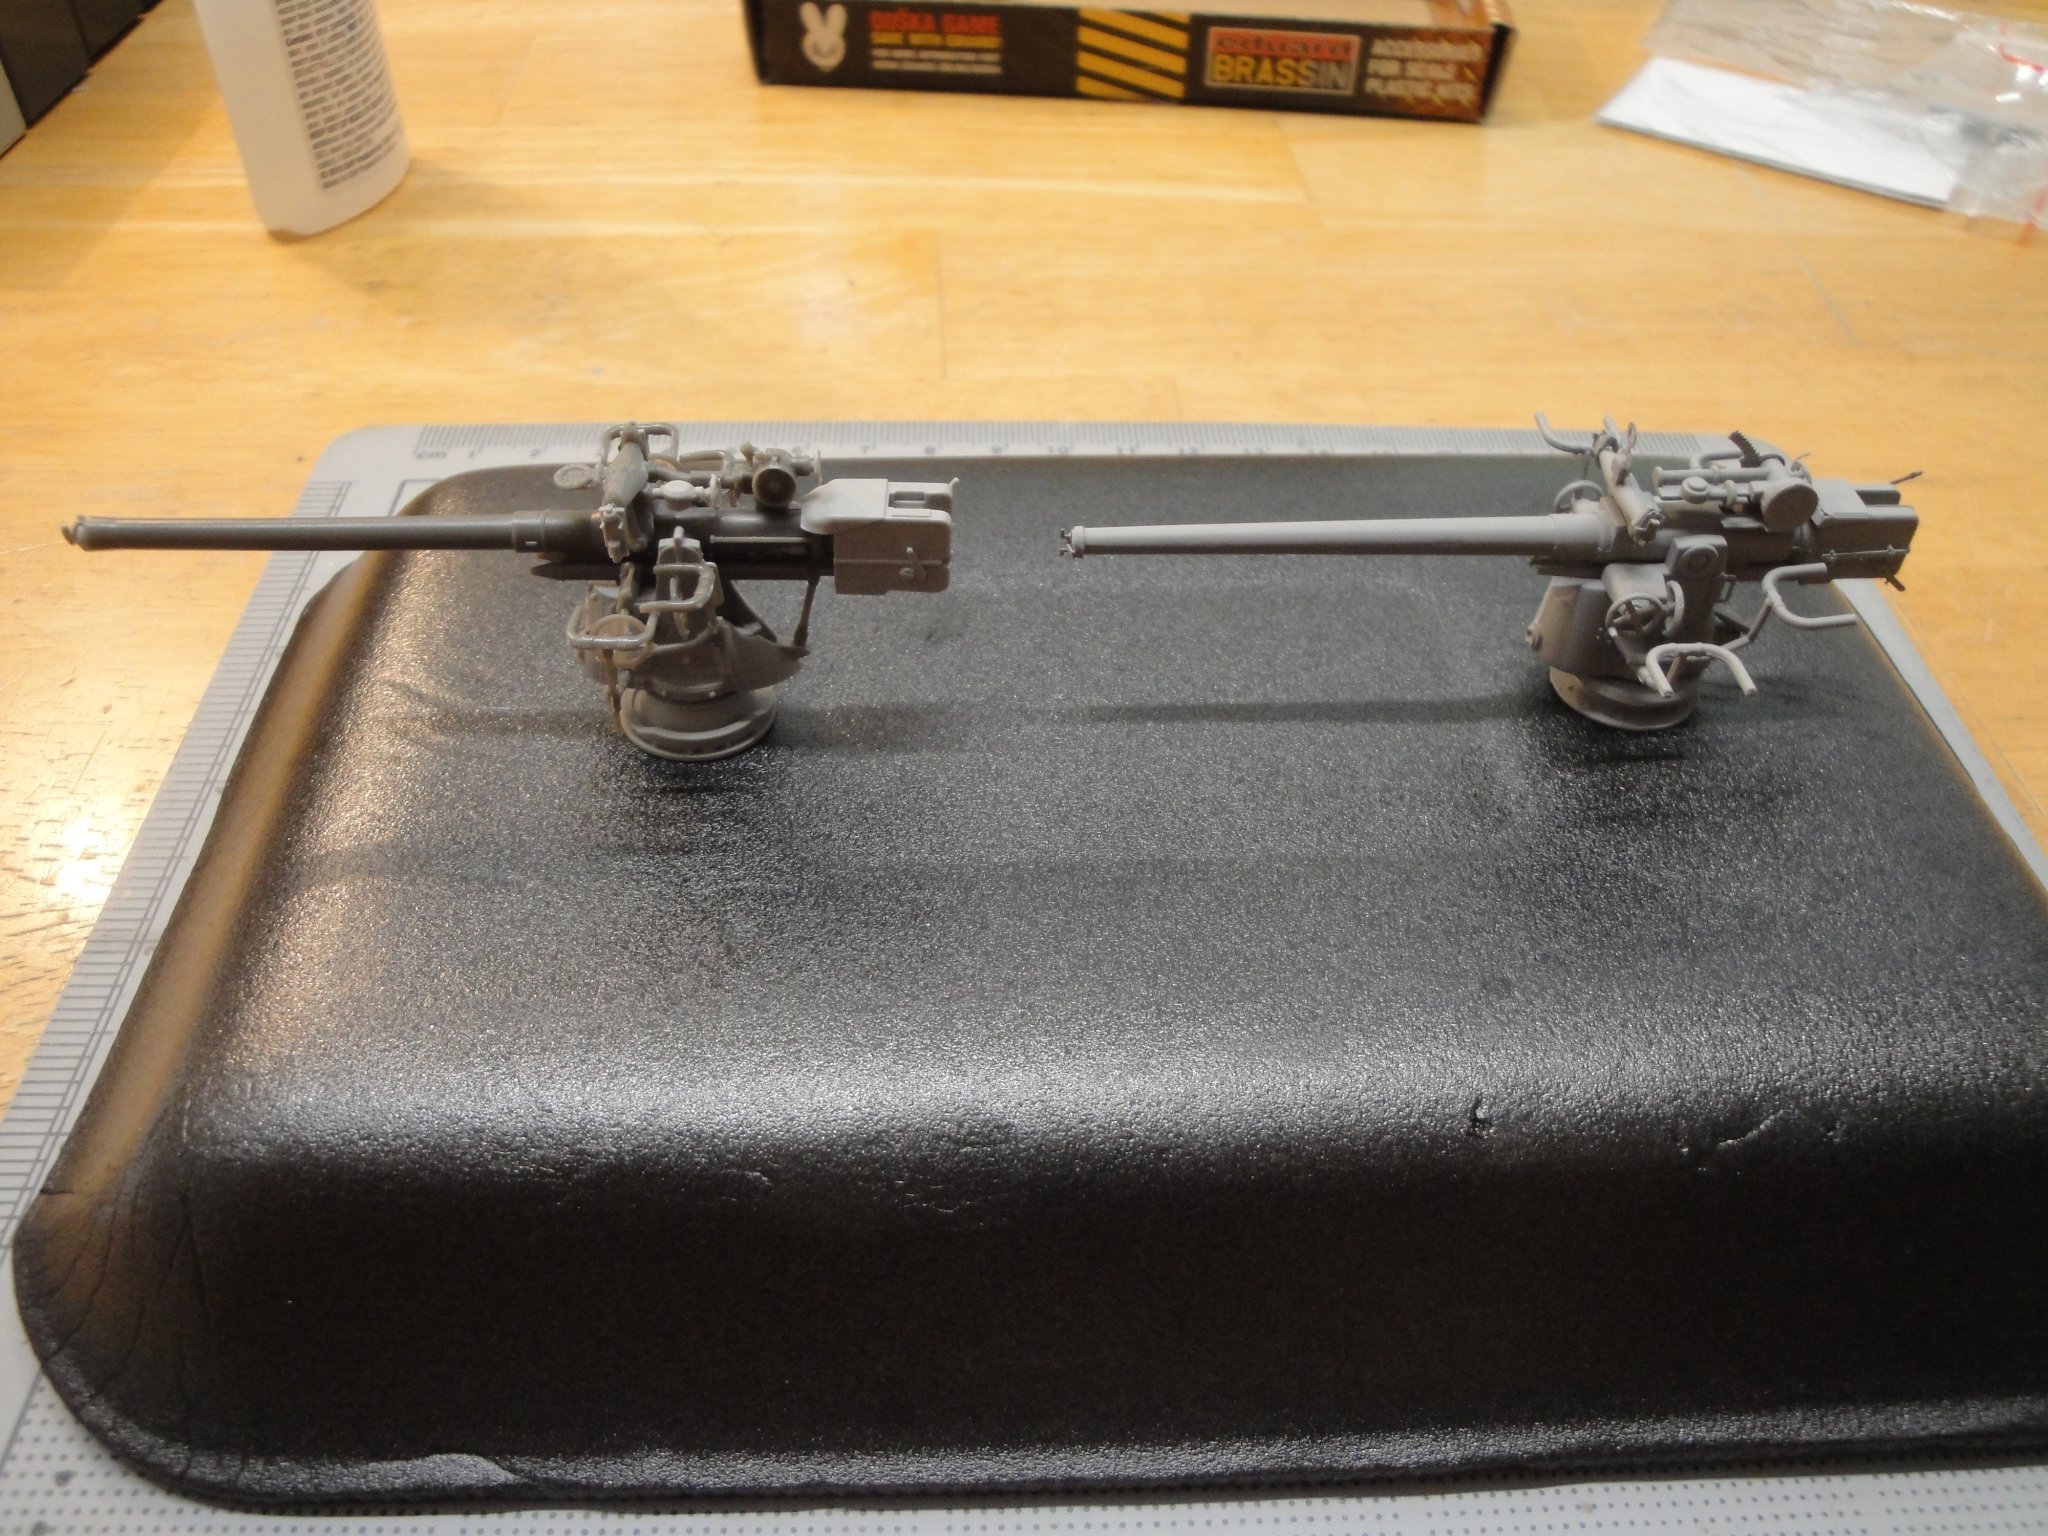
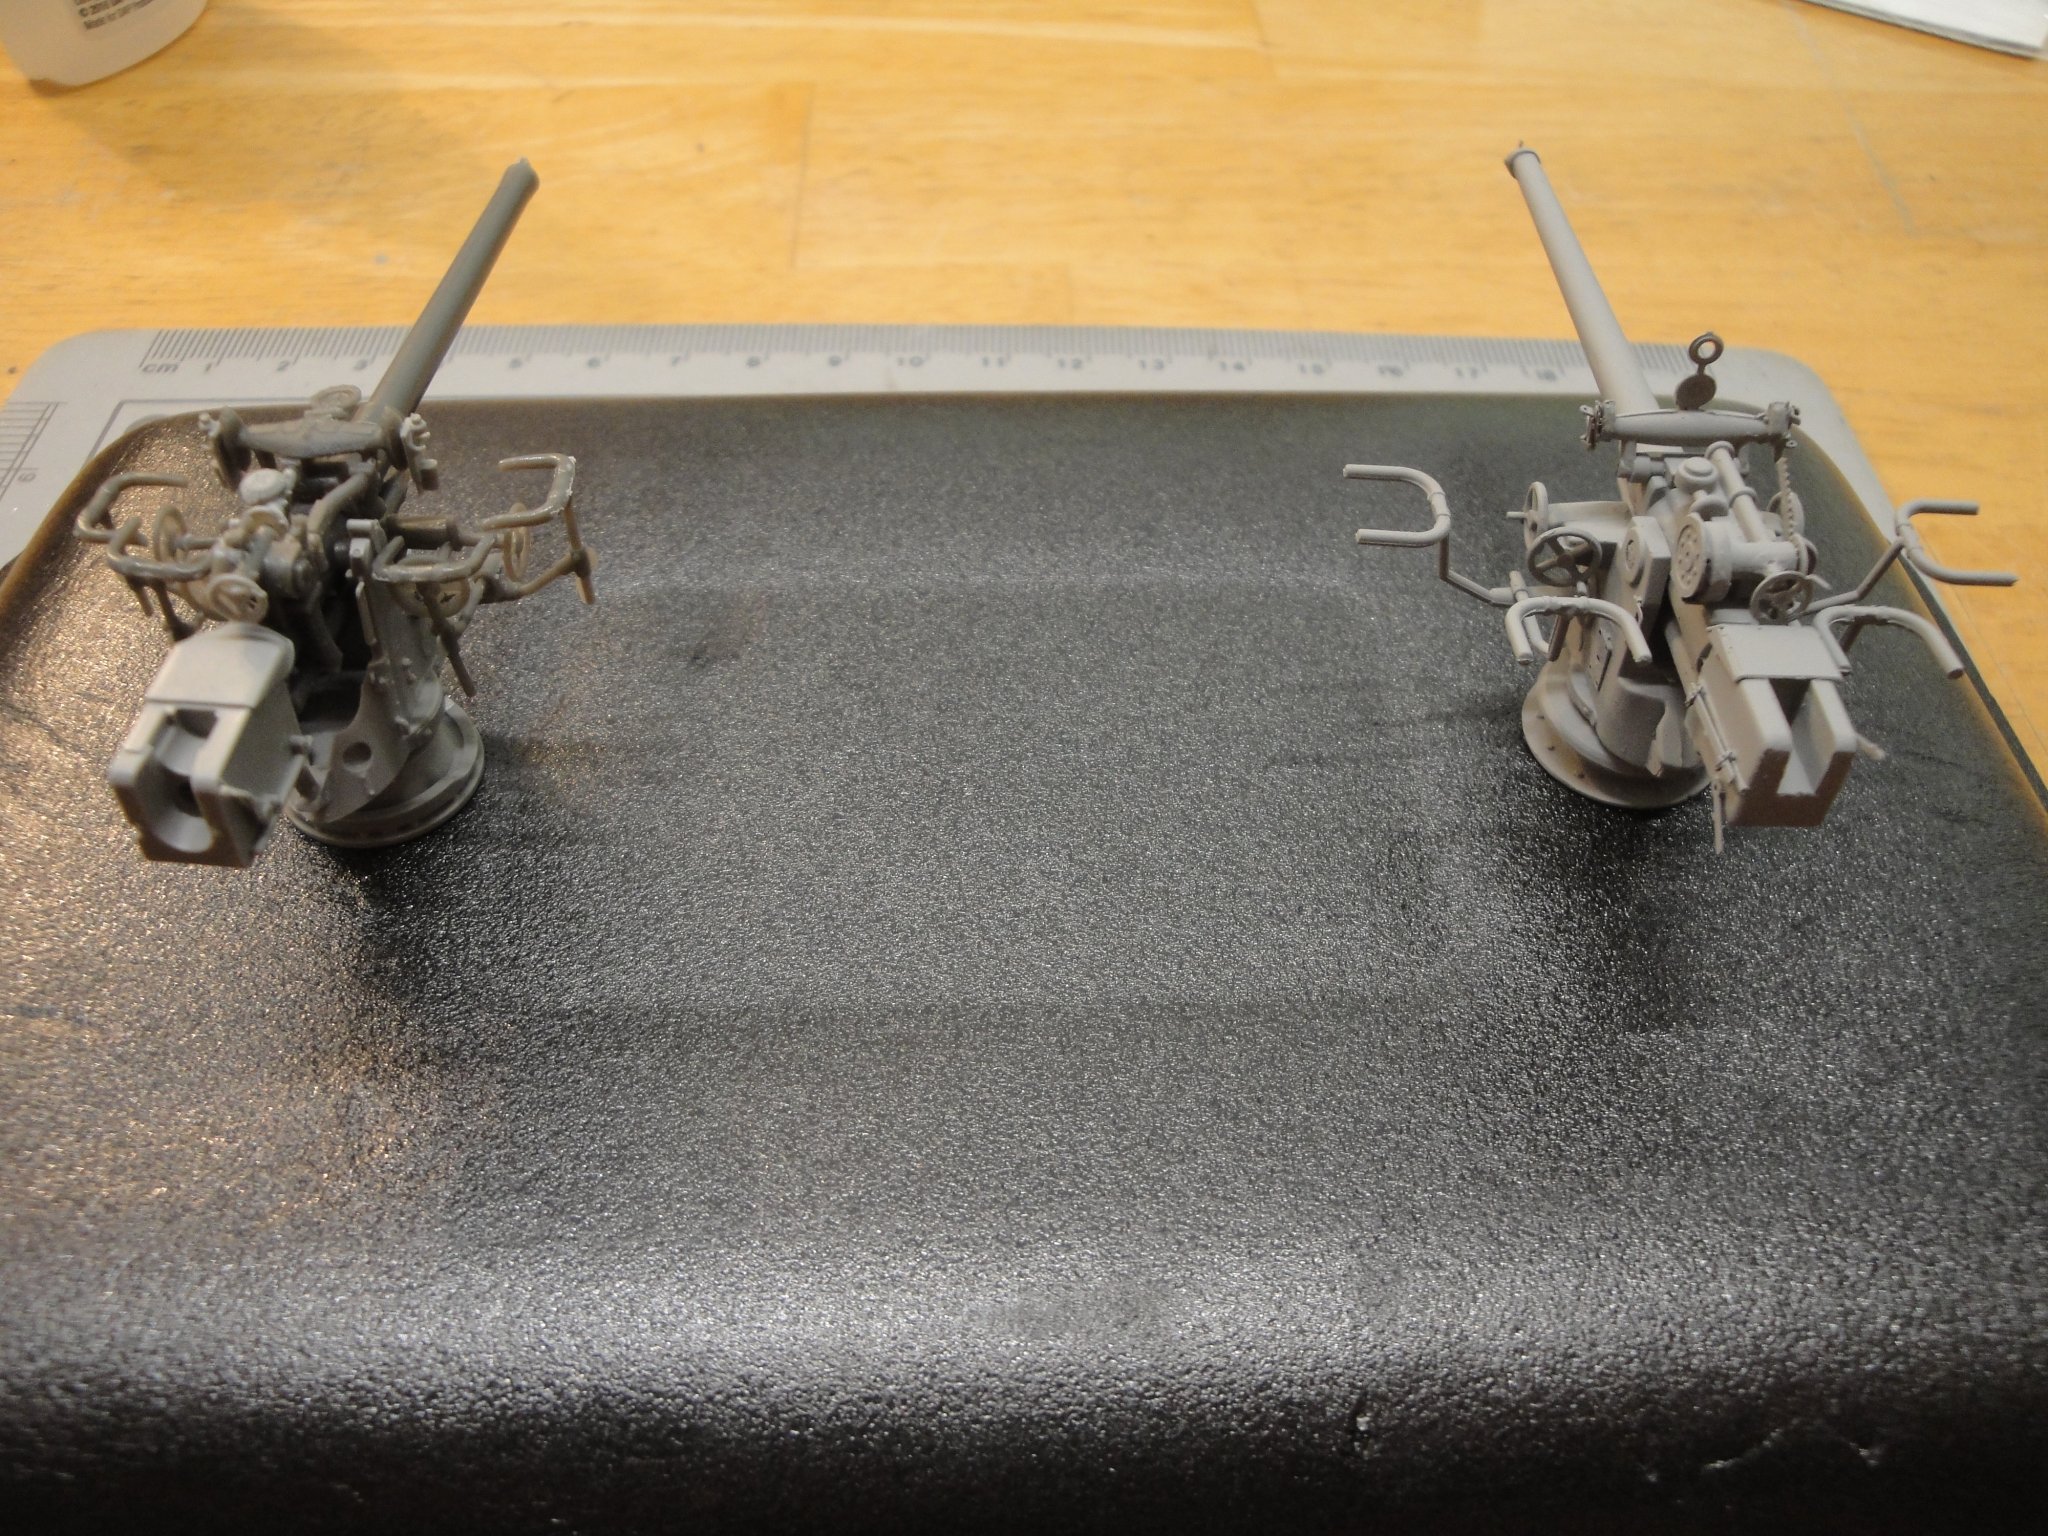
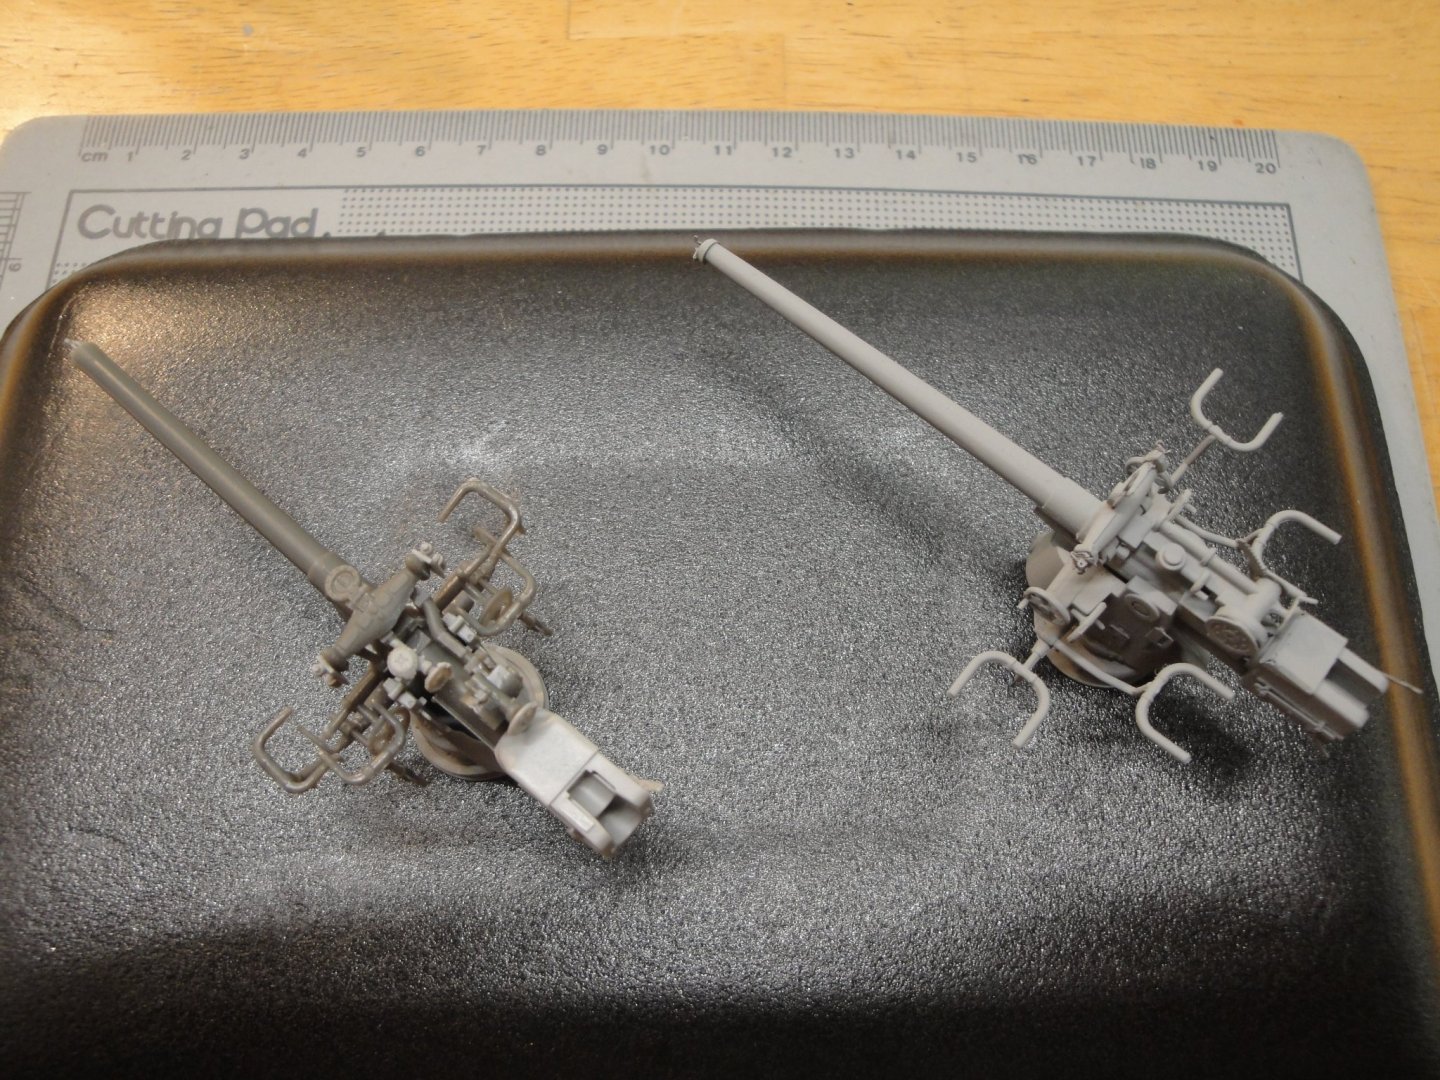
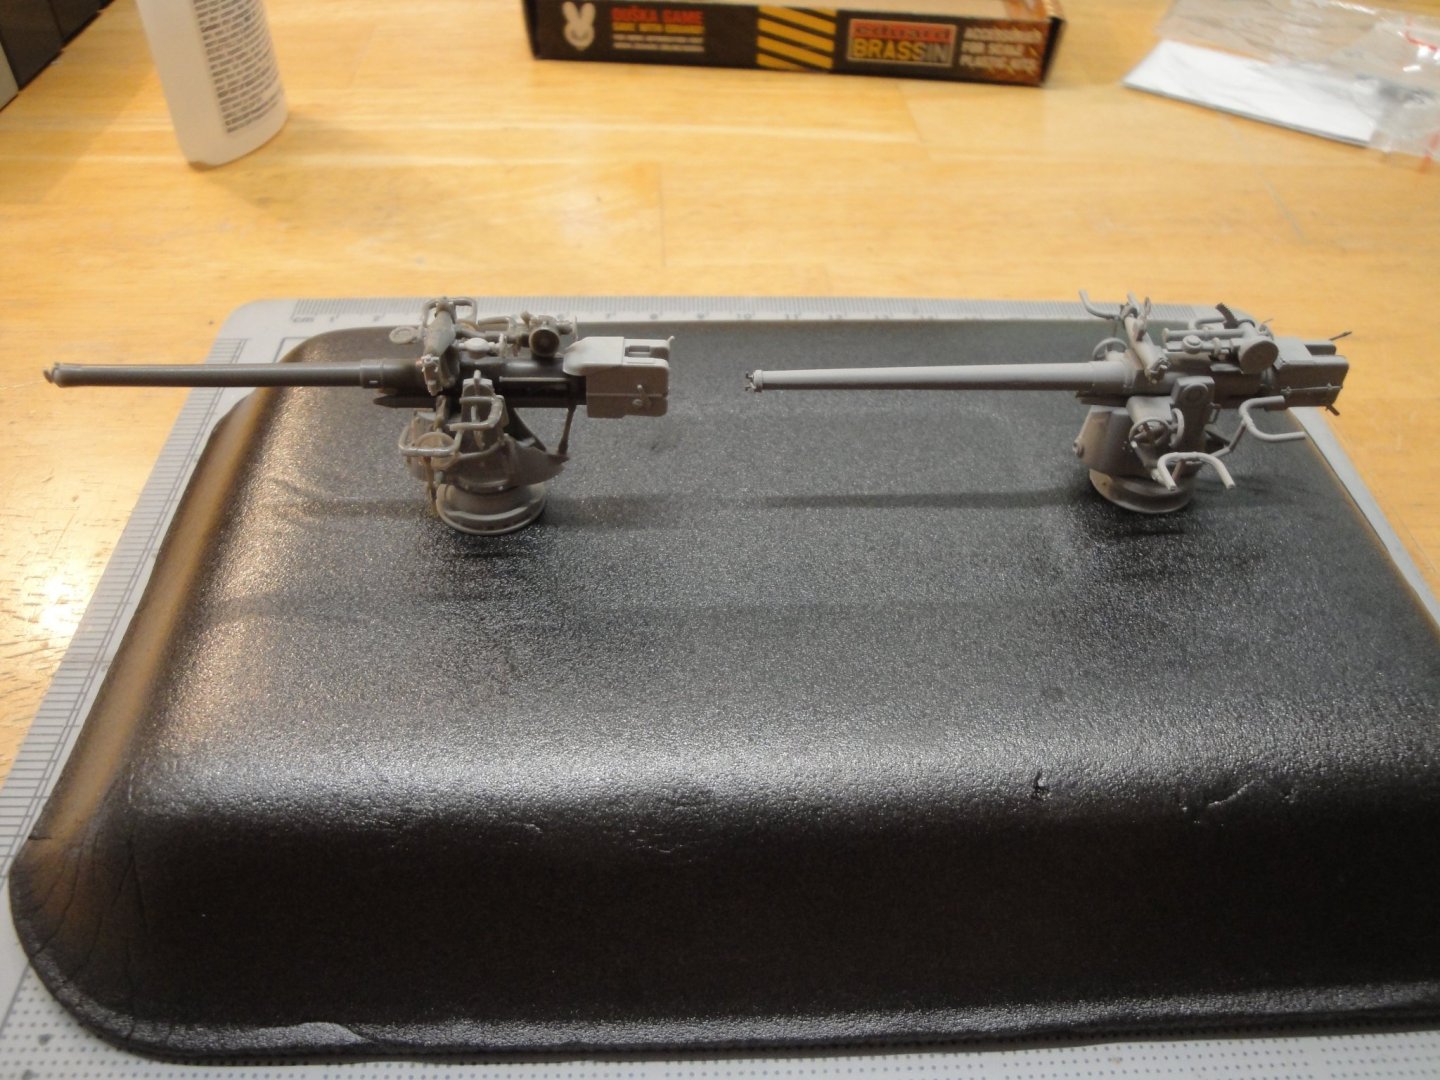
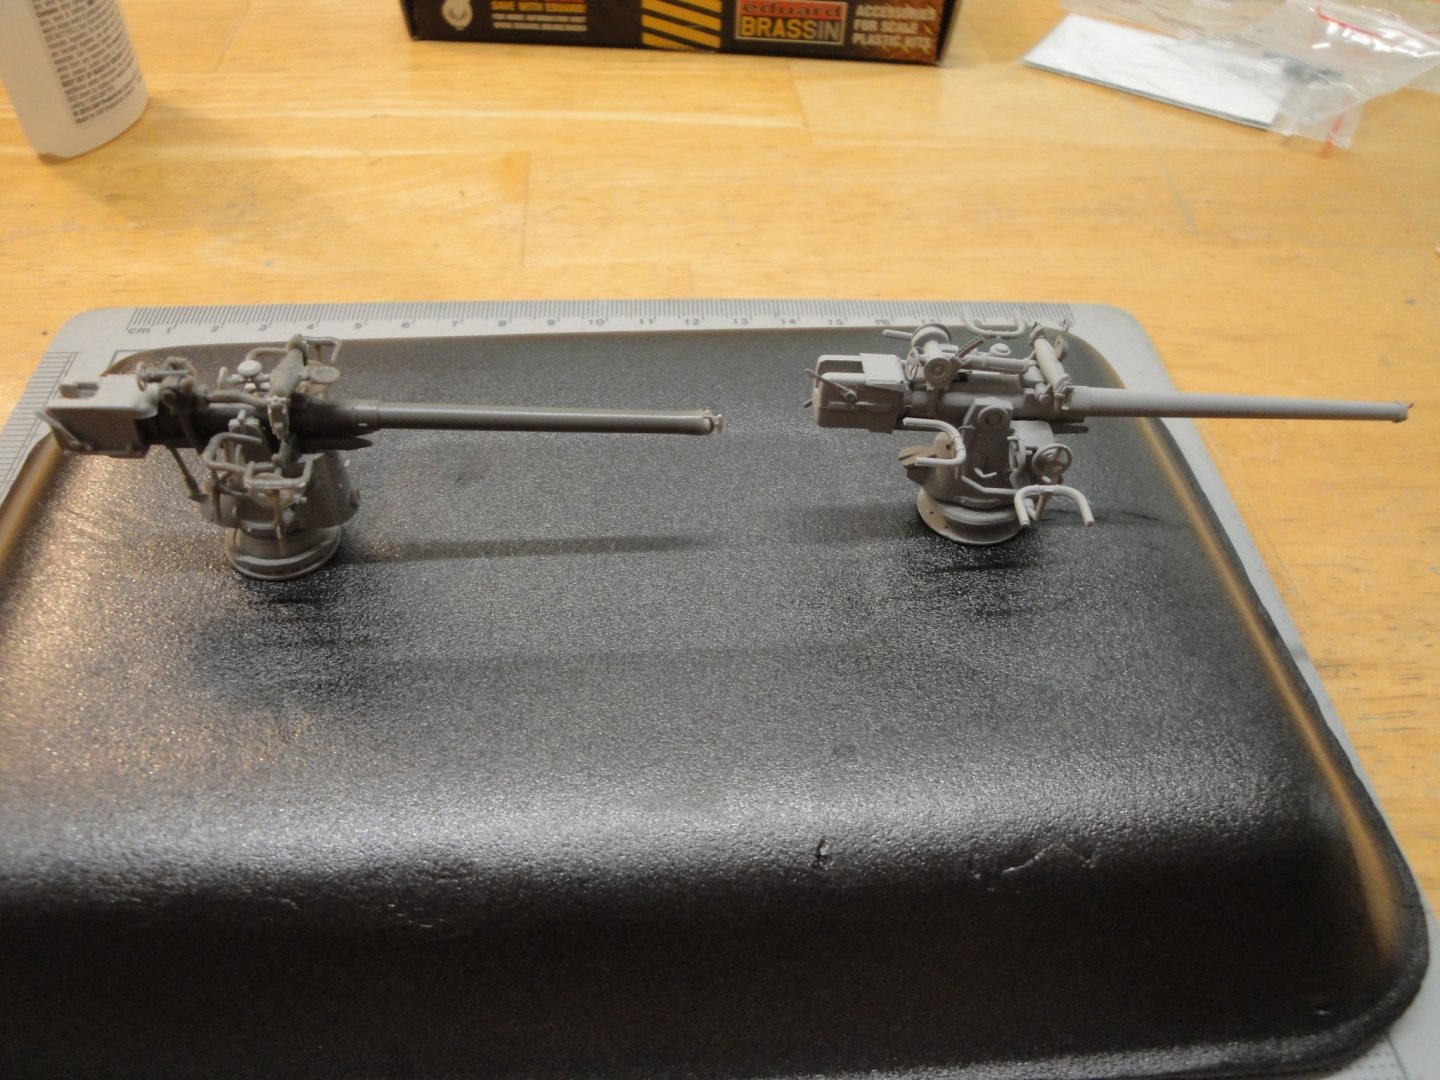
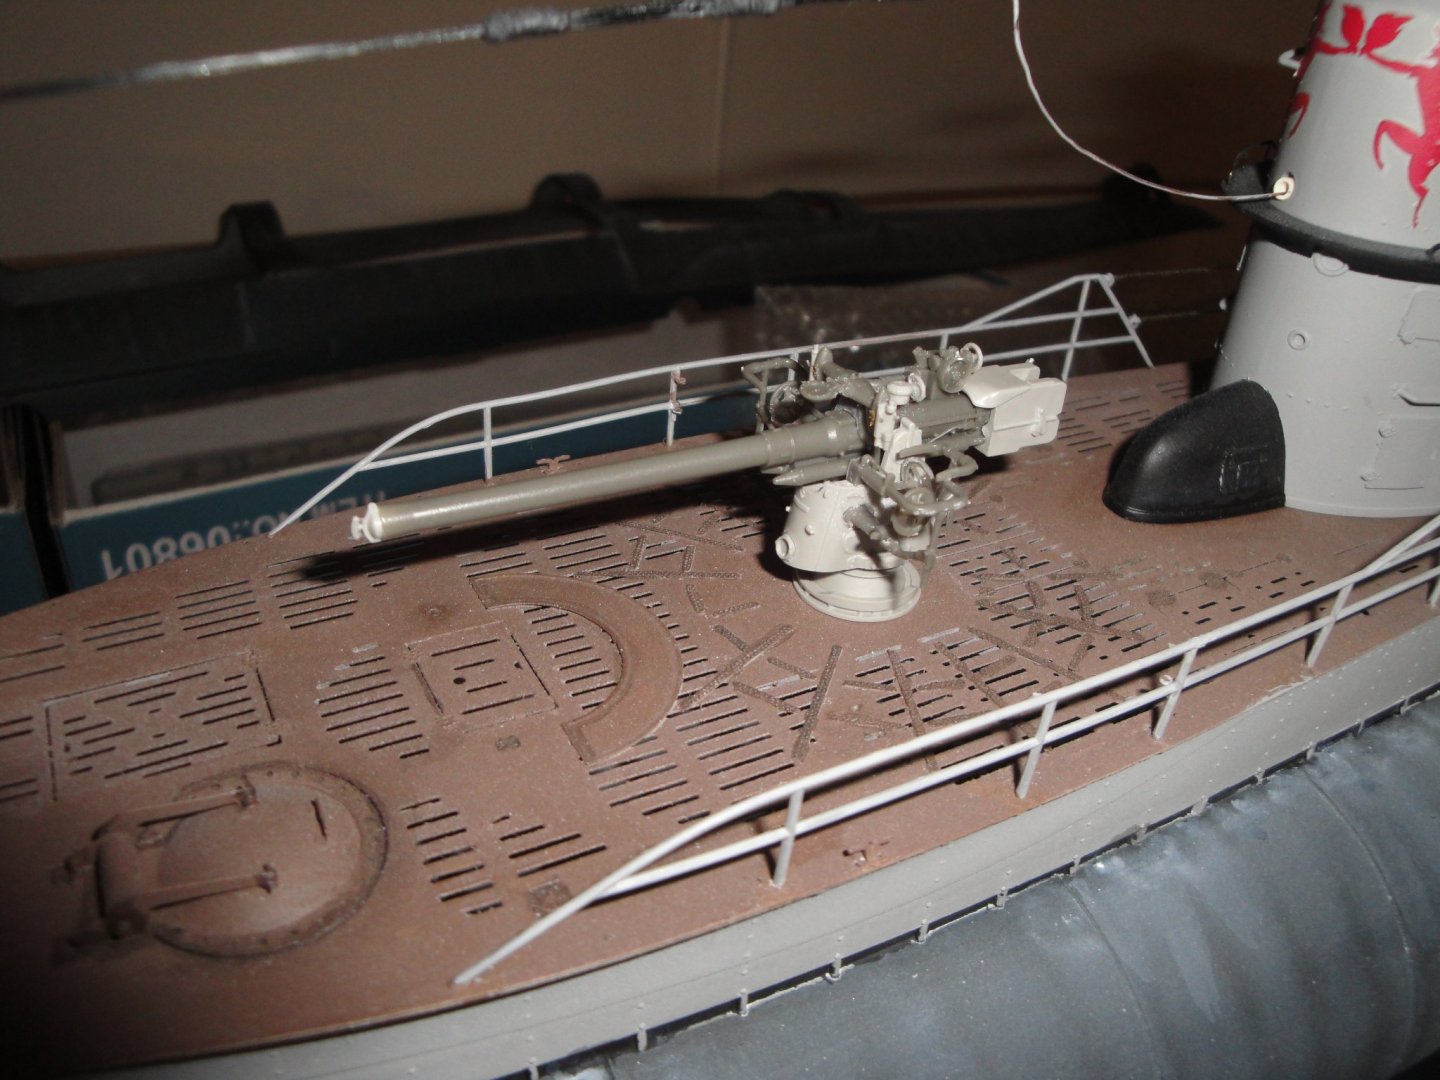
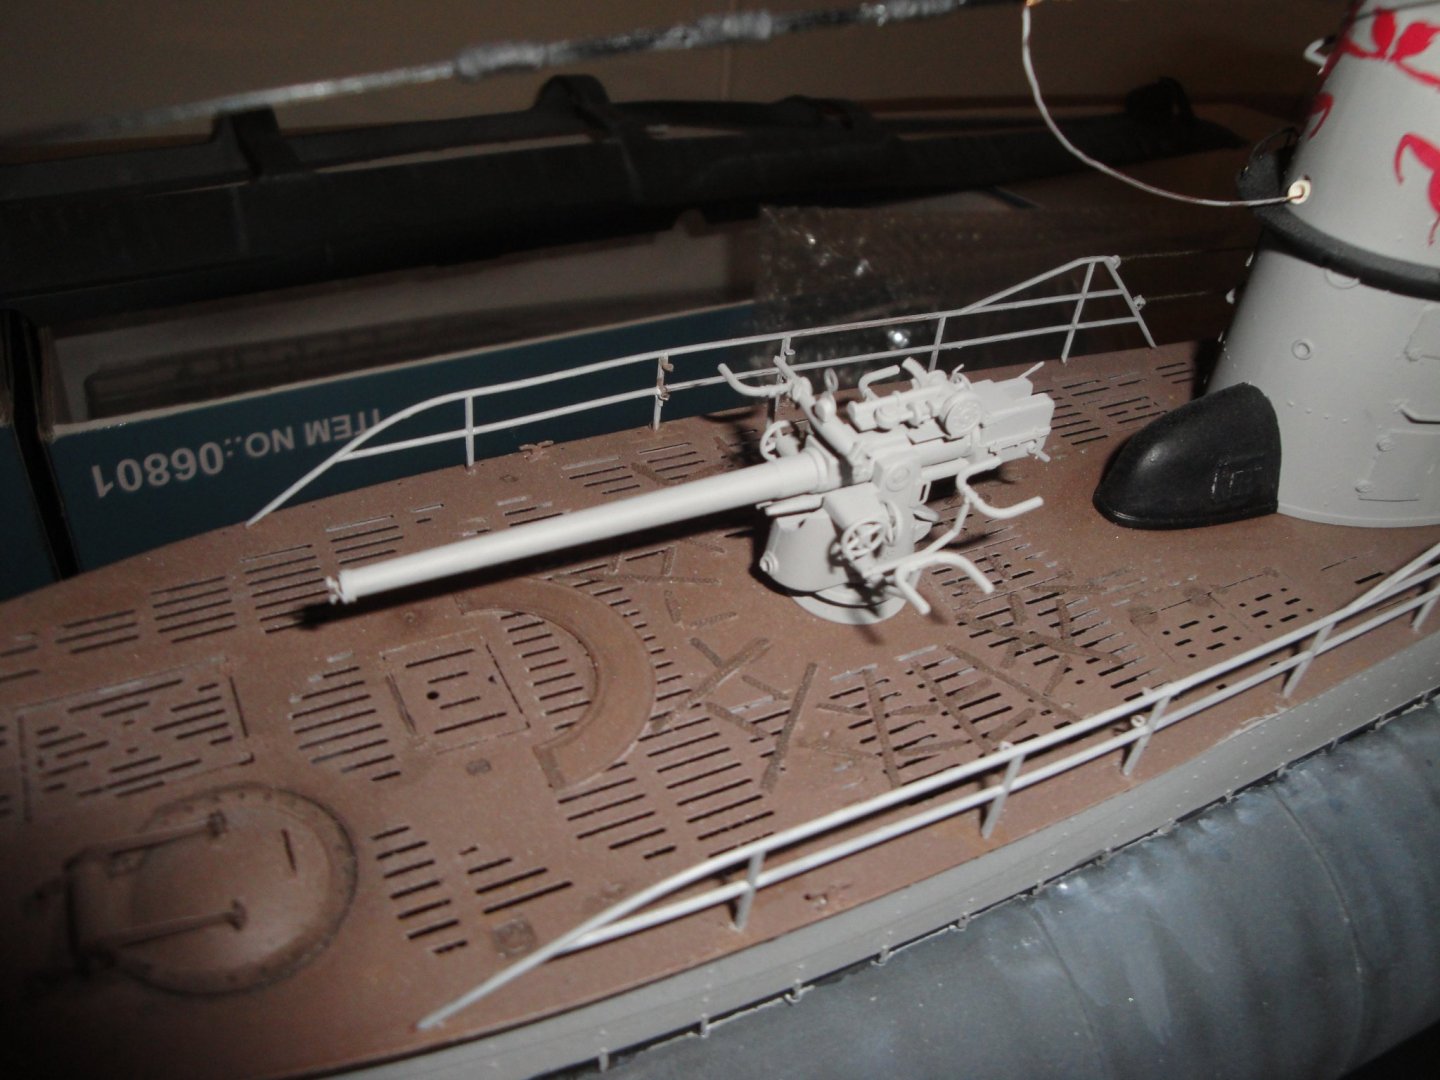
Even though, the Eduard resin kit is not yet painted, I wanted to compare it with the Trumpeter/RCSubs combo kit. The Trumpeter gun is not fully finished and lots of painting details must be applied to it: Close-up on each gun: And in situ, on the deck: Not sure yet, which one to chose for the final model. We will see after the painting, if I manage to paint that resin easily.... :-( Yves


- 760 replies
-
- 10
-
-
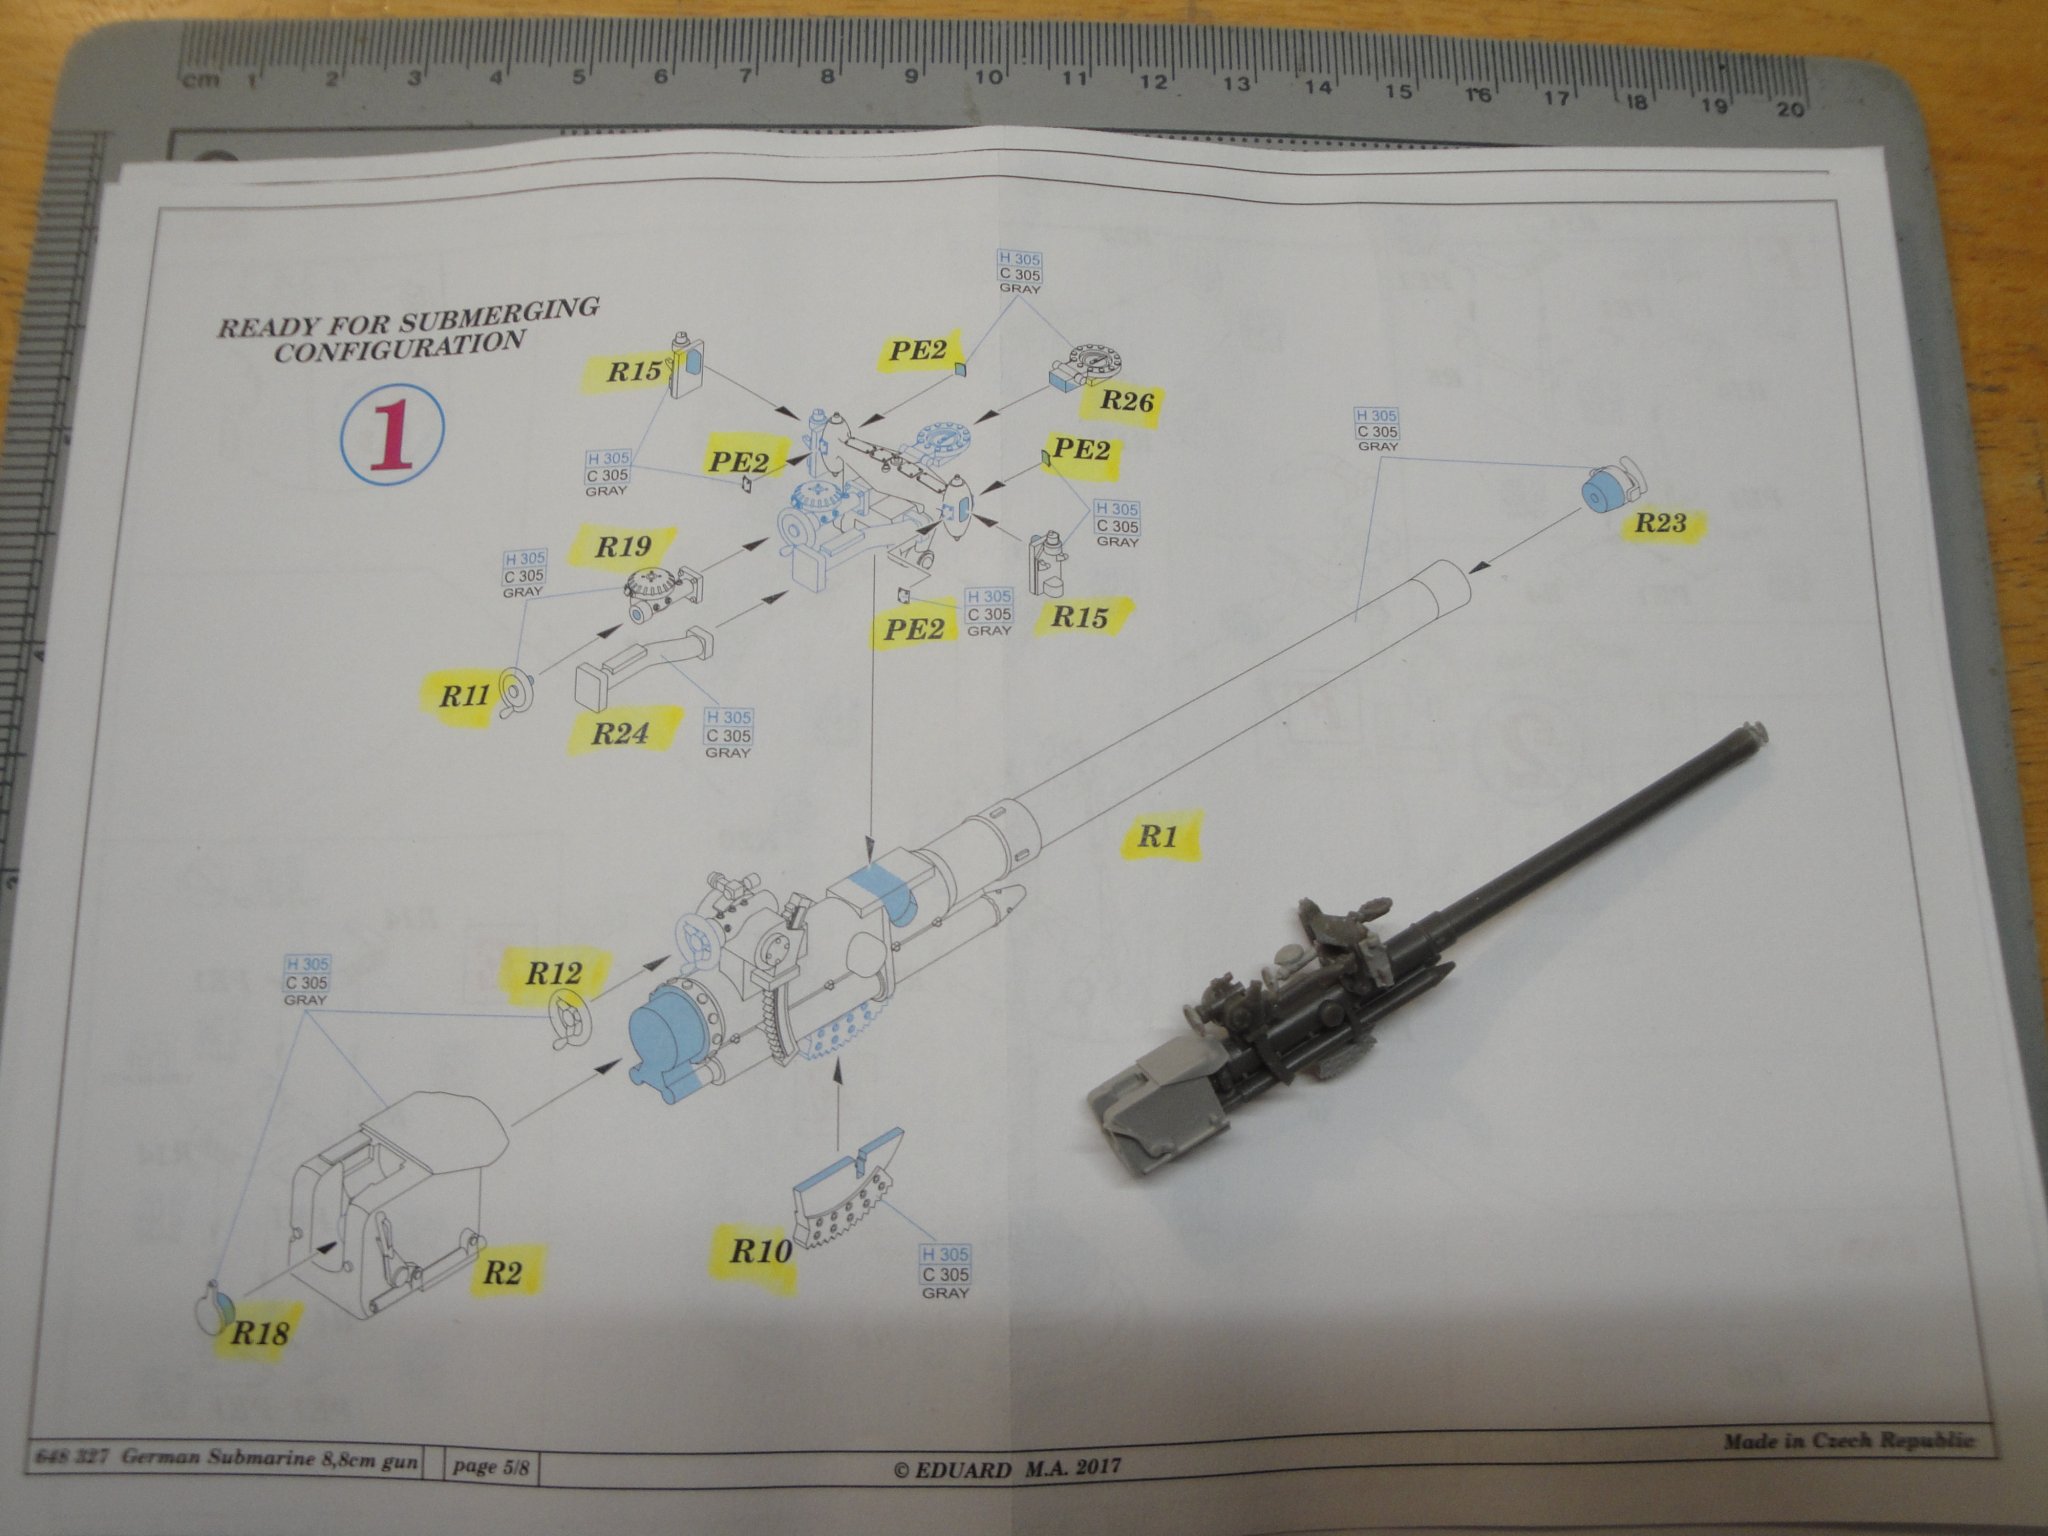
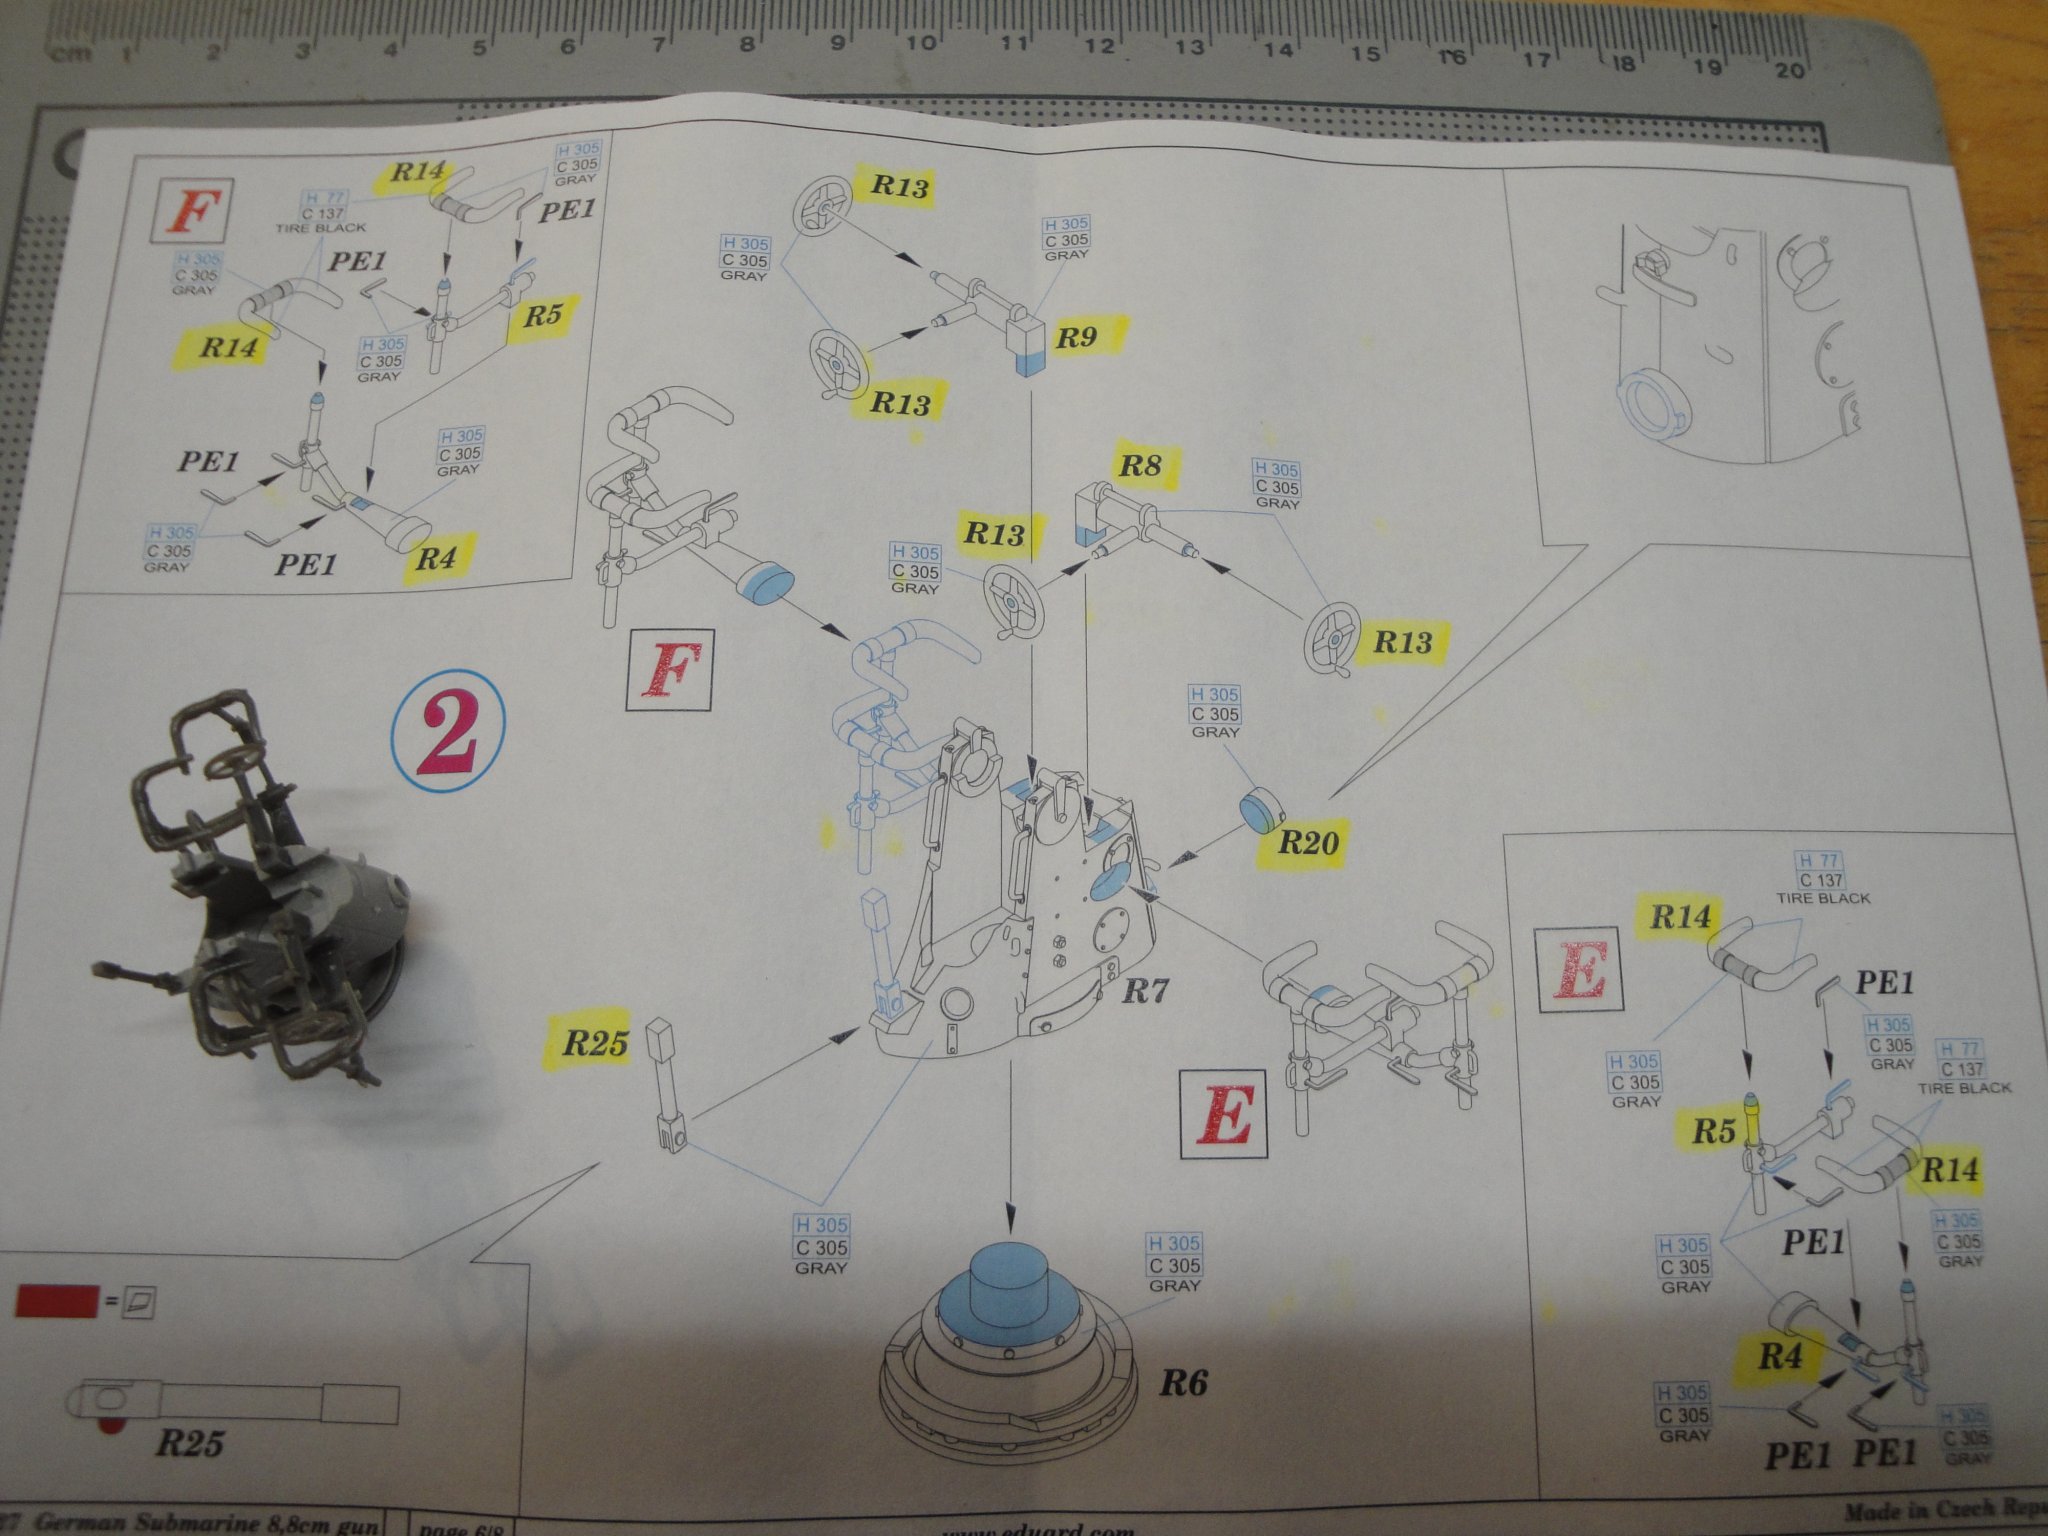
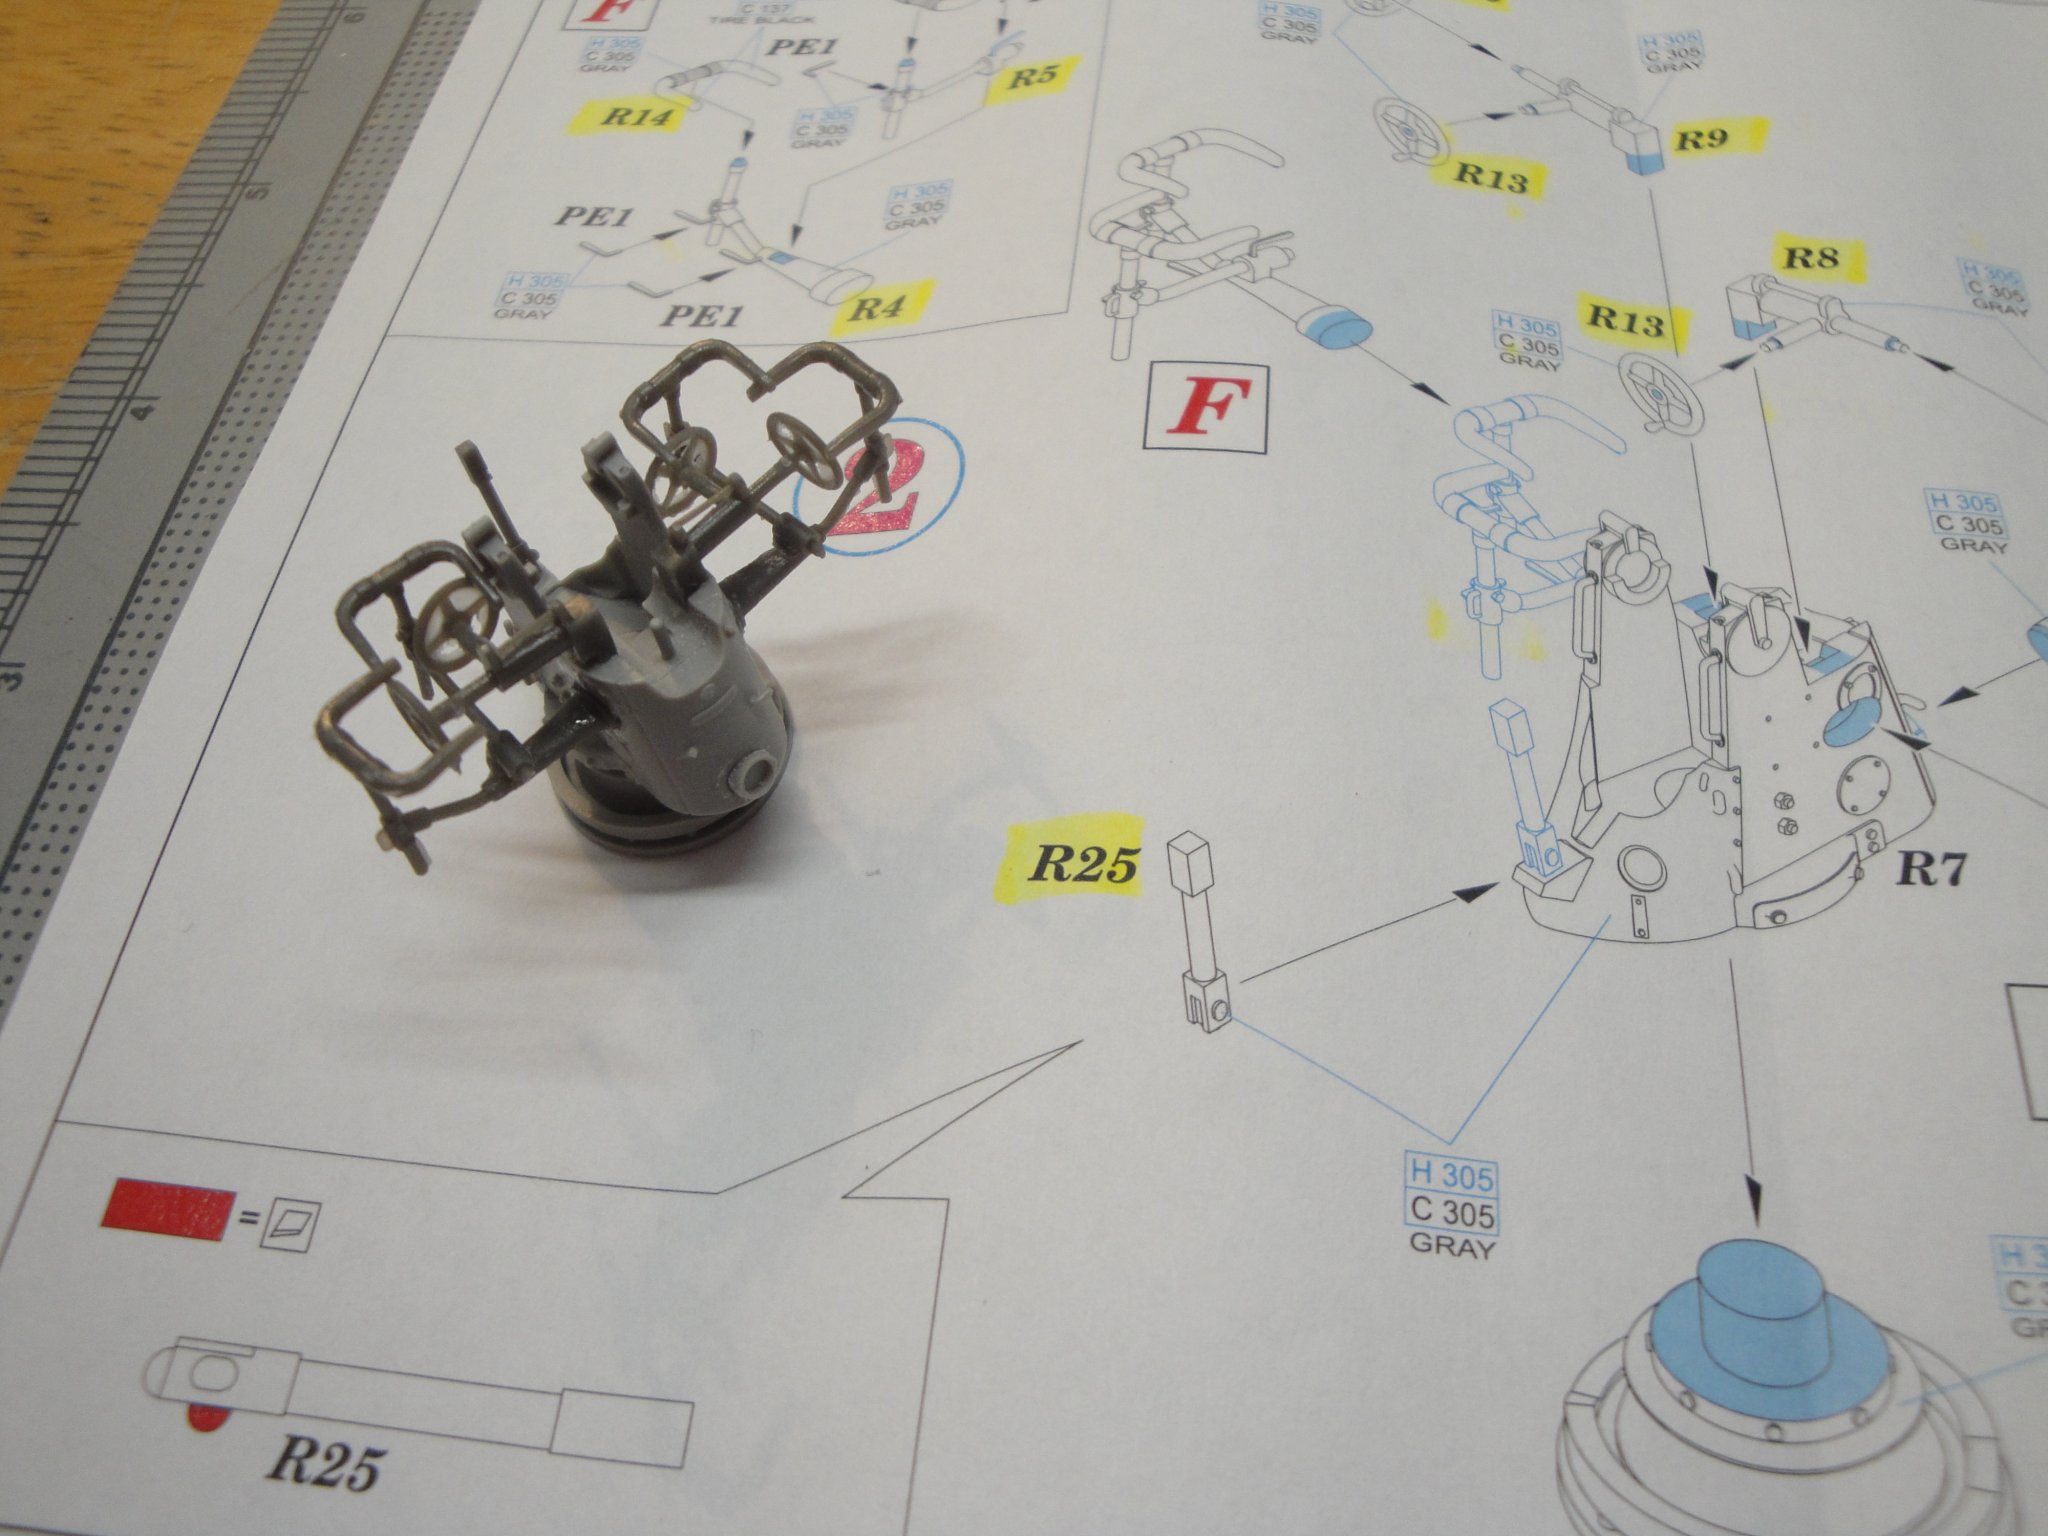
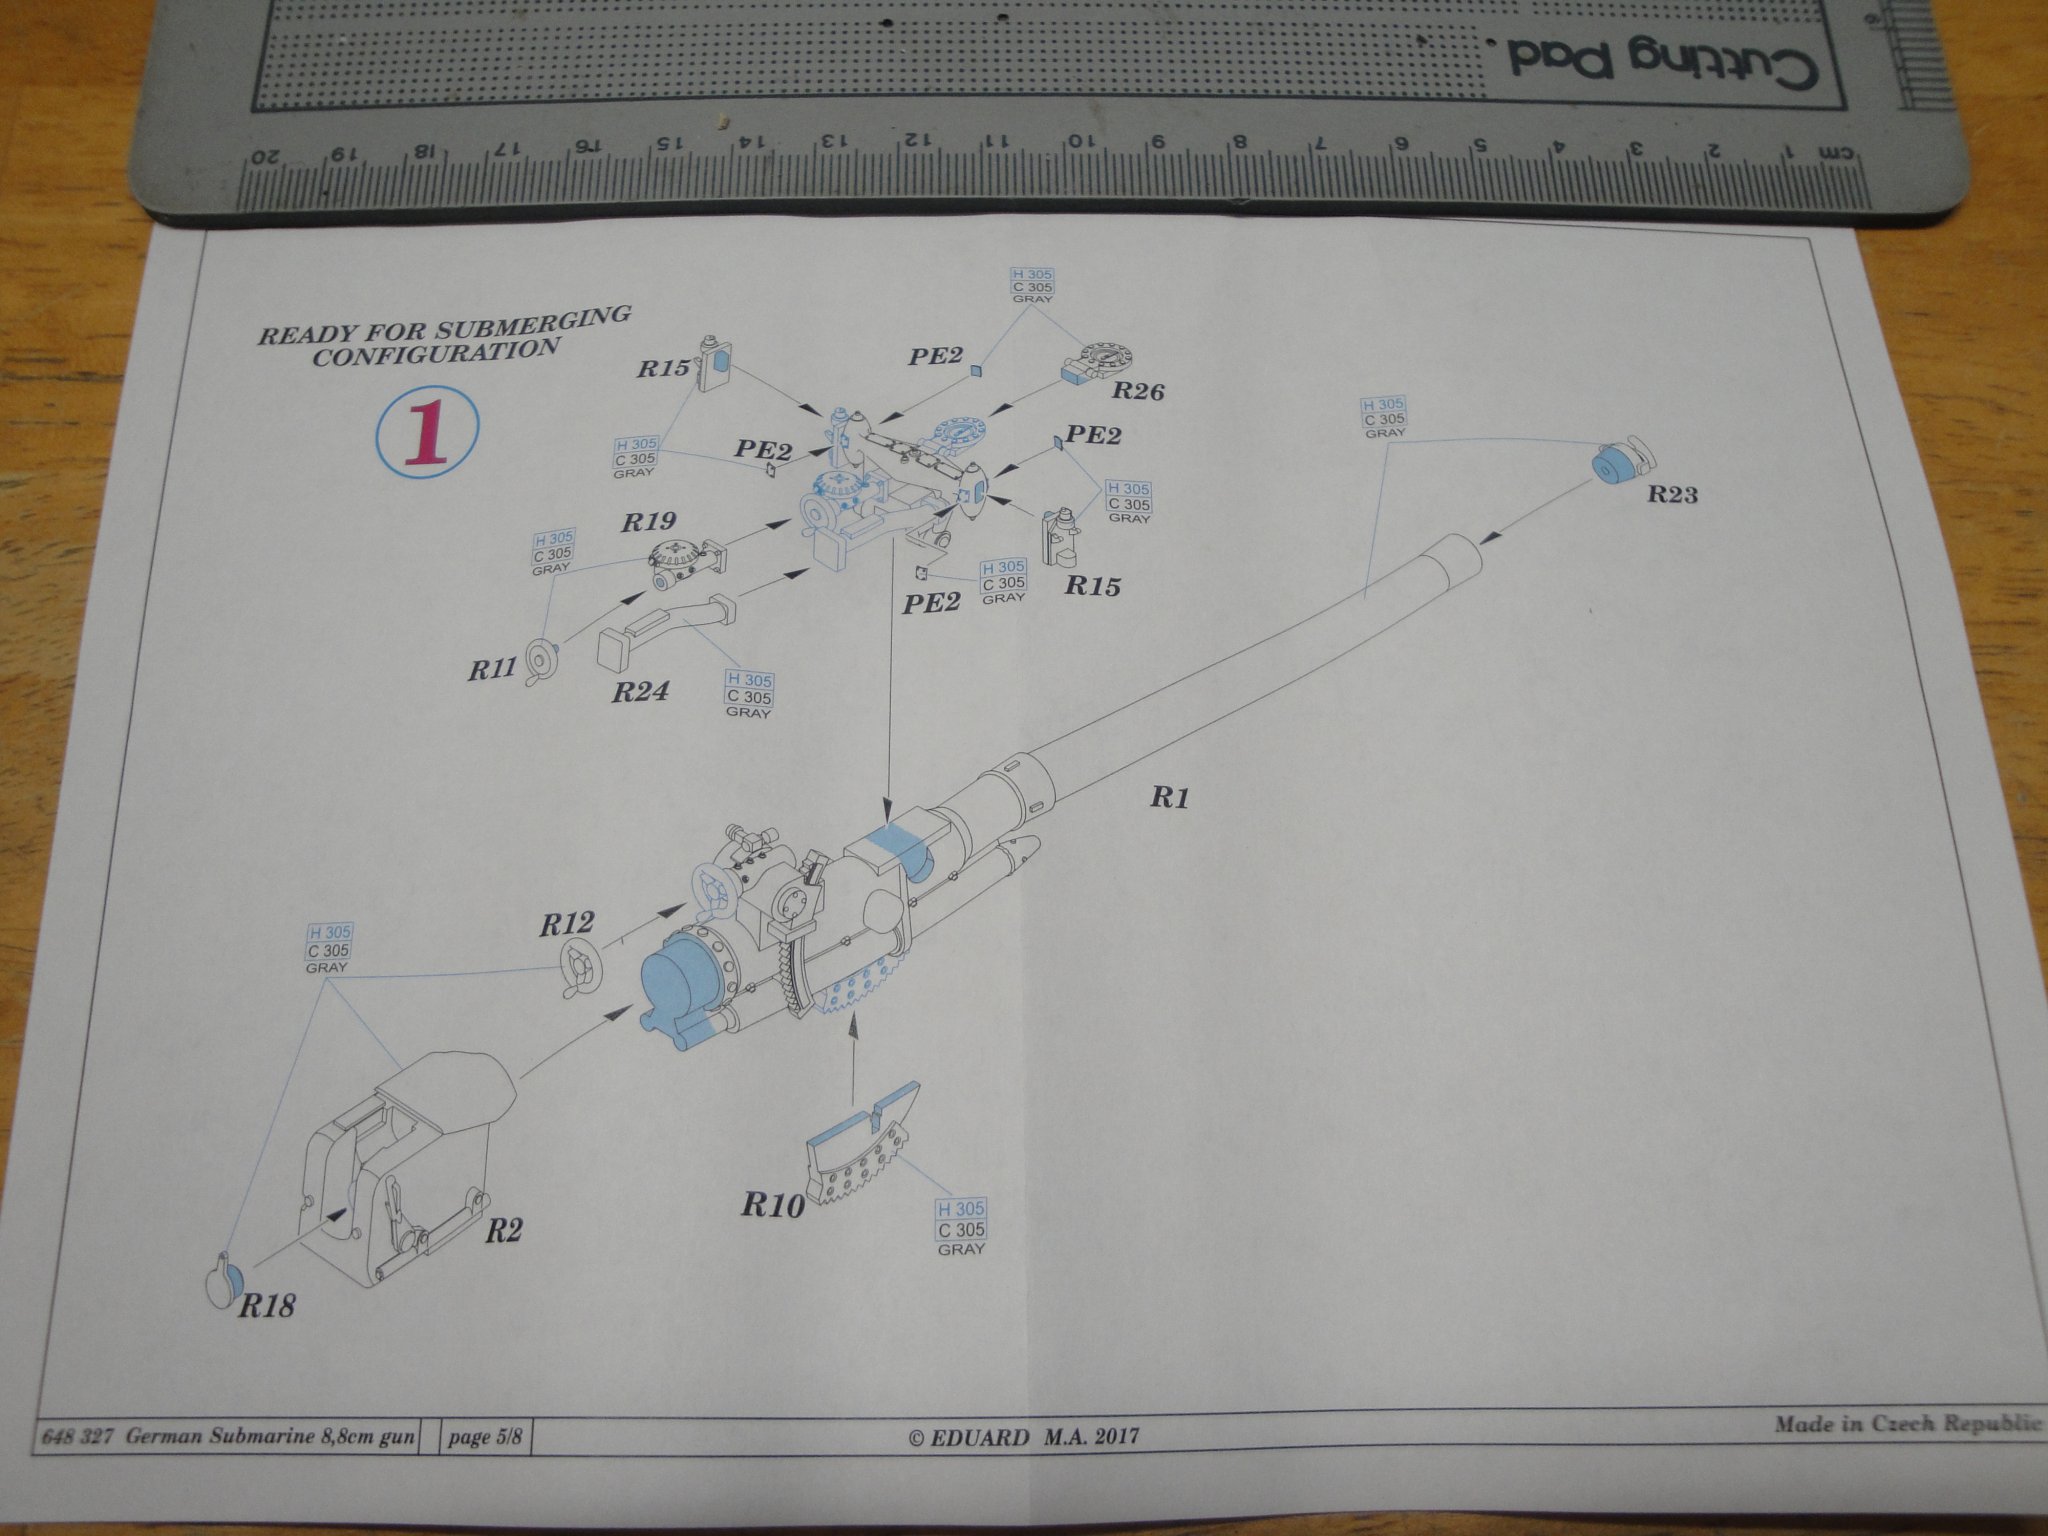
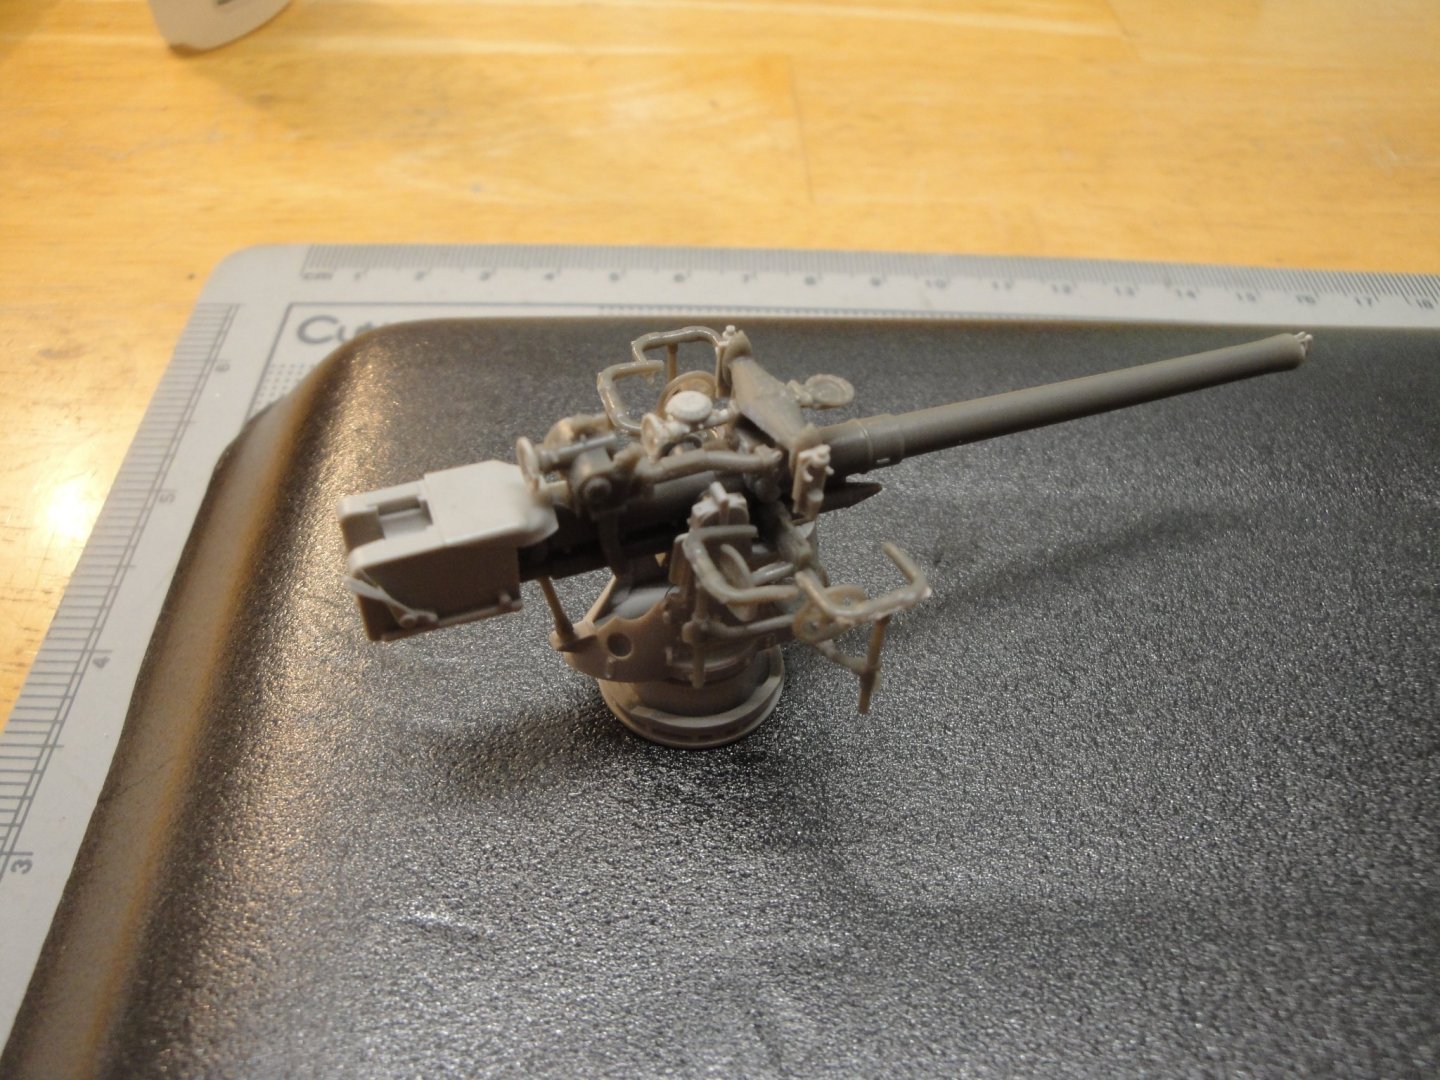
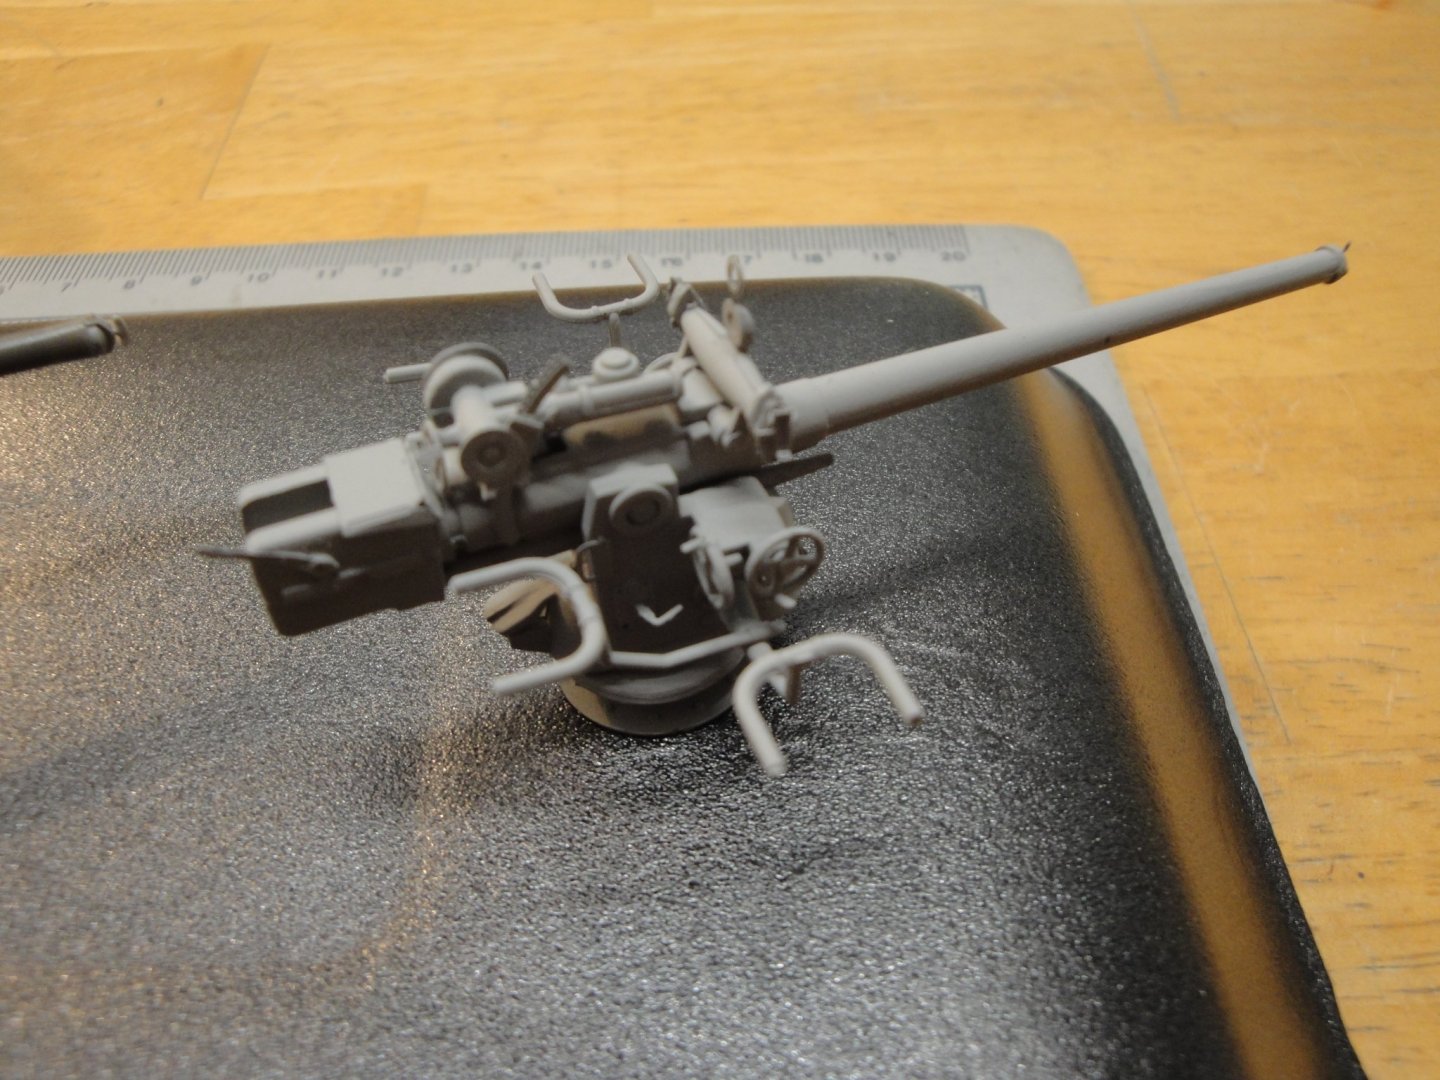
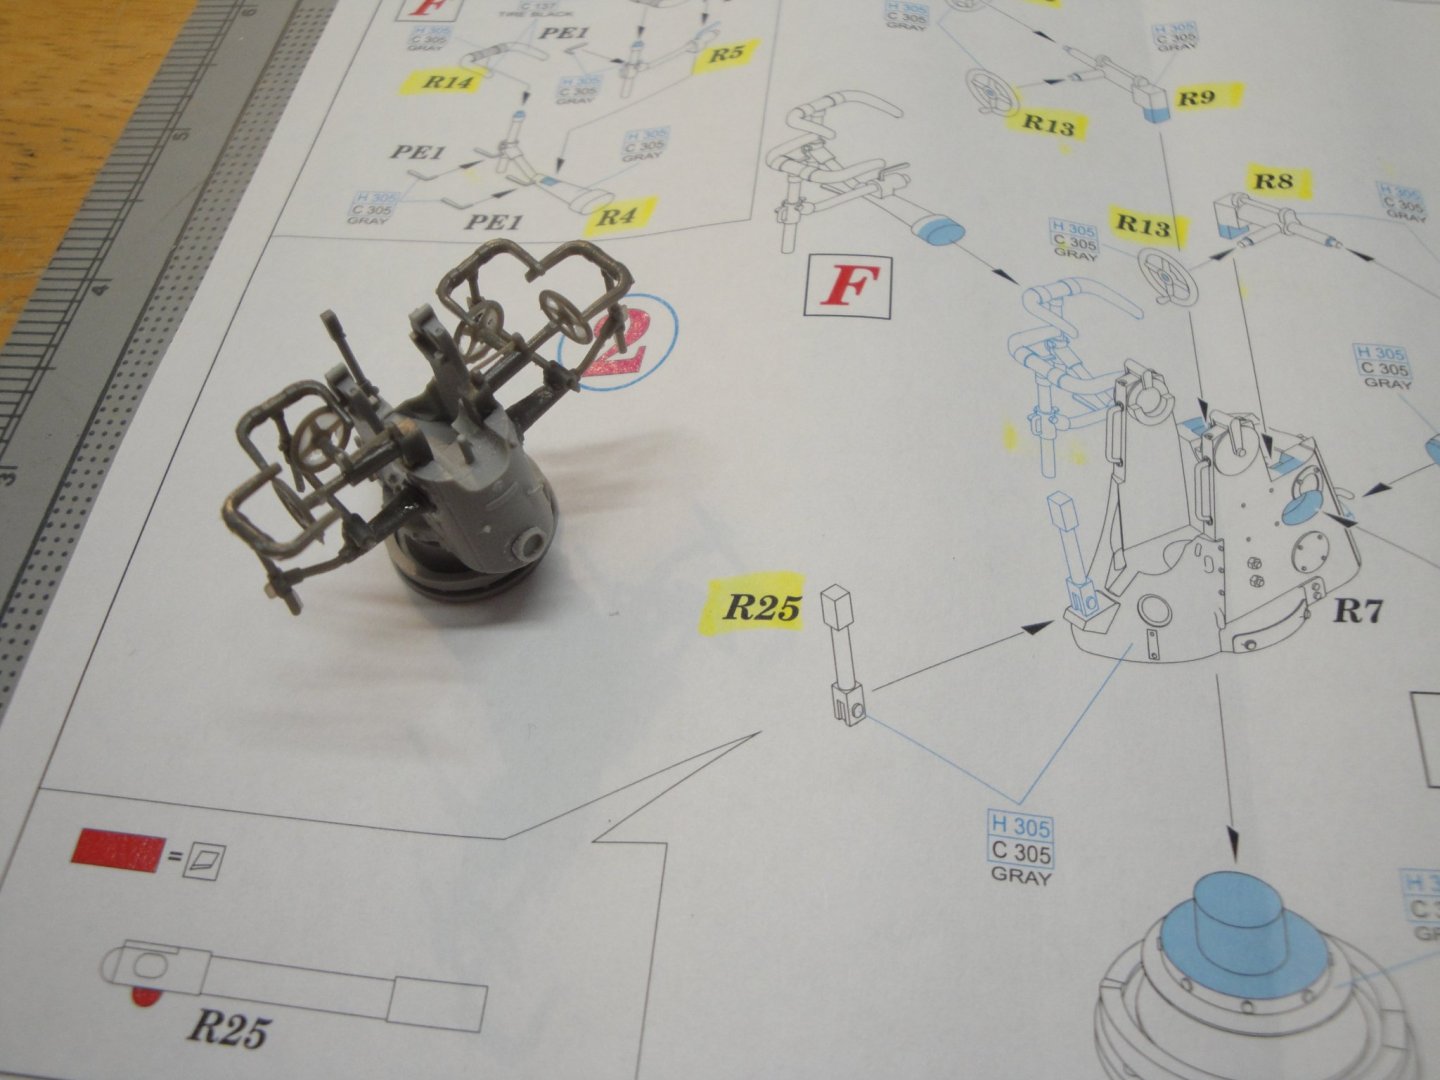
I started the assembly of the resin bit by Eduard. This is my first attempt at putting together a 3D printed resin kit. I have to say that for me, this is quite different from regular plastic kits or wooden kits. The printing process leaves tons of materials to clean up and gluing the resin parts does not provide for such a nice and strong bond as the welding reaction obtained with polystyrene. I used Cyano-Acrylate glue as the regular plastic glue is totally inoperative on 3D printed resin parts. I cannot really say that I like it overall.... Anyway, these are the various steps of the construction. The main gun is represented as in the Submerged configuration: The drawback of the Eduard kit is that the gun cannot rotate or swivel. Everything has to be glued. Yves


-
18th Century Harbour Crane by Ekis - Shipyard - 1/72 - CARD
yvesvidal replied to Ekis's topic in Completed non-ship models
What a fantastic model. I love the presentation. Yves -
What a great project. Very excited to follow you. Yves
-
Fantastic project and such an elegant boat. The scale of 1/24 is a good choice as it will allow you to place some sailors on the deck (if they request it) and will compare favorably with other Yawls and Schooners at the same scale, on the market. It should make up for a very impressive model, even bigger than the Amati Dorade. I will be watching your work with passion. Yves
-
I bet you that even Airfix does not have such a nice model in their collection. Very well done. So, what is the next one? Titanic 1/200 by Trumpeter? Yves
- 28 replies
-
- 4
-
-
- airfix
- queen elizabeth
- (and 2 more)
-
Kevin, You wish you had a "James H." ahead of you, with his wonderful pictures and instructions. It looks right from our perspective. Yves
- 317 replies
-
- 3
-
-
- enterprise
- caf
- (and 1 more)
-
That is strange. I would get in touch with CAF and ask them. Could it be the plan which is a tad too small? Will the frames fit if you sand everything down by 1 mm? How does it fit into your building stand? This seems like a lot of sanding to me.... Yves
- 317 replies
-
- 2
-
-
- enterprise
- caf
- (and 1 more)
-
eyesight and sanity.... Yes, 1/700 is a real challenge and this destroyer is a little masterpiece. Yves
-
WOW !!!! Kevin, you are relentless !!! What a fantastic kit. I will be following with a lot of interest as I would like to acquire a kit from CAF (but a prohibited one...the Chebec 😉 ) Working at the scale of 1/48 or 1/32 is also the best way to include a lot of details. In addition, when you are tired of it, it will fit perfect next to my submarine at the same scale.... 😉 Yves
- 317 replies
-
- 4
-
-
- enterprise
- caf
- (and 1 more)
-
You are turning a very old and crude kit by Airfix, into a little marvel!!! Yves
- 28 replies
-
- 3
-
-
- airfix
- queen elizabeth
- (and 2 more)
-
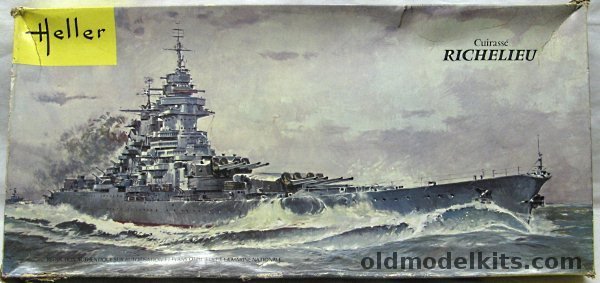
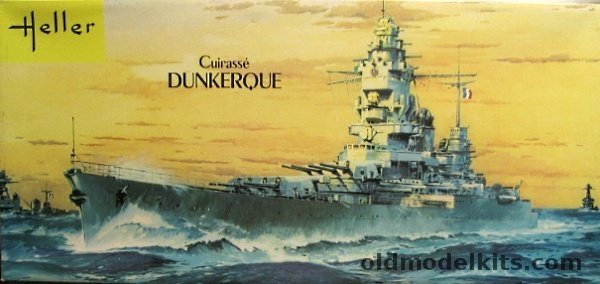
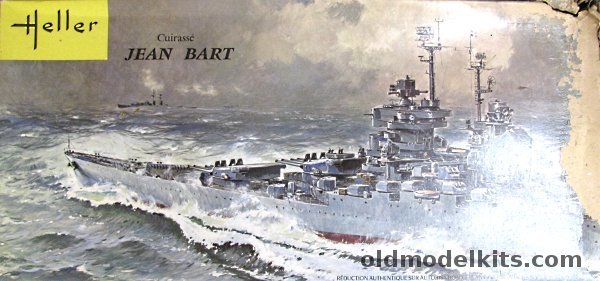
RGL, Here are four paintings of the French cruisers and battleships of that time, painted by Roger Chapelet (or Michel Bez), if I am not mistaken. All four ships were offered by Heller, unfortunately in the 1/400 scale which was their reference long before the 1/350 became a standard: Quite a fleet. Yves
- 136 replies
-
- 6
-
-
- strasbourg
- finished
- (and 2 more)
-
Superb work KPNuts. I like that you went through the trouble of wearing the tires a little bit. Your model is so realistic, it can be easily taken for the real thing. Yves
-
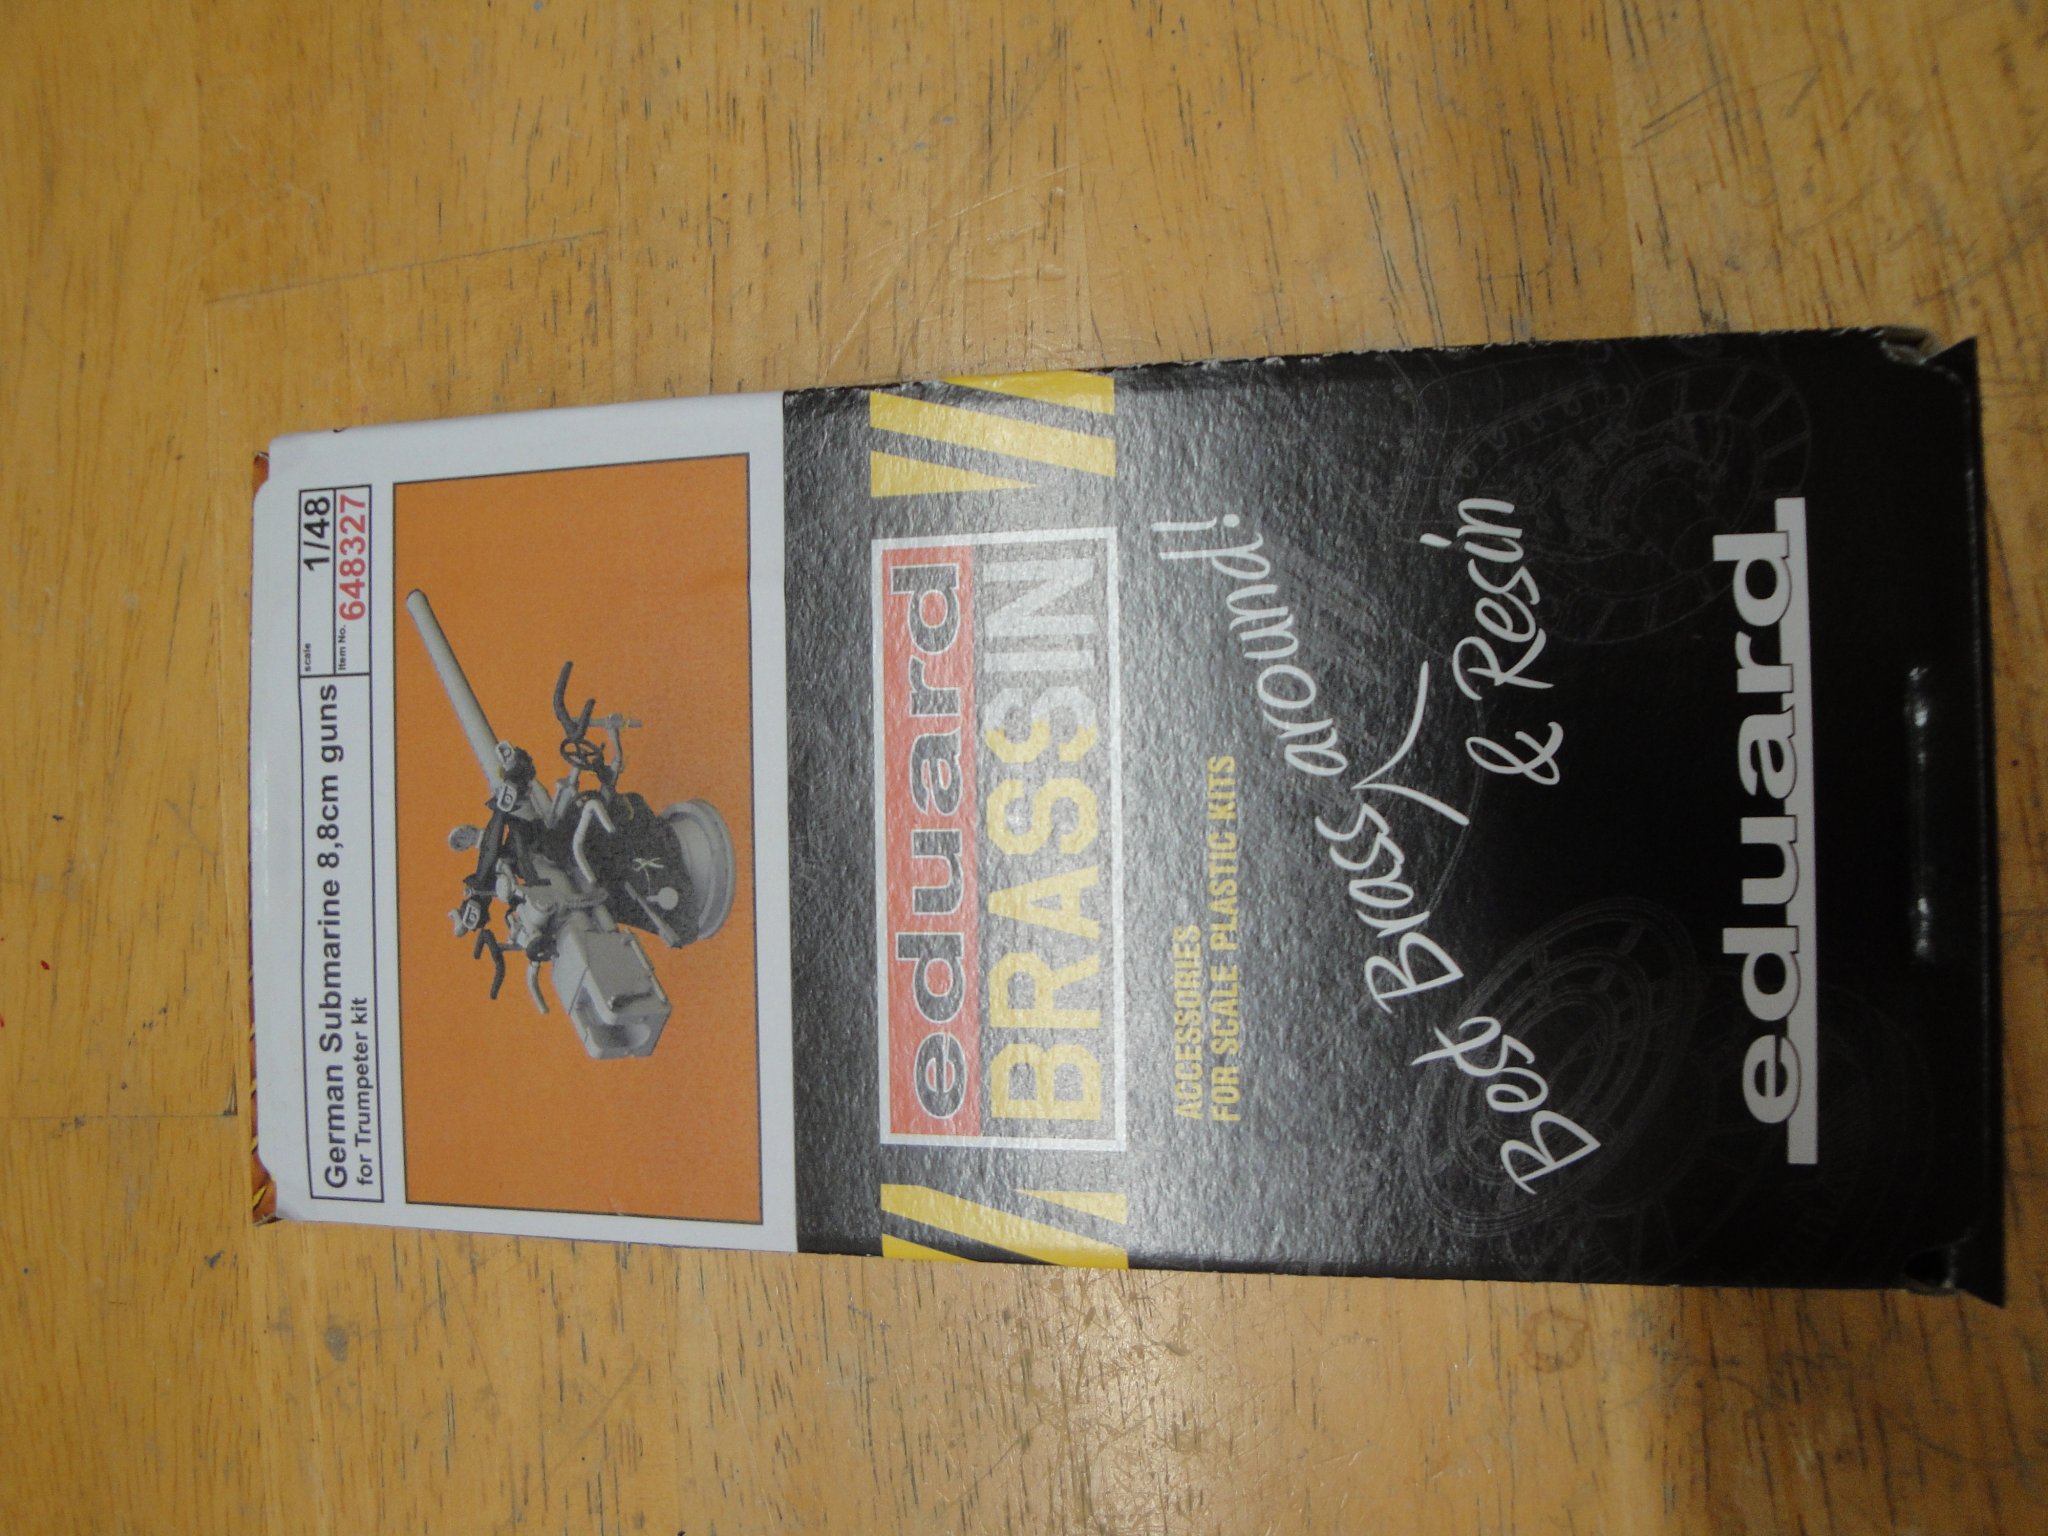
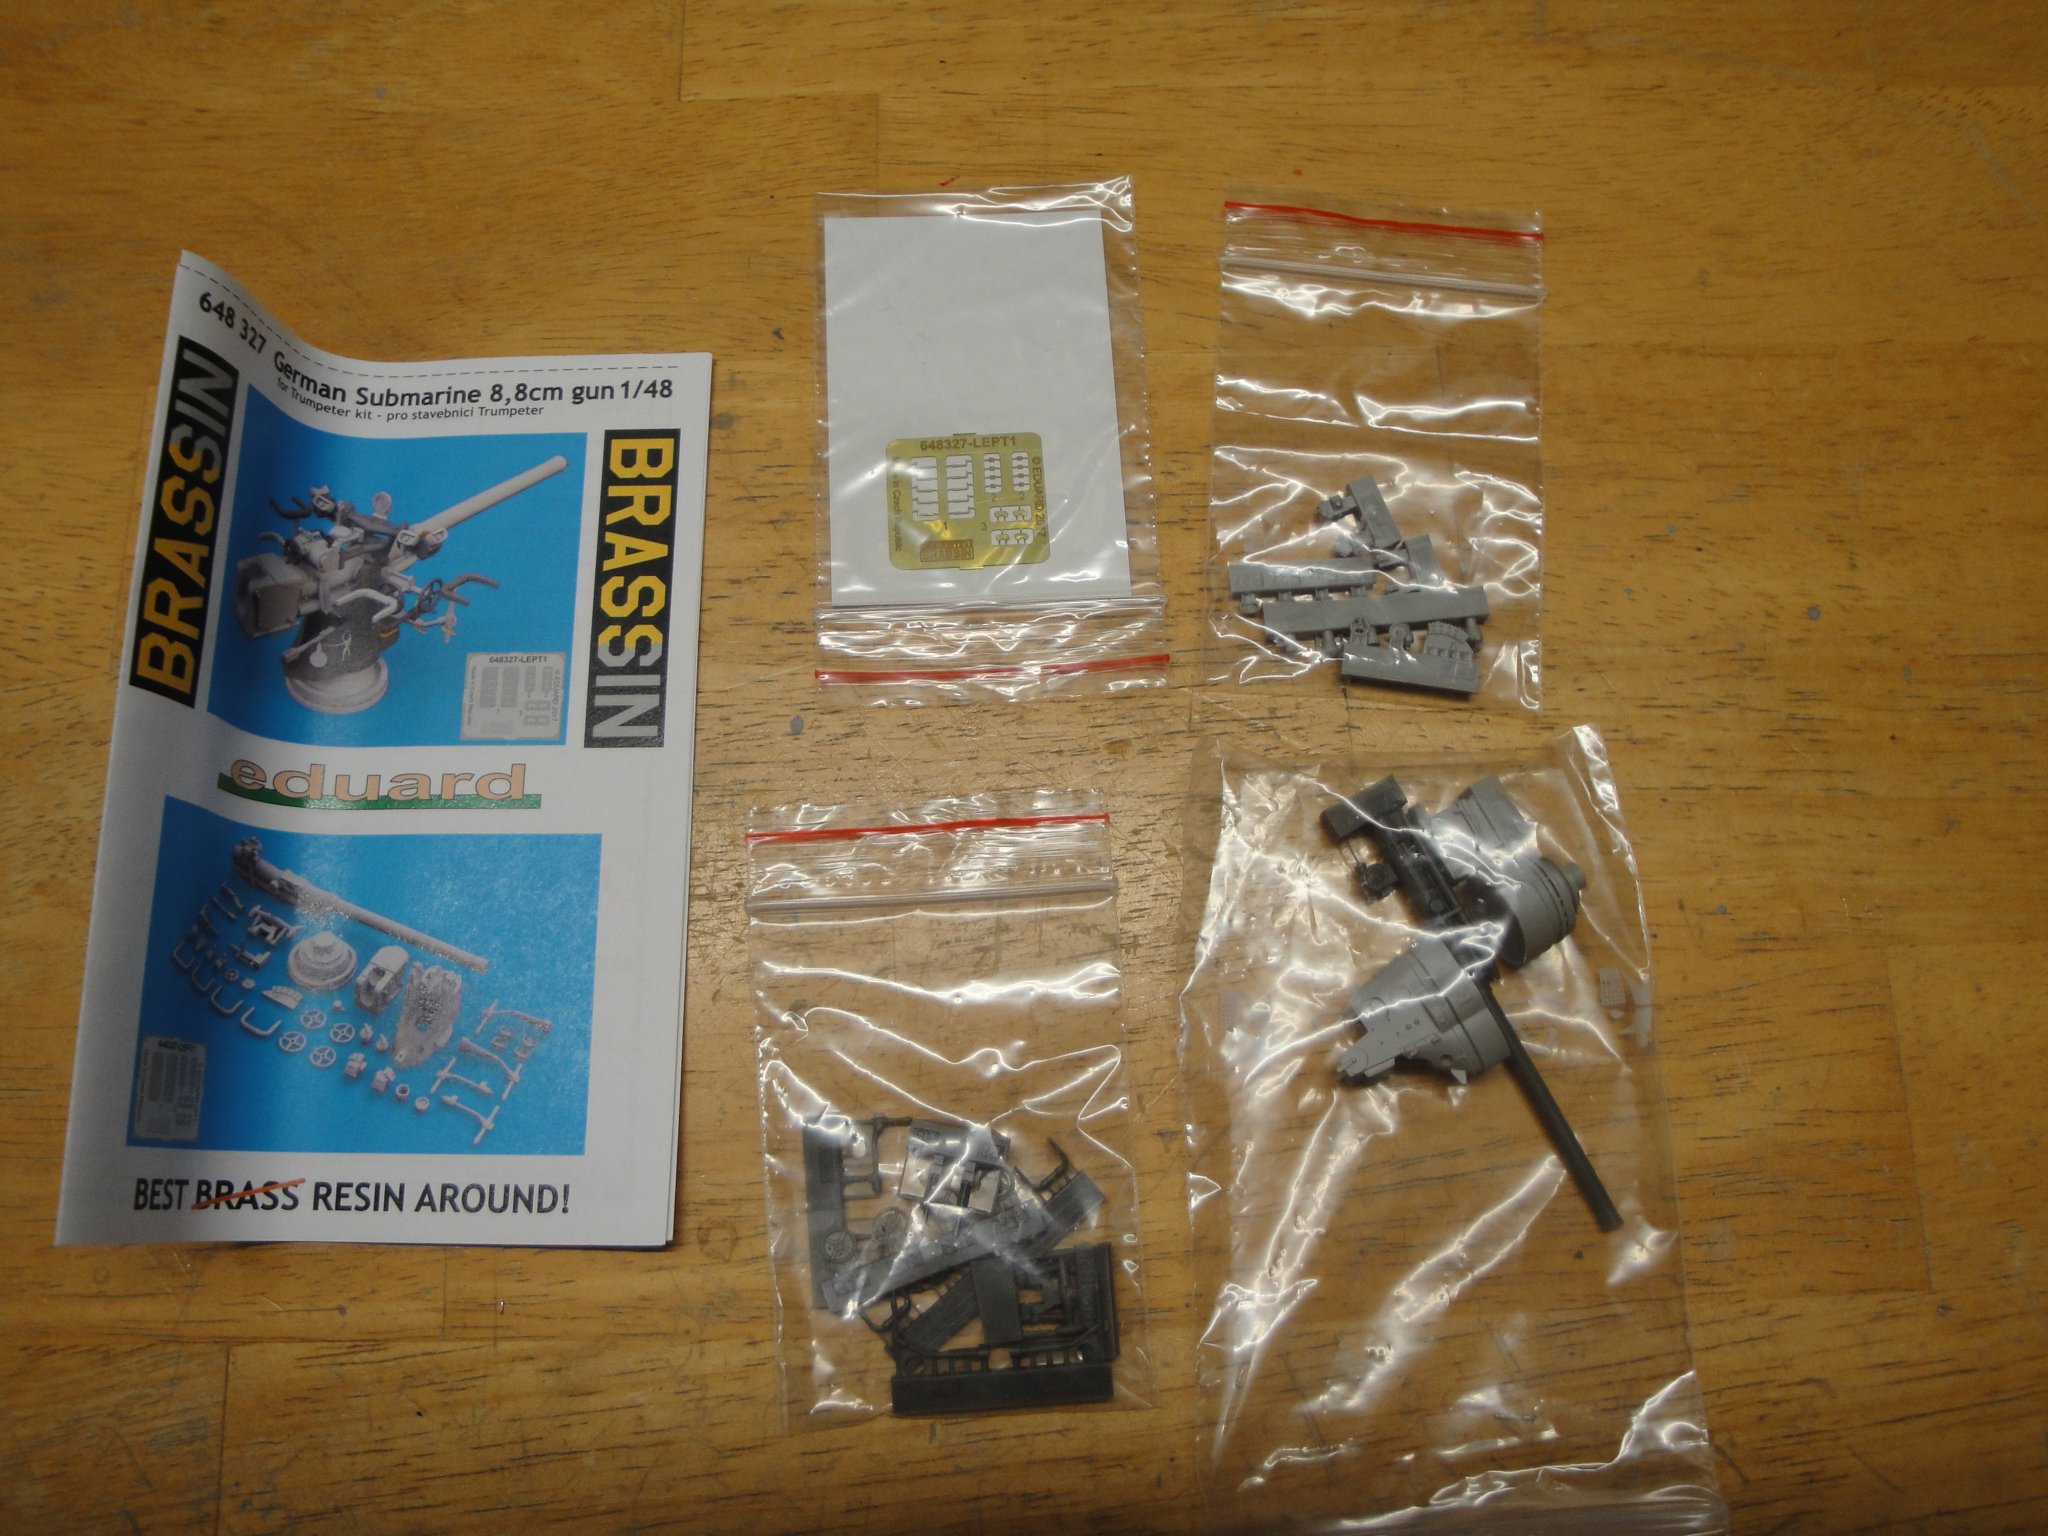
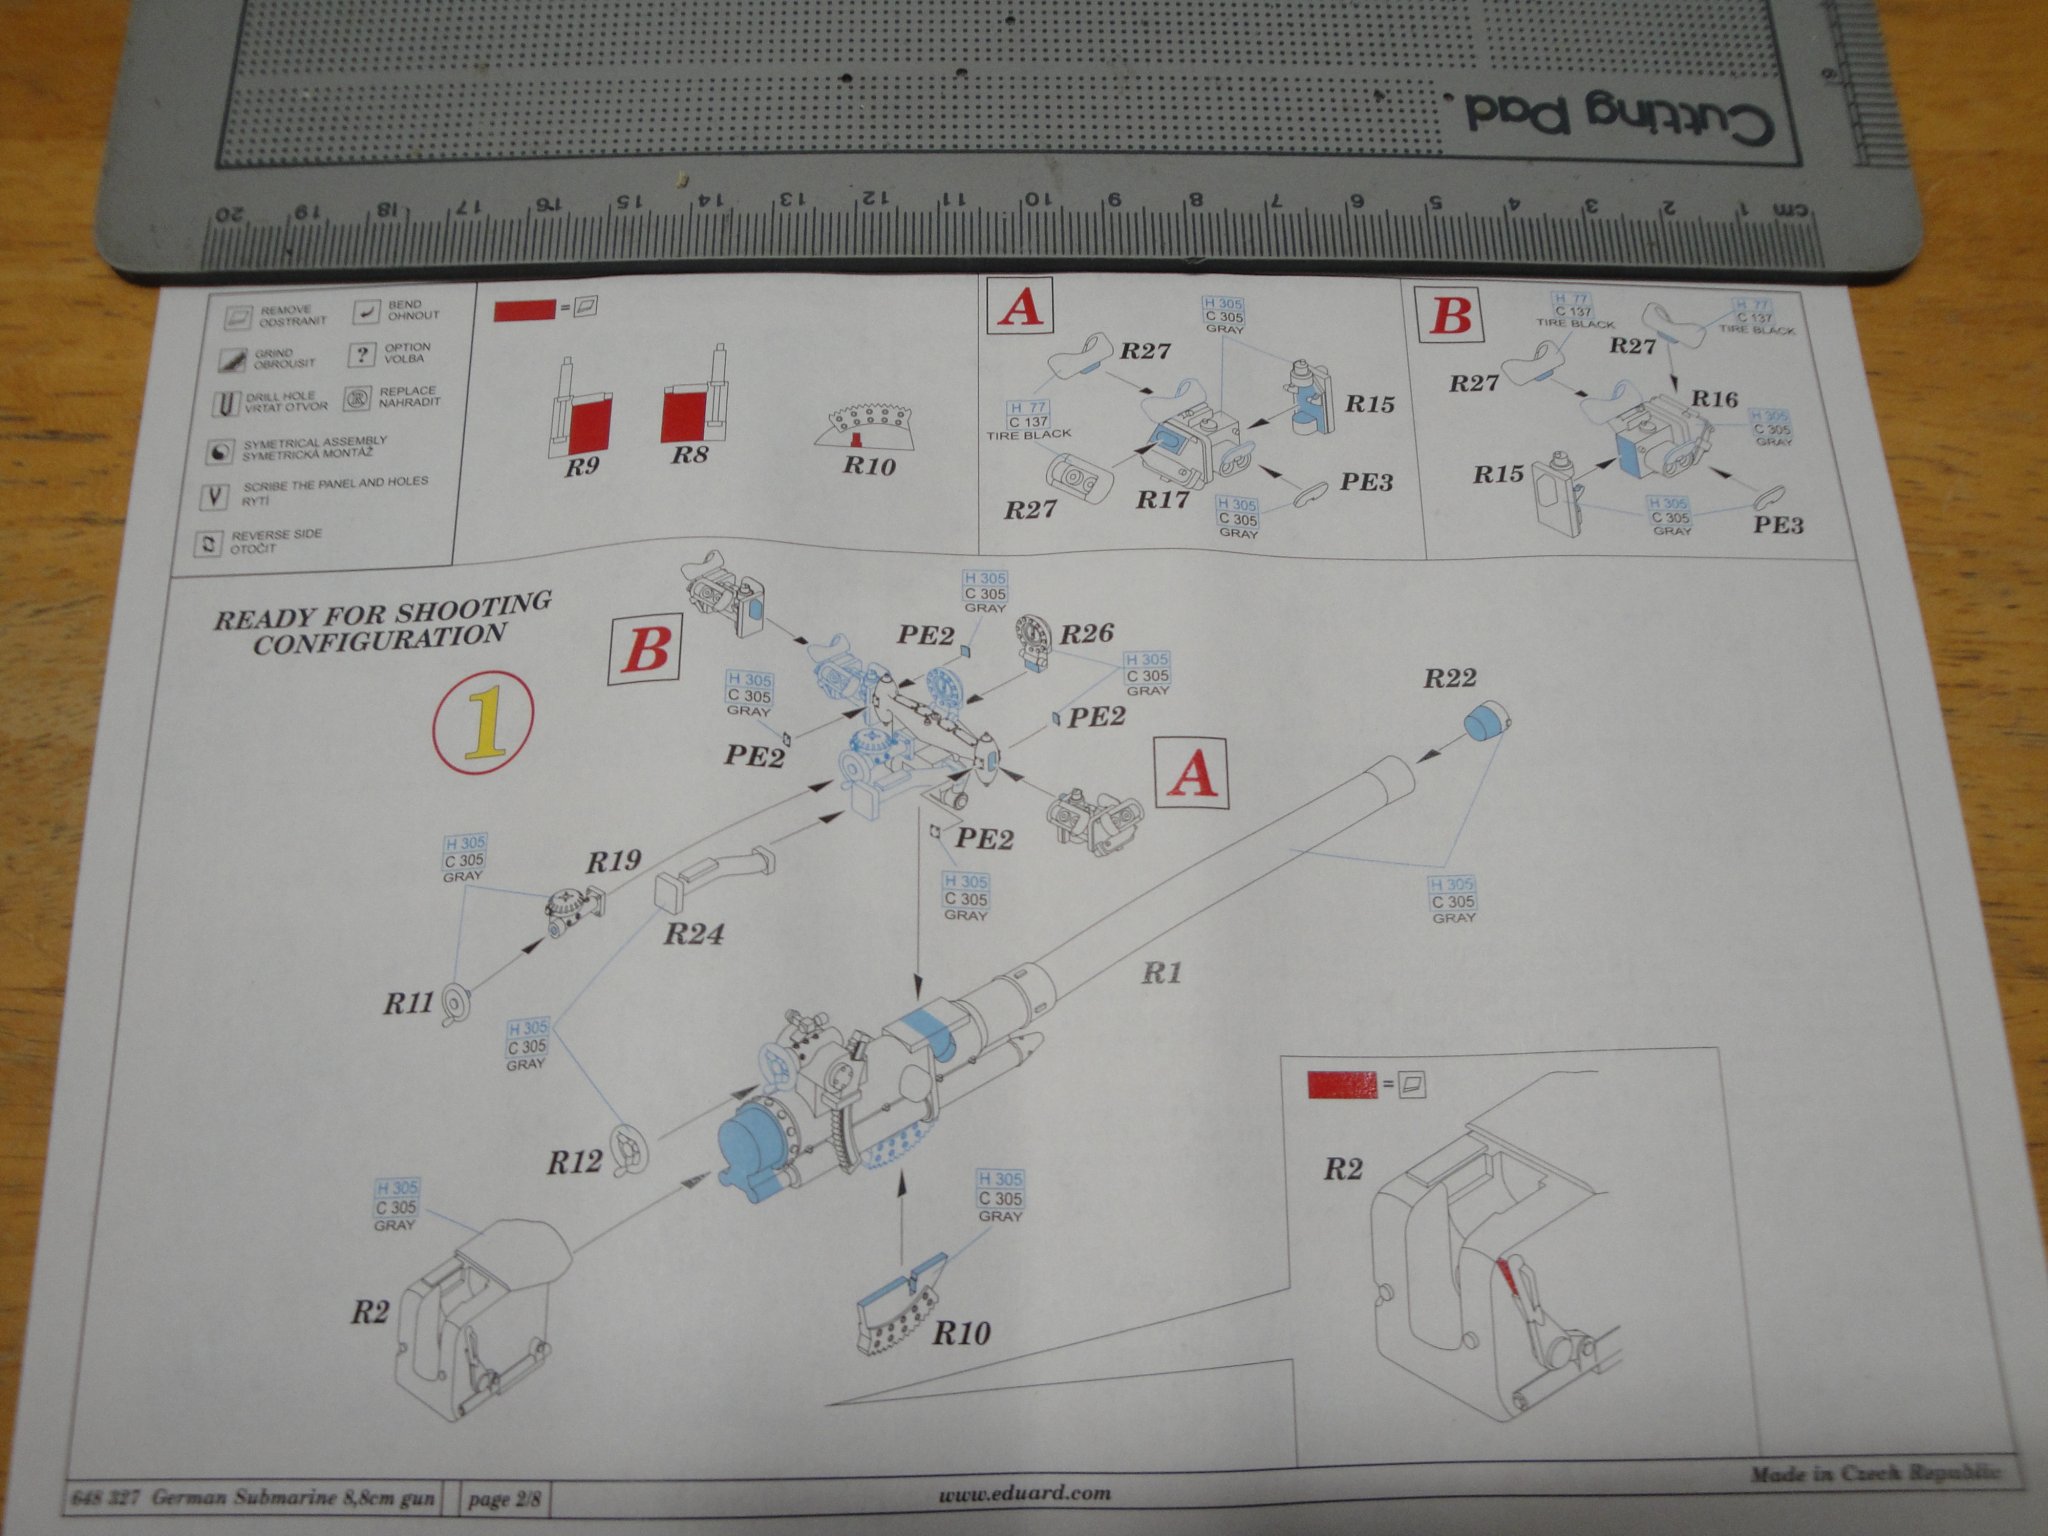
For the main 88 mm gun, I just found out that EDUARD was proposing a resin/brass kit for the Trumpeter kit. For $20 on E-Bay, I decided to purchase it and give it a try and see how it compares to the Trumpeter gun, spiced up with the RCSubs PE. At first look, the details on the EDUARD kit are extremely impressive and this kit is a project in itself: Lots of parts in this little kit: And lots of explanations and assembly sheets. EDUARD proposes two ways of assembling the gun: Submerged or ready to fire: I will take the submerged option as this is how I am representing my model (no little people on the deck). Yves


- 760 replies
-
- 10
-
-
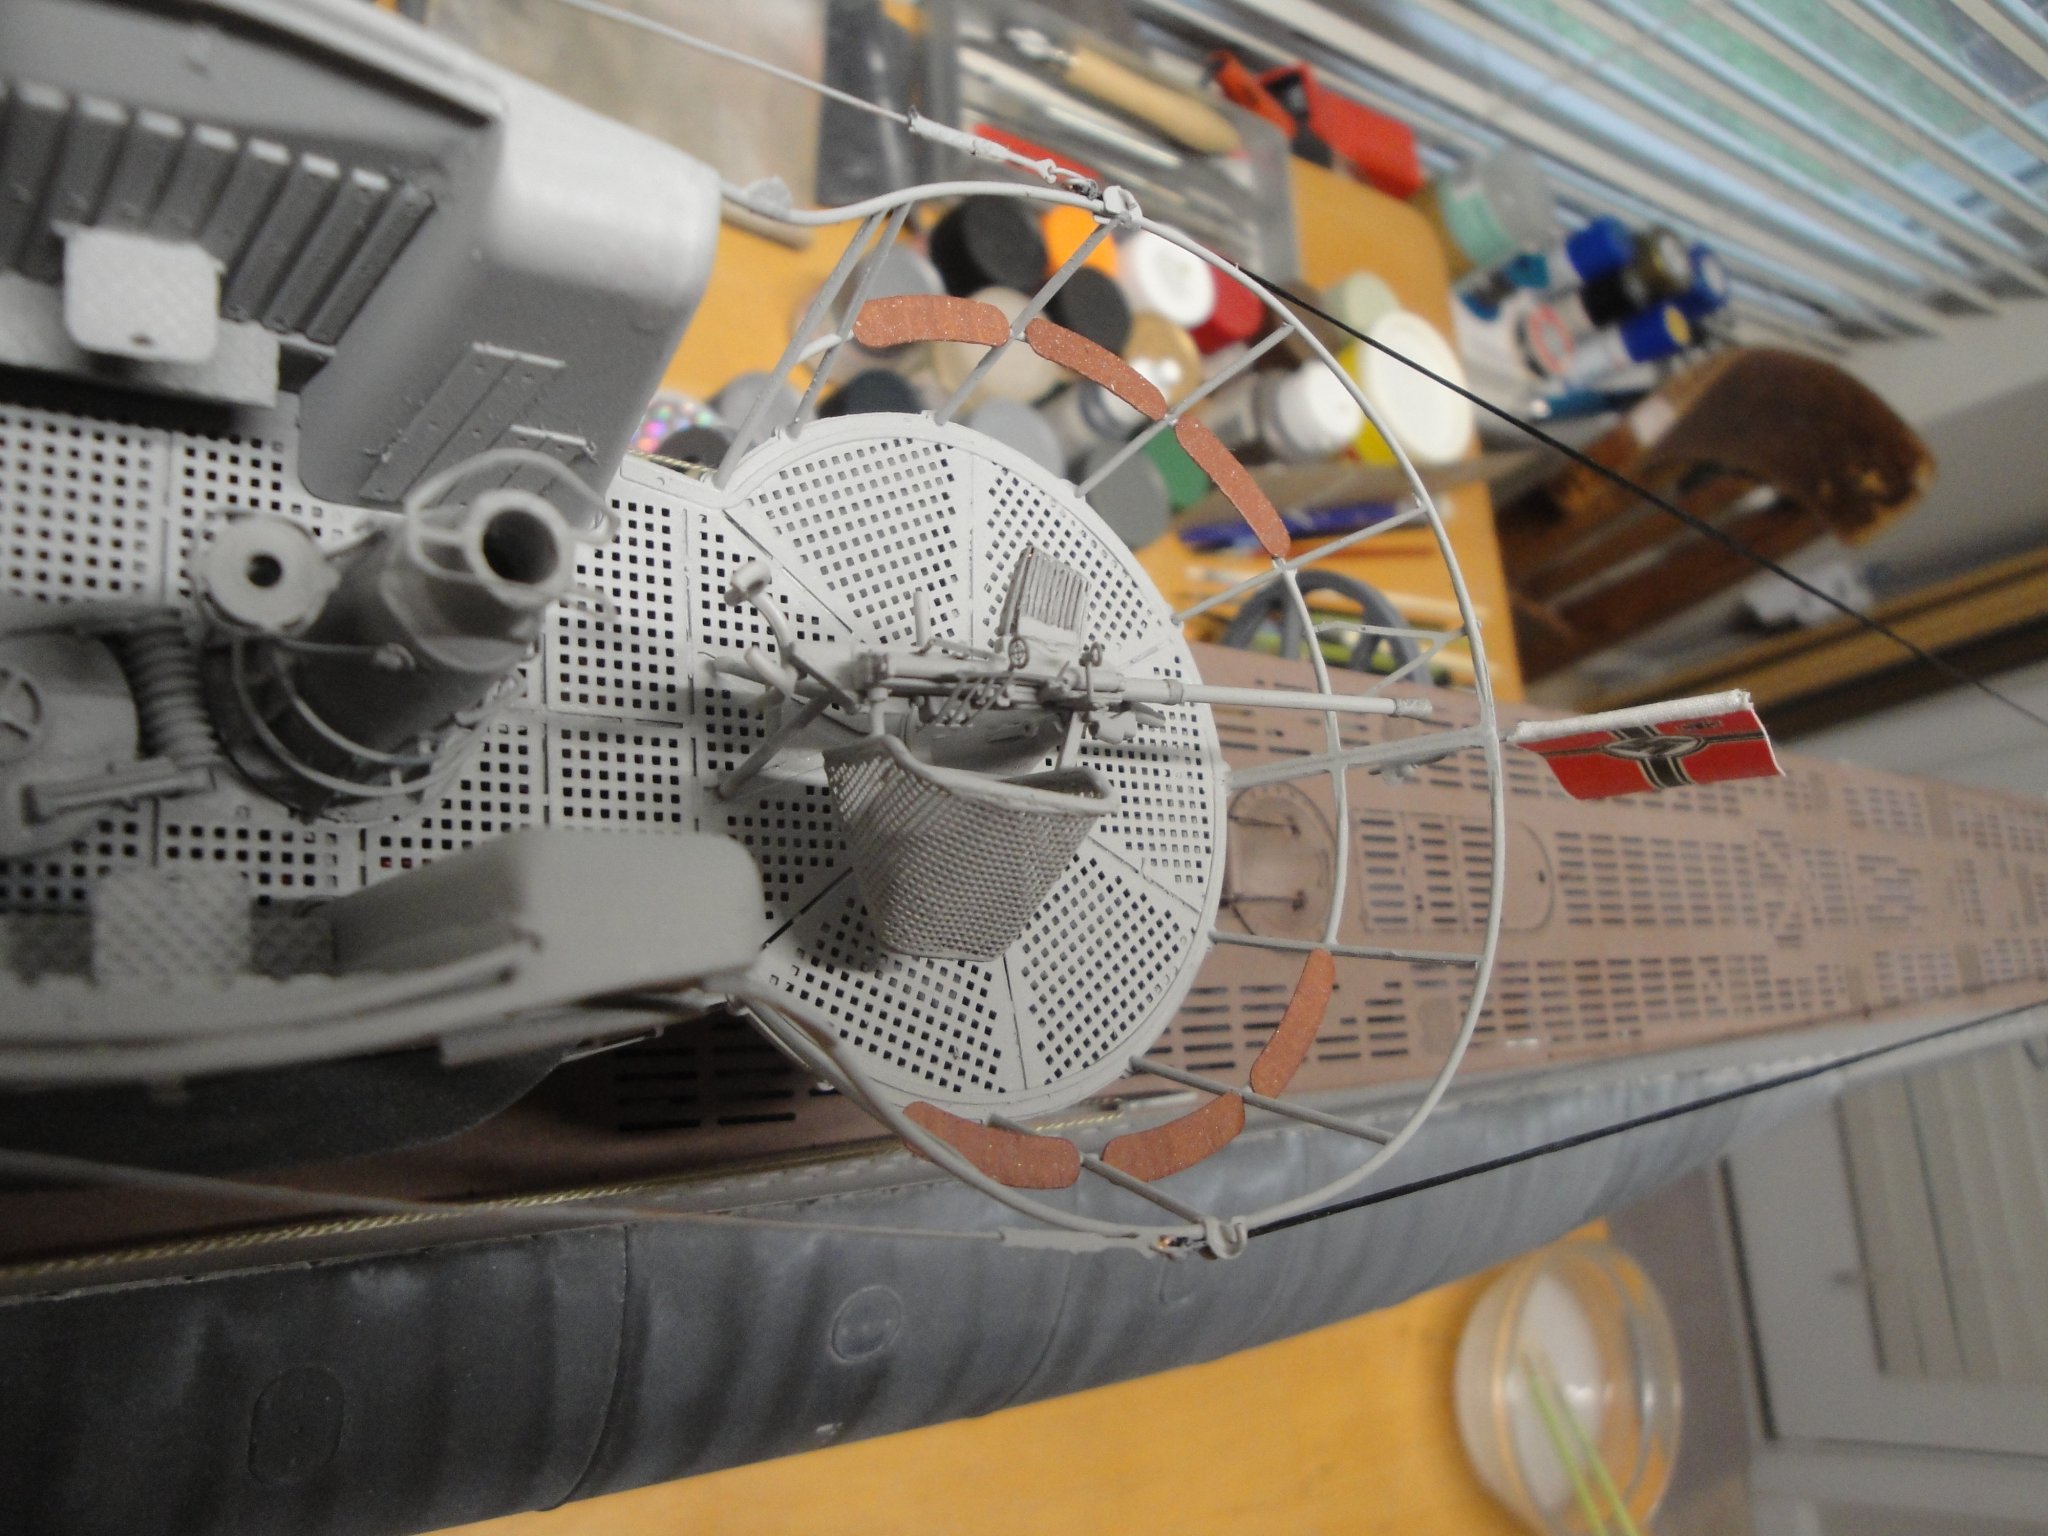
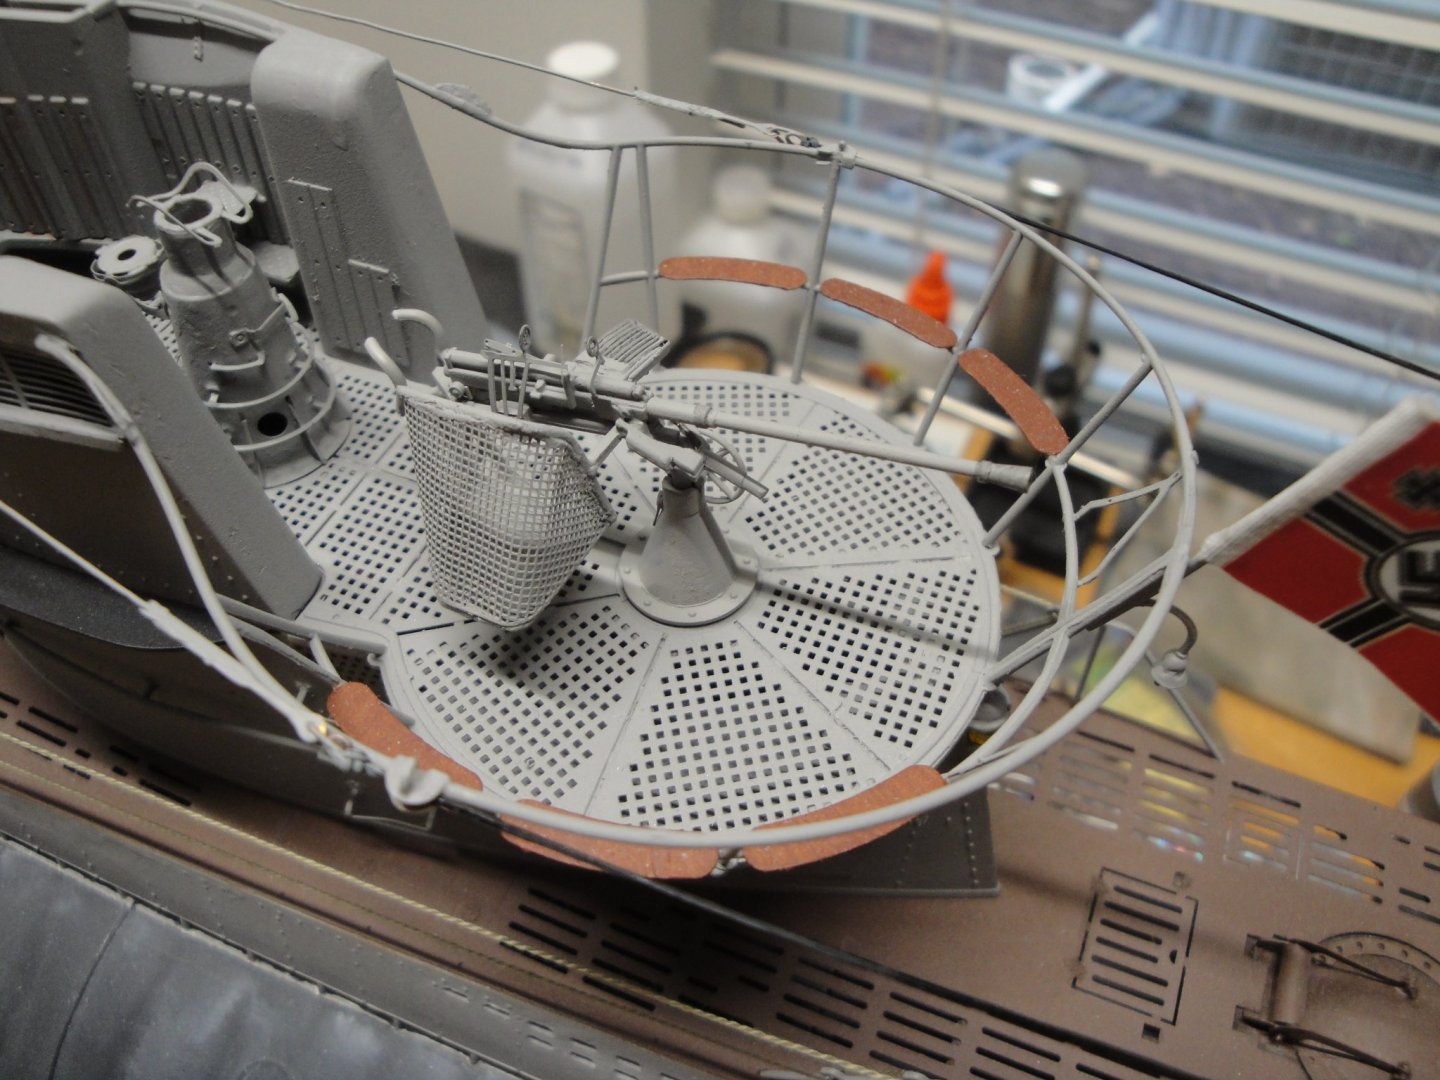
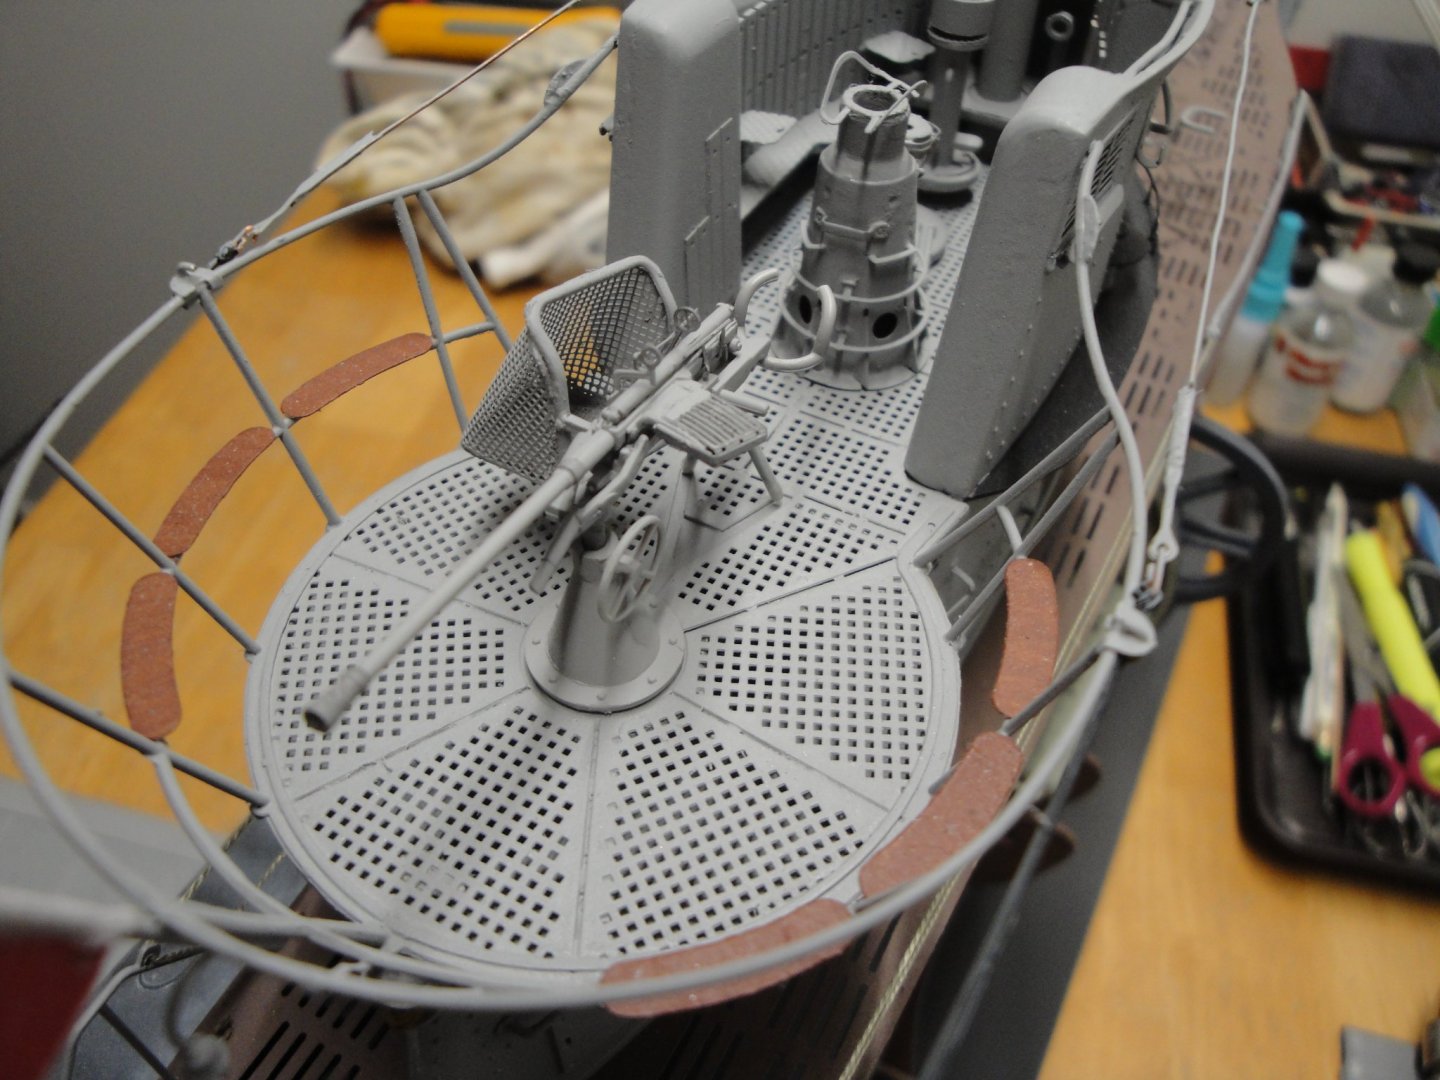
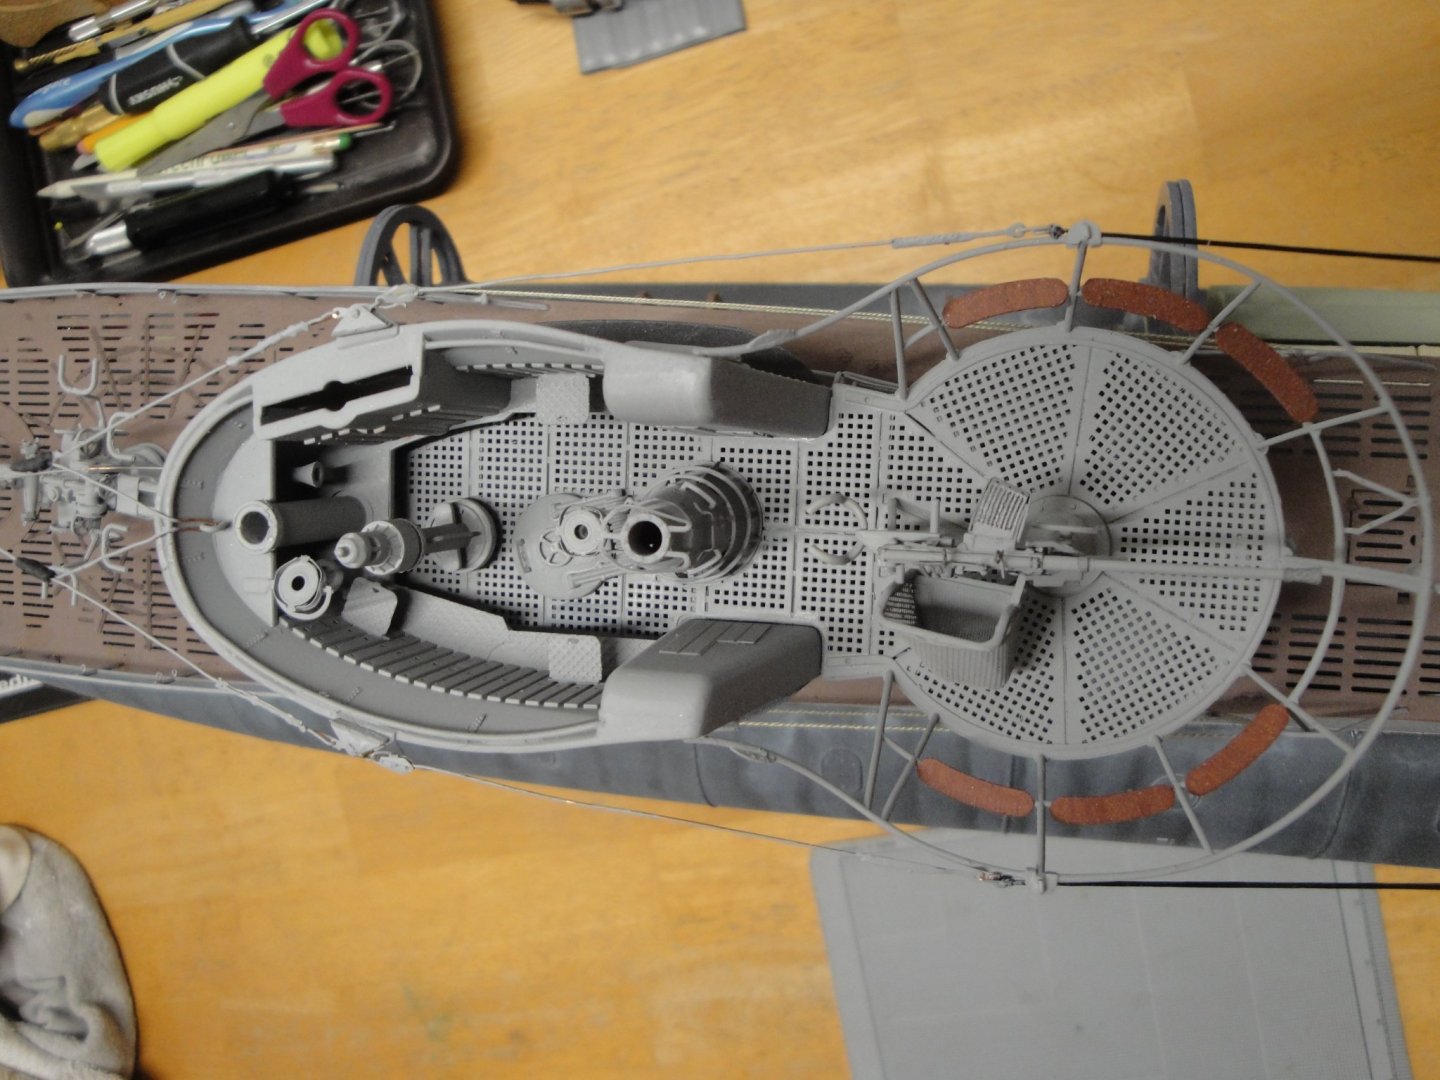
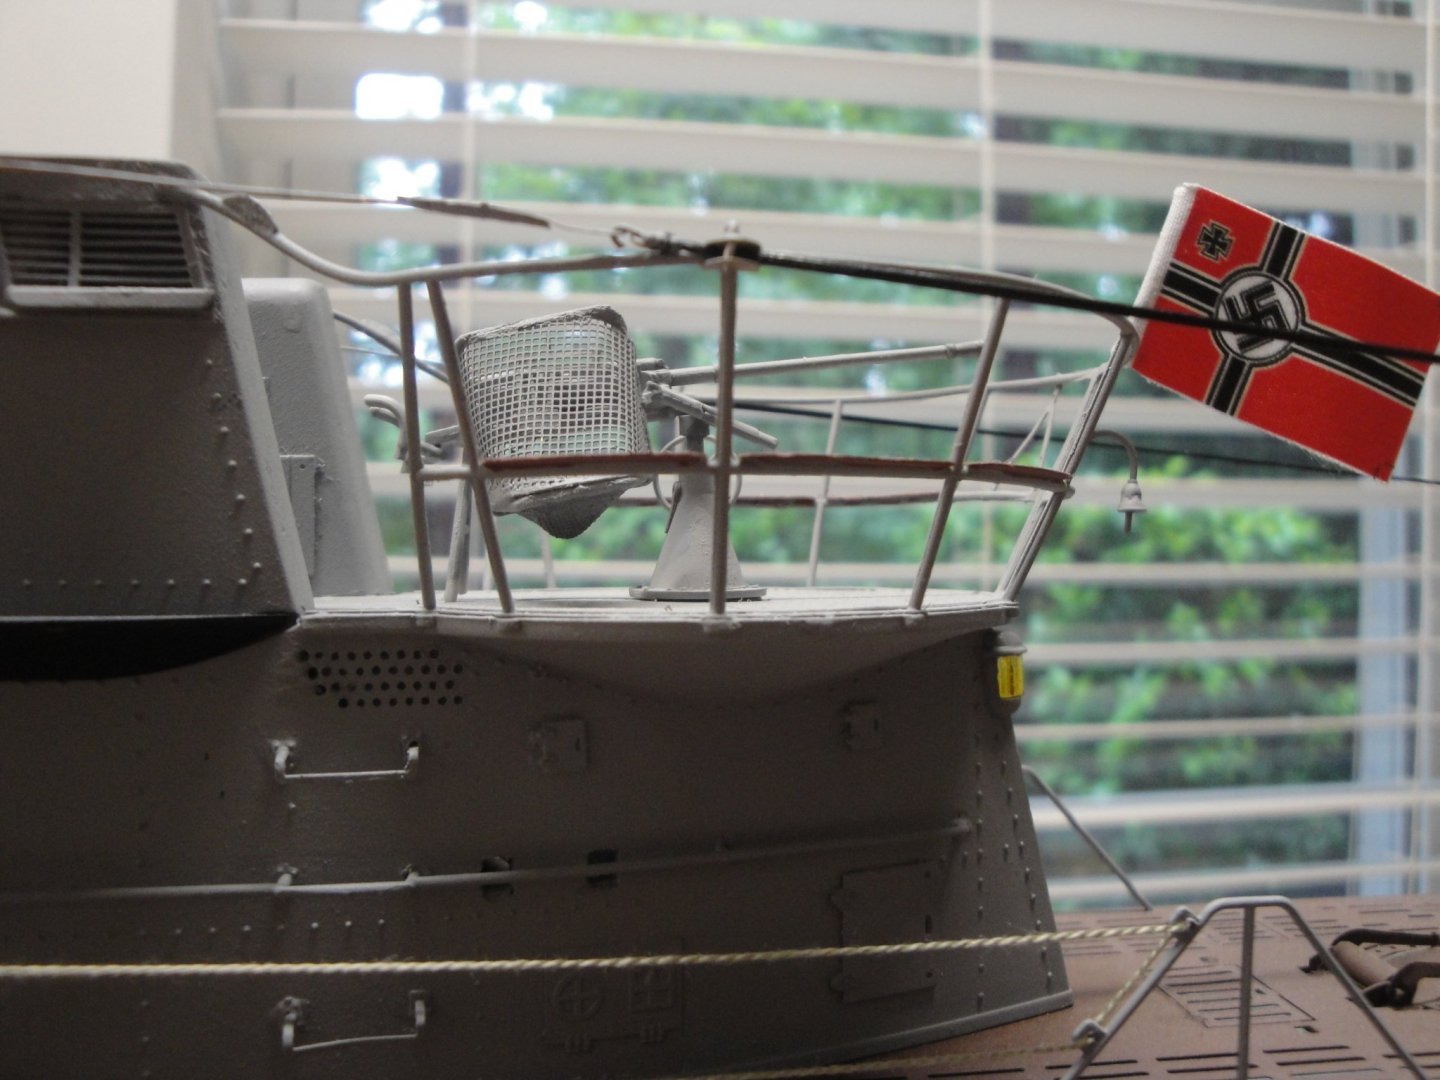
I just installed the rear 20mm Flak gun: This is done with the Trumpeter kit and enhanced with the PE by RCSubs. Yves

- 760 replies
-
- 10
-