HOLIDAY DONATION DRIVE - SUPPORT MSW - DO YOUR PART TO KEEP THIS GREAT FORUM GOING! (78 donations so far out of 49,000 members - C'mon guys!)
×


yvesvidal
-
Posts
3,607 -
Joined
-
Last visited
Content Type
Profiles
Forums
Gallery
Events
Everything posted by yvesvidal
-
 Yes, these bits are very expensive and most likely not replaced on a regular basis, in the CNC machines. It is unfortunate. Yves
 -
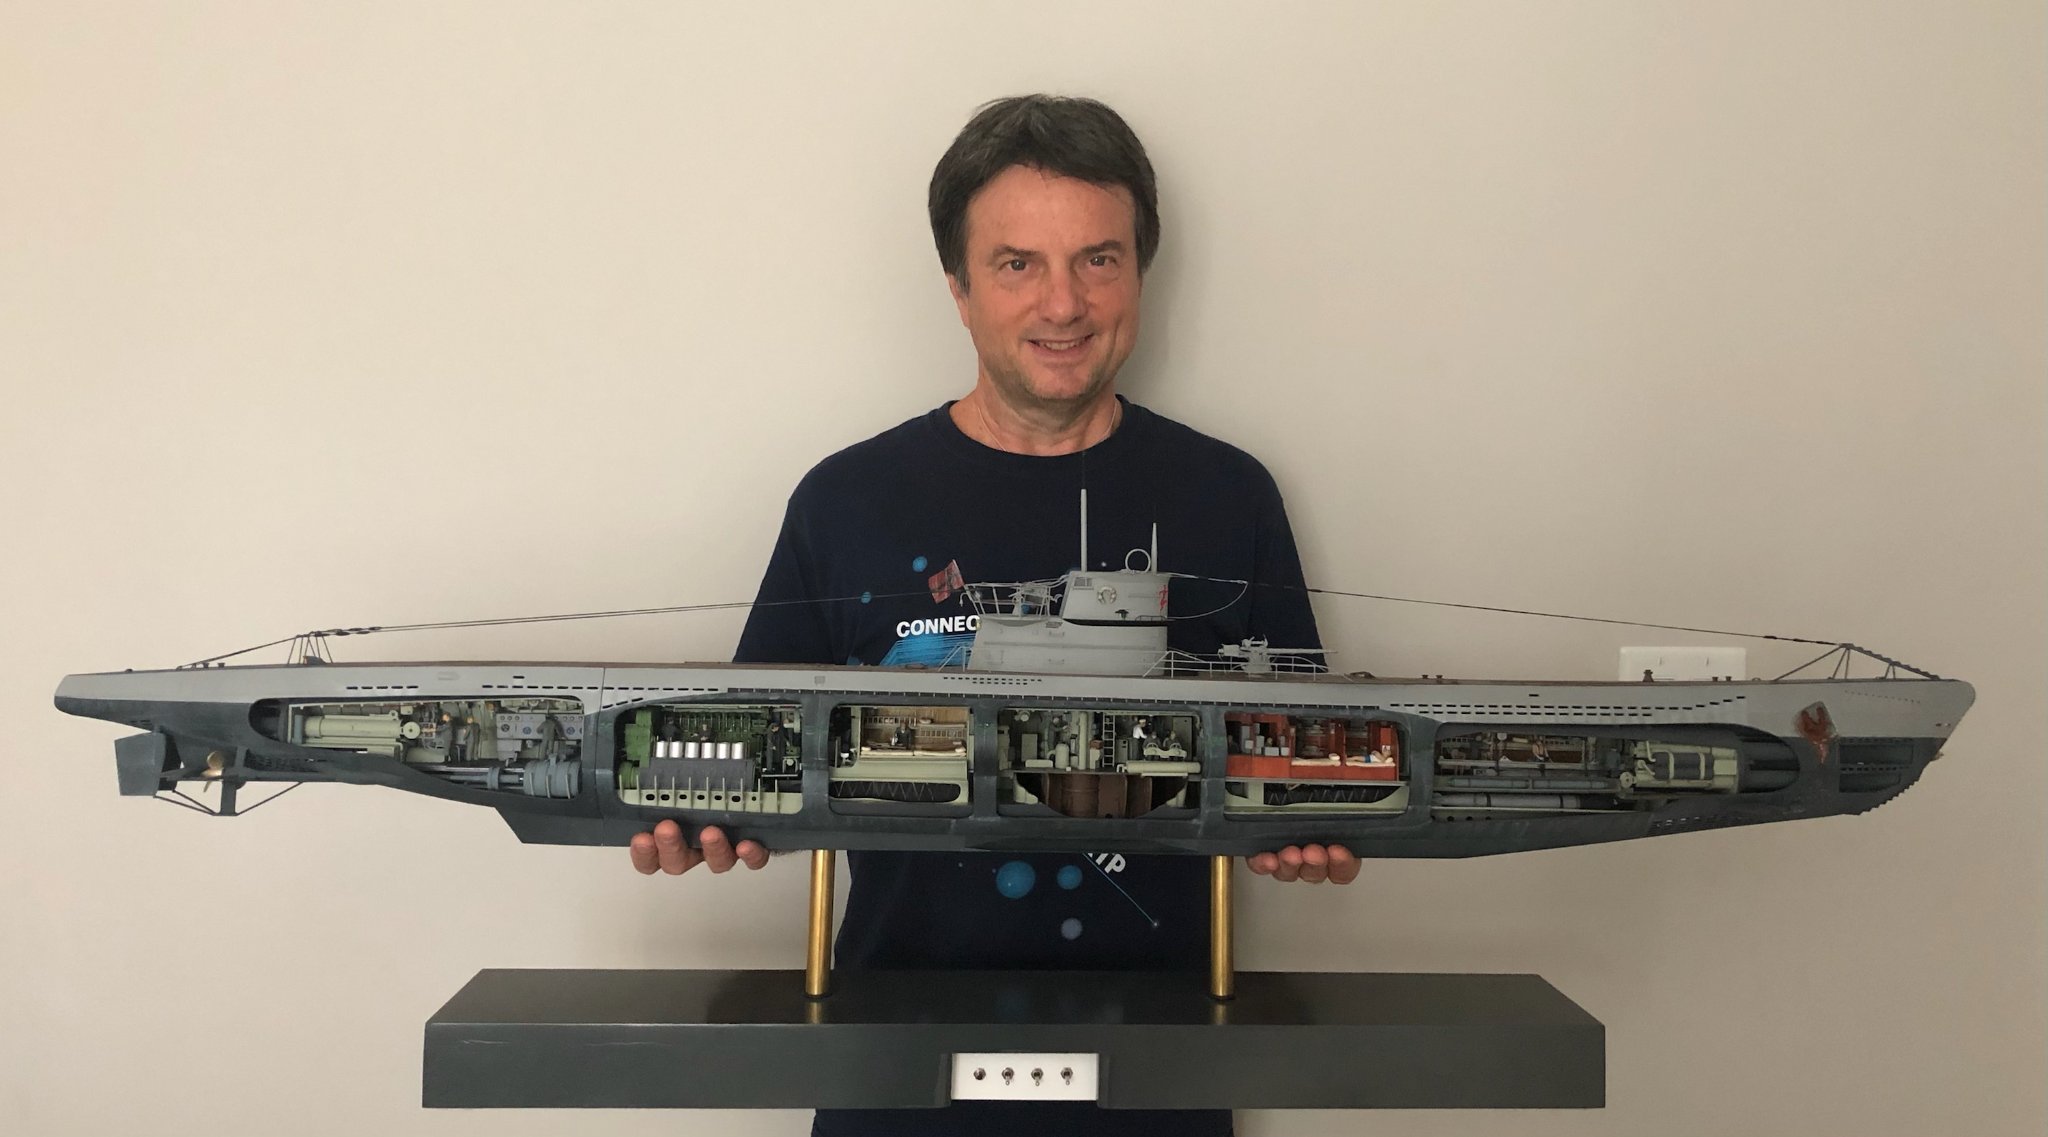
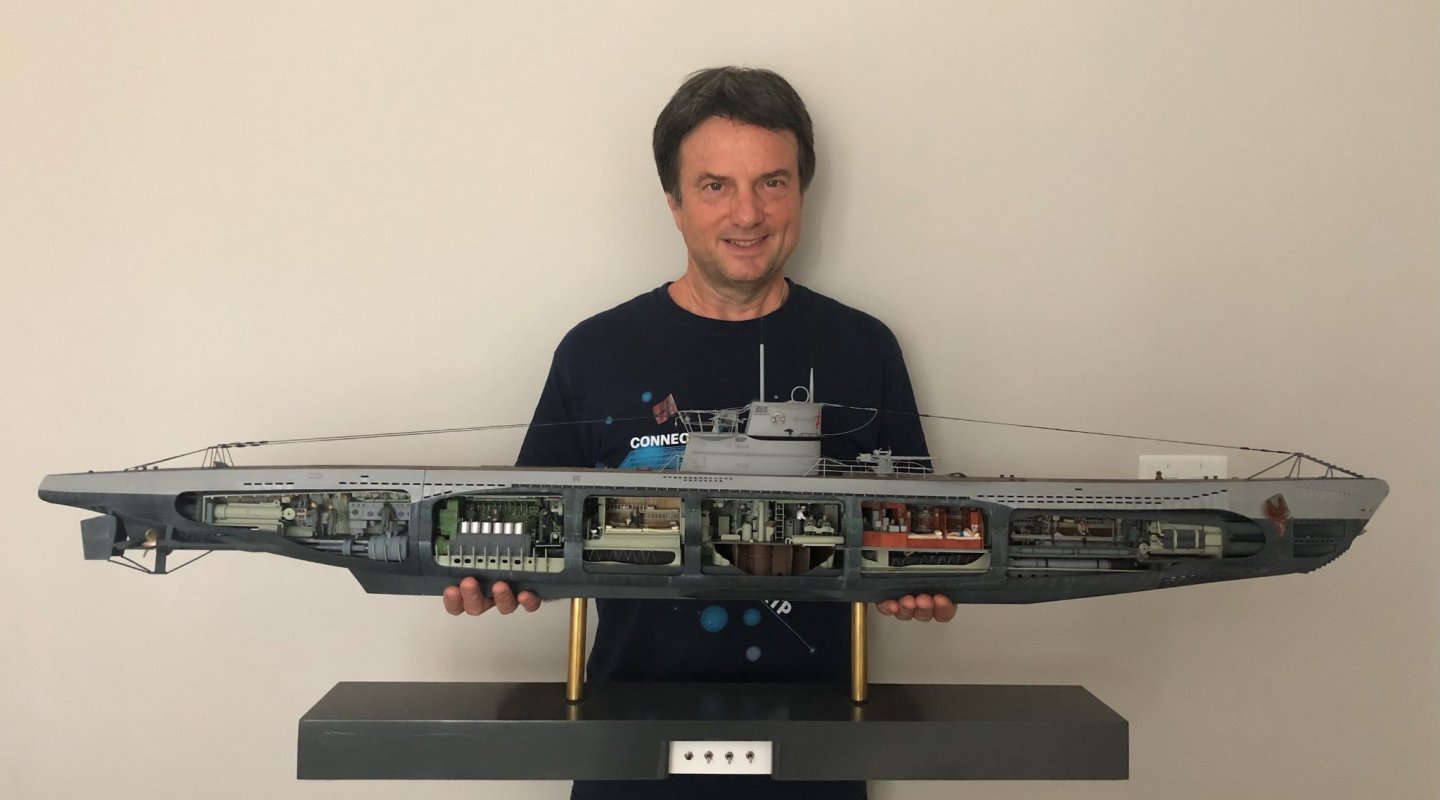
I do not dress at Big and Tall 😀. I am only 5 feet 10 inches, 61 years old and 177 pounds. The model is quite large, on the other hand as you can see.... and heavy too! Yves
-
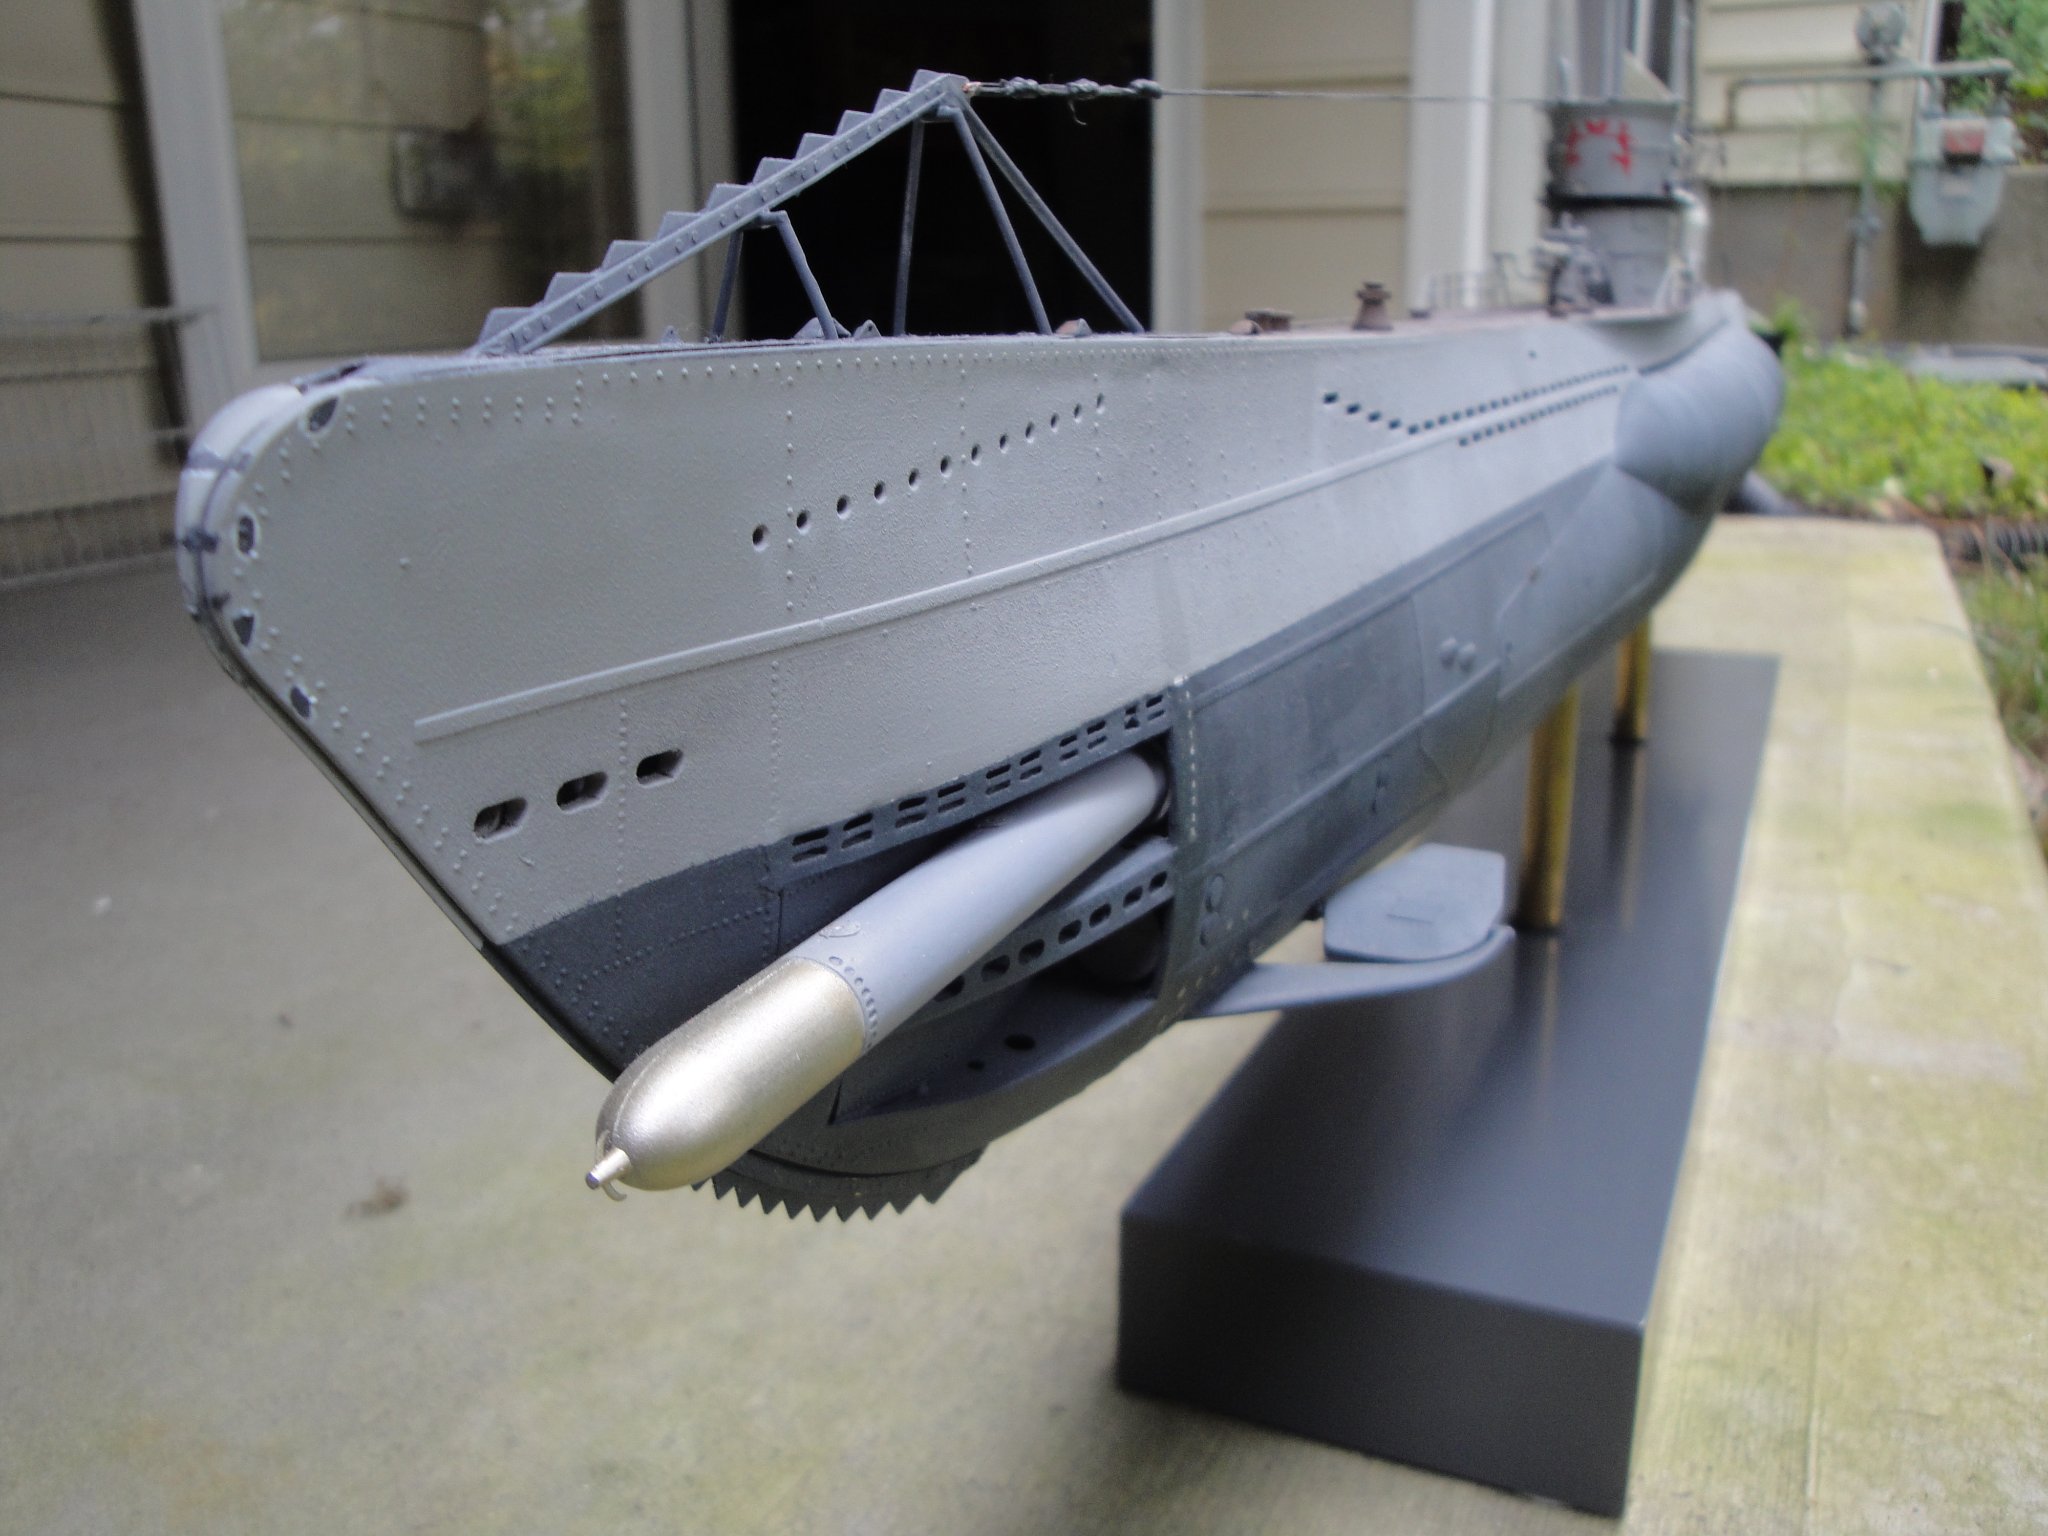
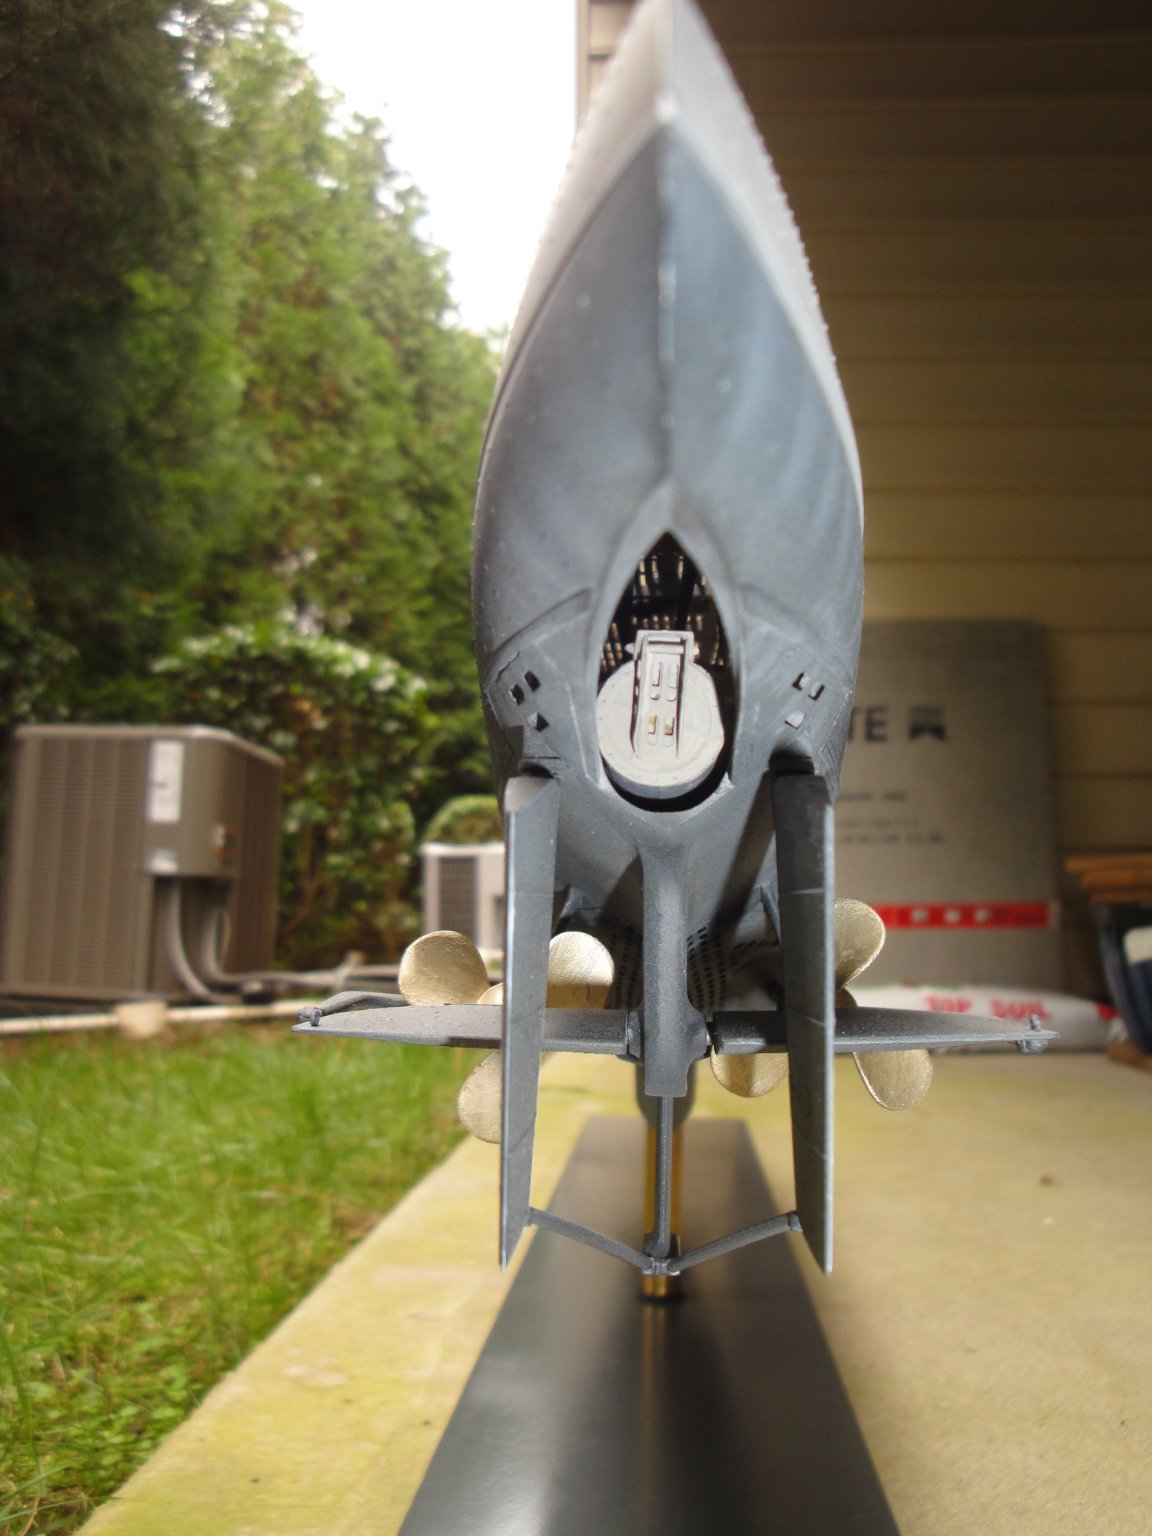
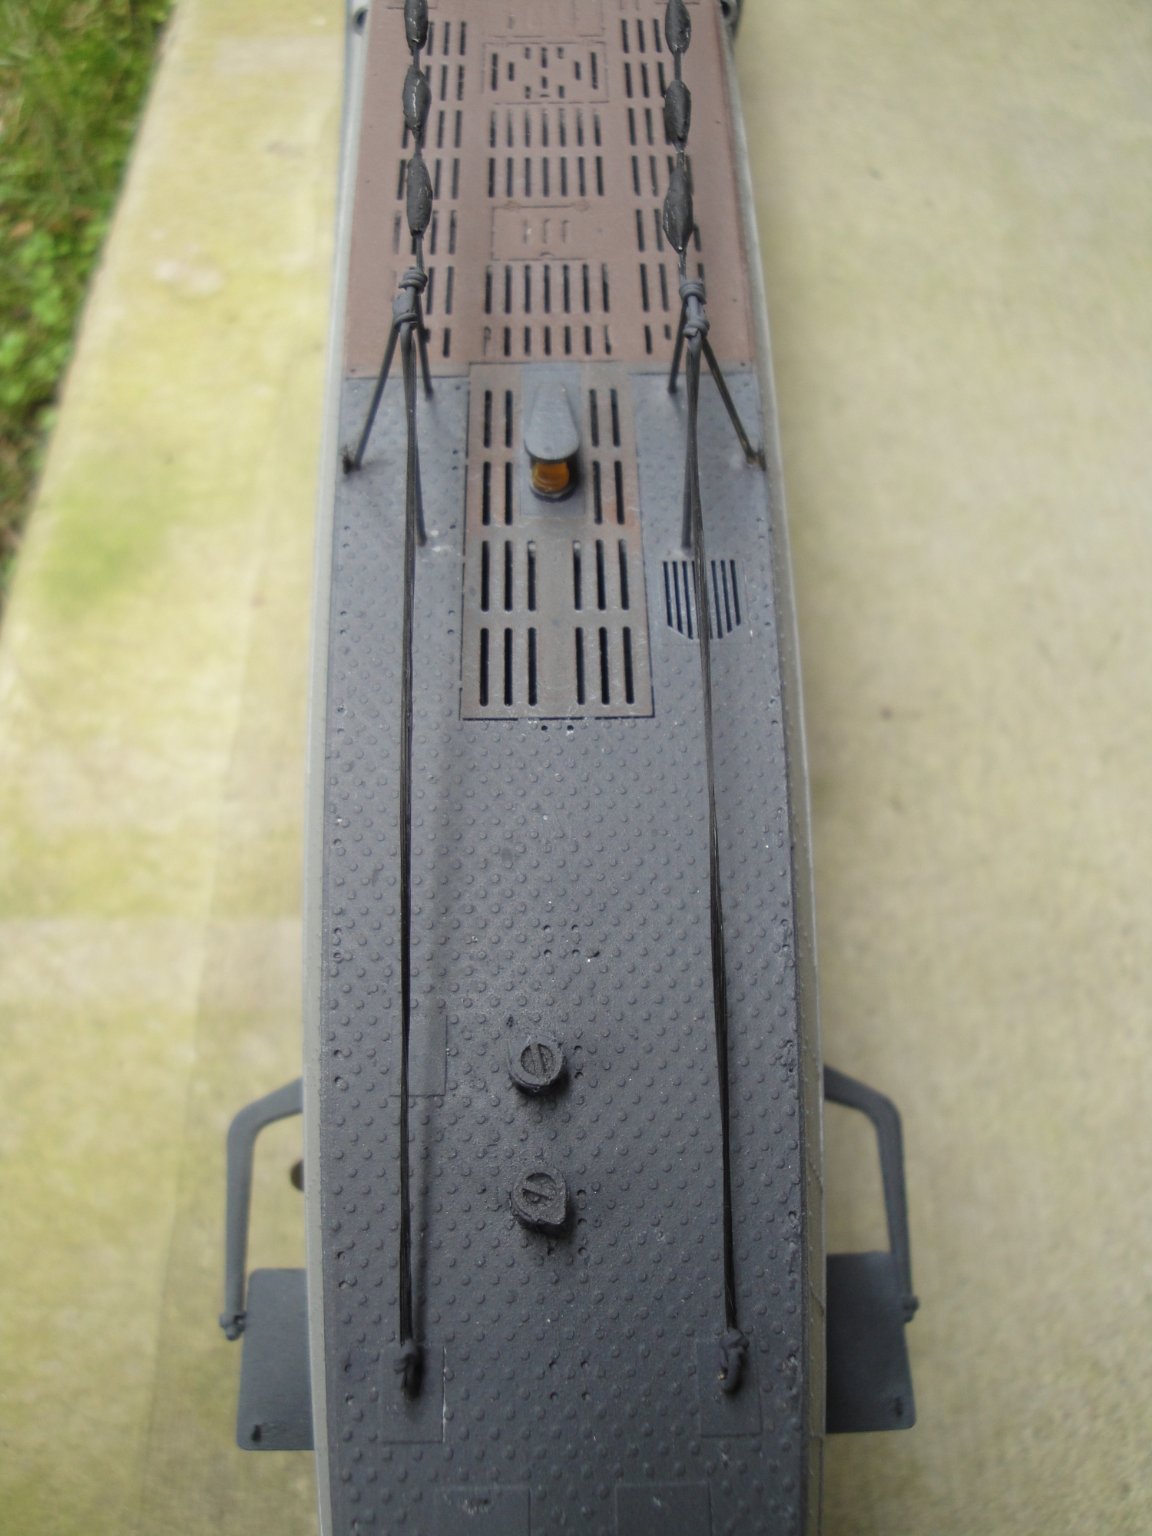
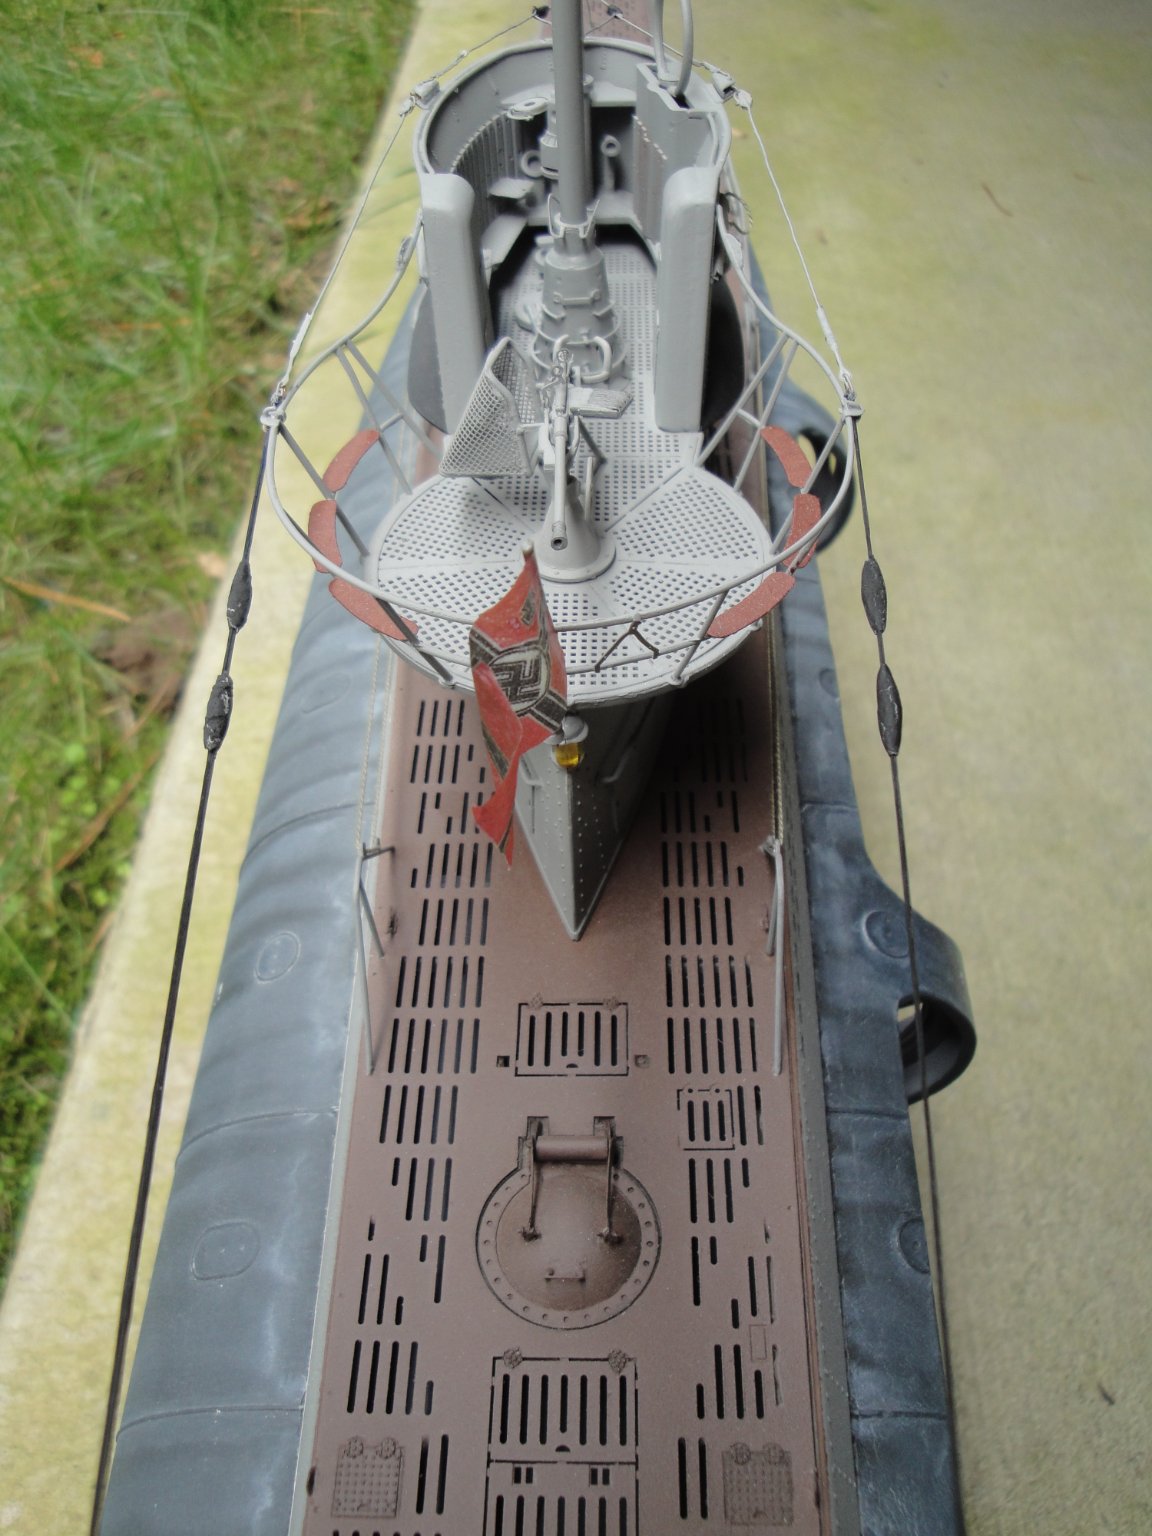
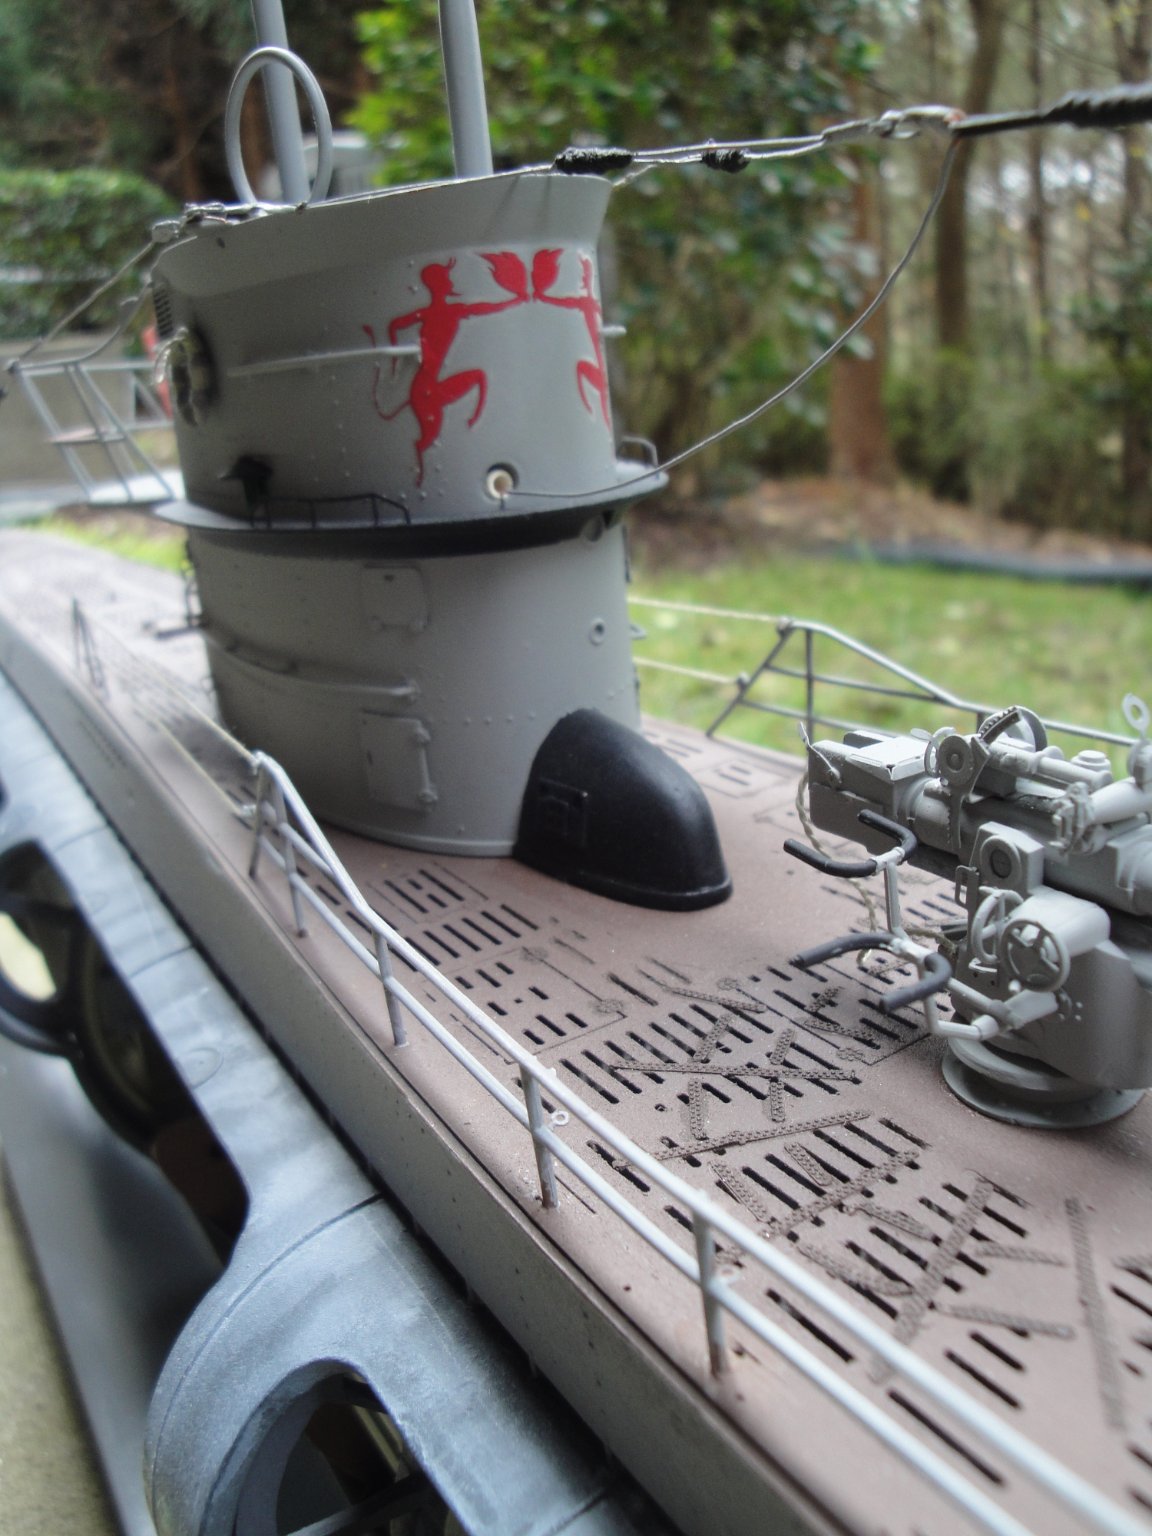
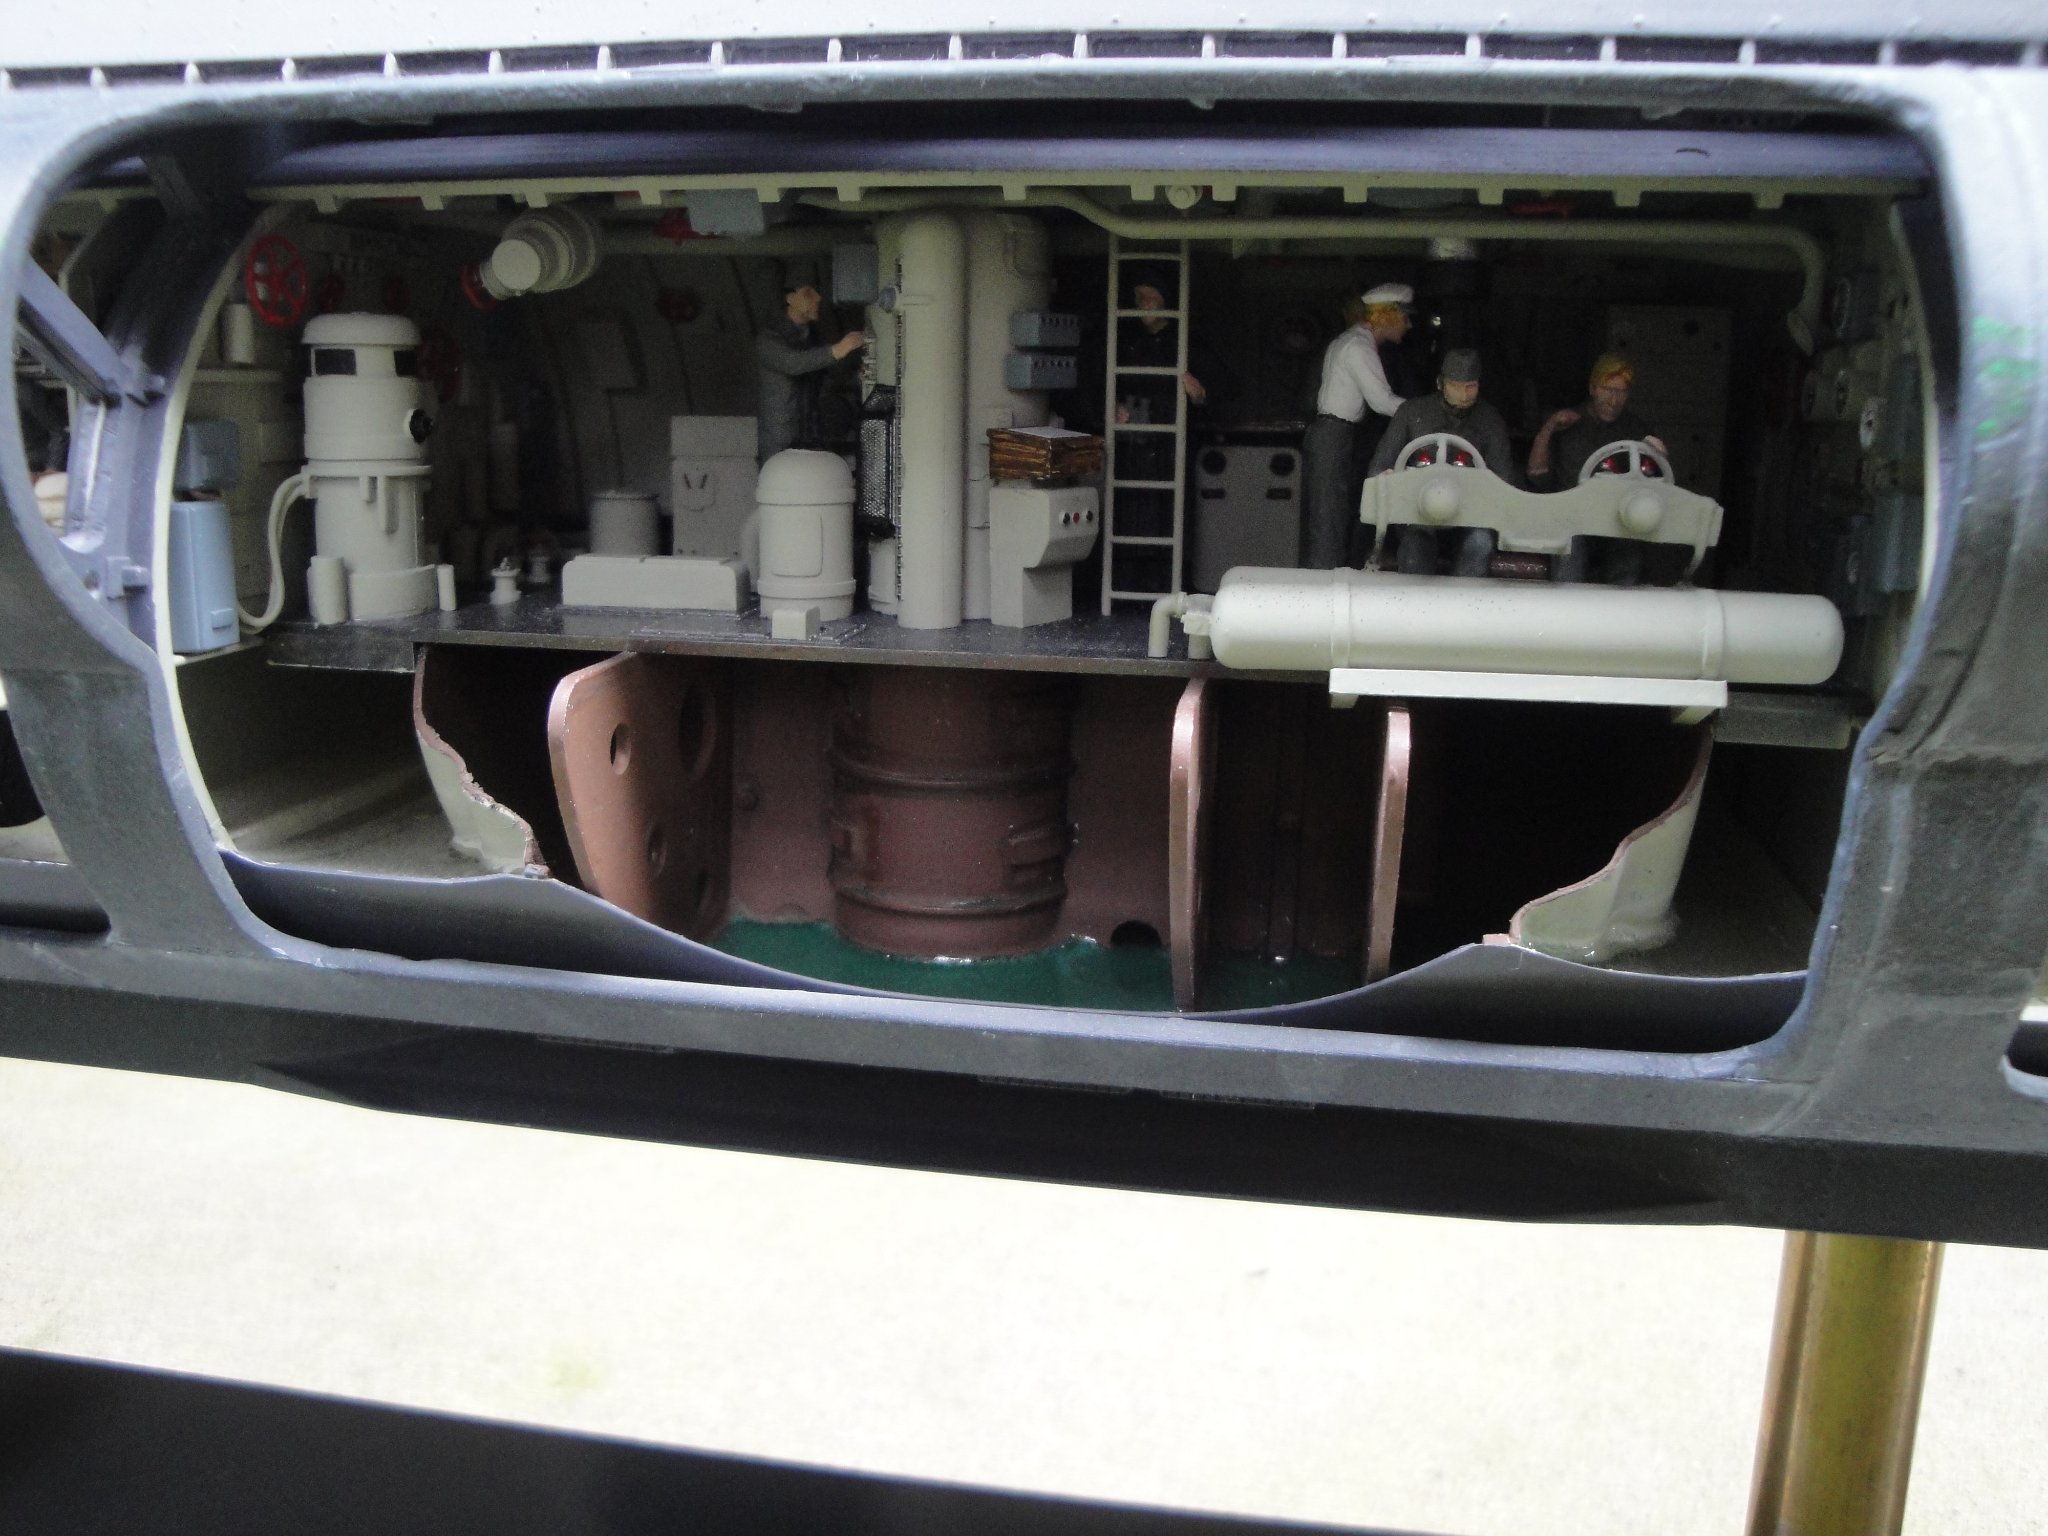
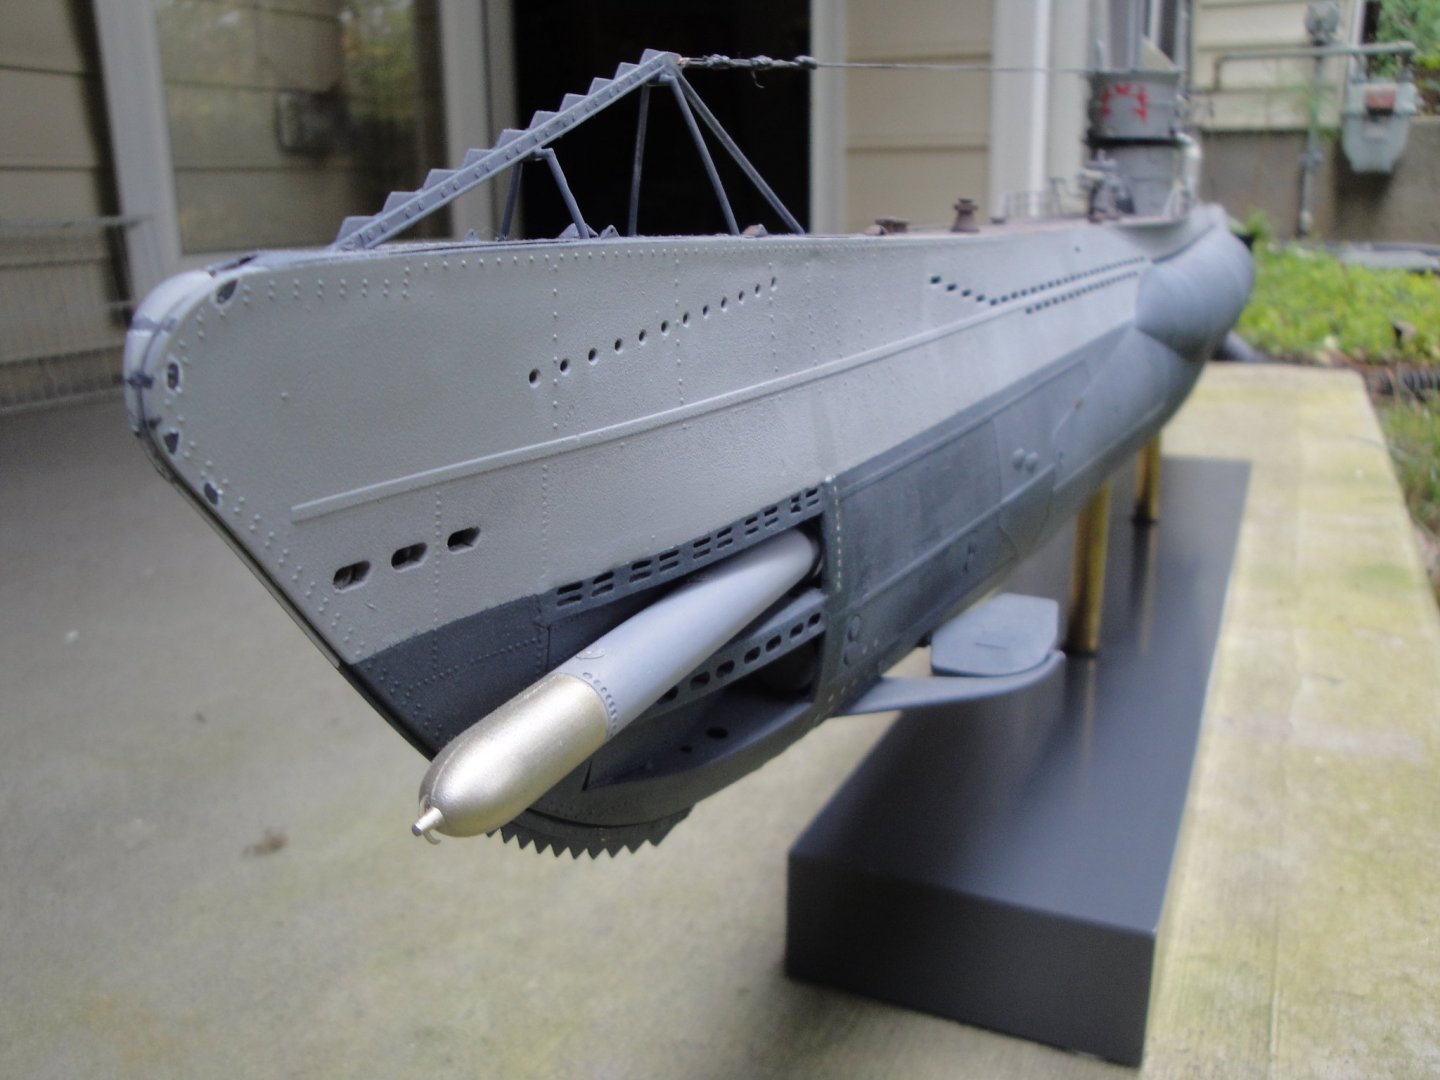
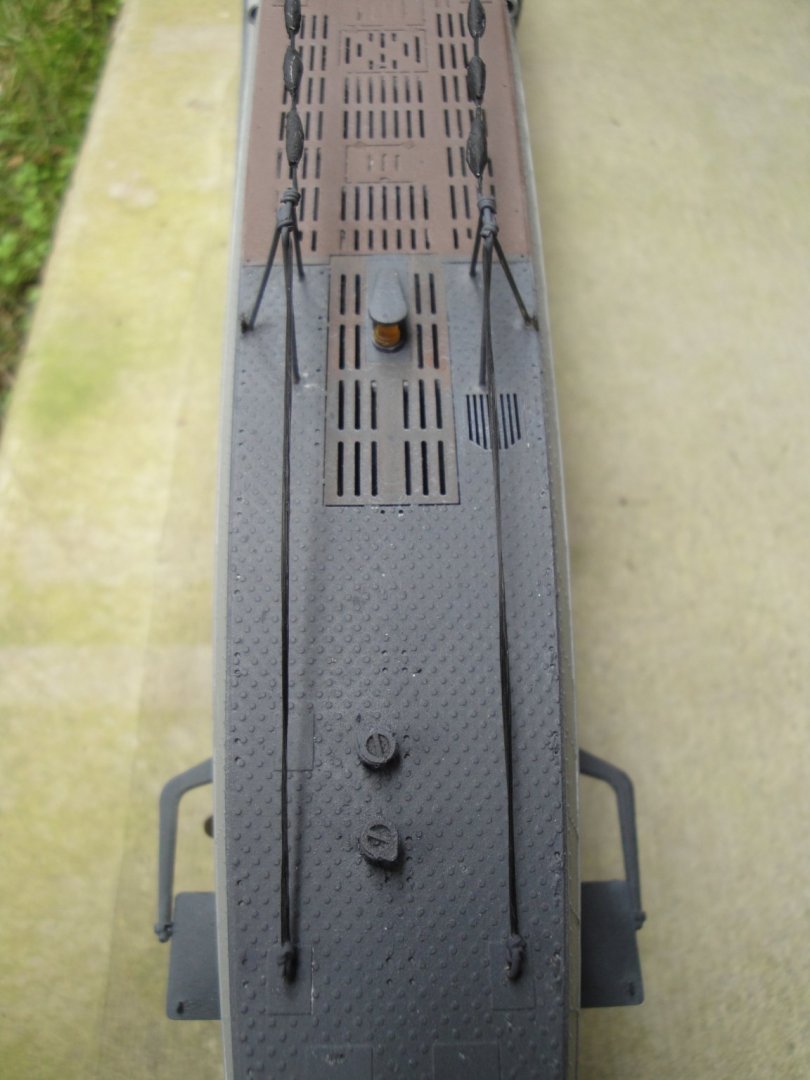
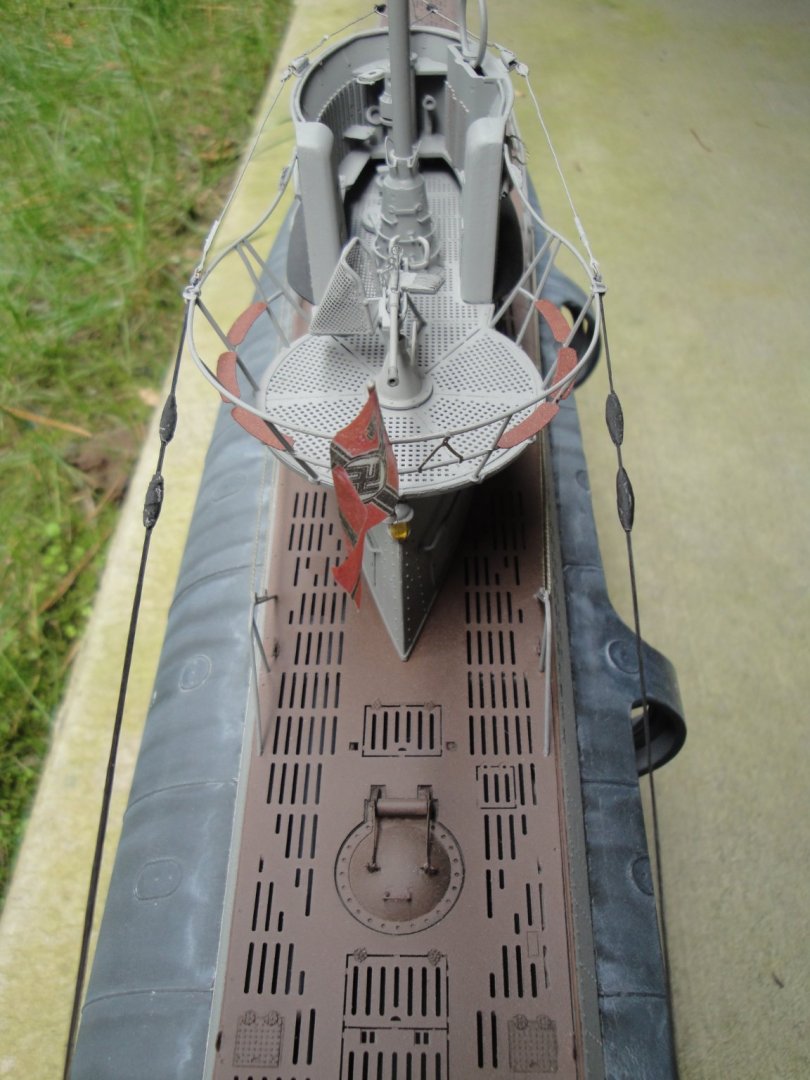
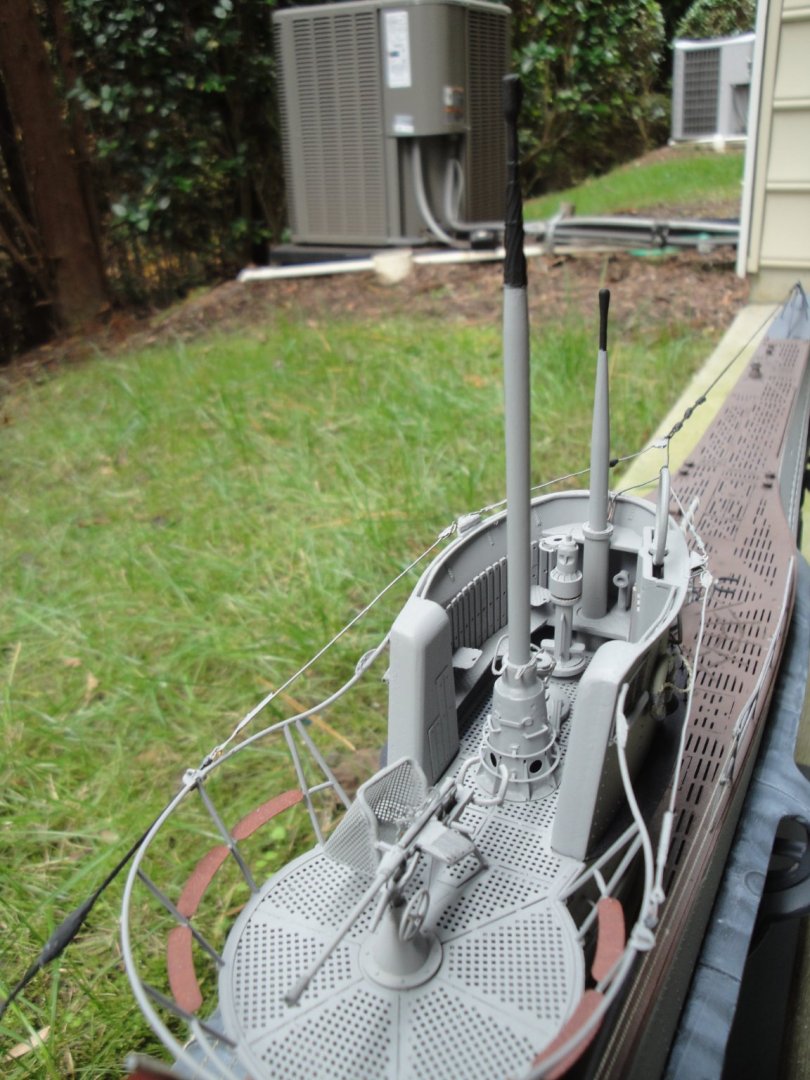
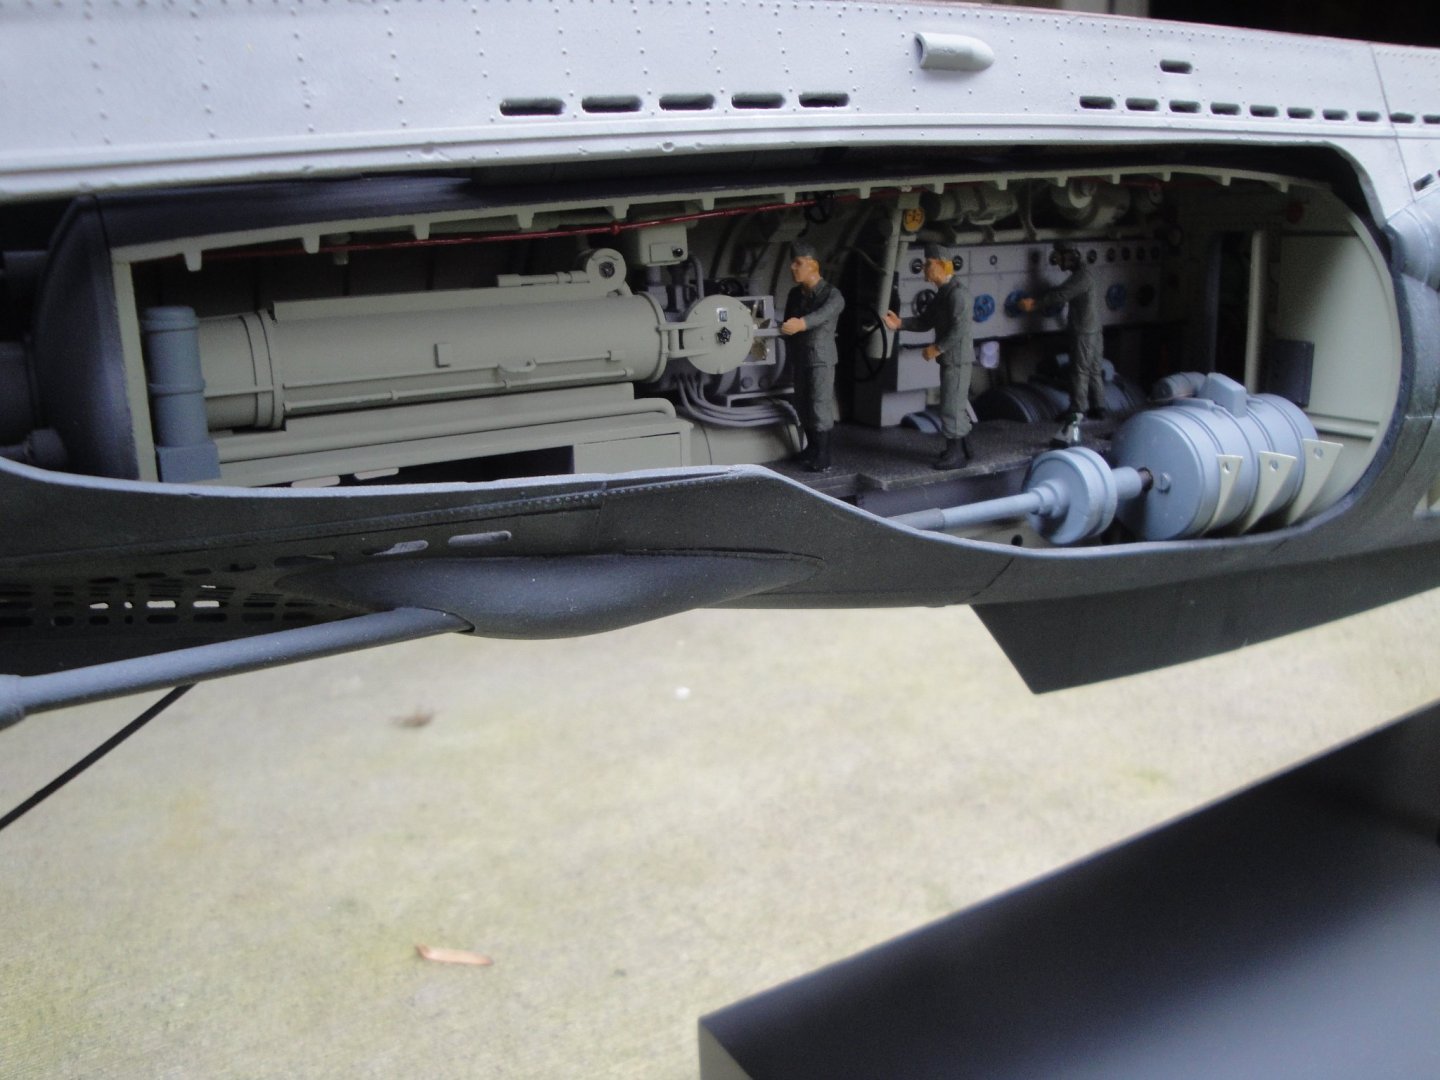
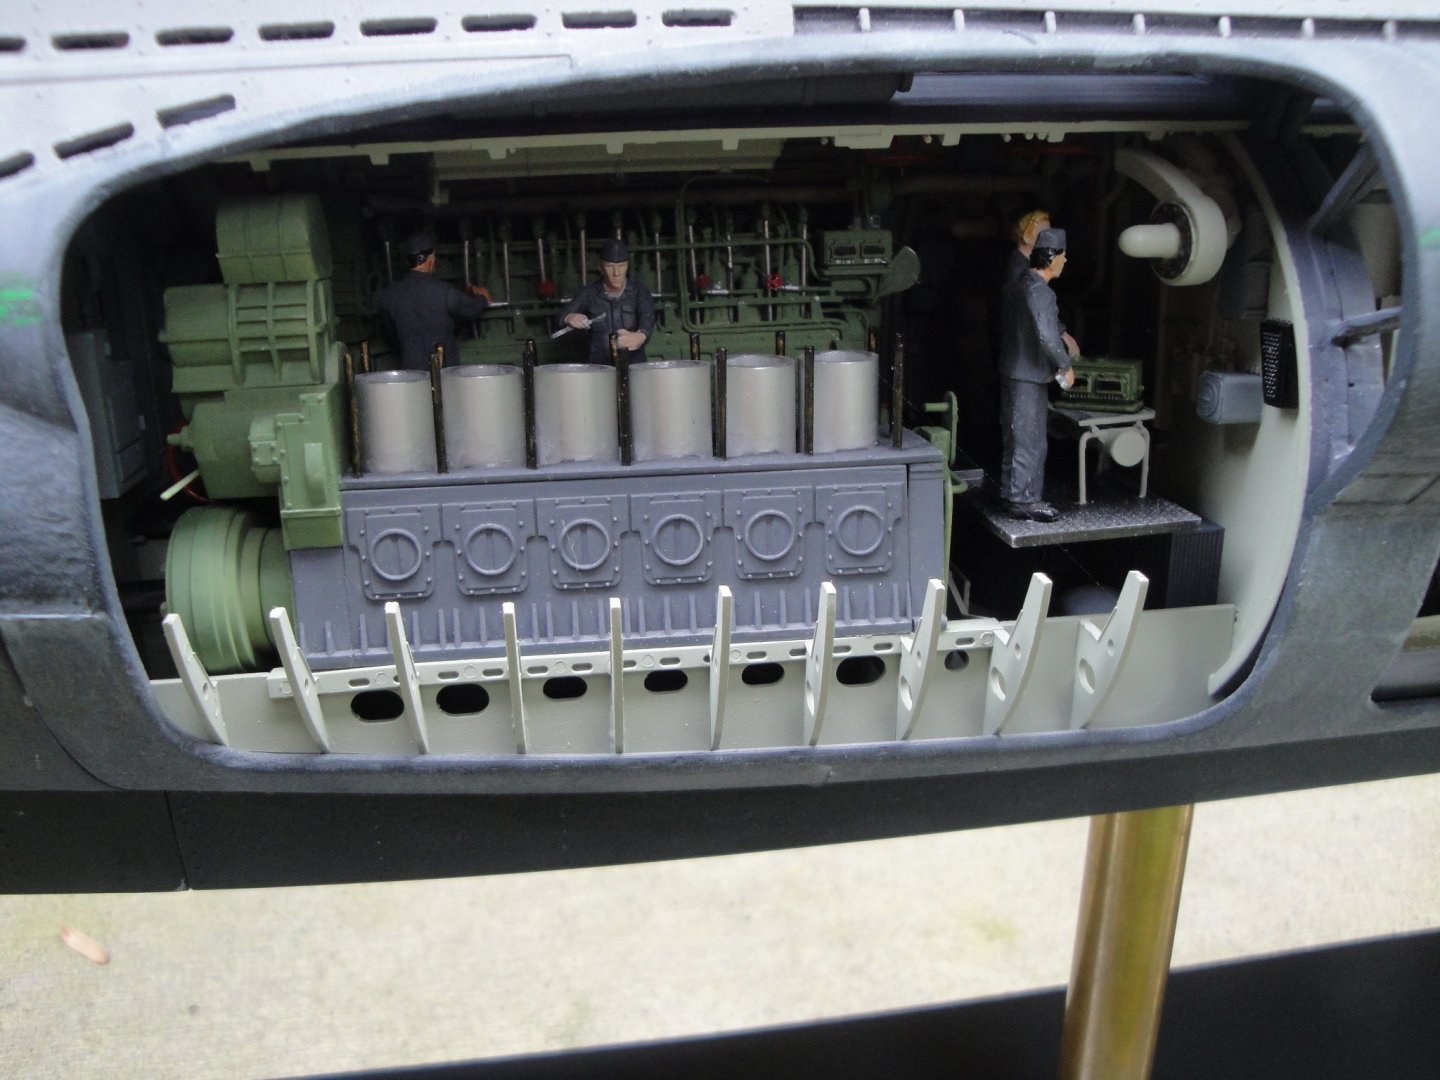
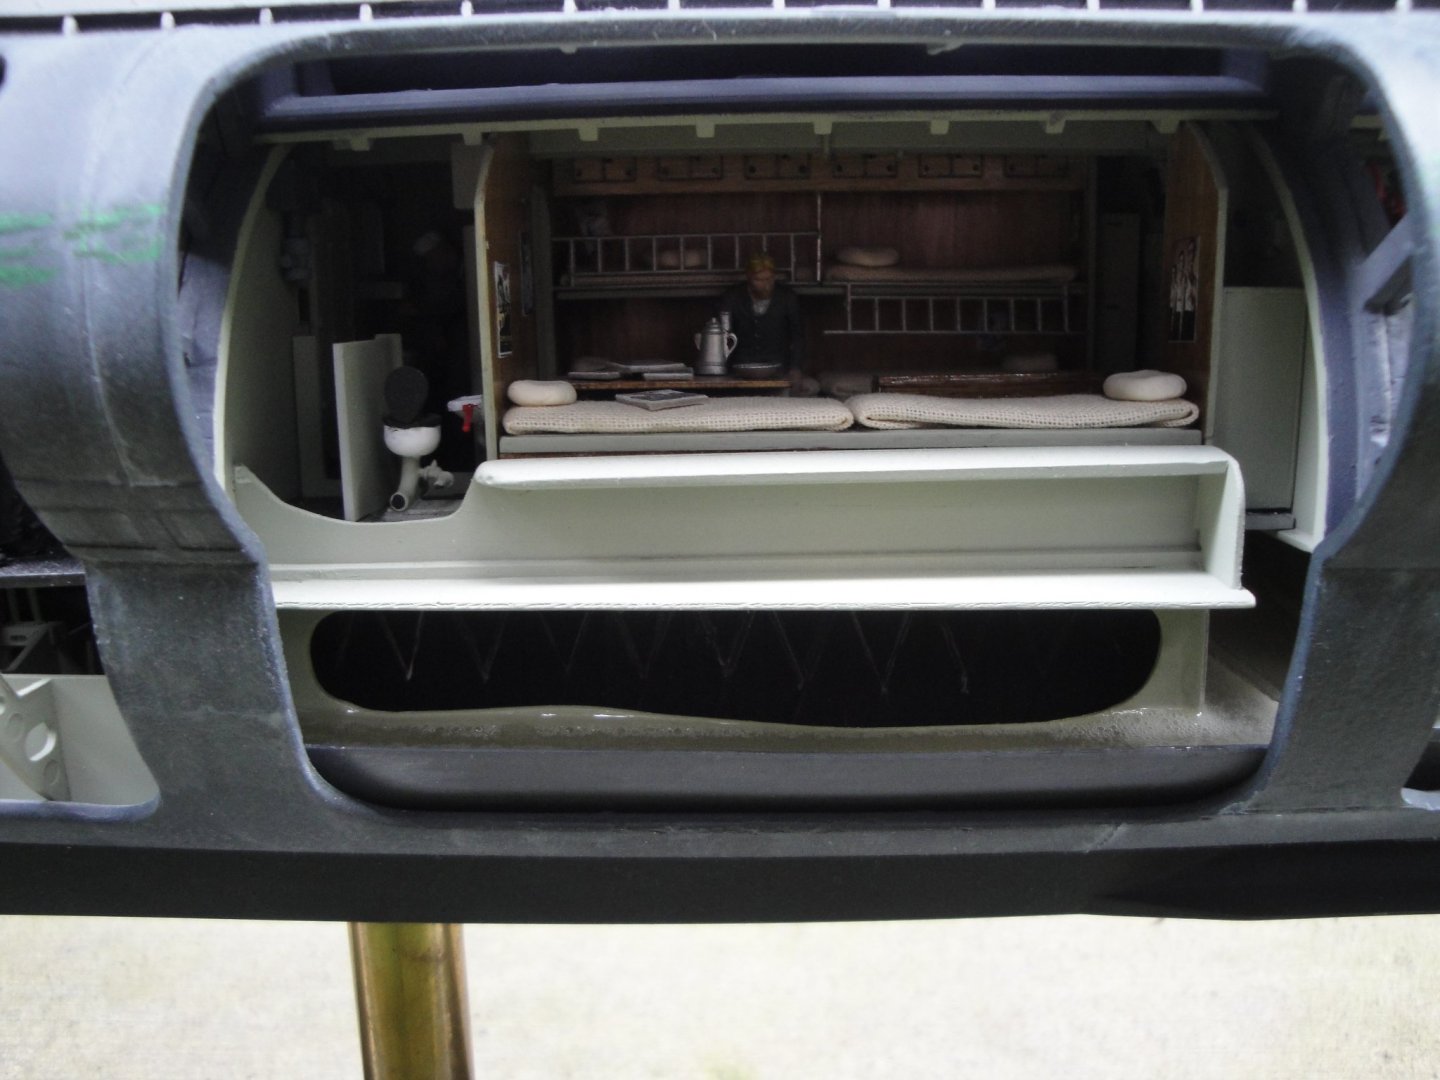
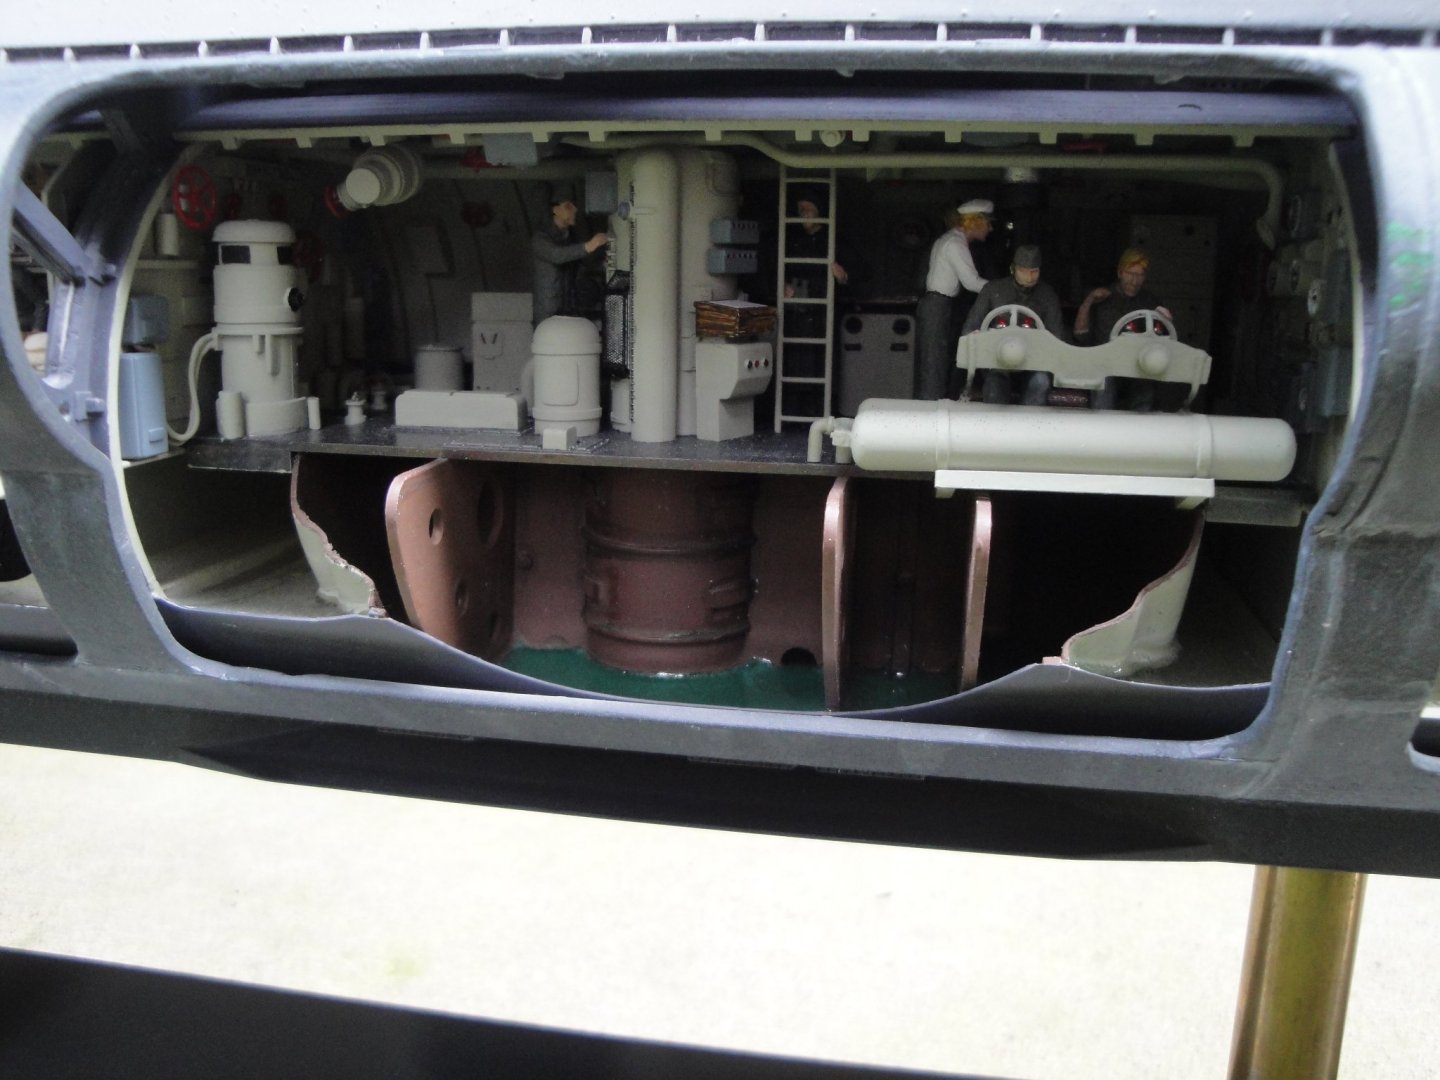
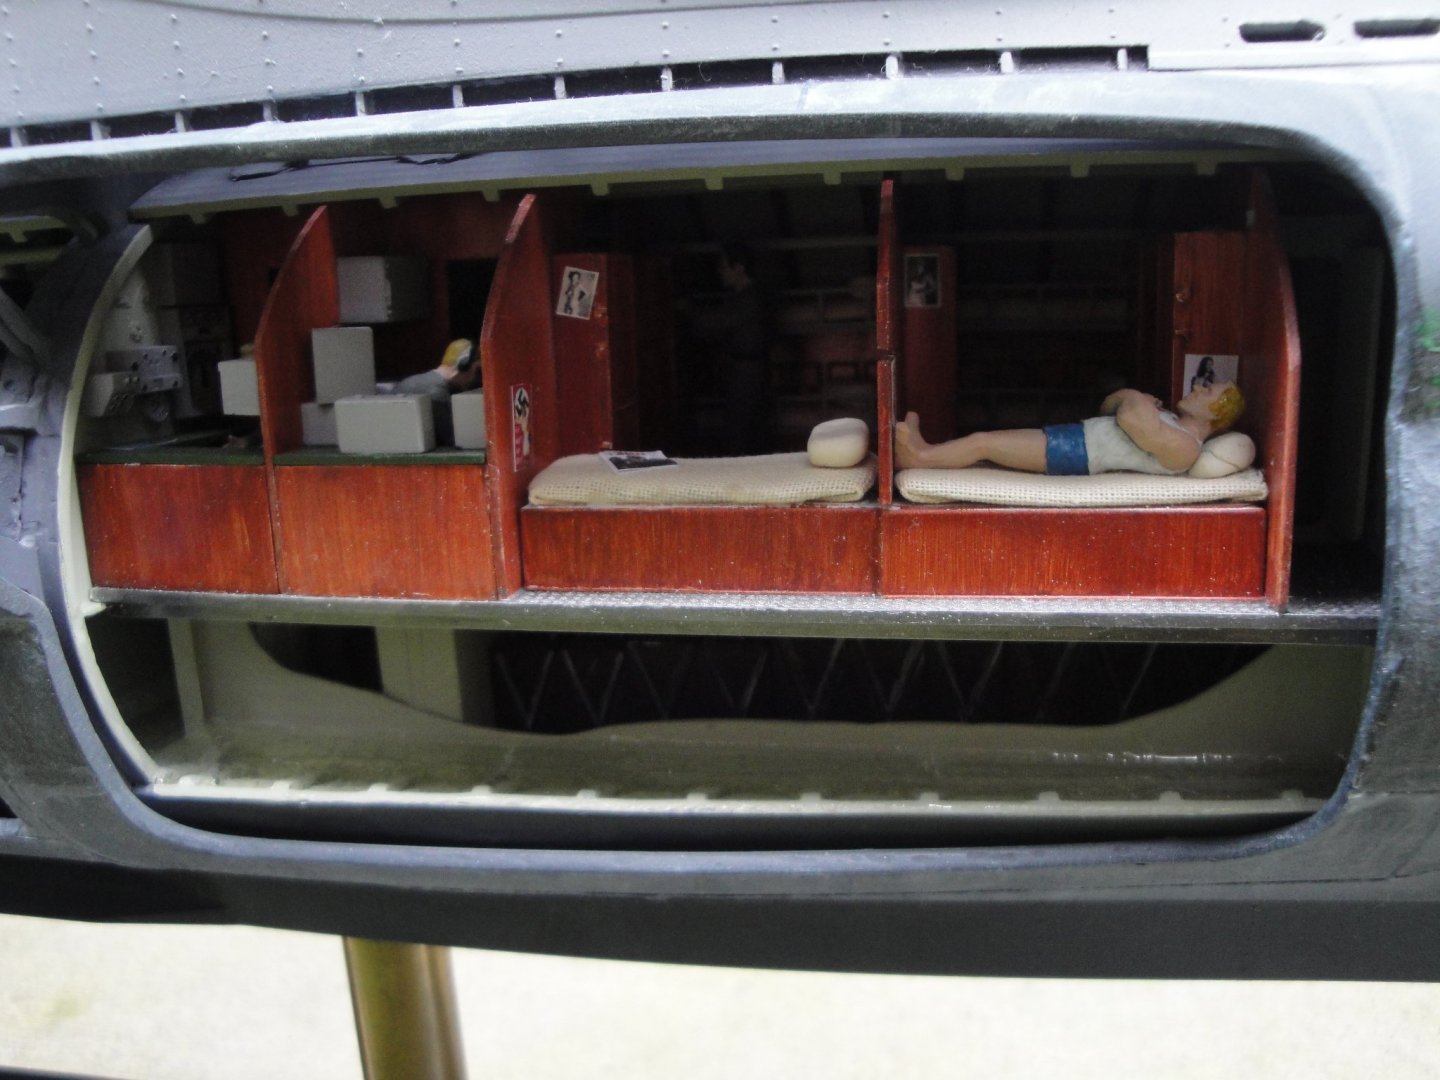
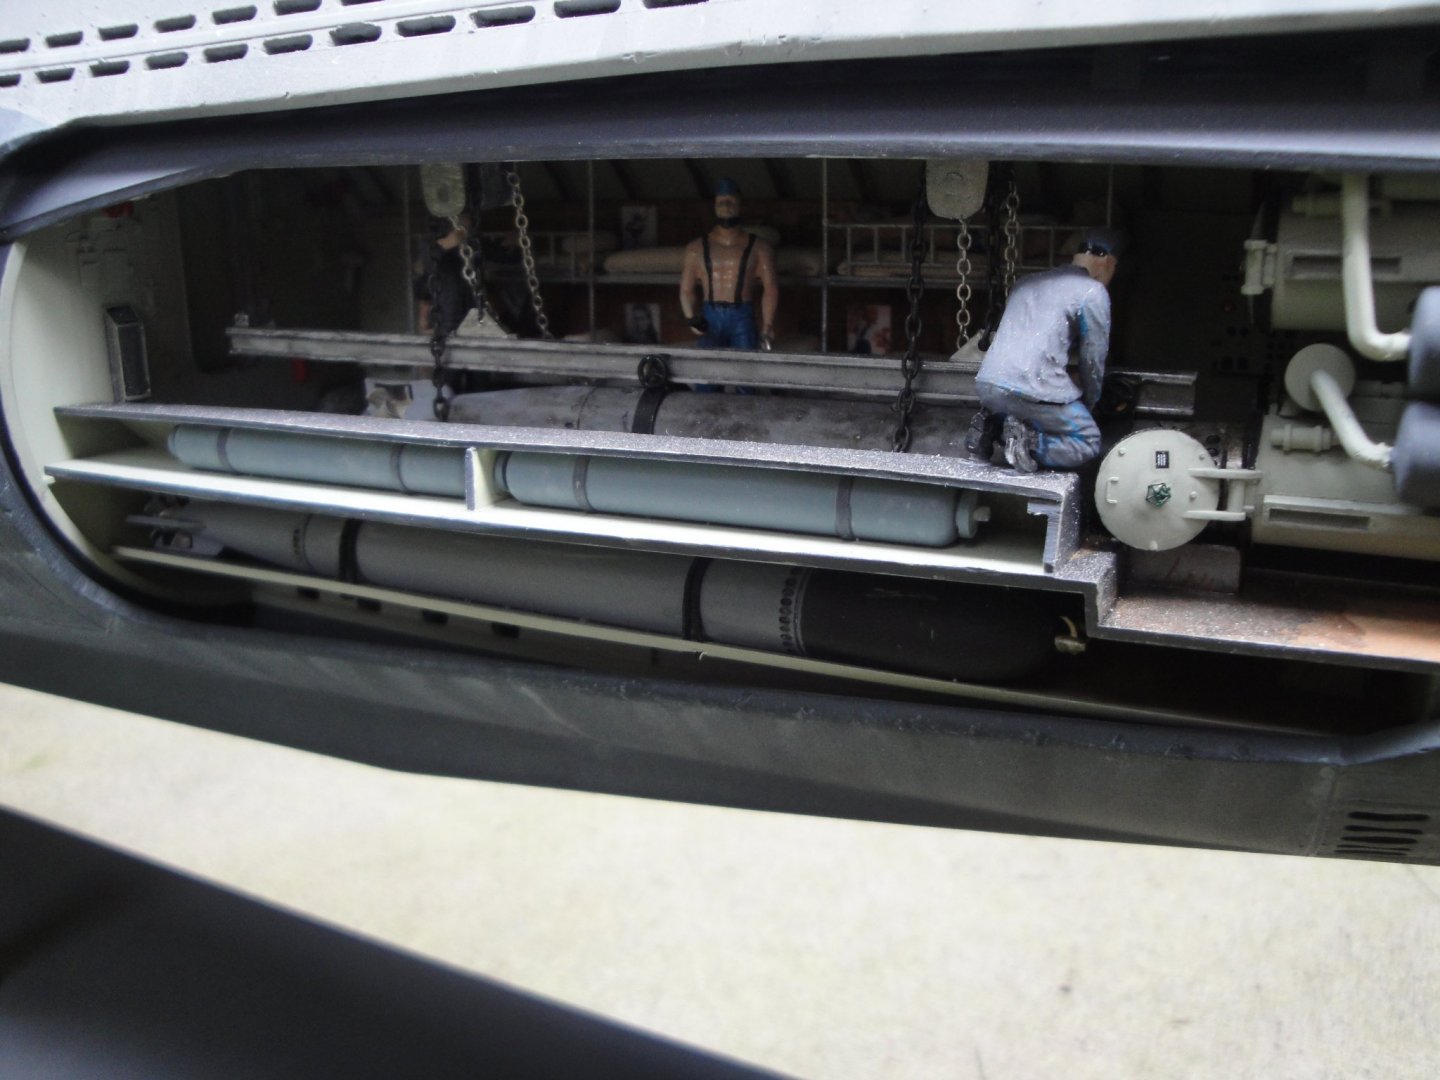
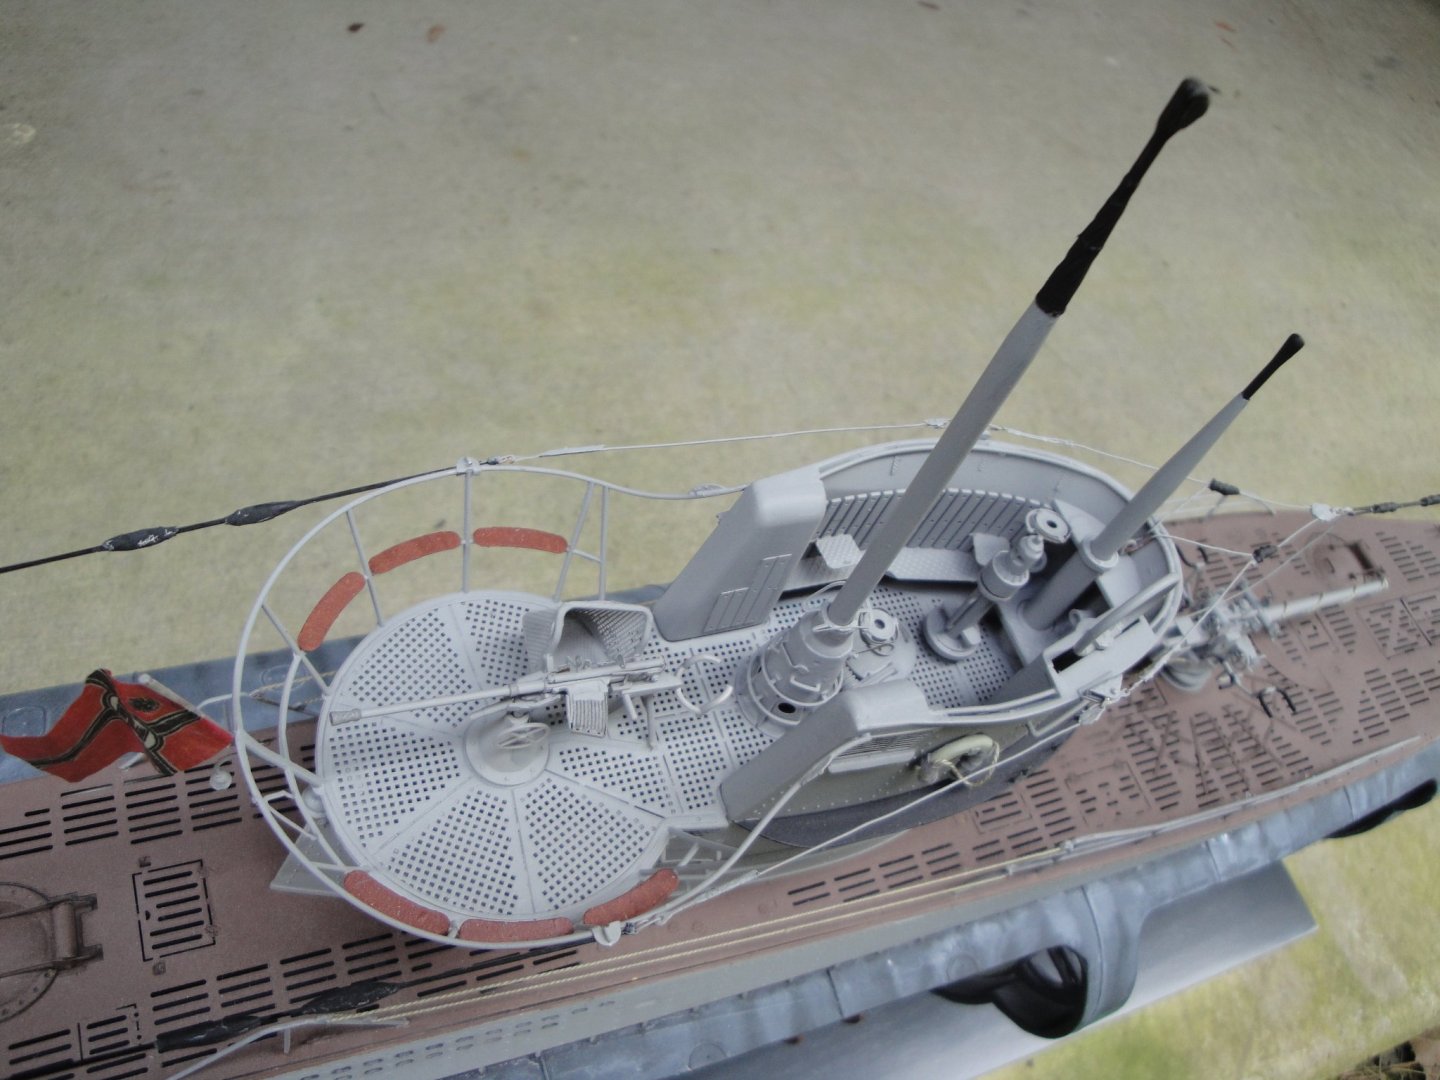
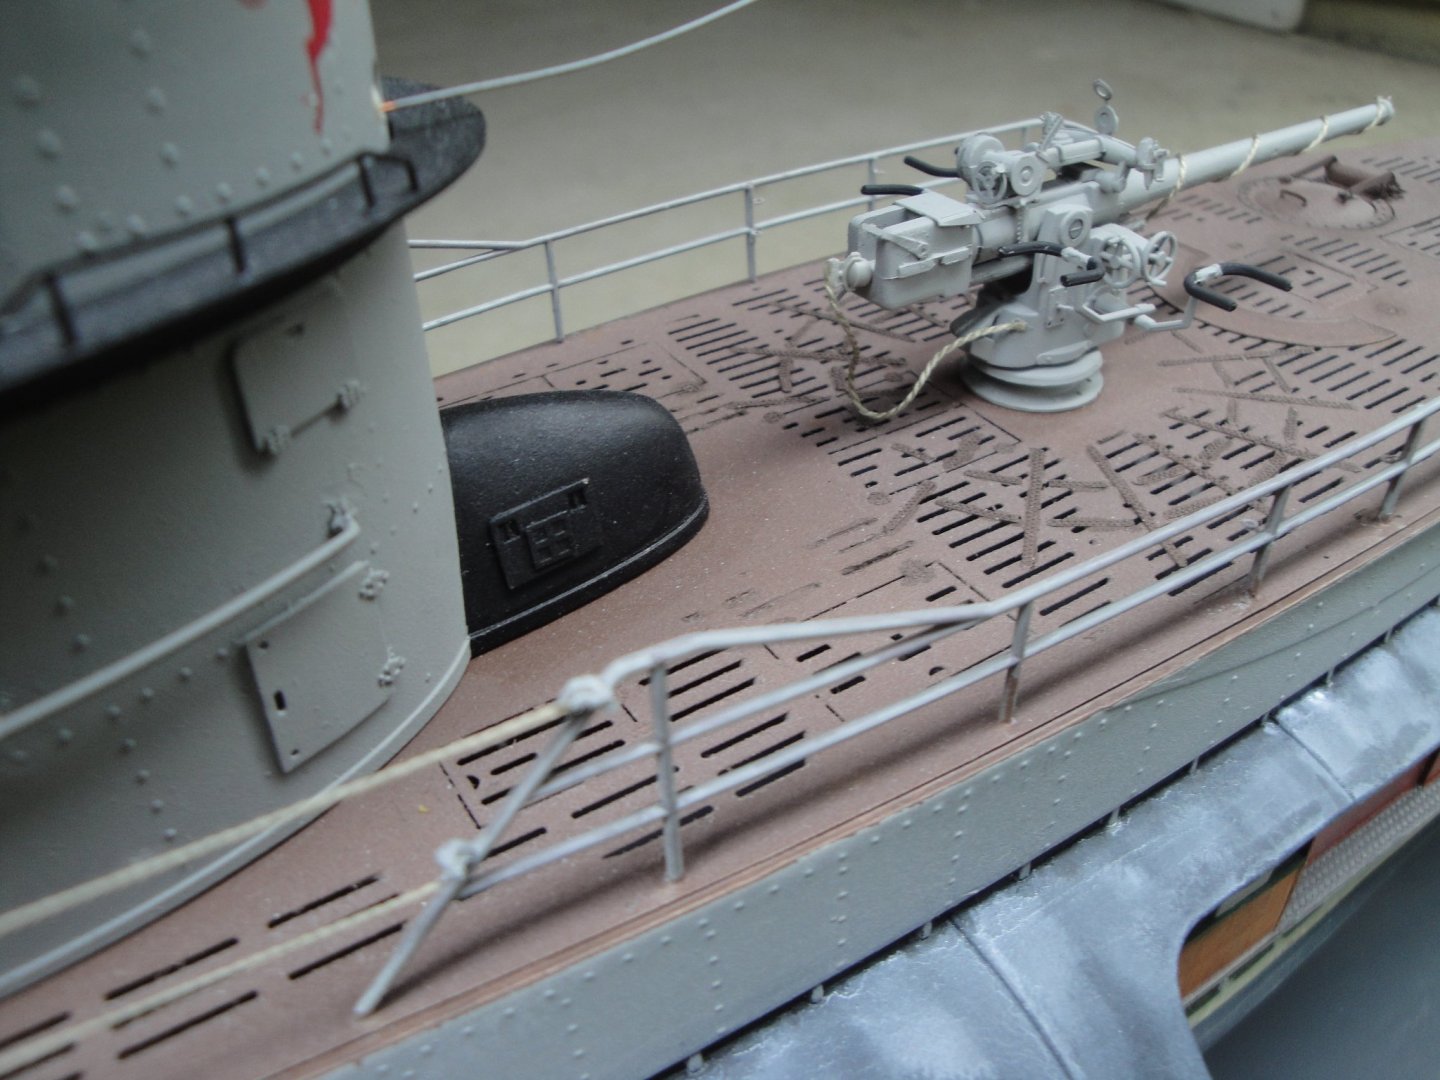
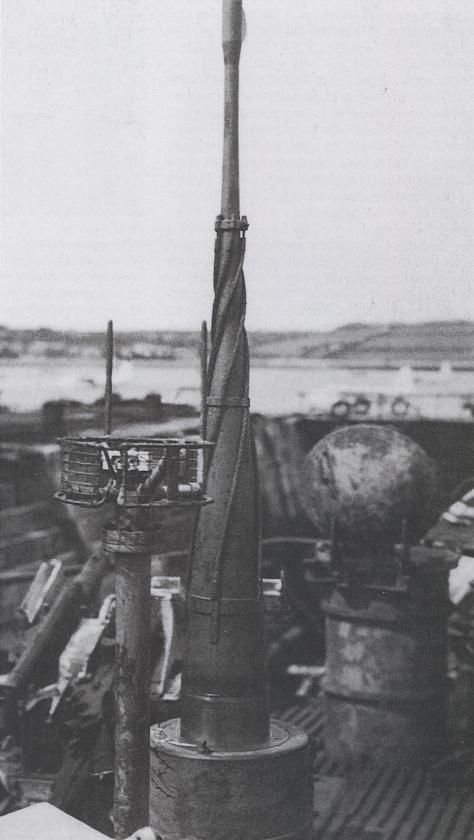
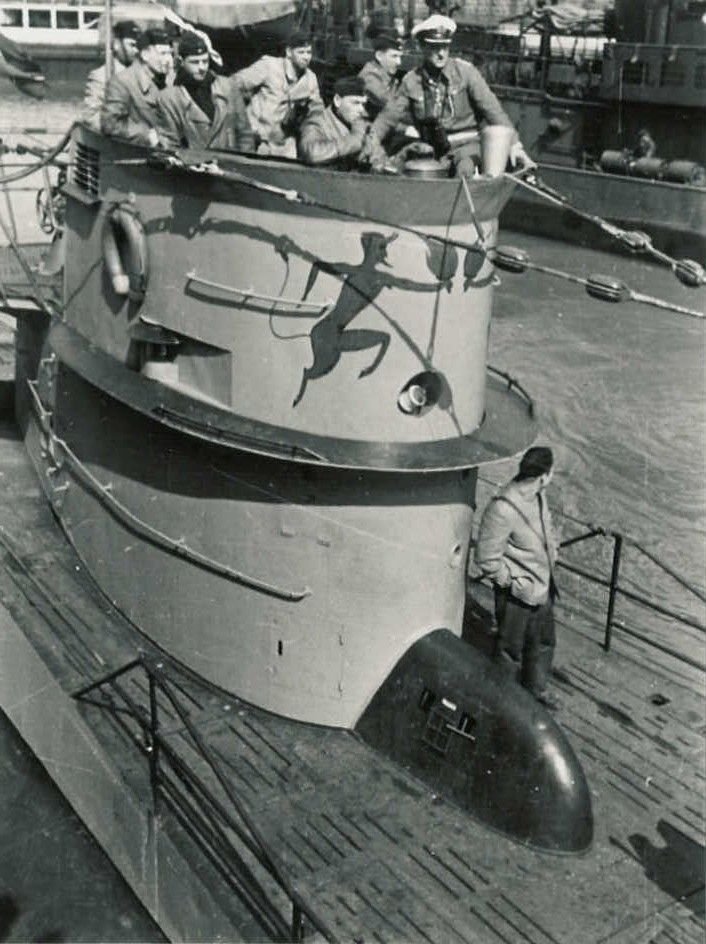
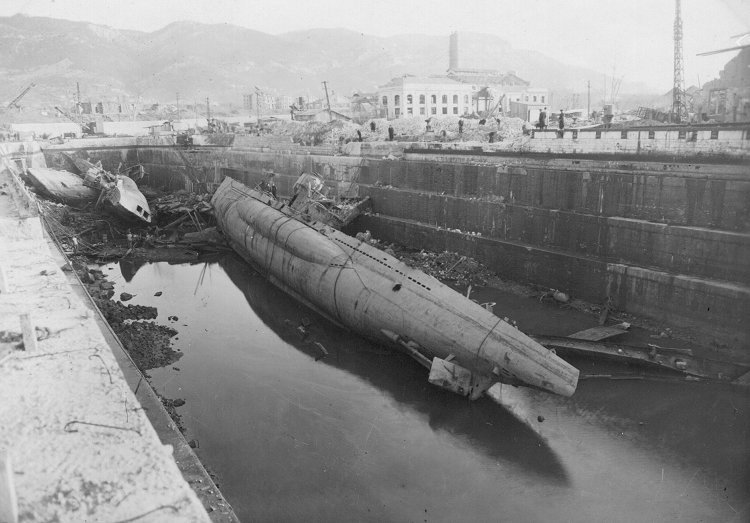
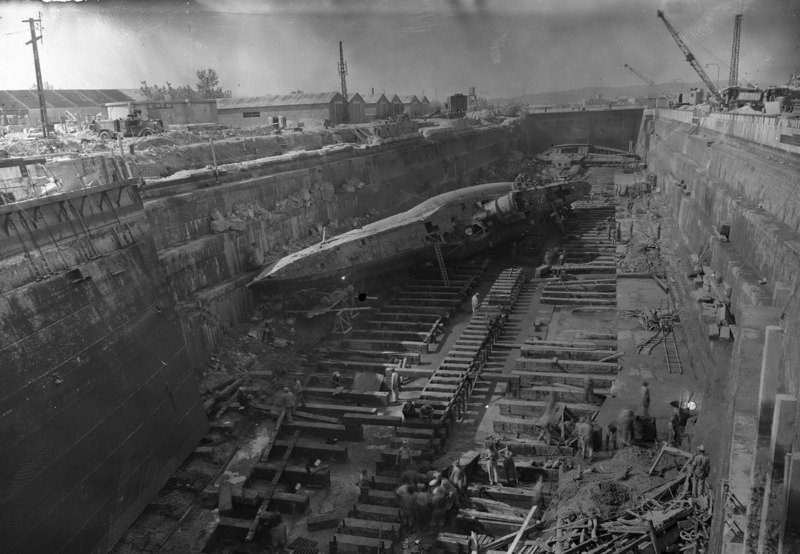
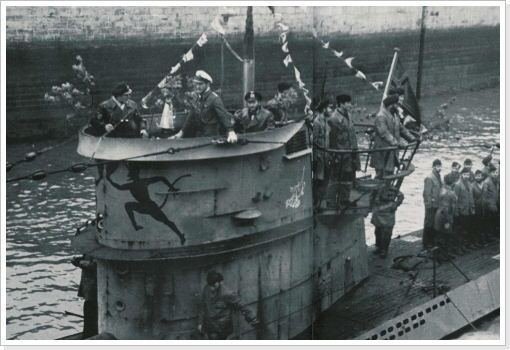
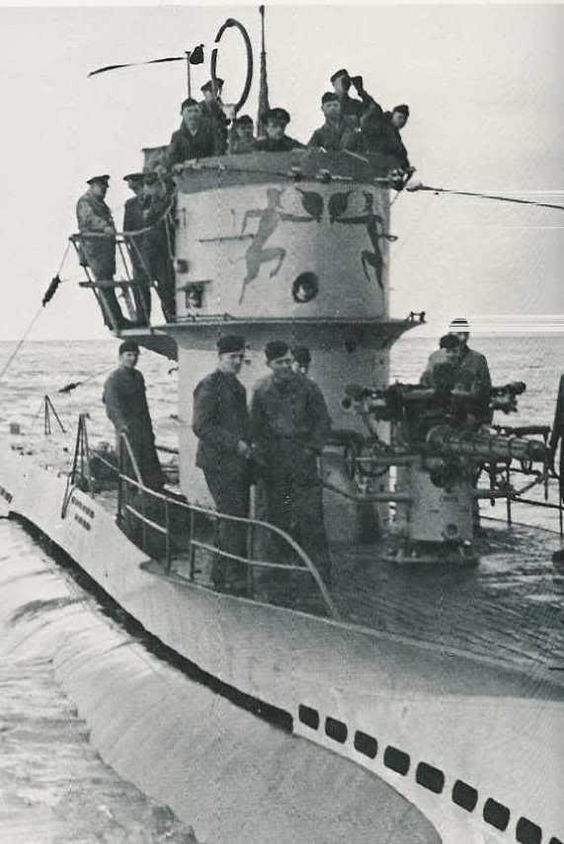
Still waiting for my professional photographer to show up.... I think it will not happen, as he is probably hiding in his basement.... Anyway, I wanted to look quickly and very superficially at the cost of building such a model. We will assume you already are in possession of a bunch of tools, including a Dremel hand machine with a nice set of bits. The kit itself is around $450, the RCSubs PE sets add another $270-300 depending on how far you are going, $50 in glues of all kinds, $100 in paints (The Humbrol paints coming from Europe to paint the hull and deck cost me close to $50), LEDs (close to 50), electric motors and many yards of very thin electric wires, the stand made of wood and brass tubes, switches and many little things here and there. We are probably not far or slightly above one grand. Even more if you start buying books and DVDs on that subject..... But when you look at the time it takes to build such model, it is no more than $3 per day which is less expensive than beer or tobacco. We all know that the cost of our passion is no object and as such should be disregarded. I have immensely enjoyed building this model and being able to present it to you readers and enthusiasts. I have to confess that your support and encouragements have been my fuel to continue through that, at times, difficult endeavor. In retrospect, I just cannot believe that this thread was visited close to 80,000 times over a period of 16 months. Thus, to conclude that Build Log, let me offer you some last pictures of the model and of the real thing. I simply hope the model will not terminate like the real submersible.... Although it is not completely clear how U-552 finished its days, I think it was scuttled before the Allies could take possession of it in one of the Brittany ports in 1945. Yves


- 760 replies
-
- 25
-

-

-
Delahaye 135 by CDW - FINISHED - Heller - 1:24 - PLASTIC
yvesvidal replied to CDW's topic in Non-ship/categorised builds
You did the best that could be done. I can't believe Heller would have screwed up so well, the distance between the axles. My gosh, what a bunch of amateurs. Yves -
I really like the parts being CNC routed, instead of laser cut. It makes for an incredible difference at the end of the day, both in appearance and saved time. Yves
-
You did a beautiful model out of a difficult kit. Congratulations. Yves
- 54 replies
-
- 3
-
-
- norwegian sailing pram
- model shipways
- (and 1 more)
-
Delahaye 135 by CDW - FINISHED - Heller - 1:24 - PLASTIC
yvesvidal replied to CDW's topic in Non-ship/categorised builds
Superb paint job. Maybe a tad too shinny for such an old model, as clear coat did not exist. Yves -
Yes, it is true that having one side with ceilings and the other side without, can be very misleading and will offset all your hard work at lining up. I agree with your approach of building in the hull directly, and perhaps simplifying some of the inner decks. Yves
- 317 replies
-
- 4
-
-
- enterprise
- caf
- (and 1 more)
-
What a beautiful model. Yves
-
Yes, you need some medications. I suggest Tamiya and Ambroid liquid glue, inhaled with moderation. Do not forget an ointment of Tamiya anti-fouling red paint on your forehead, before going to bed. Great display. I cannot wait to see them built in the Forum. Yves
-
Very interesting project. I will be following. Yves
-
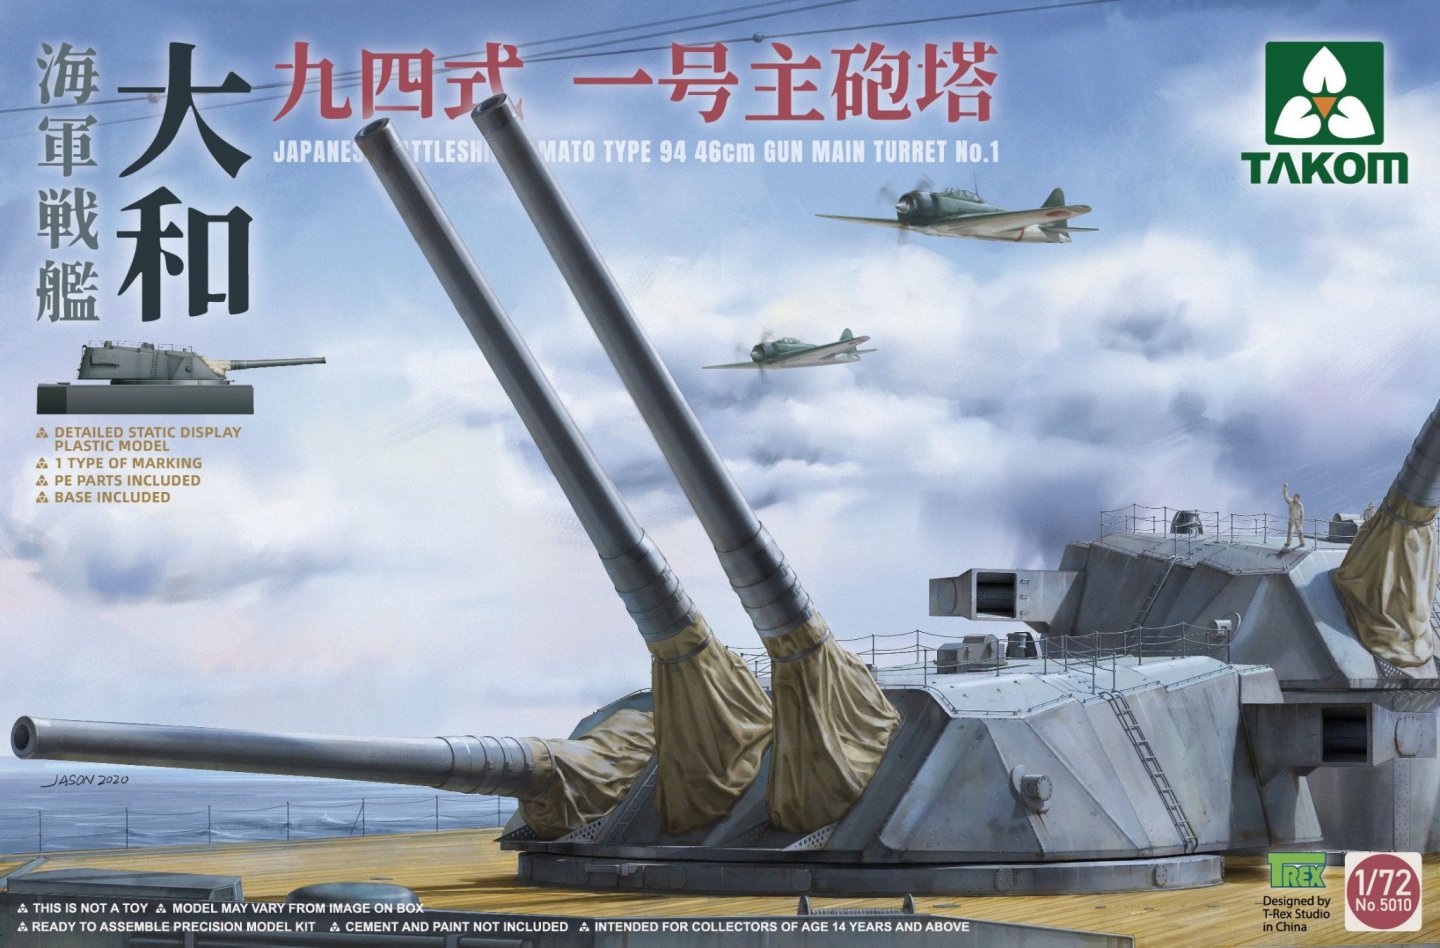
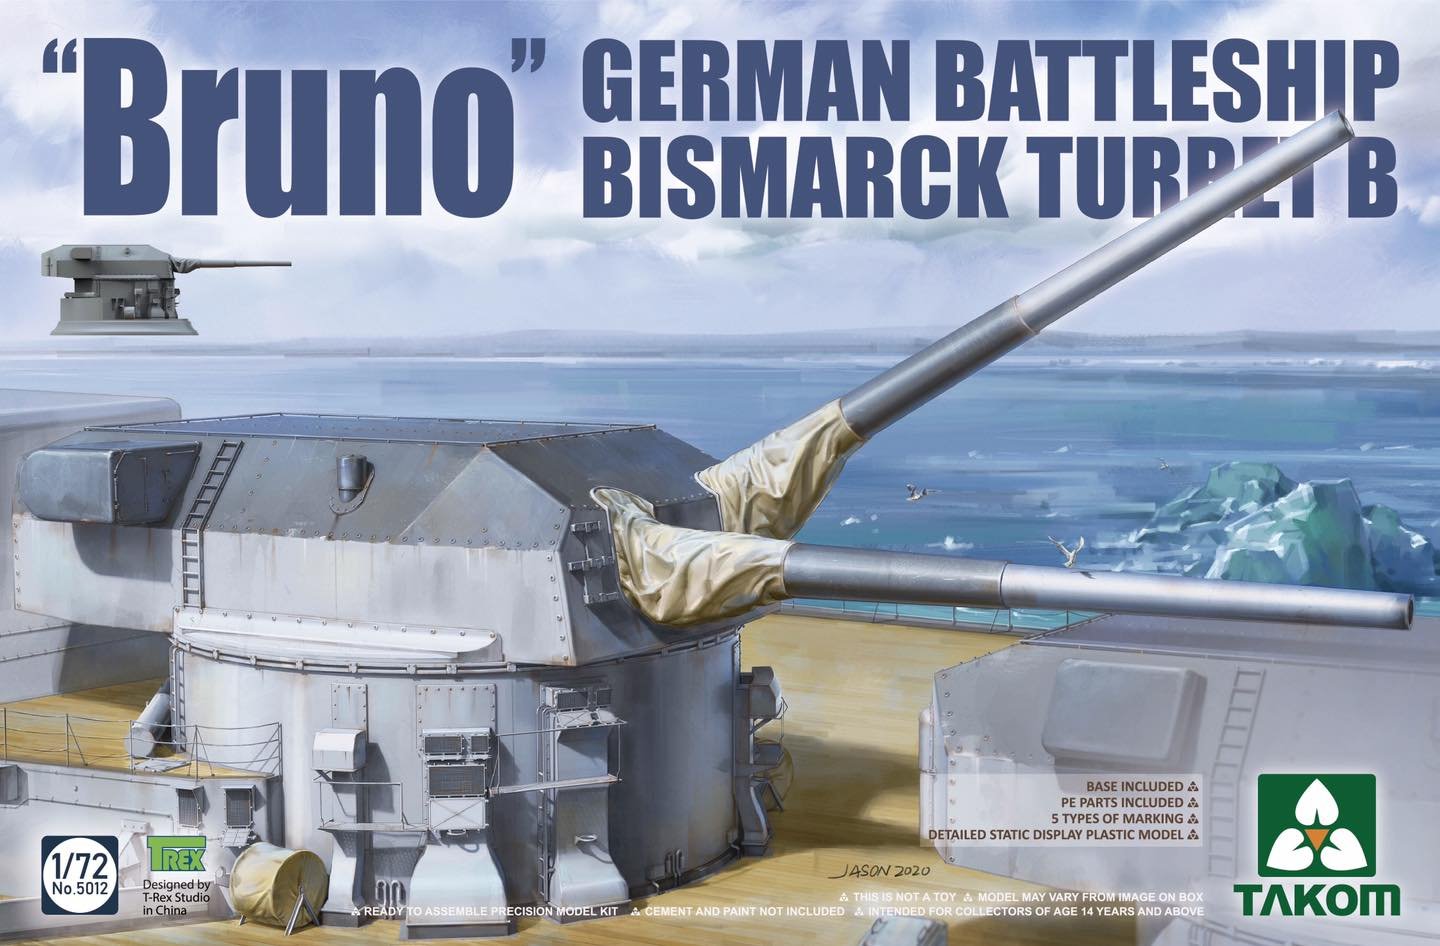
Well, it looks like Takom will be releasing two interesting kits in the scale of 1/72nd: https://www.themodellingnews.com/2020/07/previewtakoms-72nd-scale-battleship.html Yves
- 1 reply
-
- 4
-
-
Fantastic work on the torpedo tubes. Your model is coming along nicely and is very impressive. Yves
-
SardonicMeow, You should offer a special add-on kit to the Model Shipways kit, with all the parts printed in 3D. The original kit would benefit greatly, from these very nice improvements that you are adding to your model. Yves
-
A touch of deconstruction is always a nice thing, for satisfaction! Yves
- 317 replies
-
- 3
-
-
- enterprise
- caf
- (and 1 more)
-
Sometimes, "perfection" is the ennemy of "great". From a foot away, your model looks terrific. Yves
- 49 replies
-
- 4
-
-
- Lusitania
- Gunze Sangyo
- (and 2 more)
-
I am pulling a chair to admire your work. This is going to be very exciting. Yves
-
The weathering of the wood and decks, is superb. Yves
-
Chris better start warming up his wood cutting laser.... He is going to be busy very soon!! Yves
- 117 replies
-
- 2
-
-
- vanguard models
- yacht
- (and 2 more)
-
Nice rendering with your wood paste. The illusion is impeccable. Yves
- 317 replies
-
- 5
-
-
- enterprise
- caf
- (and 1 more)
-
Thank you Blue Ensign. I am an ardent supporter and admirer of your fishing vessels build logs and really enjoy what you are doing. It may be a while before I resume the Emma Build, but we will get there. Yves
-
Nice touch with the port holes and rivets. I think they add a lot of realism to the model. Yves