augie
-
Posts
4,669 -
Joined
-
Last visited
Content Type
Profiles
Forums
Gallery
Events
Everything posted by augie
-
 It's a miracle. Good luck with 2 builds!!!!!
 -
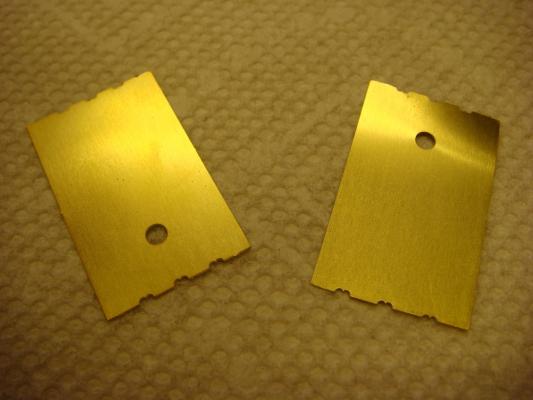
In response to several inquiries about the 'spiling jig', here's what we're talking about: In the photo, the jig itself (and perhaps we should call it an 'edge bending jig') are the pieces I have painted black (3). They have been glued securely to an old 1" thick cutting board. This jig is supplied with the kit and the curvature determined by Chuck. The 3 planks in the jig are 1/8 x 1/16". Each had been tapered along the last 4" (1/64" at the tip), soaked and then placed in the jig to dry. I put a brick on top to hold them down tight as they want to twist a bit. The jig is the same thickness as the planks. Below the jig are 3 edge bent, tapered planks all dried and ready to go. These are naturally all for the bow and shall go below the wales some 5 or so planks below it. For the upper planks we used the regular bending jig pictured back early in this log. I was pleasantly surprised to see that this degree of edge bending was possible and reproducible. It's basswood, by the way. I'm currently preparing planks and lining out the hull. Should start planking in a few days. The slight delay is being caused by looking for a replacement cutting board (Admiral's orders) !!!

- 2,191 replies
-
- 20
-

-
- confederacy
- Model Shipways
- (and 1 more)
-
Stay alert......and best of luck. Looks all too familiar.
-
No, no, no. Sure, you need to know exactly where the ship will go before you start it. But that does not mean that you need to share that information immediately. You have 2 years to work on it. Jewelery, a new car or perhaps a long-awaited vacation can come in handy here....especially when you begin moving the dining room table into the garage to make space for your masterpiece. Dual build with a stagecoach. Why not? Check out the log on the Ogalalla Prairie Schooner
- 1,616 replies
-
- 6
-
-
- caldercraft
- agamemnon
- (and 1 more)
-
Let me claim a spot on this one. Classic ship. And she's slightly larger than the new MS version....nice! That's a LOT of rigging line --- don't get it tangled. Really looking forward to this one Wayne. Buona fortuna!
-
Good for you! Sounds like things I've done.....buy a piece because it looks good. Might take 30 years to use it --- but that makes it even better
-
Really coming together nicely, Wayne. Those shrouds do look good.
-
John - I've never tried to blacken brass with Blacken-it by 'painting in place'. It takes some time to soak in the bath. Also, you want to get it nice and degreased first (I usually soak in acetone) before it sees the Blacken it. I'd either wait or, alternatively, get hold of some black annealed wire over at a place like Ace hardware. Comes in a variety of gauges usually in about a 30 foot coil.
- 2,250 replies
-
- 1
-
-
- model shipways
- Charles W Morgan
- (and 1 more)
-
Variety is the spice of life! It all counts as progress. Always nice to have a little something to cover that edge.....I've got a small molding myself. Can't wait to see your copper.
-
Very impressive. I don't know how much will be seen from above but it looks great. Even if it's almost invisible it will make you feel good to know it's done right.
- 1,616 replies
-
- 1
-
-
- caldercraft
- agamemnon
- (and 1 more)
-
Tough break, Robert. But congrats on the effort to go back and redo it.
-
Faux nailing
augie replied to Captain Al's topic in Discussion for a Ship's Deck Furniture, Guns, boats and other Fittings
Here's a drill bit conversion chart in inches. For my 1:64 scale, I used a #74 bit for the treenails. You would probably want to go a bit larger (70,71) for a 1:48. Always test on a piece of scrap timber before you commit to the model itself. http://www.gearhob.com/eng/design/drill_eng.htm -
Iran- this is tough because many of the sheets you need I no longer have. They have either been used or trimmed down so that only the unused parts remain. However, after examining what I have left and noting that you have not gotten to the sills and lintels for the railing, I agree you need A-K and V and W. Good luck!
-
If it's any comfort, I know what you're talking about. (Still takes me a second to remember your photos are 'upside down'). Confed has a similar, but much less pronounced, outward flare in the same area of the fo'csle. But because it's much less pronounced, it is handled by letting the planks follow the lower run and then sanding the top curve to gently blend in to the sheer line. I also spiled it slightly. I think this is where you are at now. I remember thinking that, if my situation were any more pronounced (like yours is) it would be a hell of a problem. And I had the added advantage in that I knew that from the point at which the flare began I'd be painting upward to the rail so some 'creative sanding' blended everything together. That said, I really like Hahn's solution with the wider plank. Good luck Mark. I know you'll figure it out.
-
Looks like you Rattlesnake folks are really building up quite a fleet. I've been following JPett since he began......she's always appealed to me. Keep up the good work on the ship and the log.
-
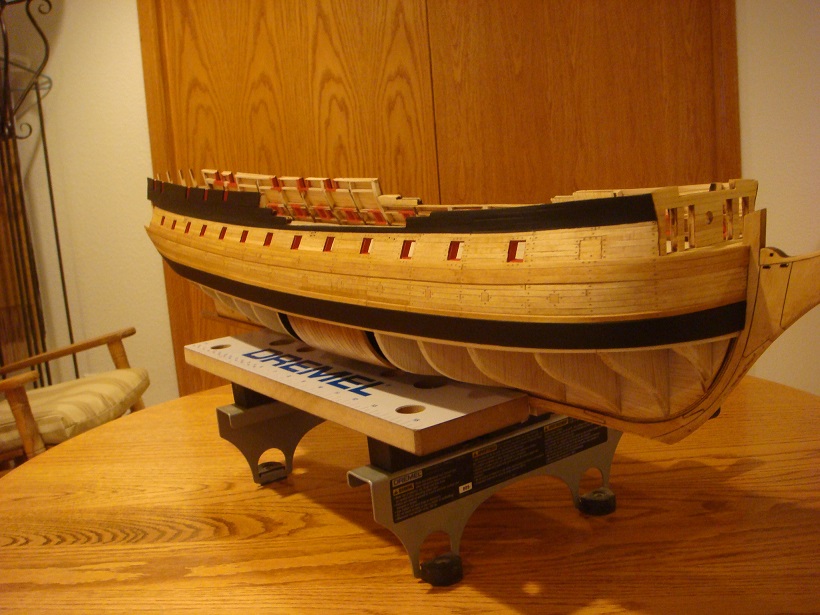
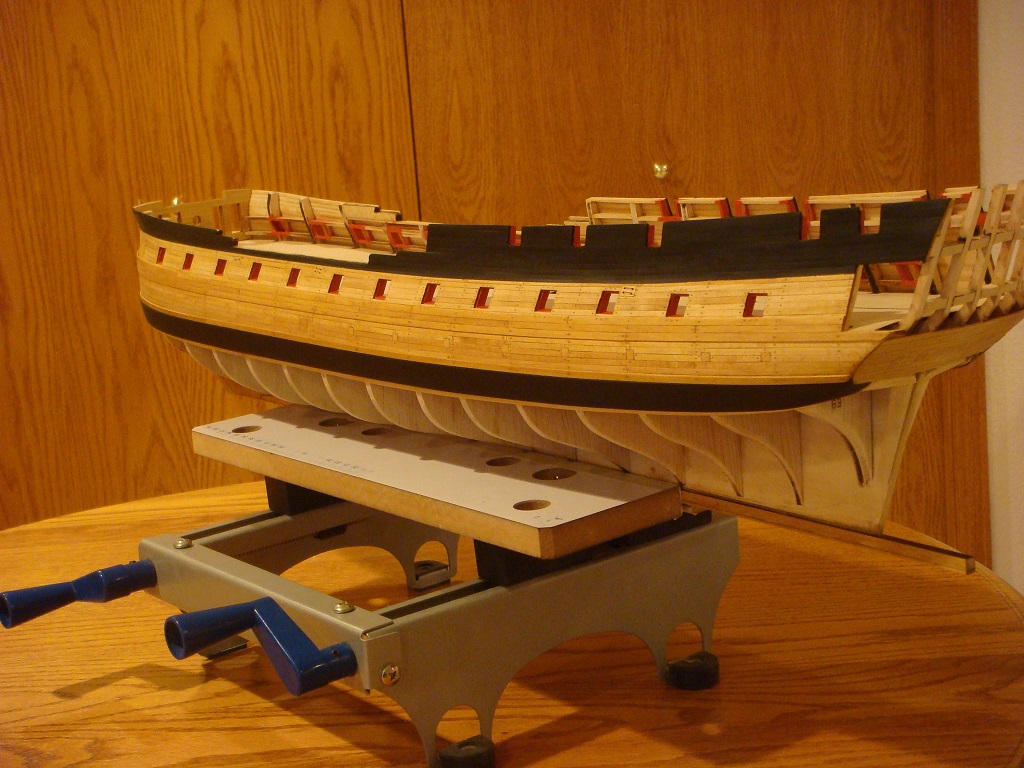
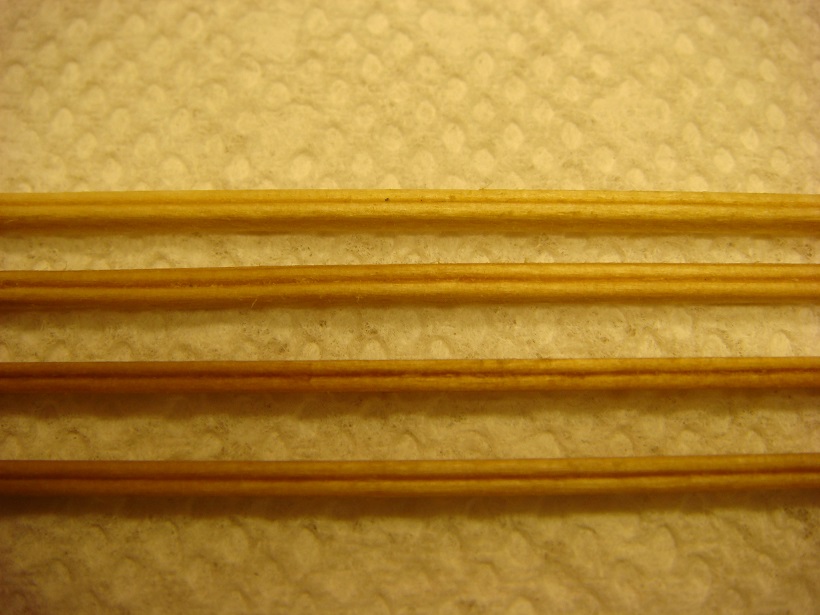
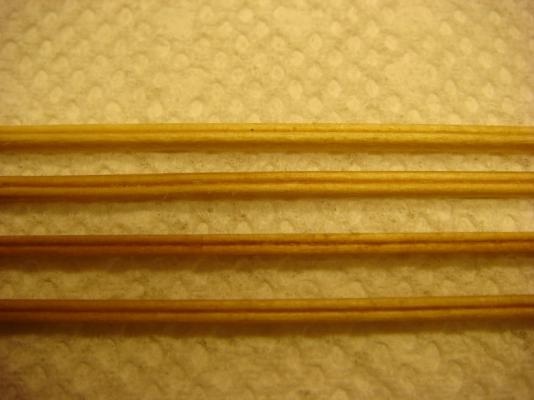
With the 300 hour mark just passed, thought I'd update with her new look: Work on the upper hull is completed (for the moment) with the painting up to the rails. Same process as the wales. Now, there are some moldings that will be attached later on. Toward that end, some scrapers are provided with the kit to put a bead in the 1/16" square basswood moldings: I was a little pessimistic about this process at first. But here's a sample of four strips treated with the scrapers then stained: Looks like these will actually work !! I'll hold off installing them for now so as not to damage them during the next step..... ............. planking the lower hull. Need to do a little reading and planning before I begin. This is NOT my strong suit --- but then little falls into that category. For this hull, Chuck has included a 'spiling jig' to do some edge bending so I need to work with that for a bit. So it'll be a while......... But I shall be watching everyone's progress So STAY THE COURSE !


- 2,191 replies
-
- 25
-
-
- confederacy
- Model Shipways
- (and 1 more)
-
Really sorry about this. Didn't realize you had already tried 'brute force'. Great idea to start with new pieces.....I'm sure MS can do something. Sub thread ----we already have at least two......why not another!!!!
-
Faux nailing
augie replied to Captain Al's topic in Discussion for a Ship's Deck Furniture, Guns, boats and other Fittings
Ulises has detailed the toothpick method quite nicely. If you'd like to see the 'drill and fill' method with a brief description, see my Confederacy log (just click the link in my signature). It's on page 50, right near the last entries. Both methods give you more flexibility then the 'pencil point' method you describe. -
Thanks, Wolf. We try to keep it mildly entertaining while including any info we can keeping in mind it's not a master class in scratch building. Personally, I enjoy reading your San Francisco log just as much. Your work is 12X's neater than mine and the colors are just fantastic. Can't wait to see the completed ship's boat you're scratching. Enjoy summer down there!
- 2,191 replies
-
- 3
-
-
- confederacy
- Model Shipways
- (and 1 more)
-
Just dampening, not soaking, the keel bulkhead should only soften the glue (assuming you used a type PVA). If you could then jury rig an arrangement to overtwist her slightly and let her dry it might help. I might suggest you try original Windex (the one with ammonia) as it penetrates the wood faster then plain water. Clamp her straight of course the minute you release the pressure. If you see any improvement at all you can always repeat. As Chuck once told me 'you don't want to build a banana'. The sooner you get out the twist the better as the more parts you add, the harder it becomes to resolve. I really can't see it in your photos but obviously you have. Best of luck IR.
-
So now we have working sheaves. Don't forget to balance them so we don't get any vibration during rotation. Absolutely great on the parrel trucks as well. FABULOUS!
-
The consensus seems to be pointing back to the shipyard .... who am I to disagree? All that's required is getting Sjors to move one of his dreadnaughts out of the way !!
-
You mean + 8 degrees? Get back to work!!!!!!
-
The only problem with it is that, with basswood, the drilling is not so clean as with a harder wood. Even though I smoothed out the drilled holes (gently) with an awl, the second staining gets into the edges of the drilled circle and gives a slightly diffused appearance. I can live with that as the overall appearance and texture look pretty good from a normal viewpoint. If you'd like to see the difference, check out Bob's (Rafine) treenailing on his Essex. Absolutely 'clean'.
- 2,191 replies
-
- 1
-
-
- confederacy
- Model Shipways
- (and 1 more)