
Supplies of the Ship Modeler's Handbook are running out. Get your copy NOW before they are gone! Click on photo to order.
×


popeye the sailor
-
Posts
15,993 -
Joined
-
Last visited
Content Type
Profiles
Forums
Gallery
Events
Everything posted by popeye the sailor
-
 there is another brand out there as well........I read the name, but can't place where. of course, I can't remember the name either......go figure ! I hope that someone who knows reads this and fills in the blank
 -
I dunno......I'm a yankee, and I knew what it meant. then again, I've been here since 2009 I think you did an excellent job.....they look even better painted! nicely detailed too.
- 83 replies
-
- 2
-

-
- melvin
- blue devil
- (and 2 more)
-
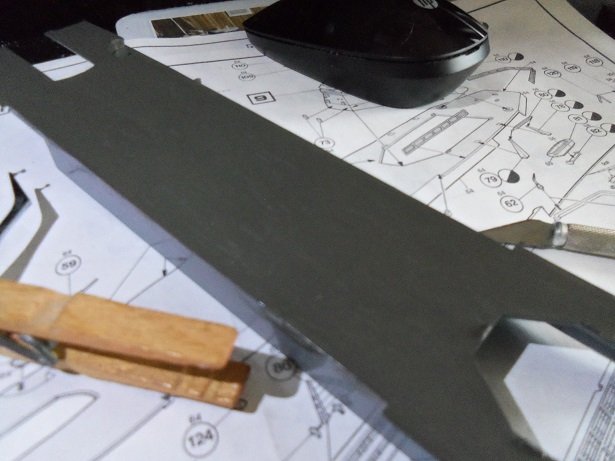
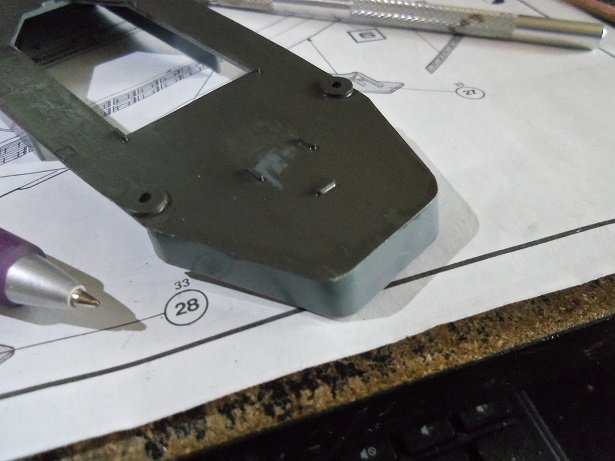
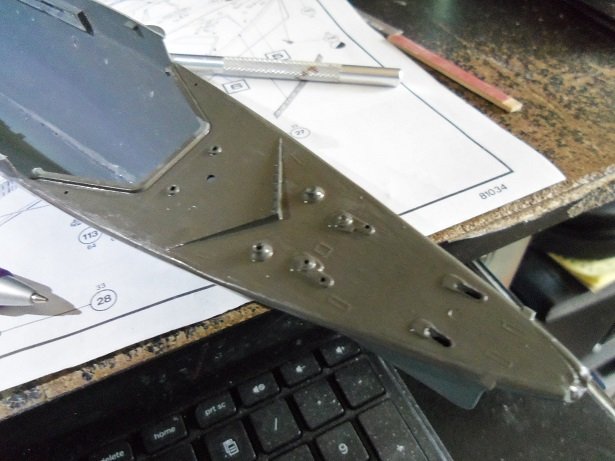
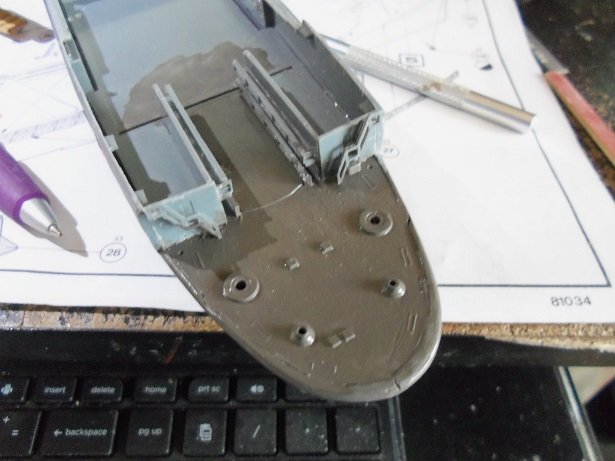
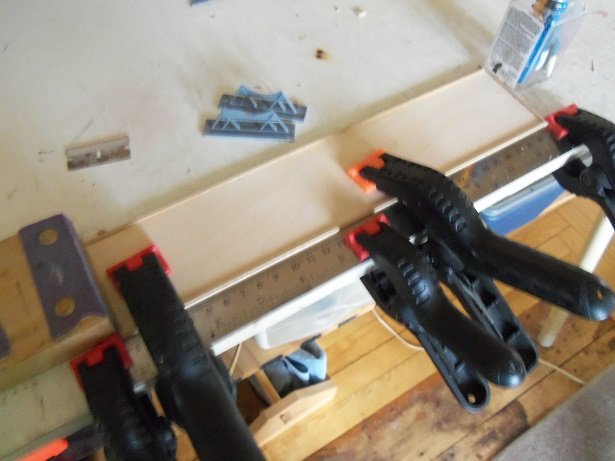
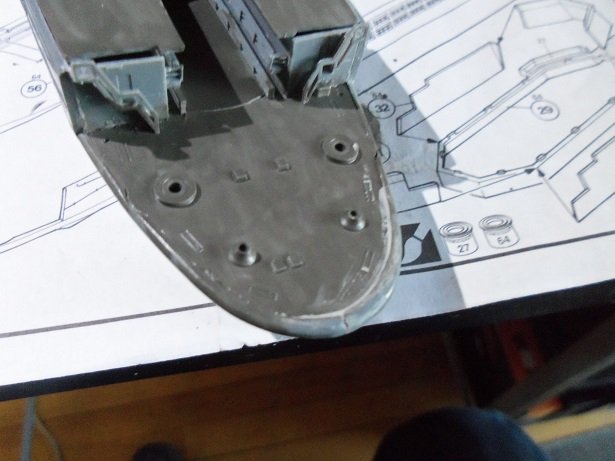
so.....owner and his car is reunited this morning, I was looking at the deck and how it fits into the hull. I know I'll have to do some finagling to get everything to line up. there are two lobes toward the fore end, where the 100 mm guns fit.....it doesn't line up there. nor does it line up well at the aft end......the two areas of deck surrounding the elevator......it doesn't quite reach the two end walls. the first thing was to do a second coat of that asphalt colored paint that I had made. to be honest, I forgot what colors I mixed to get that shade.......even forgot what I mixed it for. pretty sure that it was for a past project......or....perhaps for the Titanic...not sure. I did the main deck first.......I used a different brush, and it came out much better. the way the fore end of the main deck fits onto the fore deck, in my examination of the fit, is the key to the problem I'm having here. the fore deck has a locator tab that the front of the main deck fits over. here is the front section of the main deck. there are the two holes {pedestals} for the 100 mm guns. the front lip fits over the fore deck tab and sits flush on the fore deck. on both sides there is a flat.....they tuck into the hull and line up to these two lobes. I did a second coat for the fore deck too........there is the locator tab....a U shaped border. I need to remove it and make this flush with the deck. then I can slide the main deck back enough to line everything up........the tolerance is that minute, that I need. I painted the aft deck area too. then I can paint the inner walls of the elevator, along with the outer walls on both sides of the elevator opening. it will give me a chance to check out those two parts that aren't in the instructions......willing to bet that's what they are for. I've also started to work on a display stand for the model. why do they supply just these two derrick like structures for stands? to me, they are useless.....in the older models, they were shaped so one could screw them to a board, to make them more sturdy and evenly spaced. so far, I've taken a piece of 1/8th basswood, and cemented a border around it. there will be a bit more to it. ....more progress soon
- 133 replies
-
- 14
-
-
- jeanne d arc
- heller
- (and 2 more)
-
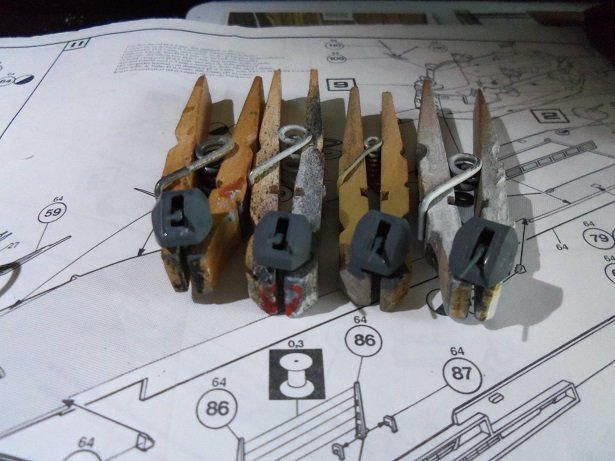
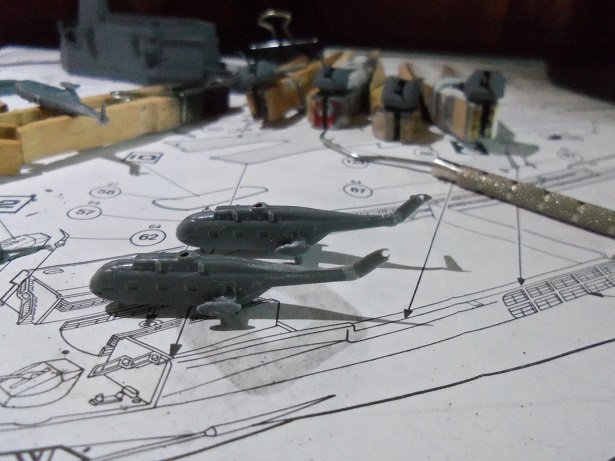
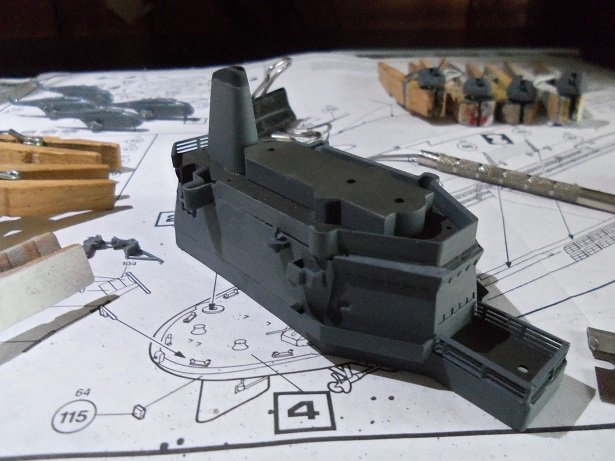
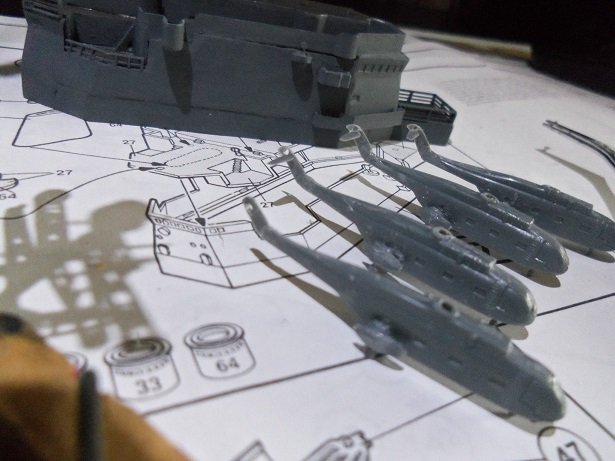
hello there! I would have been here sooner.......but I had an emergency brake-en-decktomy to do. this time it was my older son.........Jee dad, I had them checked in June. yea right.........what did they use to look at them.....certainly wasn't their eyes! while I was at it.......I set his tire pressures to 42 PSI {max pressure 51 PSI}.....the place he last got his oil change set 'em at 32 PSI. then I cleaned the corrosion off of his battery terminals.......tisk, tisk.......just like his brother anyway.........I have an update........proud to say there was only one heart stopper {I'll get to that}. it starts with an addition to the super structure.......the railings around the area that the SAM missiles are to go. after they were dry, they were painted, the upper solid bulwarks {inside walls} were painted, and the whole assembly got some touching up. while I had the battleship gray out, most of the sub assemblies got painted, along with the main mast. I'll have to touch the main mast a little.......shiny areas can be seen showing bare plastic {the paint is almost the exact color of the plastic}. I almost forgot about the 100 mm guns........they got a coat of paint too. the Super Frelon helicopters should be dry by now, so they got a general cleaning up. flash lines and what was left of the sprue marks were removed. nice to see then on their landing wheels finally. I got to the last one, when Murphy hit........the tip got torn off the tail section as I trimmed off a tiny bit of flash! as I pondered what to do about the damaged heli..........I cemented the upper section to the super structure. I still have more to do with it.......I got an idea. I had looked for that tiny bit of plastic on the floor.......to no avail. even Gibbs tried to help me.....always enjoy when he tried to help {I'll have to photo it one day for you folks to see......quite funny}. looking in the bag of loose parts and 'shake', I found a piece of flash that might do the trick. it was flattened out and cemented to the tail. later it was trimmed........not as good as I wanted it.......but it will do. I'll use this one to put in the elevator here's what it looks like with the repair. I had cemented the stabilizers on the other ones. it doesn't have that tear drop point to it.......now I need to look and how the French painted their helicopters. one variant is a camo gray.....I like it, but it's too bad there are no decals for them.......I may see what I can do with the decal maker....Dunno I did a little something else this morning, before I got my son's car.......gotta go and bring his car back to him now, before traffic gets to hectic. I'll add it when I get back thanks for looking in and the good word!
- 133 replies
-
- 12
-
-
- jeanne d arc
- heller
- (and 2 more)
-
thanks.....I do have an update, but it nothing compared to the work your doing I'll enjoy following along
-
I only like those supplied light boxes for fishing vessels........and they have to have a little detail on them at least I use Testor's window maker to fill in the lens hole and dab some paint inside.....red or green. sometimes, the kit supplies some colored paper or plastic to stick inside them {I know Billing's does}. nice work on the added detail to the boom........it gives me an idea using sewing machine bobbins. very resourceful
-
I don't see a rookie here!?!?!?!? what gives..........where in the blue blazes, have you been hiding? this is an awesome looking model, with some really finely done crafting and to think.......I traded my P.E. tool for a Billing's Bluenose............I'm kick'in myself in the butt right now! we have a few excellent builds going on at the moment of battleships and cruisers....welcome to the club! beautifully done!
-
nice to see the stern coming together.......looks very nice
- 192 replies
-
- 2
-
-
- sovereign of the seas
- sergal
- (and 1 more)
-
the standing rigging looks awesome Mark! superior job!
- 652 replies
-
- 2
-
-
- royal william
- euromodel
- (and 1 more)
-
...a very good sign! a new kit! glad to hear your recovering..you have been missed! looking forward to your return and more info on this fine kit you've gotten
-
the new planking looks good J.......the fore deck came out really nice
-
huh? well....he mentioned that he hadn't posted in a while jes' welcoming him back amonst the build'in I need to toggle between the kit builds and scratch logs a bit more frequently
-
WOW! nice start on the super structures and the guns! they look great you made some mention of using your undies for blast bags..........saw this and I HAD to take a look like the way you made the recoiling parts
- 83 replies
-
- 2
-
-
- melvin
- blue devil
- (and 2 more)
-
amazing progress since I last looked in Nils! I'm also amazed with how you assembled the lower the deck........must have been a bit harder to do through the framework. she's coming along great.........guess I'll have to toggle between the kit builds and scratch a bit more frequently
- 692 replies
-
- 4
-
-
- eagle of algier
- chebec
- (and 2 more)
-
Cutty Sark by NenadM
popeye the sailor replied to NenadM's topic in - Build logs for subjects built 1851 - 1900
I hope you find your 'new norm' soon!- 4,152 replies
-
- 6
-
-
- cutty sark
- tehnodidakta
- (and 1 more)
-
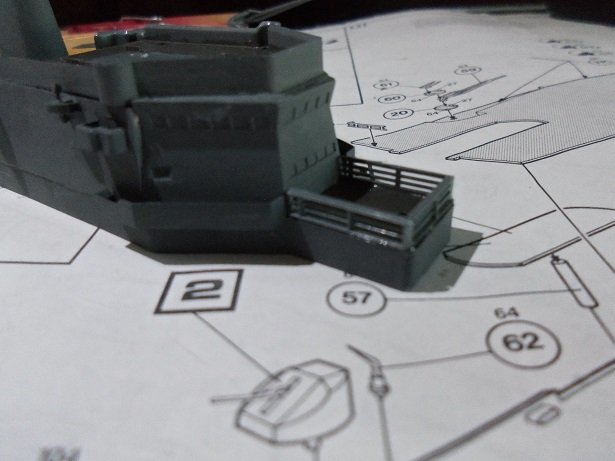
oh.......before I forget I mentioned earlier, that there is a sort of slot, toward the back of the elevator well, if you look below deck. I was unsure if there was anything there, since I did not see a 'back wall' in the parts sprues. I noticed today that there are these two doors.........part number 21. for some reason or another, these parts are nowhere to be seen in the instructions. I haven't fitted them yet, but I believe they go there. just a little info for those who have this kit.
- 133 replies
-
- 3
-
-
- jeanne d arc
- heller
- (and 2 more)
-
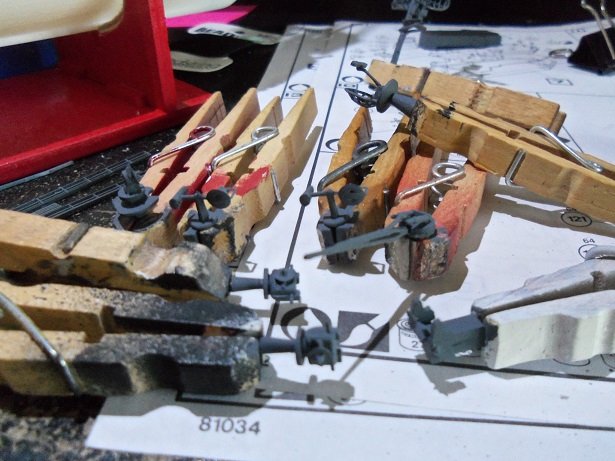
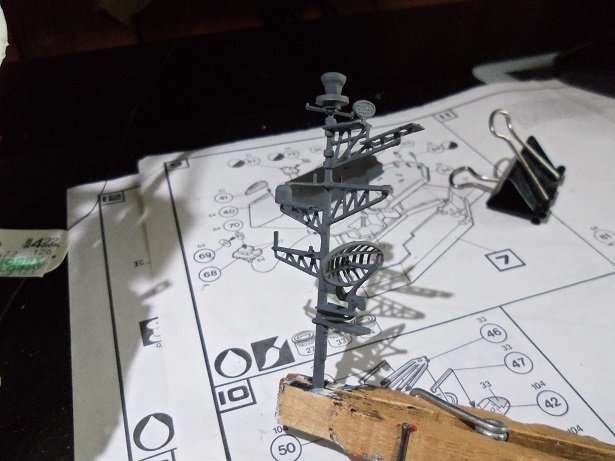
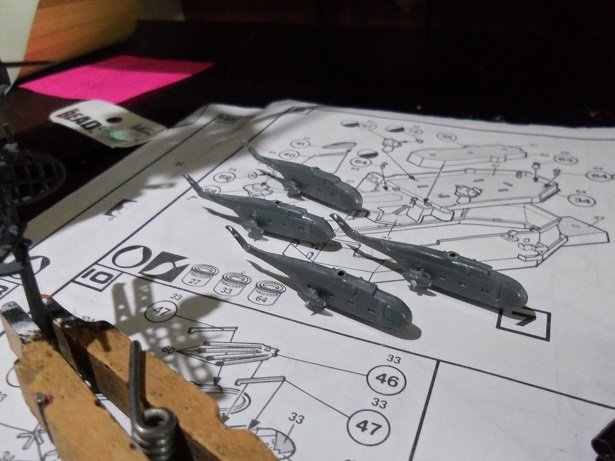
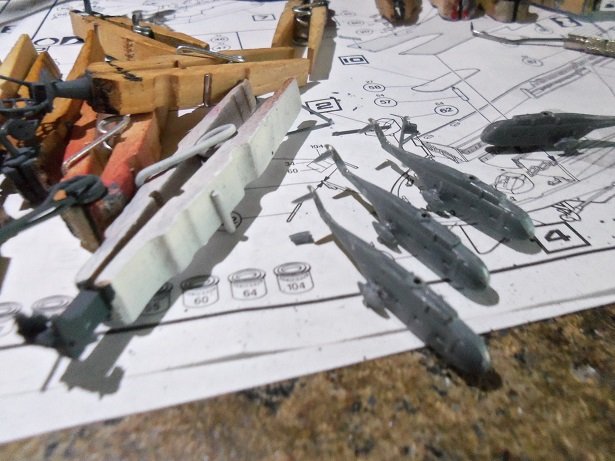
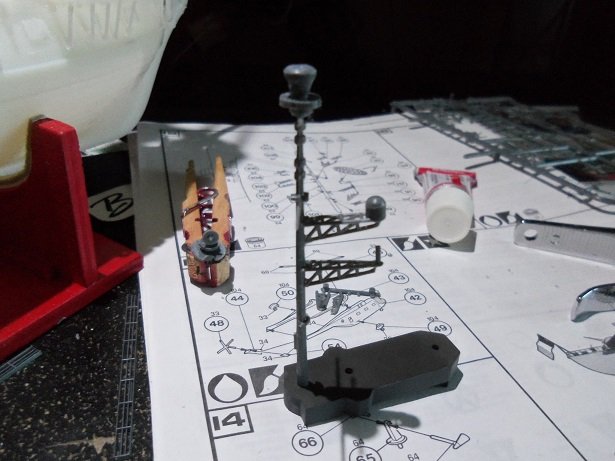
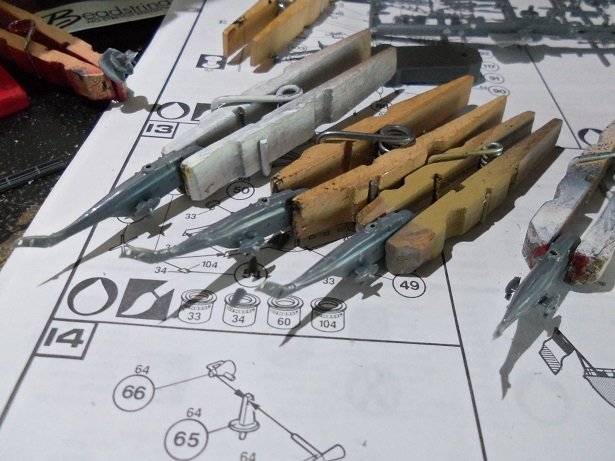
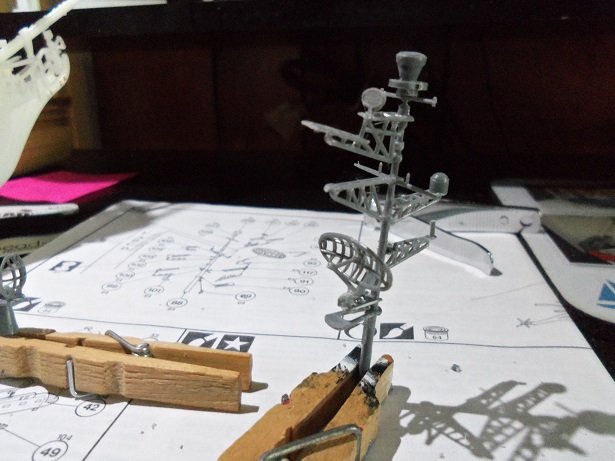
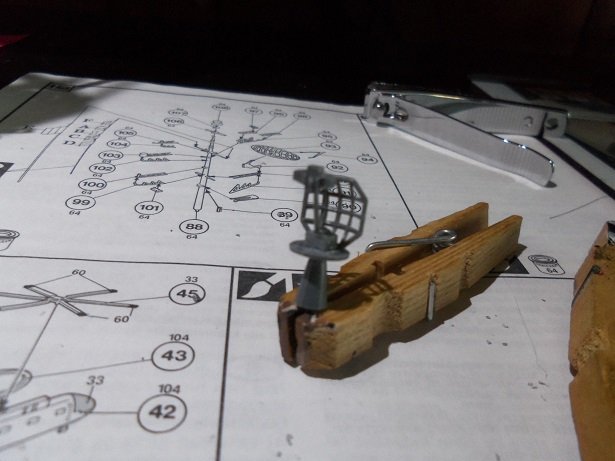
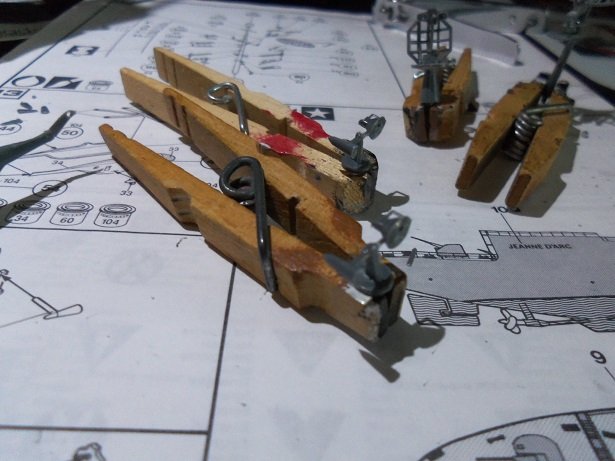
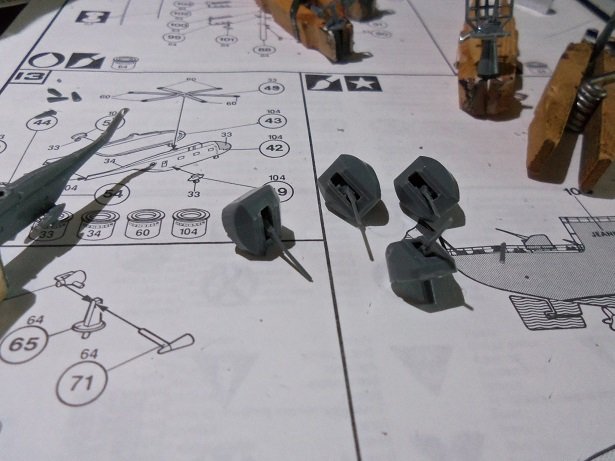
so.......yes, I did make some more progress on this project. the first thing was to fill in that gap in the stern. when I touch up the decks, I can address this. the main mast has a lot of small pieces......the tree was starting to take shape. along side there is one of the DRBC-32A fire control radar units........there are three on the upper structure. the four Super Frelon Helicopters supplied in the kit, are made up with a number of small parts as well. trimming the assembly joints took some care.......that little dimple you may have seen in the front, is actually the front wheel. I had to be careful not to cut it off! a pair of aft wheels {pods and tires}......giving them a tripod landing gear, were cemented in place. the tail section was also cemented in place......a tiny stabilizer is still to be added after they are dry......overnight. the rotors will be added last, after they are painted. still some clean up to do on them..........more was done to the mast tree. the DBRN-34A navigational radar unit I think these are the two other DBRC-32A radar units ......and I don't think I showed you the 100 mm guns assembled.......they are ready for paint. with a bit more clean up, these should be ready for paint. more soon thanks for look'in in and also for the likes.....glad to have ya follow'in along
- 133 replies
-
- 12
-
-
- jeanne d arc
- heller
- (and 2 more)
-
thanks for the encouraging comments gents.......I appreciate the interest this must be an updated kit Yves.......it gives her complete history, right to when it was decommissioned in 2010. what still bugs me though, is why would she be modeled with the SAM missiles, and not the two triple Exocet launchers that she ended up with for most of her career. the kit does have it's faults, but it's coming out OK so far.......I'm only having to make a few minor adjustments. Lou......the SAM missiles and launcher looks like this........the Exocet launcher is encased. American warships have these launchers too.....the missiles are externally attached to the trajectory arms {pods}. Edwards has the Titanic railings and stuff.....I have a few other places where they can be found. there's a wonderful site that I will send you regarding the Titanic, I think you might like it I won't give up on it Greg........I'm too far into it. even though I could use any of those different sheets, I think I'll just use the supplied railings and stuff. given the time factor {and the cost of some of them made the admiral flip}...I'll wait till I get.......lets say.......a better subject to expend the effort into. you are the guru of P.E. ......it's sage advice coming from you I truly enjoy what you do to your vessels. besides, I think I spent my allowance for the time being.......a future project that got put away for Christmas {anything that will keep my grubby paws out of it}.
- 133 replies
-
- 7
-
-
- jeanne d arc
- heller
- (and 2 more)
-
she's look'in pretty sweet!
-
the Sopwith is coming along great John! amazing bit of rigging....and yes......it does look tedious very well done! sorry to hear about your dad...my condolences to you and your family.