


popeye the sailor
-
Posts
16,007 -
Joined
-
Last visited
Content Type
Profiles
Forums
Gallery
Events
Everything posted by popeye the sailor
-
 getting closer to the finish line........look'in really good!
 -
very nice looking plane Carl....are you planning to build squadrons? well done!
-
Jenny looks super.......that's the most important thing. I hope I didn't make you spill a secret. glad to hear you celebrate good health as well
-
very nice recovery OC.... the decaling puts you back to square one again!
-
Revell 1/8 corvette by kpnuts
popeye the sailor replied to kpnuts's topic in Non-ship/categorised builds
very nice look'in car -
good news to be had!........the second hull is planked! took a bit of doing........and the use of my circular rasp, but the hull came out rather good. it is a keeper! I should have an update on the Clotilda soon. thanks for your patience.
-
I'll keep my eyes open....I want a front row seat
-
looks awesome Robert. I got to watch Forrest Gump this afternoon........you certainly did Jenny justice one thing is missing however..........Lt. Dan up in the riggings a wheel chair on the deck would be a nice touch too superb job! ⭐⭐⭐⭐
-
thanks for the video Robert yes...building between the two is very different. with planes......especially war planes, it very hard to stray from a given replica......boats and ships, you can. a plane {kit} can be changed, but only to either the choices the kit gives, or to another known squadron. boats can be changed simply as a different name......a good example also lies in the battleships.....a slight modification in armament. but they are both the same if the builder choses to build a fictitious model. who knows......perhaps a B 17 is in your future there's a lot of info out there. thanks to those who hit the like button I have an update on that second hull too.......it is done! the preliminary sanding is done as well. for as much grief as it gave me, it came out well. I was treated to the movie Forest Gump this afternoon....got to see Jenny had to narrate it for the admiral....she came in about half way through
-
B-25 Mitchell "Meet Miss Runyon" by Javlin-HK-1/32
popeye the sailor replied to Javlin's topic in Non-ship/categorised builds
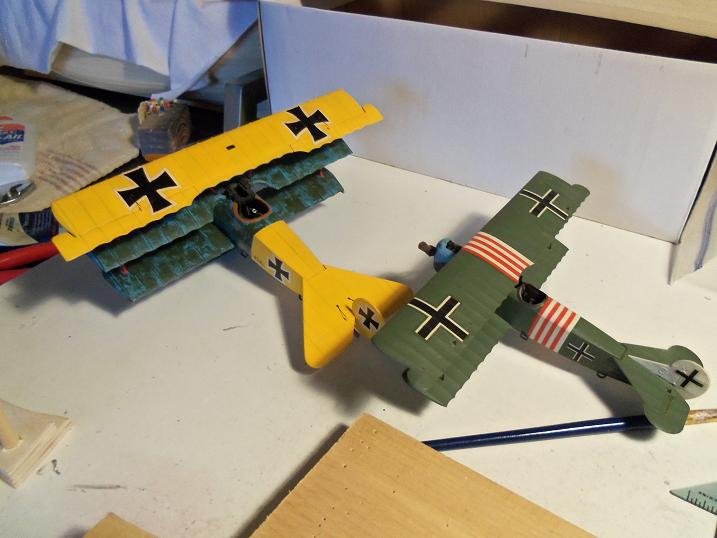
quite a multi nation squadron you have there...the Junkers looks particularly interesting. rather envious of the Thermopylae under the table -
you mean the Ez Rider Rifle Rack got my hunter's safety course at school too
-
you done well Jack.......looks great!
-
you can't help but notice the size difference between 1:6 and 1:8......
-
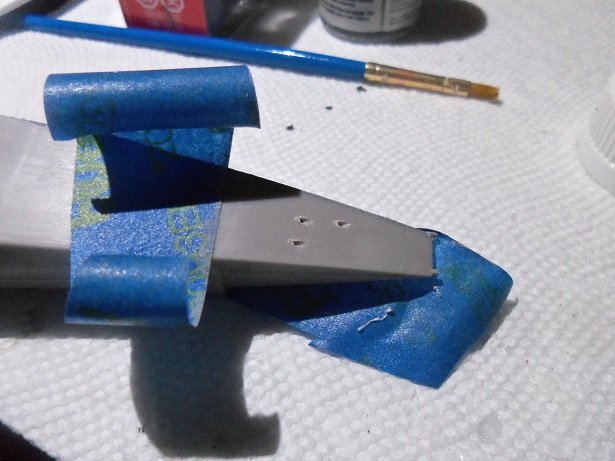
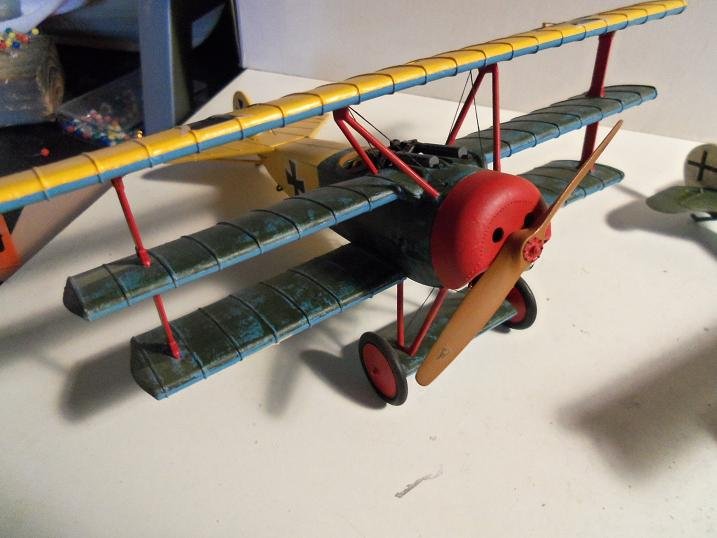
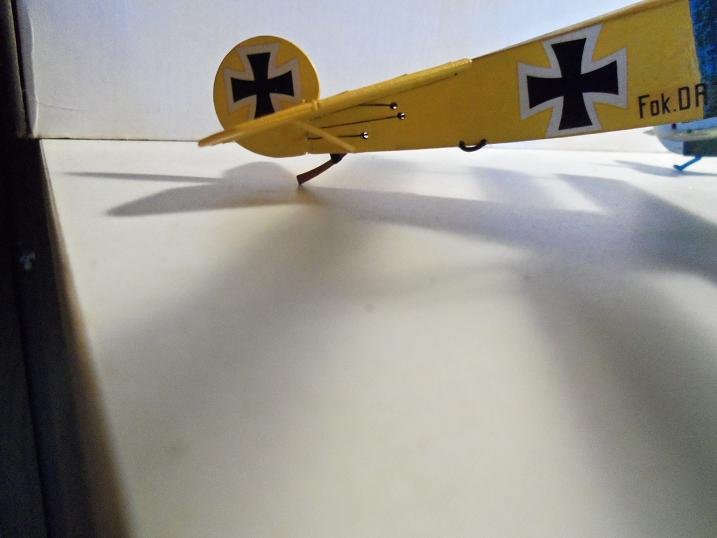
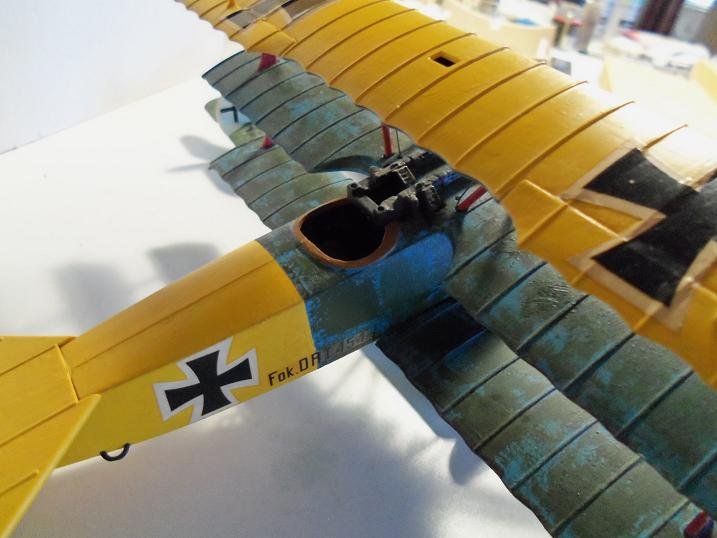
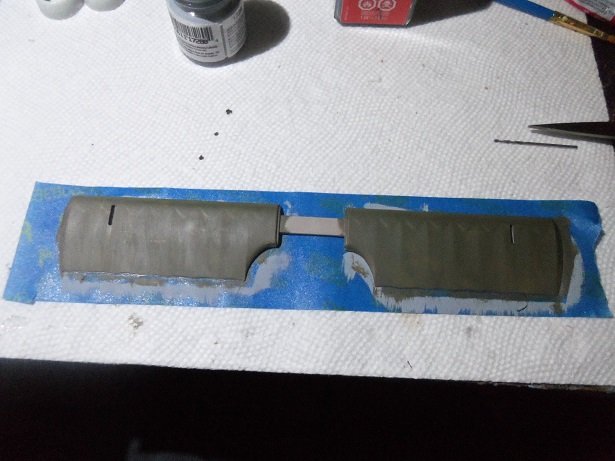
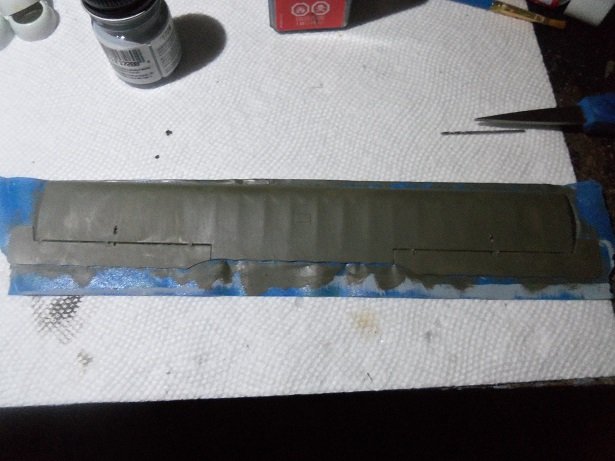
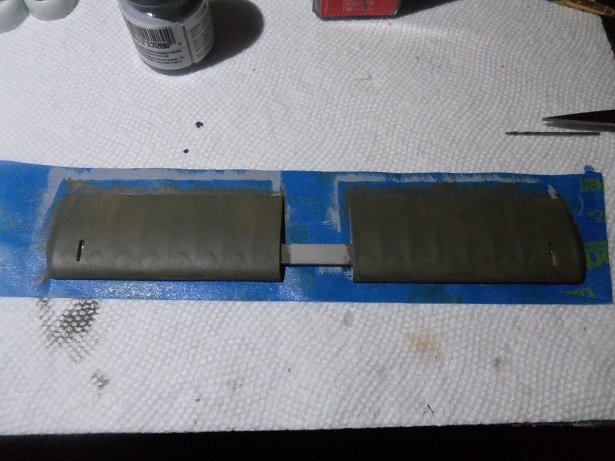
small update on the Fokker I was asked if I was going to rig 'er......yes I am. when I did the HobbyCraft Dr 1, the holes were already open for me to rig.....the rigging is not too complicated and fairly easy to do. on the Roden kit though, they need to be drilled out. the holes for the tail were done. I made the pilot hole, then move the drill sideways to slant the hole. I did the same for the upper wing, as well as paint the top surface. the holes were drilled for the top and bottom. the other wings were painted too the top part of the landing gear and front part of the fuselage was done too rereading the paint scheme, I found that the landing gear struts and cabane struts were to be Olive, like the main part of the plane. only the interplane struts were to be gray. the change wasn't to dramatic......only took a single coat to cover. hope to get more done. still need to drill for the landing gear and cabane rigging. need to see if the levers can be drilled. more soon

- 157 replies
-
- 12
-

-
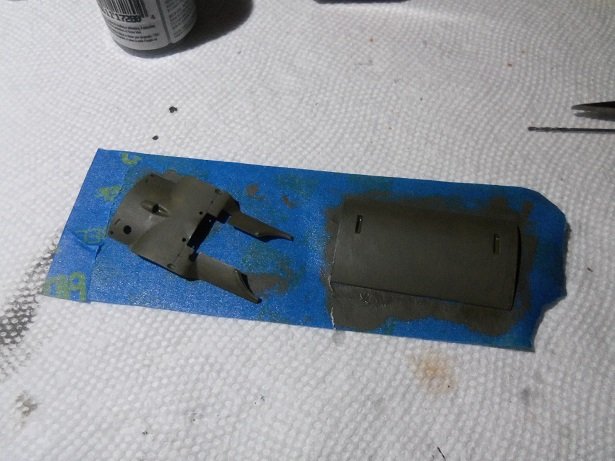
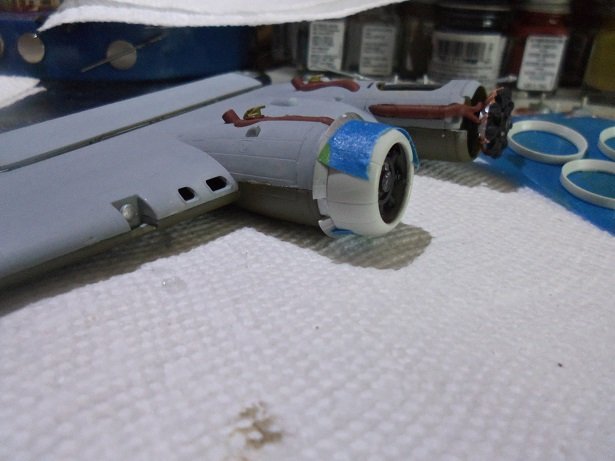
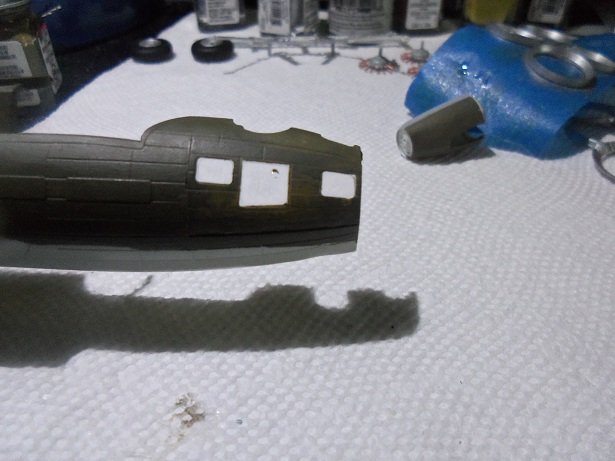
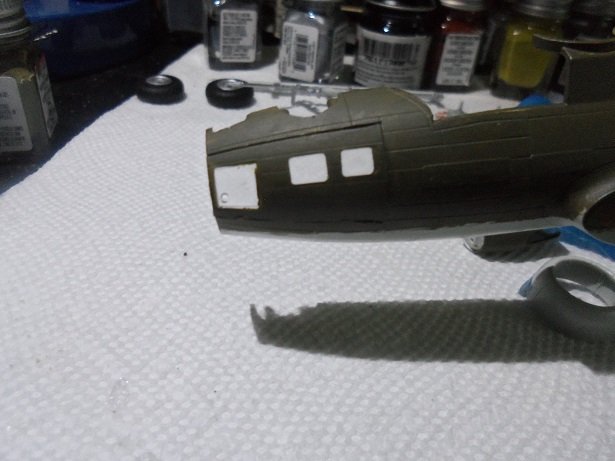
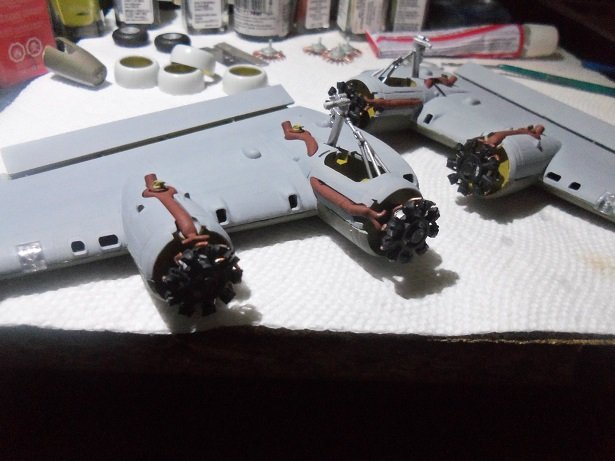
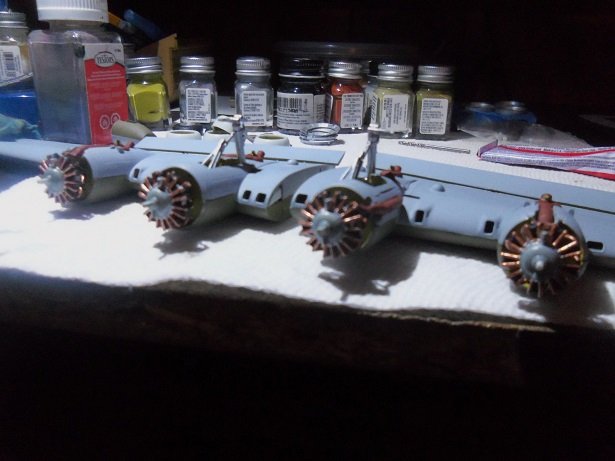
thank you folks for kindly dropping in and the kind comments! we're making progress.......but hey, that's what it's all about. I dunno.......I tried a dry fit of the open cowl flaps.......and those two tabs just don't look right. look'in into it more.... could be a bad move.........maybe not........sitting here at my desk, I chose to hand paint the fuselage.....the upper part is done. I do plan on doing some fading as I did with the Wulfe Hound, as well as the minor camo that the Belle has. I was curious about the nose windows I had masked over. removing the mask, I was happy to see that only one of the windows had some paint seepage. I used the X actor to lightly scrape it off. I mentioned earlier that it appears like I'd have to drill a hole for the main landing gears.......I did. according to the instructions for the tires / wheels, 1 mm or so needs to be cut off the axles........I had to redrill the hole a tiny bit larger anyway, so I drilled a little deeper. I'll wait for the gears to dry before the tires go on. the light lenses are also installed in the wings. lastly.......the front part of the engines were added. these had injection tabs in the back of them that needed to be trimmed off. more to report soon
-
little too insane for my blood........looks good though.
-
is school in session where you are........ours is down for the rest of the year.
-
hick up-s.......it's plural it's proving to be a superb kit, but it does have a couple problems.
-
there are sites that are devoted to the Dr 1 Welcome To FokkerDR1.com - Research on the Fokker Dr.I here's a site that covers quite a few types of WWI planes.. World War I Modeling Page
-
the car looks great Andy.......good you found a solution great now......should look even better after
-
oh...oh, the admiral saw it..........she's already looked it up. not sure.......but I'm beginning to see it in my future. at least I'll have a log to guide my way very nice progress!
-
yep......your gonna have to get a cabinet or make some space.......they are too good to be in a box! that makes ten.........quite a collection
-
it has cup holders....nice look'in good Craig...very nice progress. the dozer looks MEAN ........got teeth decals?
-
Painted Military Figures by Roger Pellett
popeye the sailor replied to Roger Pellett's topic in Completed non-ship models
nicely done -
nice start yves......looks really good!